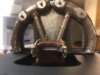
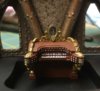
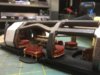
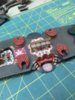
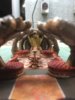
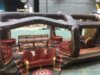
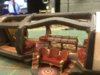
That pipe organ is pretty intricate!
As far as projects, I've just been finishing up some odds and ends like a 1/72 Han Solo Speeder and some First Order stuff along with lots of Space Battleship Yamato stuff
I've also been playing around with trying to replace the boring backgrounds of some pics with star fields by trimming out the model with MS Paint 3D etc...
Nothing quite the level of detailing and lighting you are doing but if you are interested...
https://www.flickr.com/gp/156373556@N06/pSKpe6
painting is my main schtick although I have been trying to branch out

")