DevilYan
New Member
Introduction
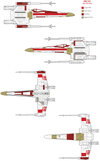
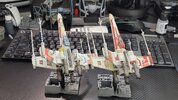
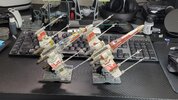
I know it's 2024 and this has been done to death, but I never had the money to get everything to make one and where I'm from (Venezuela) there was not even a chance to get them, but this is my take on the Red Squadron from A New Hope.
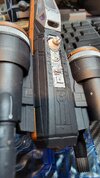
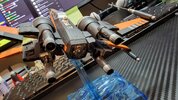
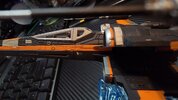
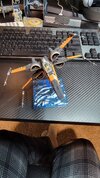
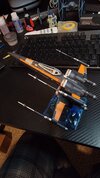
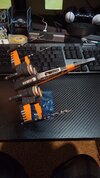
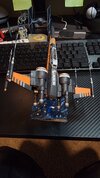
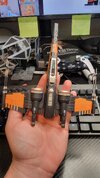
I got an A-Wing, Y-Wing, X-Wing, B-Wing, TIE Interceptor, TIE Advanced and Boosted Poe's X-Wing from TLJ in late 2017 through early 2018, and ended up getting an Airbrush, several Plastic Model tools like the cutter, small Dremel, files, masking tape, washes, paint, brushes, etc in like 2020 just before the pandemic, but ... I had no shelve space as I didn't have a place of my own, but now that my wife and I bought a House, I WILL have one day the shelves up, but nothing is stopping me to put them together, so I went I researched for weathering and paneling techniques and found Ozzman78's post and felt inspired after how Luke Skywalker's Red 5 turned out and was completed.
Preparation
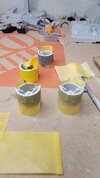
So I learned right away a few things, I would need to mix my colors, which meant I needed containers to mix enough to reuse for more than one Model to keep consistency among all birds, that is if I was going to be serious about making the whole Squadron, so I found on Amazon some empty bottles of the same size of Vallejo Model Air paints I could use for that.
Regarding paint, the next step would be to decide how to paint them, I knew that for a first-timer brushing was not going to get me the clean finish I wanted and the easier way to achieve it would be airbrushing, so got an Iwata Eclipse and an Anest/Iwata Ninja compressor.
I would also need to learn how to properly do weathering, so I figured I would need one of those powder Tamiya Weathering kits, with Snow, Soot, and Rust plus some washes, I had to watch a few YouTube tutorials, too many to list, on how to use it and how to apply washes properly.
Finally, I noticed the panel lines were highlighted and there was no way they had to be handpainted with brushes, I found the paneling technique and got some Tamiya Panel Line Accent Color, I learned the hard way Black is not good for White Gray bases jejeje, so I ended up getting some Grey, and Light Grey ones.
Luke Skywalker's Red 5 (My First Bird )
)
So this is how my first try ever went:
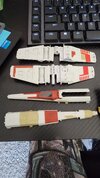
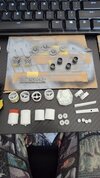
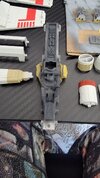
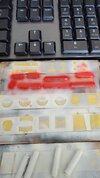
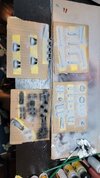
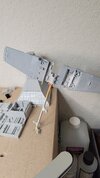
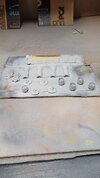
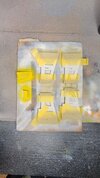
1.- This is assembled without paint
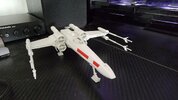
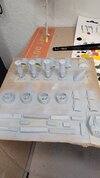
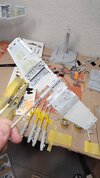
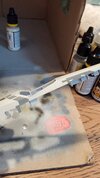
2.- Applied Primer for the first time, I didn't know how to operate the Airbrush properly and ended up applying too much in some areas, if you look closely you can see the inconsistencies jejeje
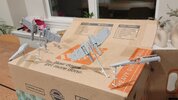
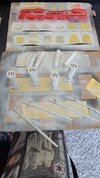
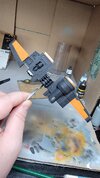
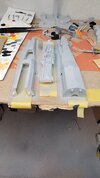
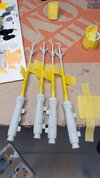
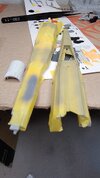
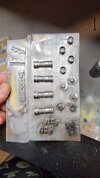
3.- Learned how to Mask and paint some of the other colors that were not the White Gray base, the canopy in particular was so cool to remove the tape and see the result
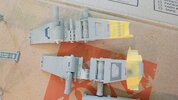
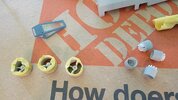
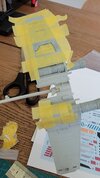
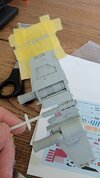
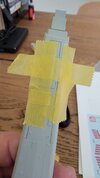
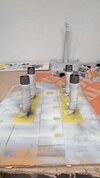
4.- Noticed how in the previous step I said "Paint some of the other colors that were not the White Gray base", I am a moron and never painted the base LOL, so I learned how to remove all the paint and primer easily, and without damaging the model by using 90% Isopropyl Rubbing Alcohol, if you're ever on a similar situation, acrylic paint gets off easy by just submerging the pieces in alcohol for a few hours the part then wash with soap. So it was back to applying Primer, and base paint (Vallejo Model Air White Gray 71.119) to redo all the masking done so far and more.
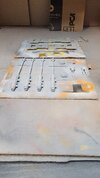
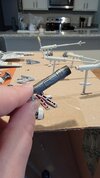
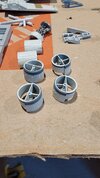
I mixed my own Sand, Blue Grey, Light Grey, and Black Gray colors, then I used Vallejo Model Air Yellow 71.002, Aggresor Grey 71.724, Gunmetal 71.072, and Game Air Red 72.710
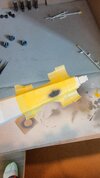
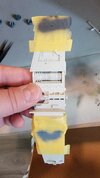
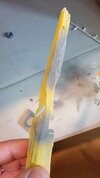
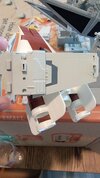
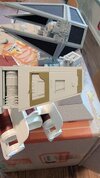
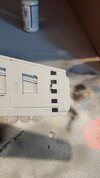
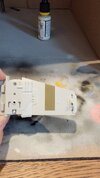
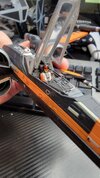
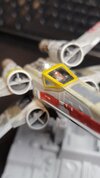
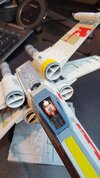
6.- Then it was time for the Pilot, dang these things are tiny, it took a lot of patience and a few tutorials on how to properly thin paint to use with a brush and how to use very fine brushes, I don't have the resulting picture but this is a semi-complete Luke painted
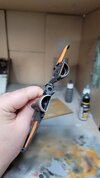
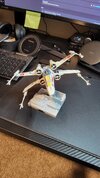
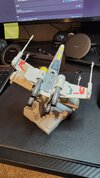
7.- I couldn't resist and had to assemble it to see how it would look, not a great idea, even though with enough patience disassembling for the next steps was not that bad, thinking at it back now, it was unnecessary jeje, also you can see I used a Liquid Mask to achieve the "chipped paint" effect, but was not effective as in this size of Model, at least for me, it was impossible to apply in the very small size needed, I'm also missing the 5 insignias as I had no idea how to approach them
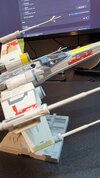
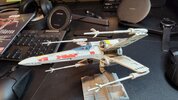
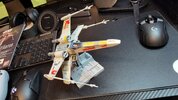
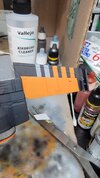
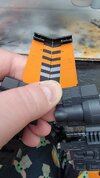
8.- Got a Cutting Mat a very sharp Hobby Knife and a Metallic Ruler, and measured the gaps between the insignias and the insignia base, I cut stripes of that thickness and carefully placed them between the insignias and the insignia base then between the insignias themselves, with a lot of tries until the measured just right and matched the opposite wing I was not happy to start painting
BTW if you are paying good attention you can see I inverted left and right but got top and bottom right for the wings in step 4! so it was back to remove the painting and redo all of it again, but this time just both wings, props to you if you noticed that 4 steps ago jeje
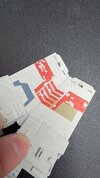
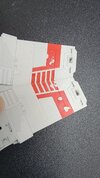
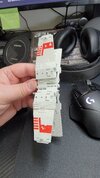
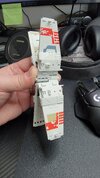
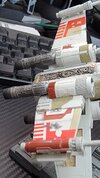
9.- Painted the laser stripes, and yes I messed up the lower right one, I know it should have been inverted, maybe one day I'll fix it
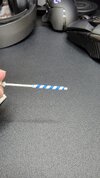
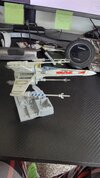
10.- First try at decals, and I messed up horribly, thank god the Model brought like 6 Rebel Alliance Insignias, but I got it looking OK for the Pilot's Helmet details
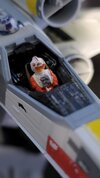
11.- Damage and Wear, at first I didn't like how the black damage details looked, but the tutorial I was following kept just saying to have faith that in the end after all the process was done it would look good, and it did, at this step I had assembled the model 4 times and dissembled it 3 times jaja
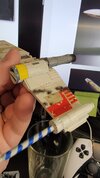
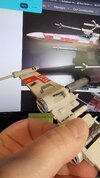
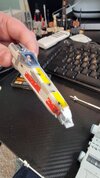
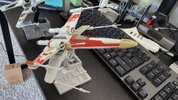
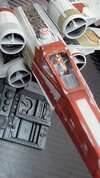
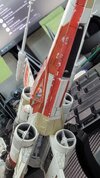
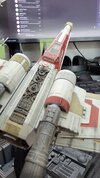
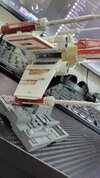
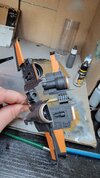
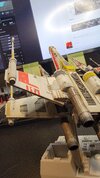
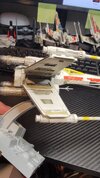
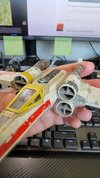
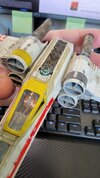
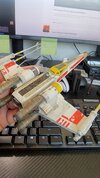
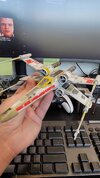
12.- Last time assembling it and the final grease and soot applications, also added some rust to the engines and the exposed under parts of the wings and back of the canopy
Final Result
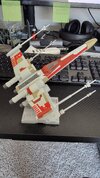
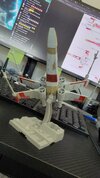
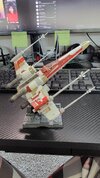
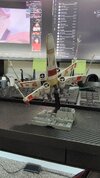
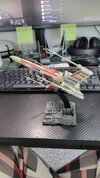
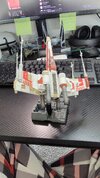
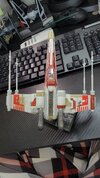
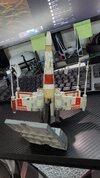
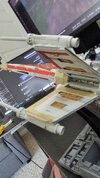
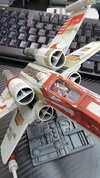
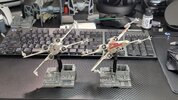
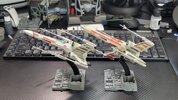
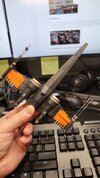
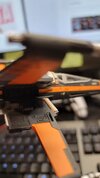
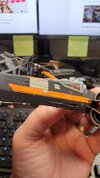
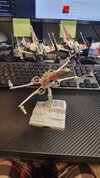
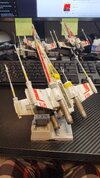
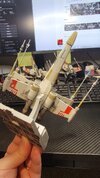
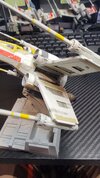
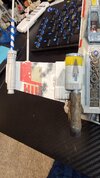
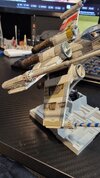
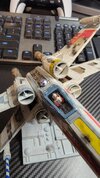
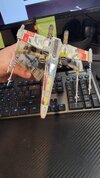
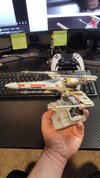
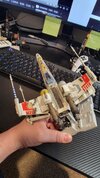
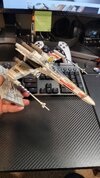
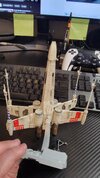
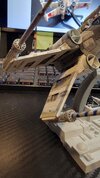
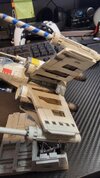
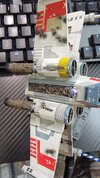
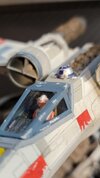
Finally in all its glory here's my take on Luke Skywalkers's Red 5 from ANH, my first try ever at painting a plastic Model Kit of anything, hope you guys all like it and enjoyed my adventure doing it
Next Red Squadron
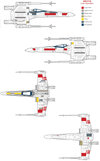
Currently, I can't afford any more Models, but I do have one extra, and I'll be doing Jek Porkins's Red 6, then after that, as I'm able to afford more I'll be doing them in order, starting with John D. Branon's Red 4 and finishing with Garven Dreis's Red Leader, so keep an eye on the thread it'll have updates.
Bye!
I know it's 2024 and this has been done to death, but I never had the money to get everything to make one and where I'm from (Venezuela) there was not even a chance to get them, but this is my take on the Red Squadron from A New Hope.
I got an A-Wing, Y-Wing, X-Wing, B-Wing, TIE Interceptor, TIE Advanced and Boosted Poe's X-Wing from TLJ in late 2017 through early 2018, and ended up getting an Airbrush, several Plastic Model tools like the cutter, small Dremel, files, masking tape, washes, paint, brushes, etc in like 2020 just before the pandemic, but ... I had no shelve space as I didn't have a place of my own, but now that my wife and I bought a House, I WILL have one day the shelves up, but nothing is stopping me to put them together, so I went I researched for weathering and paneling techniques and found Ozzman78's post and felt inspired after how Luke Skywalker's Red 5 turned out and was completed.
Preparation
So I learned right away a few things, I would need to mix my colors, which meant I needed containers to mix enough to reuse for more than one Model to keep consistency among all birds, that is if I was going to be serious about making the whole Squadron, so I found on Amazon some empty bottles of the same size of Vallejo Model Air paints I could use for that.
Regarding paint, the next step would be to decide how to paint them, I knew that for a first-timer brushing was not going to get me the clean finish I wanted and the easier way to achieve it would be airbrushing, so got an Iwata Eclipse and an Anest/Iwata Ninja compressor.
I would also need to learn how to properly do weathering, so I figured I would need one of those powder Tamiya Weathering kits, with Snow, Soot, and Rust plus some washes, I had to watch a few YouTube tutorials, too many to list, on how to use it and how to apply washes properly.
Finally, I noticed the panel lines were highlighted and there was no way they had to be handpainted with brushes, I found the paneling technique and got some Tamiya Panel Line Accent Color, I learned the hard way Black is not good for White Gray bases jejeje, so I ended up getting some Grey, and Light Grey ones.
Luke Skywalker's Red 5 (My First Bird
So this is how my first try ever went:
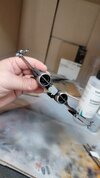
1.- This is assembled without paint

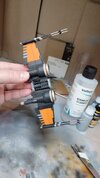
2.- Applied Primer for the first time, I didn't know how to operate the Airbrush properly and ended up applying too much in some areas, if you look closely you can see the inconsistencies jejeje


3.- Learned how to Mask and paint some of the other colors that were not the White Gray base, the canopy in particular was so cool to remove the tape and see the result


4.- Noticed how in the previous step I said "Paint some of the other colors that were not the White Gray base", I am a moron and never painted the base LOL, so I learned how to remove all the paint and primer easily, and without damaging the model by using 90% Isopropyl Rubbing Alcohol, if you're ever on a similar situation, acrylic paint gets off easy by just submerging the pieces in alcohol for a few hours the part then wash with soap. So it was back to applying Primer, and base paint (Vallejo Model Air White Gray 71.119) to redo all the masking done so far and more.
I mixed my own Sand, Blue Grey, Light Grey, and Black Gray colors, then I used Vallejo Model Air Yellow 71.002, Aggresor Grey 71.724, Gunmetal 71.072, and Game Air Red 72.710


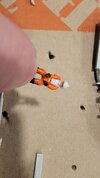
6.- Then it was time for the Pilot, dang these things are tiny, it took a lot of patience and a few tutorials on how to properly thin paint to use with a brush and how to use very fine brushes, I don't have the resulting picture but this is a semi-complete Luke painted

7.- I couldn't resist and had to assemble it to see how it would look, not a great idea, even though with enough patience disassembling for the next steps was not that bad, thinking at it back now, it was unnecessary jeje, also you can see I used a Liquid Mask to achieve the "chipped paint" effect, but was not effective as in this size of Model, at least for me, it was impossible to apply in the very small size needed, I'm also missing the 5 insignias as I had no idea how to approach them


8.- Got a Cutting Mat a very sharp Hobby Knife and a Metallic Ruler, and measured the gaps between the insignias and the insignia base, I cut stripes of that thickness and carefully placed them between the insignias and the insignia base then between the insignias themselves, with a lot of tries until the measured just right and matched the opposite wing I was not happy to start painting
BTW if you are paying good attention you can see I inverted left and right but got top and bottom right for the wings in step 4! so it was back to remove the painting and redo all of it again, but this time just both wings, props to you if you noticed that 4 steps ago jeje


9.- Painted the laser stripes, and yes I messed up the lower right one, I know it should have been inverted, maybe one day I'll fix it


10.- First try at decals, and I messed up horribly, thank god the Model brought like 6 Rebel Alliance Insignias, but I got it looking OK for the Pilot's Helmet details

11.- Damage and Wear, at first I didn't like how the black damage details looked, but the tutorial I was following kept just saying to have faith that in the end after all the process was done it would look good, and it did, at this step I had assembled the model 4 times and dissembled it 3 times jaja


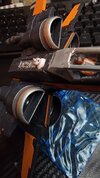
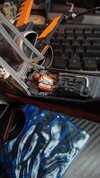
12.- Last time assembling it and the final grease and soot applications, also added some rust to the engines and the exposed under parts of the wings and back of the canopy


Final Result
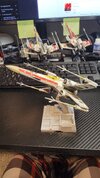
Finally in all its glory here's my take on Luke Skywalkers's Red 5 from ANH, my first try ever at painting a plastic Model Kit of anything, hope you guys all like it and enjoyed my adventure doing it


Next Red Squadron
Currently, I can't afford any more Models, but I do have one extra, and I'll be doing Jek Porkins's Red 6, then after that, as I'm able to afford more I'll be doing them in order, starting with John D. Branon's Red 4 and finishing with Garven Dreis's Red Leader, so keep an eye on the thread it'll have updates.
Bye!
Last edited:

