Eagle-1
Sr Member
Wow! That is excellent for sure.
Thank you Mr. Lewis!

Mr. edge, you old softy.
")
Wow! That is excellent for sure.
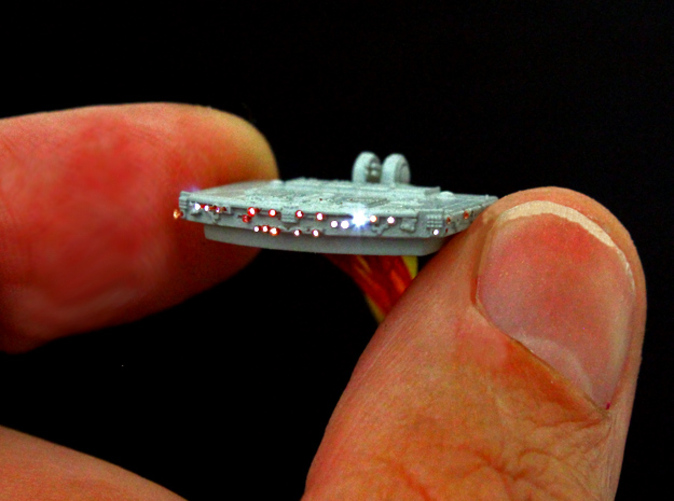
Are you shure you did not order the GALACTIKA COMMAND BRIDGE SALZO in stead of the GALACTIKA MOBIUS BRIDGE DRILLED. It looks about right for the Salzo Galactika judging by the size of the Mobius model.
...maybe he ordered the Salzo parts...
Just putting out possibilities. You are doing a Great job. I feel confident you'll make it work. Keep up the good work.
Oh ya, that right, maybe he ordered the Salzo parts. Have you looked at
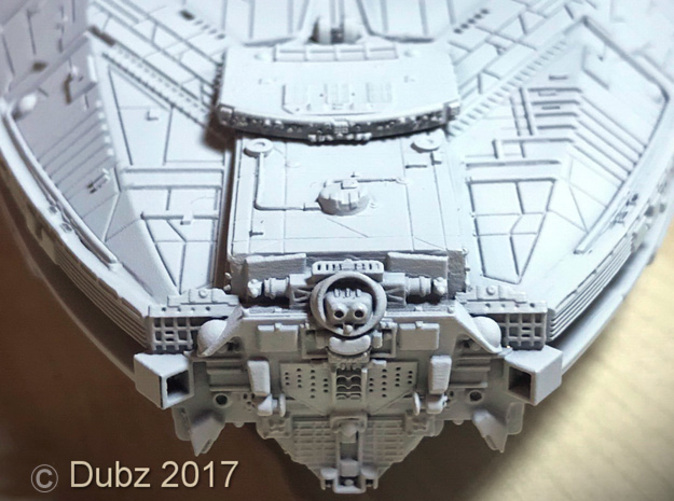
GALACTIKA MOBIUS BRIDGE DRILLED by TonyRR on Shapeways
Check out GALACTIKA MOBIUS BRIDGE DRILLED by TonyRR on Shapeways and discover more 3D printed products in SciFi.www.shapeways.com
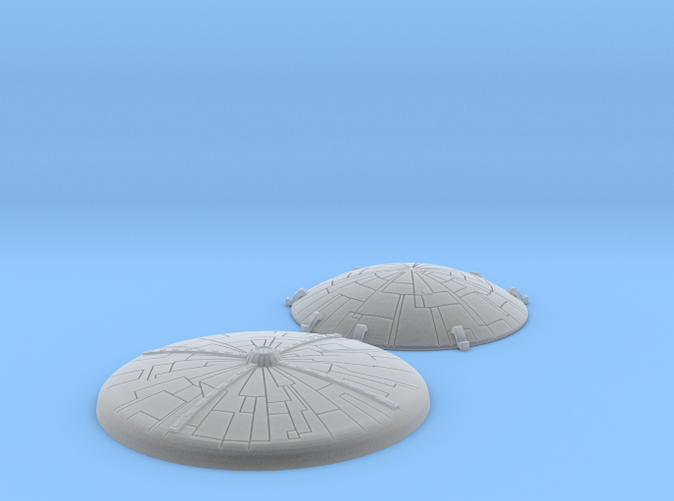
GALACTIKA MOBIUS NOSE by TonyRR on Shapeways
Check out GALACTIKA MOBIUS NOSE by TonyRR on Shapeways and discover more 3D printed products in SciFi.they have combo sales as well.GALACTIKA MOBIUS DOMES SET by TonyRR on Shapeways
Check out GALACTIKA MOBIUS DOMES SET by TonyRR on Shapeways and discover more 3D printed products in SciFi.
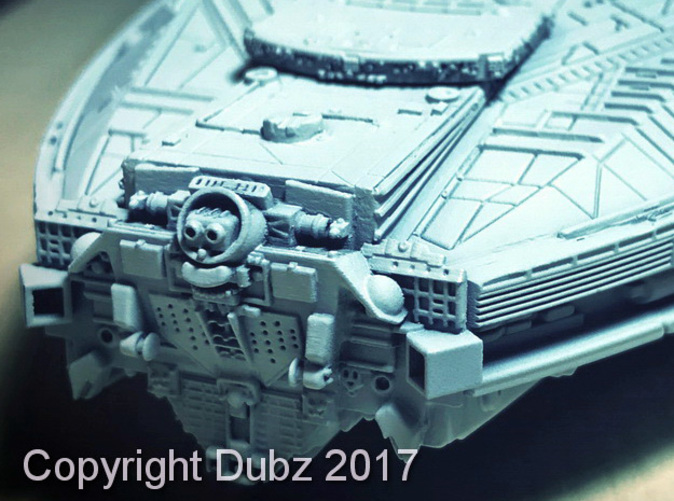
With much love an respect, none of your port starboard comparisons line up correctly, or perhaps it is just a less than accurate model (we should really just relax).
The trench for the red stripe is further aft on the Mobeius kit as are the vertical stripes on the side of the gator head.
 www.therpf.com