M1 A2 Abrams Build thread FINISHED! Pics on Pg. 2!

tubachris85x

Master Member
Well, I was at a hobby town today, I intended to pick up one of those tie interceptor models, but I was passing a display case where local modelers put their finished pieces up temporarily for display. I noticed that a new addition was a Tamiya M1A2 Abrams, on a cool display, nicely weathered, and posed on a base, that looked like a street in iraq, with scaled posters of Saddam Hussien.

Anyways, lol this is going to be my REAL first attempt at a scale modeling. I've done simple models of destroyers, aircraft carriers, and 2 jets, but I've yet to actually spend the time to really detail and paint them.

For those that remember, this is going to be a comissioning gift for my older brother, who's getting comissioned as a 2nd Lt. in the Army, and he's branching in Armor..lol despite years of being beat up by him :lol

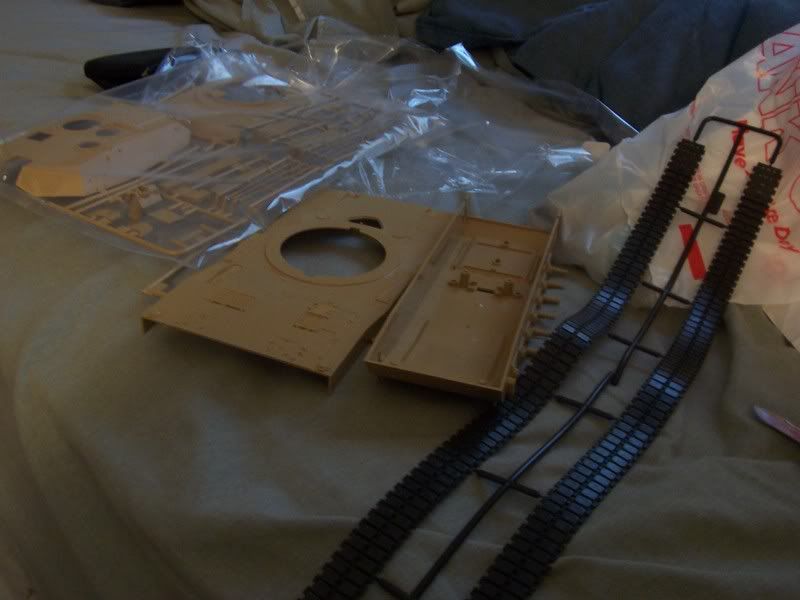
I gotta say, I just opened it up, and it's a very well produced kit, it dosnt appear to require the level of clean up that other models I've made have had.
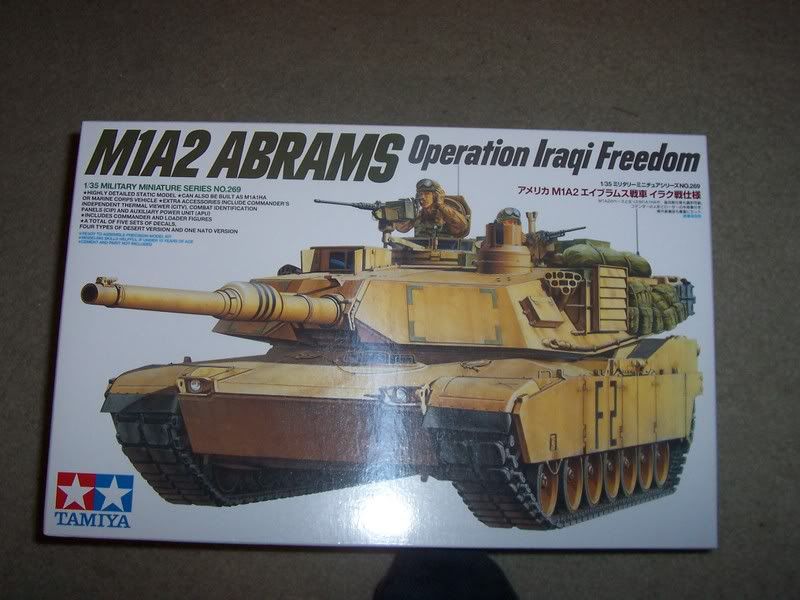
001-96.jpg


003-59.jpg


-TC
 
Re: M1 A2 Abrams Build thread

Oh yea, did I mention that I have to build this in secret!!! Gotta build this in my room..he's on the other side of the house :eek
 
Re: M1 A2 Abrams Build thread

Thanks!

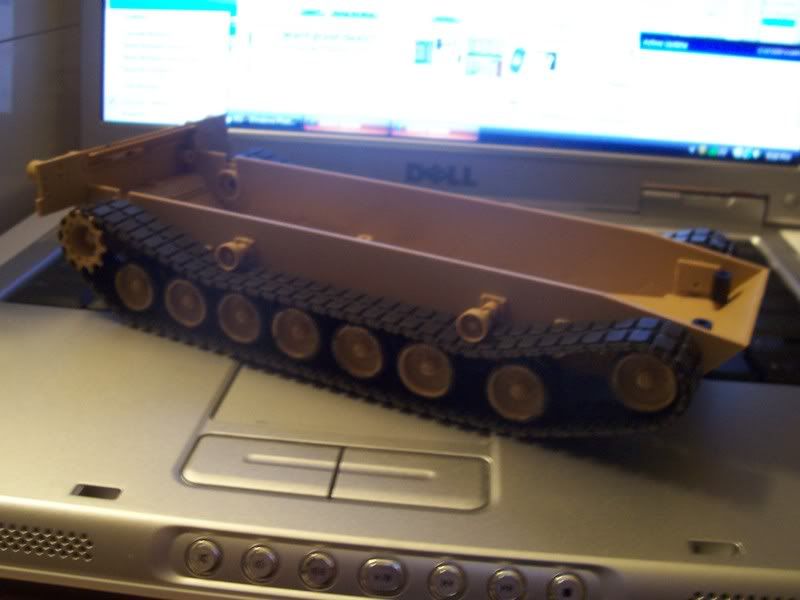
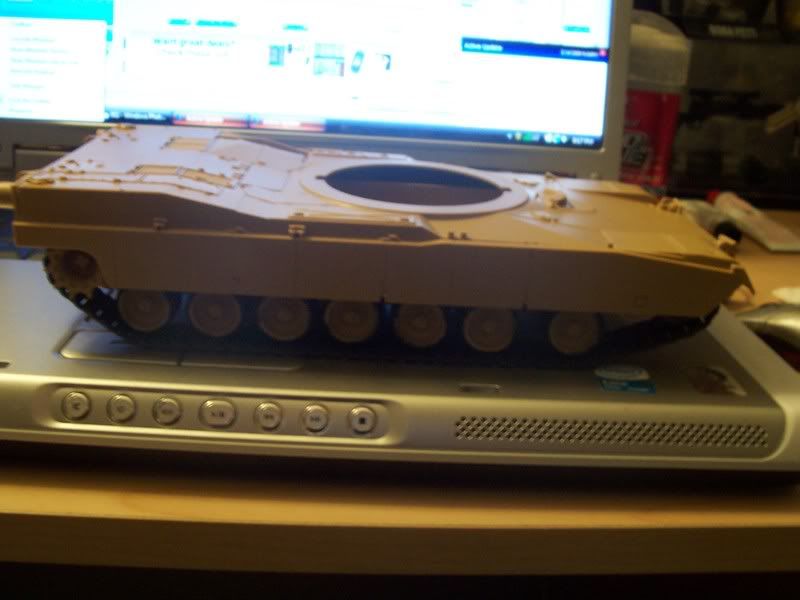
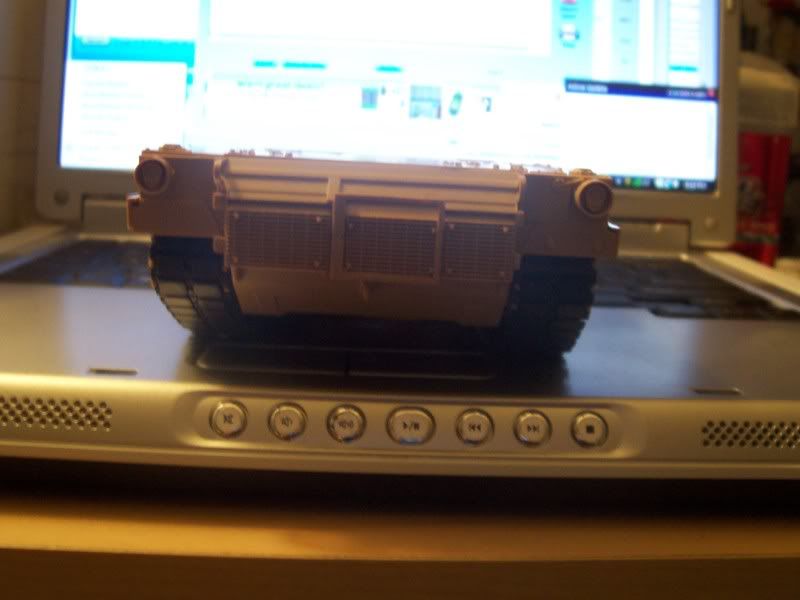
Got some progress done tonight. Mainly, following the instructions (obviously lol), I got the chassis almost completly assembled. I painted the track wheels, but I need to get some other paints that I wasn't aware of. Here it is now

Sorry for the crappy pics!

006-36.jpg


007-33.jpg


008-25.jpg


-TC
 
Re: M1 A2 Abrams Build thread

Ooo - she's a big 'un.

So, did you paint the road wheels by hand or with an air brush?

What paint did you use?

Does that have metal axles?


-Mike
 
Re: M1 A2 Abrams Build thread

Ooo - she's a big 'un.

So, did you paint the road wheels by hand or with an air brush?

What paint did you use?

Does that have metal axles?


-Mike

Painted by hand..I wouldn't mind trying airbrush sometime, but I'm not too knowledgable on that yet. I'd say painting everything by hand is really stressful just because of the scale of everything. But, I'm going to use some of the weathering to hide some of the painting errors

As for the paint, I wanted to get the tamiya brand, but the hobbytown didn't carry any of them, so I had to match the listed paints on the box as best I could. but the brand I'm using is "Polly scale." Were the only brand I found close enough matches. It's working great, and dries pretty fast.

And the axles are plastic unfortunatly, but it's very sturdy.
 
Re: M1 A2 Abrams Build thread

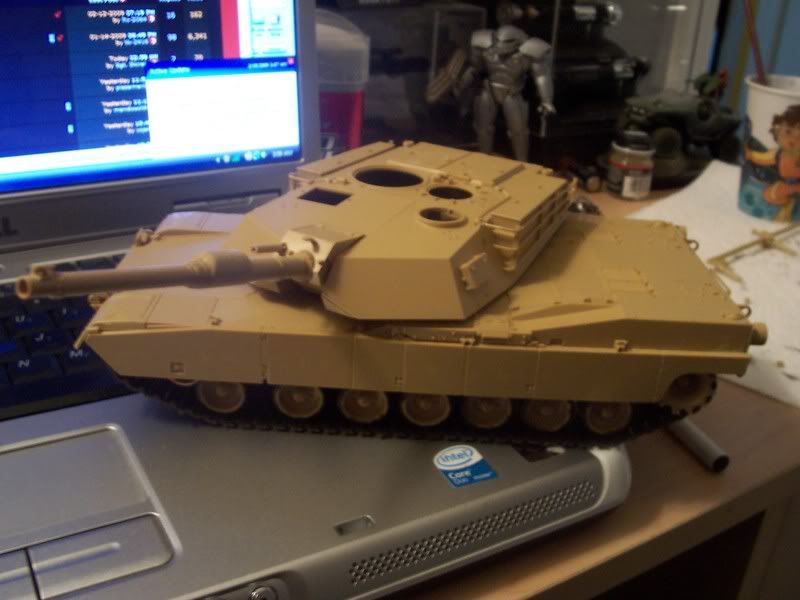
Got some more work done on it, just before I pass out lol

Worked on the turret, deciding wether or not I want to keep the hatches closed or use the tank crew it comes with...or maybe make it optional..

003-60.jpg
 
Re: M1 A2 Abrams Build thread

Actually, you kinda lucked out on the paint; PollyScale has a batter military color selection and hand-brushes much better than tamiya. When I hand brush smaller parts, I reach for pollyscale, if I have the color. Tamiya tends to roll up when you give it a second coat (if you don't let the first coat dry for a few hours).

-Fred
 
Re: M1 A2 Abrams Build thread

a tip for when you start airbrushing, tank wheels are the one thing that make me dread tank kits. Go get yourself one of those multiple circle stencil things, airbrush your wheels black, I prefer dark gray over black it looks more weathered. after painting them black or gray, take the stencil, fir it wound the rim and spray your main color. simple as that.
 
Re: M1 A2 Abrams Build thread

It's re-packaged as an Operation:Iraqi Freedom model, but I put one of these together back when I was in the Army driving M1A1s. Very nice kit. Your brother will dig it. :thumbsup
 
Re: M1 A2 Abrams Build thread

Actually, you kinda lucked out on the paint; PollyScale has a batter military color selection and hand-brushes much better than tamiya. When I hand brush smaller parts, I reach for pollyscale, if I have the color. Tamiya tends to roll up when you give it a second coat (if you don't let the first coat dry for a few hours).

-Fred

Thats good to know, I'll keep this in mind! So far, I've had no issues with the paint.

a tip for when you start airbrushing, tank wheels are the one thing that make me dread tank kits. Go get yourself one of those multiple circle stencil things, airbrush your wheels black, I prefer dark gray over black it looks more weathered. after painting them black or gray, take the stencil, fir it wound the rim and spray your main color. simple as that.

Nerts...I've should of thought of this before! Thanks!

It's re-packaged as an Operation:Iraqi Freedom model, but I put one of these together back when I was in the Army driving M1A1s. Very nice kit. Your brother will dig it. :thumbsup


I'm very impressed with this kit so far. As for my brother...well, I'm starting to think he won't really like anything at this point....starting to change my mind about where this should go after I finish it..


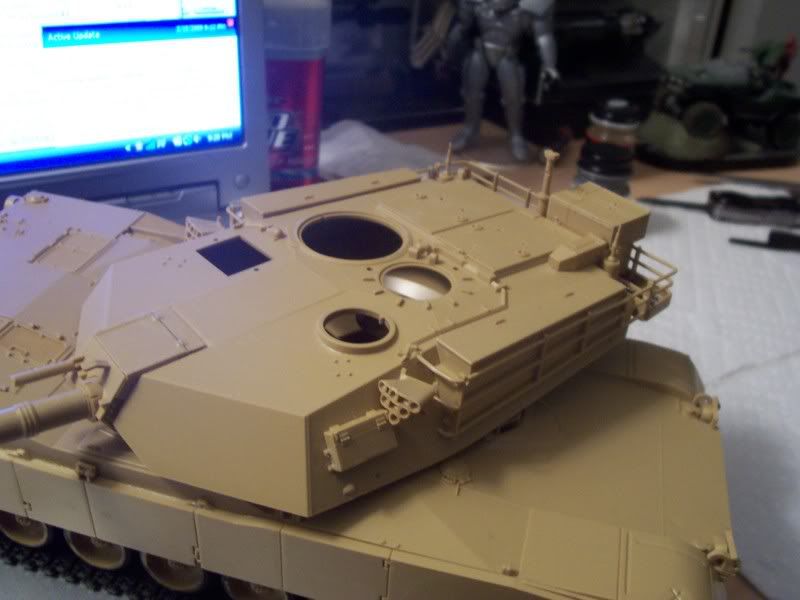
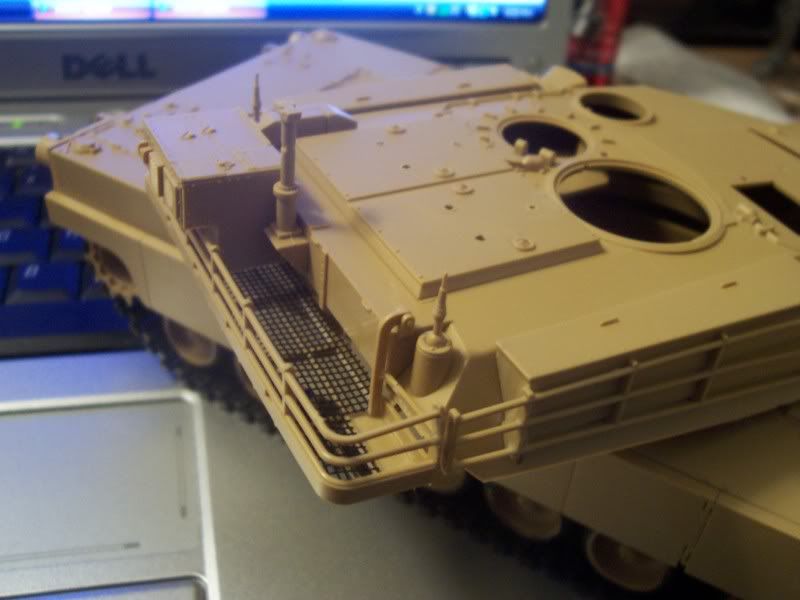
Anyways, I got a bit more done. Not alot, but was pretty time consuming. Added the rack with the screen mesh on the back, and a few other greeblies to the main turret. Didnt have a chance to go pick up the rest of the paints I need though..that's the only thing holding me back at the moment.


004-47.jpg


006-37.jpg


-TC
 
Re: M1 A2 Abrams Build thread

I'm having a hard time deciding the paintjob. One part of me wants to keep the tan/sand color it is now, but another part of me wants to paint it a dark green. The only thing is that I'd probably have to get an airbrush for that to do it right....
 
Re: M1 A2 Abrams Build thread

go get yourself some silly putty, spray paint the thing black, roll the silly putty into fine snakes and lay it around the edges and on the weld seams, then dust the model with your base color, remove the putty and then keep kitting it with light coats. make sure you leave a rounded edge on the putty to create a feathered effect. this is a cheap way to accomplish a preshade without an airbrush.

you can also make blobs out of the stuff to mask camo patterns

Thats a great idea, I'm just not sure if I want to weather it at all or not. I'm planning to put this in a display case, with a black base and acrylic cover..going for the "MR style" display, and I'm just not sure exactly what I want to do yet. :cry
 
Re: M1 A2 Abrams Build thread

Something that crossed my mind was dying the plastic whatever I wanted the color to be. In theory, I'd mix up some Rit dye in room temperature water, then soak the sprues in it for a couple days. Take 'em out, rinse 'em in cold water, let 'em dry.

I don't know if that would work, but it's something that crossed my mind.


-Mike
 
Re: M1 A2 Abrams Build thread

Well, its been awhile, but I've managed to pretty much finish this entirely tonight. The last pieces are the two rectangular panels that go on the front of the turret. Im going to go get the display case thursday, and I am going to have to see if I can get a plaque made before this saturday.

I'll post pics after I get the last pieces added

-TC
 
Re: M1 A2 Abrams Build thread

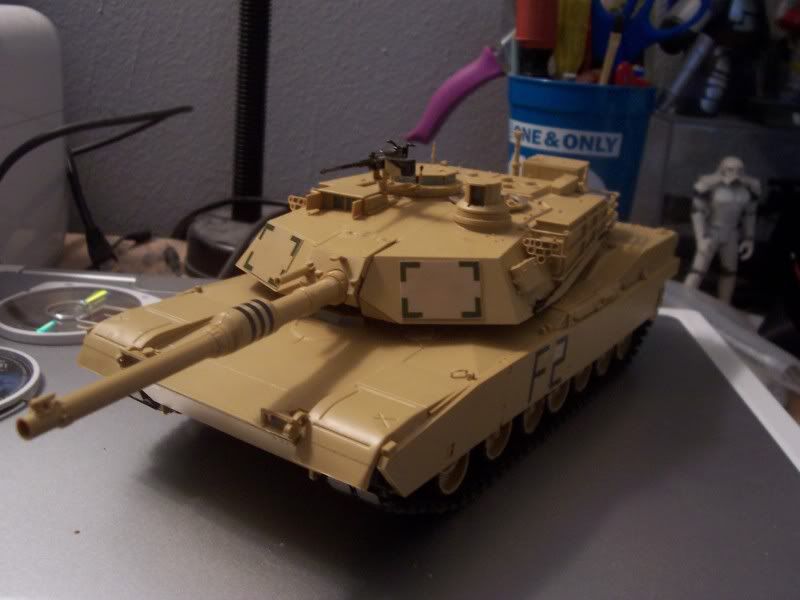
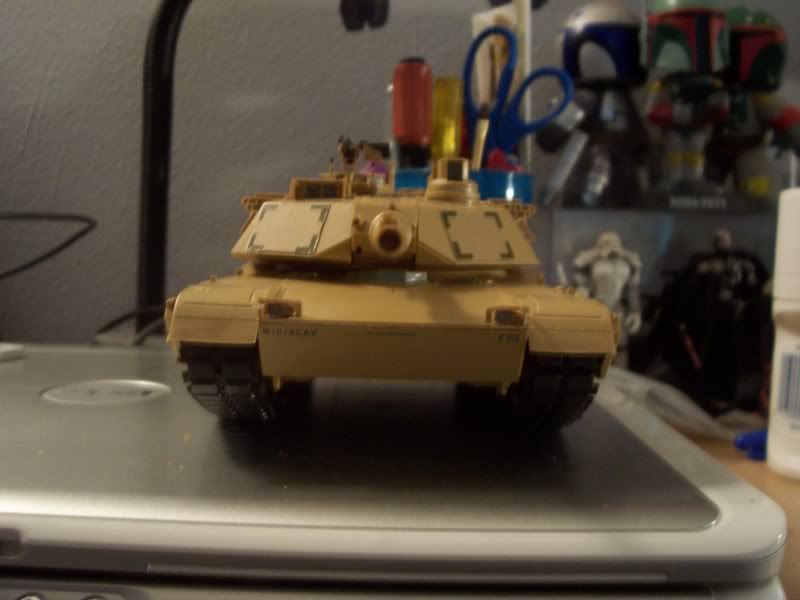
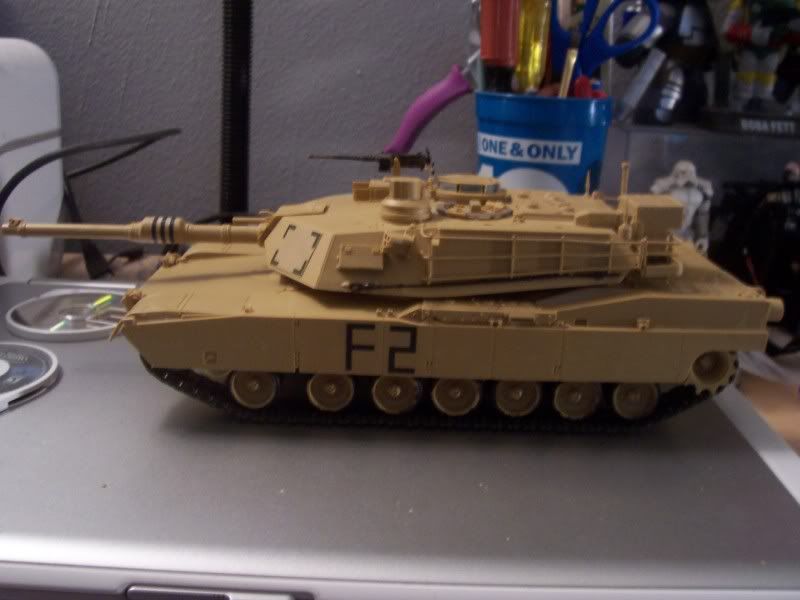
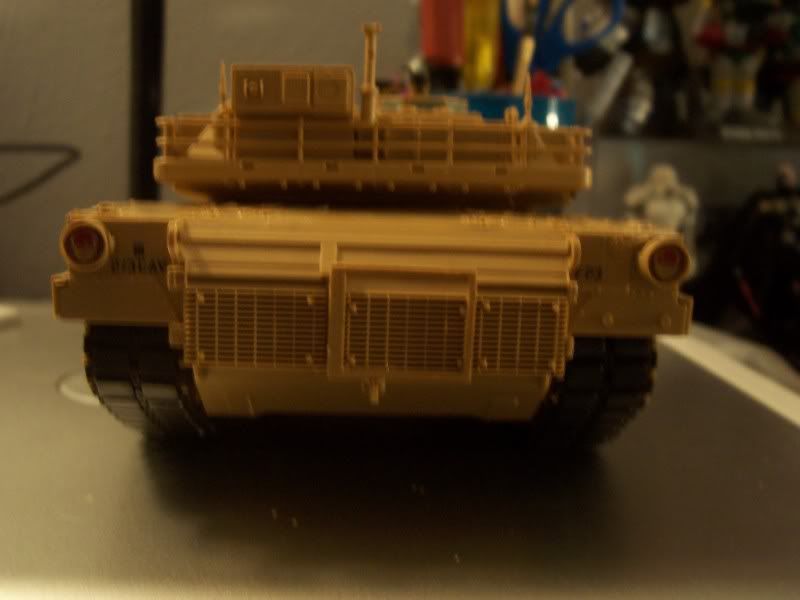
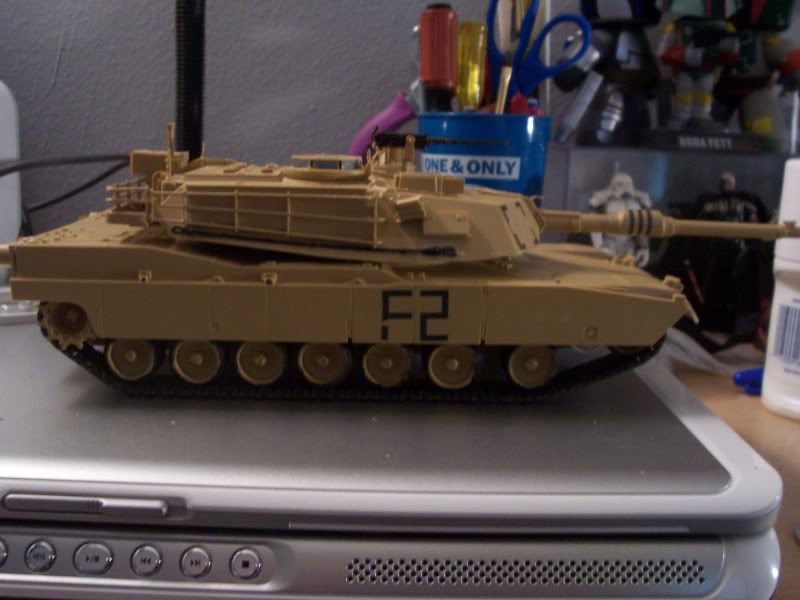
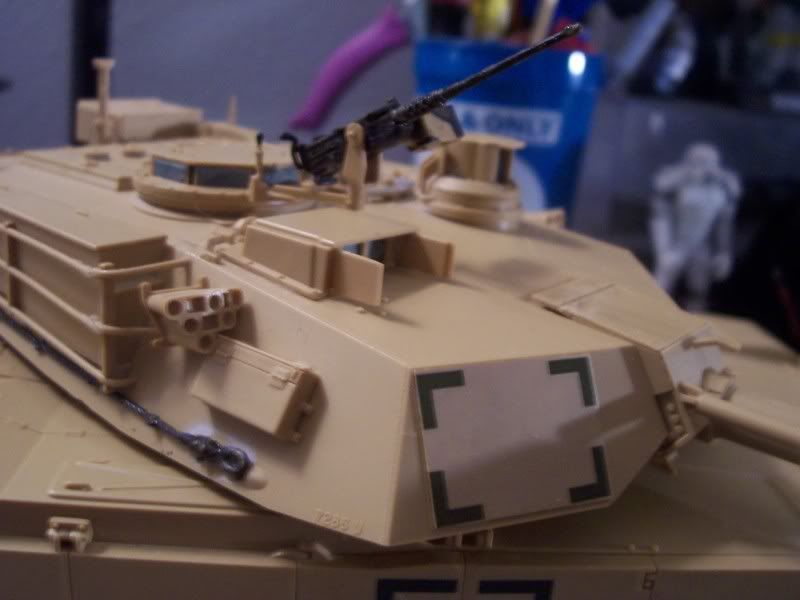
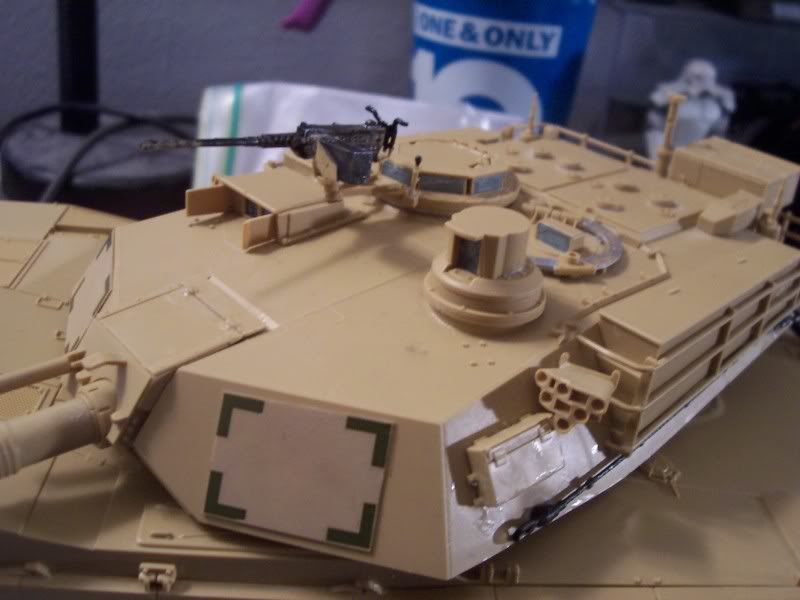
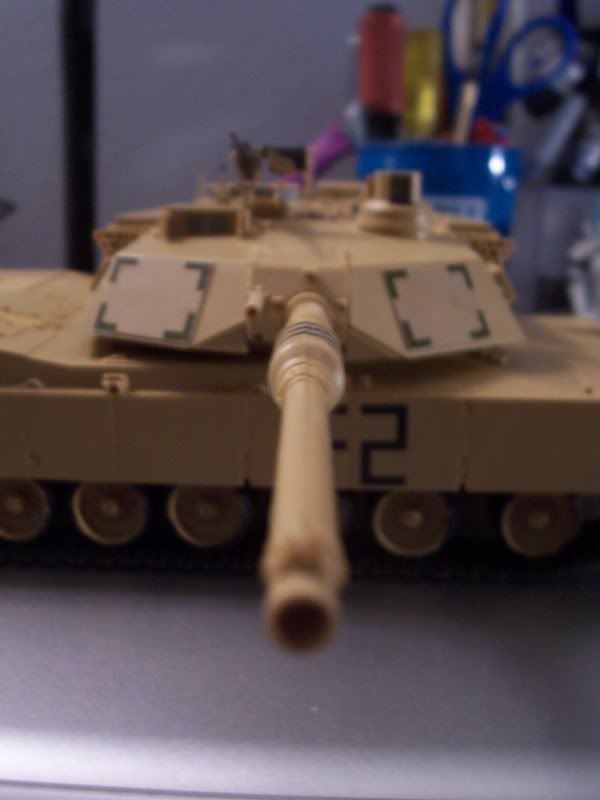
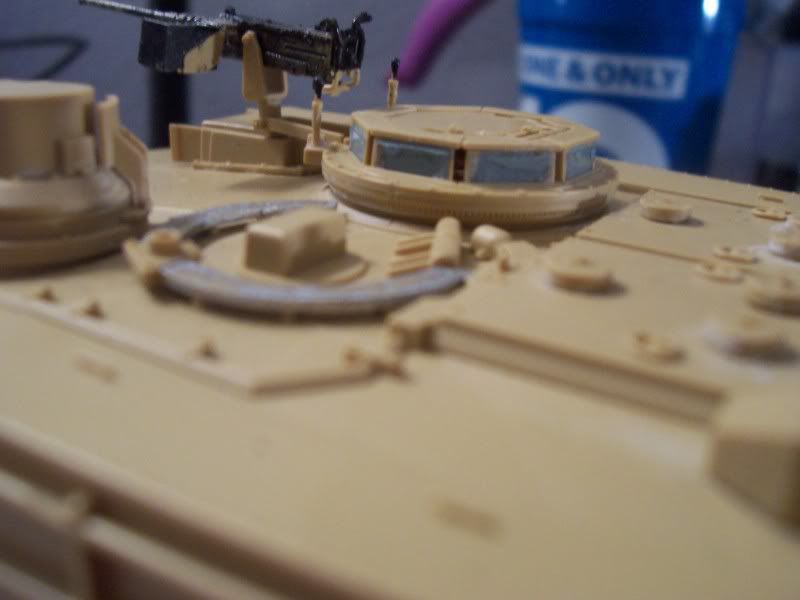
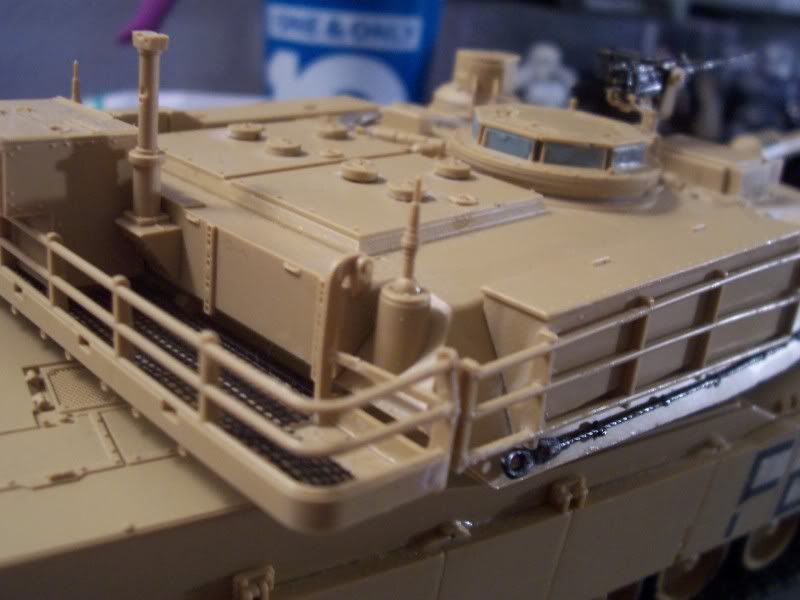
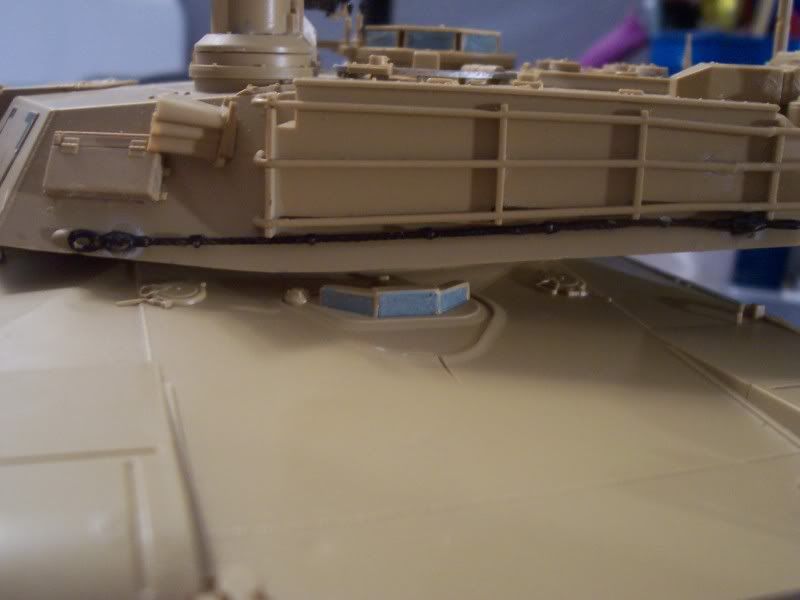
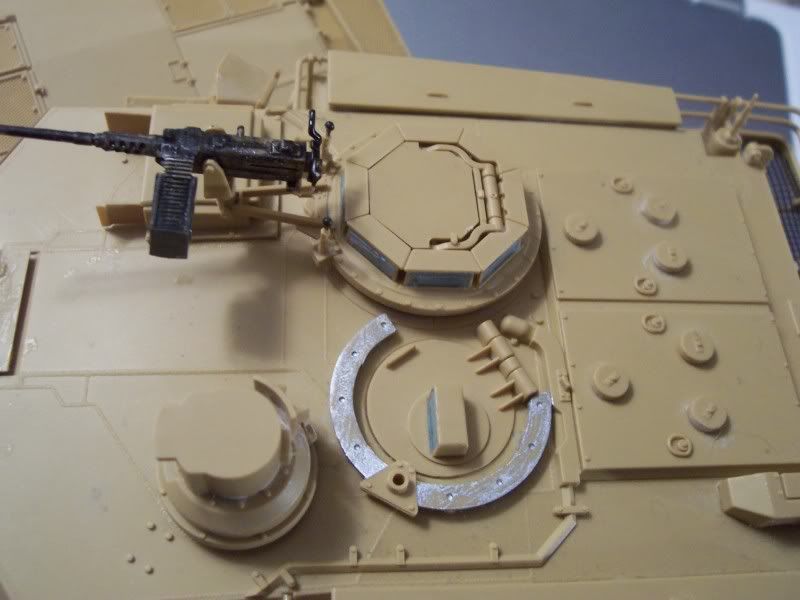
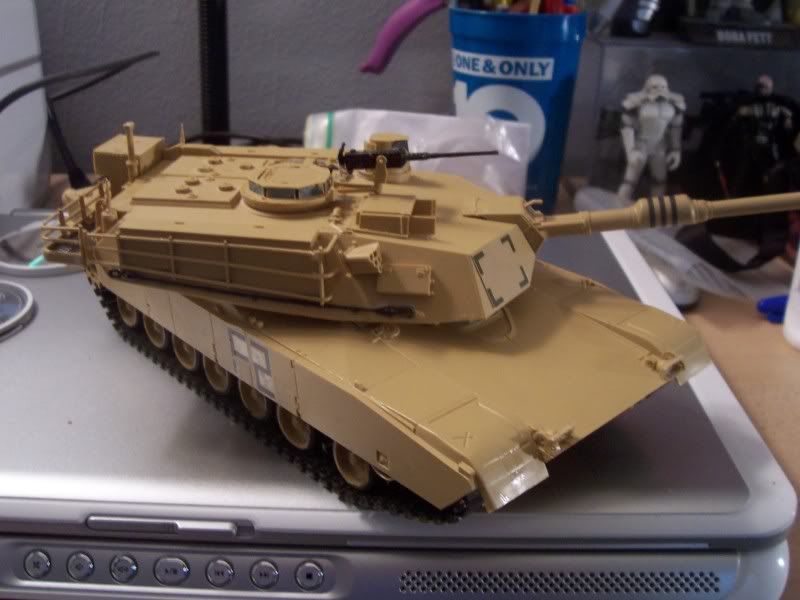
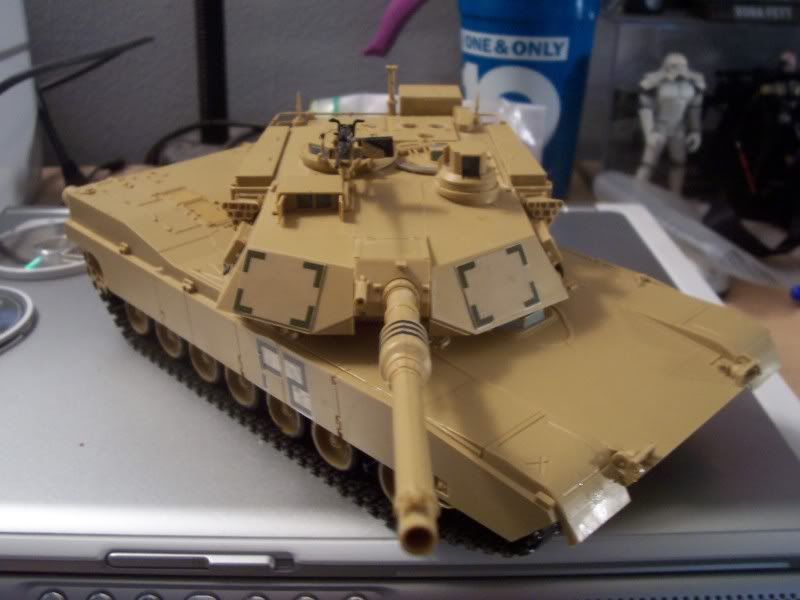
Alright, well I finished up the last details this morning and here are the pics. I apologize for some of the low light shots. I did mostly a "stripped" down version, meaning that I decided not to add all the extras that came with it, to give it somewhat of a "professional" look. Ive also decided to keep it tan as you can see as well as a very minimal weathered look. So tomorrow, I'm off to scout out the display case I saw, hoping its still there lol


100_1900.jpg


100_1901.jpg


100_1902.jpg


100_1903.jpg


100_1904.jpg


100_1905.jpg


100_1906.jpg


100_1908.jpg


100_1909.jpg


100_1910.jpg


100_1911.jpg


100_1912.jpg


100_1913.jpg


100_1915.jpg


-TC
 
Back
Top