So is Satin Black the paint we're looking for?
Originally I was going to use the stencil, but now I'm thinking "where's the fun in that?" and considering free-handing it.
is the stencil out?!?
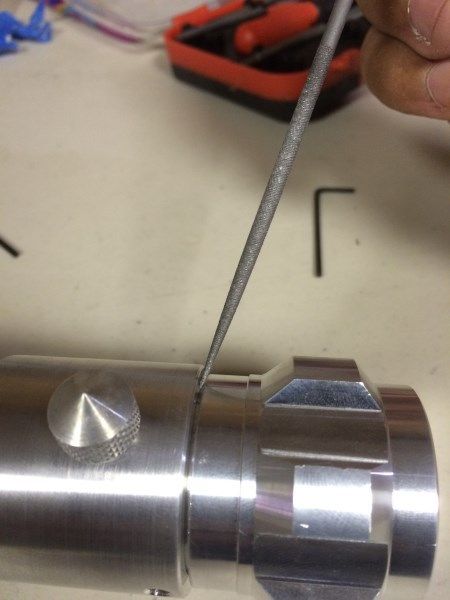
another question i had was i sanded my pommel and inside the main body so the pommel will slide in it, is there suppose to be this gap or do i need more sanding?