Iron Man MK 3/ Fem. Capt America WIP (Couples Cosplay)

Hey Doomster,

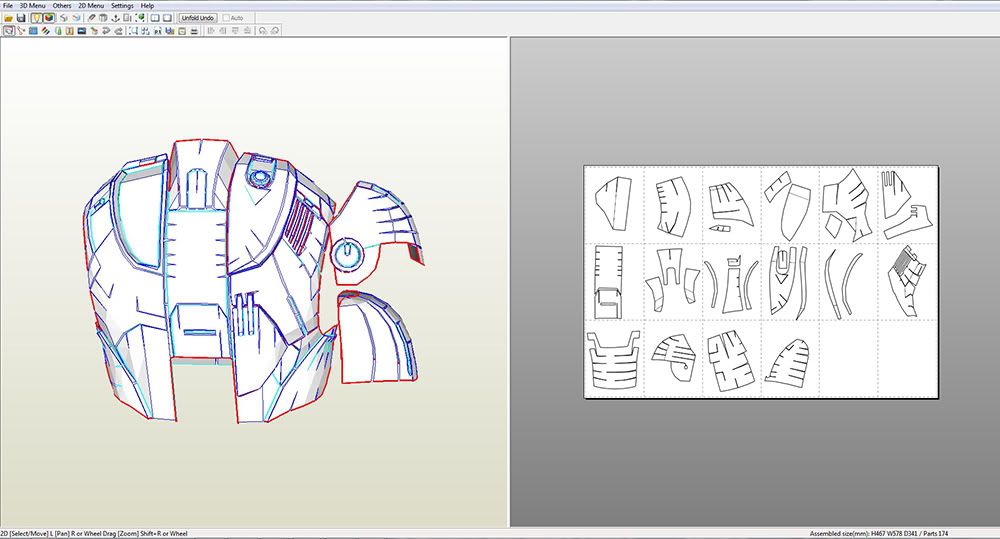
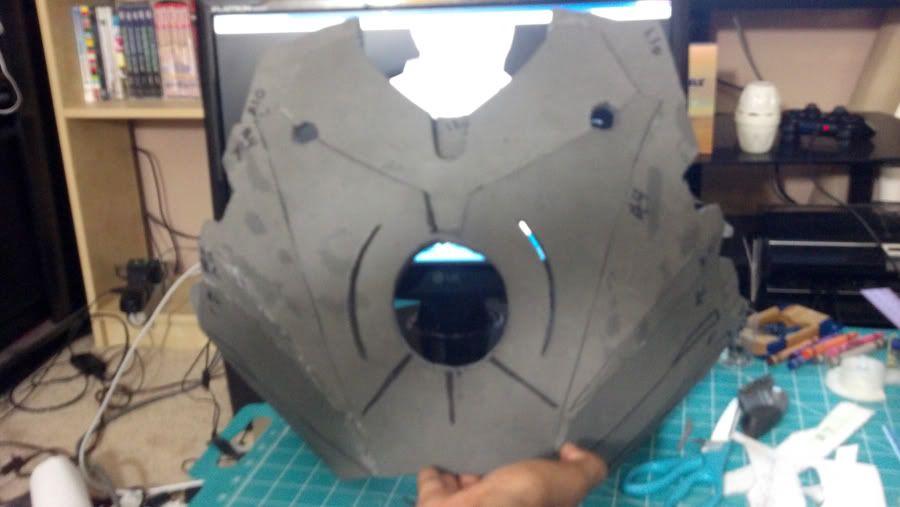
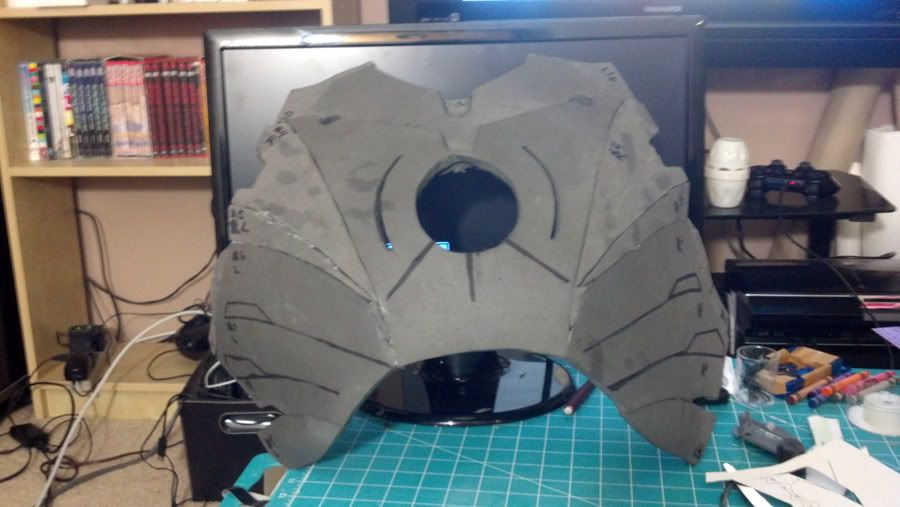
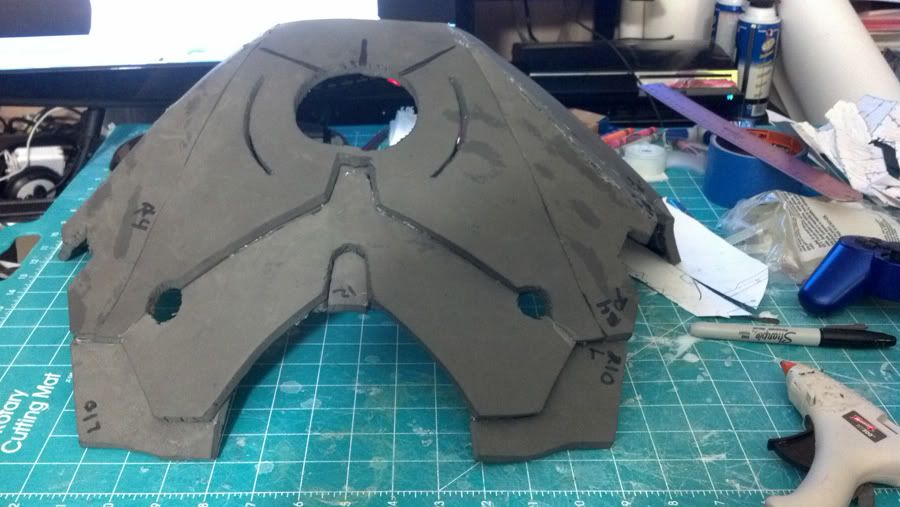
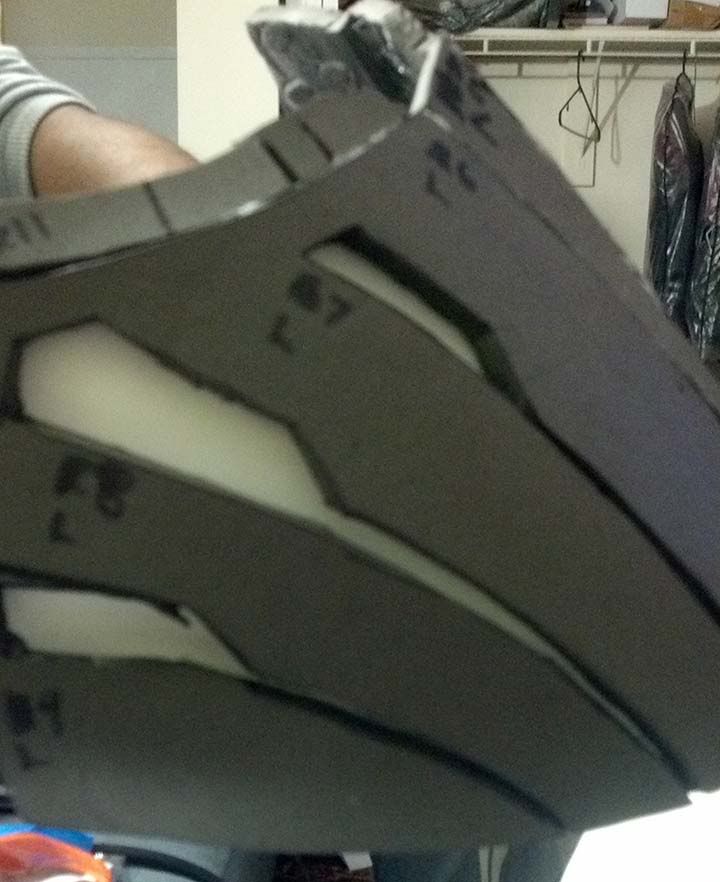
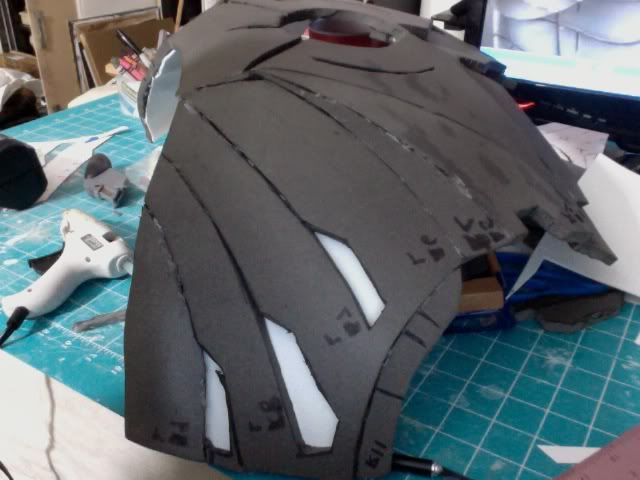
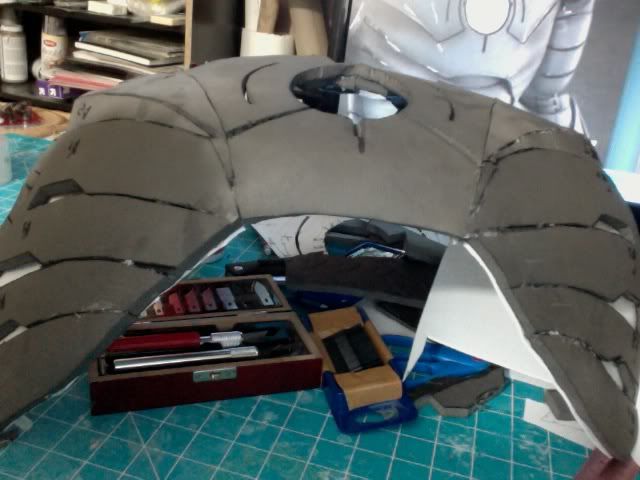
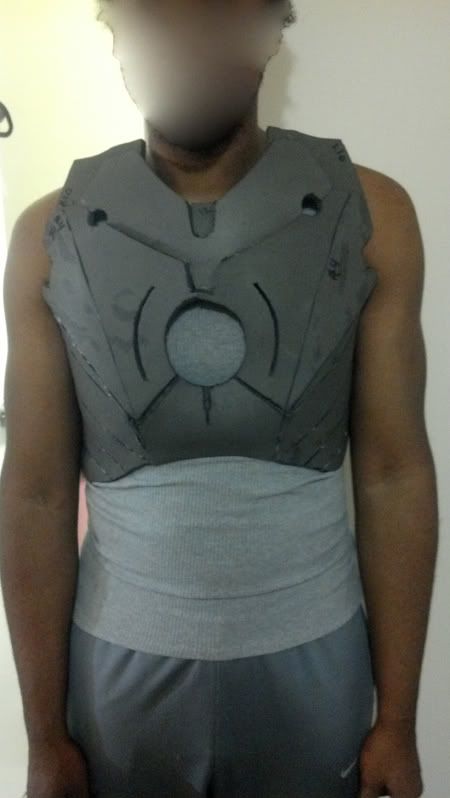
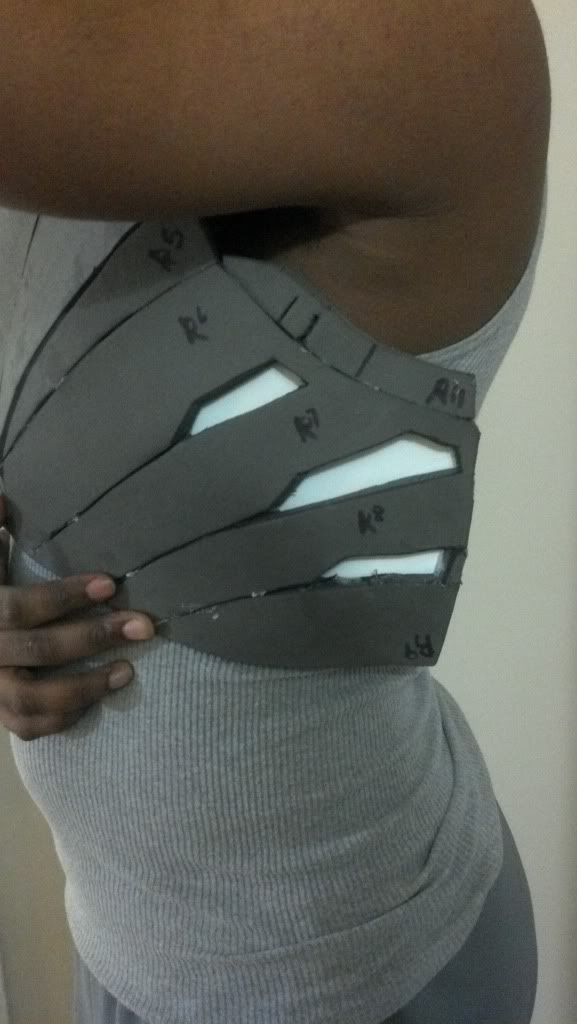
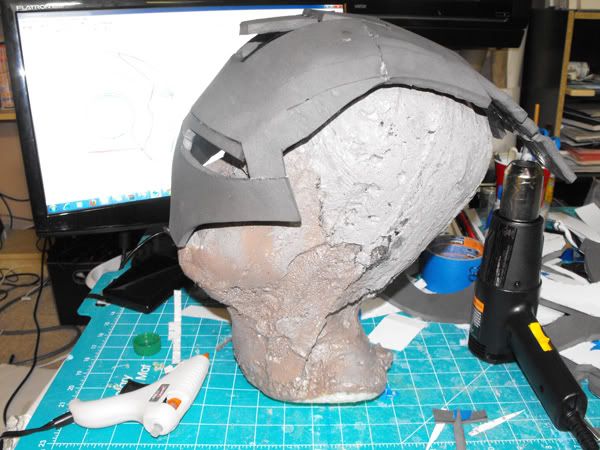
At first glance it looks like you've glued a few of the wrong pieces together. As for the size at 5'10 I would scale it down a little bit but I think your problem is probably more that you need to blast the pieces with a heat gun and try to bend them to match the 3d model in pepakura. Just remember try not to get lost in the details, don't follow exactly that this piece needs to be glued exactly here because with foam builds there's small details that get cut out to make it work for foam so the real trick is to just pay close attention to the 3d model while you build and try to match it up.
 
IMIM2- Yeah man, it would've been cool to make one together. Thanks for the reply. I don't know why I'm treating this any different than any other 3D program. I think I'm just being nervous about messing up like I did before. Screwing up can be pricey.

Dancin Fool, I think that you're right- I was focusing more on details but I should have remember that 3D space is the same as real space and I should focus on shape. I need to use the 3D window more. I hooked up my third monitor to my workspace so I have more screen to use. Your files are so nice, I'm trying to keep my project true to your files.

I have pulled so many files that I've lost track of them. I found this back, but can't track down the creator. Does anyone have any idea?
Back.jpg
 
I took all of your advise and focused more on the shape than details, and am much happier with the results. I still have to bend it and add the details, but overall I'm very happy with this. At first, I was thinking of going with a clean look, but I think I'm going to go with an aged, battle damaged look to hide any imperfections; I'm the type of person that wants perfection, but I have to be mature and realize that this is my first build and that I have to work with the skills that I'm gaining to the best of my ability. Anyhow, I just wanted to ask what you guys think about my third chest piece. I feel embarrassed that this is my third piece when everyone on the forums talk about how easy it is, but I guess practice makes perfect, so I'll keep fighting the good fight.

Chest_1.jpg

Chest_2.jpg

Chest_3.jpg
 
Ahh...looking good Doomster.
I always wanted to ask this on Mk3 build: how do you cut rounded lines near the arc?
The small pieces below armpit should it be indented ?
It can be fixed by cutting it (or unglued it first) and reglue it with different level.

And this is your third? You are doing great, you should see my post about tips, #7 tip, you'll feel much, much better then.
 
Ah, yes. Looking at it, last night, I asked myself the same thing. You verified it should be. I still have some things I need to touch up. I think I'll do that first thing in the morning, before I bend it too much.

The way I got the cut for the Mk 3 build: I used spray adhesive on the back, and pasted the paper pieces to the foam before I cut the foam. With that, I was able to cut out any lines more accurately than I could have done by hand. I still have some other parts that I need to cut out. Next time, I'll show how I do the cuts, with photos. I'm still trying to figure out how to do the sides; I think I'm going to fill in the bottom two sides with foam and use the paper pep file to use as a guide to cut out the vents.

I've been looking at your threads, and you're a well of knowledge. Man, I have to say, I can't be happier that you're following my thread. I appreciate your help and insights. And seven tries for a helmet isn't that bad (especially considering the final product); after I'm done, I have a feeling I'll have an army of disfigured Iron Men.
 
Thank you for your kindness.
My job is a sloppy job compare to you.

I wonder why you ended up have to cut the vents. When I look the original file, then I realise what you have encountered. You are having trouble with small "valley" lines connected with the vent.

Picture 1 is my idea on the easy way on what you should have done.
Picture 2 is my idea on how to fix. I will go for #2 alternative, it gives you more depth. Alt#1 need to scribe a line same depth as the vents. I use solder, but it is tricky.

Hope it helps.
 
The new build looks a million times better, way to go!! Also JFCustom just released simplified foam templates based on my model. He actually edited the model and removed a lot of the smaller detail. The files can be found at the end of his thread.

http://www.therpf.com/f24/foam-spee...ks-added-dancin_fools-iron-148889/index4.html

It's missing quite a bit of the detail but it manages to keep the original shape and is a good simplification of the model. Might be a good alternative for some of the pieces if you haven't cut out all the parts yet.
 
Thank you for your kindness.
My job is a sloppy job compare to you.

I wonder why you ended up have to cut the vents. When I look the original file, then I realise what you have encountered. You are having trouble with small "valley" lines connected with the vent.

Picture 1 is my idea on the easy way on what you should have done.
Picture 2 is my idea on how to fix. I will go for #2 alternative, it gives you more depth. Alt#1 need to scribe a line same depth as the vents. I use solder, but it is tricky.

Hope it helps.

No problem, it's really easy when all I get is kindness from the site. On the subject at hand, great minds think alike... if I'm right about your illustrations, we both think I should cut out the vents and add a piece of foam behind the cutout to add depth. Thanks for the illustrations.
 
The new build looks a million times better, way to go!! Also JFCustom just released simplified foam templates based on my model. He actually edited the model and removed a lot of the smaller detail. The files can be found at the end of his thread.

http://www.therpf.com/f24/foam-spee...ks-added-dancin_fools-iron-148889/index4.html

It's missing quite a bit of the detail but it manages to keep the original shape and is a good simplification of the model. Might be a good alternative for some of the pieces if you haven't cut out all the parts yet.

Thanks for the support. I agree with you, it still needs a little work, but I am very happy with this one. Also, thanks for the link; he has some great information.
 
Please look at the picture.
Red indicates cut, yellow indicates drawing indented lines using solder.

As you can see at this point, alt 1 is way easier to do rather than #2.

You add foam from behind yes.

Good luck.
 
I was talking to the lady friend and she was a bit worried about the size of the slits near the vents. Looking at it more, I decided that it was a little large, so I decided to glue it closer together. Hopefully later tonight, I can upload a photo of the close-to-finished chest.

2012-07-22_23-52-24_466-1.jpg

ETA:
This is my "fixed" chest:
ref1.jpg


ref2.jpg

I used a piece of thin foam, so it wouldn't protrude as much from the sides, and it would be easier to bend. I'm going to wait an hour for the hot glue to harden a bit more, before I start bending it to the final shape.
 
Last edited:
I saw a little bit of excess foam from unclean cut, most probably because it is corner and you did not cut it with single pass. I suggest you burn the edge, the excess foam will curl up so you can have cleaner cut. But try it first, do experimenting before you do the actual foam piece. Which give me an idea to add to my tips thread.

Good job. Nice thinking on using thinner foam. Now you can moving on
 
So here is the "finished" chest piece. There are two details that I saw this morning that I need to fix; the detail on the chest around the arc reactor and I feel that I need to bend it more. I'm not sure how to make it keep its shape once I bend it, even with the heat gun.
1_Final_Chest.jpg


2_Final_Chest1.jpg


What do you guys do to make the foam piece stay in position? Right now it's tied to the dummy I made overnight to keep a more permanent bend, since it has worked on previous projects.
3_Final_Chest.jpg


I'm pretty happy with the chest piece so far, I plan on starting the back piece today. I'm not too worried about the finish- I'm aiming for a battle-worn look. I just want to get the details and proportions right. If it looks a little tight, it's because I took my measurements while I was doing the Insanity workout, but I plan on starting back up soon.
 
Last edited:
I don't think that I discussed this in an earlier post. Here are some photos of
Hot Toys gunmetal grey Iron Man, which is what I'm aiming for. I like this edition's gun metal look because it's one of my favorite colors. I want to give it more of a beat-up, war-torn look, maybe even a mud type, rusty effect.
htironmanmkiiitk03.jpg

htironmanmkiiitk04.jpg


ETA: I got these pictures from the showcase forum from BLU Falcon post.
 
Last edited:
I saw a little bit of excess foam from unclean cut, most probably because it is corner and you did not cut it with single pass. I suggest you burn the edge, the excess foam will curl up so you can have cleaner cut. But try it first, do experimenting before you do the actual foam piece. Which give me an idea to add to my tips thread.

Good job. Nice thinking on using thinner foam. Now you can moving on

Thanks, I saw that too. I went back and carefully cut along the edges. I really liked your burning idea, but my foam was really smoky and it left a brown tint to it. I'll probably use that technique for other parts for the costume though.
 
Sorry I haven't posted in a while. I had some house issues to deal with, but I'm starting up again. I'm doing my helmet as I type. I'll have photo updates soon. Also, sorry this thread is picture heavy.

ETA: Work and semester finals have been kicking my ass. I'm not spending nearly as much time on this as I would like to. I think I'm going to follow Dancin Fool's tip and try JF Custom's helmet template. We'll see how that goes. I have the pieces all cut out and will assemble this weekend. For anyone still stopping by, thanks.
 
Last edited:
Hi everyone. I'm going to spend most of this week getting the upper body done. I am having issues with the helmet though... I've been growing my hair out for about 6 months and it's getting pretty big. I'm thinking that scaling the helmet up by 20% will leave plenty of room for my hair and electronics. I'm not quite sure if scaling the helmet up by 20% will leave my head looking cartoonish; so far, I've had to scale the chest down 10% (to 390 mm), the back down by 20% (to 478 mm). I'm 5' 11" and 175 lbs.

Oh, and photos of the half finished helmet (pre-scaling)
helm2.jpg

helm1.jpg
 
im interested in seeing what a female captain america looks like. speaking of which if you need a shield file the best one was done by jimmydamoose on 405th. i dl'd it yesterday and its one of the best cap shield peps
 
im interested in seeing what a female captain america looks like. speaking of which if you need a shield file the best one was done by jimmydamoose on 405th. i dl'd it yesterday and its one of the best cap shield peps

Thanks for the comment. I'm glad to find that someone did a great Captain America shield pep. I've been trying to find one. I guess I'll pop on over there and try to find his page so that I can give him a shout out and try out his shield.

Note: I'll put up pictures; she's going to look pretty fantastic.
 
Back
Top