You are using an out of date browser. It may not display this or other websites correctly.
You should upgrade or use an alternative browser.
You should upgrade or use an alternative browser.
Hero Phaser Scratchbuild
- Thread starter robn1
- Start date
redshirt
Sr Member
No, I don't think the prop department put this much care into the originals. :lol
Agreed. Rob's work is flawless.
Last edited:
robn1
Master Member
I tried but I just couldn't bend a brass tube to form the grip, it was a miserable failure. So I made it in fiberglass. Then I started fitting the twist plug.
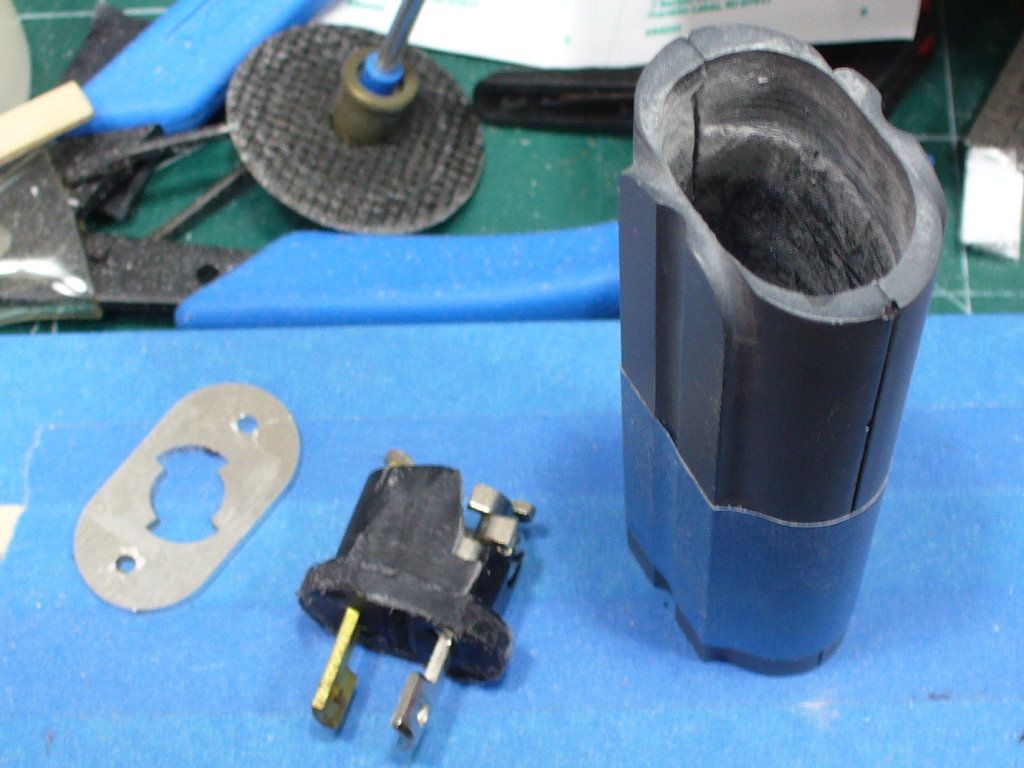
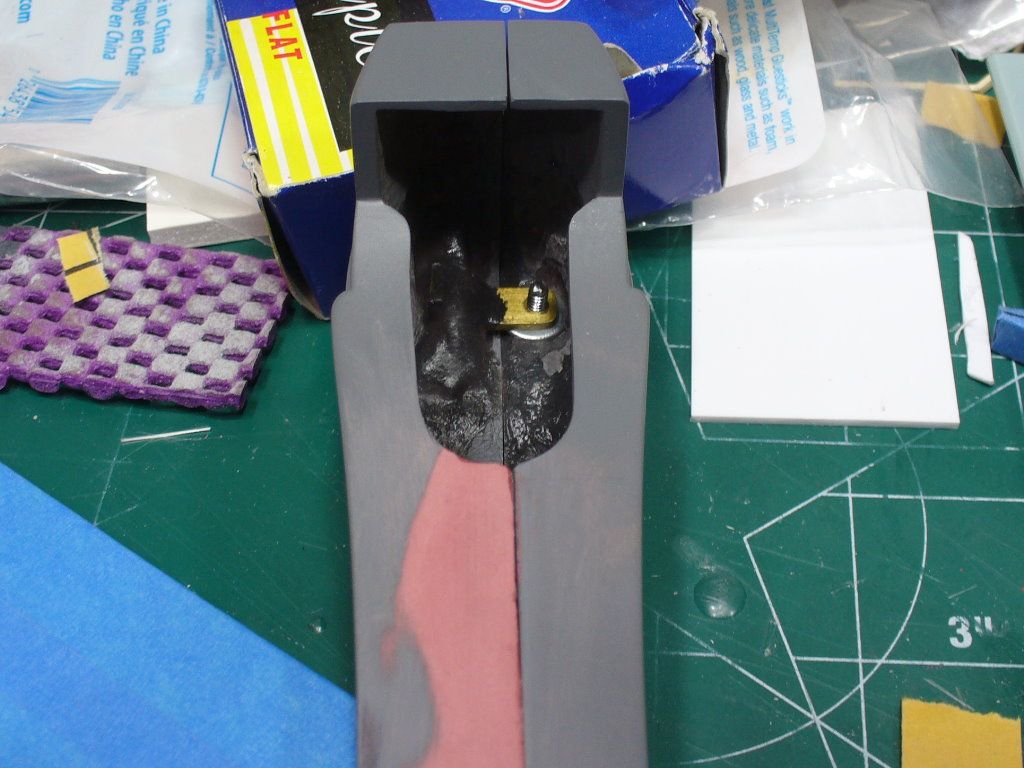
I ground out the inside to fit the plug and the batteries.
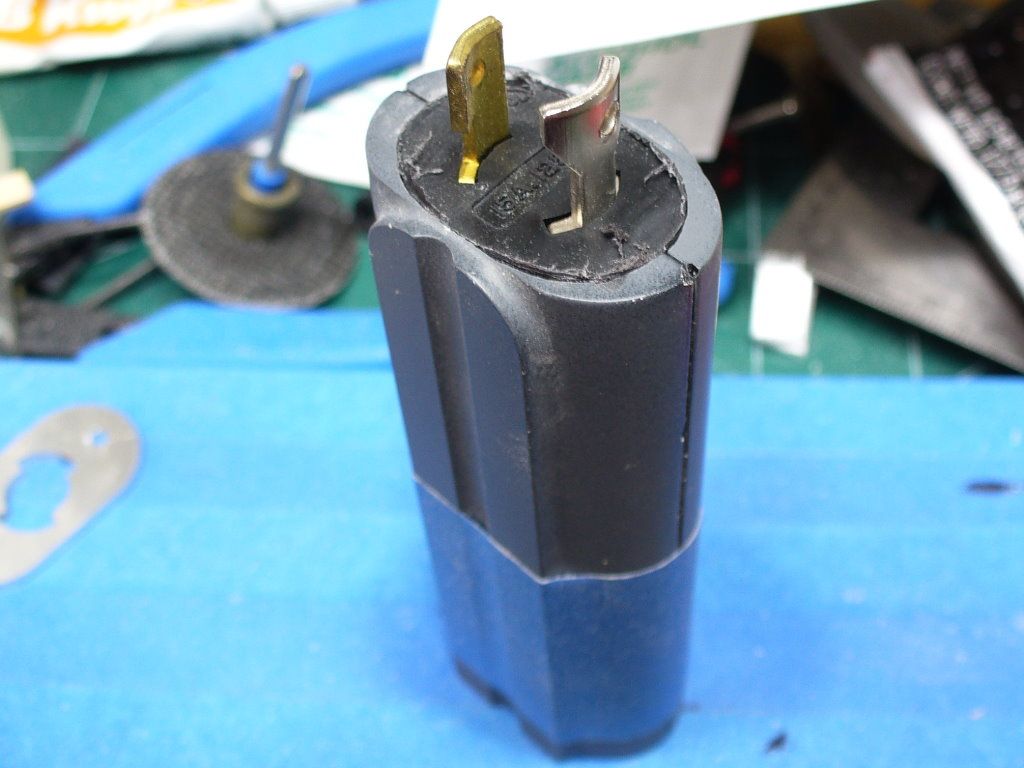
I attached a long machine screw to the bottom of the plug, and used the butt plate to keep it centered while the epoxy set.
I also started the bottom battery cap. I shaped a piece of black styrene to fit inside the grip.
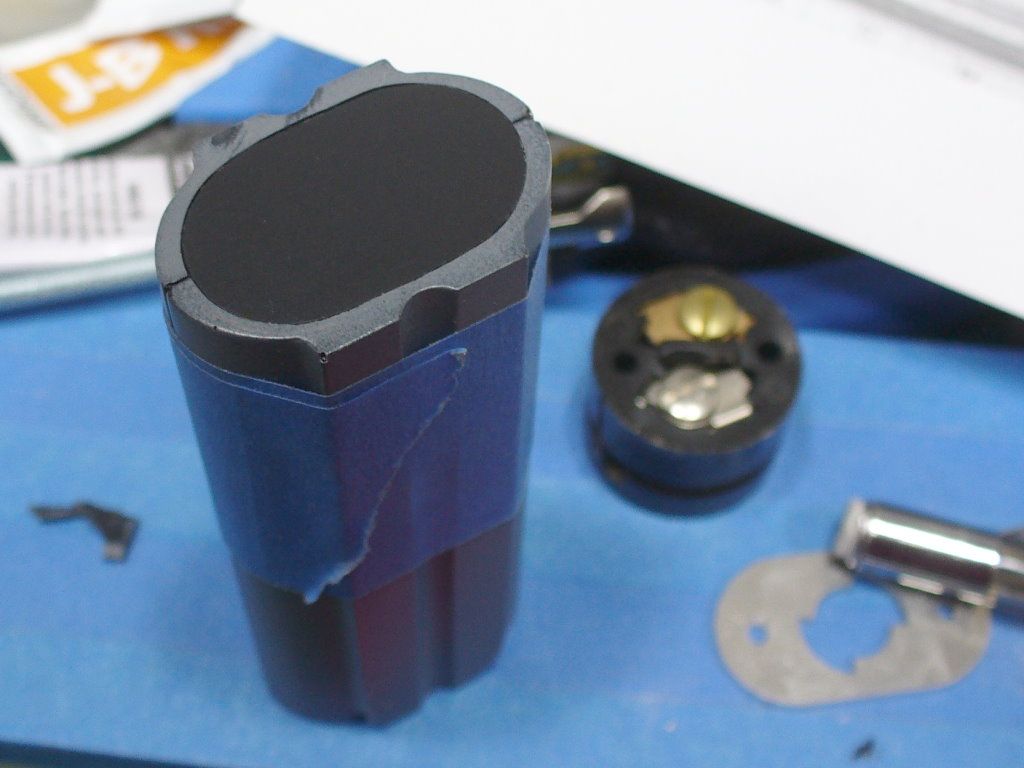
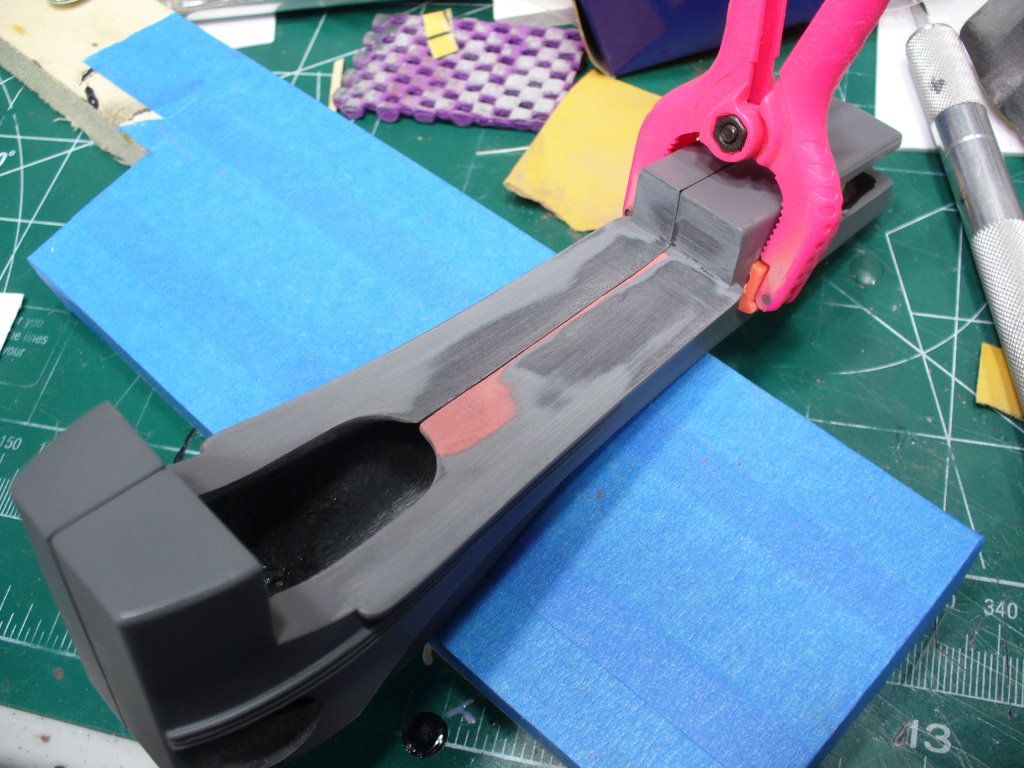
I glued three layers of styrene together, making a piece 3/16 inch thick. This will be the cap, cut to match the outer shape of the grip. The piece cut to fit inside will be glued to this one.
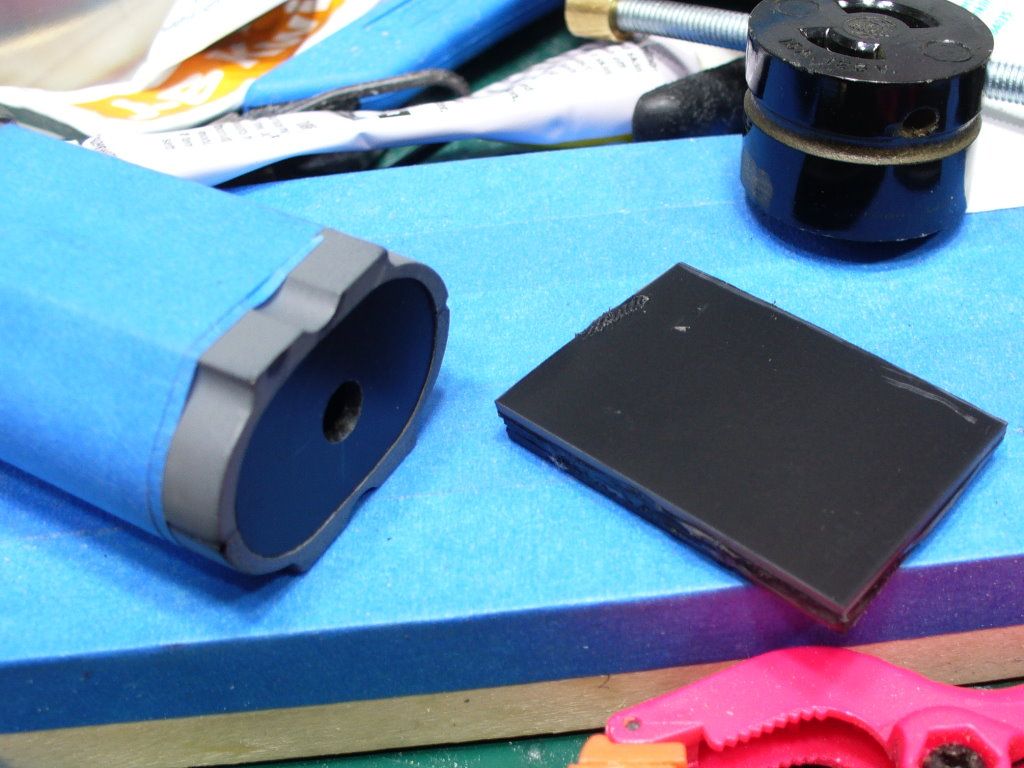
I ground out the inside to fit the plug and the batteries.
I attached a long machine screw to the bottom of the plug, and used the butt plate to keep it centered while the epoxy set.
I also started the bottom battery cap. I shaped a piece of black styrene to fit inside the grip.
I glued three layers of styrene together, making a piece 3/16 inch thick. This will be the cap, cut to match the outer shape of the grip. The piece cut to fit inside will be glued to this one.
robn1
Master Member
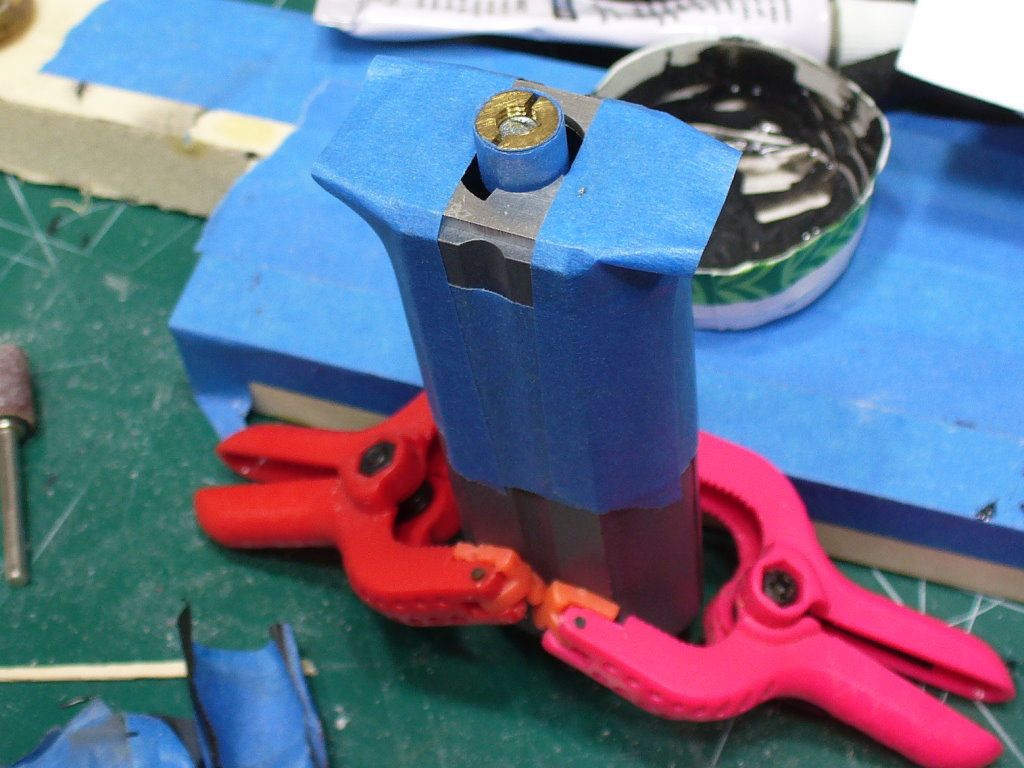
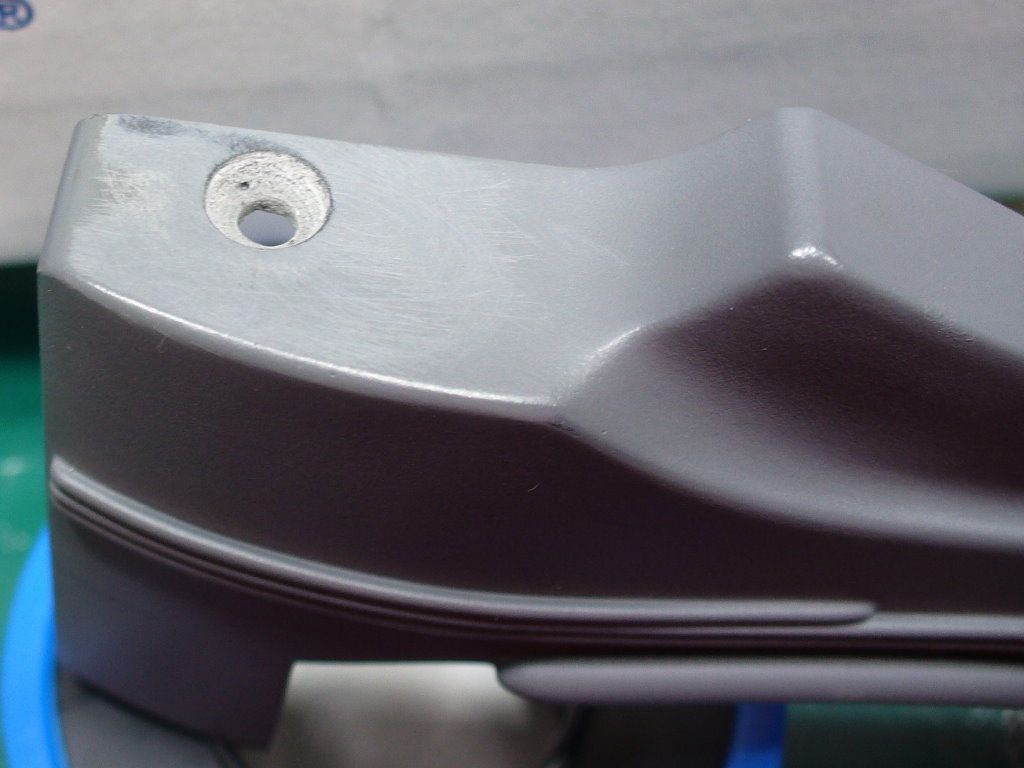
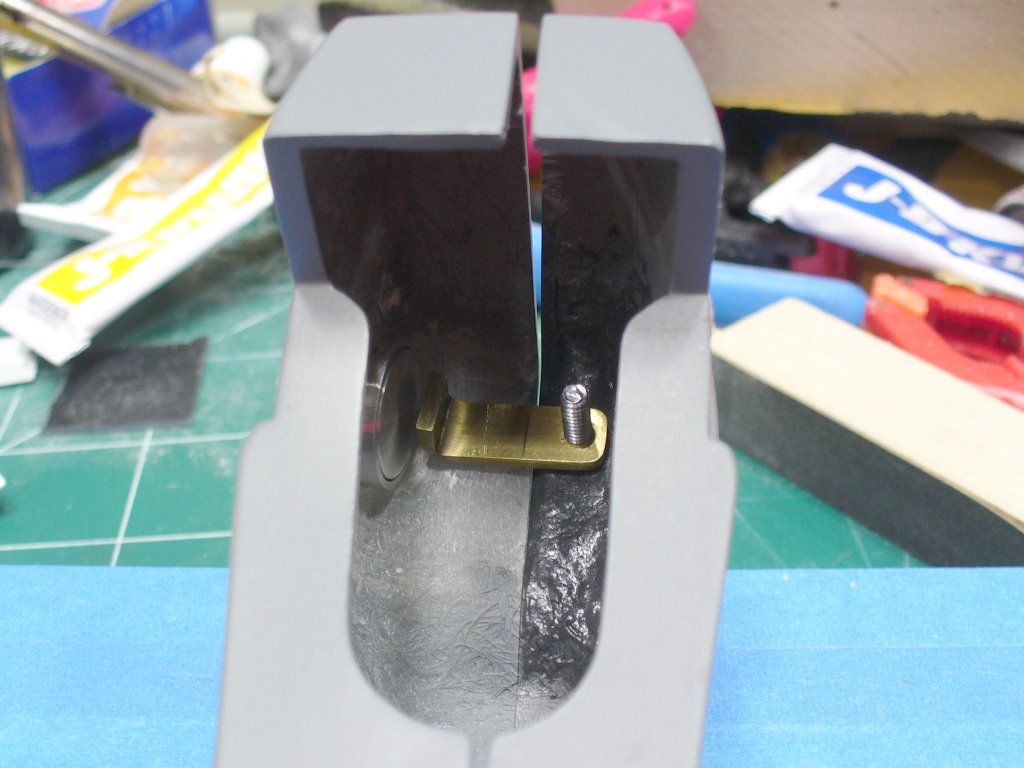
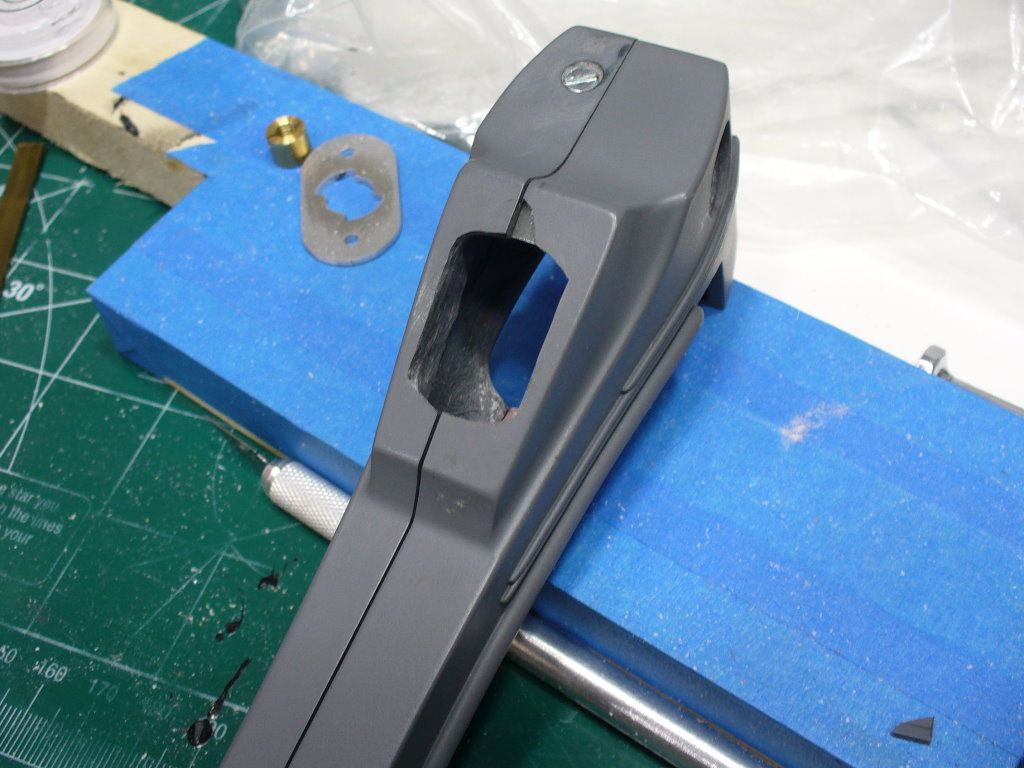
I drilled out the shell for the side knob.
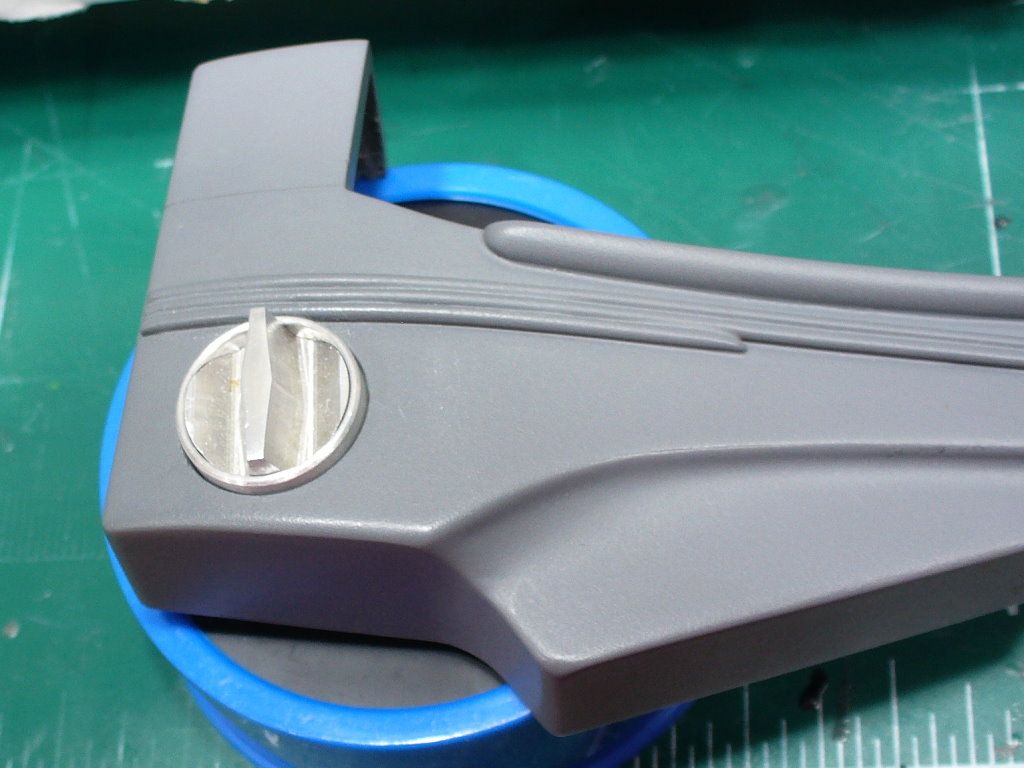
While working on that I shifted the inner knob just enough to make the spring and ball fly across the shop, never to be seen again. Fortunately I have replacements on hand.
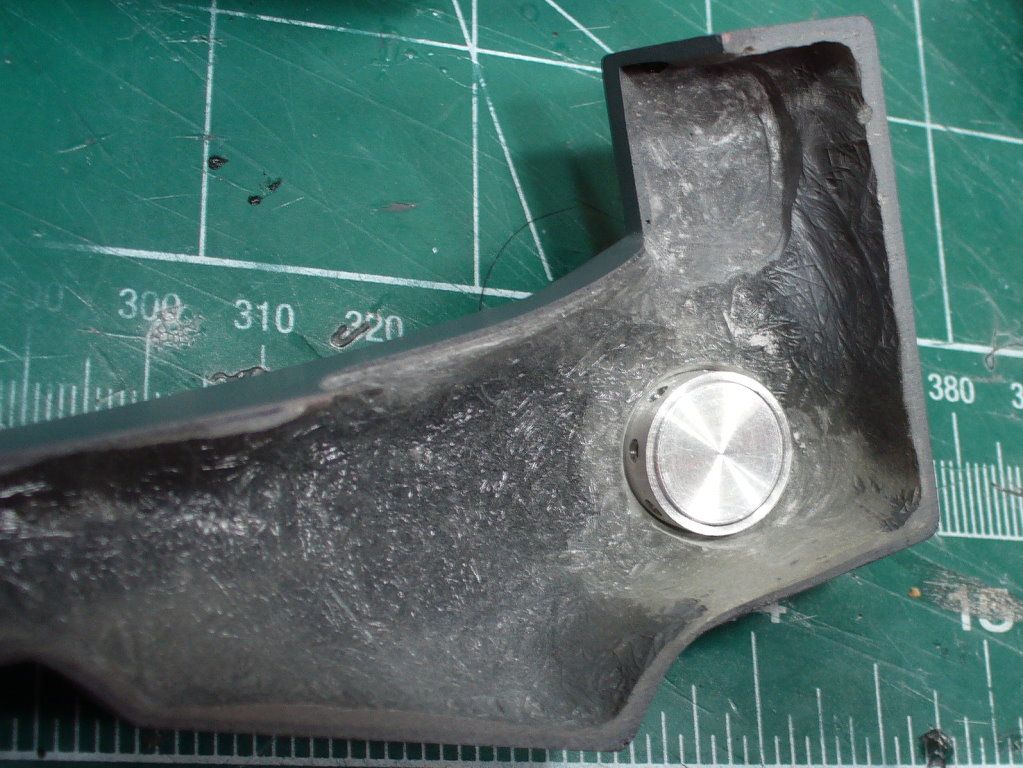
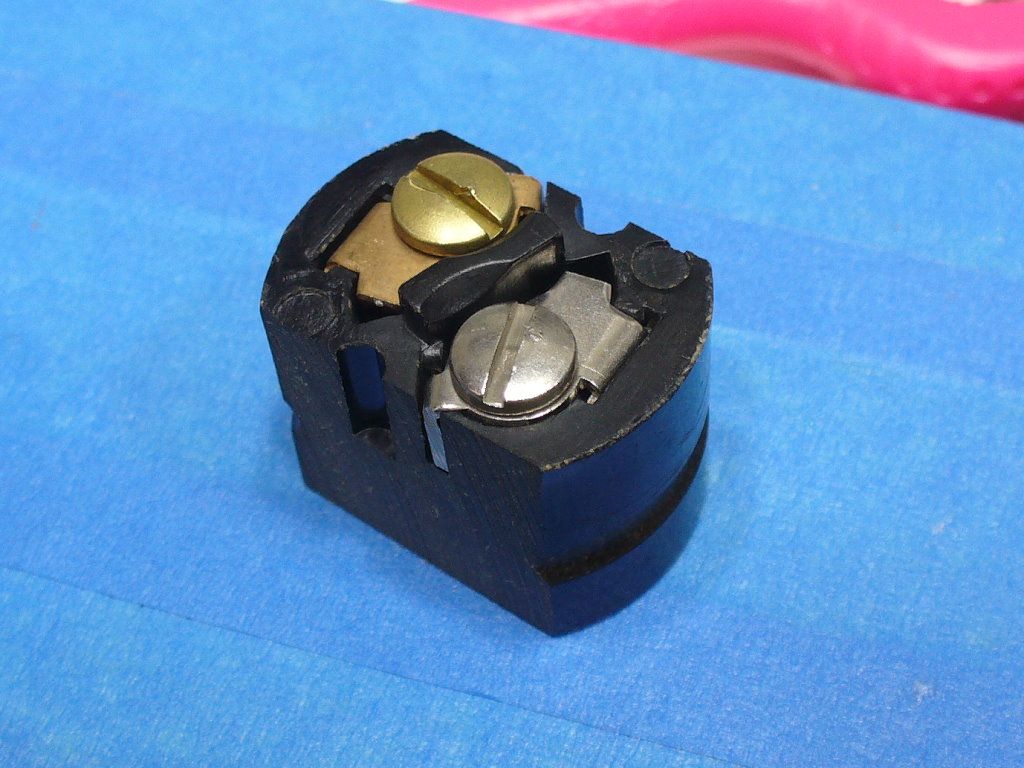
I also drilled out for the bottom screw. I first built up some epoxy on the inside to thicken it.
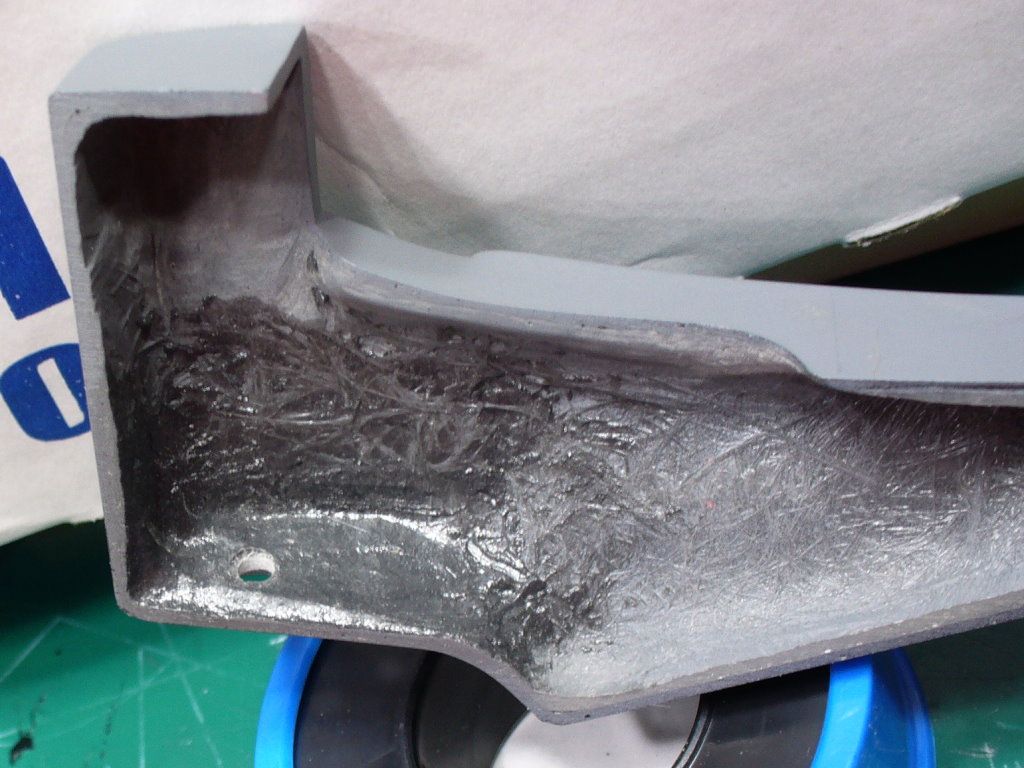

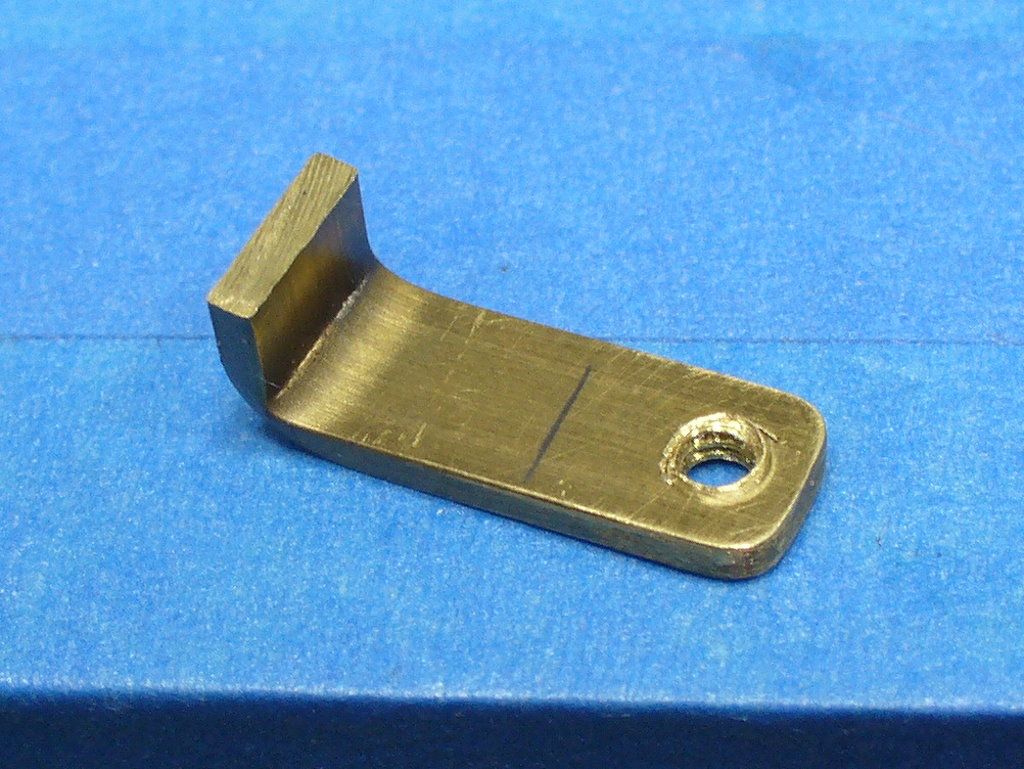
I then drilled through some brass bar and tapped it for a 4-40 screw. I bent the end to help anchor it when it's epoxied into the shell.
While working on that I shifted the inner knob just enough to make the spring and ball fly across the shop, never to be seen again. Fortunately I have replacements on hand.
I also drilled out for the bottom screw. I first built up some epoxy on the inside to thicken it.
I then drilled through some brass bar and tapped it for a 4-40 screw. I bent the end to help anchor it when it's epoxied into the shell.
Tiberius Kirk
Sr Member
Man, that is amazing! ")
gyoung2993
Sr Member
Oh wow, been a while since I last seen your updates Rob.....that is great, looking forward to see this master build....


Roger Ramjet
Sr Member
Amazing work man. Great to see the old school applications being applied to the build. This is what got me interested in the hobby to begin with....Carry on the great work!!
Roger
Roger
gyoung2993
Sr Member
You are truly an inspiration to us all....love watching the progress....
robn1
Master Member
The grip still needs to have the seams cleaned up, but it's now done. So I started on the twist socket for the P2. I sanded the sides of the socket flat on my disc sander.
I sized it to be slightly narrower than the grip.

I marked the P2 for the socket, and made a rough cutout.
With the socket attached to the grip, I tacked it into the P2 with some epoxy on the left shell half. Once I'm sure it's in position, I'll secure it with some PC7 epoxy paste.

I sized it to be slightly narrower than the grip.
I marked the P2 for the socket, and made a rough cutout.
With the socket attached to the grip, I tacked it into the P2 with some epoxy on the left shell half. Once I'm sure it's in position, I'll secure it with some PC7 epoxy paste.
Chrisisall
Master Member
art·ist
/ˈärtist/
Noun
A person who produces paintings or drawings as a profession or hobby.
A person who practices any of the various creative arts, such as a sculptor, novelist, poet, or filmmaker.
/ˈärtist/
Noun
A person who produces paintings or drawings as a profession or hobby.
A person who practices any of the various creative arts, such as a sculptor, novelist, poet, or filmmaker.
Similar threads
- Replies
- 1
- Views
- 1,117
- Replies
- 9
- Views
- 1,437