You are using an out of date browser. It may not display this or other websites correctly.
You should upgrade or use an alternative browser.
You should upgrade or use an alternative browser.
Hero Phaser Scratchbuild
- Thread starter robn1
- Start date
masterjedifocus
New Member
Excellent work on this build. I can see that you too are a perfectionist just like me ")
NakedMoleRat
Legendary Member
Every time this thread gets bumped I wind up looking through the entire build thread again...and love it each time!
robn1
Master Member
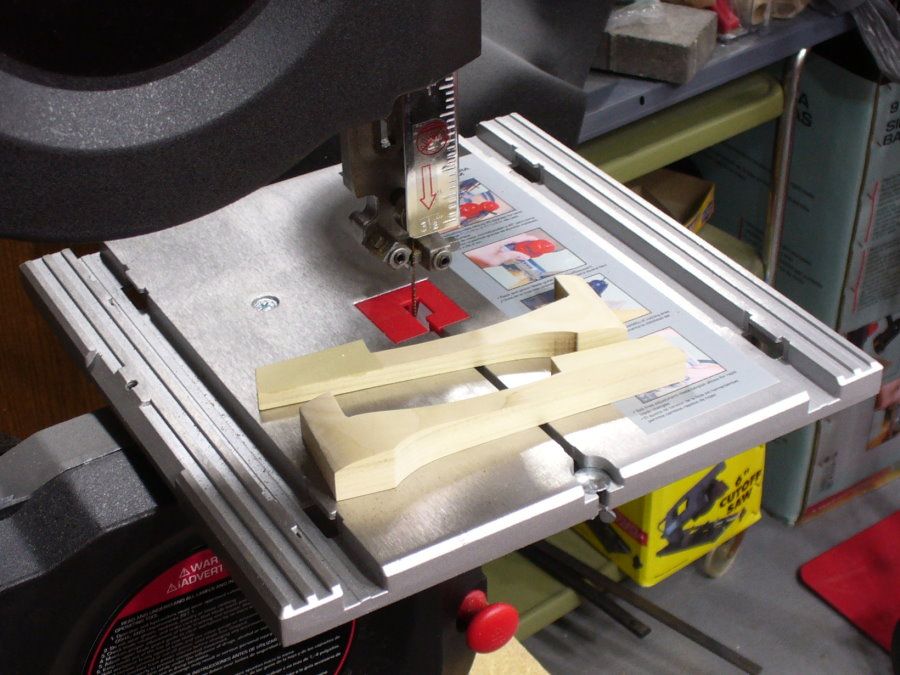
I have a few pics of the P2 master progress. The styrene was too finicky so I started over with wood. I cut out the Coke bottle shape on the band saw and smoothed it with a drum sander on the drill press.

Then marked the profile and cut it out.


I ground out a recess for the rear fins, this area will be built up with styrene.

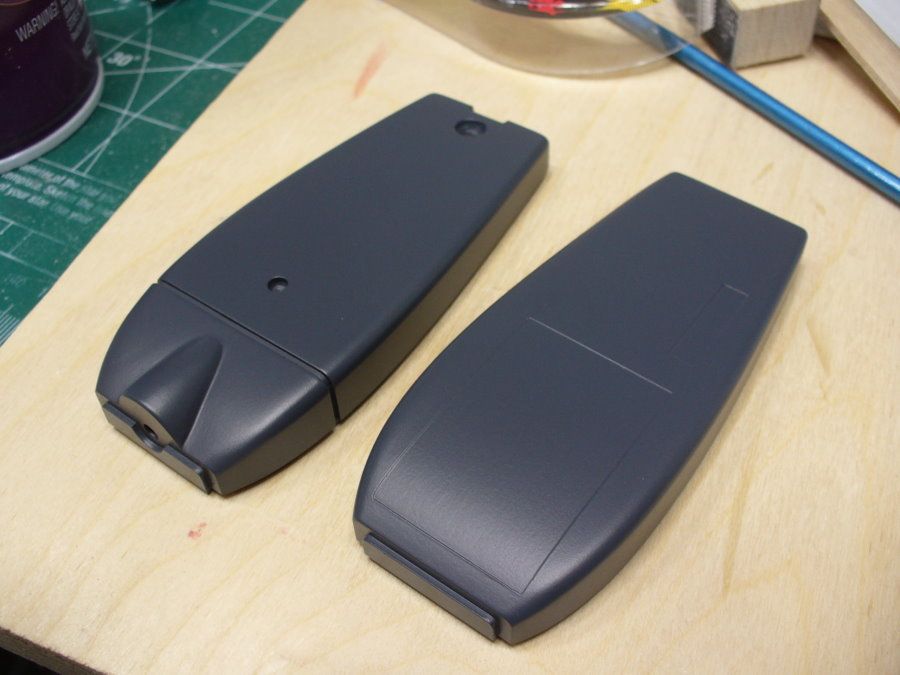
Trigger box added, and a thin styrene skin. The P1 slot will be cut out later.

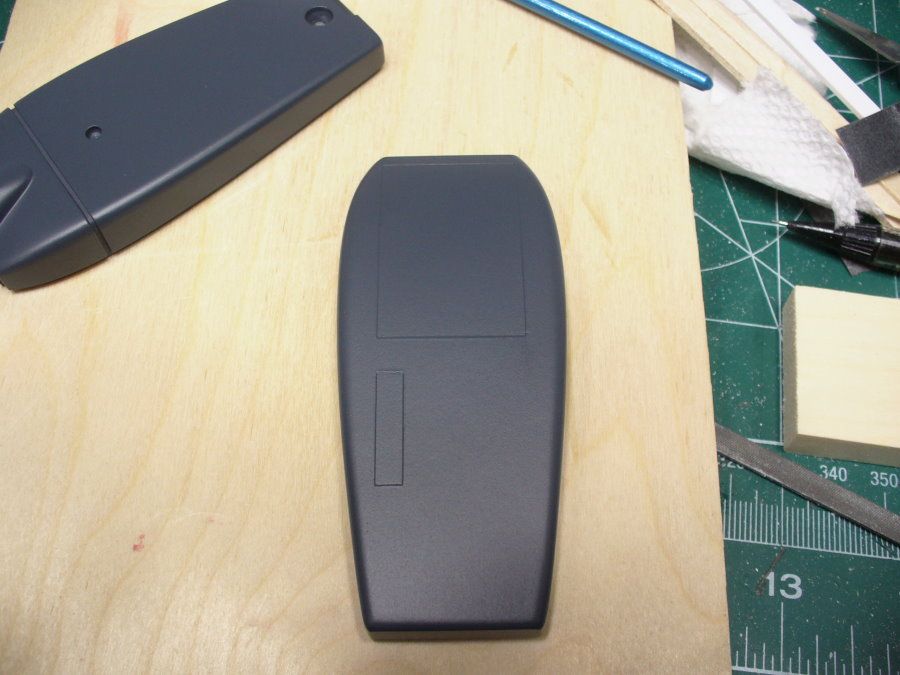
I masked the styrene and primered the wood.


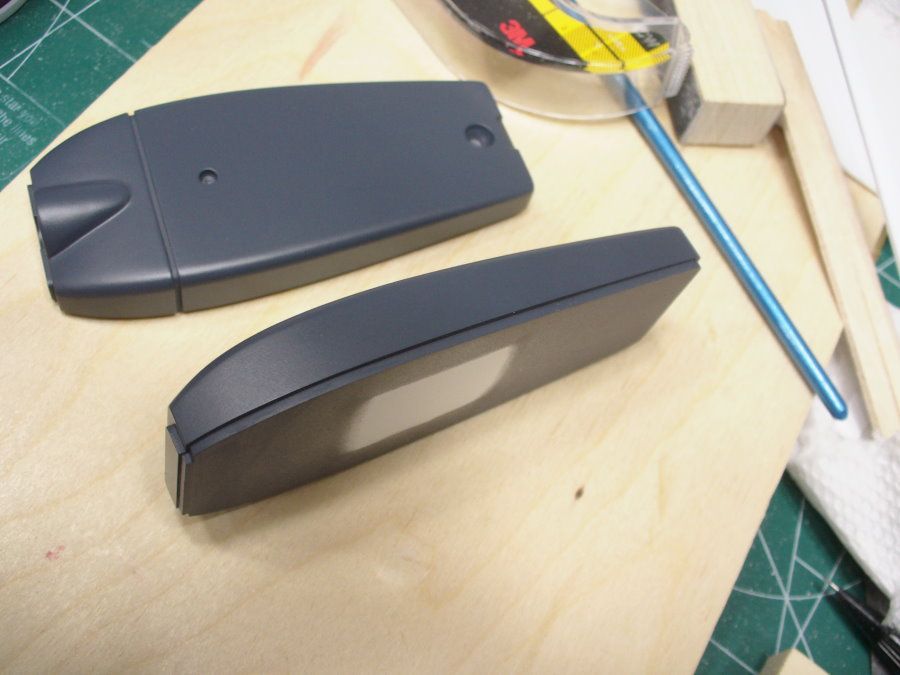
The seem line will be cleaner after some sanding.

Then marked the profile and cut it out.
I ground out a recess for the rear fins, this area will be built up with styrene.
Trigger box added, and a thin styrene skin. The P1 slot will be cut out later.
I masked the styrene and primered the wood.
The seem line will be cleaner after some sanding.
Tiberius Kirk
Sr Member
Looking good!
Can't wait to see your progress.
Can't wait to see your progress.
You have the cleanest bandsaw I have ever seen. You sure you actually cut anything on it?
LMFAOSchwarz
Sr Member
You have the cleanest bandsaw I have ever seen. You sure you actually cut anything on it?
I kinda noticed that, too!
In other news: this build is looking goood!!:cool
alisty
New Member
This is some amazing work!
I have a question about your molds.
You first made your object out of wood. You then made the rubber mold after that. When you made the mold with that plaster, how does it account for the rubber mold when you place it into the plaster before you do your resin?
Does the plaster shrink enough to allow the rubber to sit properly?
Also, How are you putting the two sides together when done? Are they just glued?
Anyway, keep up the great work! I will be fore sure looking at this some more.
I love in progress build threads. Great job so far.
Have you given any thought to making an RTV plug for the inside of the P1. You may have better control over the final wall thickness.
Can't wait to see more.
-Gary
Have you given any thought to making an RTV plug for the inside of the P1. You may have better control over the final wall thickness.
Can't wait to see more.
-Gary
robn1
Master Member
The plaster is poured in over the rubber mold. Some parts are glued together, some are held with screws so they can be opened. This requires a nut or threaded brass be glued into one half so the other half can be screwed to it....When you made the mold with that plaster, how does it account for the rubber mold when you place it into the plaster before you do your resin?
Does the plaster shrink enough to allow the rubber to sit properly?
Also, How are you putting the two sides together when done? Are they just glued?...
If/when I make resin casts yes. But for now I'm making fiberglass parts, only one mold half is needed....Have you given any thought to making an RTV plug for the inside of the P1. You may have better control over the final wall thickness...
robn1
Master Member
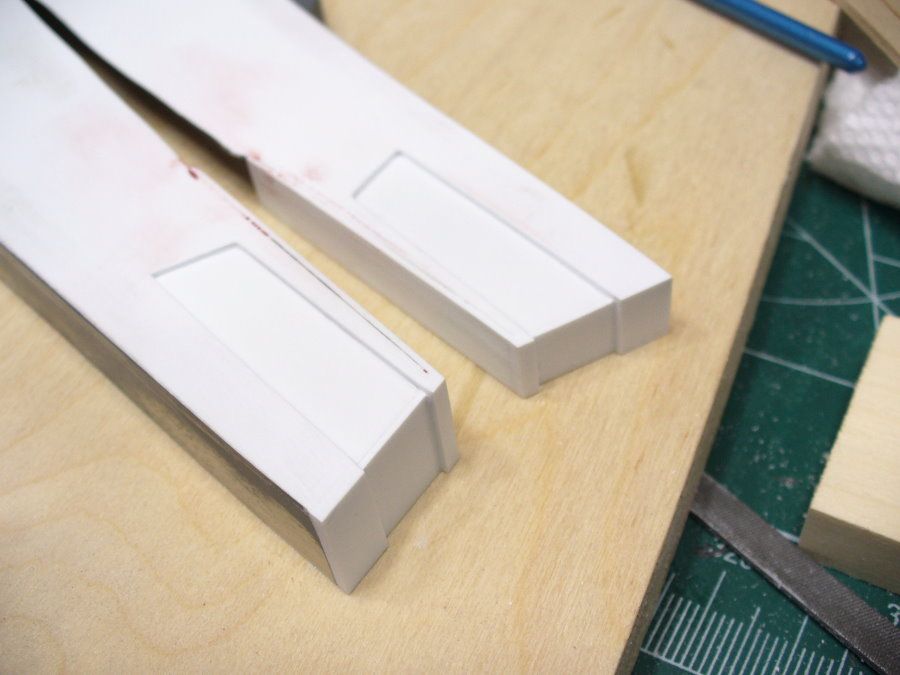
My efforts to fix the wonky cut out marks on the P1 bucks worked great, but the extra primer coats threw off the fit of the two parts. I decided the best solution was to make new bucks, here they are ready to mold.
Cut out lines are proper size and placement this time.
I made this set the proper height, and added a styrene step to the bottom. Sand the step away from the shells, and it's the right height. The P2 will be done the same way.
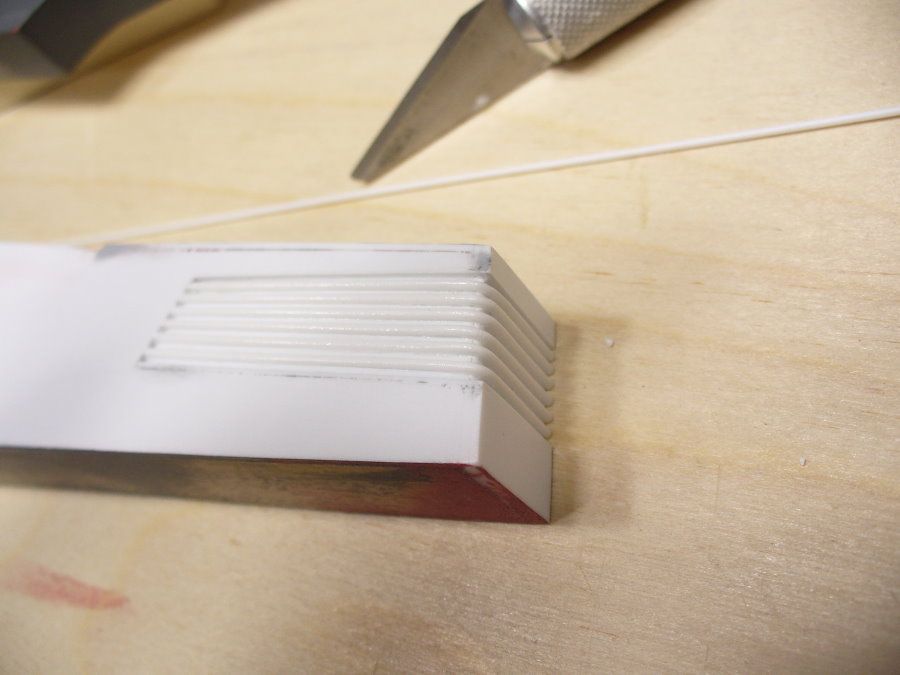
Speaking of the P2, I cut out the rear fin area.
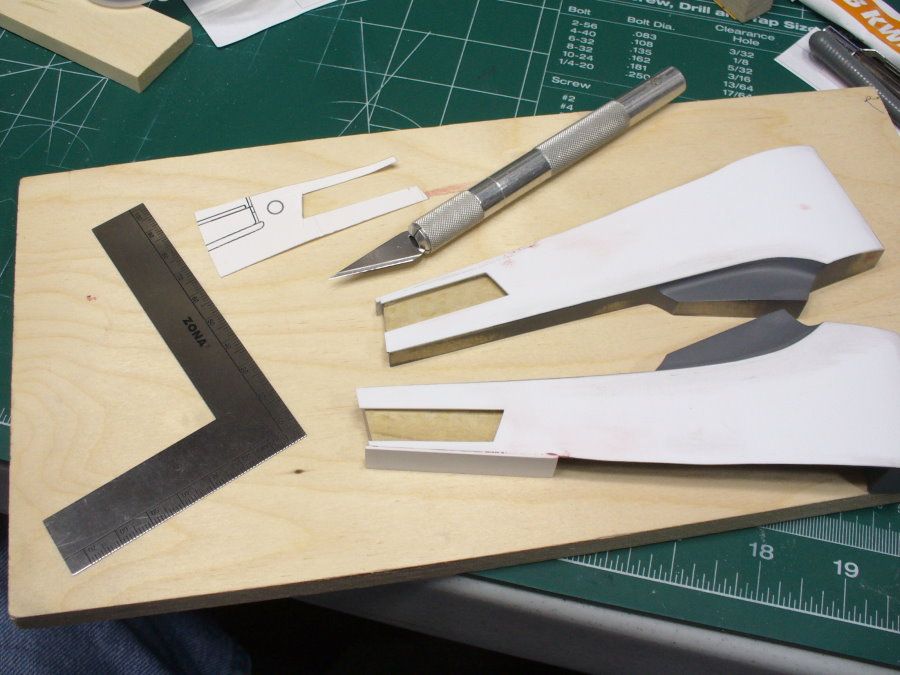
And built it up in styrene. The b&w style fins will be made from styrene rods.
Cut out lines are proper size and placement this time.
I made this set the proper height, and added a styrene step to the bottom. Sand the step away from the shells, and it's the right height. The P2 will be done the same way.
Speaking of the P2, I cut out the rear fin area.
And built it up in styrene. The b&w style fins will be made from styrene rods.
Tiberius Kirk
Sr Member
Man, that's looking amazing!
Chrisisall
Master Member
Whole lotta magic!:cool

Chrisisall
Master Member
You are an artist, Rob.
TryChick
Well-Known Member
Wow Rob, I am truly impressed. You do awesome work. I thought I was a perfectionist but I come nothing close to the precision you demand of your own work. I thought I was doing something cool by gluing/sanding/filling and painting the resin kit I purchased... But a build from scratch...again...Wow! I can only aspire to get to where you are in this prop building process. Where do you buy all your supplies...the styrene, acrylic rods, etc.?
Similar threads
- Replies
- 1
- Views
- 1,084
- Replies
- 9
- Views
- 1,407