Engelnicht
Well-Known Member
WOW! It looks like it walked right off the set!
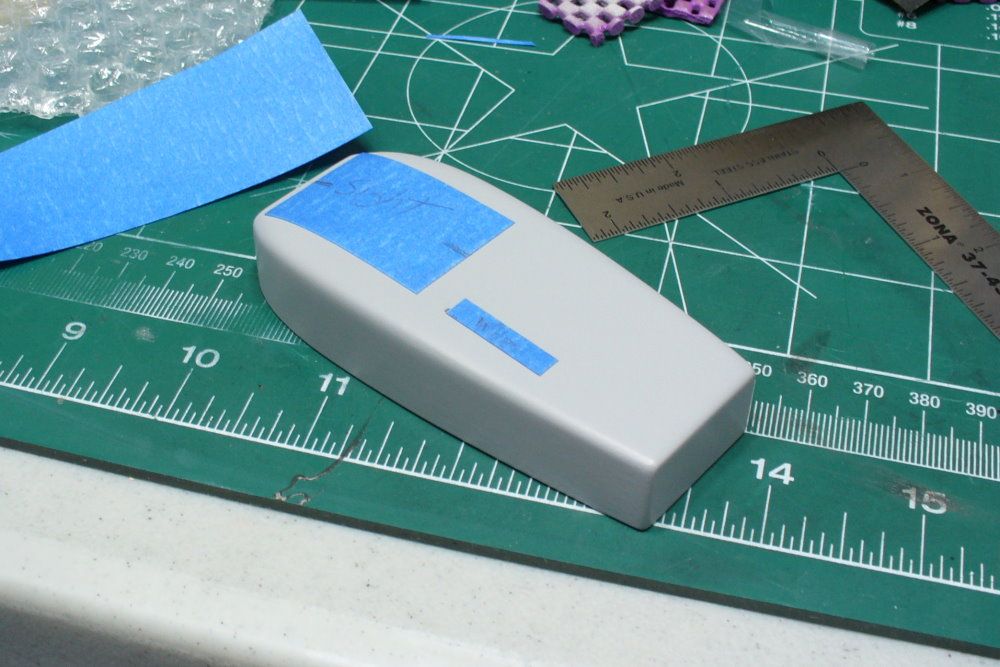
That's because Robin1's is more prefect.Excellent job robin1!:thumbsup The gear size and clear site riser seams a little different than the Long p1.
 lol
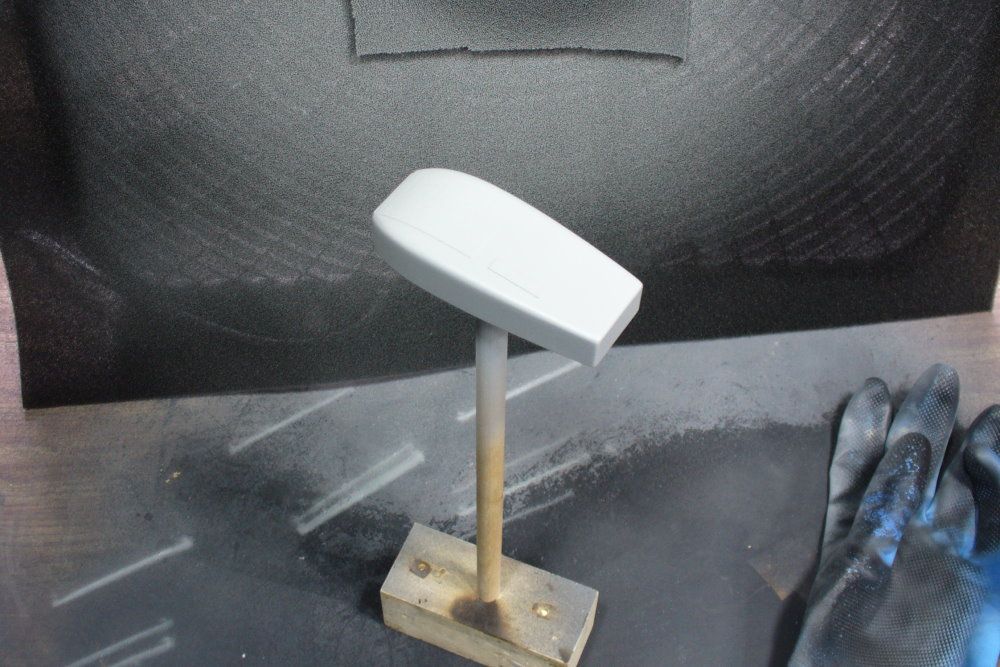
lolWell they're smaller, but as I said I'm still not sure about it. It looks to me that the sight at least needs to be bigger, because it doesn't rise high enough. I don't have measurements for those parts so there's not much to go on.That's because Robin1's is more prefect.
I trust your eyeballing more than numbers. Until we can time travel back to the Sixties & temporarily snatch one to look at, inspect & photograph, yours is the best so far IMO.:thumbsupI don't have measurements for those parts so there's not much to go on.