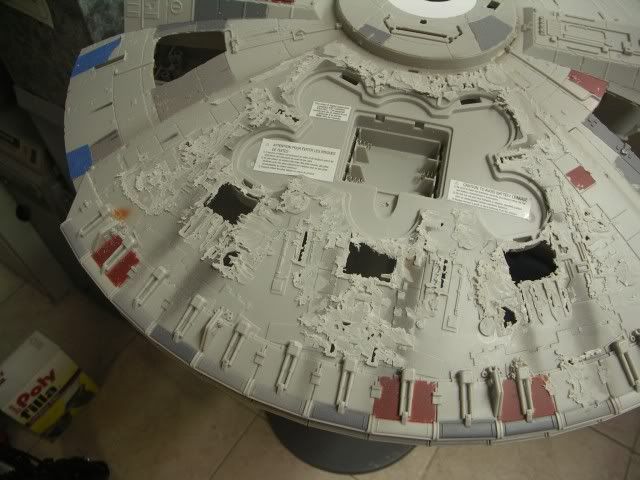
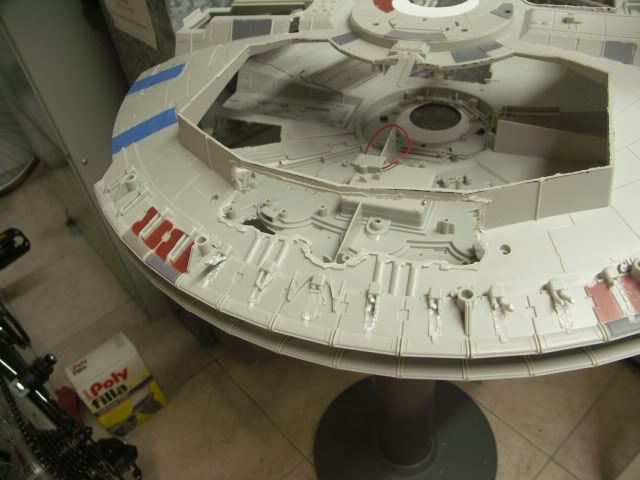
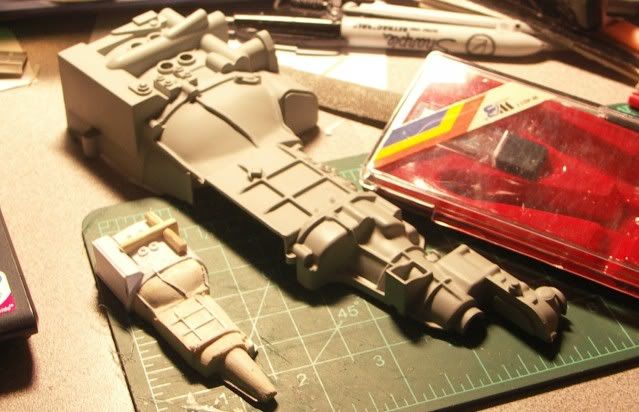
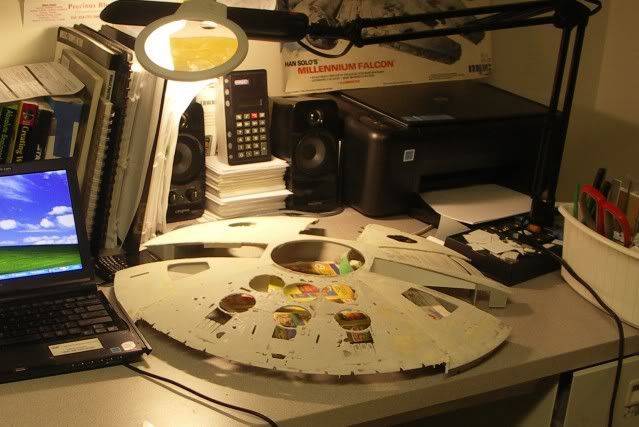
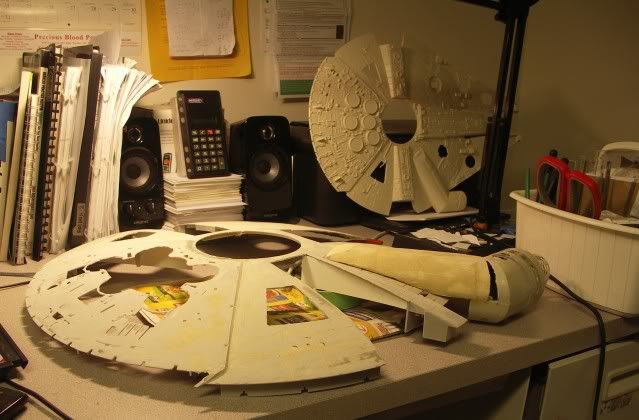
Sorry for the long lull. The Hasbro Falcon does continue to haunt me in my dreams and I still have the desire to see it built. Recently I cut off the rear feathers and began sanding and puttying up the upper hull to a nice smooth surface worthy of plating.
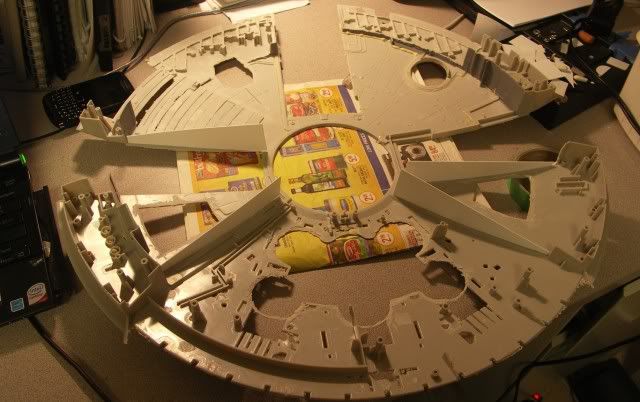
I've also began placing support ribs. The hull can become flimsy without the innards it can collapse under its own weight. I plan on cutting up round pieces of plywood to support the top and bottom hull pieces.
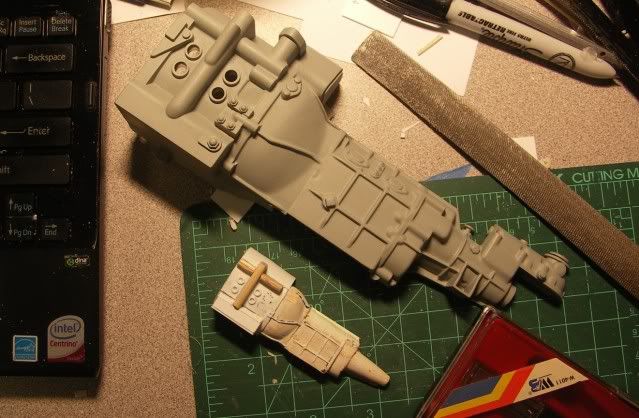
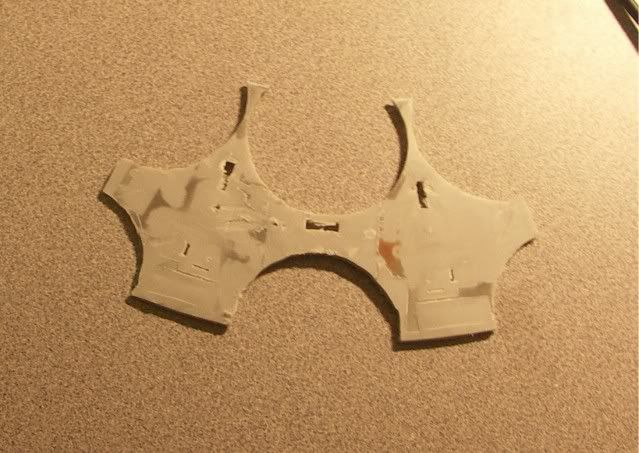
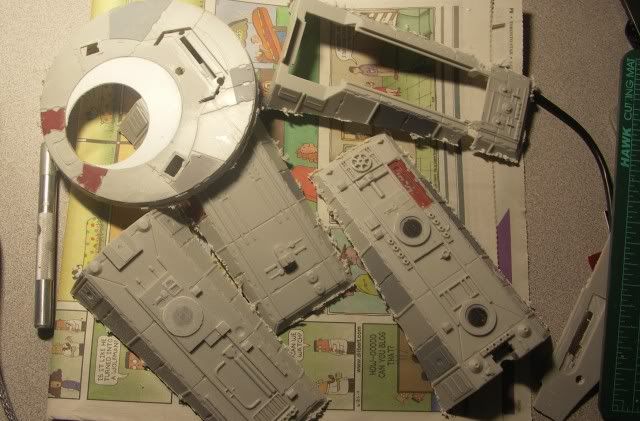
I'm glad I kept this piece as the curve would be difficult to duplicate with a piece
of styrene:
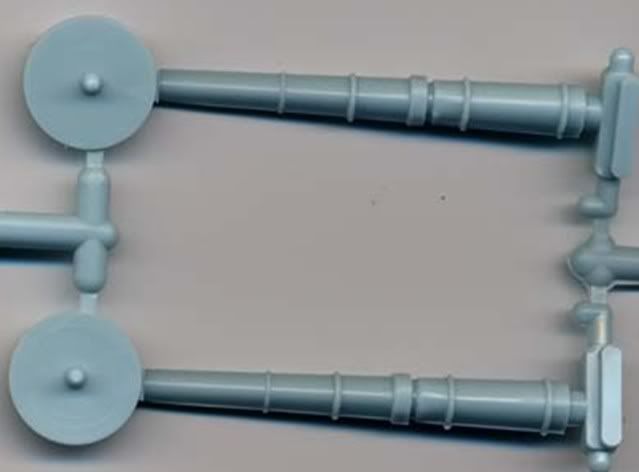
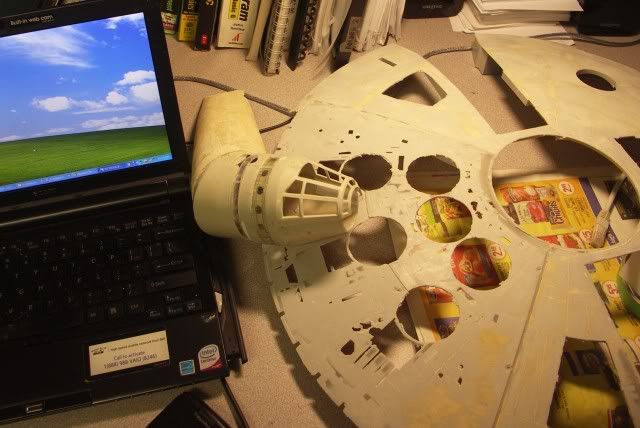
Cut off the turret so that I can rebuild a tapered one. Off go the 32" docking tunnels, too.
The cockpit has been begging for control panels for the longest time. And I just might seal up the wooden tunnel and use it as is. Got some patching up to do here.
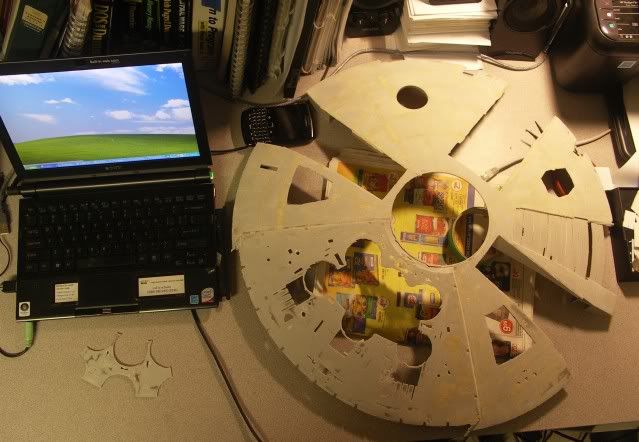
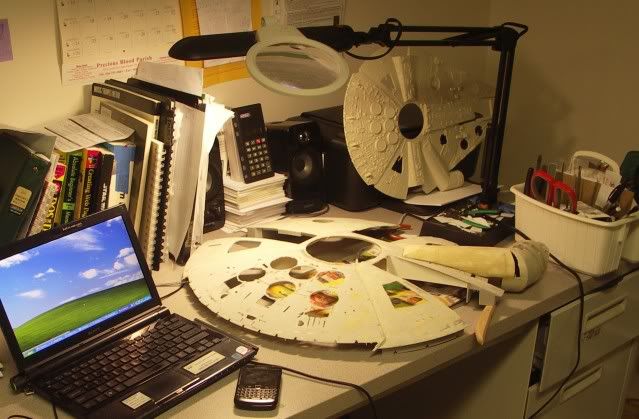
Test fitting:

") thumbsup
thumbsup