Go-Motion ROTJ AT-ST full scratch

Working on this right now myself ;)

Here's my plan.. (I'm experimenting with 2 sizes of plastruct domes with the top of the dome profile sanded flatter and the height reduced).

1) Measure and mark the recessed channels on the acrylic domes

2) Make several drills with a drill bit slightly less wide than each channel through each one down the center (can be cut any way, I just find this way easier)

3) Sand each channel from the insides with a small/fine hand file to taste

4) Fill the dome with clay/plasticene

5) Take a tool and scrape/notch out the inside L-shaped concave profile of the channels. If you botch it and make a mistake, easily fixed with more clay.

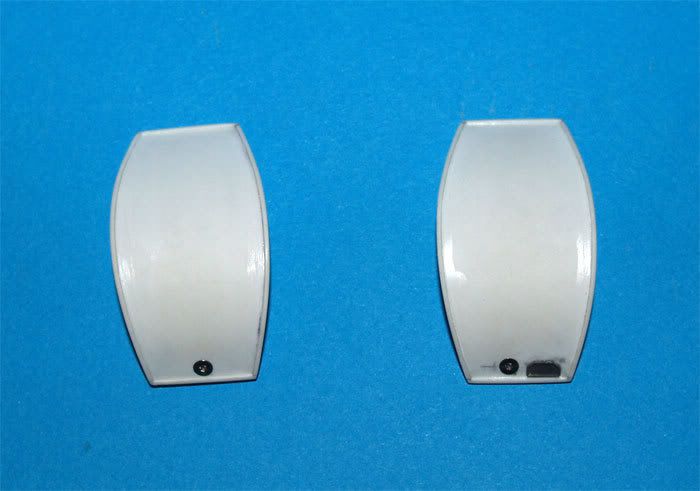
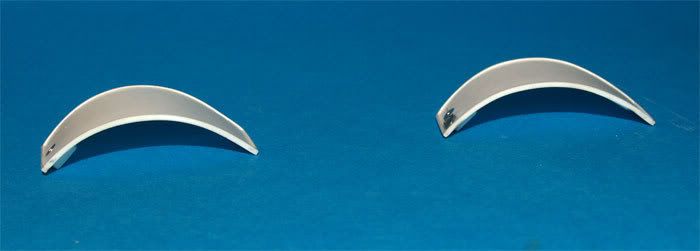
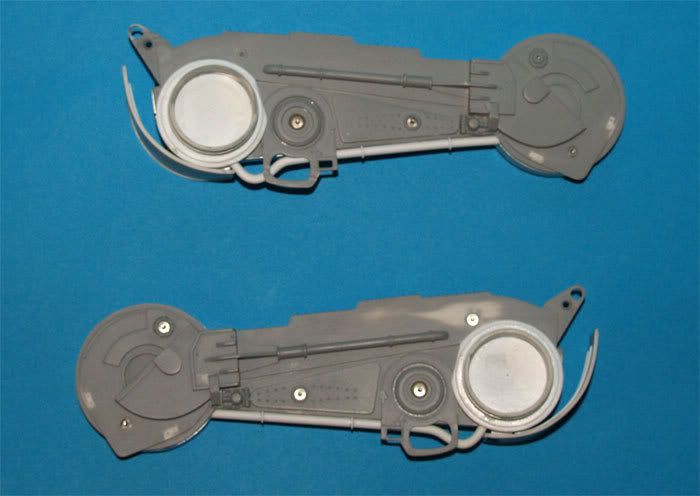
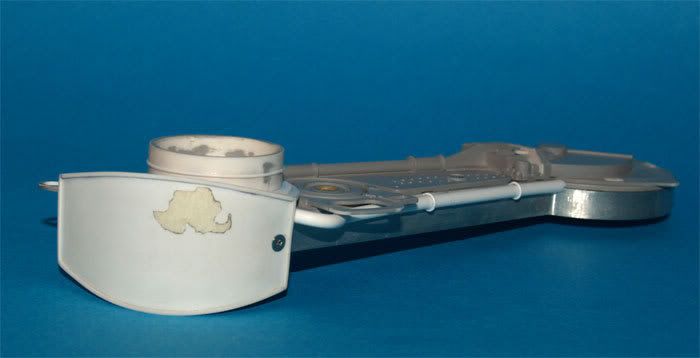
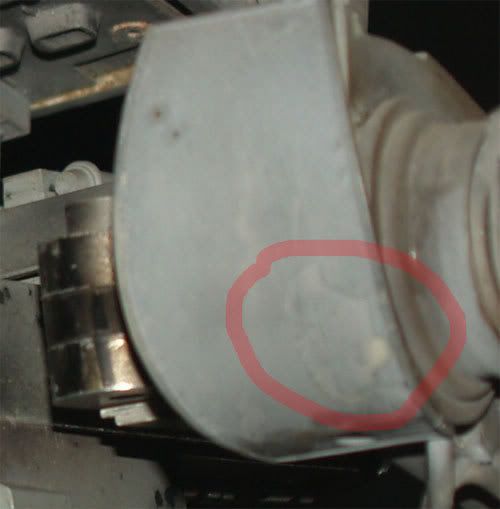
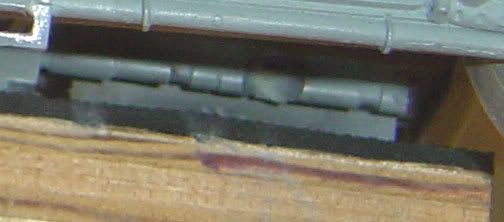
I'm also looking for this part :

domeunder.jpg


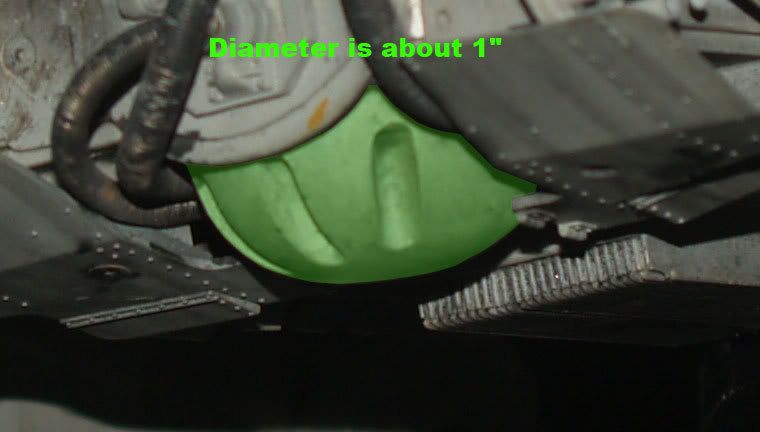
I guess it was probably scratchbuilt (inspired by the Lancaster turret they used on the TESB) as the "cutouts for the barrels" are not perfect.
It's about 1" wide. It's not a perfect dome unfortunaly... It looks more like the back of an egg but even not close of that... The top or since it's upside down, the bottom is a bit flat.

If you have any idea...
 
Last edited:
Thanks for the tip Matt, did you use the perfect half sphere from plastruct ? I reckon I have some difficulty to sand the acrylic from what they're made :lol I dont know if the PVC ones are easier to sand !

Ok if I have to reduce the height, I have to order a larger dome !

I will give it a try once I got it ;)

Thanks !
 
I bought 2 sizes, the 1 1/8" VHH-36 and the 1 1/4" VHH-40. I think that with some sanding of the dome, it should match the prop since the acrylic is quite thick. I would've ordered the PVC too just for comparisons sake... If I break these by accident, I'll definitely try that.. and if the height isn't exact, I can cut styrene disks for the base to raise the height profile.

I also realized that the smaller domes on the top of the Vader Tie (Lee's find) are undersized to the prop. The larger size (that's right to me) is VHH-16VG with the bottom sanded about 2mm. It even has the same dimple on the surface as the smaller ones.

I wish in the catalog we could see pictures of the pieces rather than just the illustrations.

Thanks for the tip Matt, did you use the perfect half sphere from plastruct ? I reckon I have some difficulty to sand the acrylic from what they're made :lol I dont know if the PVC ones are easier to sand !

Ok if I have to reduce the height, I have to order a larger dome !

I will give it a try once I got it ;)

Thanks !
 
Last edited:
Thanks for the ref, I will buy those 2 sizes and see what I can sort out with them ! That's the last thing I have to add to my chassis now, but I have to this dome to start painting :(

Yeah you're right with the domes on the feet, they're cut/sanded at the base (like the side head domes or the DS domes, why they cant just use stock domes ? :D), I used the smaller ones though because I had them and I want to finish this baby quickly ! :D


I bought 2 sizes, the 1 1/8" VHH-36 and the 1 1/4" VHH-40. I think that with some sanding of the dome, it should match the prop since the acrylic is quite thick. I would've ordered the PVC too just for comparisons sake... If I break these by accident, I'll definitely try that.. and if the height isn't exact, I can cut styrene disks for the base to raise the height profile.

I also realized that the smaller domes on the top of the Vader Tie (Lee's find) are undersized to the prop. The larger size (that's right to me) is VHH-16VG with the bottom sanded about 2mm. It even has the same dimple on the surface as the smaller ones.

I wish in the catalog we could see pictures of the pieces rather than just the illustrations!
 
Hey guys,

I did the front shield :

rotjatst149.jpg

rotjatst150.jpg

rotjatst151.jpg

rotjatst152.jpg

rotjatst153.jpg


The masking tape is to recreate stripped paint down area which was repaint (look like they did use any primer on those part and the paint didnt stick very well on the resin) :

rotjatst157.jpg


Then I painted the legs quickly, trying to match the ILM techniques as far as I could :

rotjatst154.jpg

rotjatst155.jpg

rotjatst156.jpg


Any comments/criticism are welcome...

Thansk for looking guy !
 
Thanks guys !

That was not a big job, it took me less than one hour to paint both legs, I rushed the job to try to match the studio model. Unfortunatly I match more the overall look than the true weathering pattern (now I'm watching my ref pics on this computer I see I miss some details because I used my notebook with a small screen :() but I'm pleased with the result so I will keep them like that (I have already done some touch ups though :p).
 
While I was trying to ID some parts on the Lambda Shuttle, I was looking at the rear guns, which are Hanomag parts and thought that I could use that to do the rods of the bottom back of my AT-ST... Then I did a close up on the real deal :

rotjatst158.jpg


I compared to the parts on the sprue and those were the right parts (B17 and B18). Those are probably the last parts I will ever find on the ROTJ AT-ST since there are not so much left to ID...

rotjatst159.jpg

rotjatst160.jpg
 
Good eye Julien, sooo, when do we all get spoiled and see her standing tall? Oh and that 8rad fender, thats a killer neat little bit of scratchbuilding bro.

lee
 
Thanks bro !

Well we'll see her on her legs when I'll receive the hip parts...
Ive just redrawn them this afternoon and sent the new drawings to the machinist... This night was a good night (the bed is the best place to find things :p), besides the Hanomag parts, I think I found how the hip parts were designed (I mean the inside) that's why I redrawn my plans. Hopefully I'll get them by the end of this month but I will not be able to do any modelling job until early March :cry But I'll post pics of the hip parts and how they work ;)
 
Well, it's time to put the kit lists of this baby.

Since I havent noted all the kits I could forget one or two :

-Tamiya 1/35 SU-85 (x1)
-Tamiya 1/35 KV-I (x1)
-Tamiya 1/35 Matilda (x1)
-Tamiya 1/35 Hanomag (x1)
-Tamiya 1/35 Marder III (x1)
-Tamiya 1/35 Gepard (x1)
-Tamiya 1/35 M16 (x1)
-Tamiya 1/35 8 tons (x4)
-Tamiya 1/35 Flakvierling38 (x1)
-Tamiya 1/35 Sdkfz 222 (x2)
-Tamiya 1/35 Sdkfz 232 (x1)
-Tamiya 1/35 Flak 88 (x5)
-Tamiya 1/35 Lang (x1)
-Tamiya 1/32 F-14 Tomcat (x1)
-Tamiya 1/12 Ferrari 312T (x2)
-Tamiya 1/12 JPS (x2)
-Tamiya 1/12 Porsche 934 or 935 (x1)
-Tamiya 1/6 Kawasaki (x1)

-Italeri 1/35 Priest (x1)

-Hasewaga 1/72 Leopold (x1)

-Bandai 1/48 Panther (x1)

-MPC DV's TIE Fighter (x2)

-Maxi Brute X-Wing (x1)

This is a compiled list from Matt's (Dragnink), Lee's(Ralphee), Isel's (swfan) and my finds.

Thanks to them all !
 
Last edited:
There are TIE fighter and X-Wing commercial kit parts on the AT-ST? :lol

That's hilarious - the ILM model shop has come full circle.


-Mike
 
There are TIE fighter and X-Wing commercial kit parts on the AT-ST? :lol

That's hilarious - the ILM model shop has come full circle.


-Mike


Yeah that's funny :)

DV's TIE Fighter was used a ton of times on the large ISD bridge built for TESB, this kit was also used on the 8 footer ISD from TESB ;)
 
This is the same part which is used on the 8 footer ISD :

isdlargebridge.jpg


(on the secondary engine boxes)

Kitlist updated
 
Last edited:
I just got lucky and picked up a Lotus MKIII for $35.

Haven't gotten my hands on a JPS Lotus 72D, but the JPS MKIII is a good kit for ESB and ROTJ parts. Some of the pieces also closely resemble the grills used on the back top of the head on the ROTJ, but those may be Evergreen slatted sheet.

There's two versions of the Estes Maxi brute X-wing kit. I haven't gotten my hands on one, but someone said there was two releases.. the first model is supposedly smaller than the second release. I'm not sure which offers up the right parts for the back of the head but someone else knows I'm sure.

Great job on the list Julien and the Hanomag was hidden in plain sight! :thumbsup
 
Last edited:
Wow you're lucky for the JPS ! :D I got mine for more than that and I'm still waiting for it !
As for the grills I used the ones from the 312T but I guess this is a similar pattern to the ones in the JPS kit ! ;)

That's true for the maxi brute, one of them has those heatsinks molded with the cannons and that's not the good version. I think the good one is the biggest but I'm not sure, I havent see the other version in personn.

Yeah that's great for the Hanomag parts, finally there are not so much scratchbuilt parts on this baby ! :D

What about your armature Matt, did you find someone else to do it ?
 
Here's a little drawing I had done of the feet. In one scene if you slow it down frame-by-frame, you can see the feet counter-rotate on an axis independently of the legs and ankles. This makes sense, because the hips set the legs such that they bend inwards towards the chassis. The feet have to compensate for that, so after a little thought it seemed to make sense that the foot connects with a rod into the main base of the armature, the countersunk allan screw that tightens up from the bottom can be seen in the photos we have.

And more stuff..

Here's a copy of the Jedi Cinefex issue from '83: http://rapidshare.com/files/122312940/Cinefex13.pdf It has higher res pics of Tippett and the go-motion setup. It also confirms that the barrels were stop-motion animated between the go-motion frames. If you don't have it already, it's a good read and the pictures are excellent. :thumbsup

Wow you're lucky for the JPS ! :D I got mine for more than that and I'm still waiting for it !
As for the grills I used the ones from the 312T but I guess this is a similar pattern to the ones in the JPS kit ! ;)

That's true for the maxi brute, one of them has those heatsinks molded with the cannons and that's not the good version. I think the good one is the biggest but I'm not sure, I havent see the other version in personn.

Yeah that's great for the Hanomag parts, finally there are not so much scratchbuilt parts on this baby ! :D

What about your armature Matt, did you find someone else to do it ?
 
Last edited:
Back
Top