Go-Motion ROTJ AT-ST full scratch

GOOD LORD Julien! :eek:eek:eek:eek

Very nice sir! (y)love:thumbsup

rotjatst168.jpg
 
That is one stunning beast J, you have really done an incredible job on this mate. From the quality of the build to superb paint work its just beautiful, oh and can I have it please?
 
Thanks Guy ! :D

But dont get me wrong the pic above is the real deal ! :p

Yes you can have it... if you share your Taun-taun ! :lol

Matt, the parts are from the Quad gun tractor, I know it's not evident on this pic but those are the red cercled parts :


parts2.jpg


I believe the parts on the Nice-N model are wrong.

My machinist finally get his tool repaired yesterday so he went back on my parts and here's the result :

DSCF2739.jpg


He will finish the last 4 parts tomorrow and I should receive them by the end of the week or next week ! Cant wait :D

I think I will get my neck done on a lathe too (if I can find someone who own a lathe ;)) and do a two part plaster mold then cast it in rubber. It should work nicely !
 
Looks sweet!

I hunted around and got them from eBay. Try "300 pc snap ring assortment" Mine came to about $12 shipped for all the different sizes.

item# 260361555831

There's another great tool for custom hose I just bought which is better than the guitar string.. try "coiling gizmo".. I bought some custom gauge wire and made my own winding peg out of tube stock. Makes the perfect copper hosings like ILM used. Only $8.
Matt, where did you buy your snaprings ?


New parts in place :

rotjatst172.jpg
 
Last edited:
Thanks Michael and Lee ! :)

Hopefully i'll got the last machined parts on Saturday. No need to say I'm very very excited about this ! :love:love

Thanks Matt !

Yeah it looks like the guy only ships to US. And they are all imperial size (which shouldnt be a problem since I tried to do my best to keep imperial sizes on my drawings).

The coiling gizmo looks pretty good ! And that's pretty cheap, I could buy one thanks for the infos ;)
 
Hey guys,

The euro and asian AT-ST's are very similar but quite different when you look at details.

I found another difference between both : the detail plates on the hip parts. We all know they are not placed the same way, but they also differ in shape :

euro-asian-difference.jpg


(Asian ST on the left, Euro on the right).

The raised details on the detail plates (which actually hide a screw) of the asian is four little squares when they are 4 little rectangles in the euro.

The little strip is not as the same place either. It's flush with the edge of the plate on the euro and it makes a step on the asian.

For the ones who would use this pic as template, the overall lenght of one plate is 1".
 
hey guys, my winter break are moved by 4 weeks so I was not able to work on my models this month as I initially planned :(

Ive just found 5 min here and there to do some minor work...

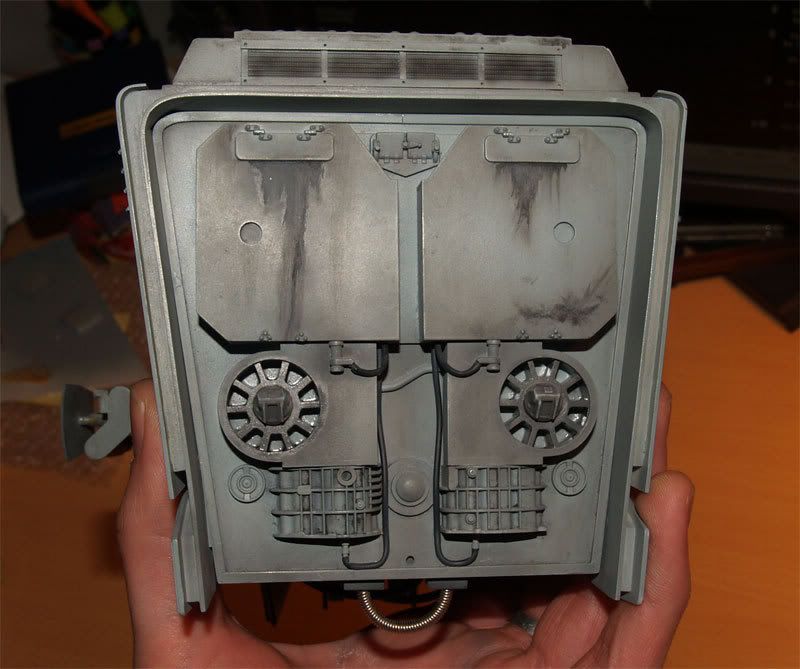
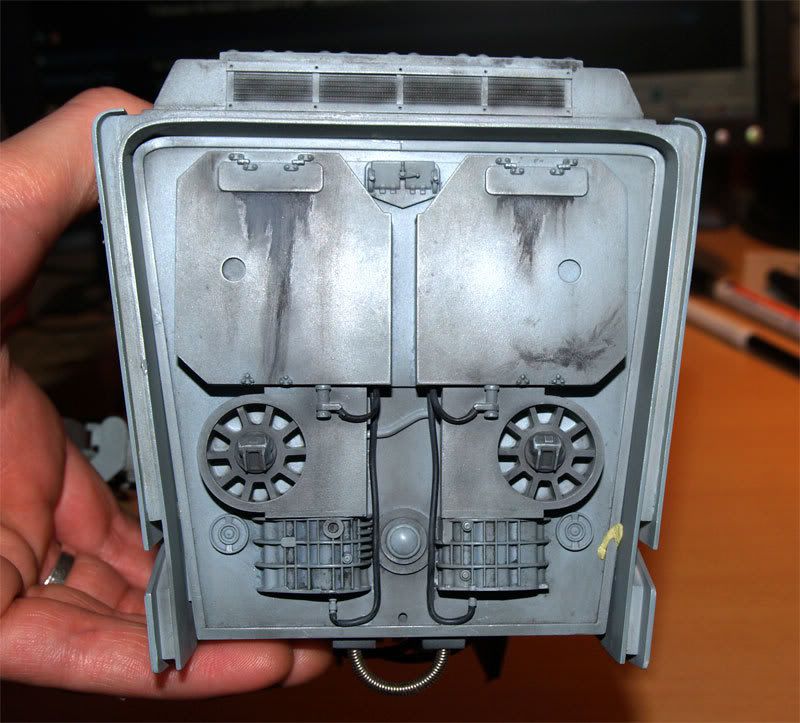
All detail plates removed because I had some more holes to drill on the chassis :
rotjatst173.jpg

rotjatst174.jpg


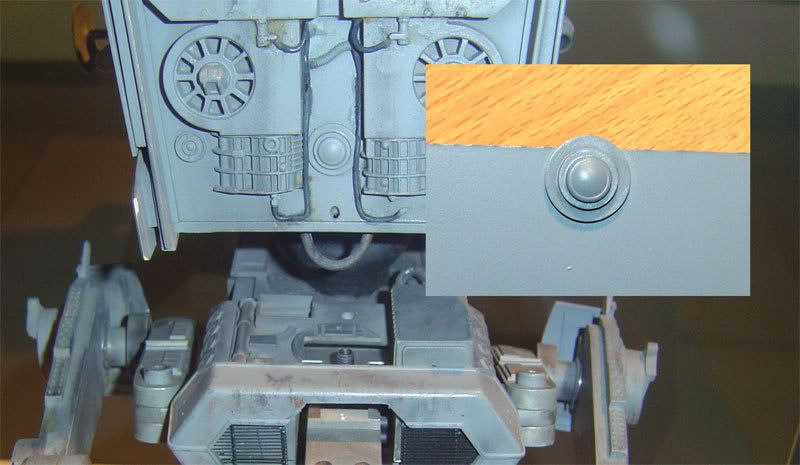
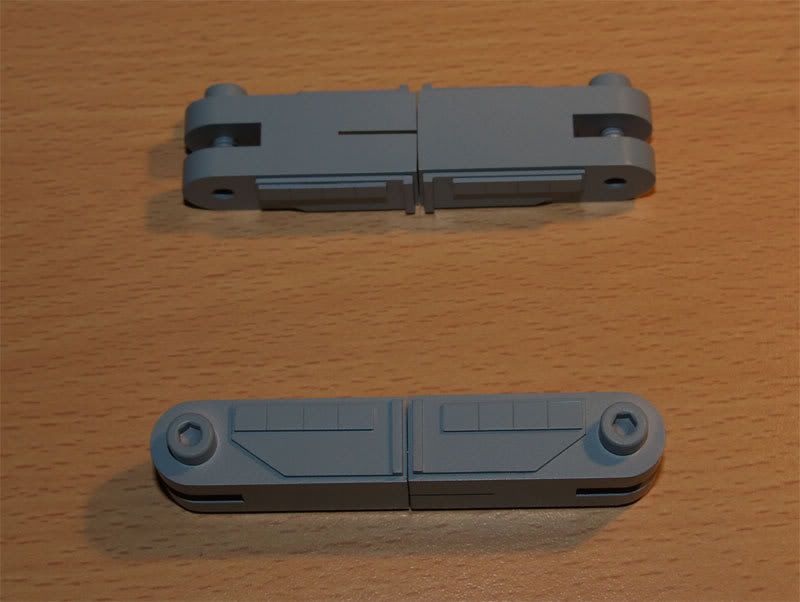
I built the eight plates which hide the screws of the hip parts :)
rotjatst175.jpg

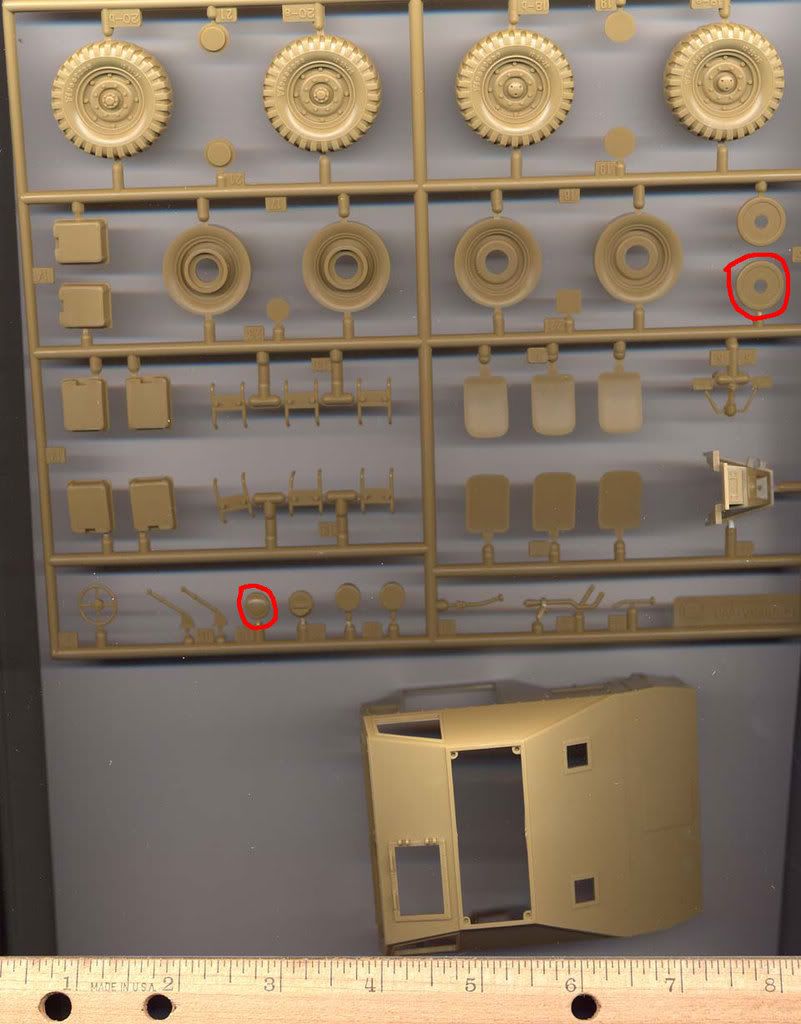
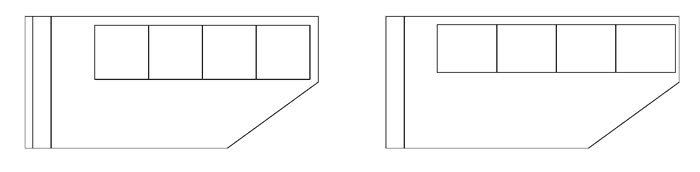
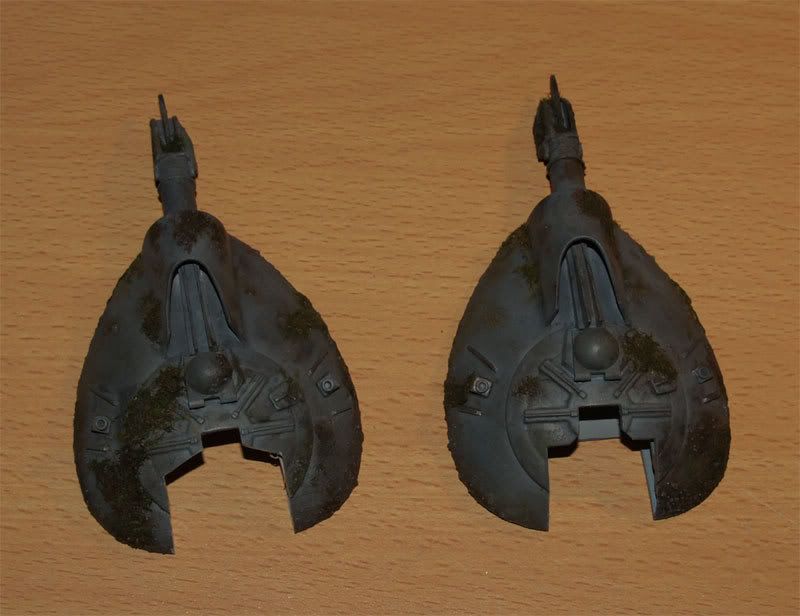
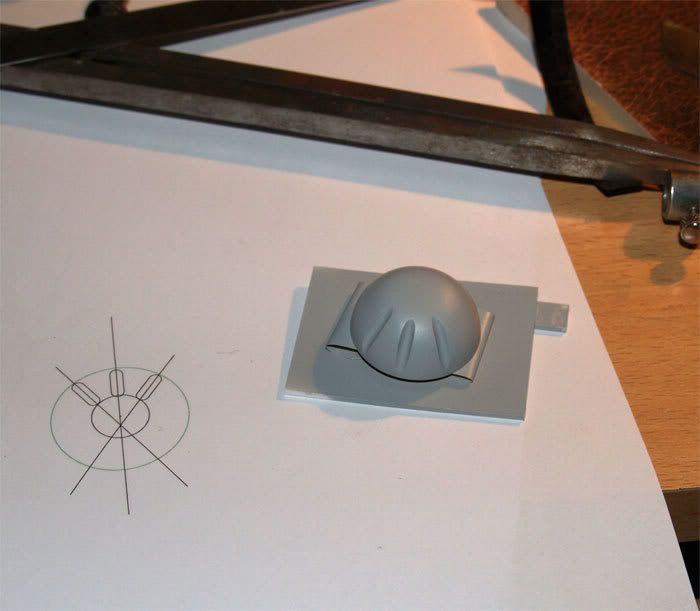
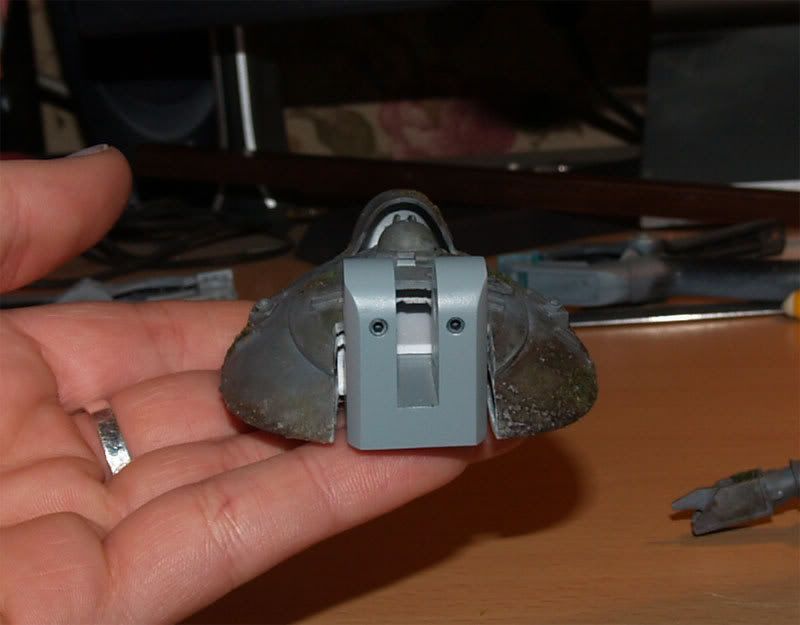
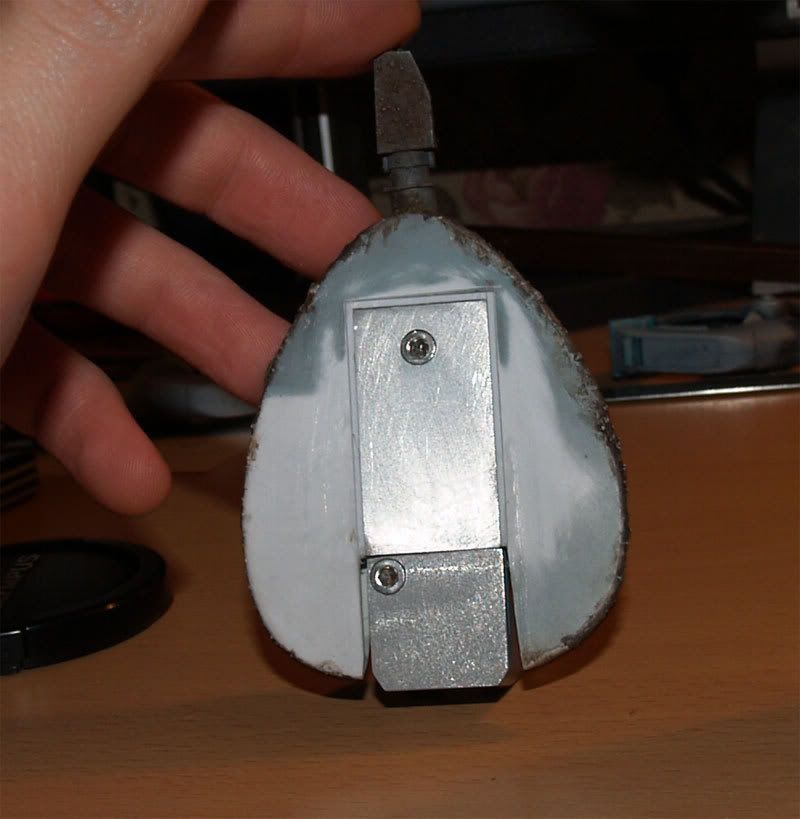
Here's the original ankle part (only sanded a bit ) :
rotjatst176.jpg

I had to sand the angles, I didnt ask the machinist to do it because it would have been too perfect and I prefer the "hand made" look of the real prop :)
rotjatst177.jpg

I had too enlarge the cutouts for the ankle parts. Initially I did the cutouts tight (even if I saw a lot of space between the feet and the ankle parts on the real props) with the ankle but it poped out that the anckle were able to move left/right. So I recut them :)
rotjatst178.jpg

The ankles and foot plates are not fixed to the foot shells with a screw. Sorry I forget to take pics, I'll take later.
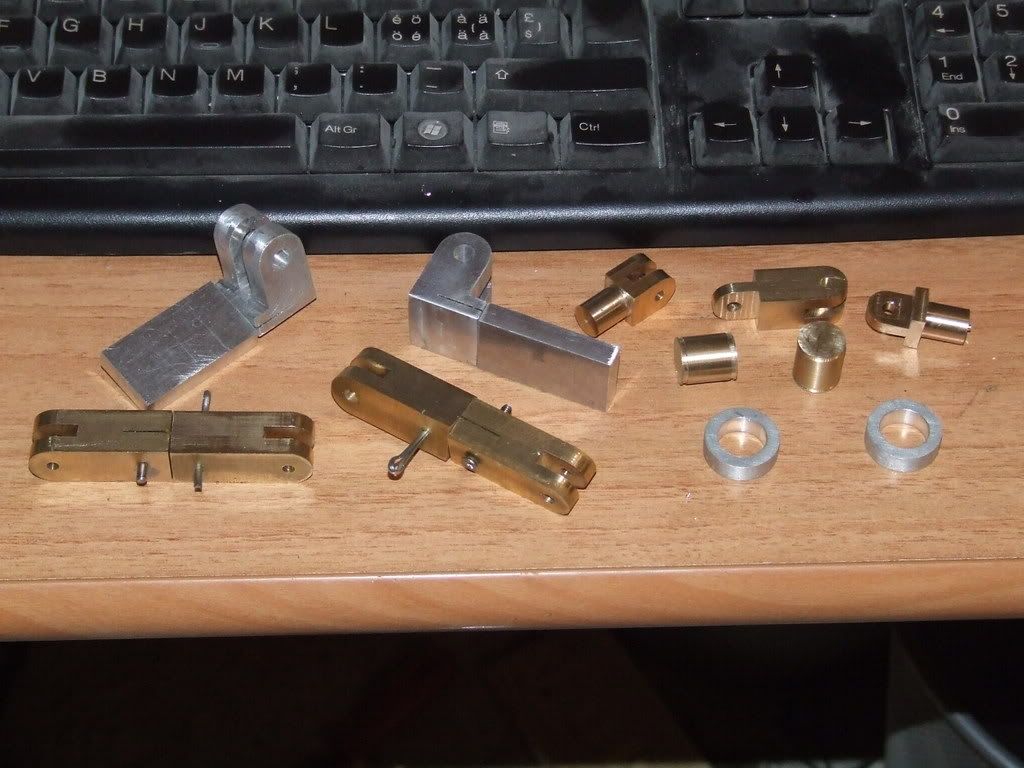
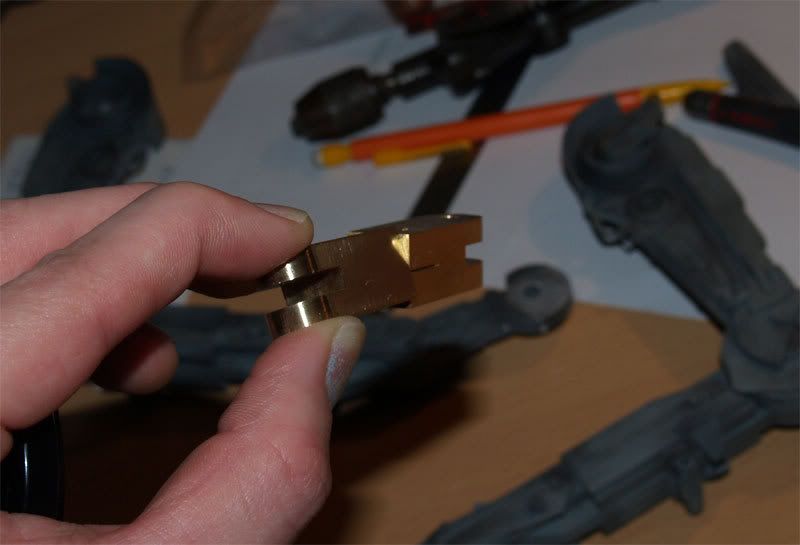
The hip parts made from brass for durability :
rotjatst179.jpg


They can move like the real ones :
rotjatst180.jpg

I designed it to be able to turn but that's impossible to separe the part from each others, so the leg will never fall on the ground is the screw is not tight enough :)
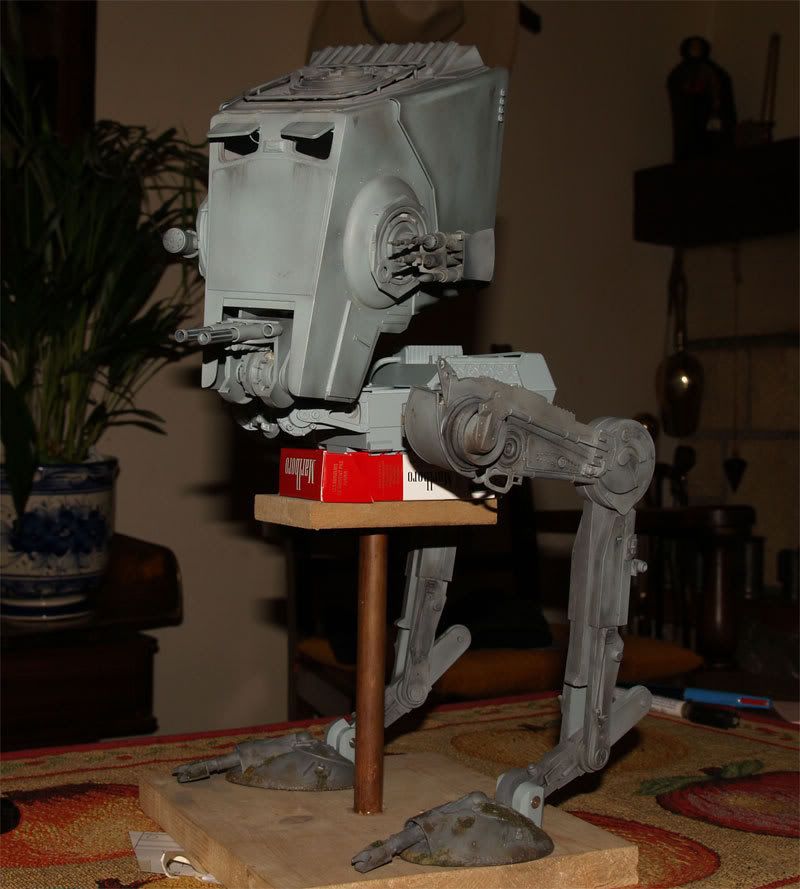
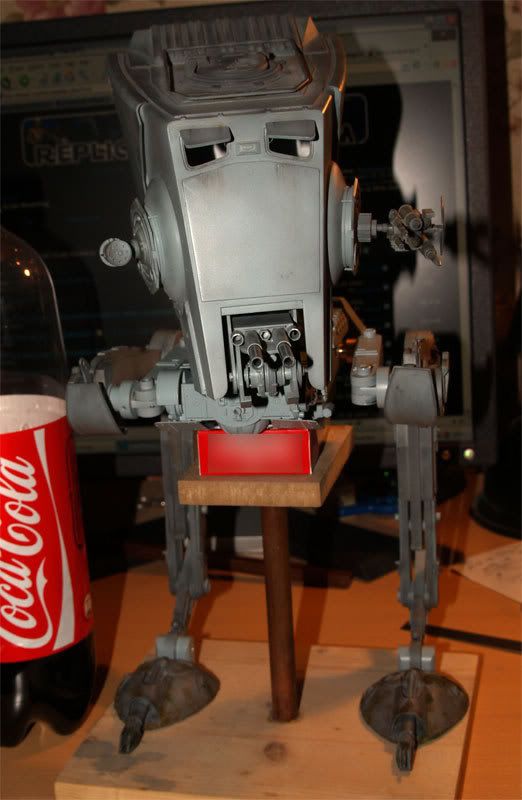
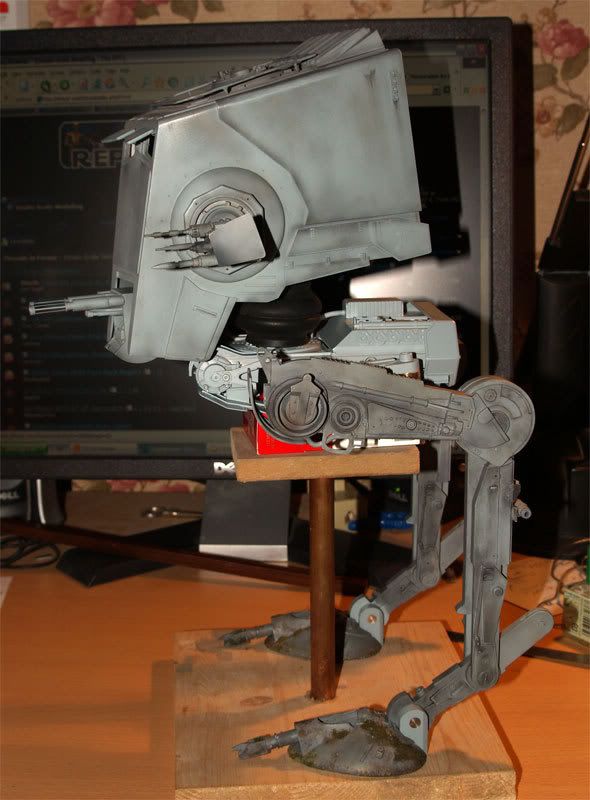
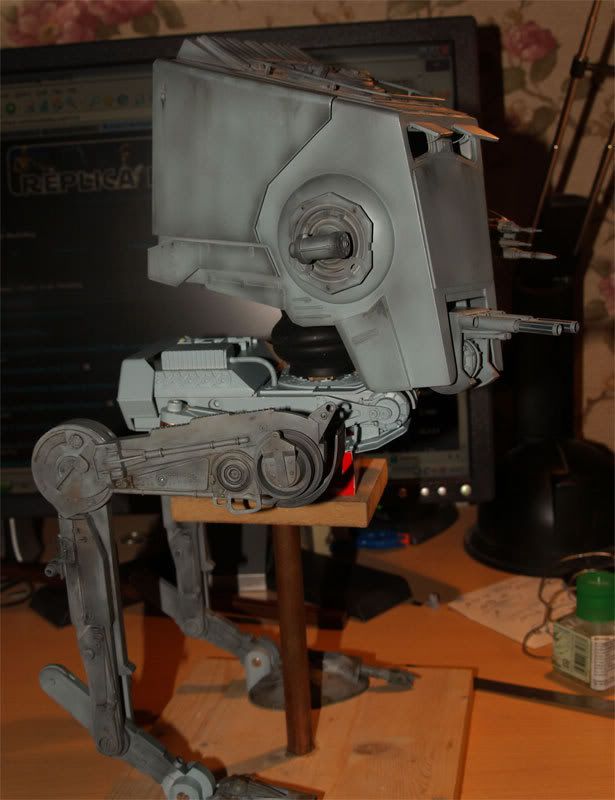
Primer and base coat applied :
rotjatst181.jpg

I hope you like guys.
 
Last edited:
Great work as always, looking forward to seeing her stand up for the first time and blasting some ewoks.
 
Last edited:
Thanks Dave and Matt :)

Yeah I had the same problem to find a machinist, it took me a while... and it was not always evident because he doesnt live in the same country... And by 3 times he had to redo the parts and resend them.


The parts which link the hip parts to the chassis are not tight enough... She can stand on her own but once I put the head (weight : 300 grammes, total weight of the whole thing minus the rear support : 1700 grammes) the nose points the floor :x
Well that's the problem when you got the prototype ! :lol: Anyway I should receive the new parts soon, hopefully on sunday :)


rotjatst190.jpg

rotjatst191.jpg

I did my best to match the odd shape of it.
Now some pics on my old stand (I did the plans to build an accurate one, a studio scale stand ! :D)
rotjatst192.jpg

rotjatst193.jpg

rotjatst194.jpg

rotjatst195.jpg

rotjatst196.jpg

rotjatst197.jpg

I used tyres from the JPS (I believe), they are not 100% correct (the ends doesnt match the diameter of the Z1300 brake disk and of the F-14 afterburner) but that's better than a nake armature for now IMHO. Maybe someday I'll find the right tyres
 
That looks awesome Julien.Seriously looks like an original with the parts you have weathered. Beautiful.

Isel
 
Thanks Isel ! You helped me a lot on this one ;)

I forget those pics :


rotjatst183.jpg

Rear of the ankle/foot. I drilled and tappered 2 holes for the 2 allen screw which secure the pivot joint (ankle is just basecoated) :
rotjatst184.jpg

The underside of the foot, I havent drilled yet the hole for the puppy rod mount :
rotjatst185.jpg
 
Bravo!!

You have to set up a mini canopy with camo netting and shoot some glamour shots.
 
Last edited:
I agree, totally amazing dude!!. Build-up and paint are just gob smacking Julien!. That's a shame you can't find a good machinist not far from you, all the going to and back again takes time, but hey it's worth it lookin at this baby.
I,m fortunate that if i can't make a part my dad always comes to my rescue and comes up with the goods. I,m trying to learn all his tricks of the trade while he's still around. Nothing more satisfying that making your own parts in metal thats for sure!.
Stu :eek
 
Last edited:
Thanks guys !

Stu : yeah if you have the chance to got your dad into this kind of stuff and if you can learn from him, that's great ! I cant wait to see your big X-Wing ;)

Matt : I dont plan to do any go-motion device right now since I dont know really how it works and I dont have good pics or plans of the whole thing... If an old ILM'er got that and would be able to share... let me know :lol

Yeah I'll took some more pics once I got the new hinges for the hipparts, right now she cant move from her stand :lol This chicken cant run anywhere ;)
 
Back
Top