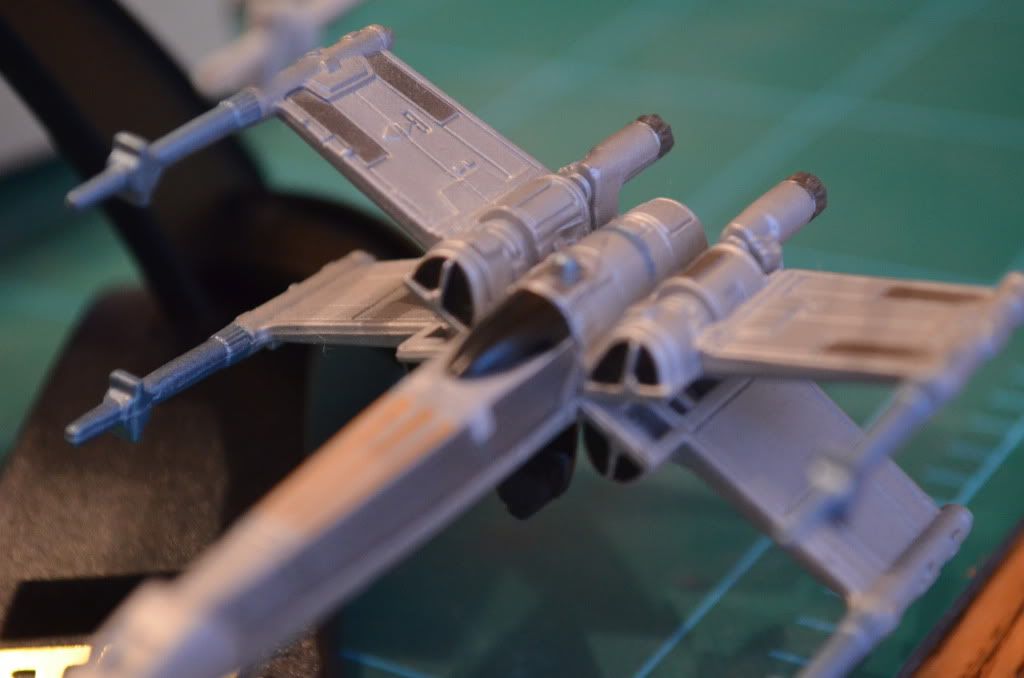
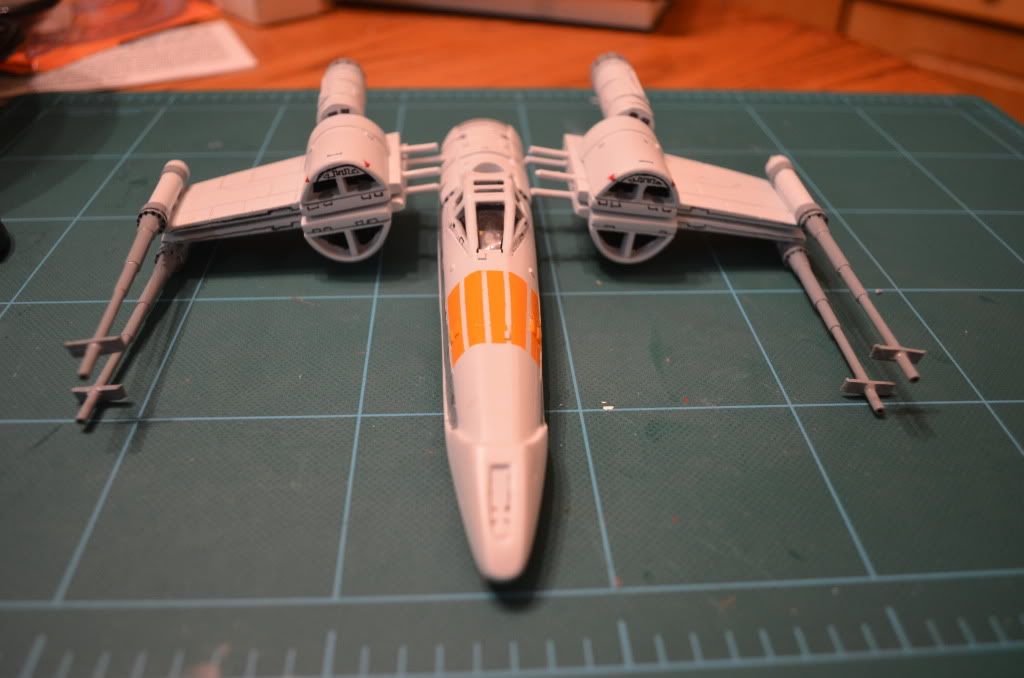
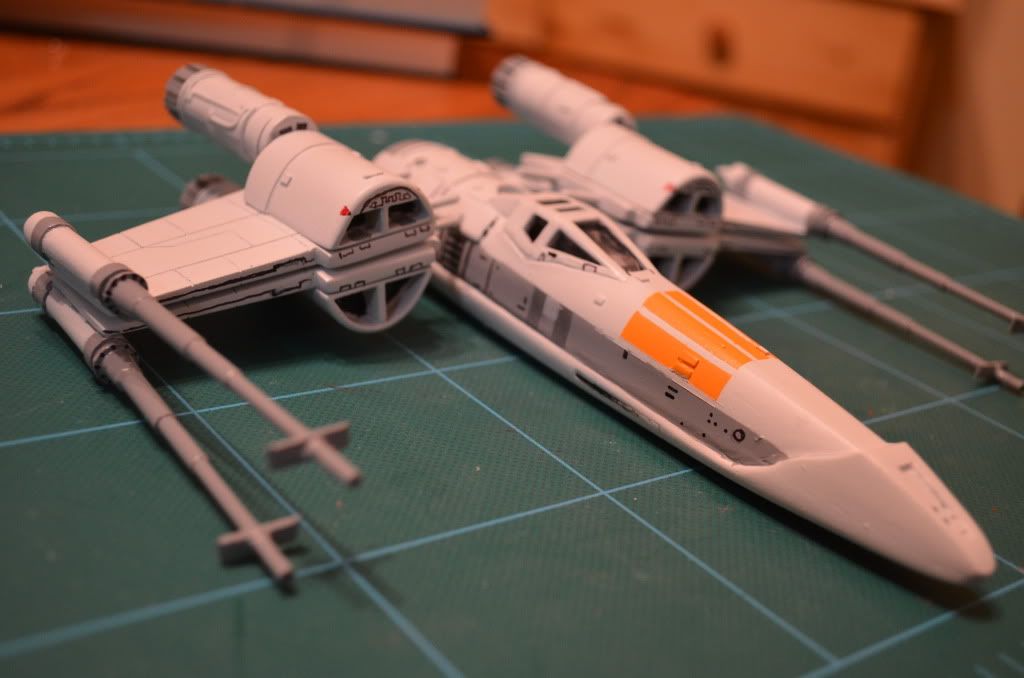
Well, here's my first project, a Ralph McQuarrie 1/72 Concept X-Wing kit from Ray22. Thanks Ray for all of the advice, it's much appreciated. It's been 30 years since I actually built a model kit. And the last model I made was an ESB Snowspeeder (Revell, maybe?) which I actually found when I was cleaning out my mom's house when she passed away last year.
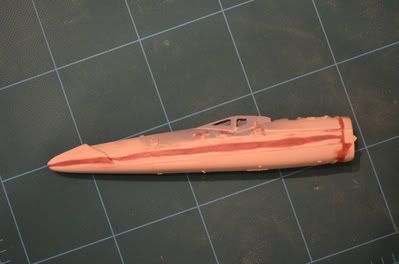
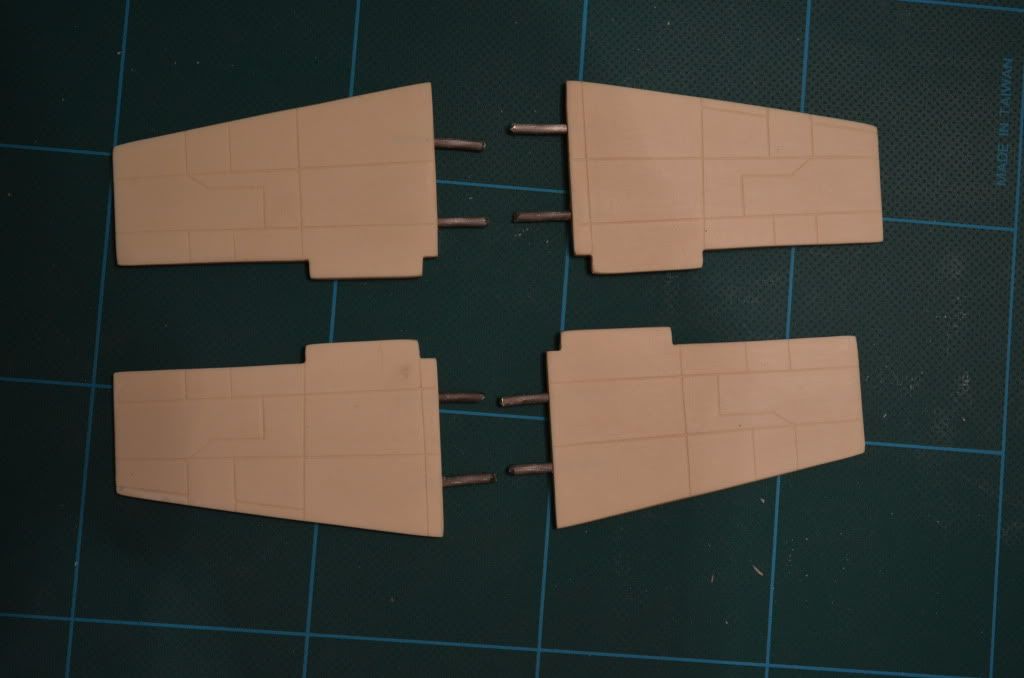
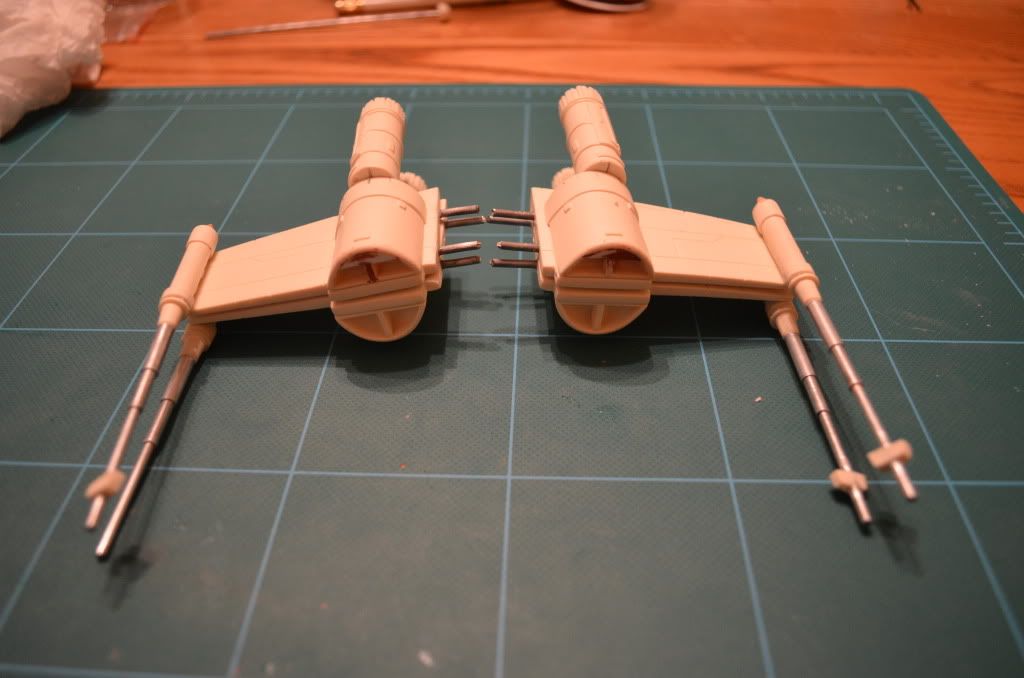
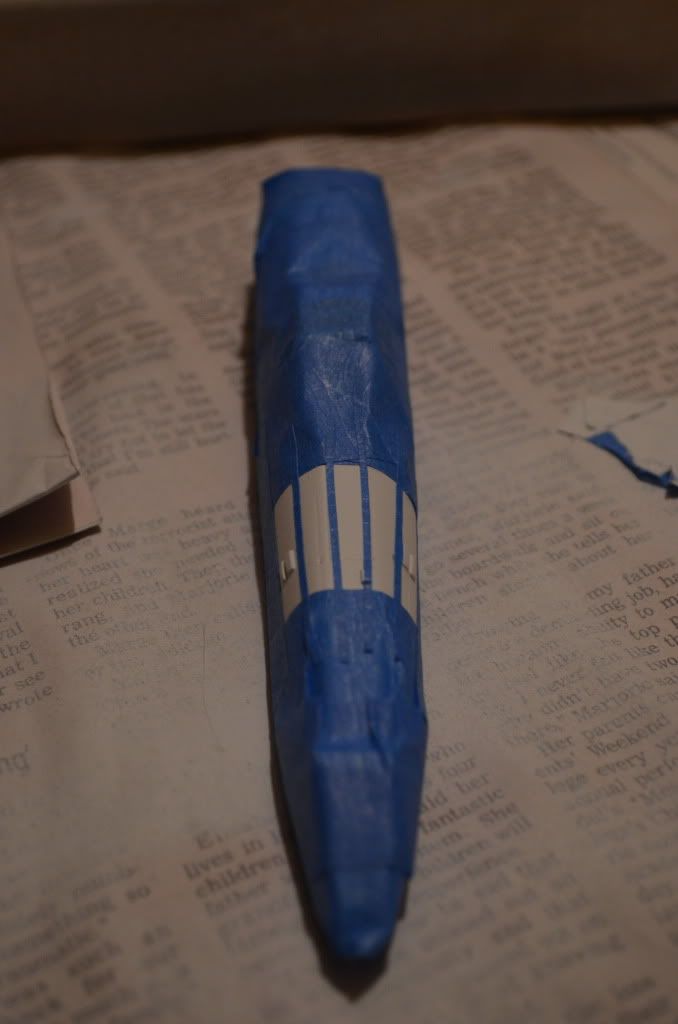
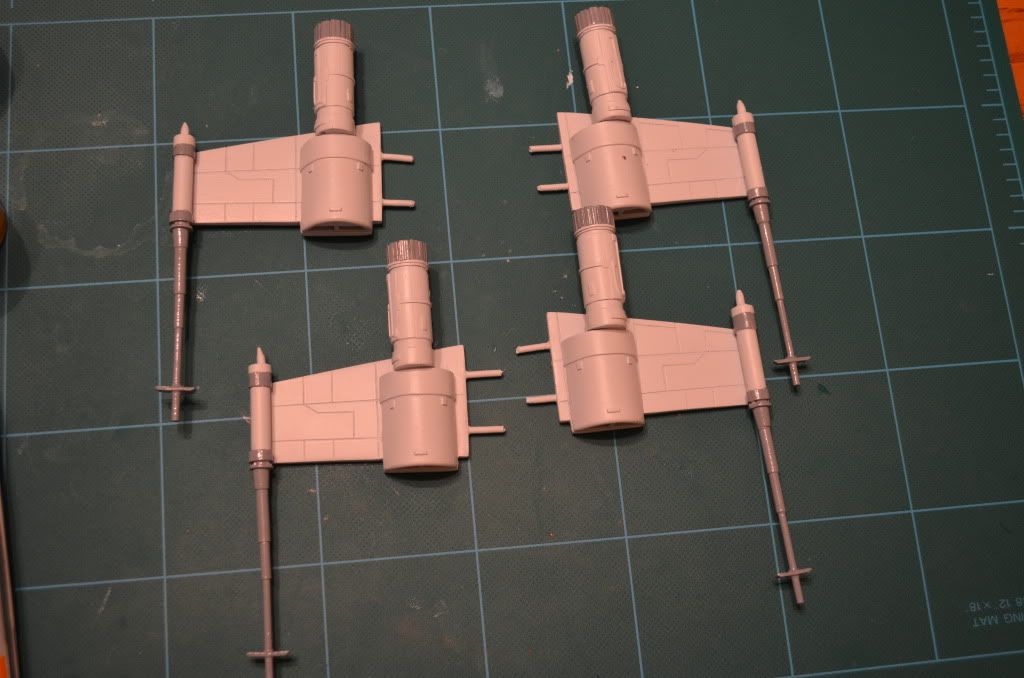
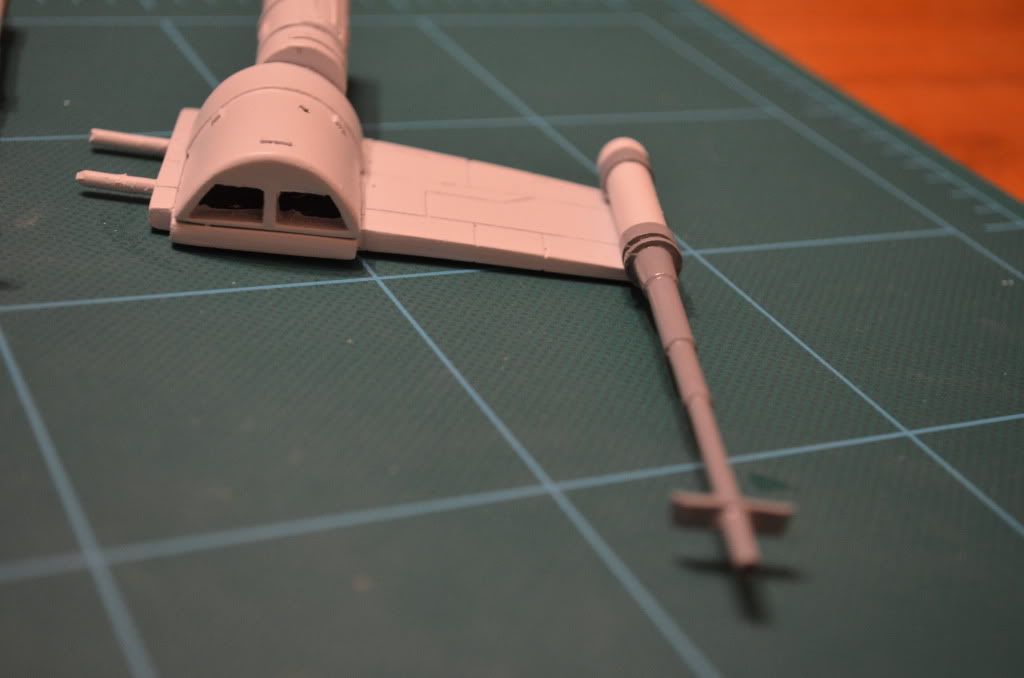
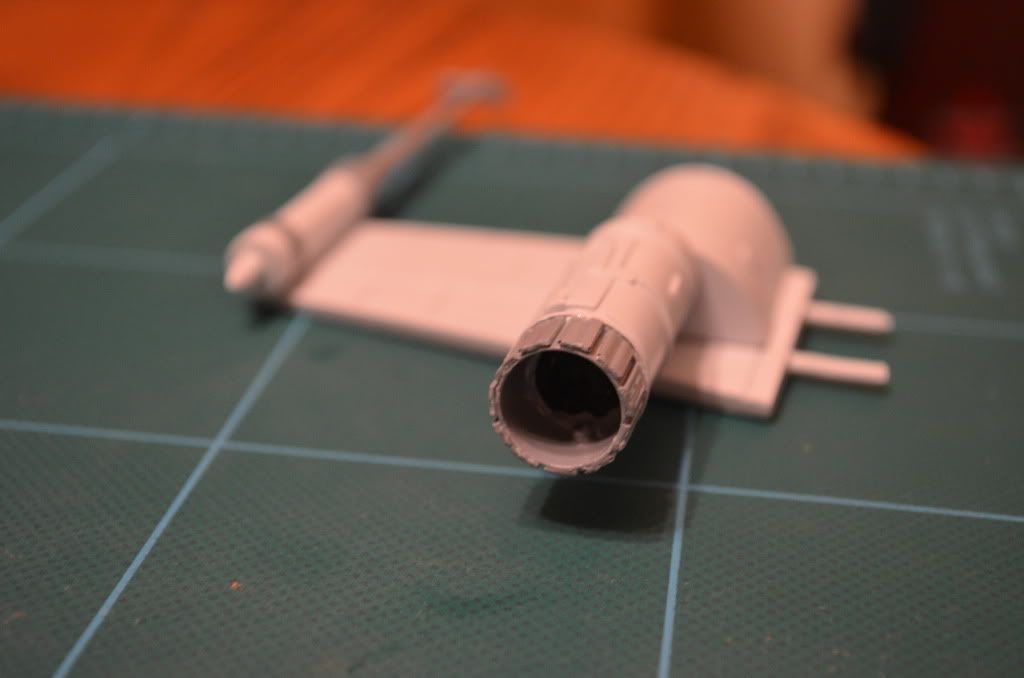
So, here we go...the first pic is the kit parts I got from Ray. This is my first resin kit and I have to say the casting was incredibly clean! The second photo is of the cockpit that I decided I'd add a bit to so I sent ahead and primed the canopy because one of the things I thought I'd try would be to put some clear transparency plastic inside to simulate glass.
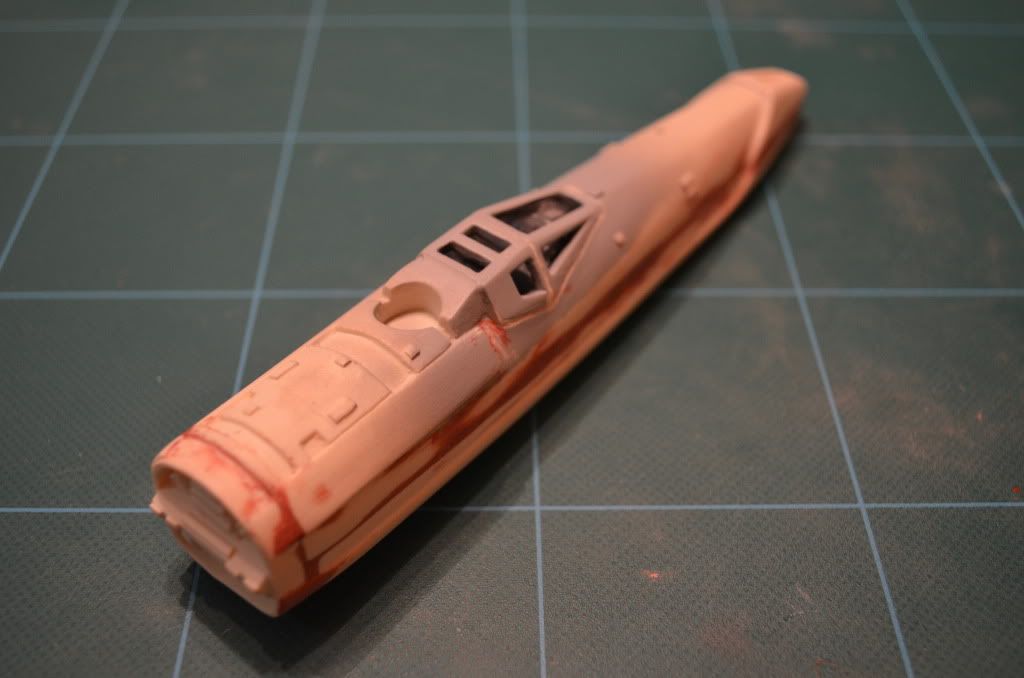
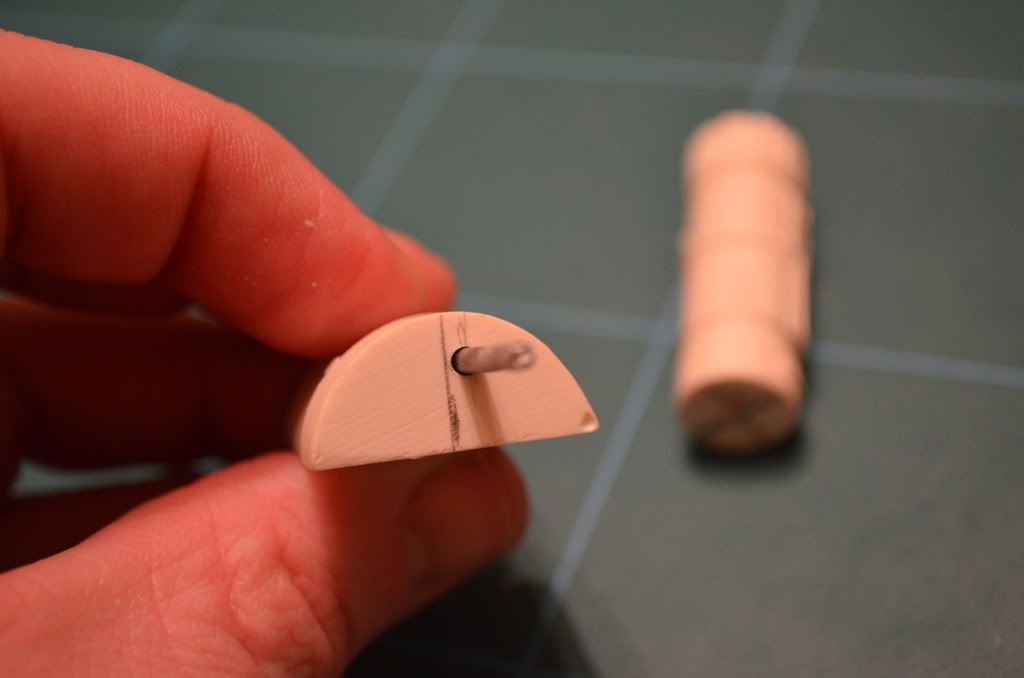
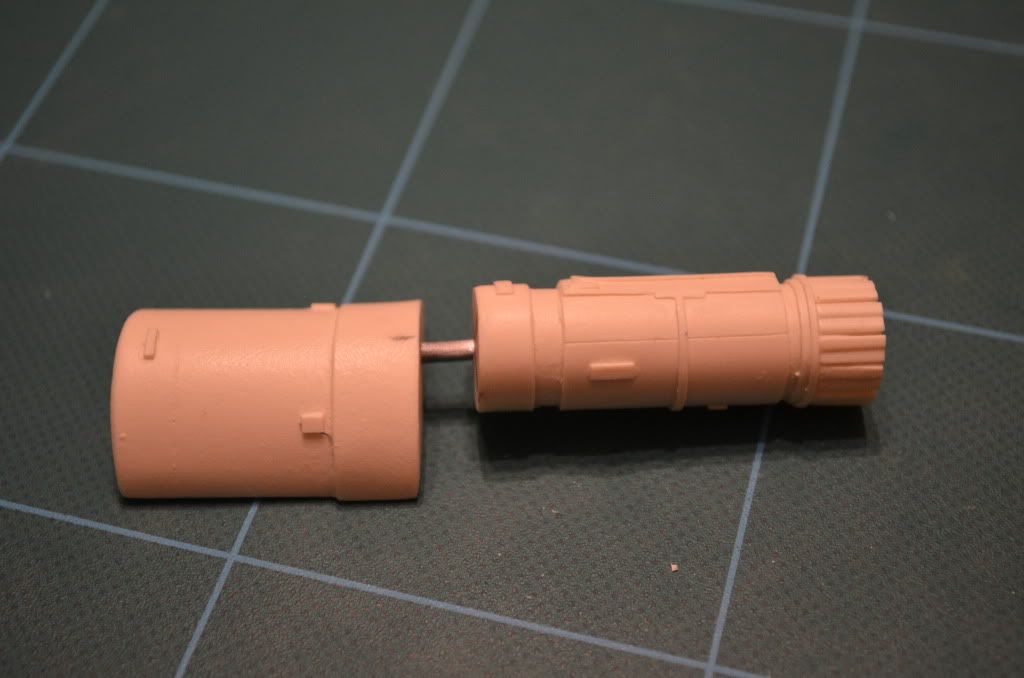
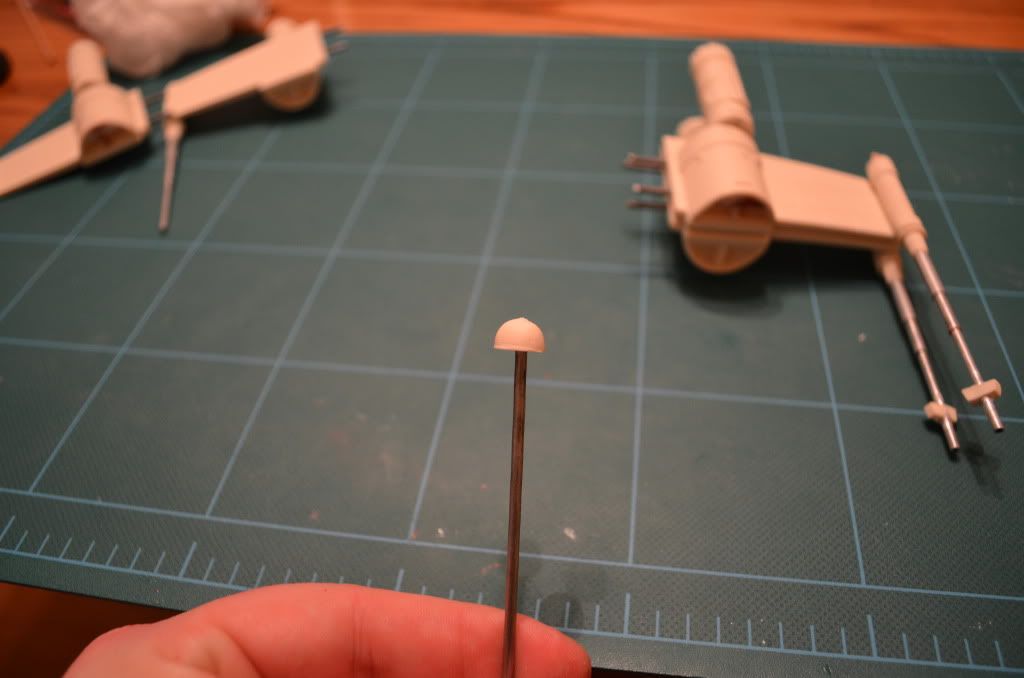
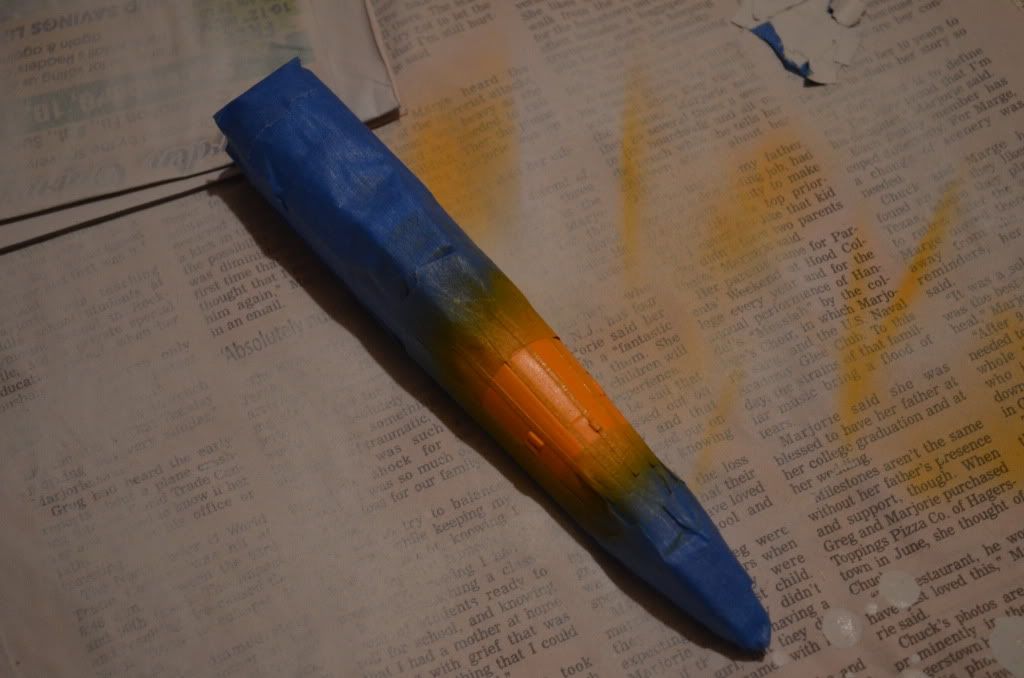
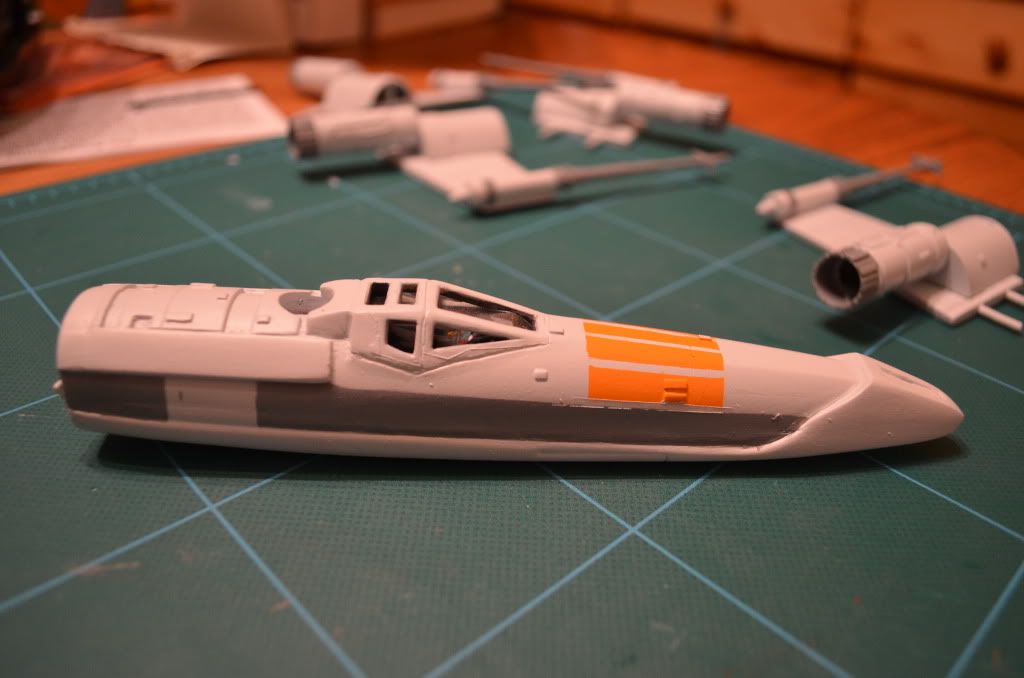
After studying the original artwork, I decided to add a small greeblie to the cockpit, just to give it something. The next photo is of the painted cockpit. It's probably overkill, but I figured what the hell. It'll give me some much needed practice. Next I created a pattern for the canopy windows out of paper that I then used to cut out the transparency sheet.
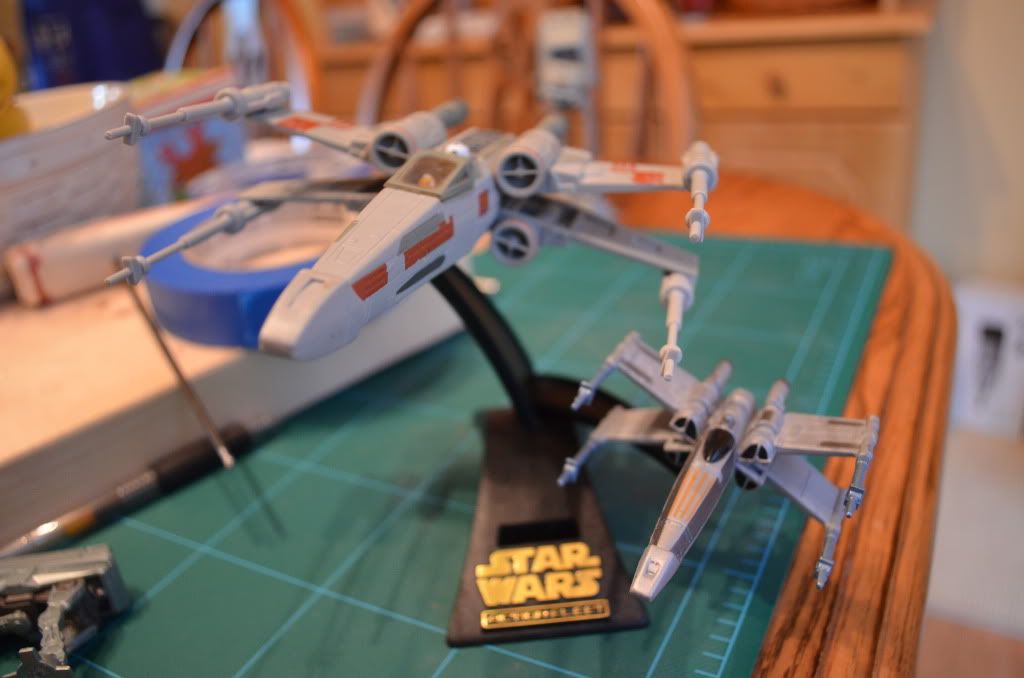
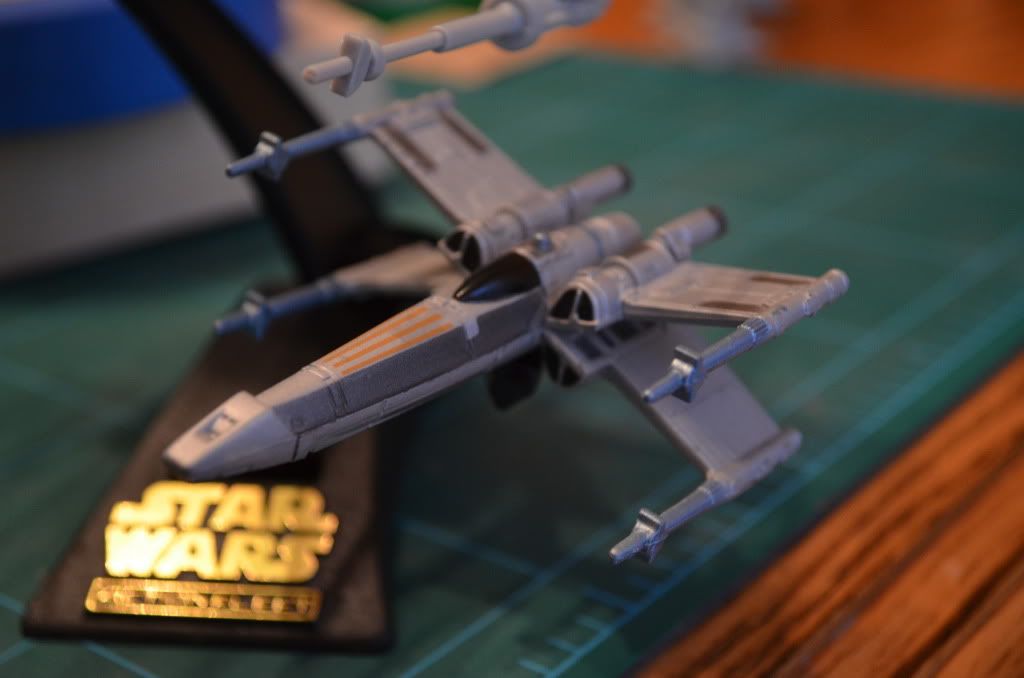
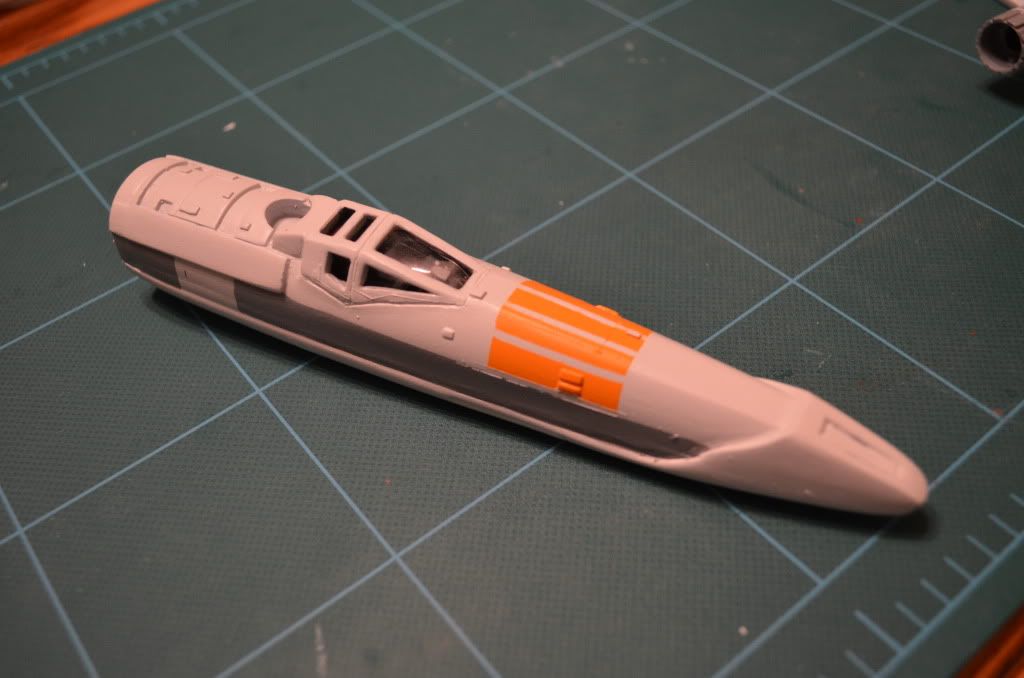
Luckily the transparency fit perfectly the first time (not sure how I managed that :confused) and with a single spot of glue, attached it to the upper half of the fuselage then glued the cockpit in. The fit of the transparency plastic nestled perfectly when the cockpit was glued in. Again, not sure how I managed that, but I'm not going to complain! HA!
I've now glued the two halves of the fuselage and then filled an am just waiting for that to dry. Any comments would be greatly appreciated!
One question for everyone...how do I embed my photos into the post instead of putting them up as attachments? Doing that seems to be easier to explain photos.
Thanks for looking everyone! More pics soon!
Dave
So, here we go...the first pic is the kit parts I got from Ray. This is my first resin kit and I have to say the casting was incredibly clean! The second photo is of the cockpit that I decided I'd add a bit to so I sent ahead and primed the canopy because one of the things I thought I'd try would be to put some clear transparency plastic inside to simulate glass.
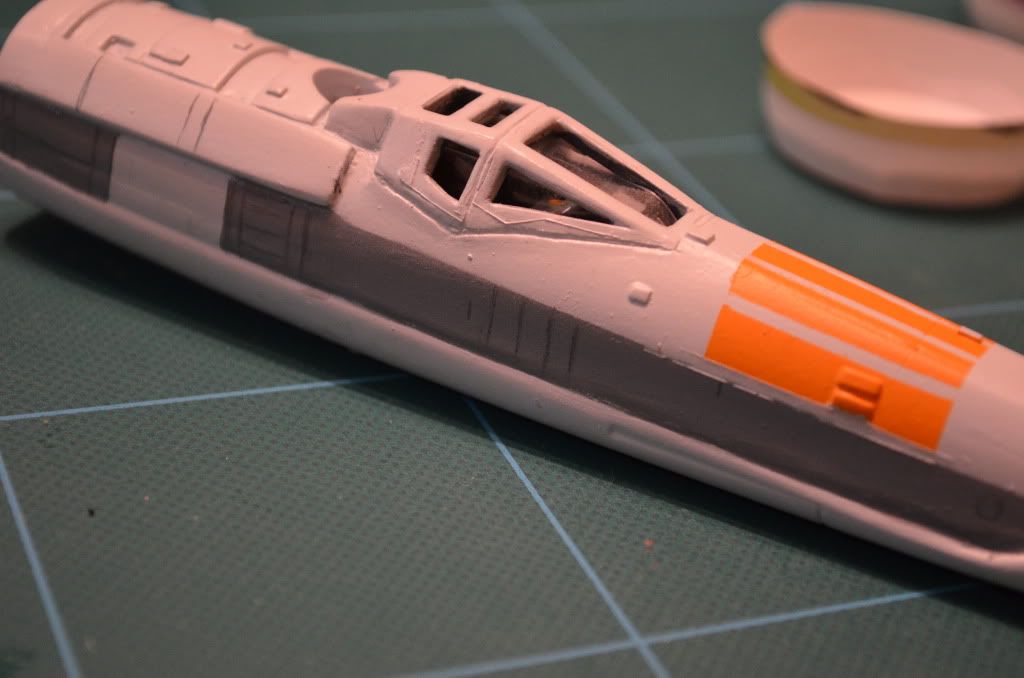
After studying the original artwork, I decided to add a small greeblie to the cockpit, just to give it something. The next photo is of the painted cockpit. It's probably overkill, but I figured what the hell. It'll give me some much needed practice. Next I created a pattern for the canopy windows out of paper that I then used to cut out the transparency sheet.
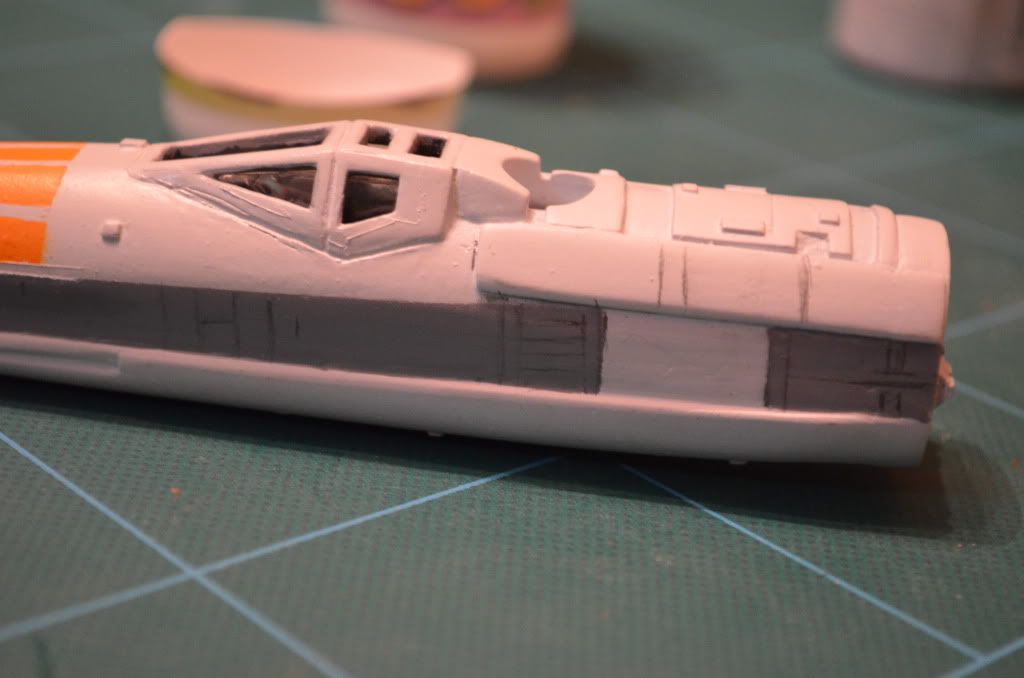
Luckily the transparency fit perfectly the first time (not sure how I managed that :confused) and with a single spot of glue, attached it to the upper half of the fuselage then glued the cockpit in. The fit of the transparency plastic nestled perfectly when the cockpit was glued in. Again, not sure how I managed that, but I'm not going to complain! HA!
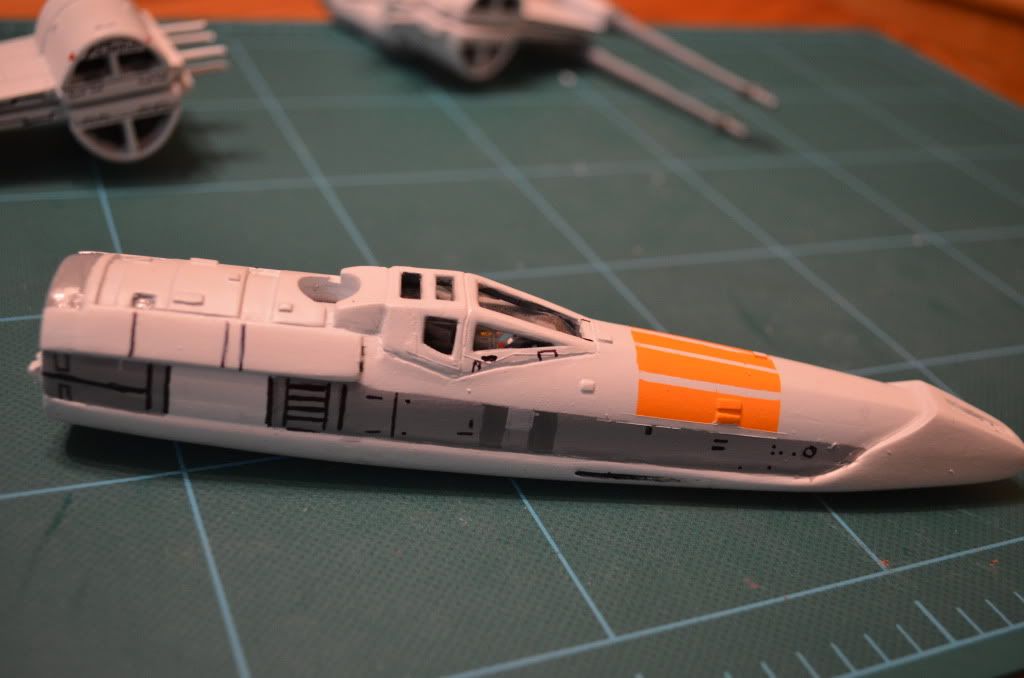
I've now glued the two halves of the fuselage and then filled an am just waiting for that to dry. Any comments would be greatly appreciated!
One question for everyone...how do I embed my photos into the post instead of putting them up as attachments? Doing that seems to be easier to explain photos.
Thanks for looking everyone! More pics soon!
Dave
")