Qrest Fourstar
Sr Member
Always love another FM falcon build diary.
I have also folllowed Dan's. Ive got it saved on my harddrive.
I have also folllowed Dan's. Ive got it saved on my harddrive.
")
Looks beautiful! What are you using for primer? Can or airbrush?
I'm sorry, but I have to ask... "How anal is too anal"?...... Have you ever seen a studio model? Hey, if you're trying recapture the PERFECT falcon,,,, I just don't get it. It's supposed to be a cobbled together freighter..
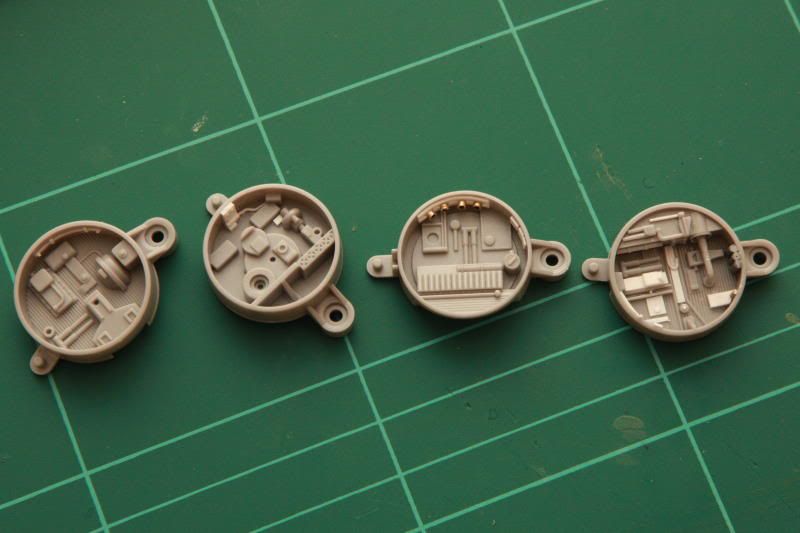
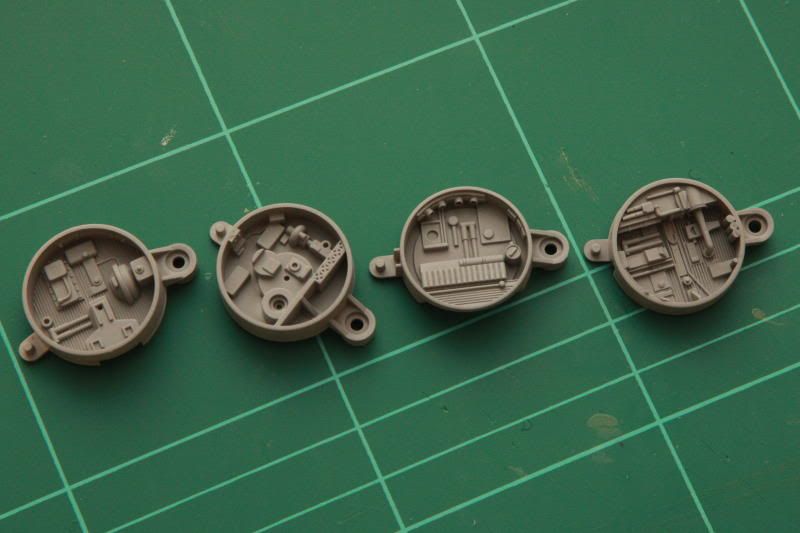
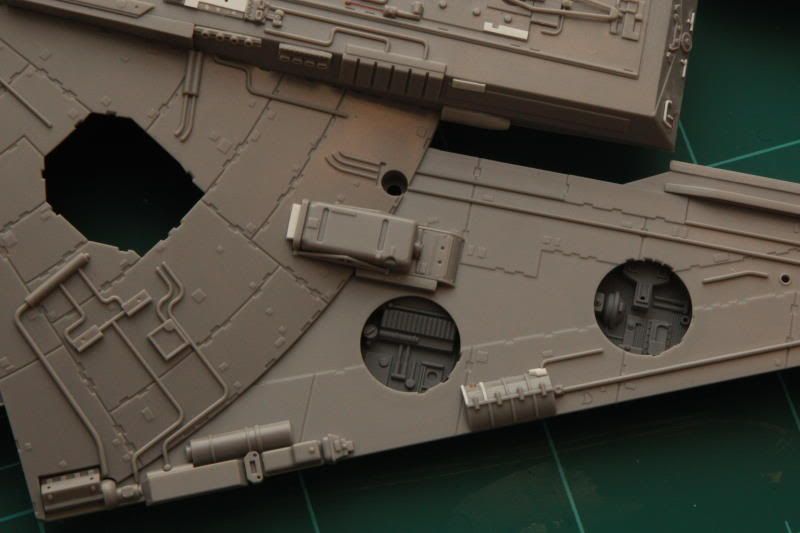
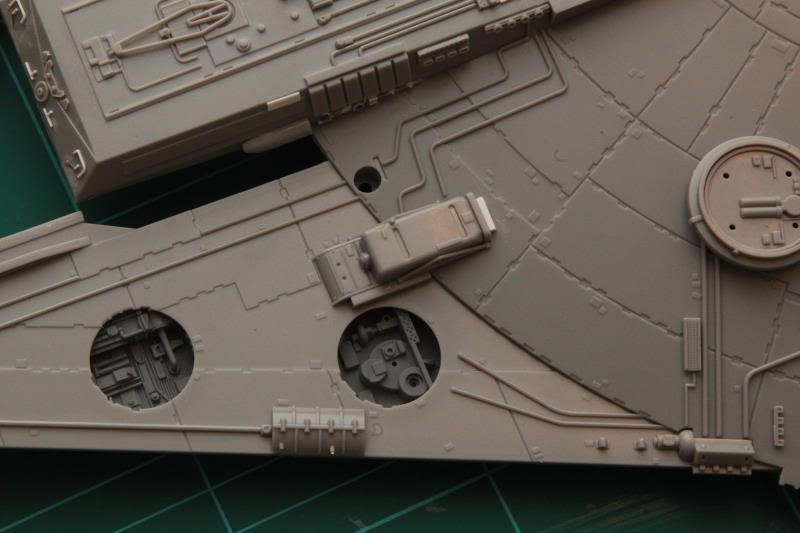
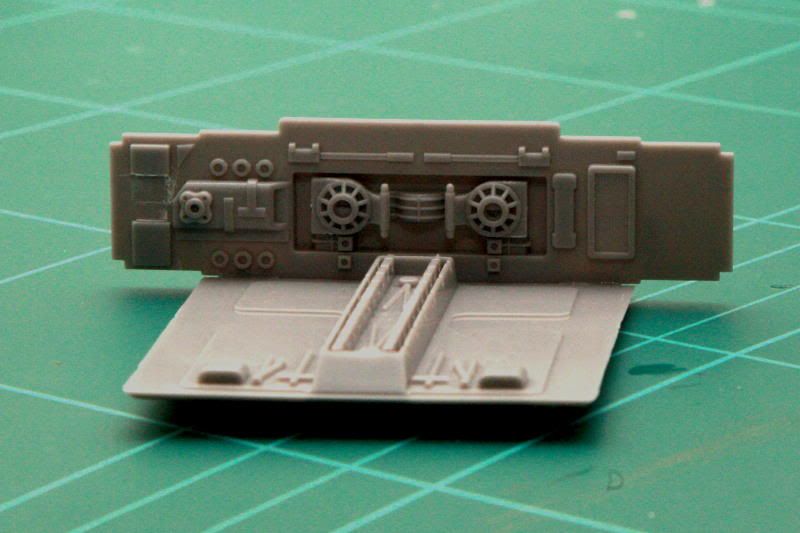
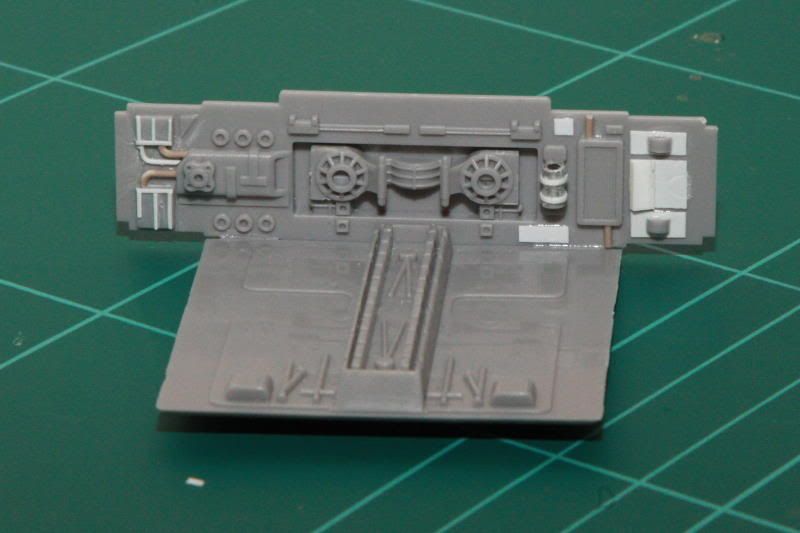
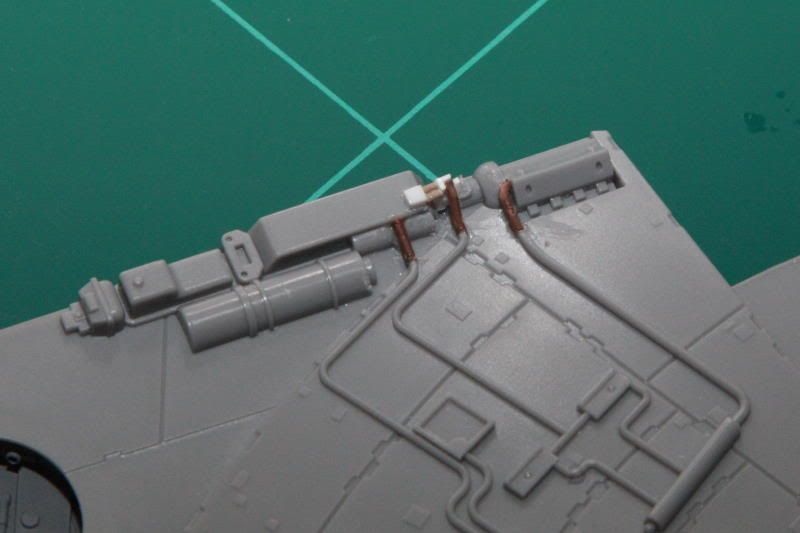
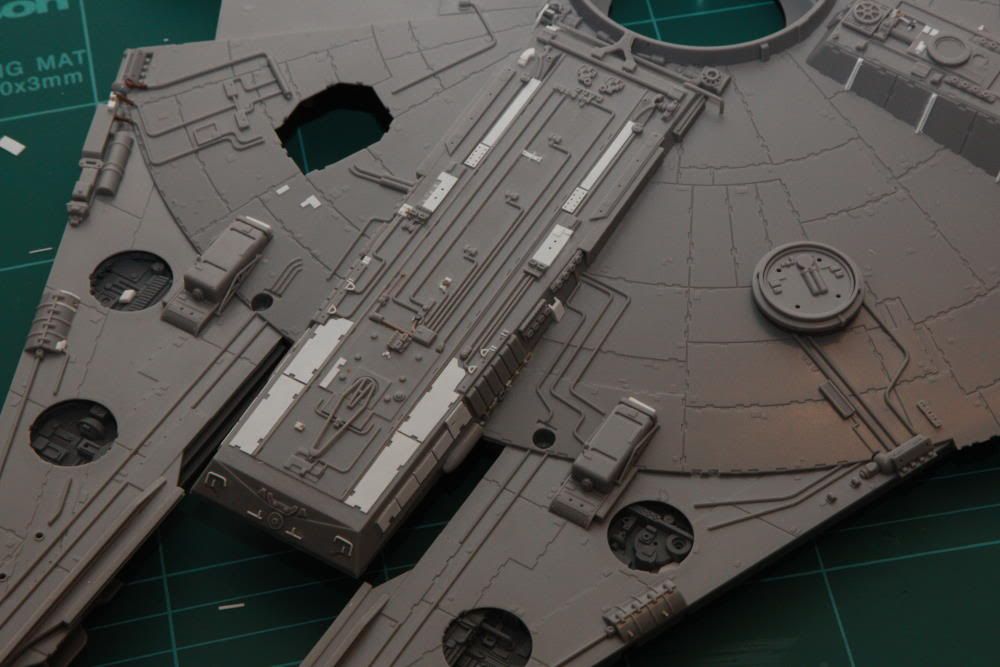
:lol Well, I wrote that just after I'd started the build so I wasn't sure how far I was going to go. I guess I mean I'm not too bothered about using little details I can see on both the 32" and 5ft studio models, if I like the look of it. In the access points I even added a few little details that I made up myself. So it's not so much I'm aiming to capture the 'perfect' Falcon, but more a model that is bristling with fine detail and looks great to the eye, even though it might not be 100% accurate to either studio model.
kind of makes me want to brush the dust off my FM kit and continue. Nice detailing!
Being a Falcon fan as I am, I am enjoying your thread greatly.
Great detail work, The extras look like they should be there! Thats what you want to achieve and that's what you have done.
looking forward to rest.
Ozzy
I'm all for making it your own! :love Just makes it more interesting!
Great job so far! :thumbsup
VERY NICE!!! Makes me want to start mine!
That is some nice work so far.
That looks great.
But I wonder, is all this detailing also missing when you´d replicate the 32" model? I haven´t looked at any MF reference pics so far because I won´t start mine for a while, but I had hoped the FM kit would be good enough so I can build it OOB, which I haven´t done for years...
Got to admit though, I really like what you´re doing to yours.