ozzyguanche
Sr Member
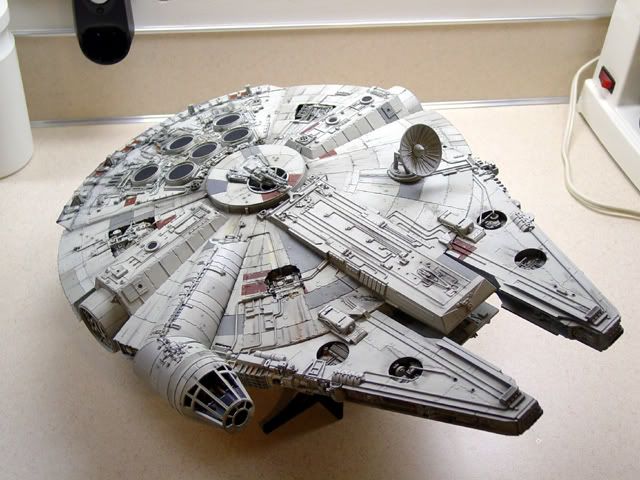
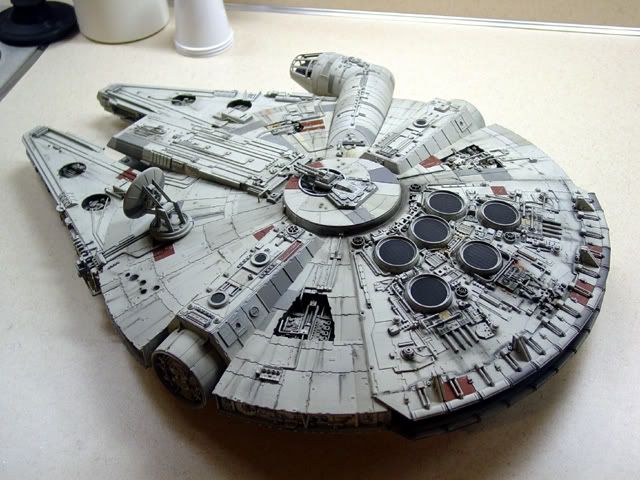
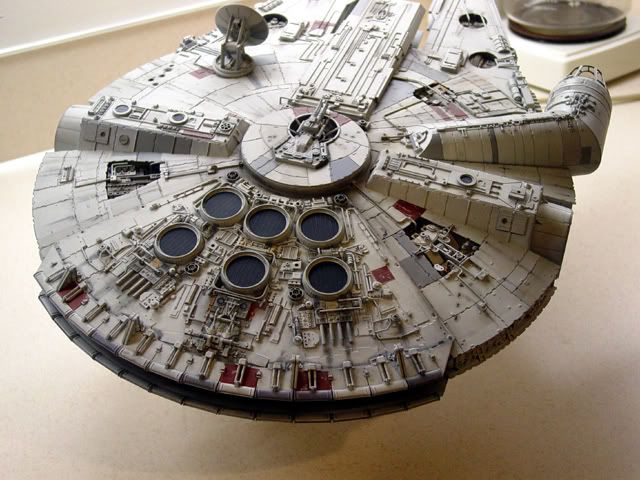
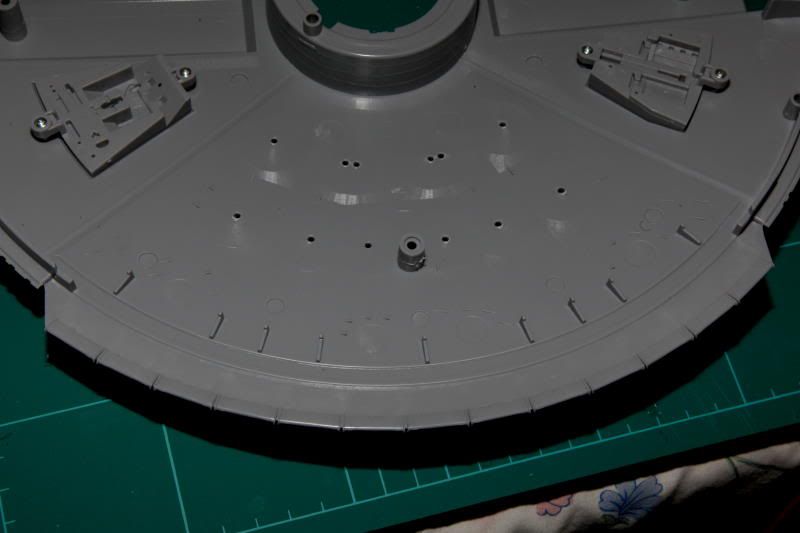
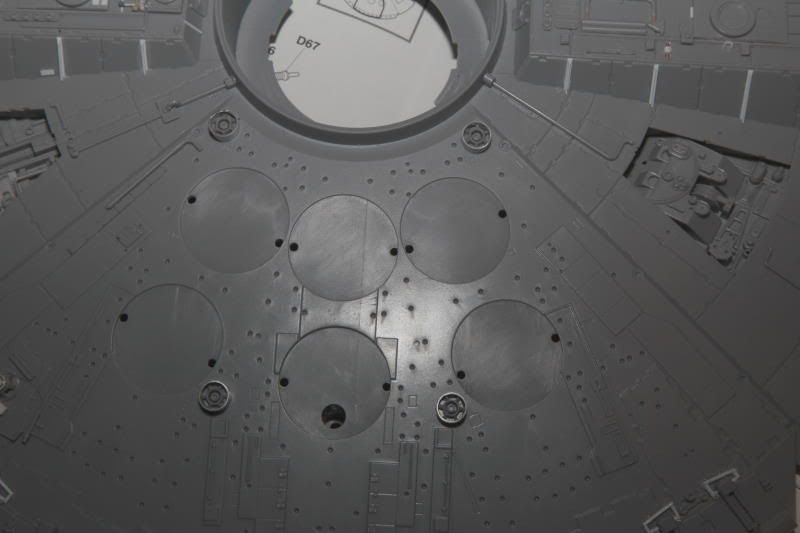
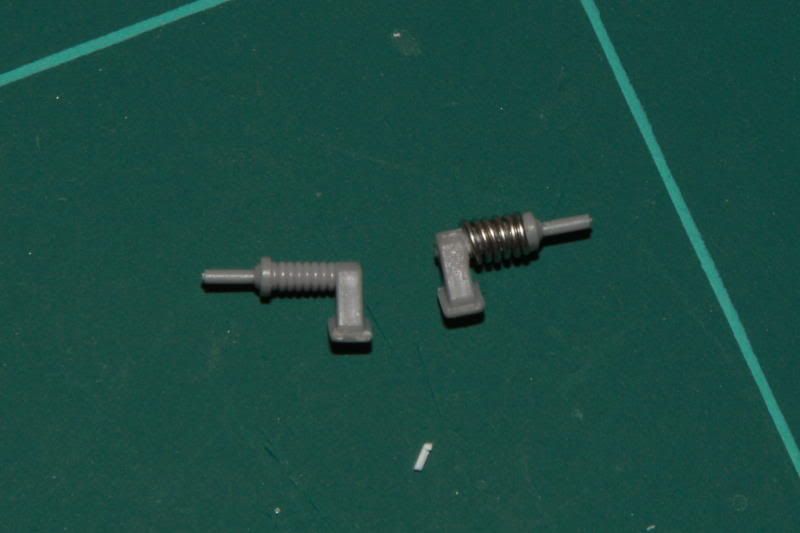
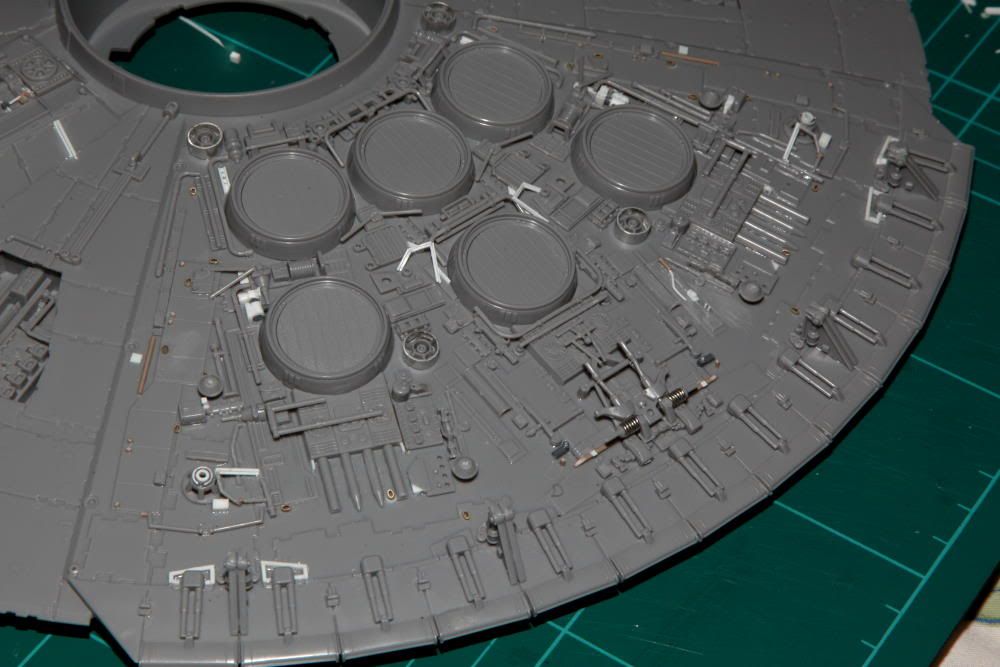
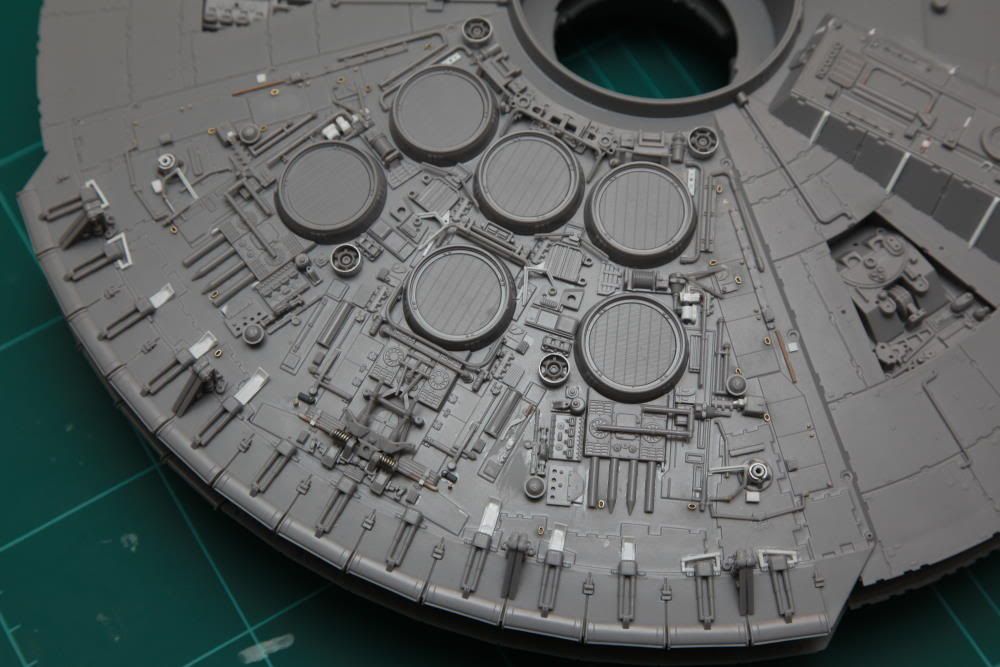
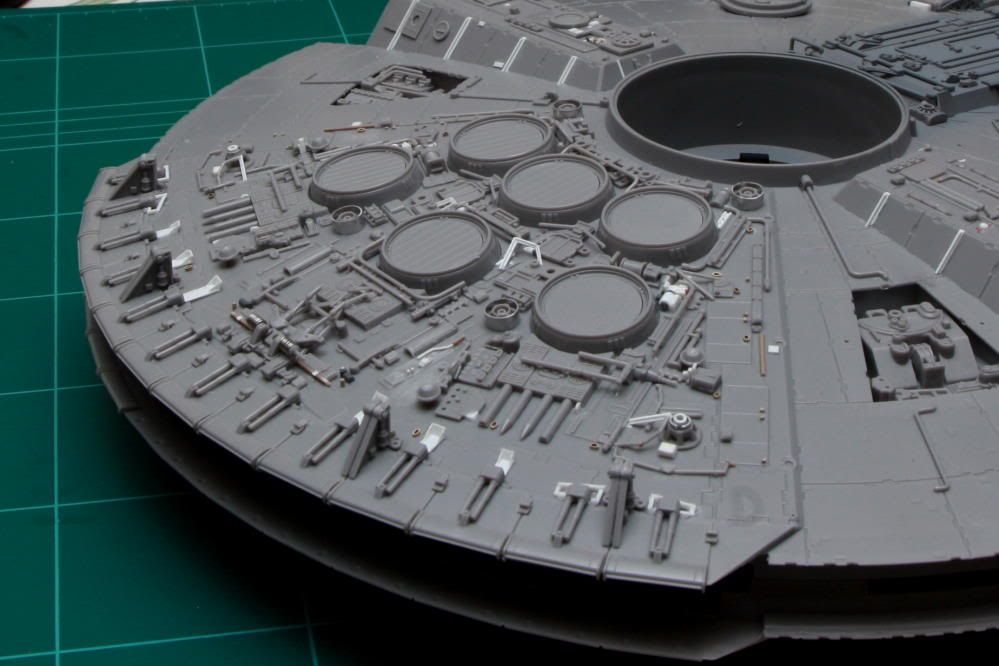
Alaneye, In my opinion, when seeing the studio scale falcons up close you can see the imperfections including much of it not being symmetrical, and even though you can not see these in the movies you get the same sence of imperfection anyway. Some of the FM falcon builds I have seen are exceptional in that they are clean tidy and perfectly painted, but they lack that sence of imperfection. They still look like a production make kit. No offence to anyone!
I think that the feel of the SS models is achieved by adding some of your own work, and detailing, which you are doing. So dont worry too much about making the parts perfect. What you doing is working.
Pharchivist, do the pastels darken once clear coat is applied?
Ozzy
I think that the feel of the SS models is achieved by adding some of your own work, and detailing, which you are doing. So dont worry too much about making the parts perfect. What you doing is working.
Pharchivist, do the pastels darken once clear coat is applied?
Ozzy

")