CynderBloc
Active Member
Hey all,
I'm currently in the middle of an NCR Vet Ranger build (which is taking me a long time.....). To get a break from it, I decided that instead of just buying a replica Peacemaker or Colt Navy revolver which was my original plan, I'd see how quickly I could knock together a Brush Gun. I have a few days off, so lets go!
Most of you will know what the Brush Gun is, but for those who don't:

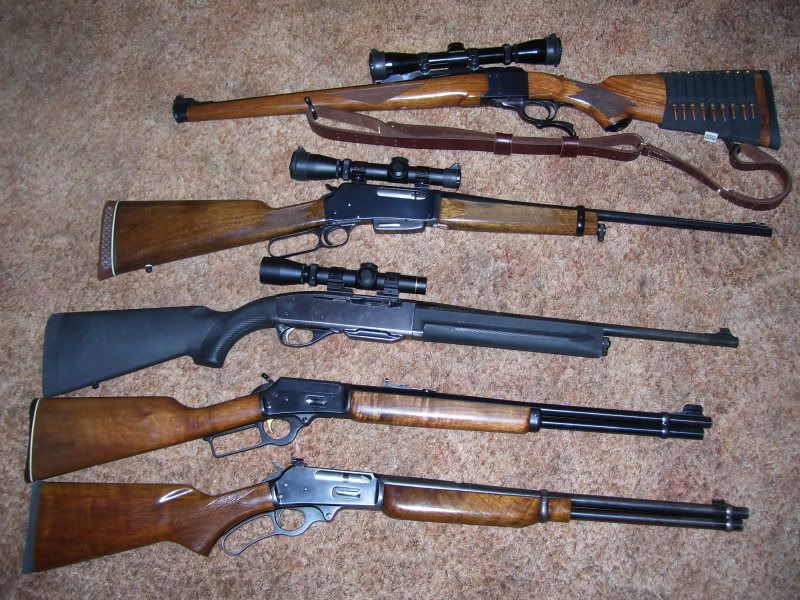
Yes, it's a lever action rifle, mainly carried by the NCR Veteran Rangers. Perfect weapon for my costume.
As far as I am aware, it is based on a Winchester 1886, but I'm not 100% so don't quote me on that.
Anyway, after some thought I decided I didn't like the short ammo tube or the look of the receiver, so I had a look around the web and found this texture mod:

This was far better looking in my opinion, so I went with this one.
I started building it last night, but it didn't even occur to me to take photos at first so I'll have to describe the first couple of hours.
First things first, using the in-game render (top photo), I drew up some plans and cut the shape of the stock plus half of the receiver out of 6mm MDF. (I left the section of receiver a bit longer to let me clamp it while I'm working on it)
My plan is to have an MDF central spine, with pink foam building up the shape of the stock.
The reasoning behind this was I had attempted a Fallout Sniper rifle a few months back making the whole stock from solid MDF, and although I got the general shape right, it just got far too tedious trying to sand it into shape (plus the fact it weighed a ton)
I glued the pink foam on using some PVA glue and left it overnight. Once it was dry I sanded the general shape of the stock by hand. The tight areas took a while as my Dremel has decided to do a disappearing act on me....
The 'cutout' part at the back of the receiver is for the hammer, I'm just going to make it out of some acrylic and glue it in last thing

Once I had the general shape, I filled the cracks between the sections of foam and the areas where I had accidentally taken out chunks while I was sanding with standard wall filler (I remember reading a while back that body fillers dissolve the foam)

When dry I gave the entire stock a couple of coats of casting plastic (I used Polytek Easyflo 95, most people seem to use Smooth-cast but it's hard to get in the UK). This is so I can coat the stock in body filler, firstly to beef it up a touch and secondly so I can add some wood splits later

Makeshift drying stand...")

While that was drying I started cutting the sections of MDF that will make up the receiver and the spine of the foregrip

It was getting pretty late here, so I just had time to do one more quick thing. Prepping the barrel and ammo tube for painting, which, weather depending, I should get done tomorrow afternoon.
The barrel and ammo tube are 16mm clear acrylic pipe. I did make a bit of a whoopsie, as I ordered a 2m length assuming that both the barrel and ammo tube were the same diameter, the barrel is actually a couple of millimetres wider, but I can get around that with a couple of extra coats of primer

Hopefully I'll have an update up tomorrow, but like I said, it's weather depending...
I'm currently in the middle of an NCR Vet Ranger build (which is taking me a long time.....). To get a break from it, I decided that instead of just buying a replica Peacemaker or Colt Navy revolver which was my original plan, I'd see how quickly I could knock together a Brush Gun. I have a few days off, so lets go!
Most of you will know what the Brush Gun is, but for those who don't:
Yes, it's a lever action rifle, mainly carried by the NCR Veteran Rangers. Perfect weapon for my costume.
As far as I am aware, it is based on a Winchester 1886, but I'm not 100% so don't quote me on that.
Anyway, after some thought I decided I didn't like the short ammo tube or the look of the receiver, so I had a look around the web and found this texture mod:
This was far better looking in my opinion, so I went with this one.
I started building it last night, but it didn't even occur to me to take photos at first so I'll have to describe the first couple of hours.
First things first, using the in-game render (top photo), I drew up some plans and cut the shape of the stock plus half of the receiver out of 6mm MDF. (I left the section of receiver a bit longer to let me clamp it while I'm working on it)
My plan is to have an MDF central spine, with pink foam building up the shape of the stock.
The reasoning behind this was I had attempted a Fallout Sniper rifle a few months back making the whole stock from solid MDF, and although I got the general shape right, it just got far too tedious trying to sand it into shape (plus the fact it weighed a ton)
I glued the pink foam on using some PVA glue and left it overnight. Once it was dry I sanded the general shape of the stock by hand. The tight areas took a while as my Dremel has decided to do a disappearing act on me....
The 'cutout' part at the back of the receiver is for the hammer, I'm just going to make it out of some acrylic and glue it in last thing
Once I had the general shape, I filled the cracks between the sections of foam and the areas where I had accidentally taken out chunks while I was sanding with standard wall filler (I remember reading a while back that body fillers dissolve the foam)
When dry I gave the entire stock a couple of coats of casting plastic (I used Polytek Easyflo 95, most people seem to use Smooth-cast but it's hard to get in the UK). This is so I can coat the stock in body filler, firstly to beef it up a touch and secondly so I can add some wood splits later
Makeshift drying stand...
While that was drying I started cutting the sections of MDF that will make up the receiver and the spine of the foregrip
It was getting pretty late here, so I just had time to do one more quick thing. Prepping the barrel and ammo tube for painting, which, weather depending, I should get done tomorrow afternoon.
The barrel and ammo tube are 16mm clear acrylic pipe. I did make a bit of a whoopsie, as I ordered a 2m length assuming that both the barrel and ammo tube were the same diameter, the barrel is actually a couple of millimetres wider, but I can get around that with a couple of extra coats of primer
Hopefully I'll have an update up tomorrow, but like I said, it's weather depending...
Last edited: