Dark asylum
Active Member
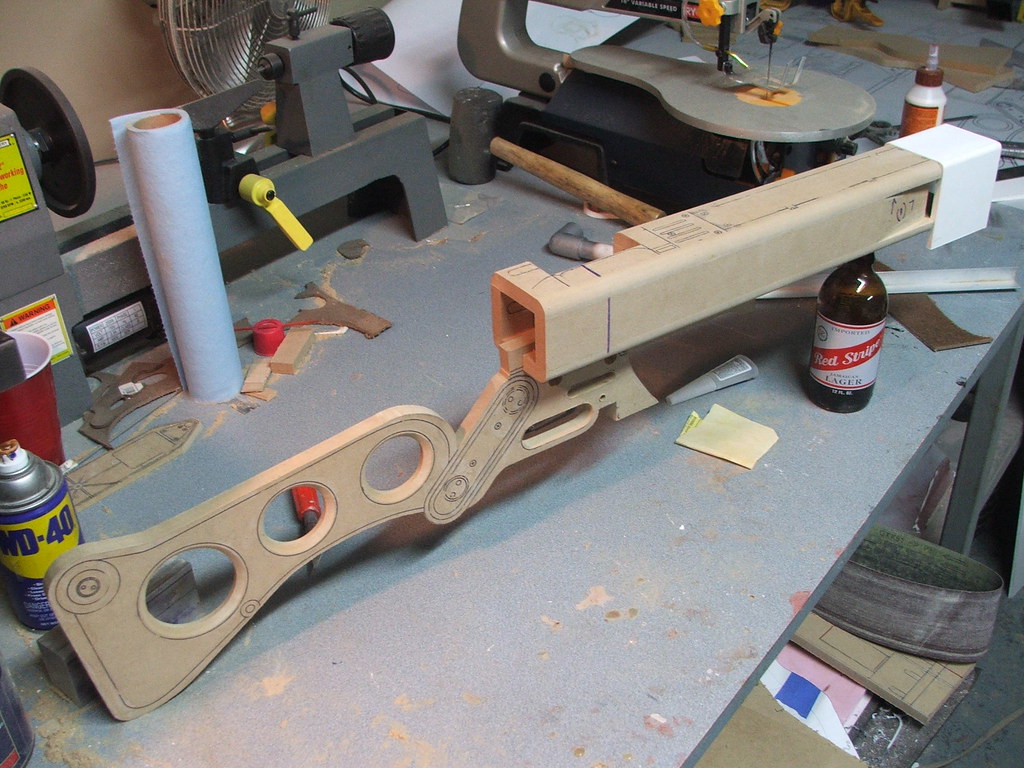
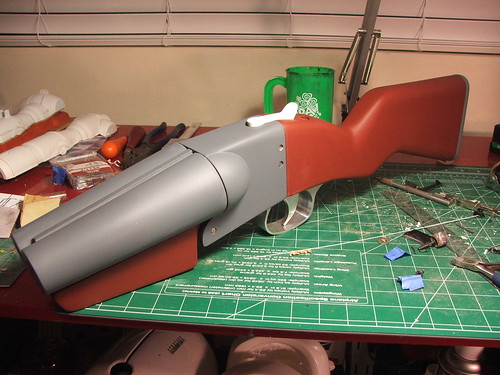
Nice work on the rifle, lots of wood work, would of been great to to of build the full gun out of Lexan then it would of been indestructable, given all the work you put into it would like to see it last forever, cudos, great work.
")