-
Welcome to the Project Runs Forum!
This forum is intended for interest gauging and active runs. Due to the transient nature of this forum, please keep all research and ongoing discussion in one of our main forums so your information is not lost.
Only Premium Members can start a new run.
You are using an out of date browser. It may not display this or other websites correctly.
You should upgrade or use an alternative browser.
You should upgrade or use an alternative browser.
Unlimited Run F-11D Blaster kits :OPEN:
- Thread starter JUSTINIAN
- Start date

Re: F-11D Blaster kits :CLOSED:
The new molds are complete!!!!
The test casting came out perfect. I'll upload pics in the next day or so.
I have sent messages to everyone who has expressed interest over the past year. I'll be able to start shipping those kits right away, and I'll have the thread opened for new orders by the end of the week. Thank you all for being so patient with me on these.
Also, I do plan to start offering completely finished blasters. More info on that later....
Re: F-11D Blaster kits :CLOSED:
Please clear out your inbox.Very interested as well, should you do a new run.
Need a F-11D to go with my First Order armor coming next year.
And your kit looks sooo awesome and accurate.
SankaraRaider
Well-Known Member
Re: F-11D Blaster kits :CLOSED:
Thanks! Just found out it was full!.. :facepalm
Thanks! Just found out it was full!.. :facepalm
Re: F-11D Blaster kits :CLOSED:
The run is open again!!!!
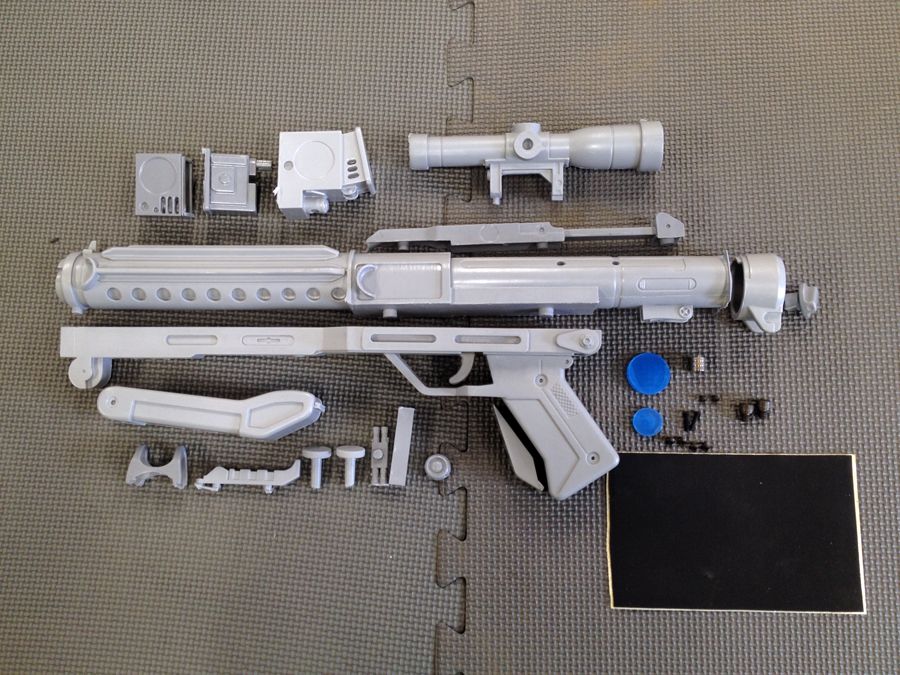
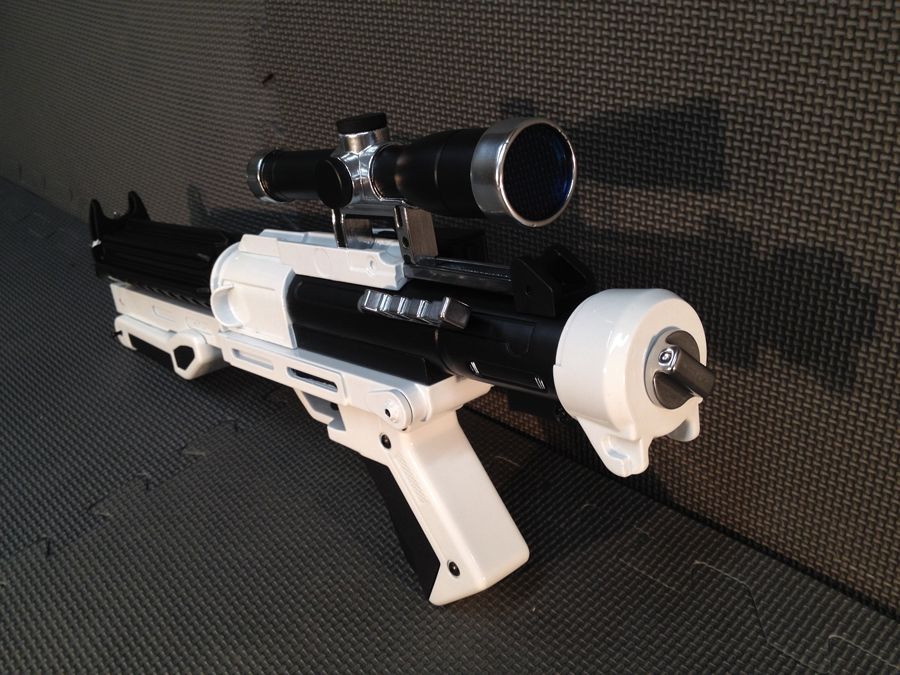
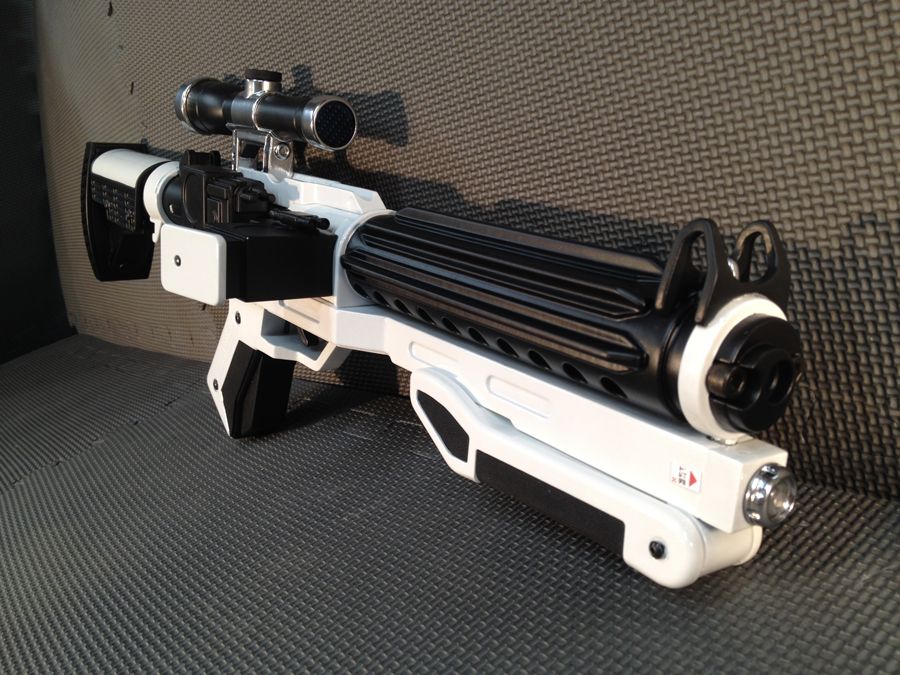
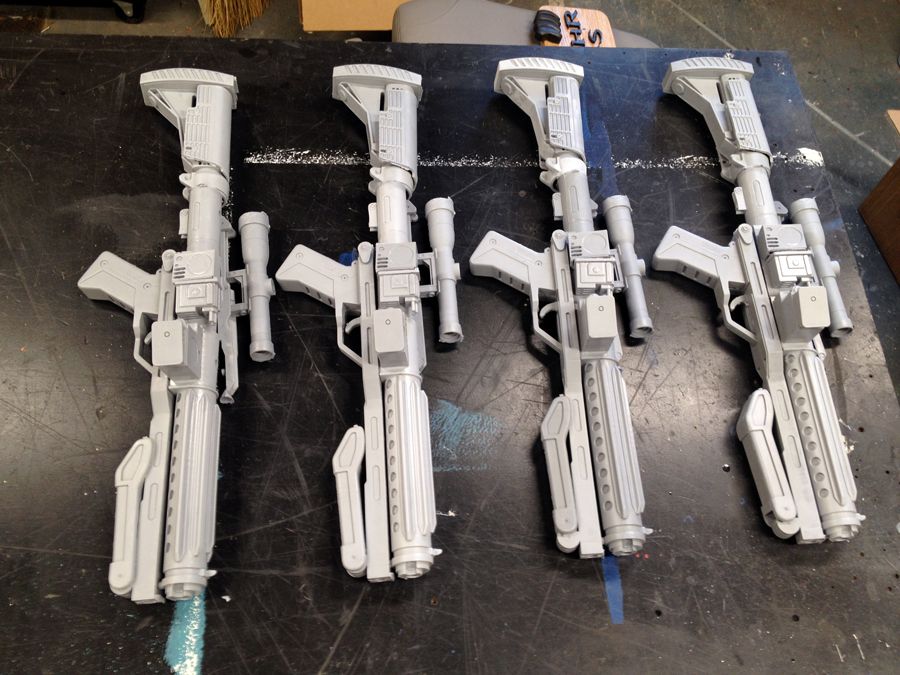
The basic blaster kit:
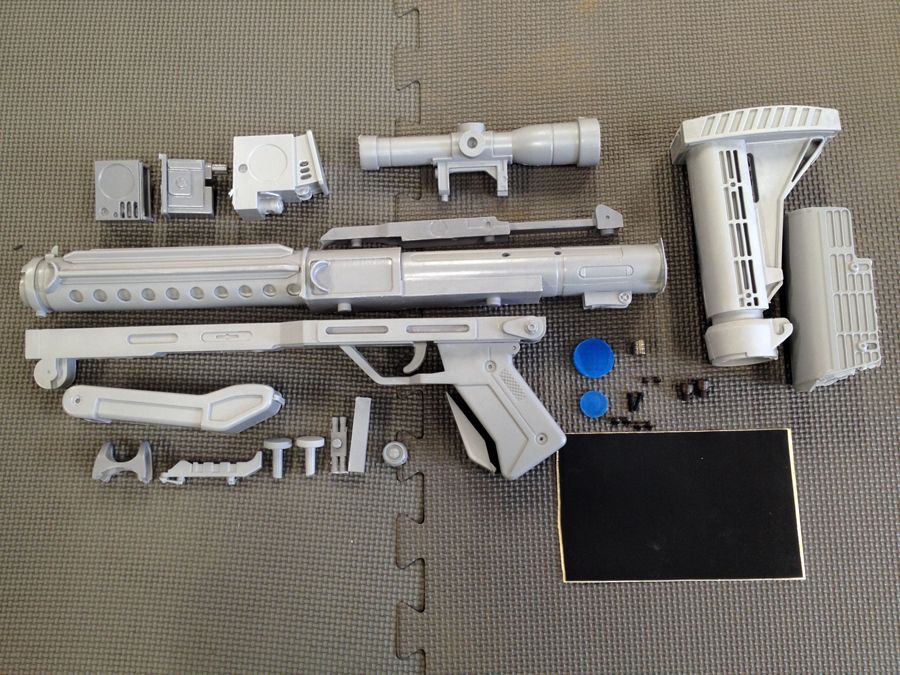
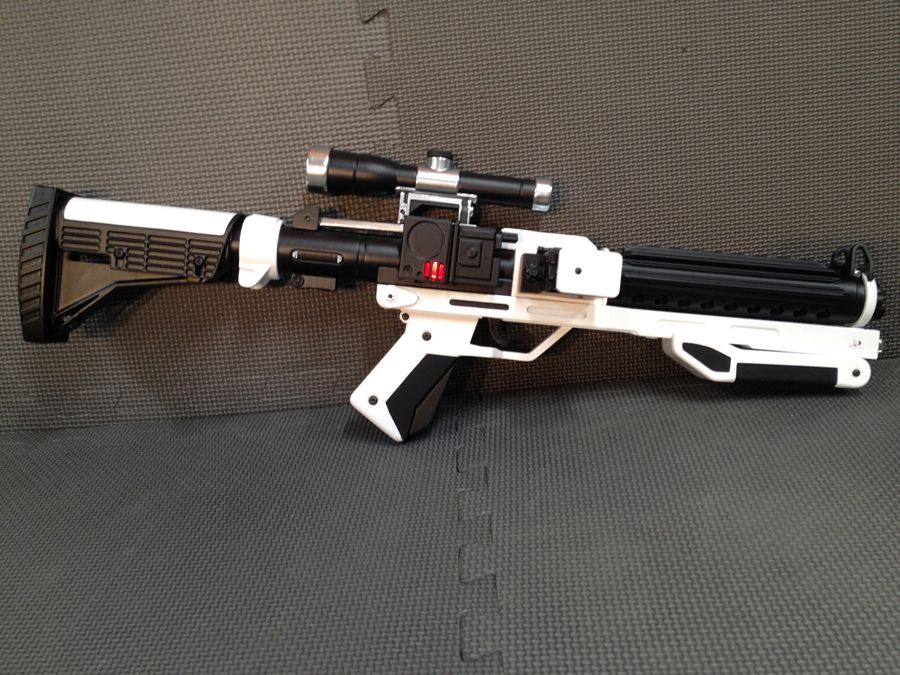
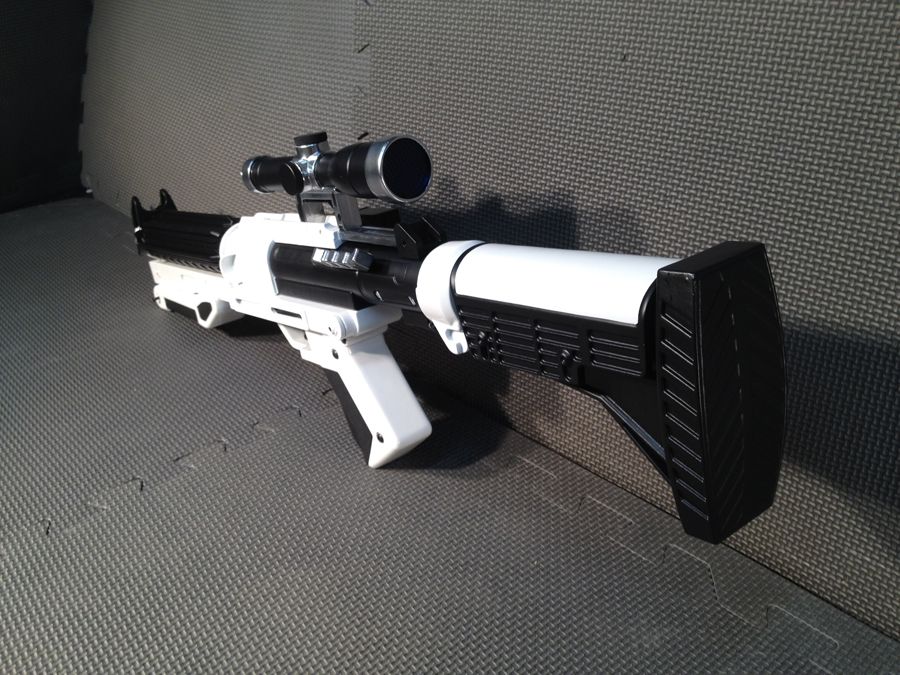
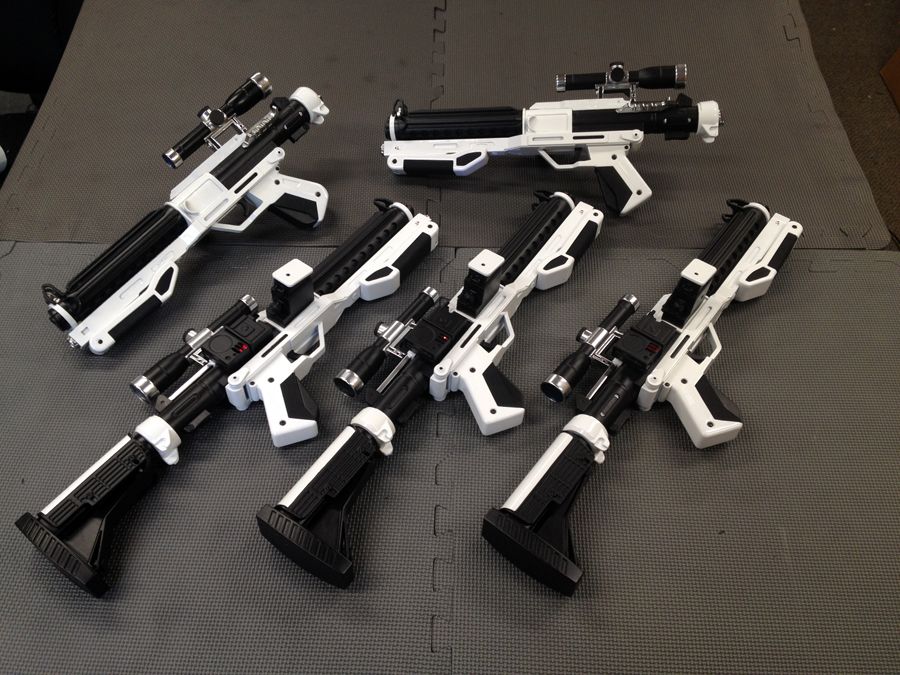
Heavy blaster (with the butt stock):
Pricing:
$235 Basic blaster kit
$285 Heavy Blaster (with the butt stock).
$25 for electronics.
Pricing includes shipping within the US. PM for international shipping.
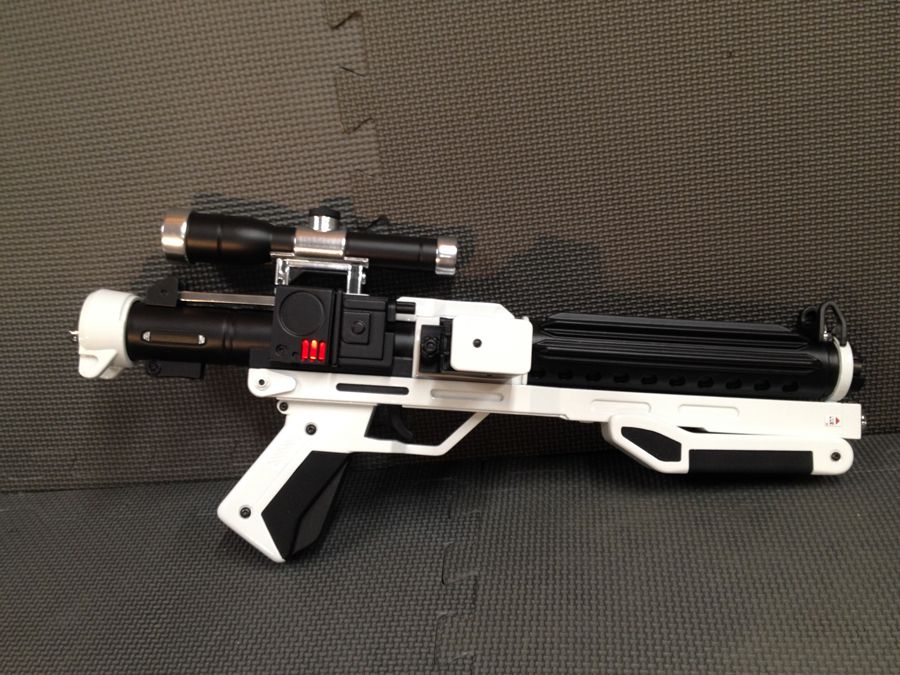
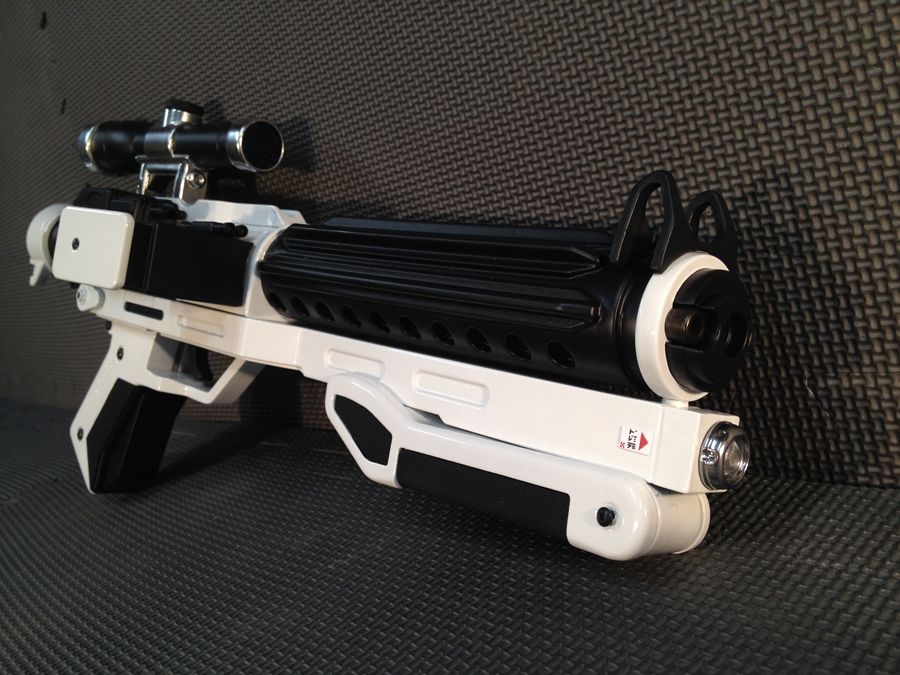
I am also opening up the option for finished blasters. All painting and assembly done by me with high quality automotive grade paints.
Finished Blaster Pricing:
$475 Basic blaster
$525 Heavy blaster with the buttstock.
Pricing includes shipping within the US. PM for international shipping.
The run is open again!!!!
The basic blaster kit:
Heavy blaster (with the butt stock):
Pricing:
$235 Basic blaster kit
$285 Heavy Blaster (with the butt stock).
$25 for electronics.
Pricing includes shipping within the US. PM for international shipping.
I am also opening up the option for finished blasters. All painting and assembly done by me with high quality automotive grade paints.
Finished Blaster Pricing:
$475 Basic blaster
$525 Heavy blaster with the buttstock.
Pricing includes shipping within the US. PM for international shipping.
DarthDerf
Member
Received kit and will be posting pics as soon as I am finished!
Now this is my first kit and I've pretty much figured out the electronics and where everything goes, just not the black pad thing. Wondering if its for the grips?
Oh, and thanks! It is very nice and is distracting me from other projects but am more than happy to take a break from! HA!
Wait, yes, it is for the grips and the rectangular piece goes inside the counter with one magnet and the thin piece of metal, right?
Last edited:
Received kit and will be posting pics as soon as I am finished!
Now this is my first kit and I've pretty much figured out the electronics and where everything goes, just not the black pad thing. Wondering if its for the grips?
Oh, and thanks! It is very nice and is distracting me from other projects but am more than happy to take a break from! HA!
Wait, yes, it is for the grips and the rectangular piece goes inside the counter with one magnet and the thin piece of metal, right?
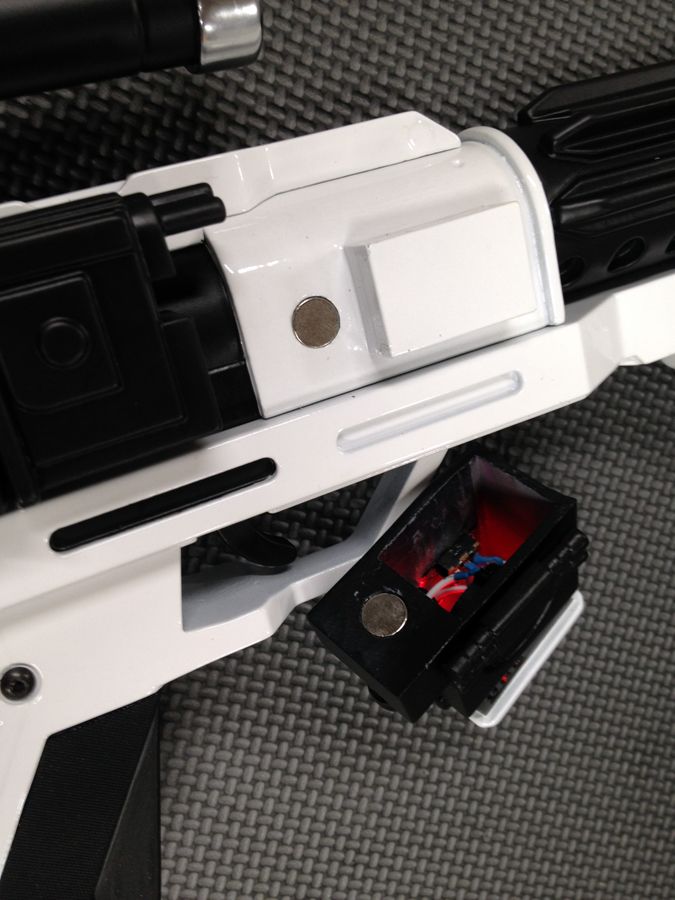
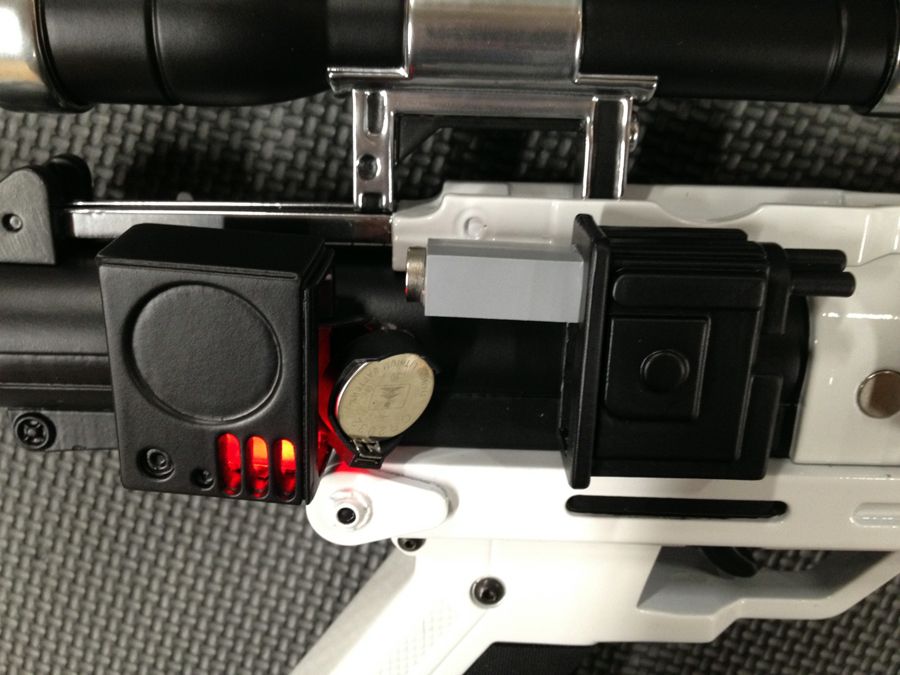
I completely forgot to post pictures of the new features. The rubber sheet is for the grips.
First off, there are magnets to hold the magazine in place. One magnet goes on the magazine and the other goes on the gun itself. Make sure you have the polarity right before gluing them down.
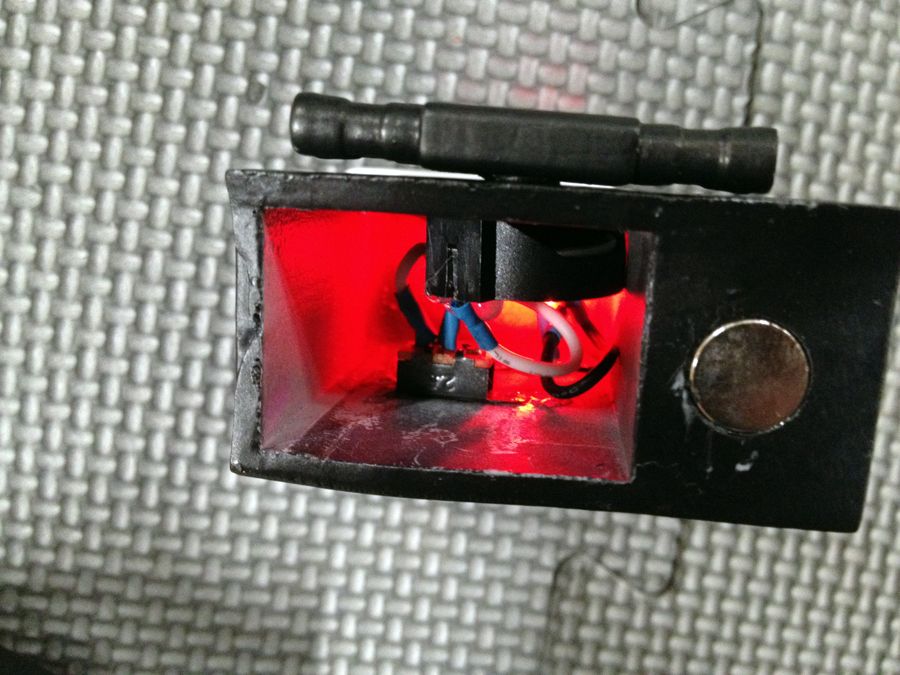
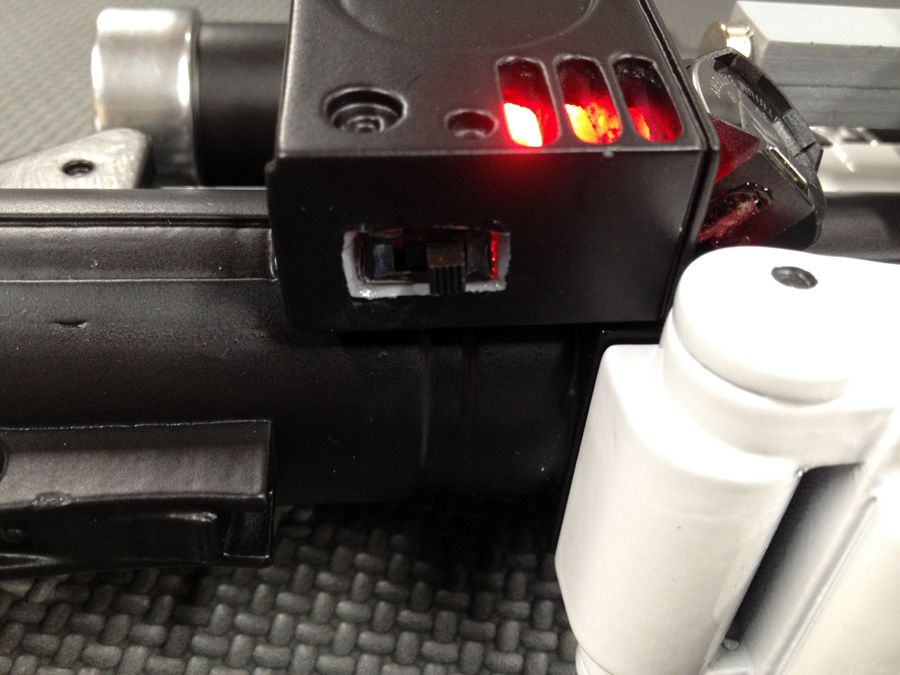
For the electronics, most people just cram them inside the compartments, and make sure the LED is positioned well to make the holes illuminate. Here is a more advanced method to make the switch accessible from the outside. Carefully drill out the underside of the magazine, so that the switch can stick through. Then glue the switch in place.
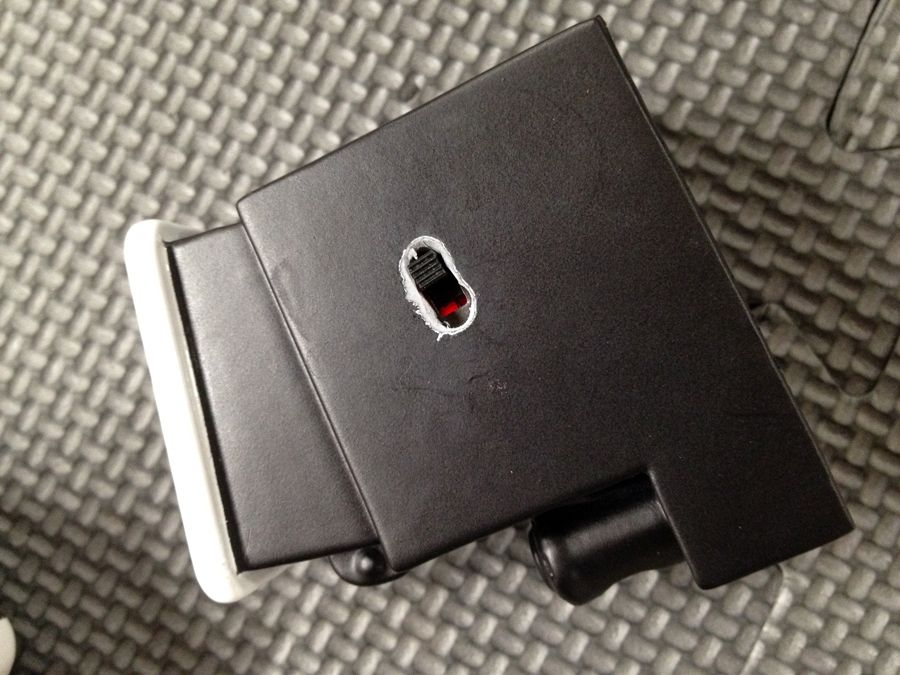
And the same for the back part of the Hengstler.
And probably the best new feature for the kit is a way to hold the Hengstler together. A rectangular bar gets glued into one side, and a magnet and piece of sheet metal hold both halves of the Hengstler together.
kamakazykid
Active Member
could i get one with the regular end and a buttstock so i can swap?
Yes, I can send both parts, and you can come up with a way to make them interchangeable.could i get one with the regular end and a buttstock so i can swap?
With them separate, you can removes the parts completely to change batteries. But if you wanted to drill holes, and run your own wiring to make it easier to turn on and off, It wouldn't be too hard, since the main tube is hollow.Payday coming this week. Almost ready to order. Can't wait! Just curious, but is it possible to connect all the led wires to a master switch somewhere? Or is this not possible due to lack of hollow spaces within the parts.
Thanks, I will see what I can do when I get the kit. Can't wait. Sorry for my deleted ordered. Cash is tight as always but should have the funds in the coming week.With them separate, you can removes the parts completely to change batteries. But if you wanted to drill holes, and run your own wiring to make it easier to turn on and off, It wouldn't be too hard, since the main tube is hollow.
Similar threads
- Replies
- 53
- Views
- 7,878
- Replies
- 2
- Views
- 321