ozzyguanche
Sr Member
Keeps getting harder to find words for this thread. So I am going with the first thing that pops in my head.
"Inspiring"
Ozzy
"Inspiring"
Ozzy

Thanks! Have had a few questions like that...
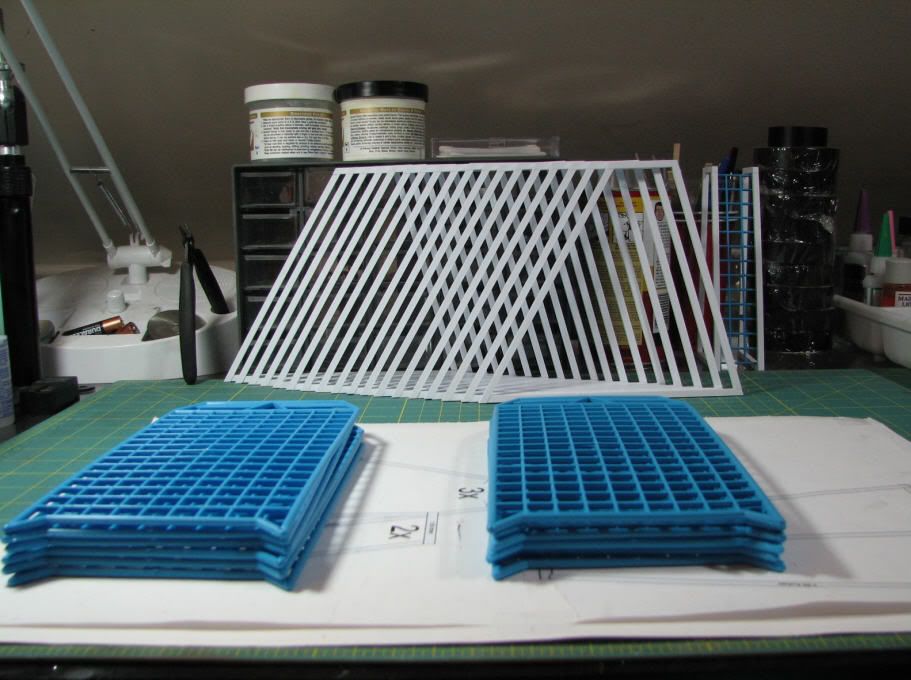
I have only seen these paint strainers at Menards (similar to Home Depot, and as in Menards Racing). They are prevalent in the upper midwest USA. They have them in dark blue (not the same mold), and light blue. The light blue ones fit what I'm doing and are molded much cleaner and stronger. I think I cleaned out about 80 or so of them along the way. Got a lot of funny looks at the checkout and people asking actually what I was doing with them. I think the originals probably were those ceiling light diffusers (which they have changed specs on twice). Those are more around 98/100 scale. :cool
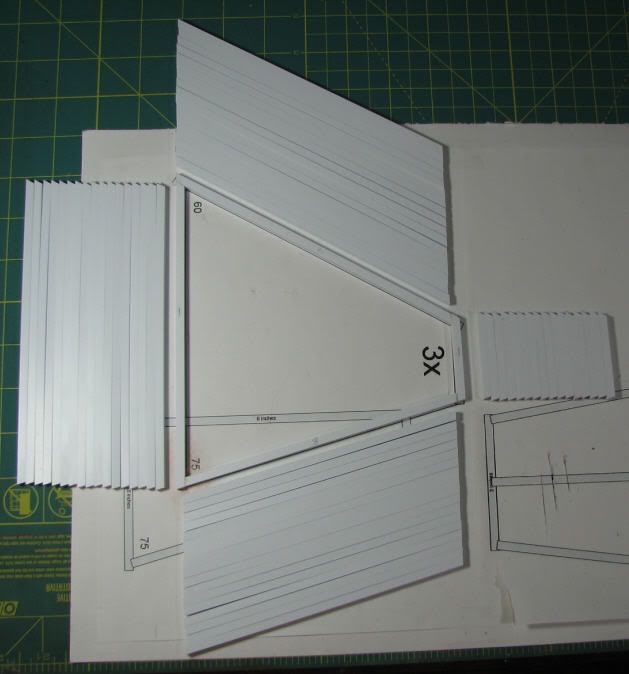
M i c r o l u x mitre/cut-off saw, through M i c r o m a r k. It does the 60 and 75/15 degree angles I needed and makes smooth, almost sanded cuts (you sometimes have to clip off a bit of chaff at the bottom of the cut, but comes off super clean). I have yet to have any ruined or chipped parts on the cuts themselves. Important since I eventually went with solid styrene. I did the first two with a little hand mitre saw and couldn't get the angles clean. Too thick for the typical chopper to cut cleanly (broke mine).
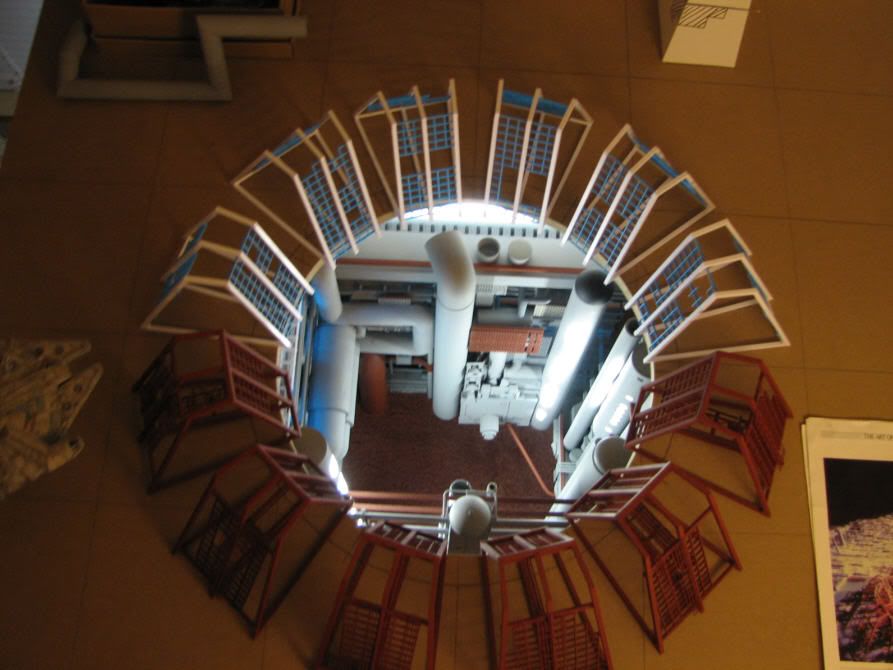
p.s. Probably mentioned it somewhere along the way, but the flat rectangular grid-like platform sections in the tunnel itself are actually model train bridge track mounts turned upside down. We don't have many model shops left around me, but W a l t h e r s train world HQ is a mile from my job and is one of the biggest model train suppliers in the world. I can actually go over and see the structural kit parts and options since it is the HQ and warehouse (and no shipping charges).
Hope that helps! Have scrounged up a lot of parts like that along the way for the structural parts of my builds...
this is fantastic, i wish i had the patience for this
