SteveNeill
Sr Member
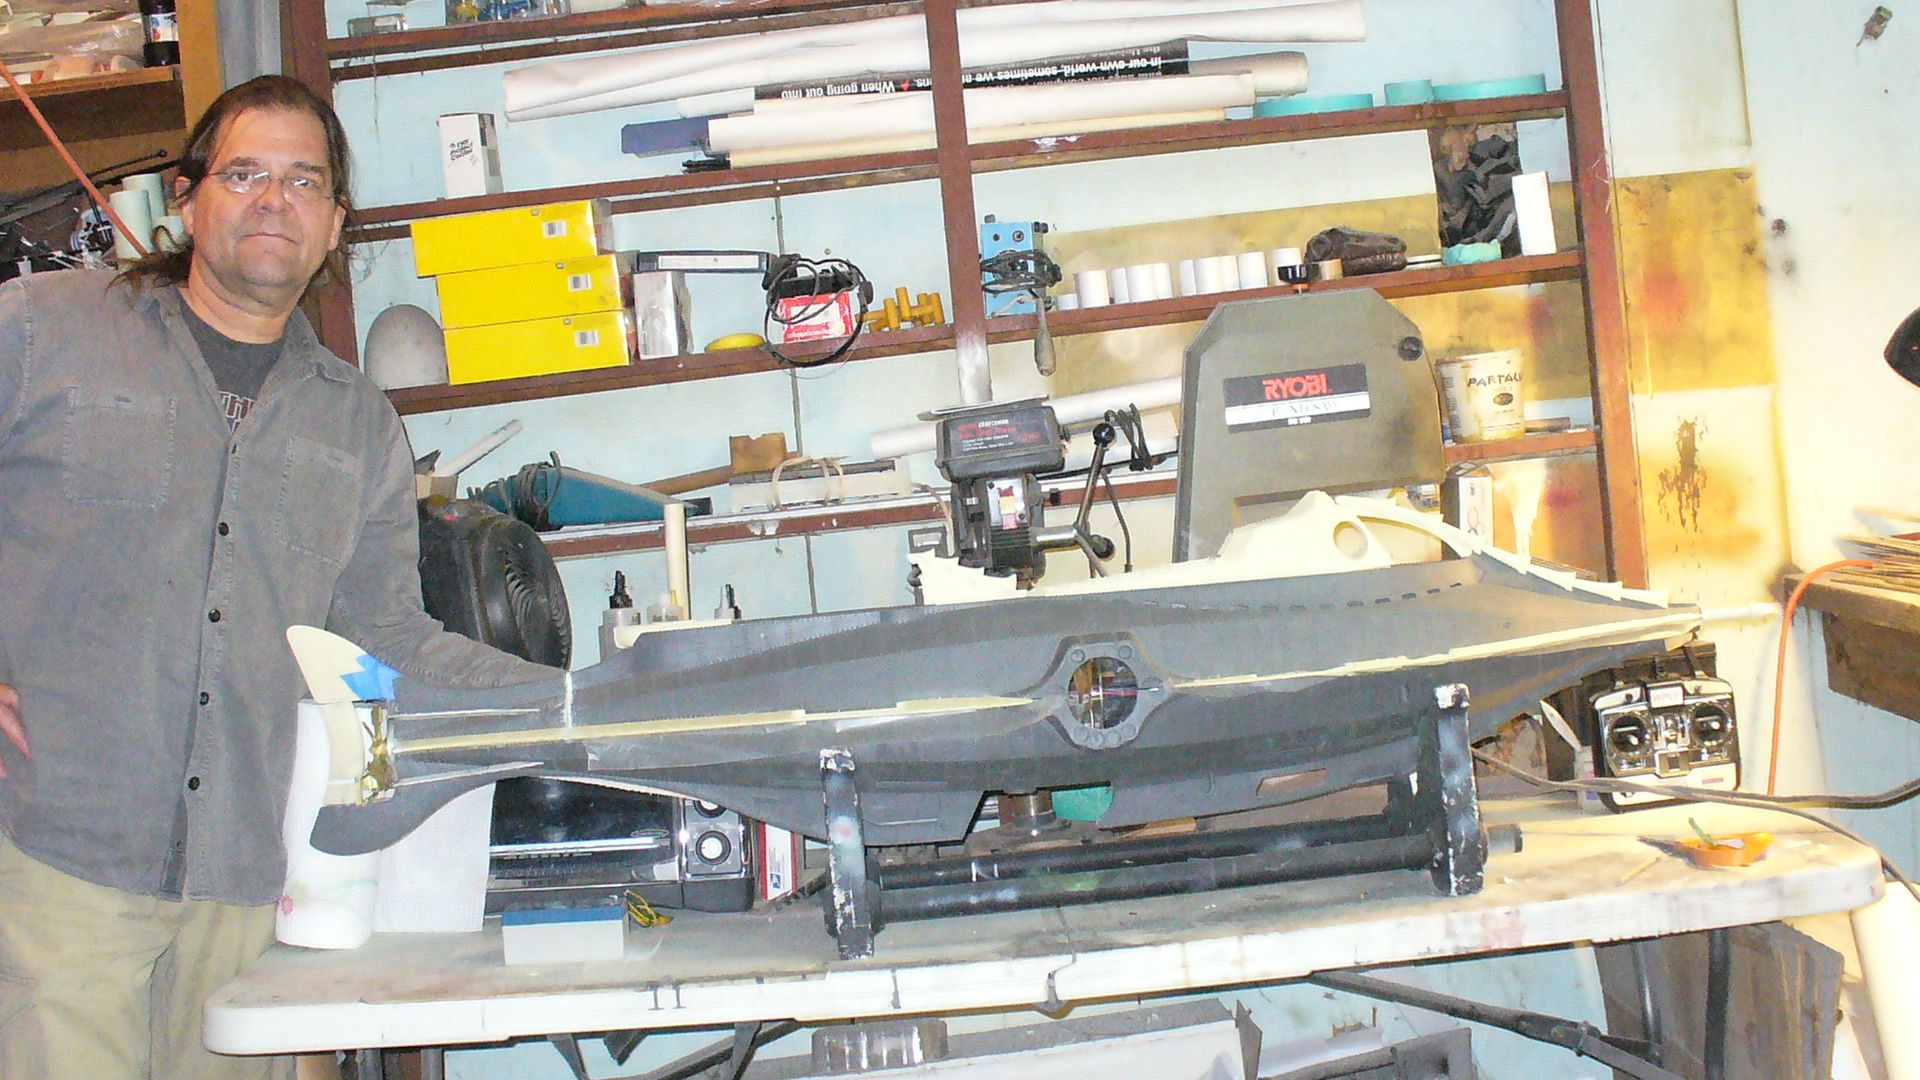
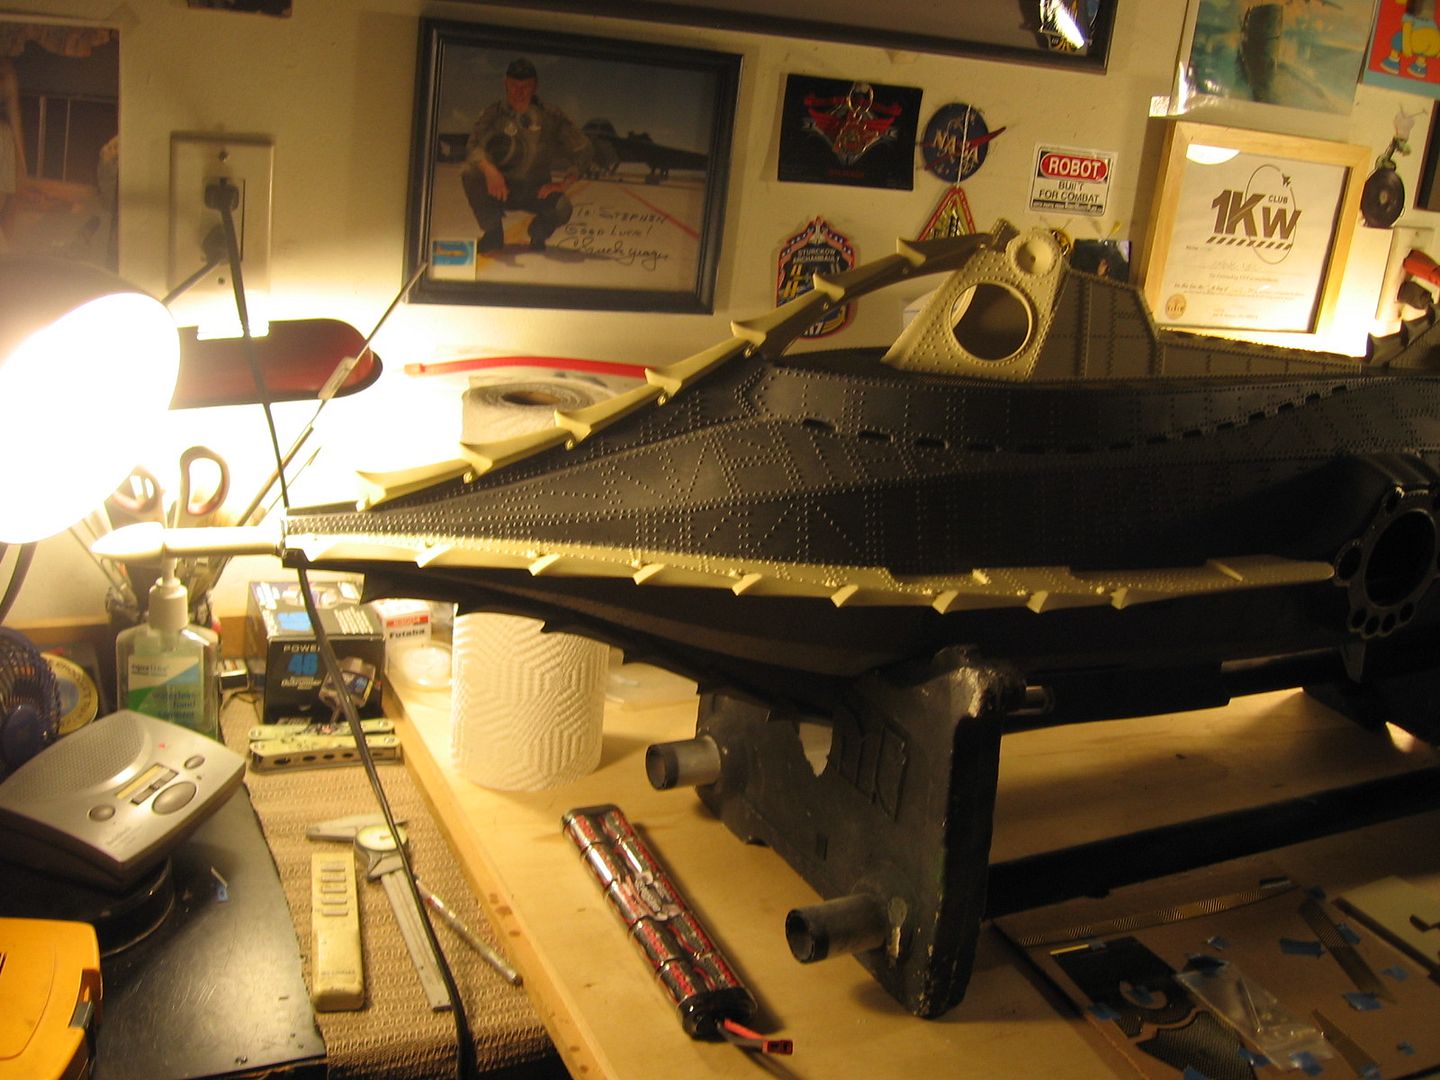
This might not seem like a lot but it's a huge deal for a RC sub. You got to be able to open and close her and that stern seam needs to be clean. It took all day.
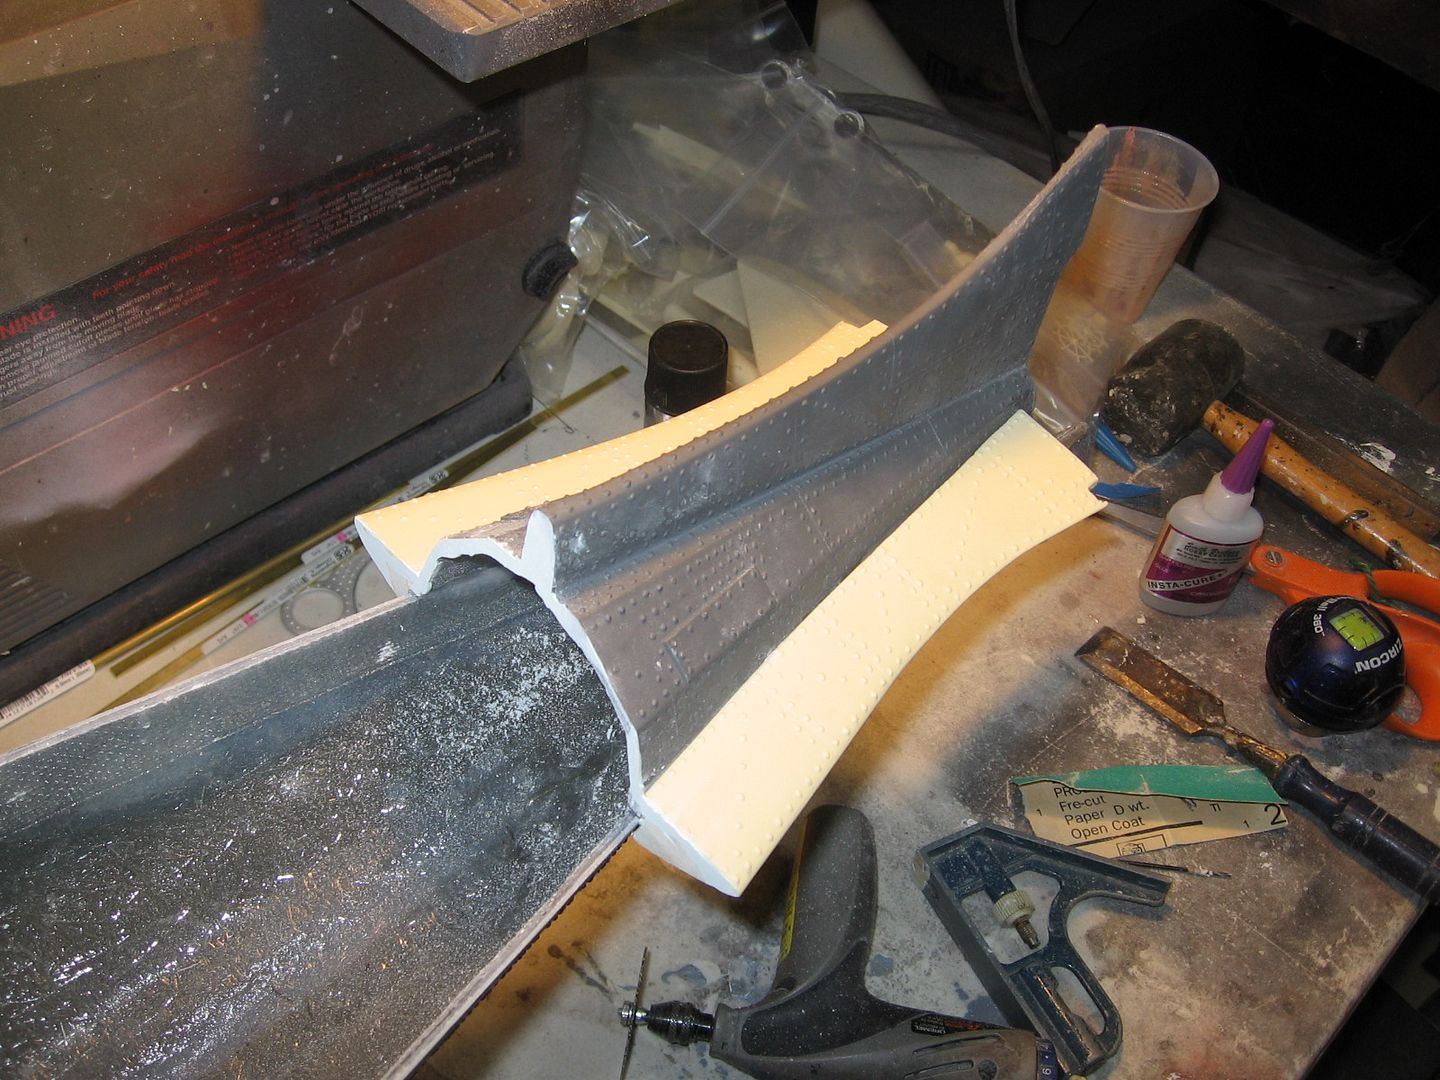
With this 66 inch monster you can't just go at it with a razor saw. I tried. Nope get out the dremel and the cut off wheel and hack through it as clean as you can.
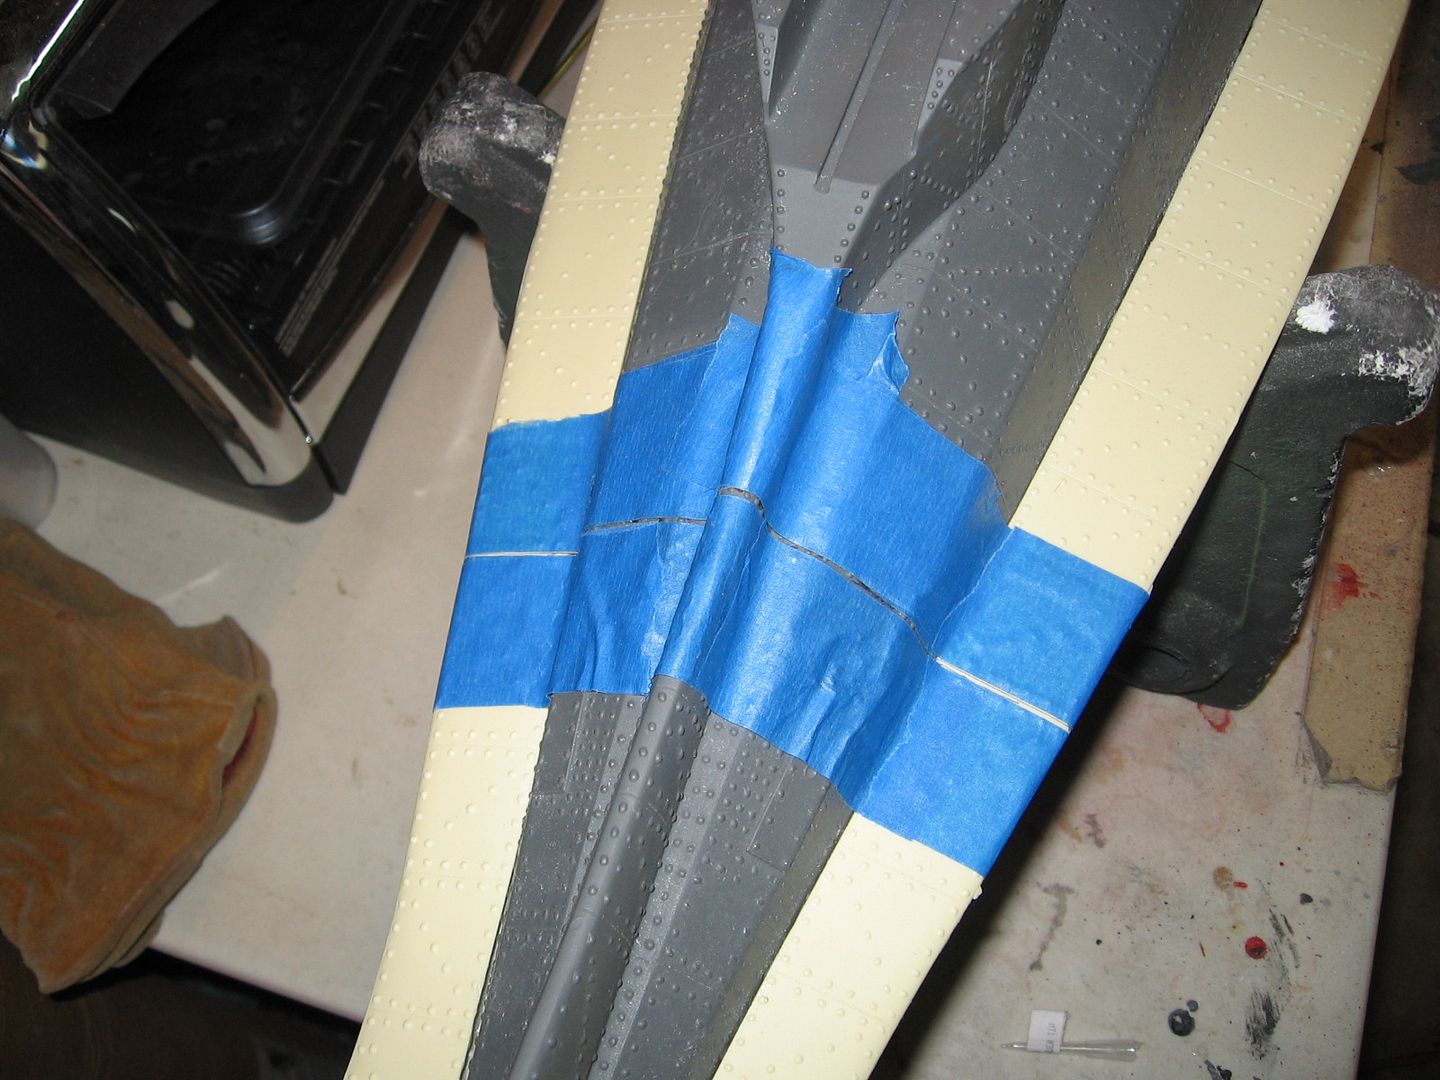
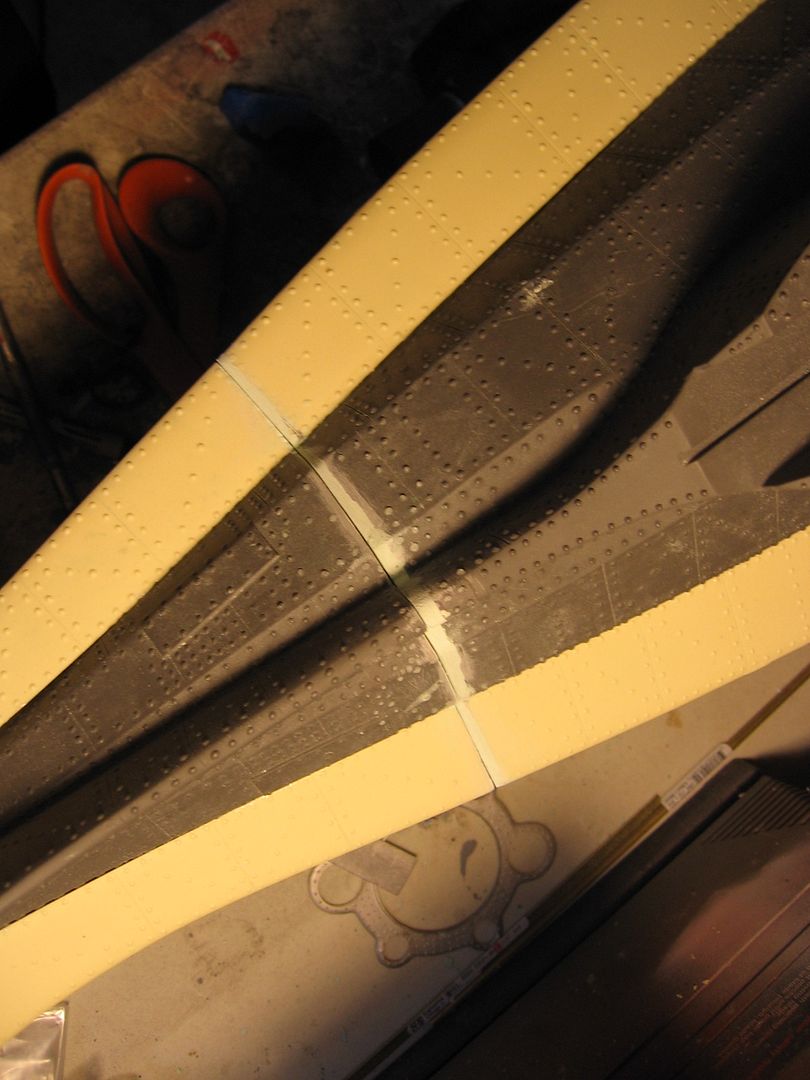
Painters tape as a guide and I used a laser level to get the cut.

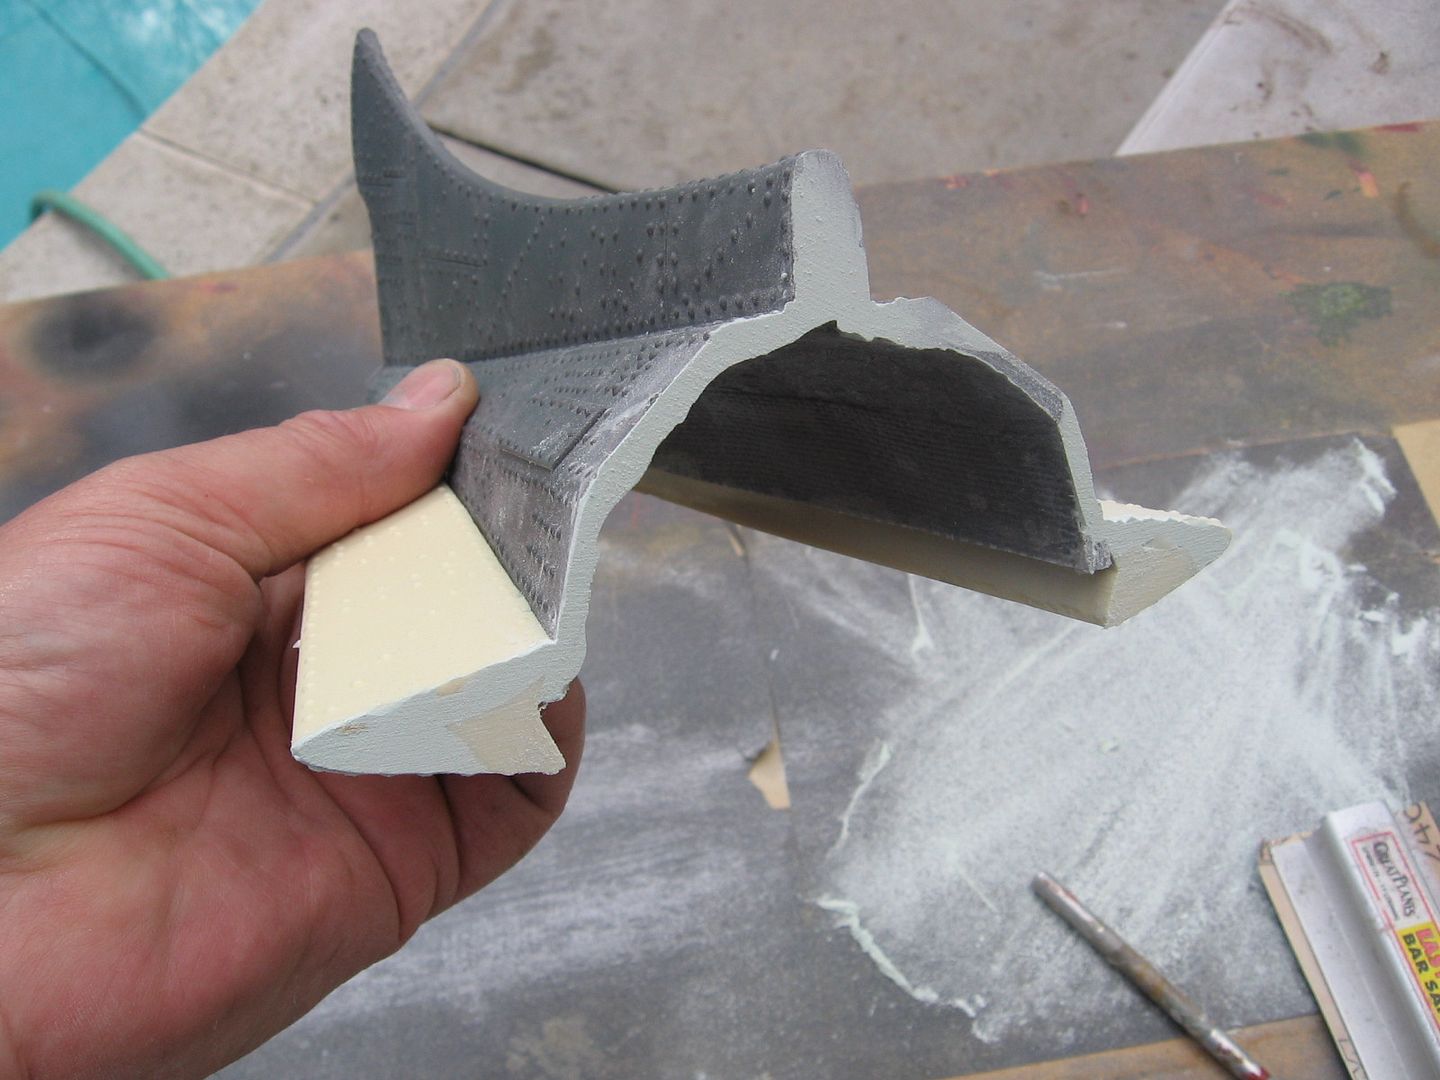
After I got the stern section removed I added a bit of finishing glaze and flat sanded it.
Next I glued the stern section to the lower hull with 30 minute epoxy.
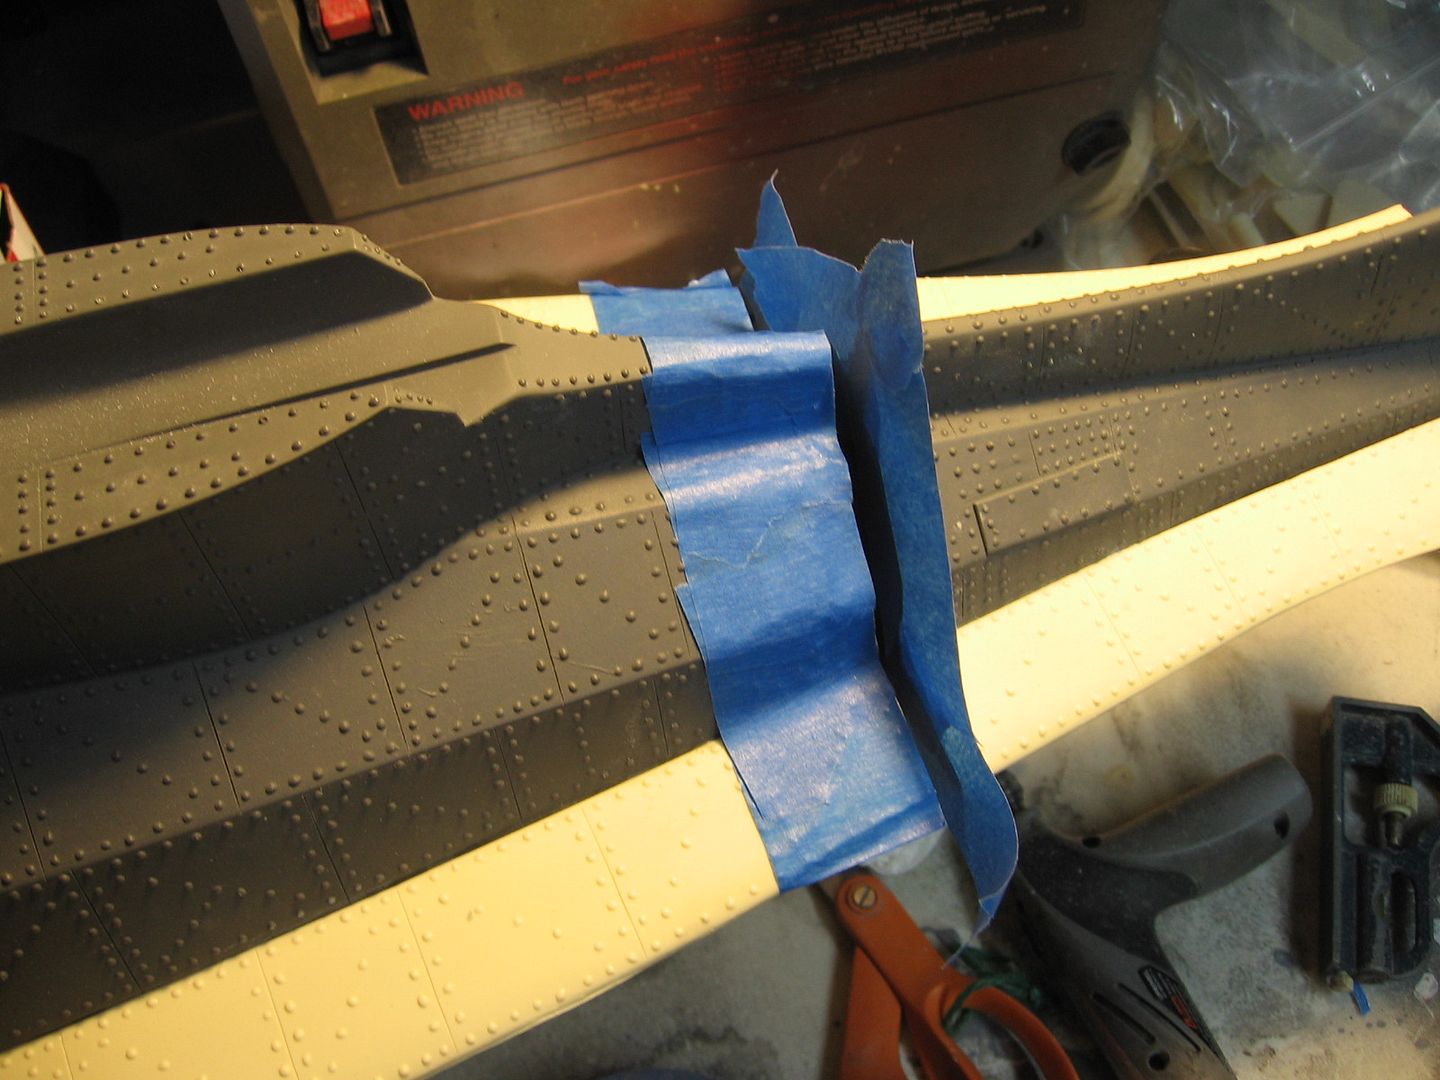
Next more painters tape on the stern section to act as a mold release. I edged the forward section with tape to protect it from sanding and over flow.
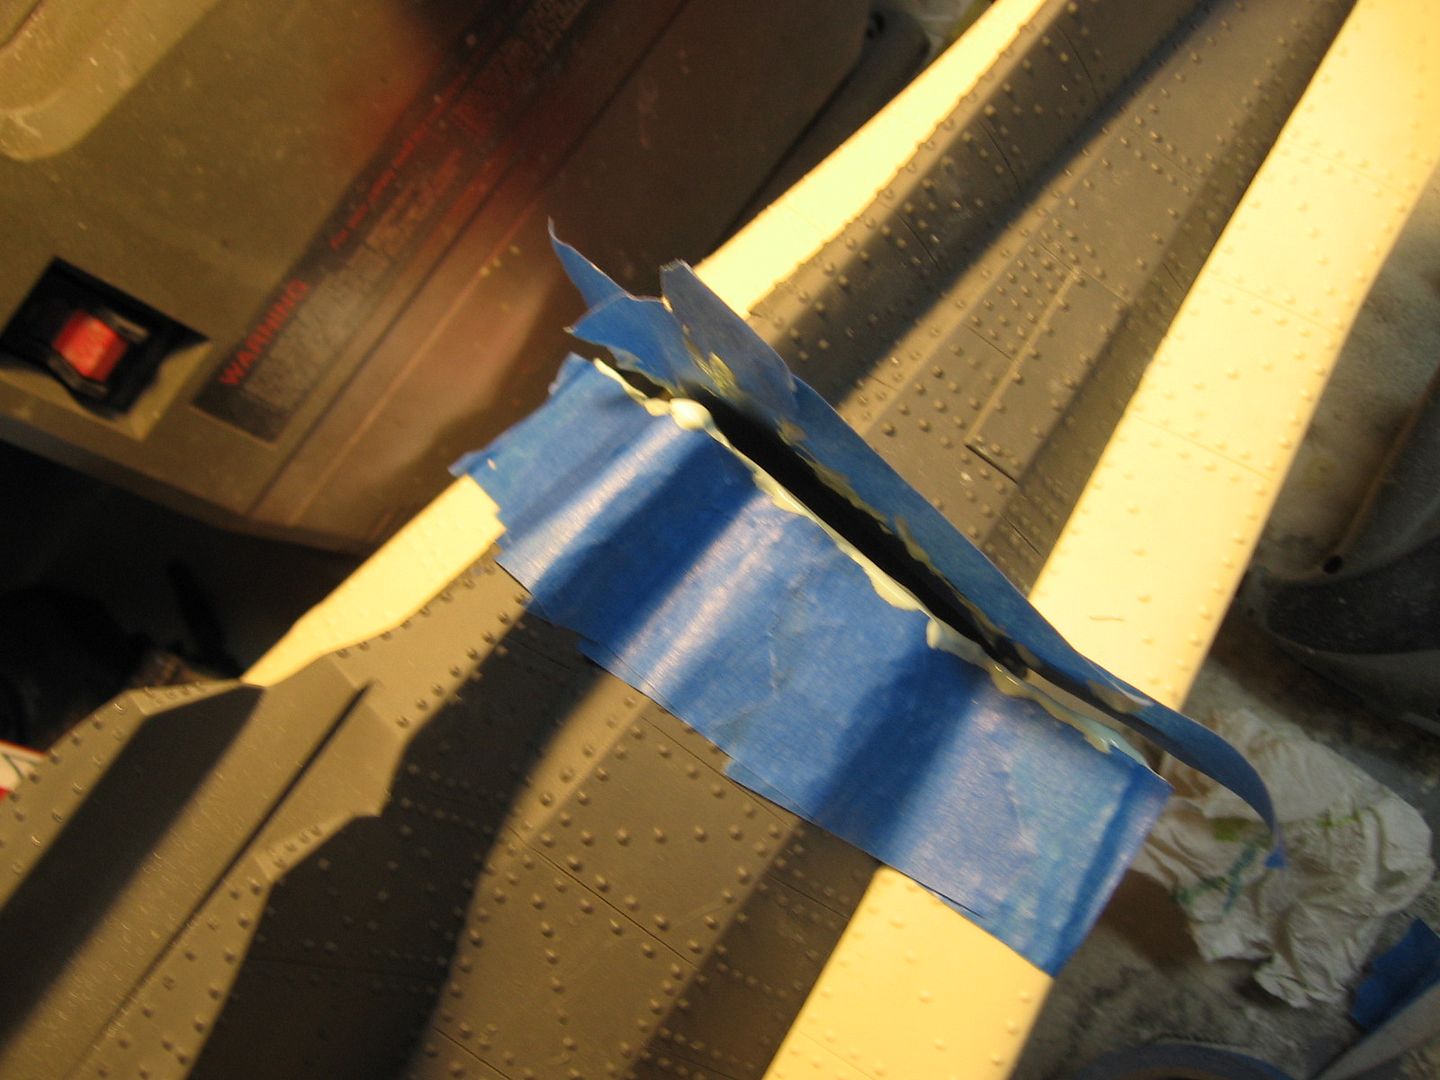
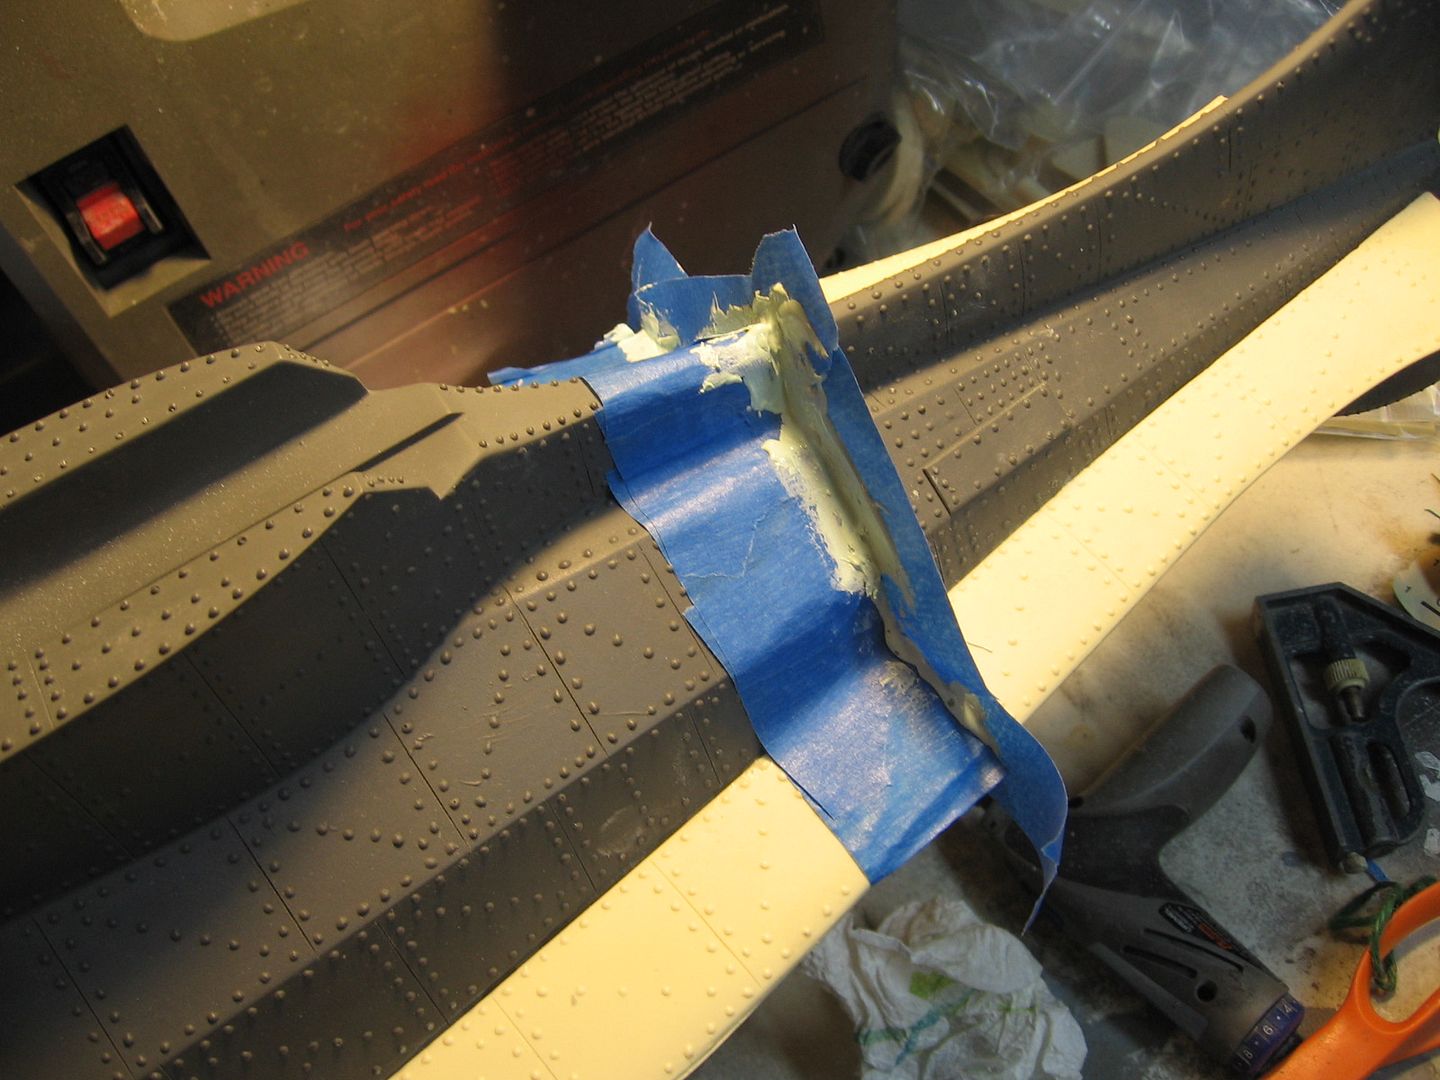
Next mix up some finishing glaze and butter the edge and close it tight.
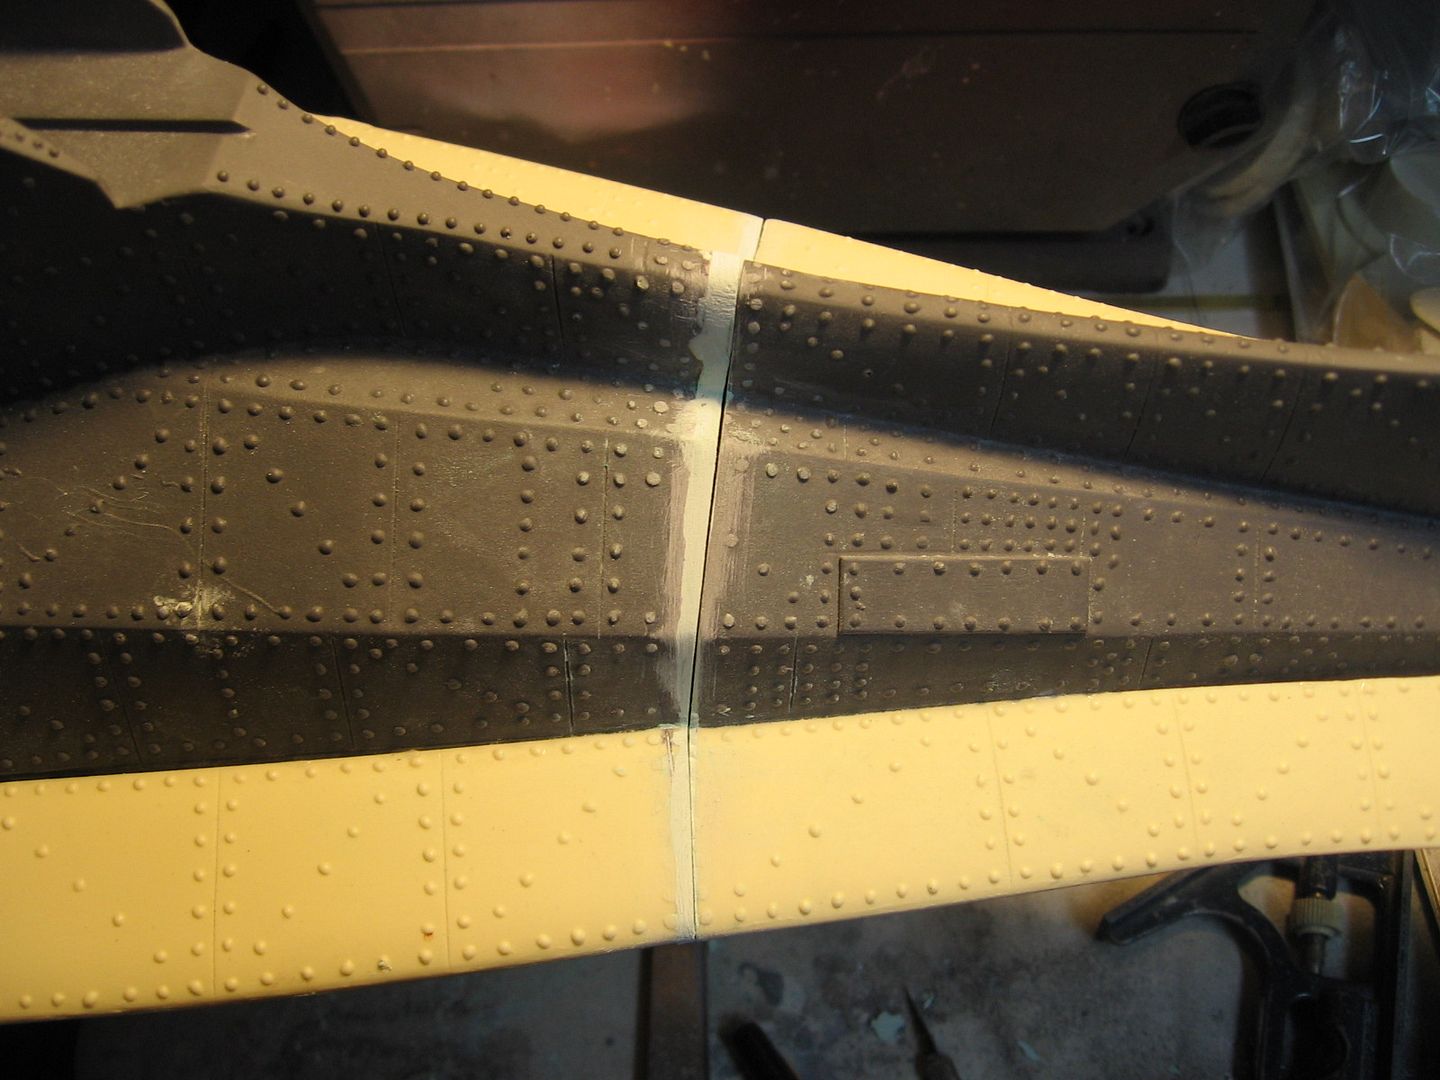
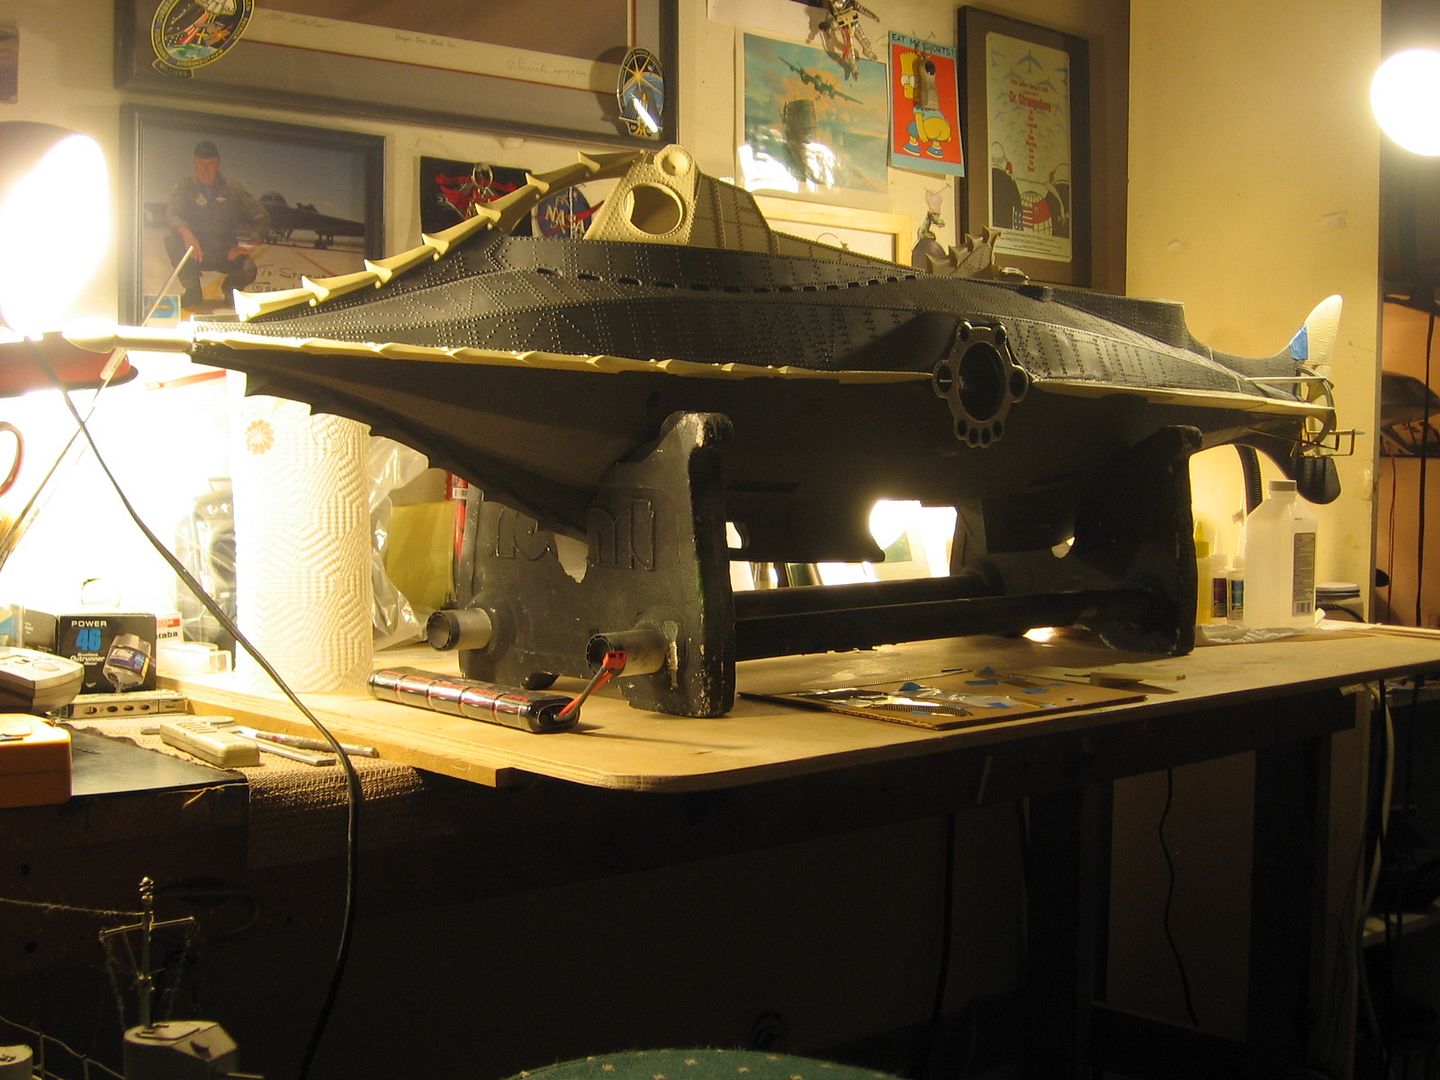
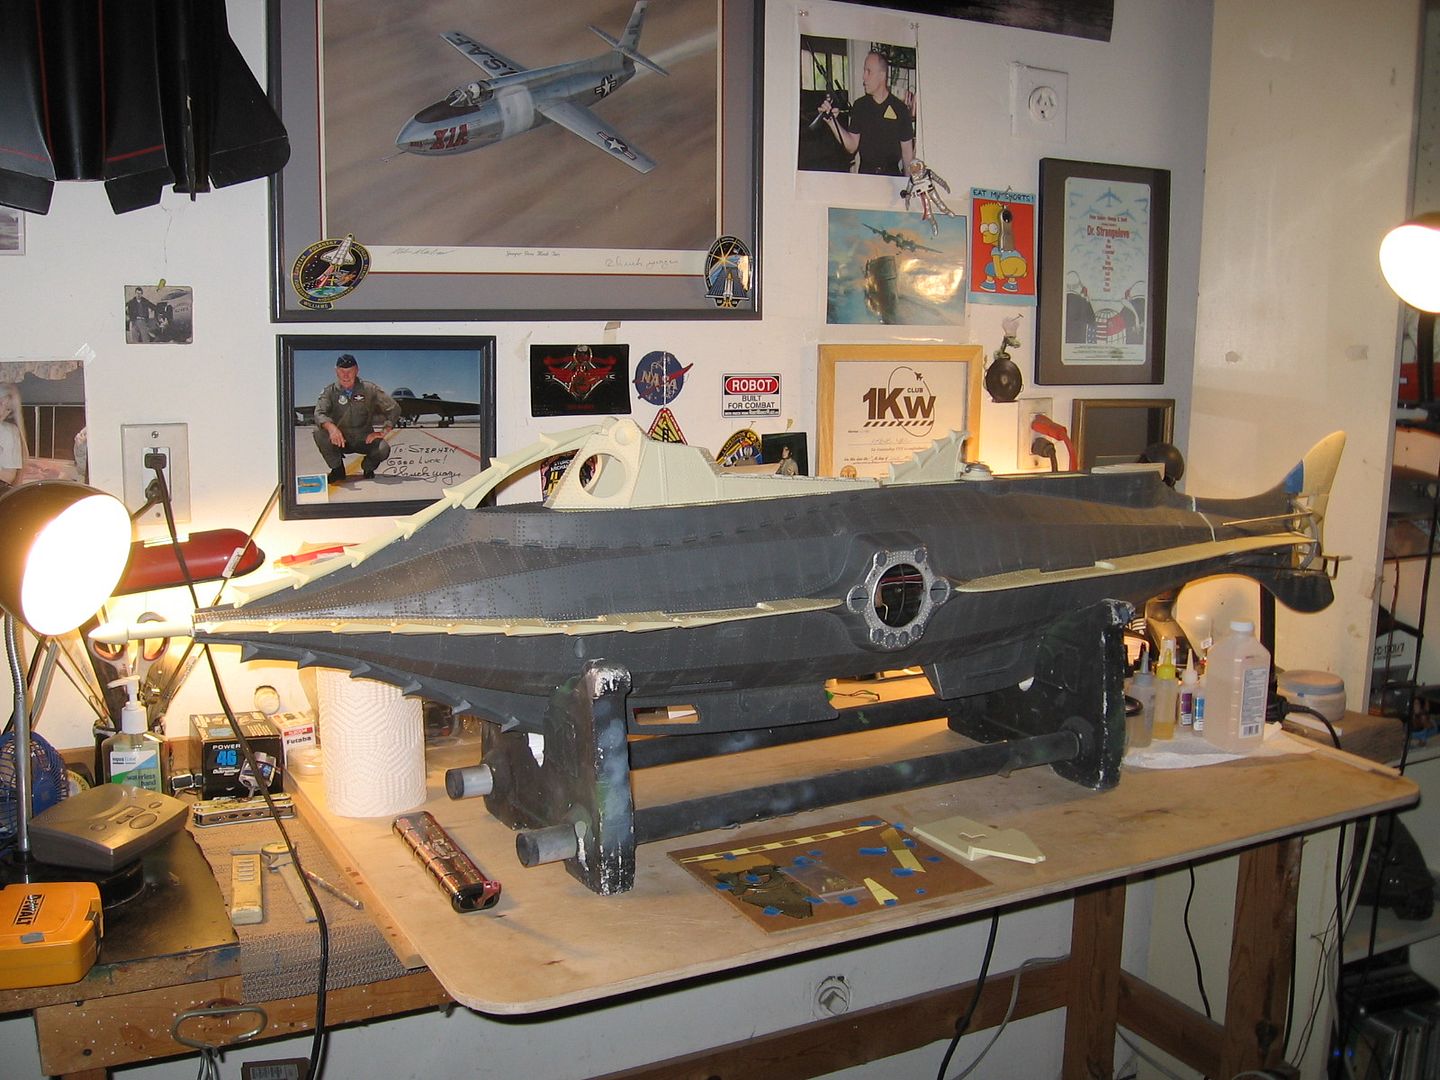
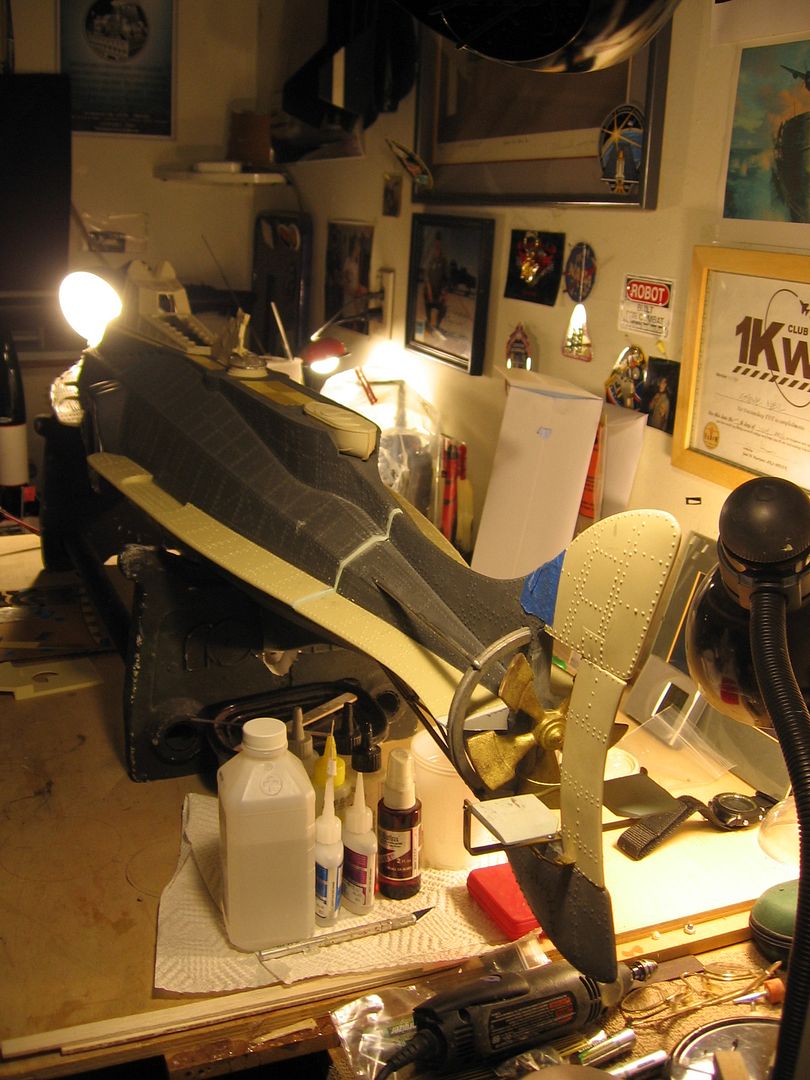
The end result is this. That ragged nasty cut is all smooth and tight again.
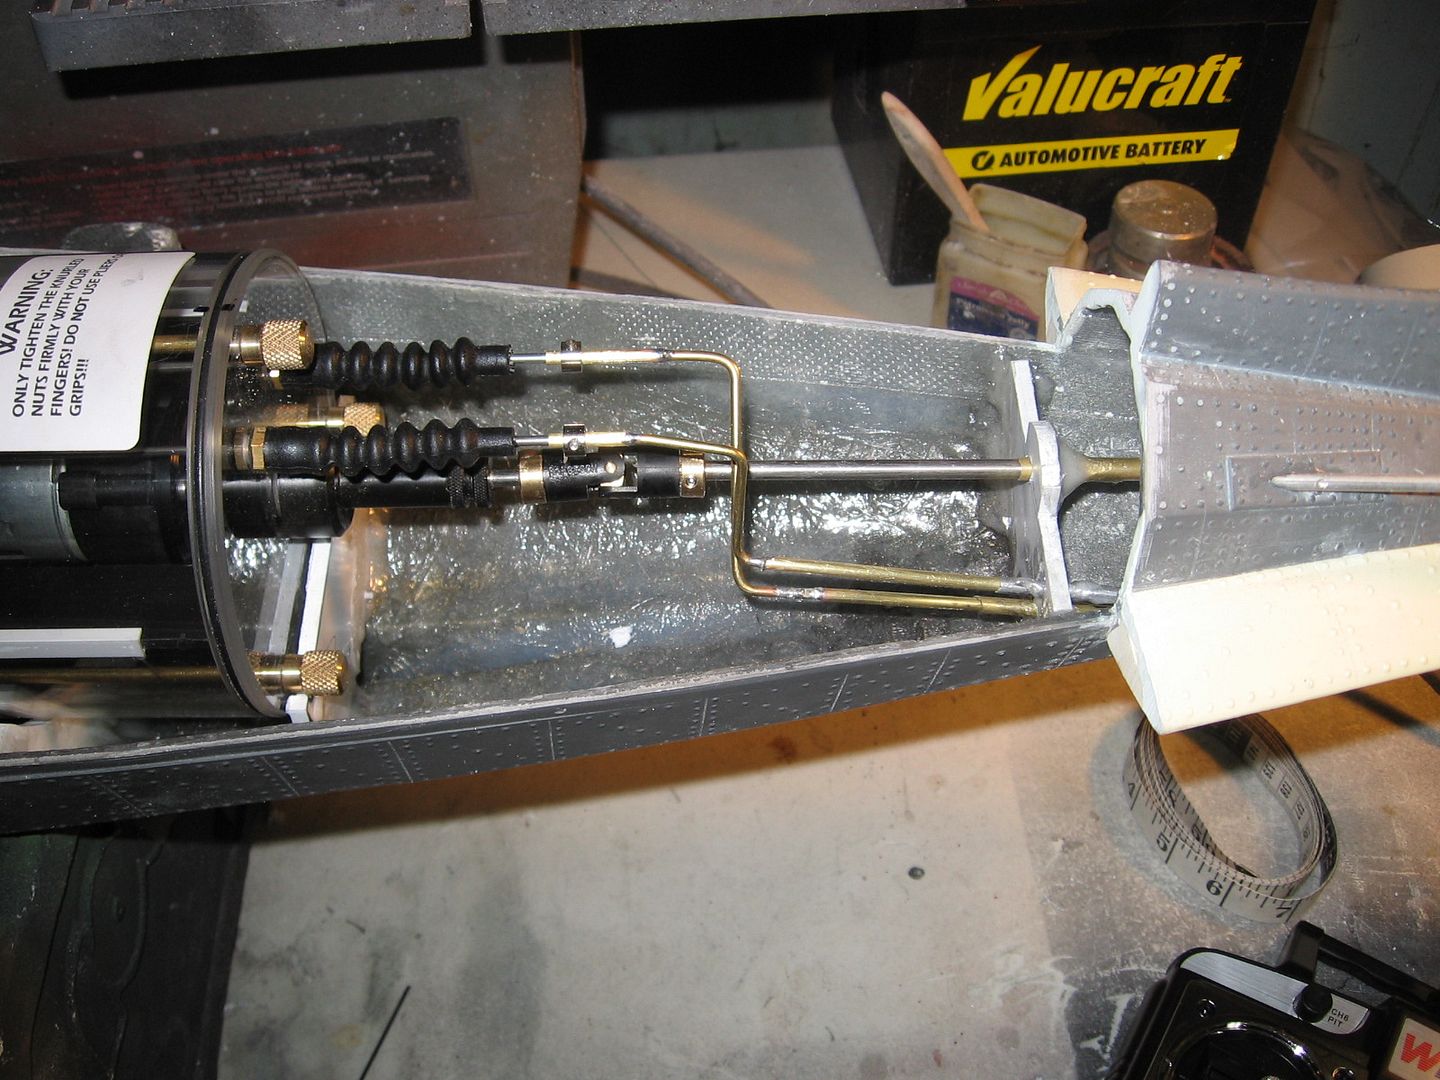
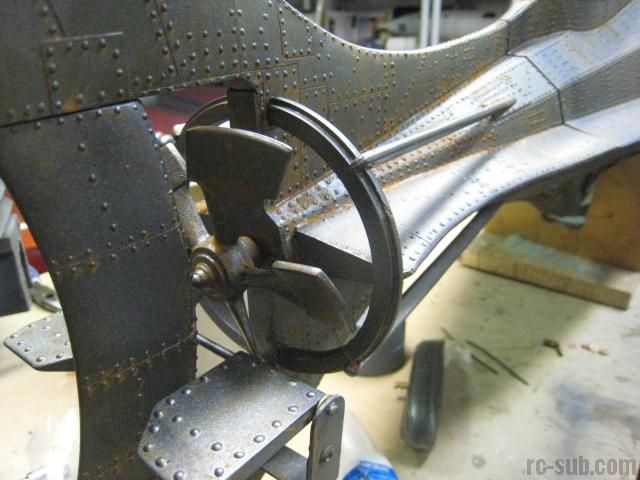
Now tomorrow I can add the prop bearing, prop shaft support and prop-prop shaft. With any luck I'll get to the rudder and elevator.
Now I know what some of you are thinking? Elevator? Dive planes on the stern? This boat didn't have those. Well she did on sides of the hull but they never were effective enough in the real world to work well.
The 31 inch I built a prop that could pitch. A real pain in the rear. Never again. But my friend Bob Martin added dive planes to his and they worked great and look the part.
More tomorrow.
Steve
With this 66 inch monster you can't just go at it with a razor saw. I tried. Nope get out the dremel and the cut off wheel and hack through it as clean as you can.
Painters tape as a guide and I used a laser level to get the cut.
After I got the stern section removed I added a bit of finishing glaze and flat sanded it.
Next I glued the stern section to the lower hull with 30 minute epoxy.
Next more painters tape on the stern section to act as a mold release. I edged the forward section with tape to protect it from sanding and over flow.
Next mix up some finishing glaze and butter the edge and close it tight.
The end result is this. That ragged nasty cut is all smooth and tight again.
Now tomorrow I can add the prop bearing, prop shaft support and prop-prop shaft. With any luck I'll get to the rudder and elevator.
Now I know what some of you are thinking? Elevator? Dive planes on the stern? This boat didn't have those. Well she did on sides of the hull but they never were effective enough in the real world to work well.
The 31 inch I built a prop that could pitch. A real pain in the rear. Never again. But my friend Bob Martin added dive planes to his and they worked great and look the part.
More tomorrow.
Steve
Last edited:
")