SteveNeill
Sr Member
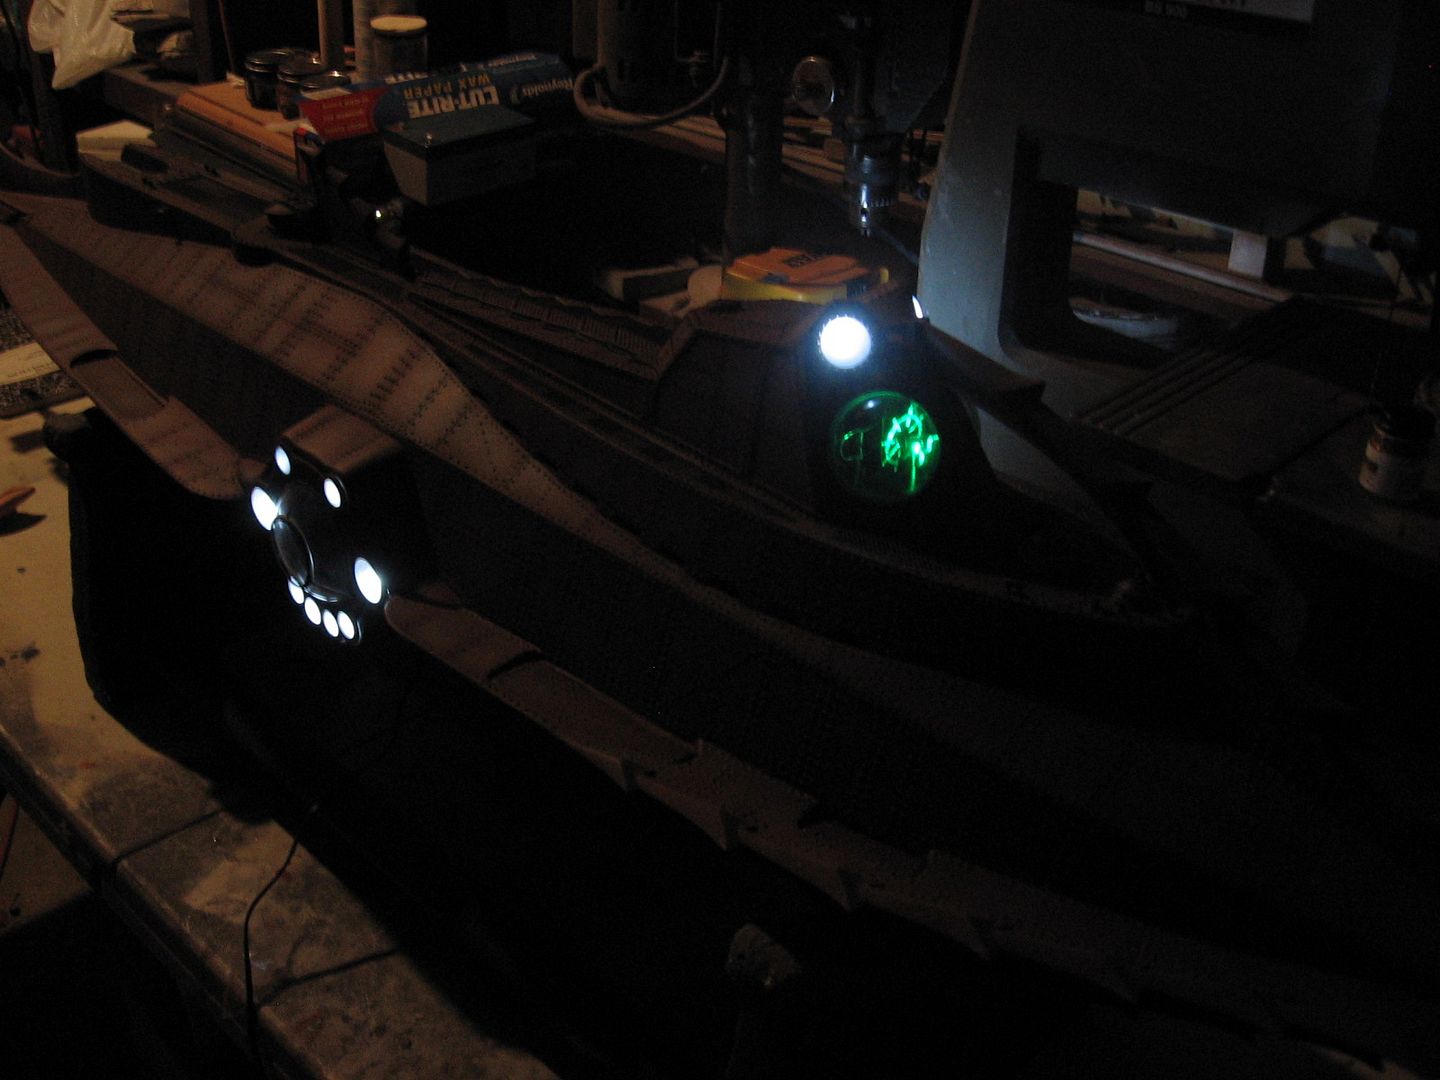
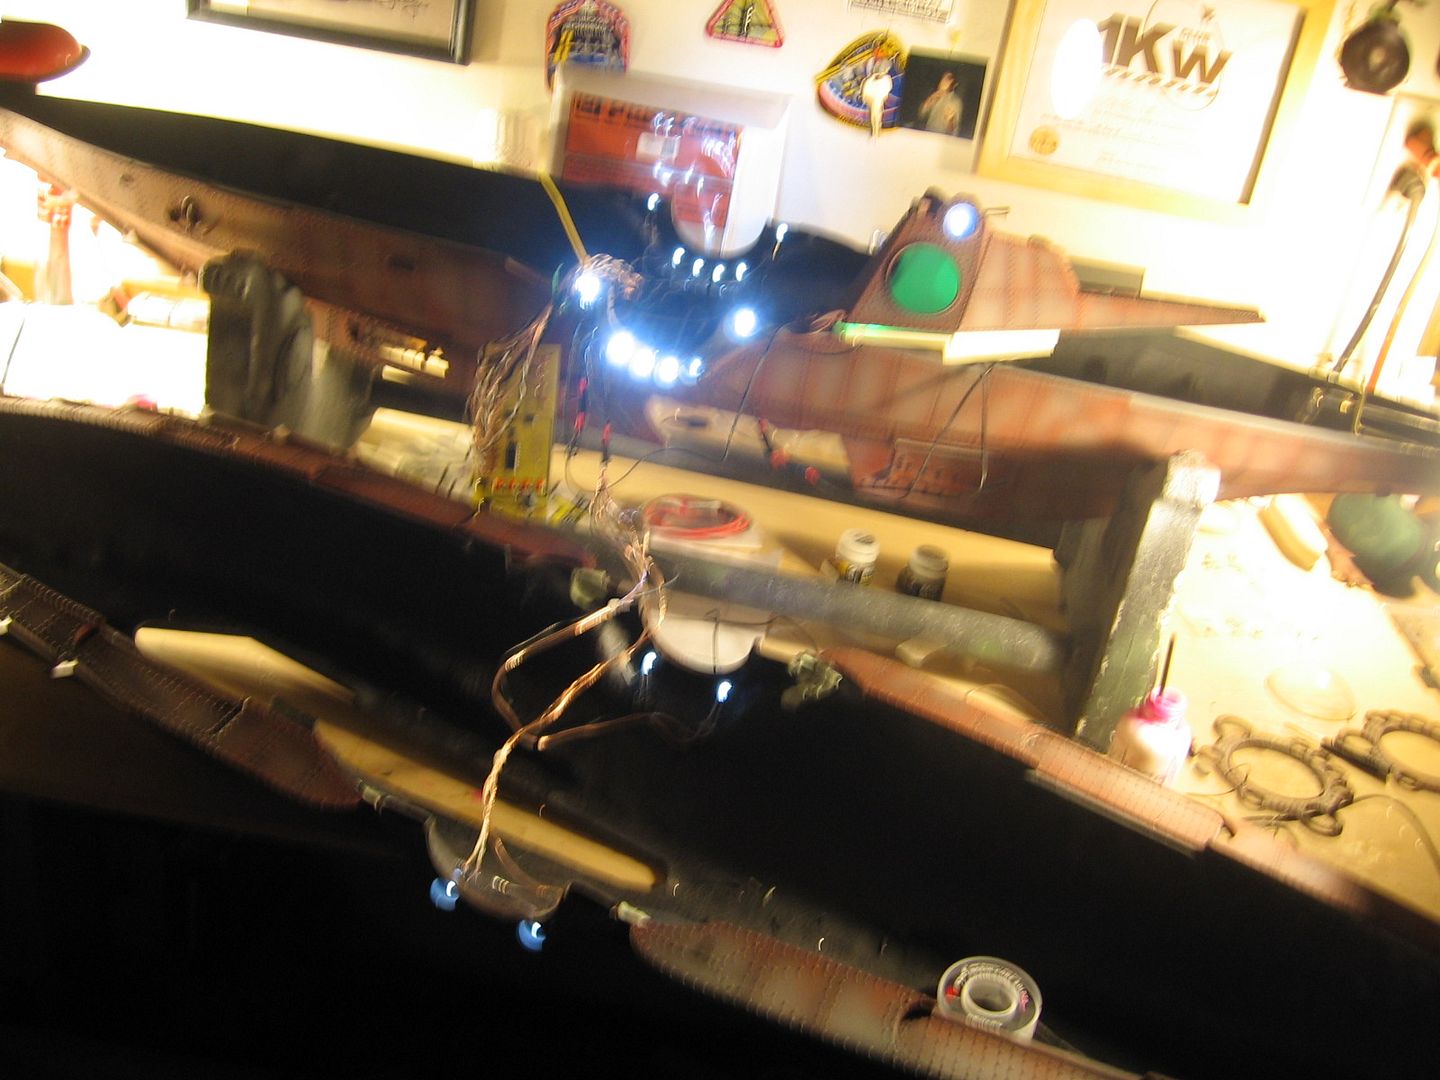
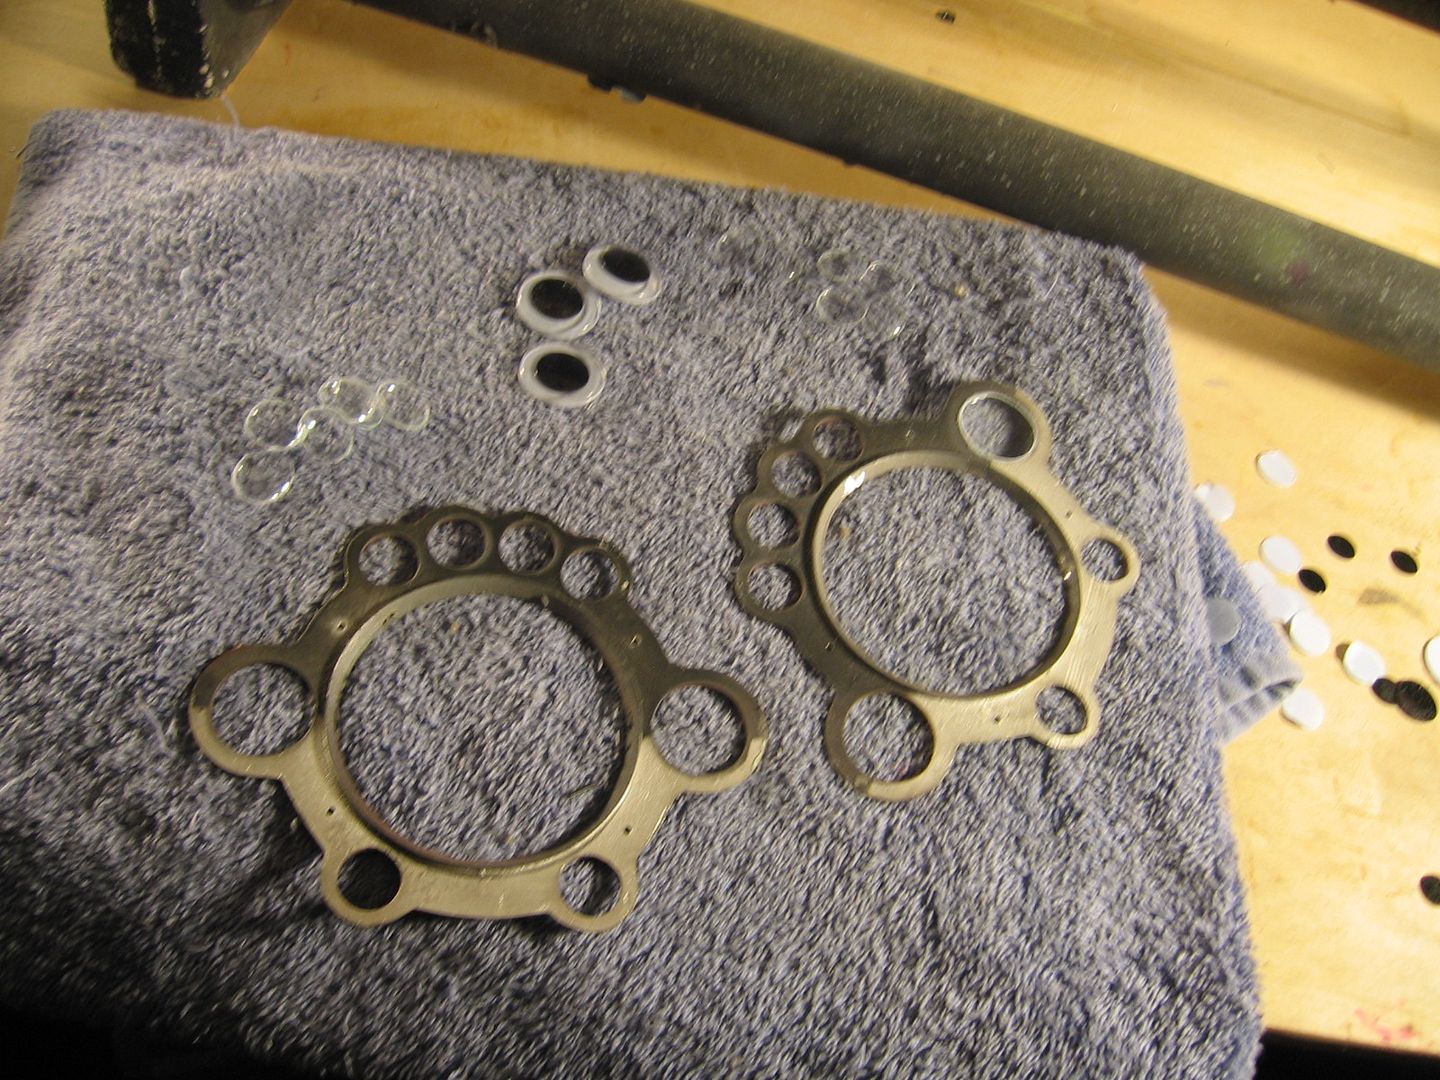
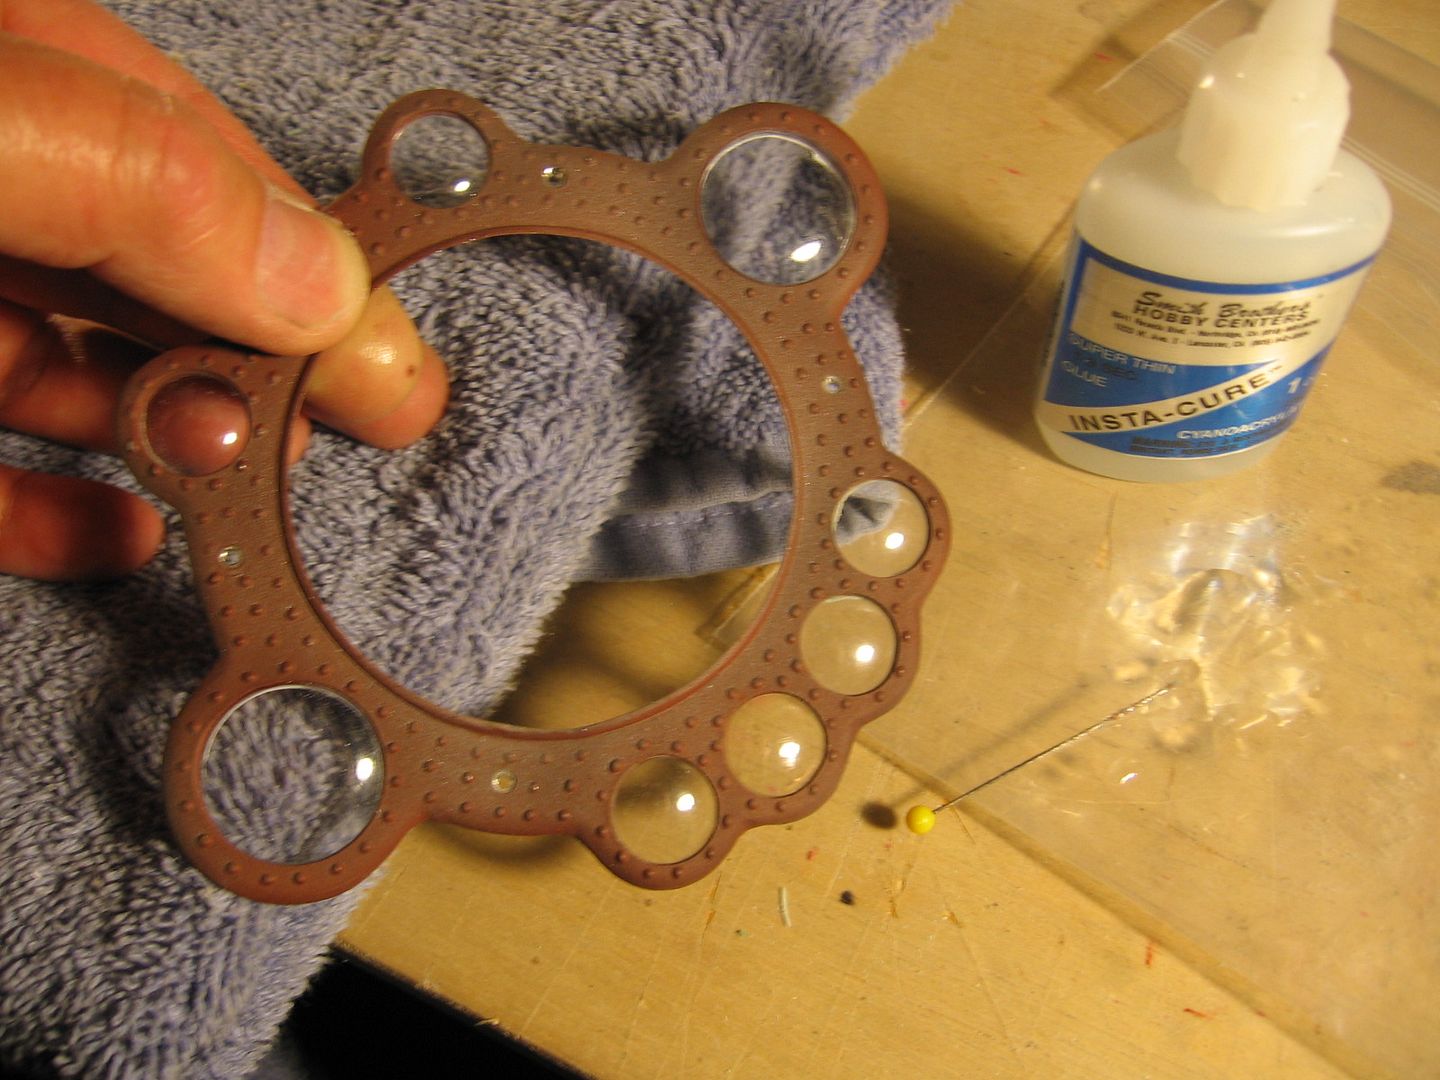
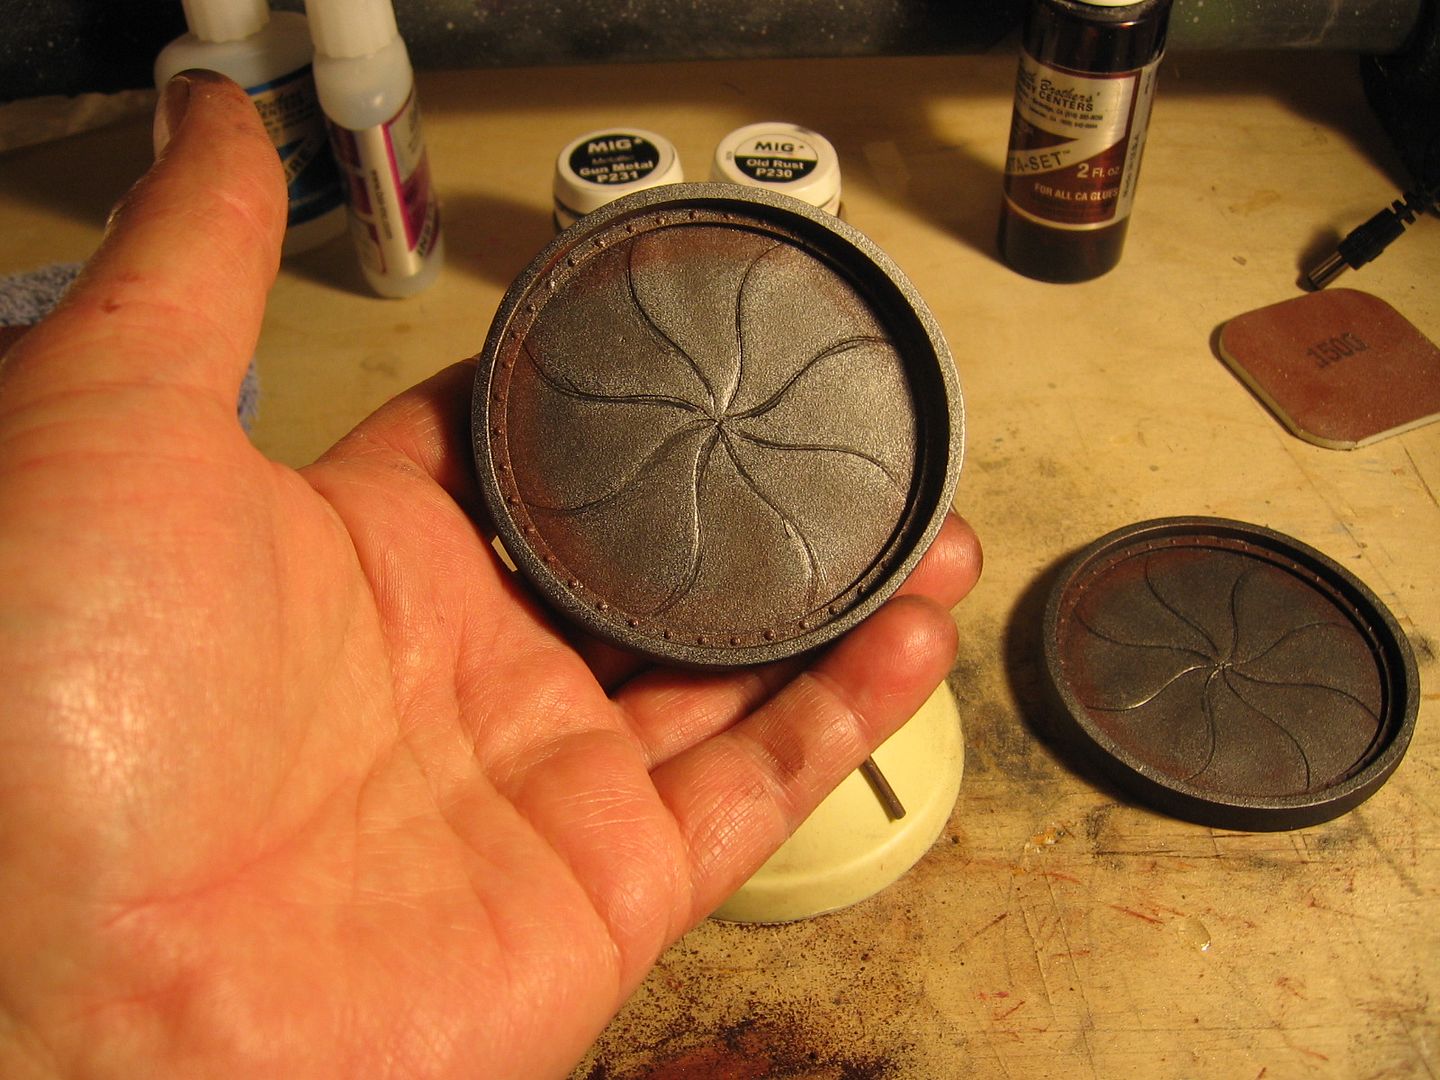
Tool dip! Done. Thanks Jockdeboer
Steve
Steve


I have shingles,and the flair up was one of the most painful things I ever had,plus it was round the eyes which stopped me from working for eight months.I hope you can make her as comfortable as possible.alex
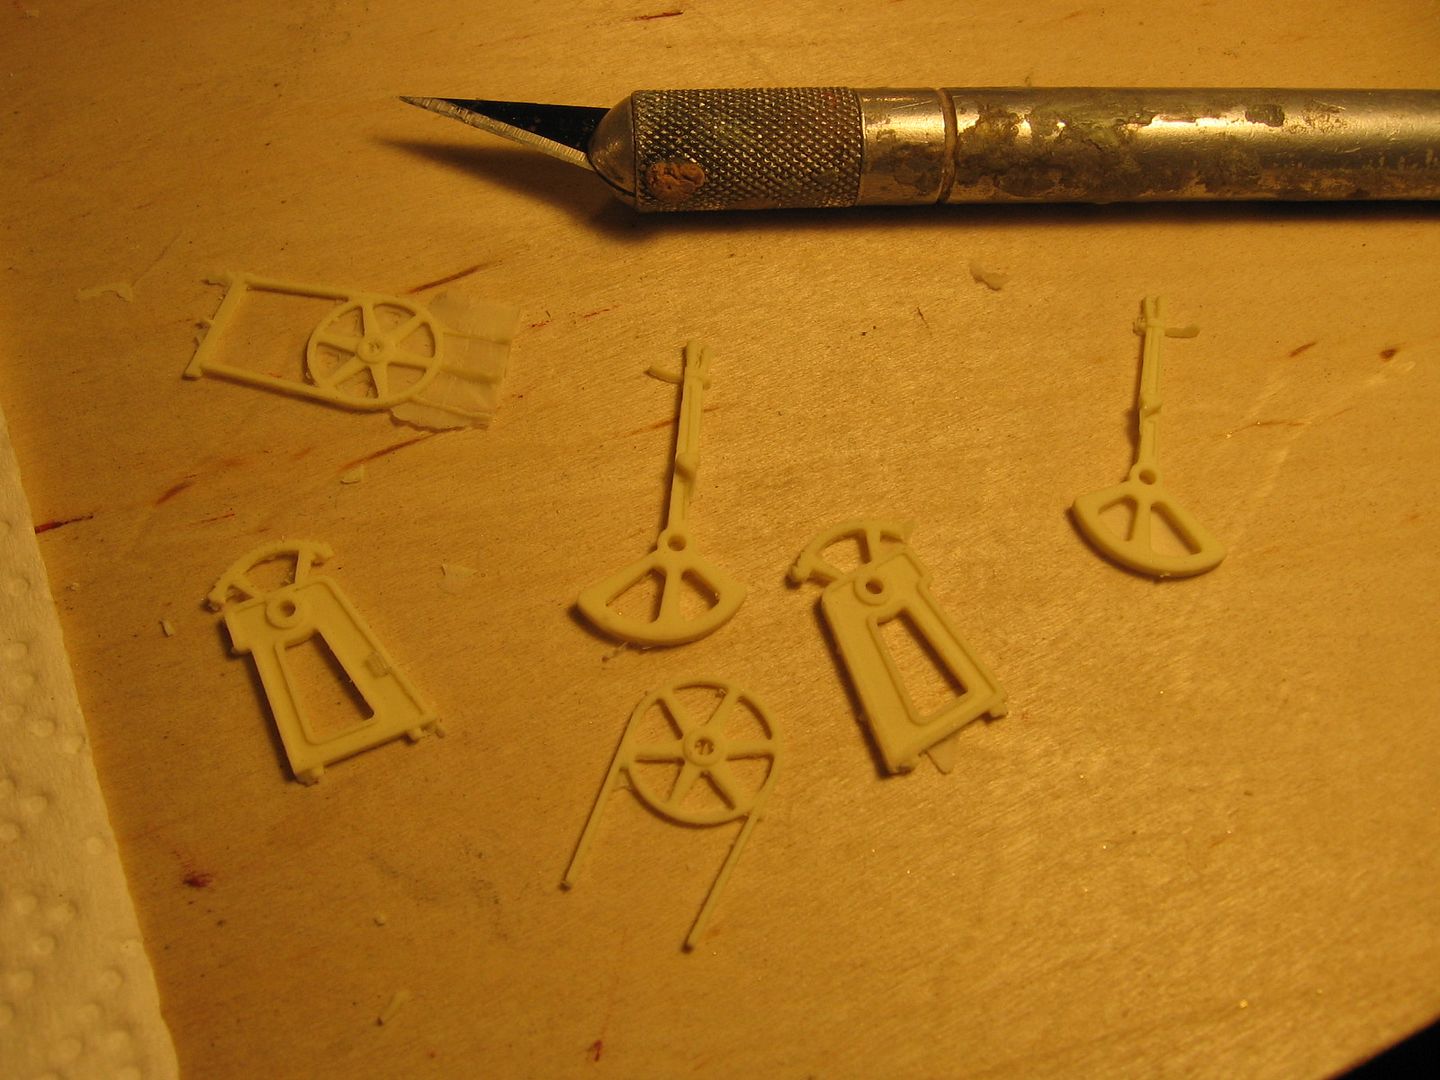
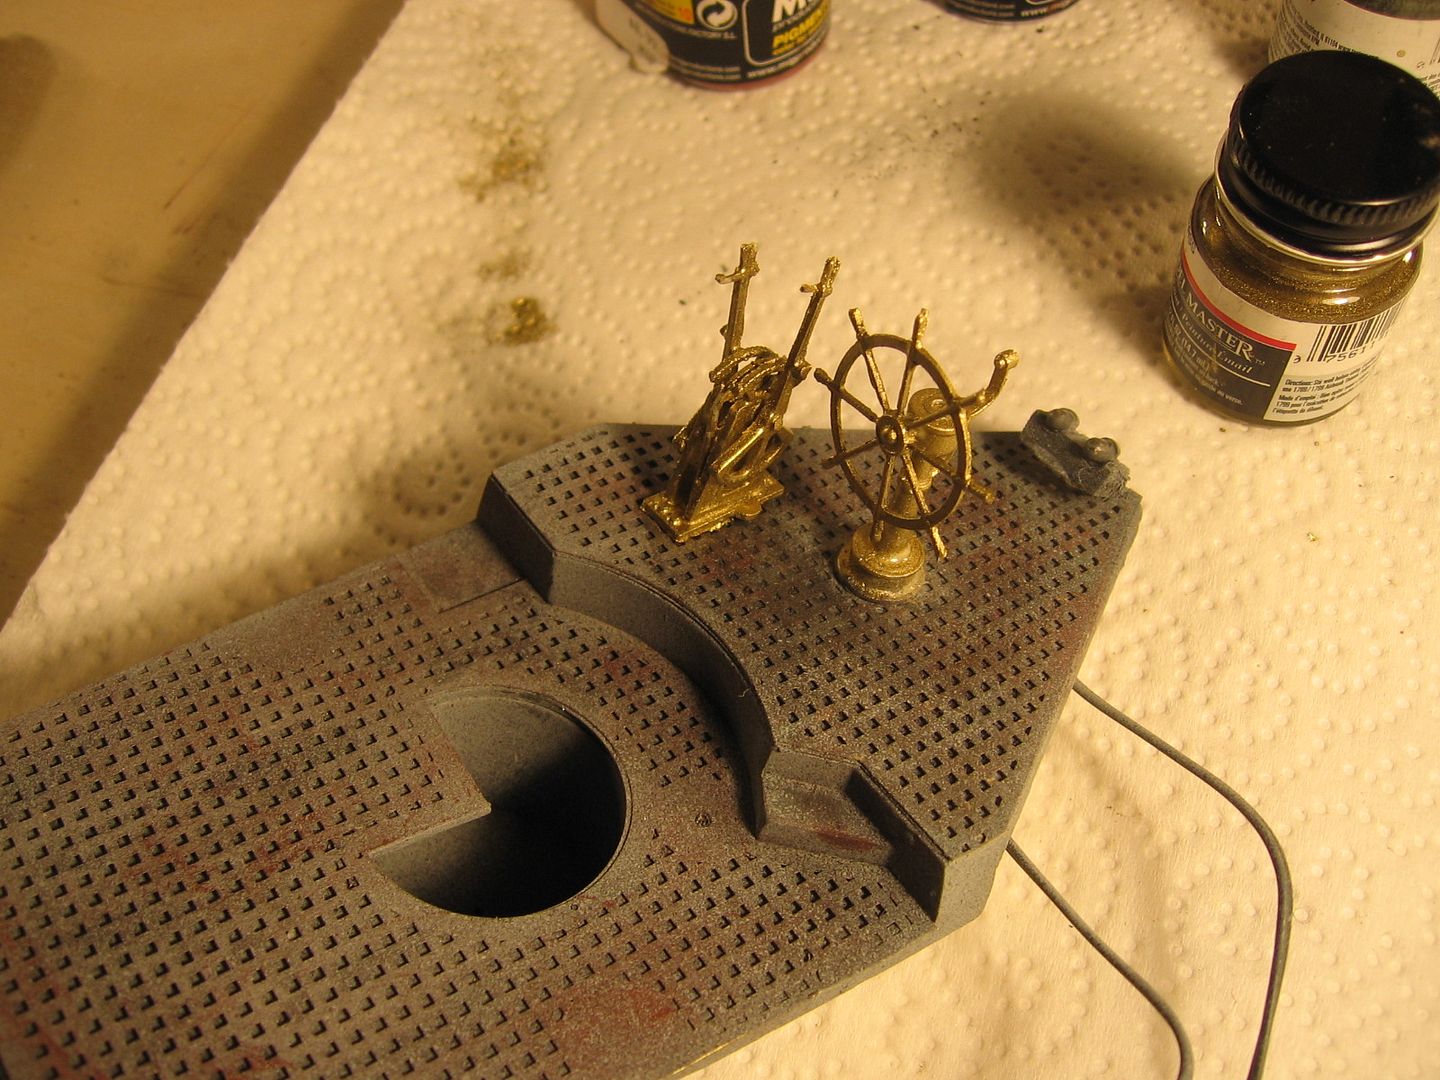
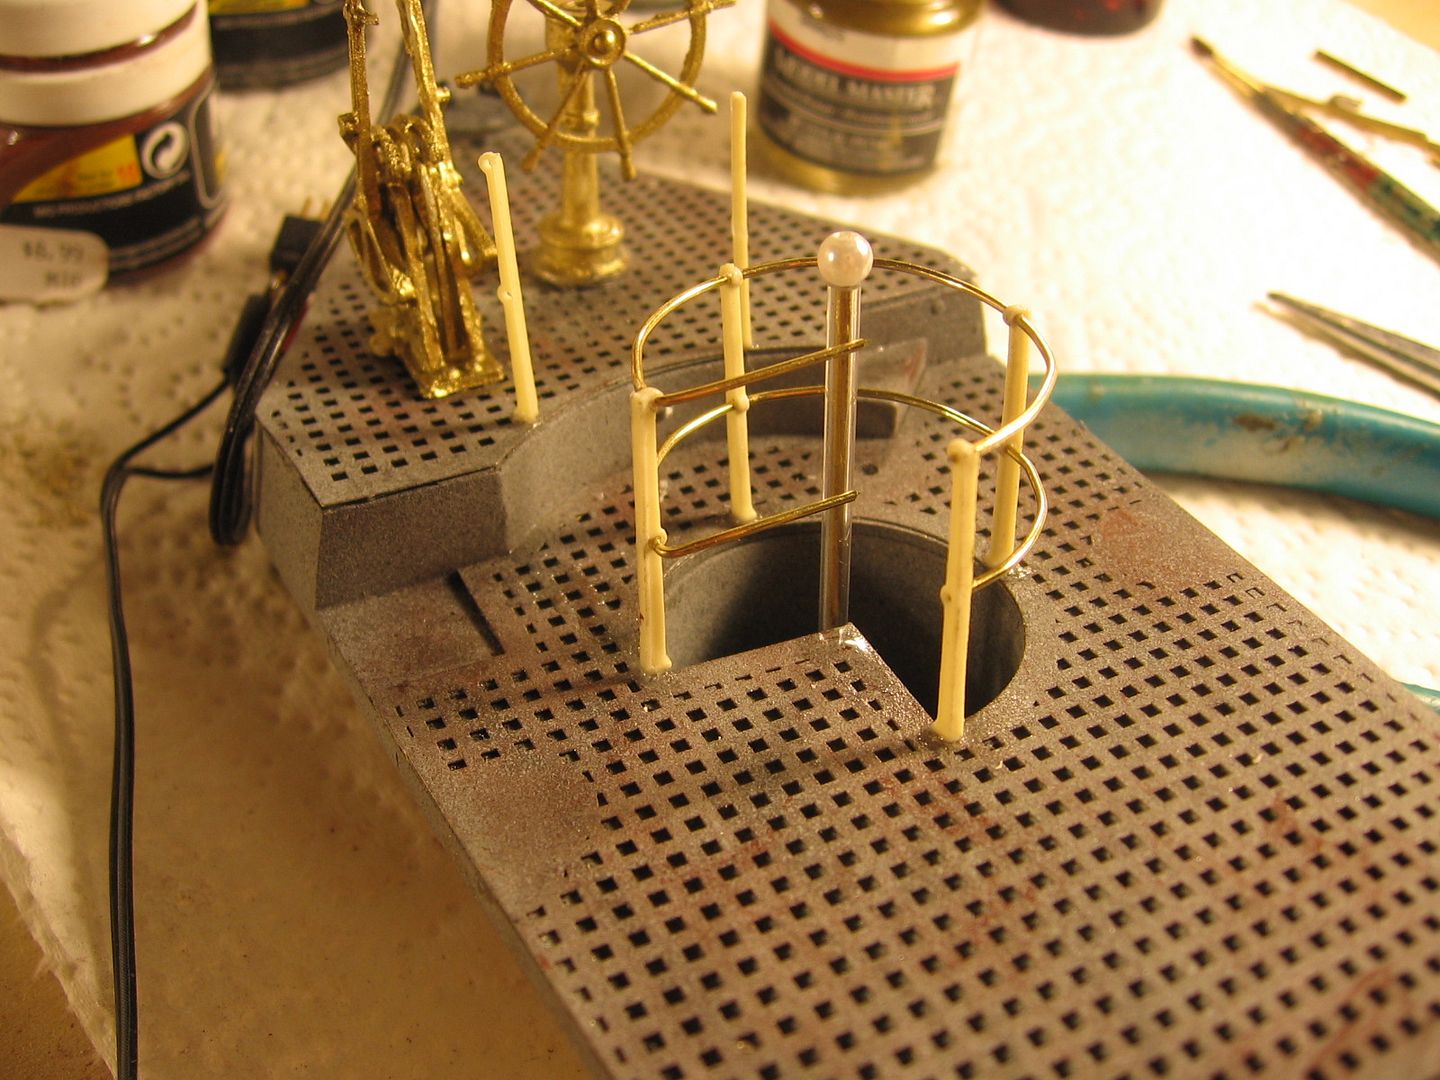
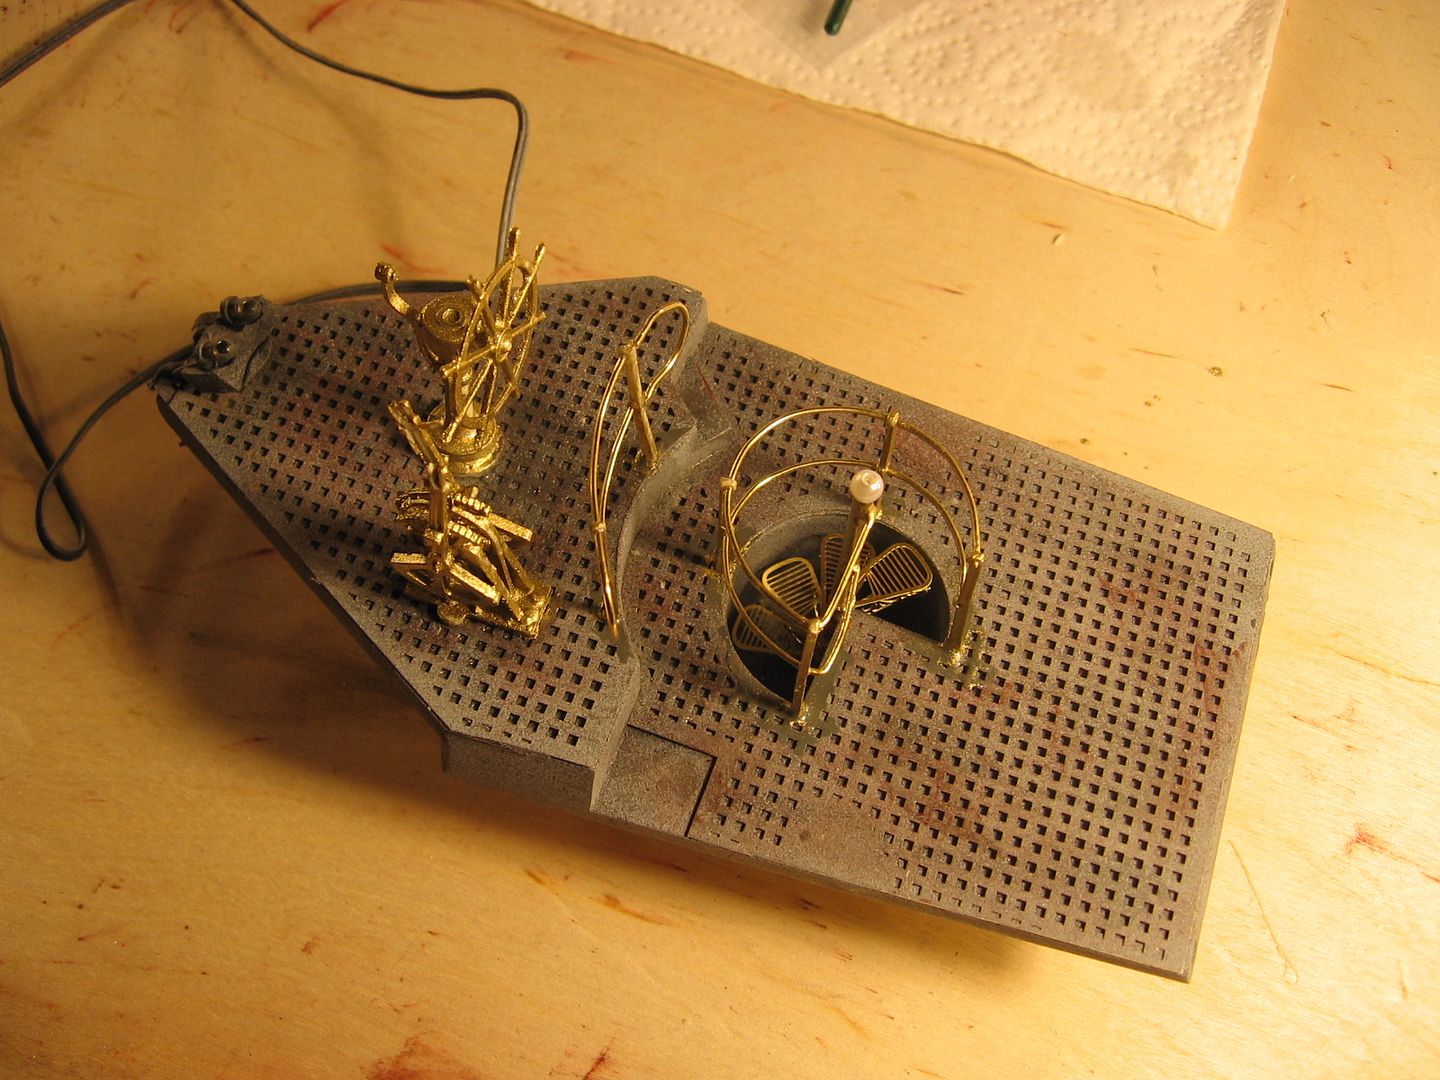
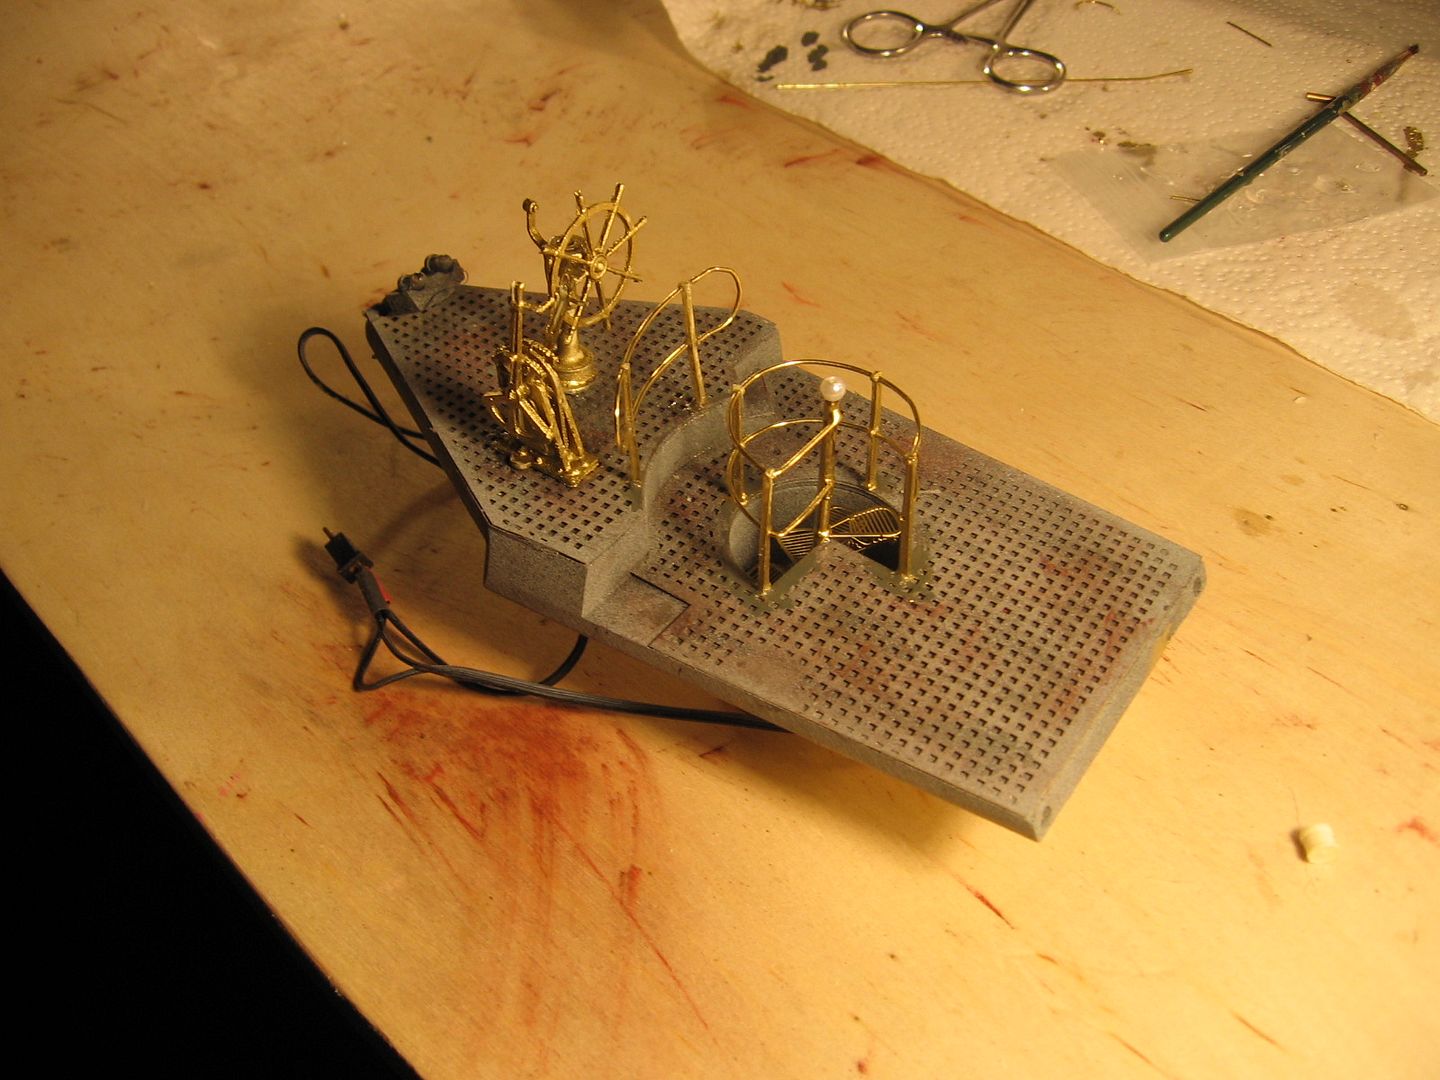
Nice to see they have PE decking and stairs now, to bad the stanchions are resin you would think they would be metal as well.
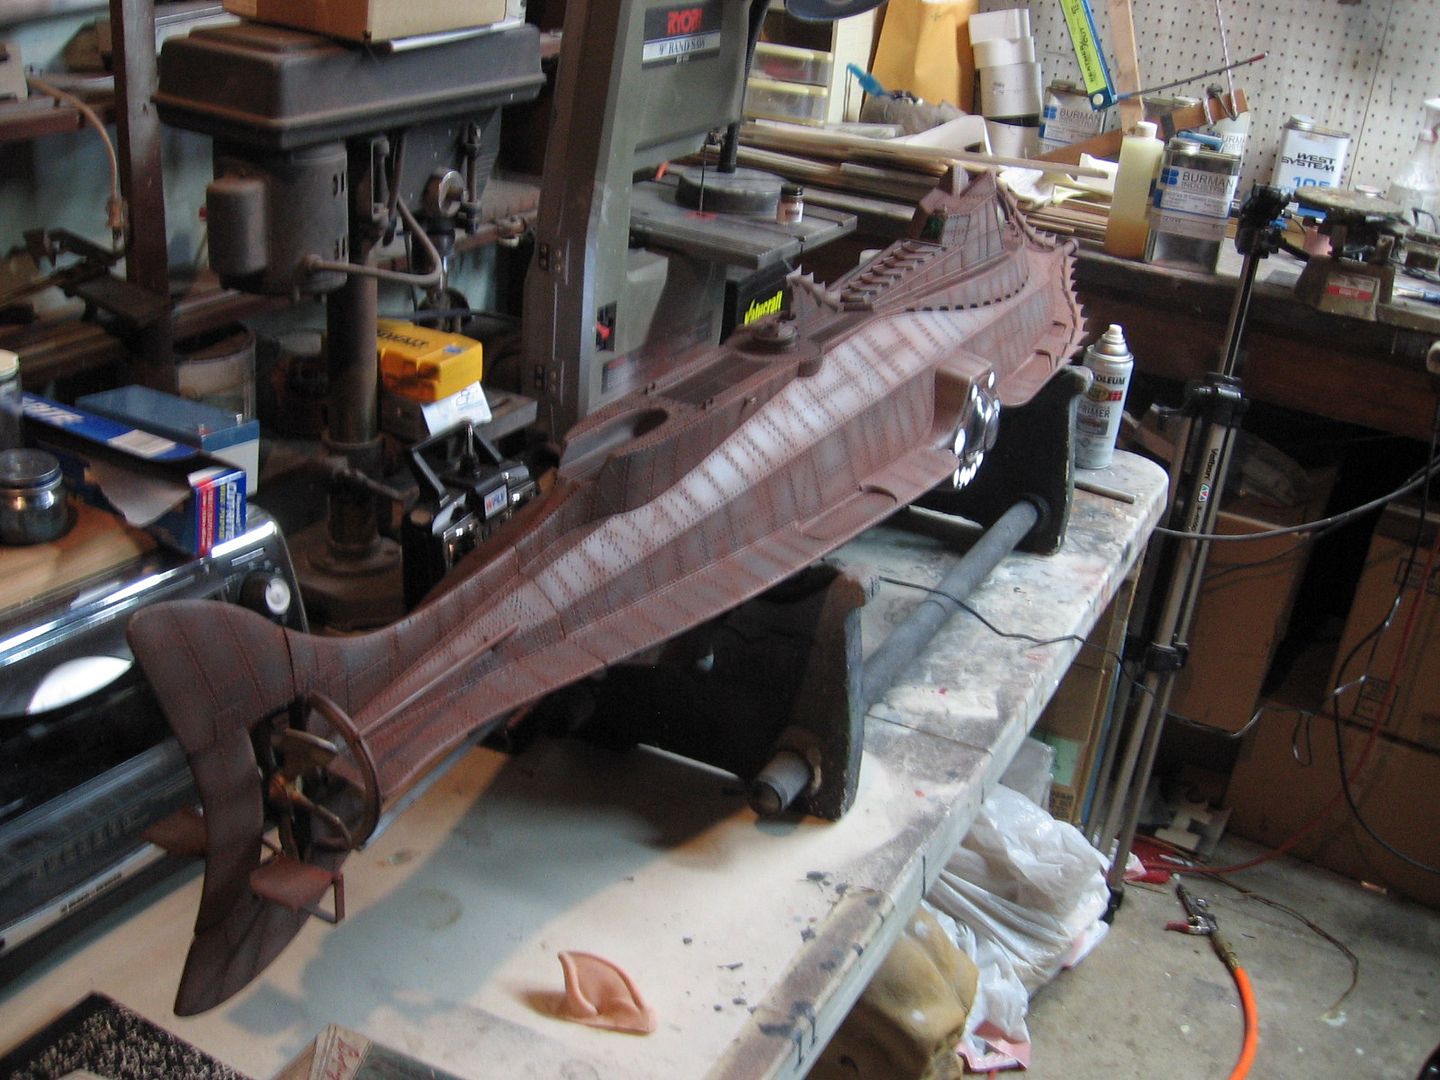
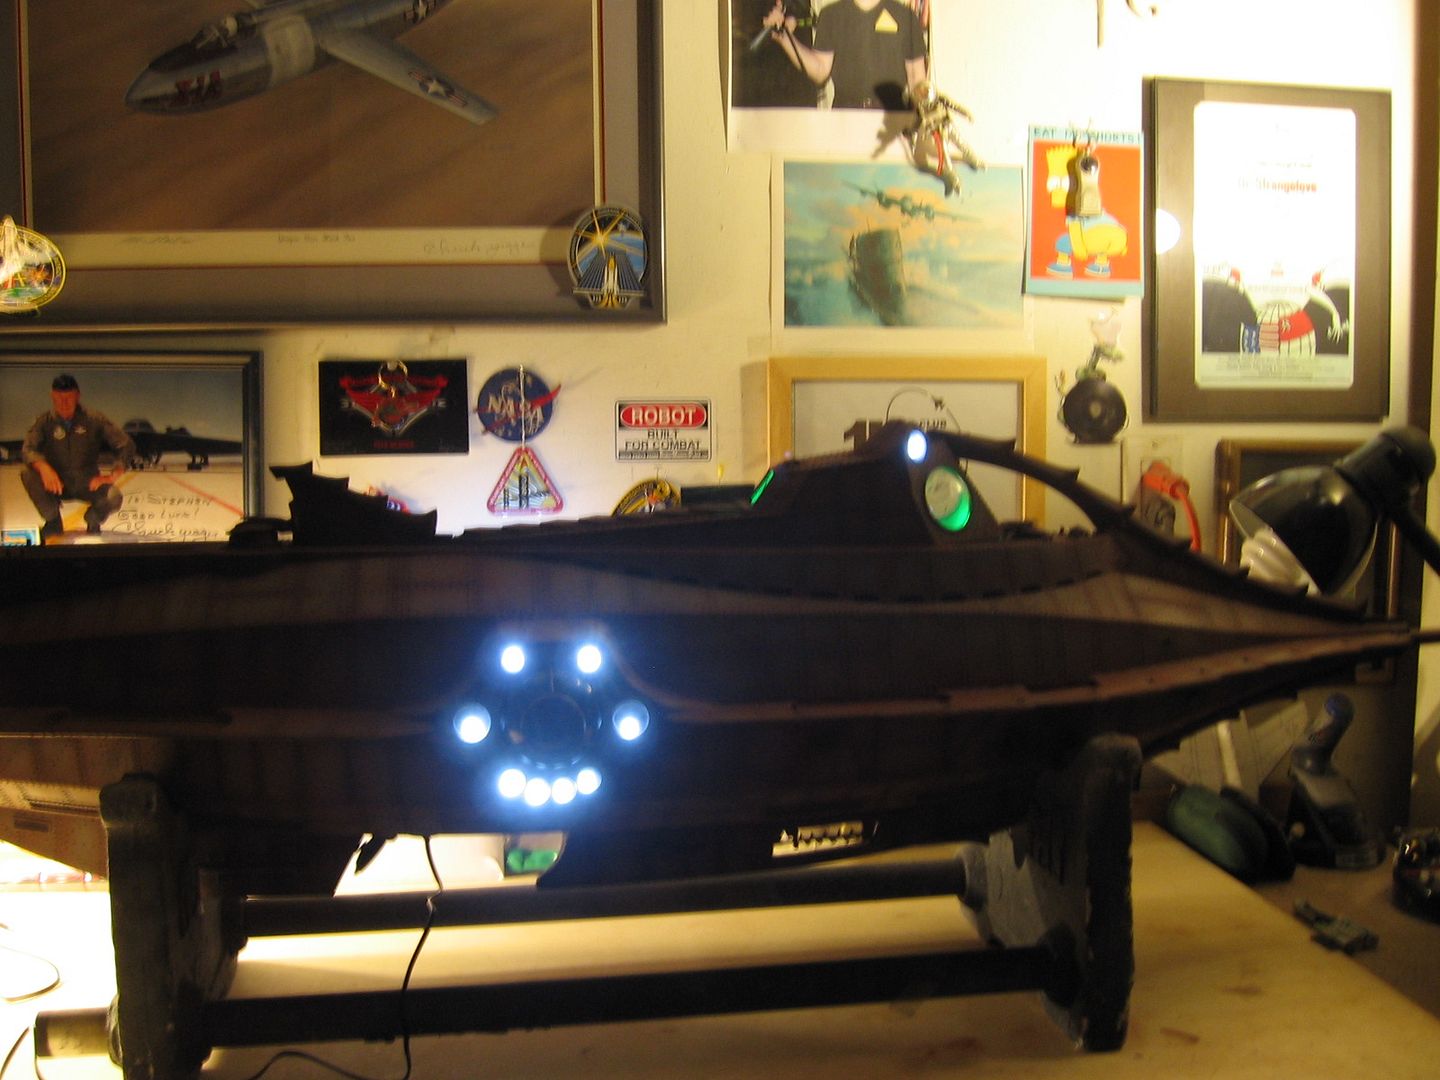
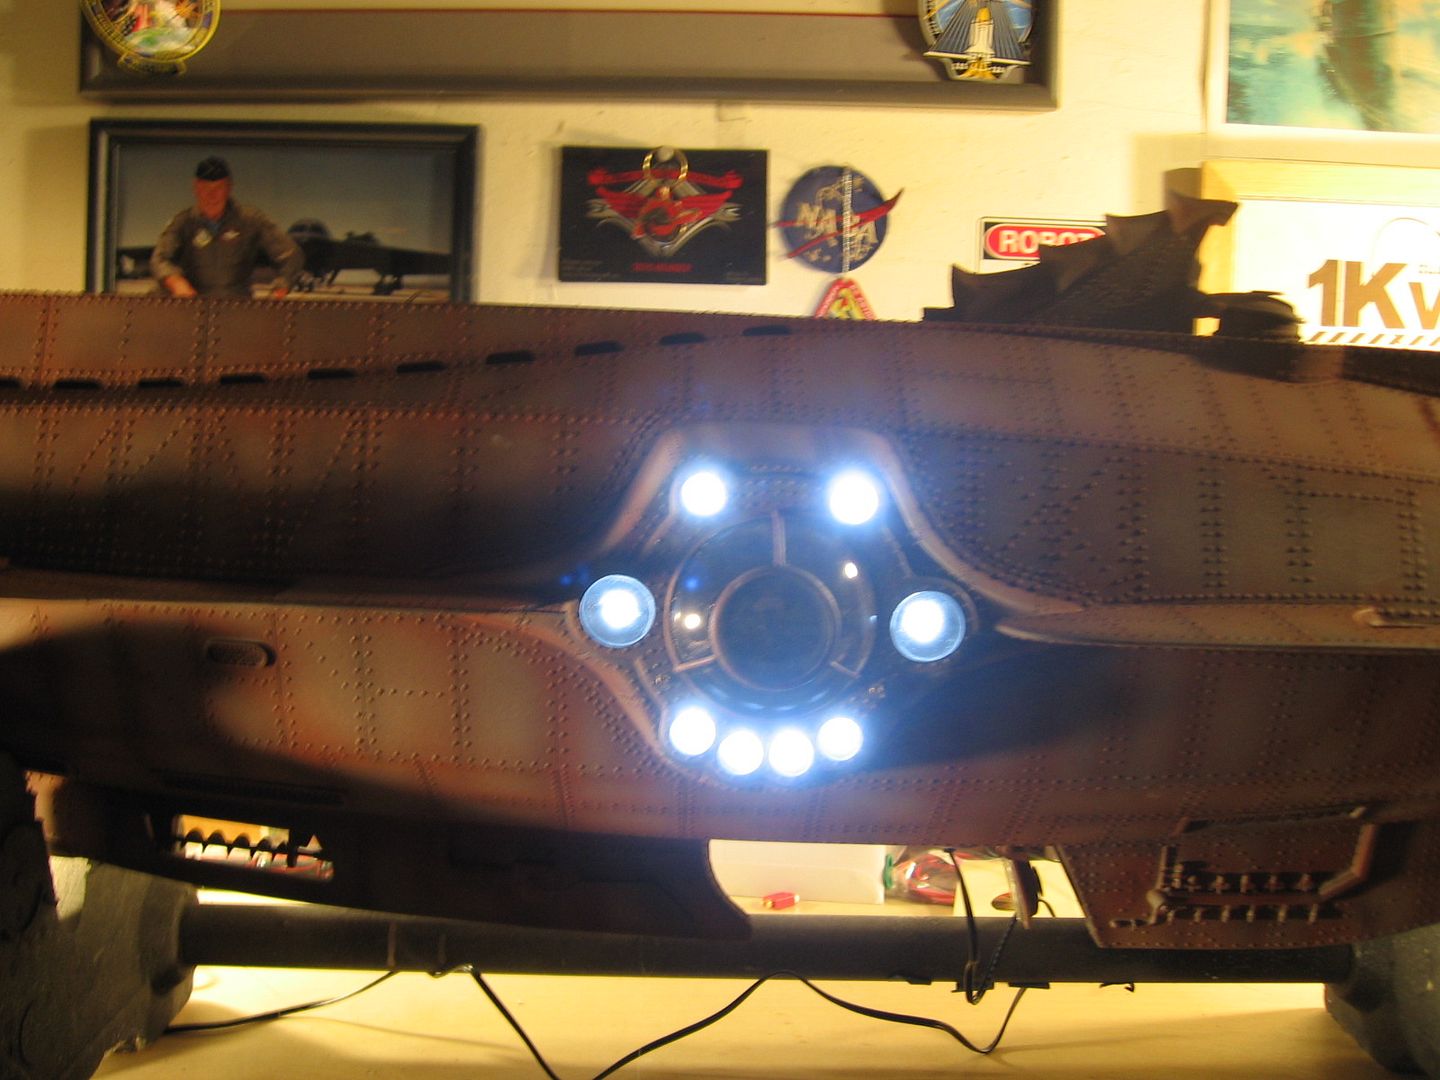
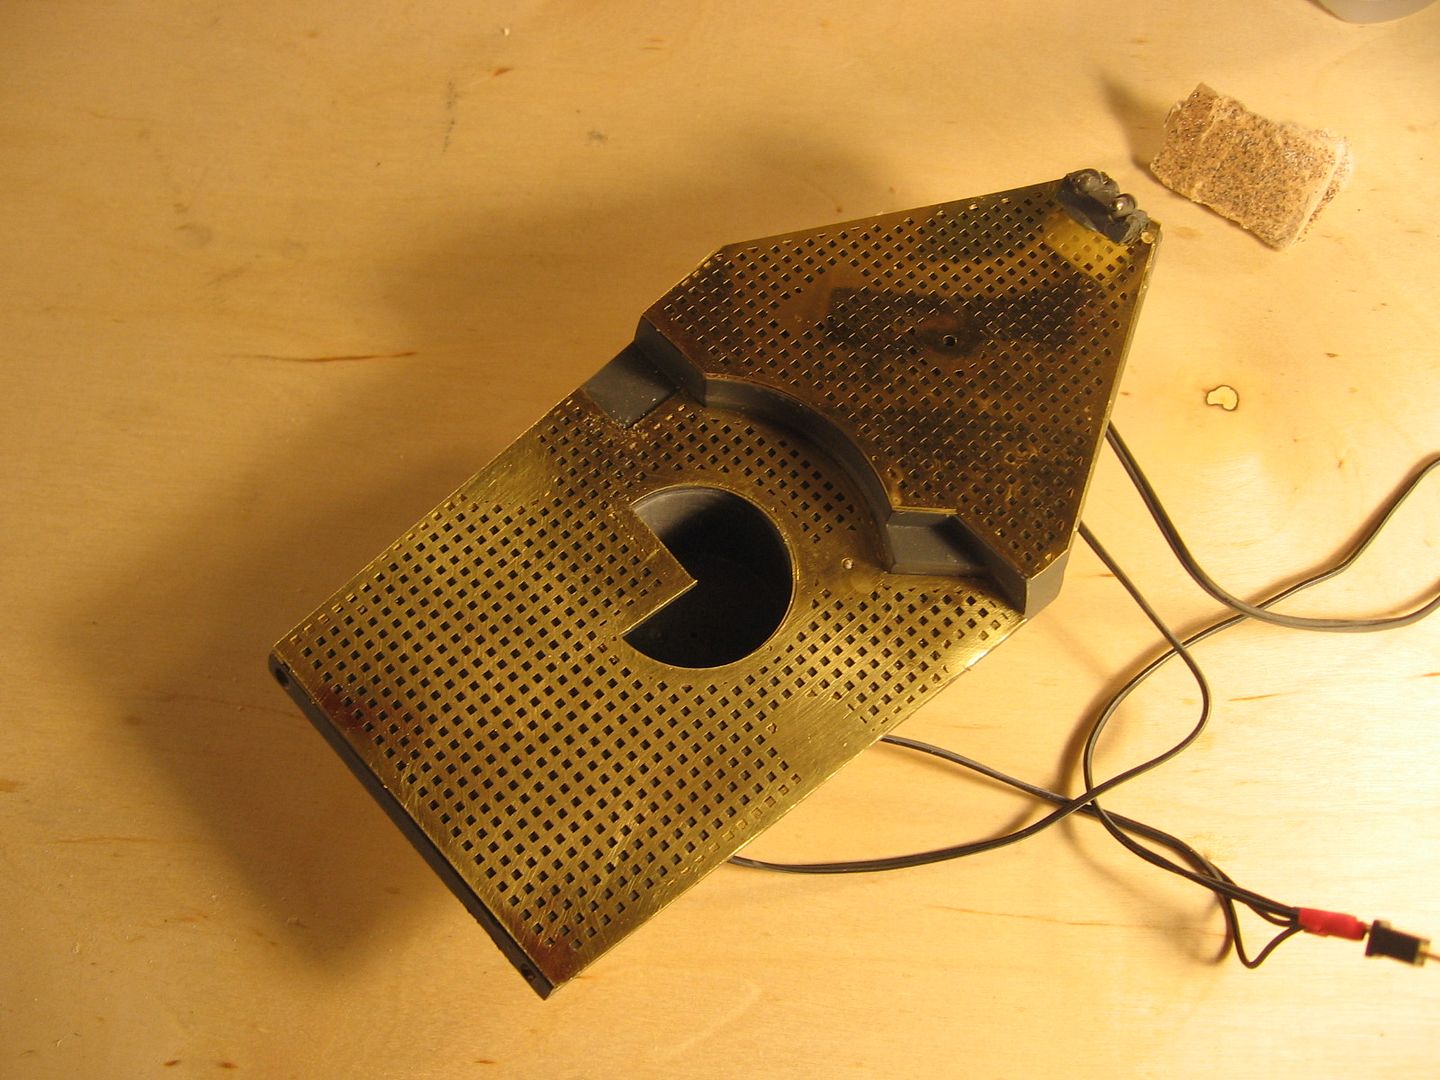
I have a laser cut wood deck for my 31"
Do you know if they are they making PE stairs for the 31"?
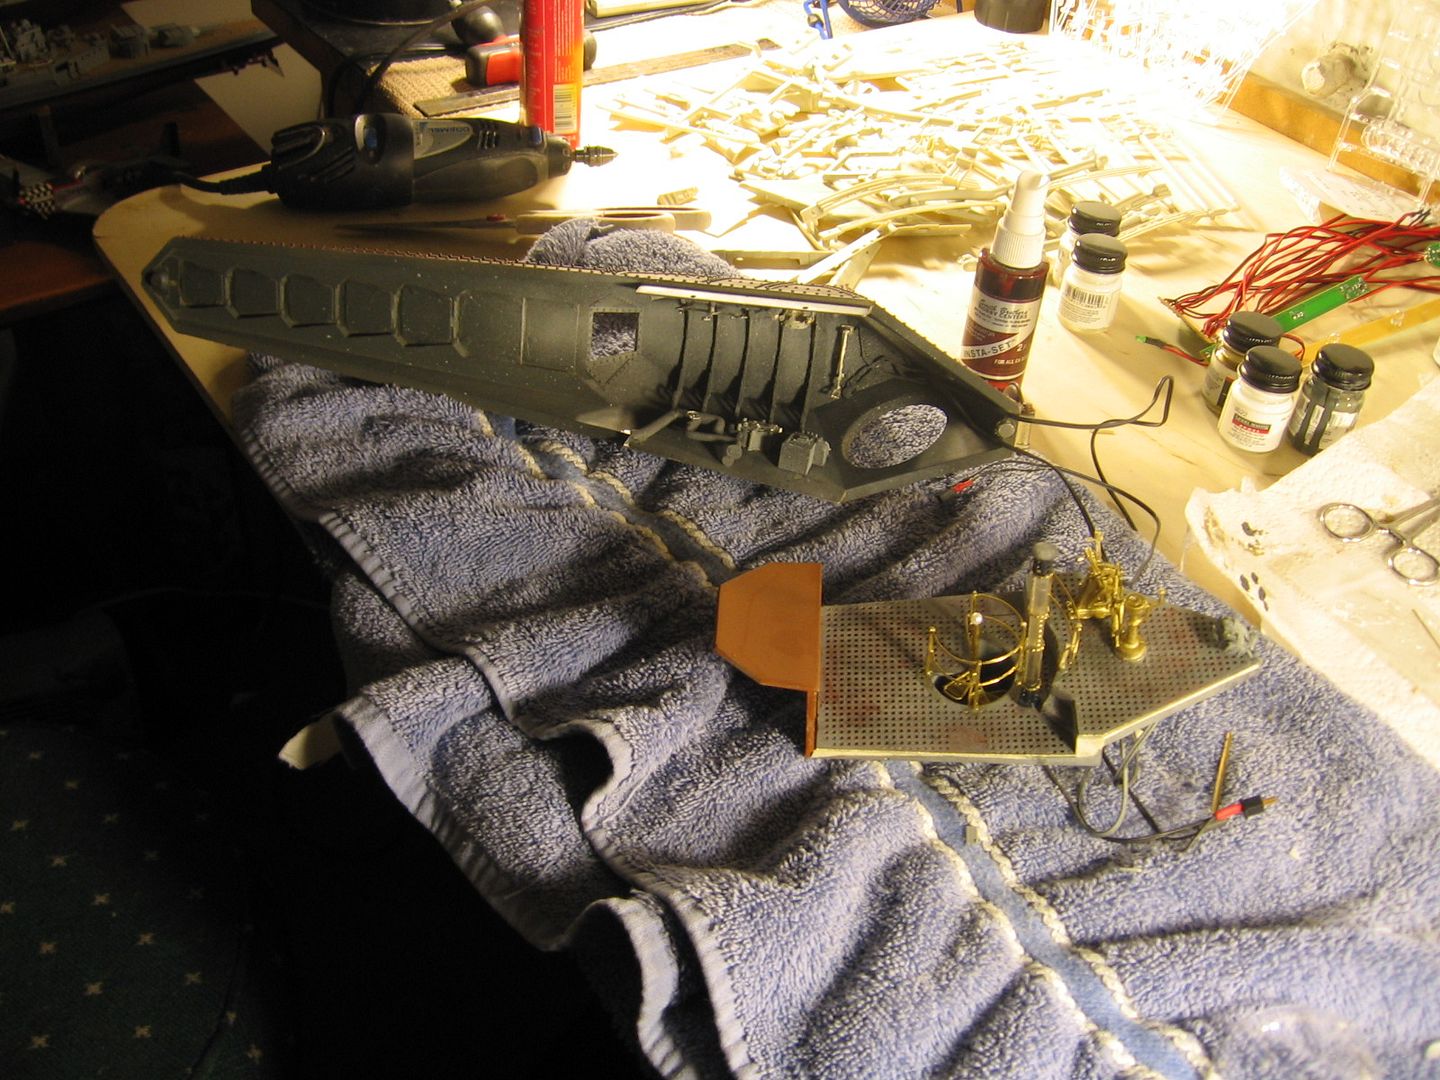
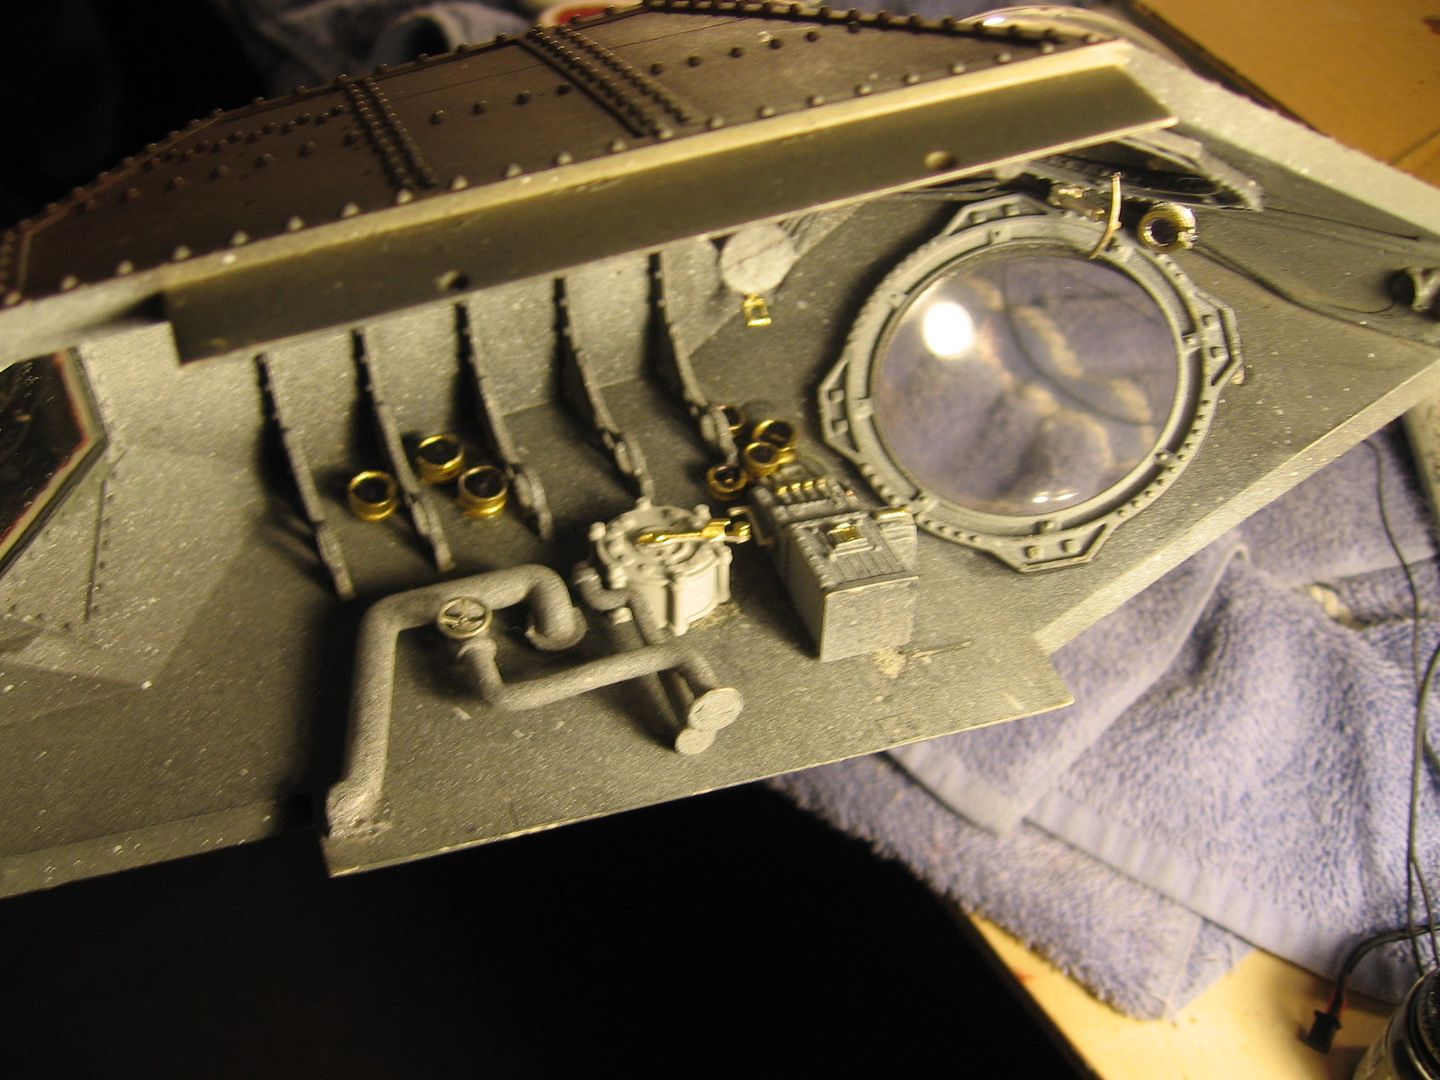
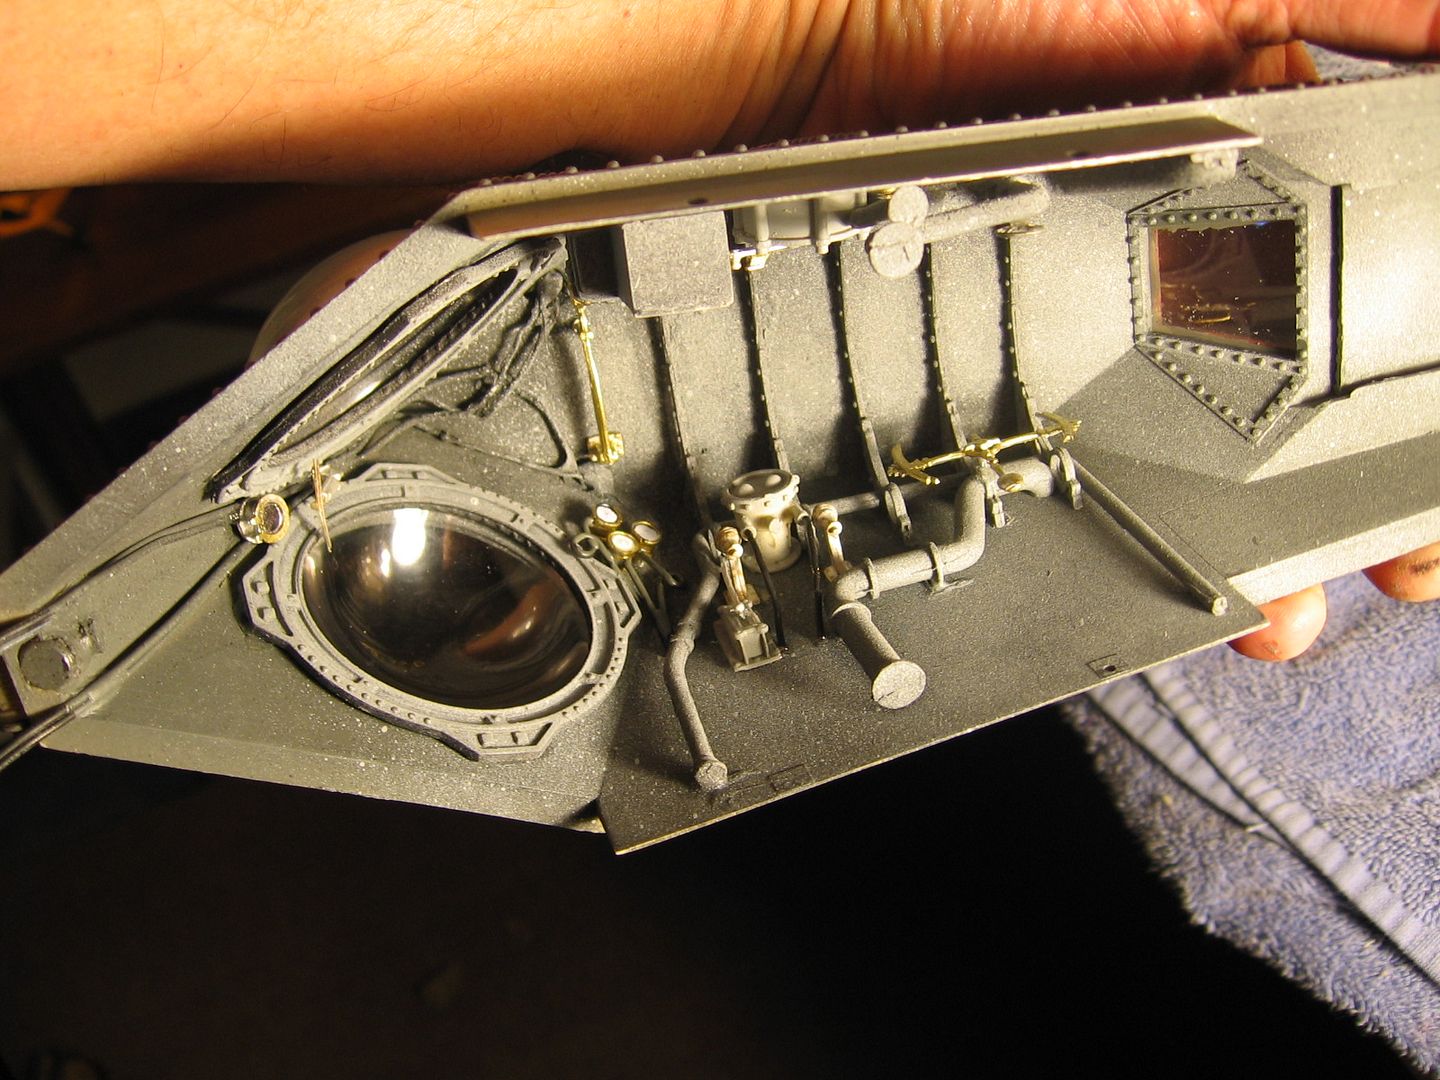
I could use a set for the bridge and the fore / aft hatches.
And I didn't call them stanchions here as many would know what I was referring to. But since you are a boat man thanks for calling them by their correction designation!Fantastic Work Sir!
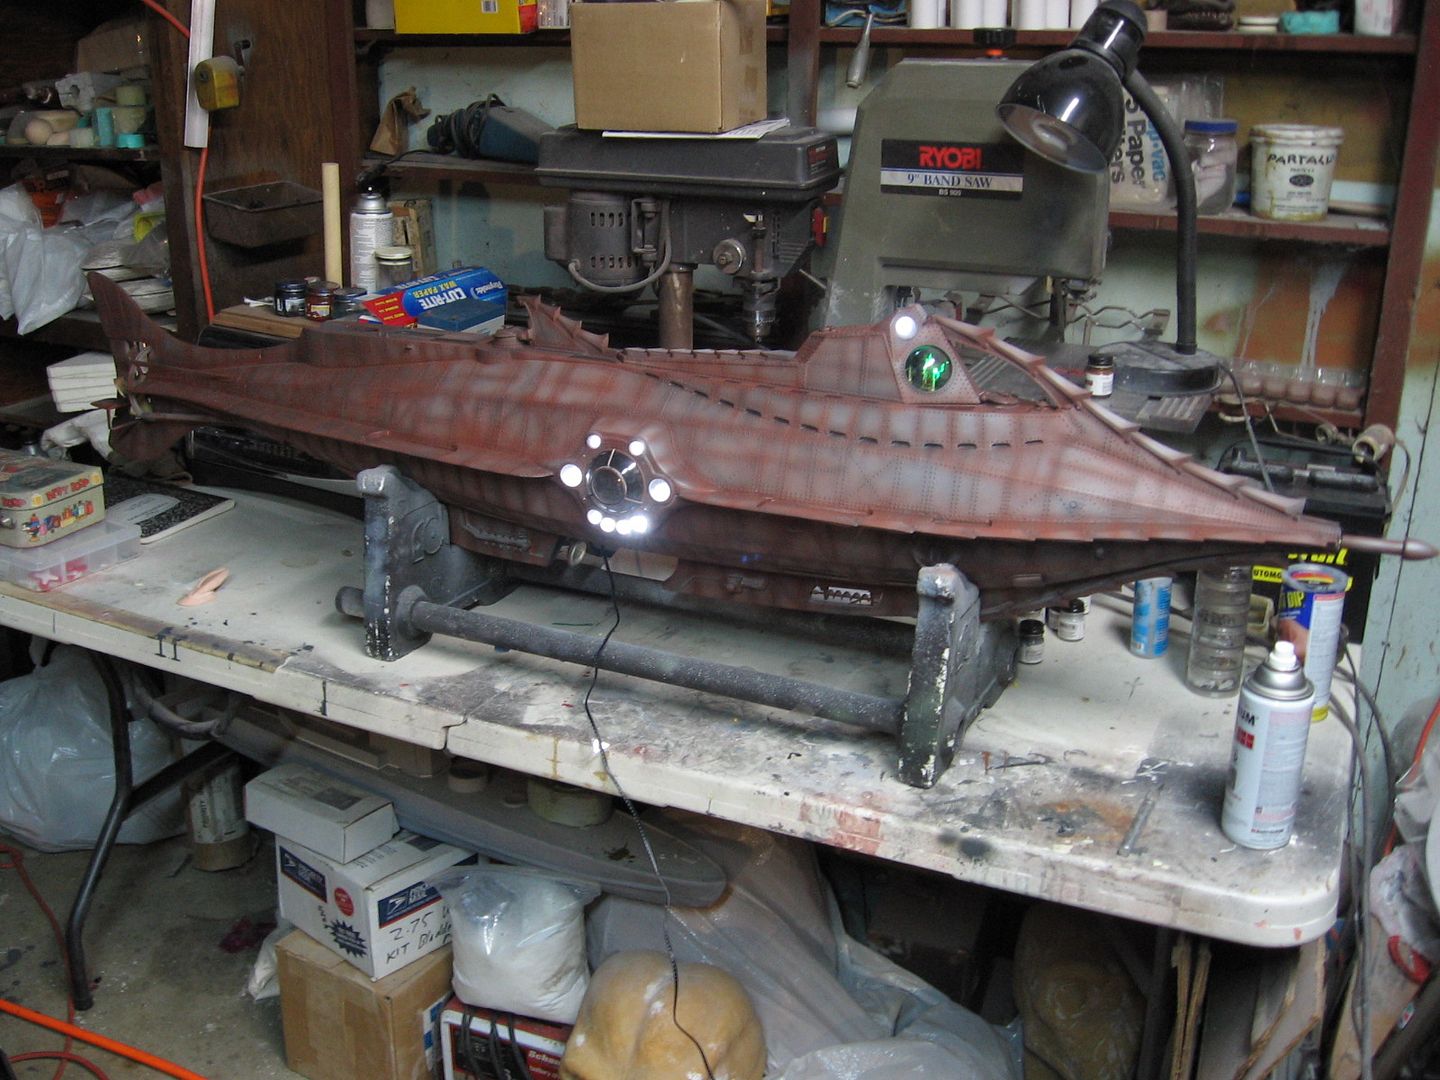
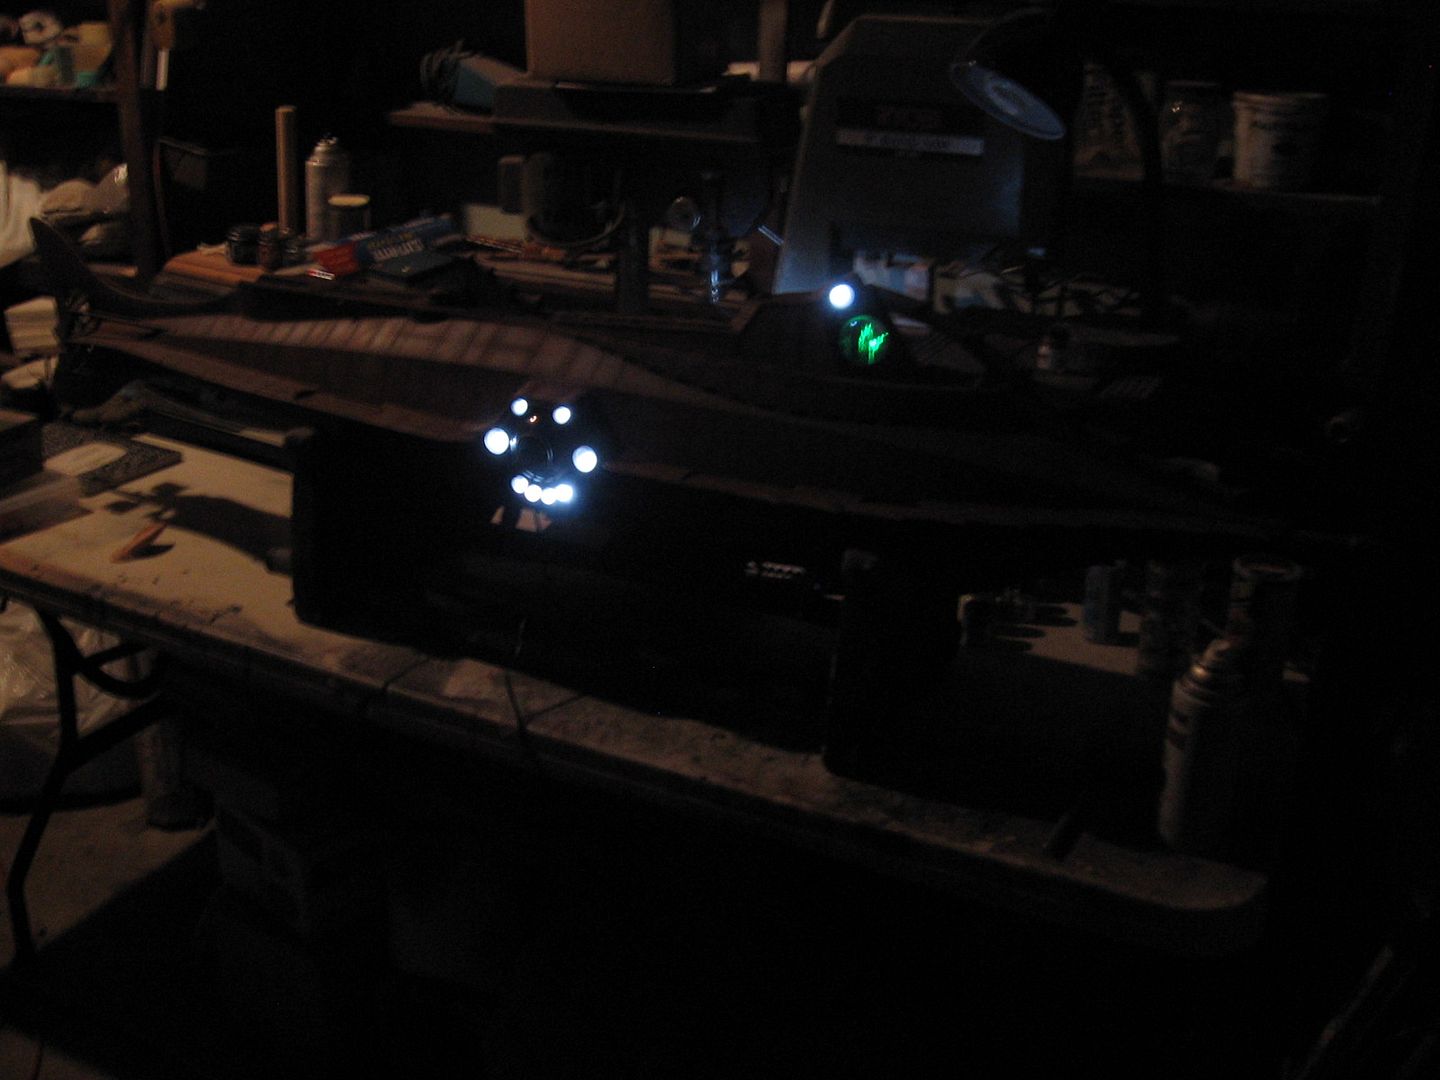
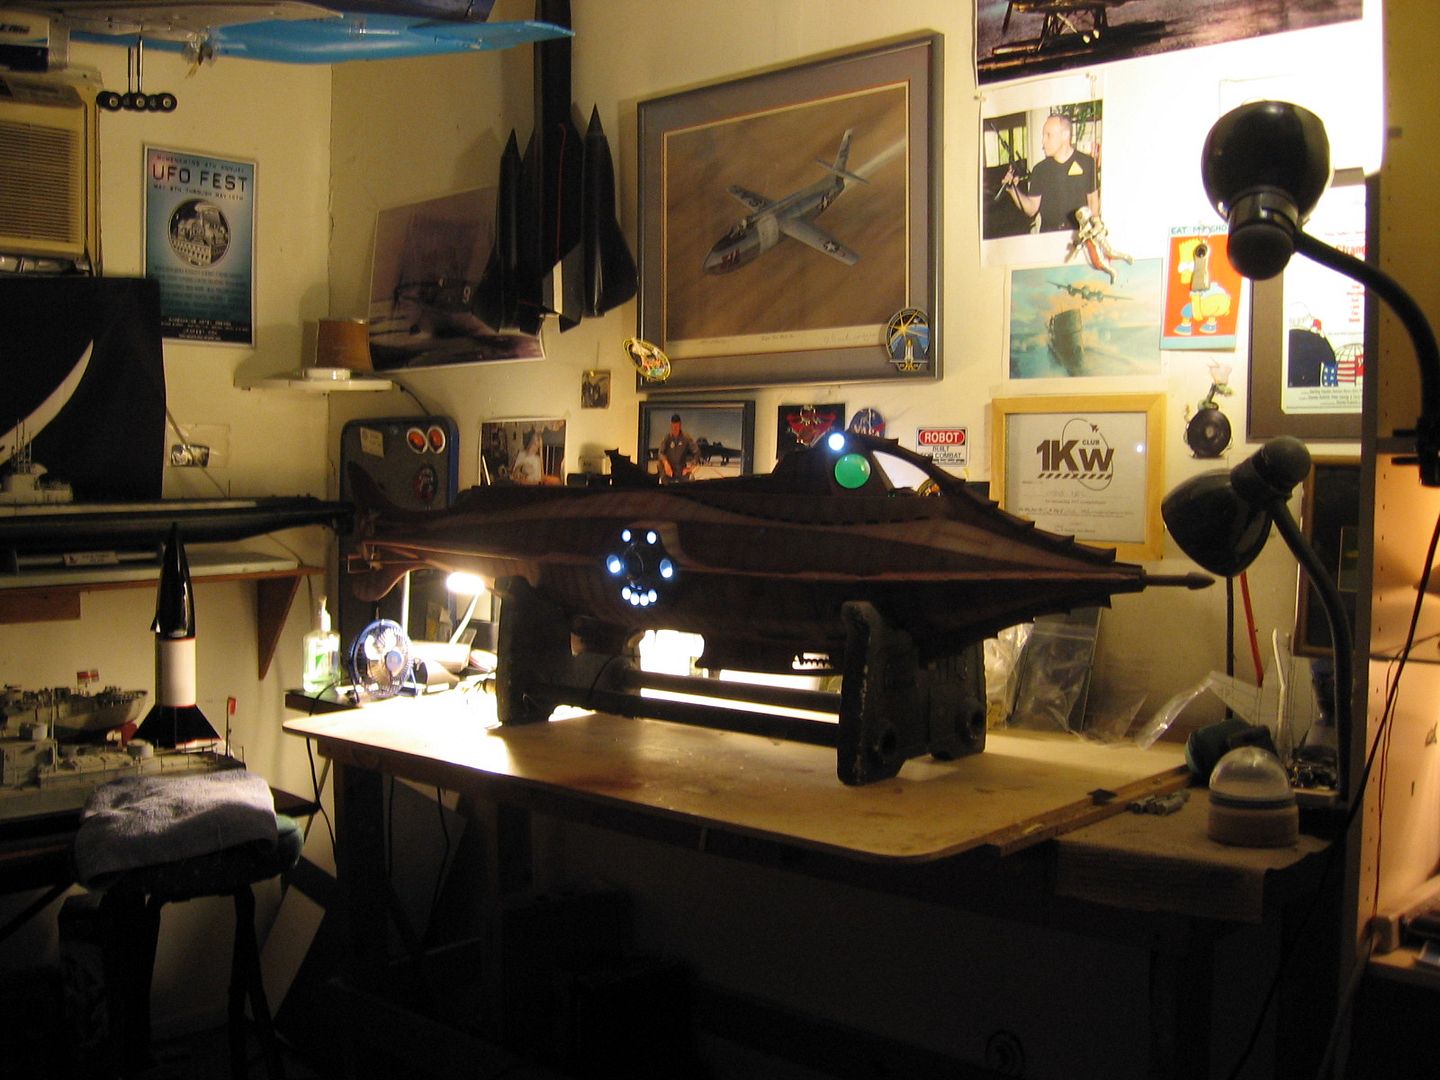
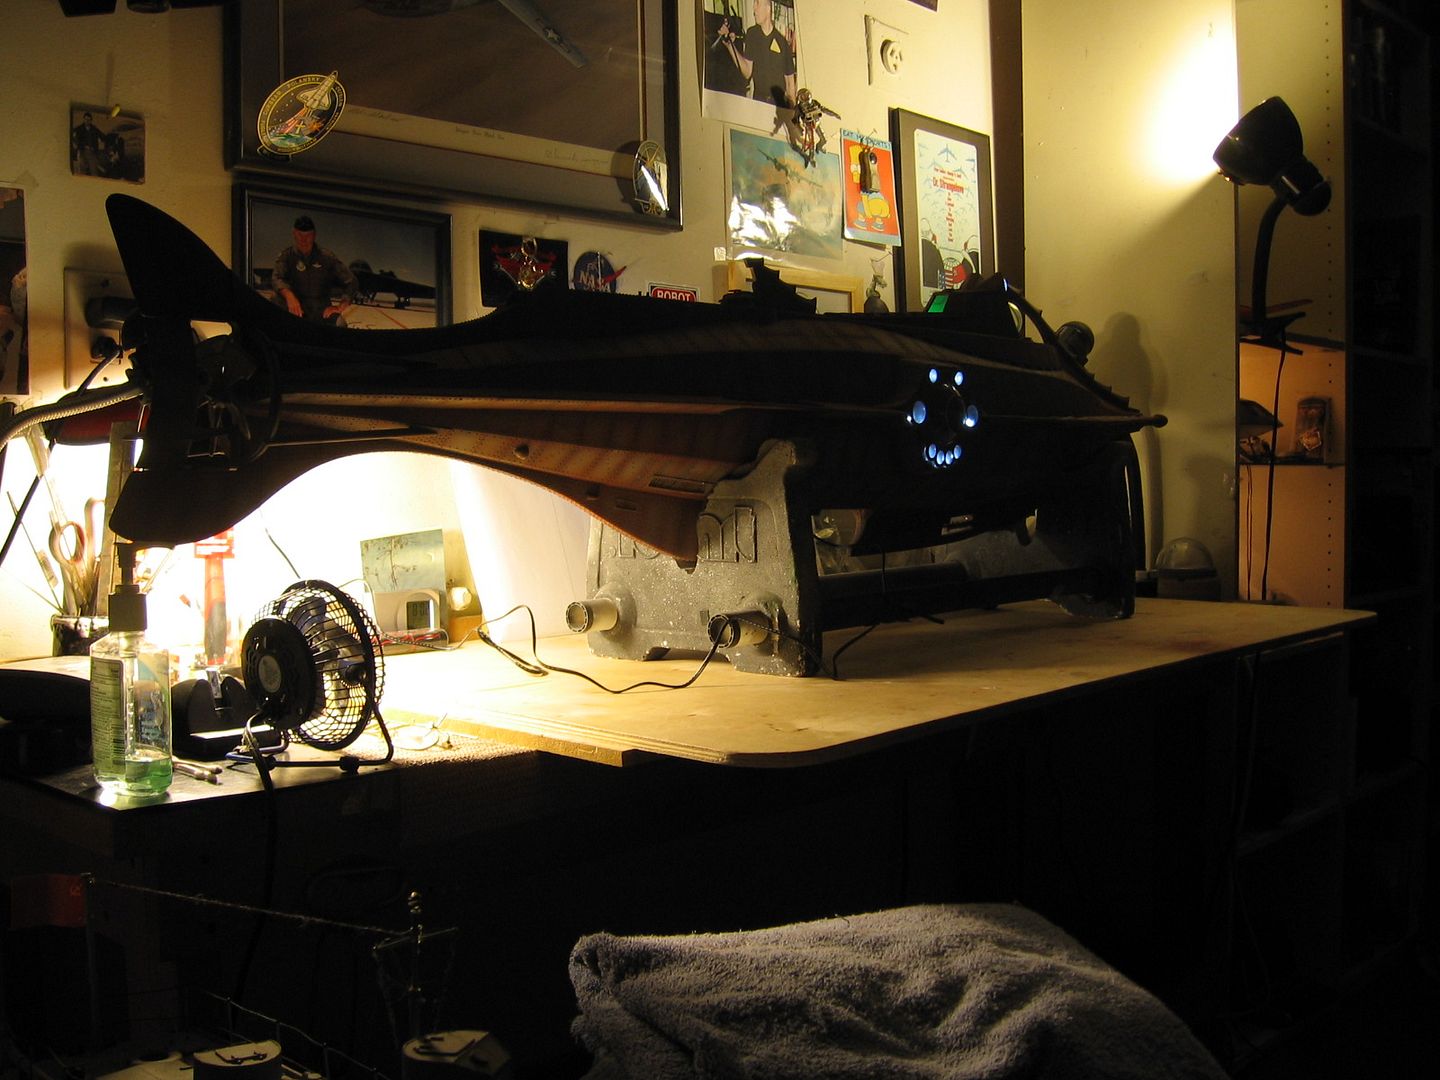
I echo the other member's response, the Seaview and the Nautilus...
Love to build a big boat like yours..I need to hit the lottery!
Funny, I didn't even notice you used another name. LOLI could agree more with you. The worse part was having to drill out the pilot holes.
CR doesn't sell the 31 inch. As far as I know they don't. The 31 inch is a better made kit IMO. I've built one of those too and RCed it: Welcome To My Website
Steve