Will Vale
Member
Hi folks,
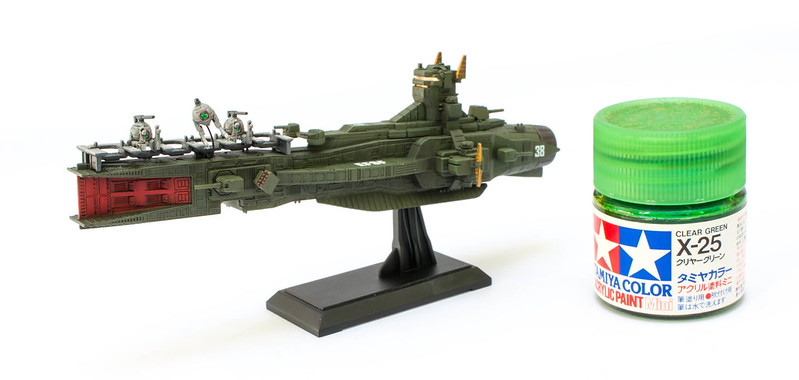
I just registered after lurking around for a while, and thought I'd share a model I finished a week or so ago before I start the next project. It's the Moebius Viper Mark One - a nice kit to build, there are a couple of things that would make the fit easier but I suspect if I did another I'd be better able to deal with them. (Mainly I think it'd really help to add some blocks to the inside of the fuselage and screw this onto the engine intake piece from the inside).
I used the Paragrafix etch and made seat cushions and belts from putty. I also cut some of the detail off the main gear and built new retract jacks instead.
I've seen some comments about fixing the droopy guns, but from what I can see from the series this was also the case on the original models, so I left them as-is")


I used the HS technique for the first time, which I discovered I really like, and masked the stripes (no decals, yay!) which made the painting a lot easier - no need to varnish so I was able to preserve the different gloss levels from the metallic chips and the paintwork.
The paint is more "inspired by" than "accurate" - e.g. I trimmed the stripes short of the edges of the wings, and left off the stripe on the fin leading edge since I don't think it fits so well with the pattern.
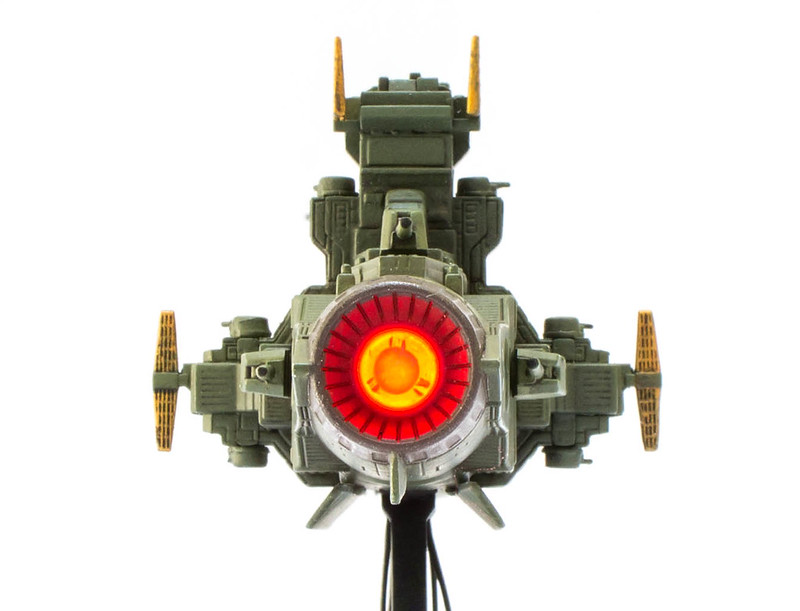
I also added lights driven by a little microcontroller board.
I have the Mk. 2 as well which I probably want to weather more accurately (and just more!) than this one since there's a lot more reference available.
Cheers,
Will
I just registered after lurking around for a while, and thought I'd share a model I finished a week or so ago before I start the next project. It's the Moebius Viper Mark One - a nice kit to build, there are a couple of things that would make the fit easier but I suspect if I did another I'd be better able to deal with them. (Mainly I think it'd really help to add some blocks to the inside of the fuselage and screw this onto the engine intake piece from the inside).
I used the Paragrafix etch and made seat cushions and belts from putty. I also cut some of the detail off the main gear and built new retract jacks instead.
I've seen some comments about fixing the droopy guns, but from what I can see from the series this was also the case on the original models, so I left them as-is
I used the HS technique for the first time, which I discovered I really like, and masked the stripes (no decals, yay!) which made the painting a lot easier - no need to varnish so I was able to preserve the different gloss levels from the metallic chips and the paintwork.
The paint is more "inspired by" than "accurate" - e.g. I trimmed the stripes short of the edges of the wings, and left off the stripe on the fin leading edge since I don't think it fits so well with the pattern.
I also added lights driven by a little microcontroller board.
I have the Mk. 2 as well which I probably want to weather more accurately (and just more!) than this one since there's a lot more reference available.
Cheers,
Will
Last edited by a moderator: