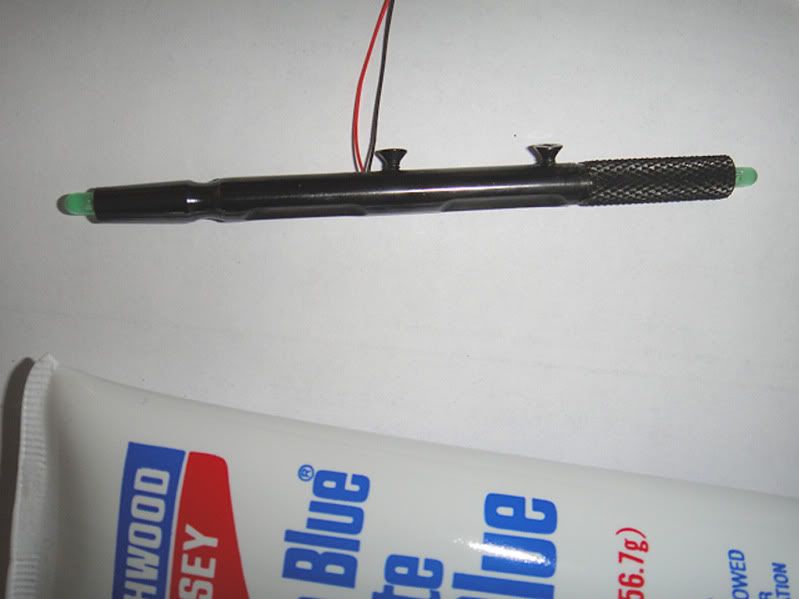
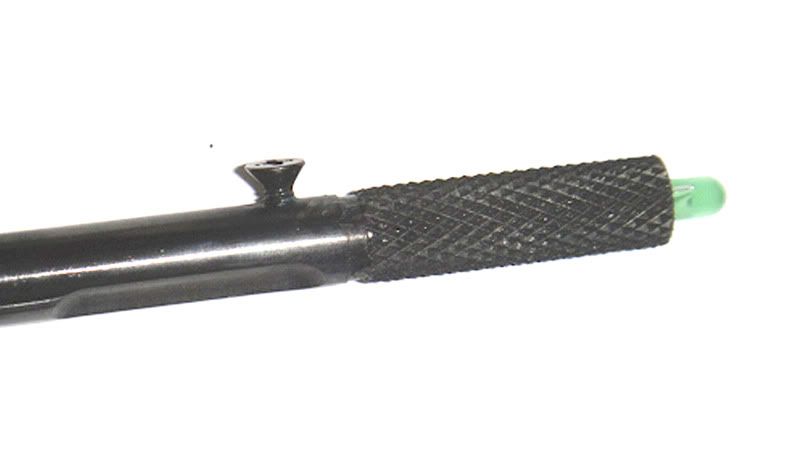
For years I have wanted a Blade Runner blaster that would shoot. I've probably owned one of each version of Rich Coyle's beautiful replicas and he and I have traded ideas and engineering concerns over the years.
First off, I am a middle aged policeman so I am fully aware of the legalities involved. On the side I am a fully licensed gun dealer, I sell real guns and I design and build prop guns (inc. some that shoot).
When making or modifying a real firearm, you need a working knowledge of metallurgy, physics, ballistics, etc. as you can easily turn a pistol into a hand grenade that goes off in your hand. The Blade Runner blaster is built on a .44 caliber revolver. That's .44 caliber. Alot of bang that, if not contained and channeled properly, can easily blow up the Charter Arms top strap, cylinder wall, etc. :confused
So, kids, do not try this at home. It is not for amateurs and you truly need a machine shop to do it properly and safely. Having a grinder, a Dremel and a vice will not do it. To get this far, it took an experienced machinist (who builds semiauto rifles out of aluminum billets) using computer controlled industrial lathes, milling machines, etc.
This thread is for entertainment and informational purposes only. It is not a how-to, it is not a tutorial. It is a show and tell. Here we go:
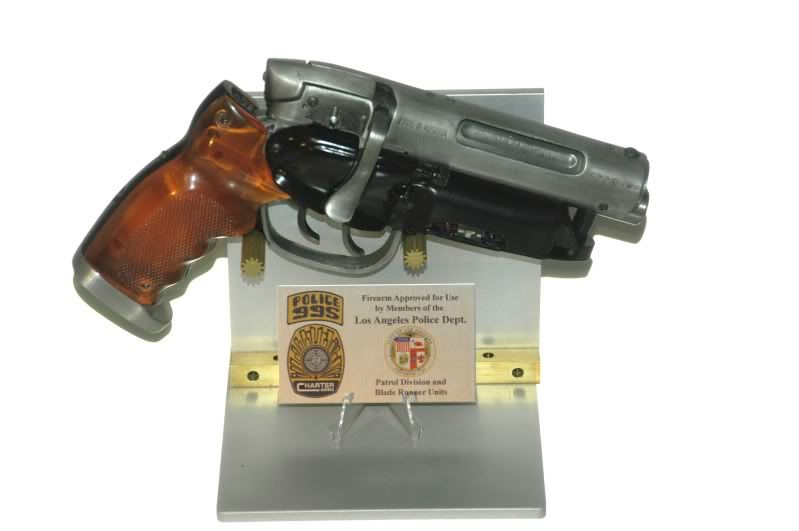
Here's my Coyle Worldcon Blade Runner Blaster:
I took the barrel off my Charter Arms .44 special Bulldog. Note the two shoulders (unthreaded portions, only one highlighted) where the barrel screws into the gun:
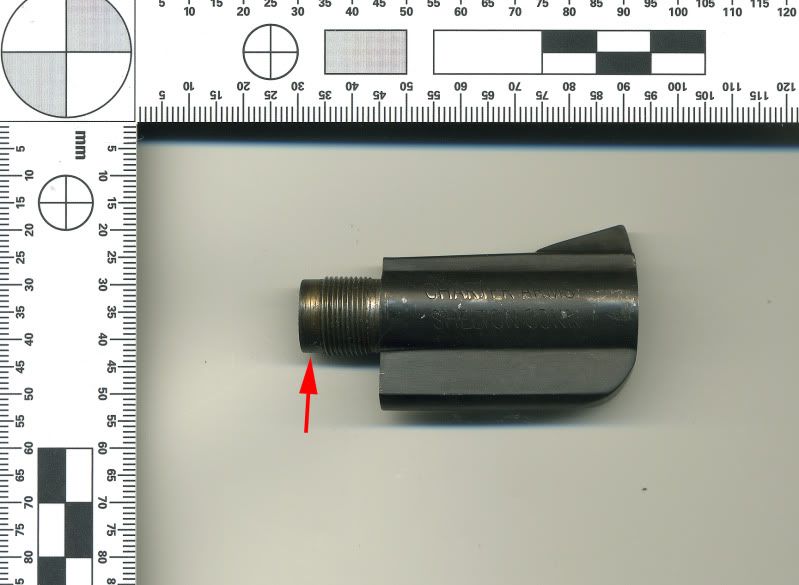
The two shoulders are critical and must be matched to ensure proper fitting to the frame. The frame itself is designed for the unthreaded shoulders. I took .44 cal barrel stock (a rifled blank, unfinished barrel material) and had it turned to the proper diameter on a lathe, cut it to length, turn down the threaded area, threaded it and shouldered it and cut the crown to specs. It was then placed in the frame. It is not simply a matter of screwing a barrel into a frame. Remember, .44 cal. is a significant load. You need to consider the leade (sic), the "flash gap" or gap between barrel and cylinder, the torque spec for tightening the barrel, the amount of contact spec'd by the factory for thread contact, etc.
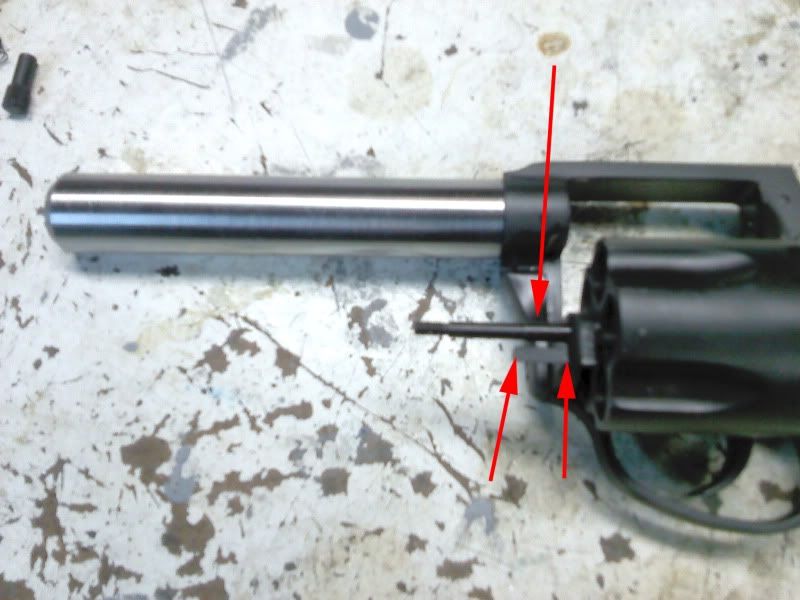
Then there is the matter of cutting off part of the ejector rod and a cosmetic/dust cover on the crane as shown here:
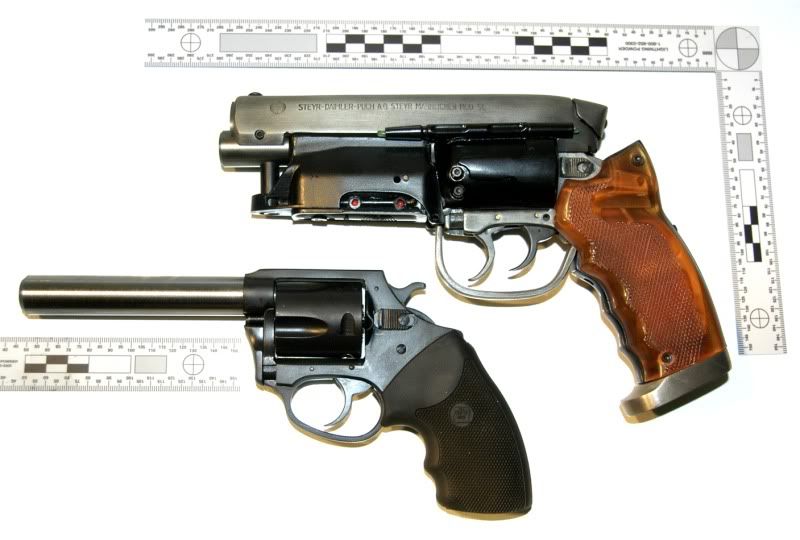
Here is the Bulldog with the new barrel:
The next parts of the project will be to:
1. Fit the Bulldog into the Coyle replica and secure it so that it will hold together under the stresses of firing, recoil, gas and heat venting, etc. Remember Newton's 3rd law of motion!
2. Removing the bluing to better simulate the look of the original.
3. Deciding on a Coyle replica Steyr, a real Steyr or different replica Steyr to stack on top.
4. "Dust" testing. Blowing powder (dust) to determine the course of the flash and heat when the gun fires to determine if modification to the side panels is needed. Doc3d IIRC did indicate he modified those panels on his Blade Runner shooter. Will need to determine if containment or release is the way to go re. the venting.
5. Assembly and test firing. Staring with talcum loads using a primer only and working up to using a bullet. This will be done remotely using a Ransom Rest. I'm not willing to risk my hand until all this is done, and even then I'll probably wear a glove.
I hope to have progress photos and reports soon. :cool
First off, I am a middle aged policeman so I am fully aware of the legalities involved. On the side I am a fully licensed gun dealer, I sell real guns and I design and build prop guns (inc. some that shoot).
When making or modifying a real firearm, you need a working knowledge of metallurgy, physics, ballistics, etc. as you can easily turn a pistol into a hand grenade that goes off in your hand. The Blade Runner blaster is built on a .44 caliber revolver. That's .44 caliber. Alot of bang that, if not contained and channeled properly, can easily blow up the Charter Arms top strap, cylinder wall, etc. :confused
So, kids, do not try this at home. It is not for amateurs and you truly need a machine shop to do it properly and safely. Having a grinder, a Dremel and a vice will not do it. To get this far, it took an experienced machinist (who builds semiauto rifles out of aluminum billets) using computer controlled industrial lathes, milling machines, etc.
This thread is for entertainment and informational purposes only. It is not a how-to, it is not a tutorial. It is a show and tell. Here we go:
Here's my Coyle Worldcon Blade Runner Blaster:

I took the barrel off my Charter Arms .44 special Bulldog. Note the two shoulders (unthreaded portions, only one highlighted) where the barrel screws into the gun:

The two shoulders are critical and must be matched to ensure proper fitting to the frame. The frame itself is designed for the unthreaded shoulders. I took .44 cal barrel stock (a rifled blank, unfinished barrel material) and had it turned to the proper diameter on a lathe, cut it to length, turn down the threaded area, threaded it and shouldered it and cut the crown to specs. It was then placed in the frame. It is not simply a matter of screwing a barrel into a frame. Remember, .44 cal. is a significant load. You need to consider the leade (sic), the "flash gap" or gap between barrel and cylinder, the torque spec for tightening the barrel, the amount of contact spec'd by the factory for thread contact, etc.
Then there is the matter of cutting off part of the ejector rod and a cosmetic/dust cover on the crane as shown here:

Here is the Bulldog with the new barrel:

The next parts of the project will be to:
1. Fit the Bulldog into the Coyle replica and secure it so that it will hold together under the stresses of firing, recoil, gas and heat venting, etc. Remember Newton's 3rd law of motion!
2. Removing the bluing to better simulate the look of the original.
3. Deciding on a Coyle replica Steyr, a real Steyr or different replica Steyr to stack on top.
4. "Dust" testing. Blowing powder (dust) to determine the course of the flash and heat when the gun fires to determine if modification to the side panels is needed. Doc3d IIRC did indicate he modified those panels on his Blade Runner shooter. Will need to determine if containment or release is the way to go re. the venting.
5. Assembly and test firing. Staring with talcum loads using a primer only and working up to using a bullet. This will be done remotely using a Ransom Rest. I'm not willing to risk my hand until all this is done, and even then I'll probably wear a glove.
I hope to have progress photos and reports soon. :cool

