collector74
Well-Known Member
Like what you have done so far.


nice build. but the ao style guantlet isnt rounded look at the ref pics use undercuts to give it the right shape
In reference to your comment, what area of the gauntlets are you referring to as not being rounded?
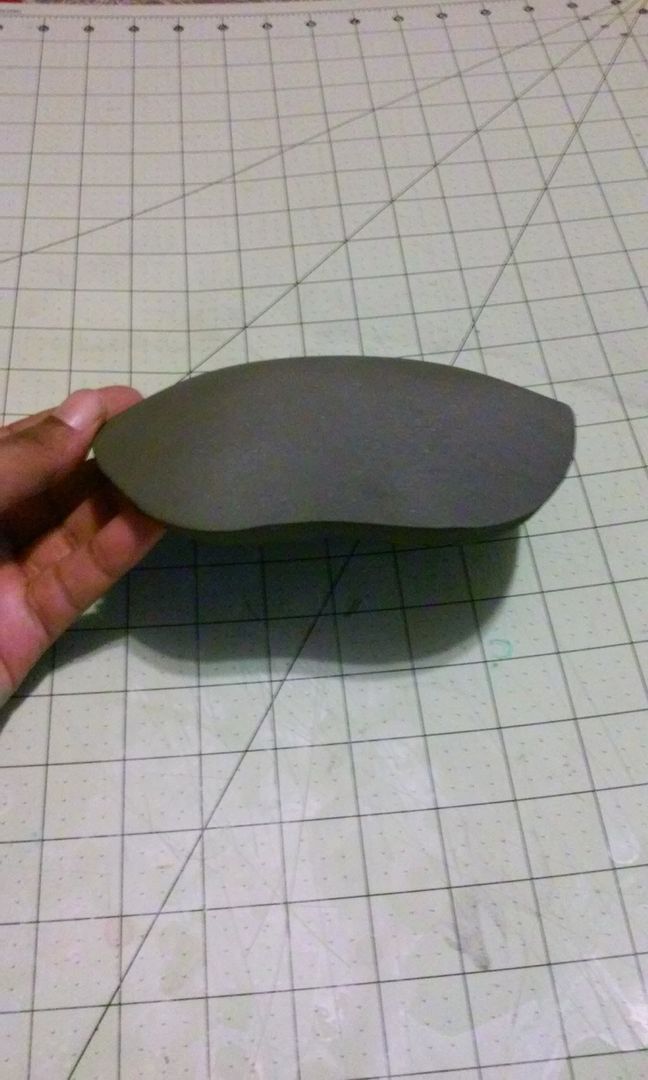
I designed mine using the in game screenshots from various sources and found that depending on the screenshot it appears curved in some pics and more flat in others. I however decided to make mine with a subtle curve throughout because it contours the forearm better and is just more comfortable in my opinion. In any case, either way is fine as long as you're happy with the end result.basically most of the top. take a look at the game or the 1/4 scale b.a.o action figure.

I designed mine using the in game screenshots from various sources and found that depending on the screenshot it appears curved in some pics and more flat in others. I however decided to make mine with a subtle curve throughout because it contours the forearm better and is just more comfortable in my opinion. In any case, either way is fine as long as you're happy with the end result.
View attachment 572760


 (Plays "ode to joy.")


