Anakin Starkiller V2 lightsaber show-off thread

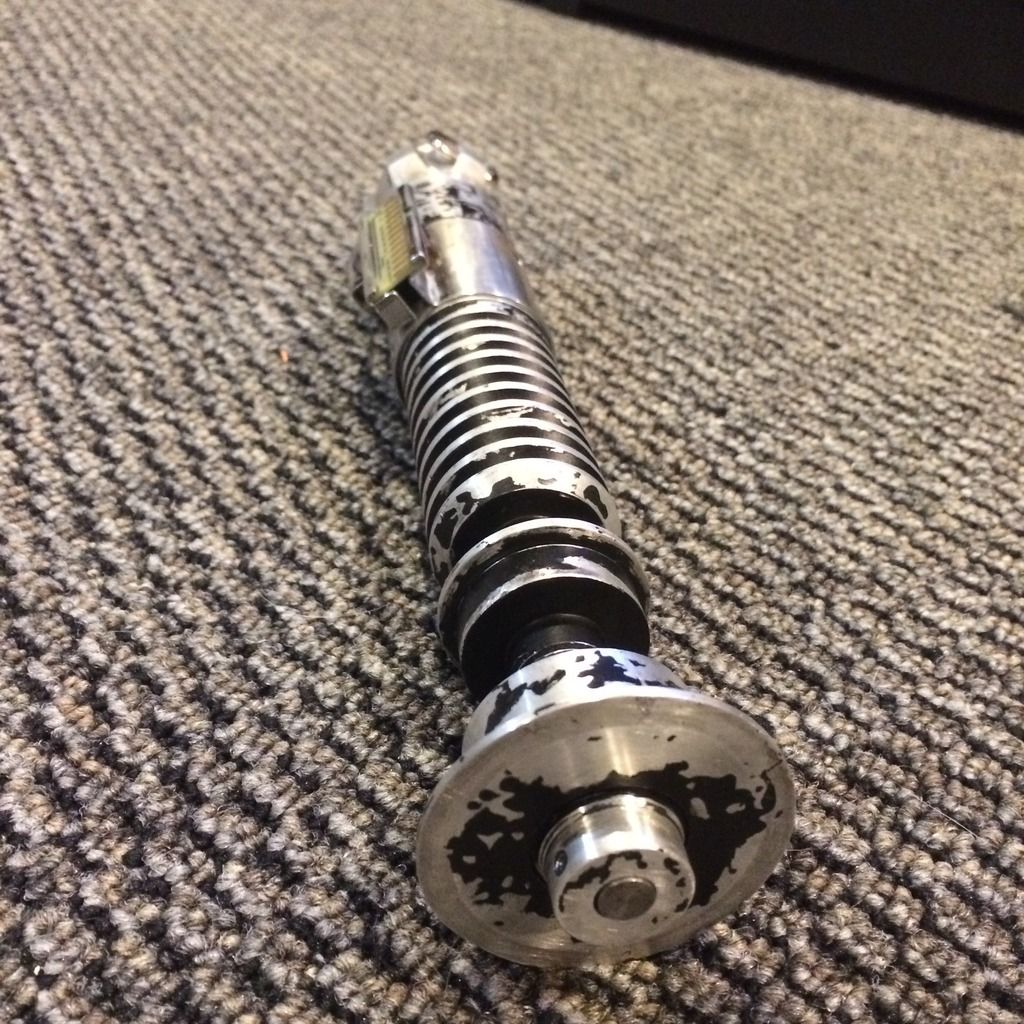
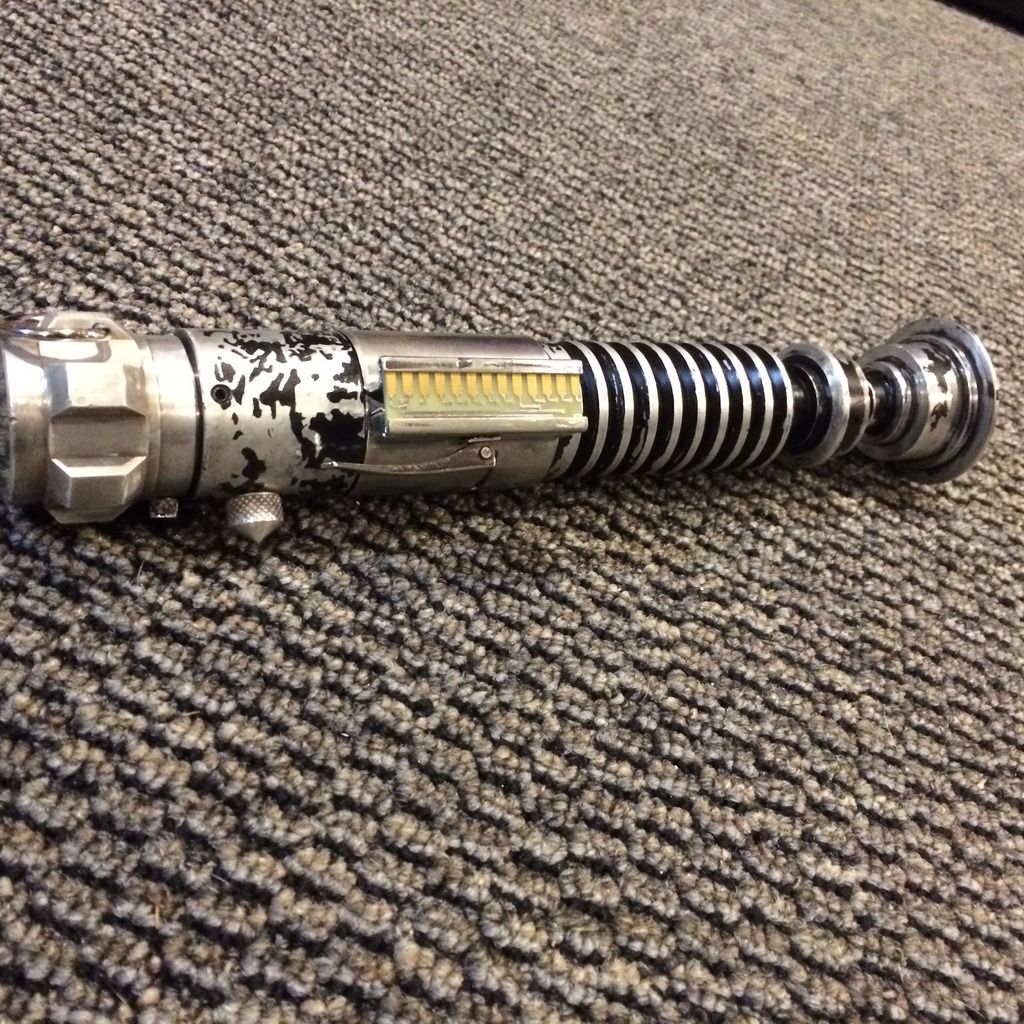
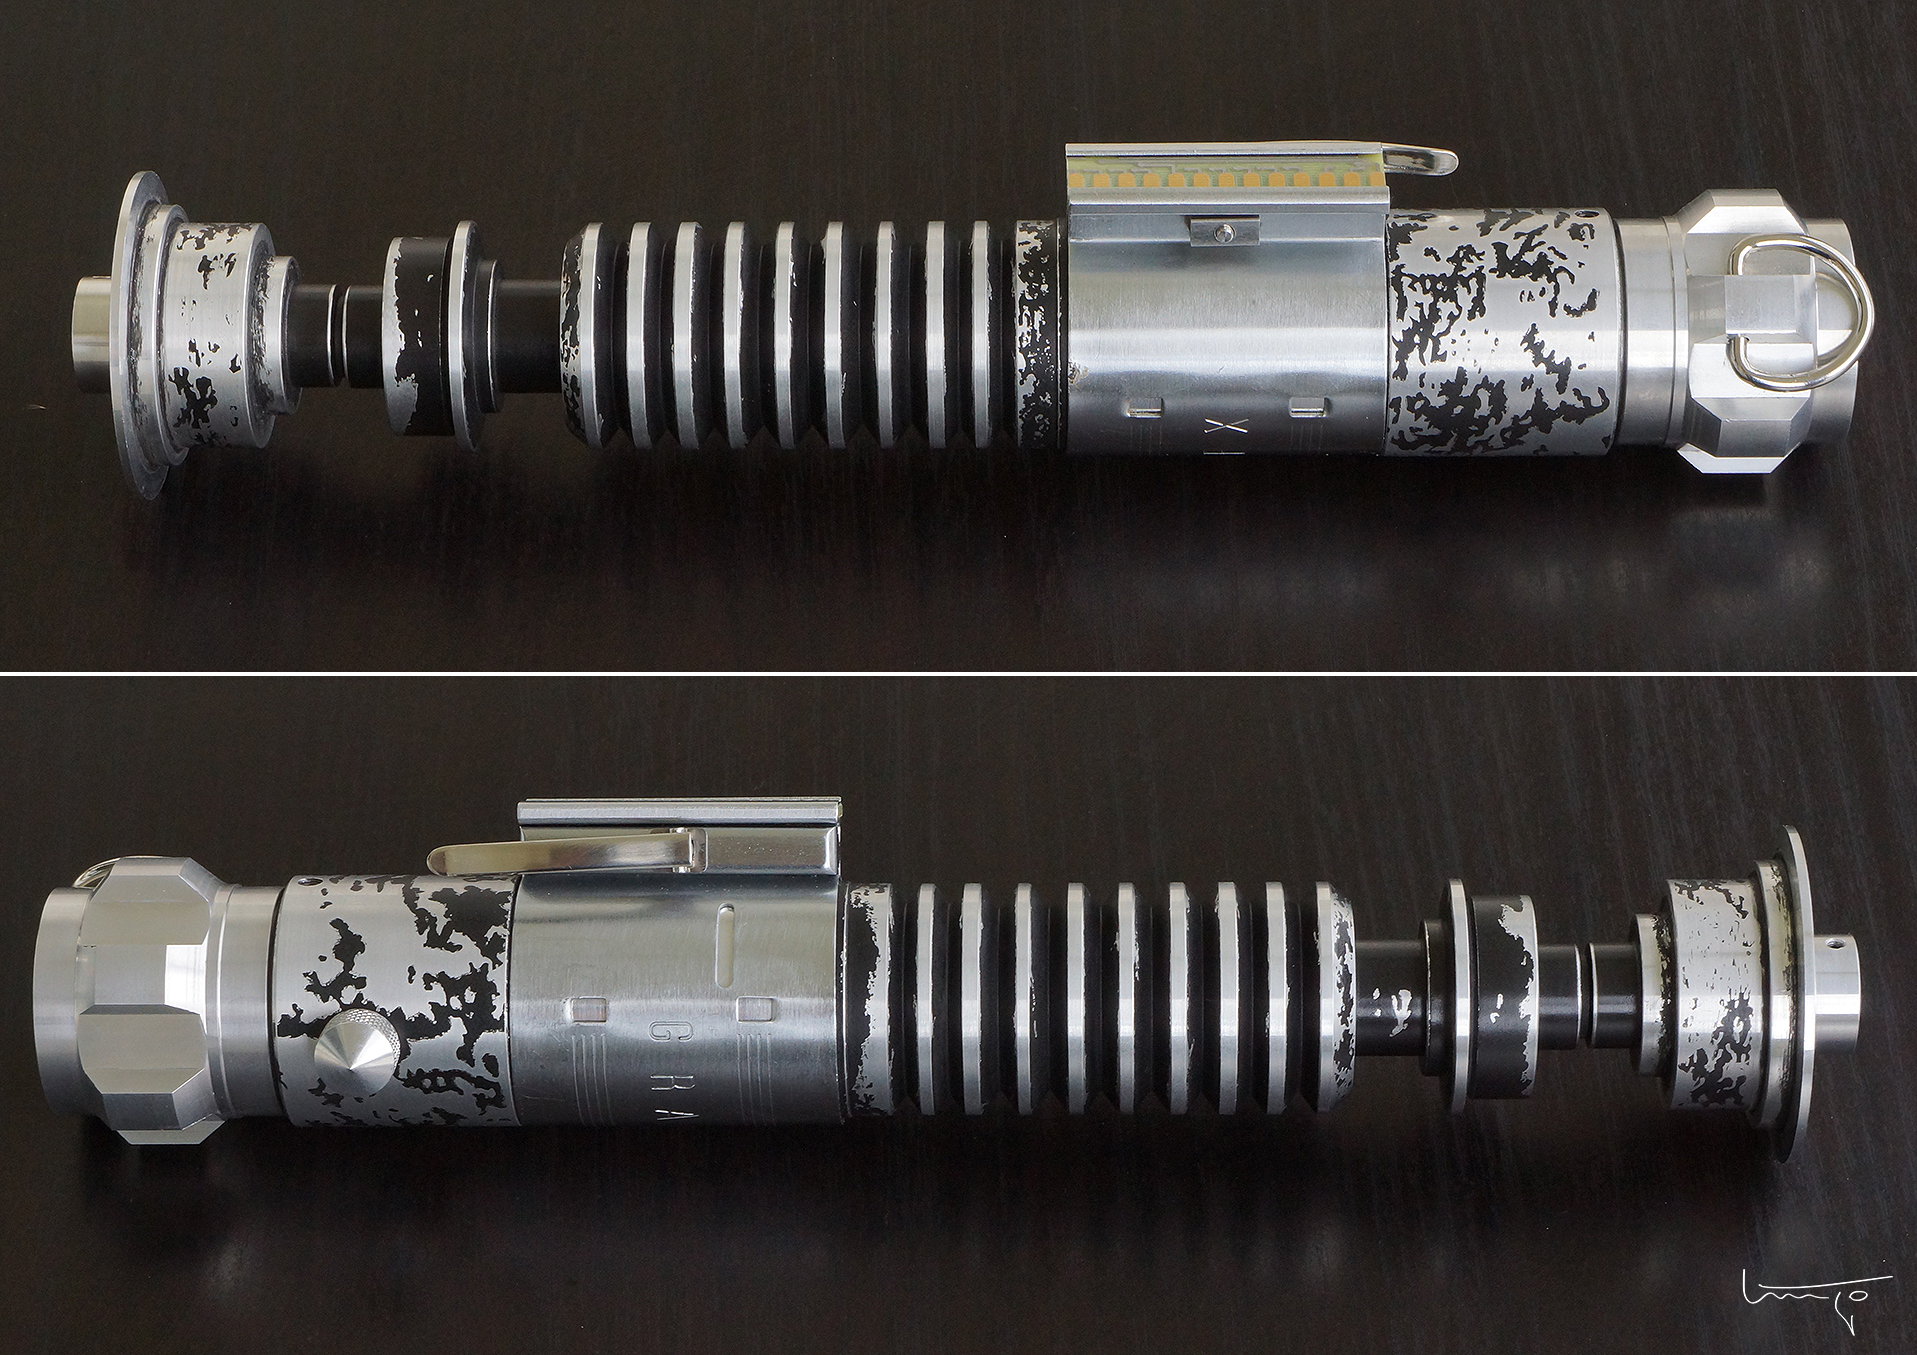
HI. After some days of work, here is mine finished.
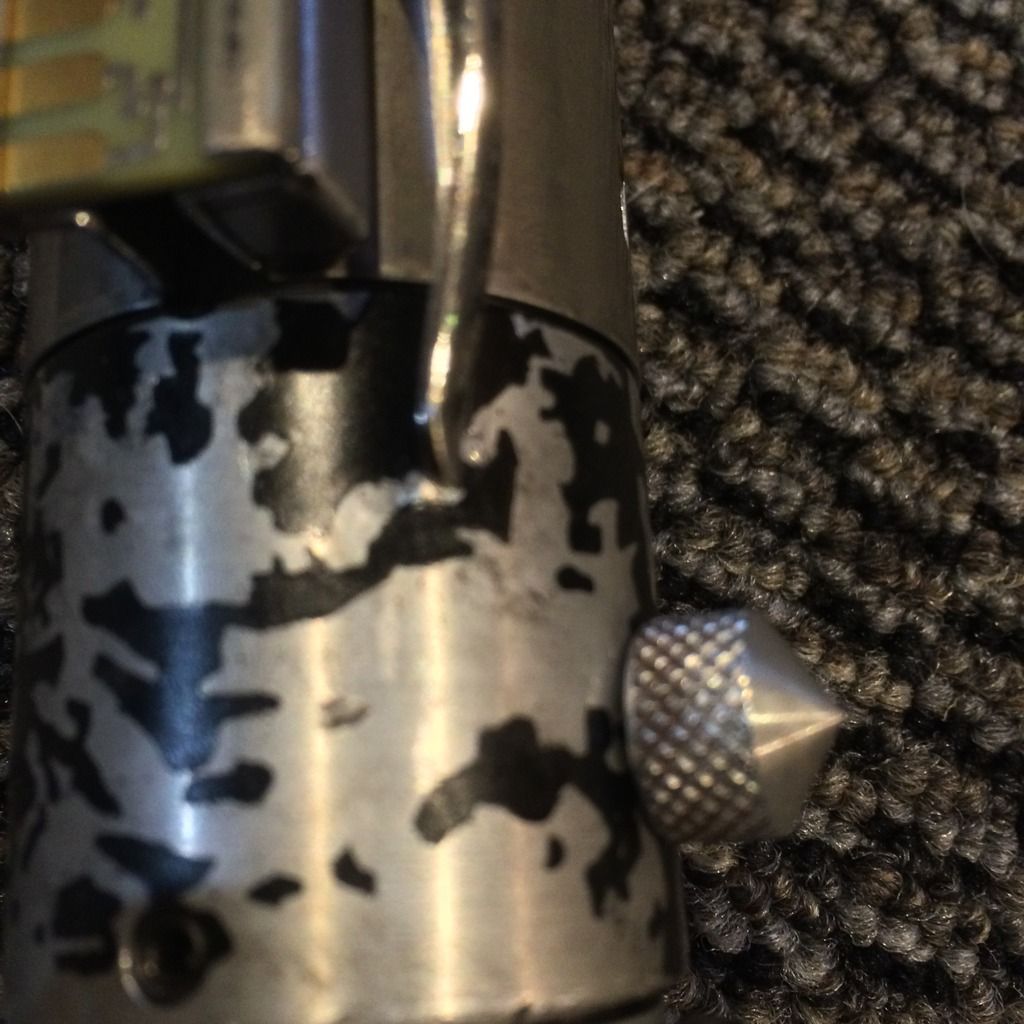
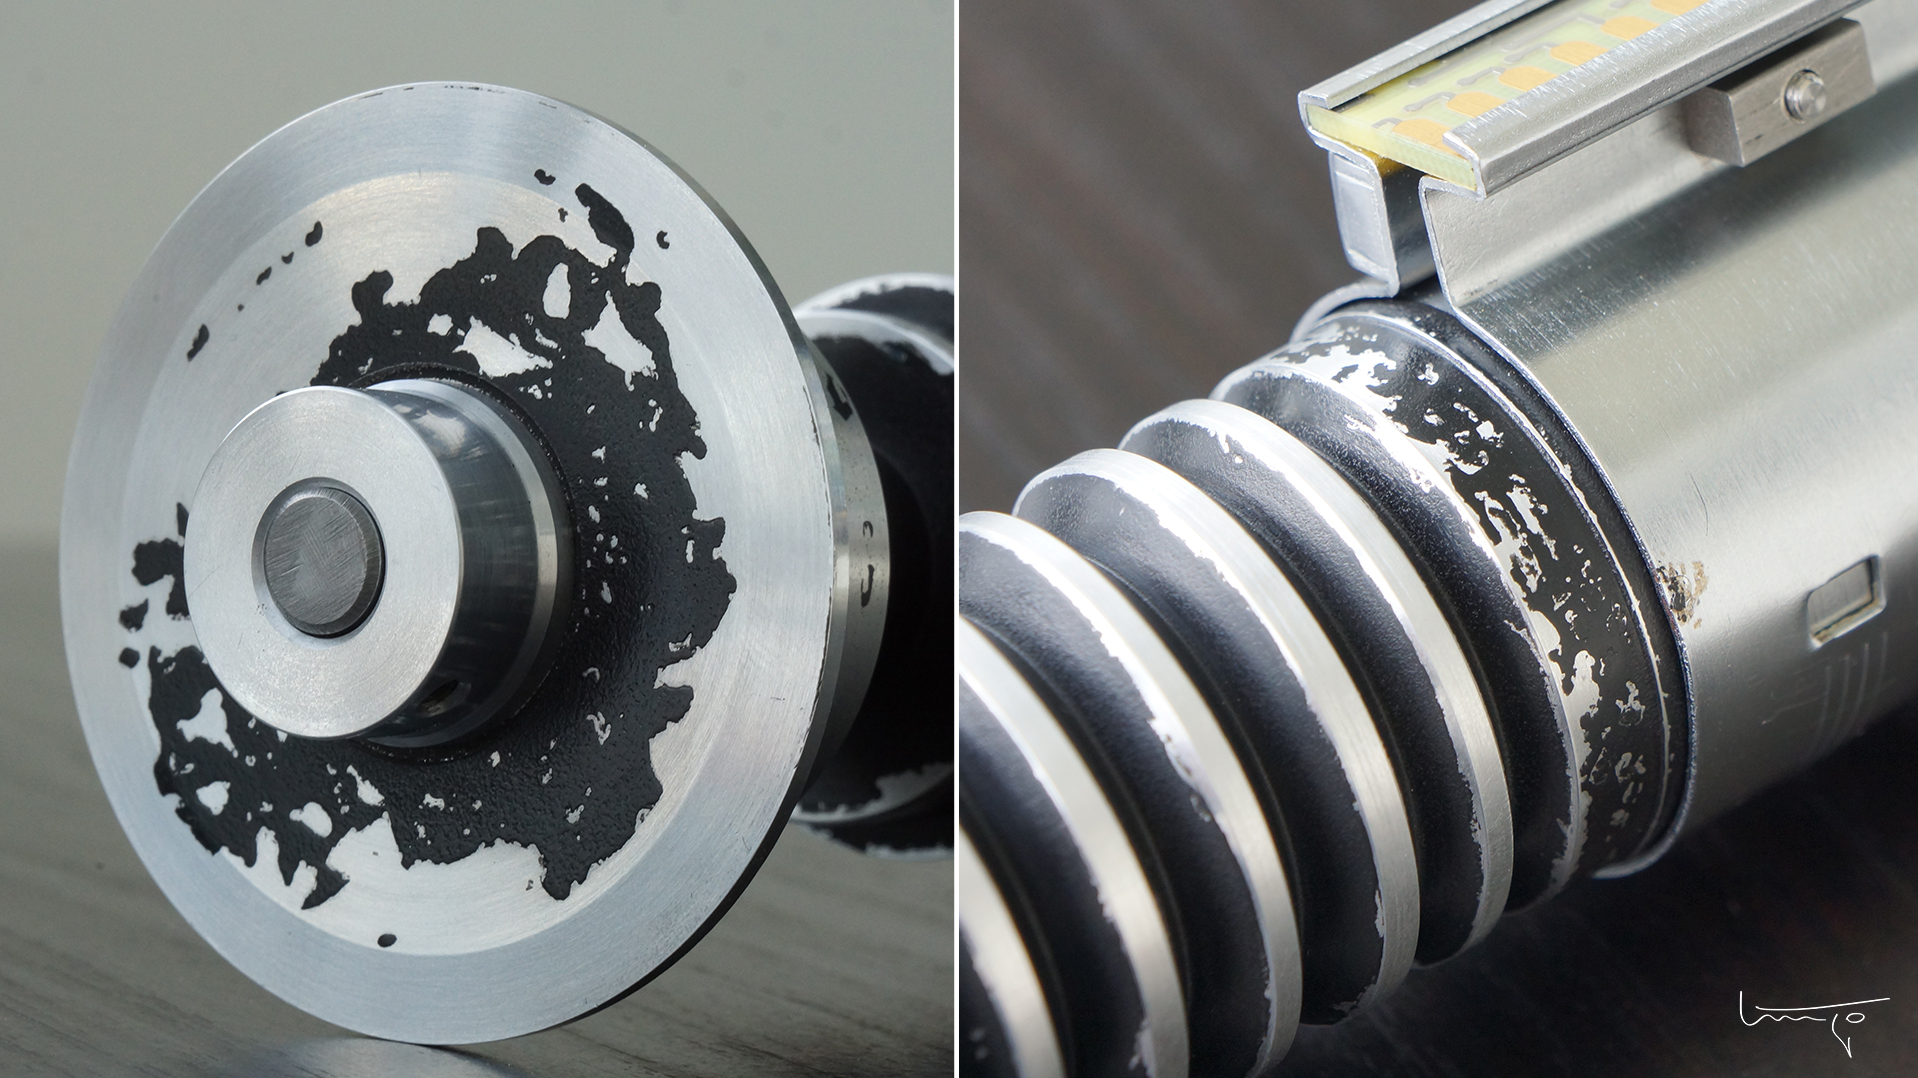
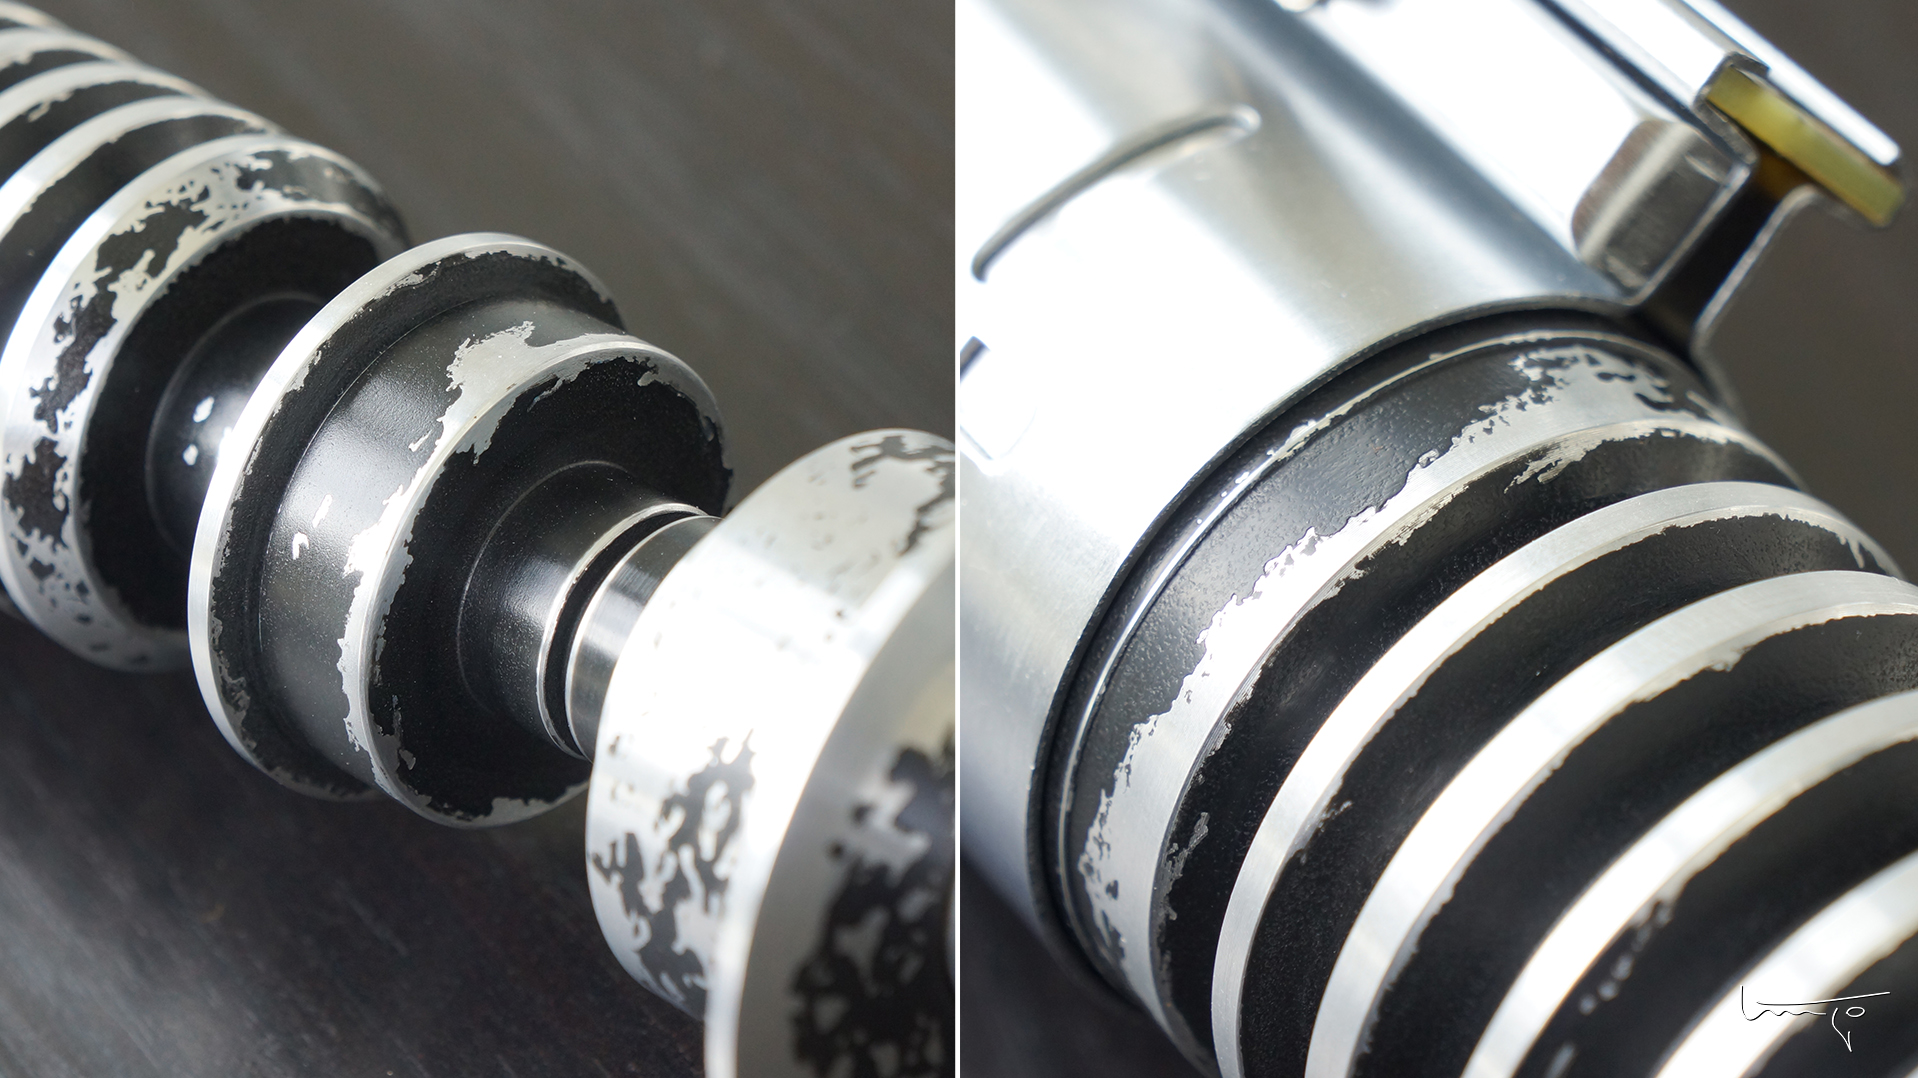
I used "spraymax" black epoxy primer for an "ultra hard" adhesion over aluminium, I used booster and emmiter front face trent stencils and customized after to break the flat look (used some wood and plastic tools for it to avoid scratching the surface), then sanded the primer with a 400/600 sandpaper and polished with "renaissance wax".
Thinking on weathering the booster a bit more but not decided yet. Also need to add the chunk piece but unfortunately, i dont have the neccesary tools...
Anyway, hope you like it :)

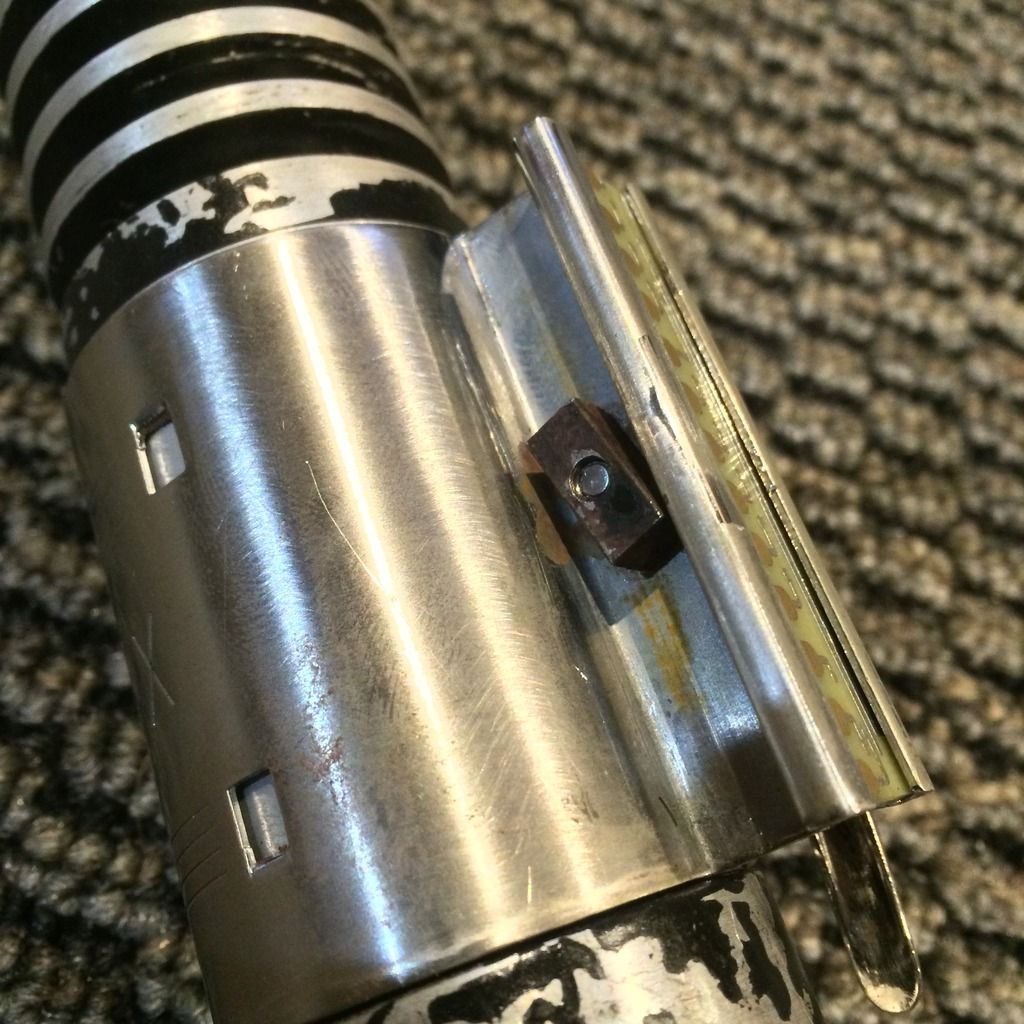
PS: Clamp is a vintage one. Roman´s were taking too long

luke v2 lightsaber by inigou, en Flickr

luke v2 lightsaber by inigou, en Flickr

luke v2 lightsaber by inigou, en Flickr

luke v2 lightsaber by inigou, en Flickr

luke v2 lightsaber by inigou, en Flickr
 
Last edited:
I feel like a snail compared with the rest of you guys who are already finished. & your your builds look amazing! Meanwhile, my accomplishment for the day is, I got my pommel drilled & tapped, & my mystery chunk in. Once again, I want to thank PoopaPapaPalps for supplying the mystery chunk. Much appreciated, you rock! I also want to thank my dad for having a collection of tools like a hardware store, & the know how to use all of it.
image.jpeg
image.jpegimage.jpeg

Next up, I start weathering a bit, & some oven cleaner treatments, then painting. I've got a d-ring on order from Roy, & a clamp on order from Roman.
 
finally got to finish my V2. it took me longer then i wanted but only got to work on it a couple minutes every night before bed. the other day was really nice weather so i decided to paint it.

IMG_7123.jpg


IMG_7122.jpg


IMG_7131.jpg


IMG_7133.jpg


IMG_7129.jpg


IMG_7124.jpg


IMG_7135.jpg

IMG_7136.jpg


i want to thank everyone in this run for sharing your techniques, i want to thank everyone who has helped me and lend advice, and also want to thank everyone who did the parts runs to make this all happen! i really appreciate it, thank you all!!
 
finally got to finish my V2. it took me longer then i wanted but only got to work on it a couple minutes every night before bed. the other day was really nice weather so i decided to paint it.
i want to thank everyone in this run for sharing your techniques, i want to thank everyone who has helped me and lend advice, and also want to thank everyone who did the parts runs to make this all happen! i really appreciate it, thank you all!!

That turned out fantastic! Did you use a different d-ring?
 
Holy cow, that looks amazing!! Did you use oven cleaner on any parts? I think it looks perfect! & great photos too! I will be using them, as I begin to weather & paint mine :thumbsup
 
Holy cow, that looks amazing!! Did you use oven cleaner on any parts? I think it looks perfect! & great photos too! I will be using them, as I begin to weather & paint mine :thumbsup

I took a lot of pictures and was writing up a tutorial of what I did and then stopped because this was a show off thread. tonight I can write up what I did in a different thread. but I took many pictures during the oven clean phase.

I soaked the emitter and used hot glue on the pommel rings ( to protect areas I didn't want that dark) because to me in the pictures the cube areas look darker in color then the flat parts of the pommel.

I soaked the pommel + emitter for 5 minutes covered in oven clean. then had a bucket of warm soapy water and washed it right away

I know with aluminum rims on cars a lot of people will use oven clean, it hoses off super shiny but in minutes the rims turn a orange color. I didn't want the orange color on the saber lol so I washed it off real quick

the parts soaked in oven clean for 5 minutes, I did this 3 times.

soak, wash, dry, waited 20 minutes to be sure it wasn't turning orange and repeat until your desired color
 
guys I can't thank you enough for all the kind words. I look up to each and every one of you, and to be accepted feels awesome!

thank you all very very much, and again everyone who has contributed to this build I wouldn't be here with out you!!


Sent from my iPhone using Tapatalk
 
Last edited:
I took a lot of pictures and was writing up a tutorial of what I did and then stopped because this was a show off thread. tonight I can write up what I did in a different thread. but I took many pictures during the oven clean phase.

I would love to see those pictures. Your finished product looks great.
 
That's some Jedi level stuff right there! Can't wait for the write up. I still haven't made any progress on mine, well except for the inside. I'm waiting for all of you to do all the experimenting :)

Awesome job!

I took a lot of pictures and was writing up a tutorial of what I did and then stopped because this was a show off thread. tonight I can write up what I did in a different thread. but I took many pictures during the oven clean phase.

I soaked the emitter and used hot glue on the pommel rings ( to protect areas I didn't want that dark) because to me in the pictures the cube areas look darker in color then the flat parts of the pommel.

I soaked the pommel + emitter for 5 minutes covered in oven clean. then had a bucket of warm soapy water and washed it right away

I know with aluminum rims on cars a lot of people will use oven clean, it hoses off super shiny but in minutes the rims turn a orange color. I didn't want the orange color on the saber lol so I washed it off real quick

the parts soaked in oven clean for 5 minutes, I did this 3 times.

soak, wash, dry, waited 20 minutes to be sure it wasn't turning orange and repeat until your desired color
 
Back
Top