3x Slave 1 Model Kit Builds with Archive-X

For streaking; I use the lead of a pencil (grinded to a fine dust almost) then apply it with a fine make-up Q-Tip. Total control and if you don't like it; an eraser will do the trick (y) Thanks a bunch for an extensive tuto/paint tricks and results:cool::cool:

Thanks for the tip, I will have to give that a try. If anyone has any recommendations on gluing down canopies or getting them clear again I am all ears... I really had a hard time and could not get this canopy to stick.. I tried normal cement and the crystal clear gorilla glue, then while I was messing with it I scratched it then tried to buff it out and really it pretty much went downhill from there :)

I always have issues trying to get parts down after painting as I find it difficult to clean the areas enough to really get things to stick.
 
Now, onto the rear section! This is basically the same process and colors I used previously so I won't go into a lot of details. I did make a few adjustments though. I used Light Green, mixed 50/50 Rust and Boxcar Red for the engine shrouds, I used the color Mud on the upper part of the win strut and finally misted it the same way I did the upper section with Dark Grime followed by Concrete.

IMG_20220514_152642465.jpg


That Reefer White over the Armour Yellow really gives you that creamy color:

IMG_20220514_154808822.jpg


IMG_20220514_230015345.jpg


IMG_20220515_113103854_HDR.jpg


IMG_20220515_143305336_HDR.jpg


IMG_20220514_233025807_HDR.jpg


And finally, the interior is painted and installed. Now you can see why I usually black our my canopies :)

IMG_20220515_003936859.jpg
 
Love the final results.

As far as the canopy, you can use Tamiya polishing compound/clothes (or similar if you find something at a home improvement/craft store)

This video covers the process pretty nicely


even if you don;t go through all 3 levels of polish, you will see a notable difference after the first

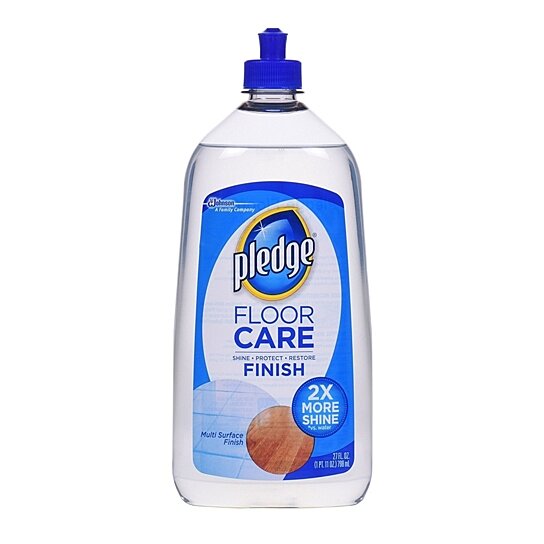
You can also try dipping it in "Future"

branded like this last time I saw

 
Yep...some heavy breathing by our friend BF in that cockpit:lol: It's fixable for sure as Analyser said it: Tamiya polishing compound(y)
 
Love the final results.

As far as the canopy, you can use Tamiya polishing compound/clothes (or similar if you find something at a home improvement/craft store)

This video covers the process pretty nicely


even if you don;t go through all 3 levels of polish, you will see a notable difference after the first

You can also try dipping it in "Future"

branded like this last time I saw


Thank you, I will snag some of that for sure.
 

Your message may be considered spam for the following reasons:

If you wish to reply despite these issues, check the box below before replying.
Be aware that malicious compliance may result in more severe penalties.
Back
Top