1/72 Black Pearl kit from Zvezda

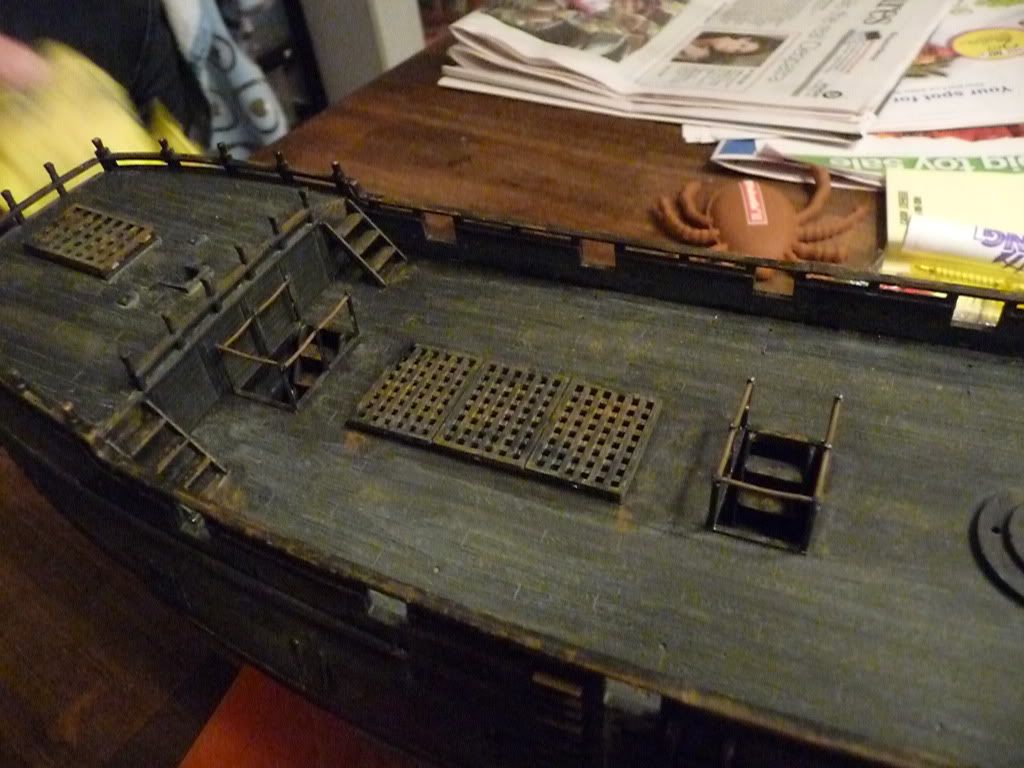
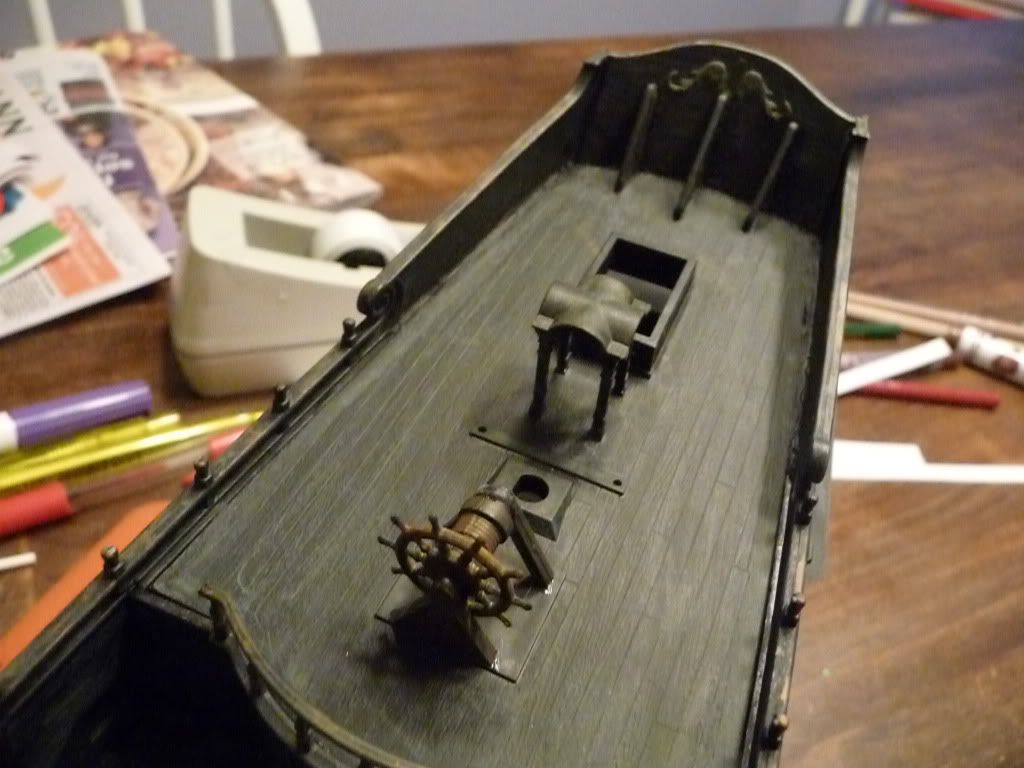
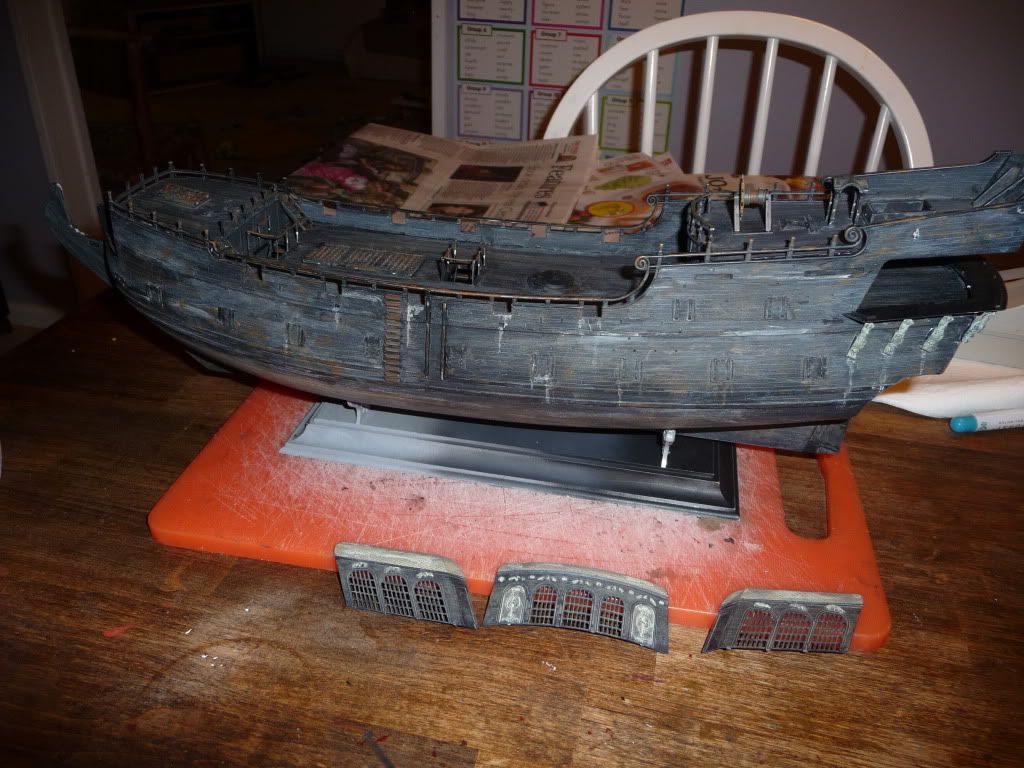
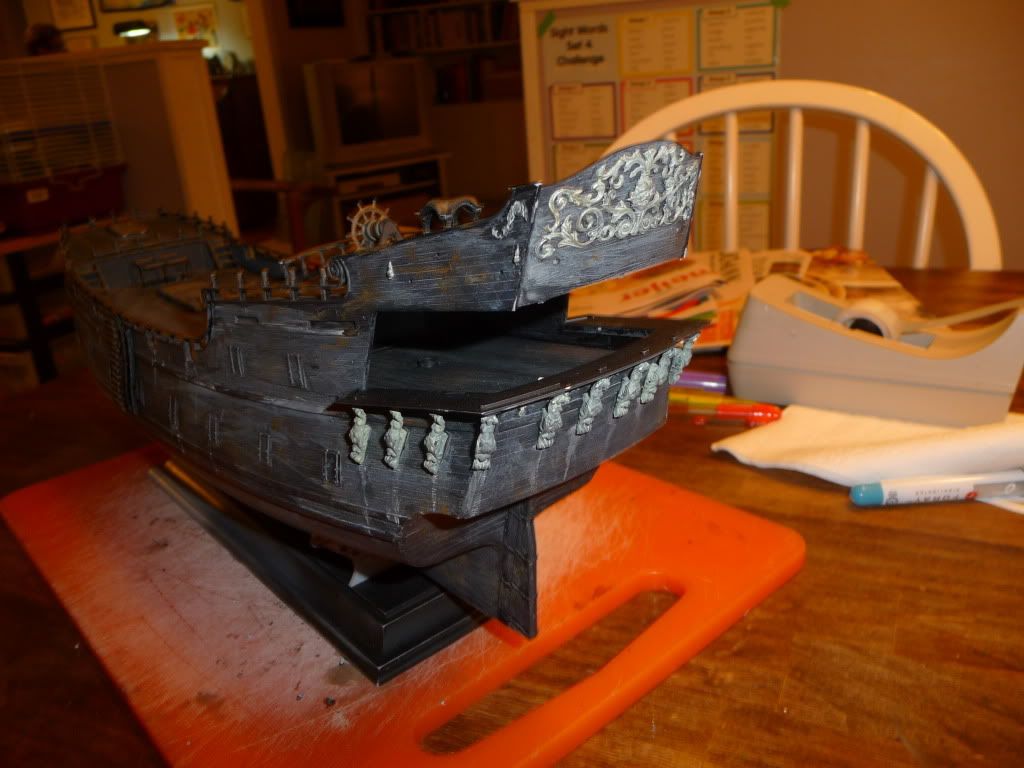
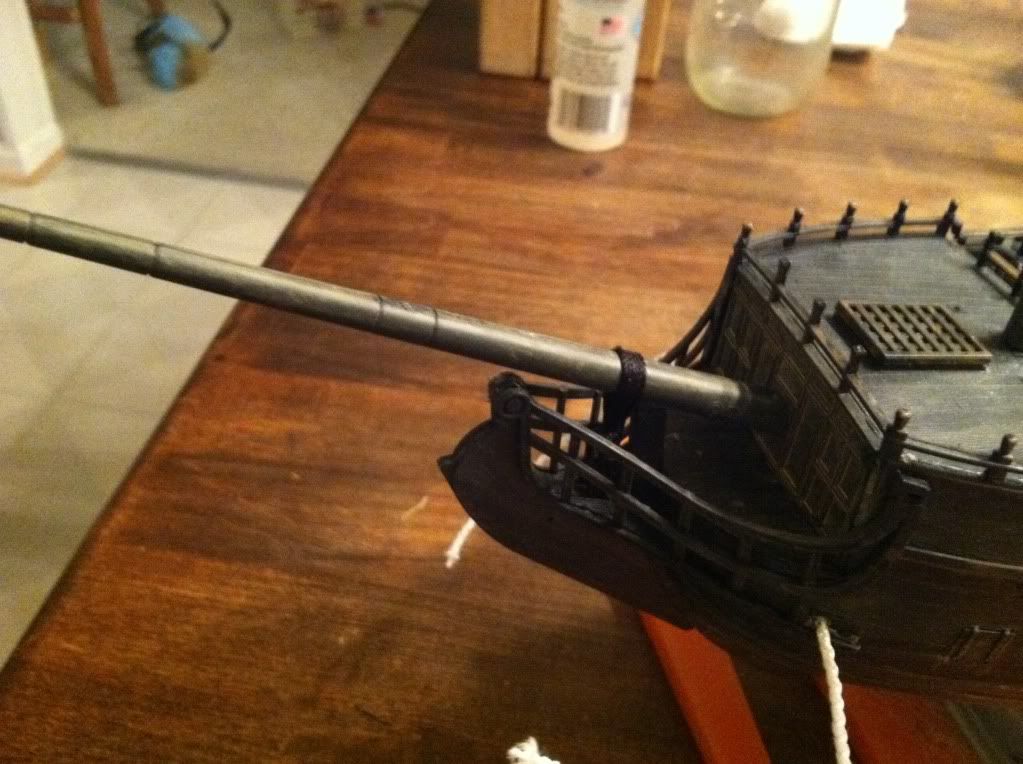
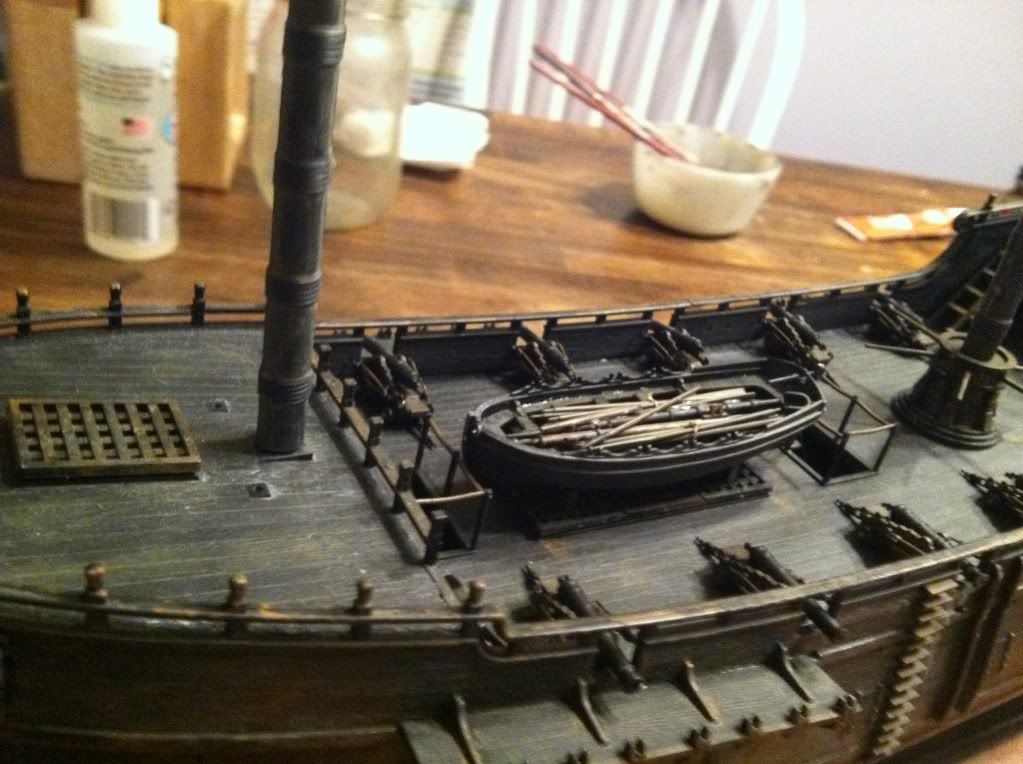
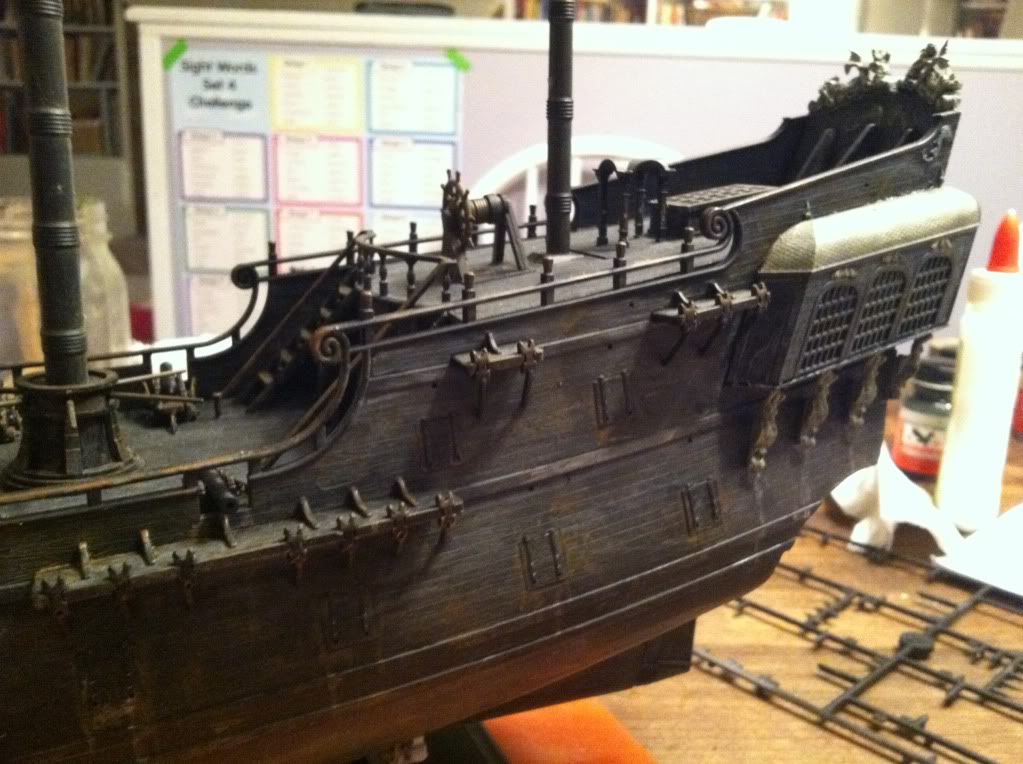
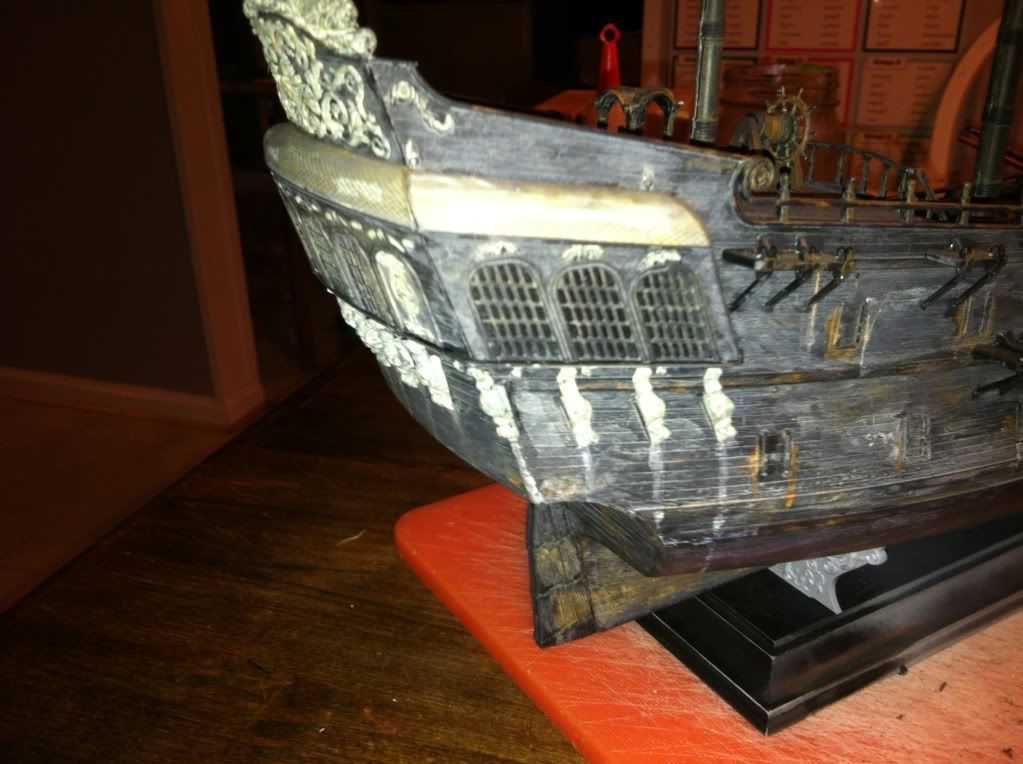
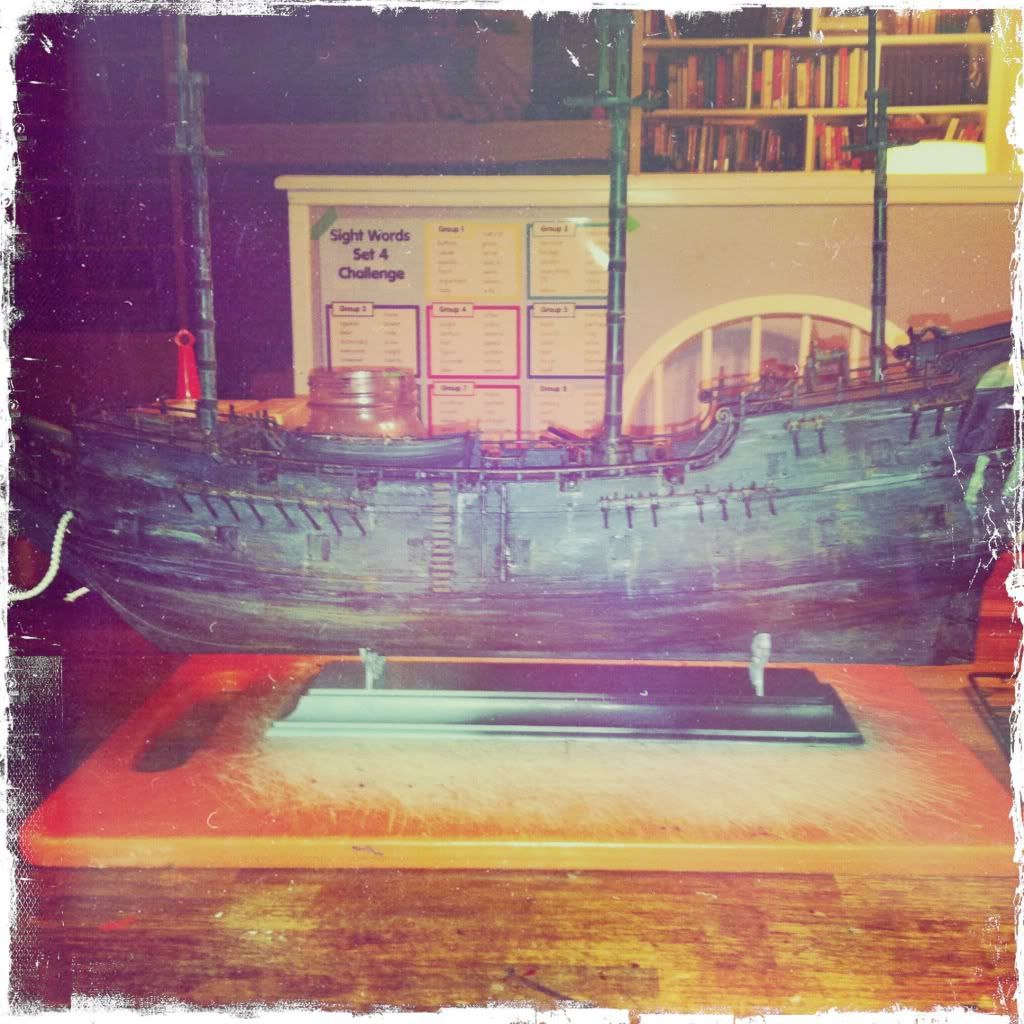
quick progress report -- getting smaller pieces attached before i start in on the masts, but came across something important --

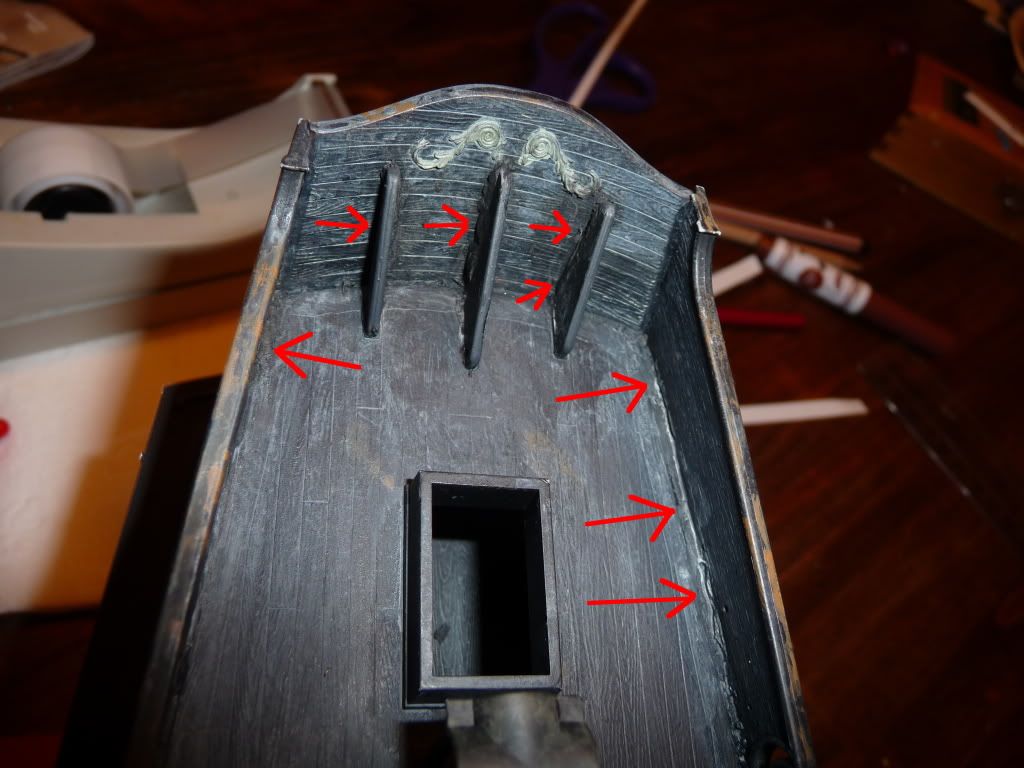
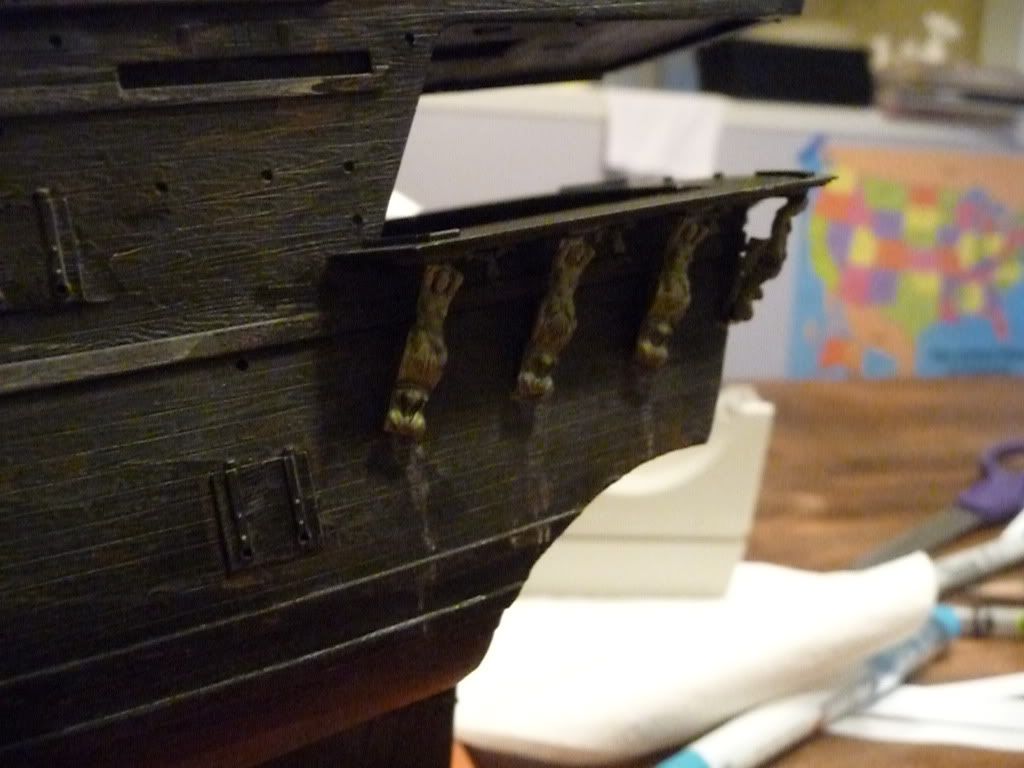
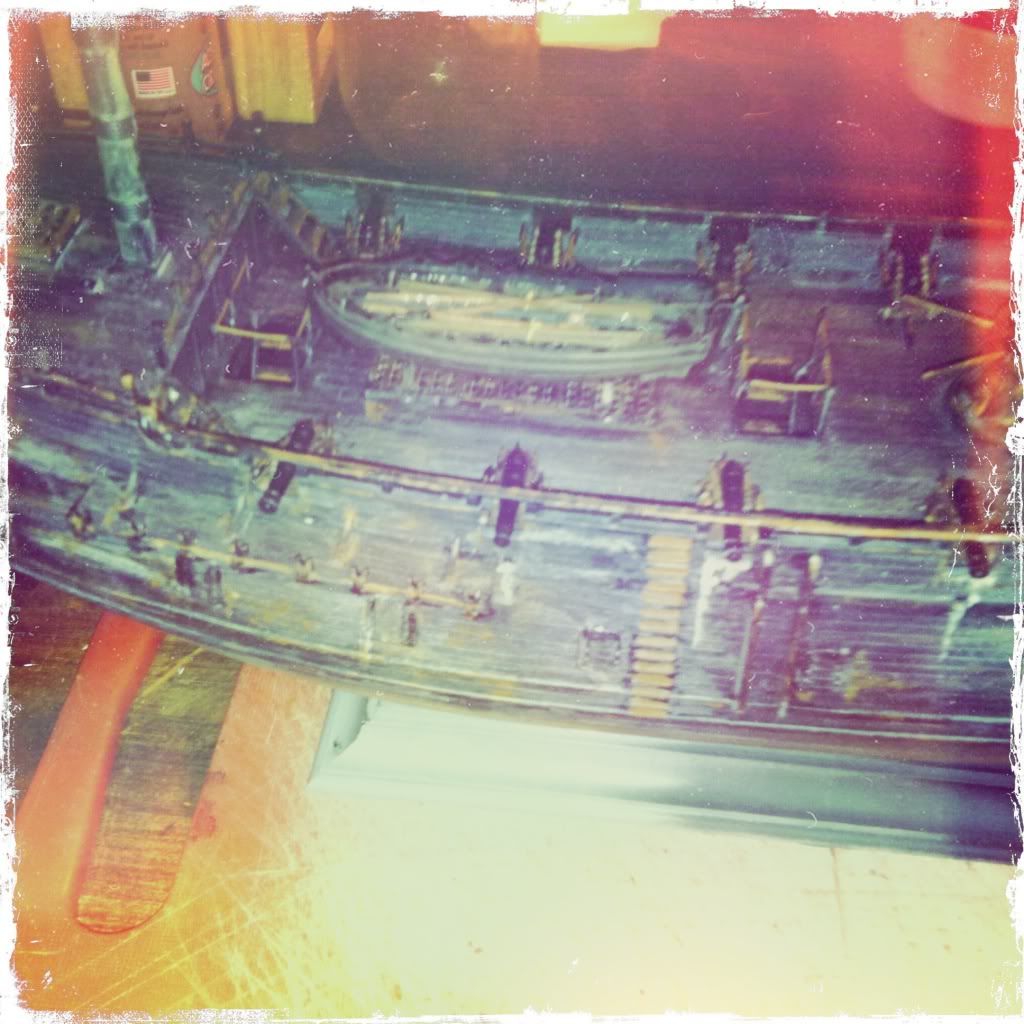
DO NOT CUT CANNON PORT HATCHES OFF PLASTIC TREE until you are SURE you've noted where they go

they are NOT all the same -- each individual hatch goes to a specific hole

i made the mistake of cutting about 7 of them off thinking they were all identical, but each has subtle curves to match shape of ship exterior

took me about 30 minutes of switching them from one opening to the next to see which ones fit best where -- YOU DO NOT WANT TO DO IT THIS WAY, TRUST ME :)

So, follow directions to the letter and cut each hatch off as needed and make sure each numbered hatch part goes where indicated on instructions.

simple enough, but something i overlooked and now that's 45 minutes of my life i won't be getting back.

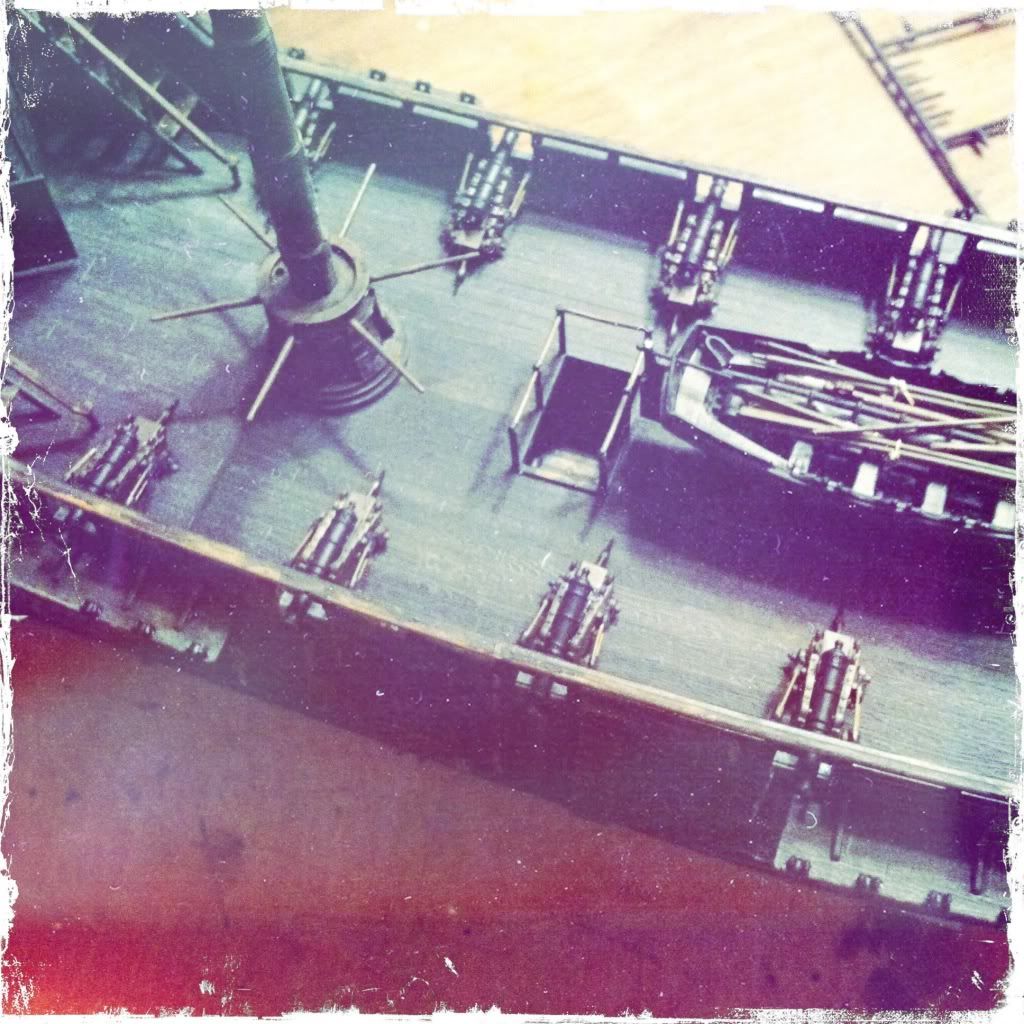
there were some other "fitting" issues, but nothing a little milliput can't fix.

next time i'll post some pics...
 
Progress report -- just a few little pieces added on -- cannon hatches, little guard rails, the mermaid statues that are along the side, etc. also touched up some of the weathering. I have the side pieces done that comprise Jack's quarters, but i won't glue them on until i get the mast situated as it goes thru main deck into floor of captain's quarters and i want to make sure i have access if i need to line up the bottom of pole mast into guide hole.

there are more side pieces with a zillion little parts -- i hope to get them on during week or over weekend..then it's onto installing metal rods inside masts to give them more support, installing those into ship, and then beginning the tortuous process of the dreaded rigging. :)

one thing to watch for as you build this is to REALLY pay attention to the instructions and make sure the parts #s match where they need to go as many pieces LOOK similar but may have subtle differences in shape/fit.

I found that the top of deck (where steering wheel is) did not fit on sides and the three little fins in back did not sit flush against the back wall -- I had to fill the gaps in with putty...the red arrows show where the putty went - and it is obvious in flash photo, but in person, it all blends in rather well...but i'm sure a more experienced modeler could make it look pristine.

As you likely gathered, i'm not shooting for pristine. :)

It could well be that you will not have the gap/fit issues with your kit -- it may be that i simply did not align something else properly -- but it all seemed to be coming together as it should, but i could not explain why there were gaps on back fins and on floor where indicated -- be curious to know if any of you have this issue -- but even if you do, as i said, a little milliput or squadron putty should take care of it pretty easily.

ok, enough of my blathering -- on with the pics, you scurvy dogs...

P1120011.jpg


P1120009.jpg


P1120005.jpg


P1120004.jpg


P1120002.jpg


P1110589.jpg


P1110591.jpg
 
I agree. She is looking very nice indeed.

I've been watching this thread for some time and since my Black Pearl just arrived from Russia I thought I would go ahead an join this forum.

I am one who will be making modifications. I'm not sure why Zvezda made the bulkhead the way they did. I'm thinking the company made changes to an existing mold and decided that changing the bulkhead would be too difficult.

I am in the process of drawing up the bulkhead and then creating it using Evergreene sheet and strips. I have a build log that has been established on another forum. Can I say the name of that forum here? I don't want to be disrespectful.

I will be keeping a keen eye on your build. I like the paint scheme you're doing on the hull. Have you thought about adding an oil wash of Burnt Sienna with a little black added? It would make details pop out and give more of the impression of the hull being burned, as it was originally when Davey Jones raised the vessel as part of the deal with Sparrow.

Cheers,
Phil
 
thanks for the kind words on my build.

the suggestions on how to get the "burnt" look are interesting -- I may try it.

i look forward to seeing pics of your build-up.

i think it's cool how some of you are modifying bulkheads and so forth, and can't wait to see how this looks.

my build, as stated, will be straight out of the box, not because I wouldn't mind it being more accurate, but I simply don't have the desire/stamina to invest the time and energy needed to do so...but trust i envy those of you who do.

as i said several times, i'll be lucky to get it together out of box by christmas time!

anyways, welcome to the RPF and please list link to your build pics....if it is against policy, them please PM me the link.
 
After I was introduced to the oil wash technique, I never used anything else. Oil painted thinned with Turpentine to milk consistency. Make sure you clearcoat the area to be washed with a gloss. then you can pinwash areas with a fine brush or do an area wash. It will bring out massive amounts of detail and weather the piece at the same time. Just look up oil wash on the web. There's all kinds of info on it.

My build log is over on pete-coleman.com. The site is primarily dedicated to the 1/100 plastic and wood models of HMS Victory, but also has a lot of info on other ships of the age of sail and a few more modern ships. Tons of tips and tricks and the members are excellent modellers who are quick to lend whatever tips you need as well as just great conversation. I have two builds over there (aside from my own HMS Victory Build which I haven't touched in a while). I haven't posted much on my Black Pearl build yet. I'm busy trying to finish a 1/350 USS Wasp (my other build log). I look forward to seeing you over on the site....

Keep those build pics coming. I'm fixing to start on the scratchbuilt bulkhead. I just need a piece of sheet plastic and I'll be ready....

Cheers,
Phil
 
UPDATE: It's been slow going, but over the past few weeks I managed to get the first deck cannons done and have added on some of the smaller detail parts. Now it's time to start in on the rigging, which will be really slow going for me, so this is likely my last update for a while...but if anyone else takes this on, please post pics.

Excuse some of the funky pics -- they are taken with Hipstomatic app for iPhon which I fell in love with.

IMG_0885.jpg


IMG_0884.jpg


IMG_0883.jpg


IMG_0882.jpg
 
thanks for the kind words, cosmic...yes, all plastic, except for the string for rigging the sails, which is what I'll be tackling next.

my technique was rather basic compared to some of the more elaborate weathering techniques I've read about -- simply sprayed entire kit with black primer and then used series of acrylic paint washes (grimy black, dark browns, rust, etc) and then detailed with pure acrylic (non-diluted).

Before you start yours, it is probably worth reading up on the different techniques mentioned throughout this thread and then deciding what you are most comfortable with.

To me, no matter how you do it, painting something to look weathered is tons easier than making it pristine because you can make small mistakes and it just blends into the overall weathered paint job. :) So much more difficult to keep everything nice and clean and spotless lookin'.
 
Ted, that looks sensational. I love your paint work. Say what you like about it, I'll be happy if I can do half as well!

Cheers,
Martyn
 
Well here's something I just read which means more scratch building for anyone getting a new release version

Due to licensing issues we have to cancel 9037 “Black Pearl” from our catalog.

This product can not be exported from Russia. Please cancel from your list.

As a replacement we will introduce a similar sailing ship to your range, also made from entirely new tooling:

9031 Pirate Ship “Black Swan” 1/72

This kit is one of the most detailed sailing ships ever made in plastic.

It has an impressive length of 55cm and consists of 880 parts on 17 sprues, sails are made of hard plastic with fine texture. Rigging and stand included.

All new tooling.
 
Ah, they've finally come up with a better name than Black Pirate Ship.

So, anyway, this is the story we had from the local distributor months ago confirmed. I guess in the meantime they've been trying to resolve their differences with Disney, maybe.

I wonder what that was really all about.
 
This thread is more than 3 years old.

Your message may be considered spam for the following reasons:

  1. This thread hasn't been active in some time. A new post in this thread might not contribute constructively to this discussion after so long.
If you wish to reply despite these issues, check the box below before replying.
Be aware that malicious compliance may result in more severe penalties.
Back
Top