Hi Gang,
Quick Morning Update! As you already know I did a lot of work on the 1/6th Scale cockpit over the weekend but I was able to knock out a few things for the 1:1 scale as well.
")
The weekend started out with the laser cutter. While that was going on Jessie and I got the second door frame finished up
Still lots of sanding and priming to do - plus I have to figure out how it will all go together
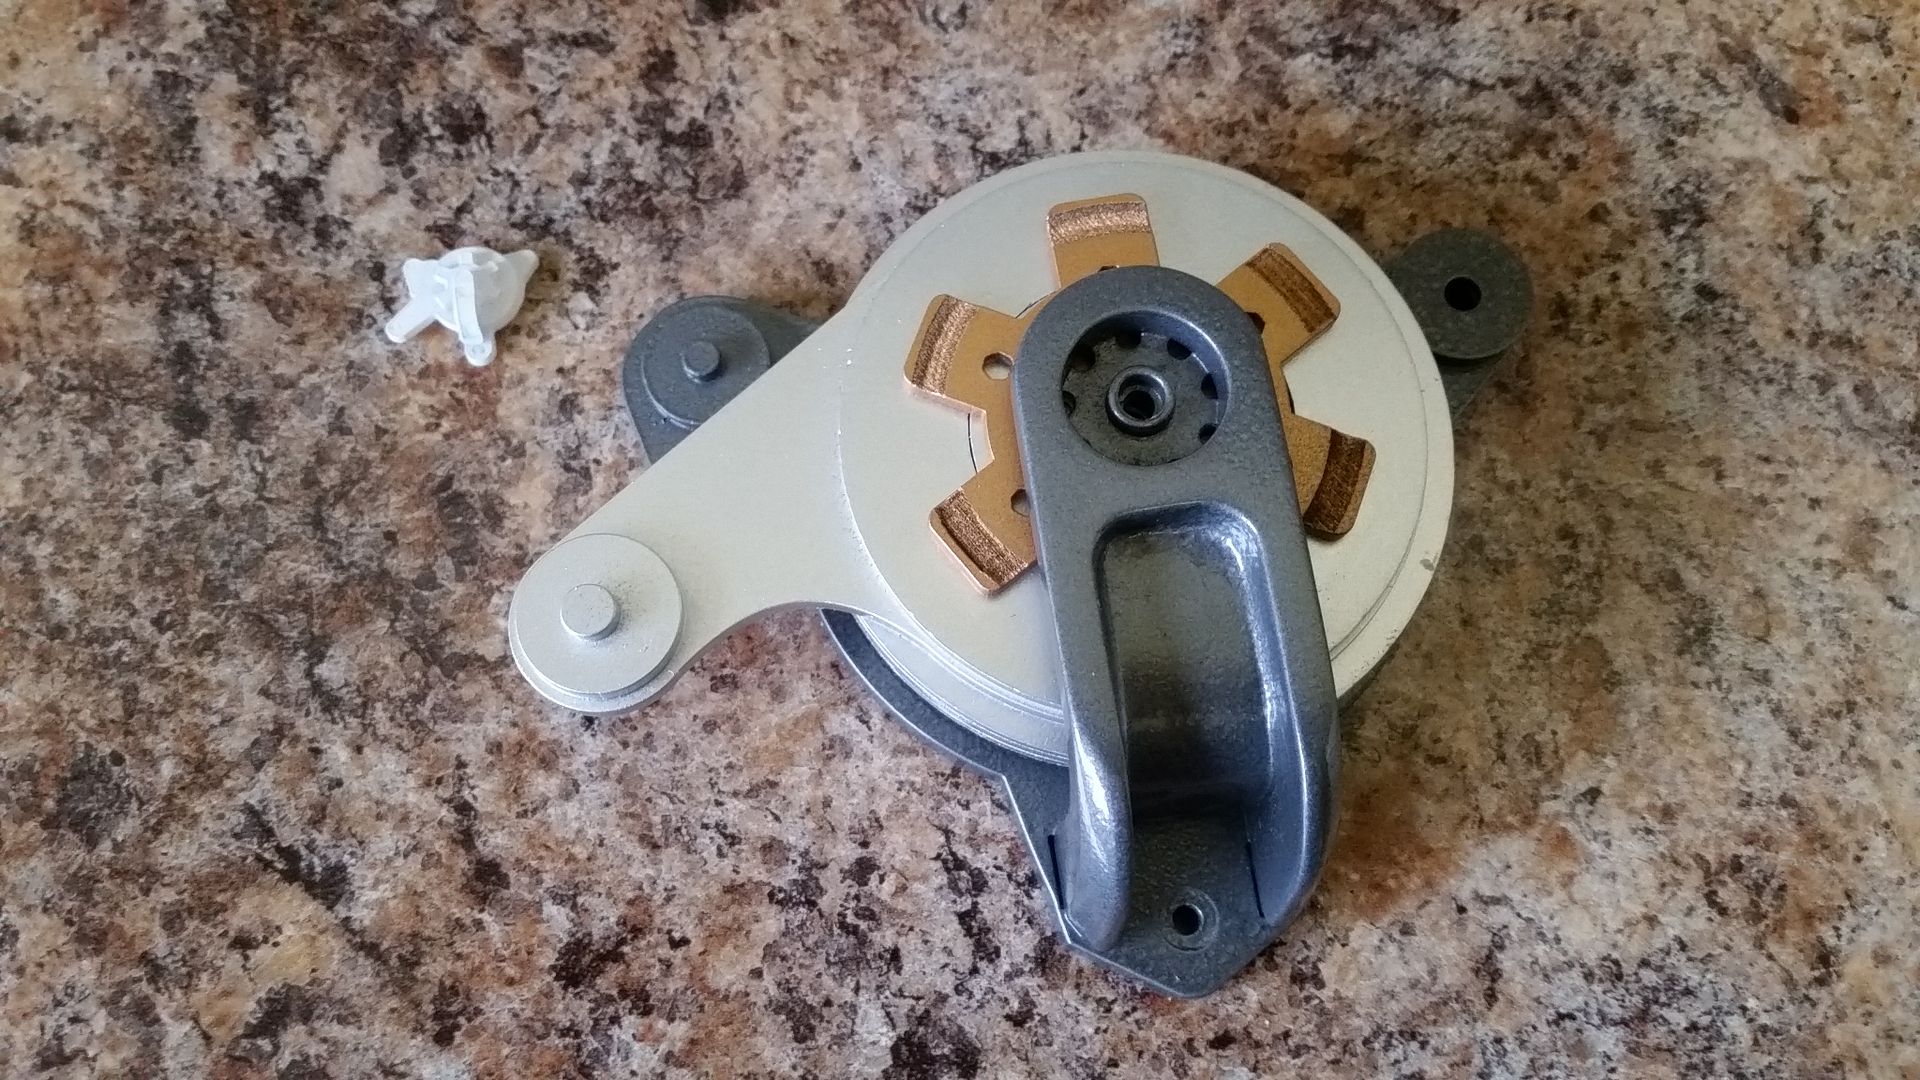
I then worked on the auto pilot clutch. I'm really happy with how this is turning out. It's about 95% finished
I cut a new top piece. I want to add real screws to the top so I drilled holes - painted black
Gold
Slowly coming together. I def need to spray some satin clear and bring down that high gloss
I decided to cut a new center piece - painted black
And the two silver pieces that sandwich together
Black
Silver
This is how it looks right now... Unfortunately, the bolts are a bit to high and wont fit around the arm
Top with bolts
I'll figure it out
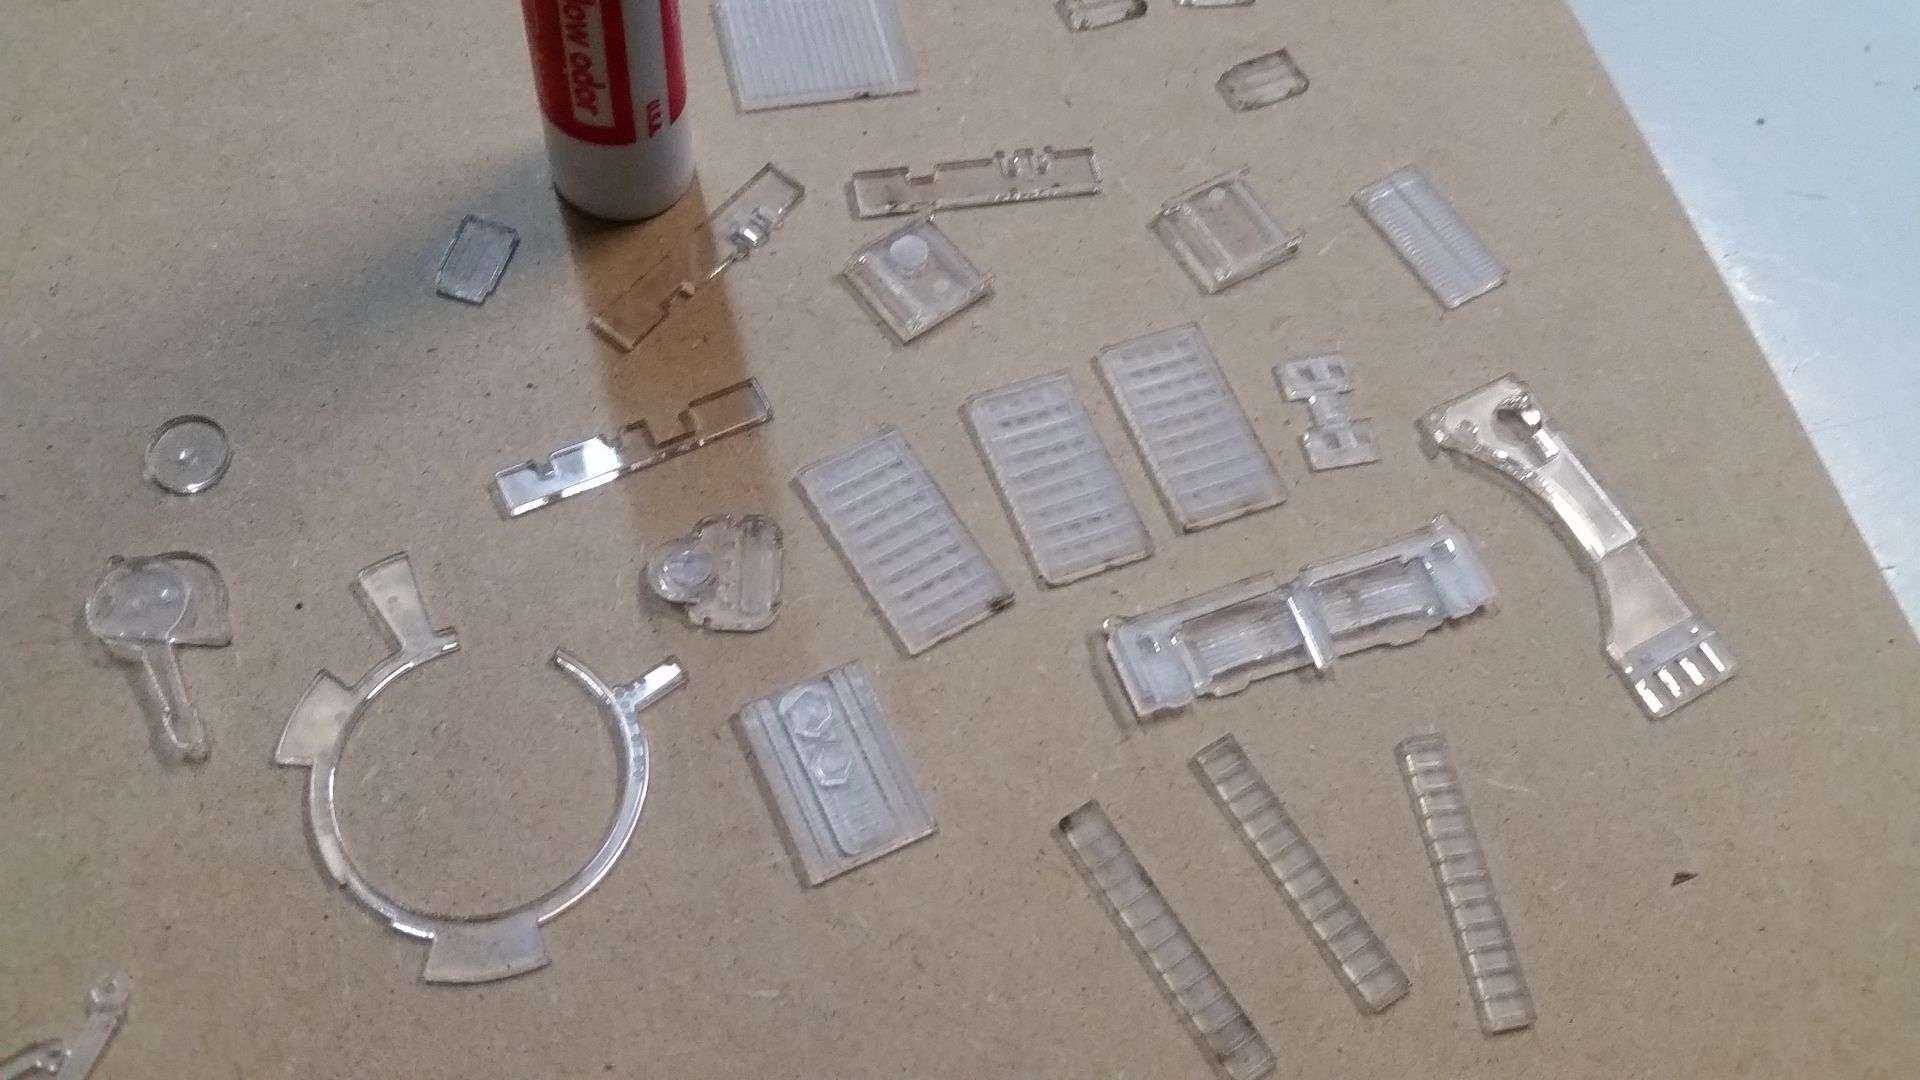
Jumping back to all the laser cutting... we had a few errors. Note the LONG horizontal line that shoots off to the left - not good!
ugh...
I cut a new "cup" greeblie for the canopy boxes
I cut and applied these two new greeblies
This guy is almost finished
I am so excited to announce... I designed another of these panels! #5!
I hate this thing
FINALLY!
There are 6 rockers on this panel - 3 inside the panel greeblie and 3 in various places.
I cut this mounting template for the armrest levers
I cut these with the idea that they would be the LED housing for the instrument panel LEDs
I laser cut another template that allowed me to cut all the mounting and LED holes in the instrument panel
I removed the cradle and realized we had a slight problem... The instrument panel was not CNCd to accept most of the LEDs. This was an oversight but nothing that can't be fixed. This entire area sits within the center console and we have lots of room to play
Good area
The LED wires will have to be fed up through the entire instrument panel - what you're looking is the actual bottom of the exterior
No to be discouraged I moved forward. The LED panel in its final spot
This is how it will look when lit and with the smoked acrylic cover
Its interesting how the smoked acrylic makes the white acrylic buttons appear blue - going to look so cool when it's all wired
Finally, I cut these mystery pieces
I'm not saying what this is just yet. Some of you may see it.
Routed the base
And added lots of filler
I didn't get around to finishing the door... that will be this week.
There's more to come, so stay tuned!