1:1 Millennium Falcon Cockpit Replica - Group Build

Hi Gang,

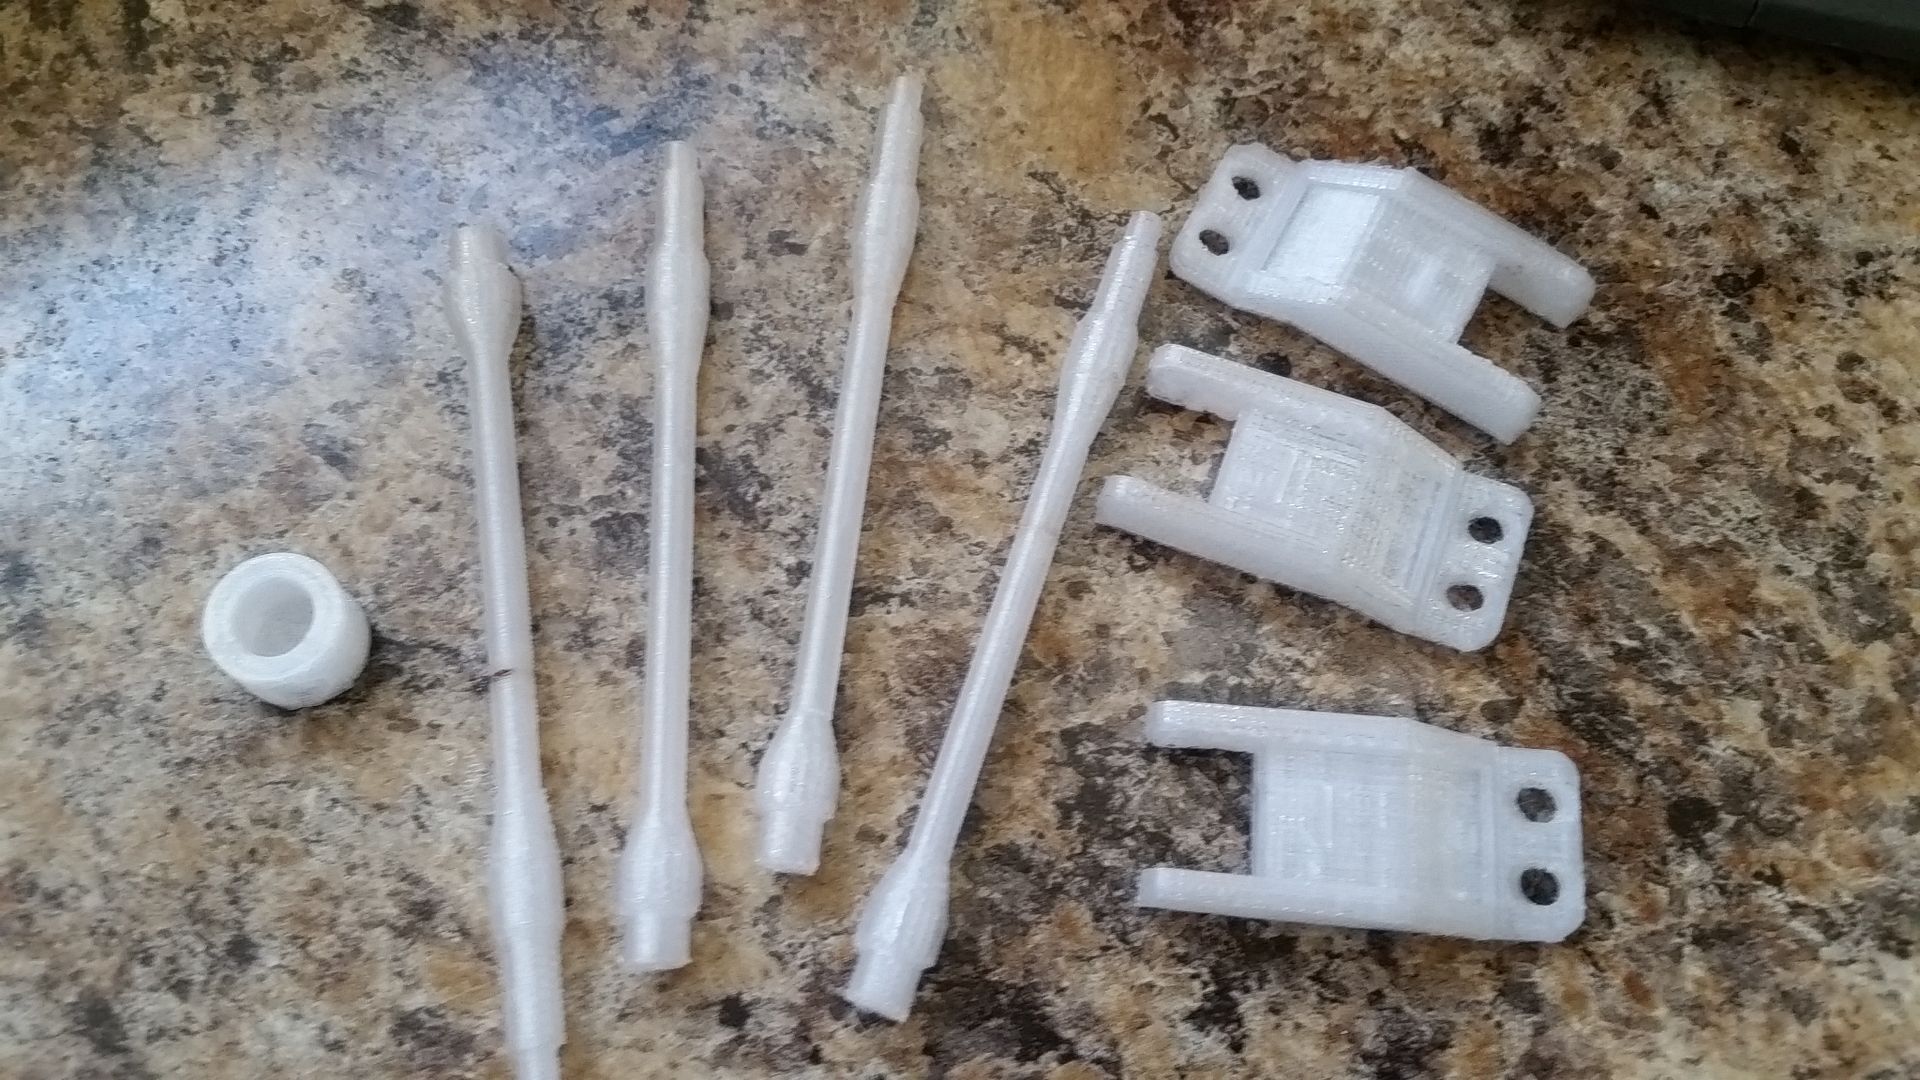
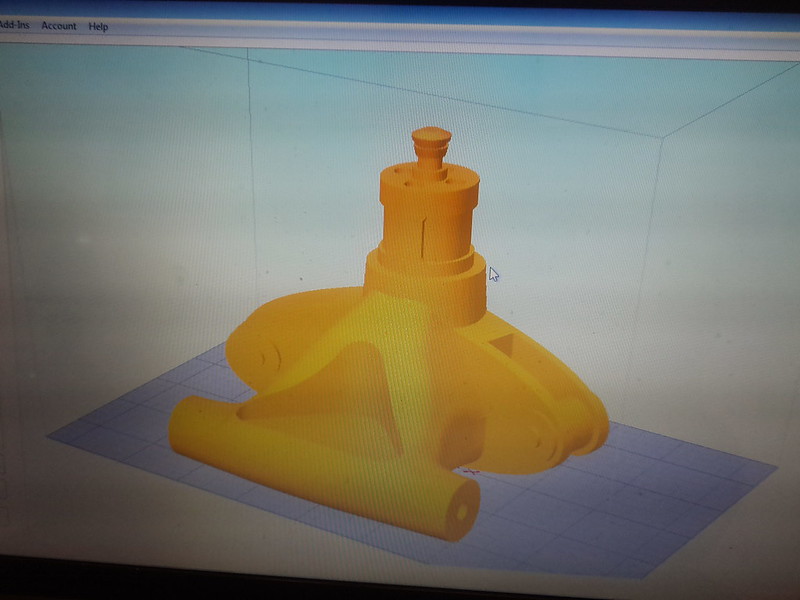
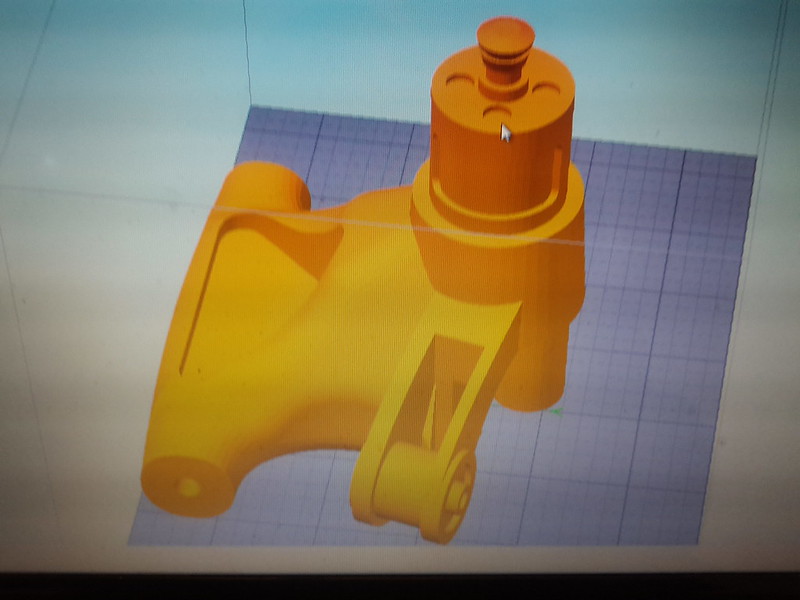
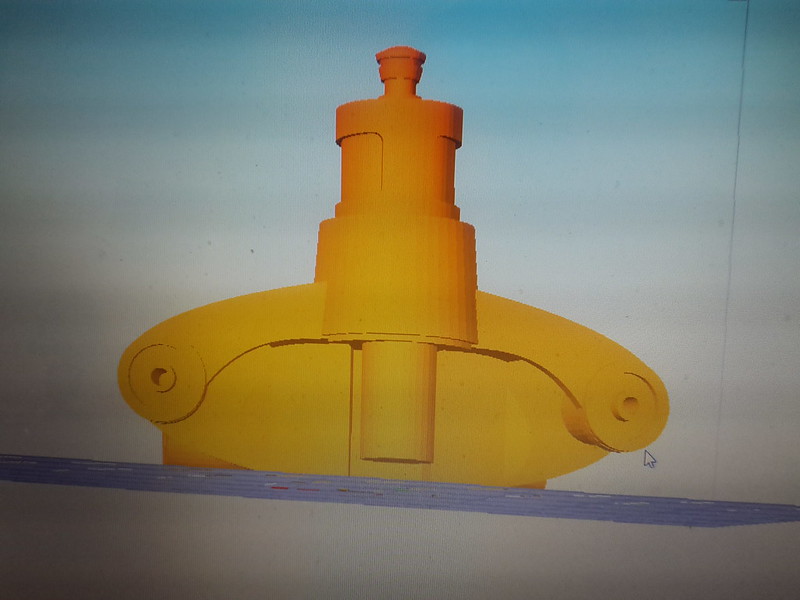
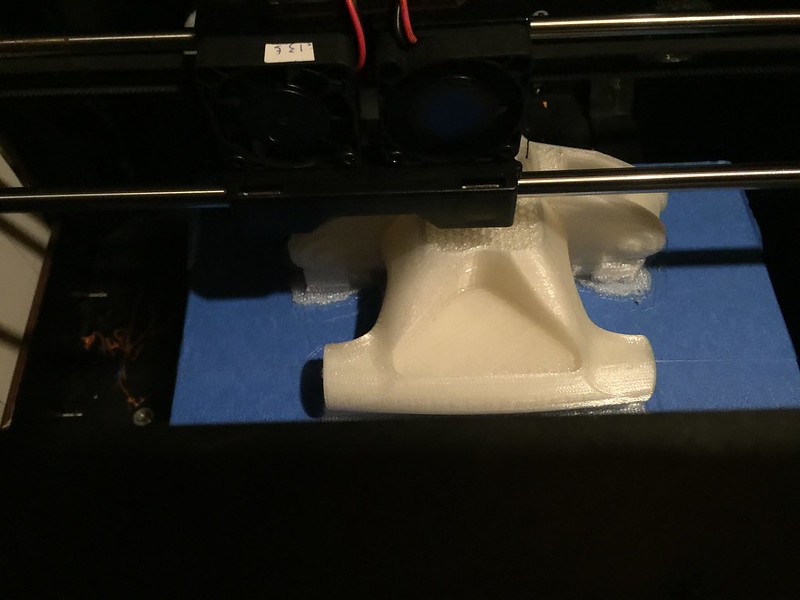
Early morning update! Rain is preventing me from doing any serious bulk work but things are happening behind the scenes - as always! I did manage to work on a few of the greeblies last night

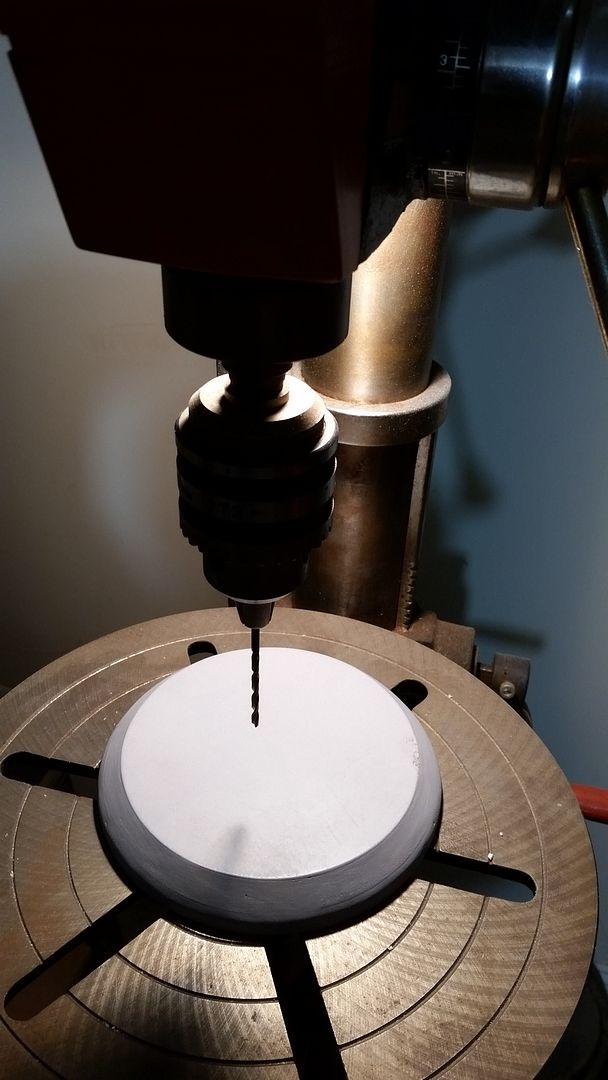
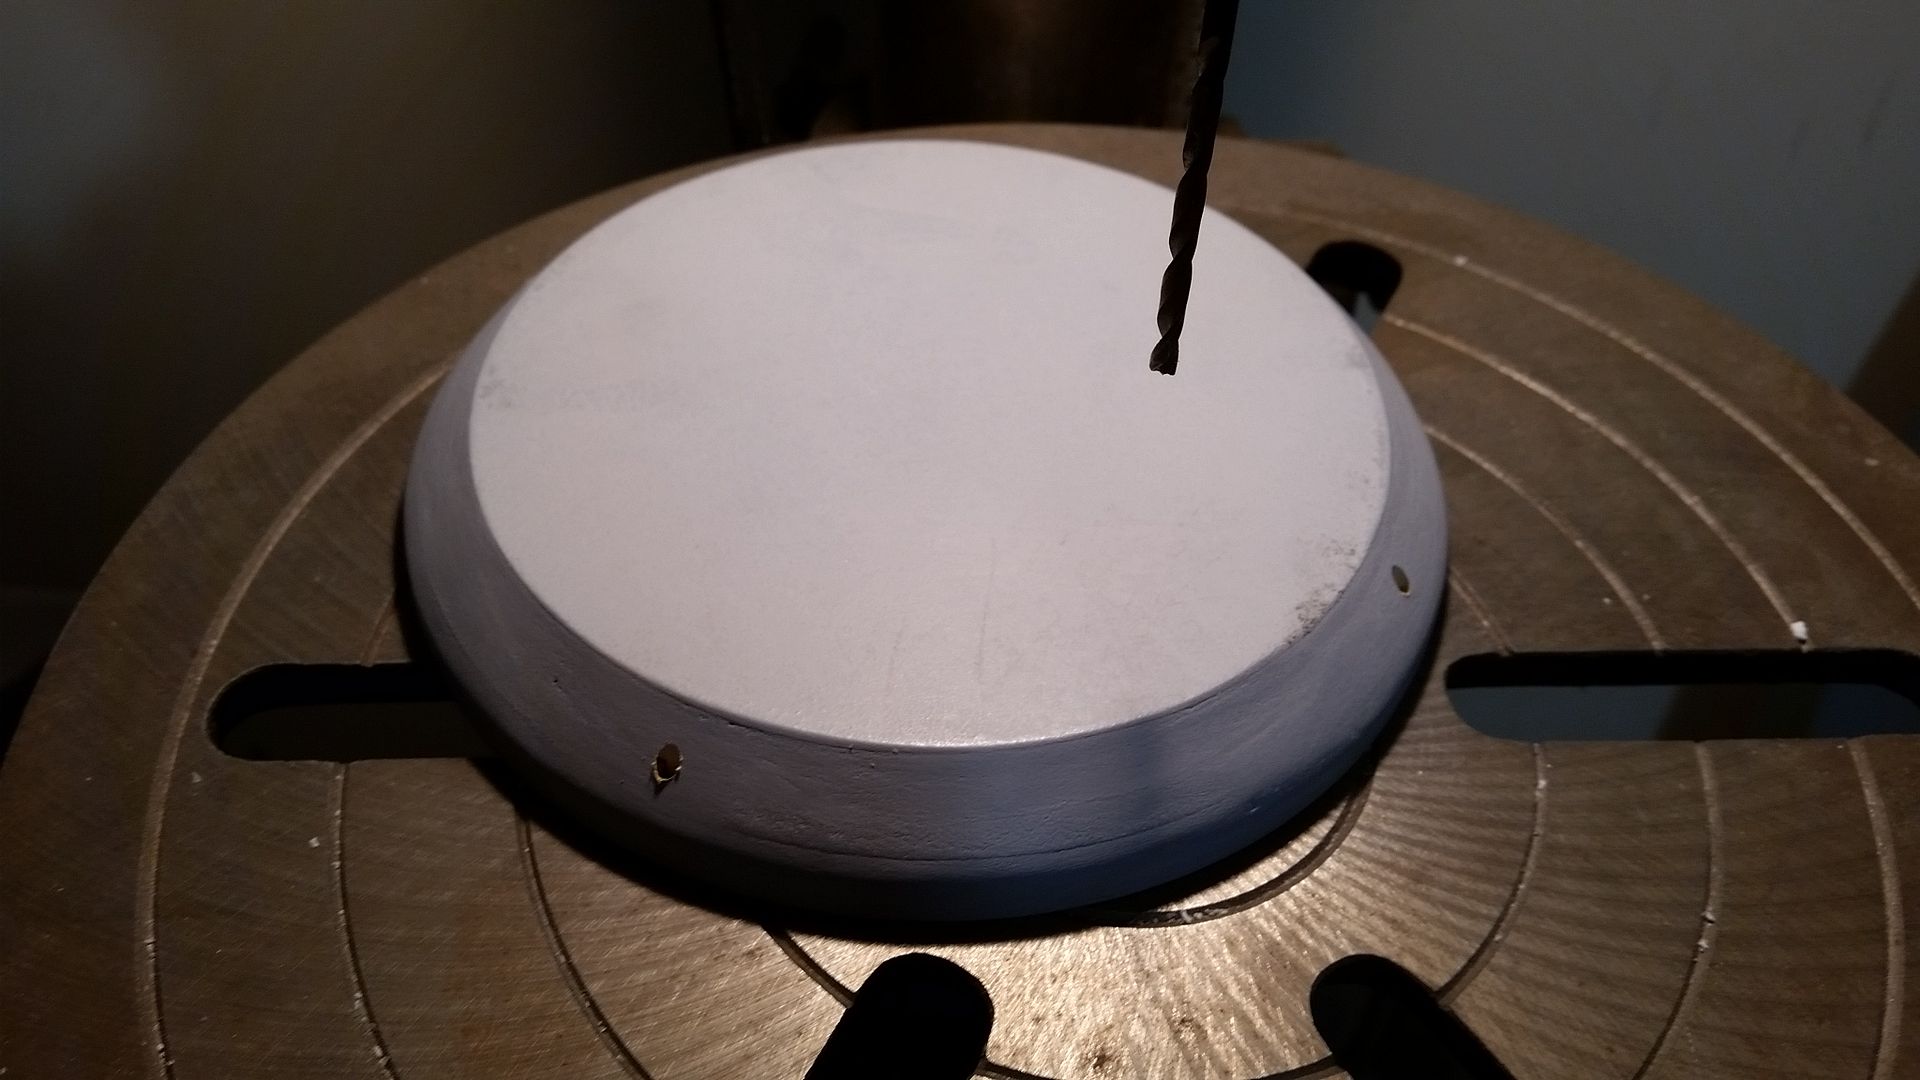
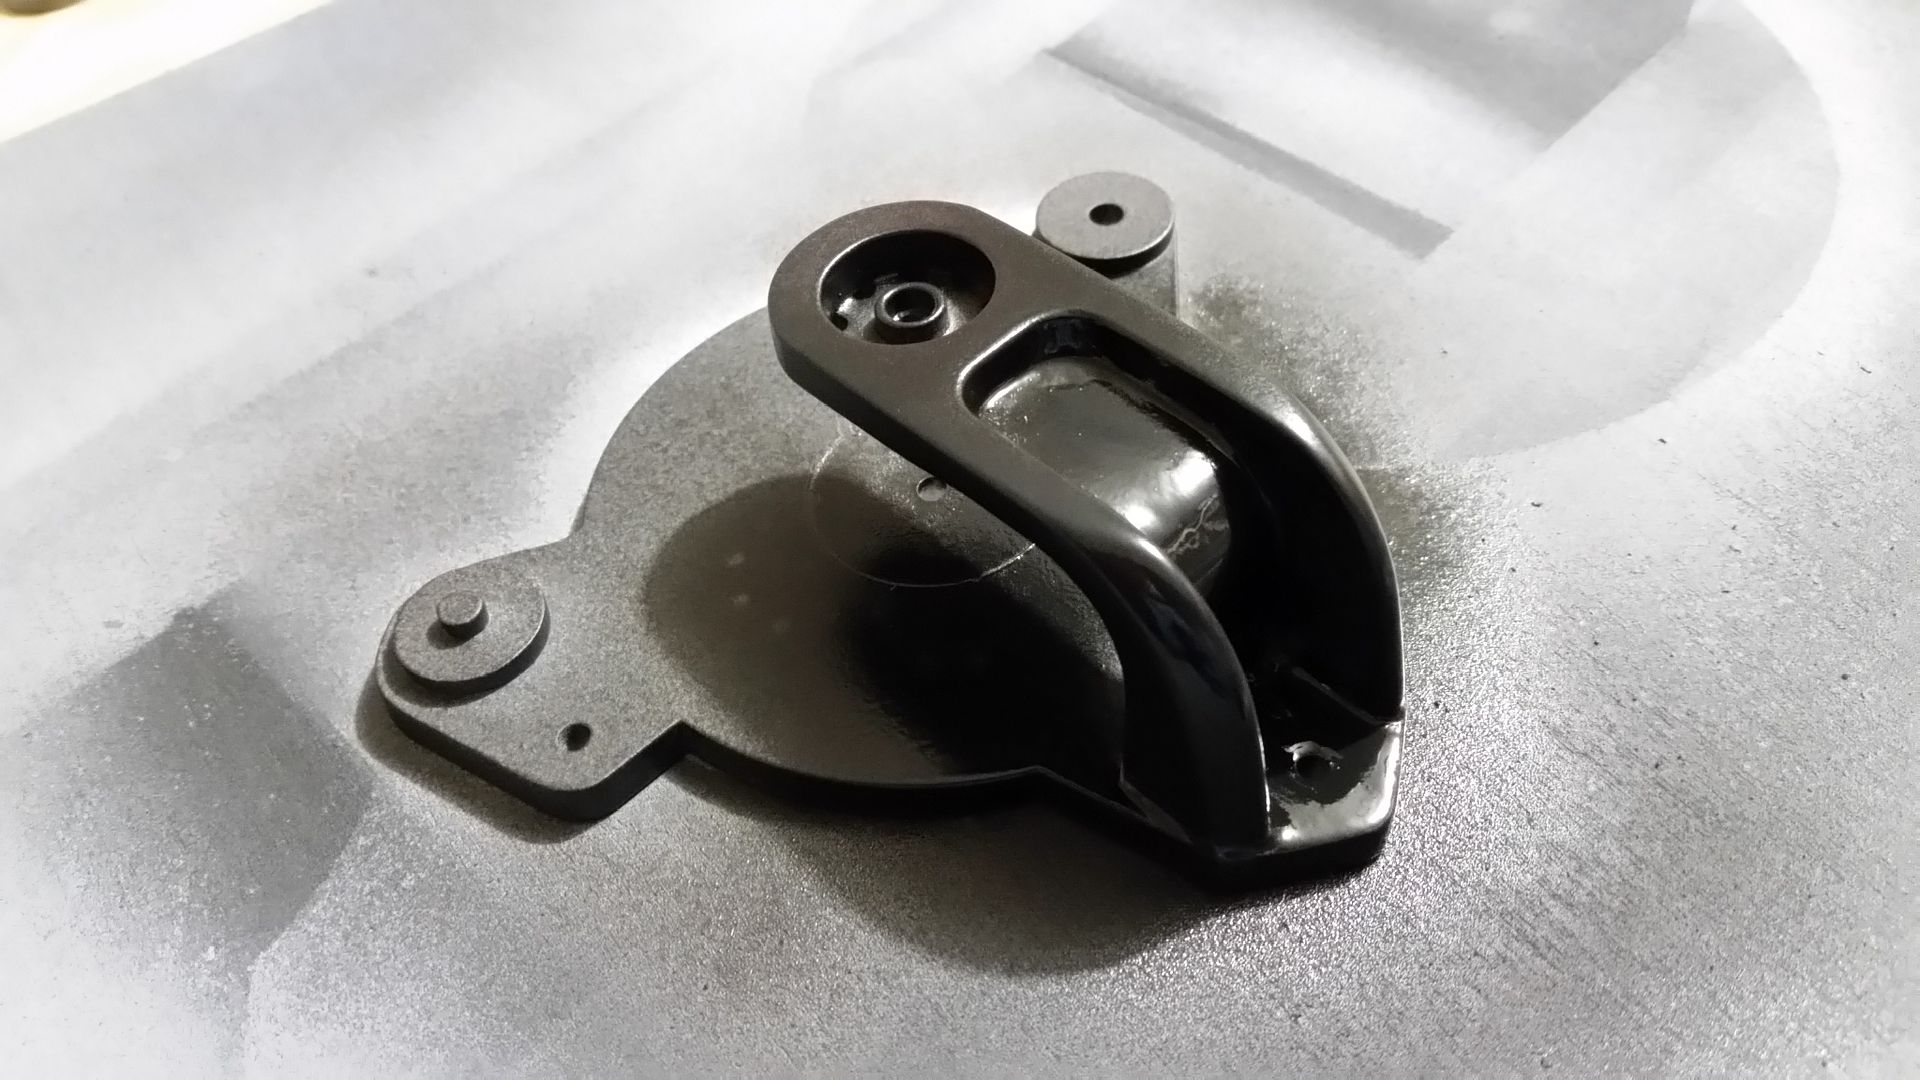
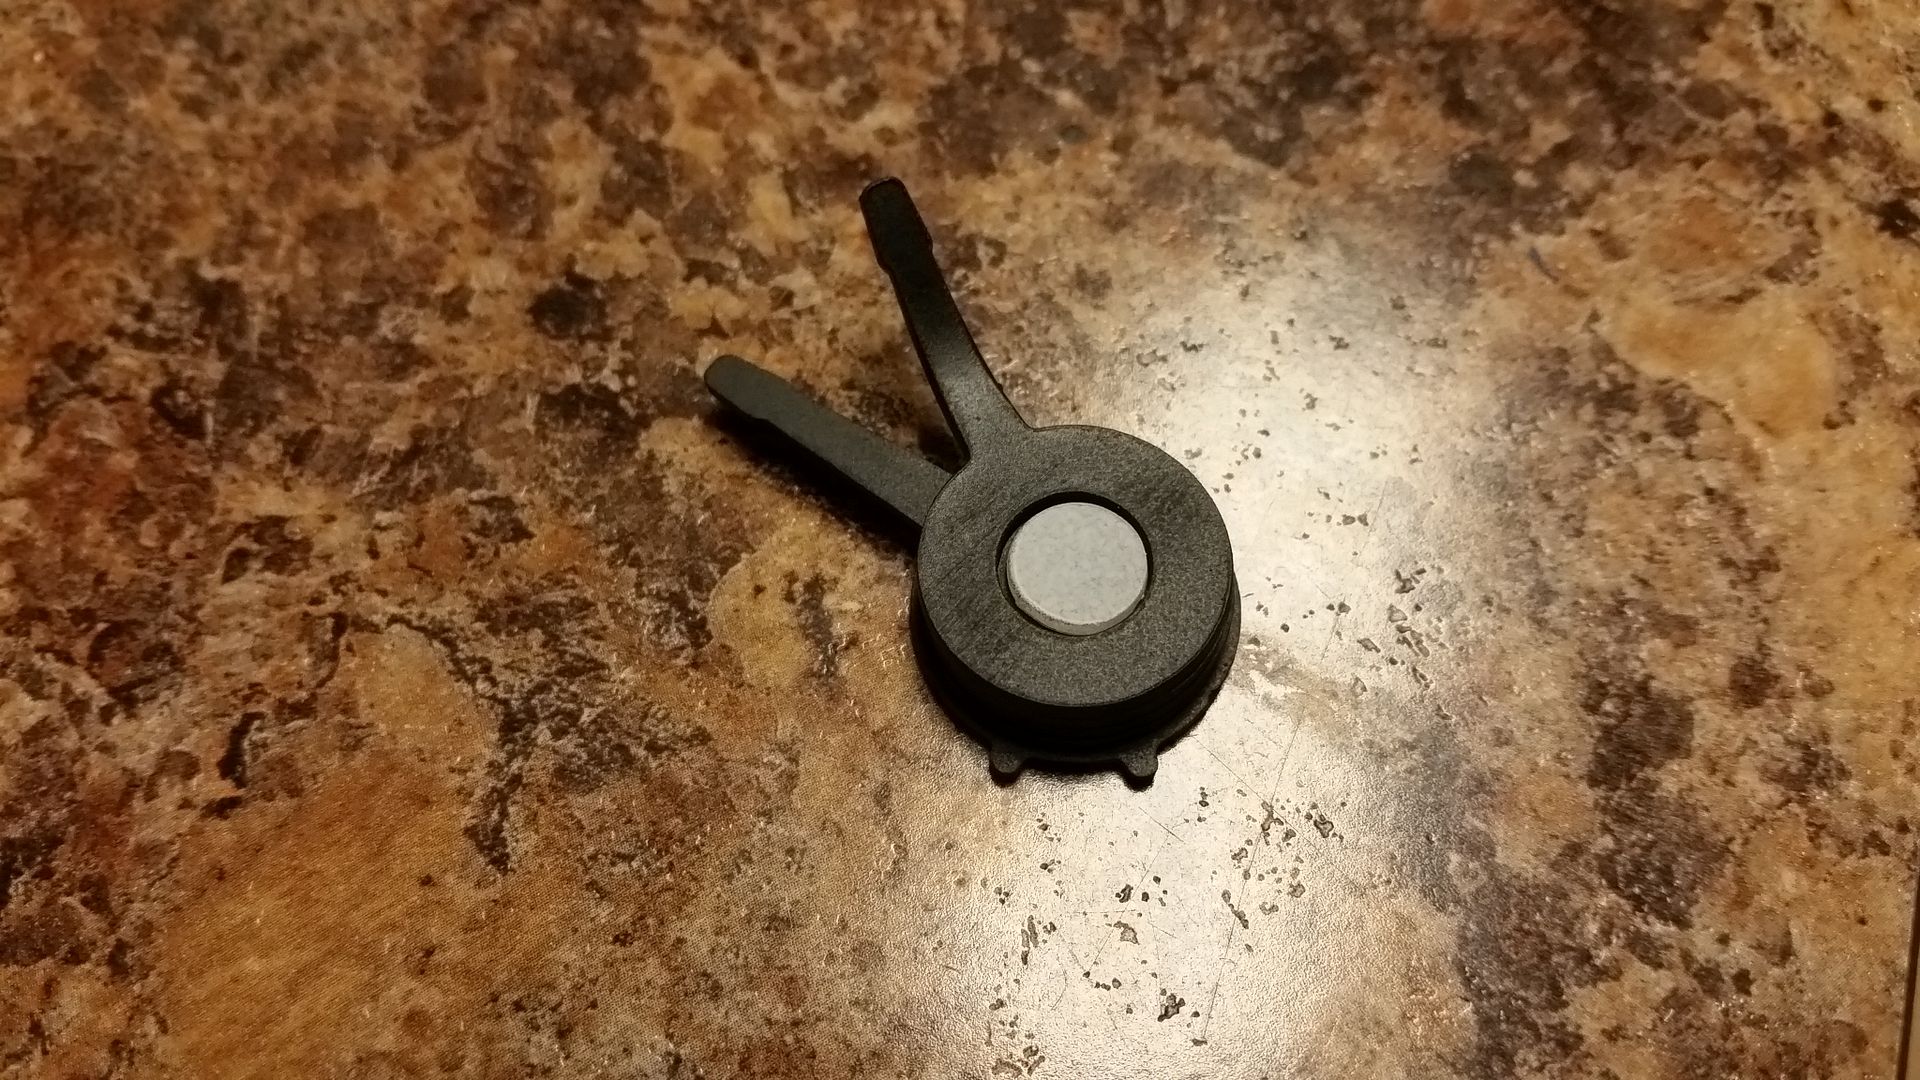
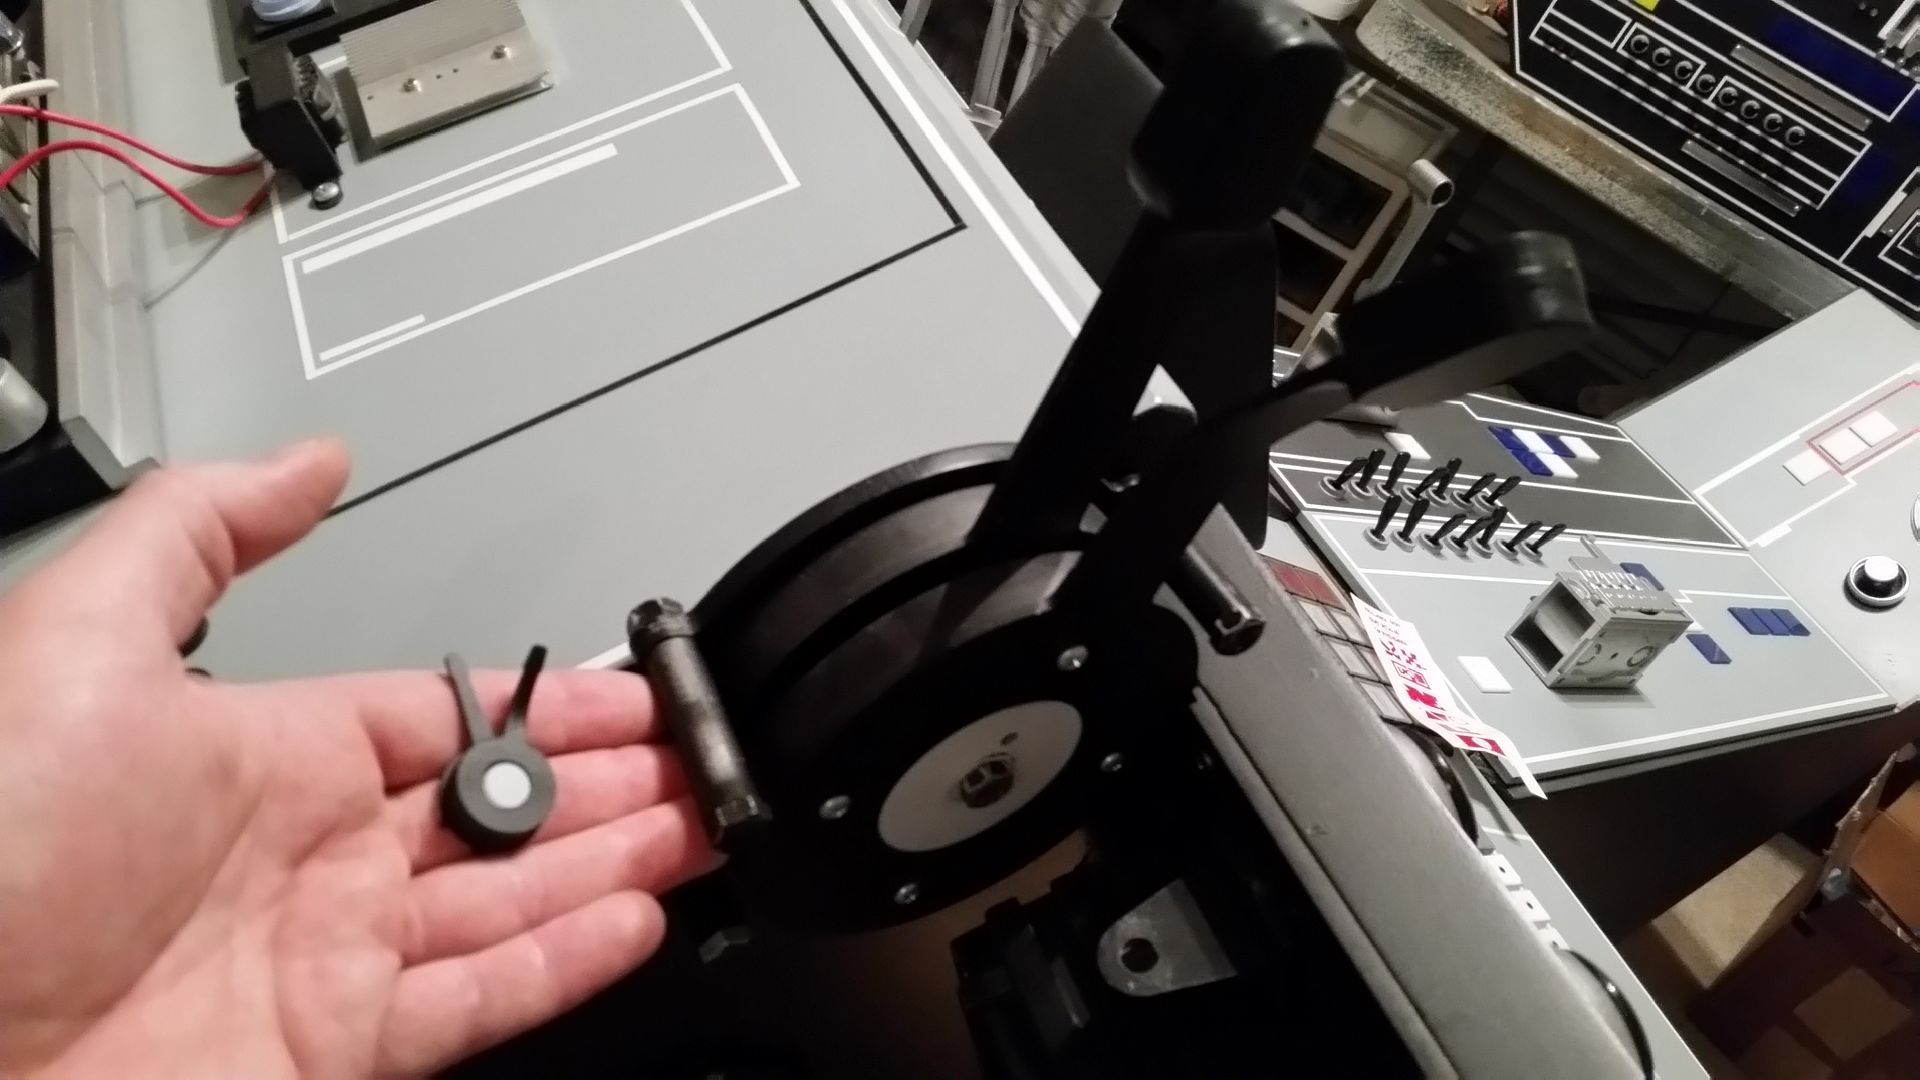
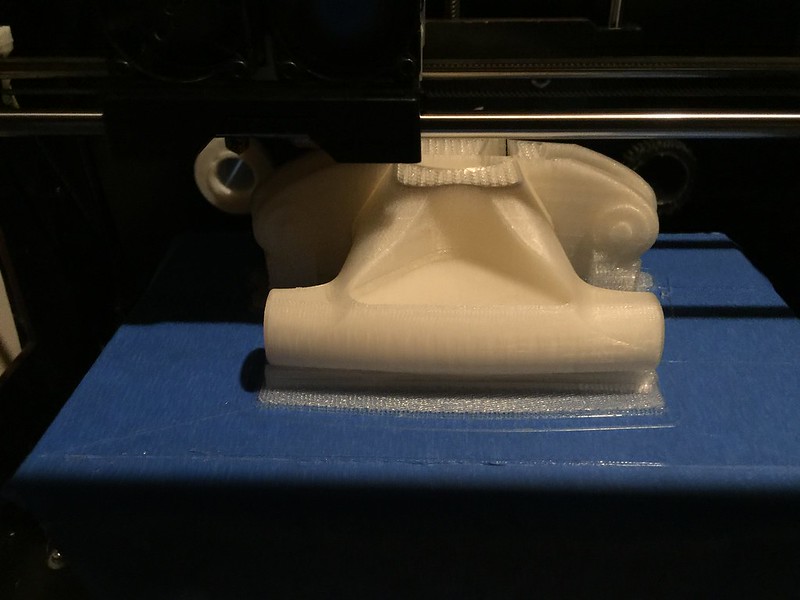
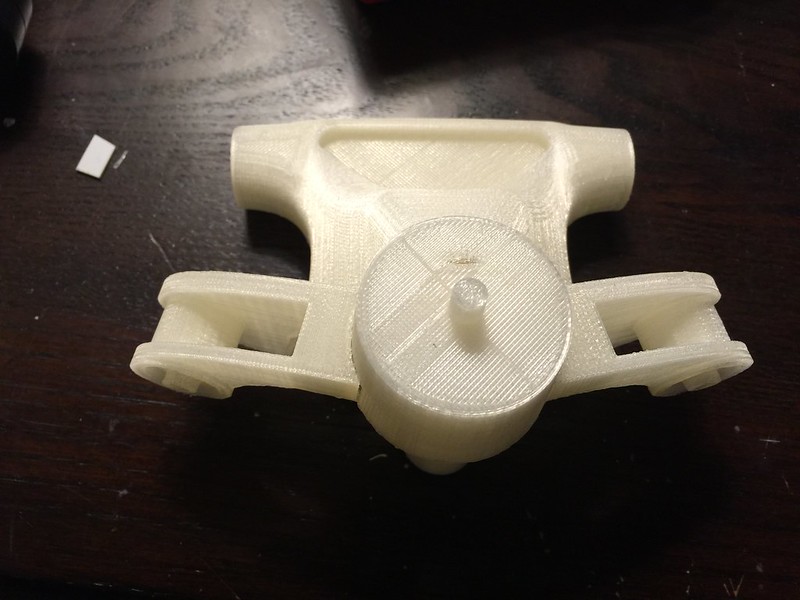
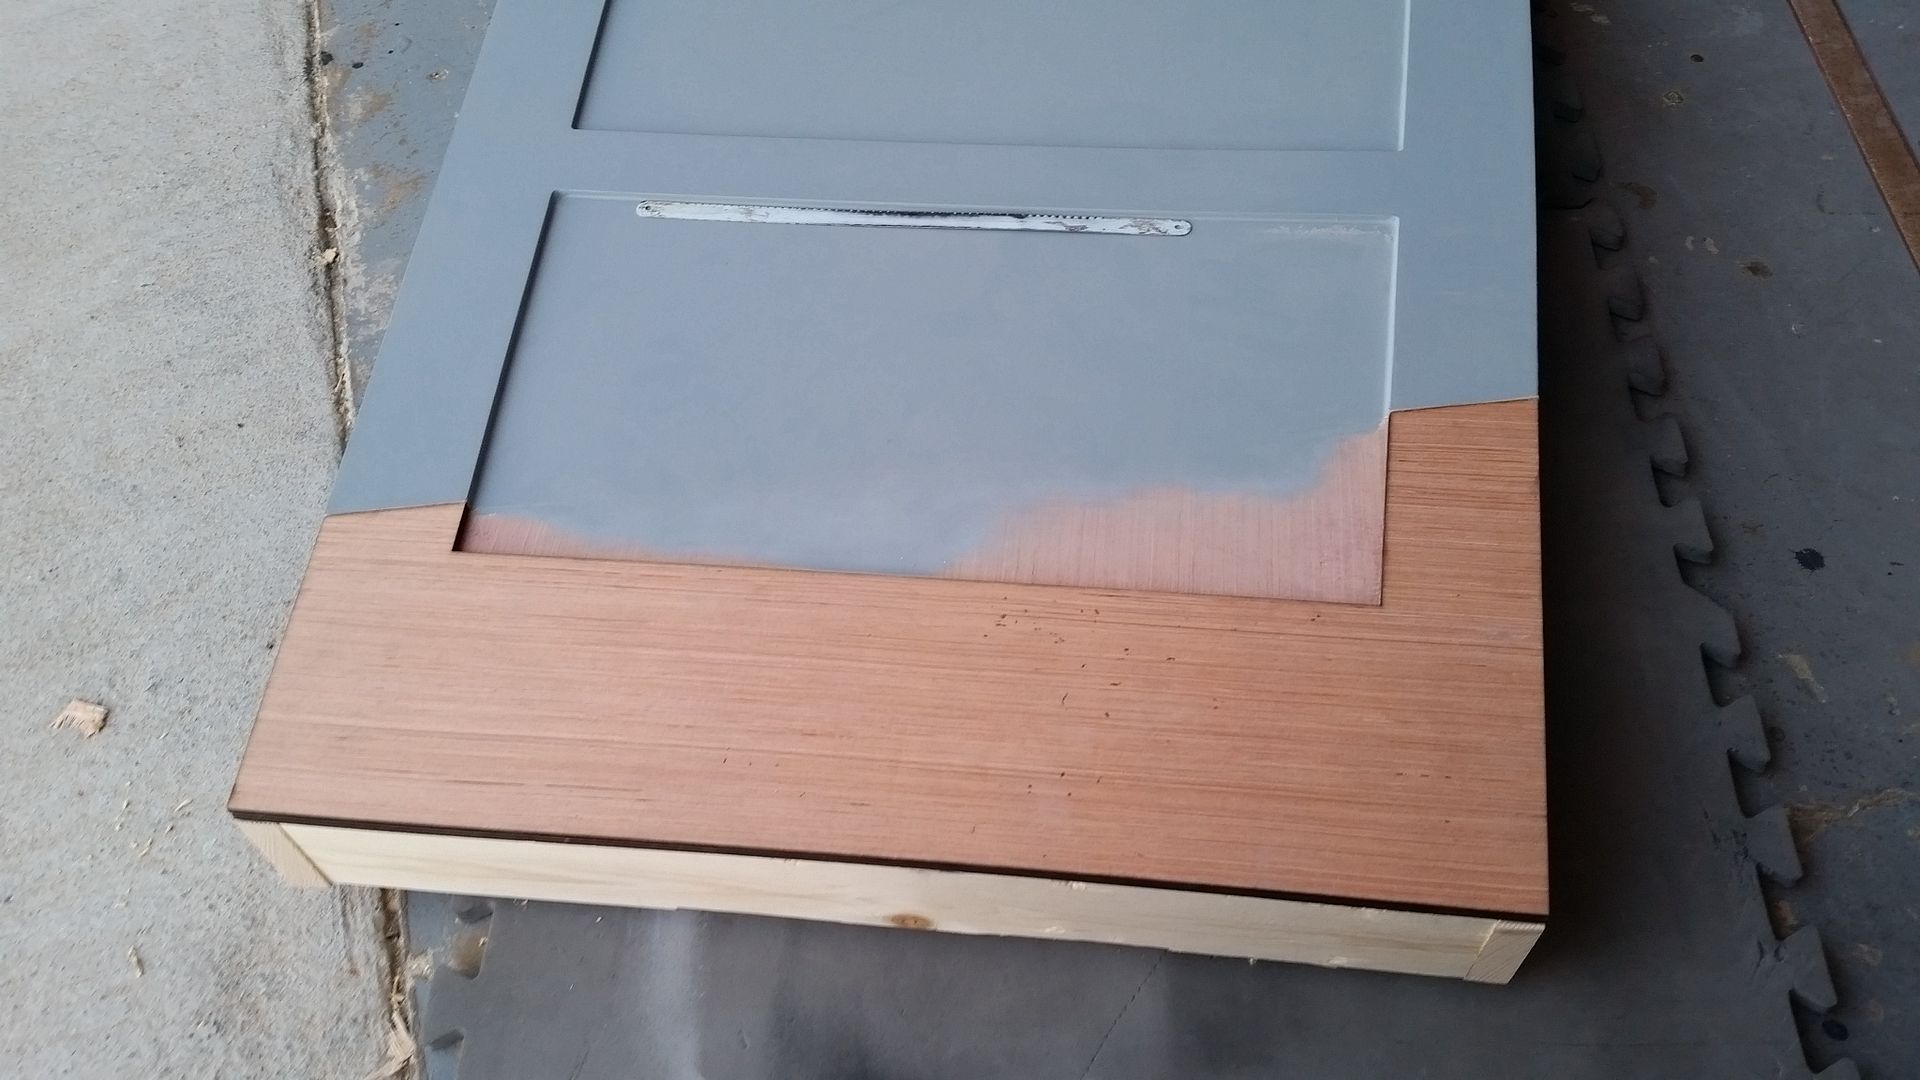
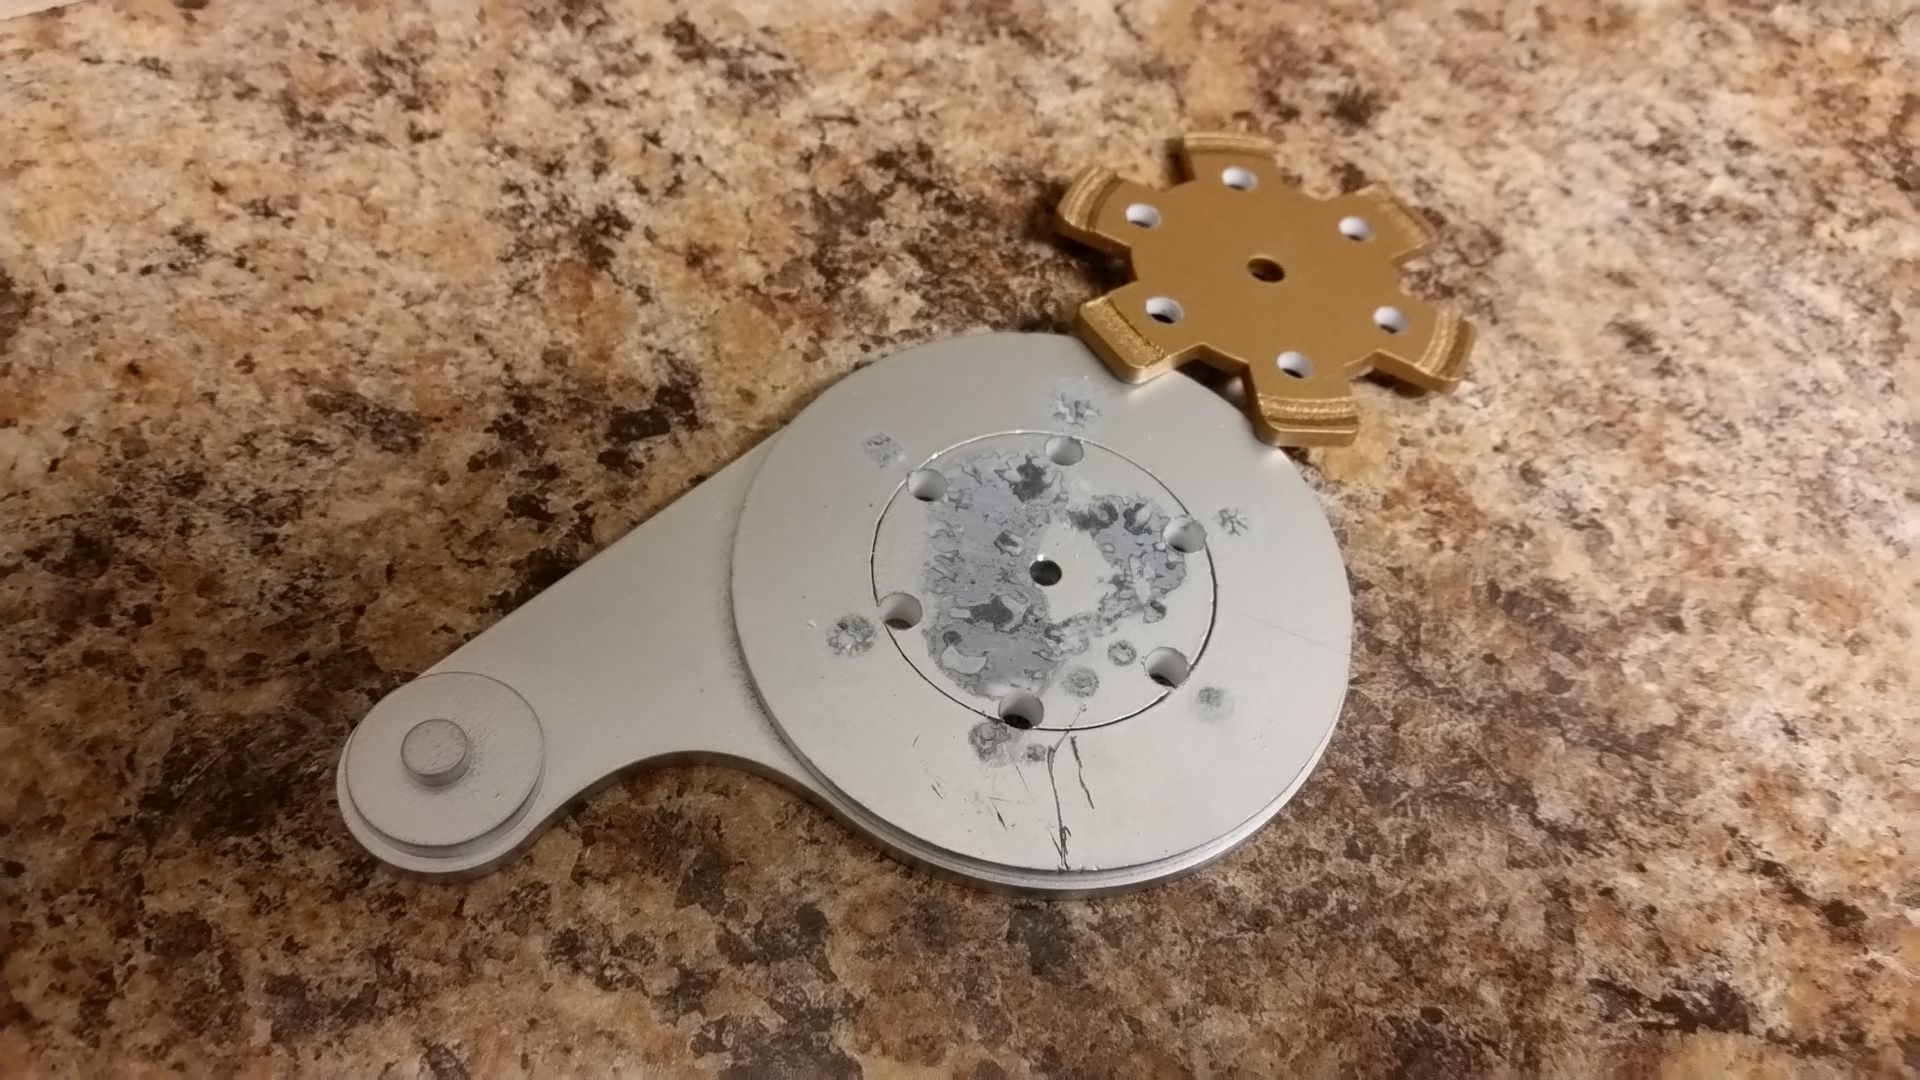
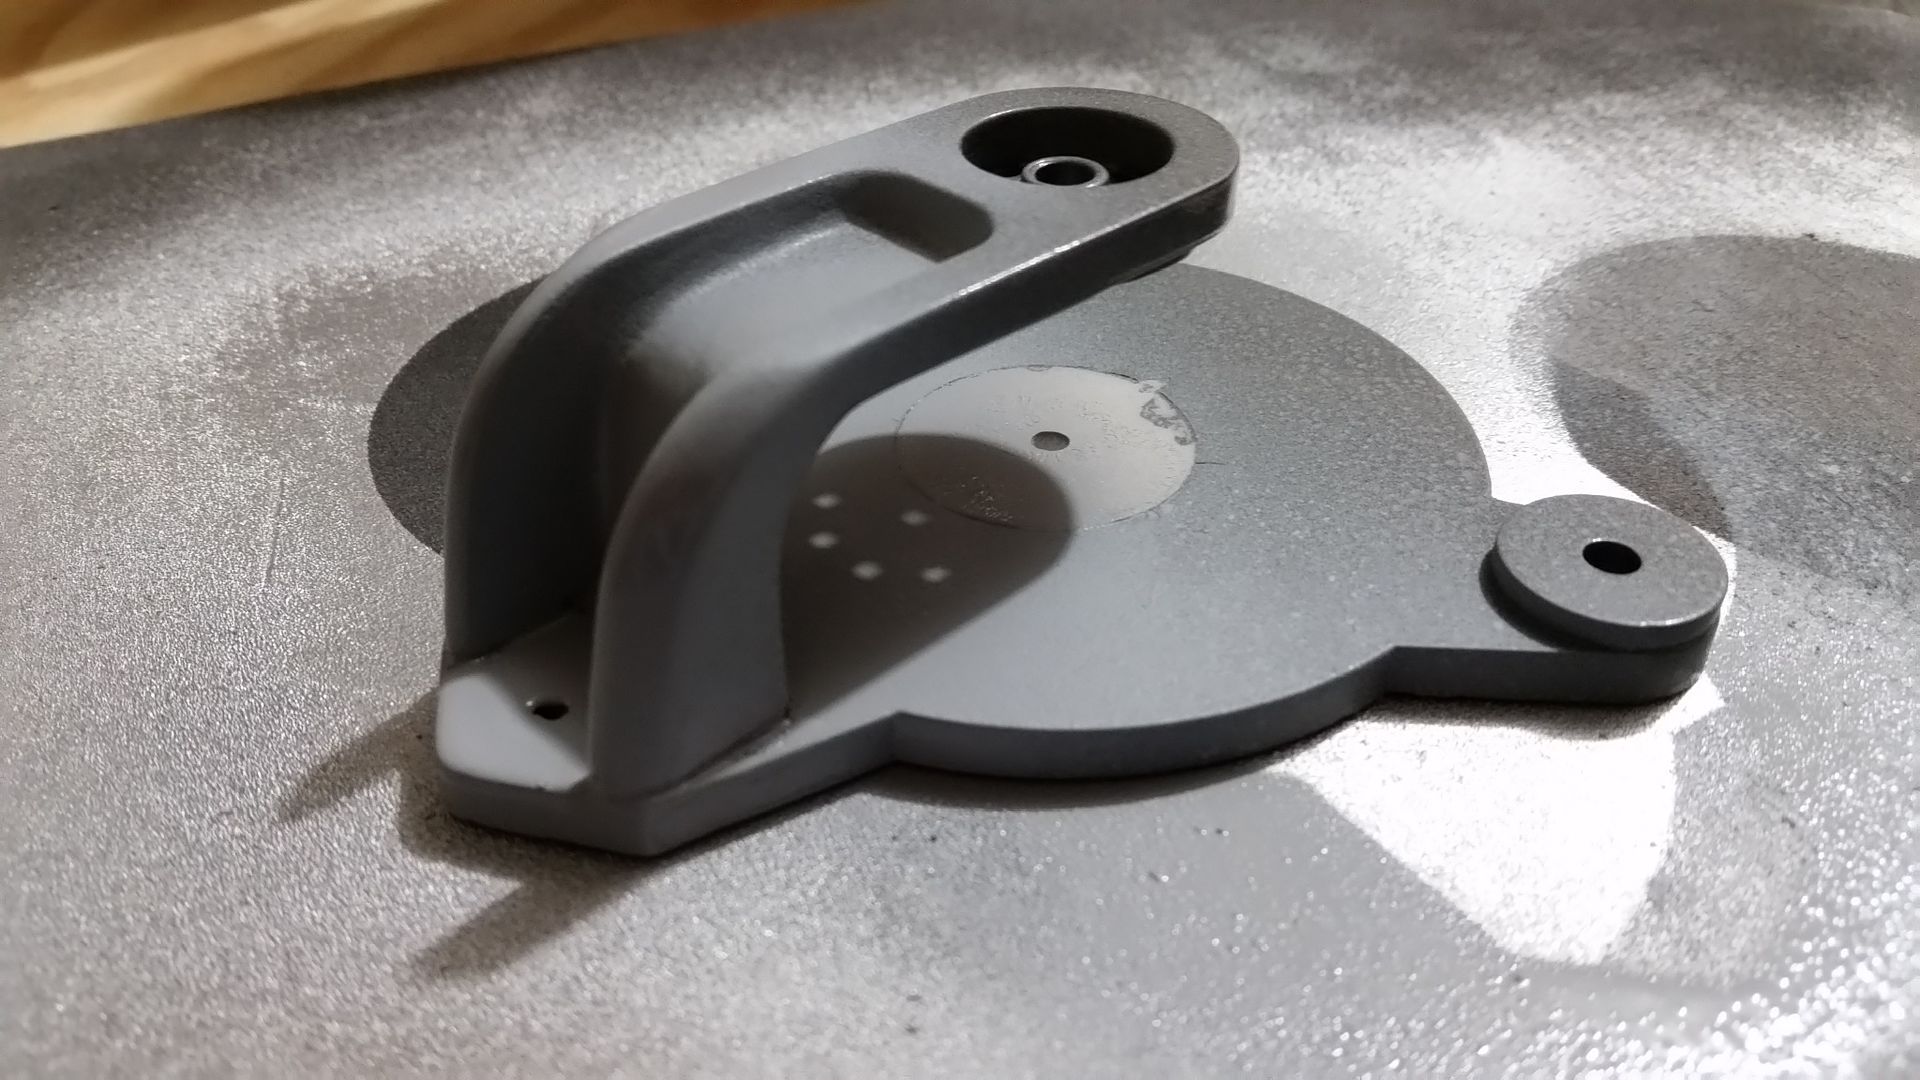
I popped off the top piece of clutch greeblie - I'm cutting a new top
20151026_184915_zpstfjsklfu.jpg


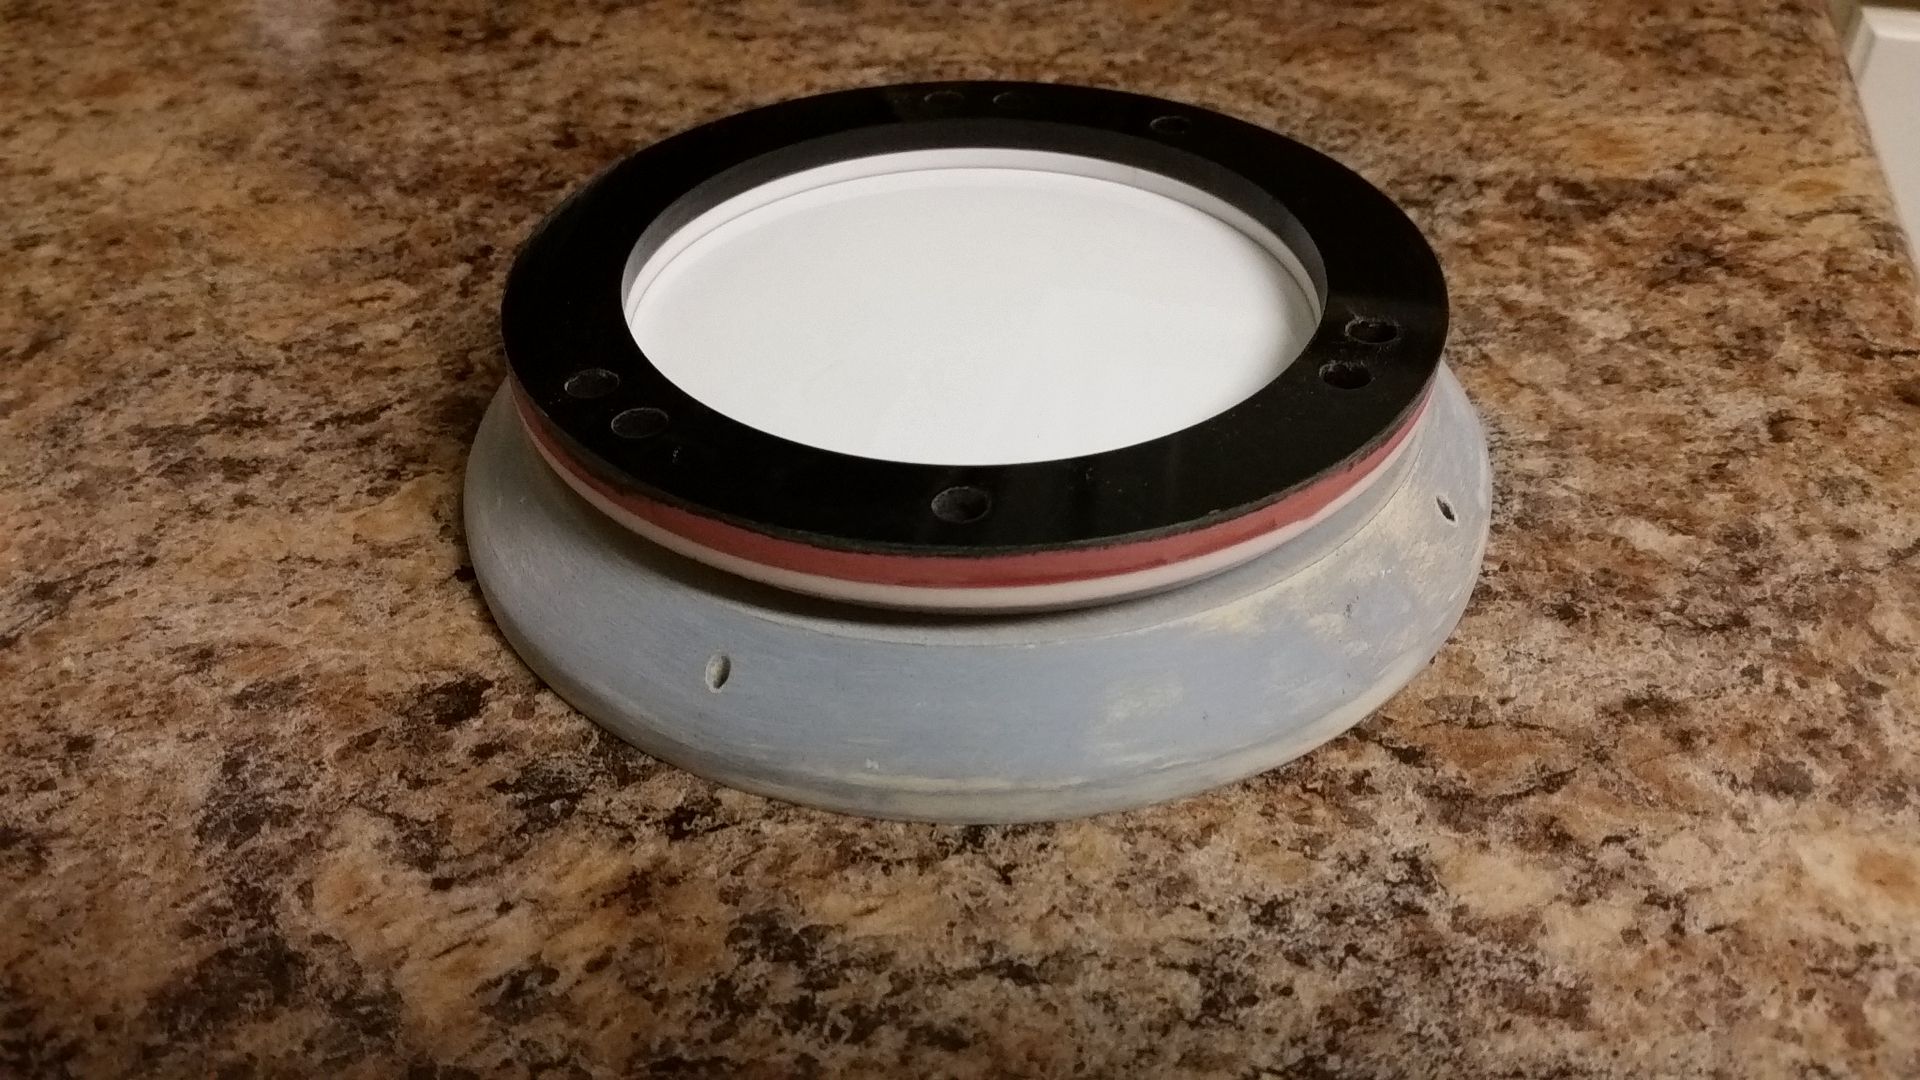
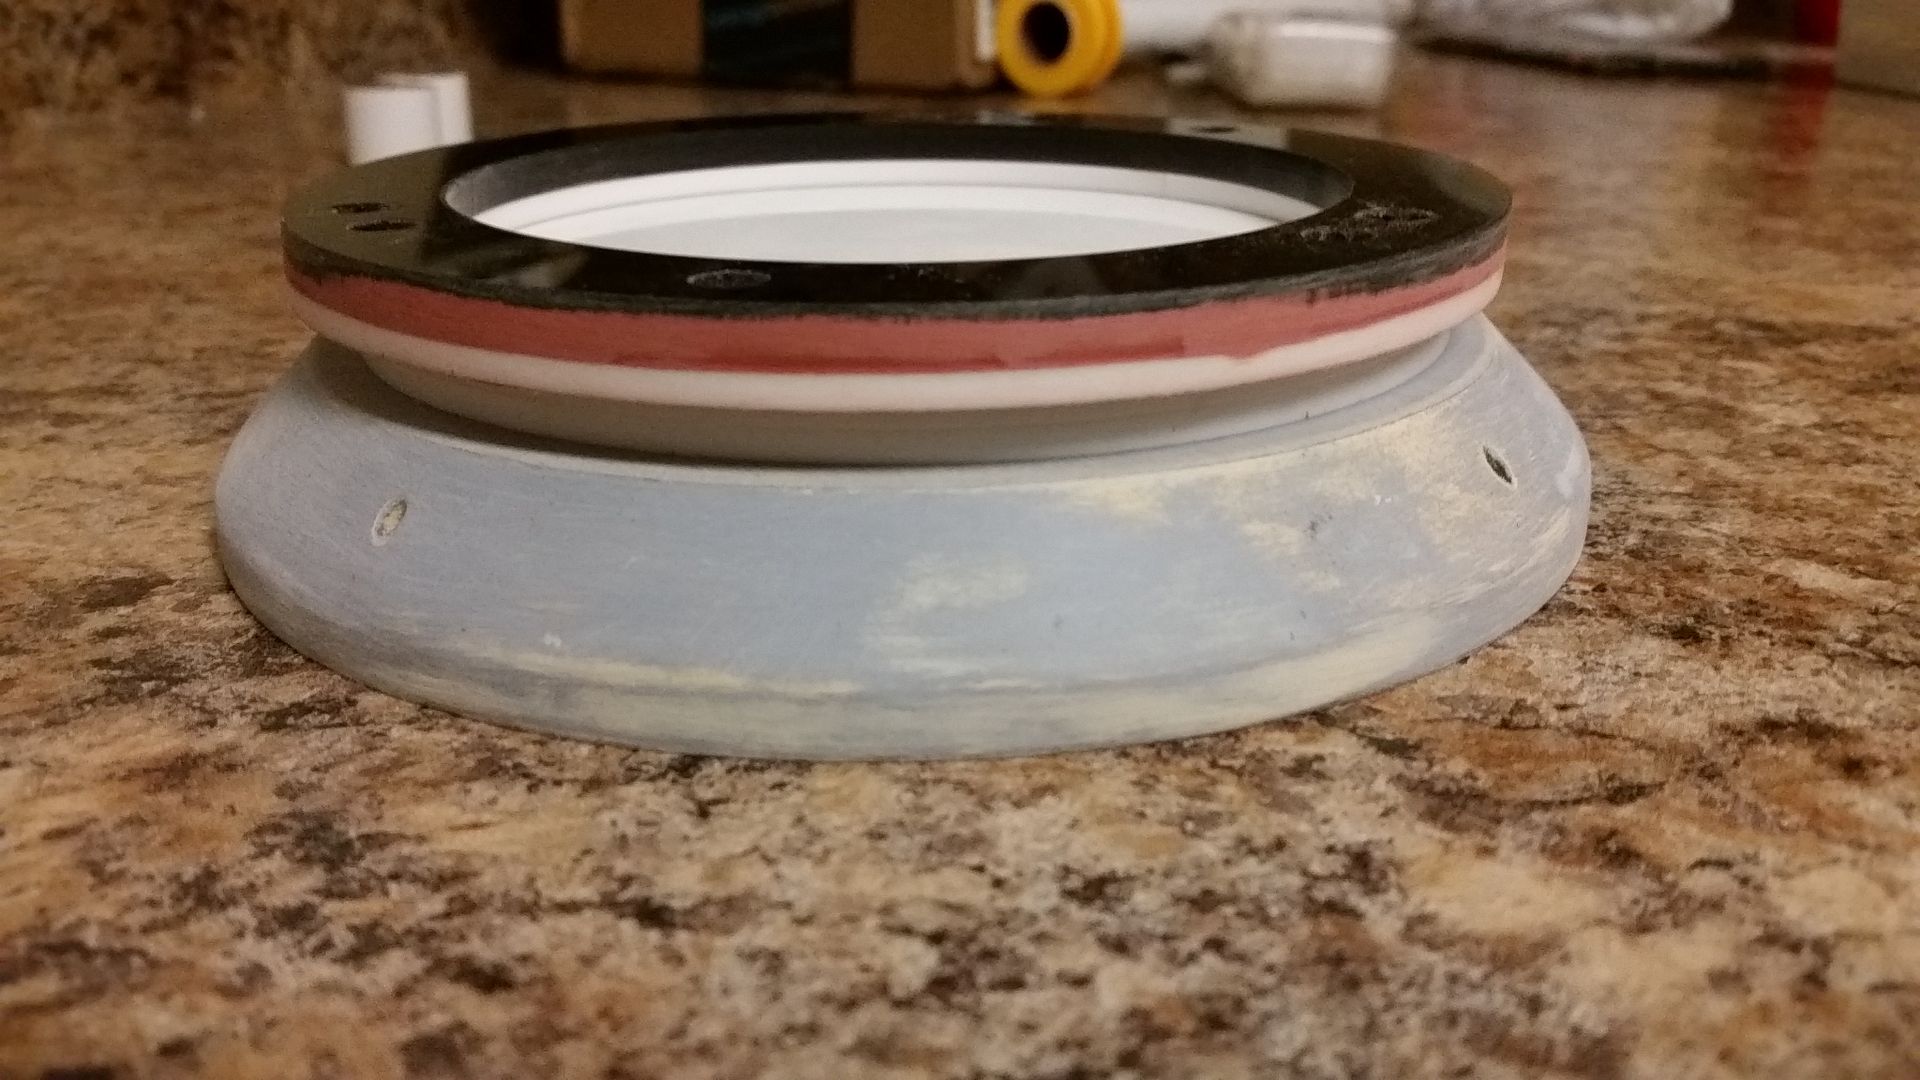
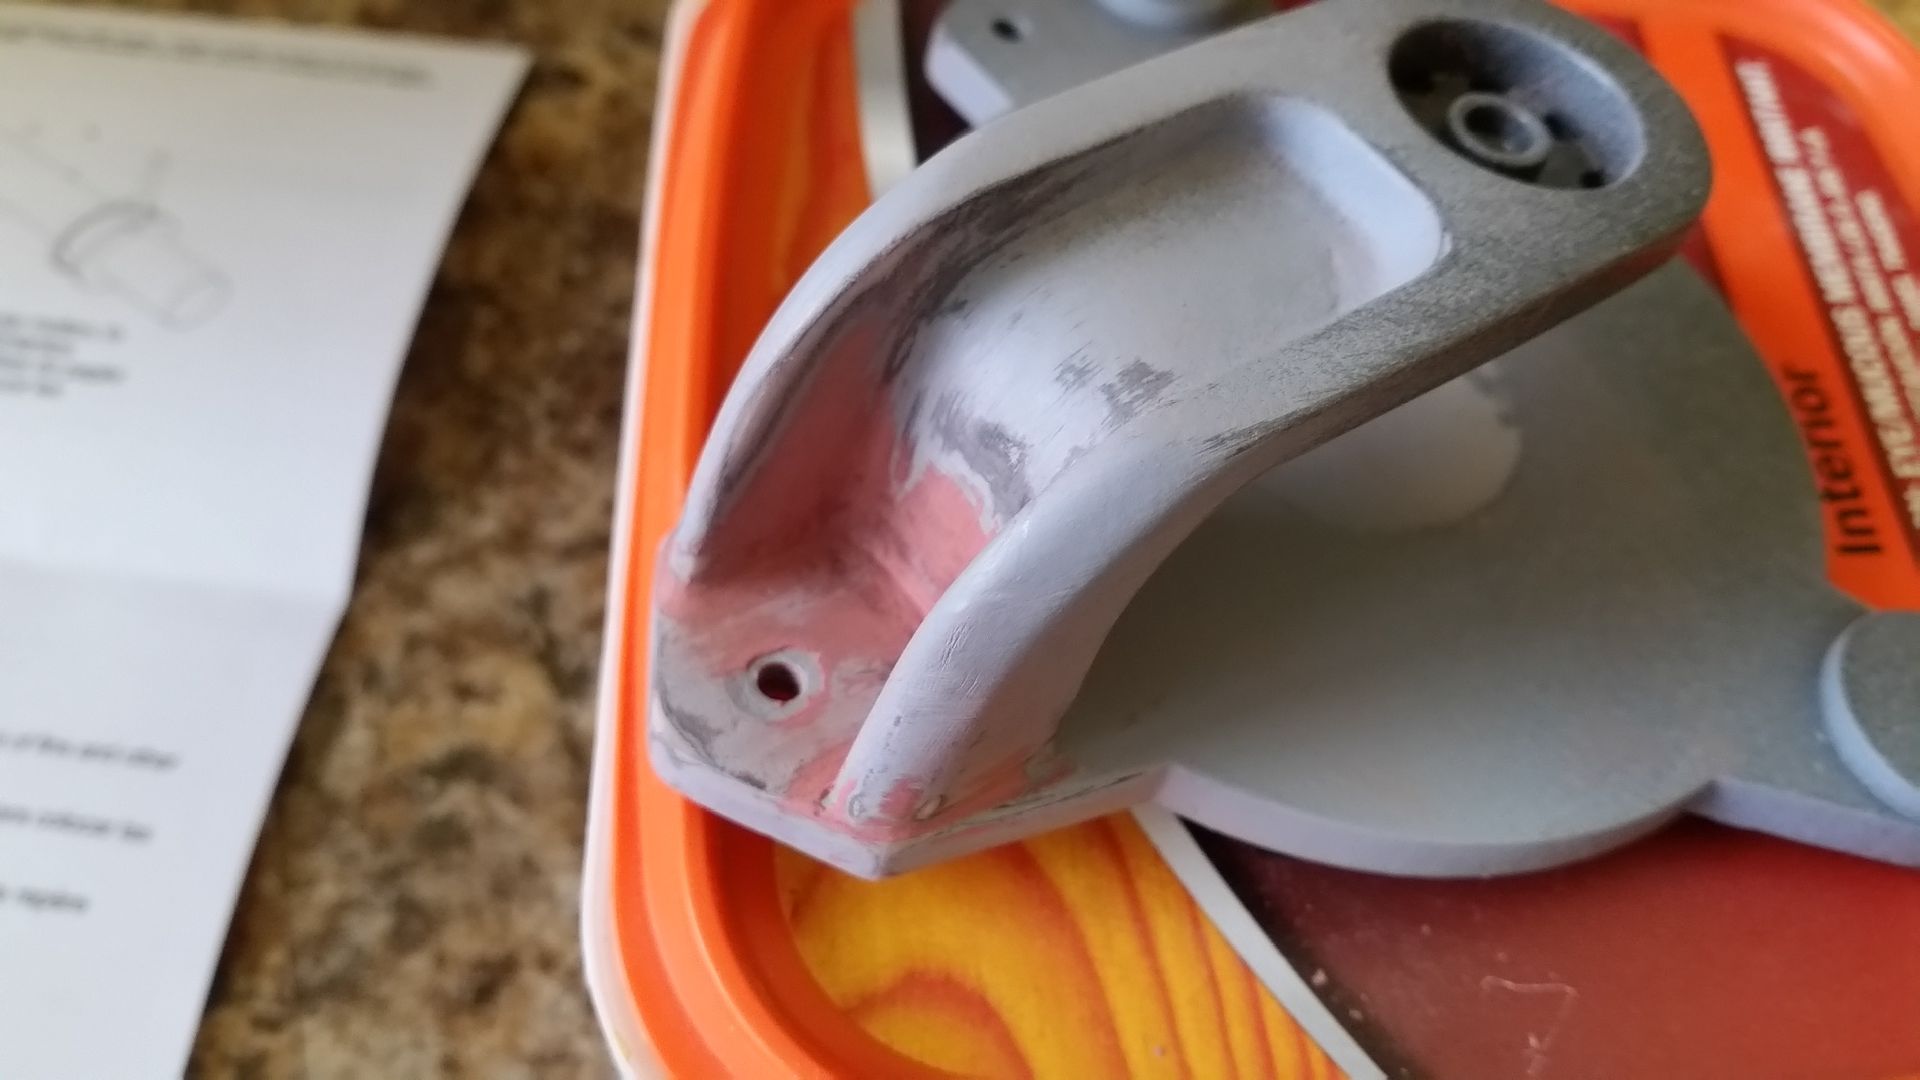
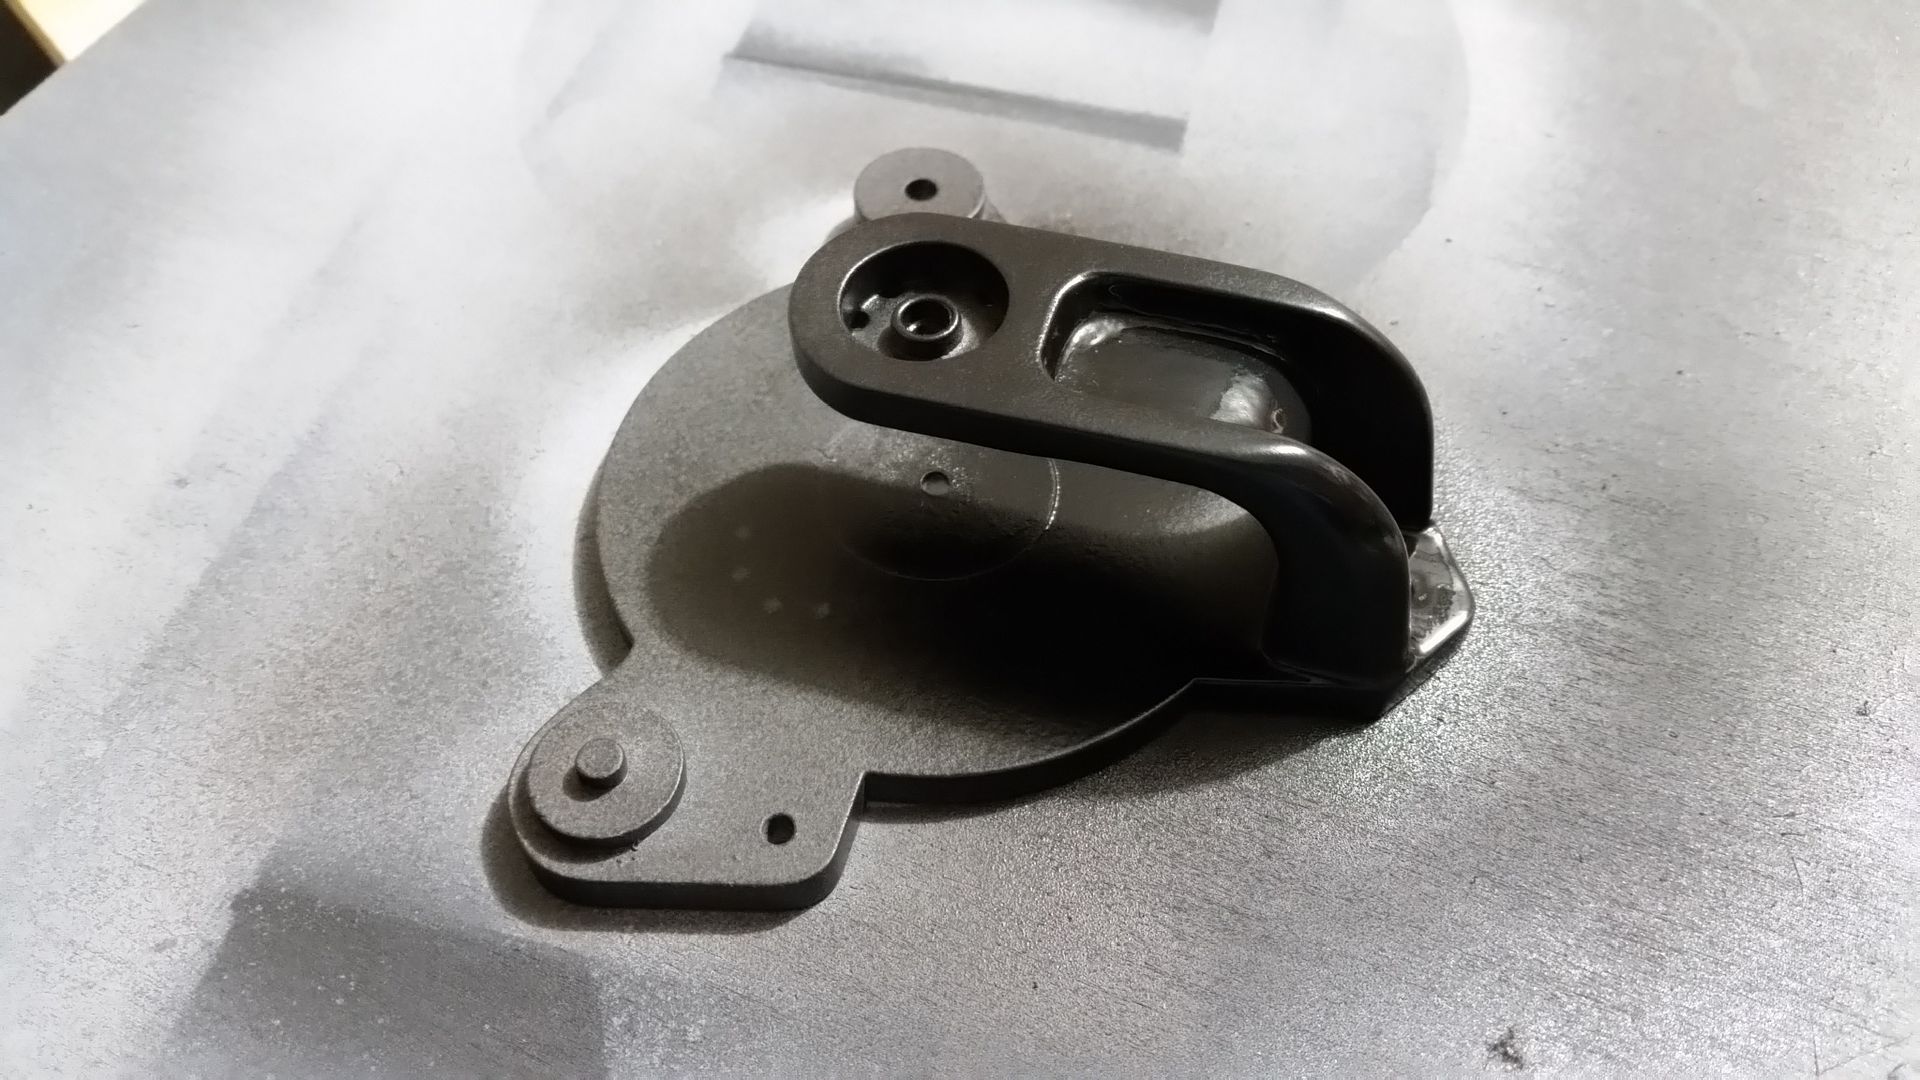
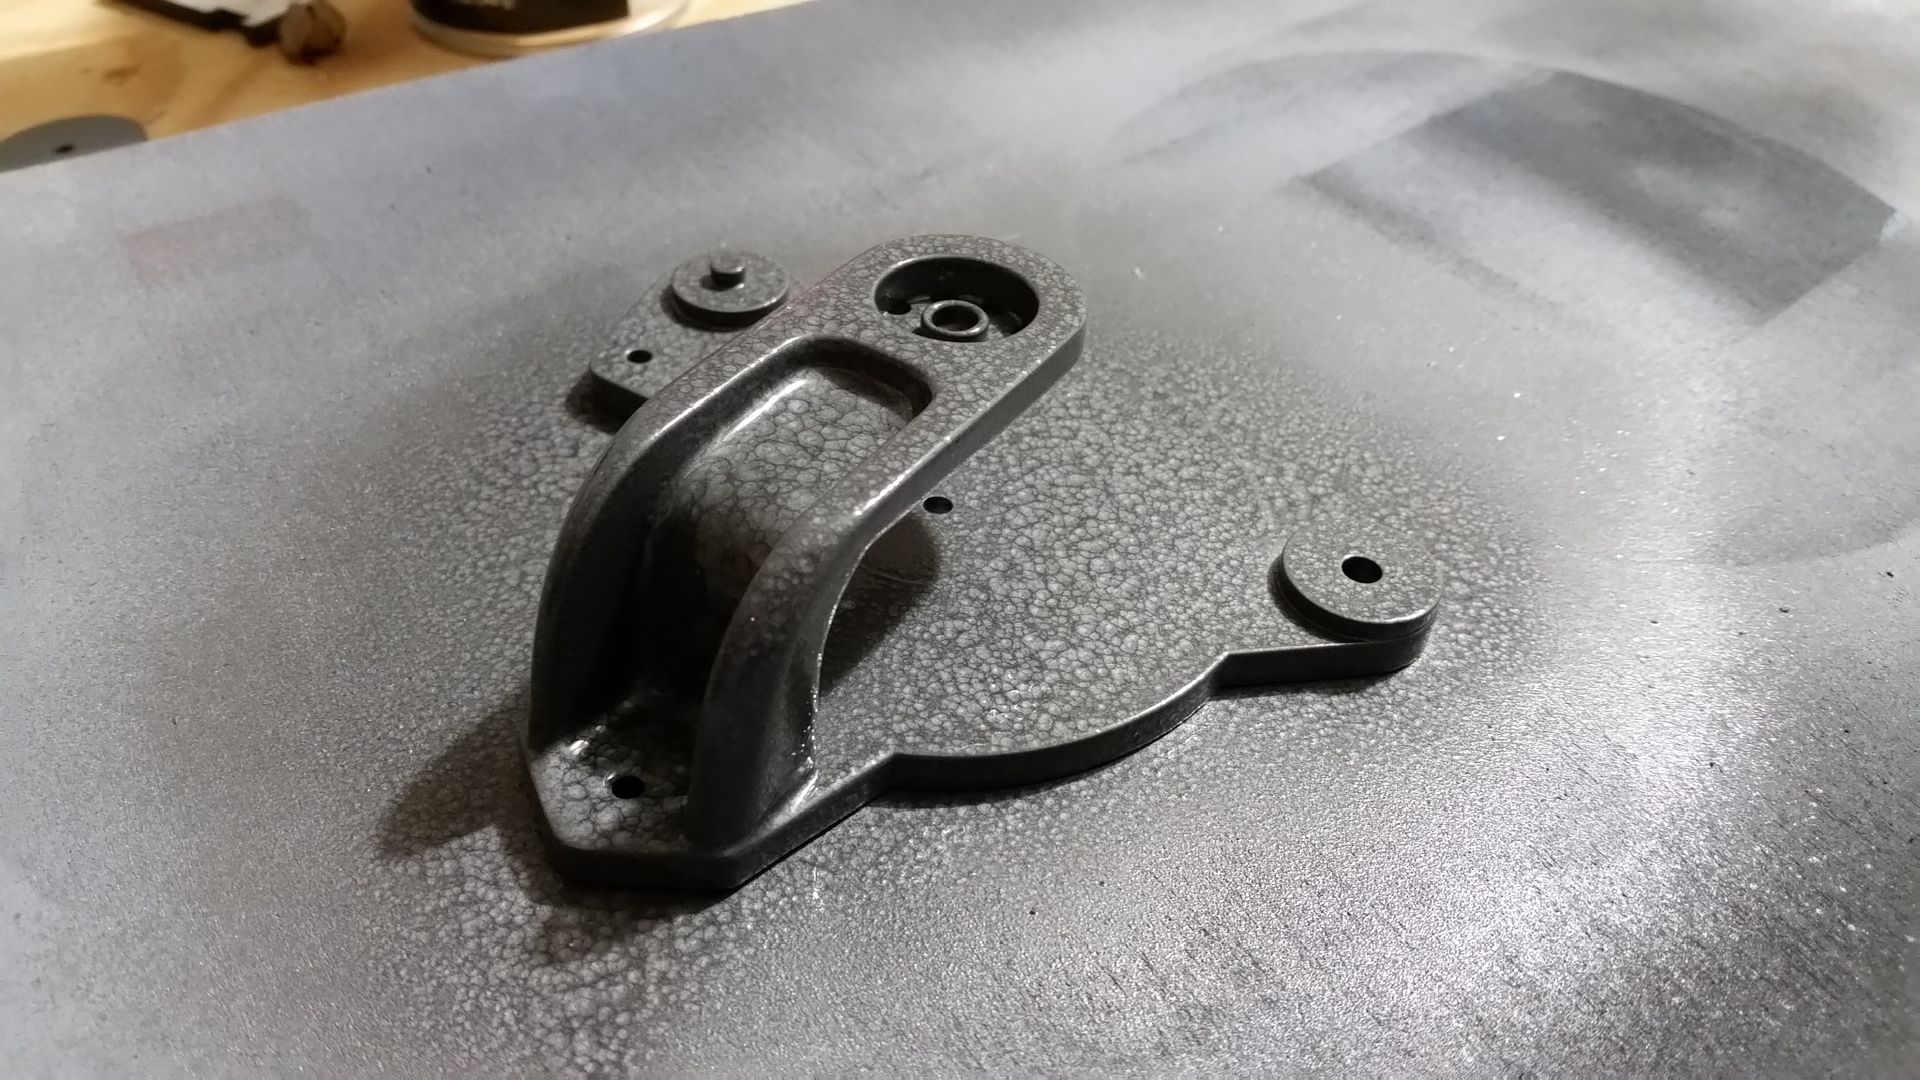
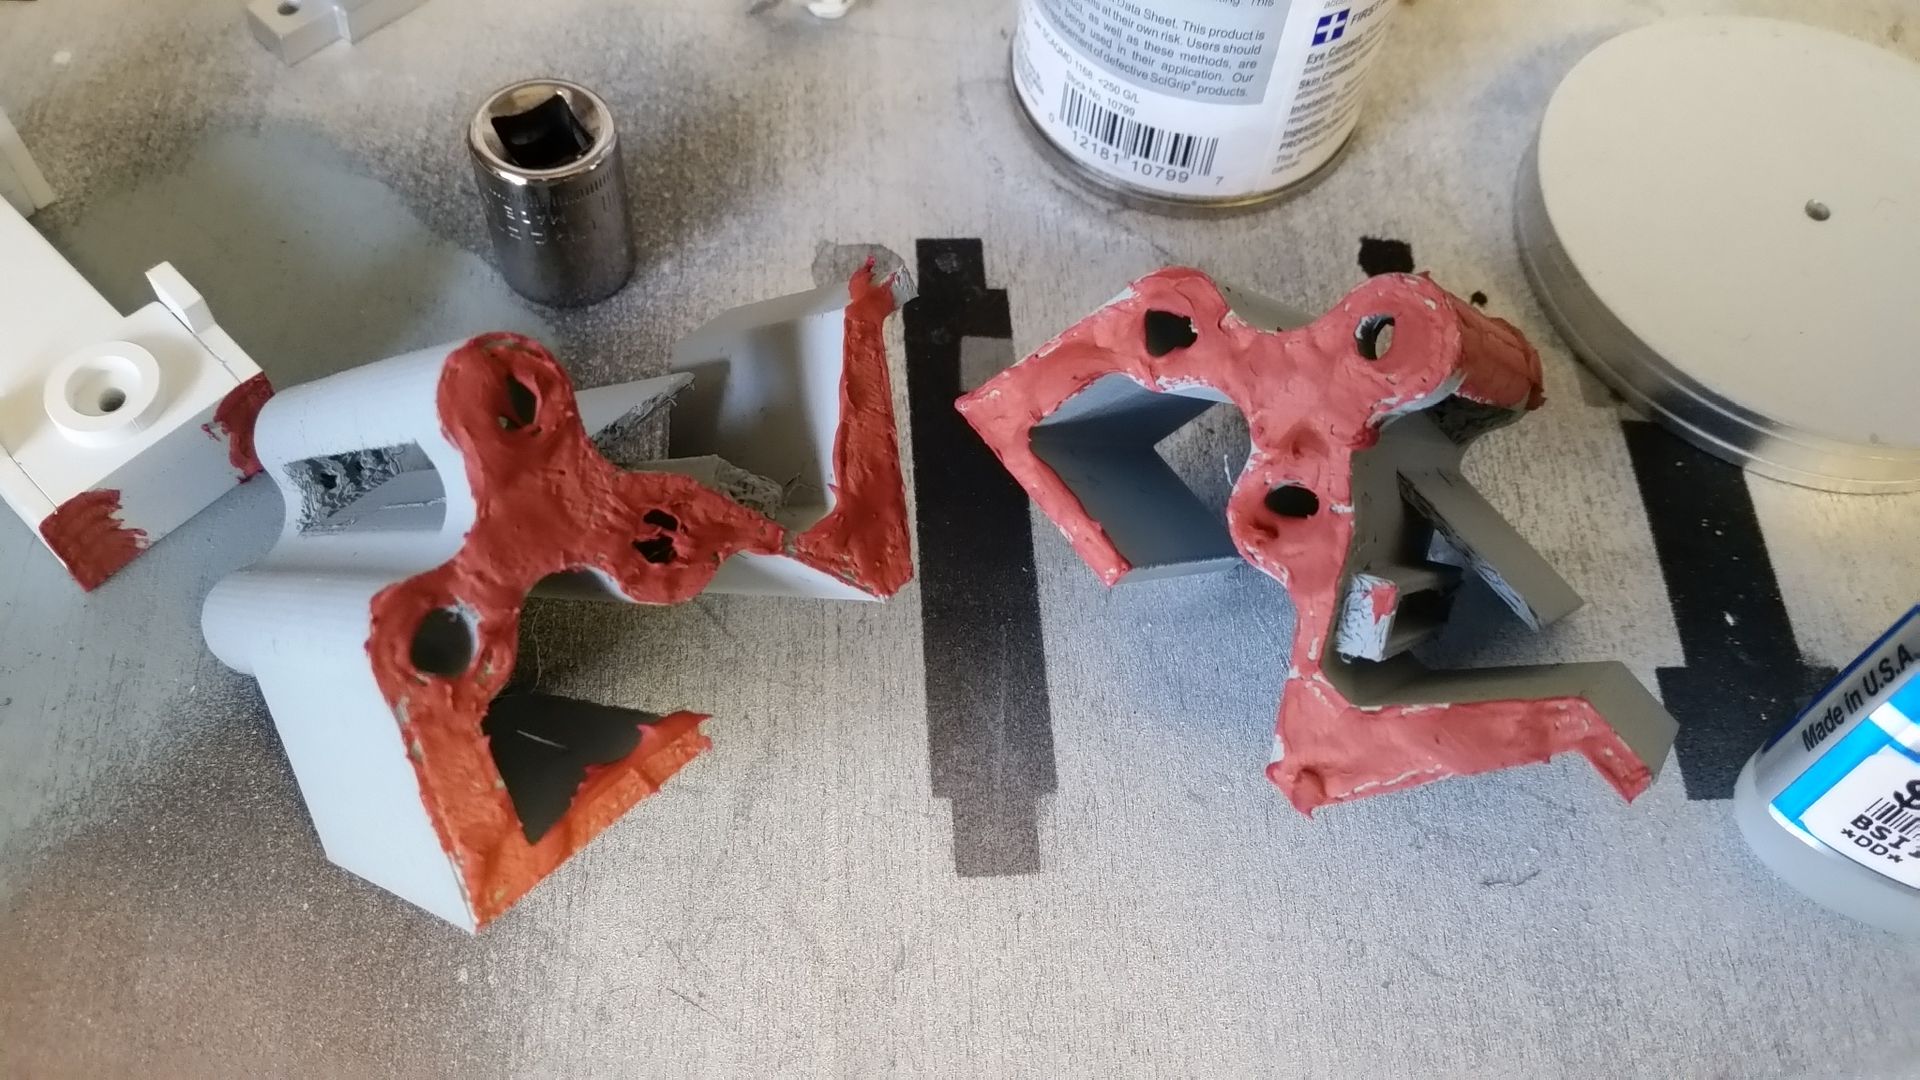
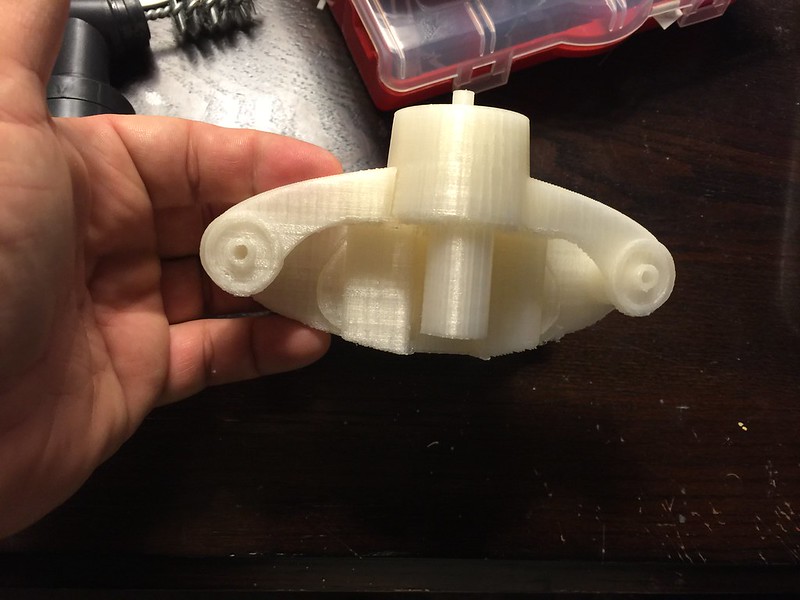
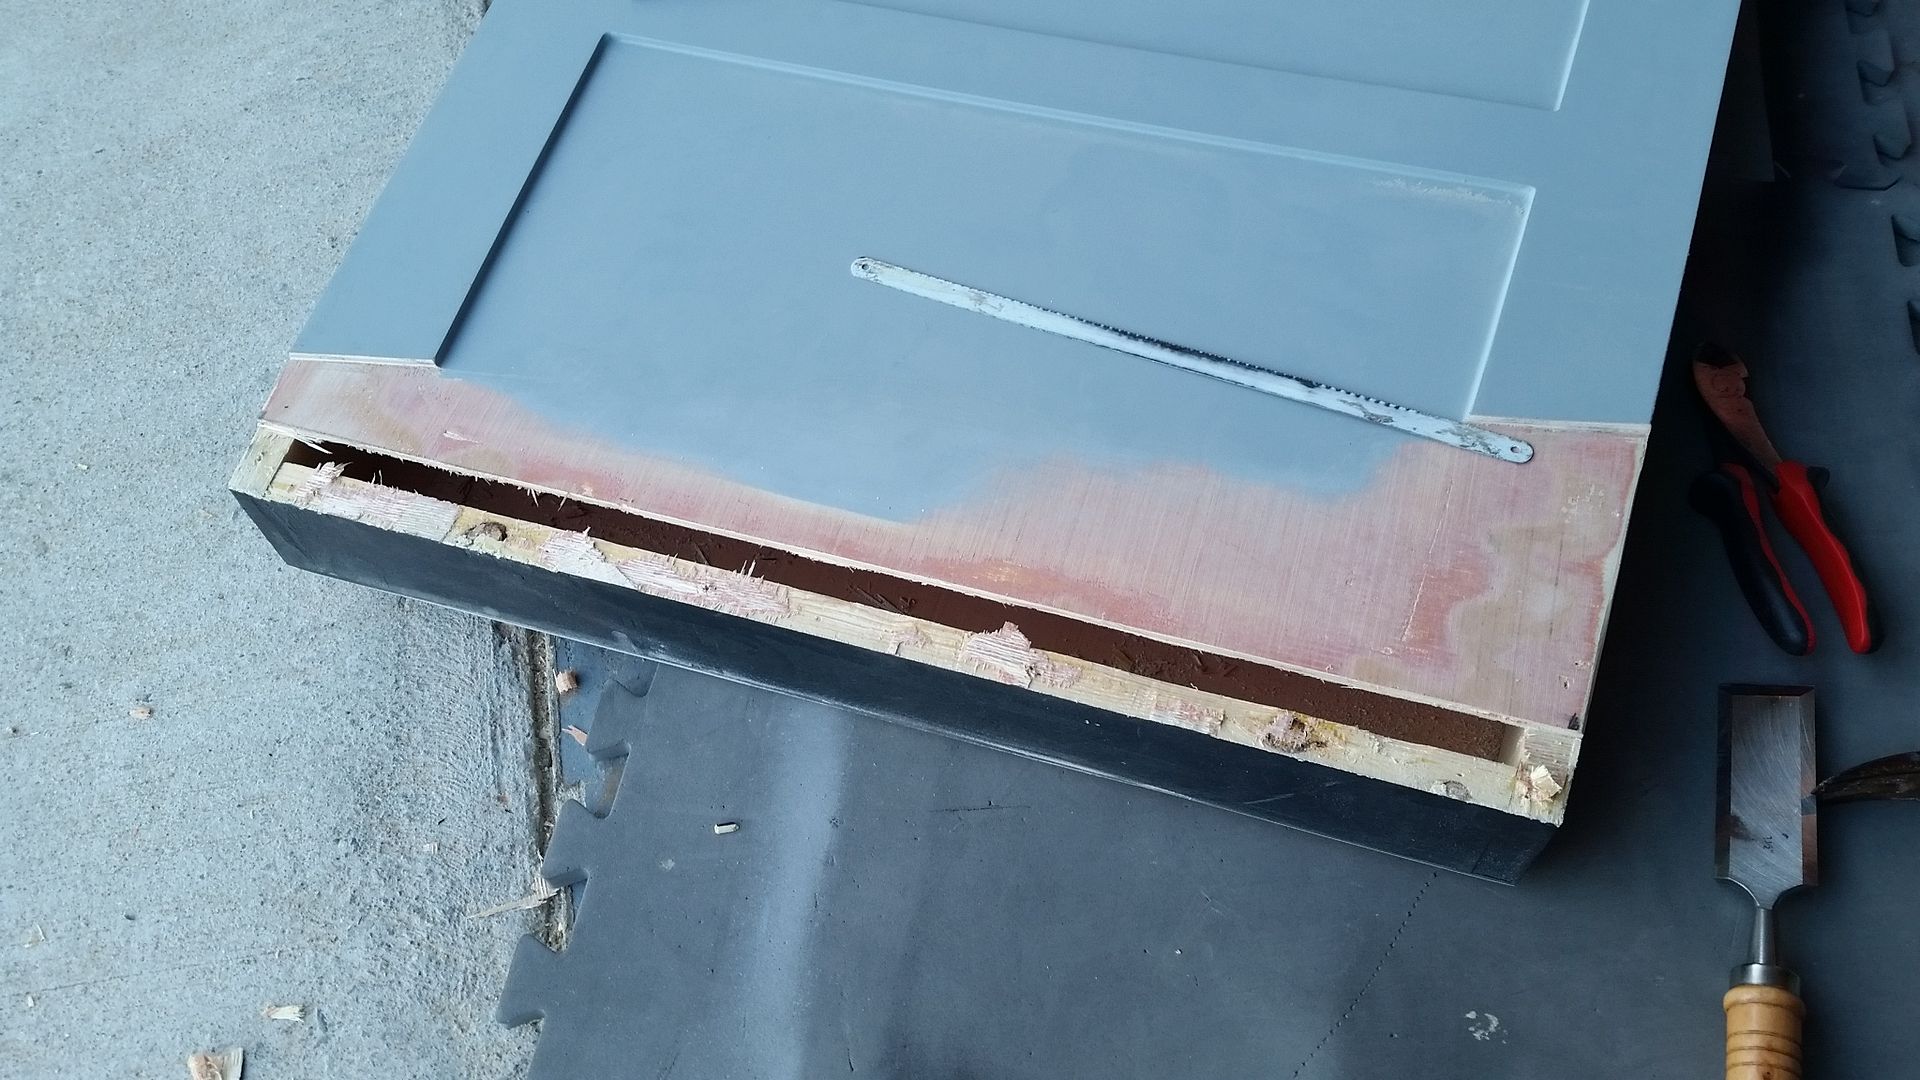
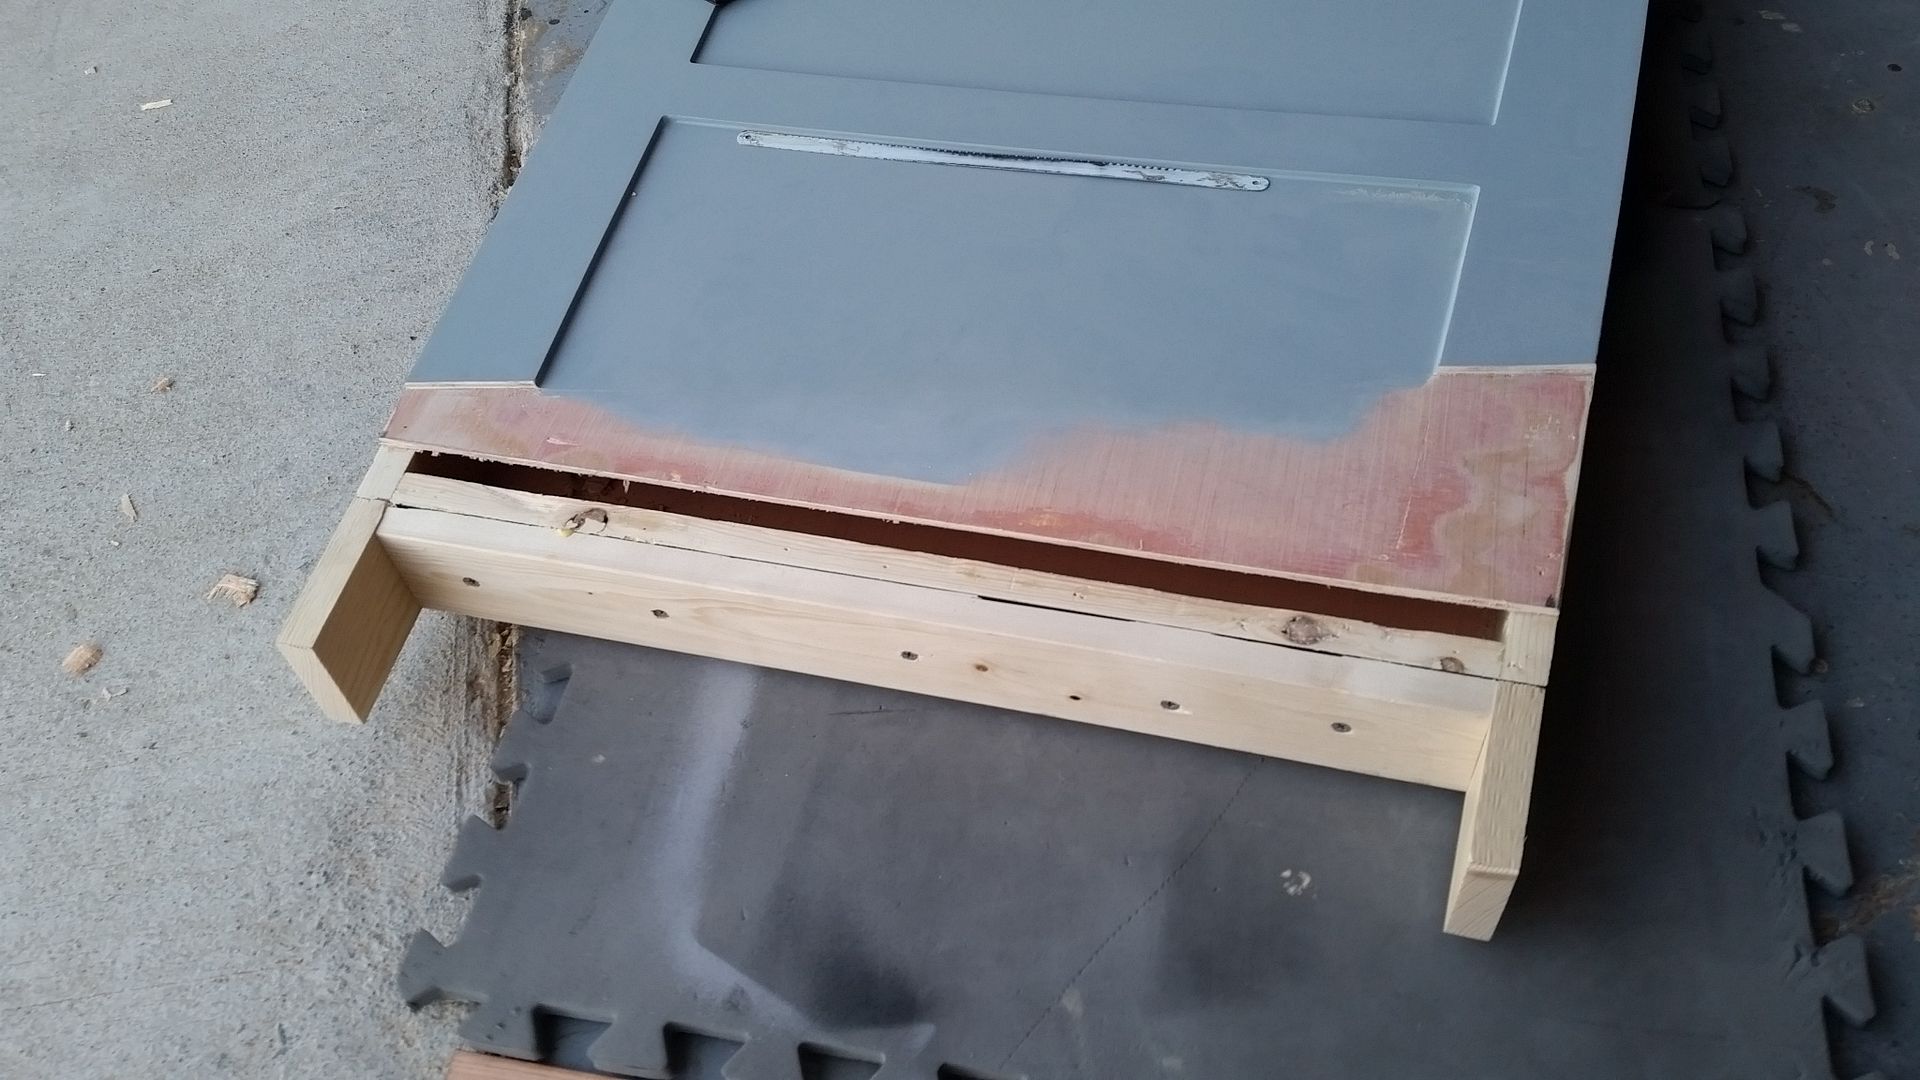
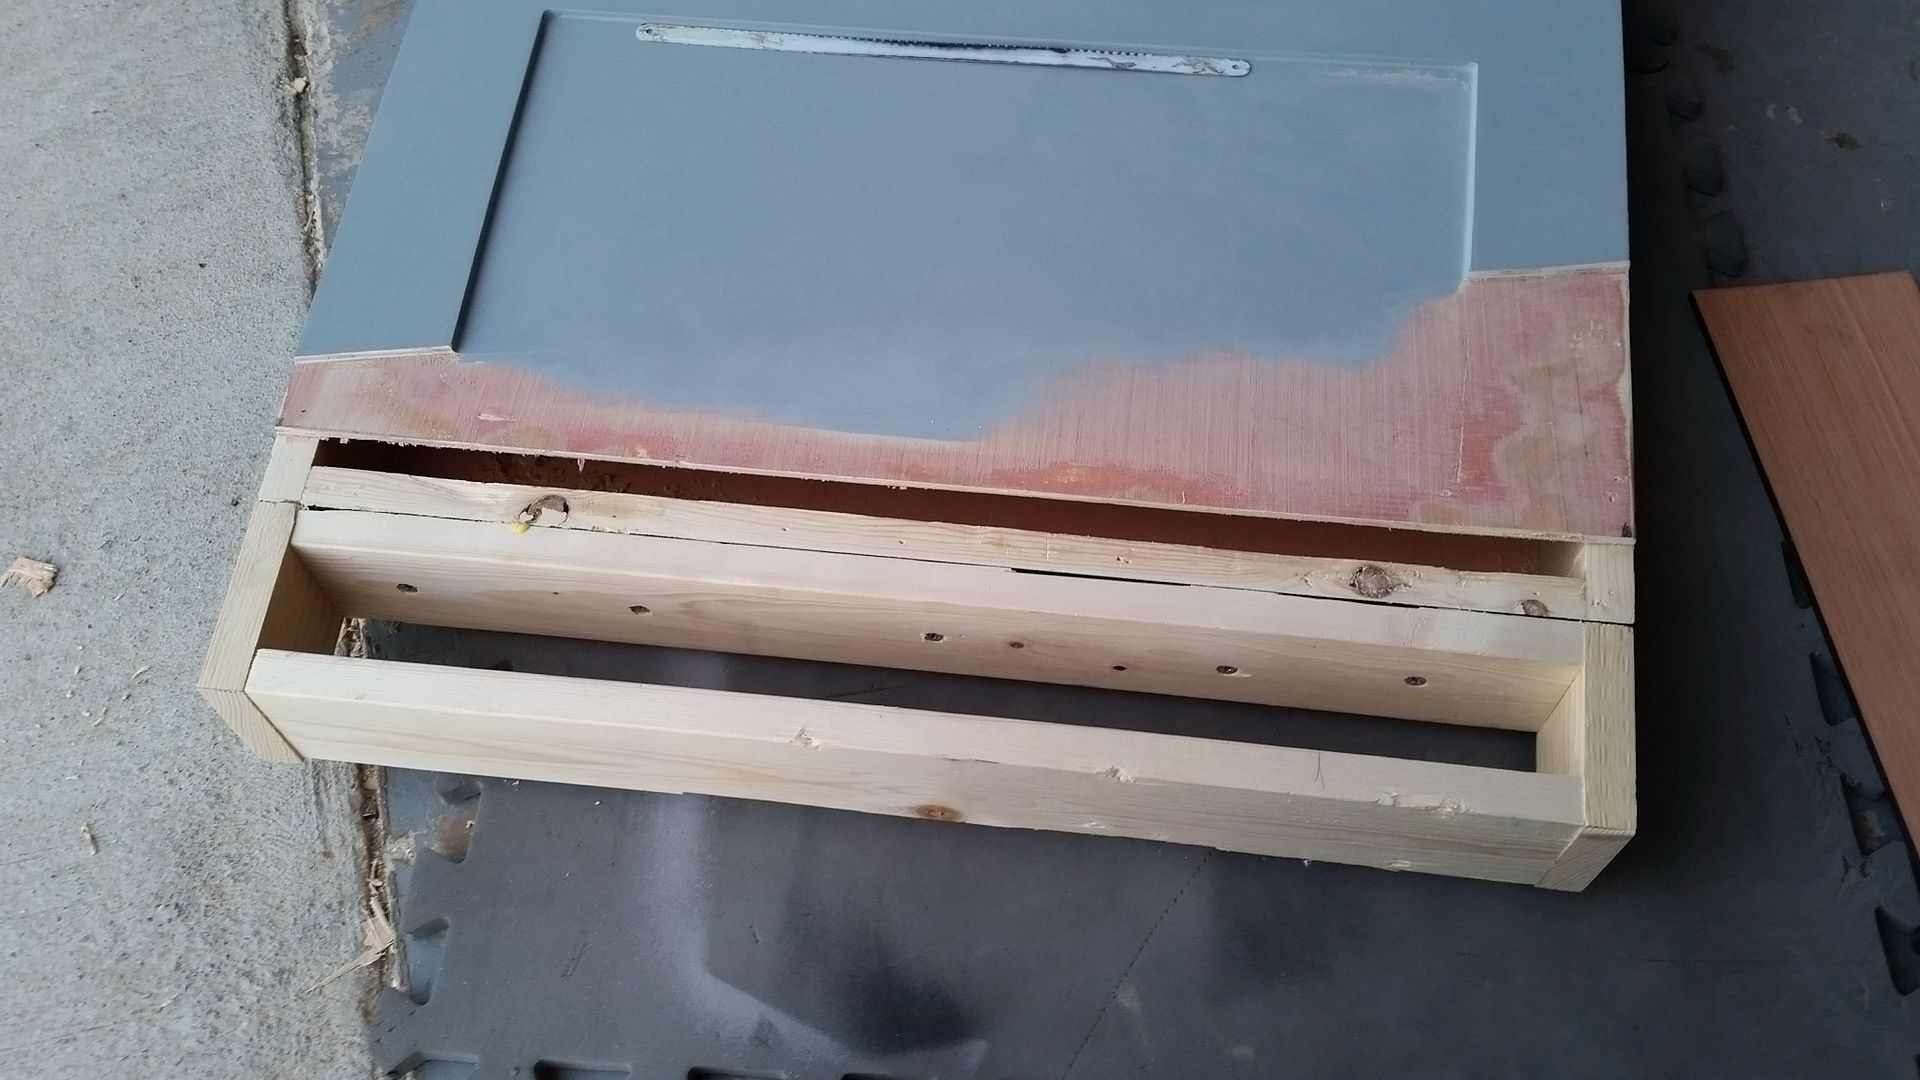
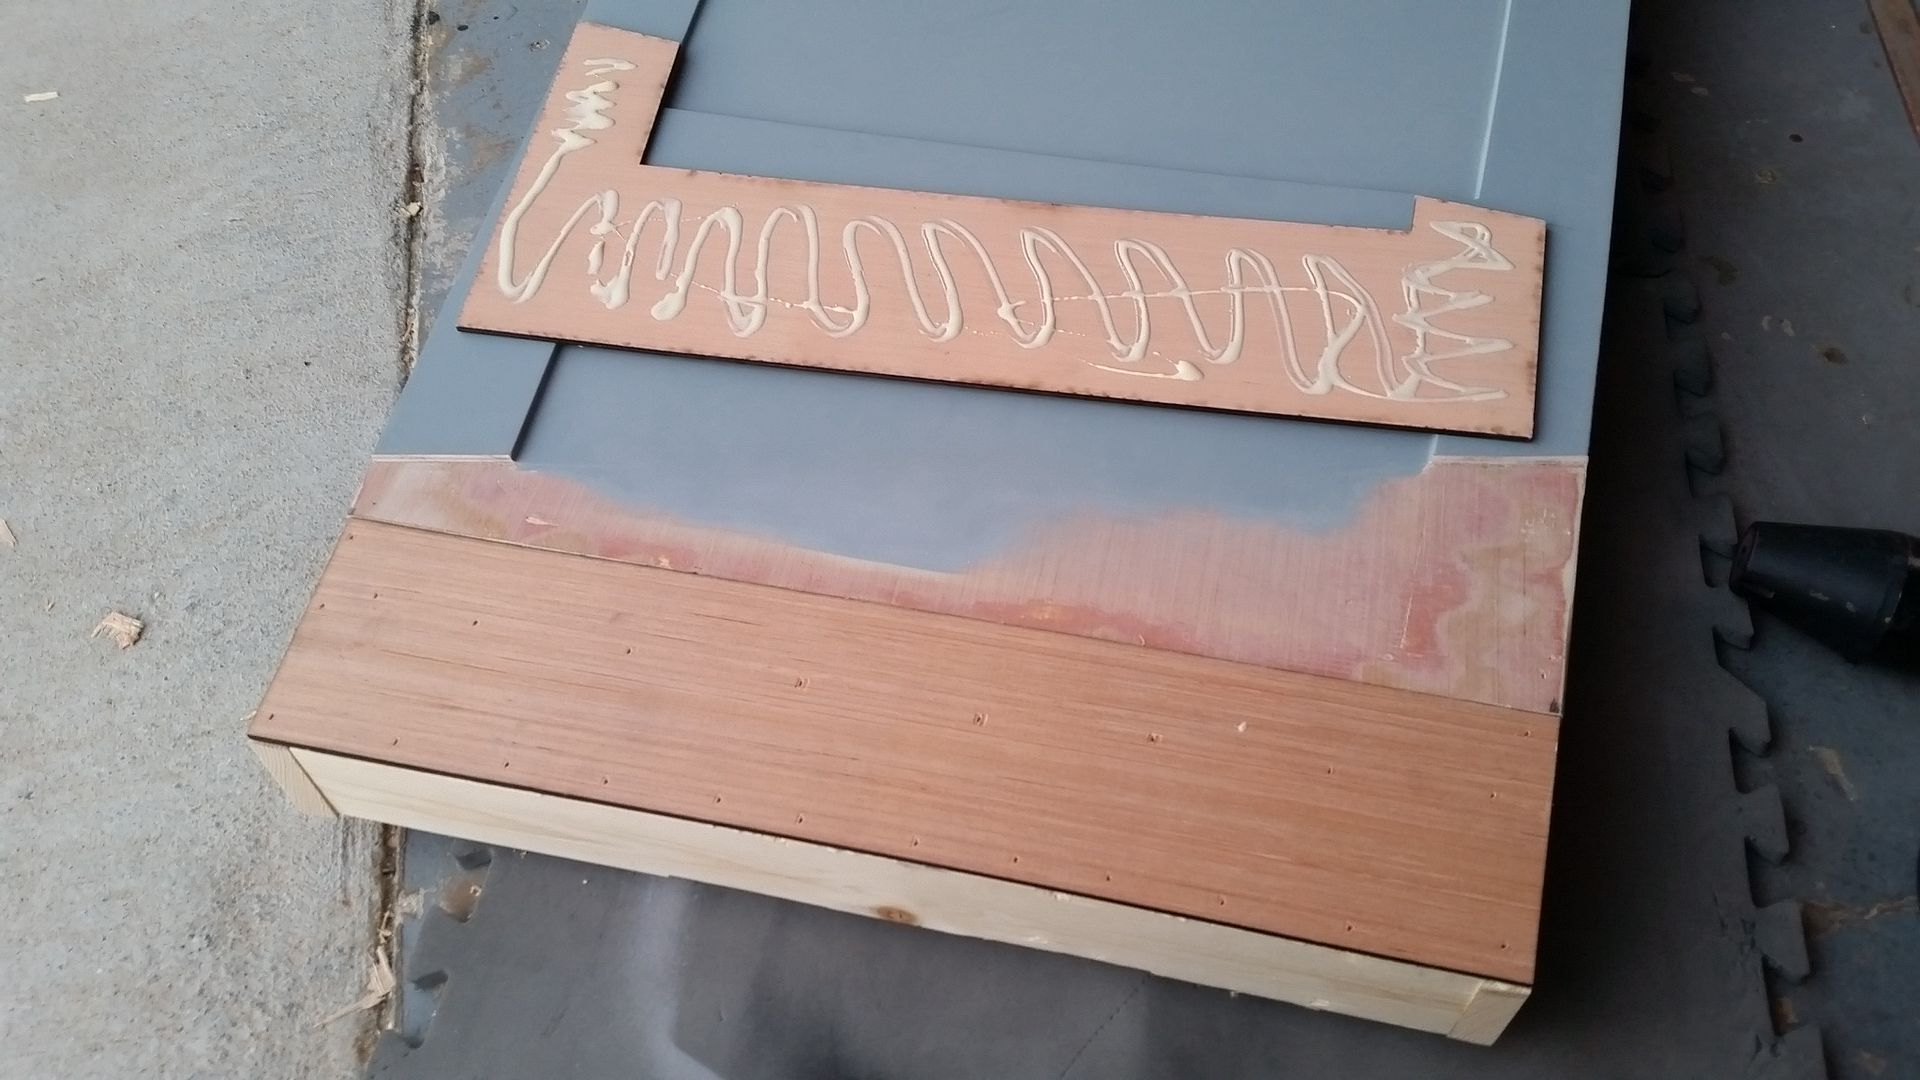
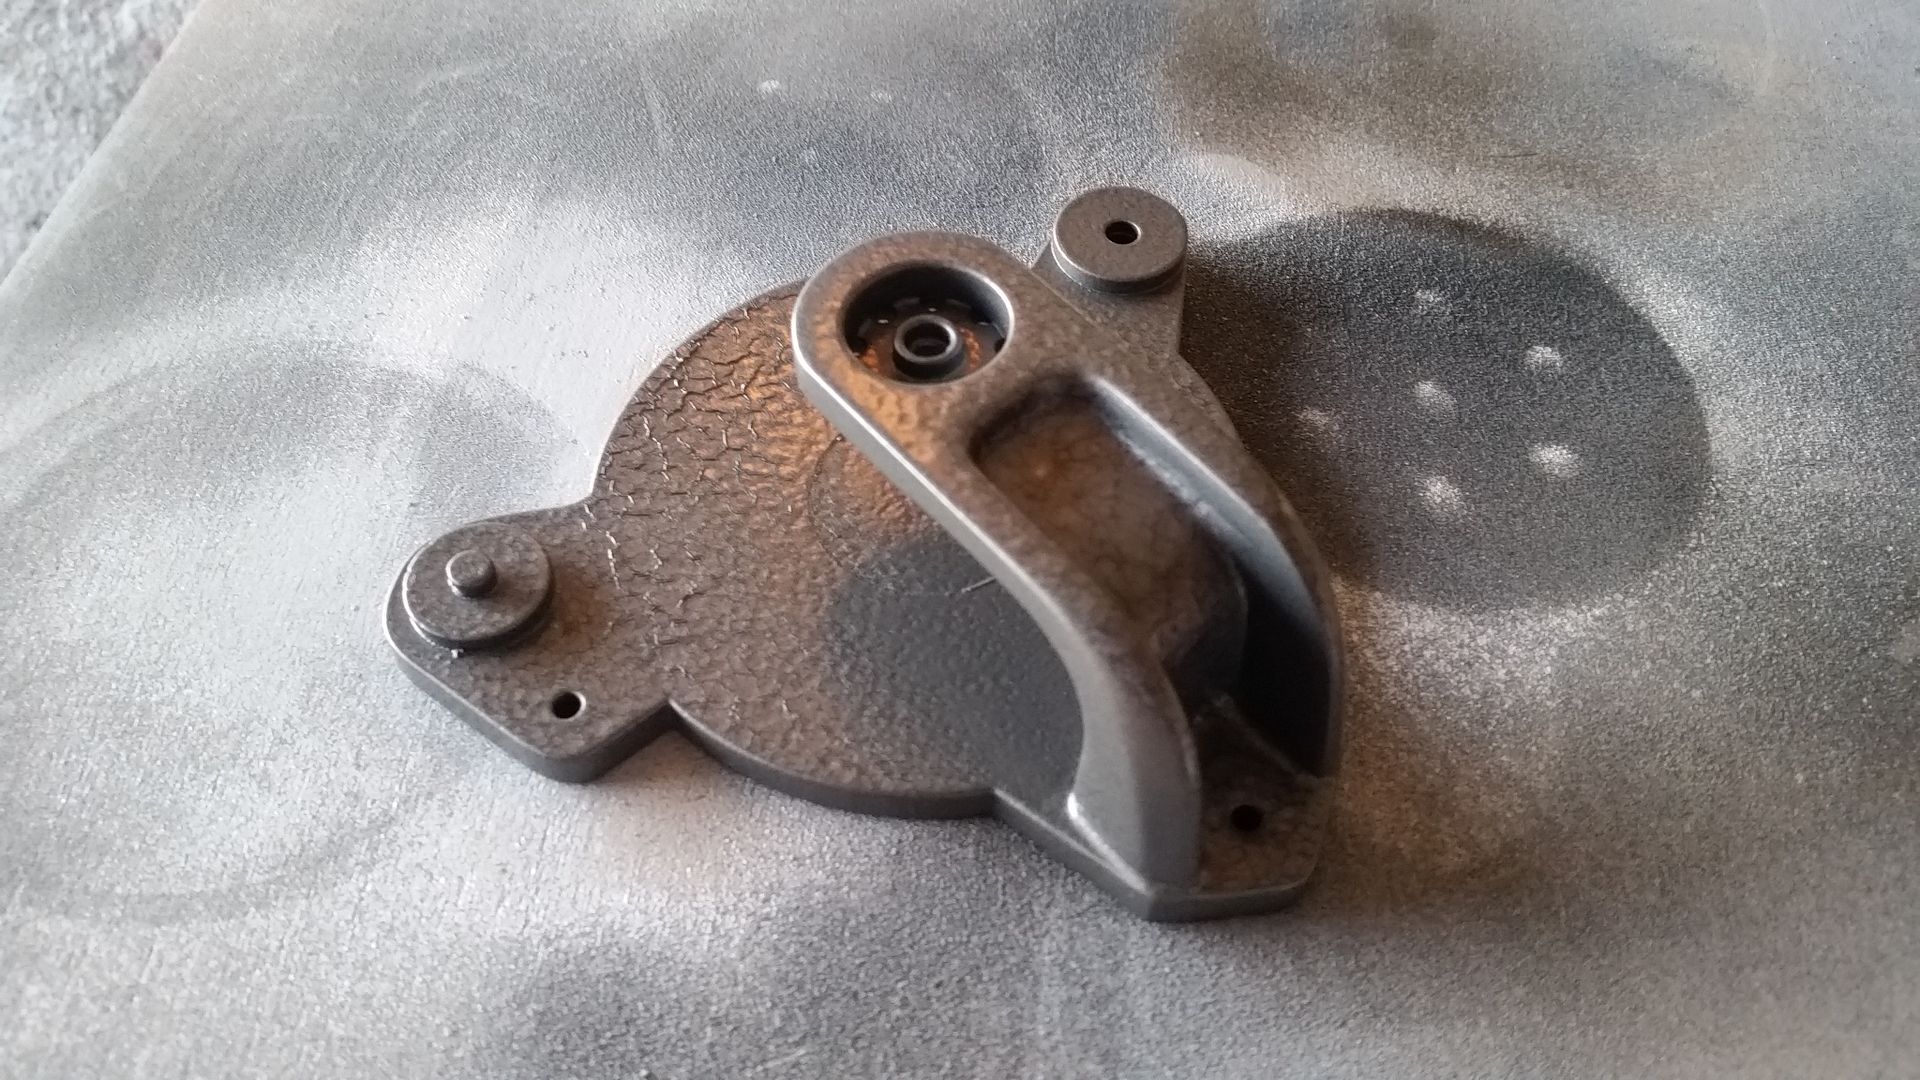
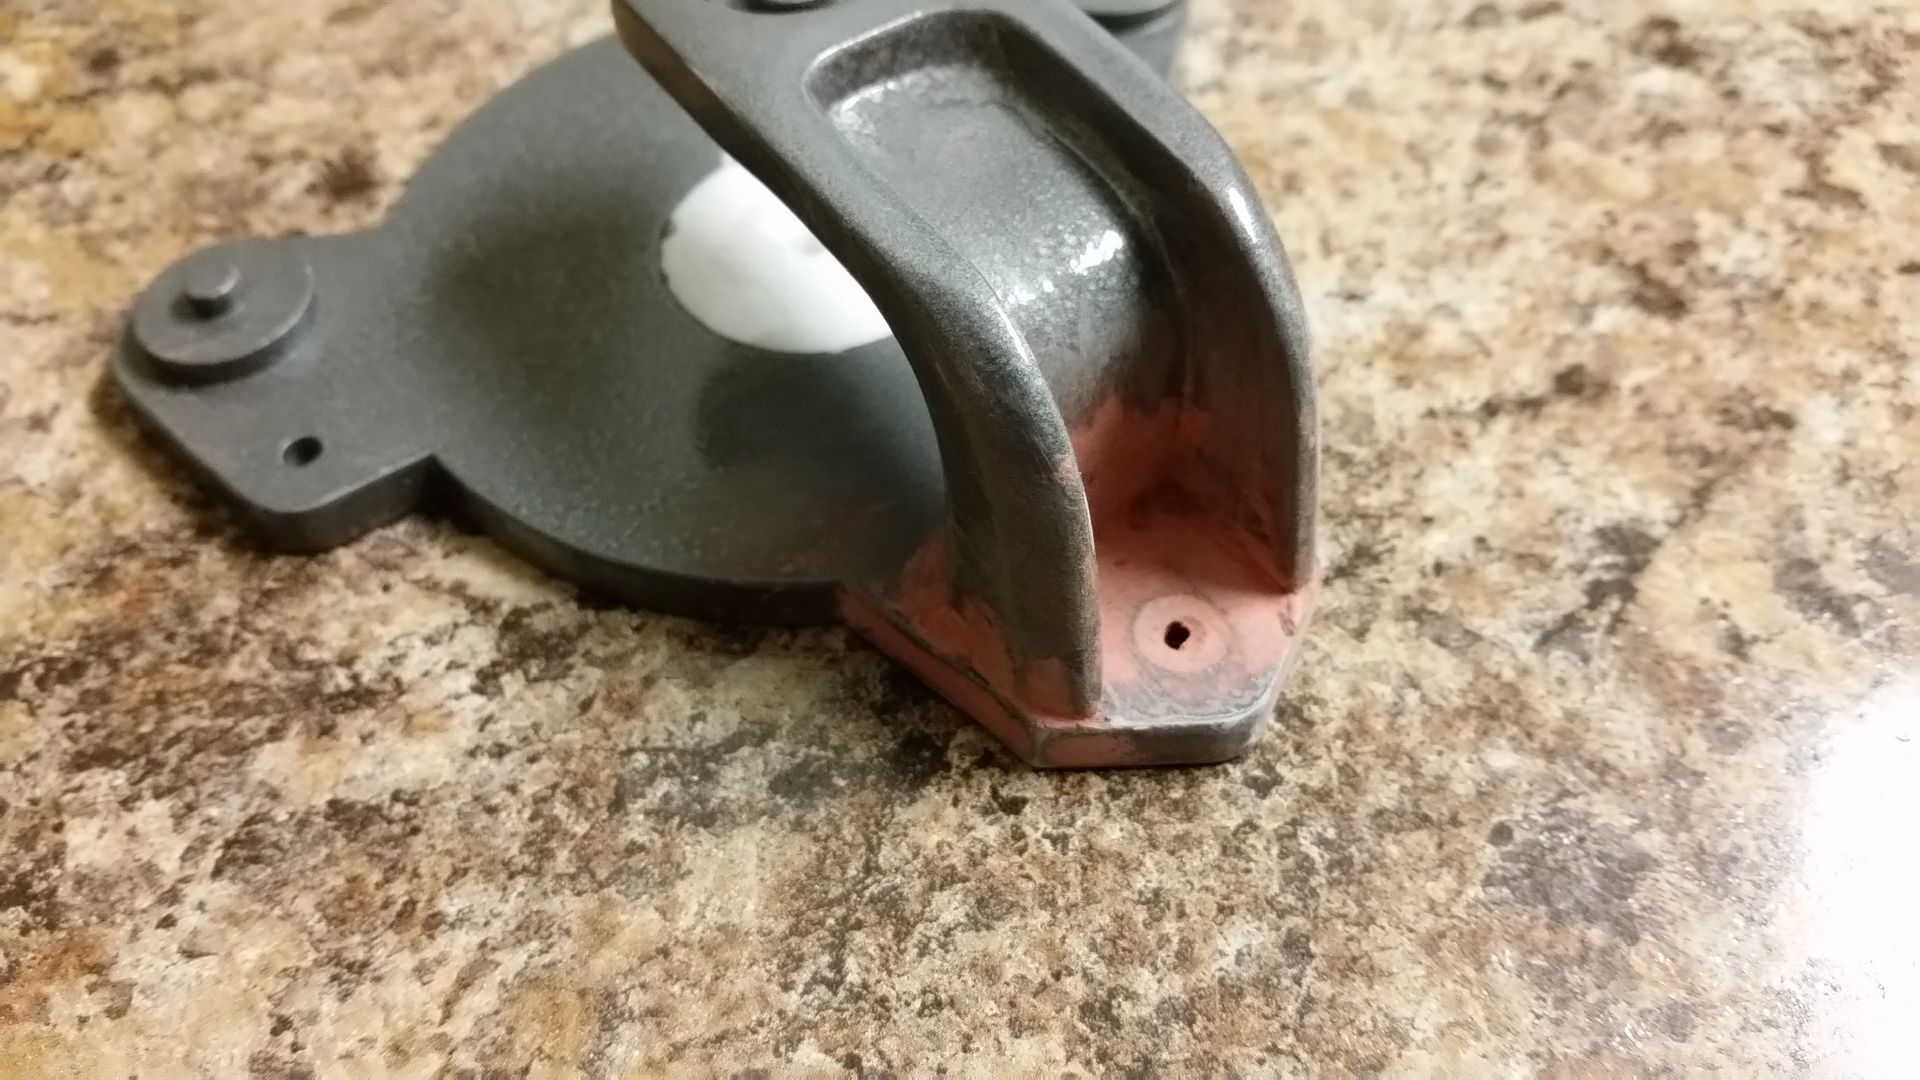
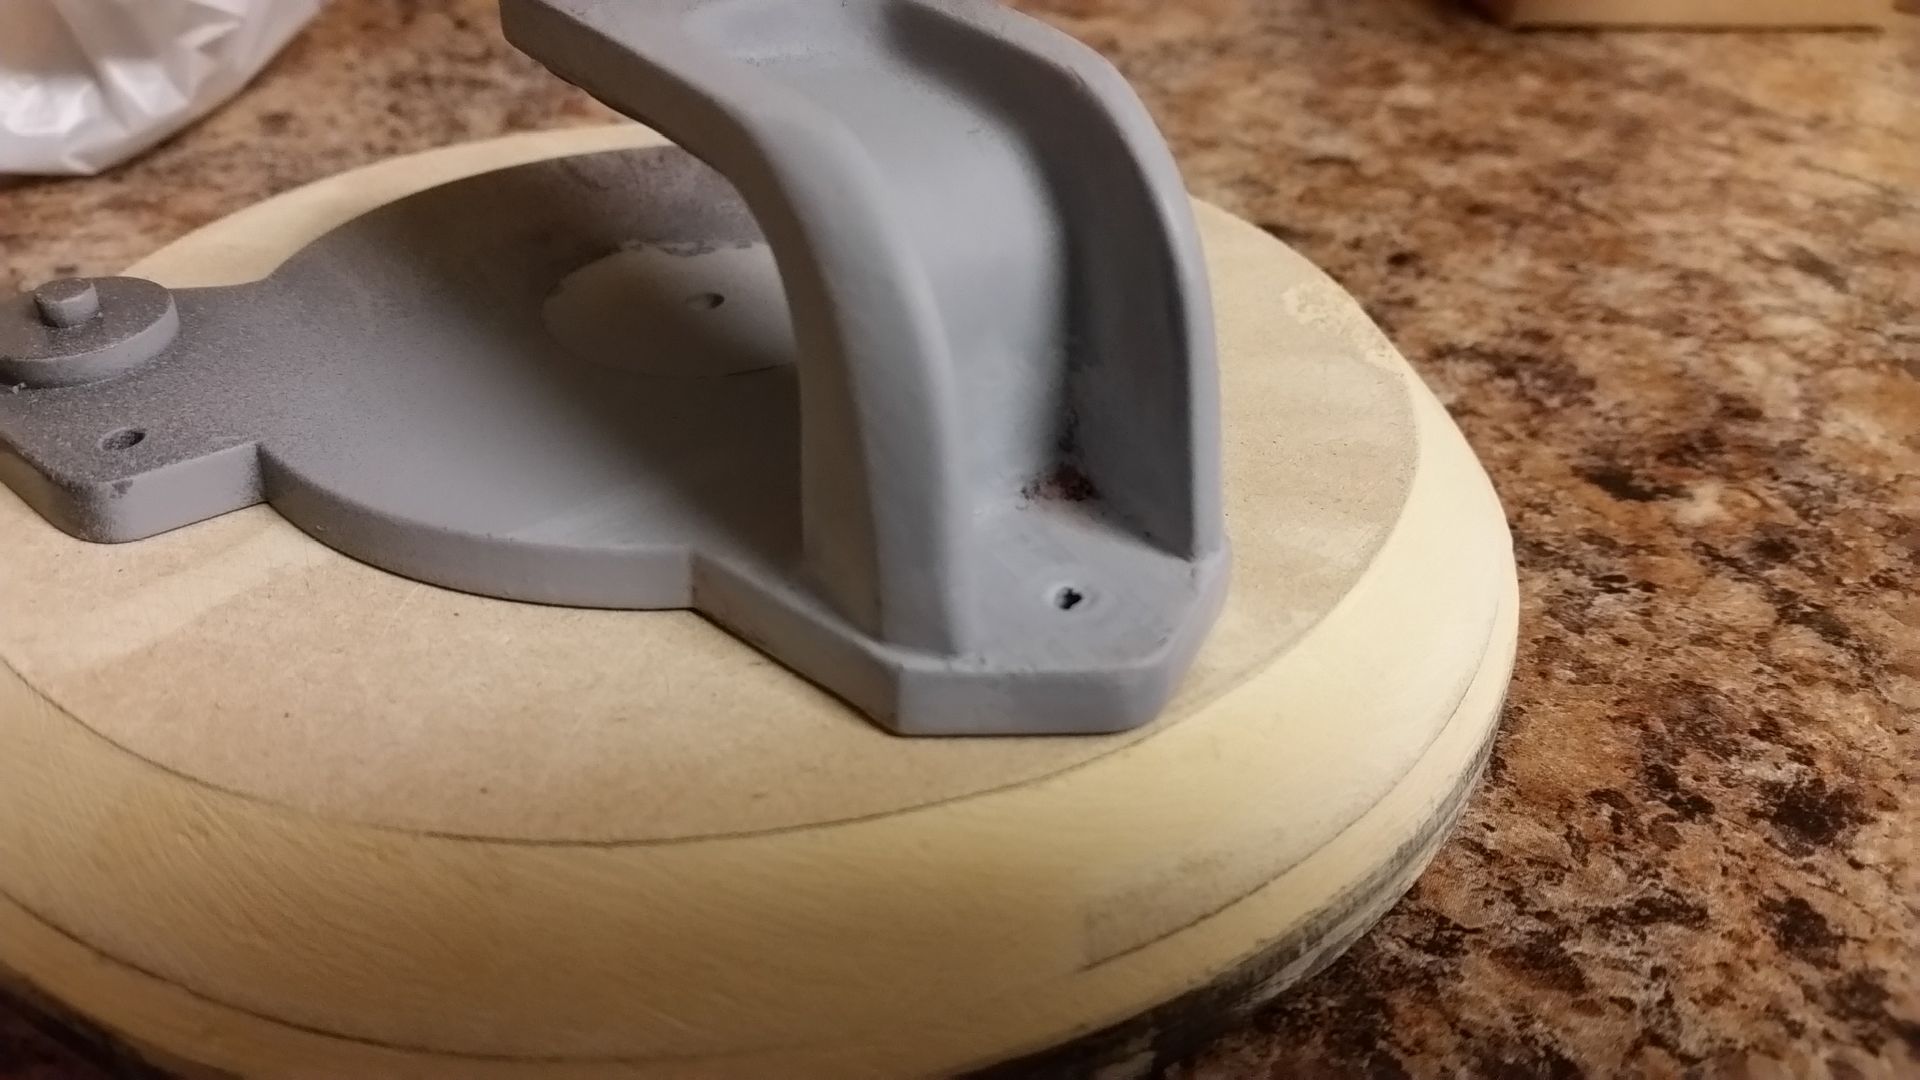
Dopey me... I didn't even notice the large gaps between the base and the arm so I added some filler
20151026_184930_zpsqsaws6po.jpg


20151026_184952_zps03k9igas.jpg


Spray Filler
20151026_185135_zps4xlnbwww.jpg


20151026_185151_zpsmrdwyj7m.jpg


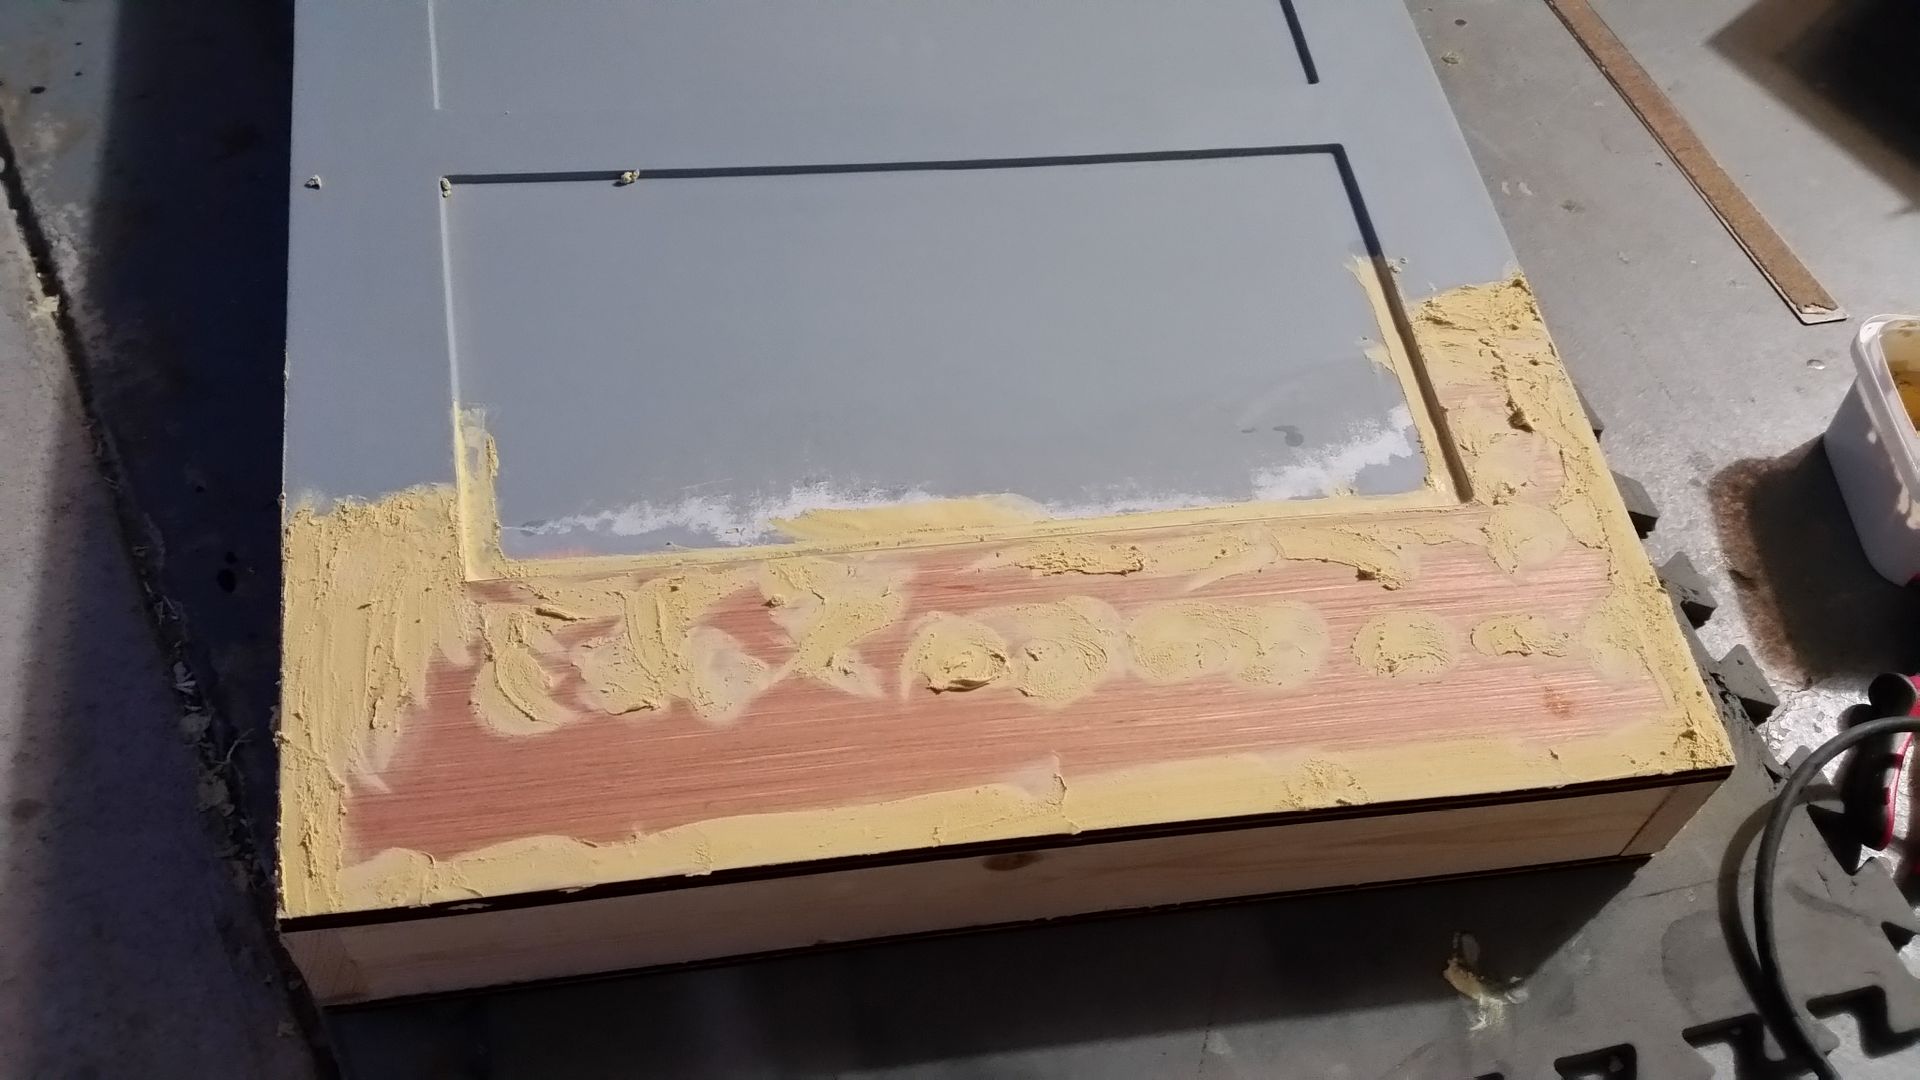
Needs a bit more sanding/filler
20151026_220736_zpstofbi1xt.jpg


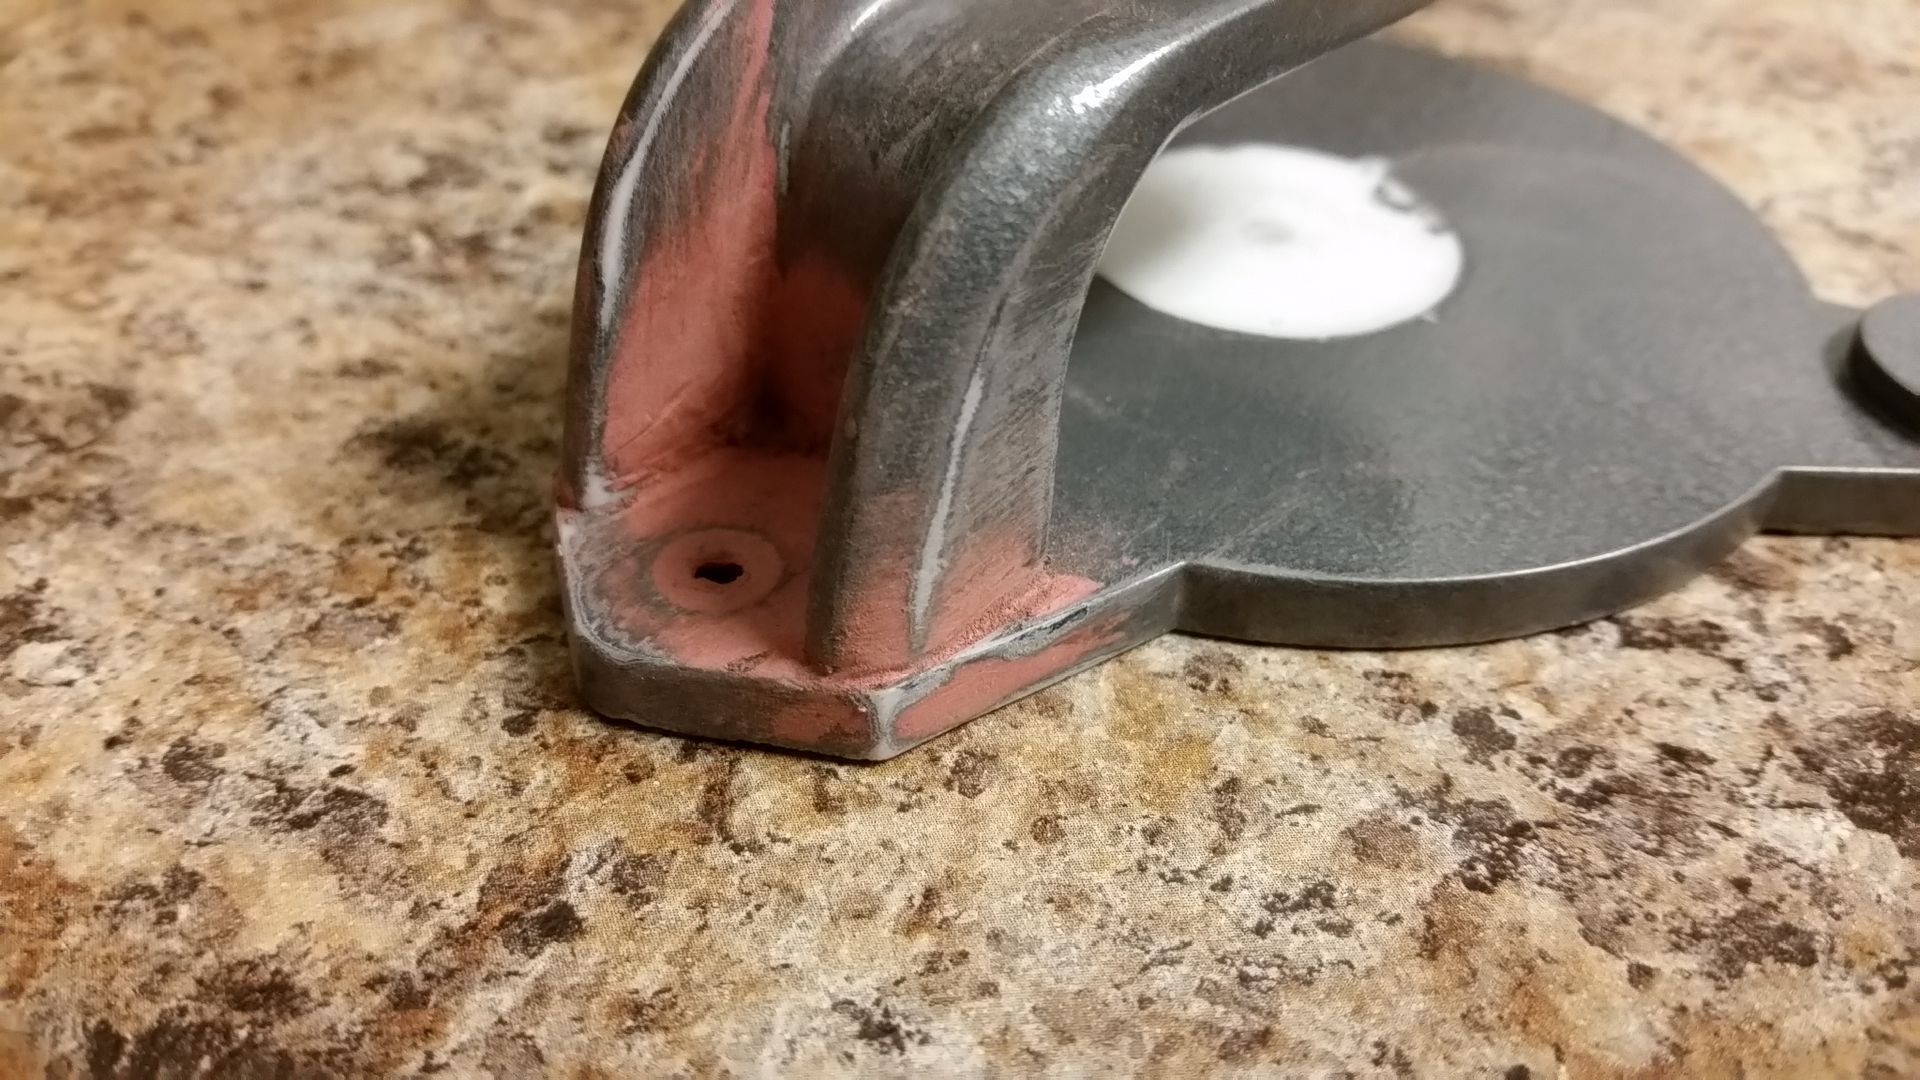
Added filler to this piece
20151026_185007_zps9o2nyk5m.jpg


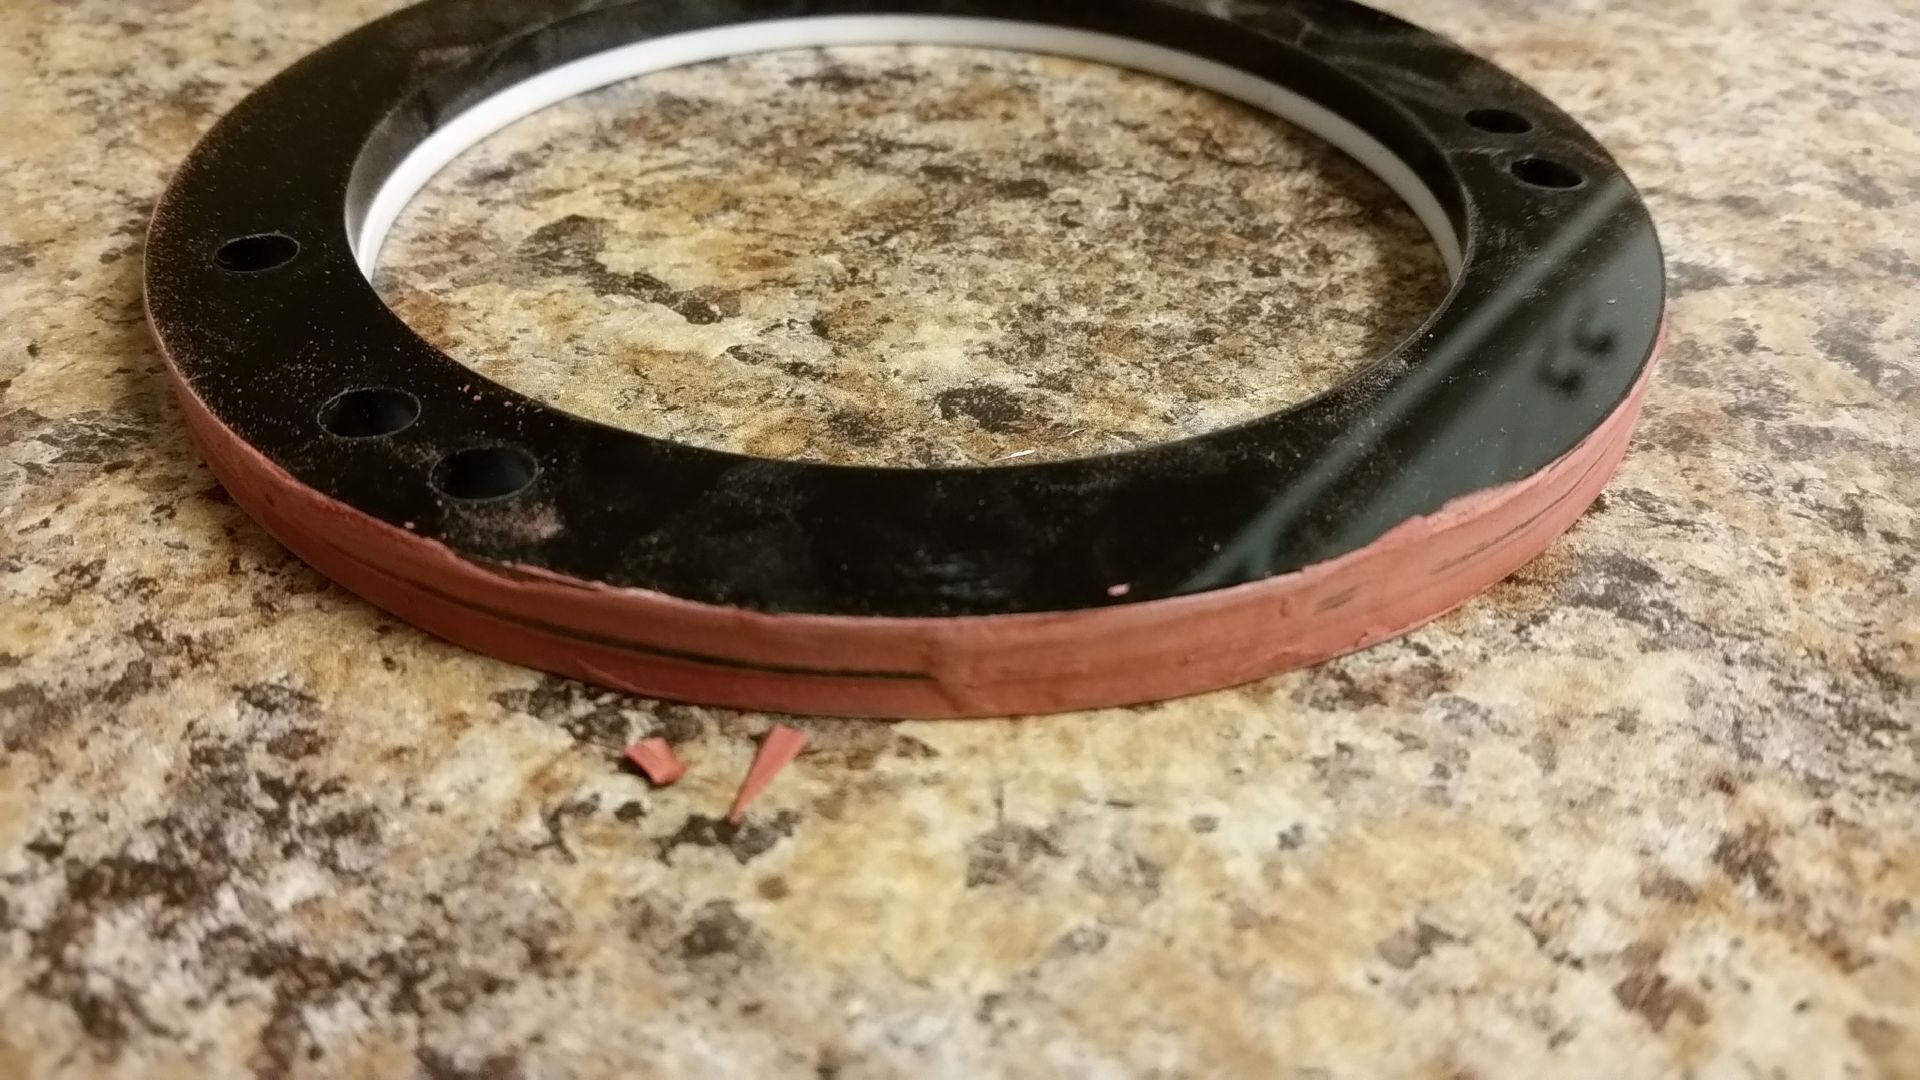
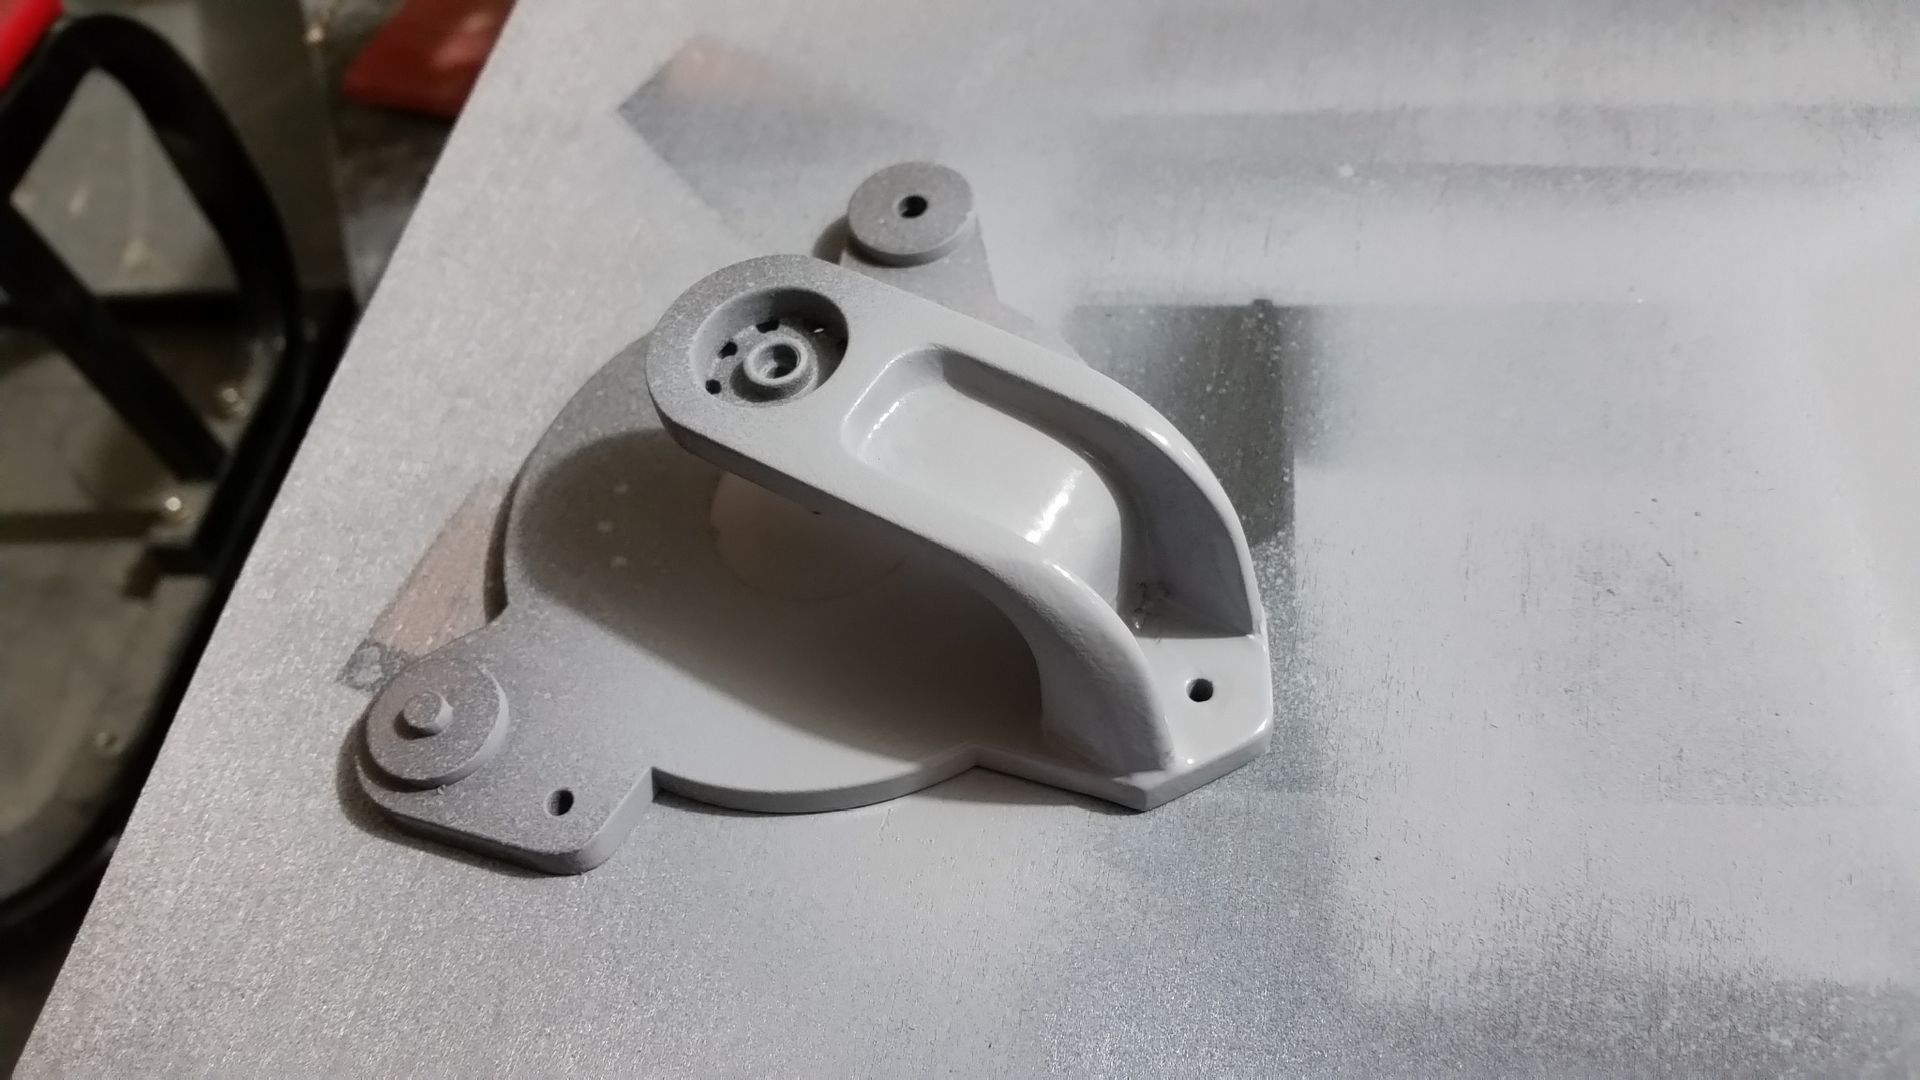
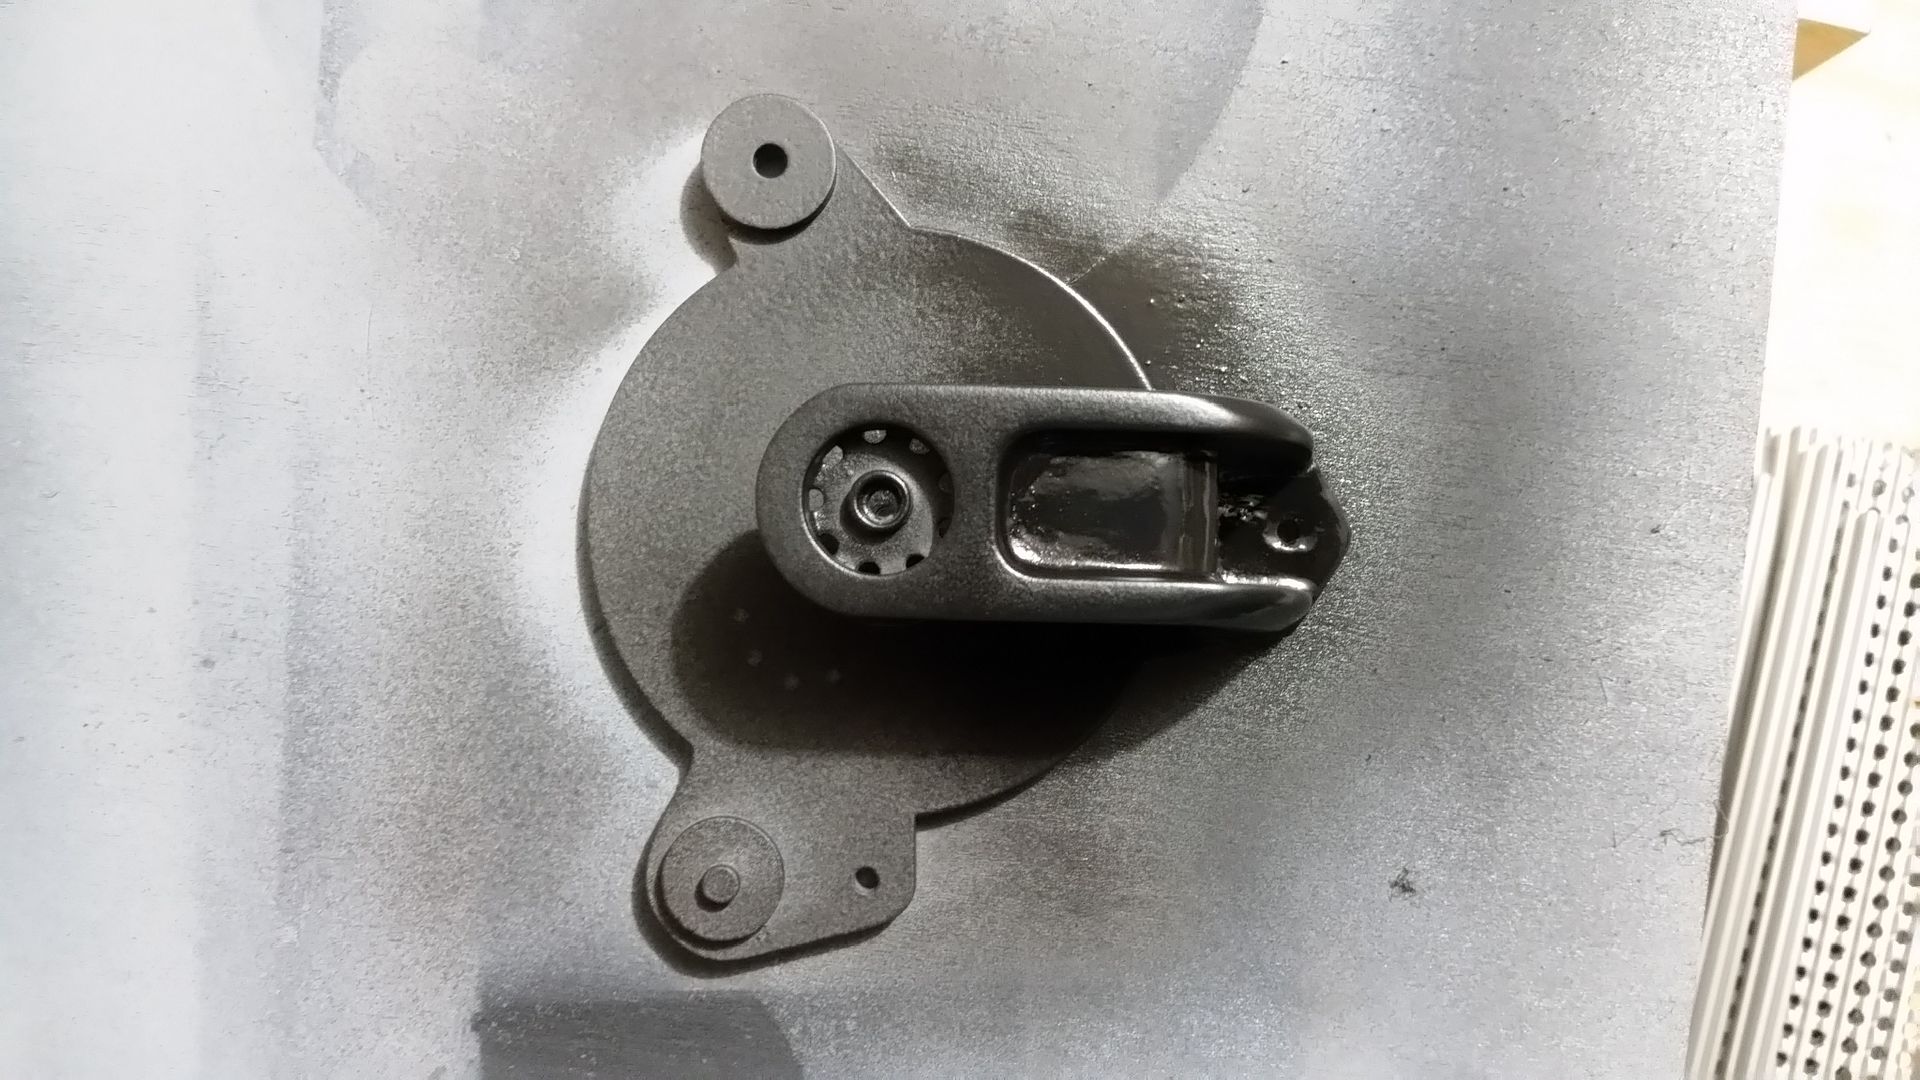
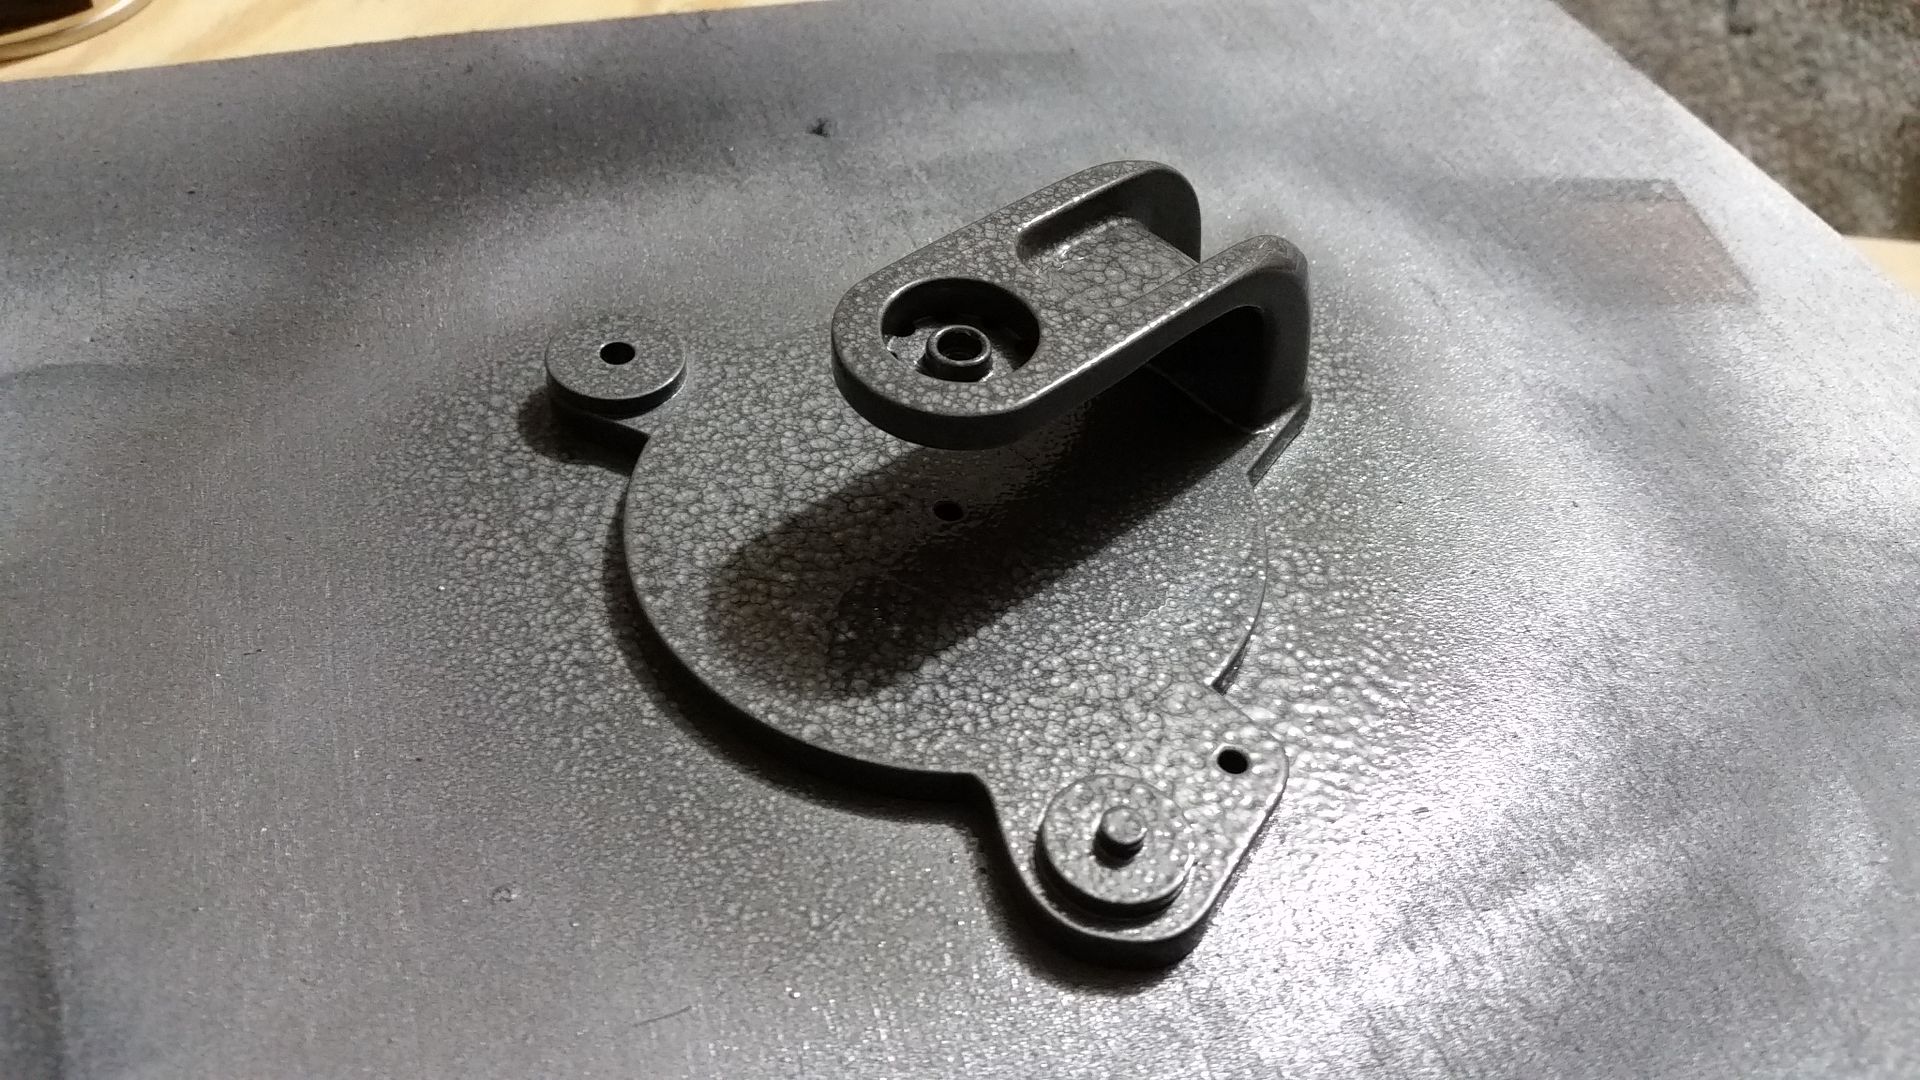
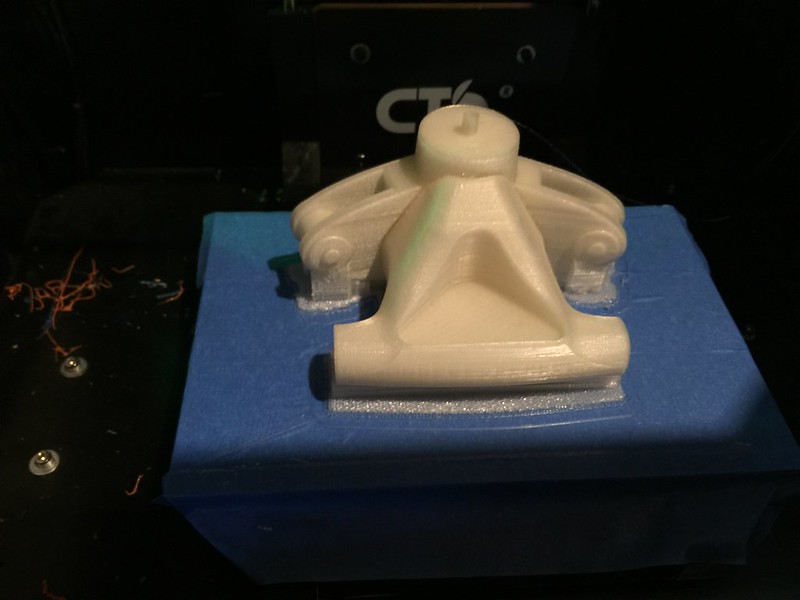
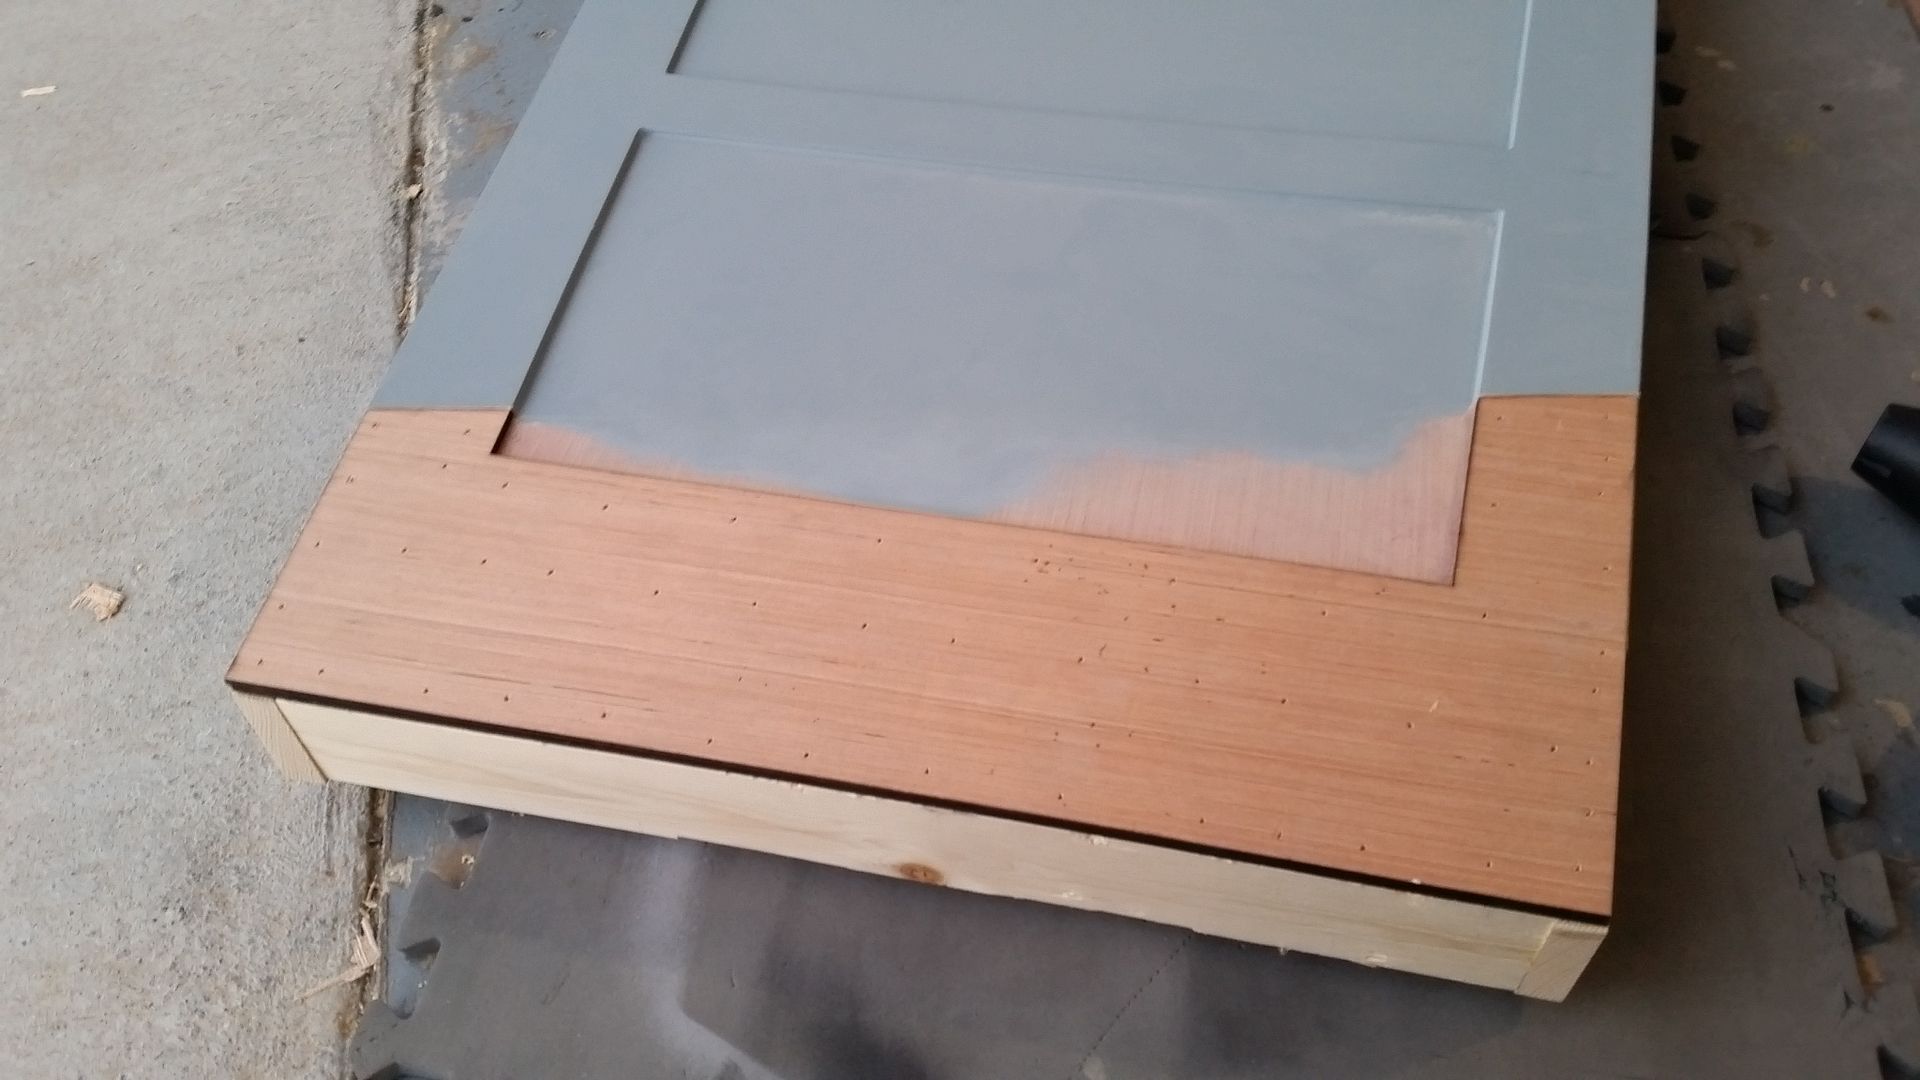
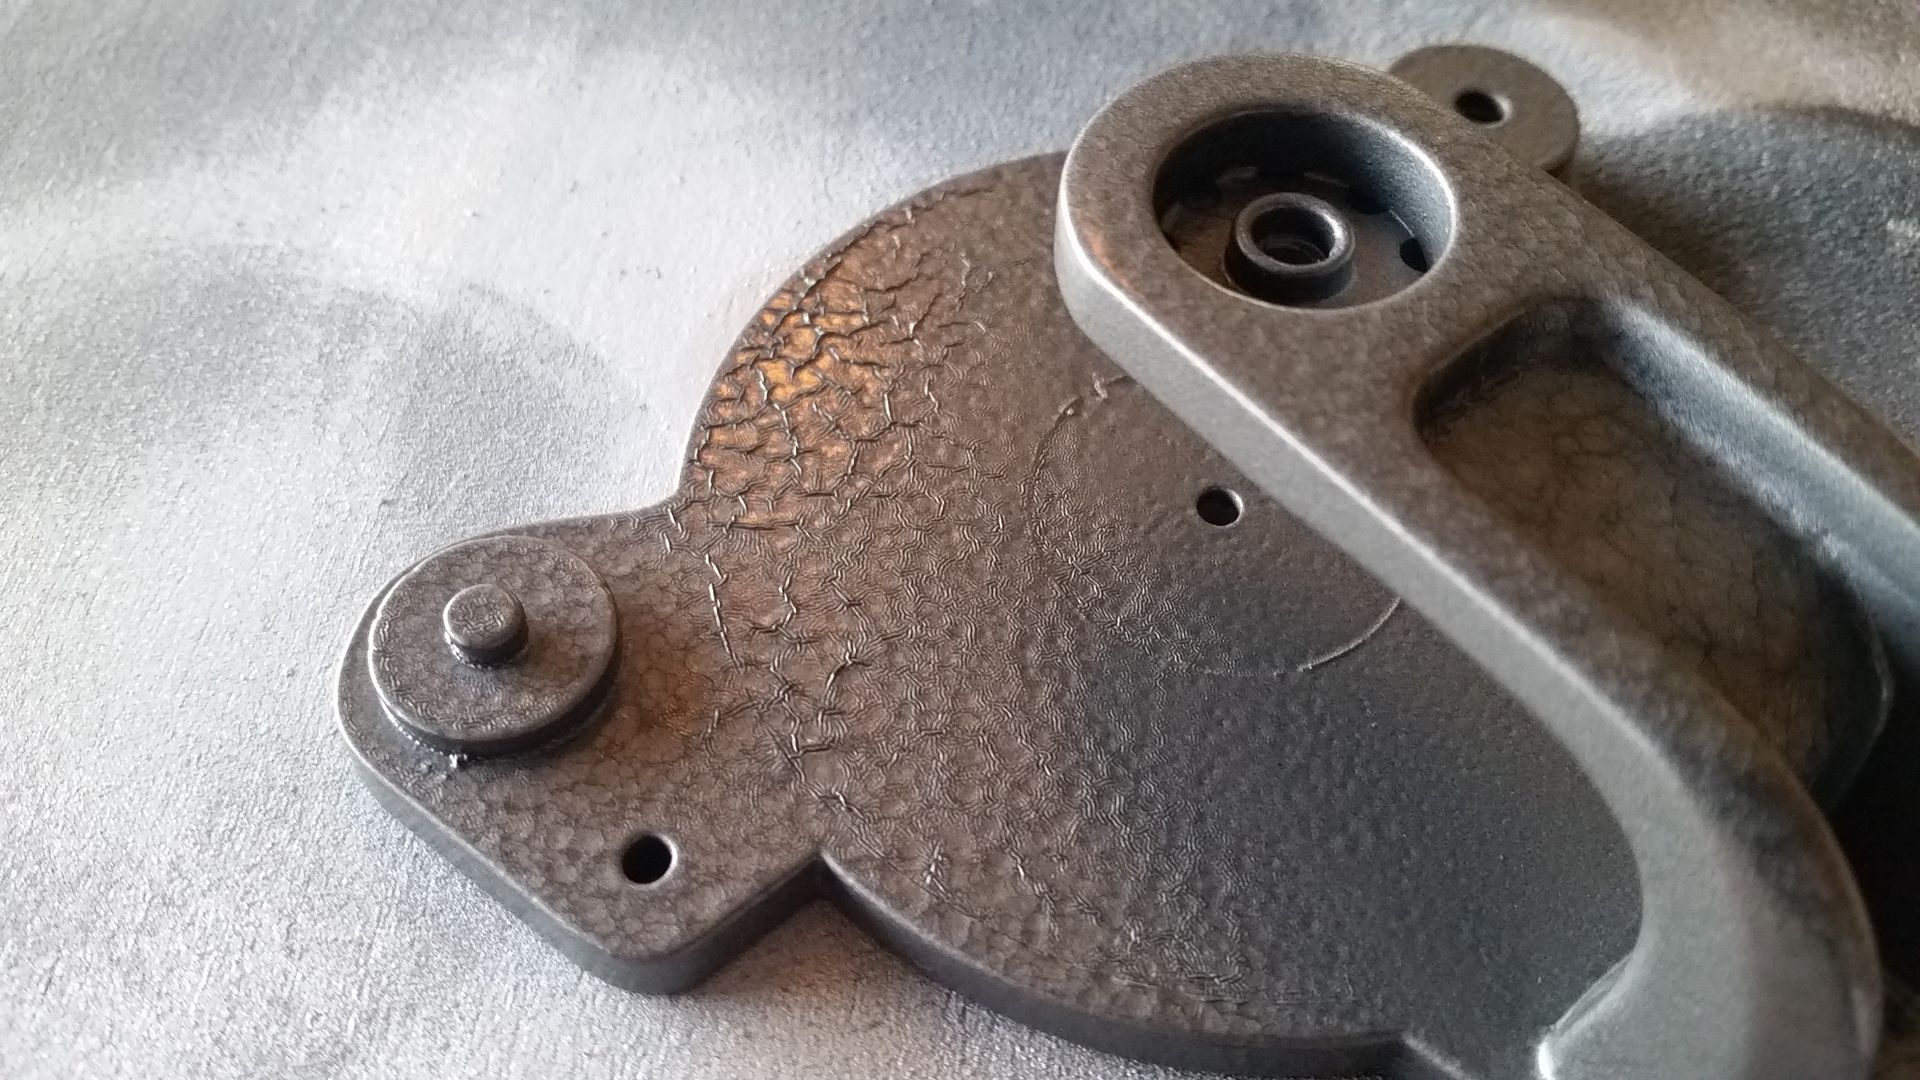
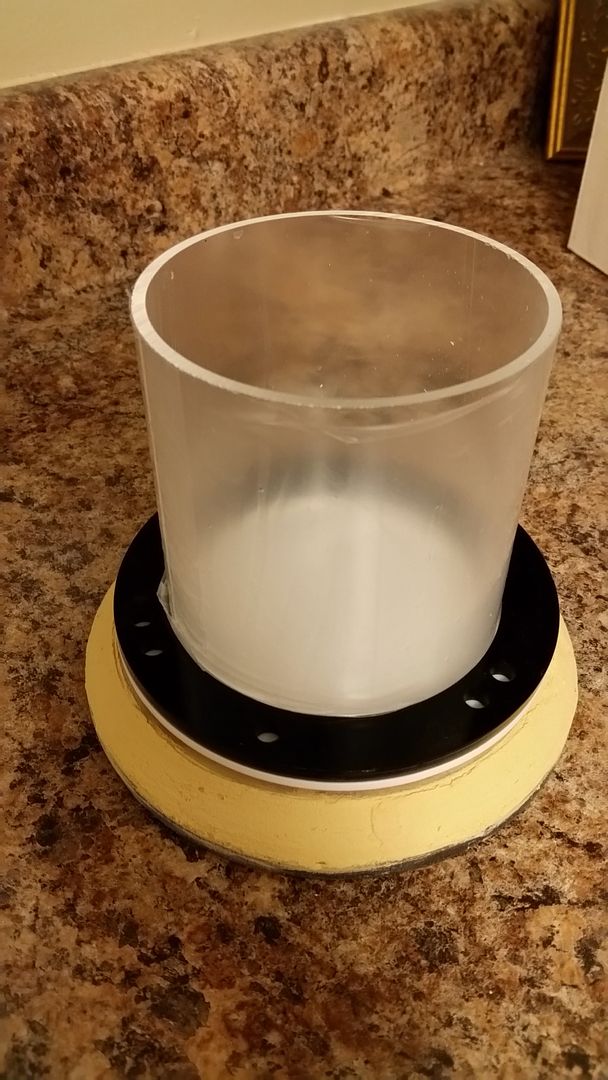
Sanded down the base - needs, as always, more filler
20151026_185022_zps9nx39yjz.jpg


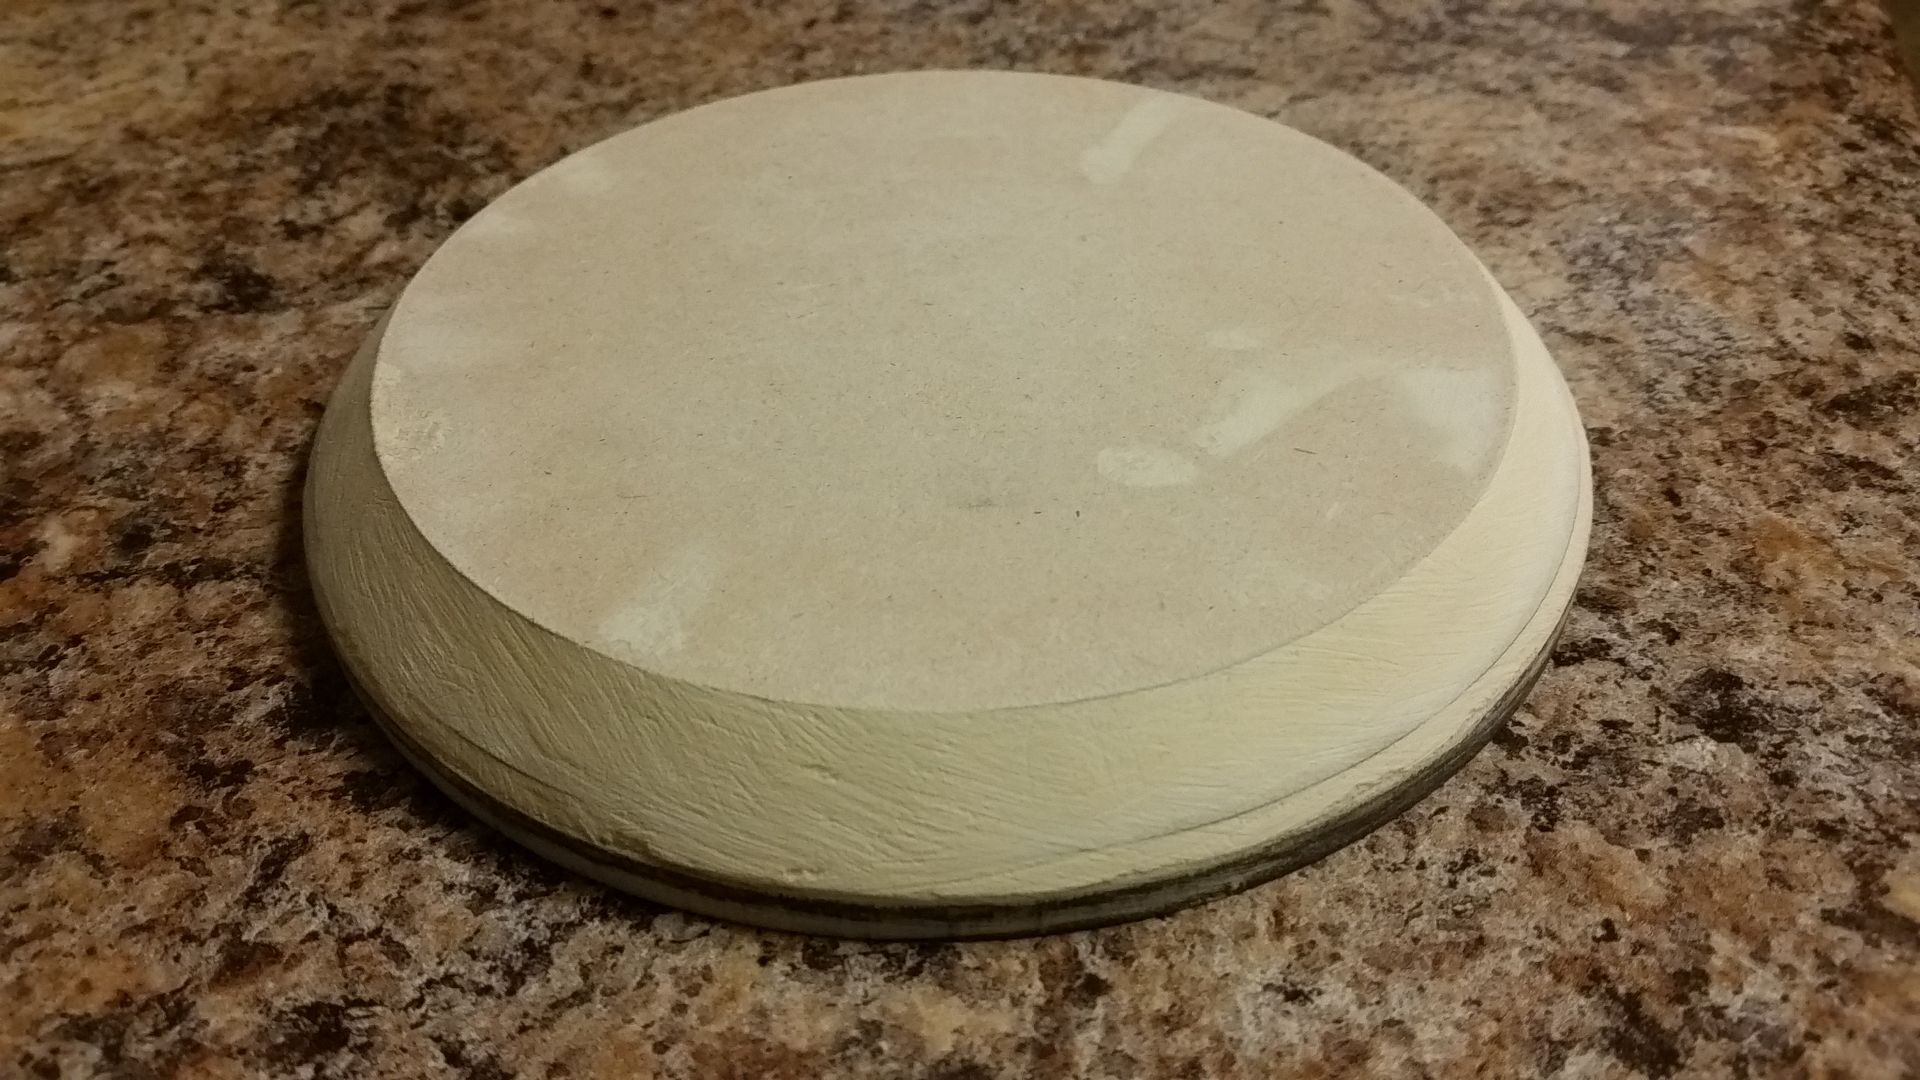
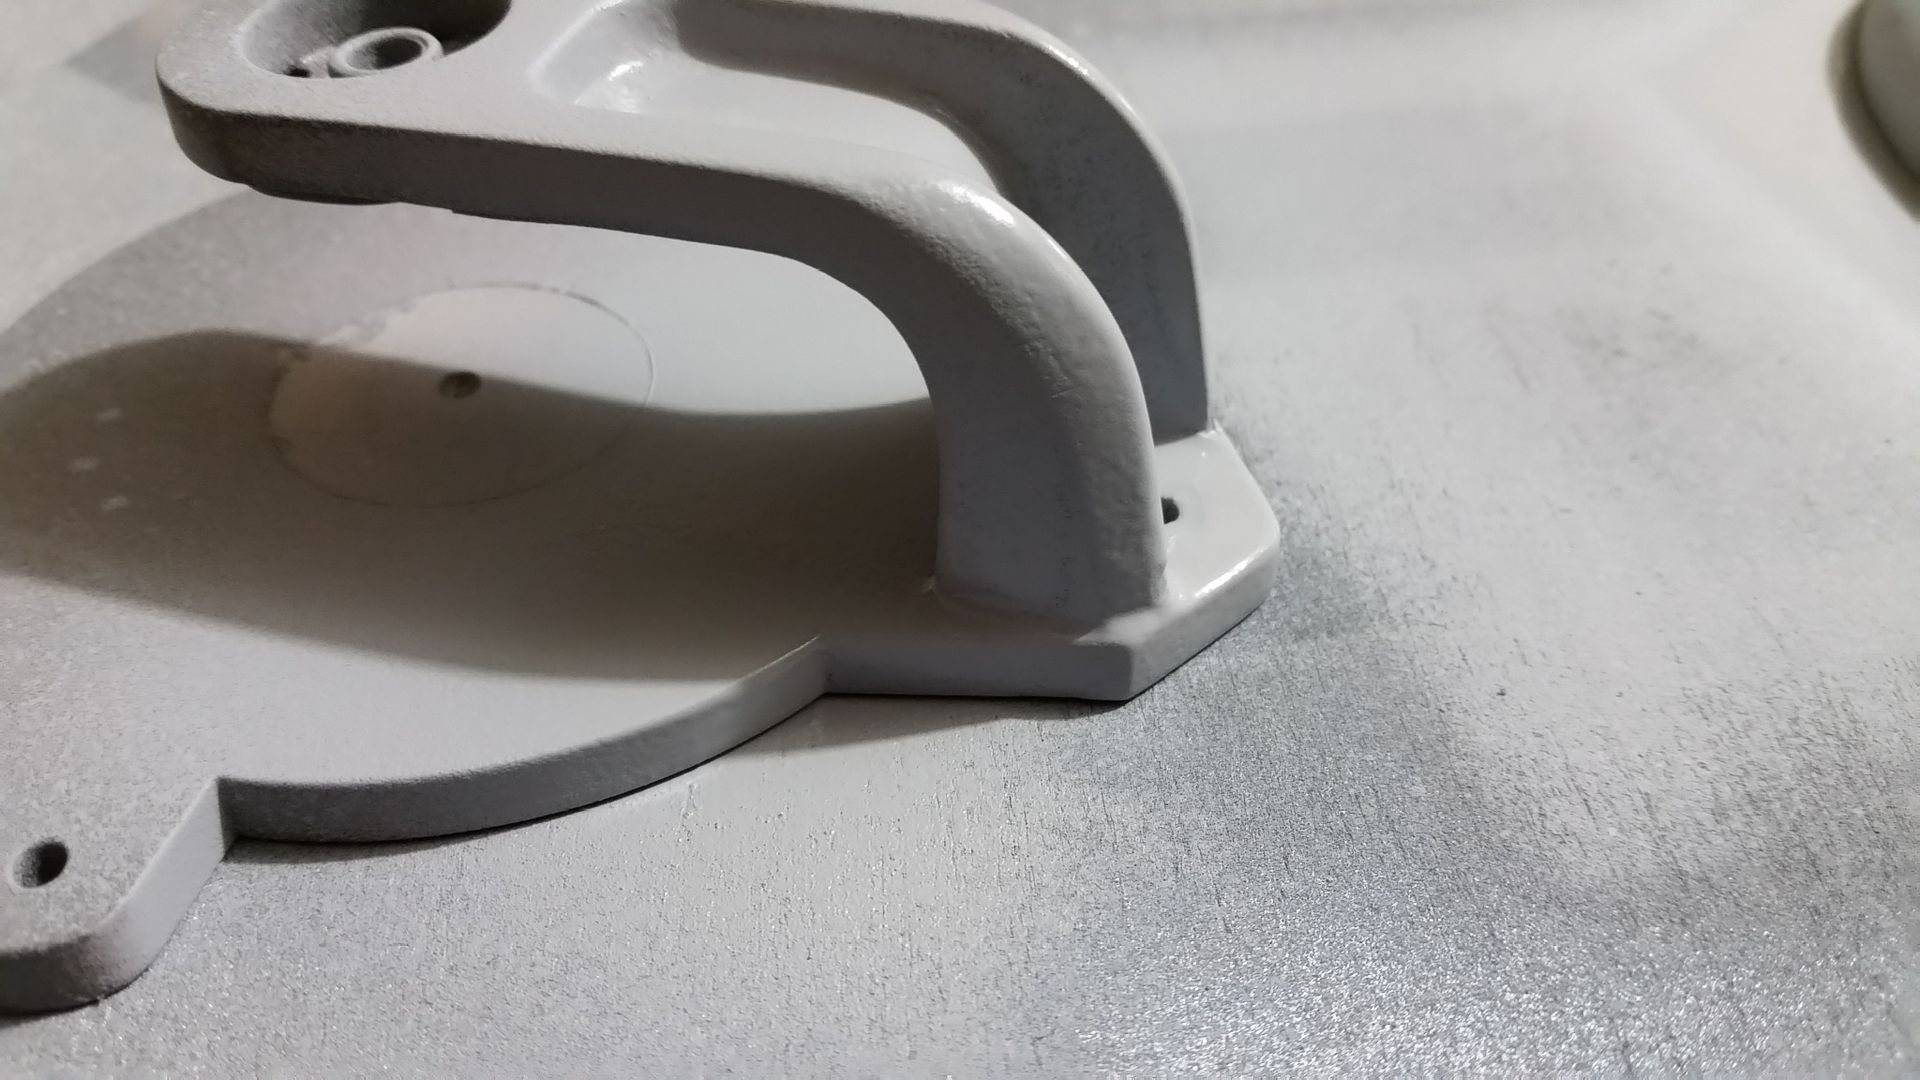
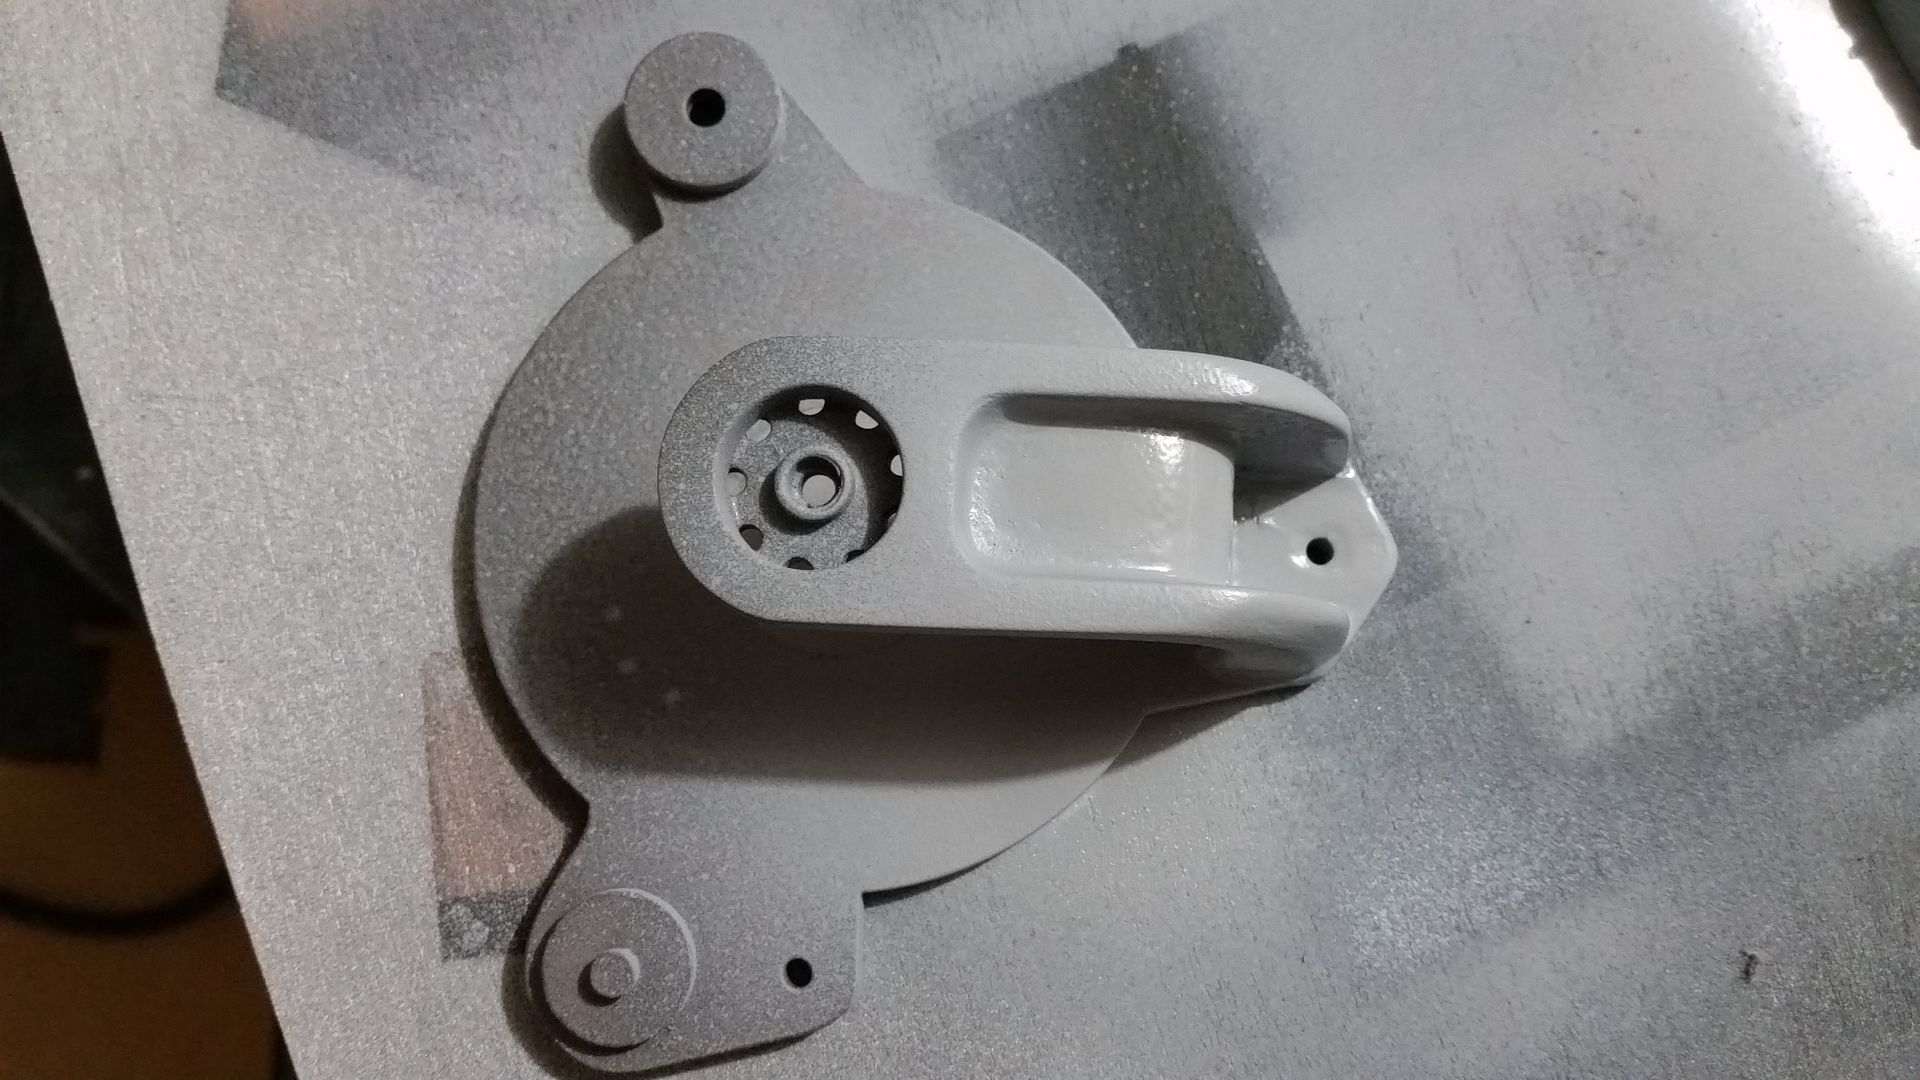
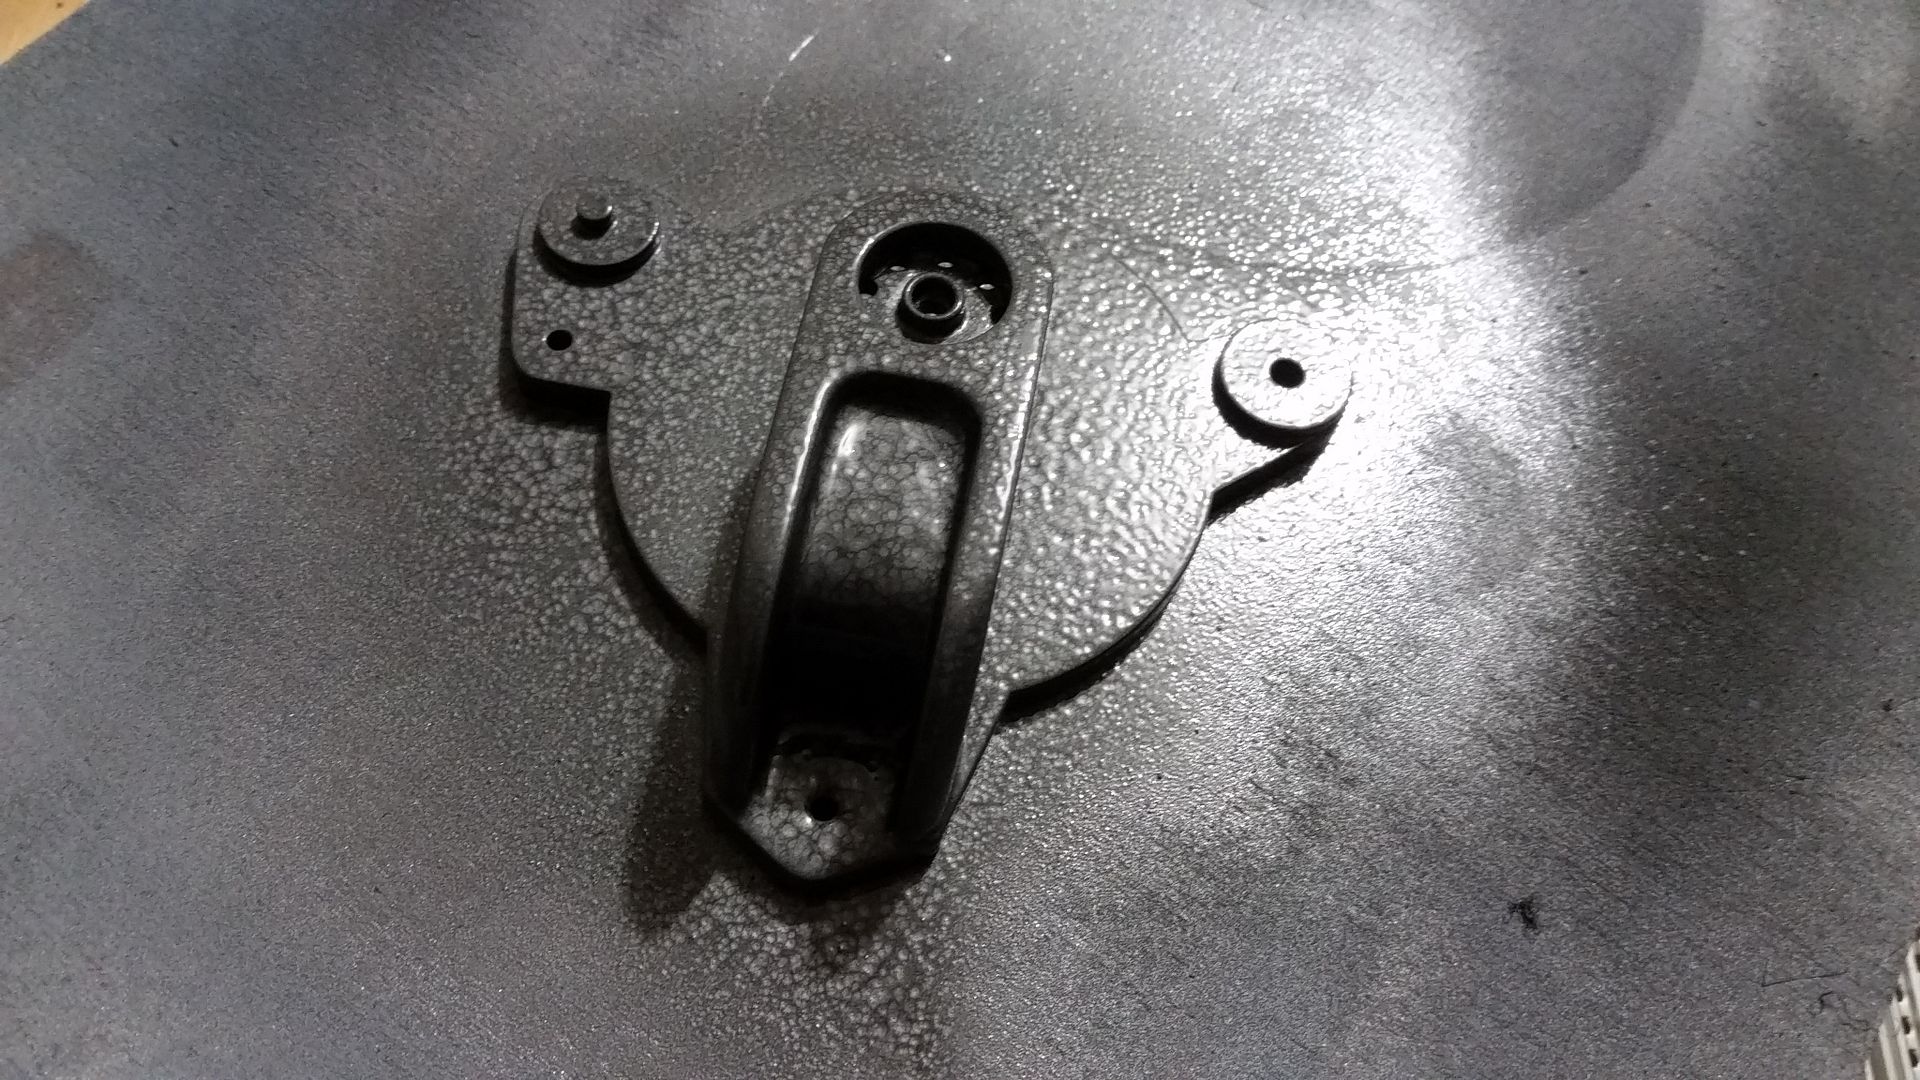
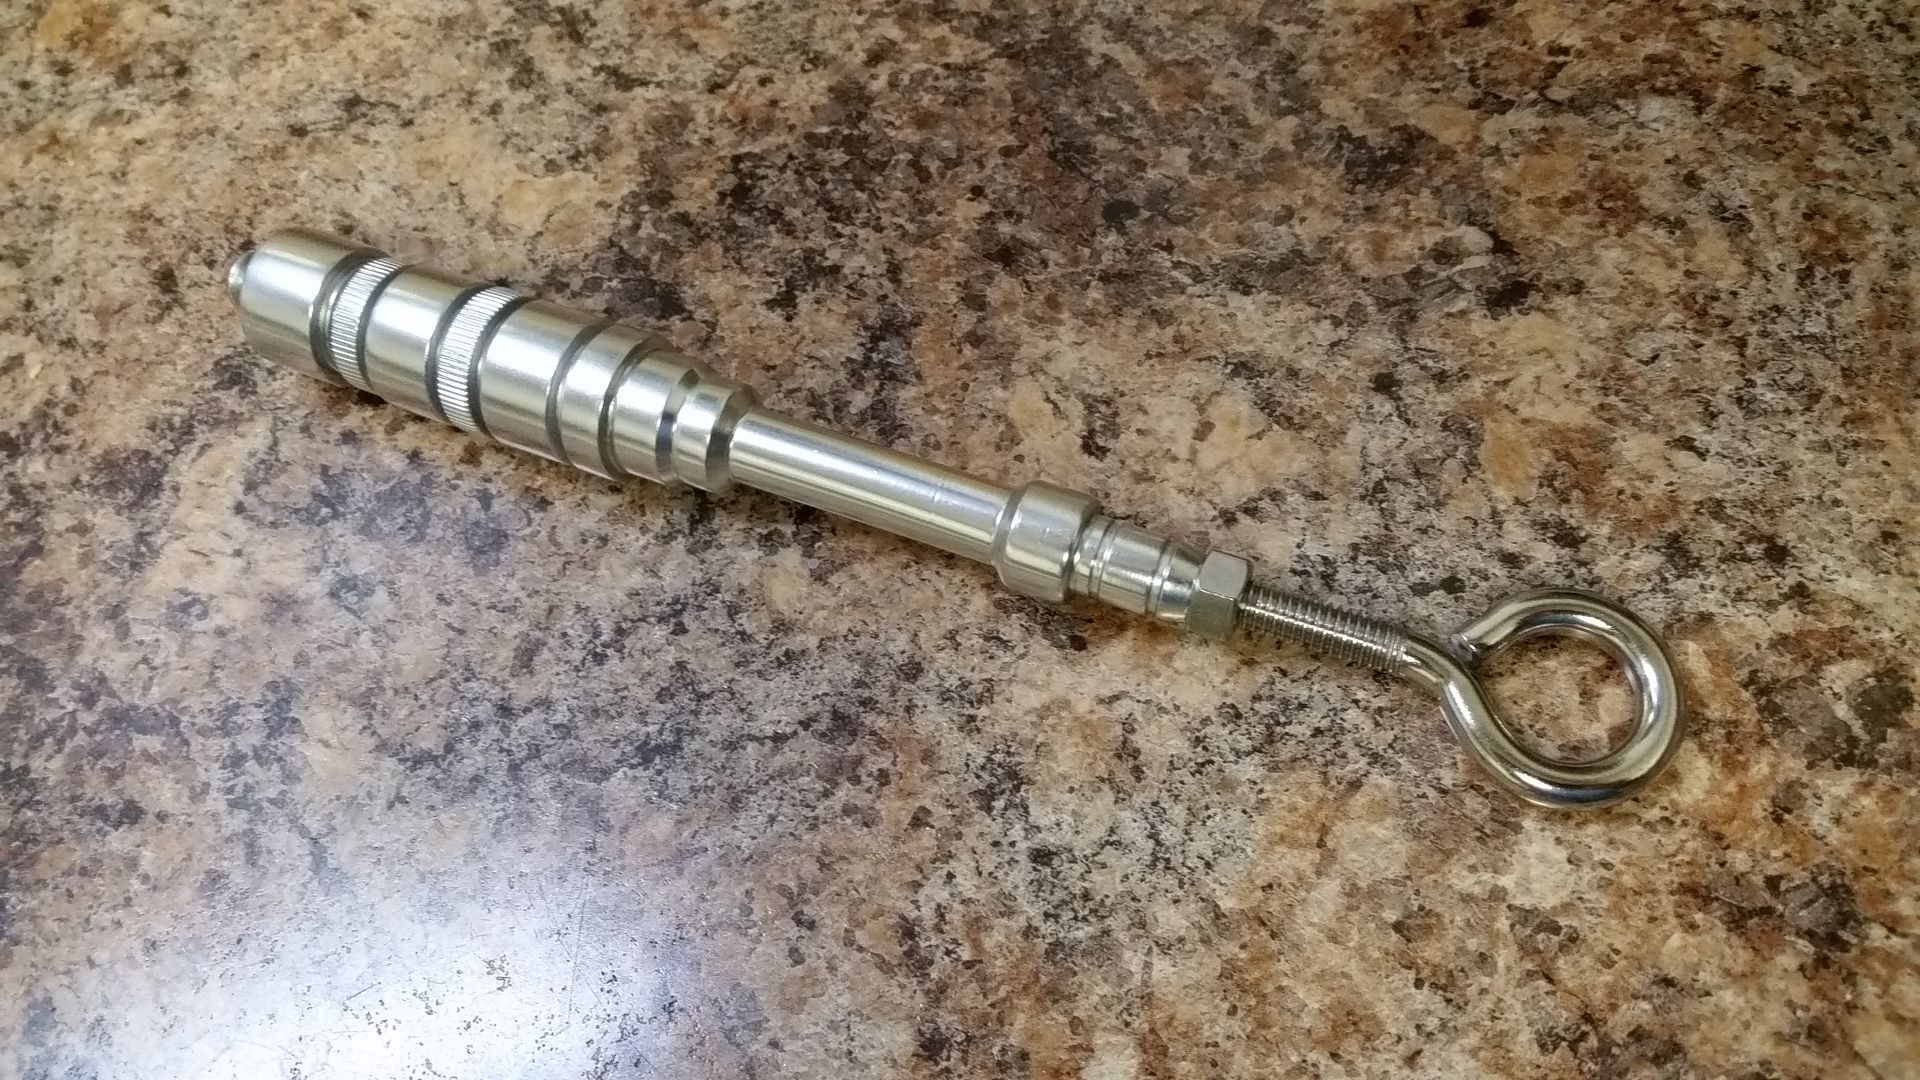
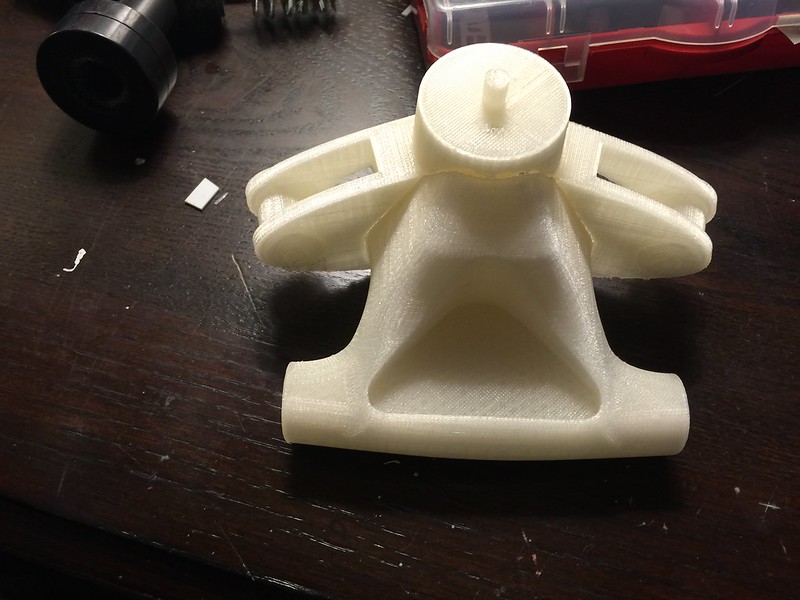
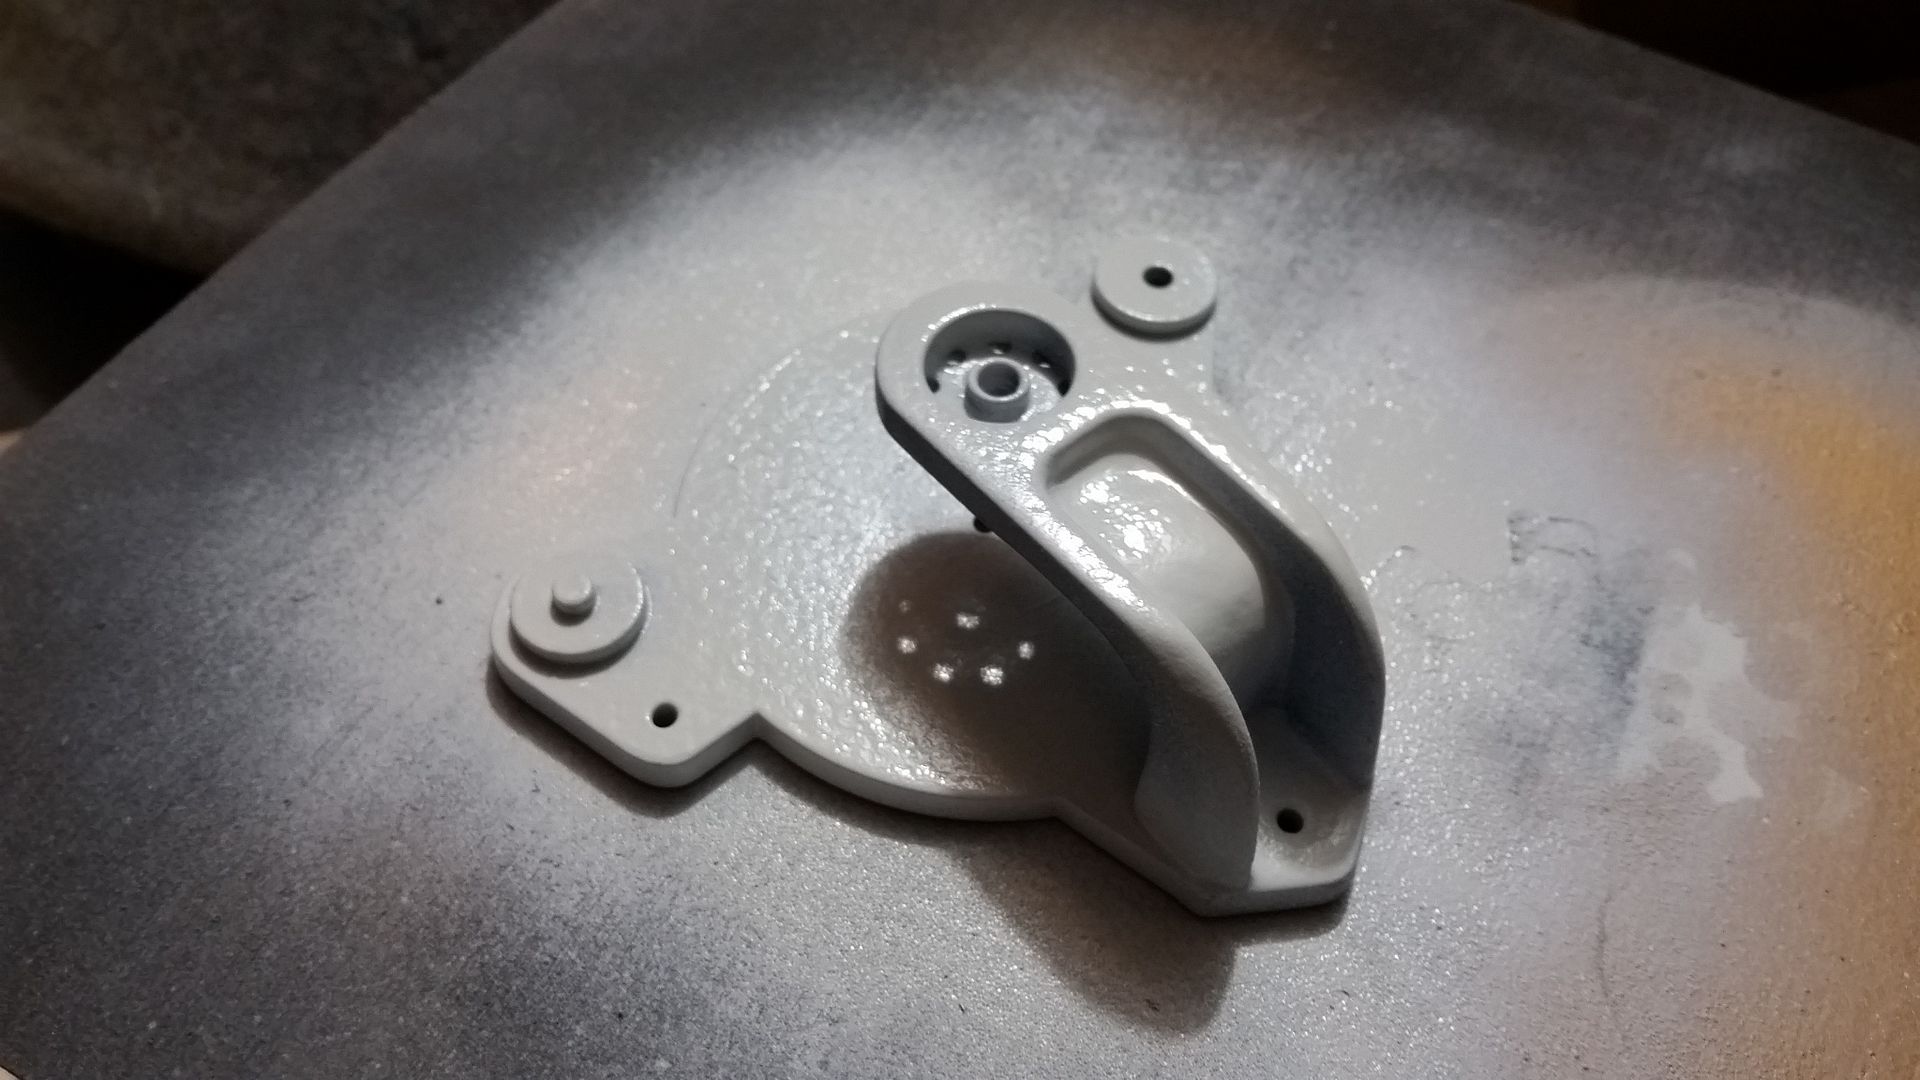
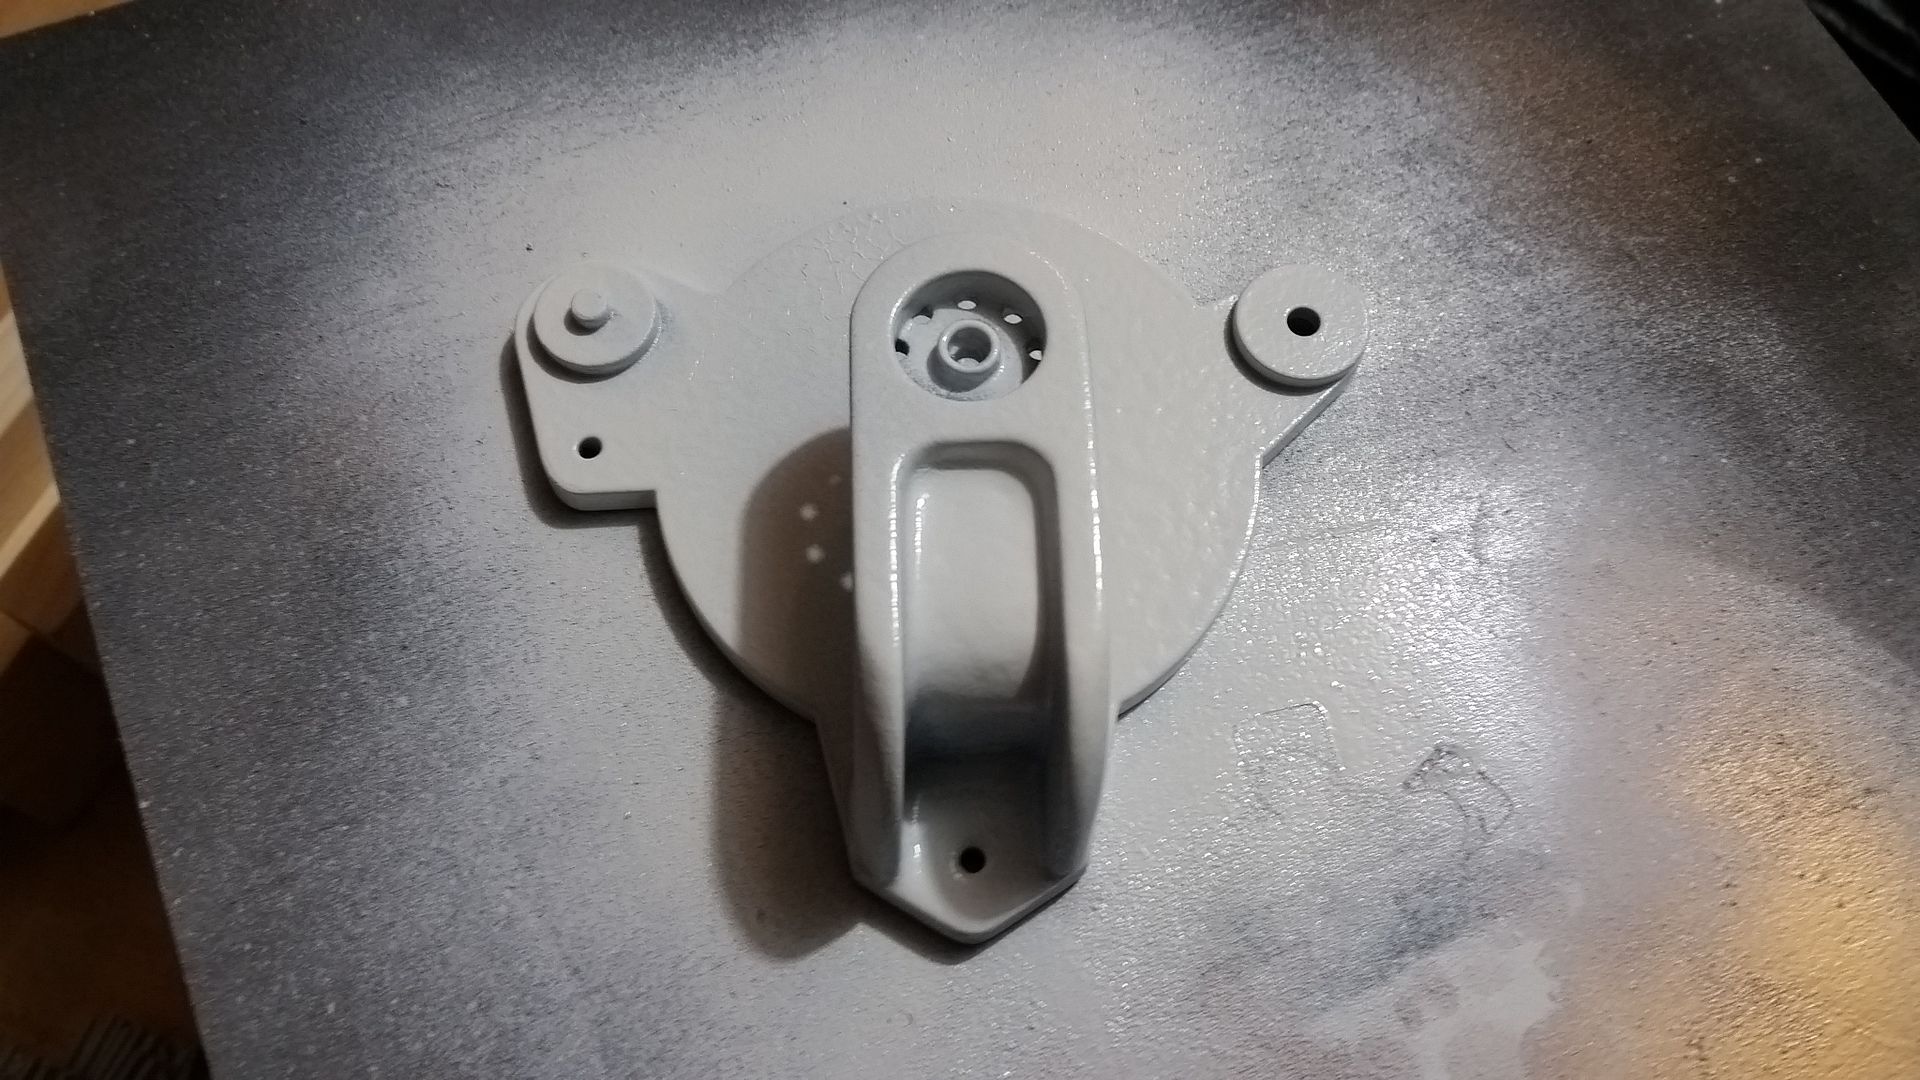
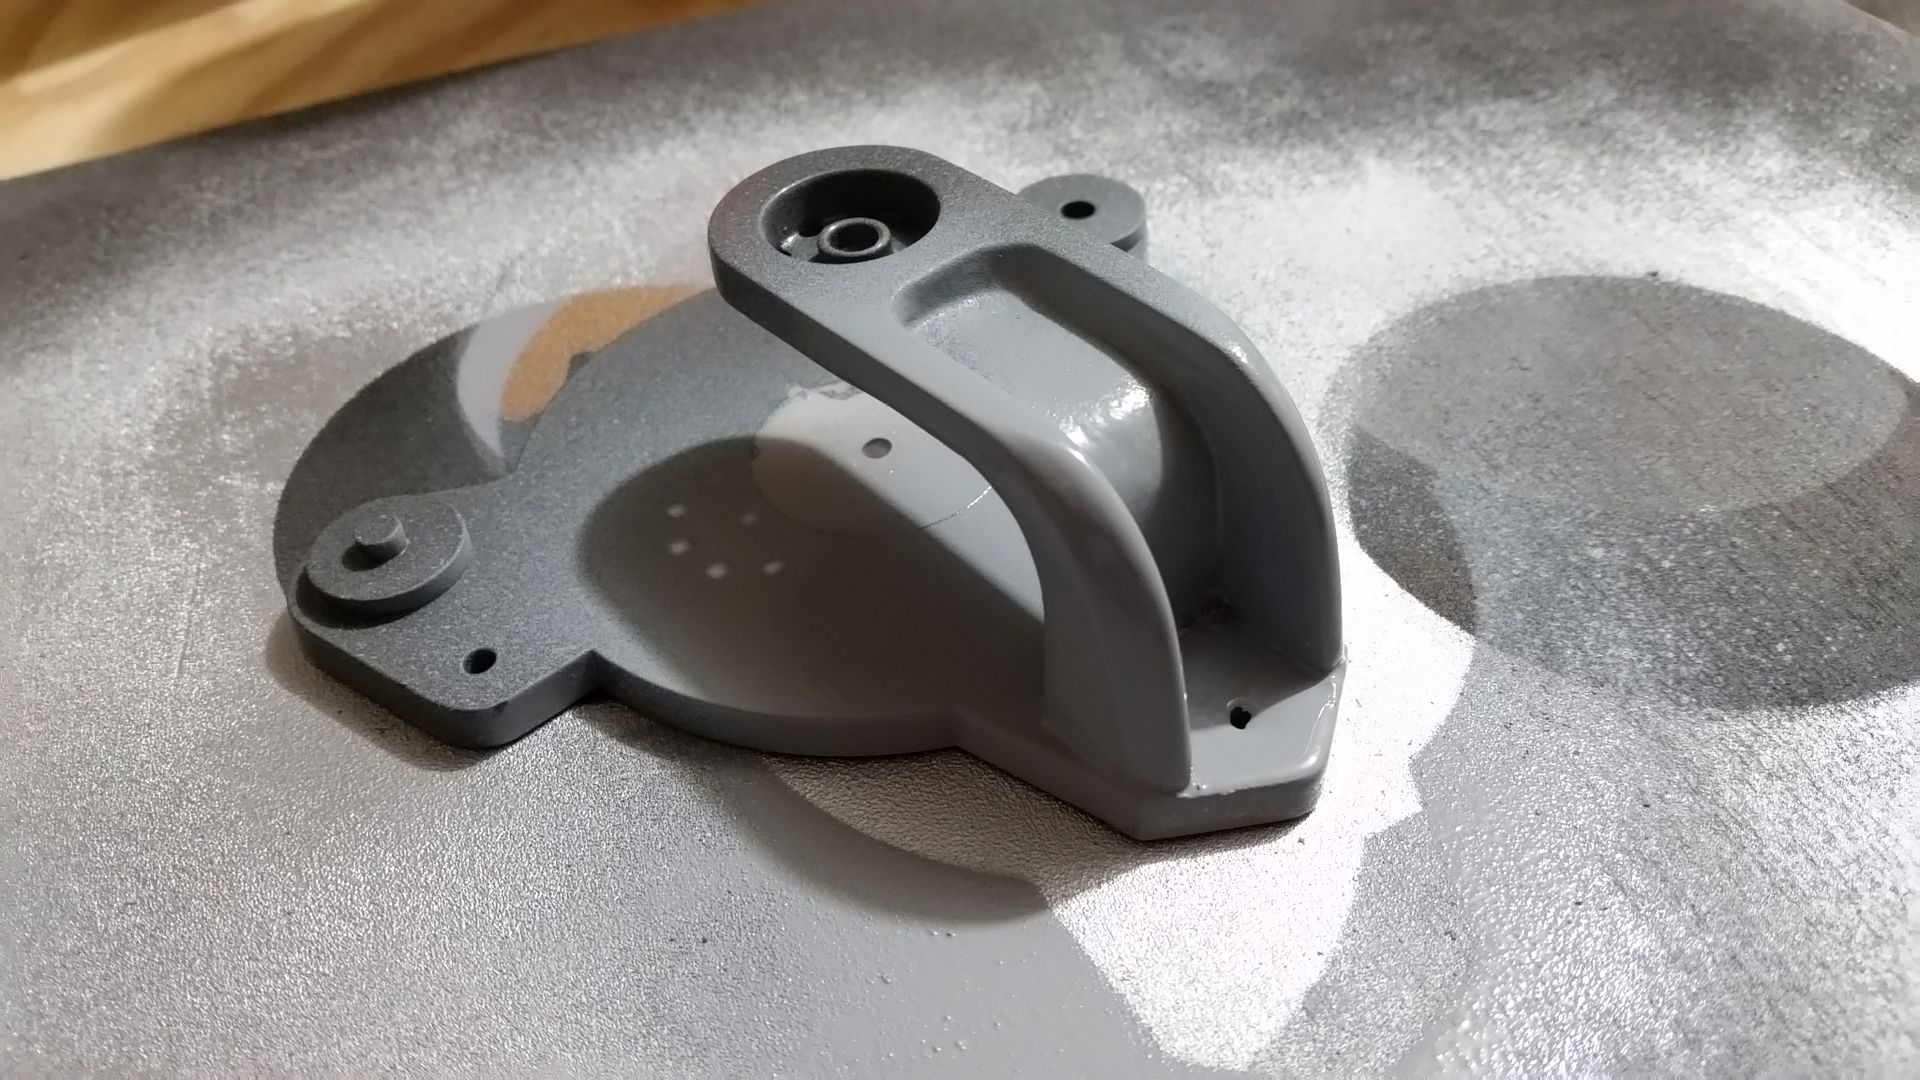
Looks like this piece is coming along
20151026_060832_zpsiuemmtql.jpg


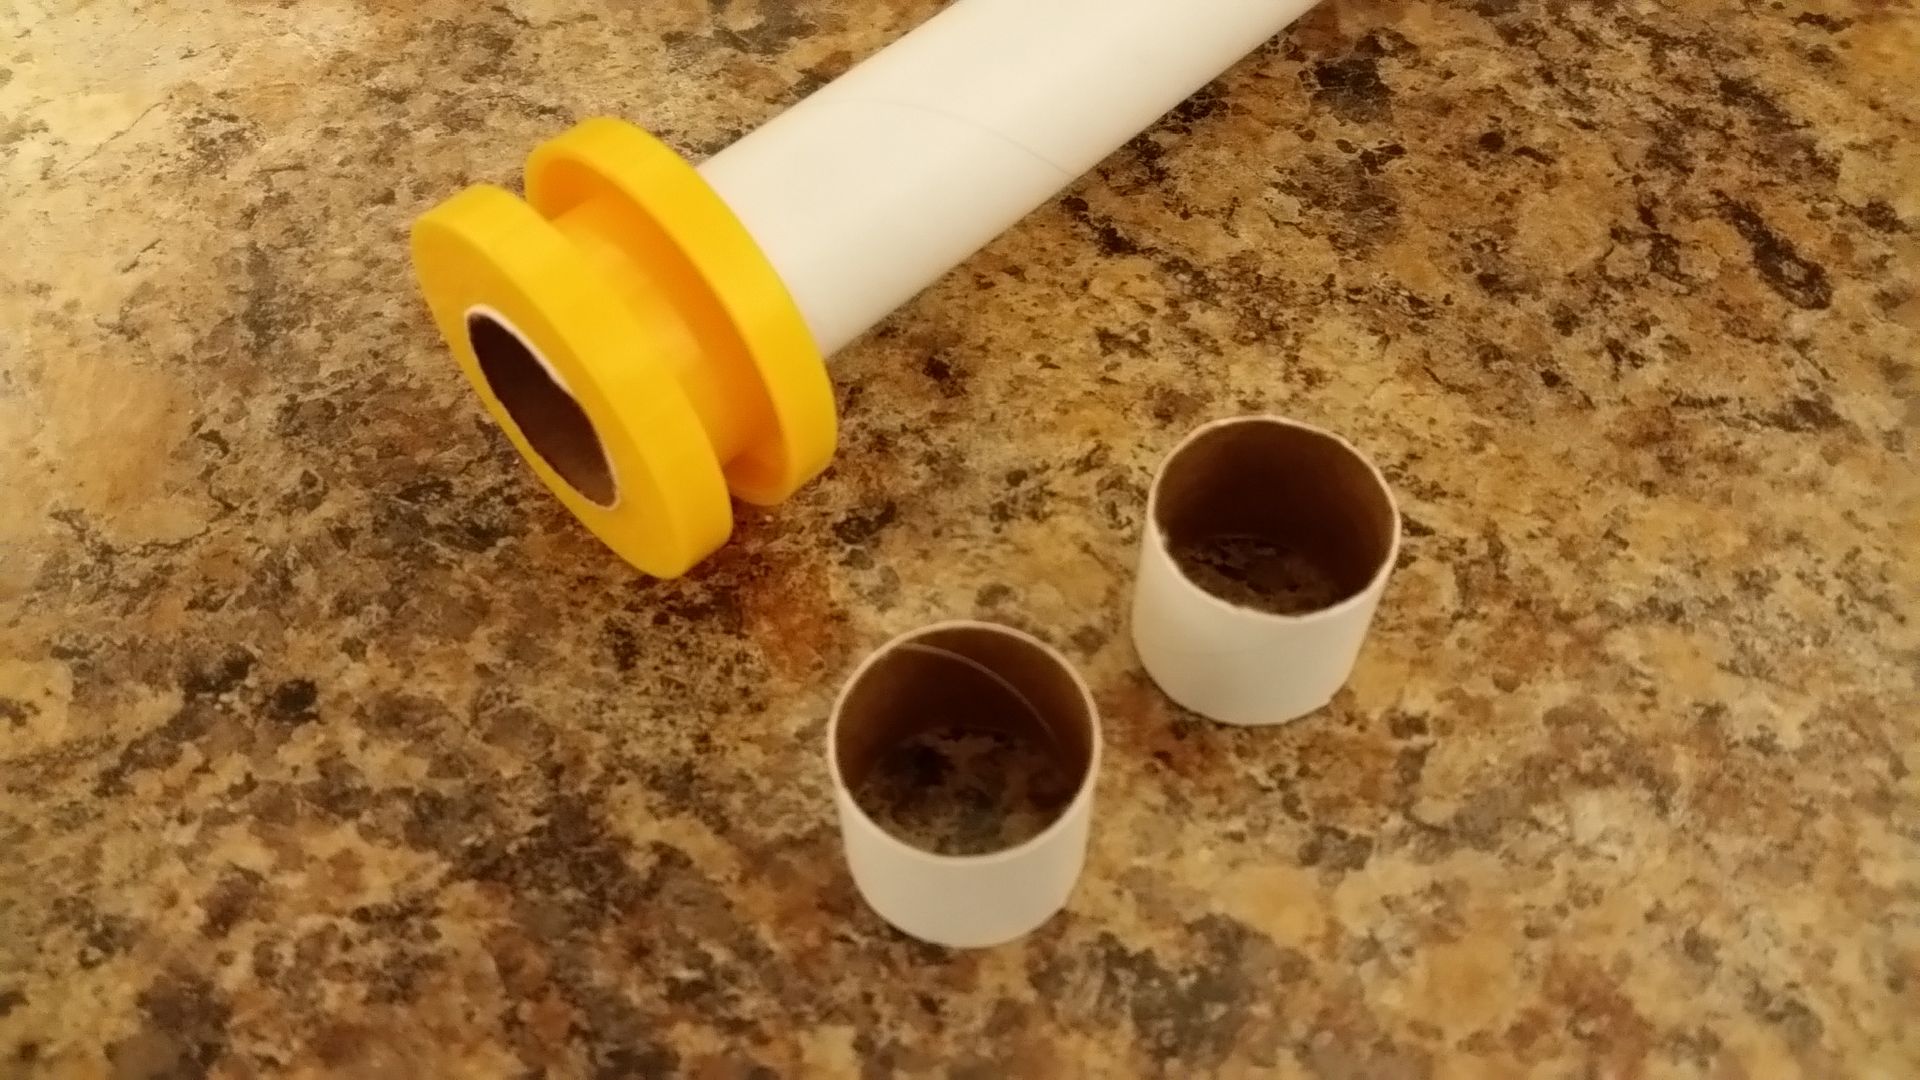
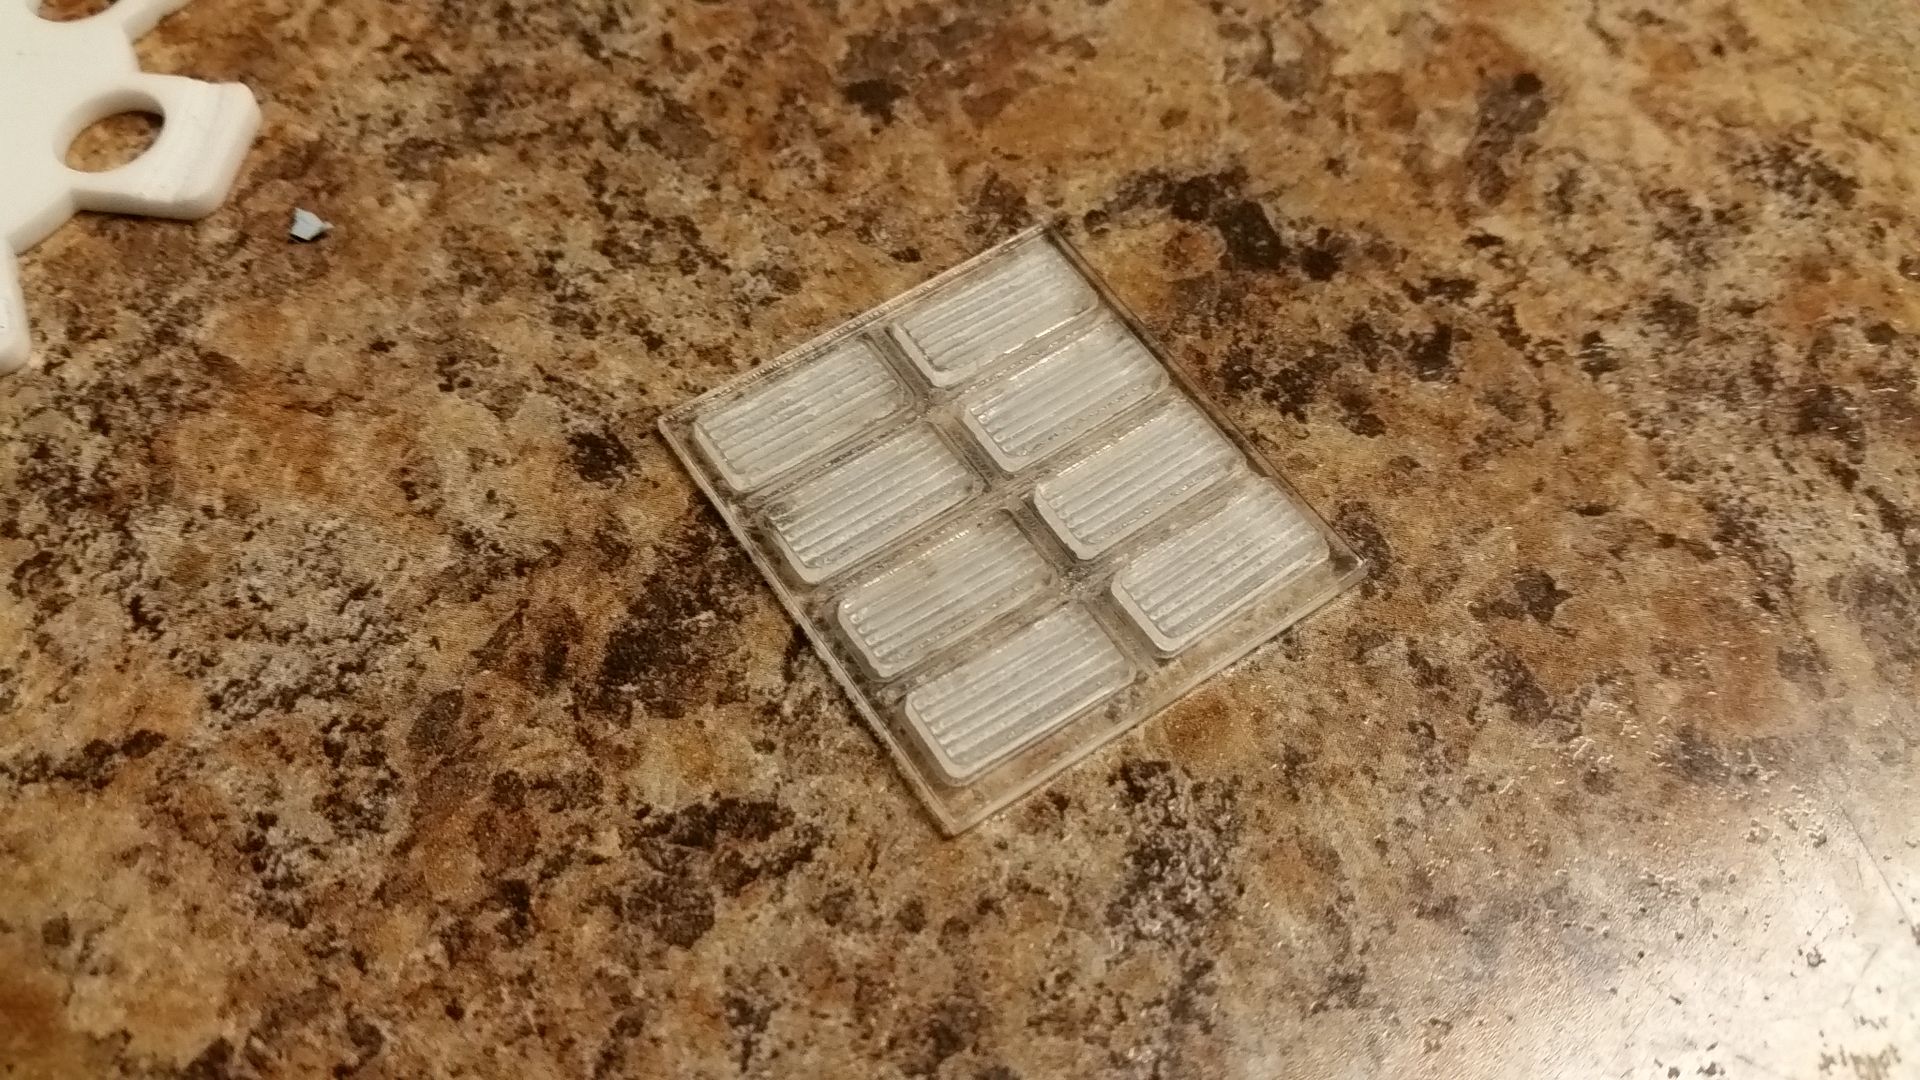
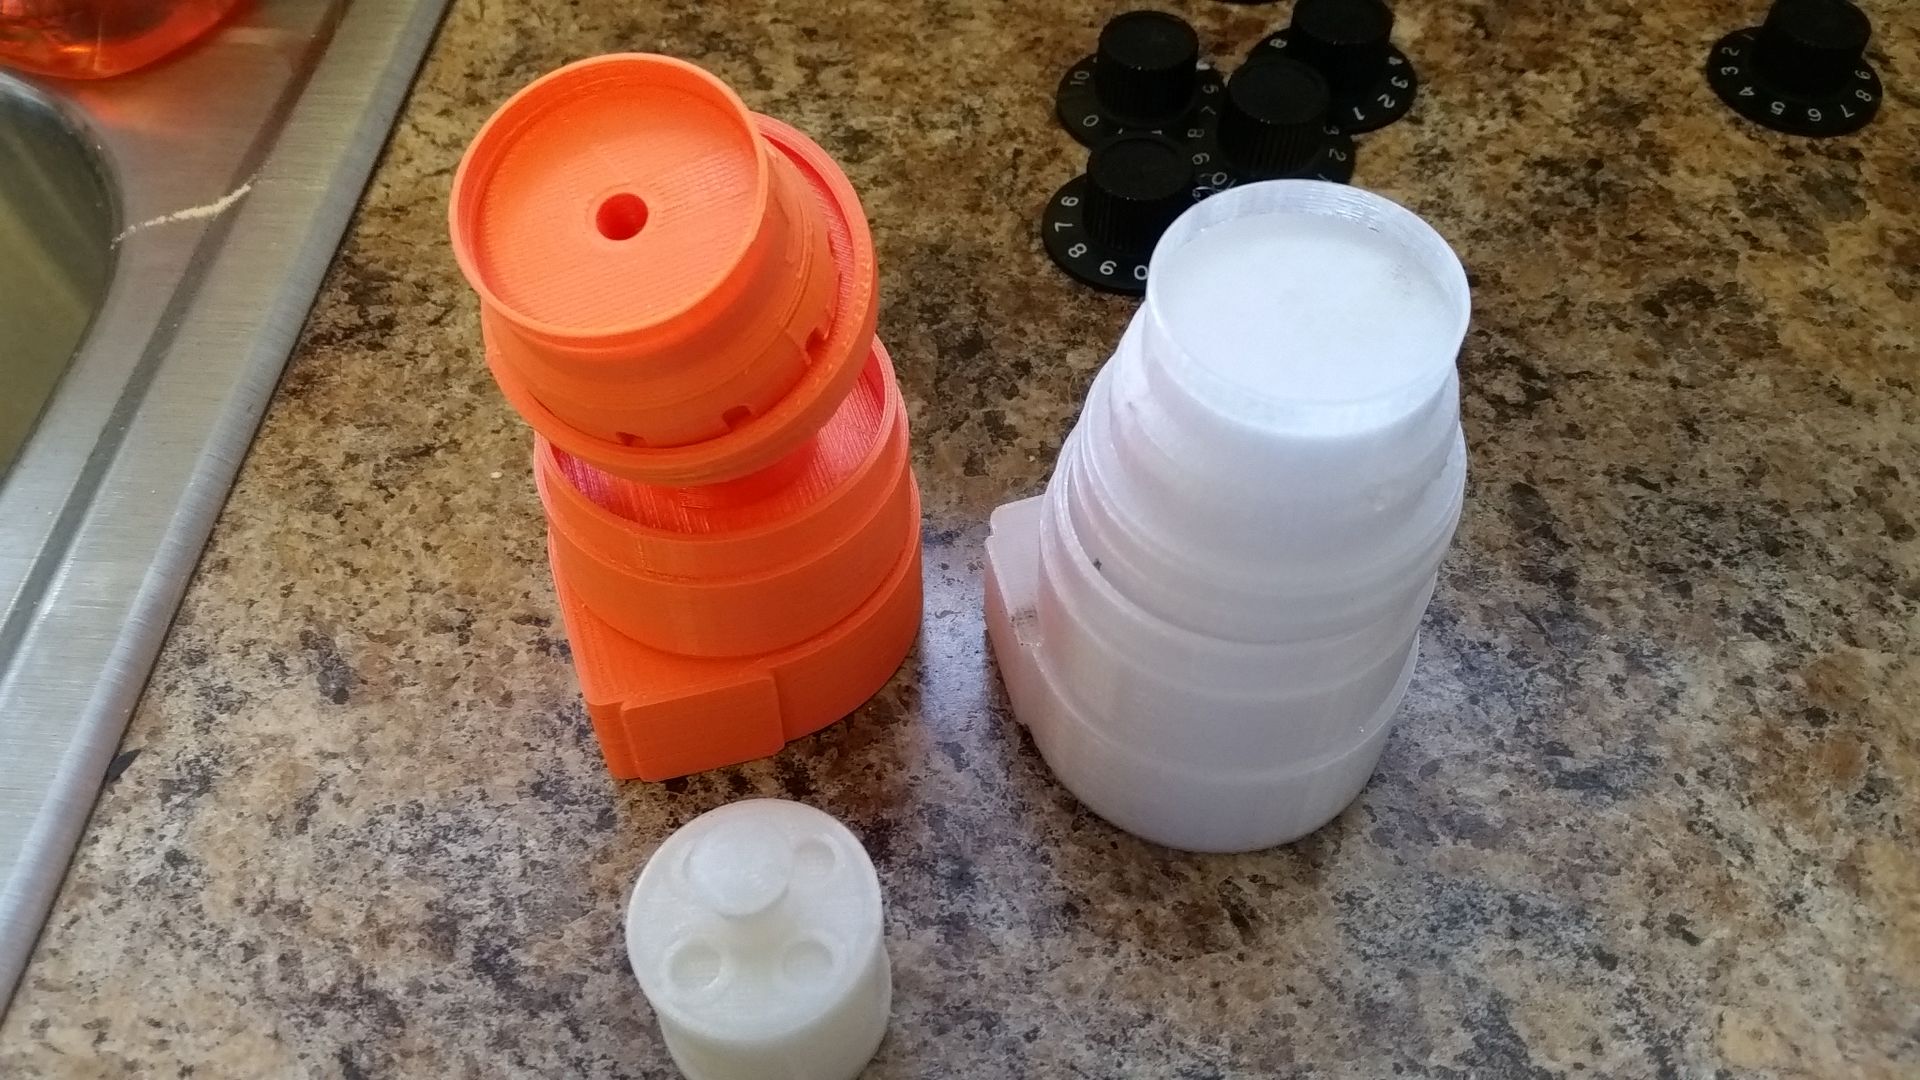
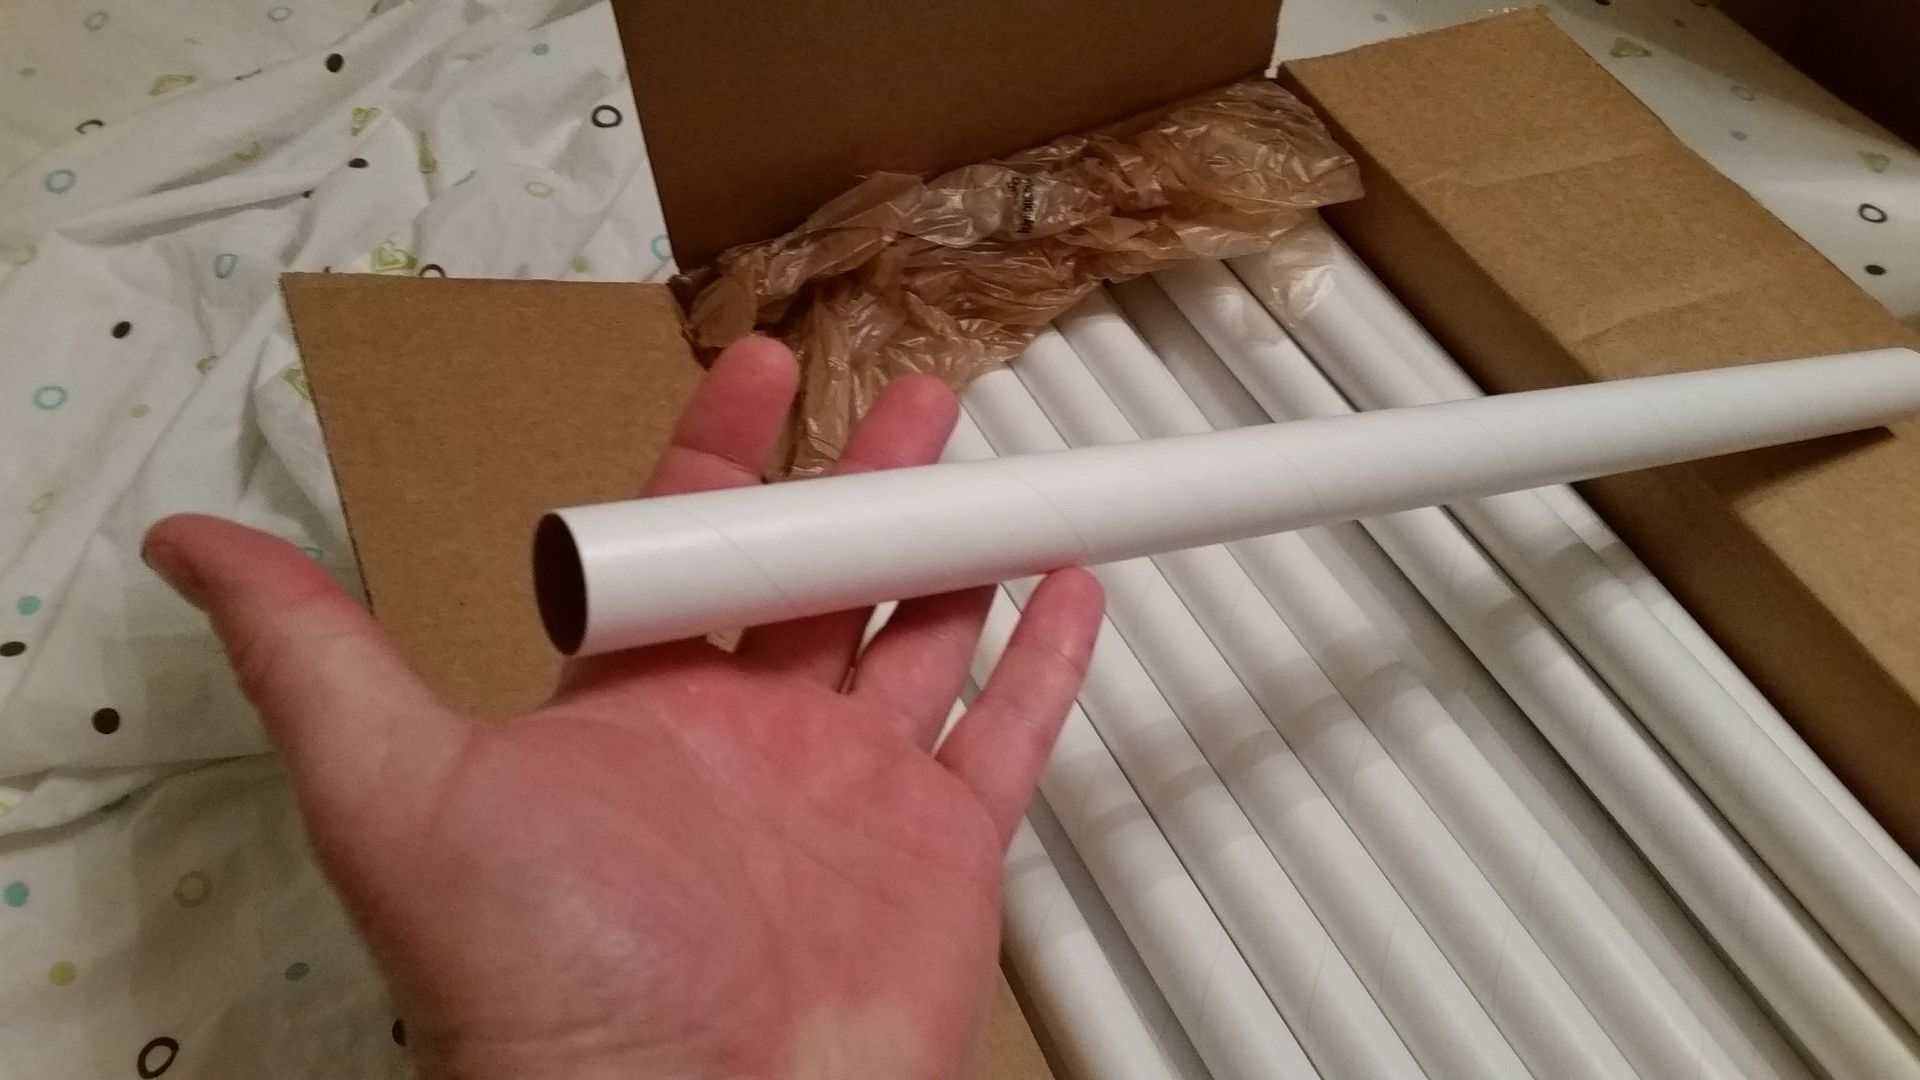
This came in the mail yesterday - a box of bottle rocket tubes
20151027_052300_zpsgjbgvcpv.jpg


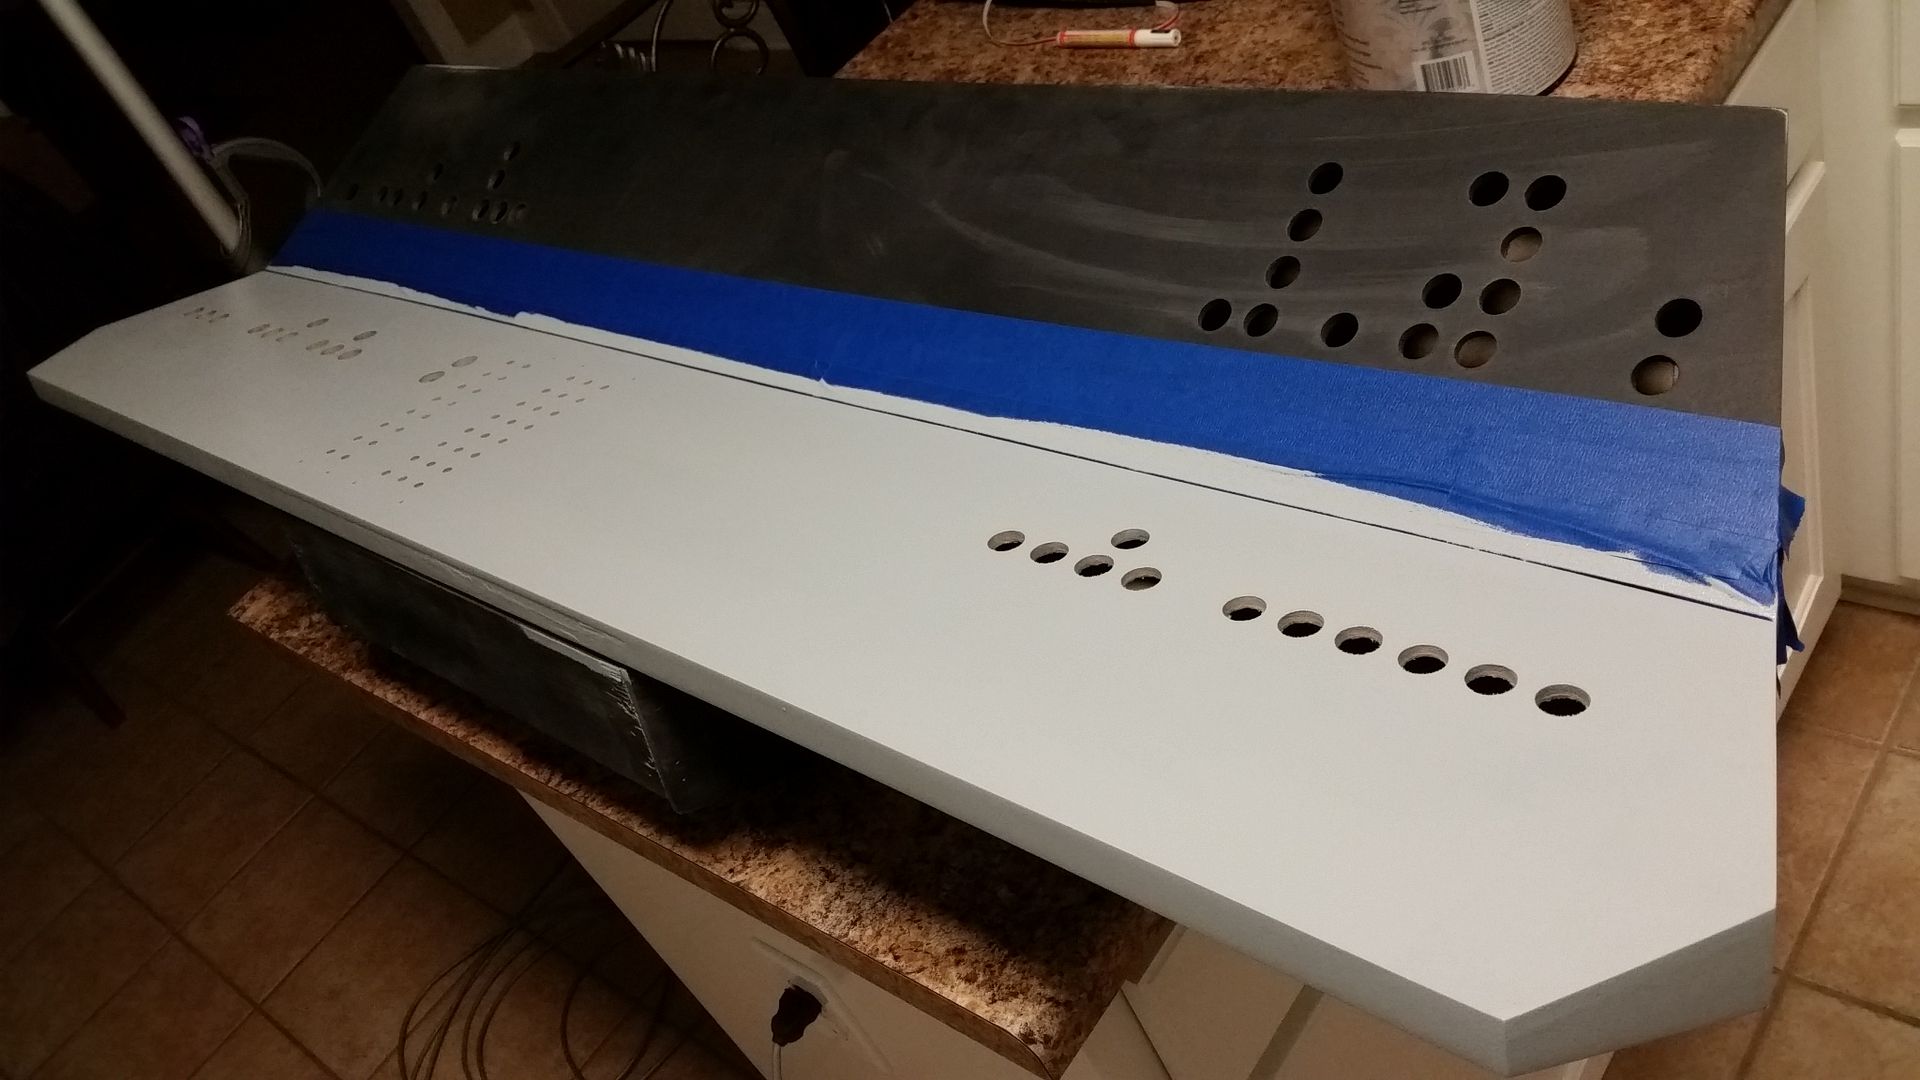
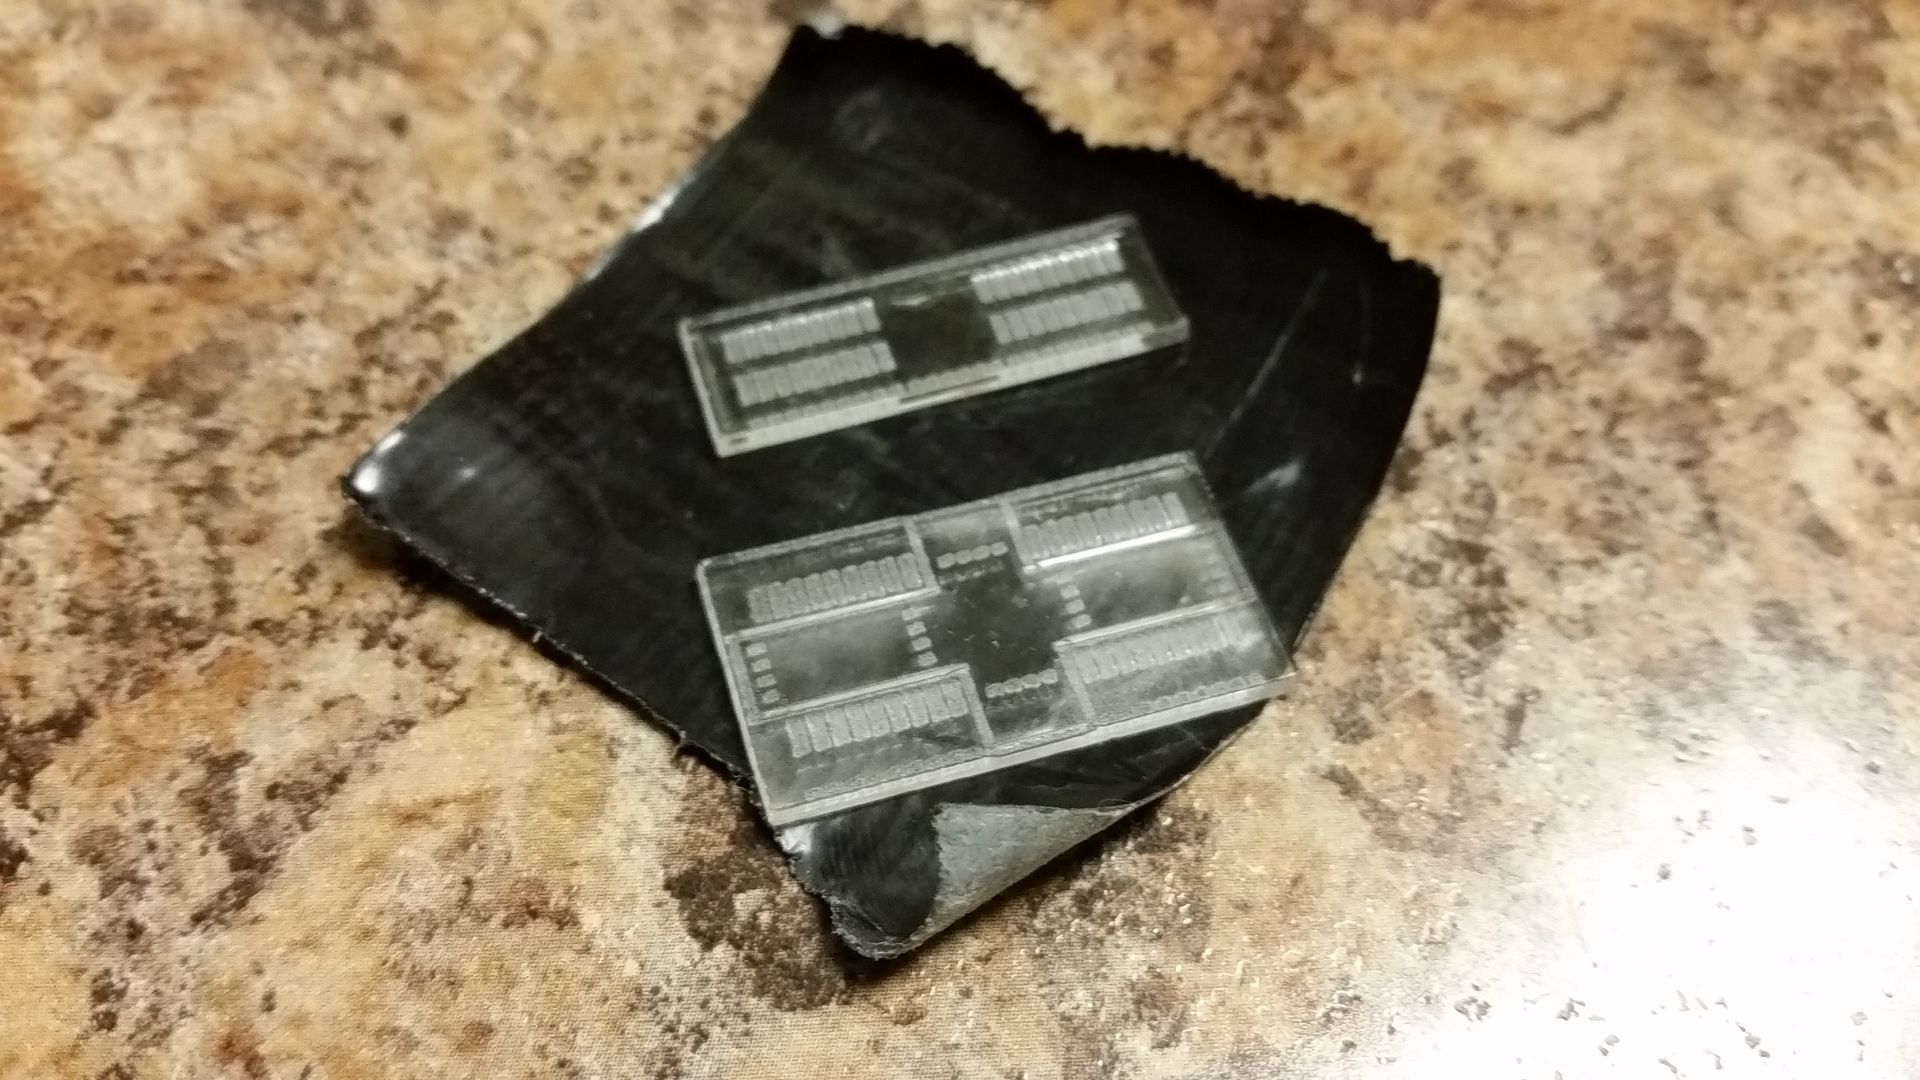
These are the LED housings. They will be cut down to approx 1" and adhered to the back of the panels where the 1" tiles are located. An acrylic donut will be cut and adhered to the top of tube where the LED will be adhered in place - lots of work to do
20151027_052312_zps56twtrr5.jpg


More to Follow!!!! I promise!!! ;)
 
Last edited:
Hi Gang,

UPDATE! I'm hoping to post updates every day until Dec 16 - I'm sure some will be more exciting than others. But the next month and half are going to be insane!

The afternoon started off with almost everything - paint, sanding, filling, etc... I finally got paint on this vertical greeblie
20151027_154653_zpsfemgthm0.jpg


Drilled the mounting holes
20151027_163415_zps5konnarl.jpg


Took a Sharpie to the black dots
20151027_164251_zps30hiidtp.jpg


Pin stripe
20151027_165538_zpsypz8bmgc.jpg


20151027_165546_zpszulifusq.jpg


Adhered the rockers to the panel. All that's left are a few more greeblies and satin clear! FINALLY!
20151027_204602_zpstfgmwnrv.jpg


20151027_204608_zpszi99afcf.jpg


Sanded and primed this greeblie
20151027_155616_zpsxniscpmm.jpg


Drilled the mounting holes
20151027_185151_zpsz4zttqjz.jpg


20151027_185420_zpscn144glo.jpg


Lots of sanding yet to go before paint!
20151027_205745_zps7vyk6ztv.jpg


So far so good
20151027_205751_zpsg8ssjcot.jpg


Started cutting the LED housings - I only need 200+ ;)
20151027_184900_zpsuc3ijp2f.jpg


I LOVE IT when paint cooperates!
20151027_183244_zps1ts5b6ot.jpg


This area getting a pot / knob
20151027_162046_zpsg9wedgui.jpg


In a perfect world I would have the exact same knob in various sizes throughout the cockpit
20151027_162531_zpsooemszoa.jpg


This guy is ALMOST done! The base is finally filled, sanded and painted!
20151027_160350_zpslkhswgup.jpg


20151027_160507_zpsrs6uzkgd.jpg


20151027_160513_zpszogh4ixo.jpg


20151027_160522_zpsngxfvixm.jpg


Black
20151027_184723_zpskhdaqnmc.jpg


20151027_184735_zps0bpj5pv0.jpg


20151027_184743_zpsoe40uoaz.jpg


Paint
20151027_215915_zpsetdwhm16.jpg


20151027_215930_zpsbxh84knu.jpg


20151027_215942_zpsy0gnfsuk.jpg


Looks much better with those edges filled
20151027_220010_zps2wt9atwl.jpg


I dropped and cracked this greeblie
20151027_222052_zpspgahnbhx.jpg


I've started to design a new throttle mechanism
20151027_190311_zpsvroccmaw.jpg


MAJOR step forward! Paint on the instrument panel!
20151027_183253_zps092qfygg.jpg


20151027_184236_zpsersxuuya.jpg


20151027_184253_zpsnbgpdkmp.jpg


Still lots to do to include more holes but I need to add the pin striping before I commit with the drill
20151027_200519_zpssgdv3rwo.jpg


20151027_200606_zpsrcrdobap.jpg


Whew... More to Follow!
 
Last edited:
So good to see the console get some love again! Man, this is really going to be something. I hope you're expecting/dreading/preparing for a good amount of press when this is complete!
 
So good to see the console get some love again! Man, this is really going to be something. I hope you're expecting/dreading/preparing for a good amount of press when this is complete!

Hey Matt,

I've been wanting to get back to the console for a while but these greeblies have been killing me! I still have a handful more to do but the console is going to get some serious attention over the next week. :)

Not sure what the future holds... ;)
 
Last edited:
Hey Matt,

I've been wanting to get back to the console for a while but these greeblies have been killing me! I still have a handful more to do but the console is going to get some serious attention over the next week. :)

Not sure what the future holds... ;)

Got a question for ya bro... those controls on the center console that have like the triflange... what did you use for reference for those?
 
Hi Gang,

A little forward progress. I shot over to the makers to use the laser cutter and, unfortunately, it always takes time away from the build - waiting for the laser cutter can be a pain! I hate Staying idle when I know there is so much to do!

Anywho, I was able to cut more 1/6th scale greeblies for IzzyMel - console nose greeblie panel
20151028_194826_zps3qnp4cjf.jpg


Upper panel greeblies
20151028_194859_zps6yqpsmaf.jpg


I decided to have some fun and paint one of the greeblies - the center console dual lever greeblie
20151028_223025_zps5pbnnshu.jpg


Comparo
20151028_223103_zpsjyvamc43.jpg


I'm bagging them all up and getting them ready for shipping
20151028_225311_zpsoka9psla.jpg


20151028_225329_zpsvugr57ot.jpg


On to the full scale build...

IzzyMel, who is now an official member of the project, has been working behind the scenes as well and printing off some full scale greeblies for the project! Check it out!

New upper armrest greeblies getting some filler
20151028_161956_zps18o9ril9.jpg


Mystery greeblies
20151028_162123_zpstzuez6a5.jpg


Parts for the new yokes!
20151028_162136_zpsyxkdna36.jpg


During my trip to the makers I also cut more parts for other greeblies
20151028_185916_zpsnbrwogcn.jpg


Getting some filler applied
20151028_193650_zpsrrisyavx.jpg


Cut a new auto pilot clutch piece - this guy should be done by this evening
20151028_194831_zpsle9angol.jpg


New base plate - which after looking at it - needs to be recut (UGH)
20151028_205654_zpsmptm4qpw.jpg


I then took all the greeblies and laser cut items and stacked them on top of each other and come up with this weird looking thing!
20151028_193455_zpssuyld6fu.jpg


20151028_193502_zpsg0w8tznj.jpg


I have no idea what it is but it looks pretty cool! ;)
20151028_193510_zpsrtll5o1m.jpg


I have to go back to the makers this evening but I'm always moving forward!

Stay Tuned!
 
Last edited:
Got a question for ya bro... those controls on the center console that have like the triflange... what did you use for reference for those?

Those are actual objects. Its called a "3 Way Ball Clamp". They come in various sizes. Wavey found these a while back! The original designers used them every where. Google "Three Way Ball Clamp" and it's the first couple of images.


- - - Updated - - -

I just finished making some teeny tiny rocker switches for my DeAgo Falcon build.

http://www.therpf.com/attachment.php?attachmentid=547533&stc=1

Now that is some serious scaling going on! :)
 
Hi Gang,

Update! It was a beautiful day yesterday and I took advantage of the weather to get the door finished.

Measure 12 times cut once - remove a small section of the main door panel so the main panel has something to grab
20151029_171906_zpsleixbuxm.jpg


Adding the 3.5" extension
20151029_173912_zpspfmwd7u2.jpg


With the box frame / extension complete - fingers crossed everything fits
20151029_174533_zpsdojlz6ax.jpg


Dry fit - perfect!
20151029_174546_zpsuqrkfezz.jpg


Adhered and nailed the main panel into place then added glue to the trim piece
20151029_175007_zpsuxlq0vzh.jpg


DONE! Flip it over and do it all again - minus the box frame of course
20151029_175229_zpseuew3rmv.jpg


Adding filler
20151029_181529_zps0qsdlndx.jpg


Other side
20151029_183832_zpsfgtevy1z.jpg


20151029_183843_zpslfizsnji.jpg


With the frame leaning against the door - the frame is where the door padding rests - it's very odd looking at it from different views because of the depth
20151029_183959_zpsguidq2bz.jpg


20151029_184009_zpsp4zkei01.jpg


I then sprayed satin clear on the auto pilot clutch - I swear I hate when this happens! UGH
20151029_165326_zpspgyznmkm.jpg


All this work and the paint crackles! I'm not making antique furniture! OH WAIT... this was a long time ago. ;)
20151029_165322_zpsr00zbtxu.jpg


Sanded it down and sprayed KILLZ primer. I'll sand that down and another few more layers of primer before painting again - UGH
20151029_183813_zpsiurzvqda.jpg


20151029_183819_zpshpr1tpq9.jpg


UGH

After work I will sand the door and door frame - reapply the filler where needed and hopefully get some paint. This weekend its supposed to rain to who knows what direction I'll take. :)

More to Follow!
 
Last edited:
The amount of detail is mind-boggling.

Hi KB,

Thanks! I had no idea what I was getting myself into... ;)

- - - Updated - - -


Those are gorgeous! I can't wait to see them painted up and in place.
 

Your message may be considered spam for the following reasons:

If you wish to reply despite these issues, check the box below before replying.
Be aware that malicious compliance may result in more severe penalties.
Back
Top