Hi Gang,
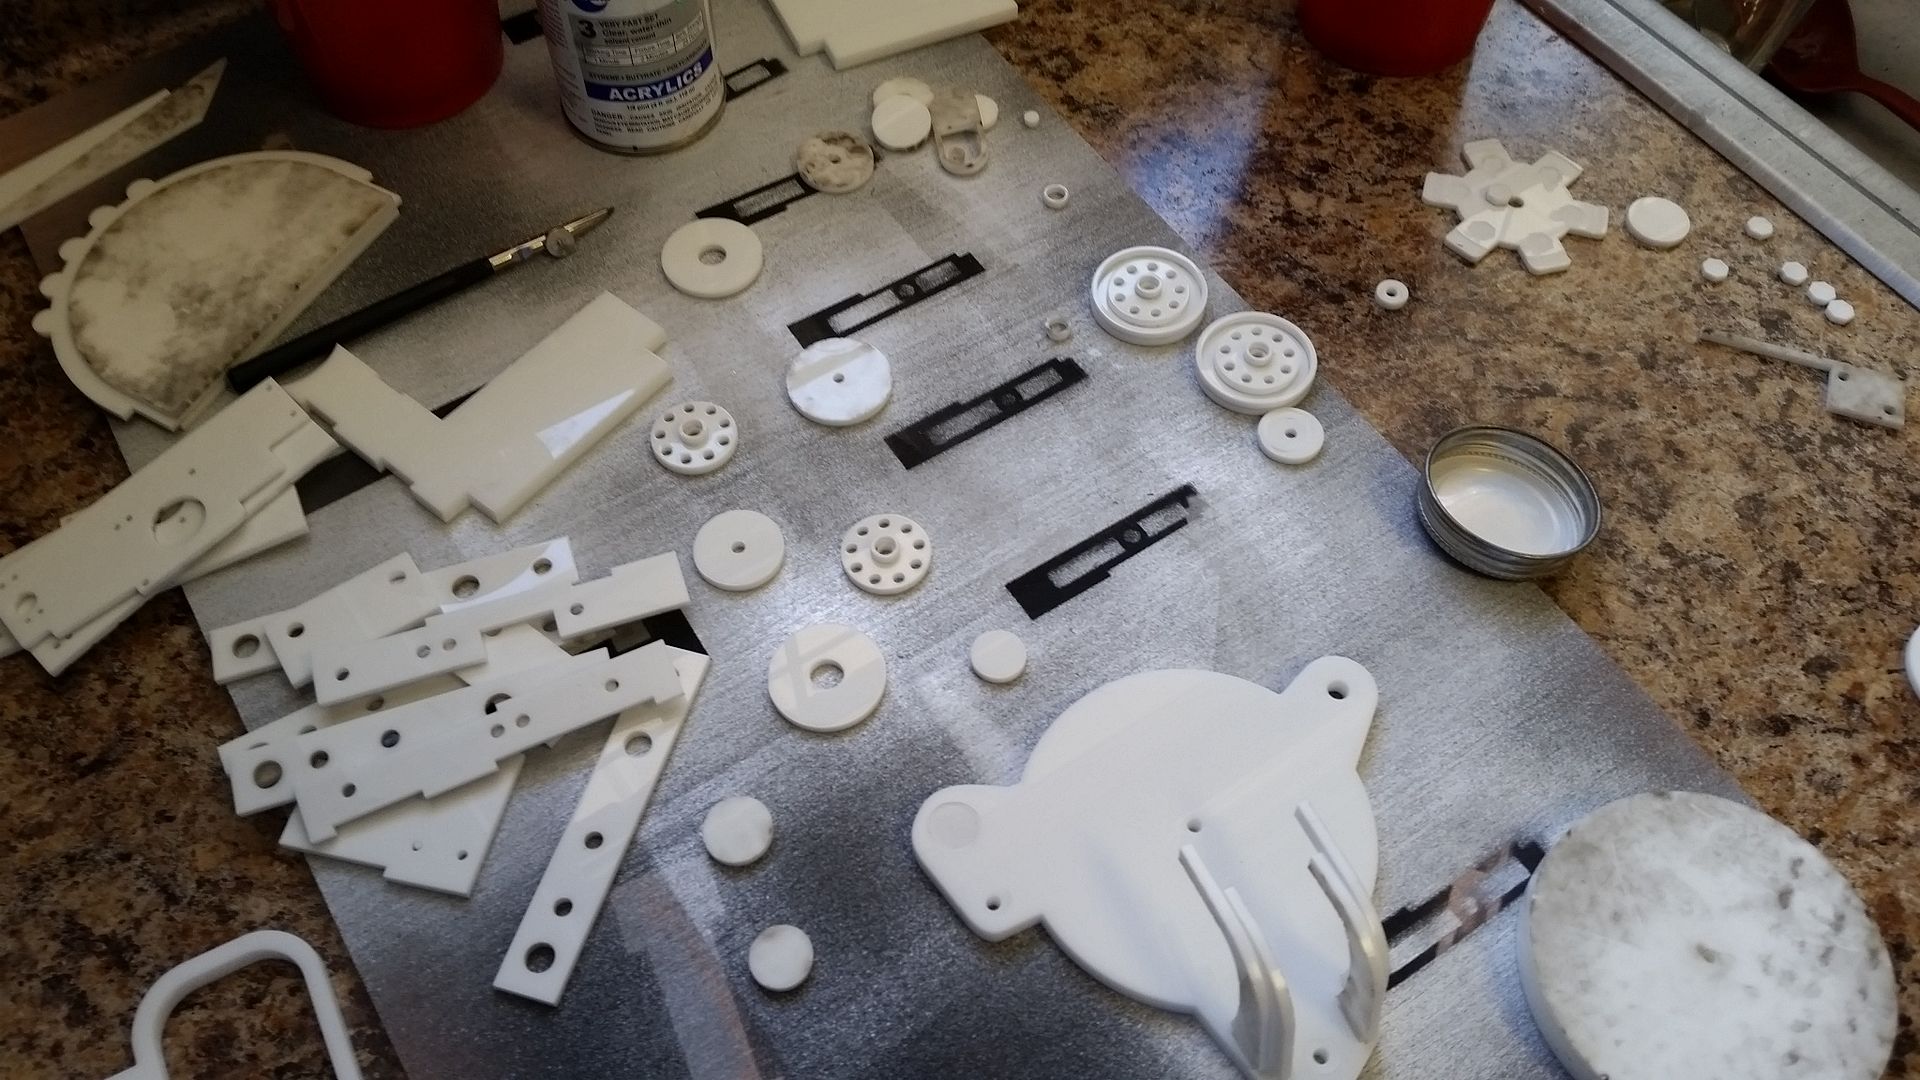
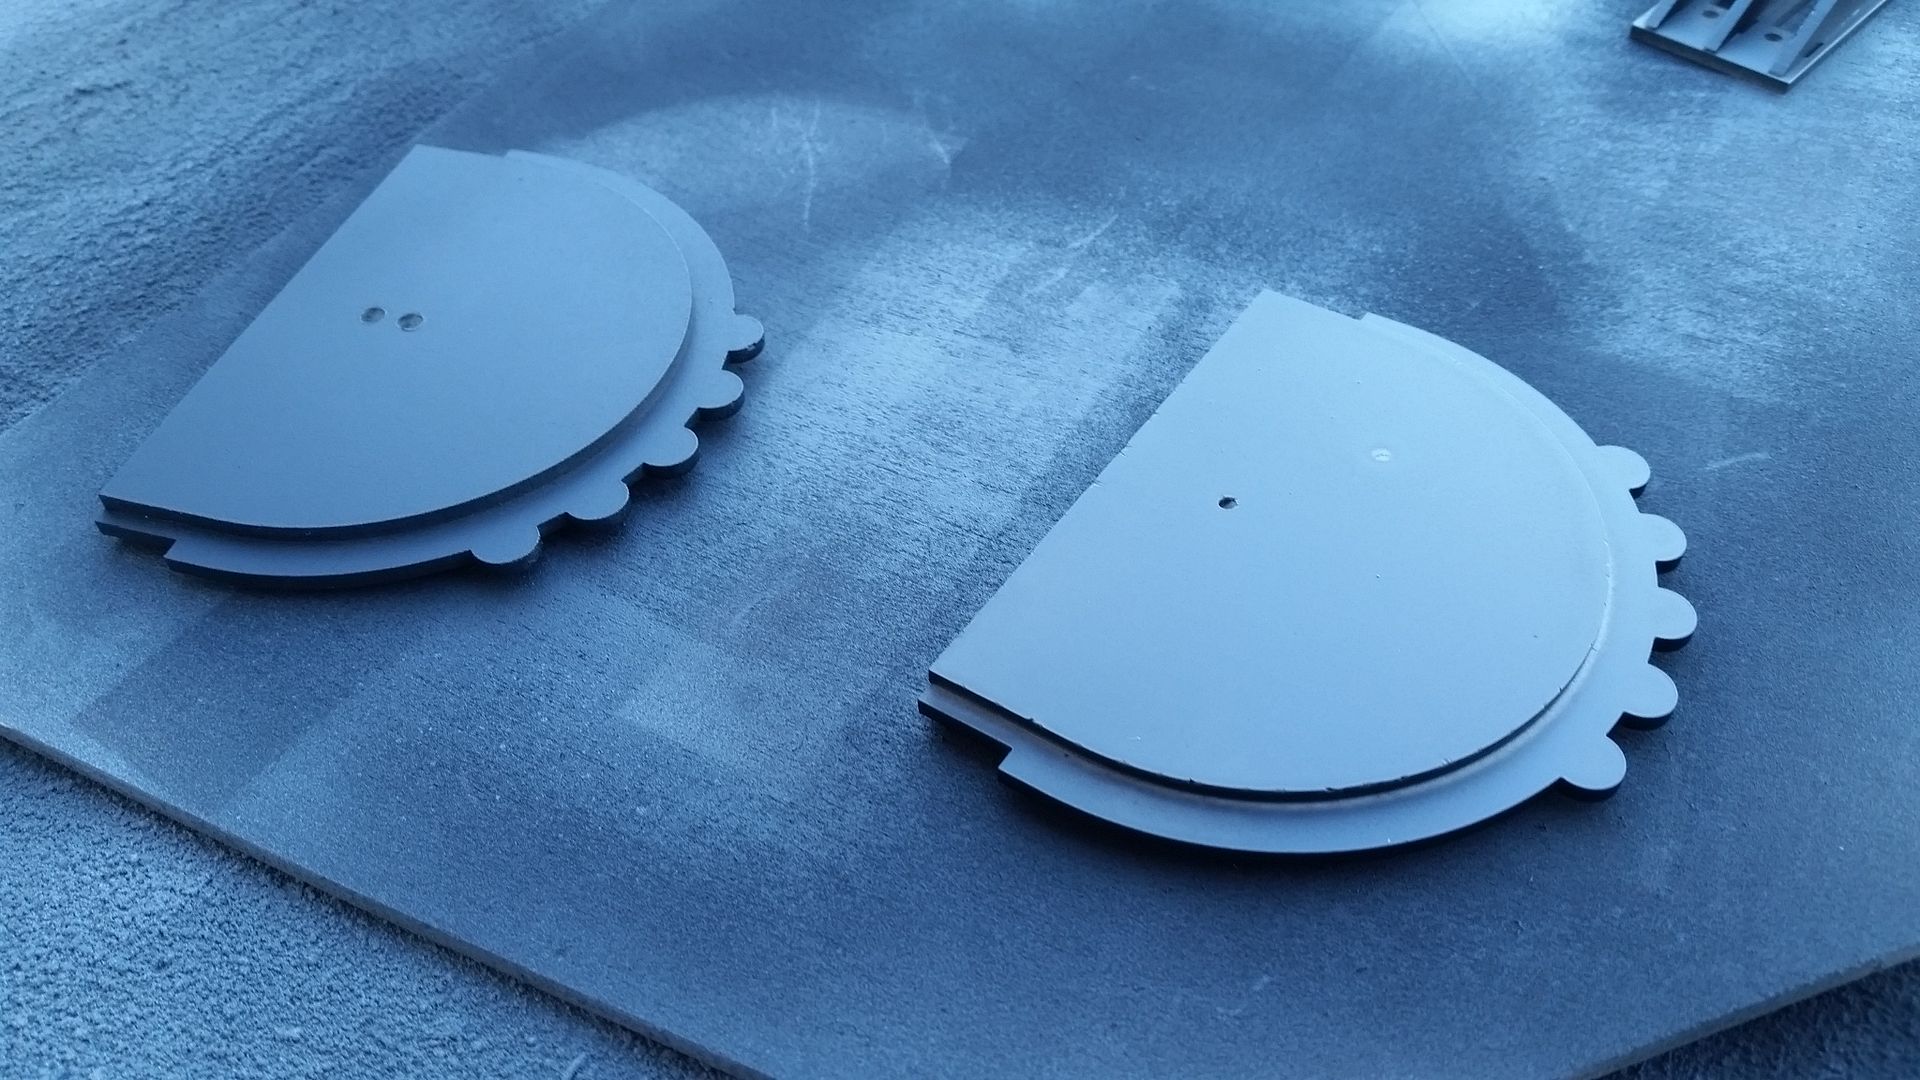
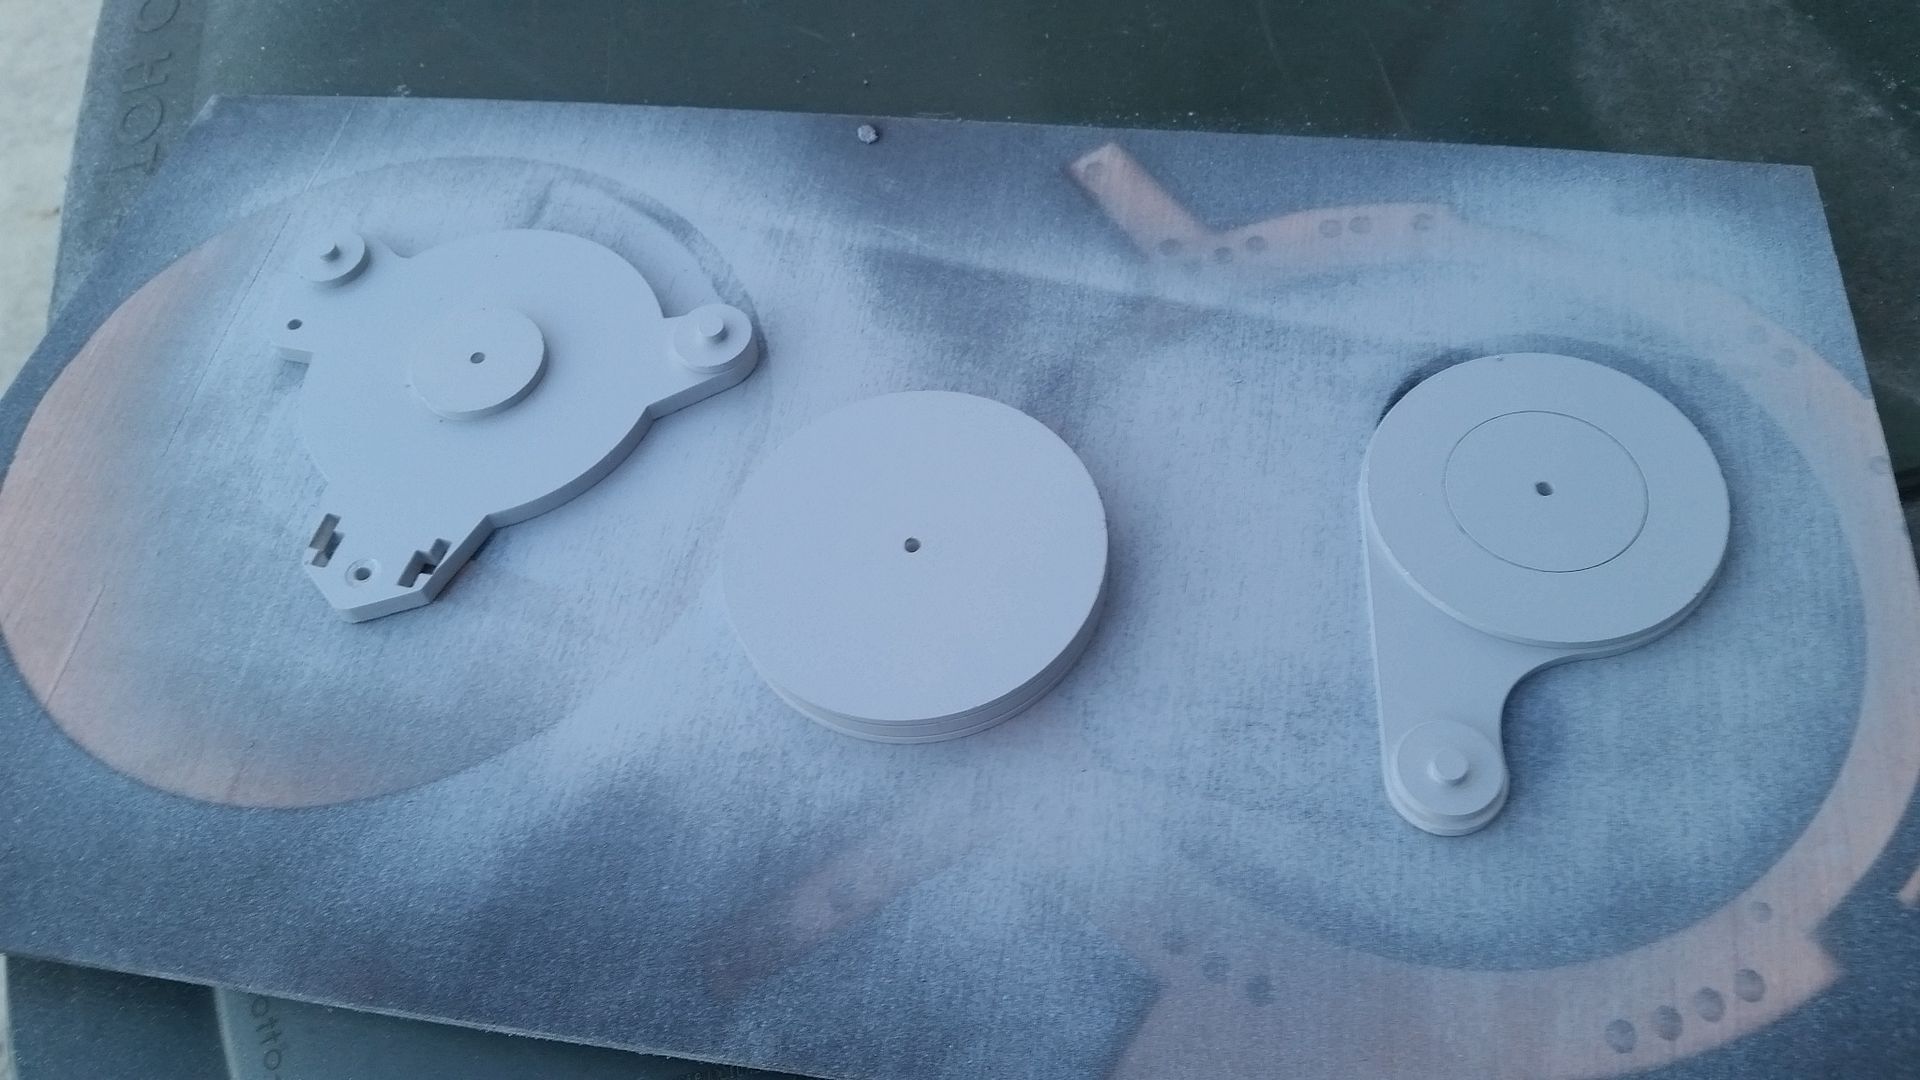
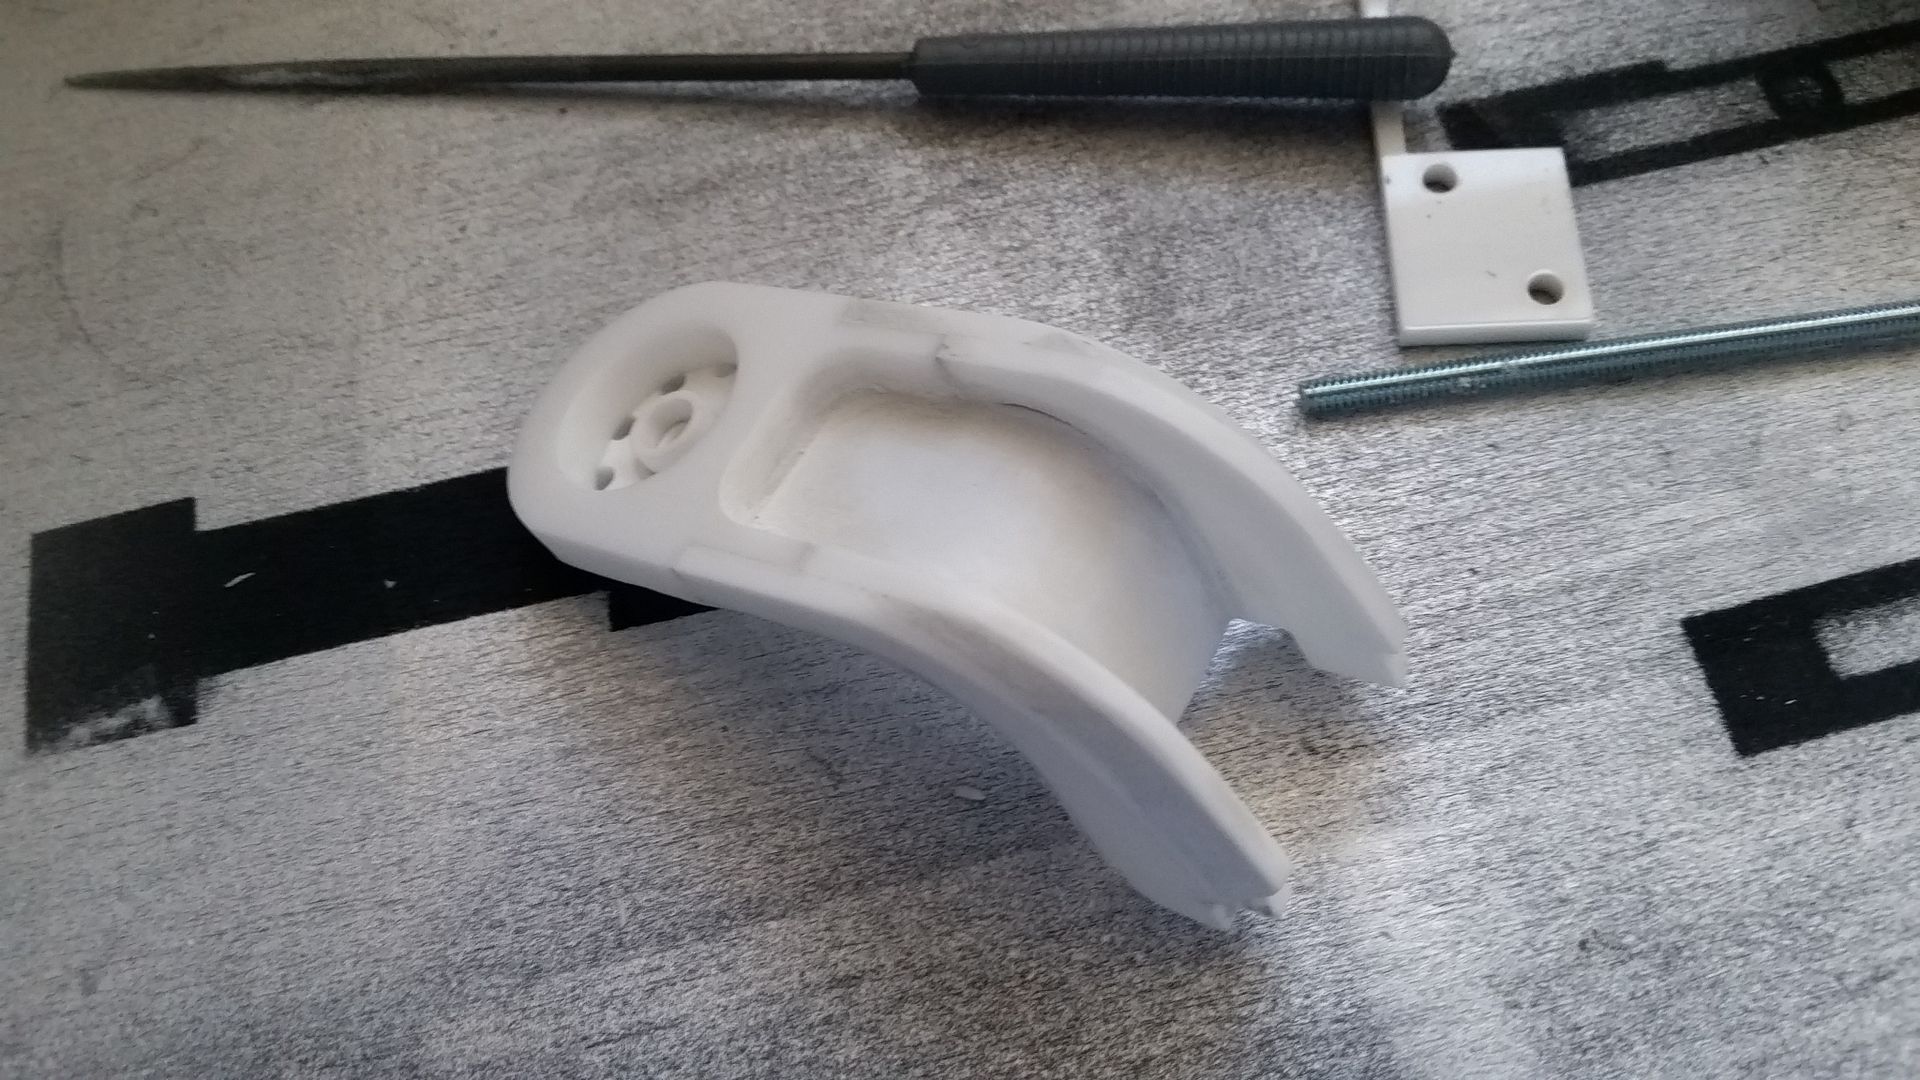
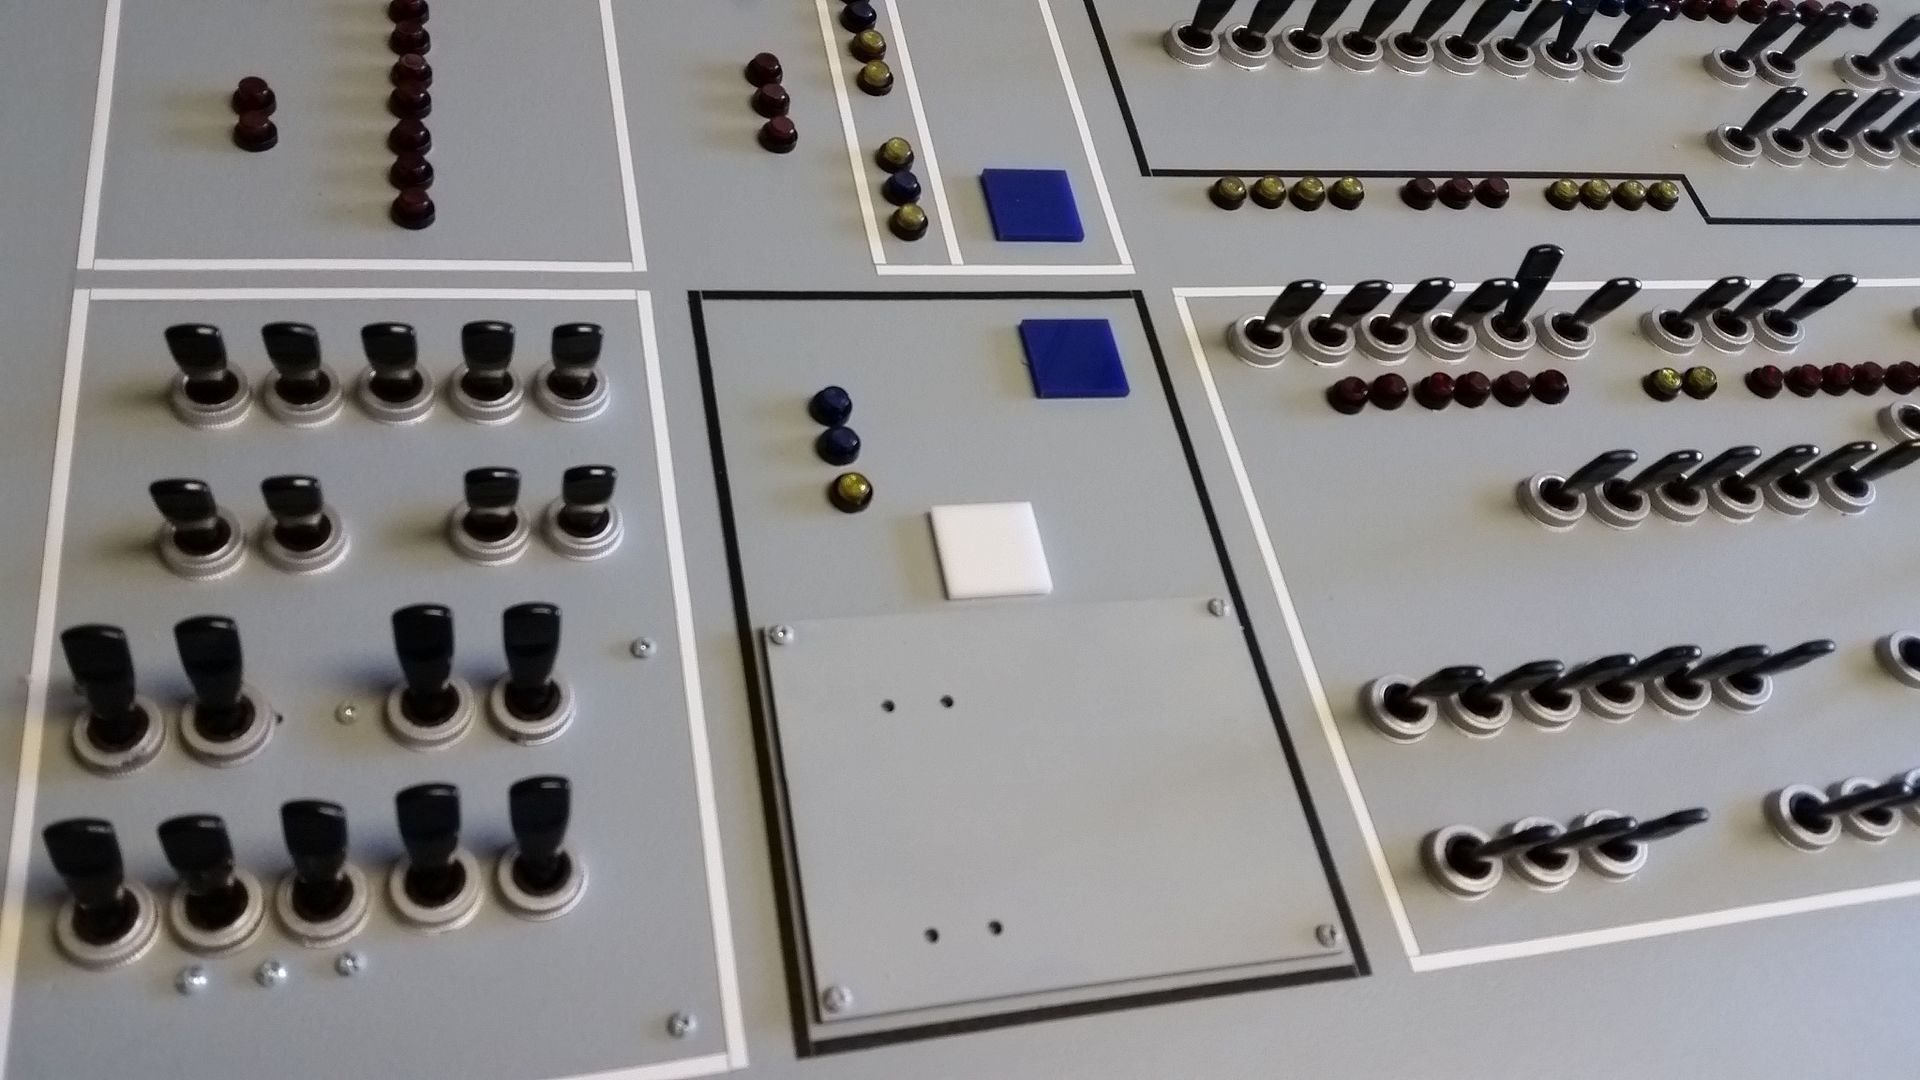
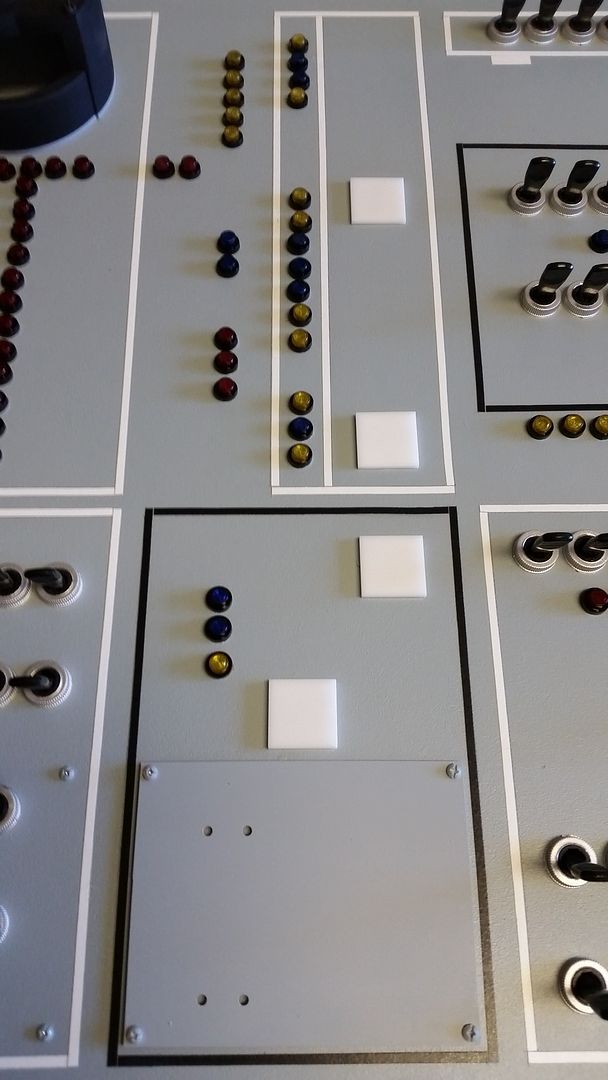
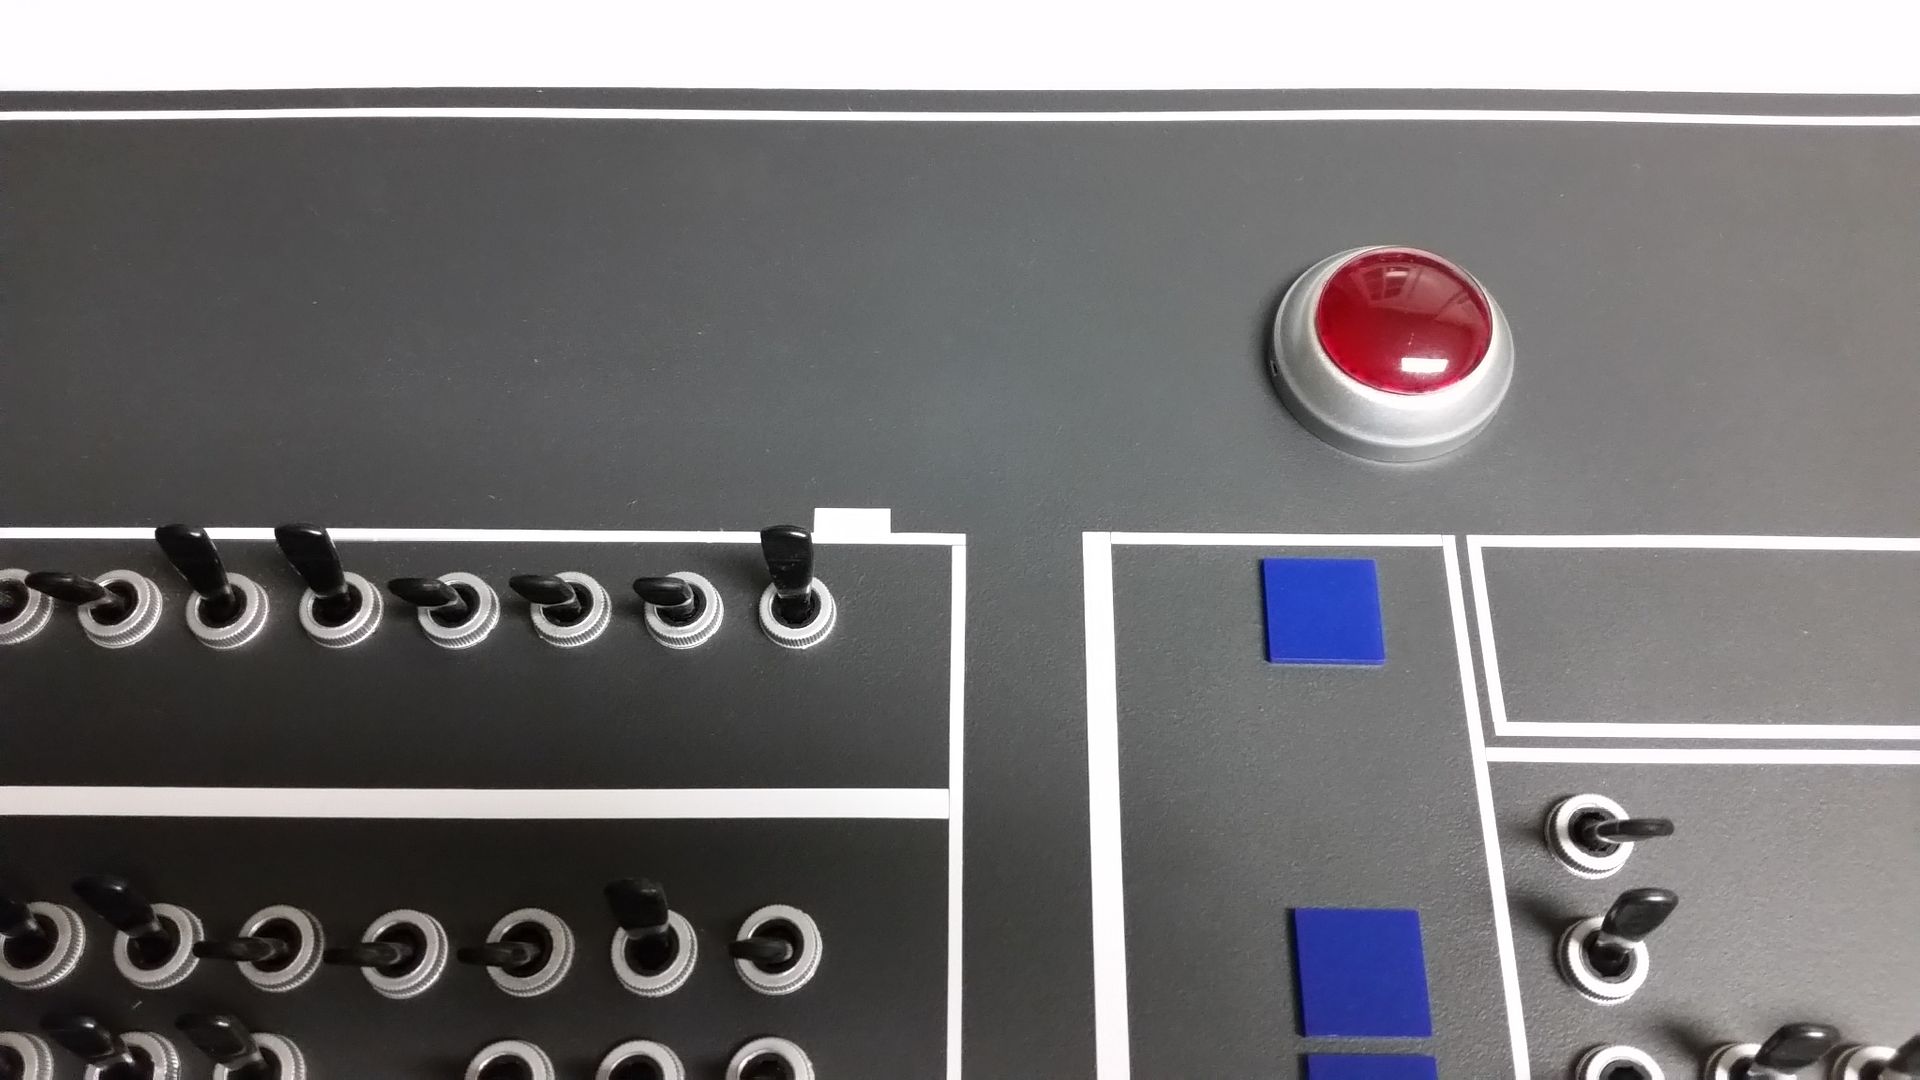
Another early morning update. Well... as much as I hoped the painted dots would work, they were just too small. I looked for stencils, plain white pre-cut stickys... nothing. The wiggle eyes gave me an idea. They come in various sizes, sticky back, raised rounded edges... makes sense to me?
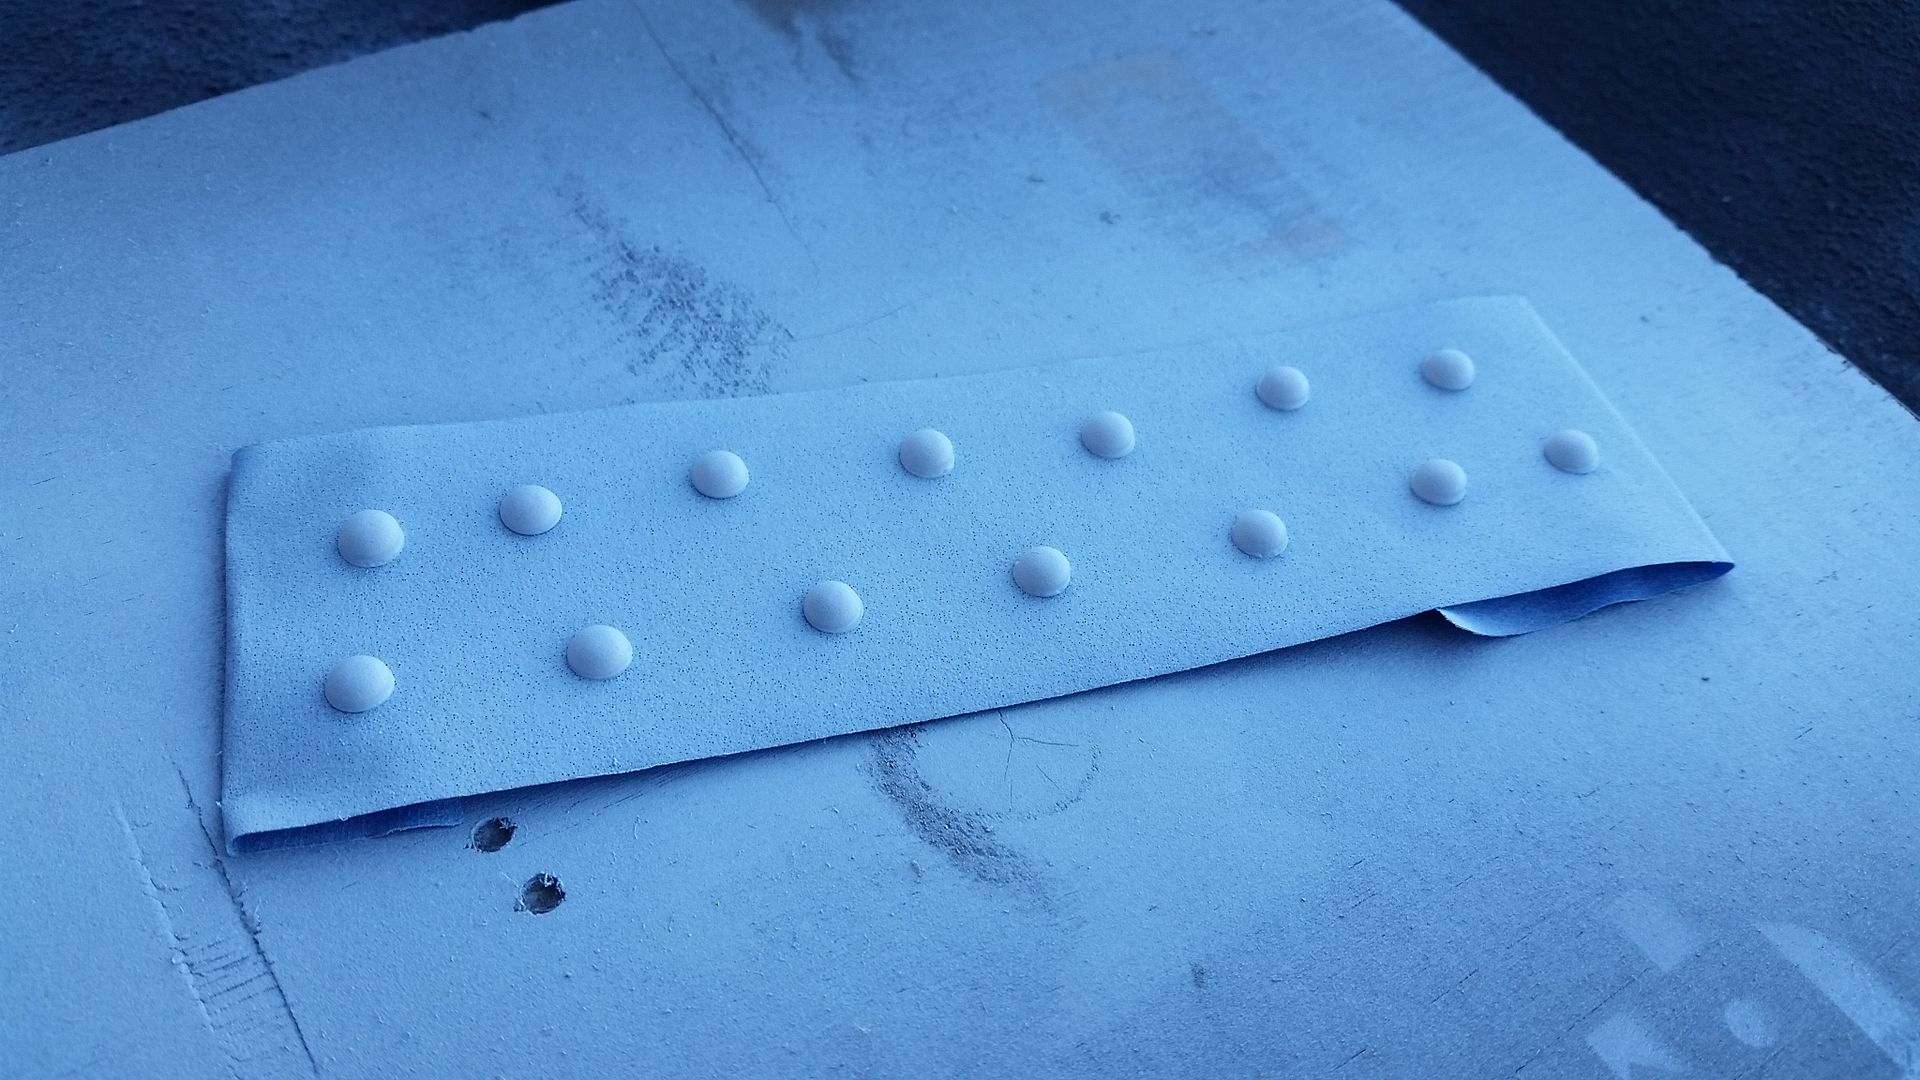
I sprayed some plastic primer then white paint on the wiggly eyes
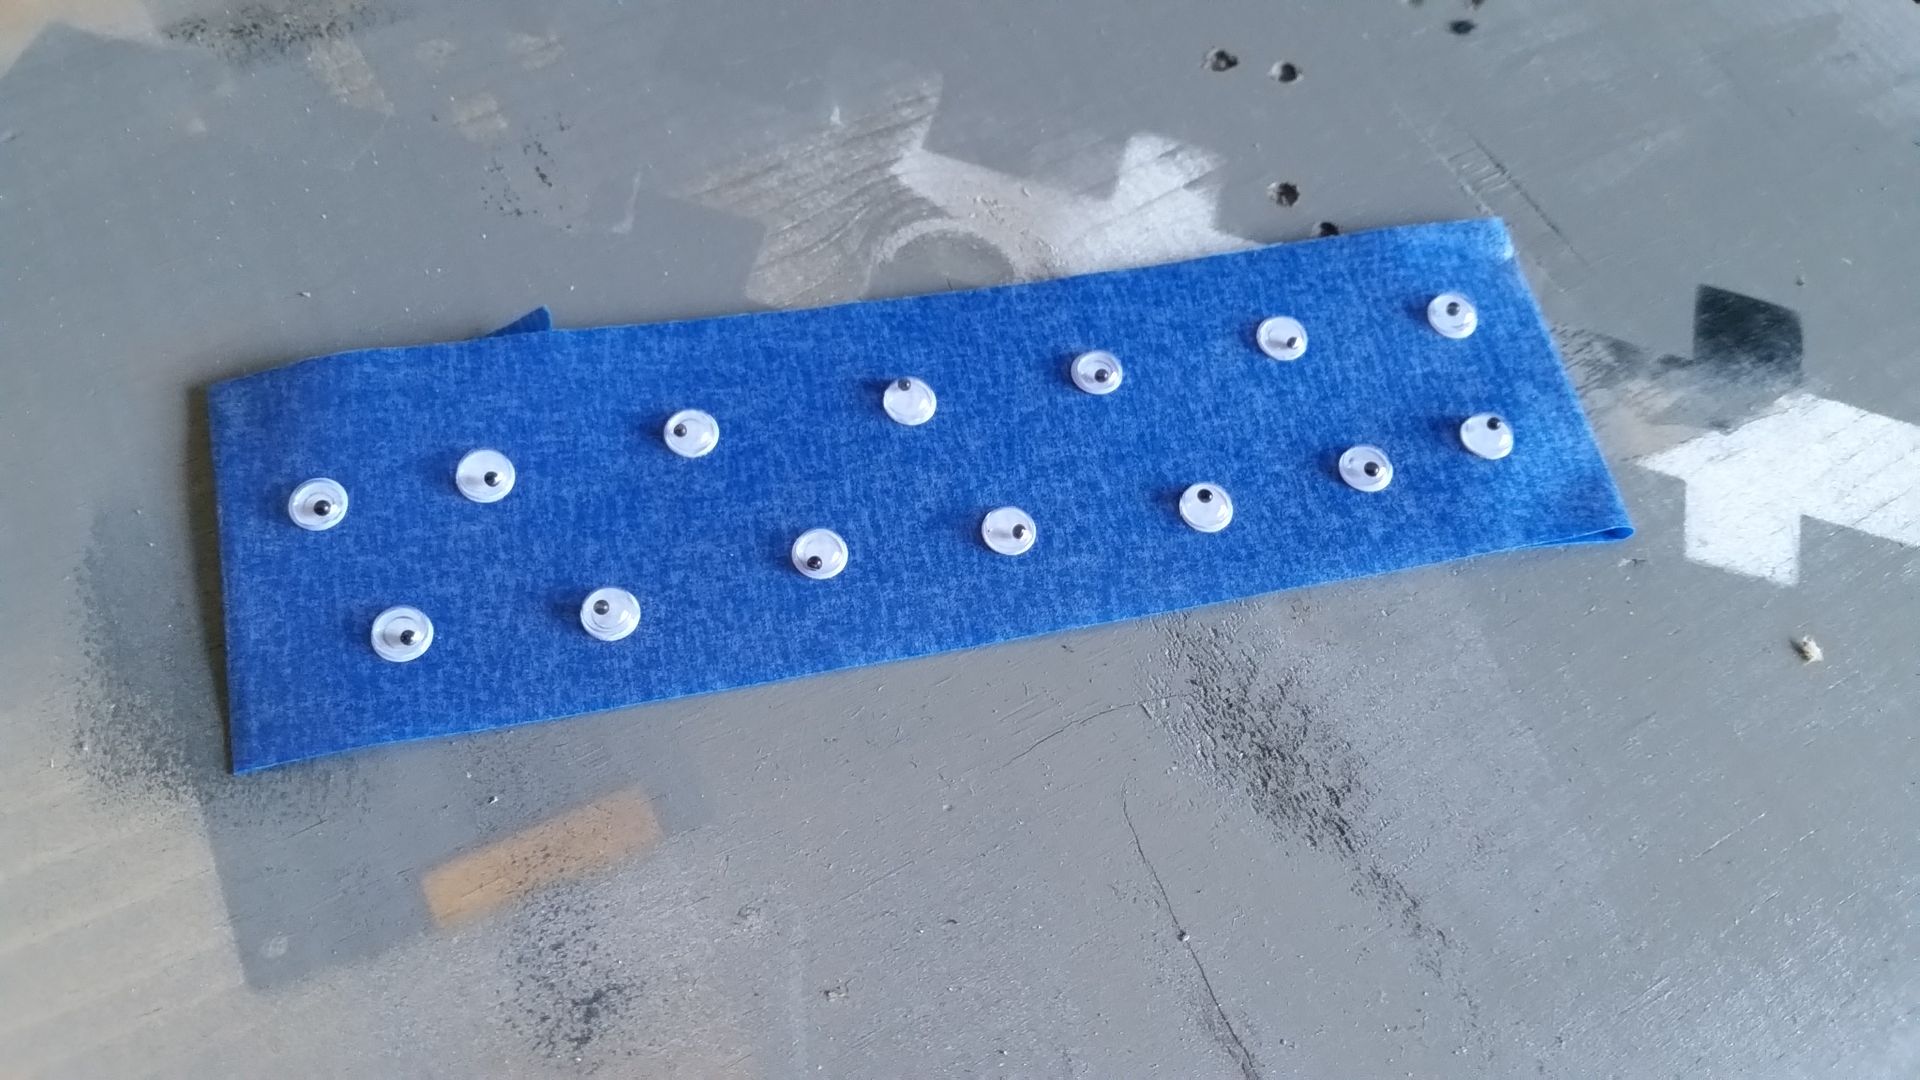
Broke out the trusty ruler and simply covered the white dots
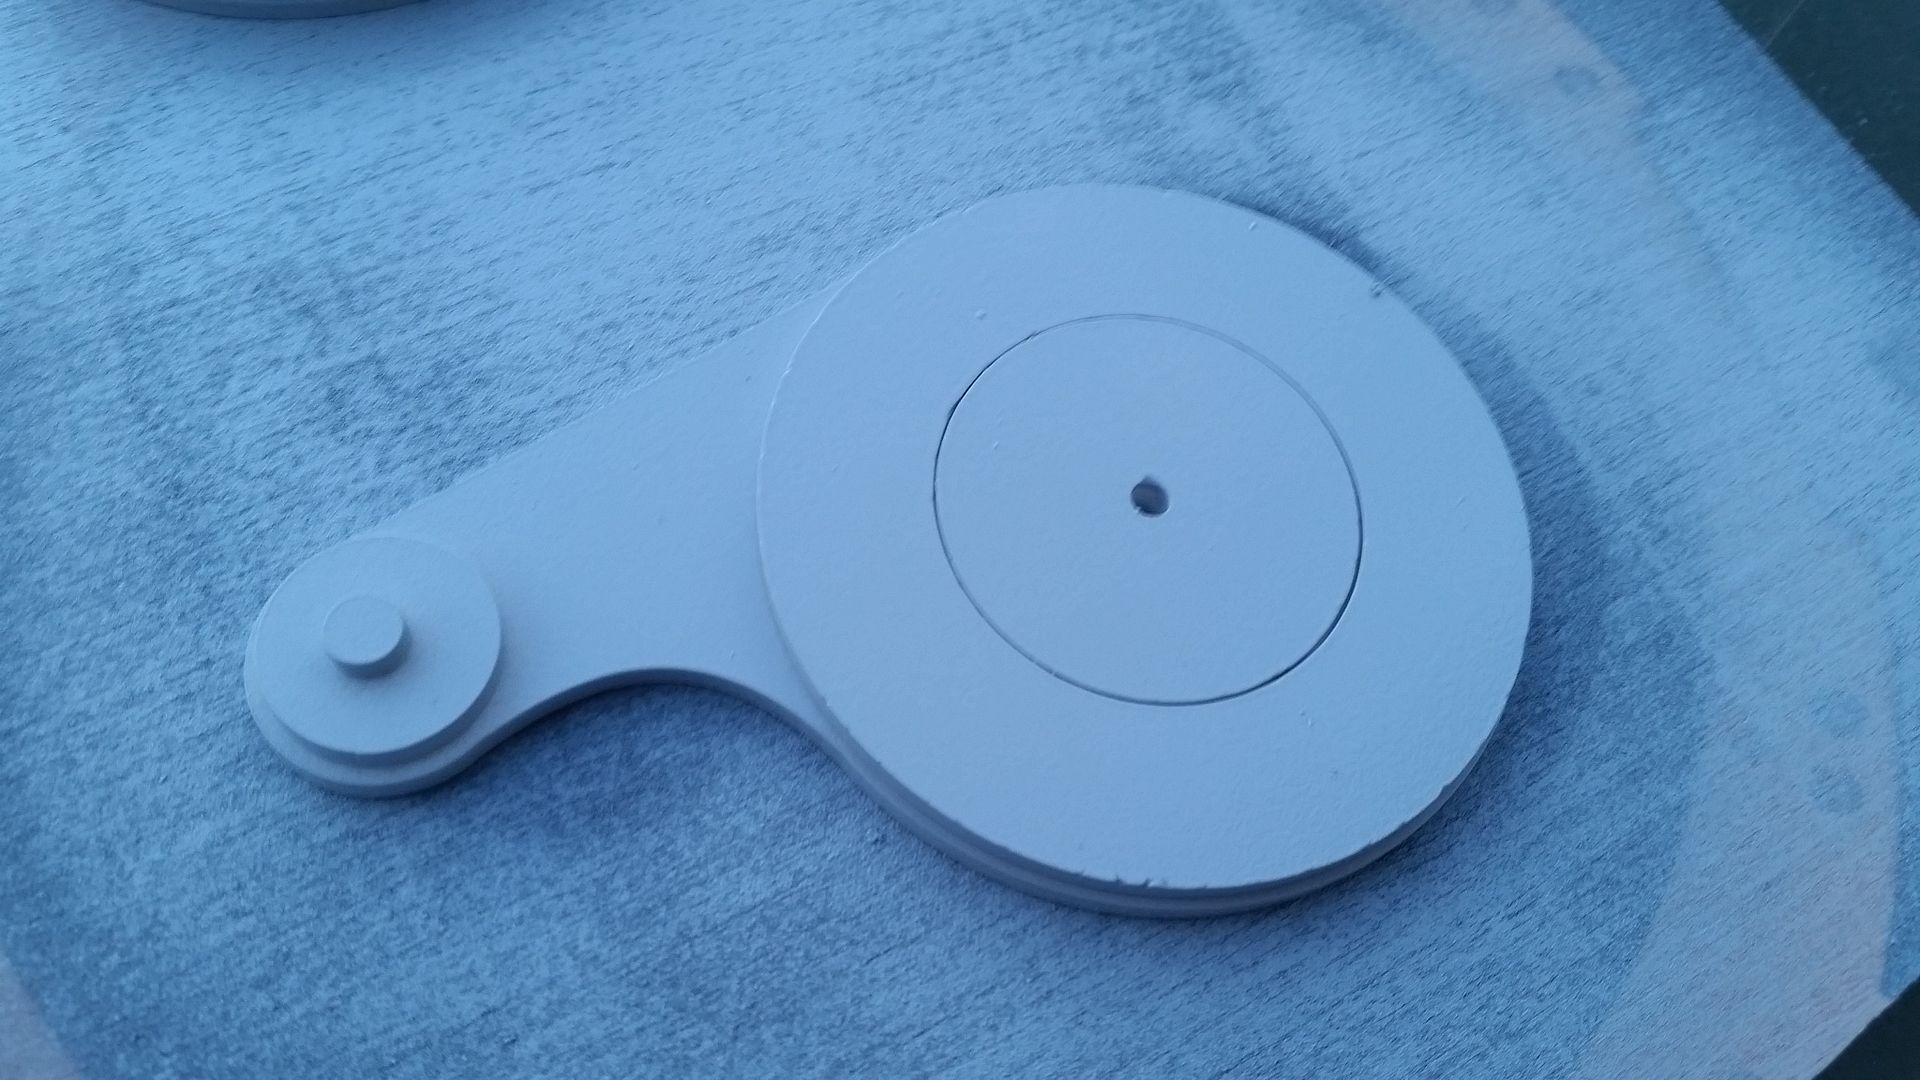
I'm very happy with the result. The paint would have more permanent... but I like the raised rounded edges.
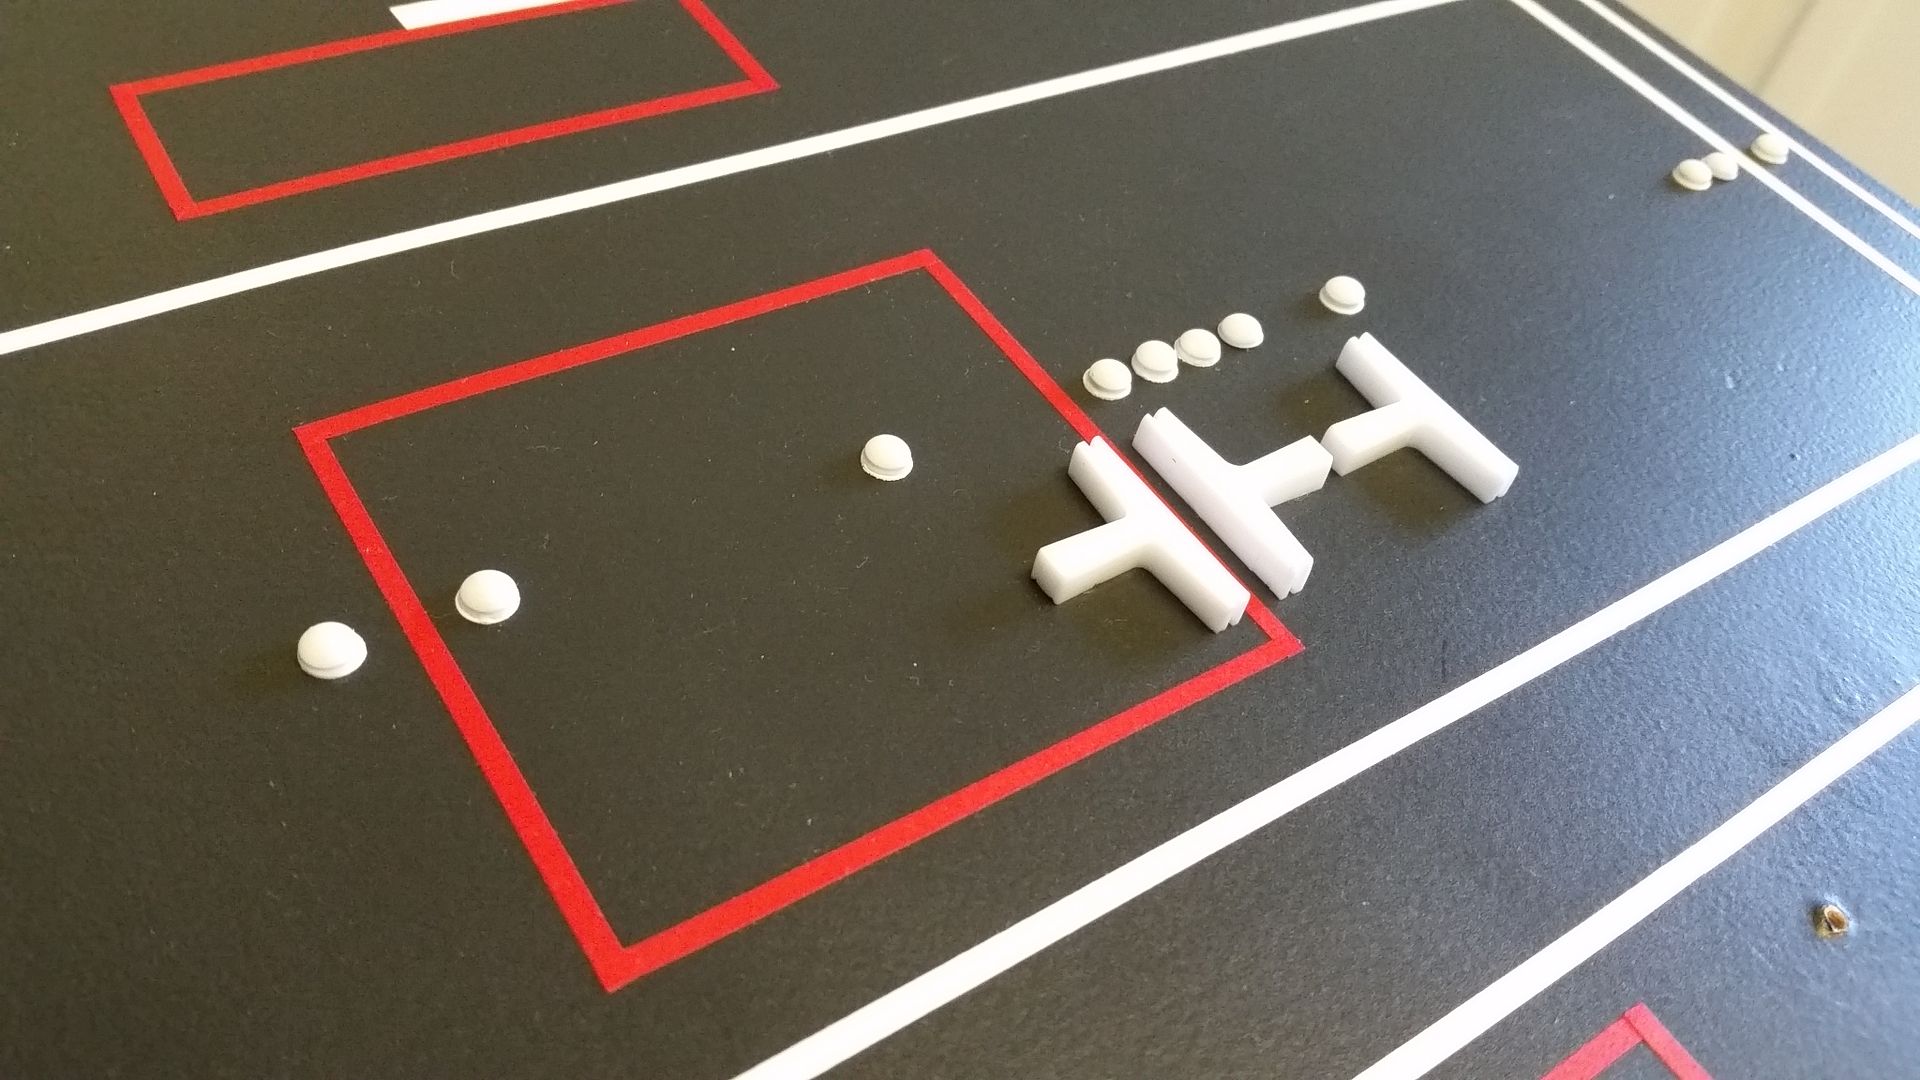
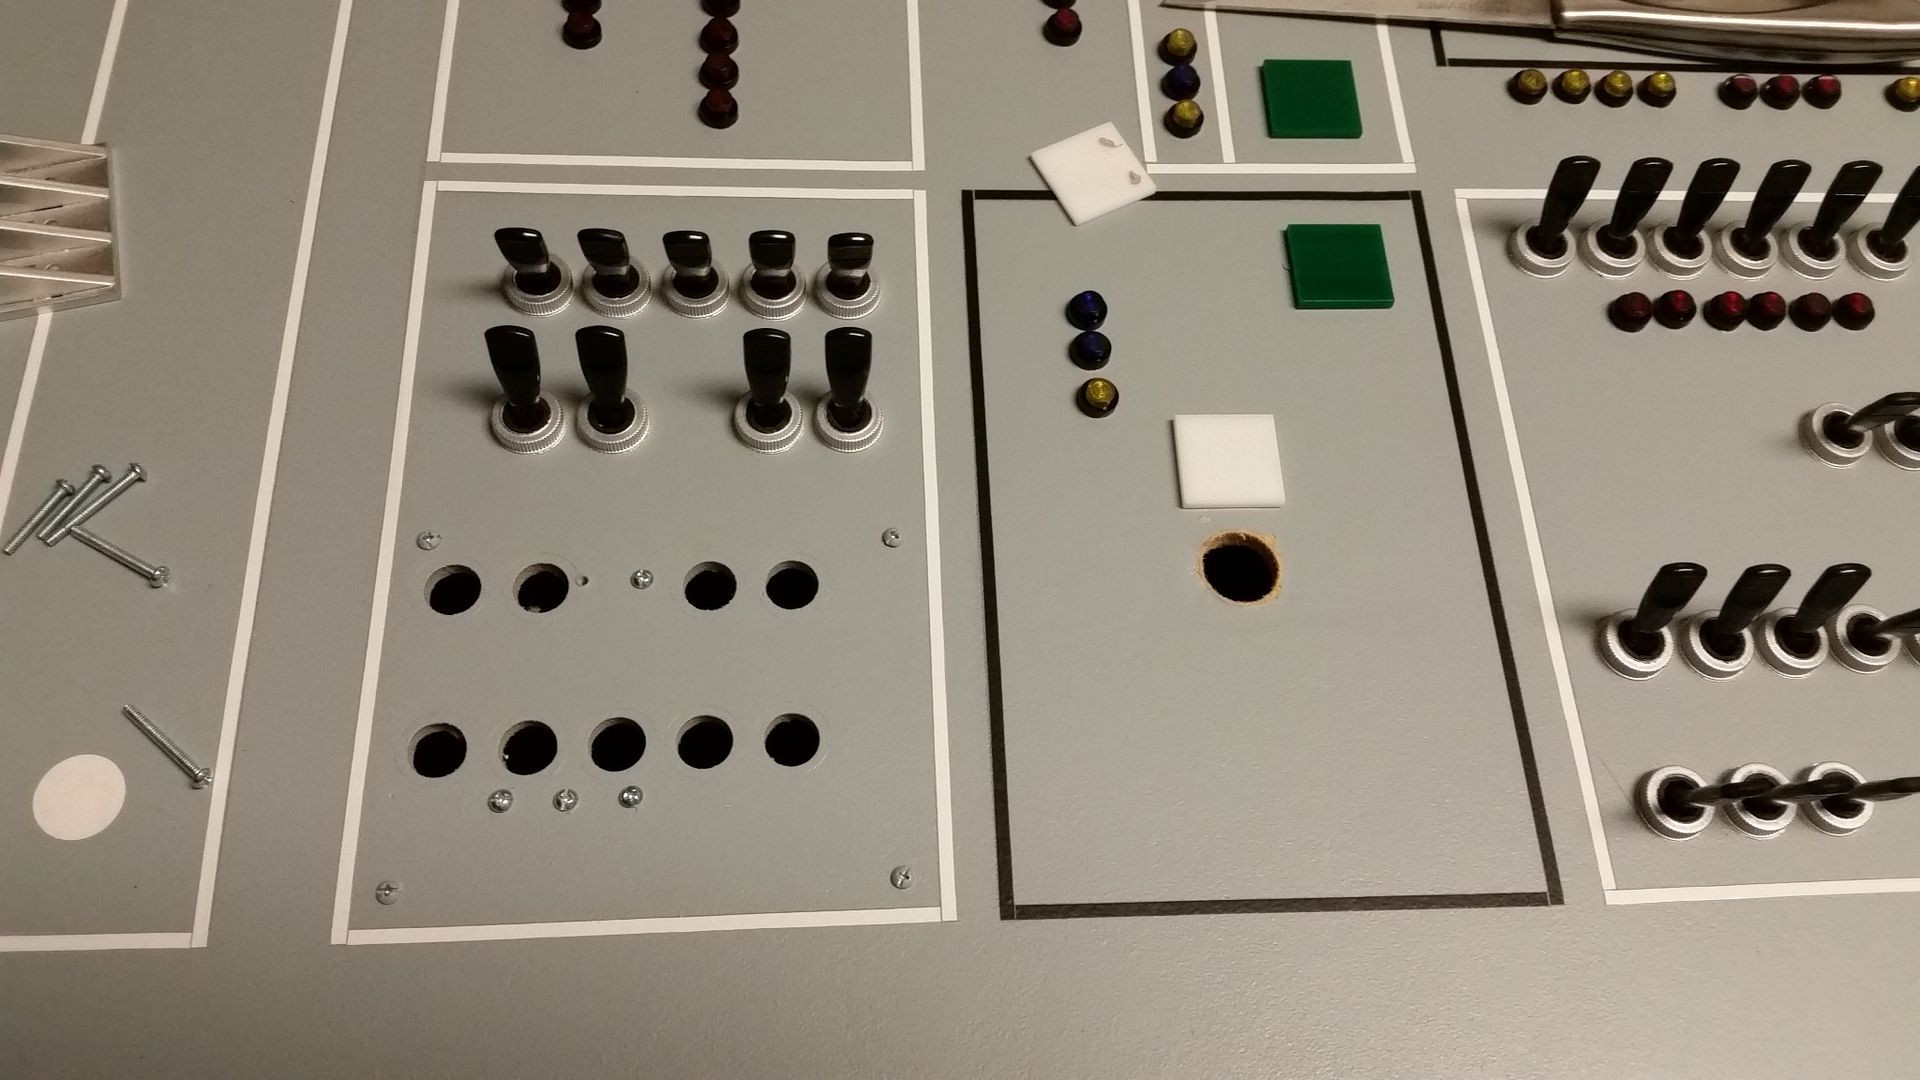
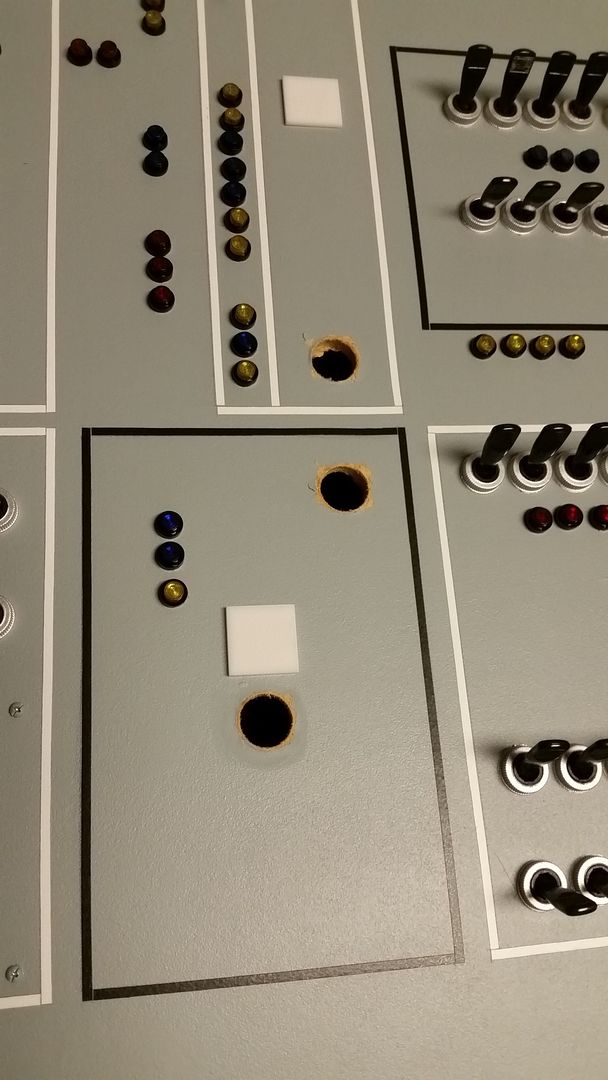
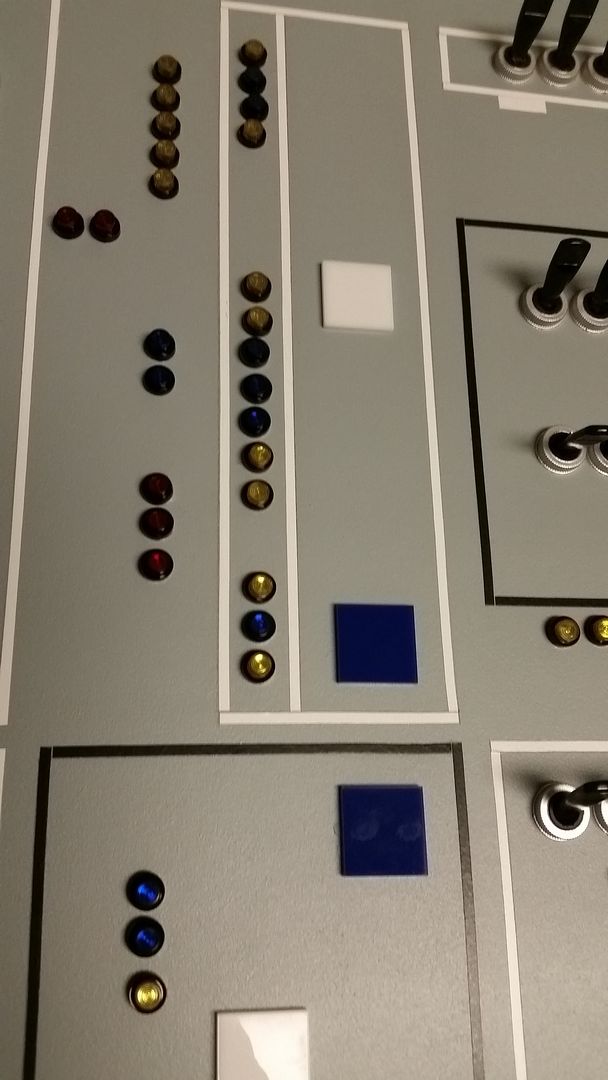
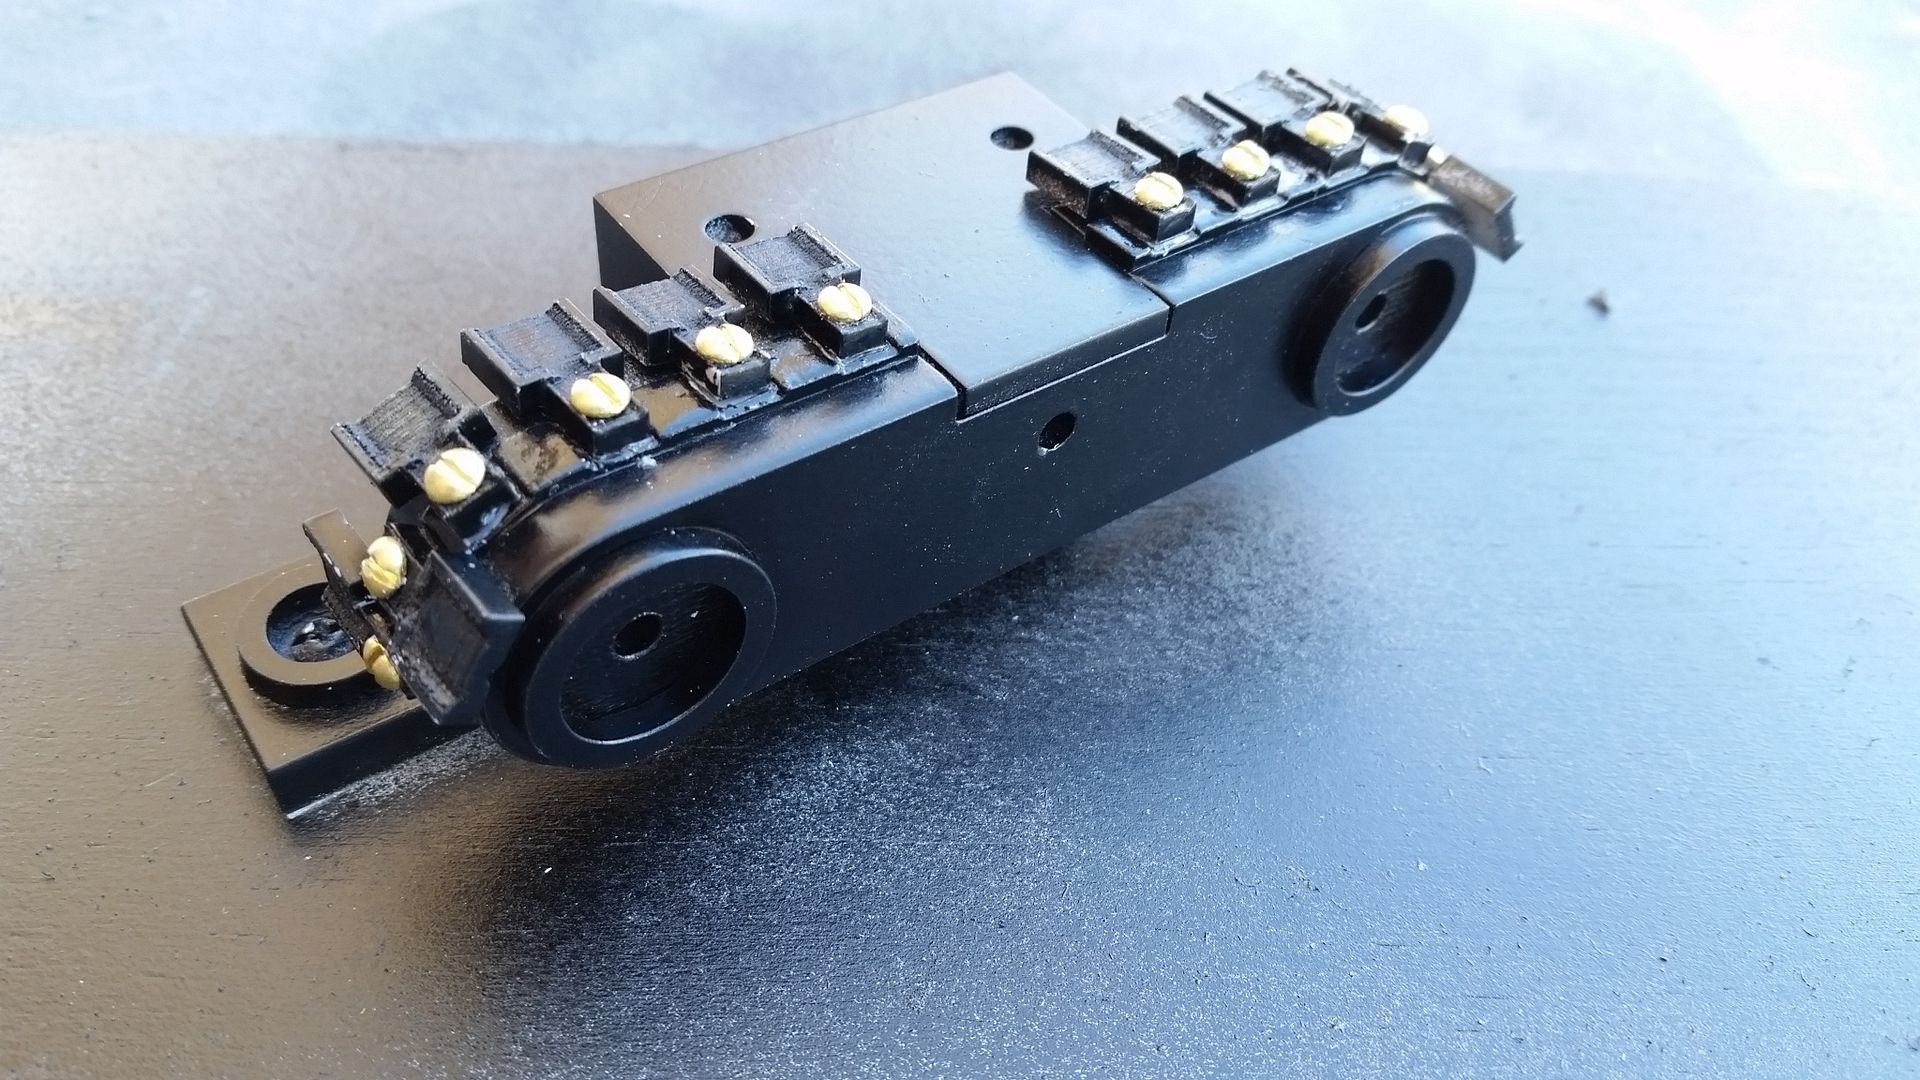
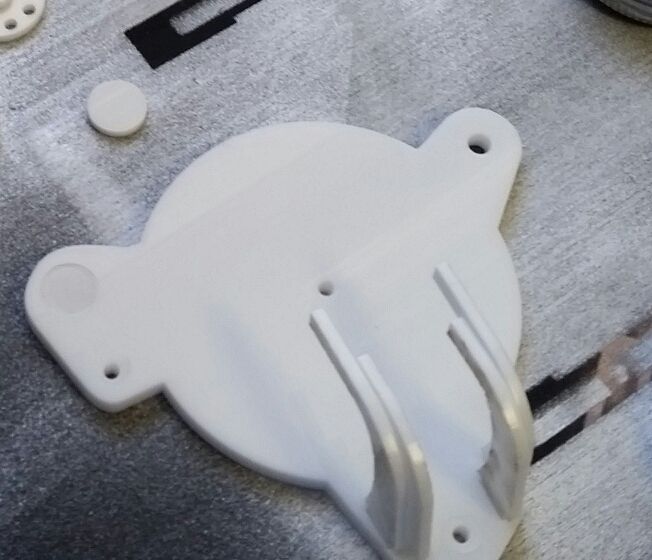
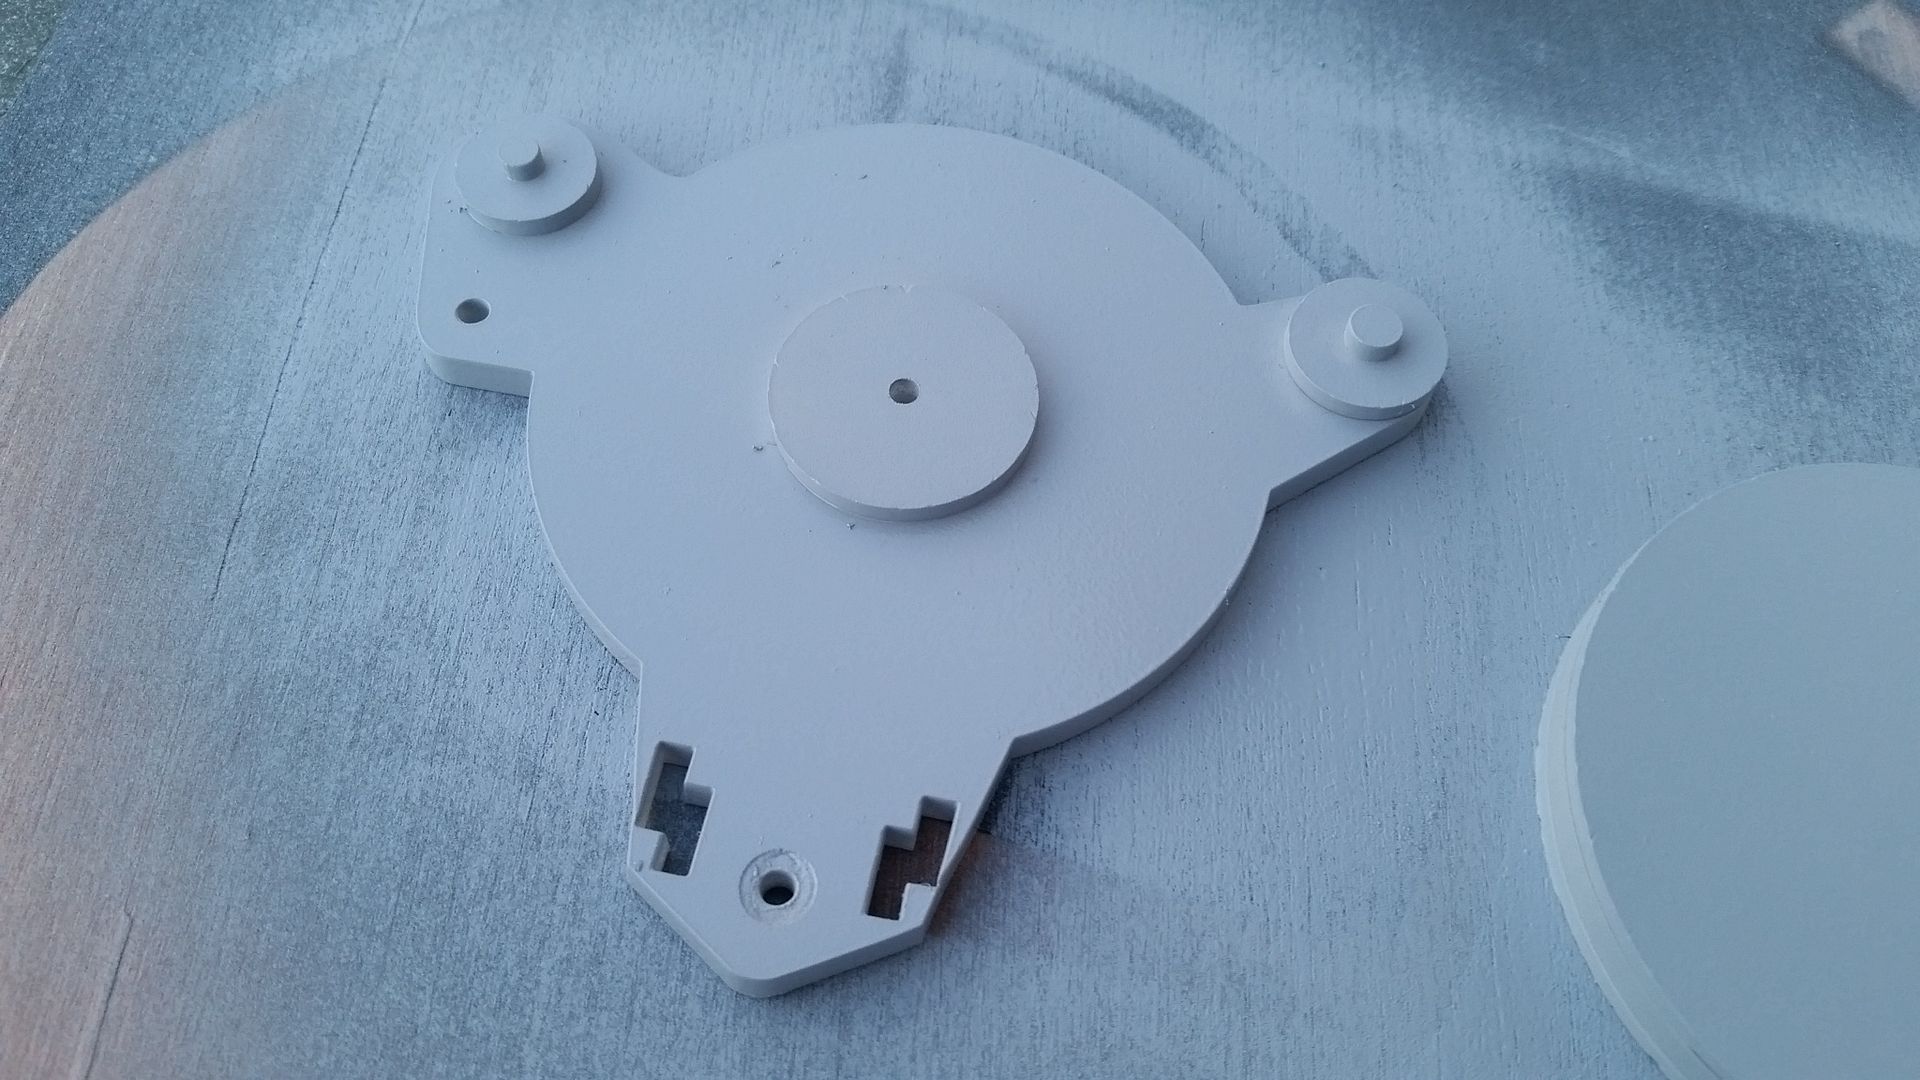
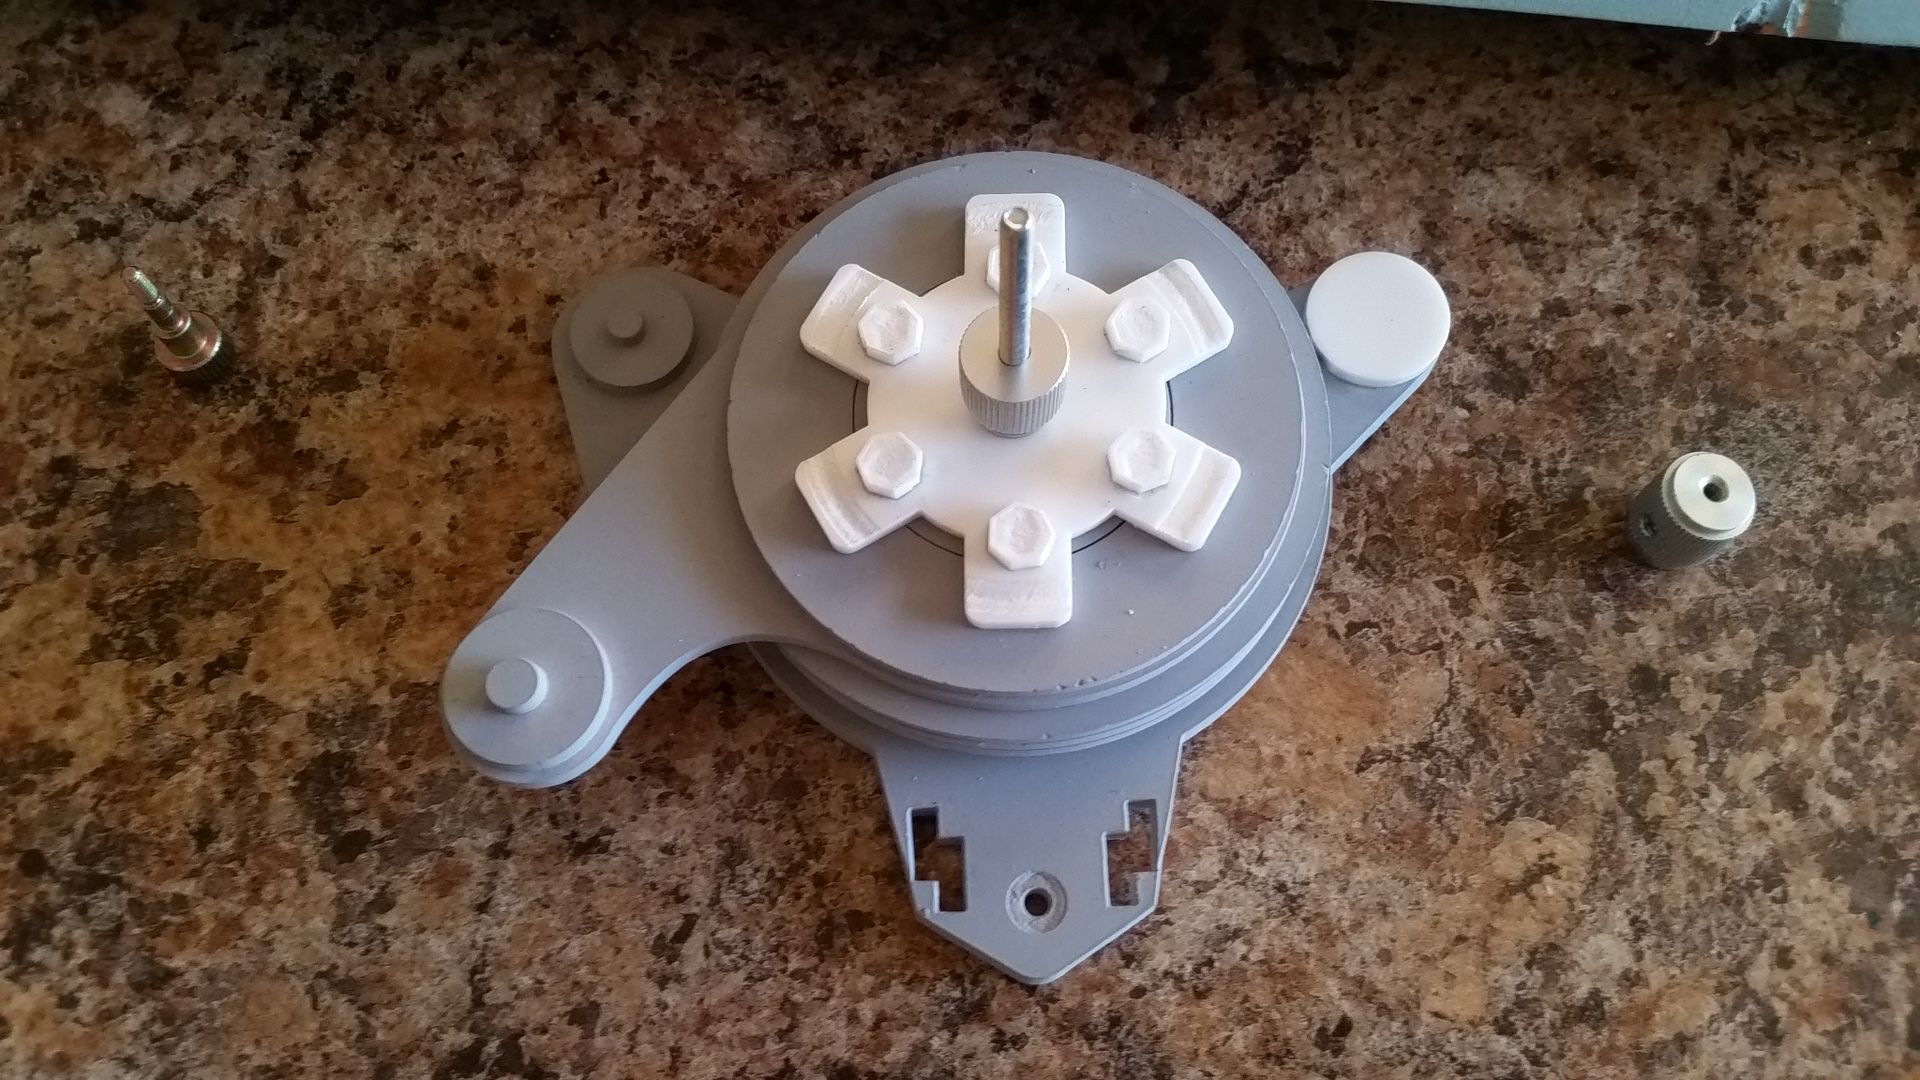
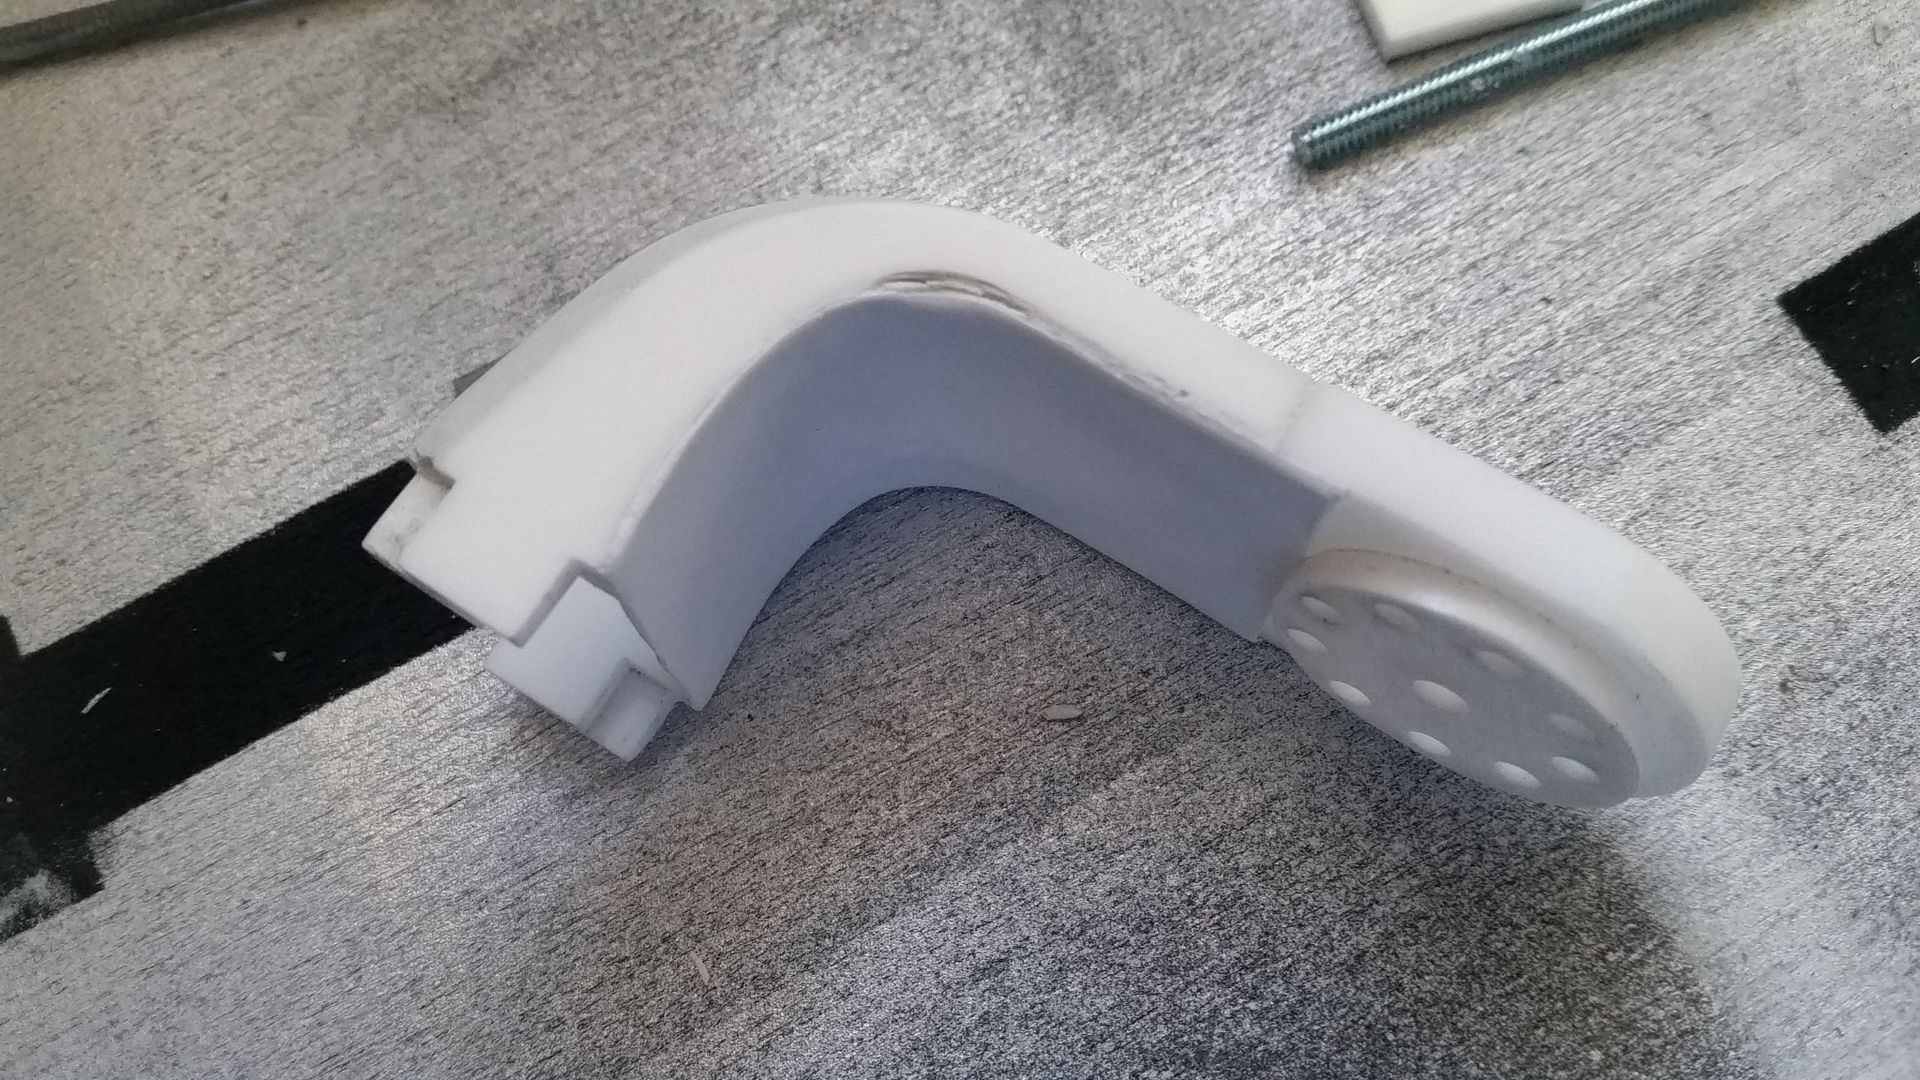
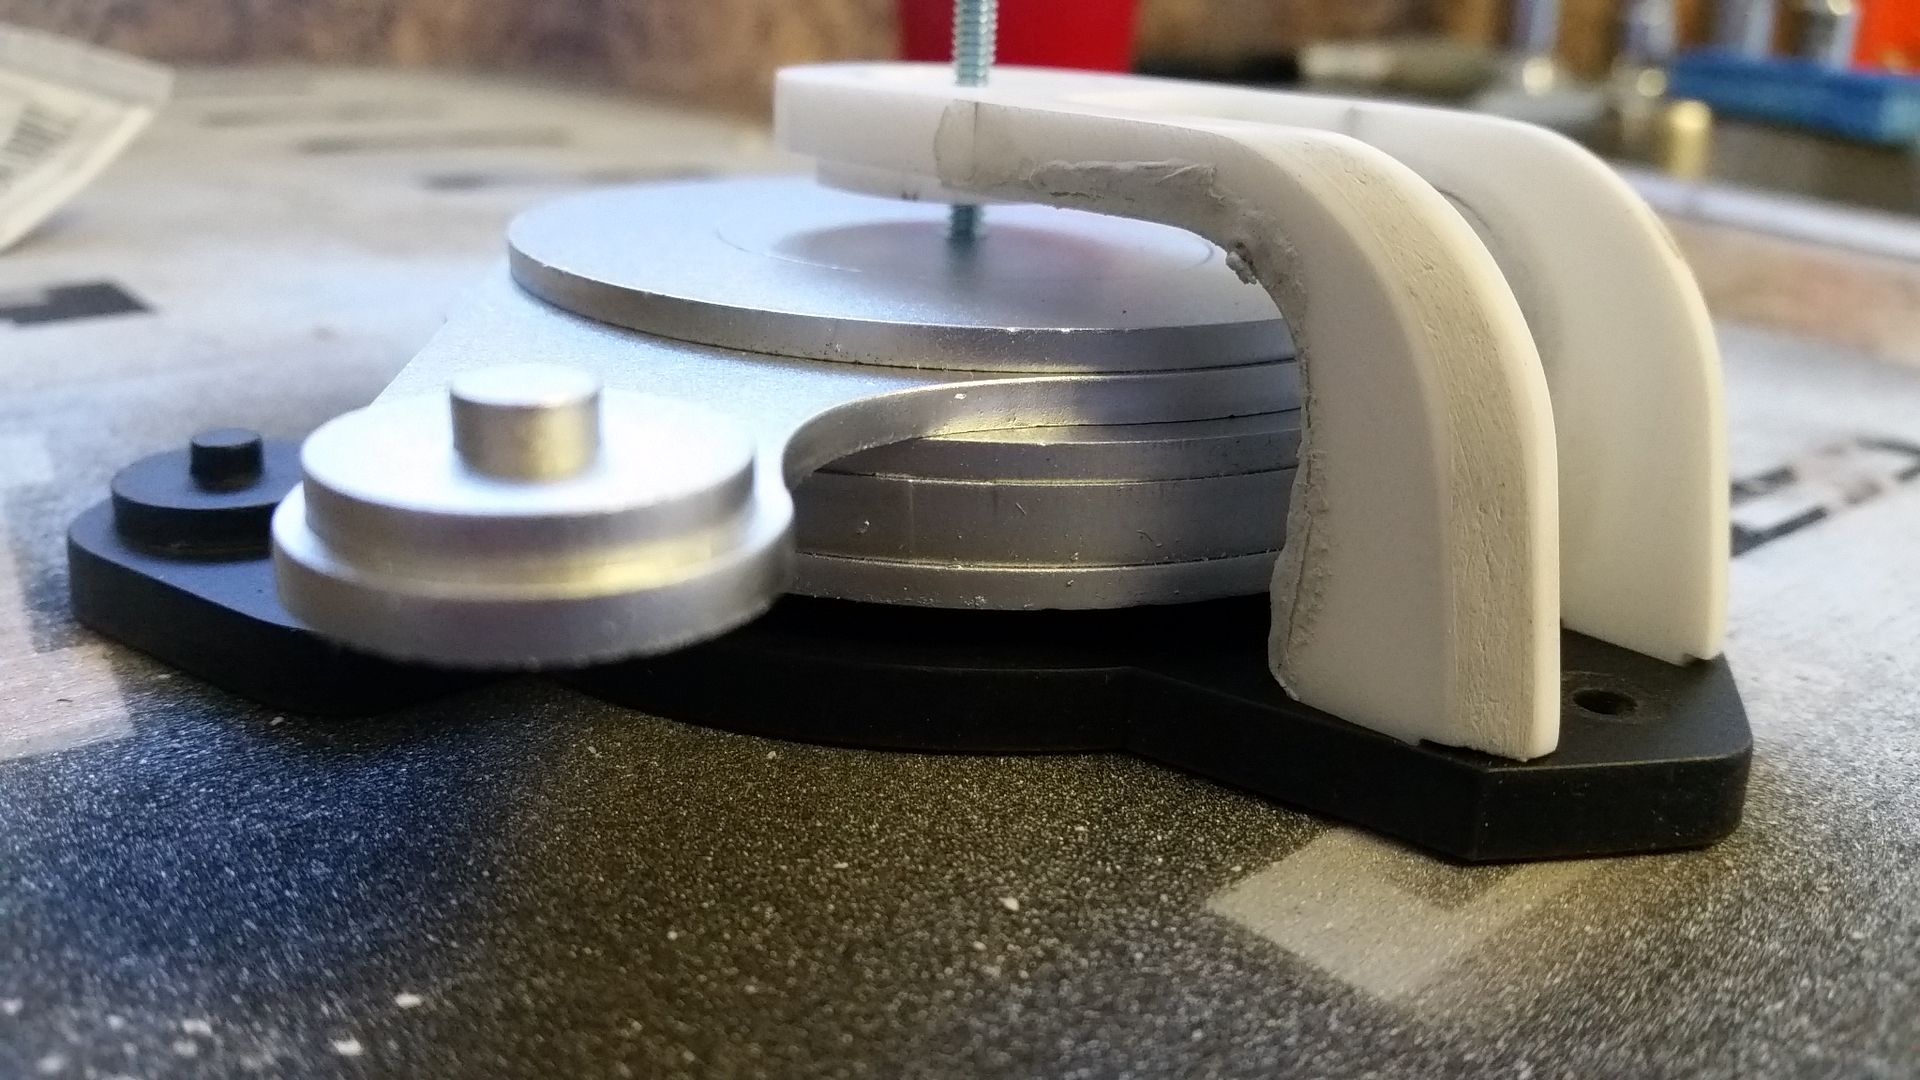
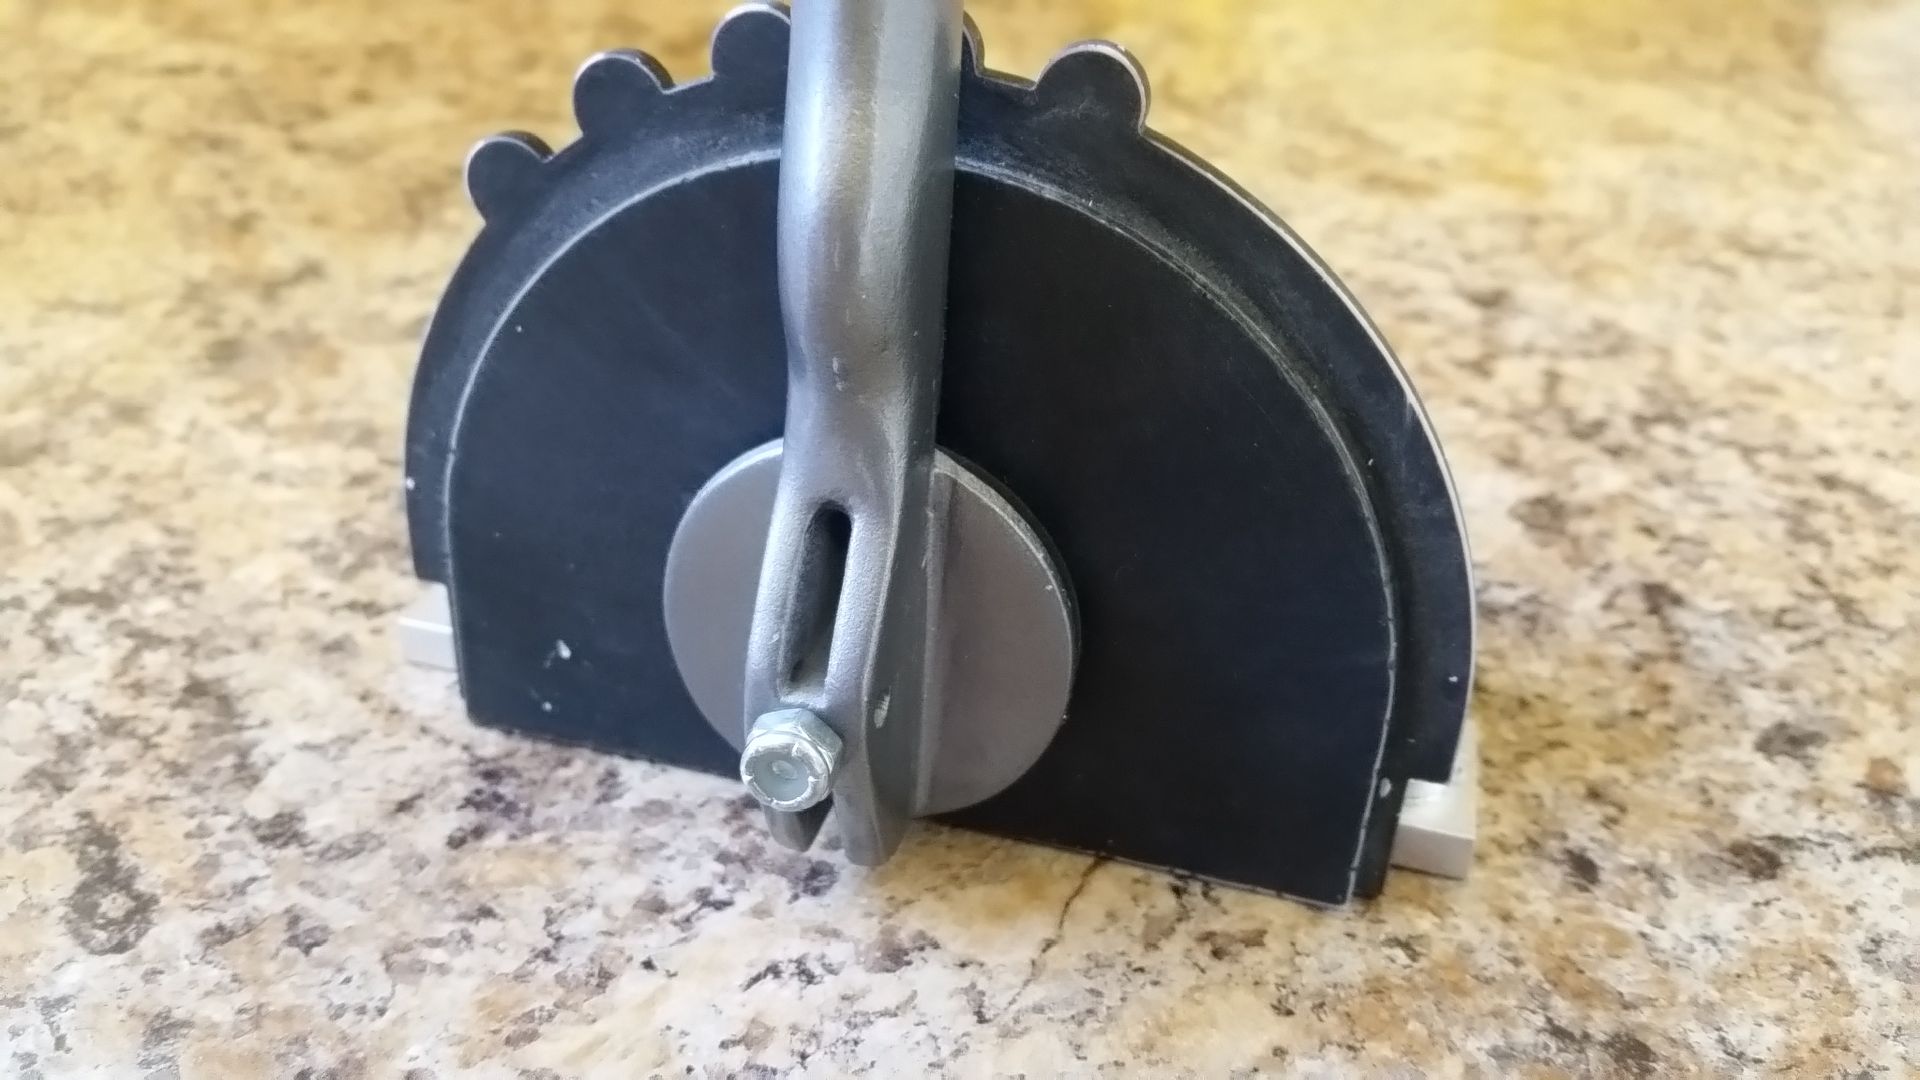
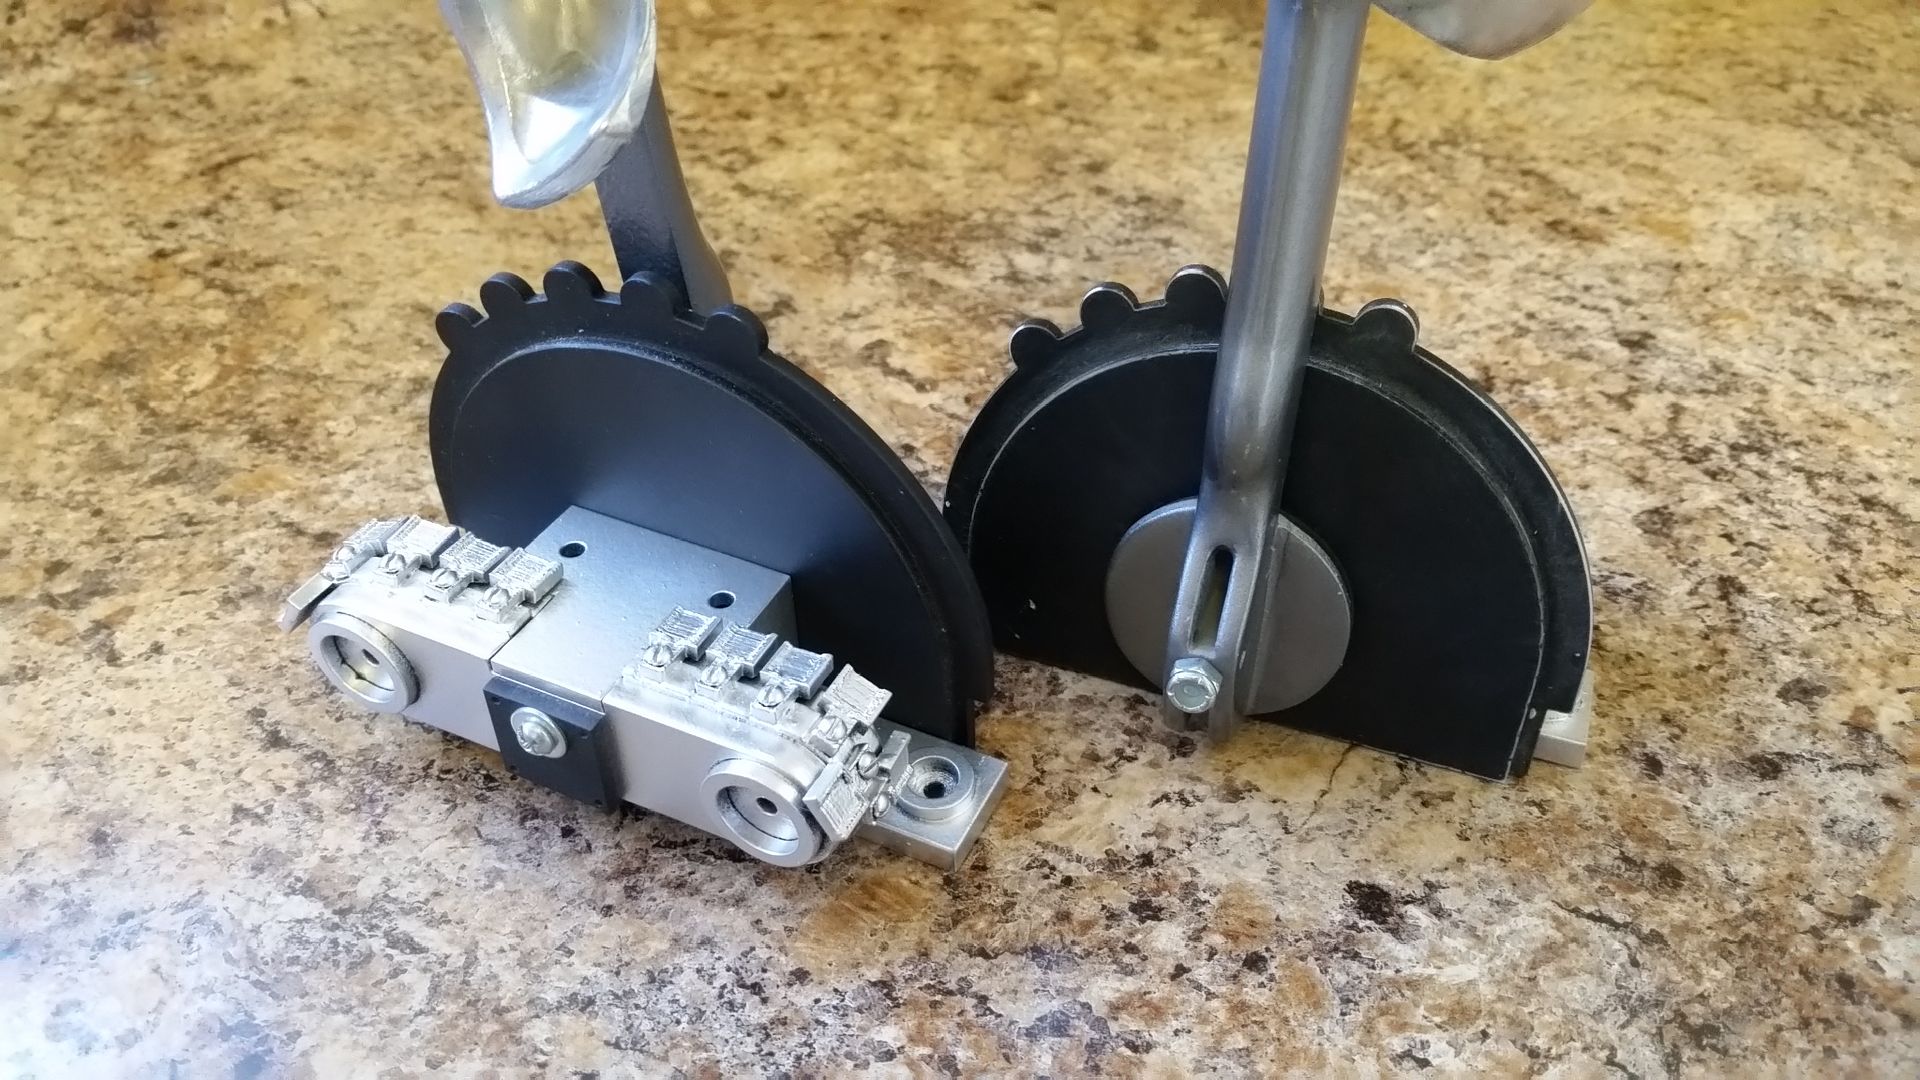
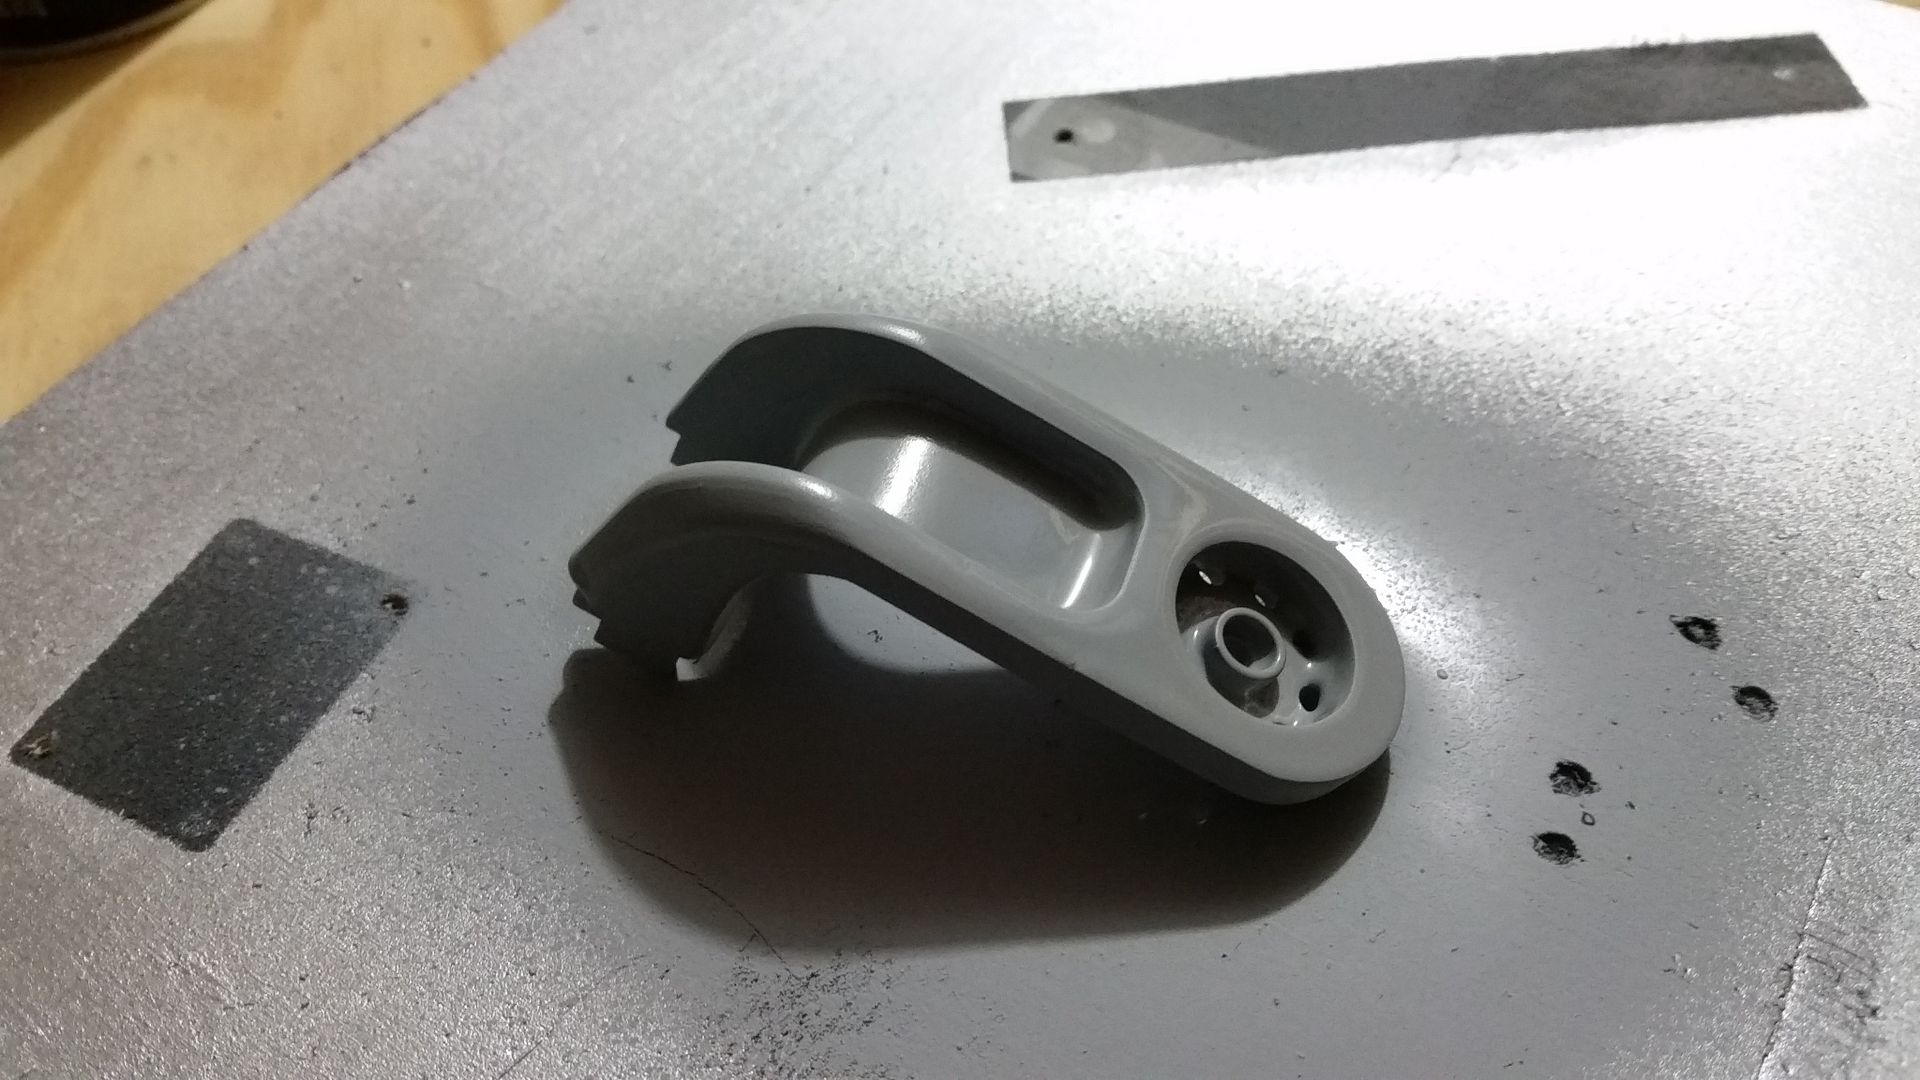
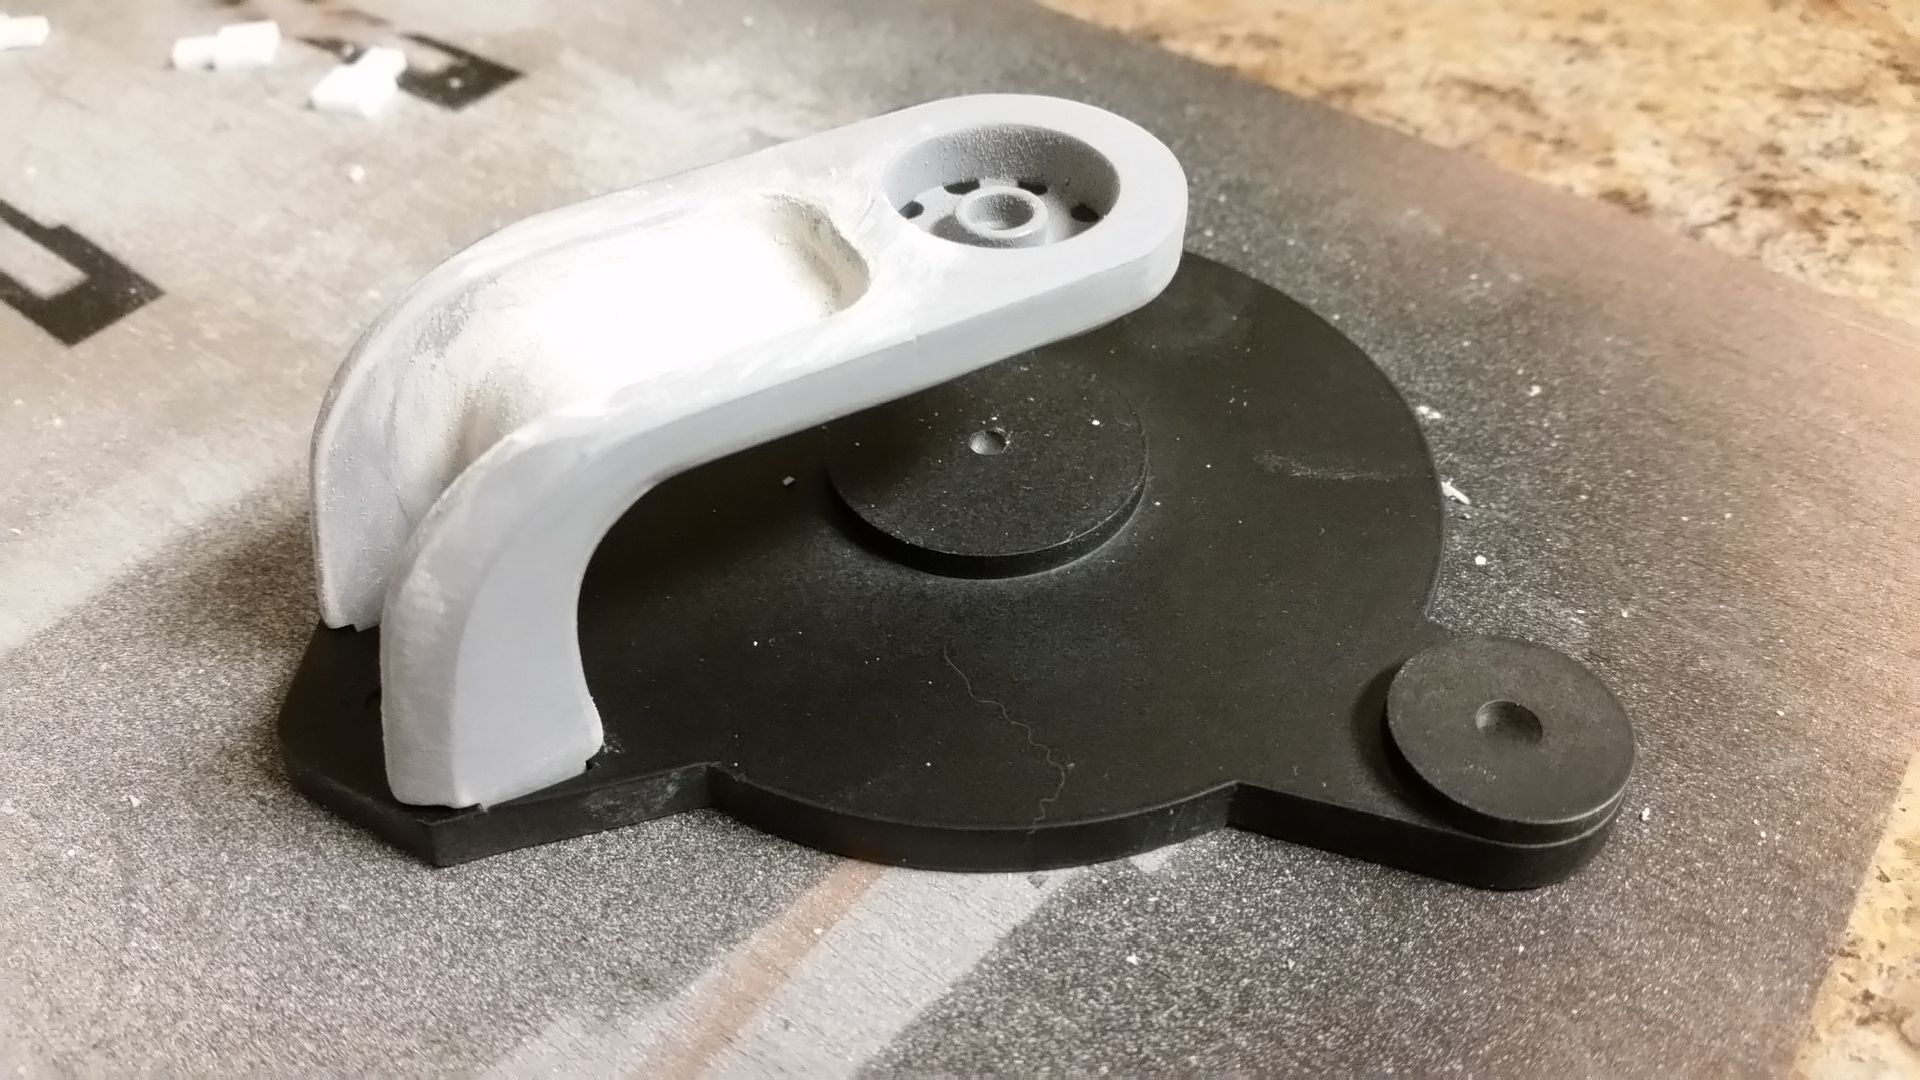
I covered only 3 of the 5 dots on the Garrard trim piece
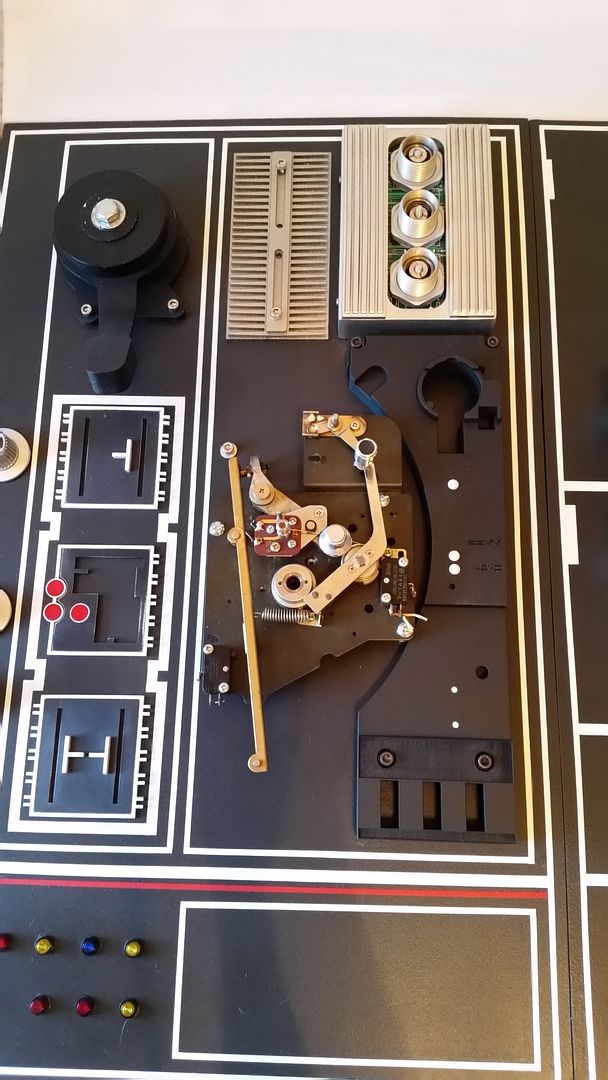
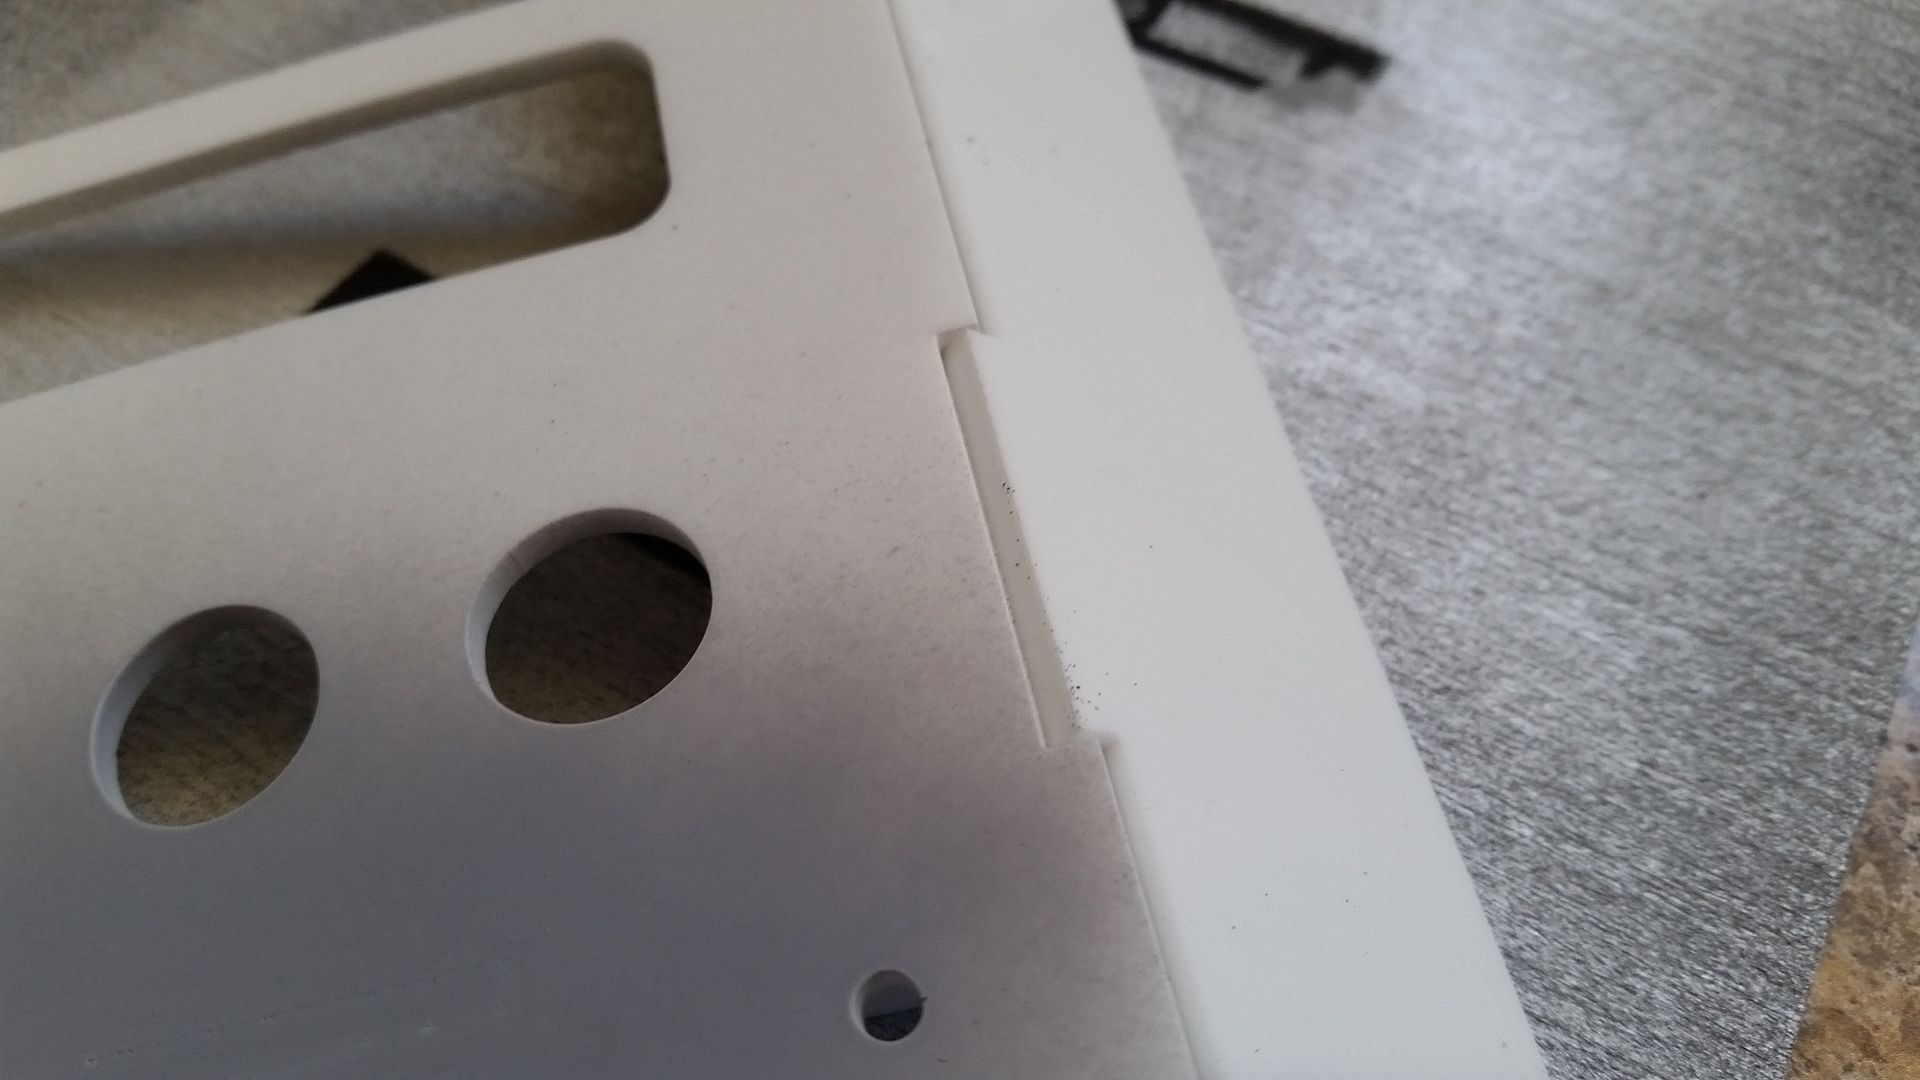
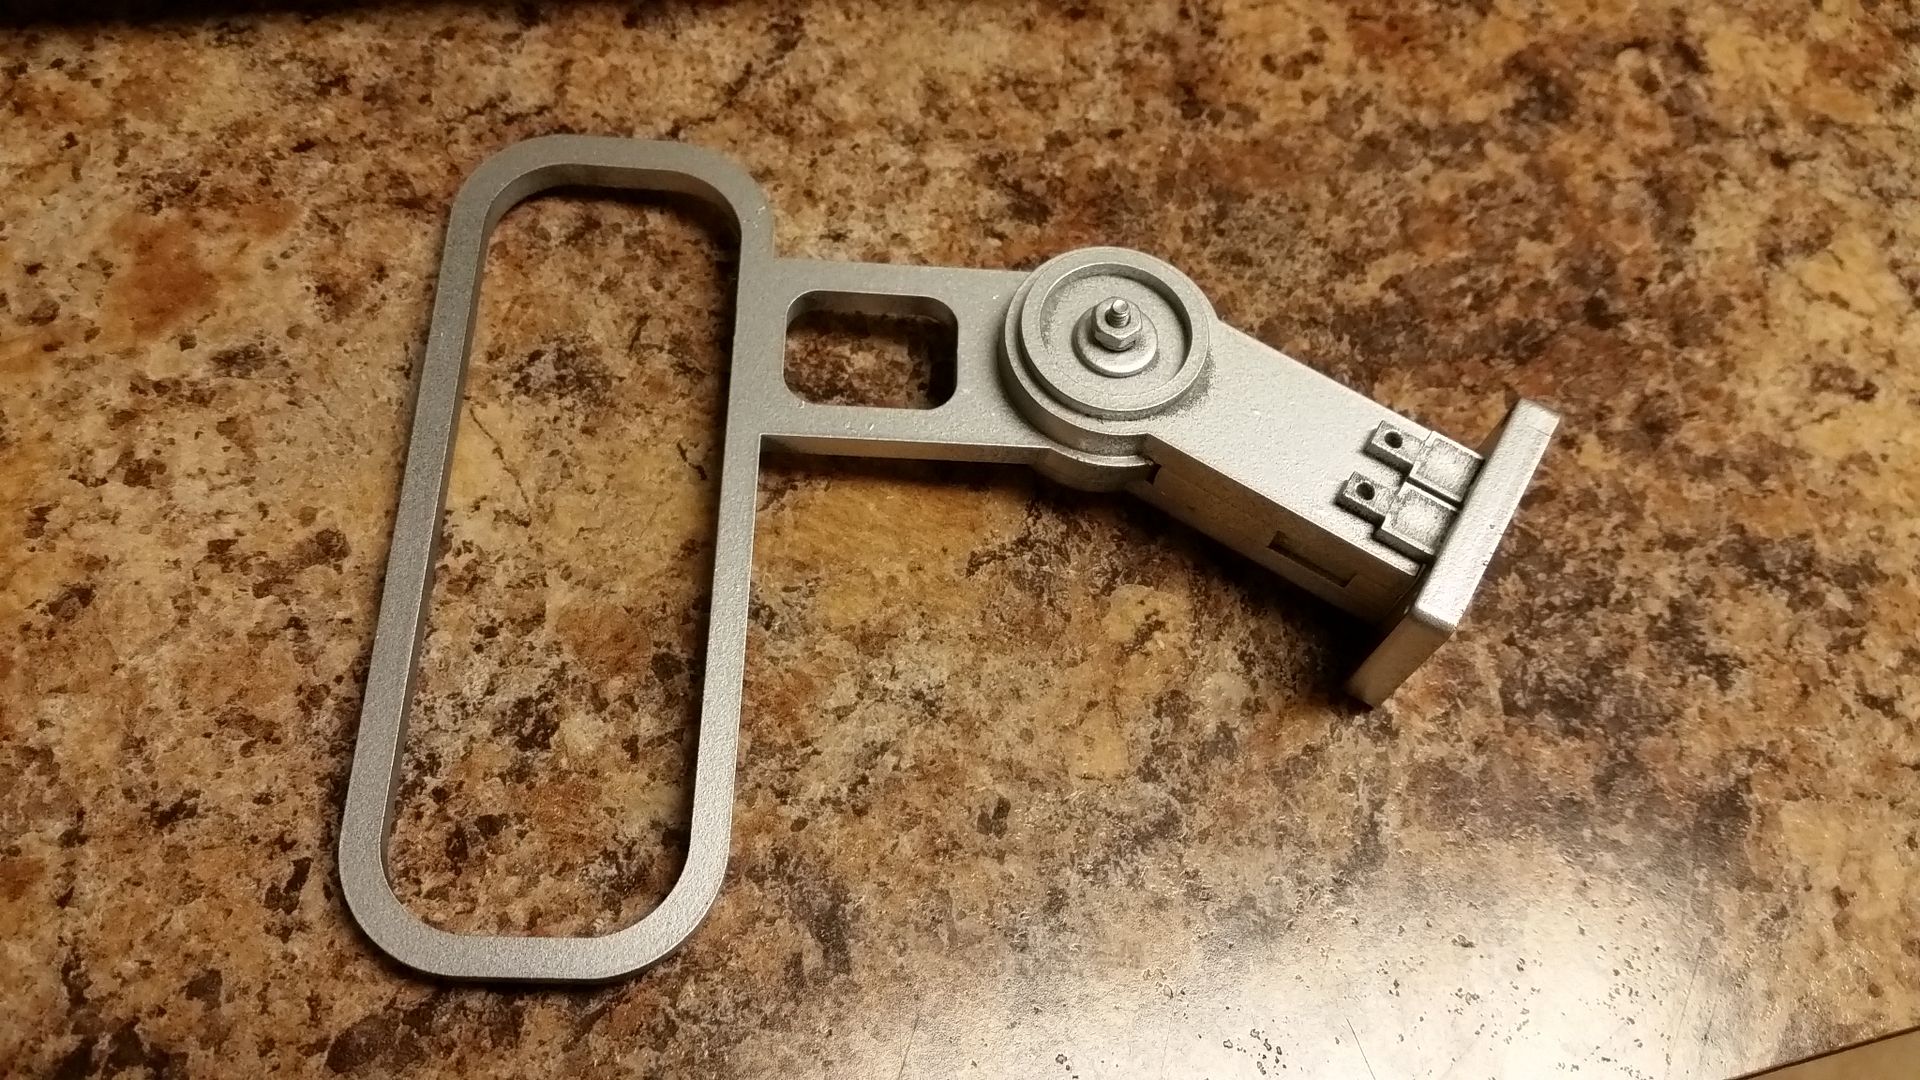
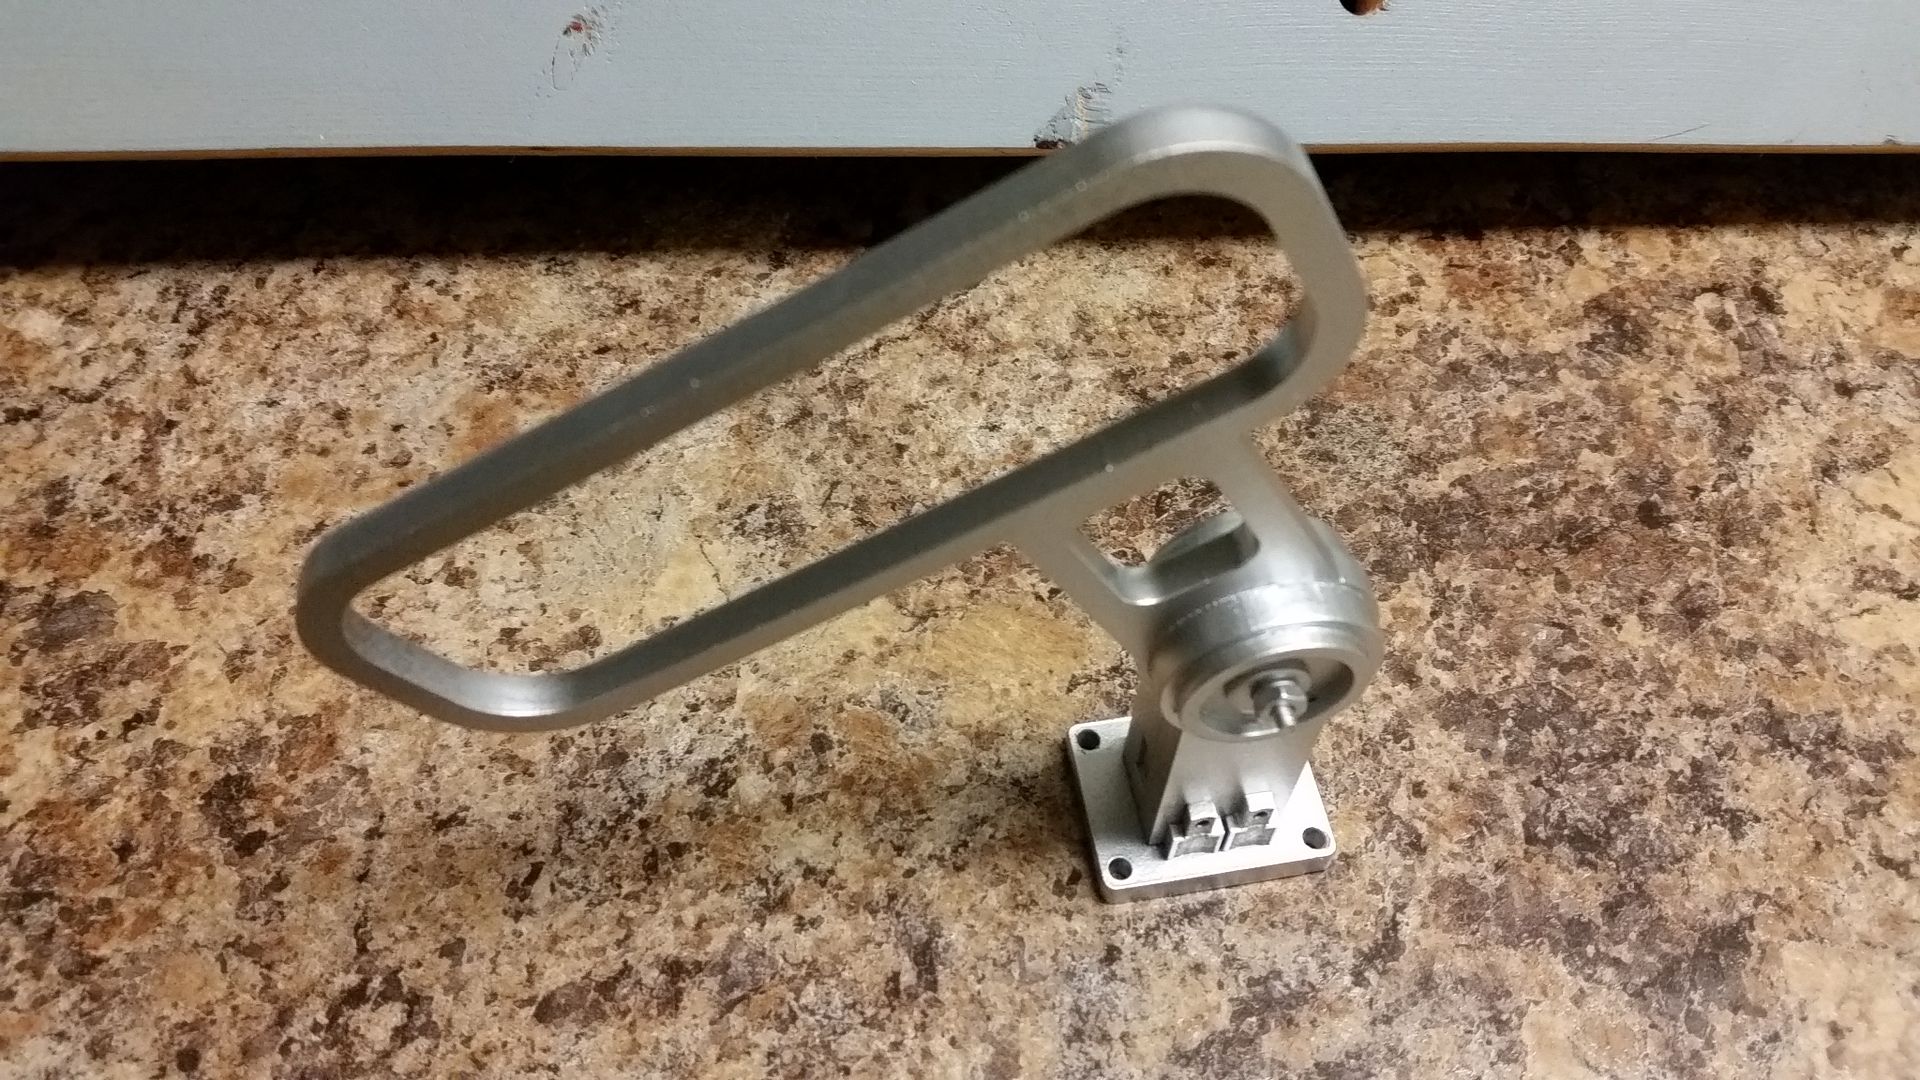
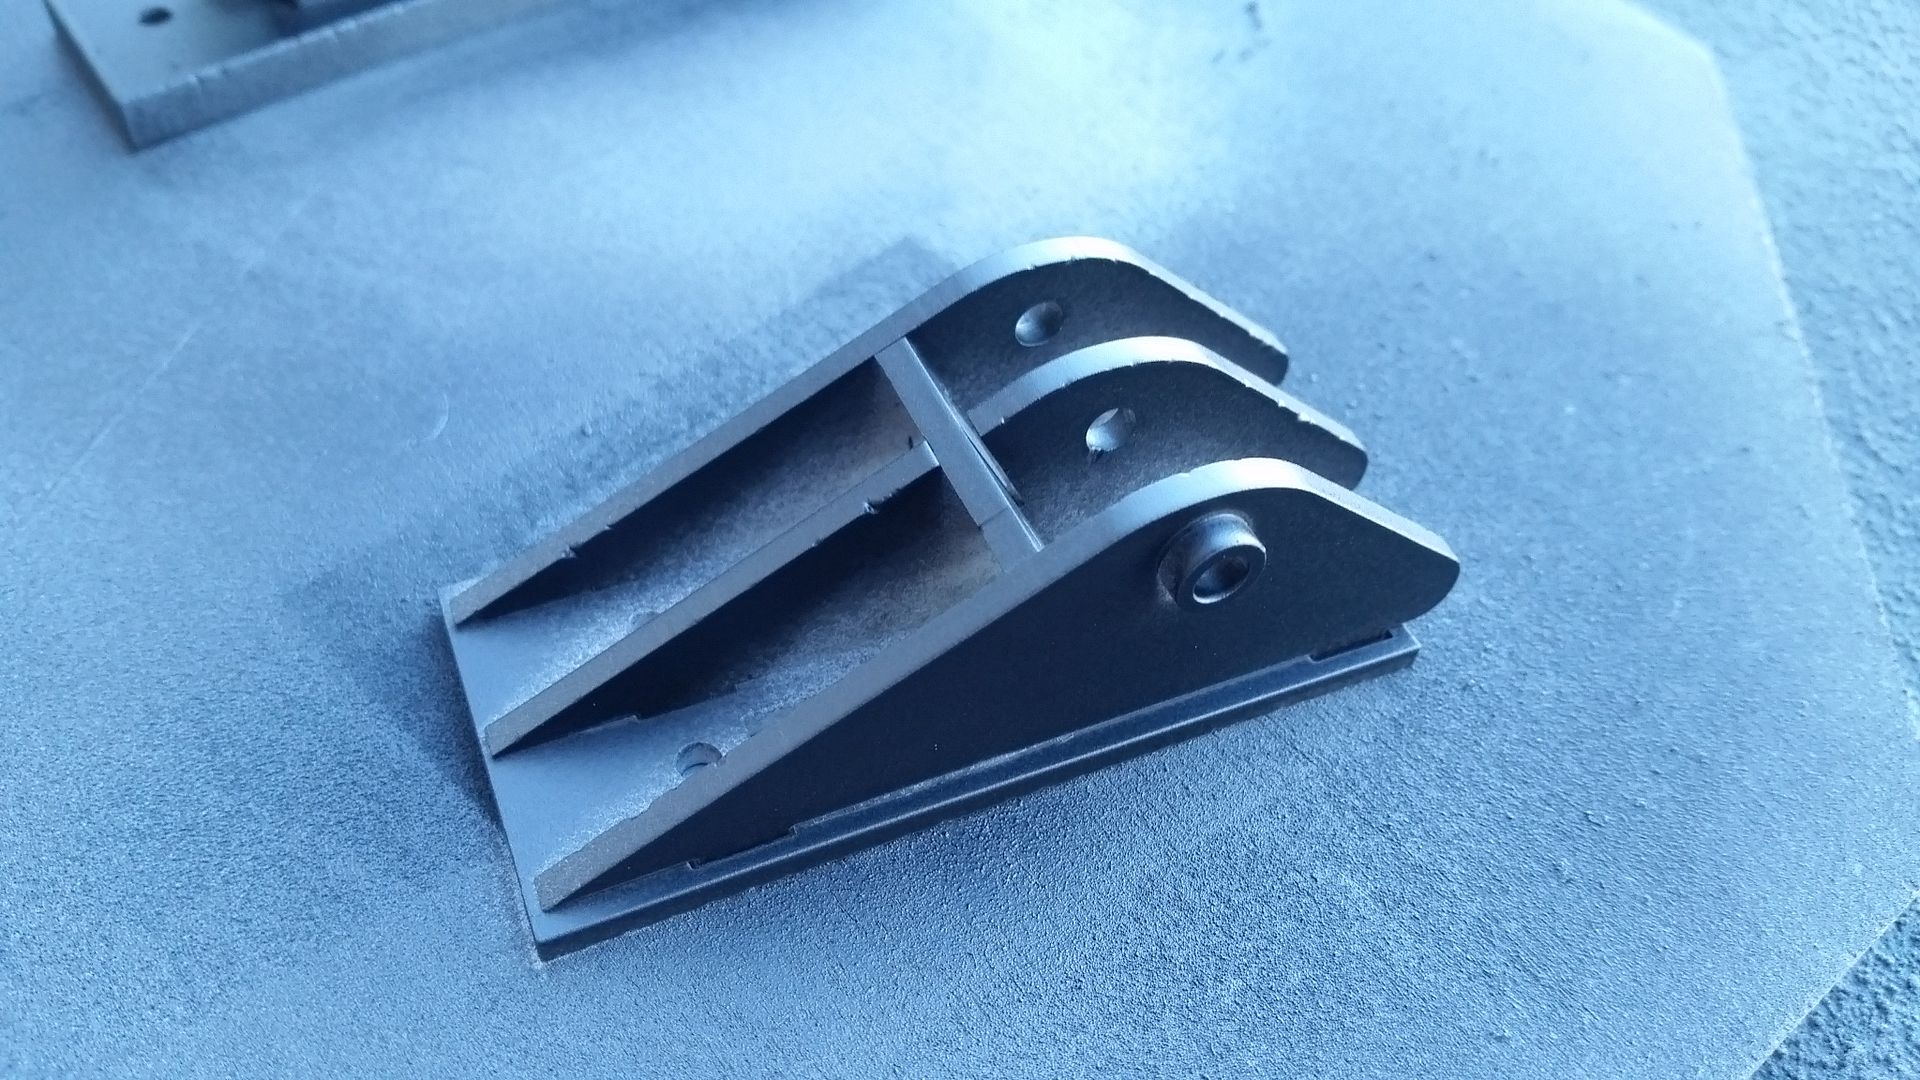
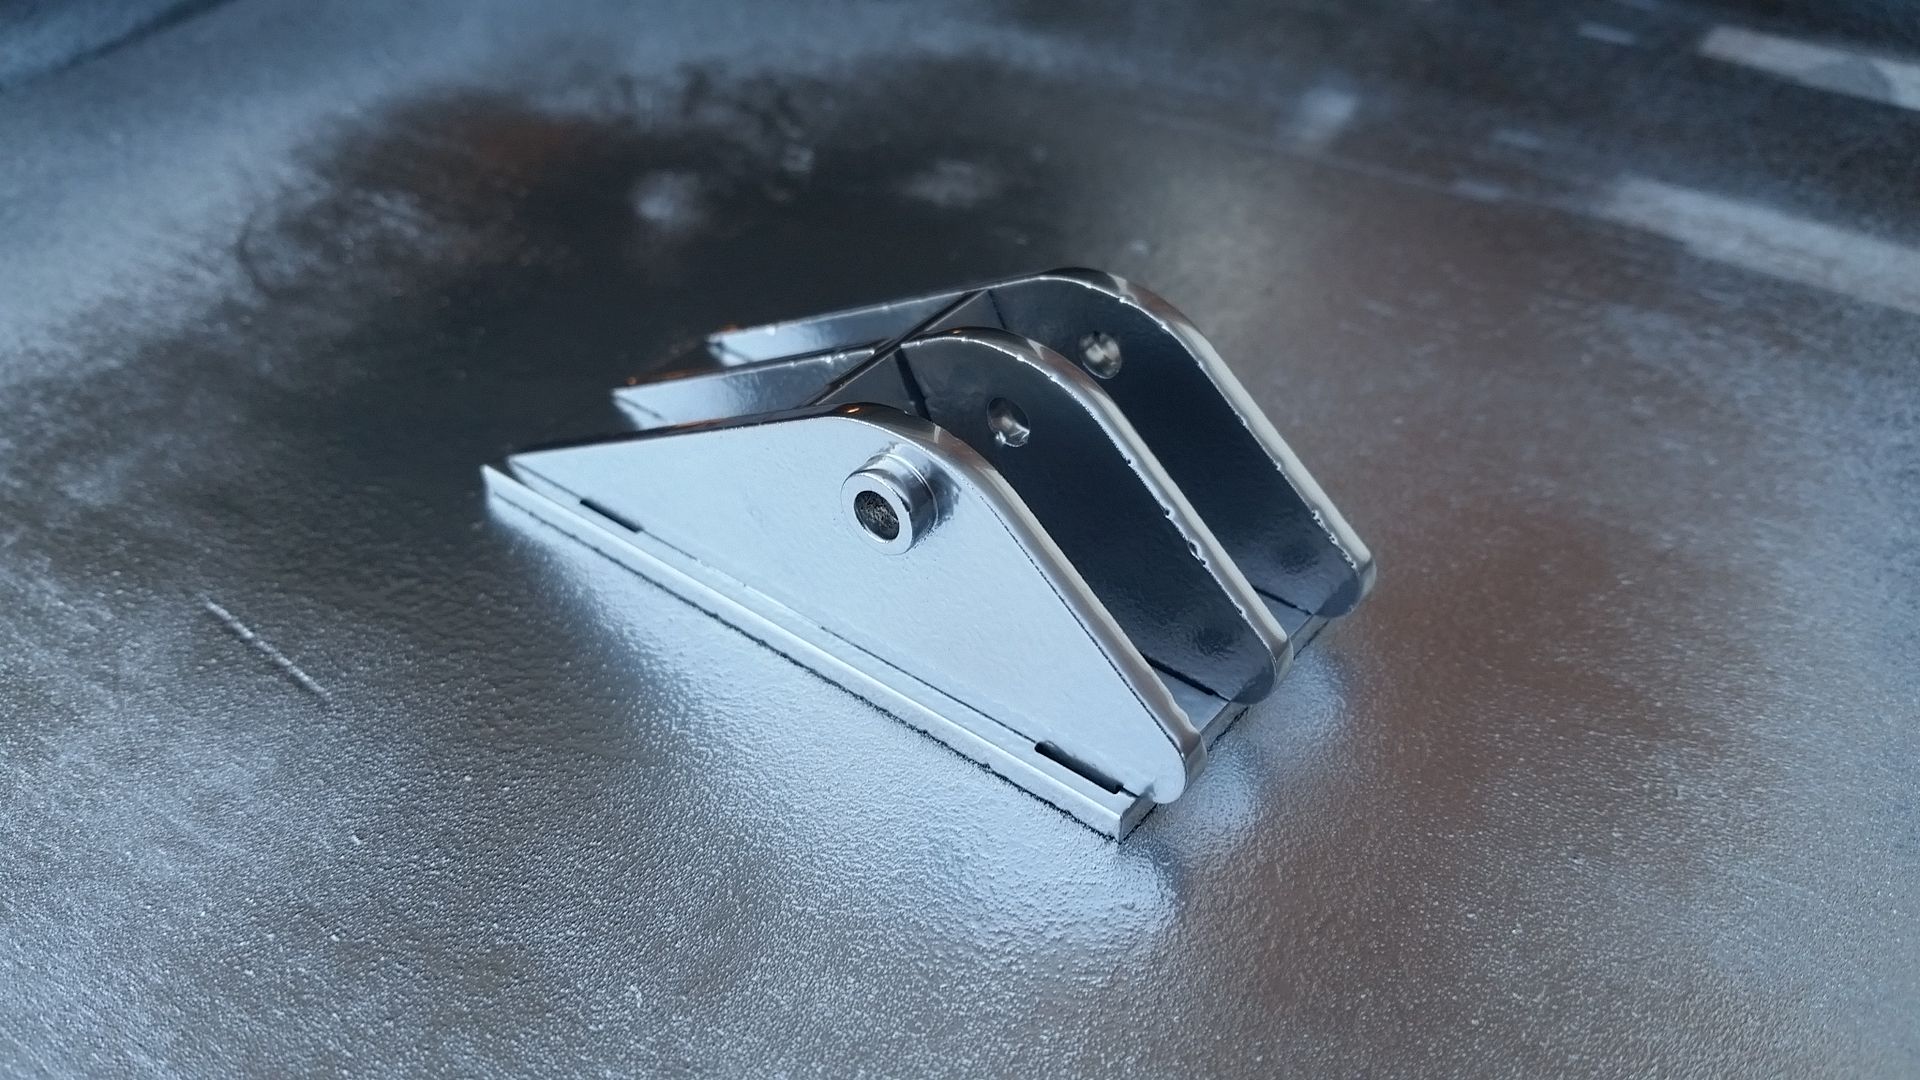
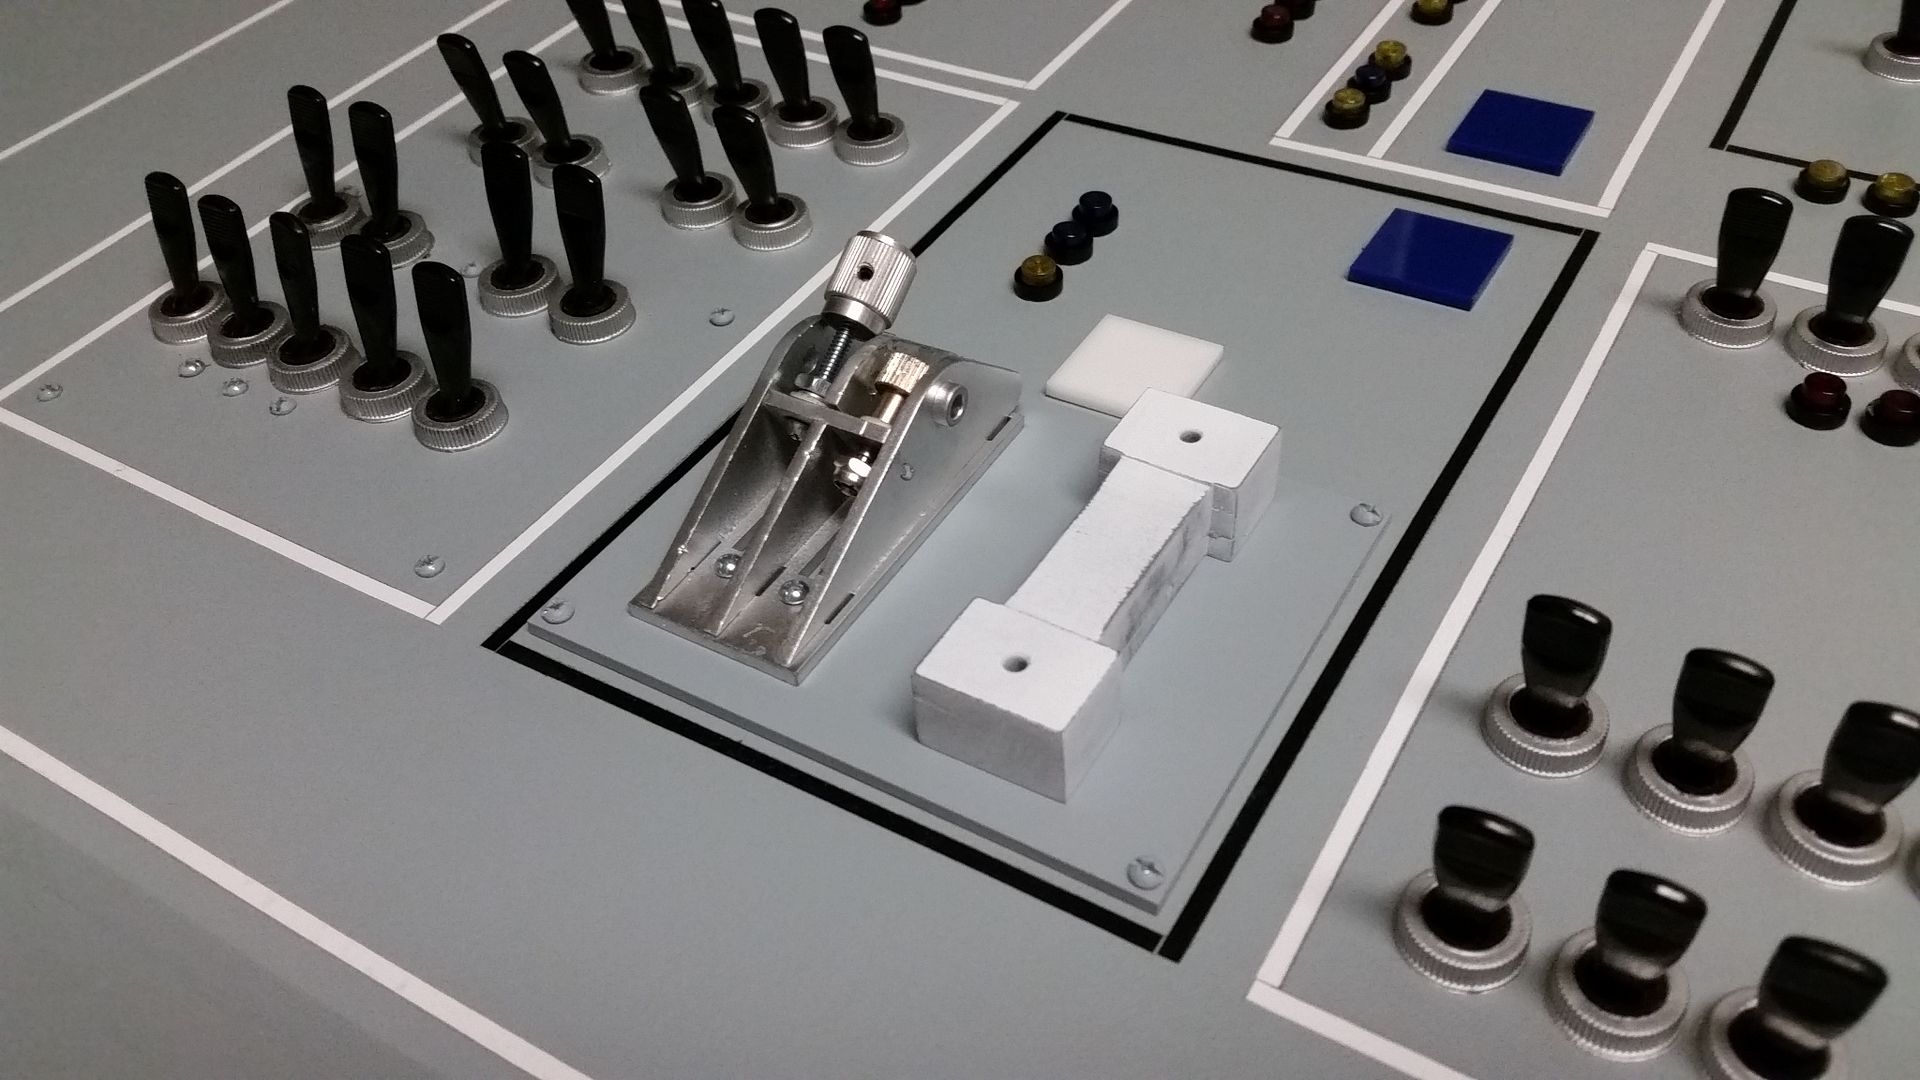
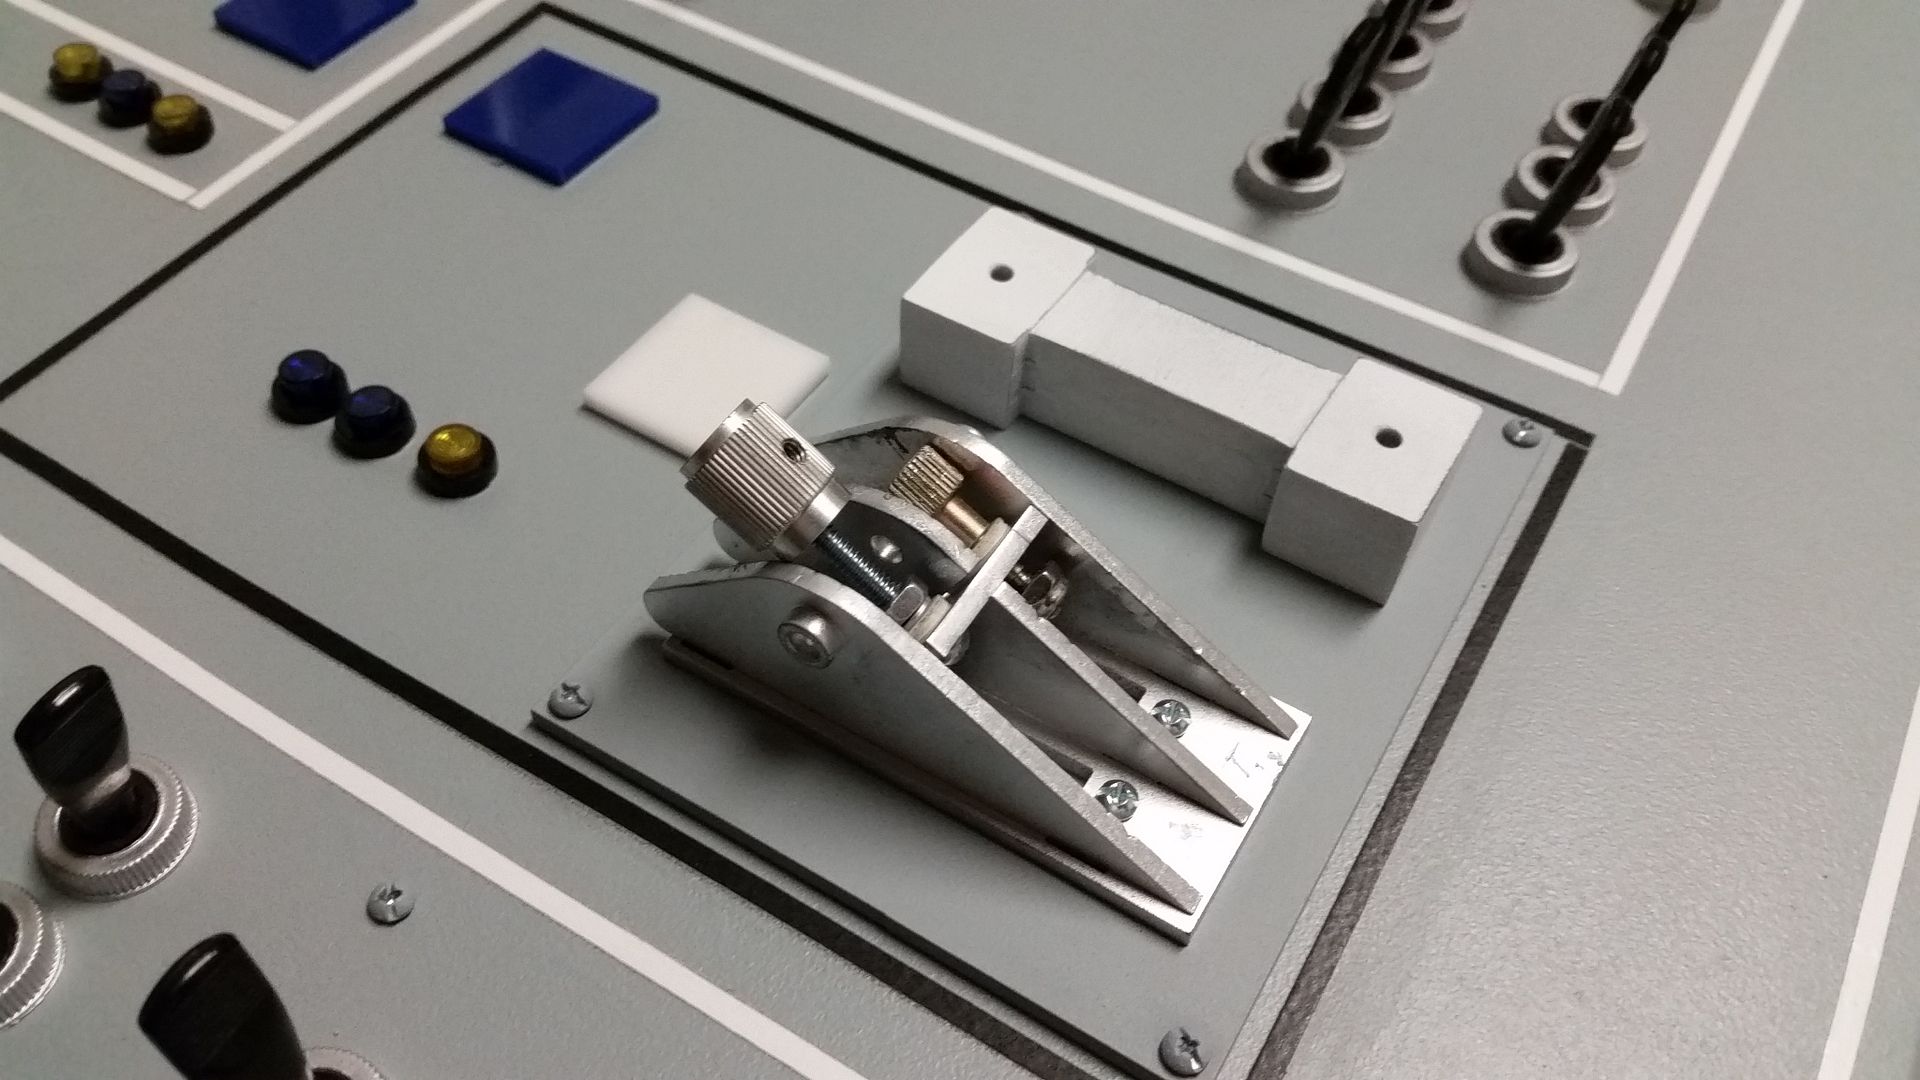
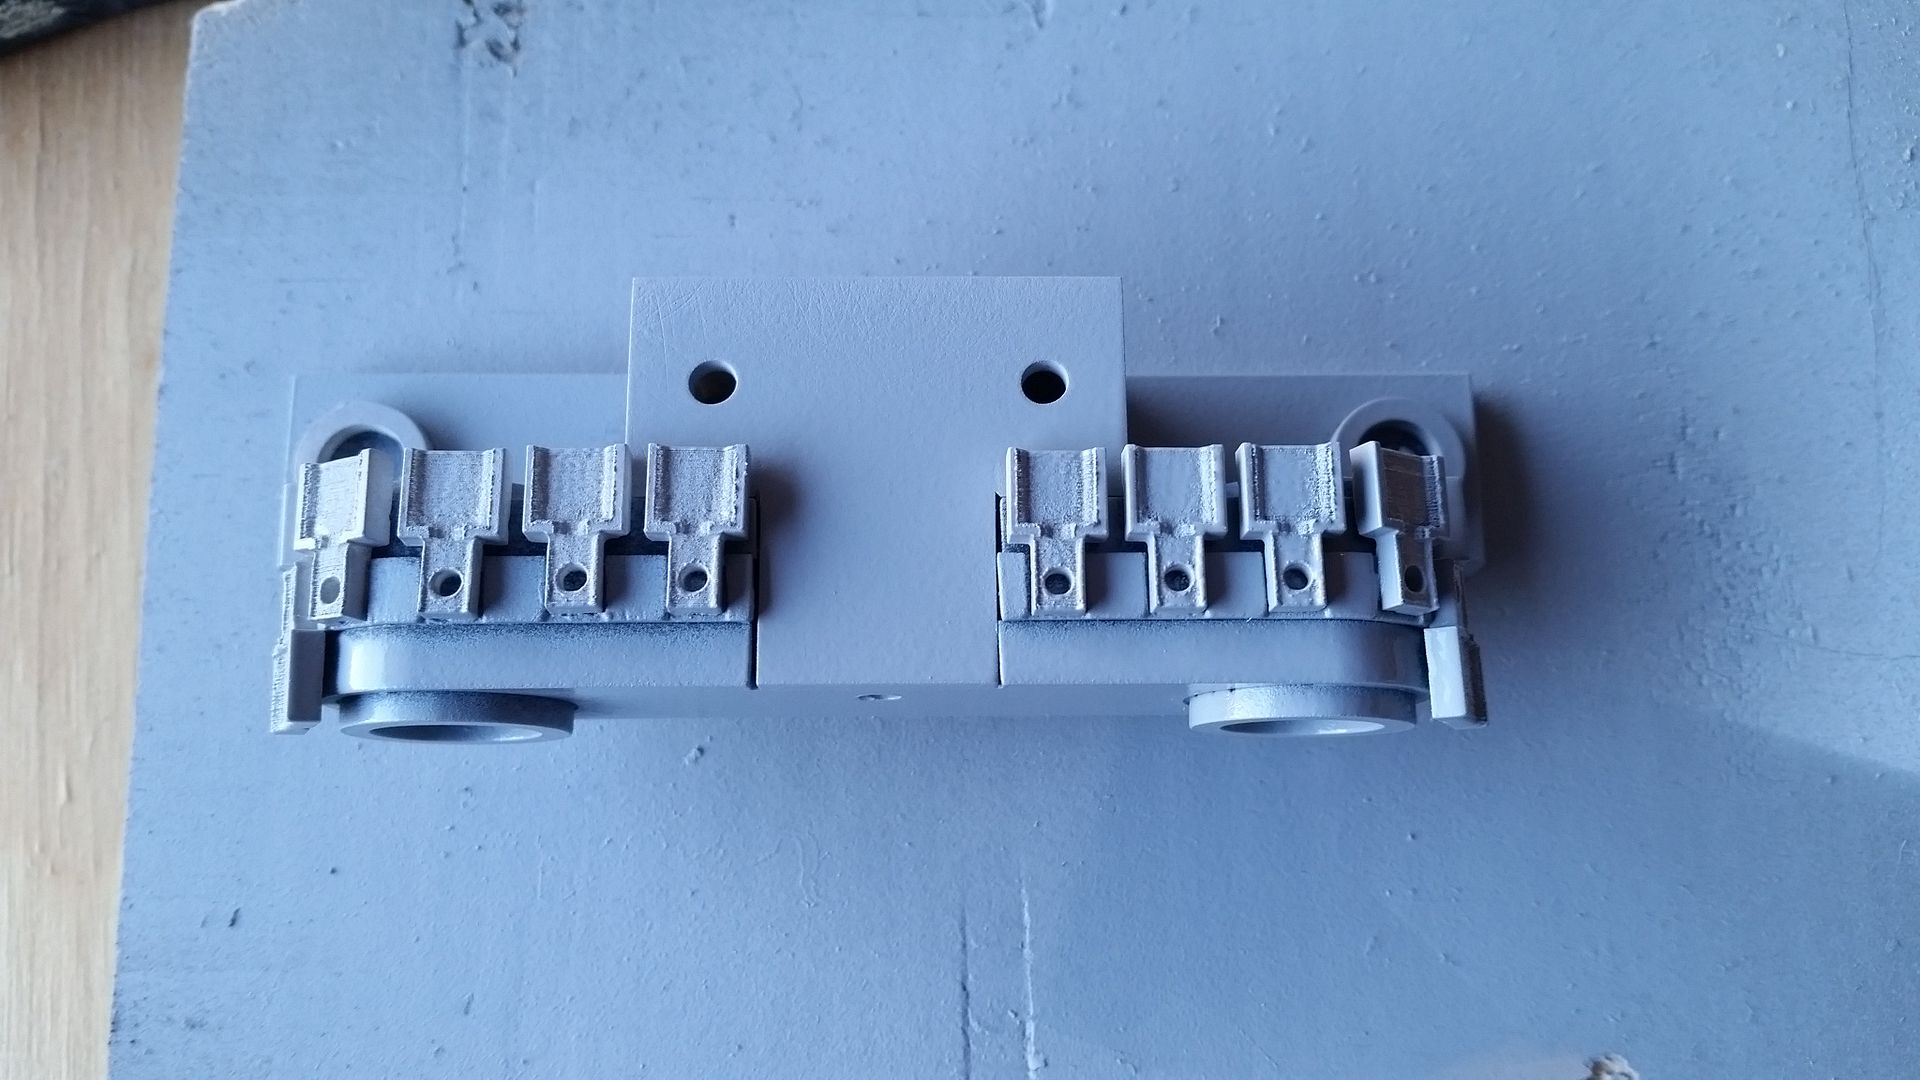
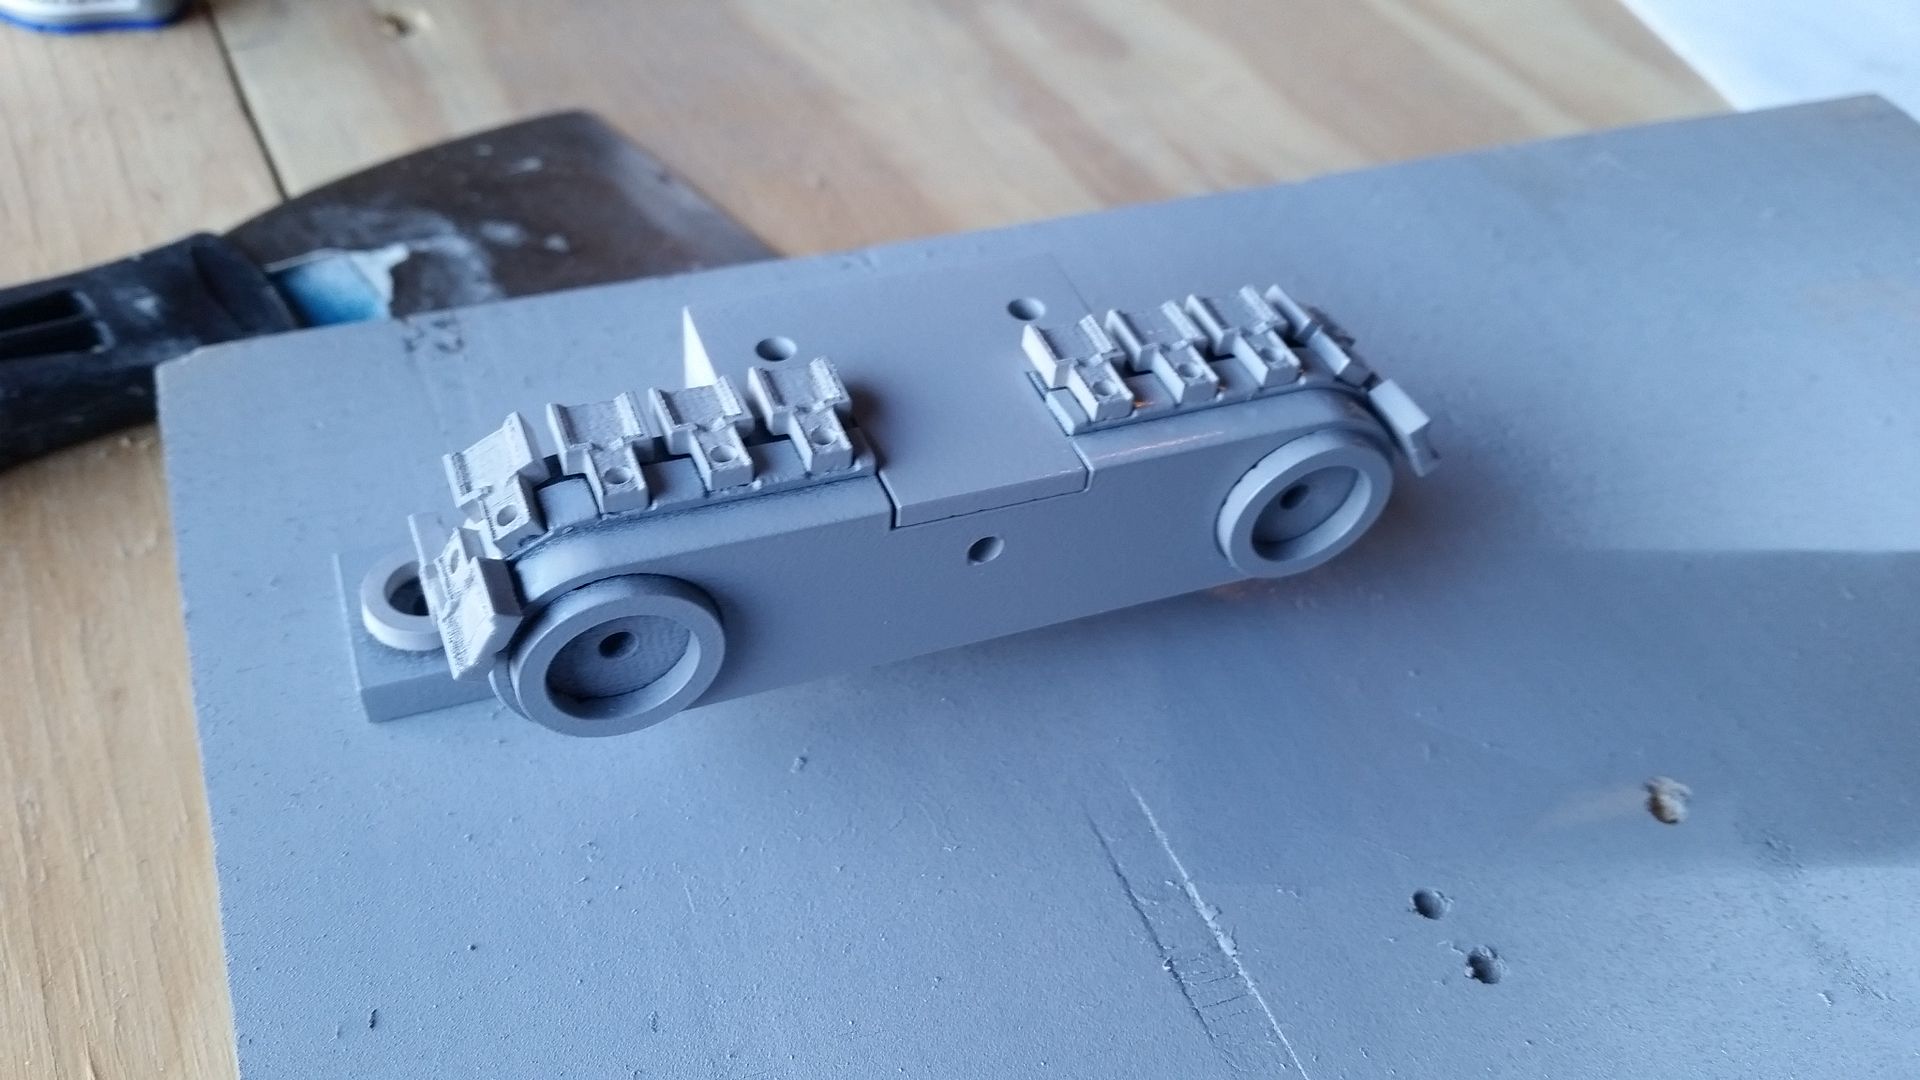
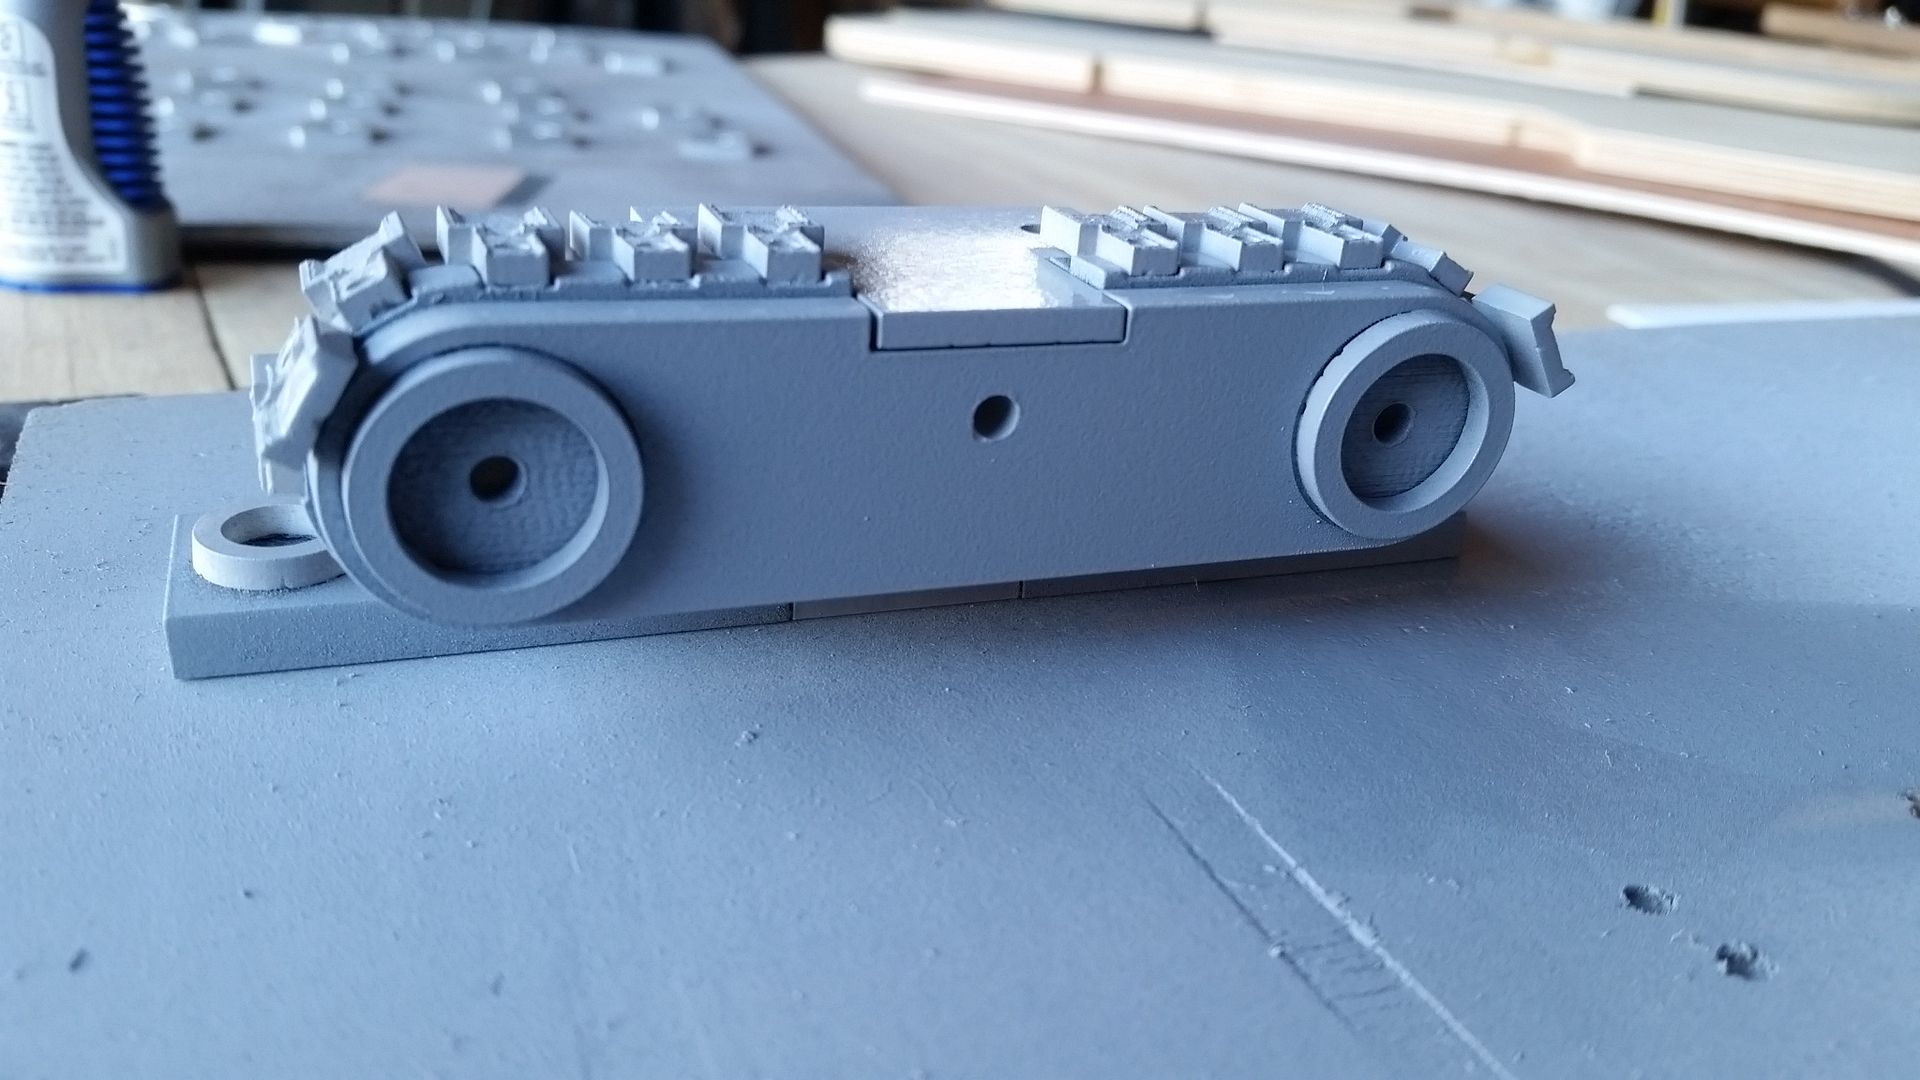
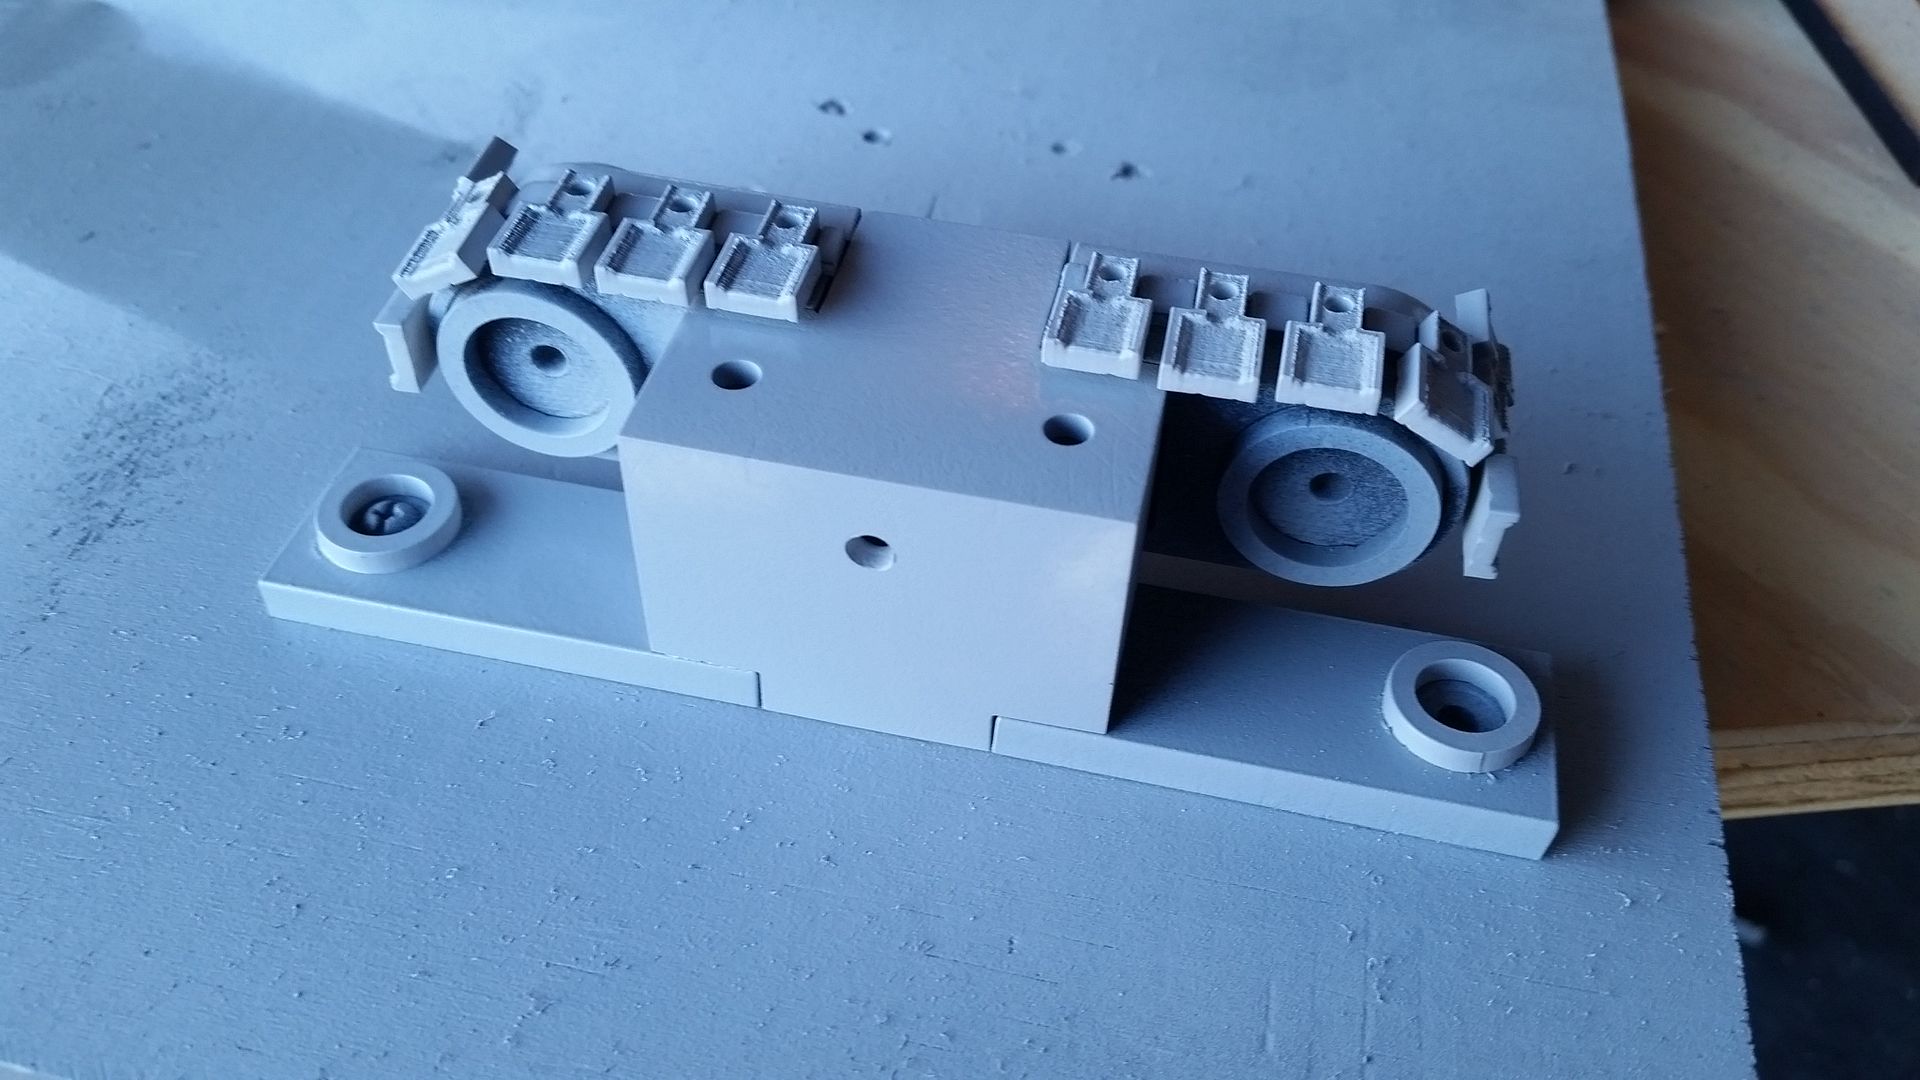
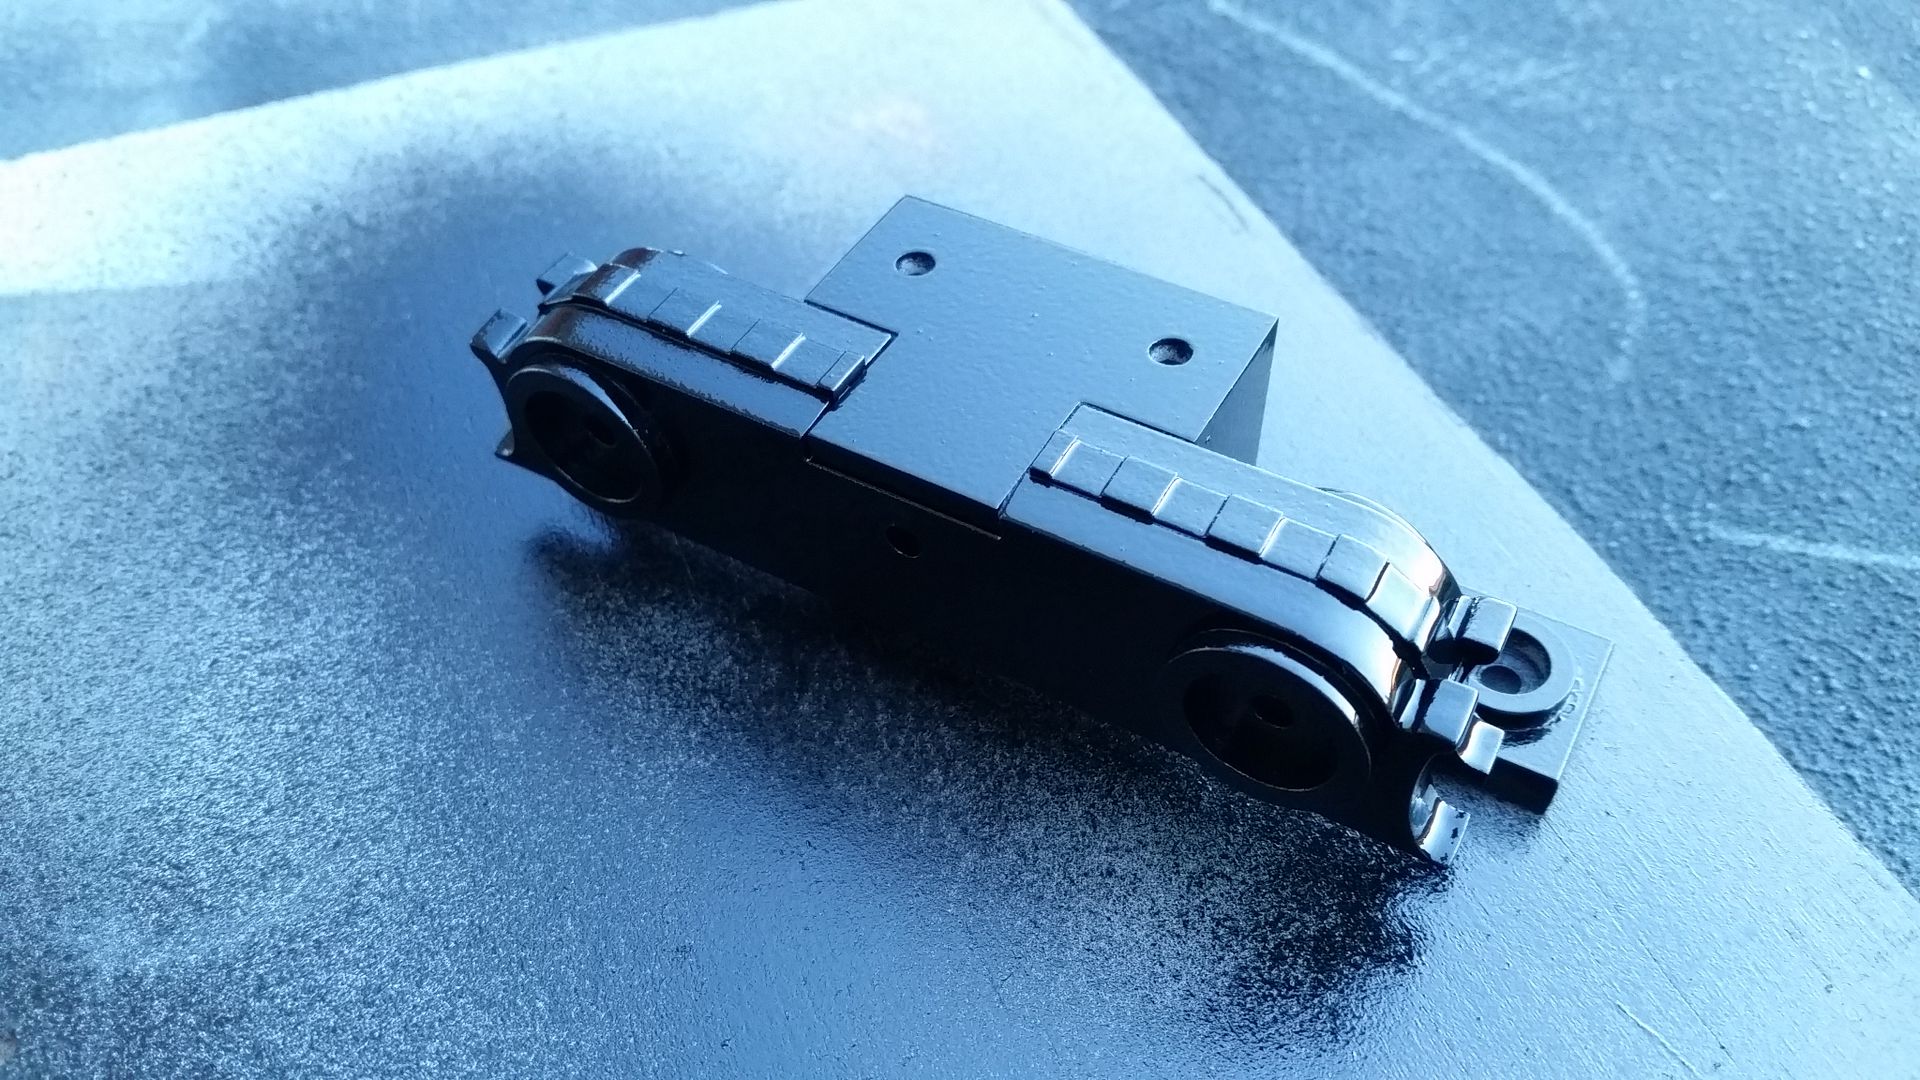
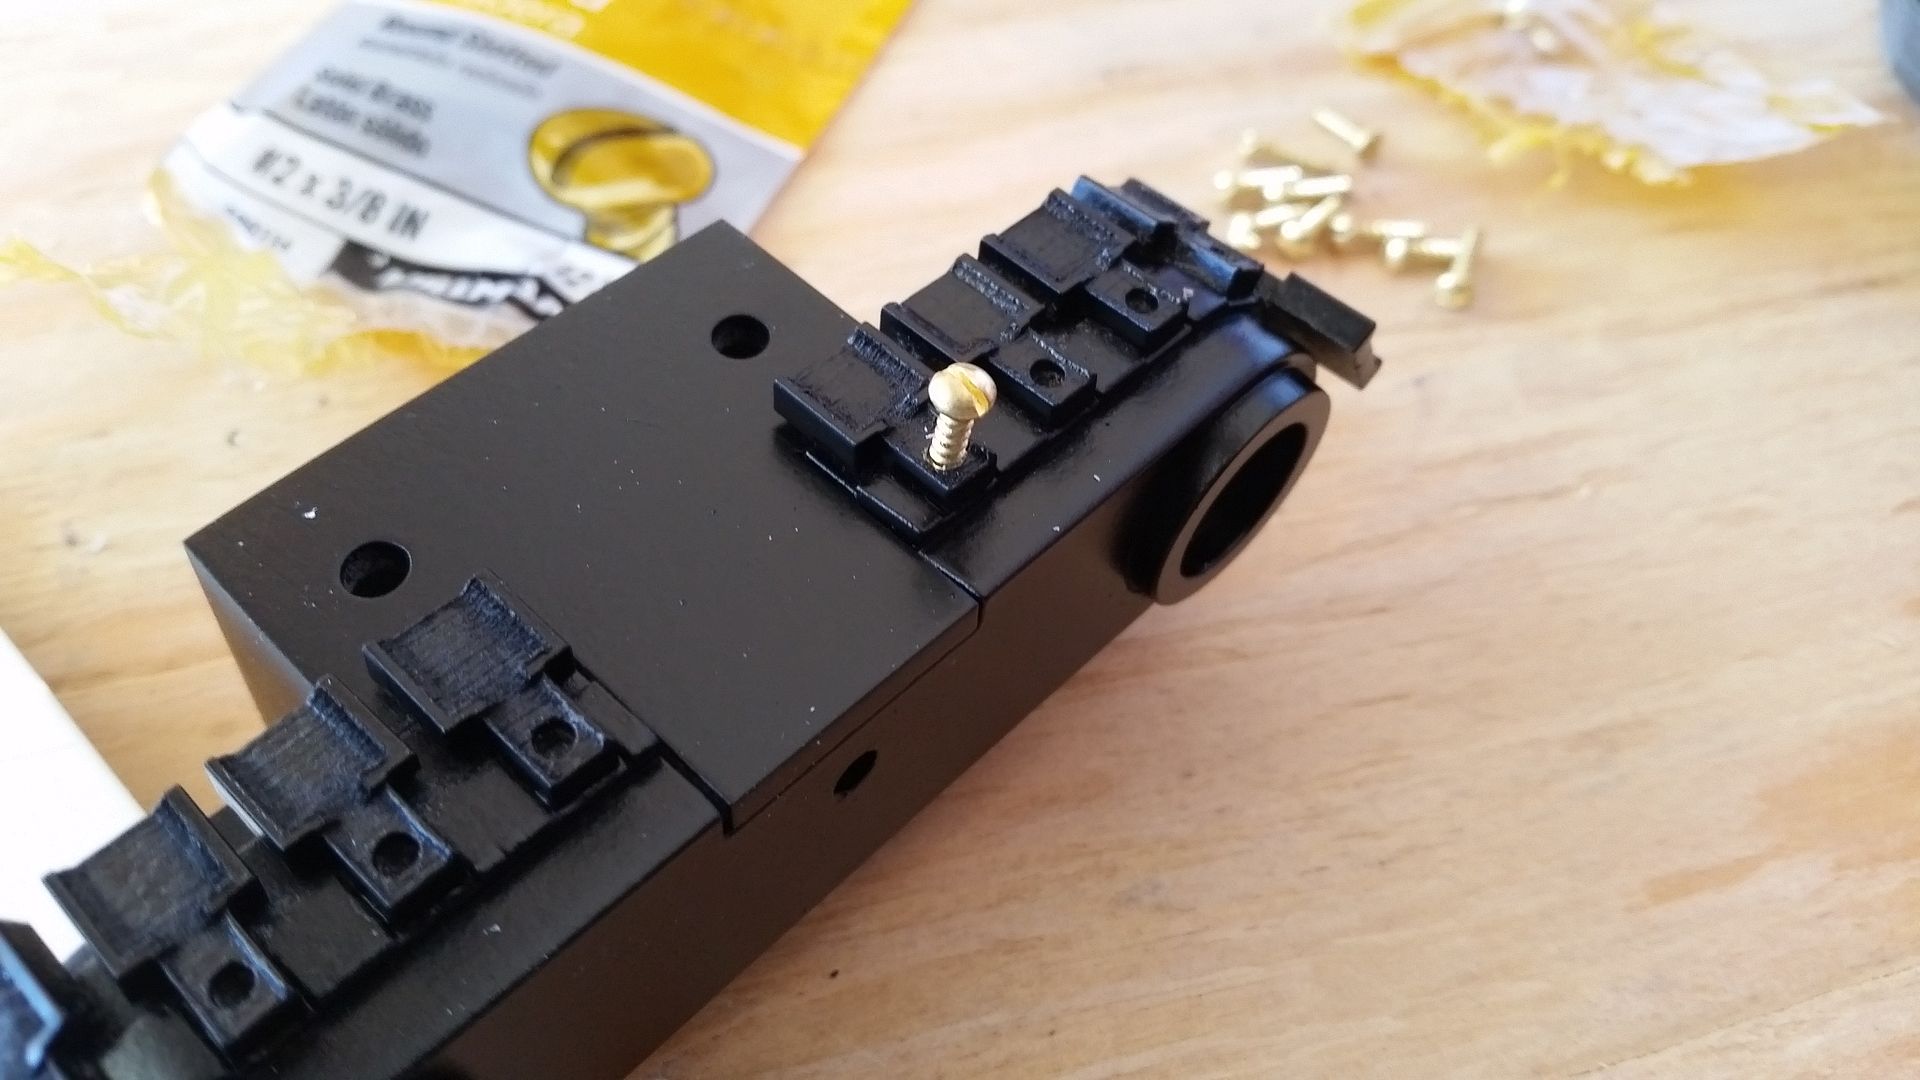
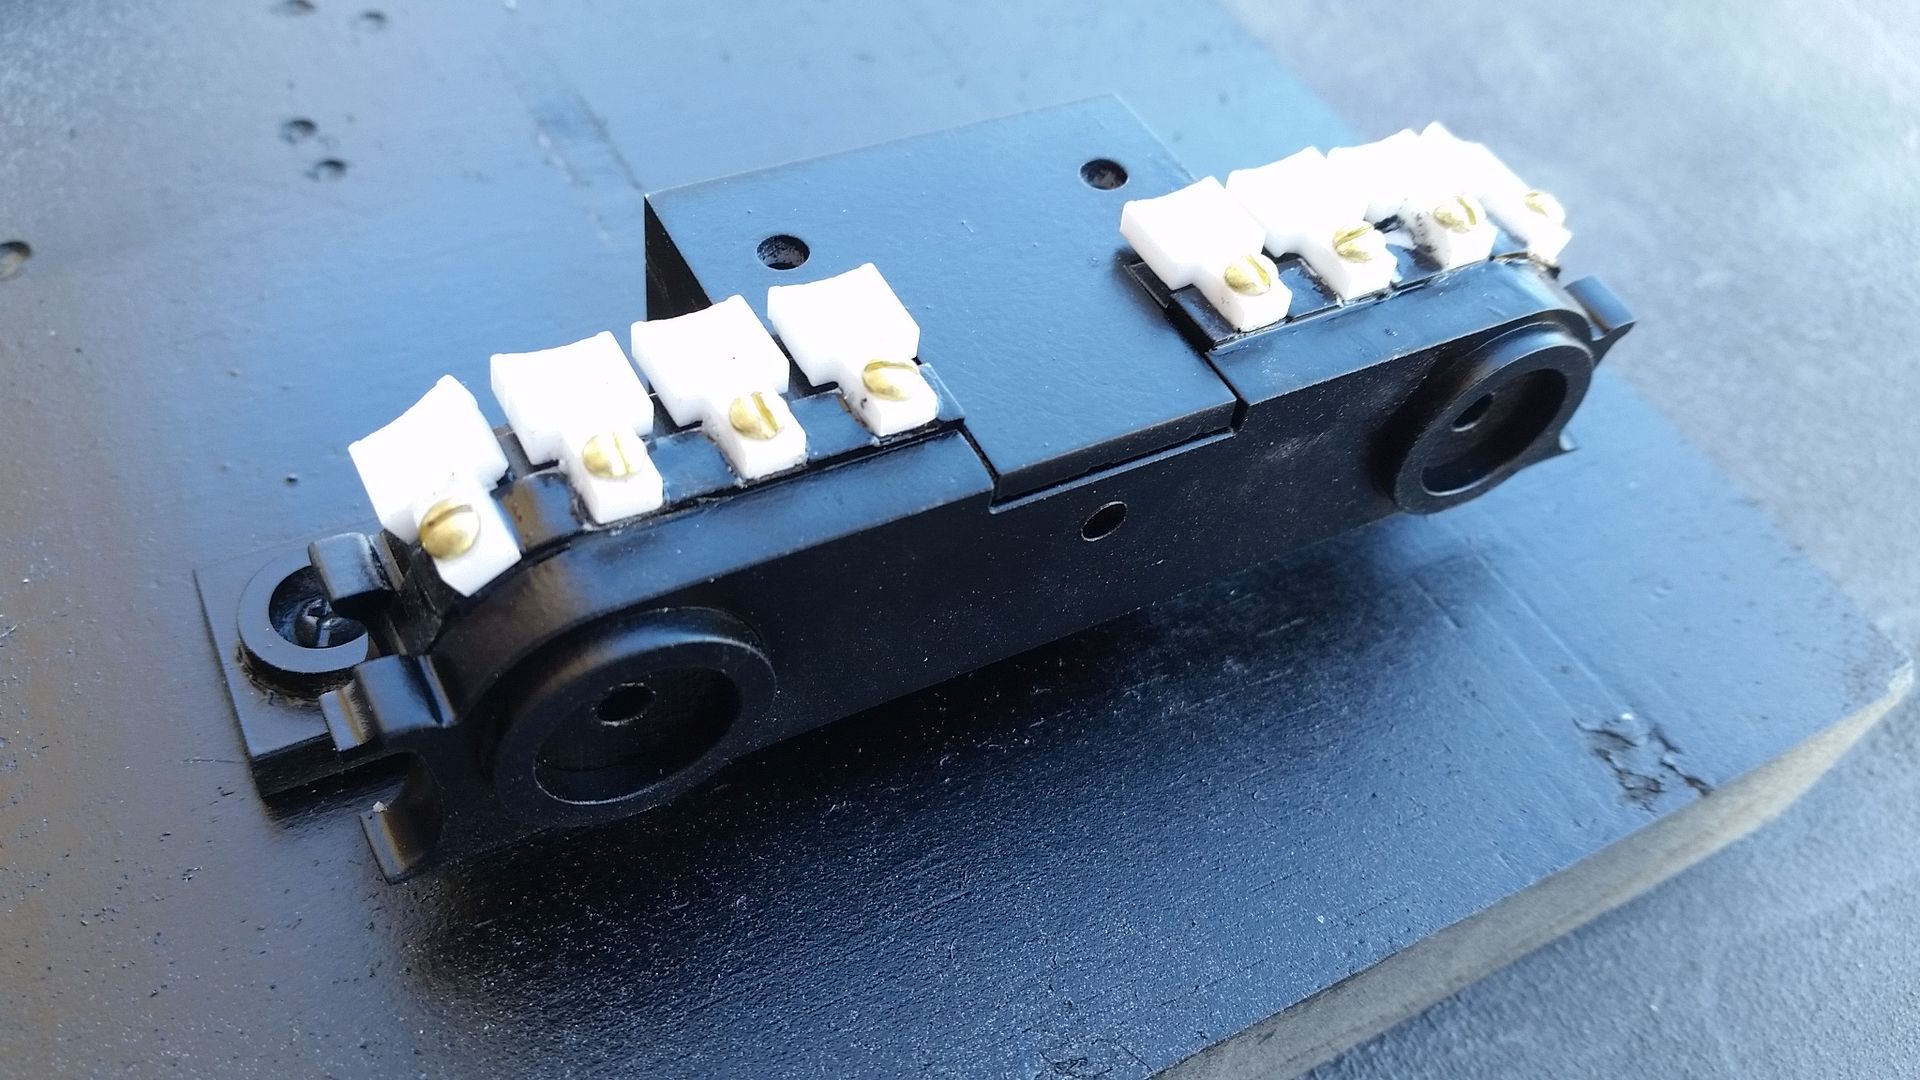
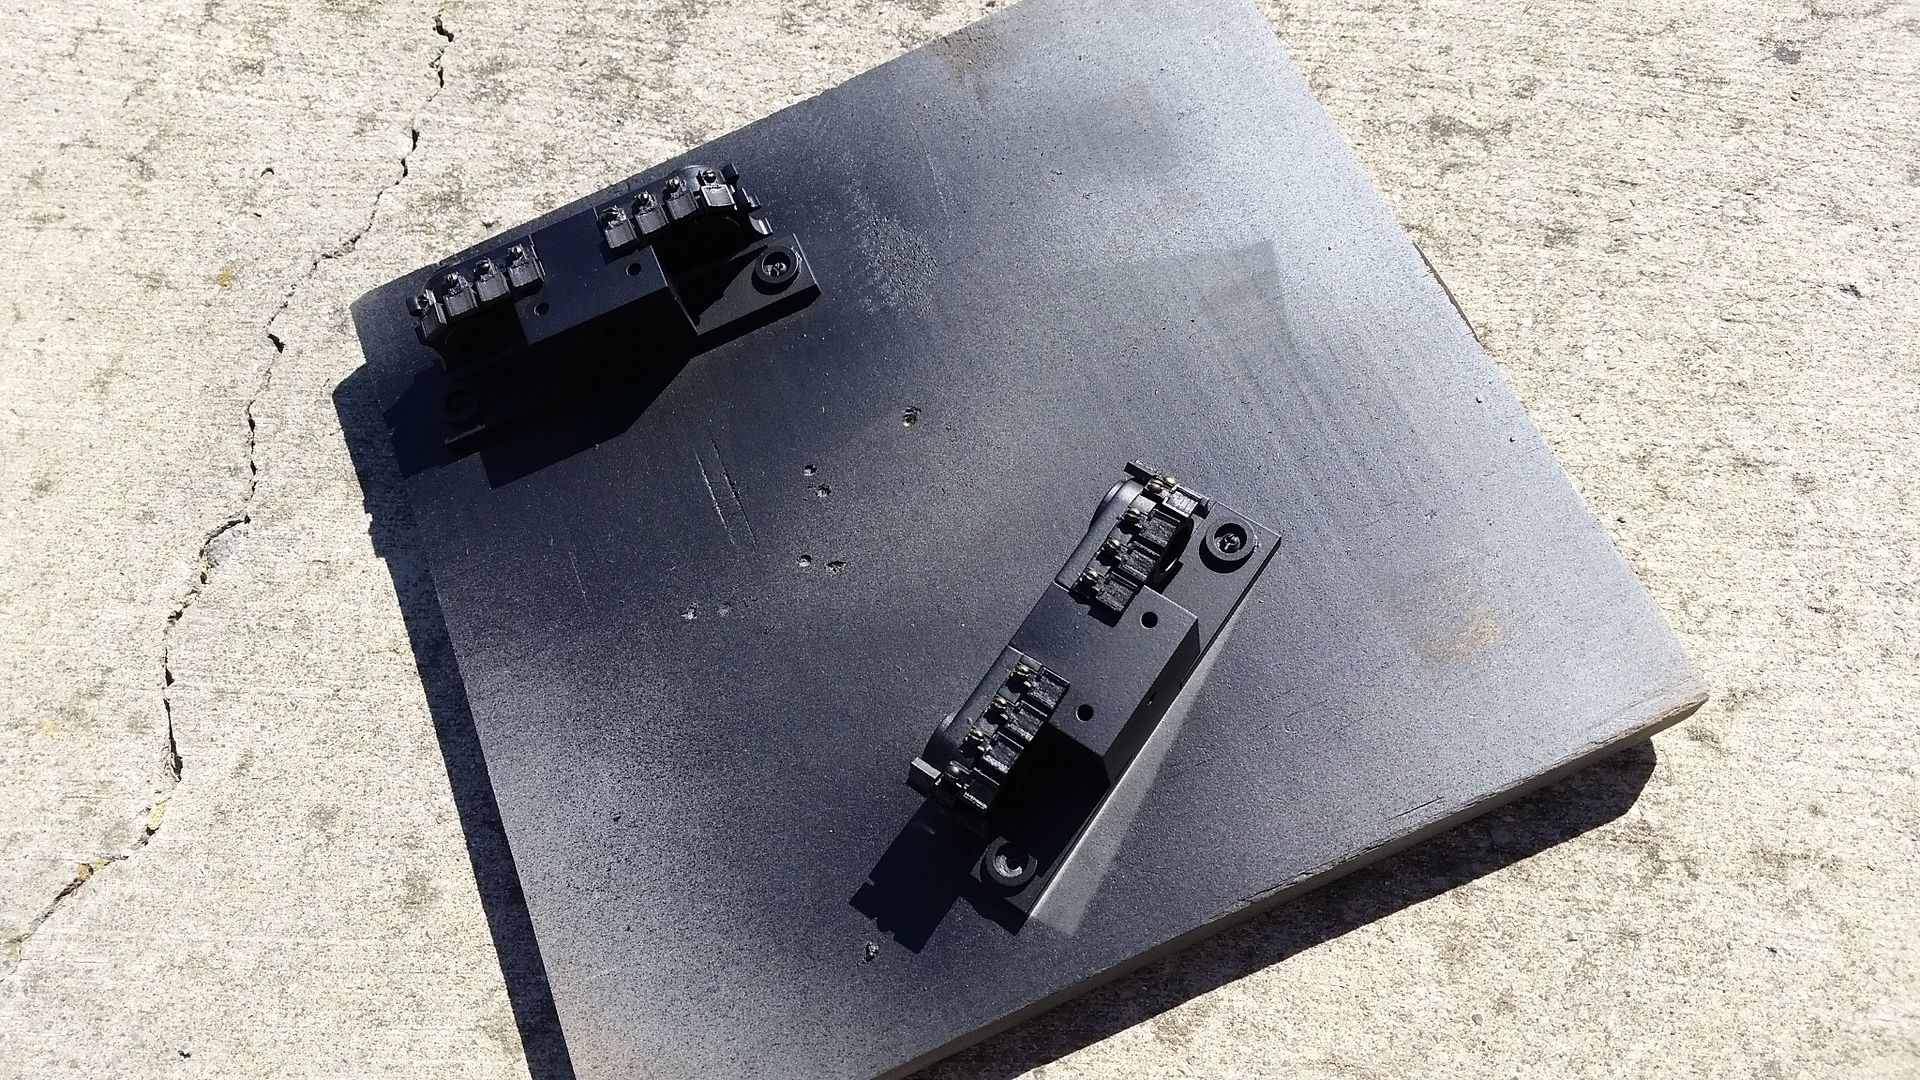
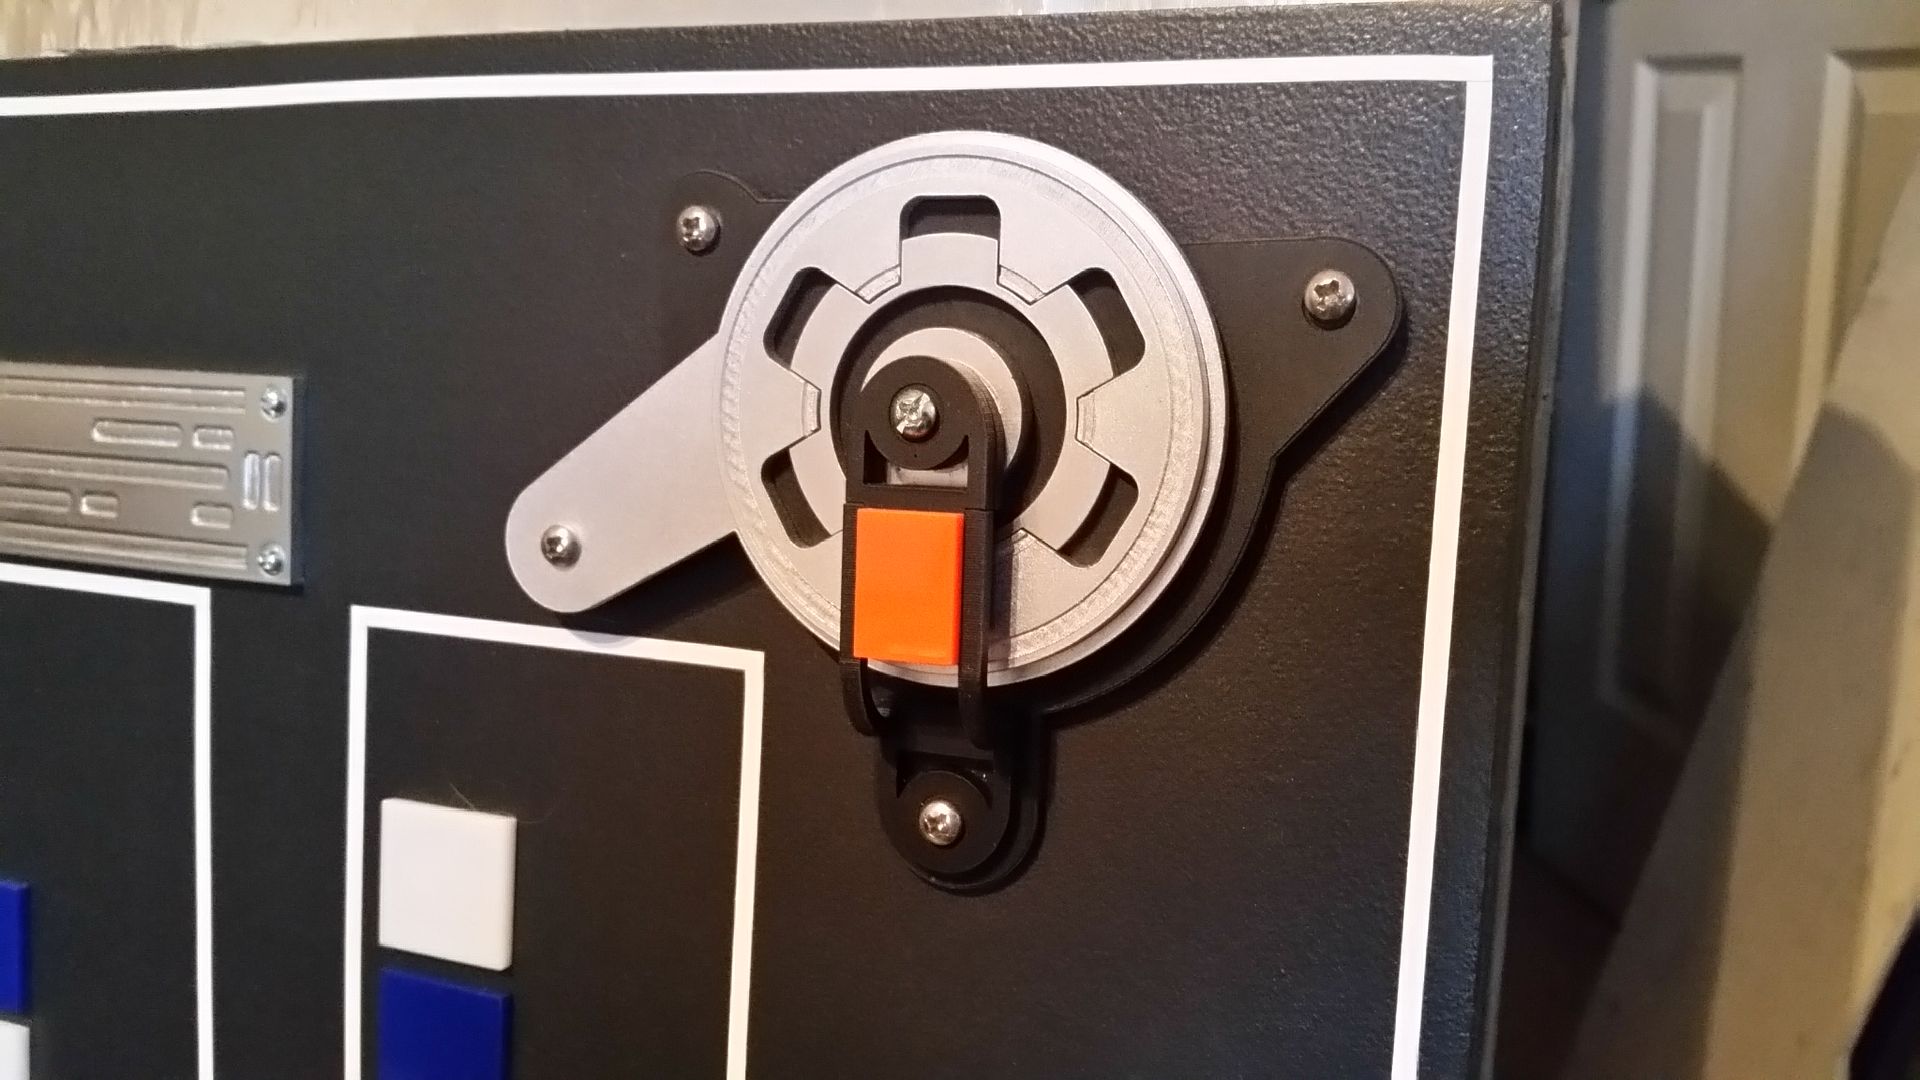
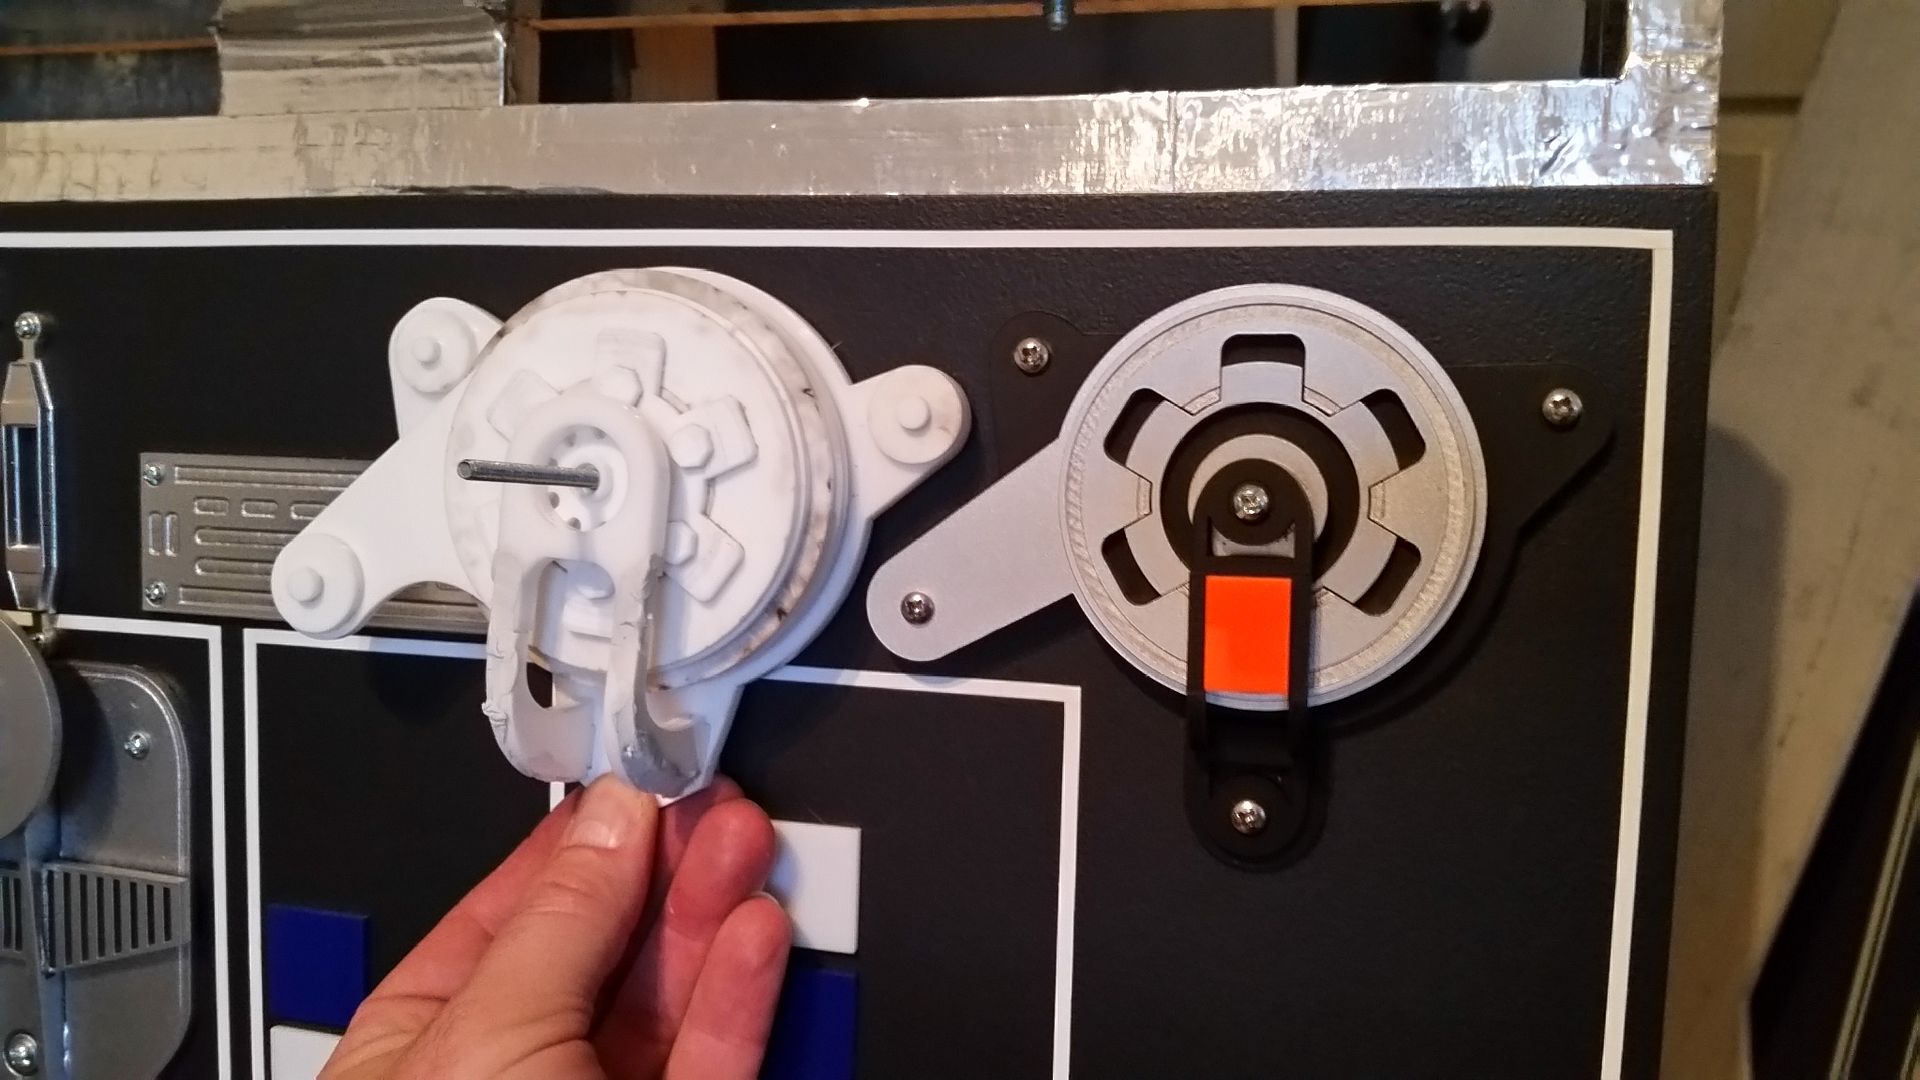
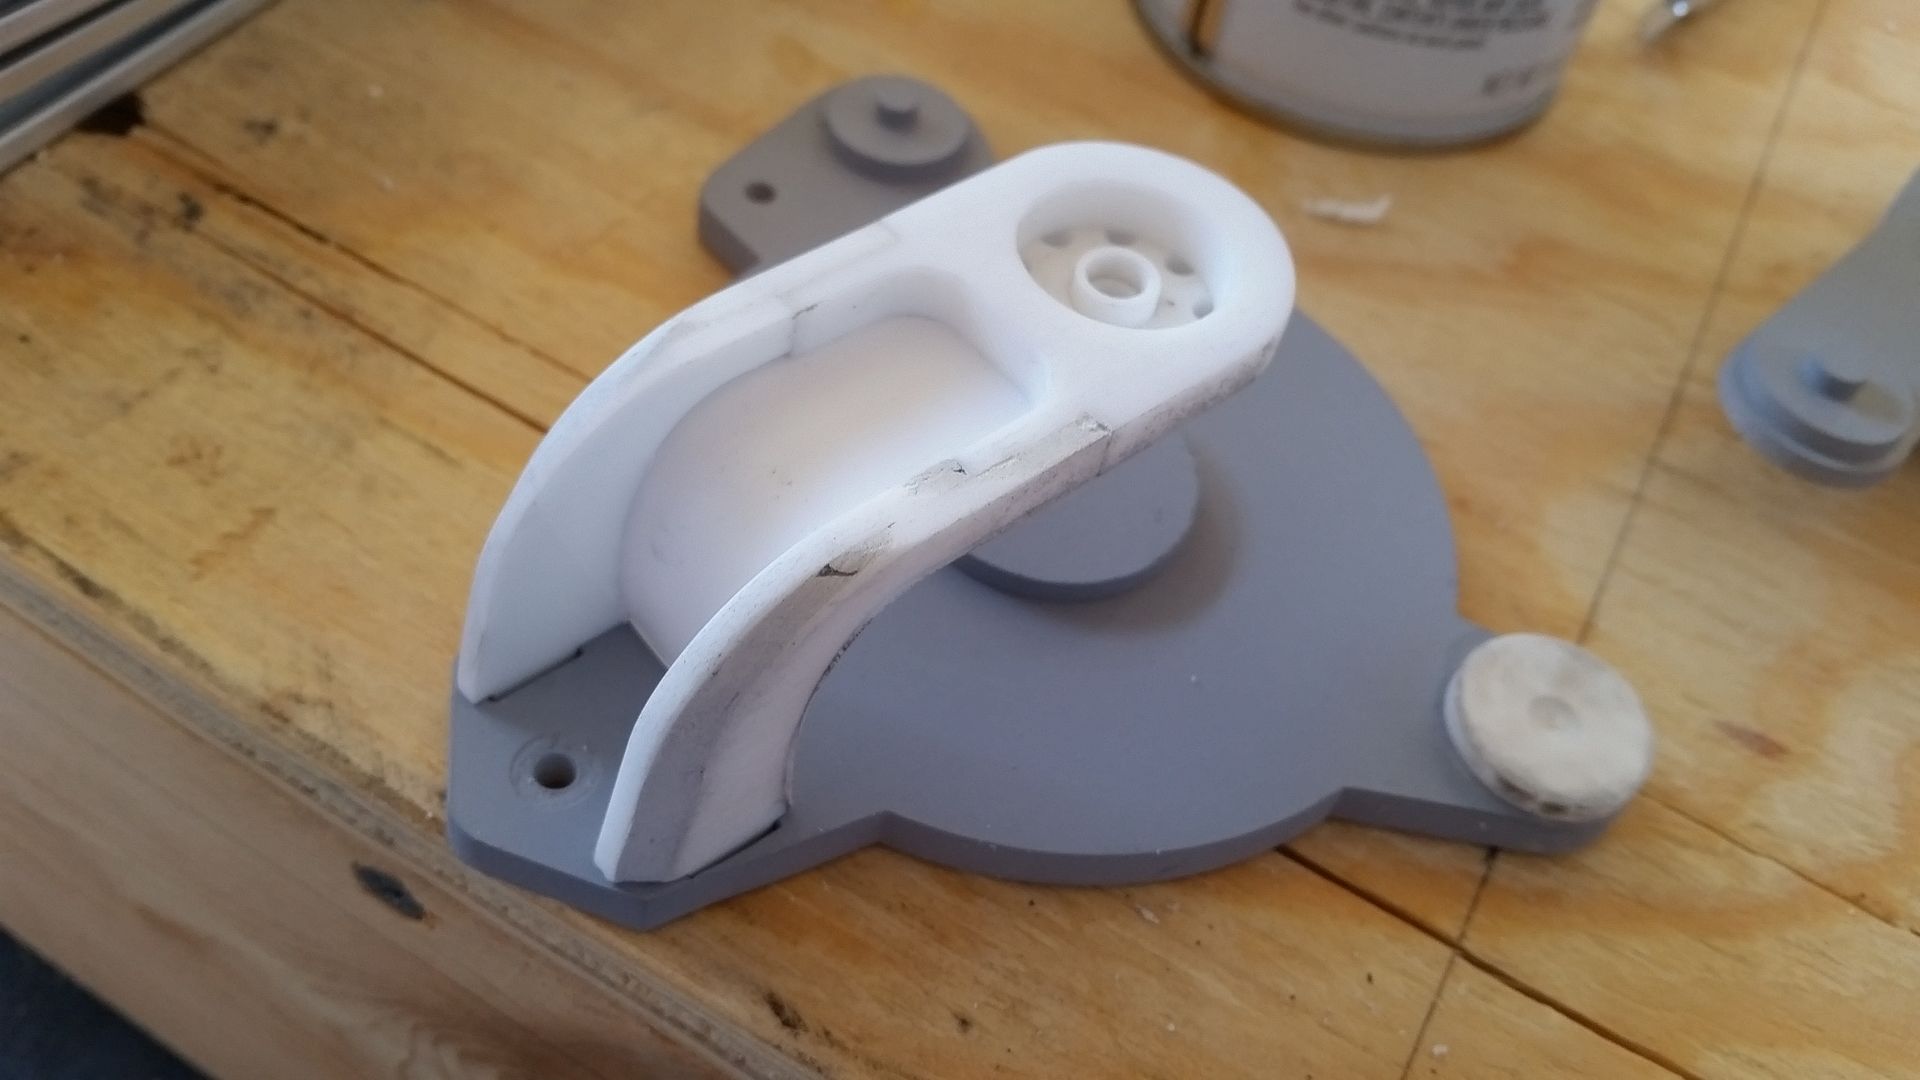
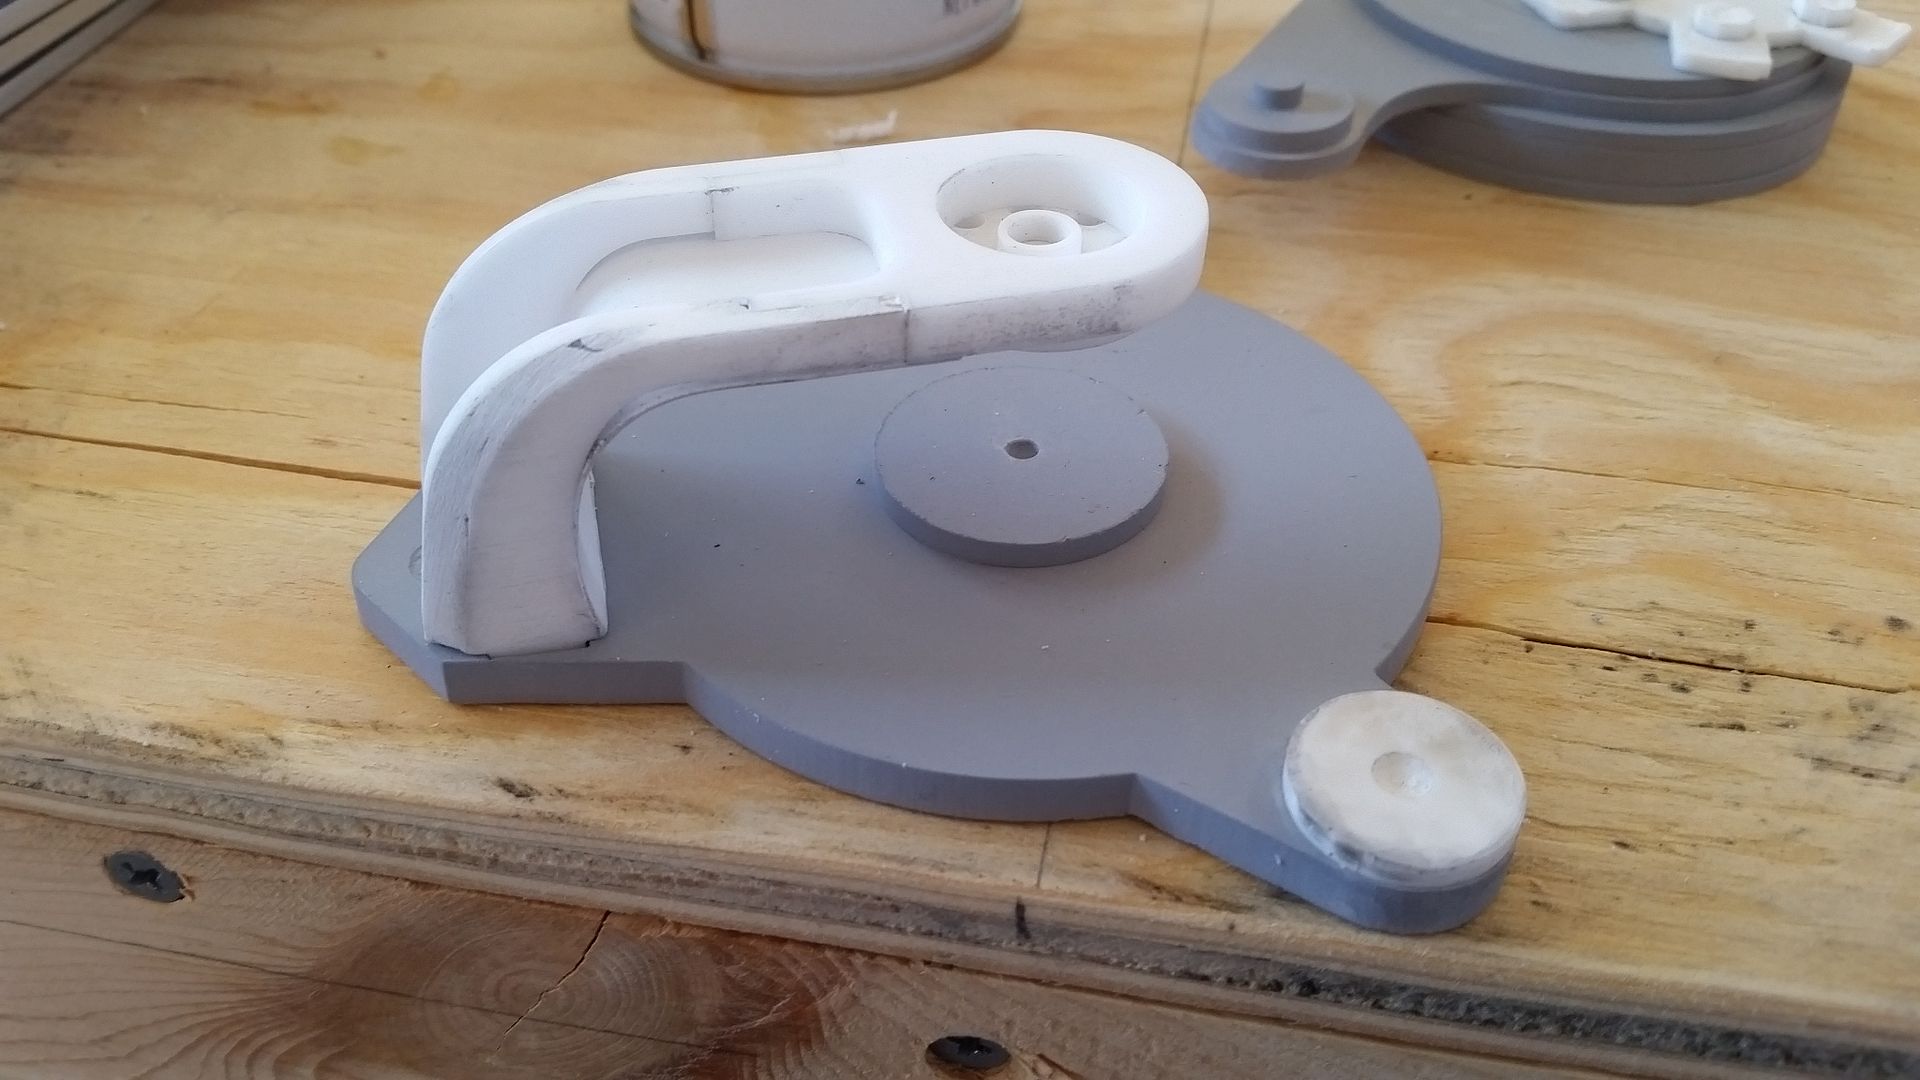
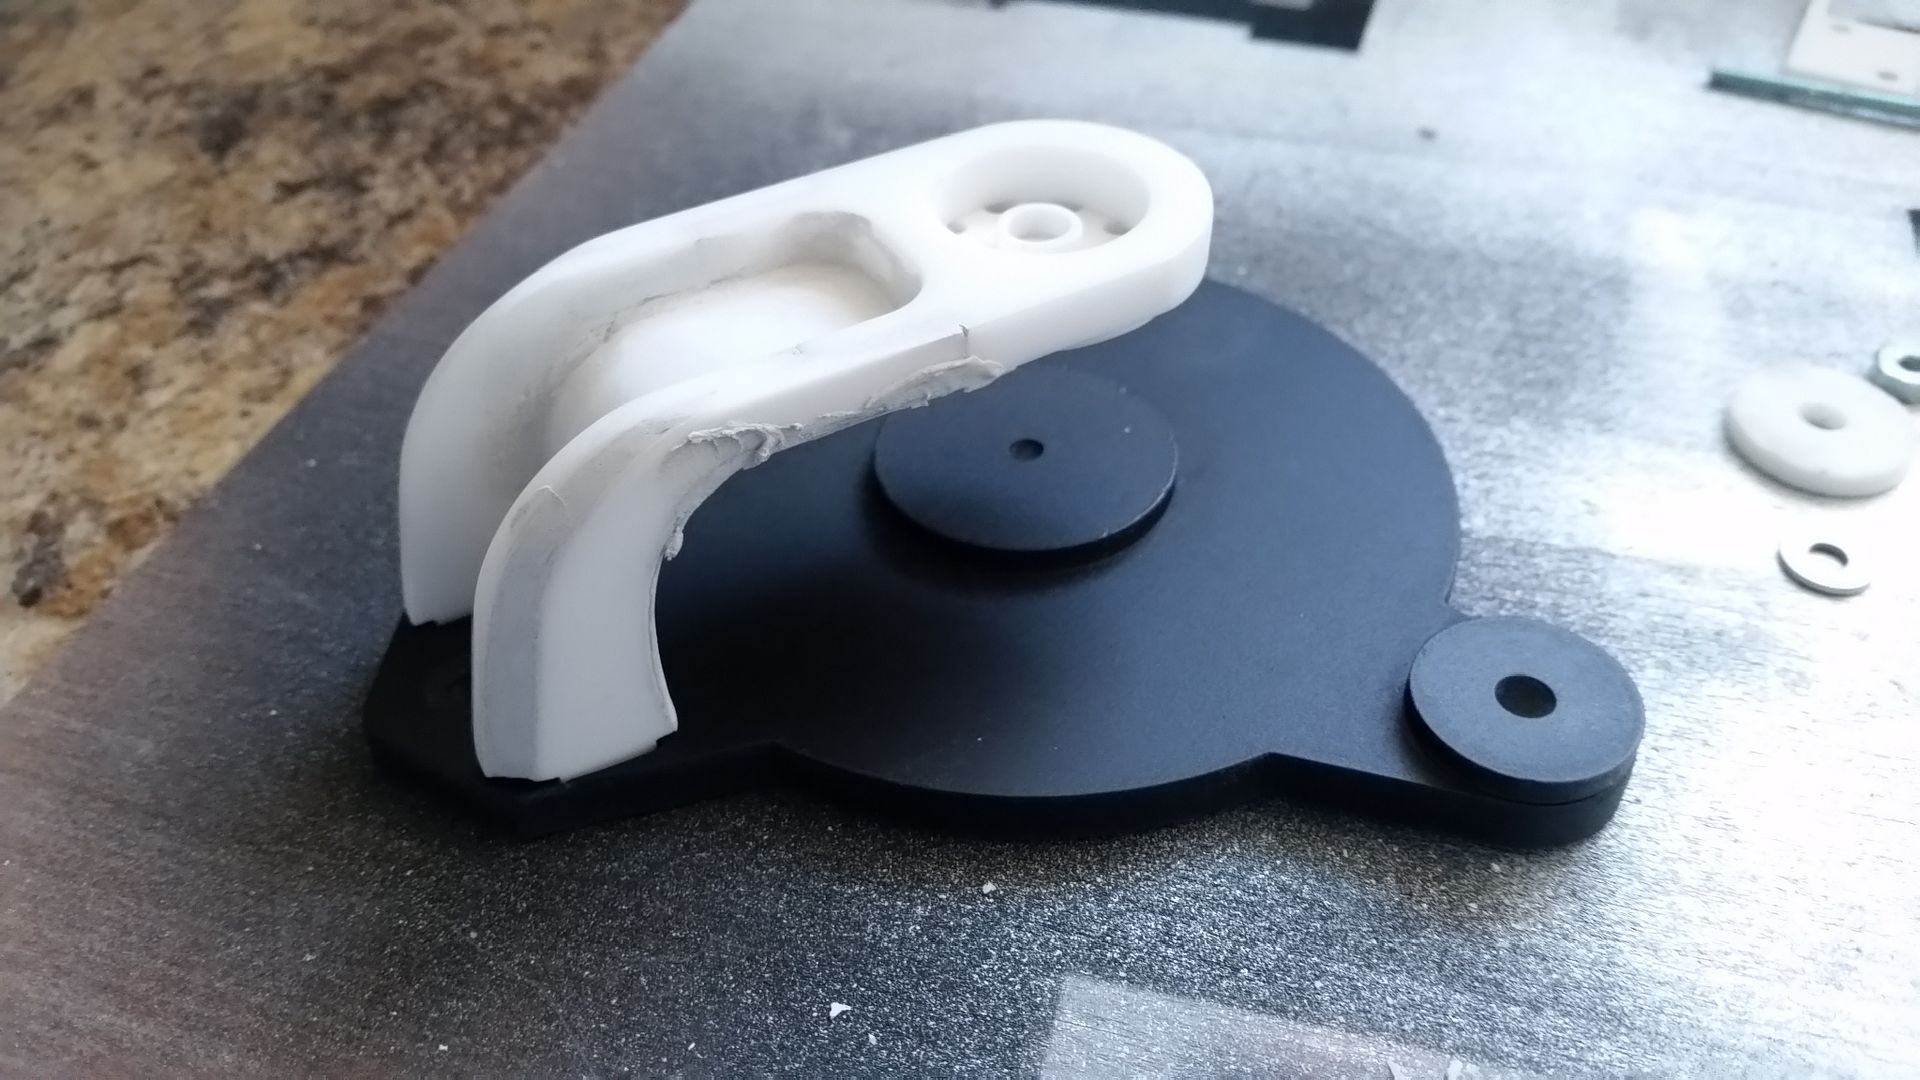
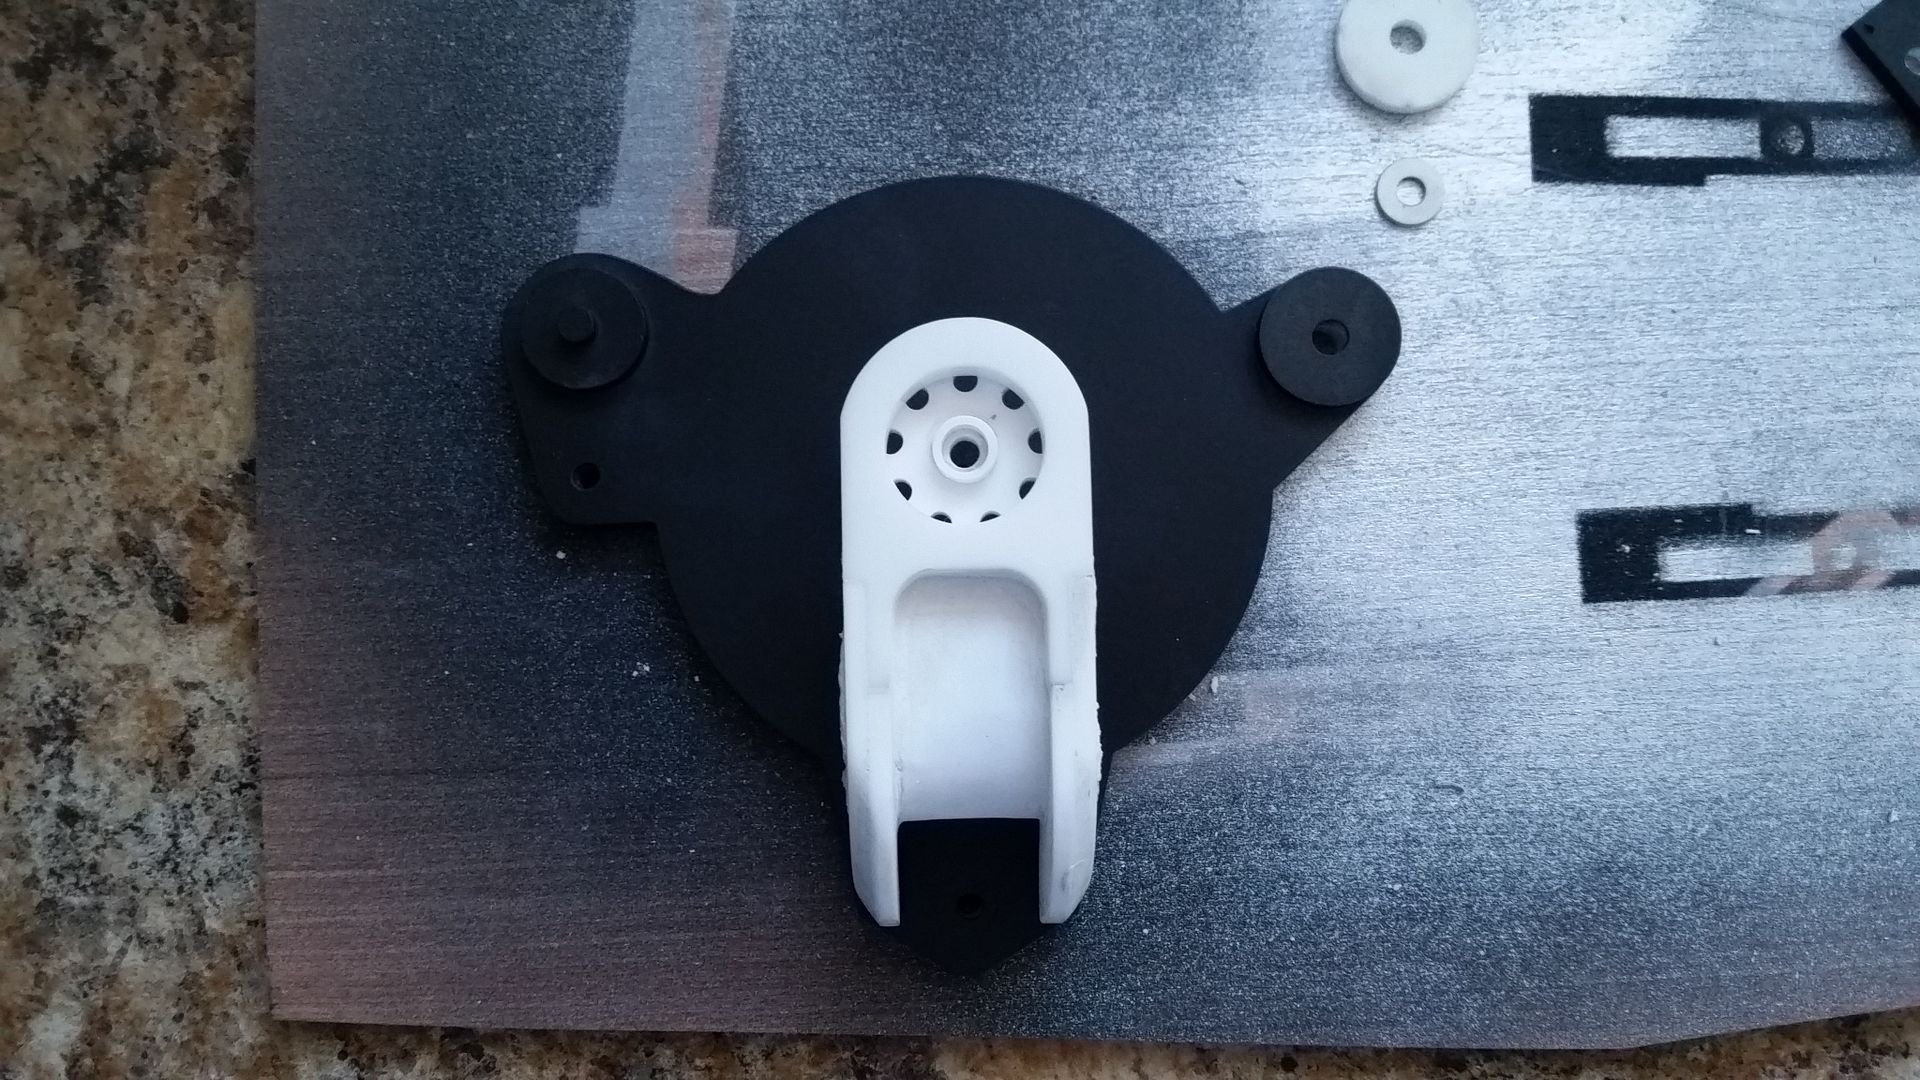
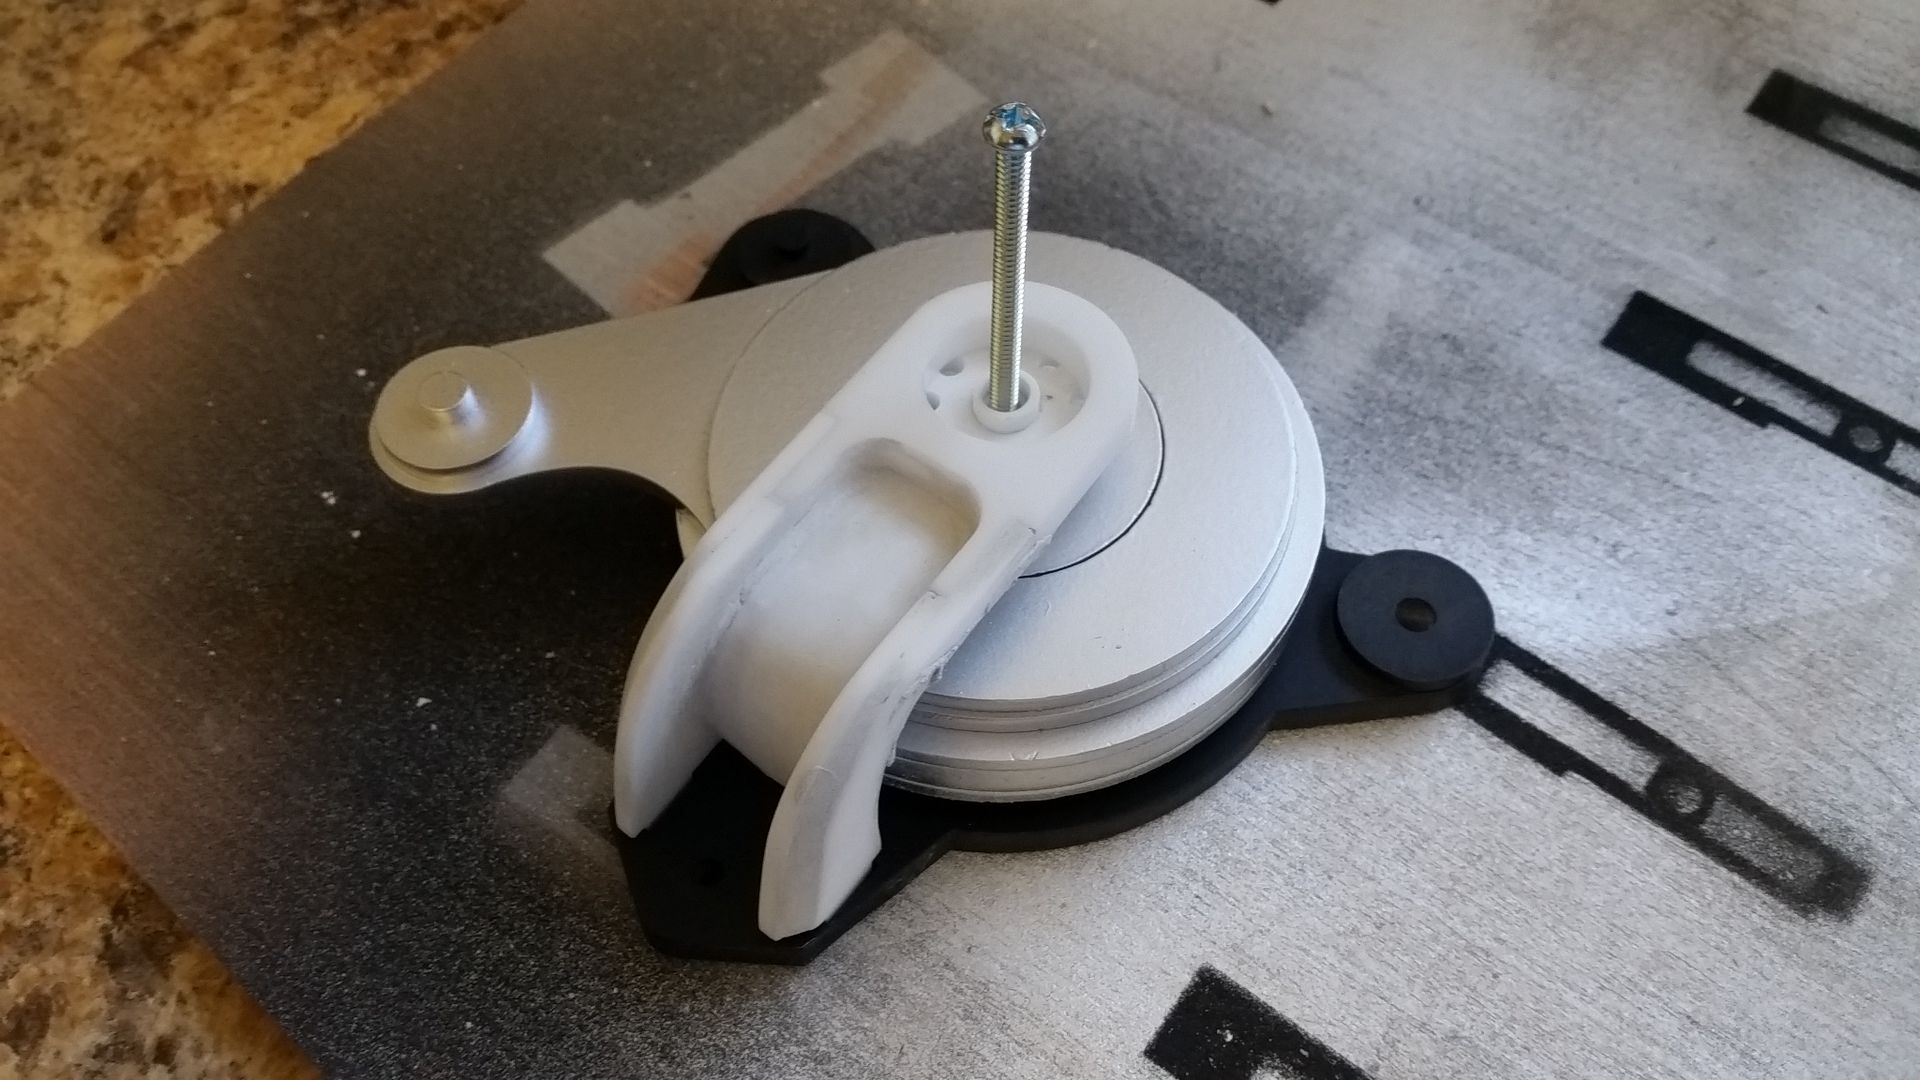
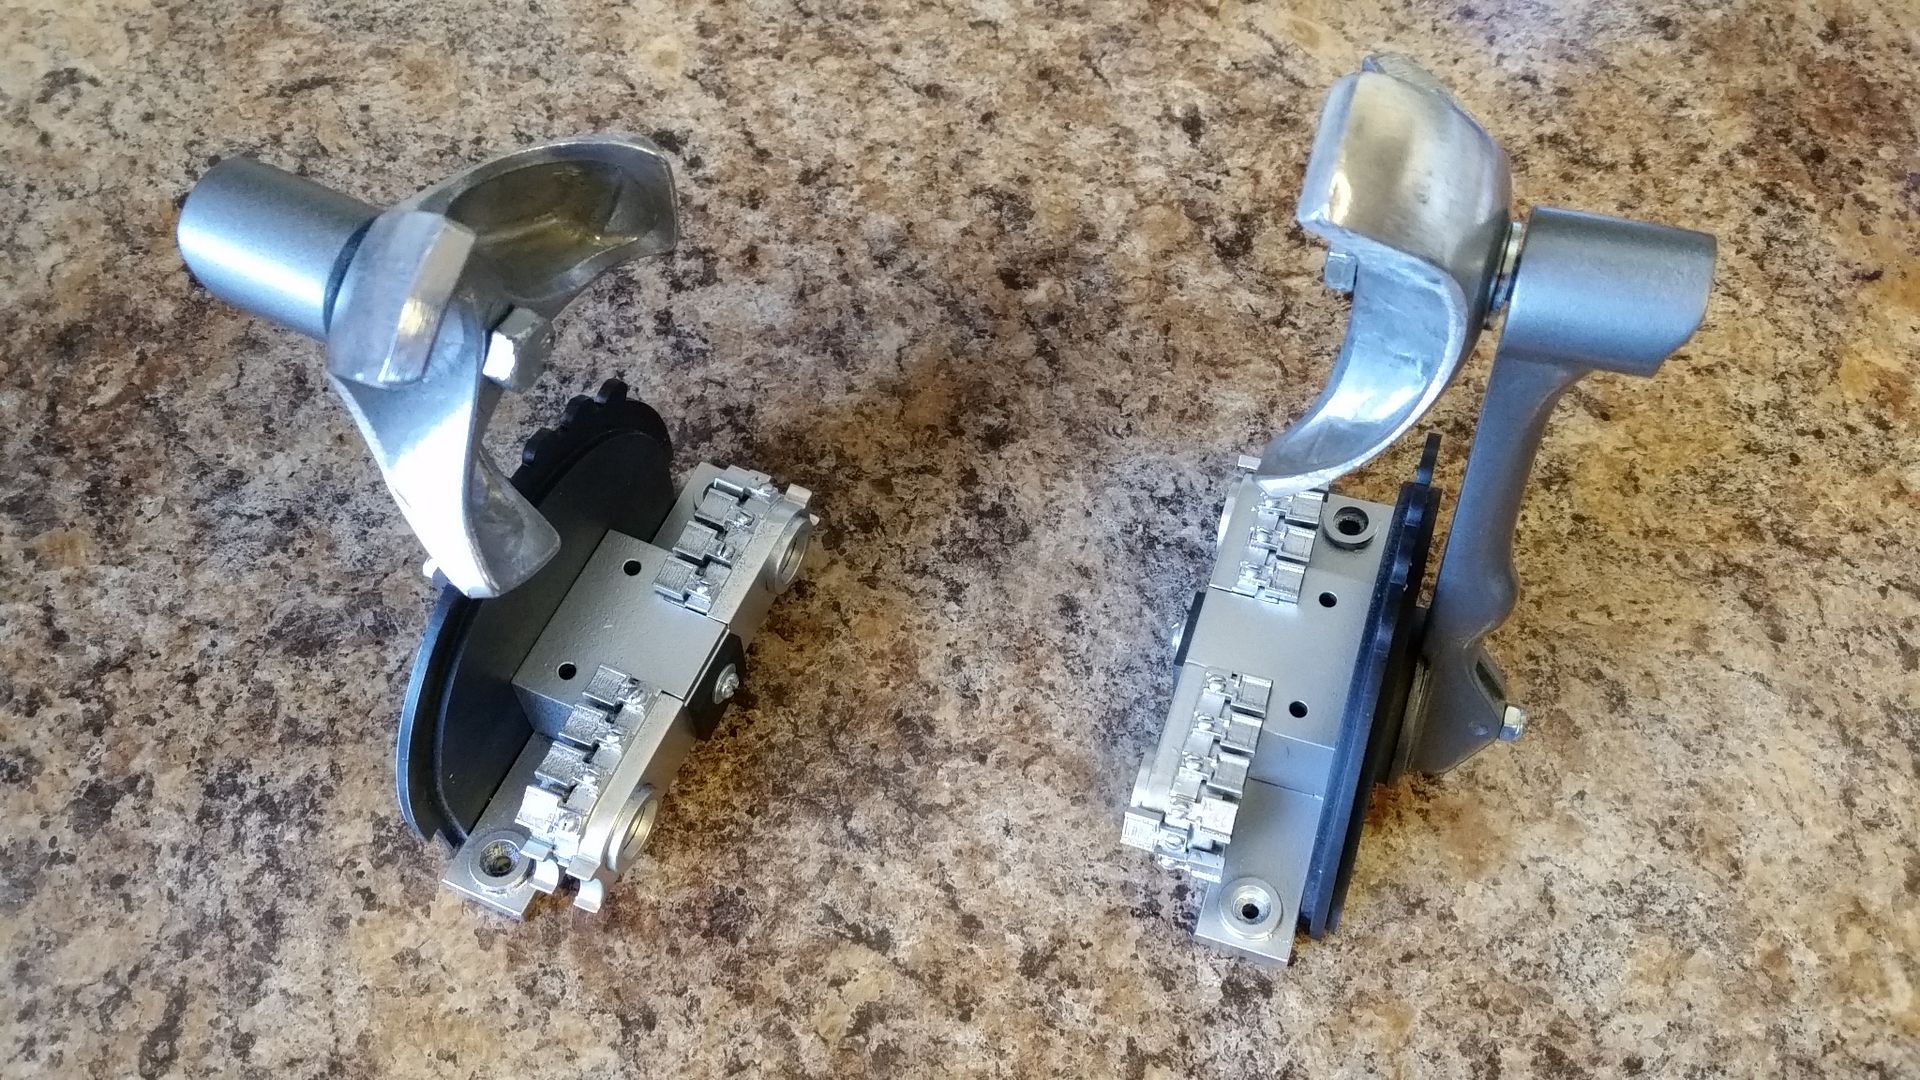
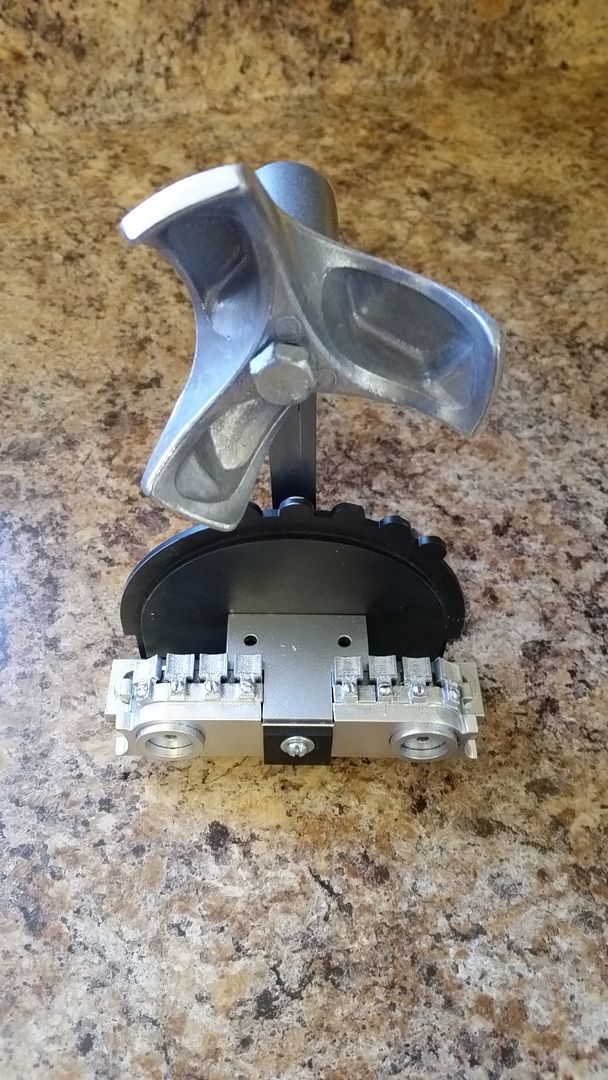
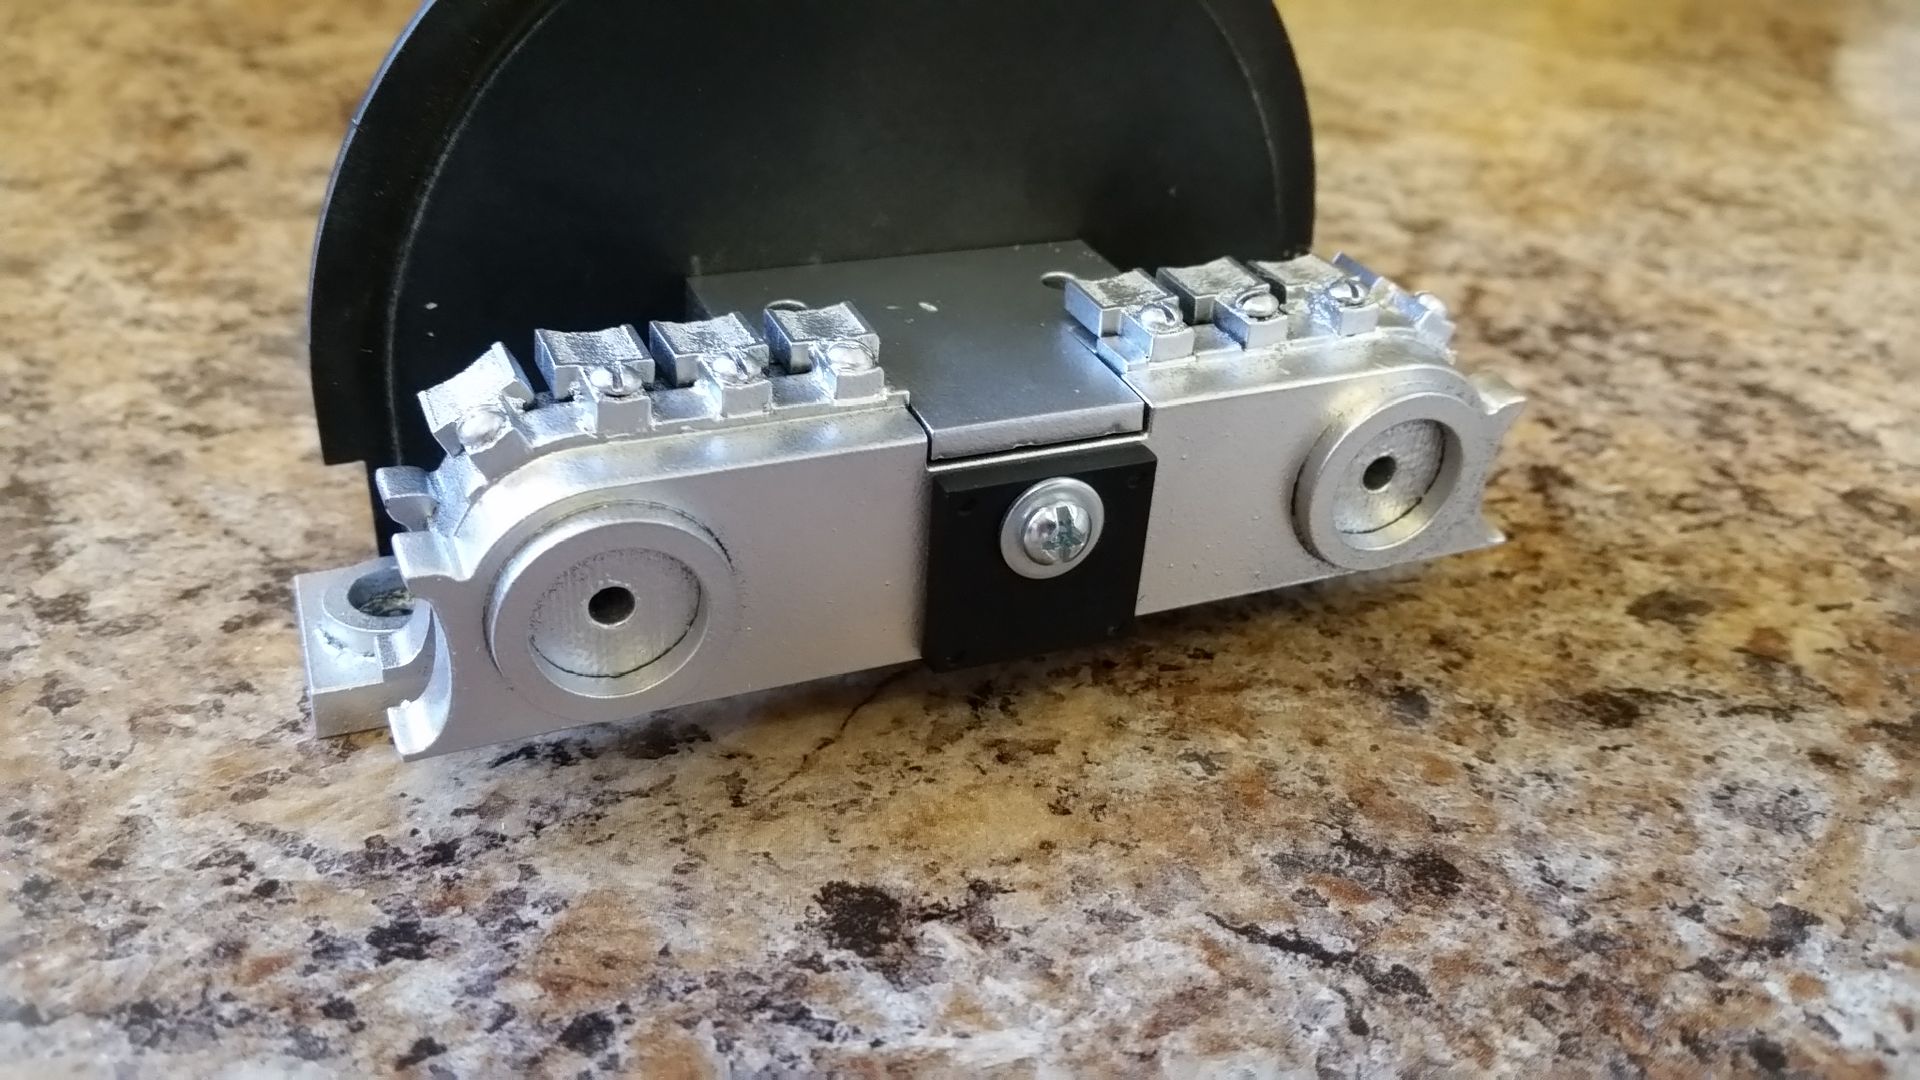
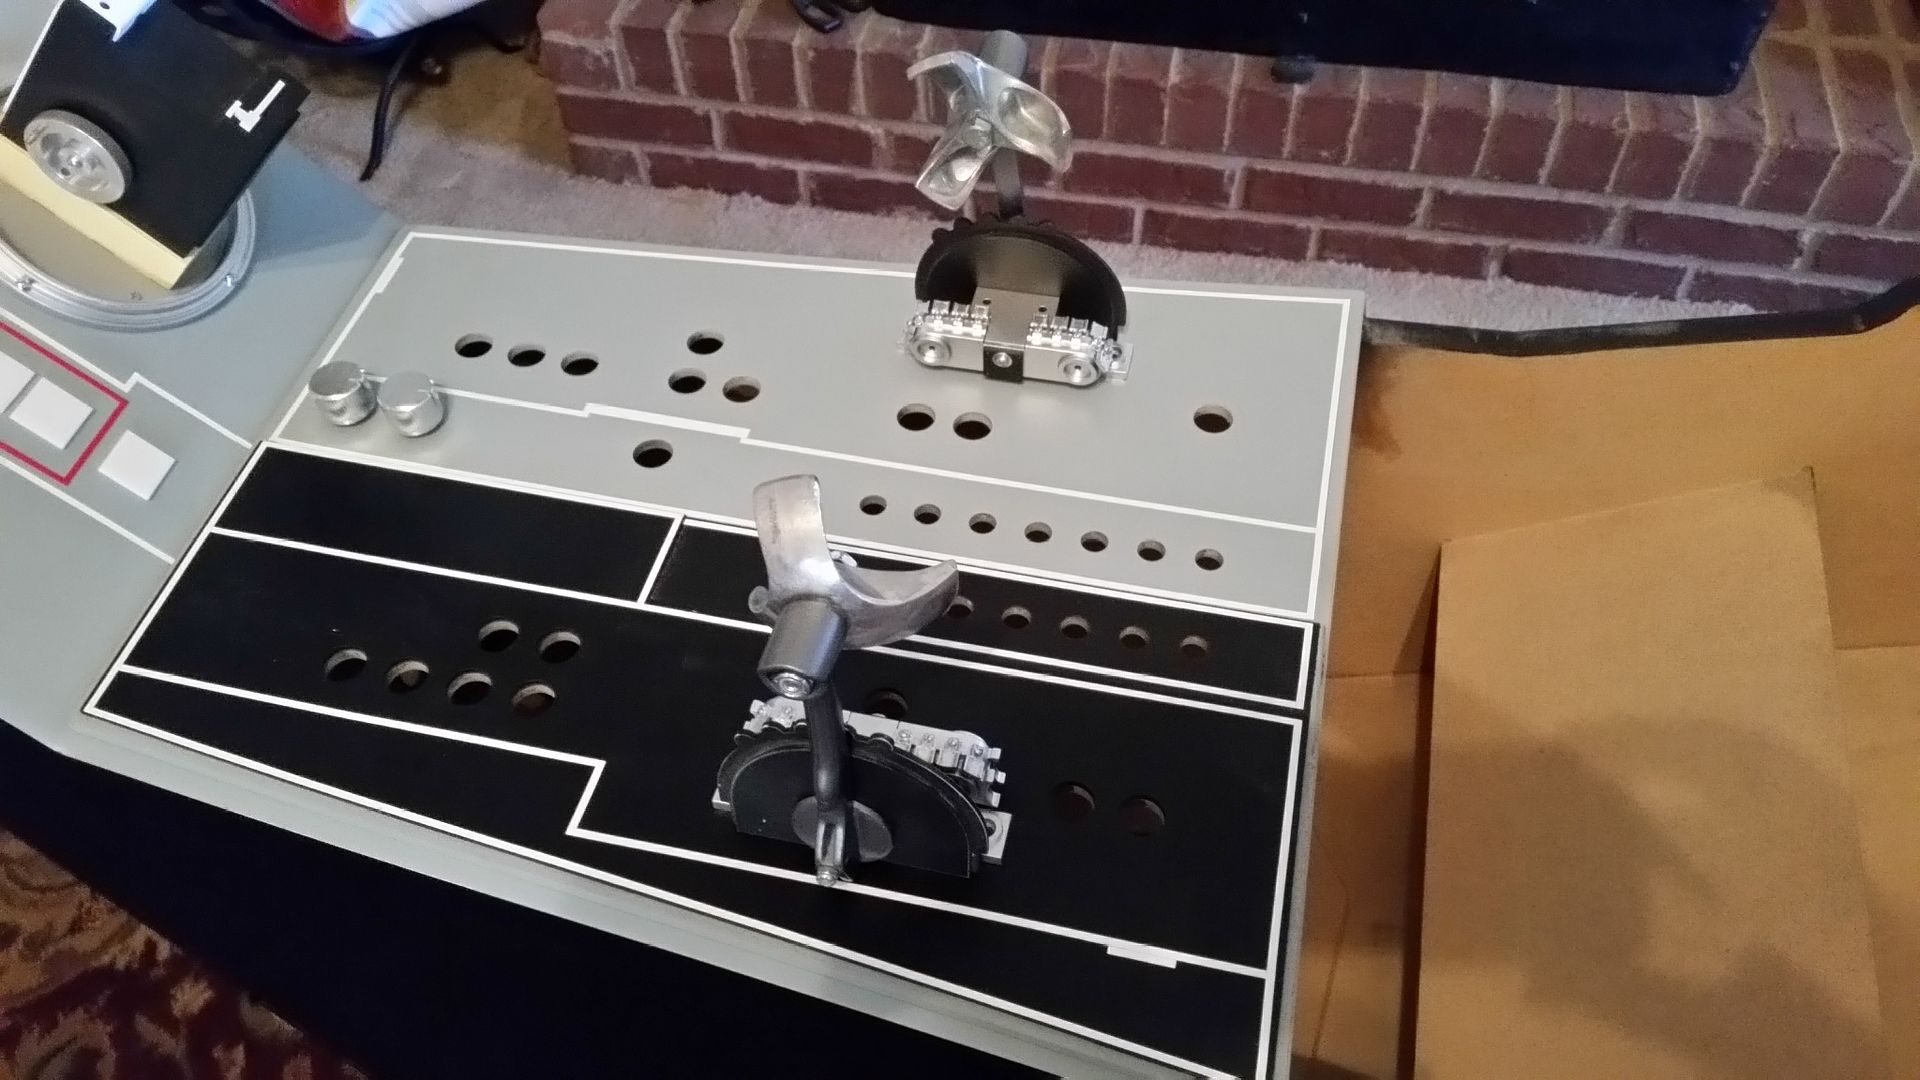
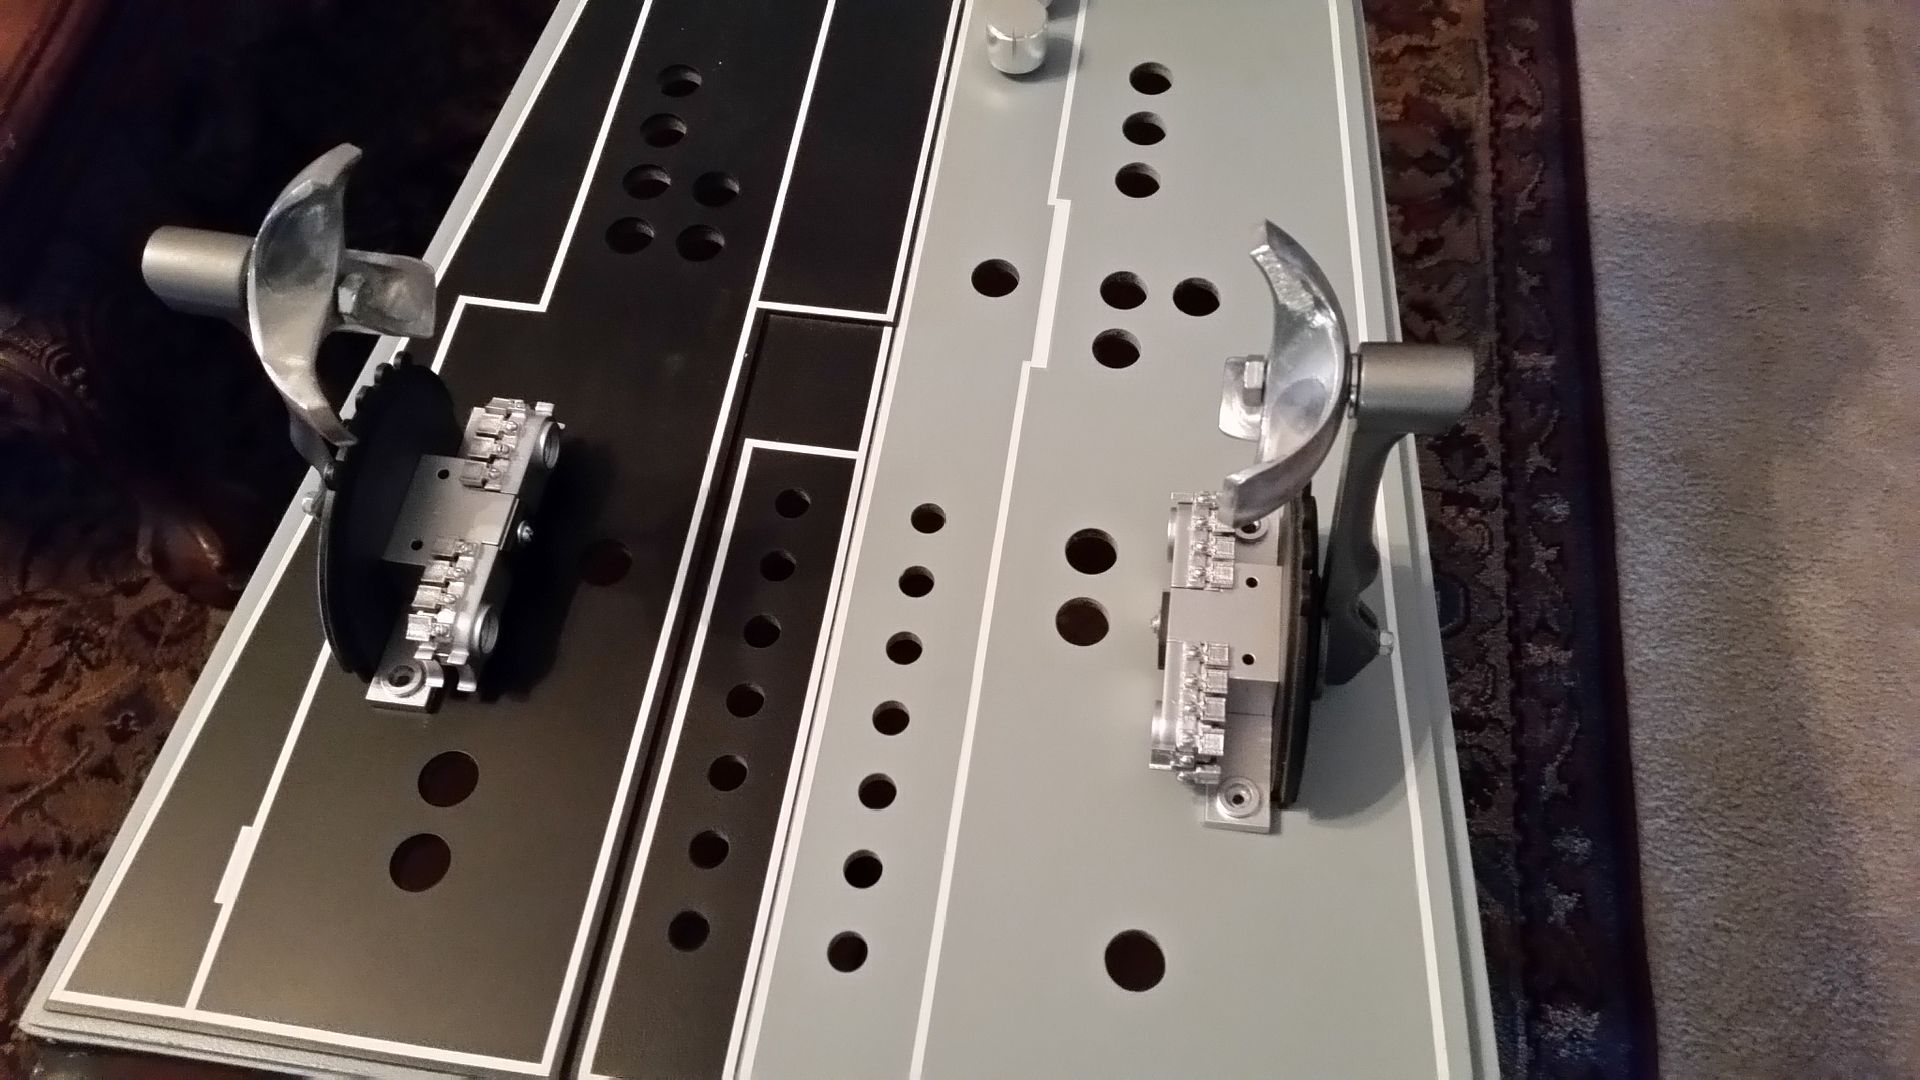
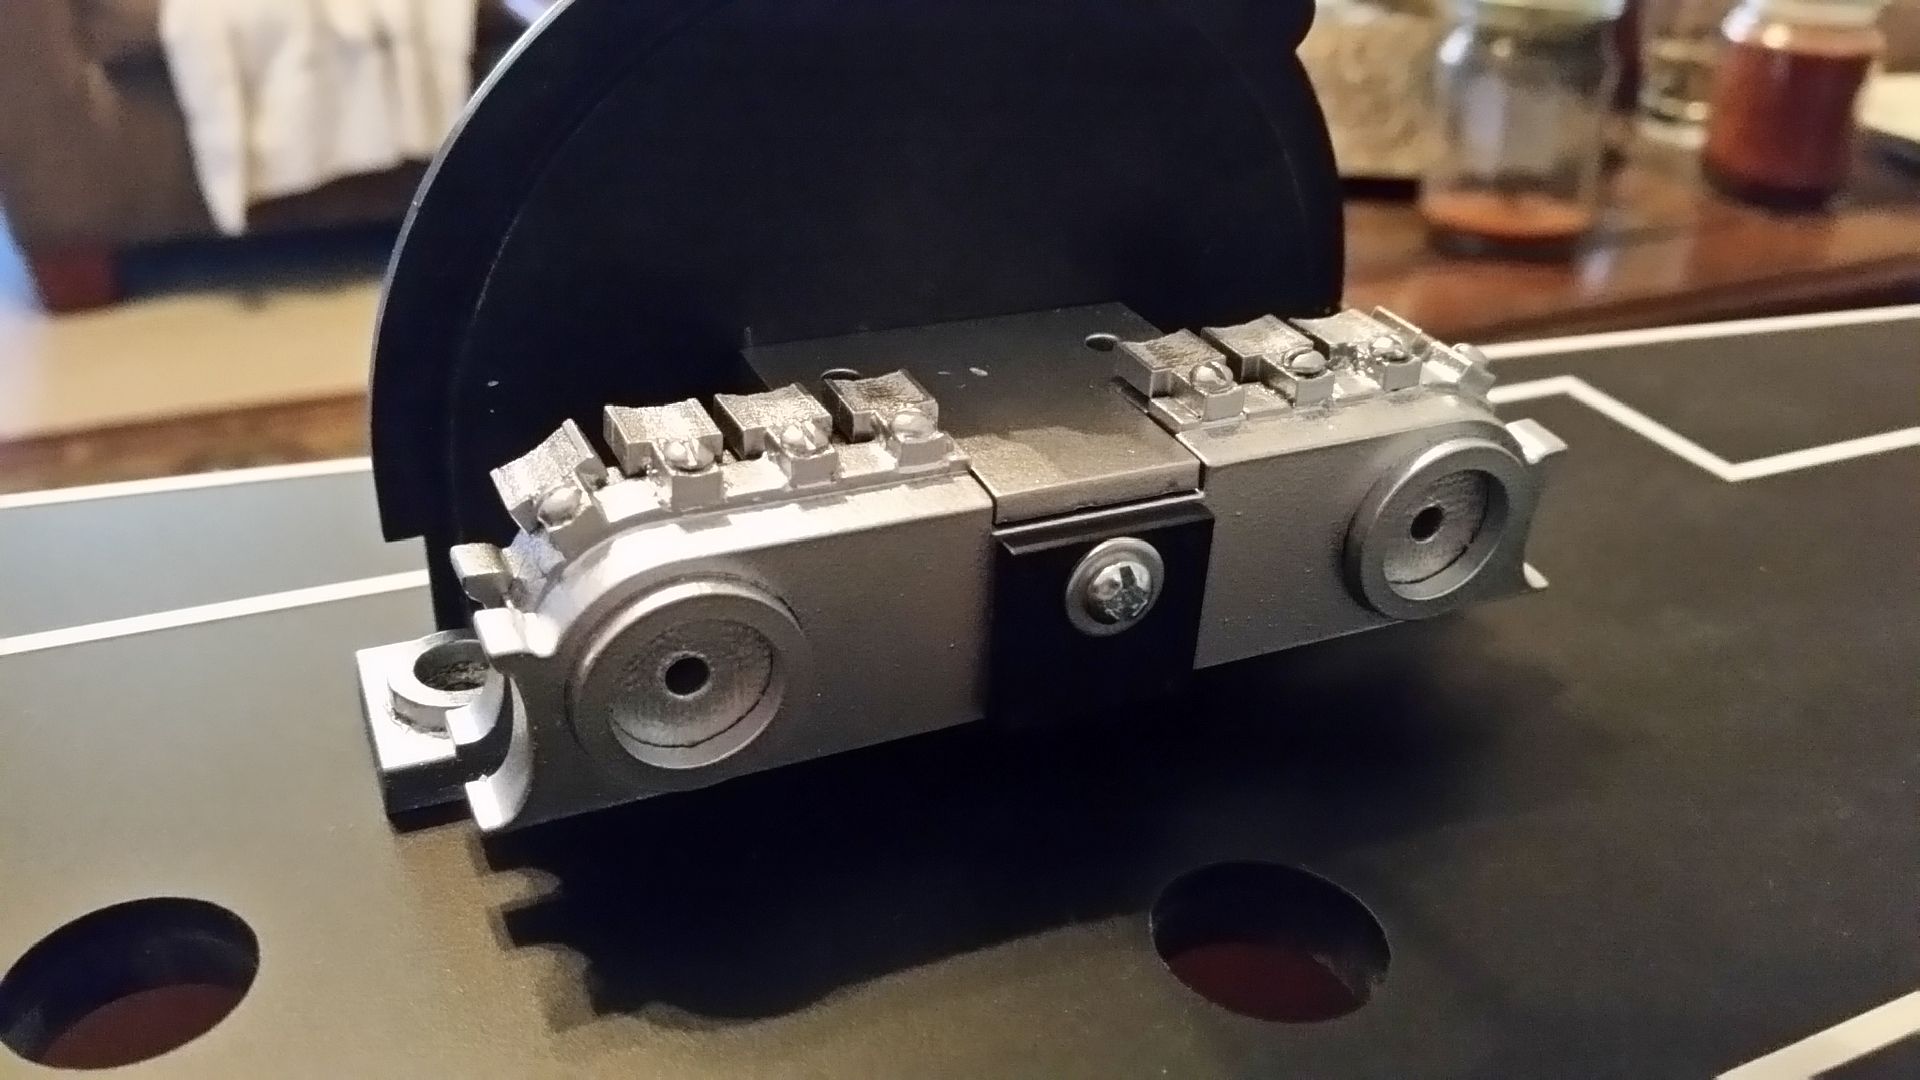
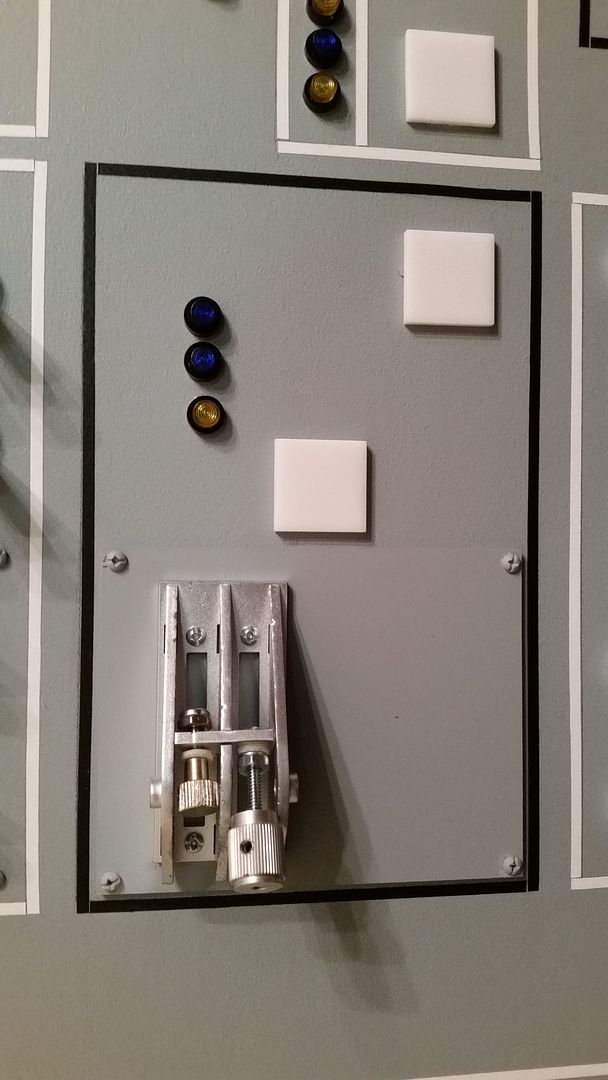
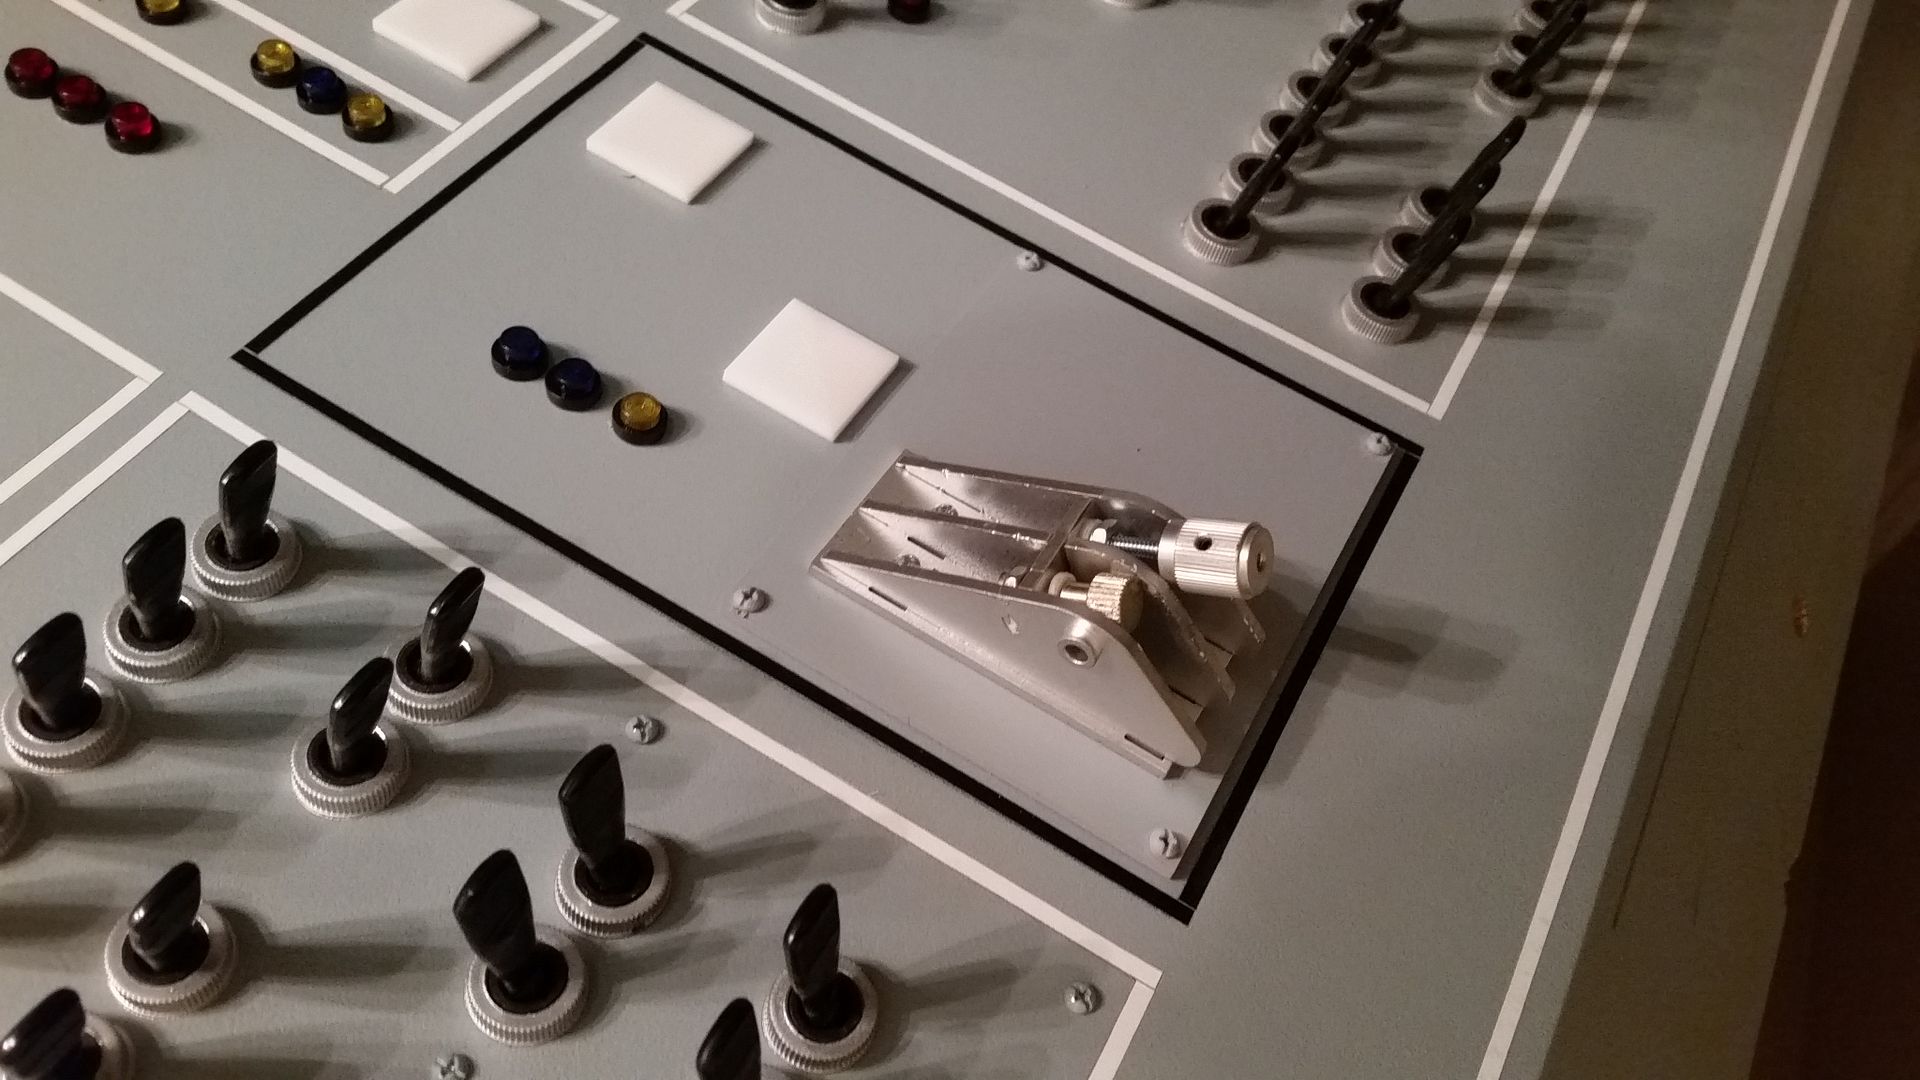
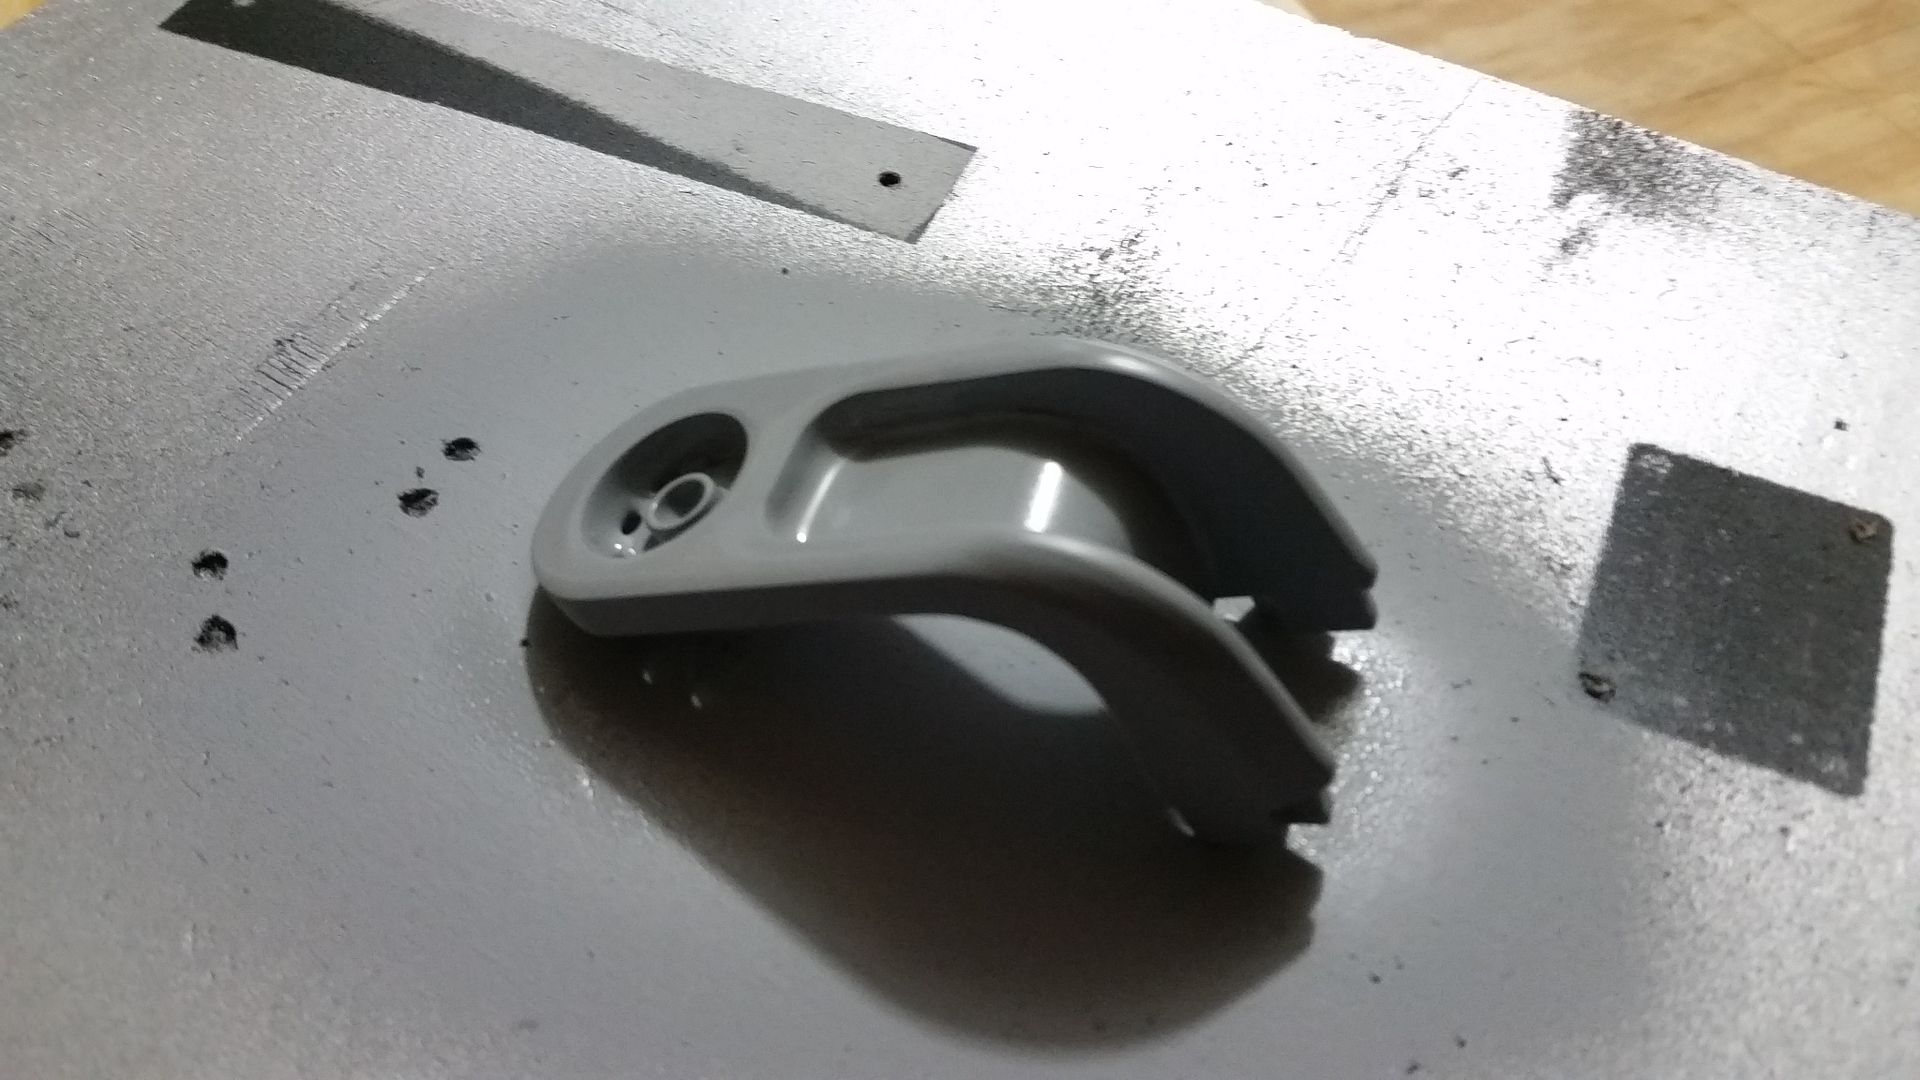
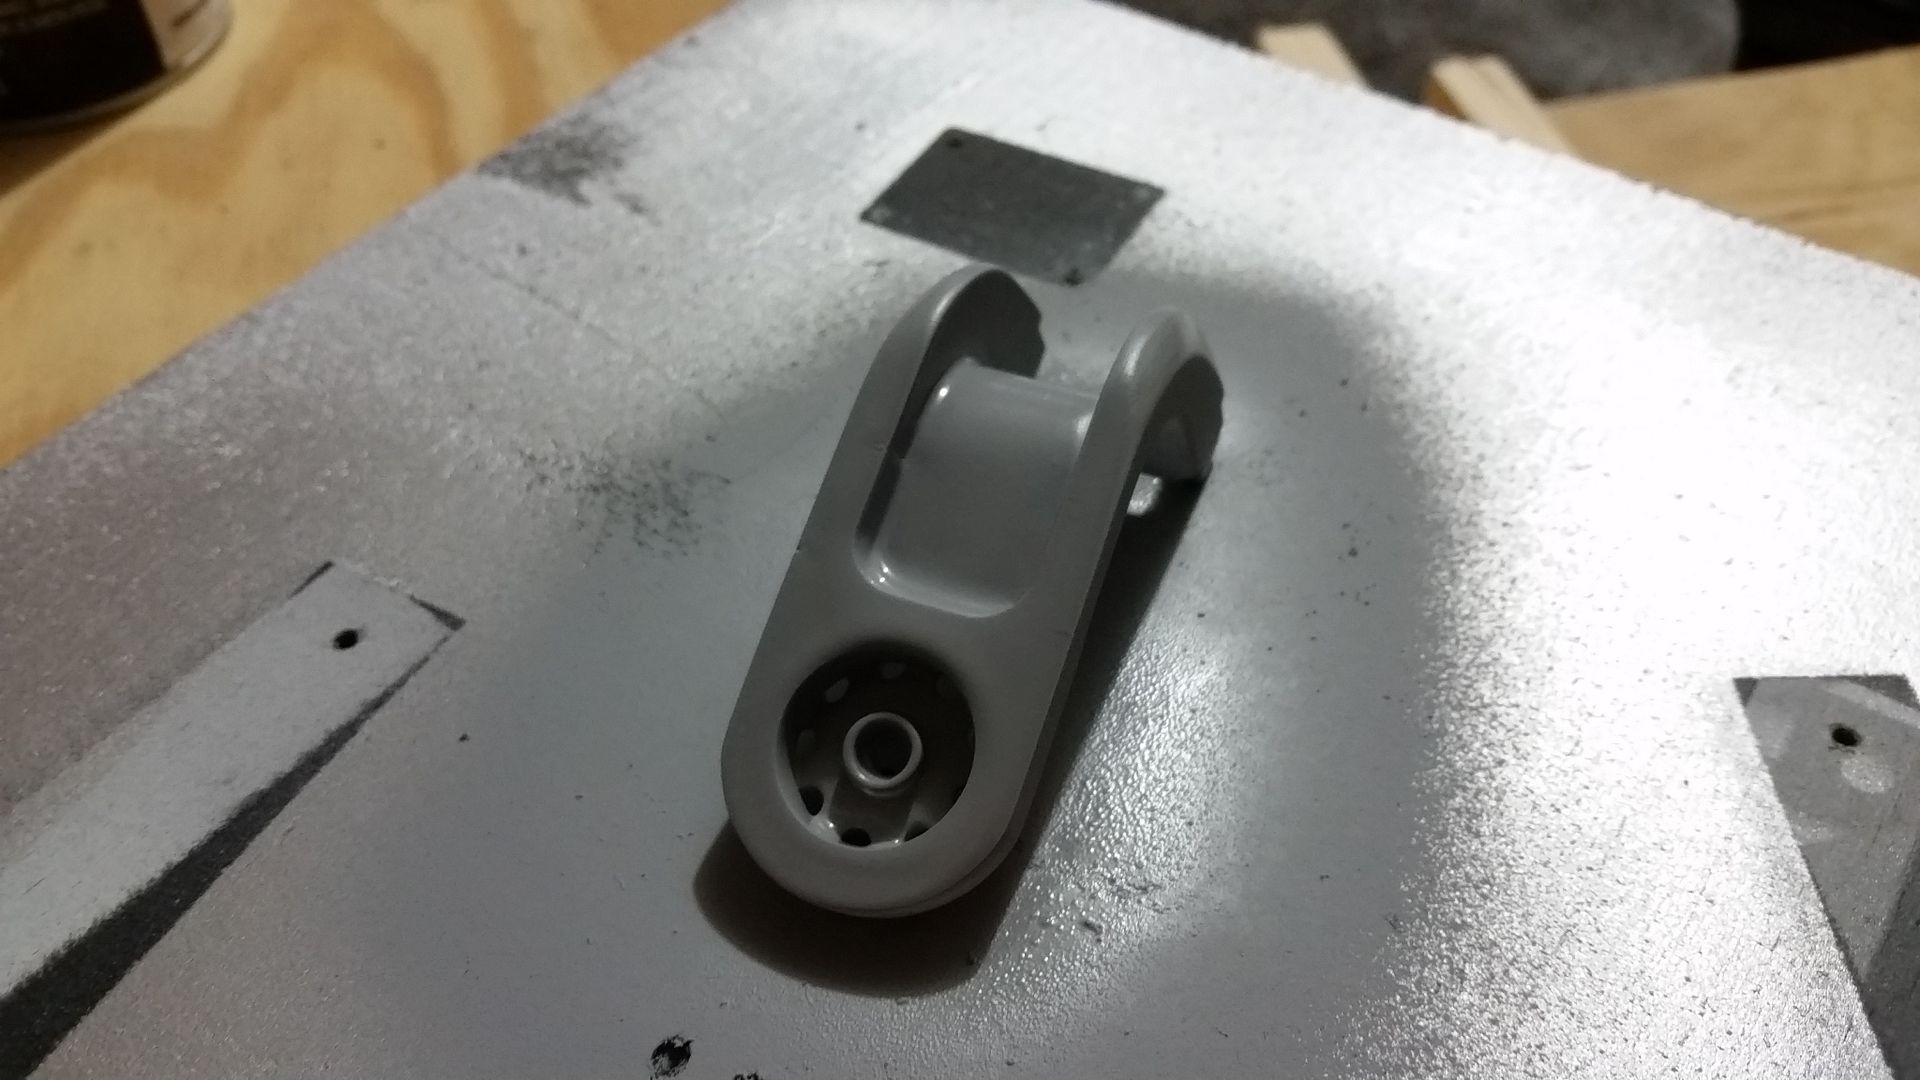
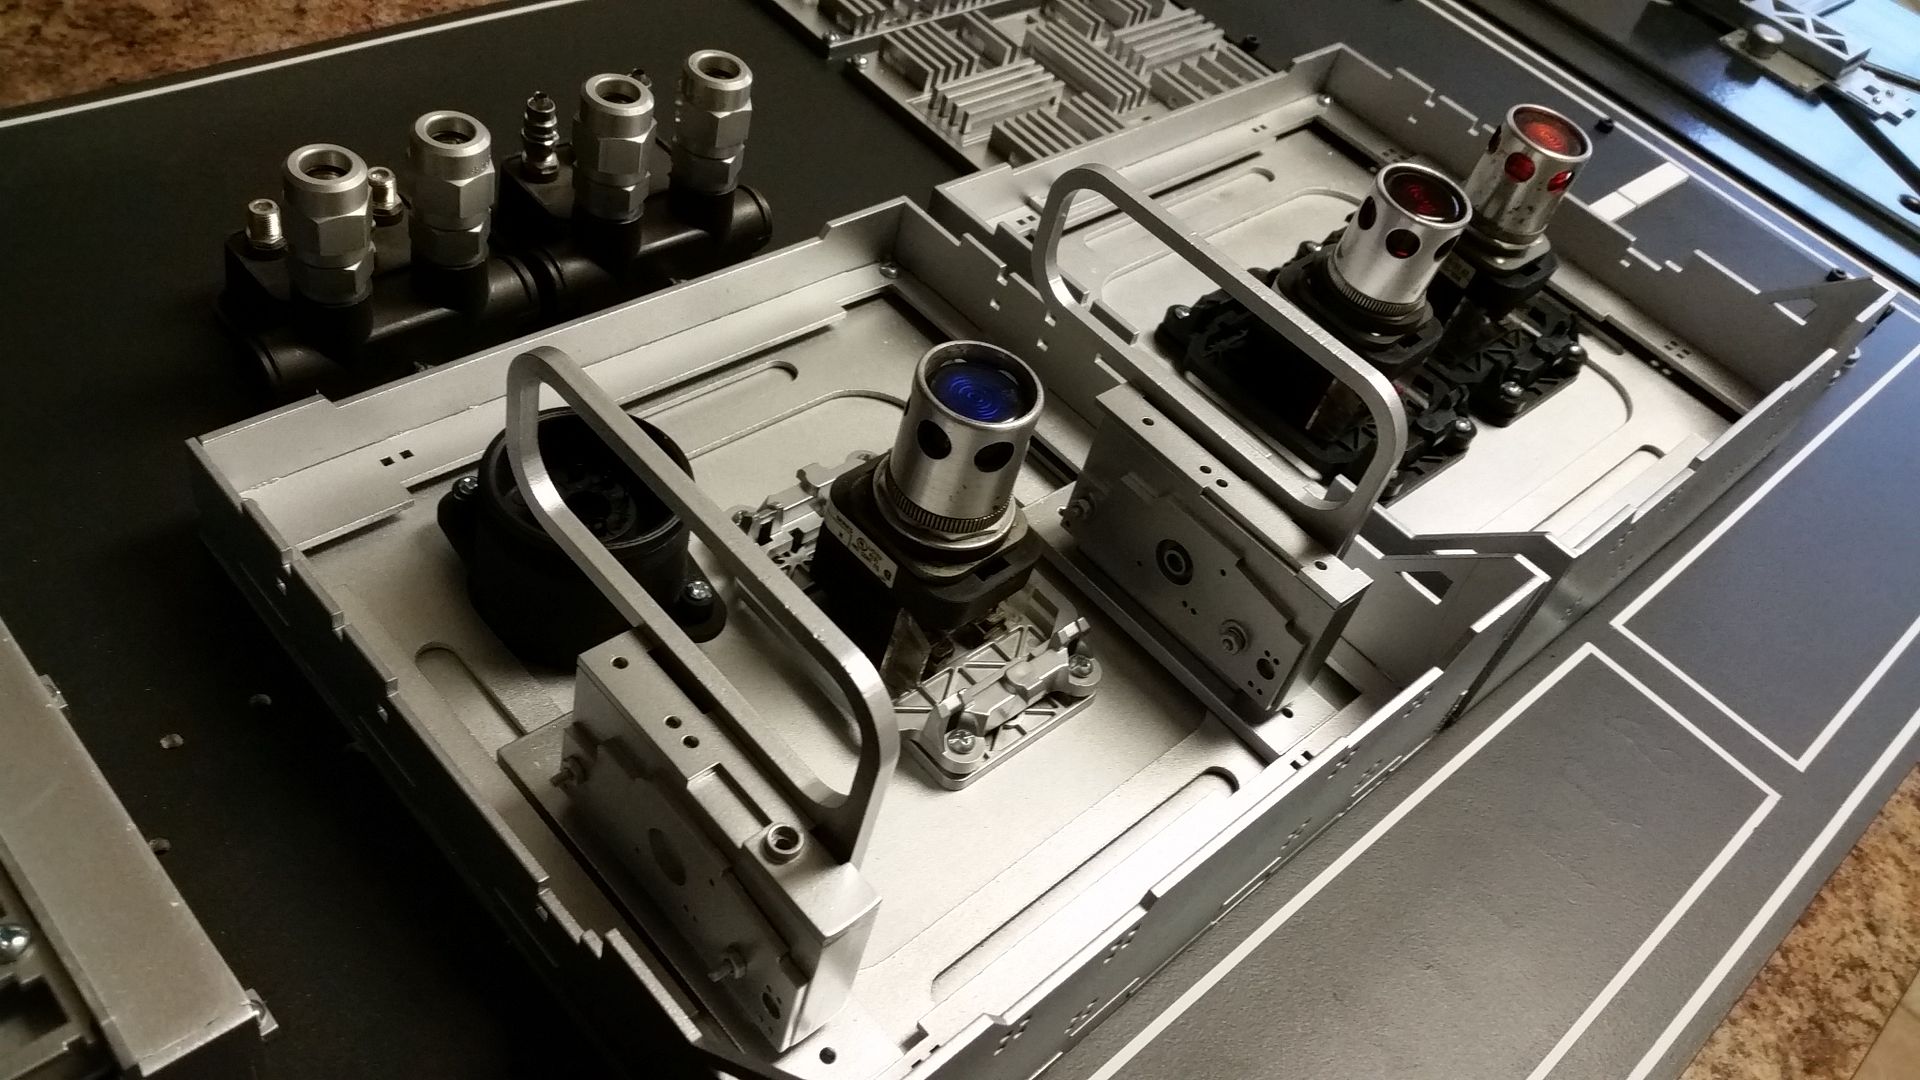
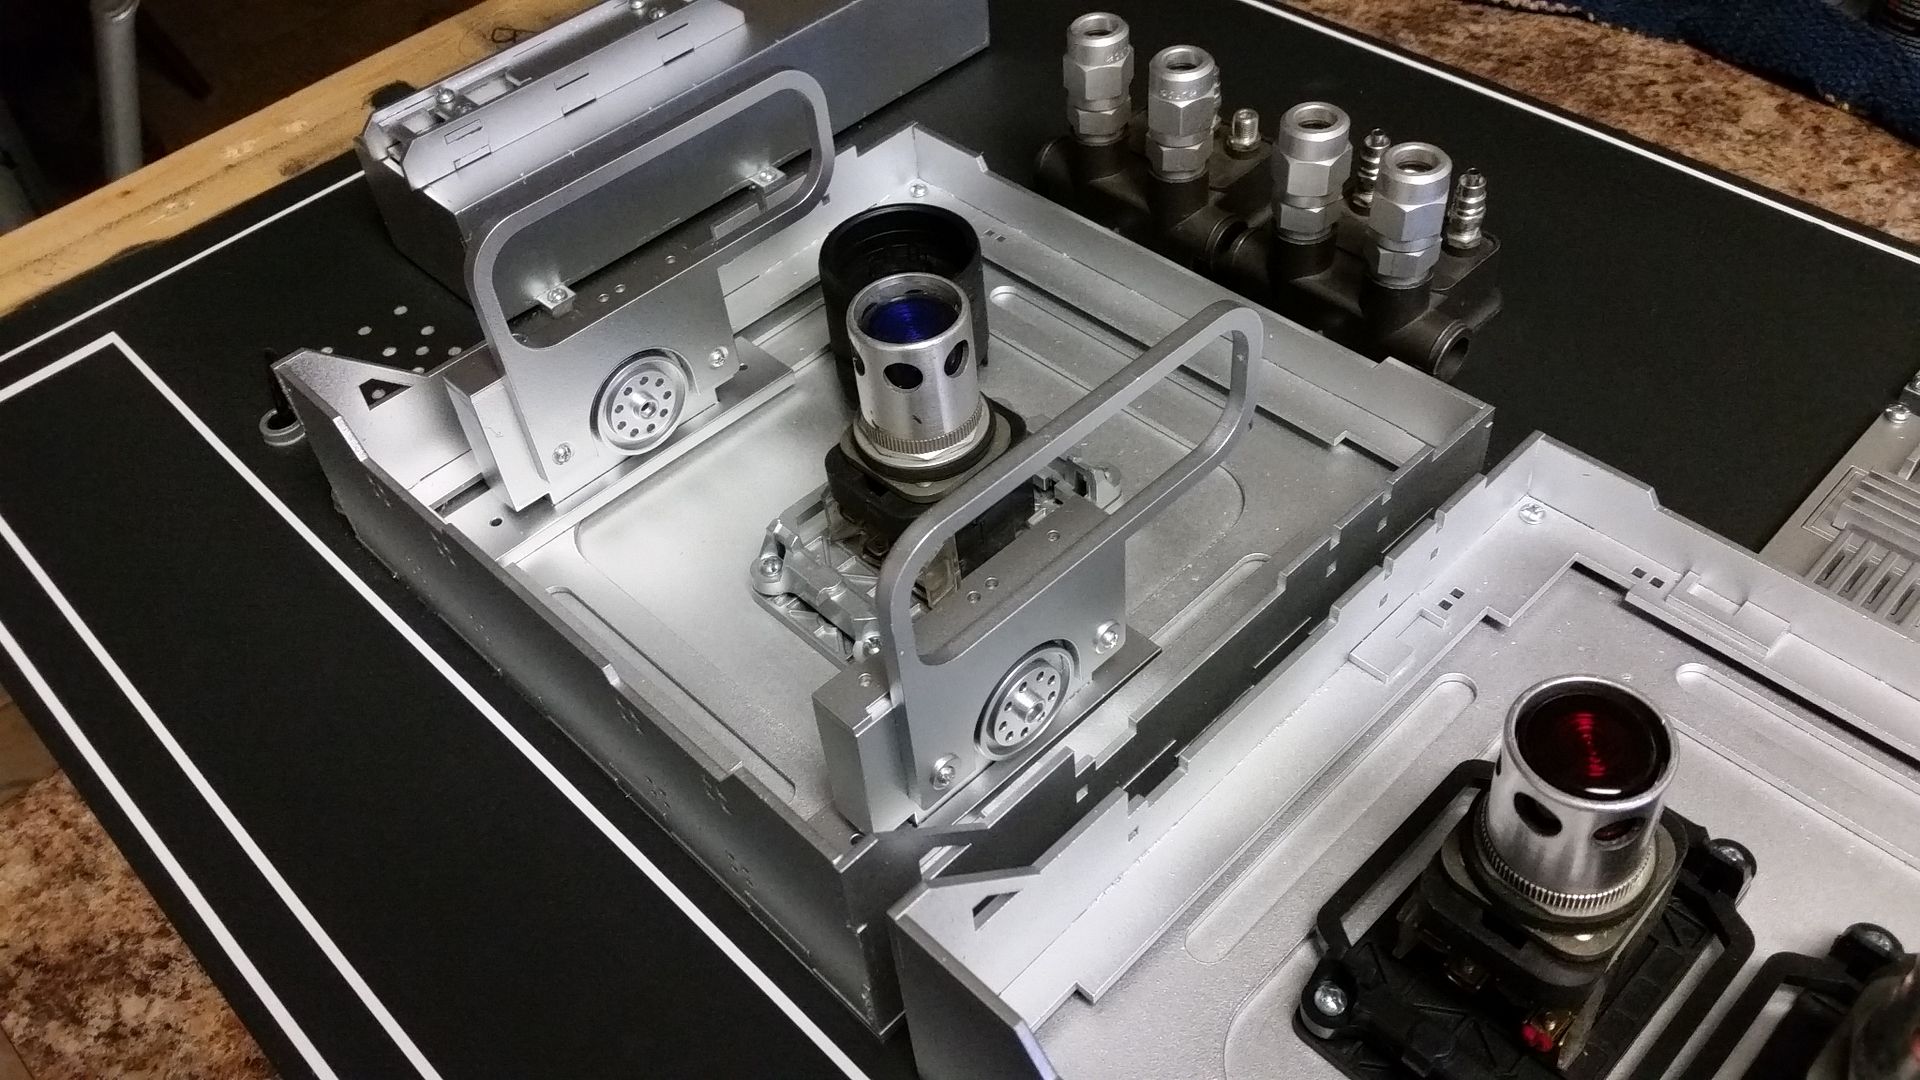
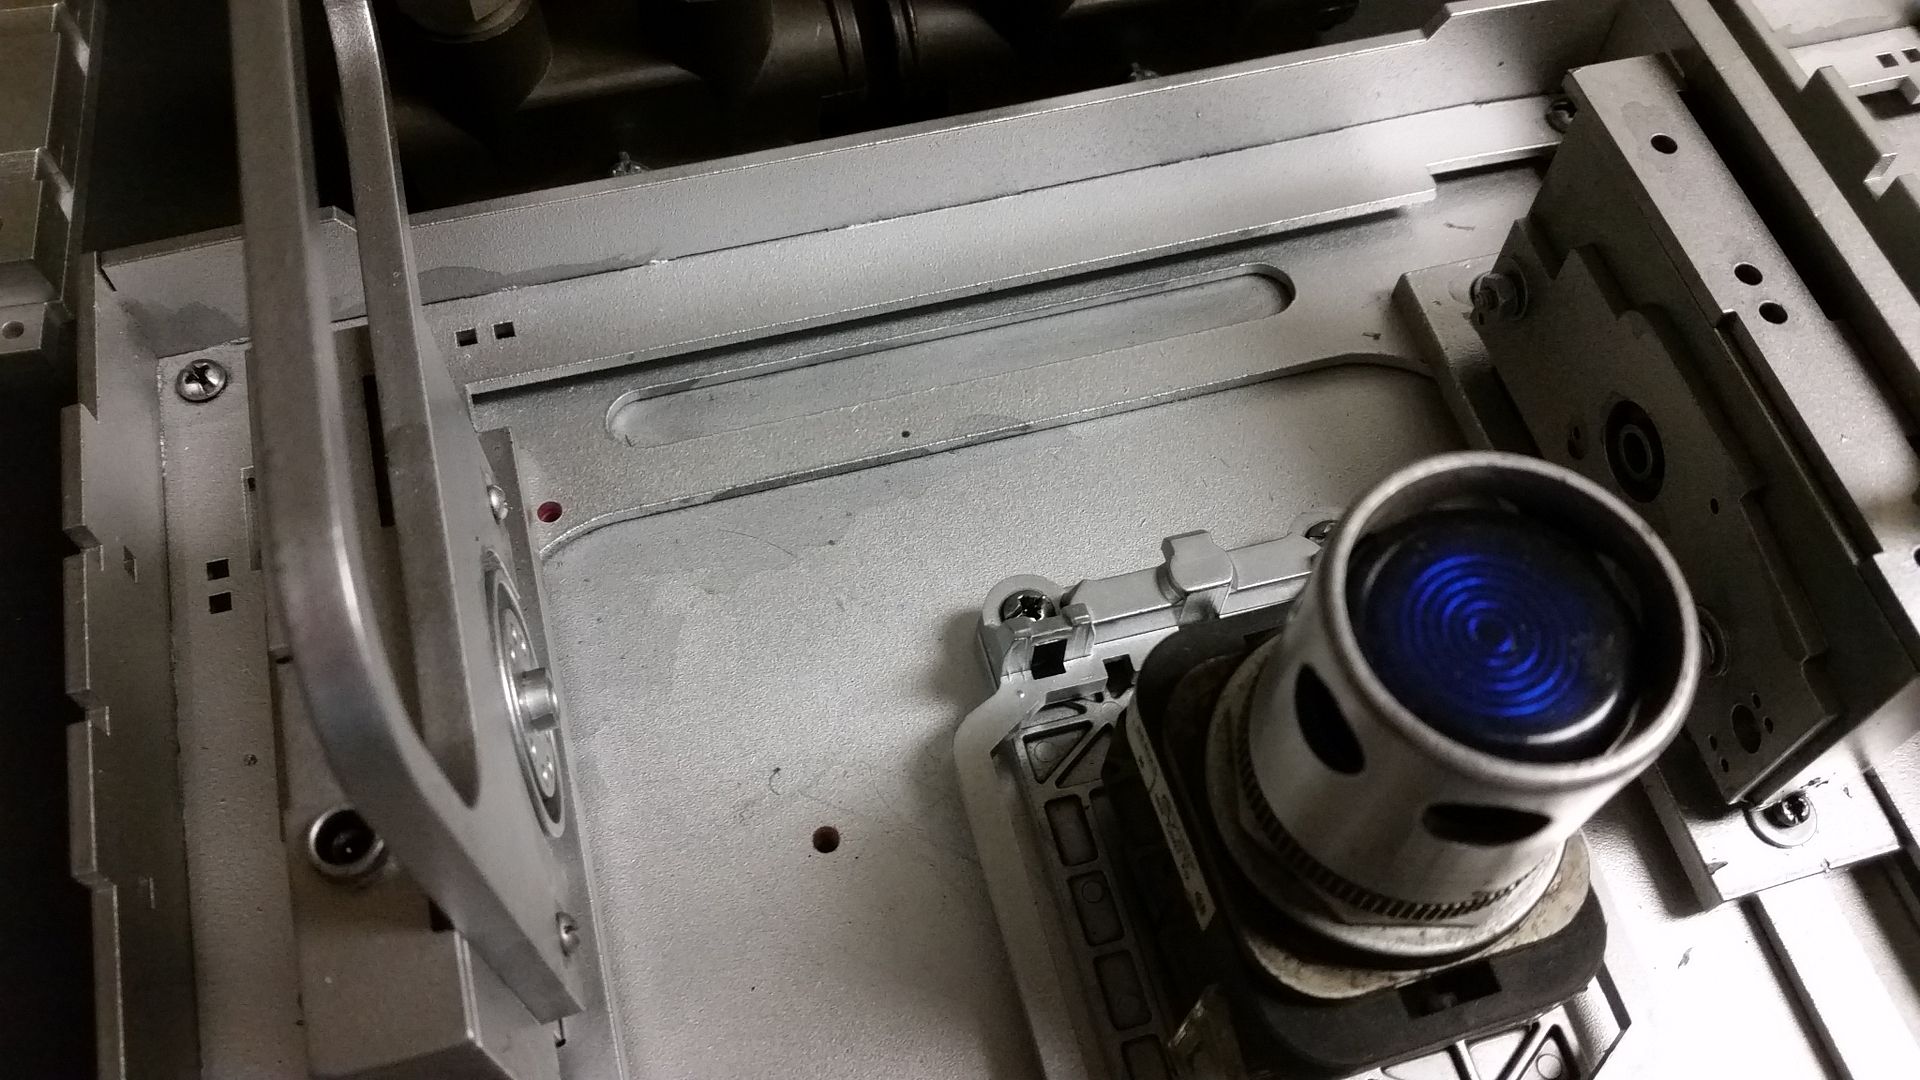
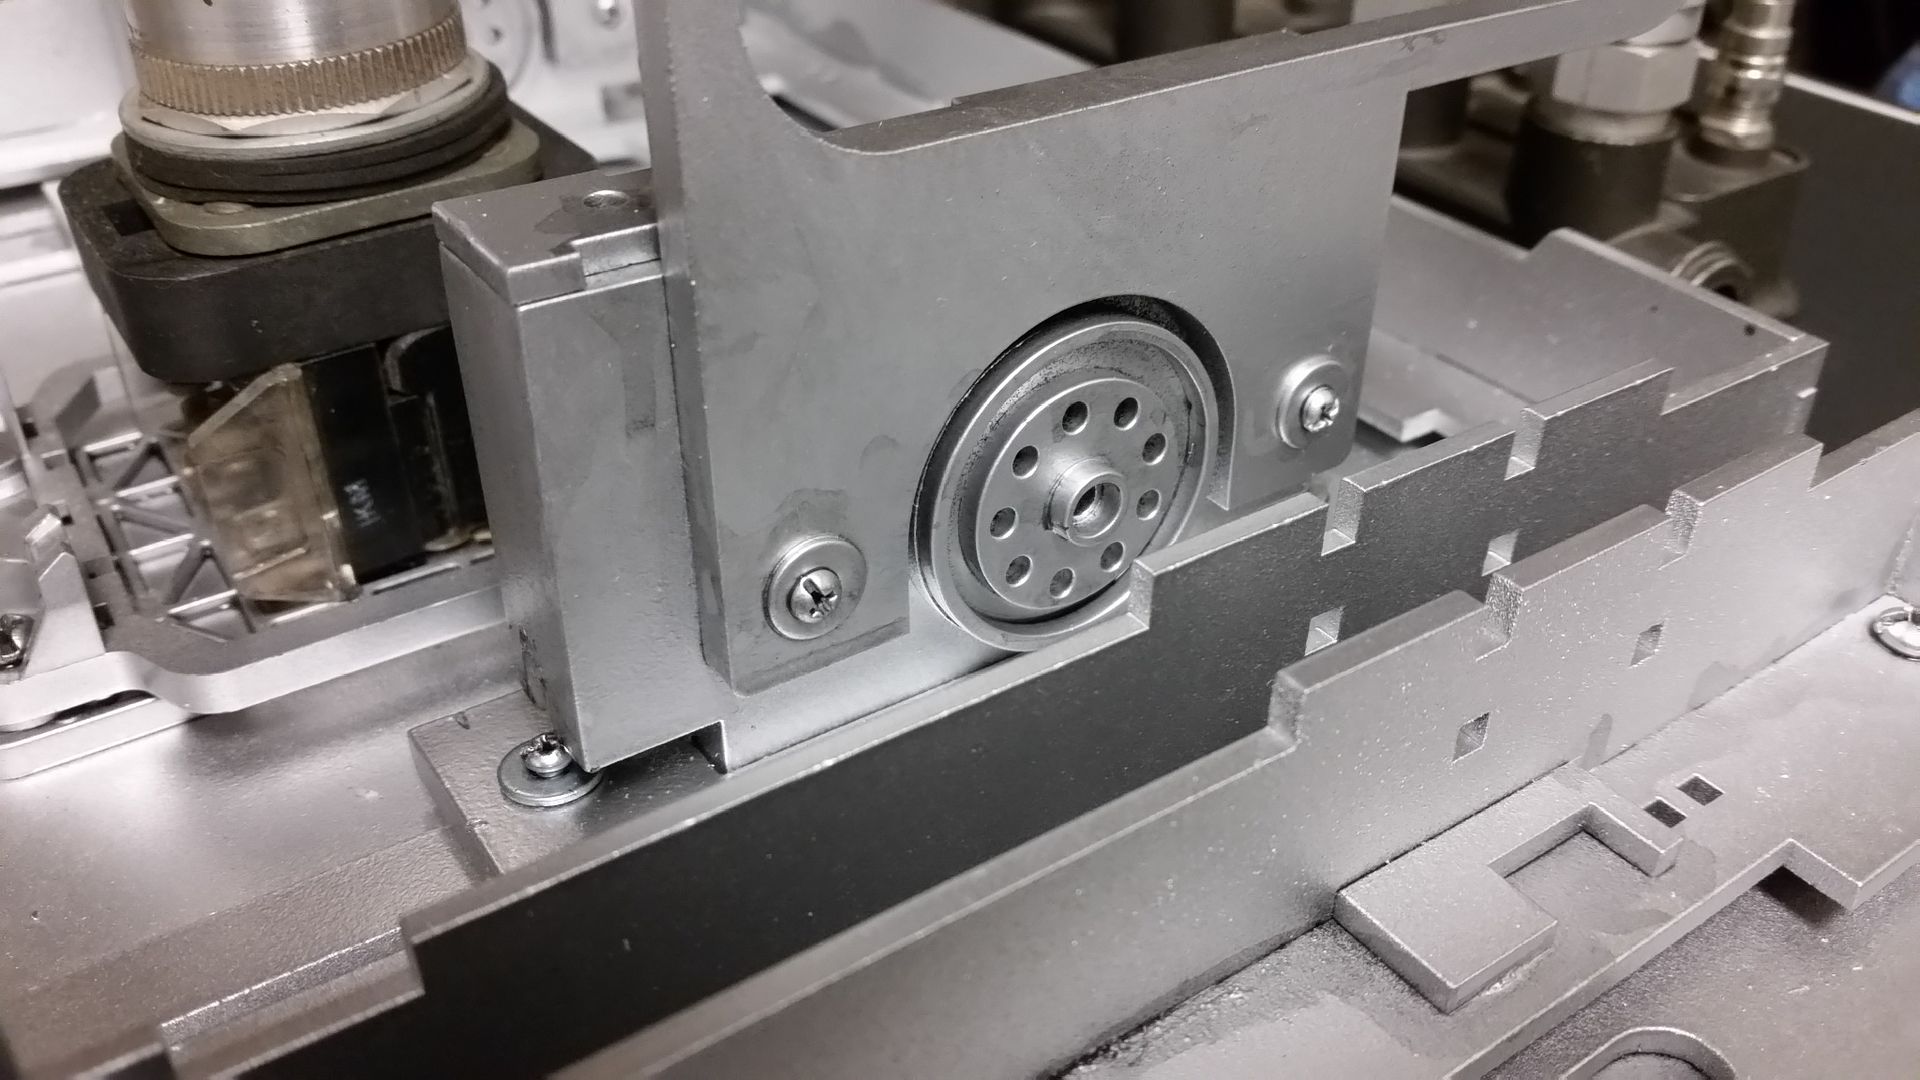
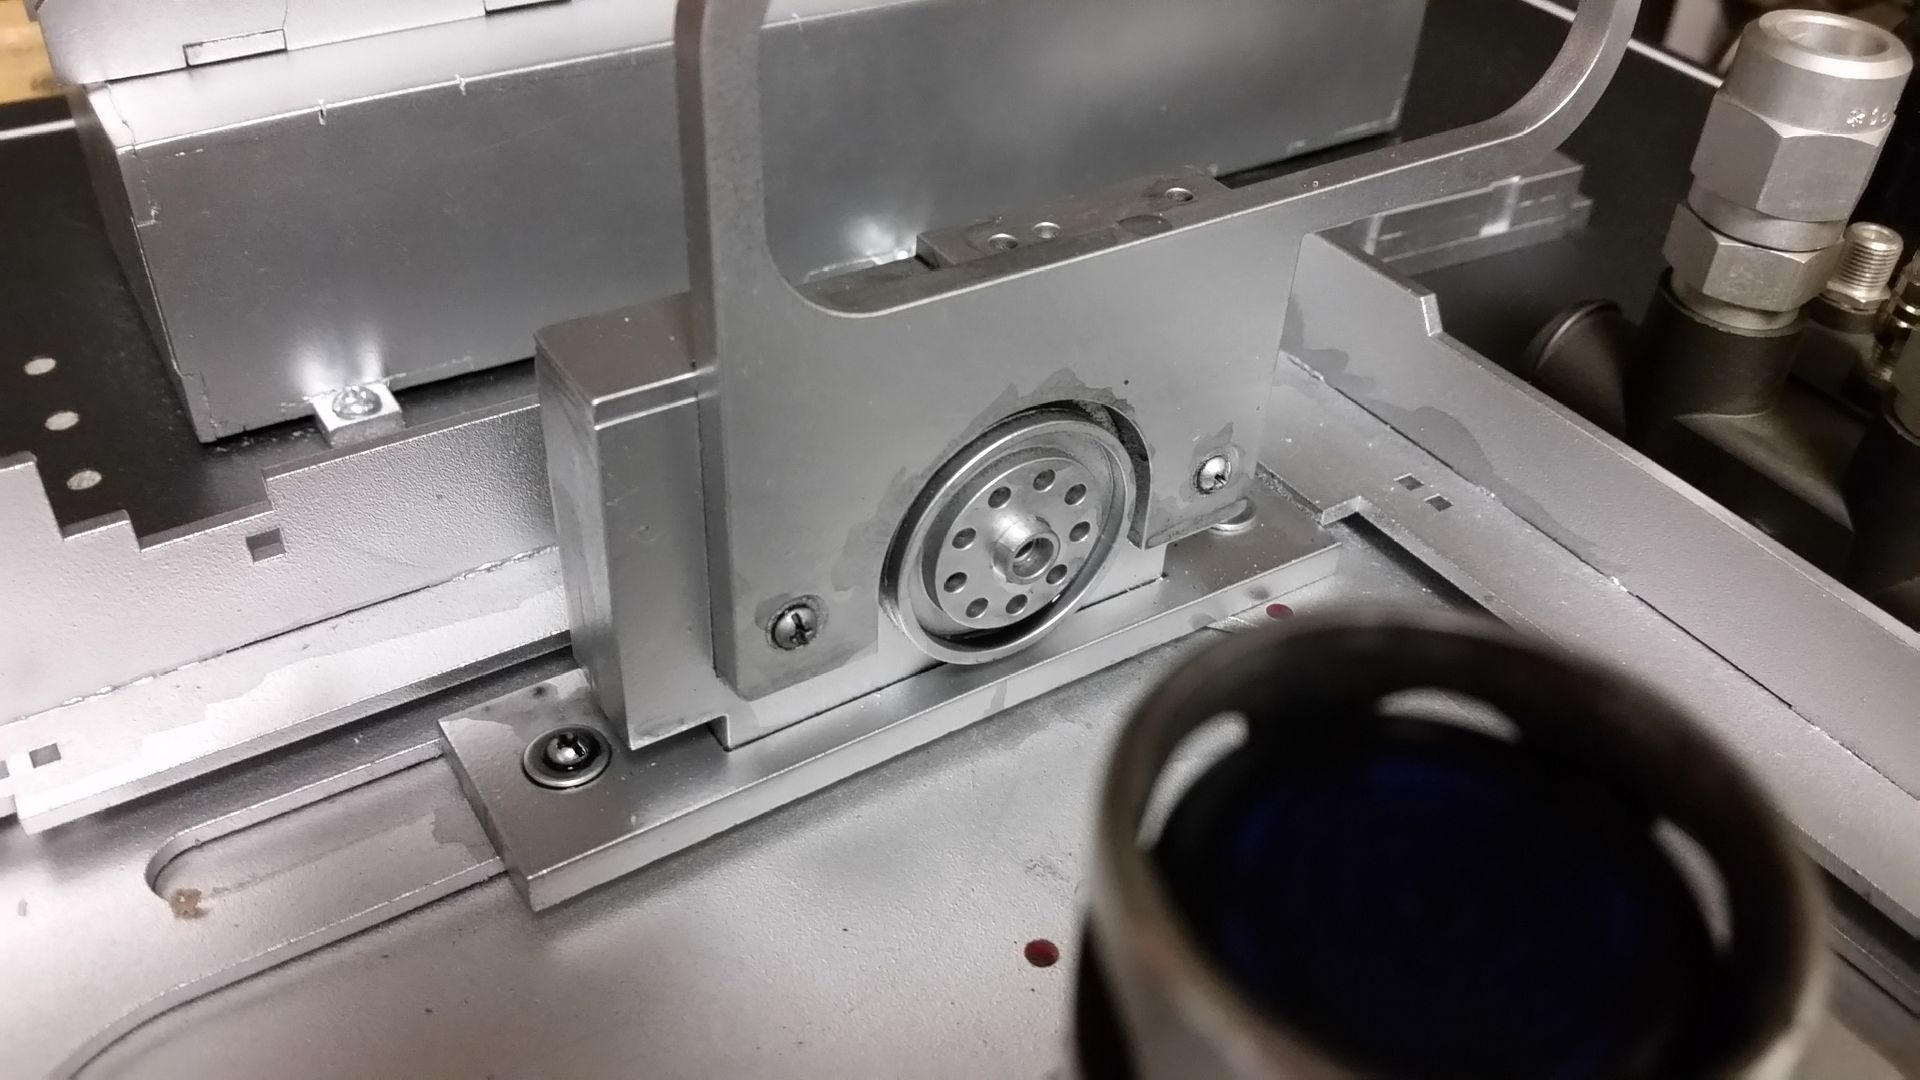
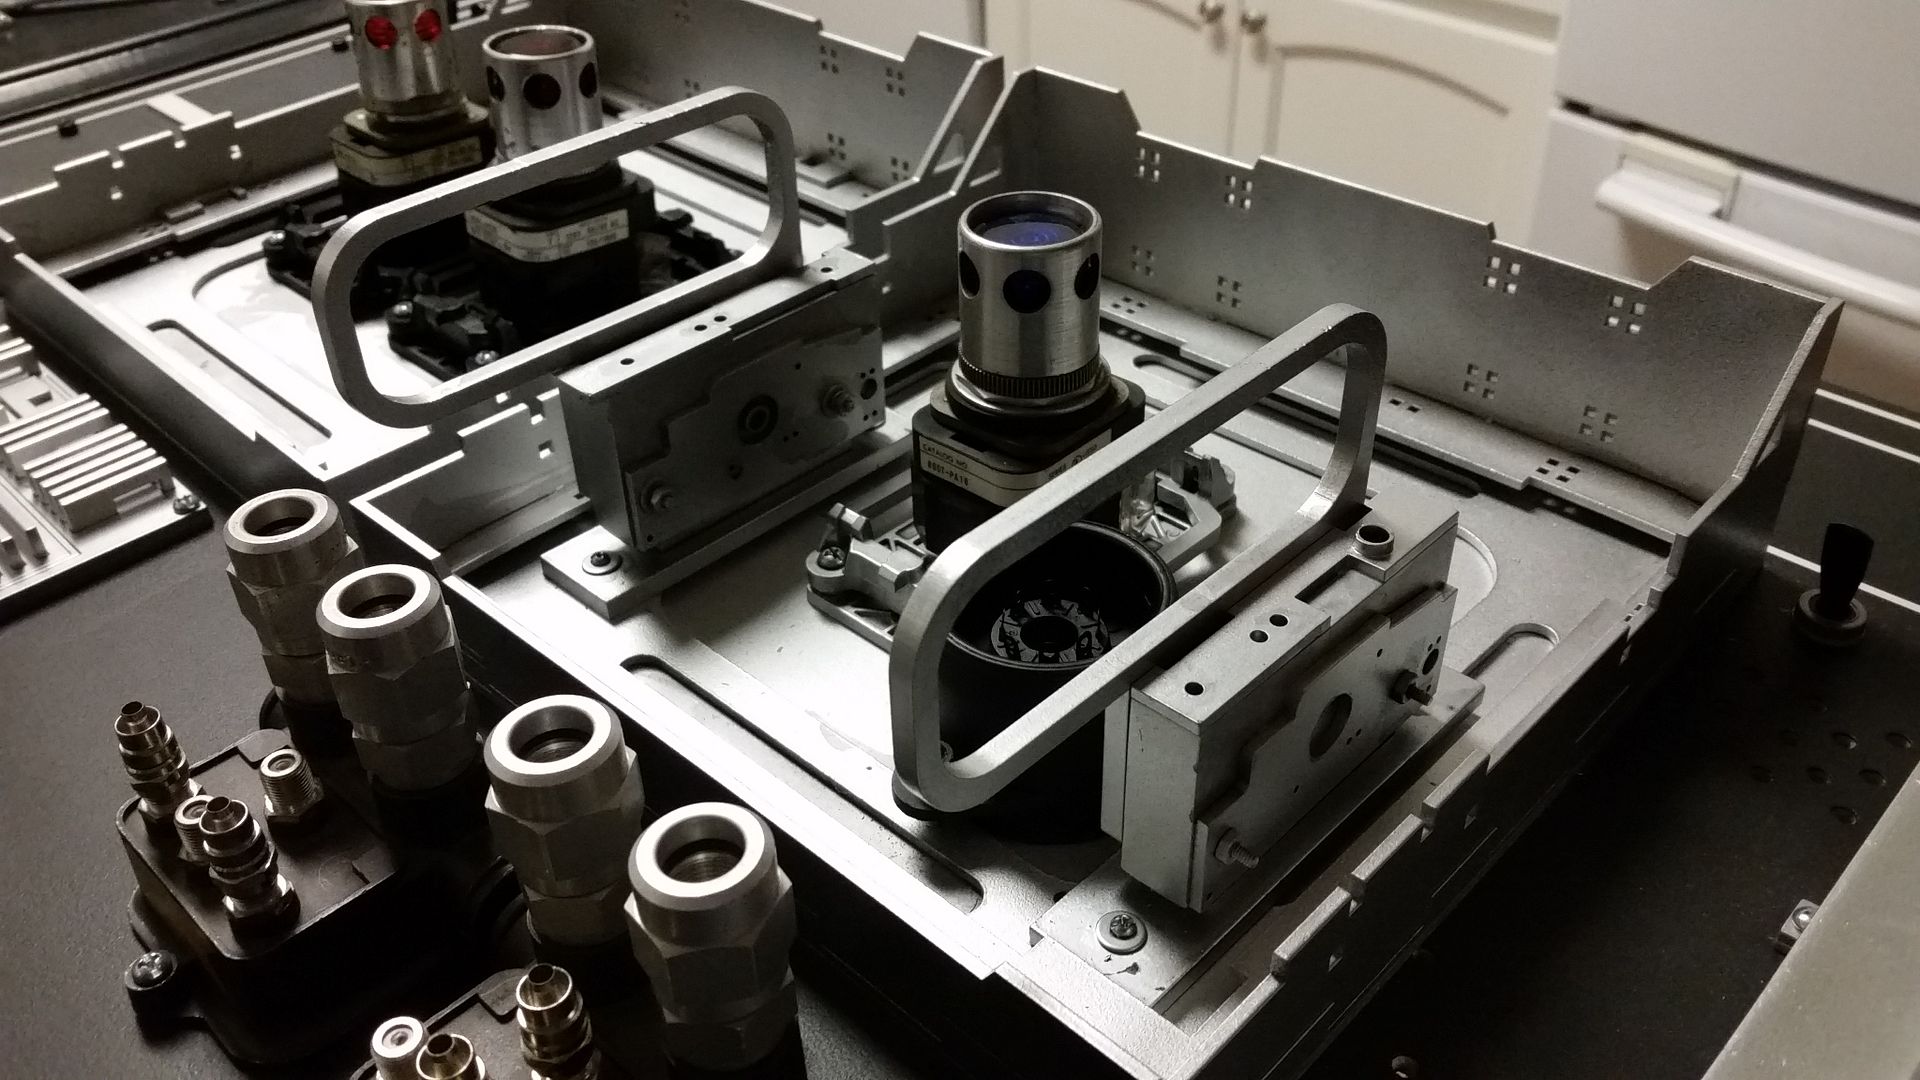
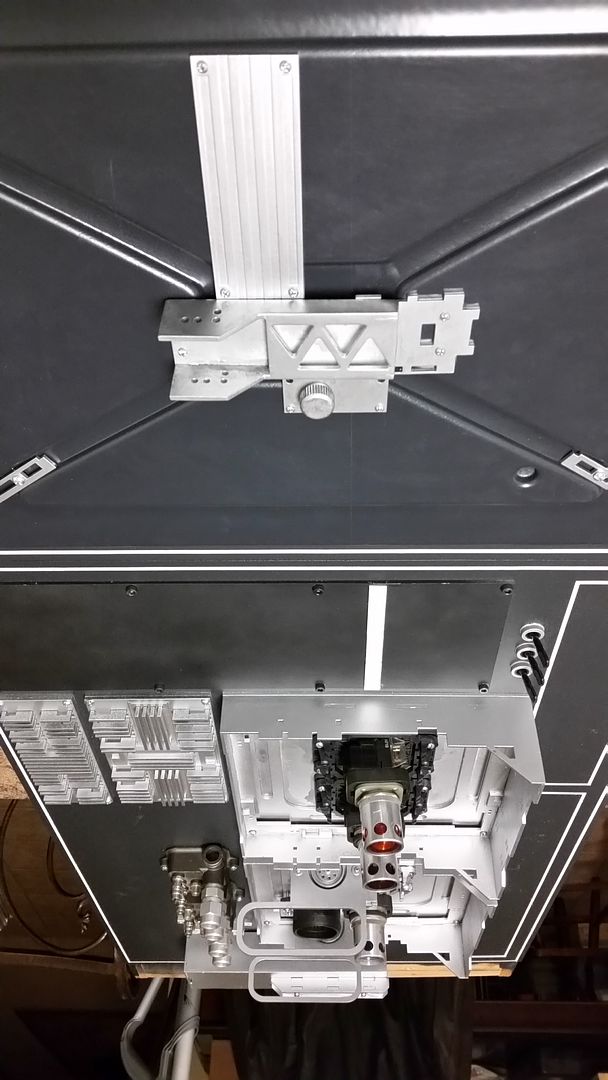
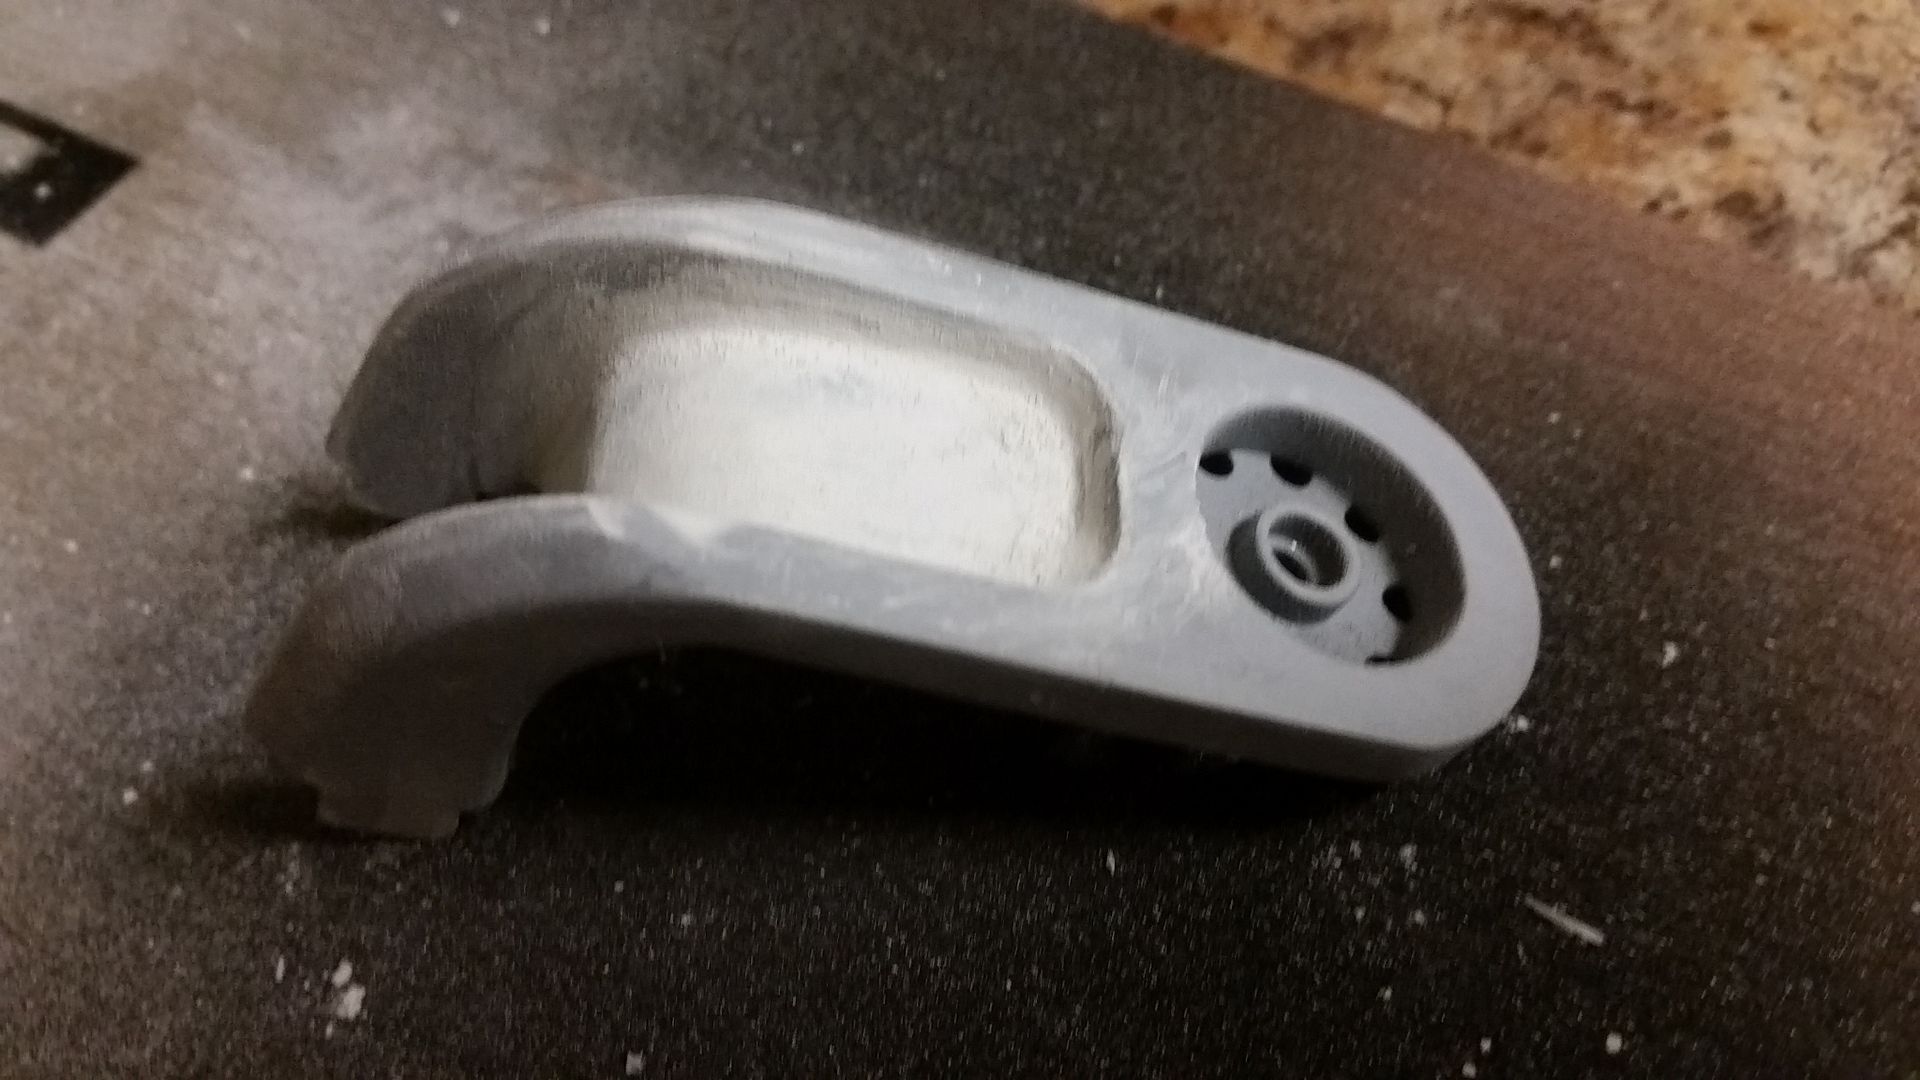
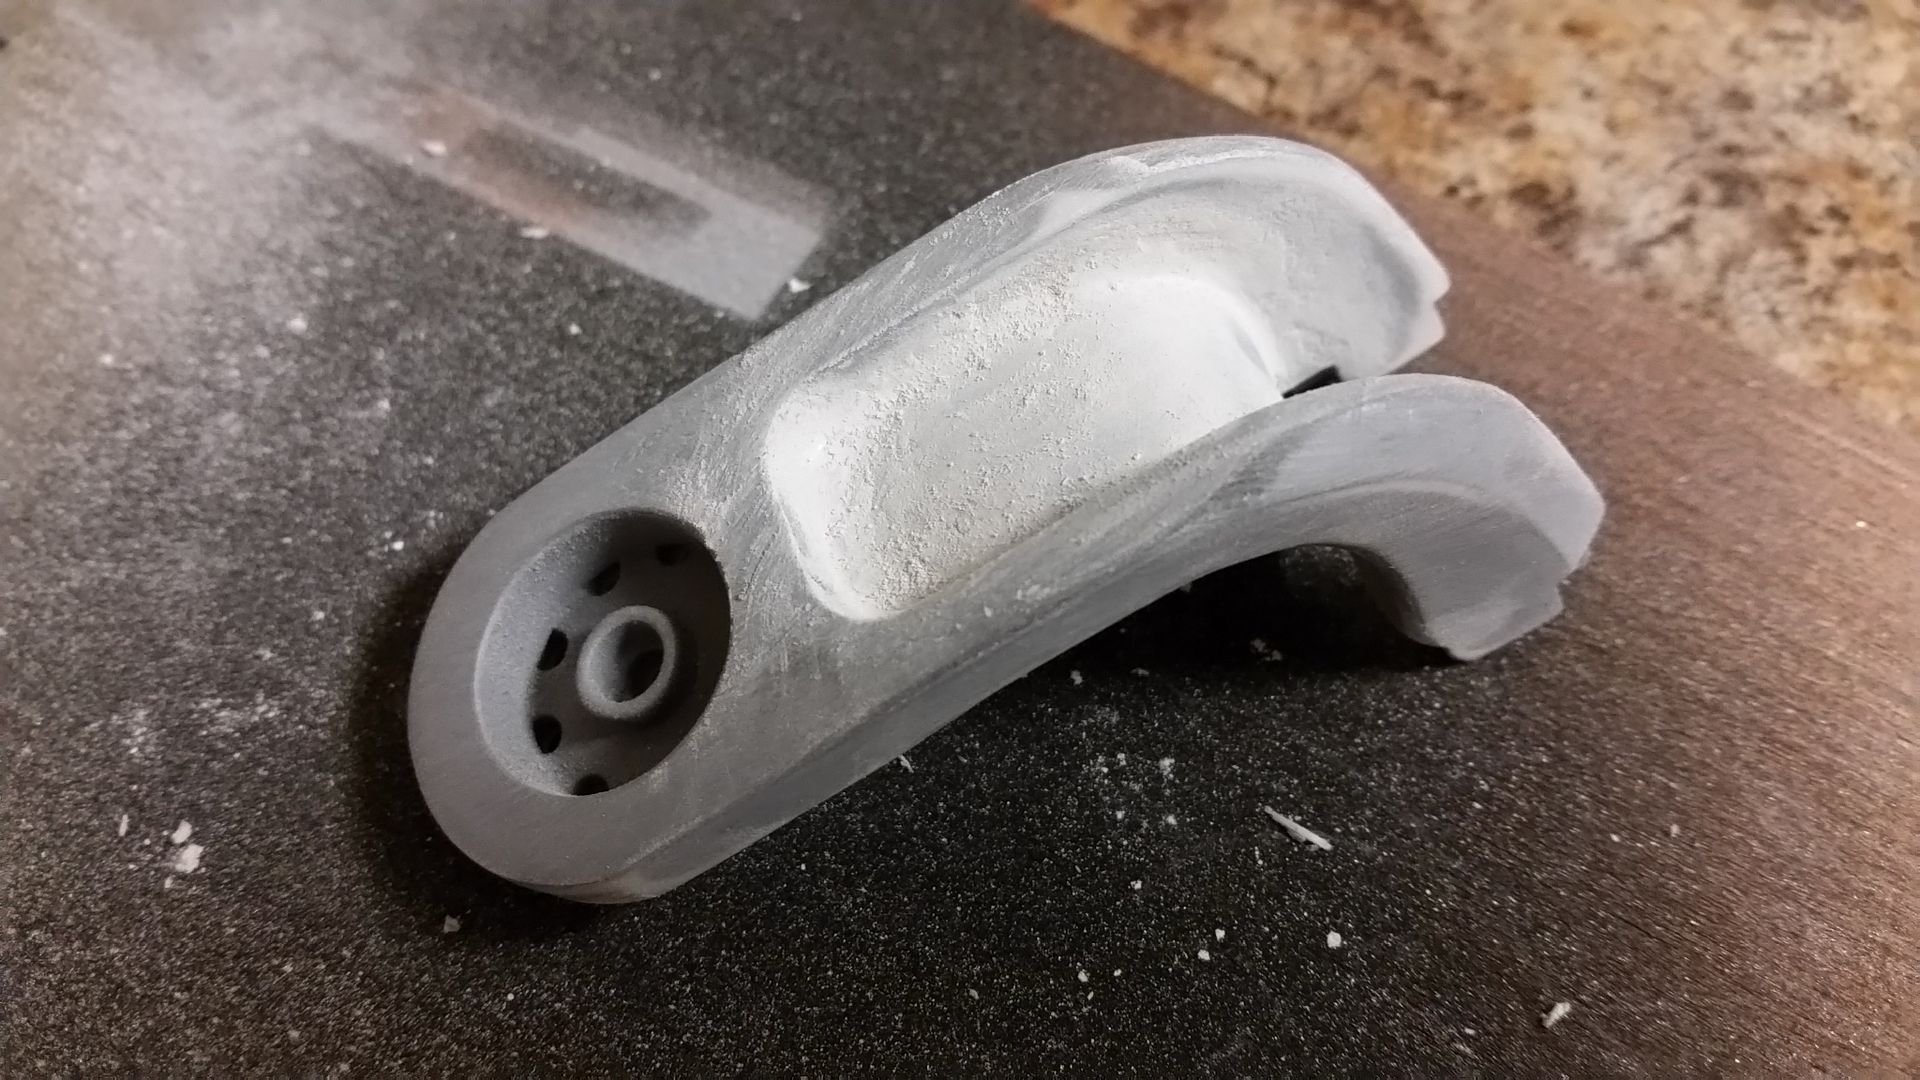
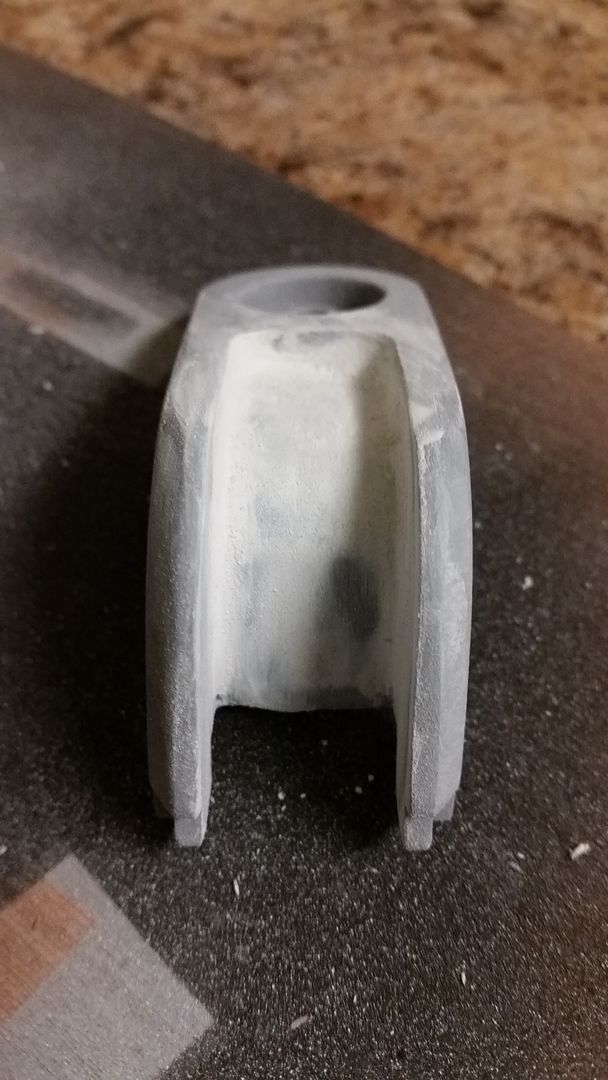
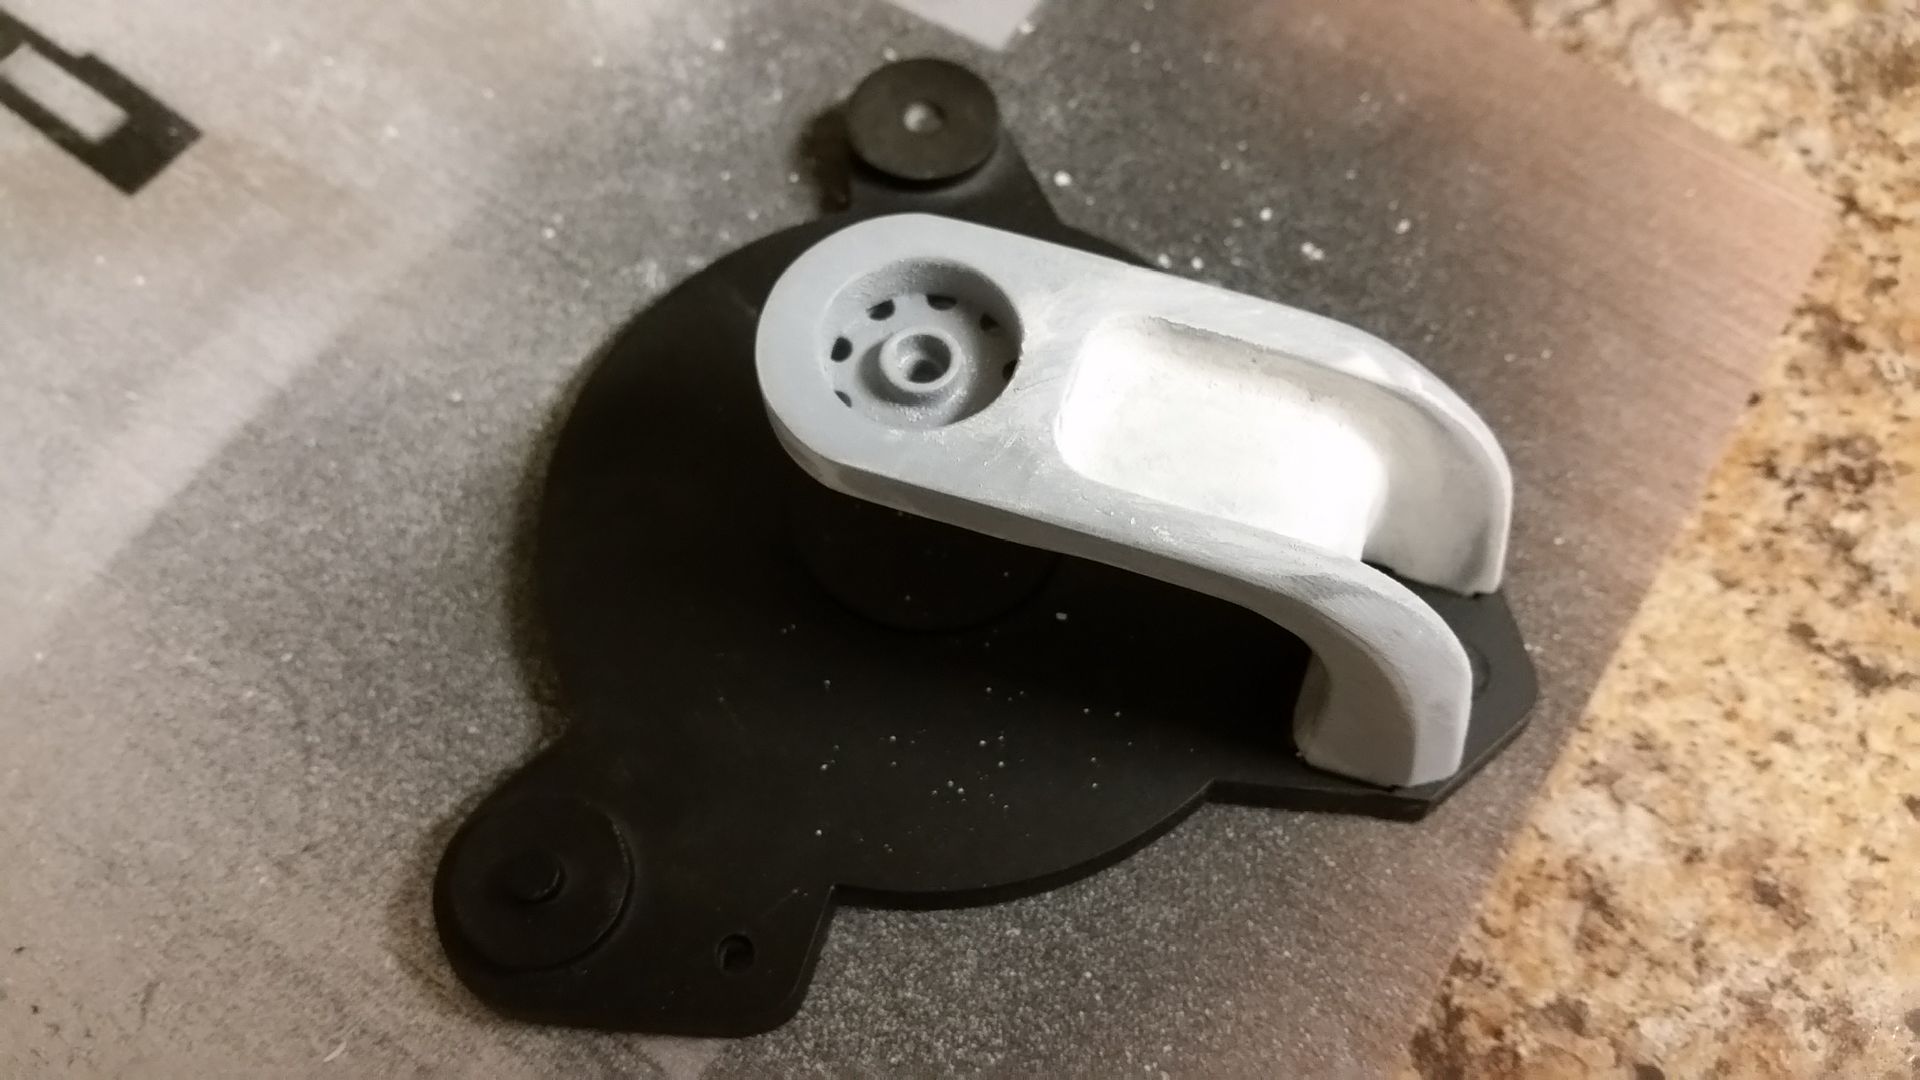
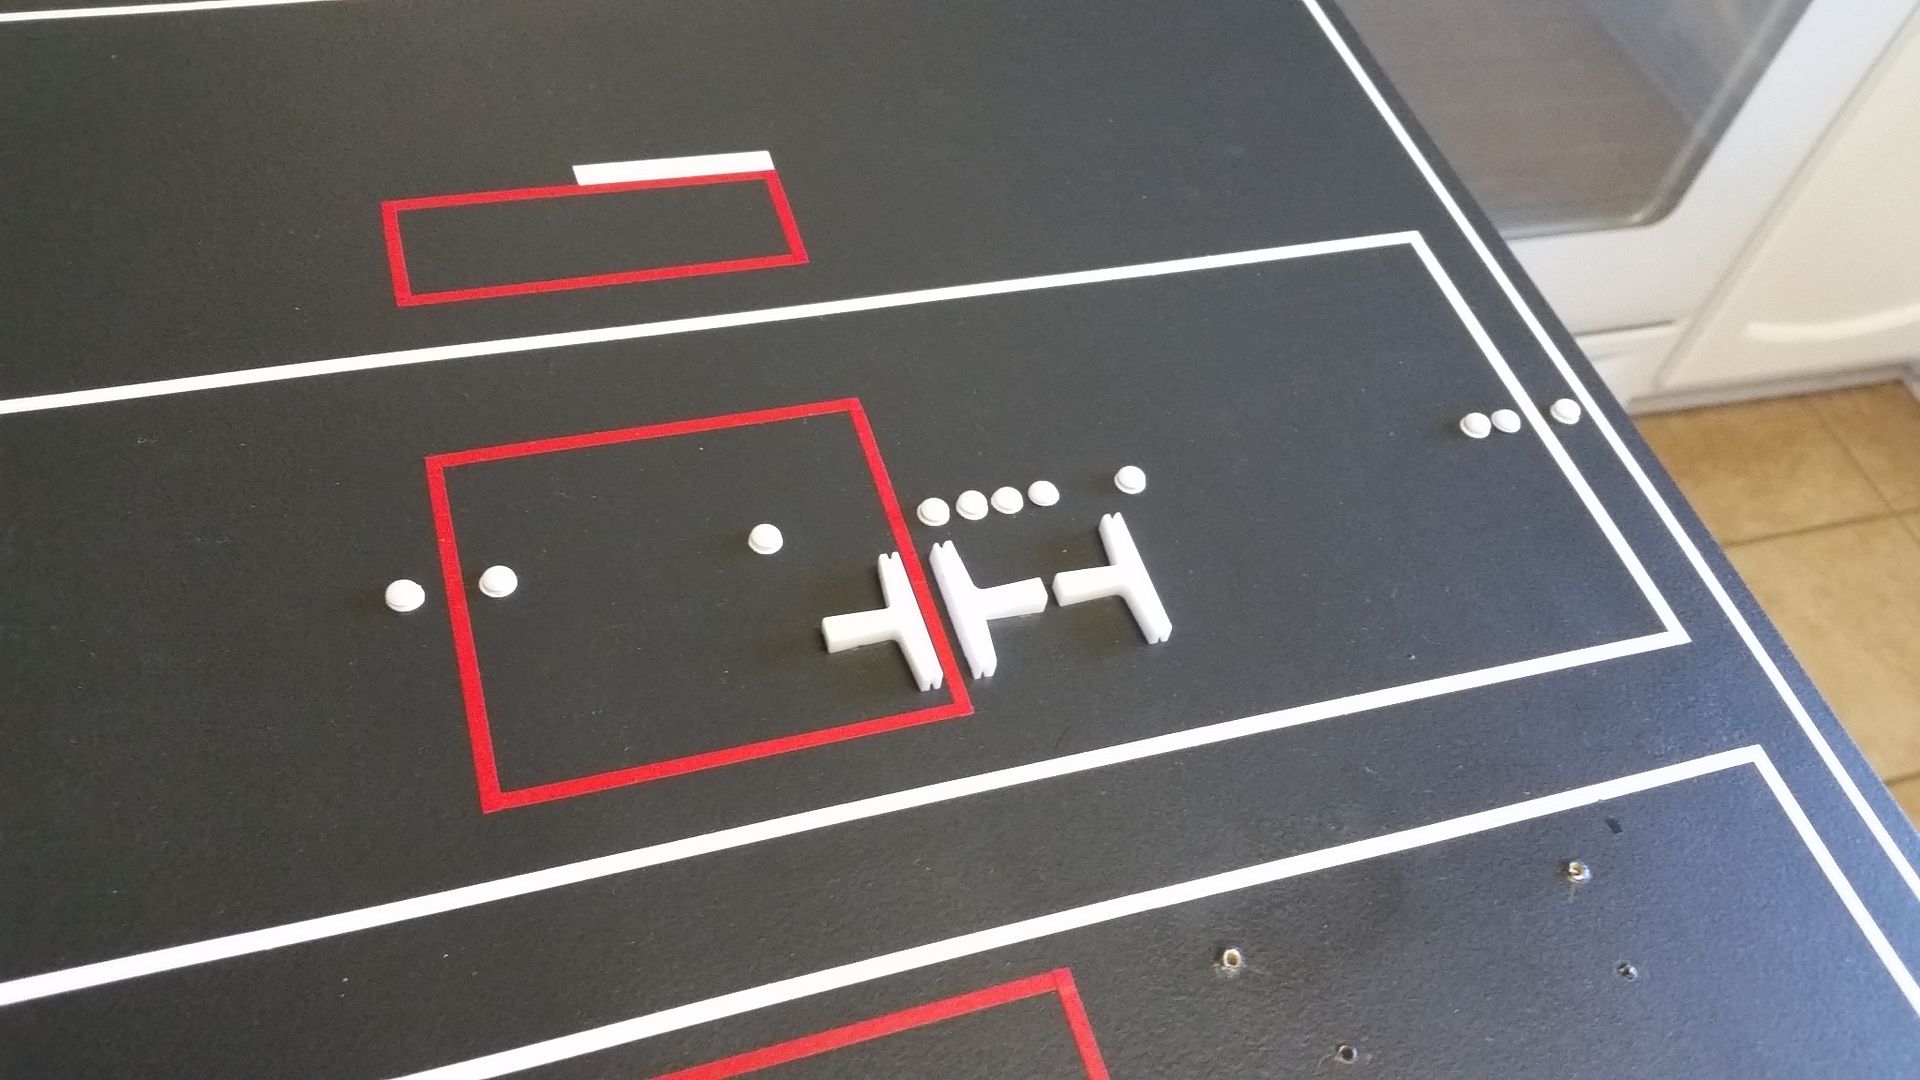
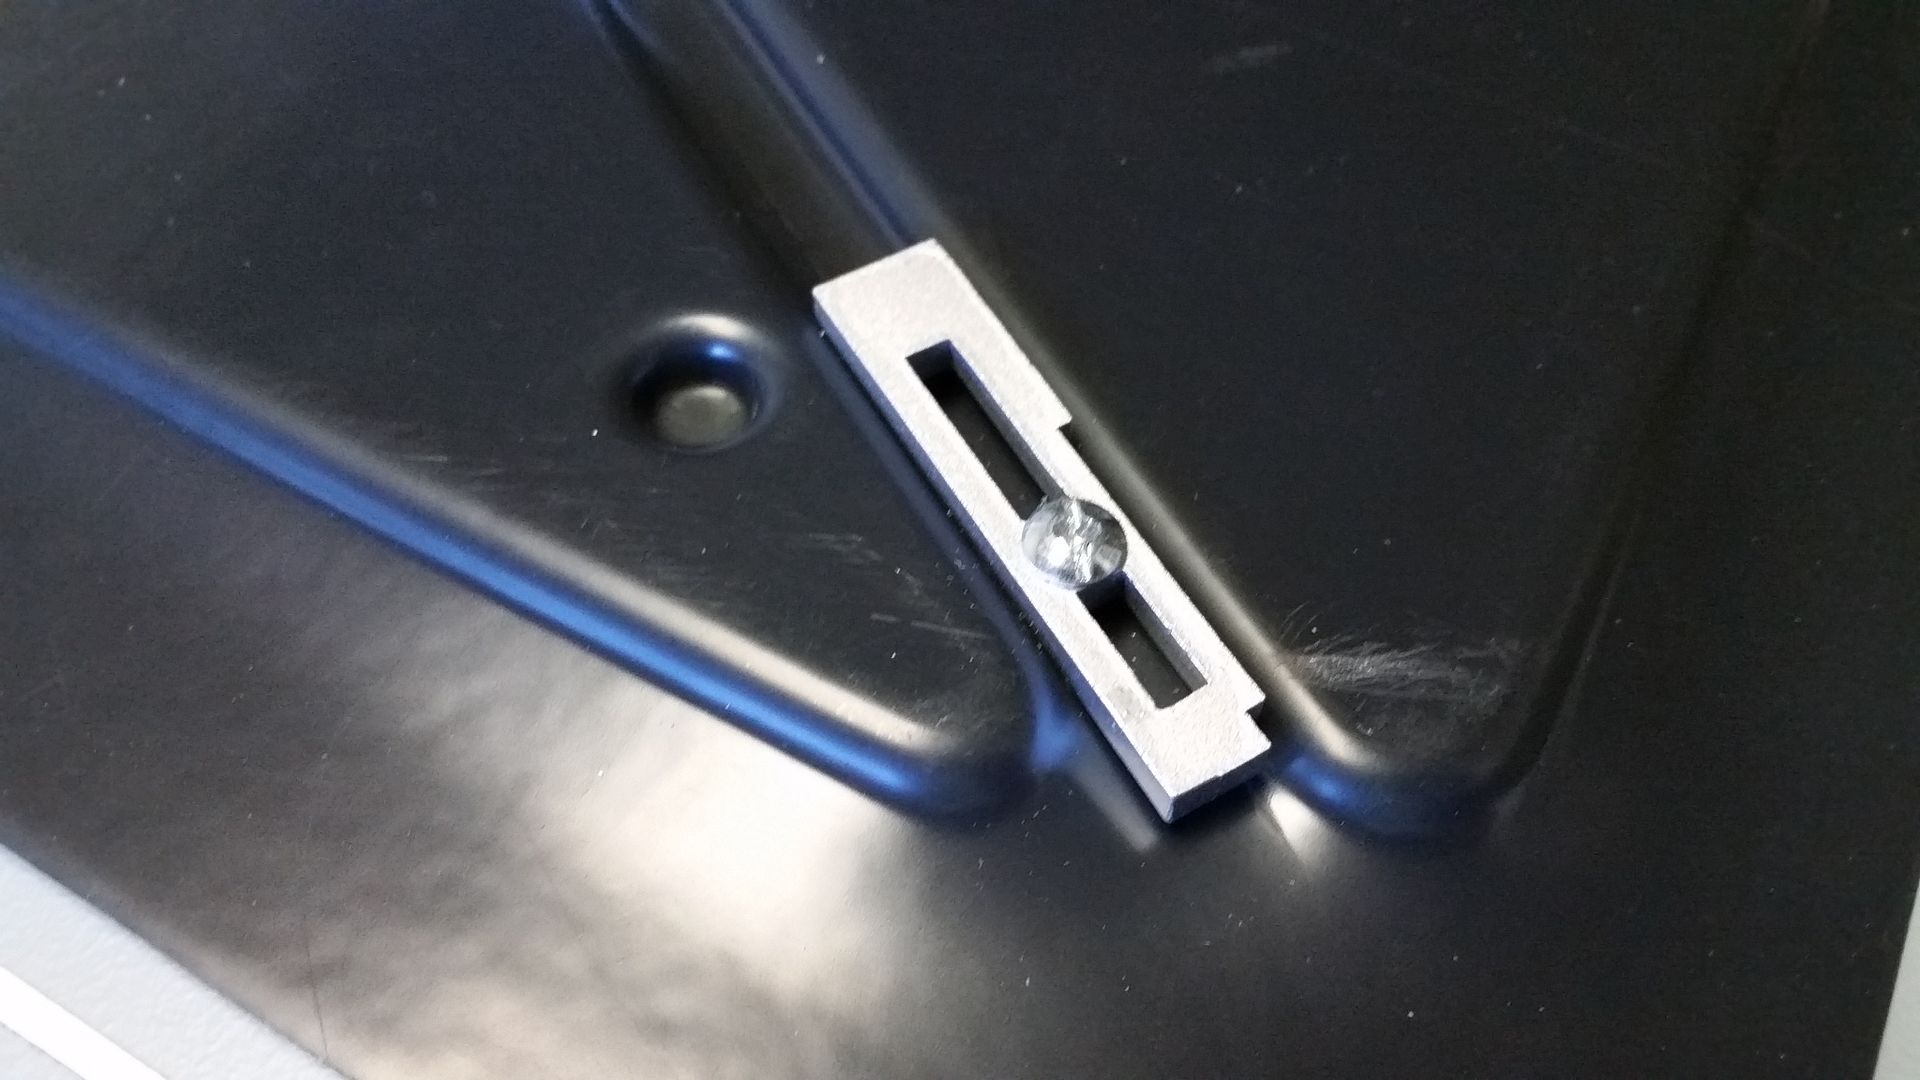
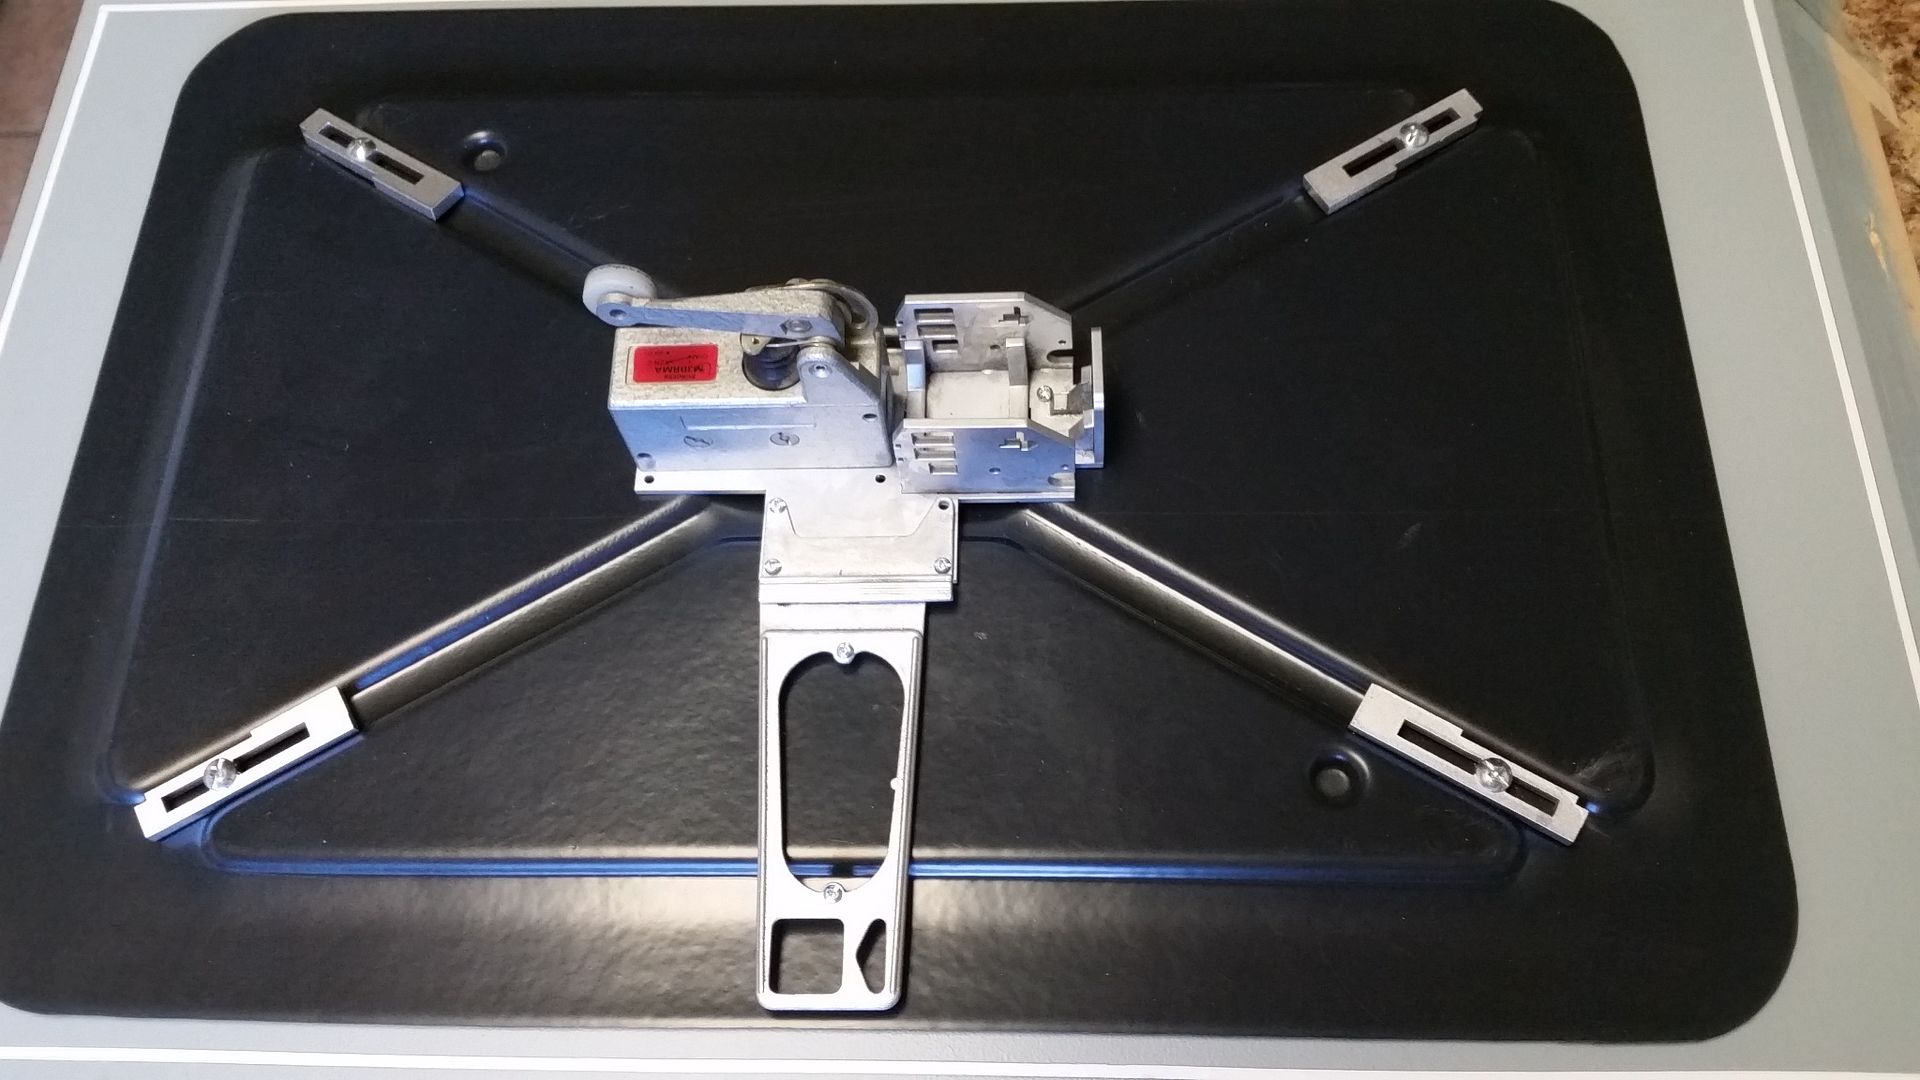
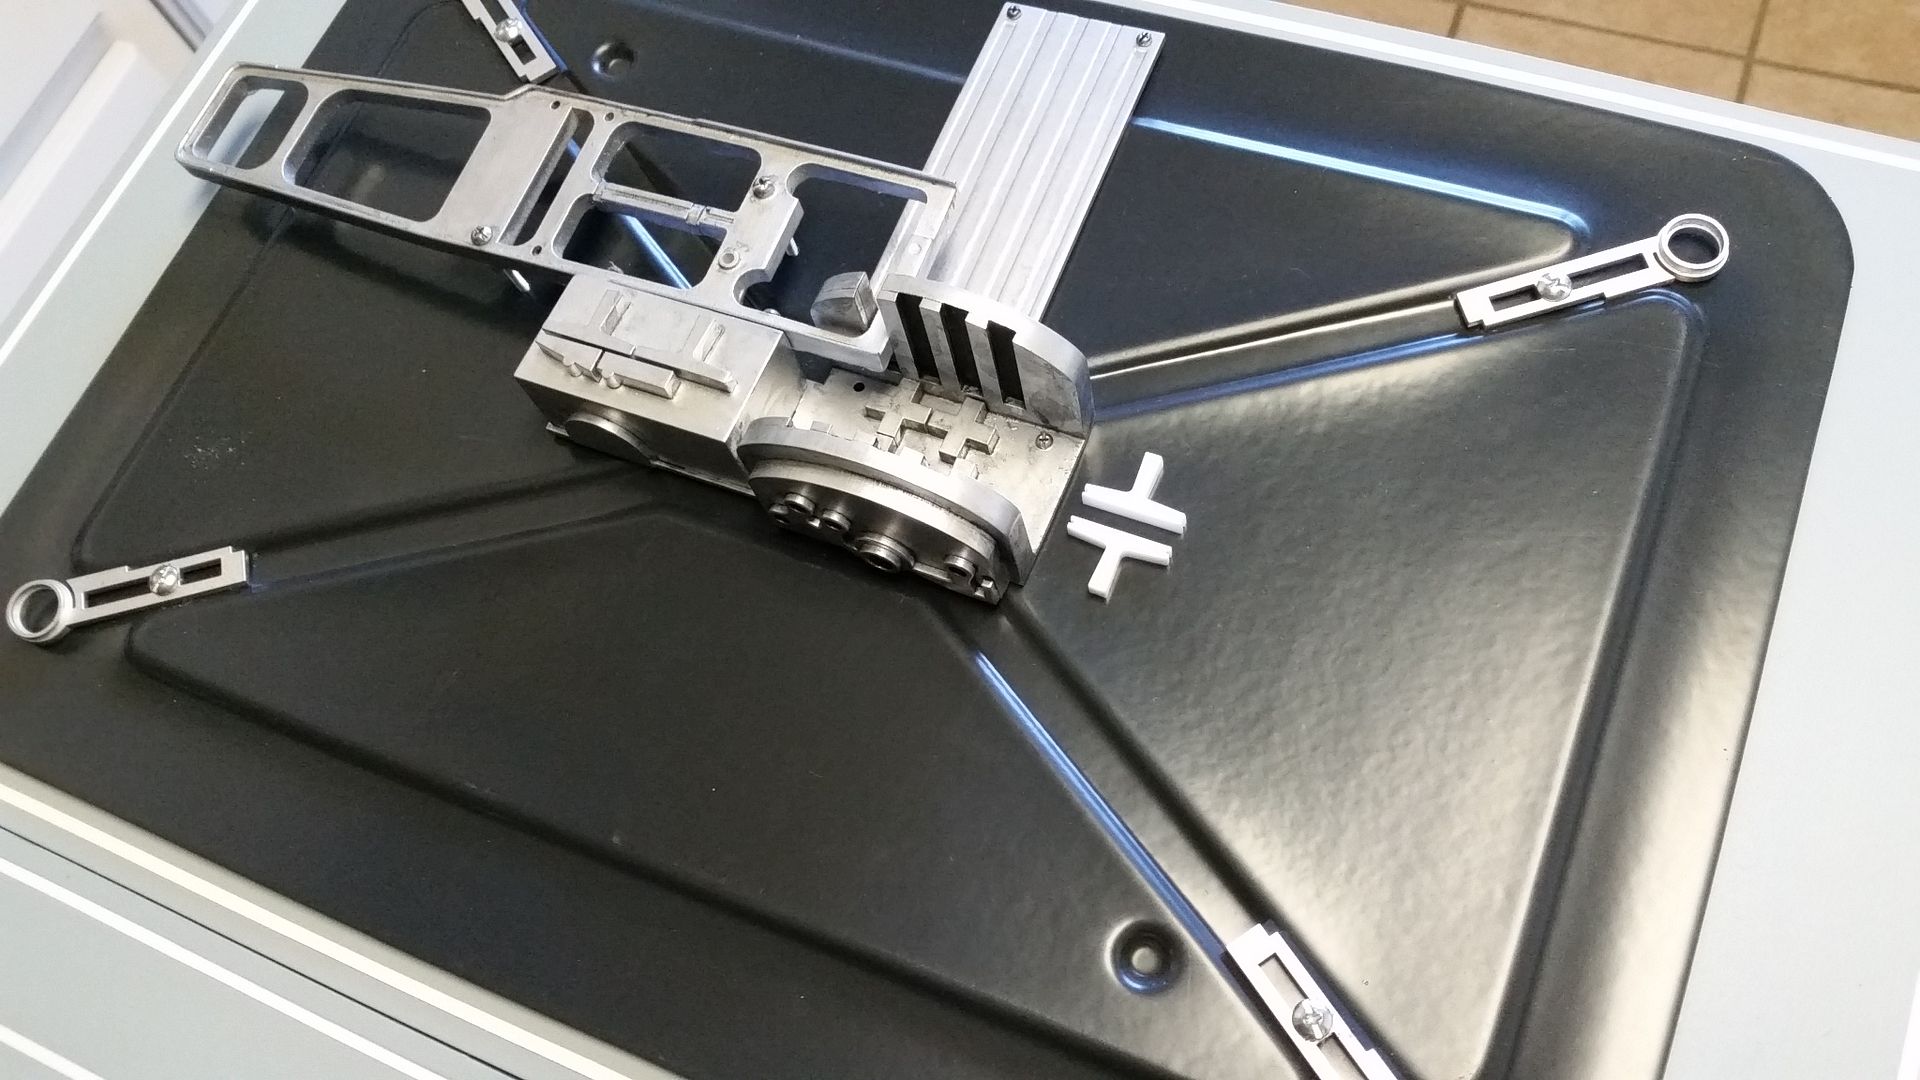
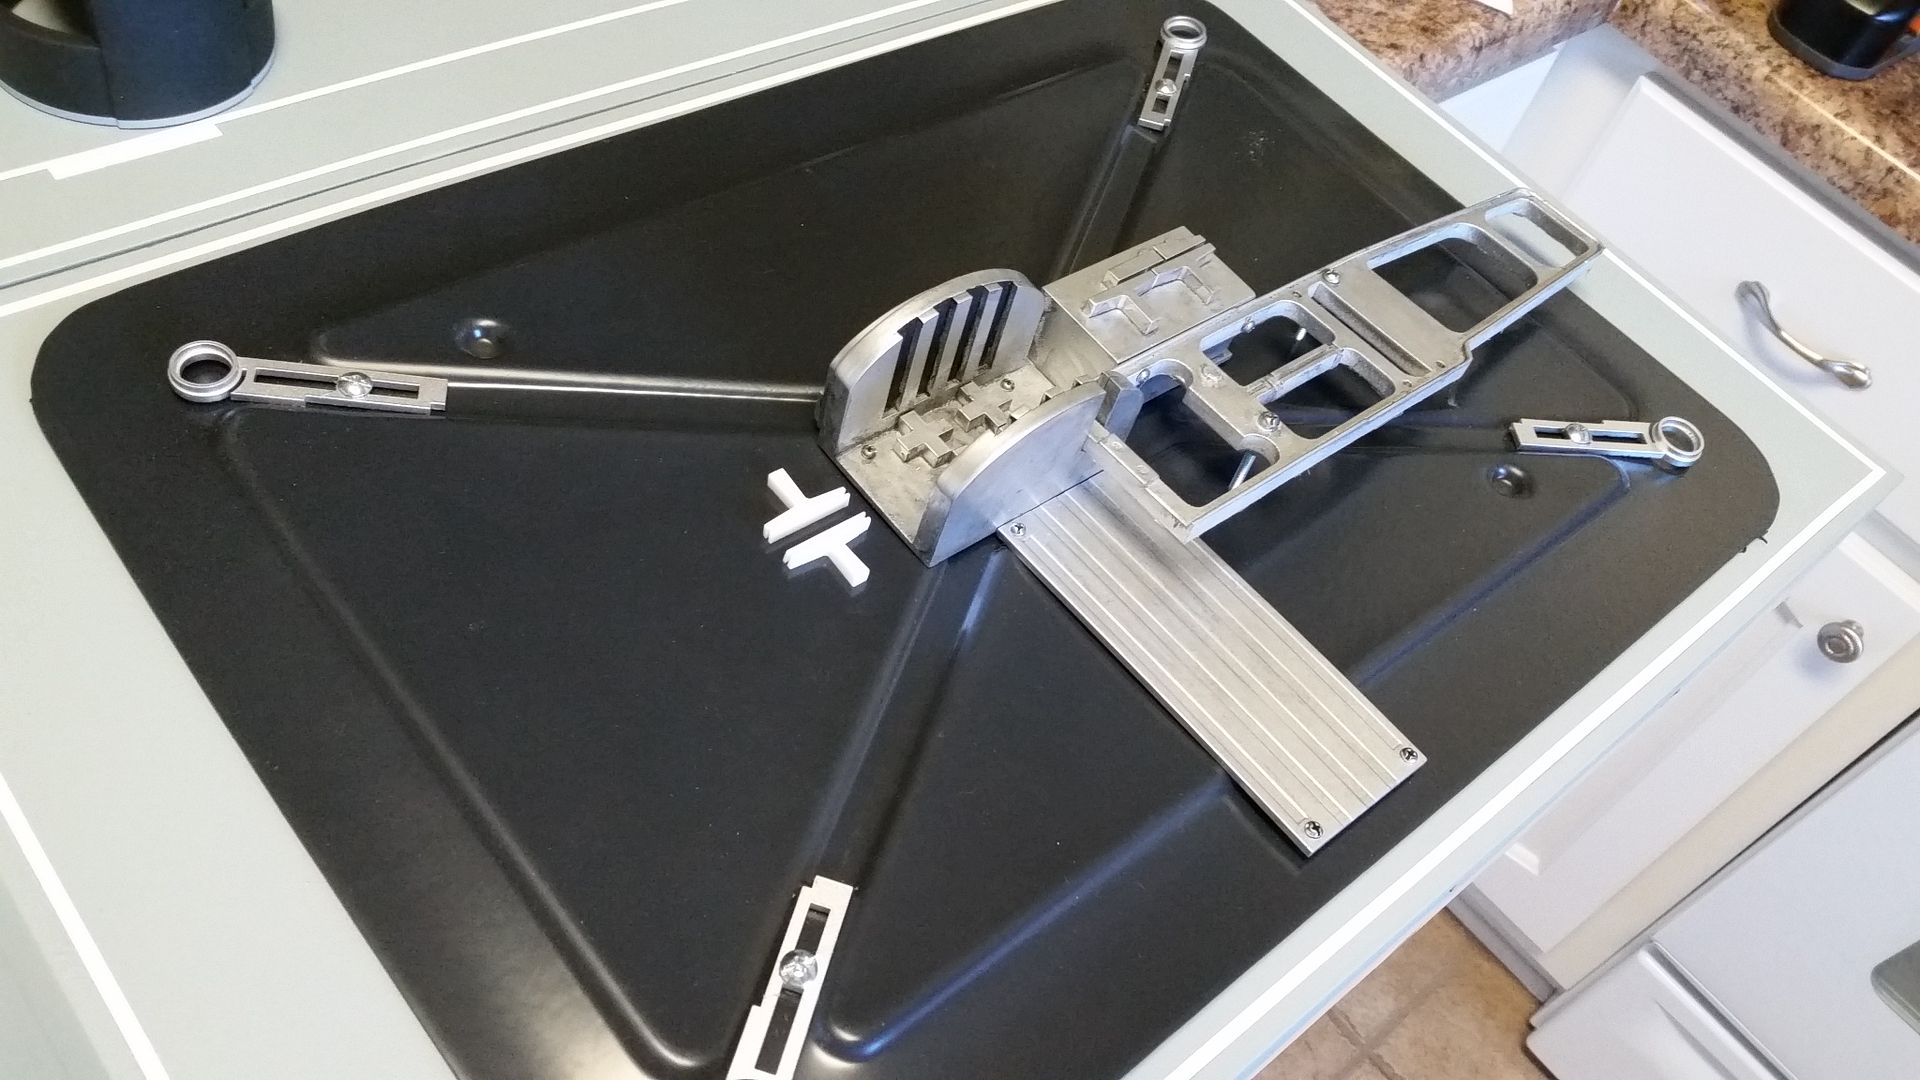
With the silver paint finally dry I attached the corner greeblies to the ext panel covers
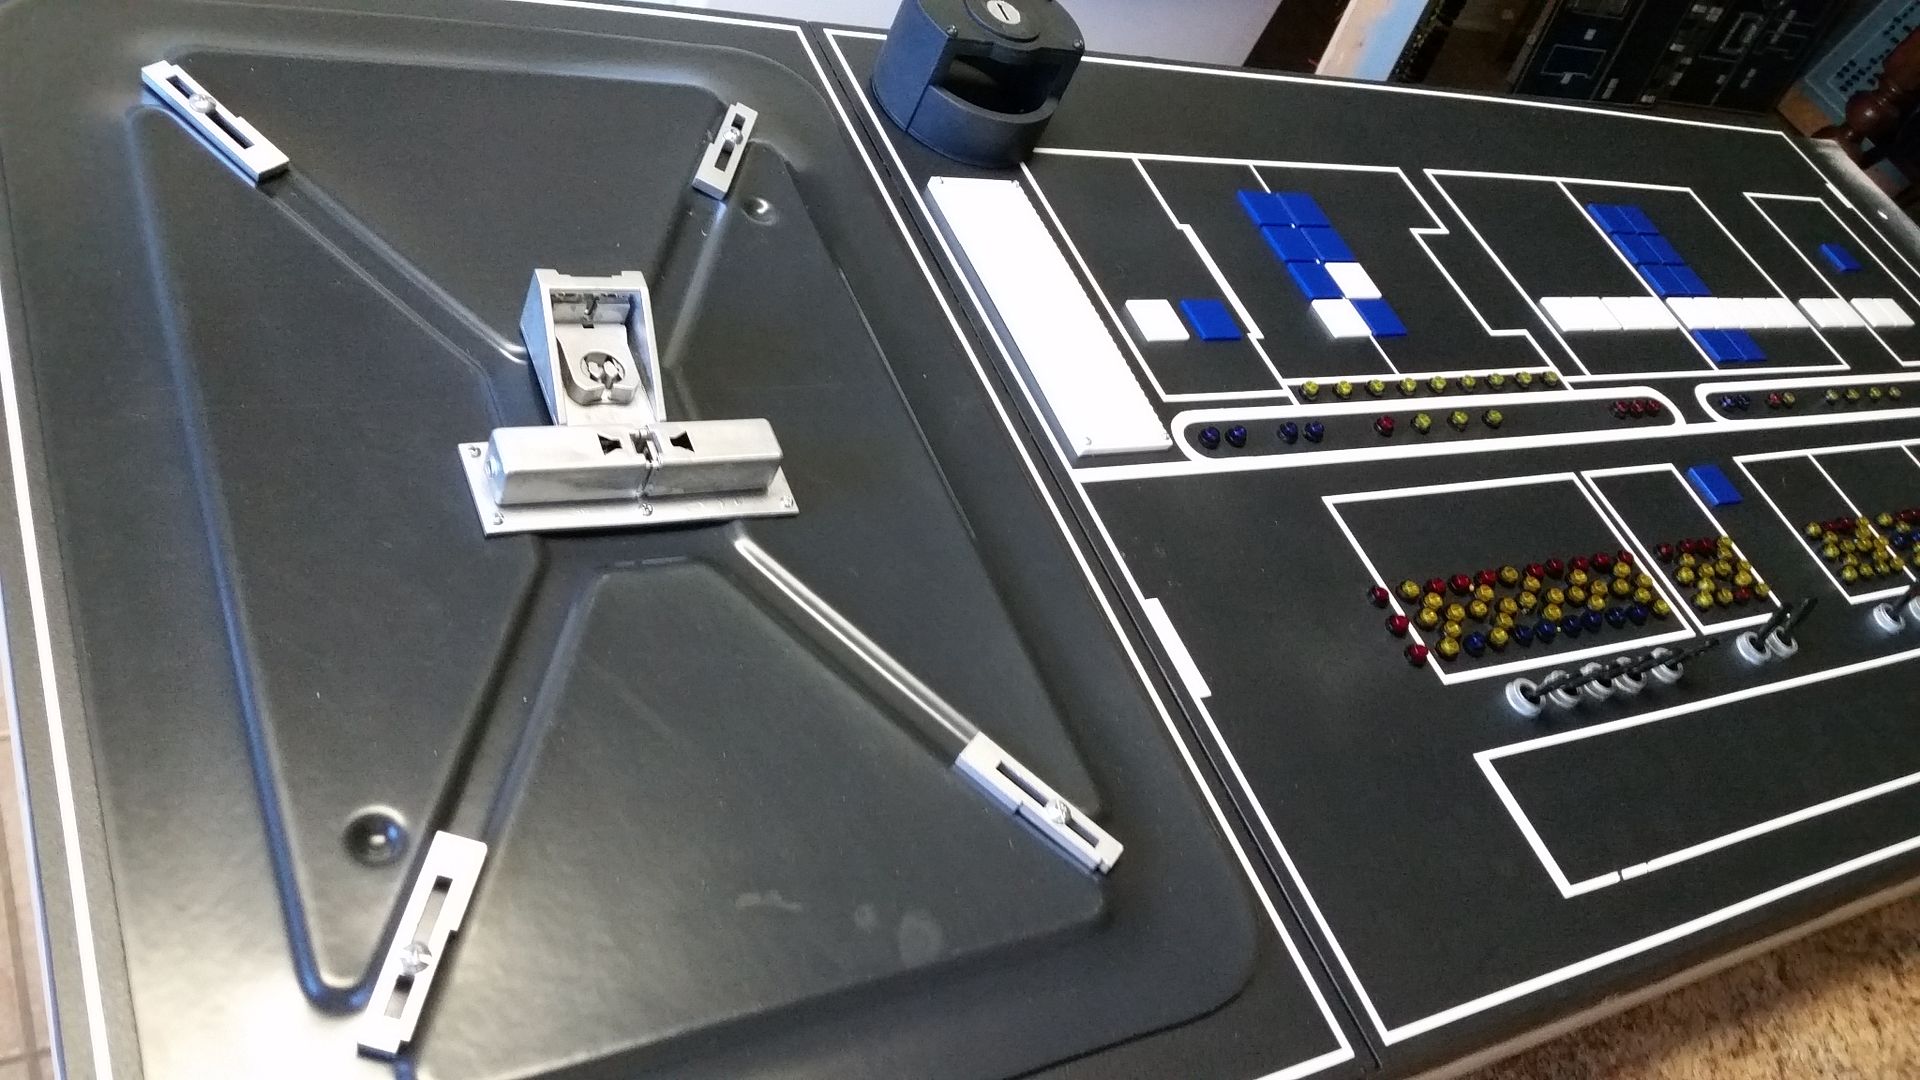
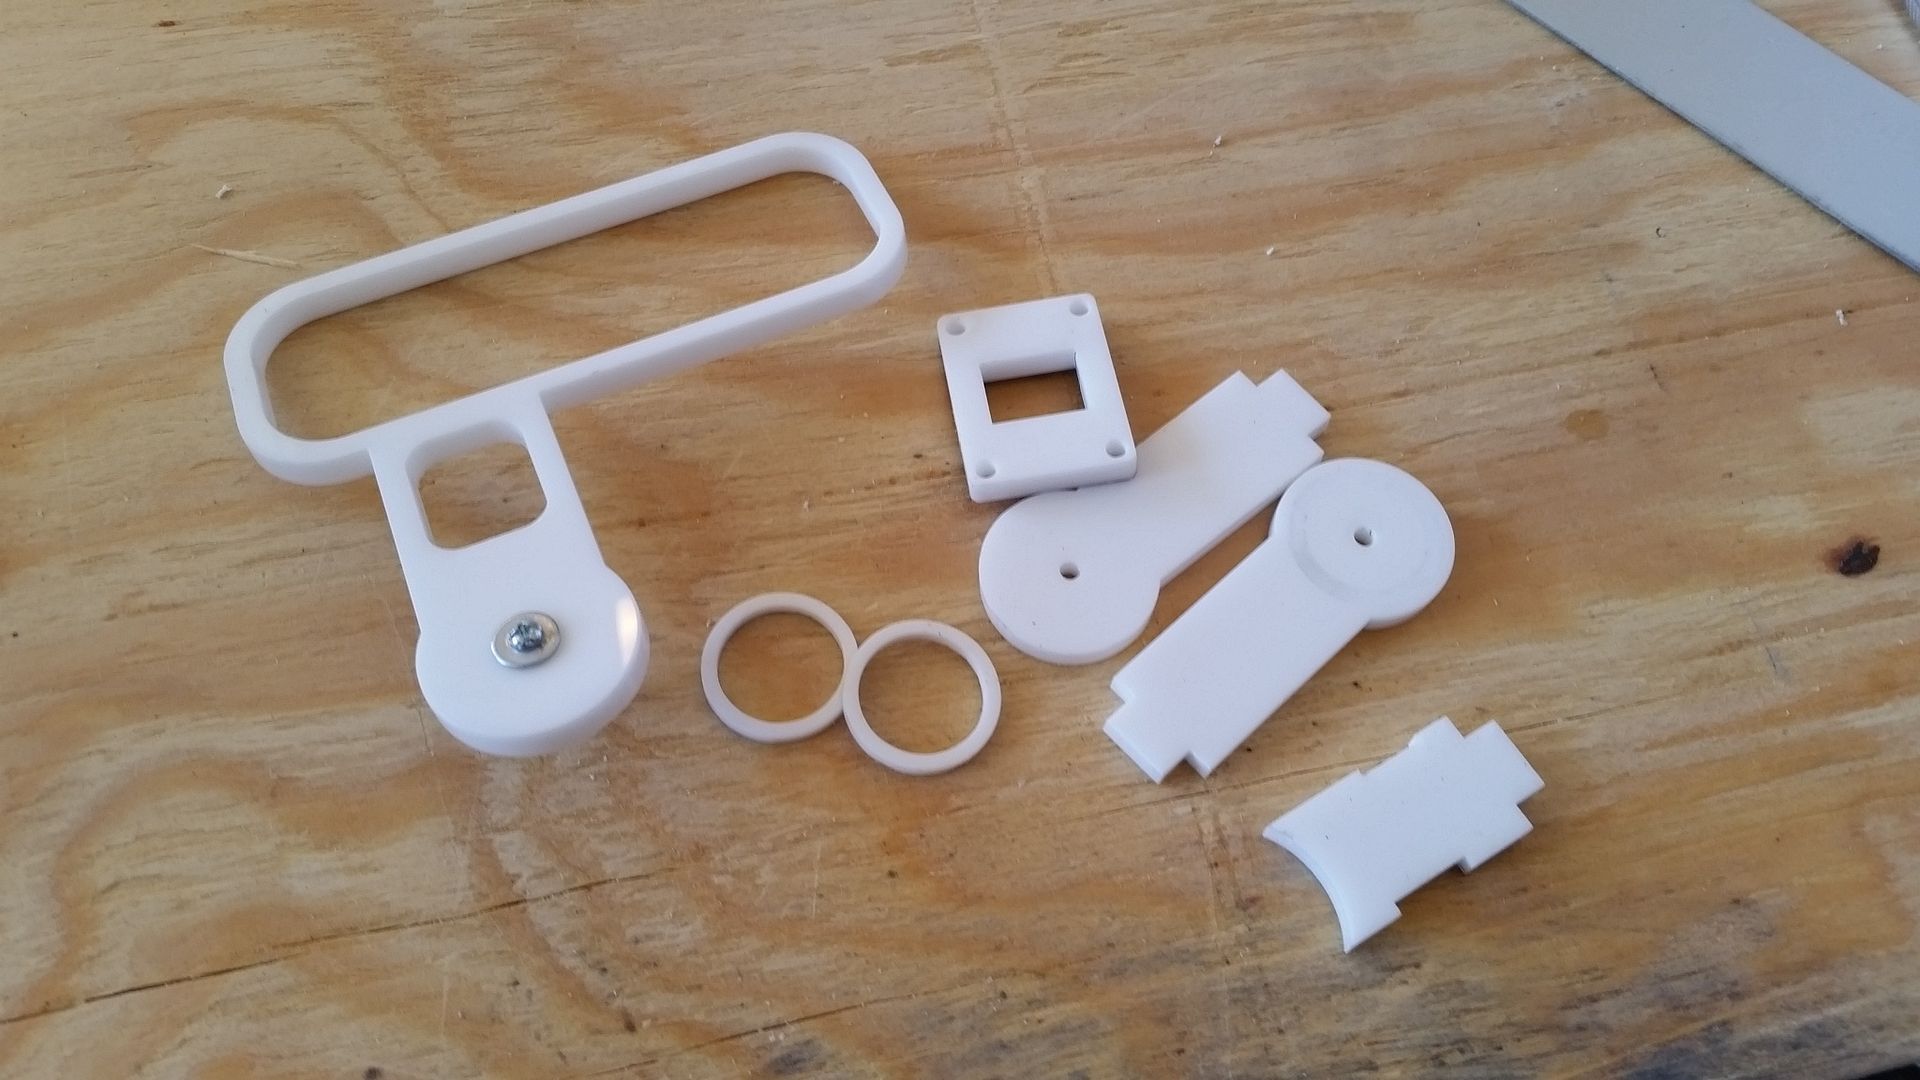
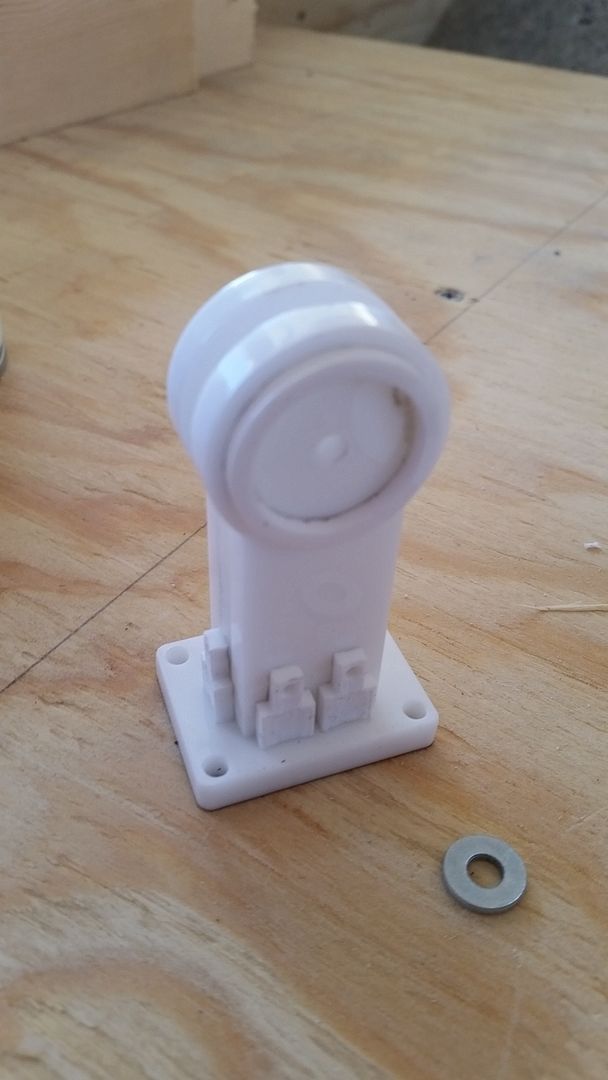
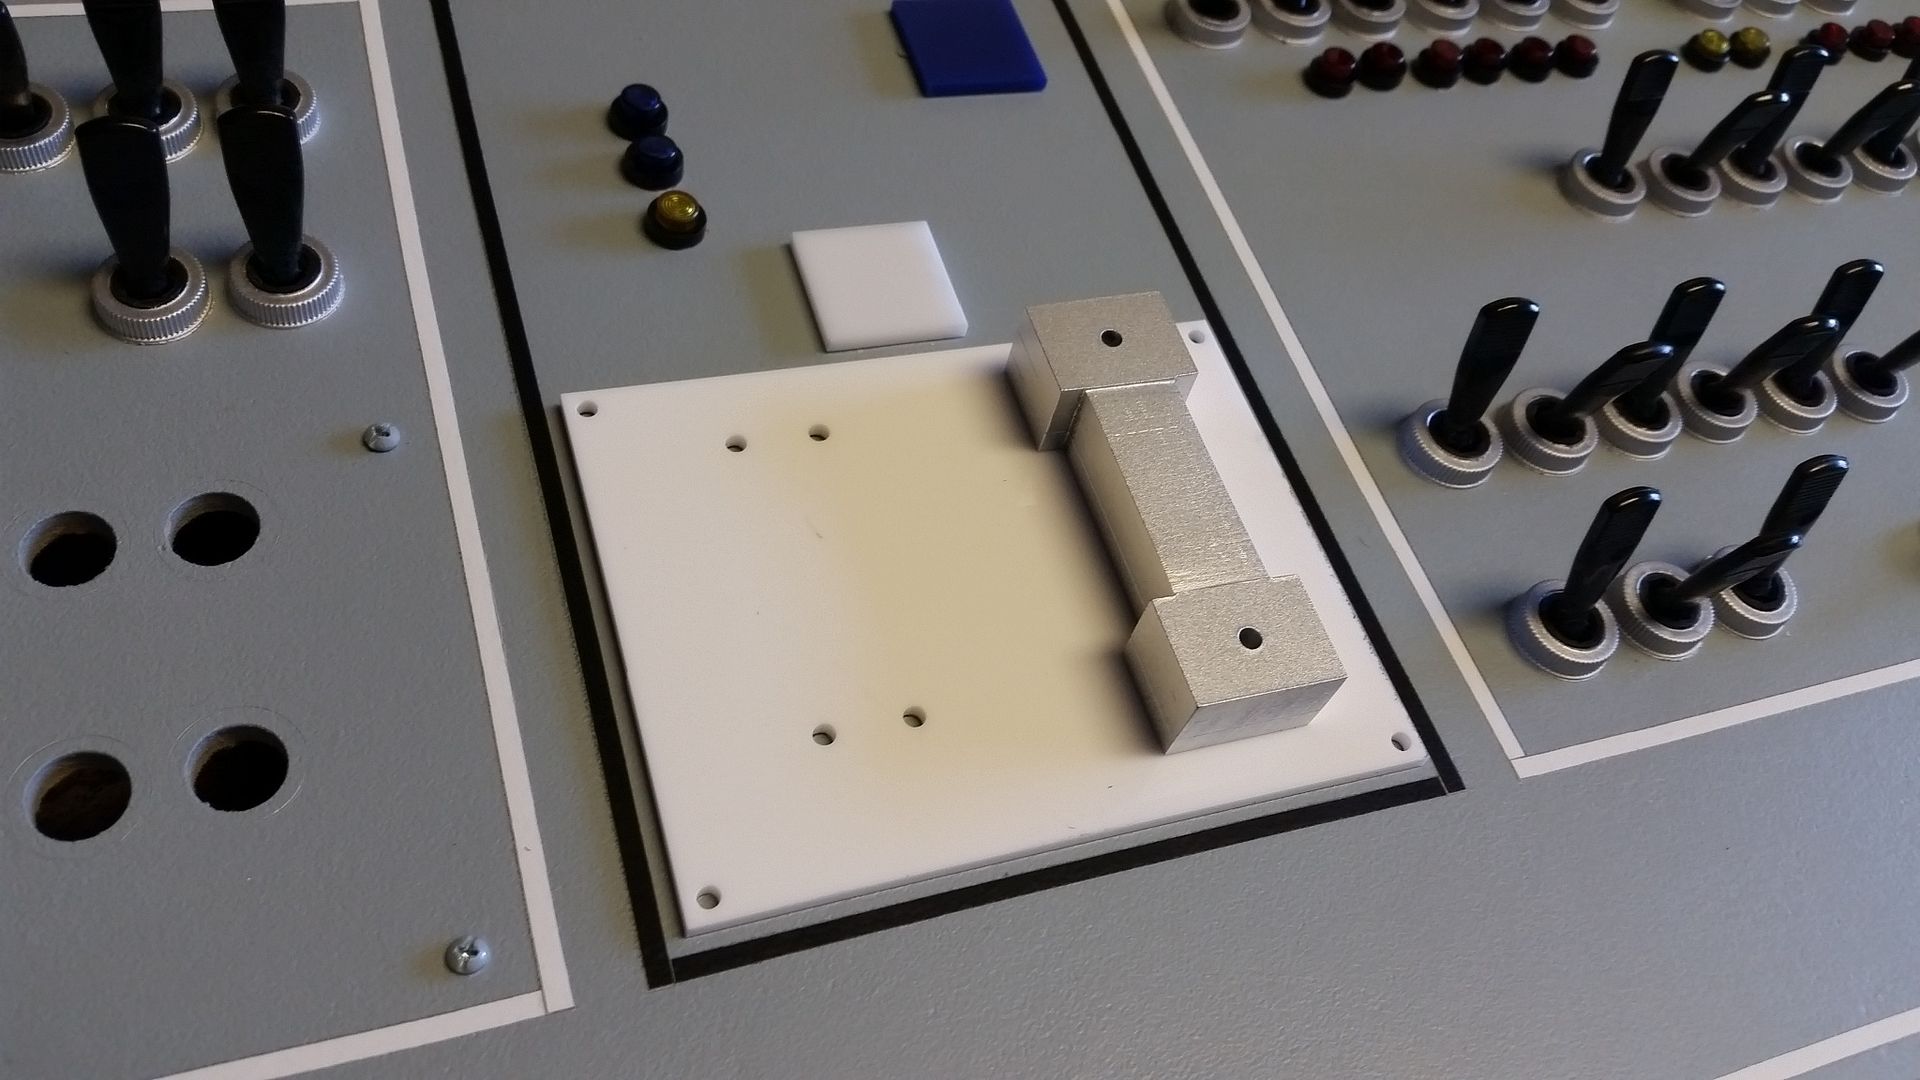
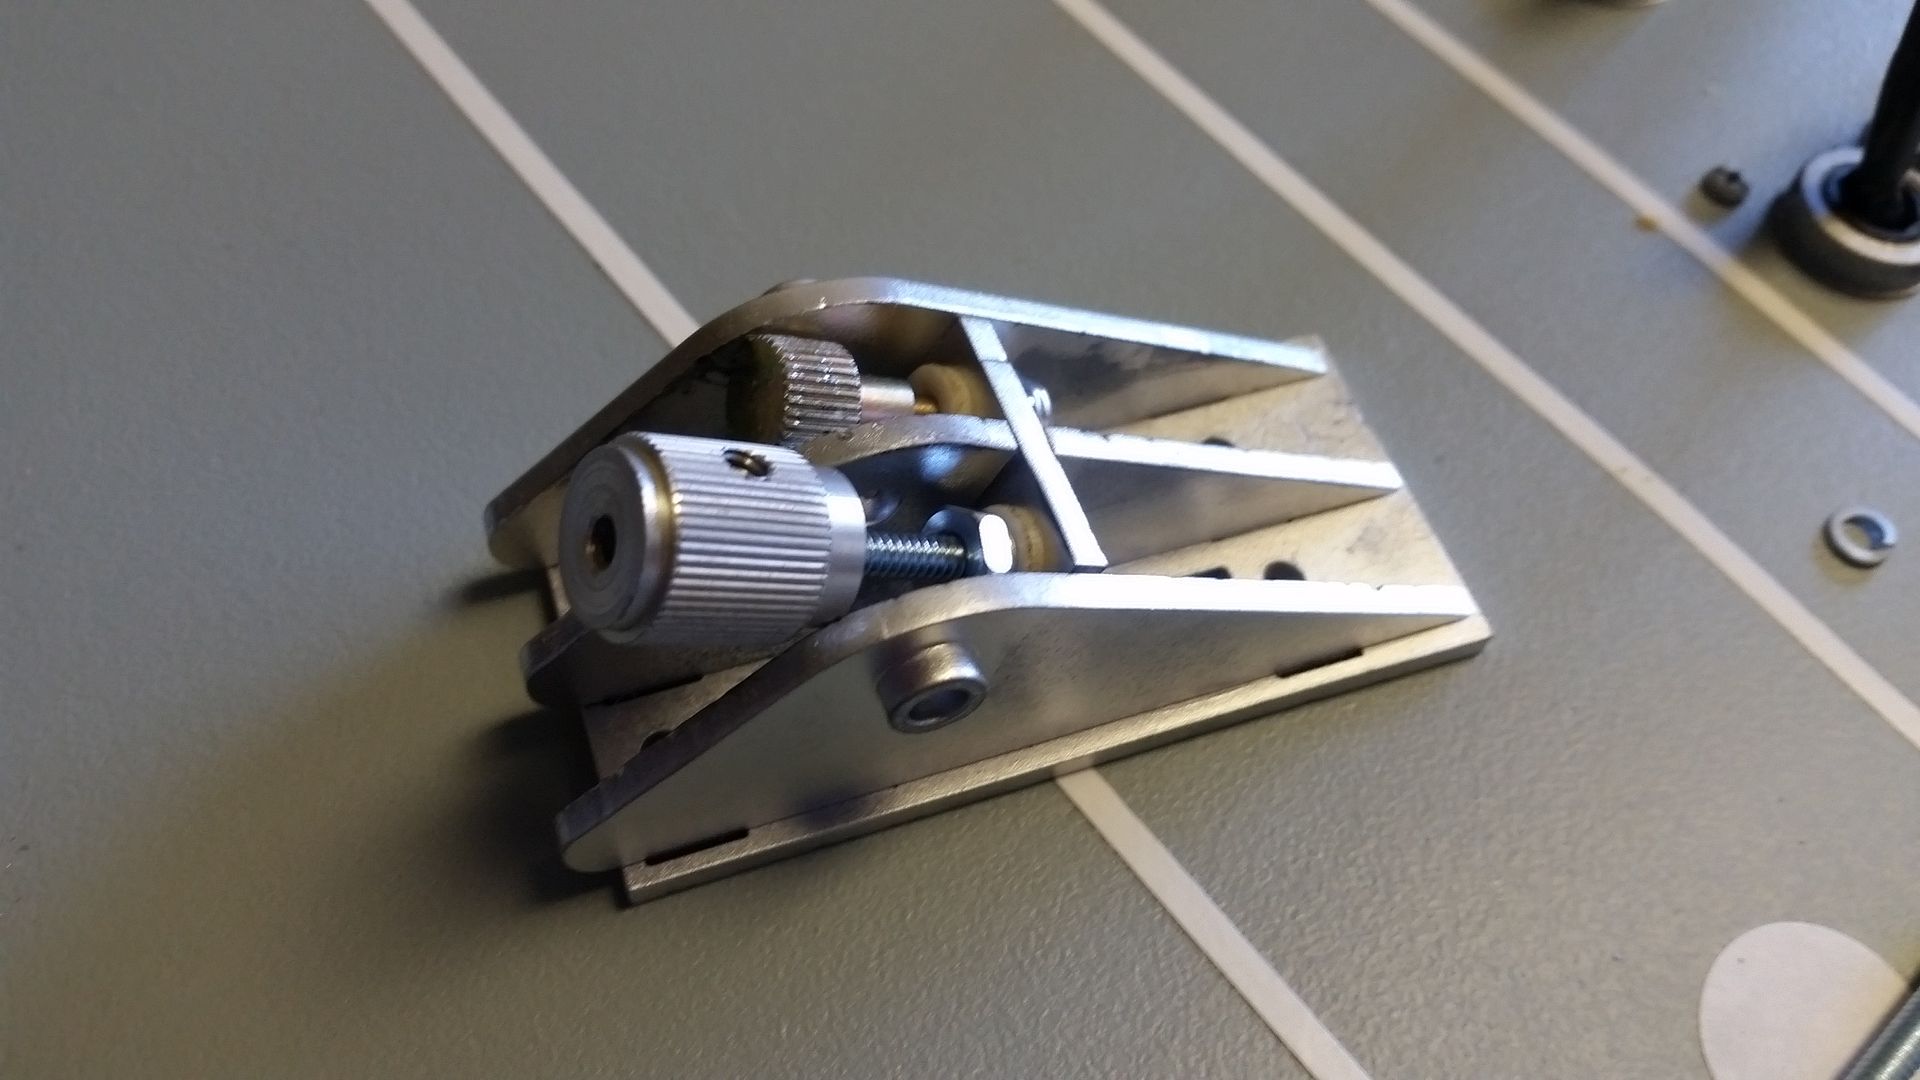
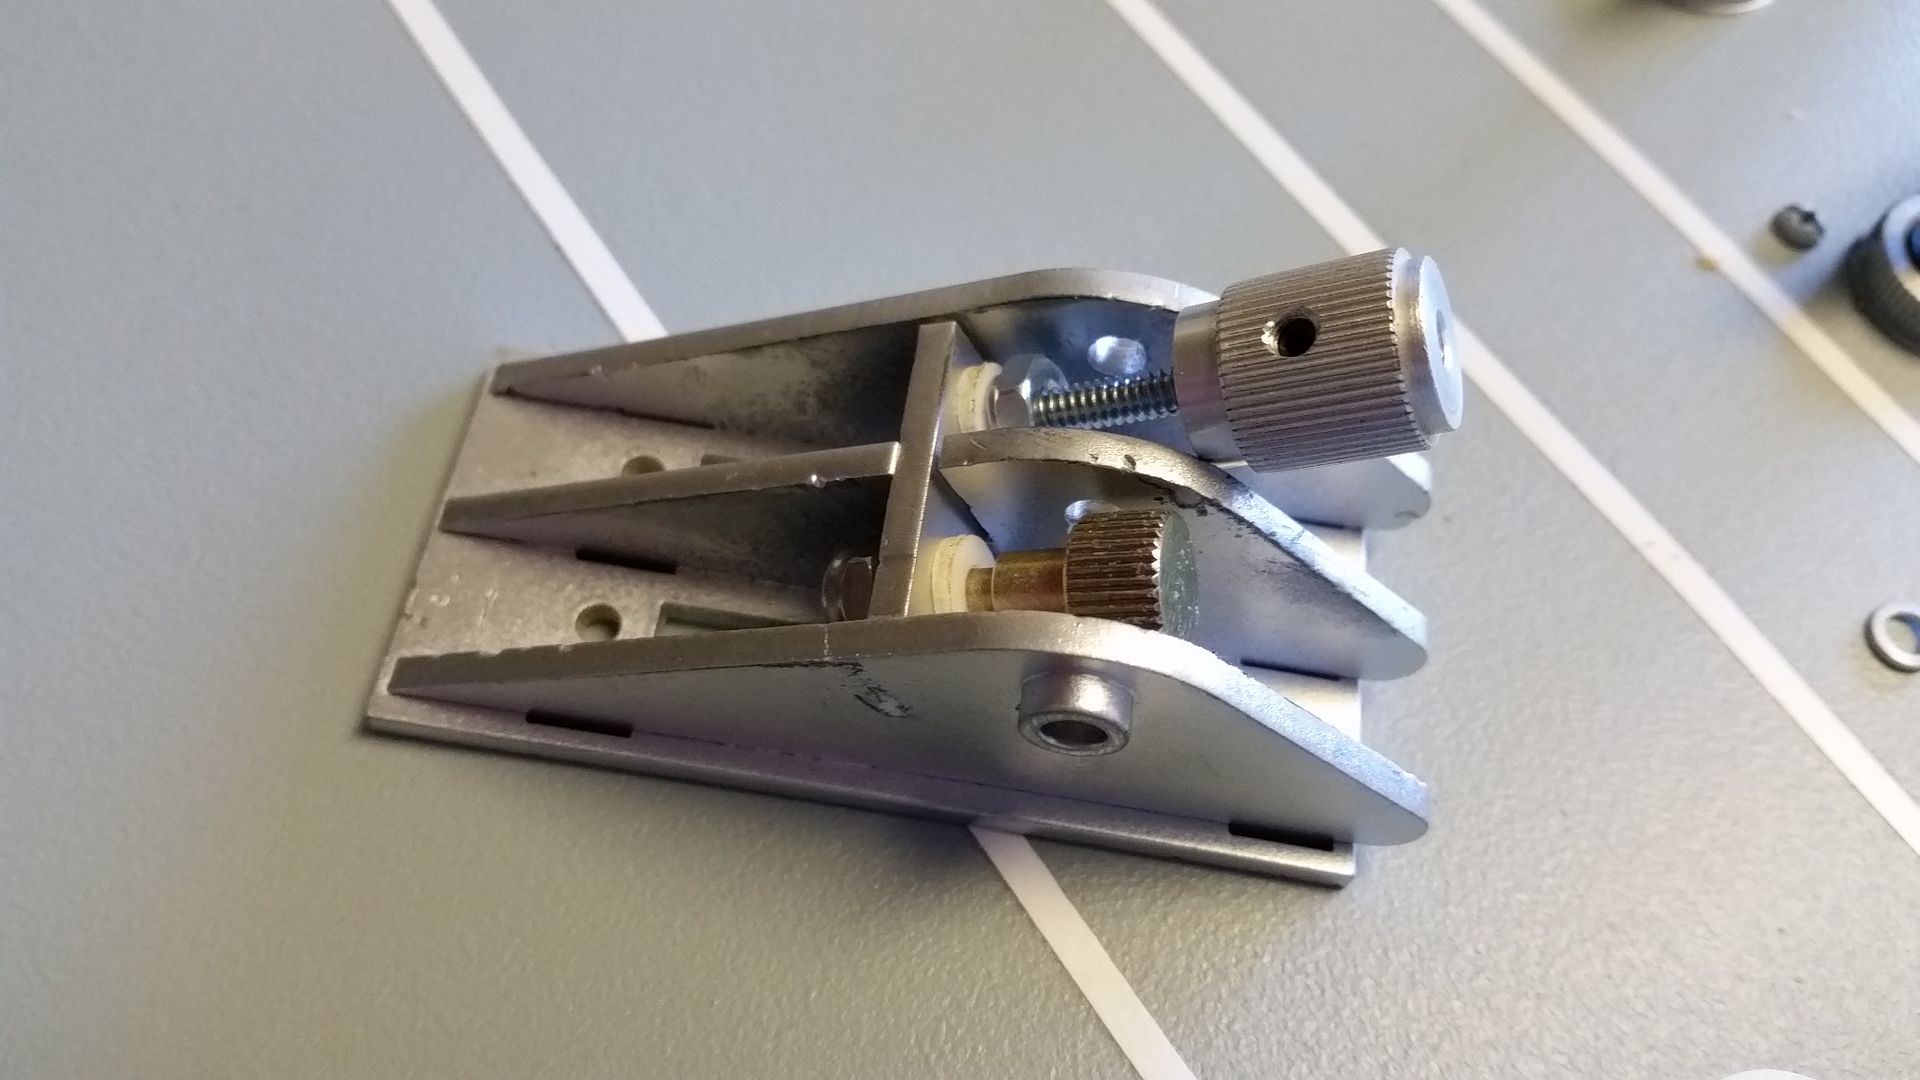
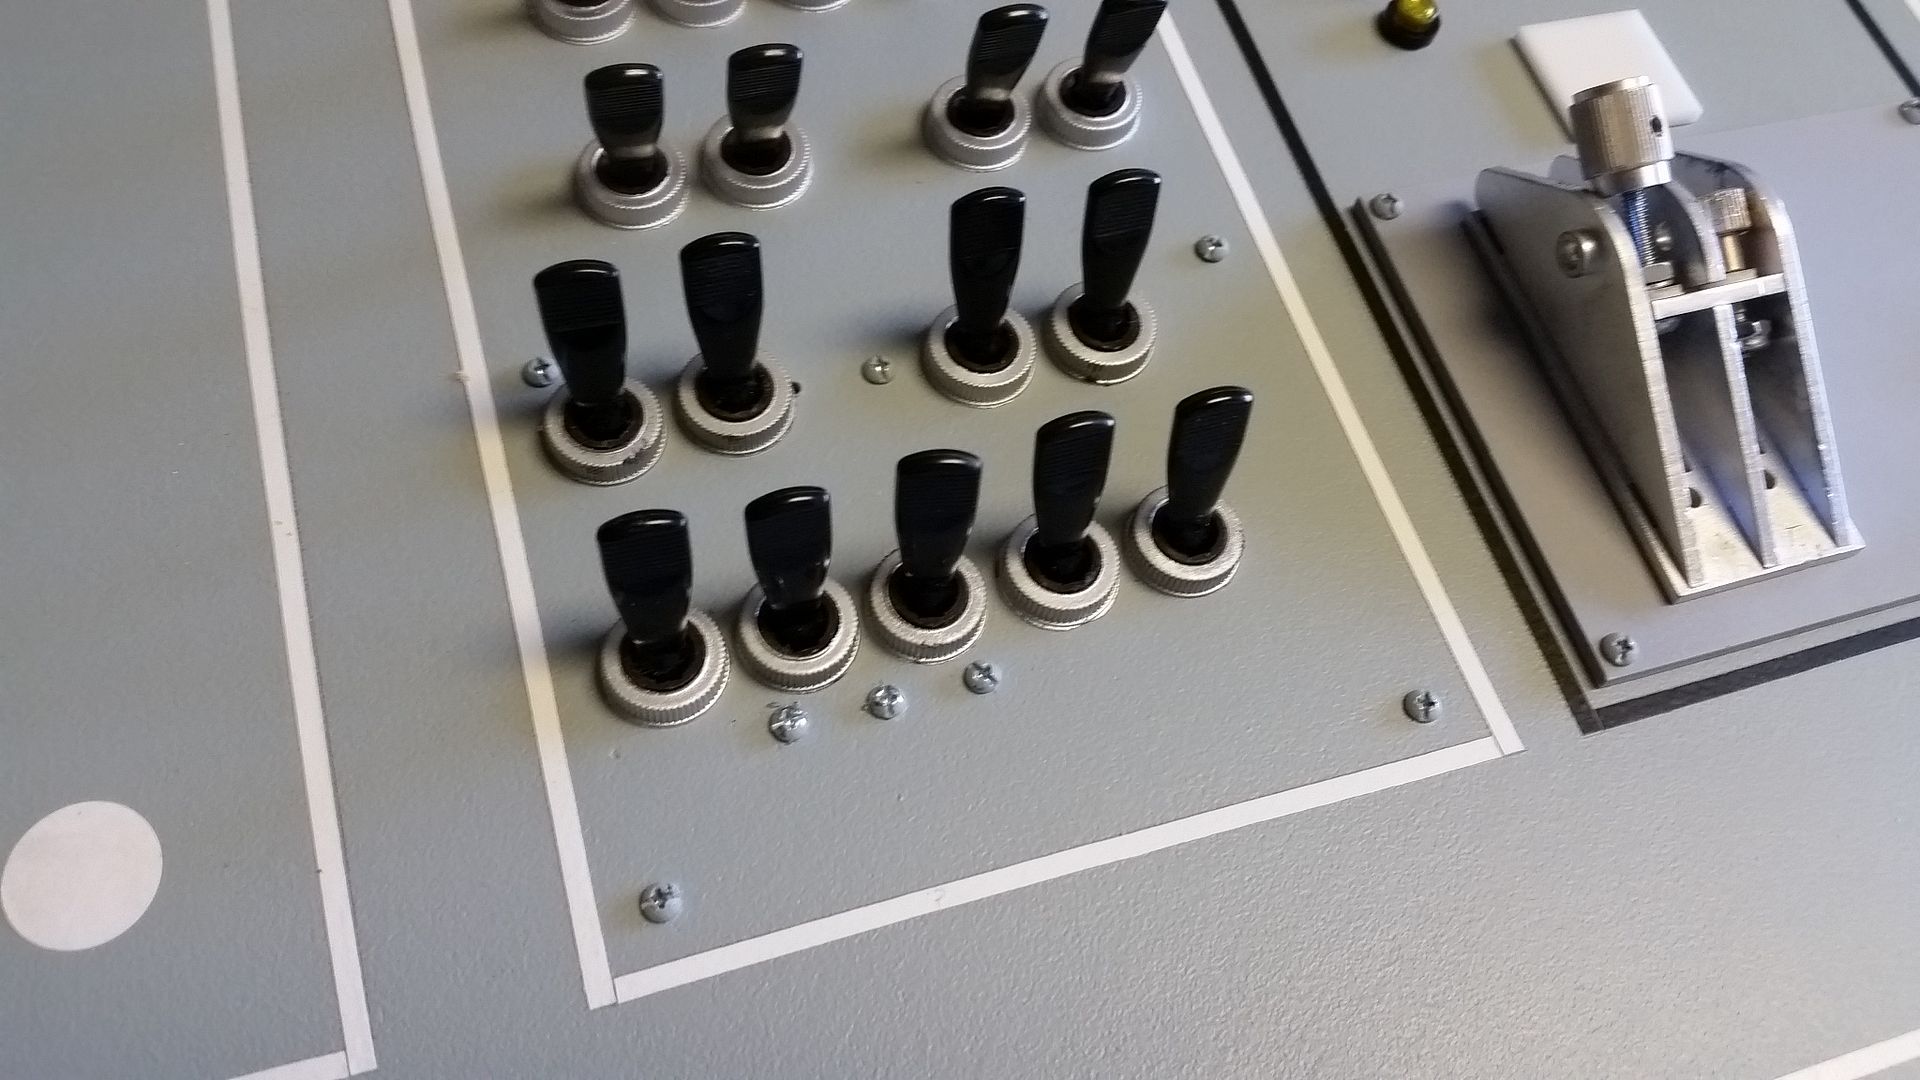
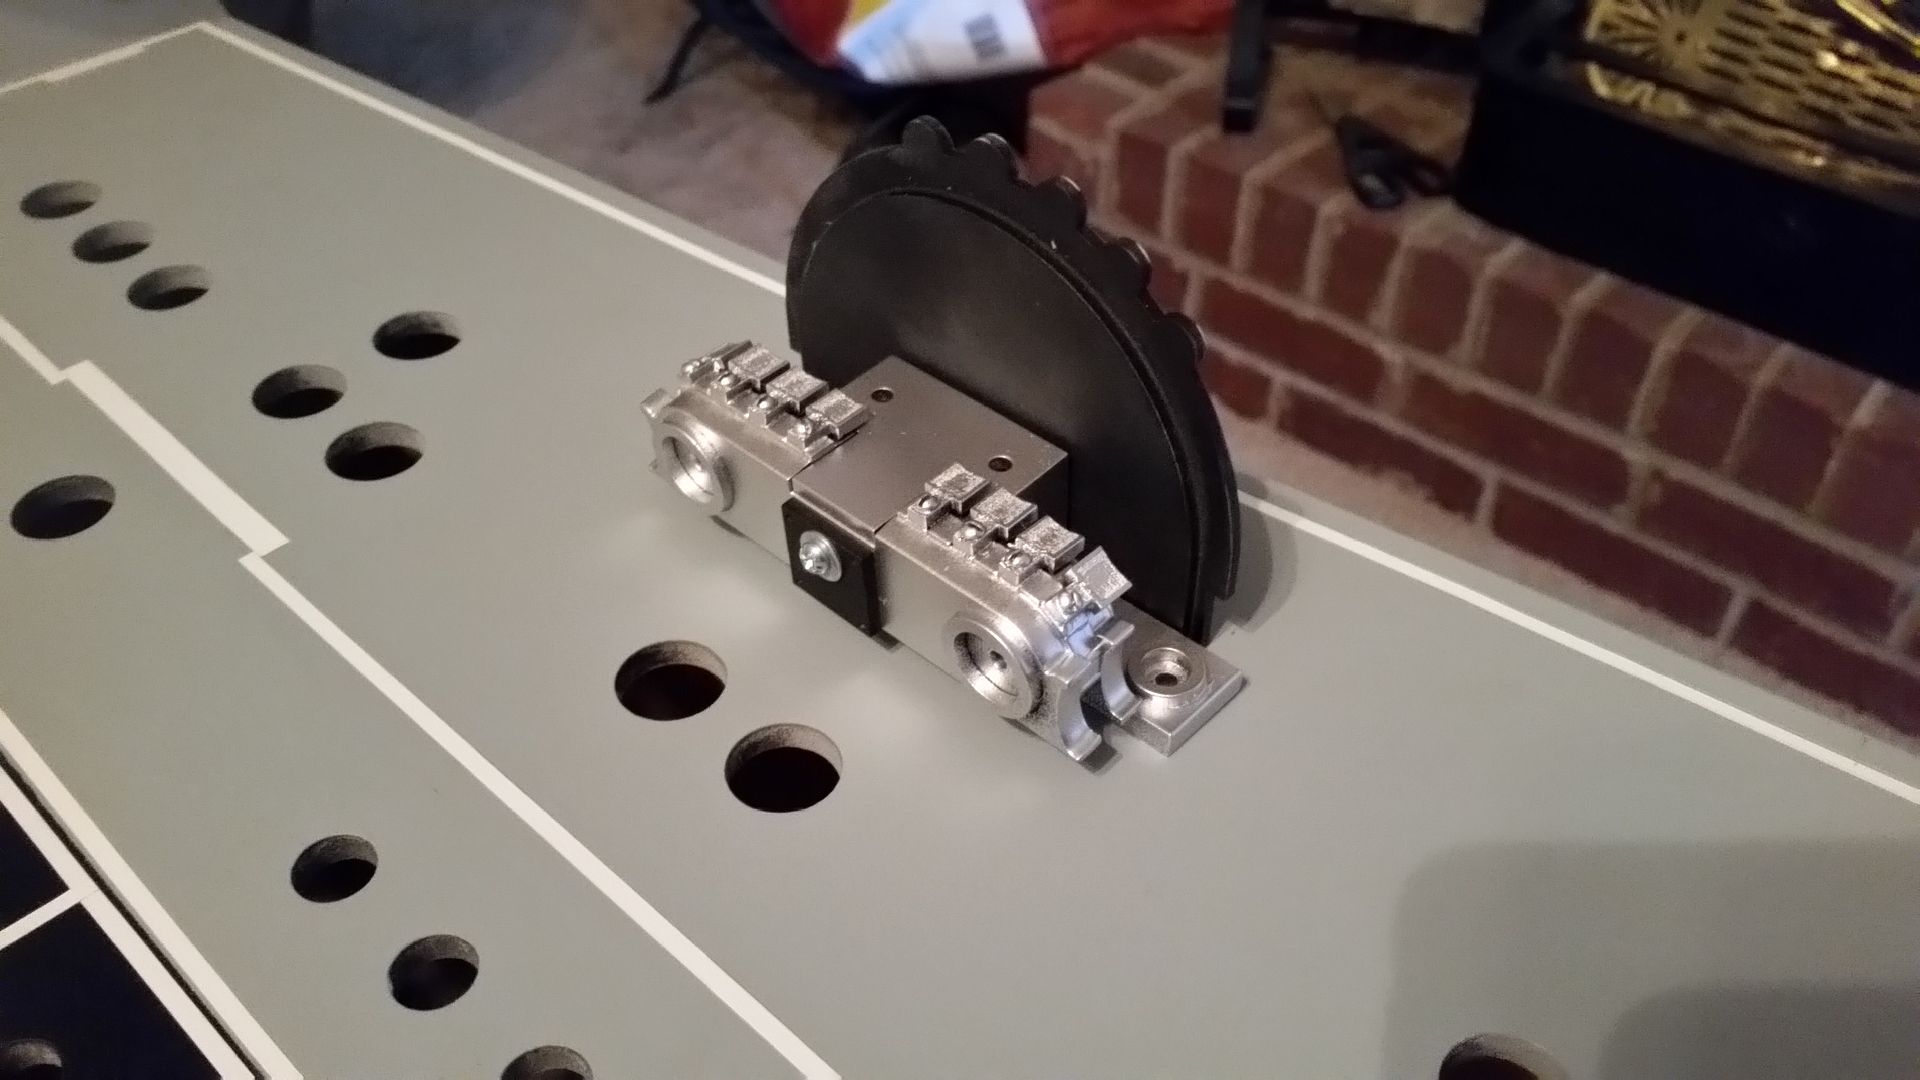
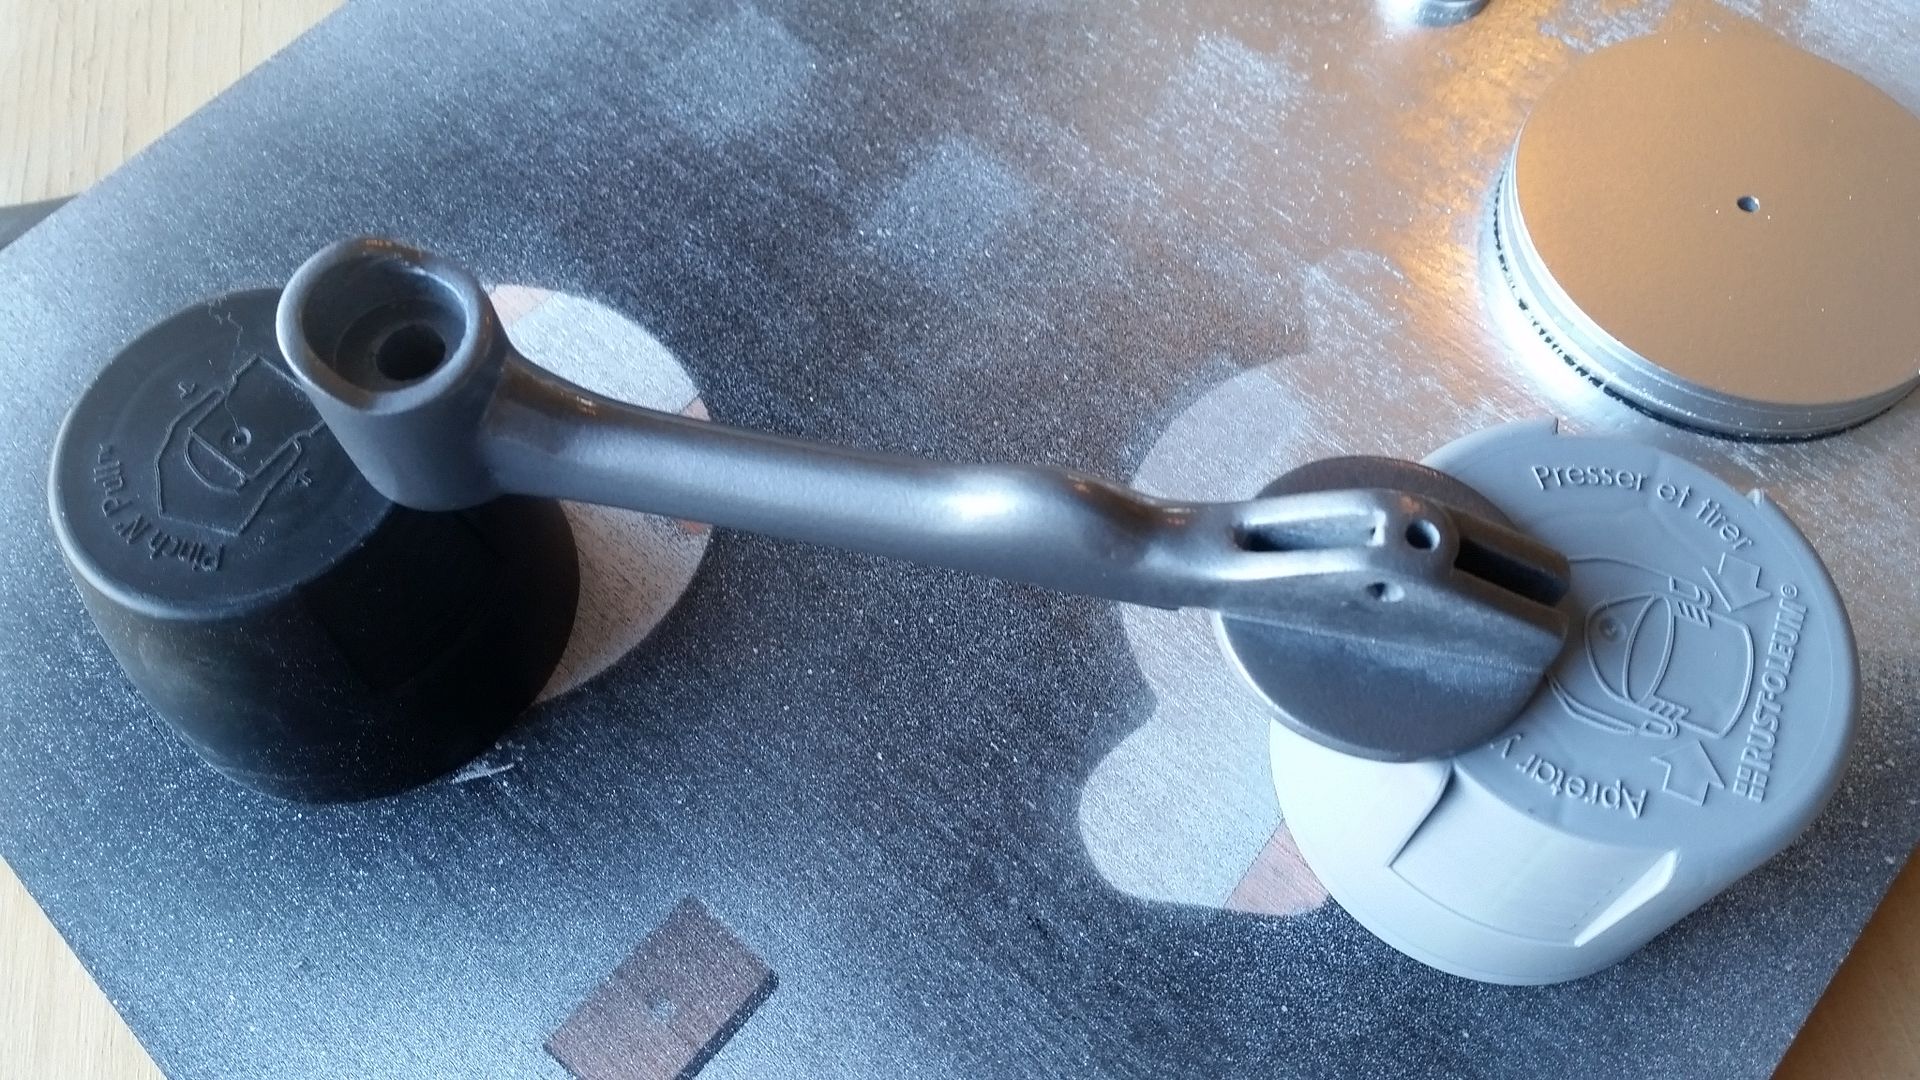
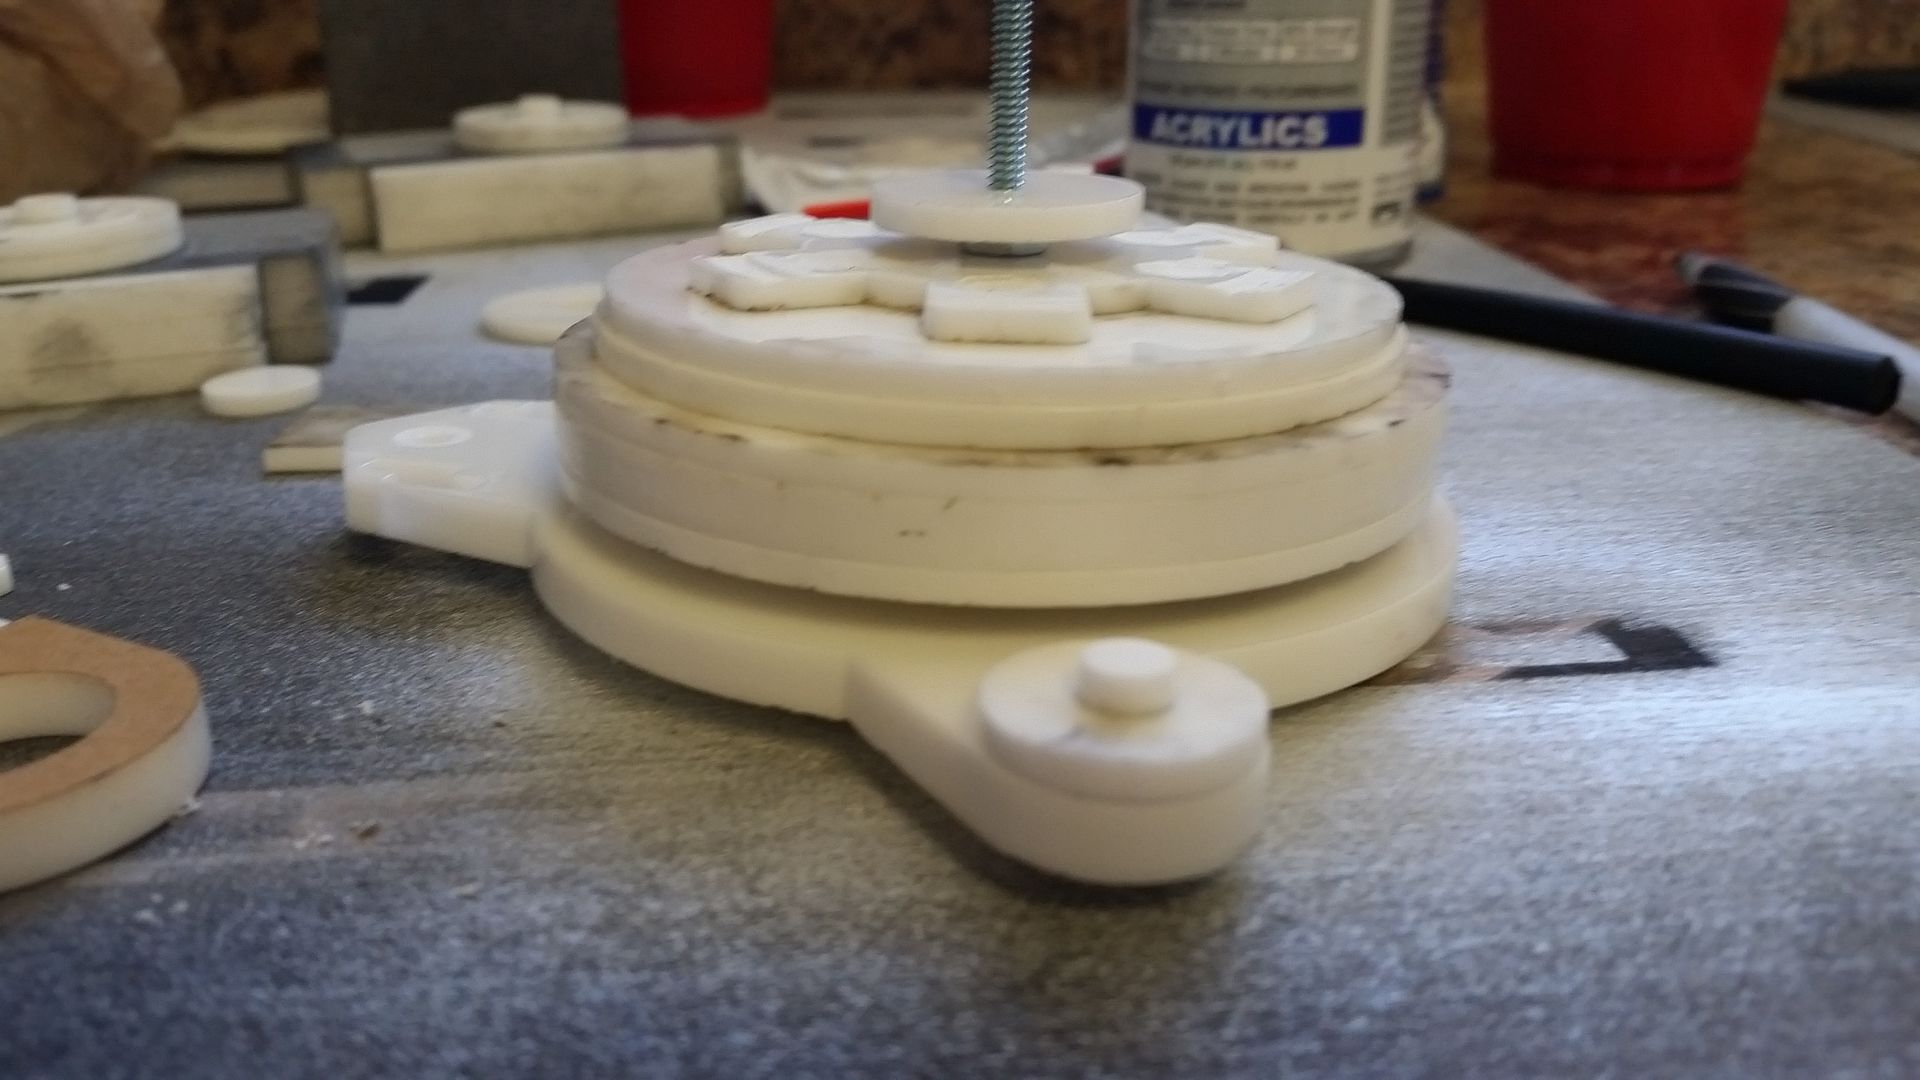
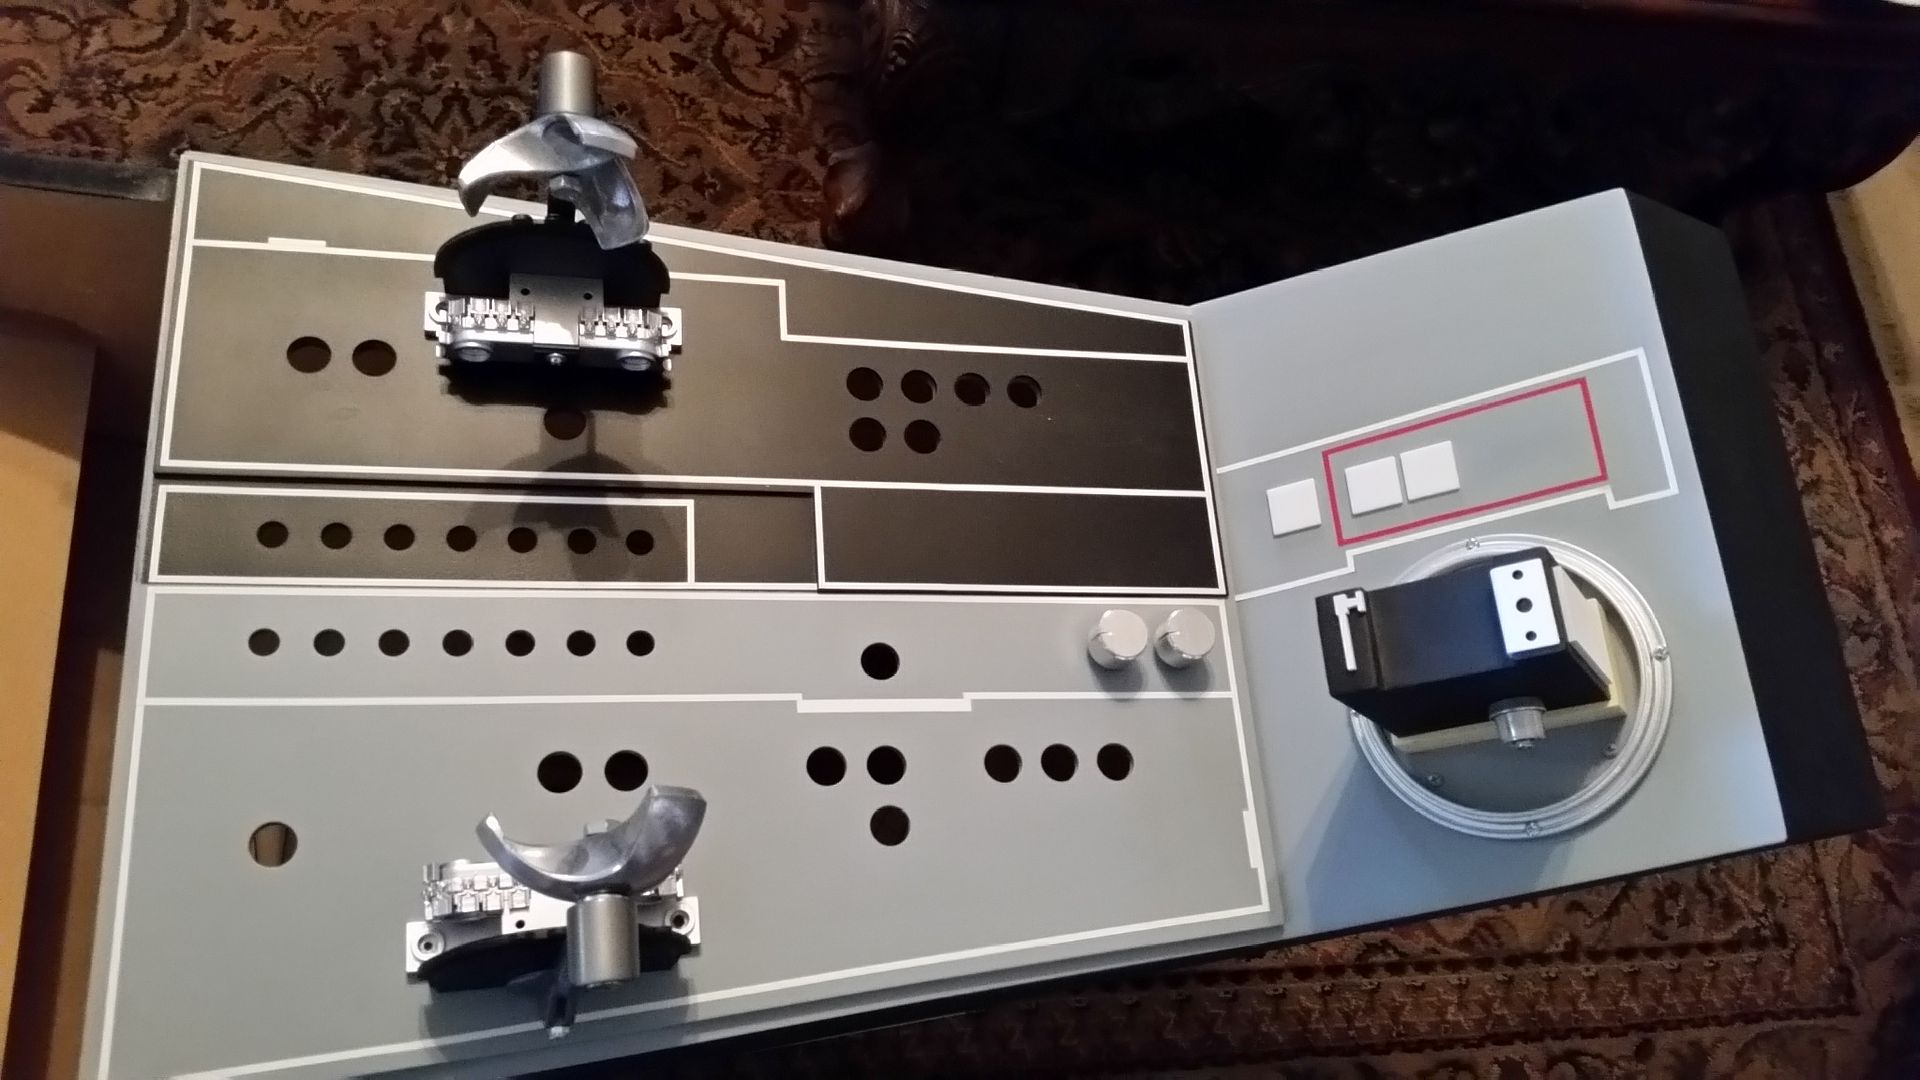
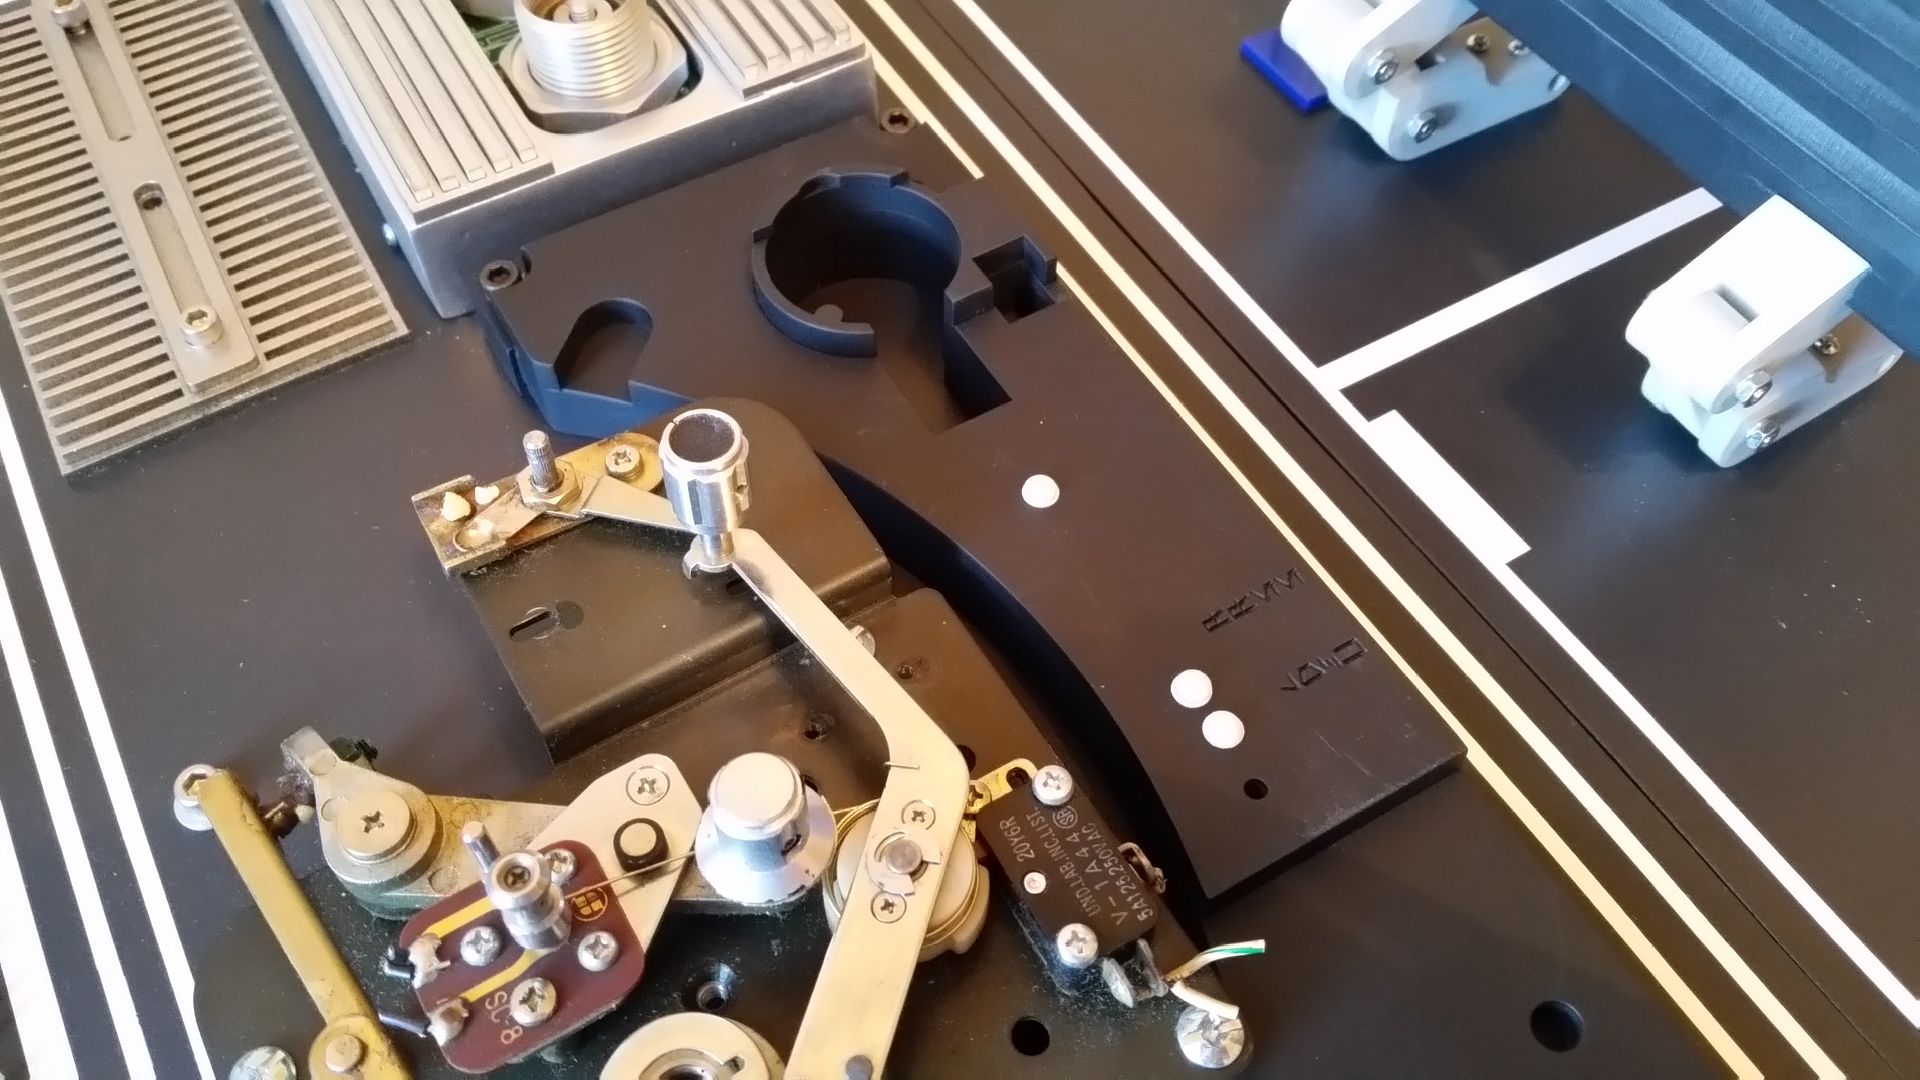
Added the T knobs to this panel
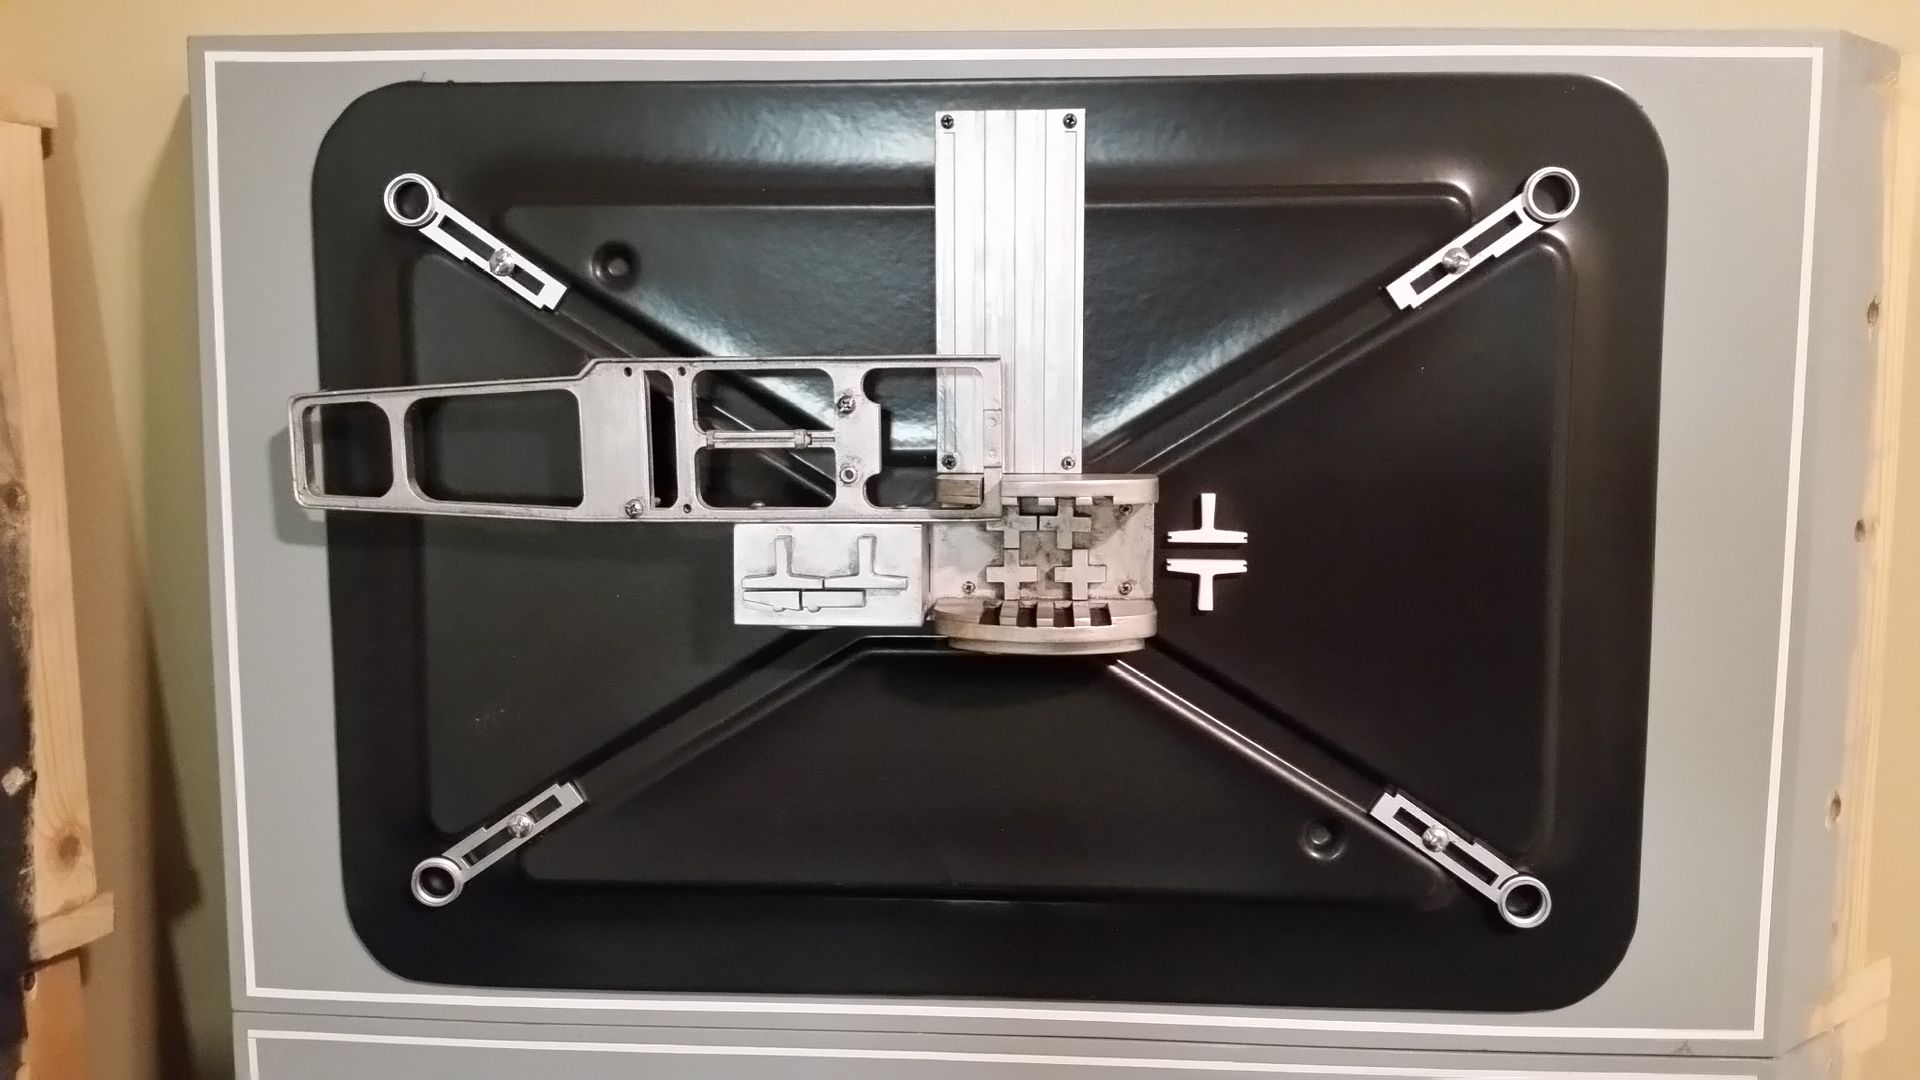
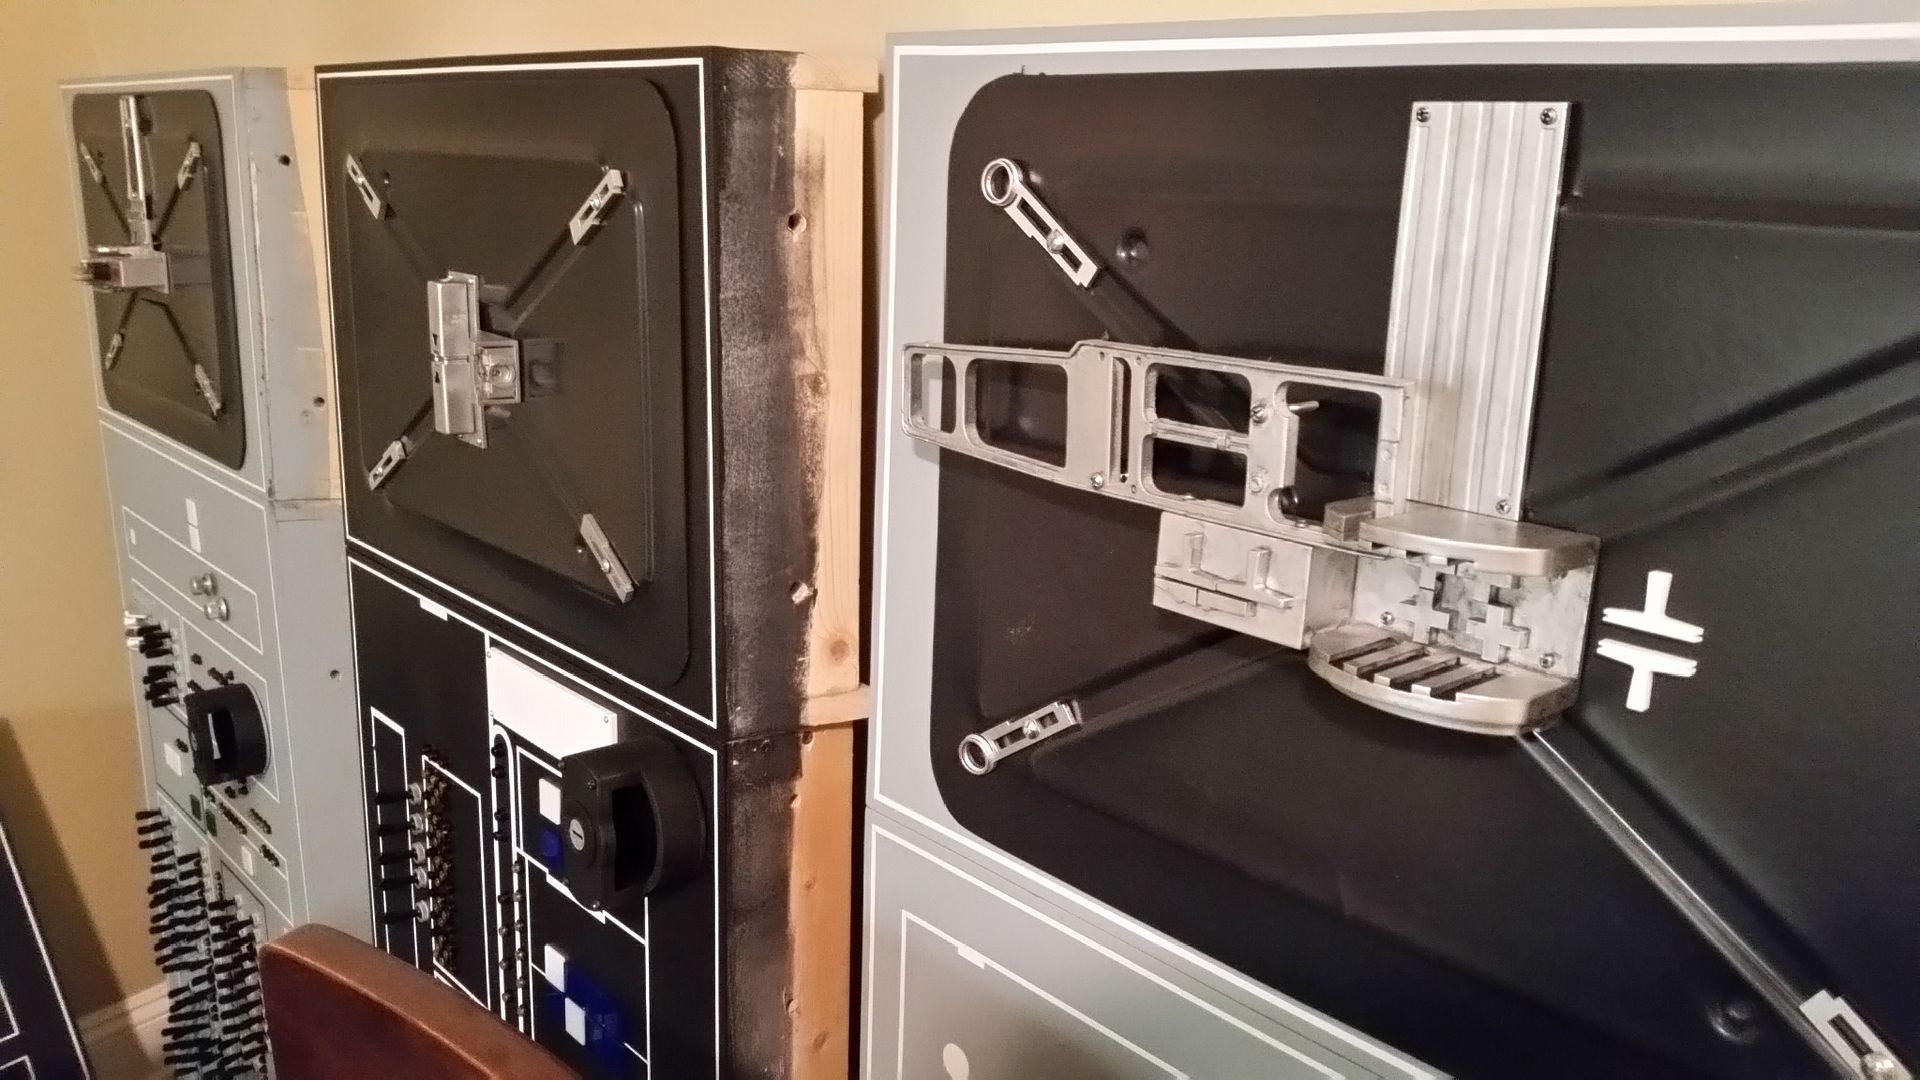
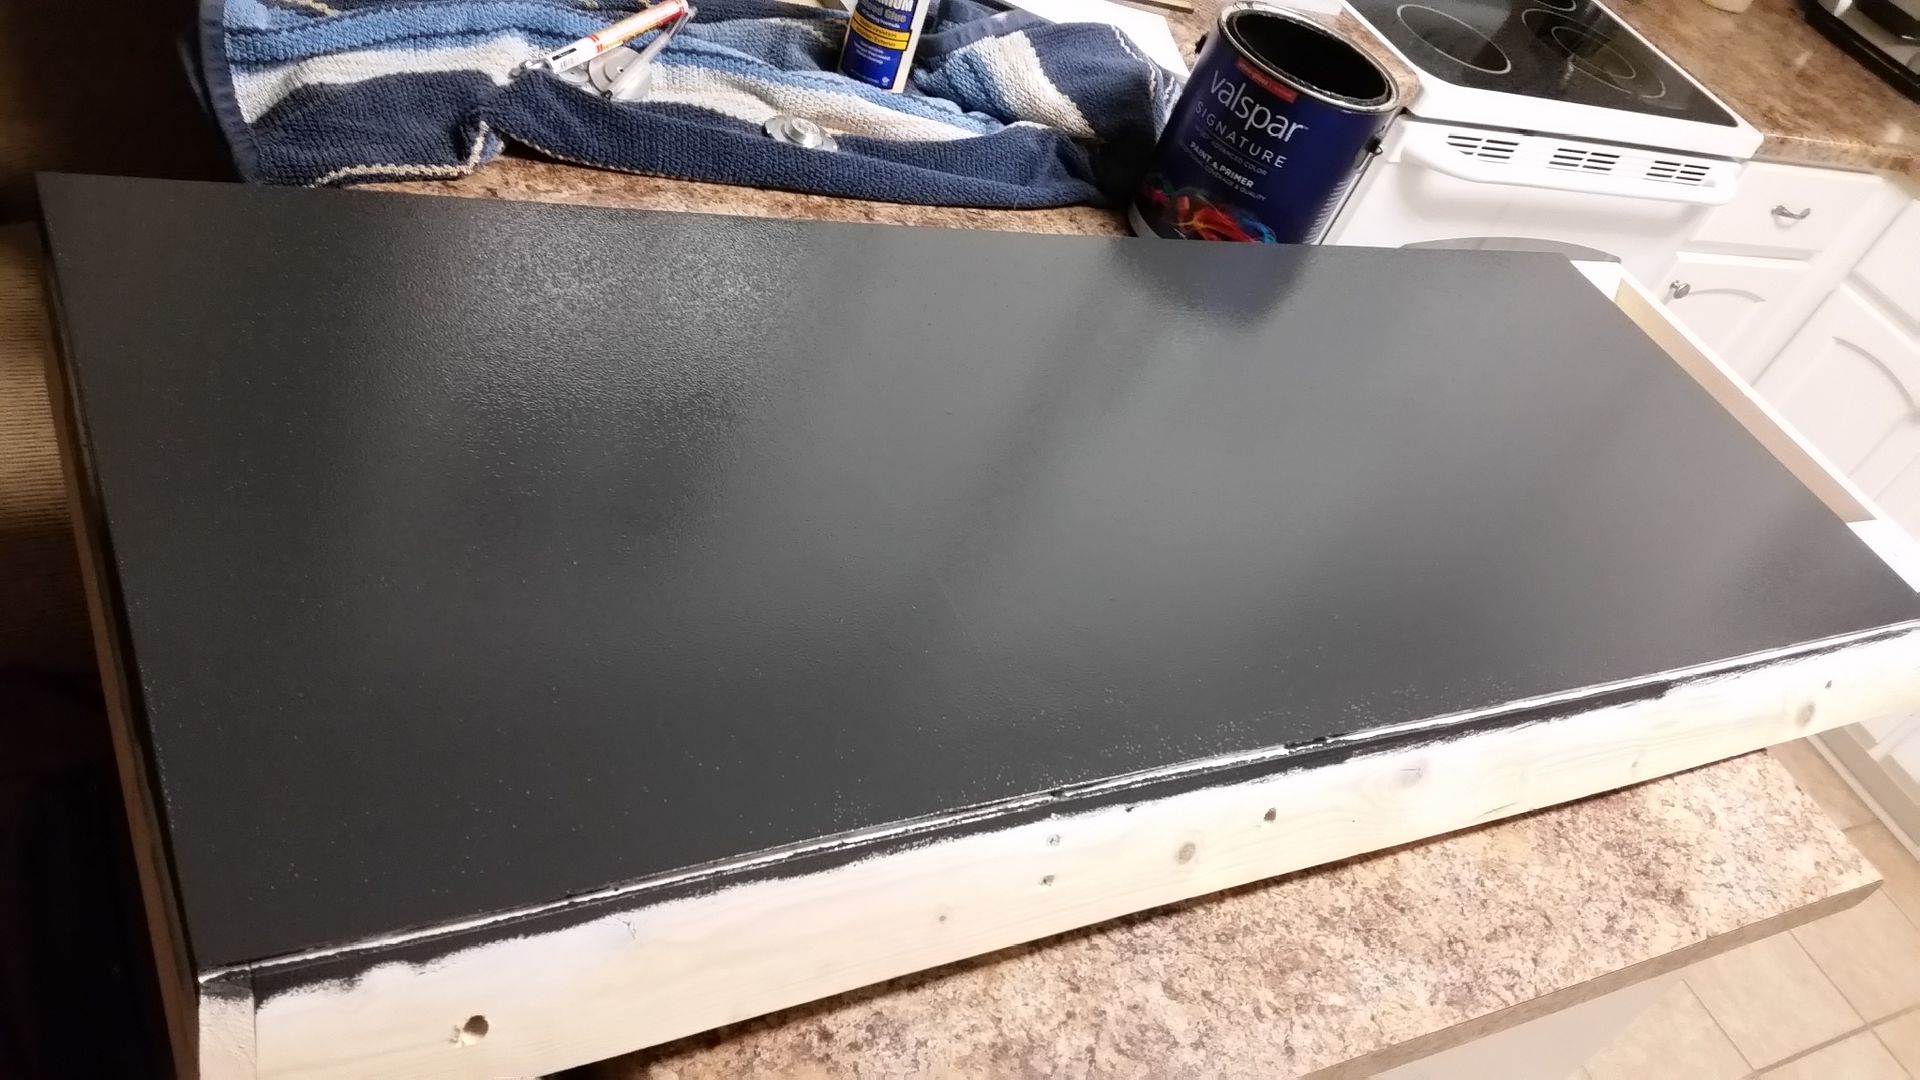
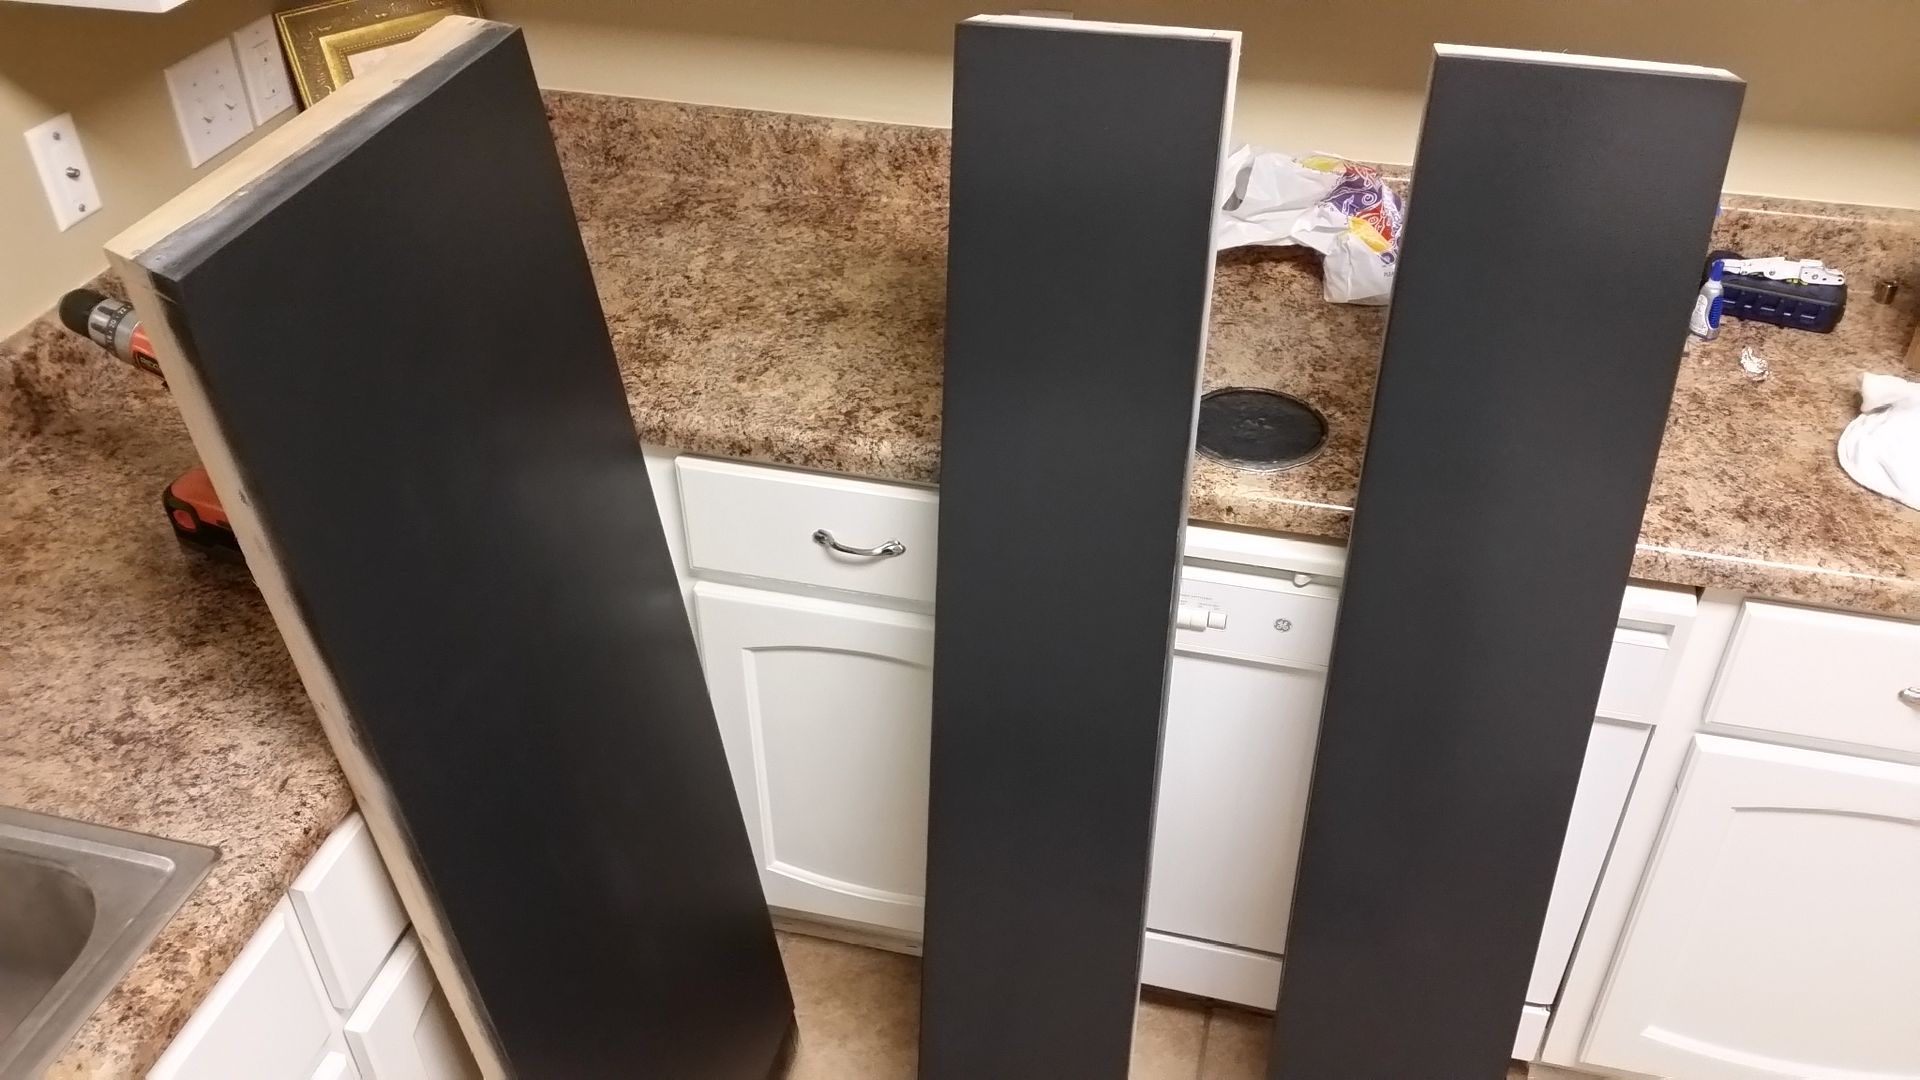
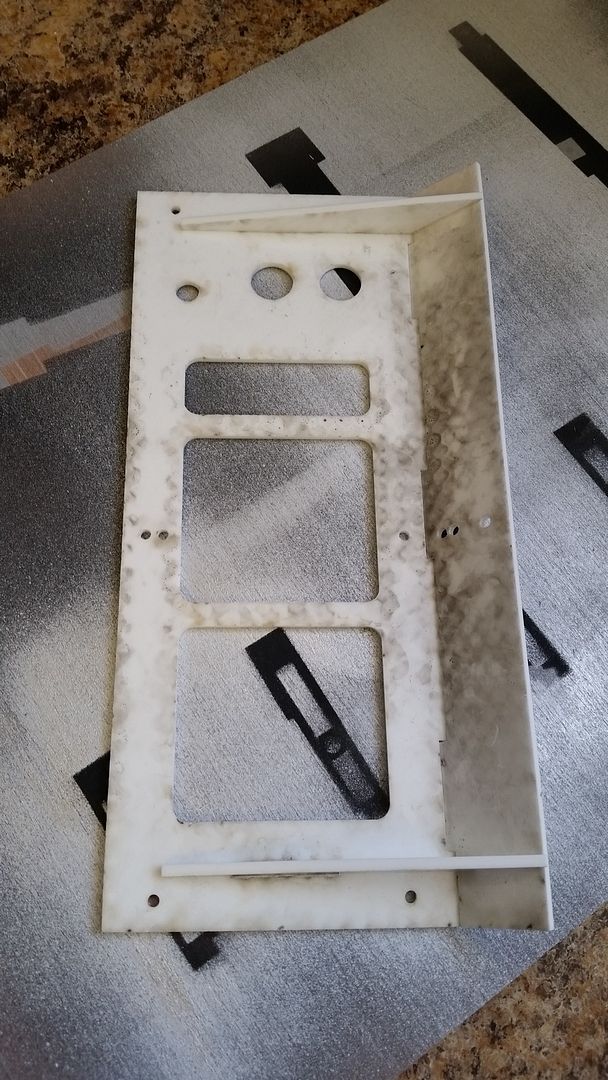
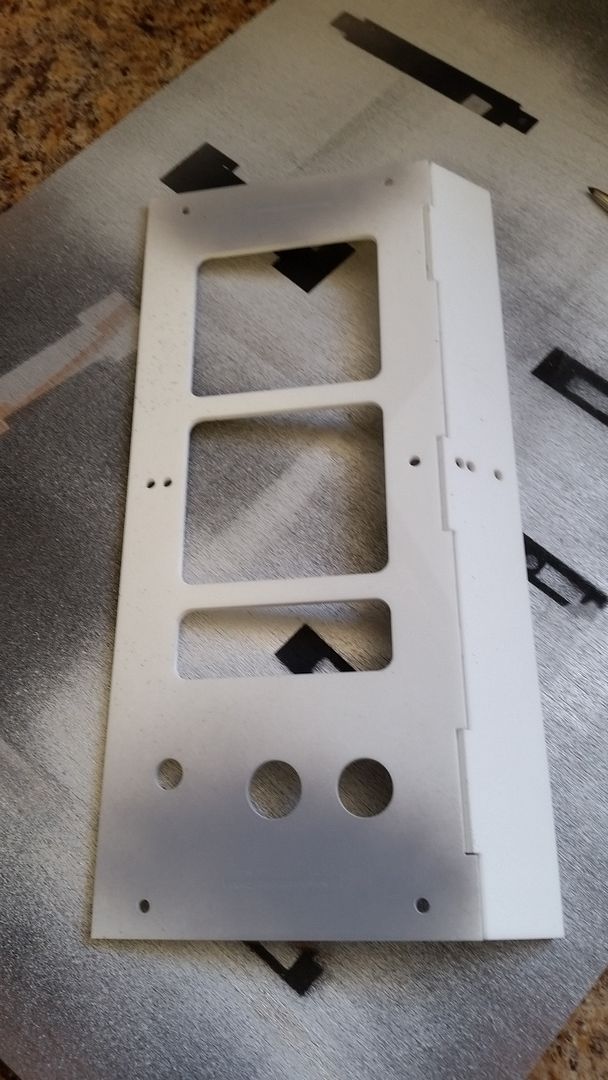
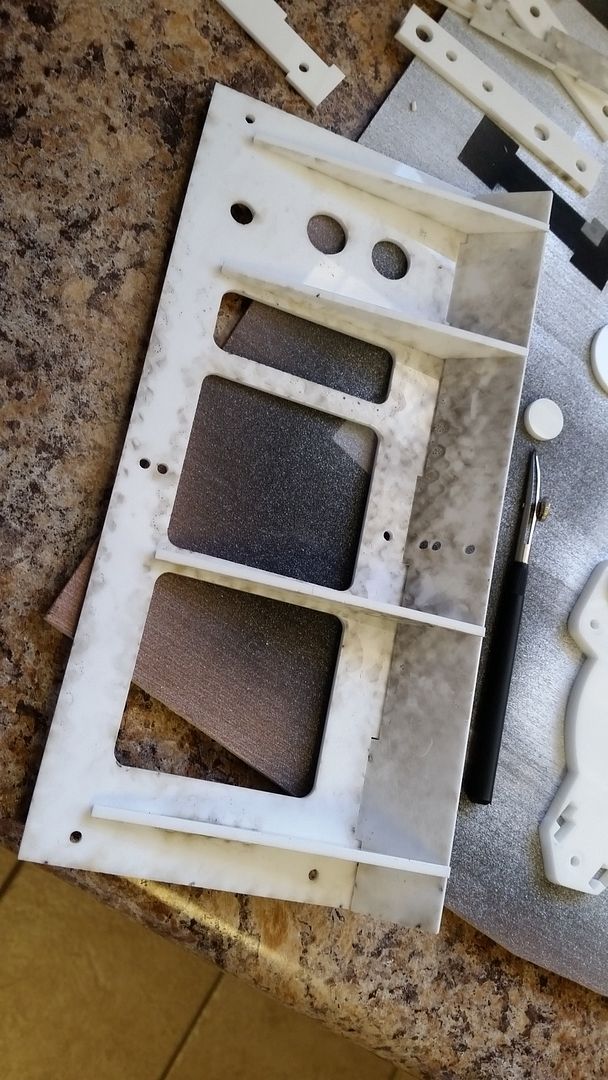
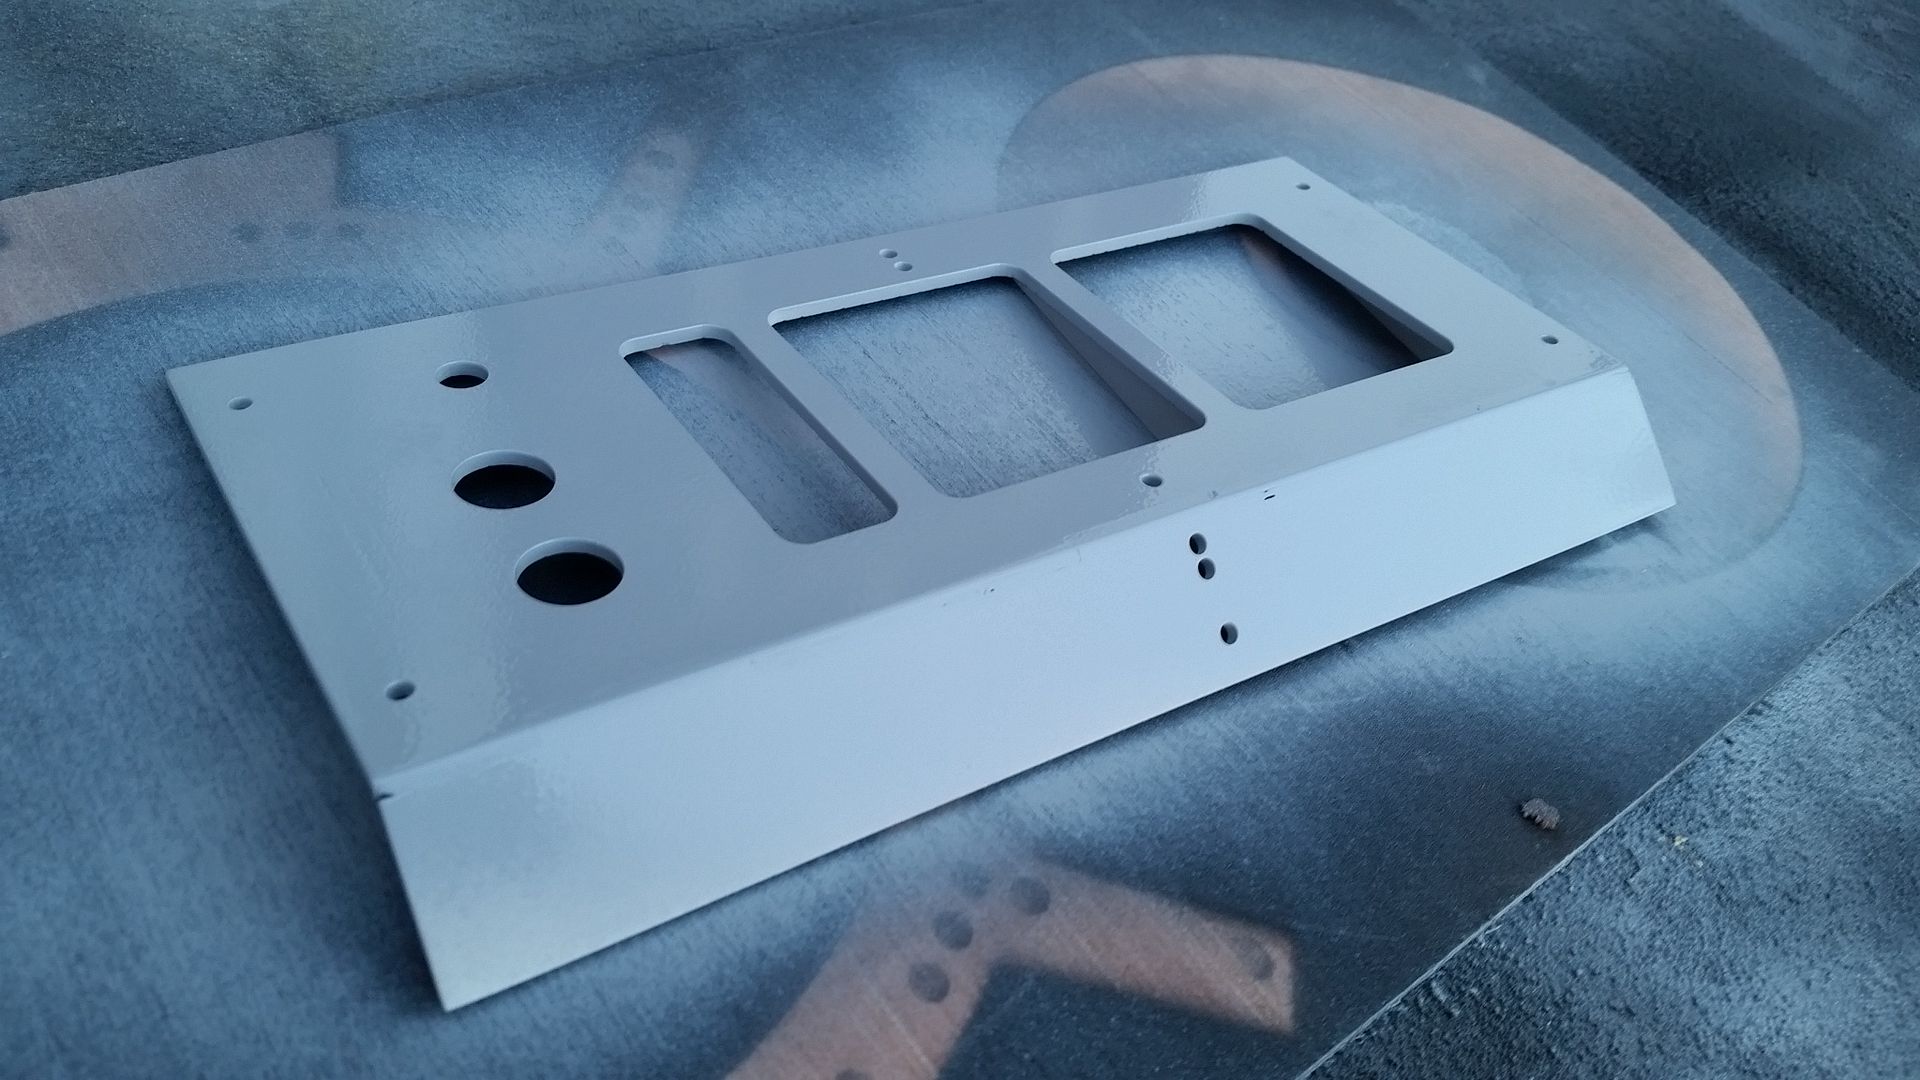
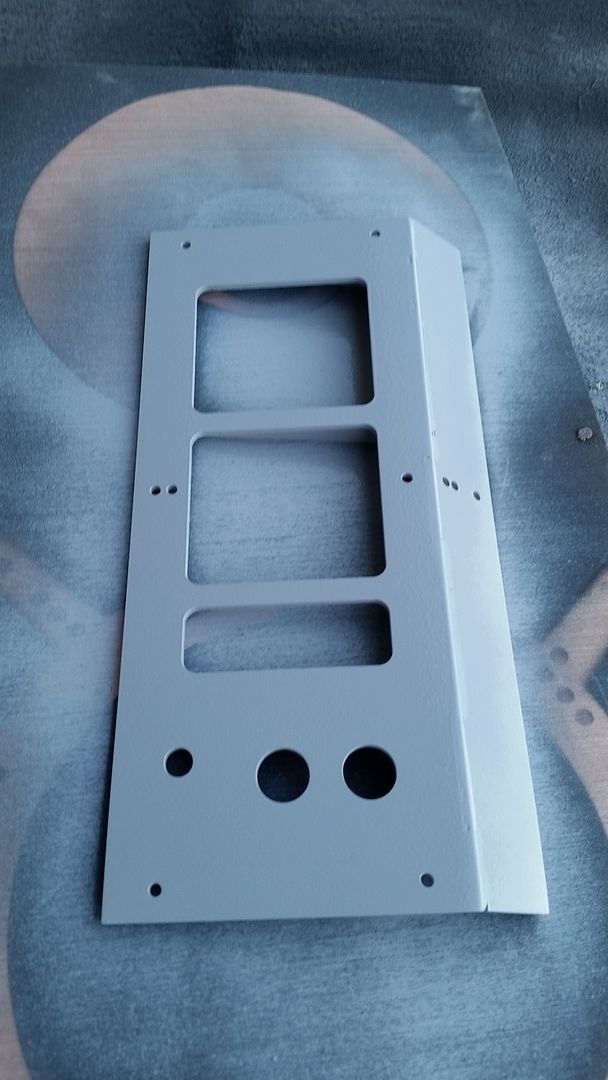
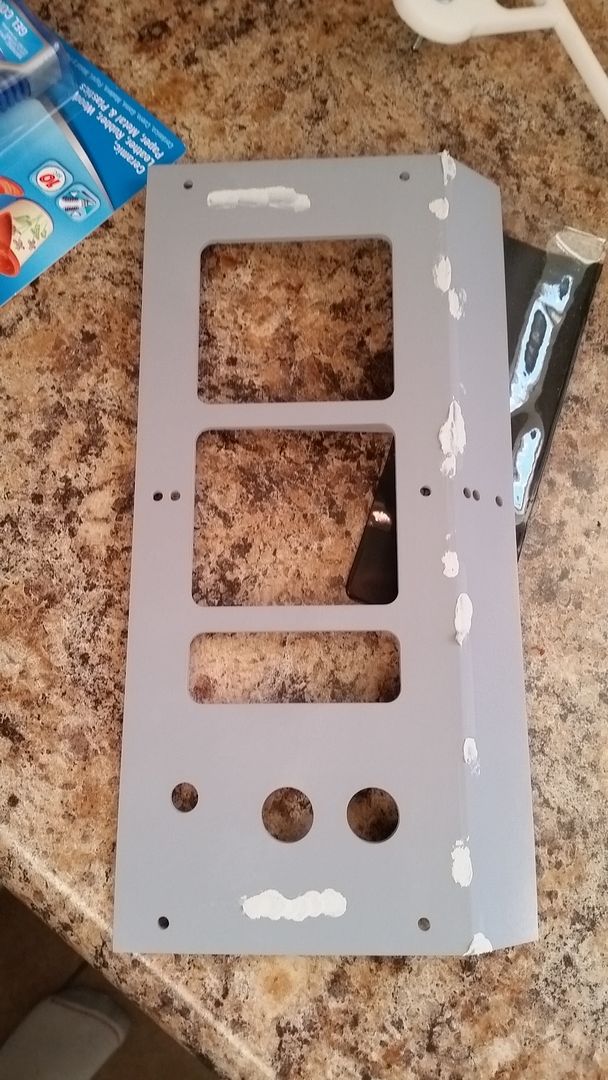
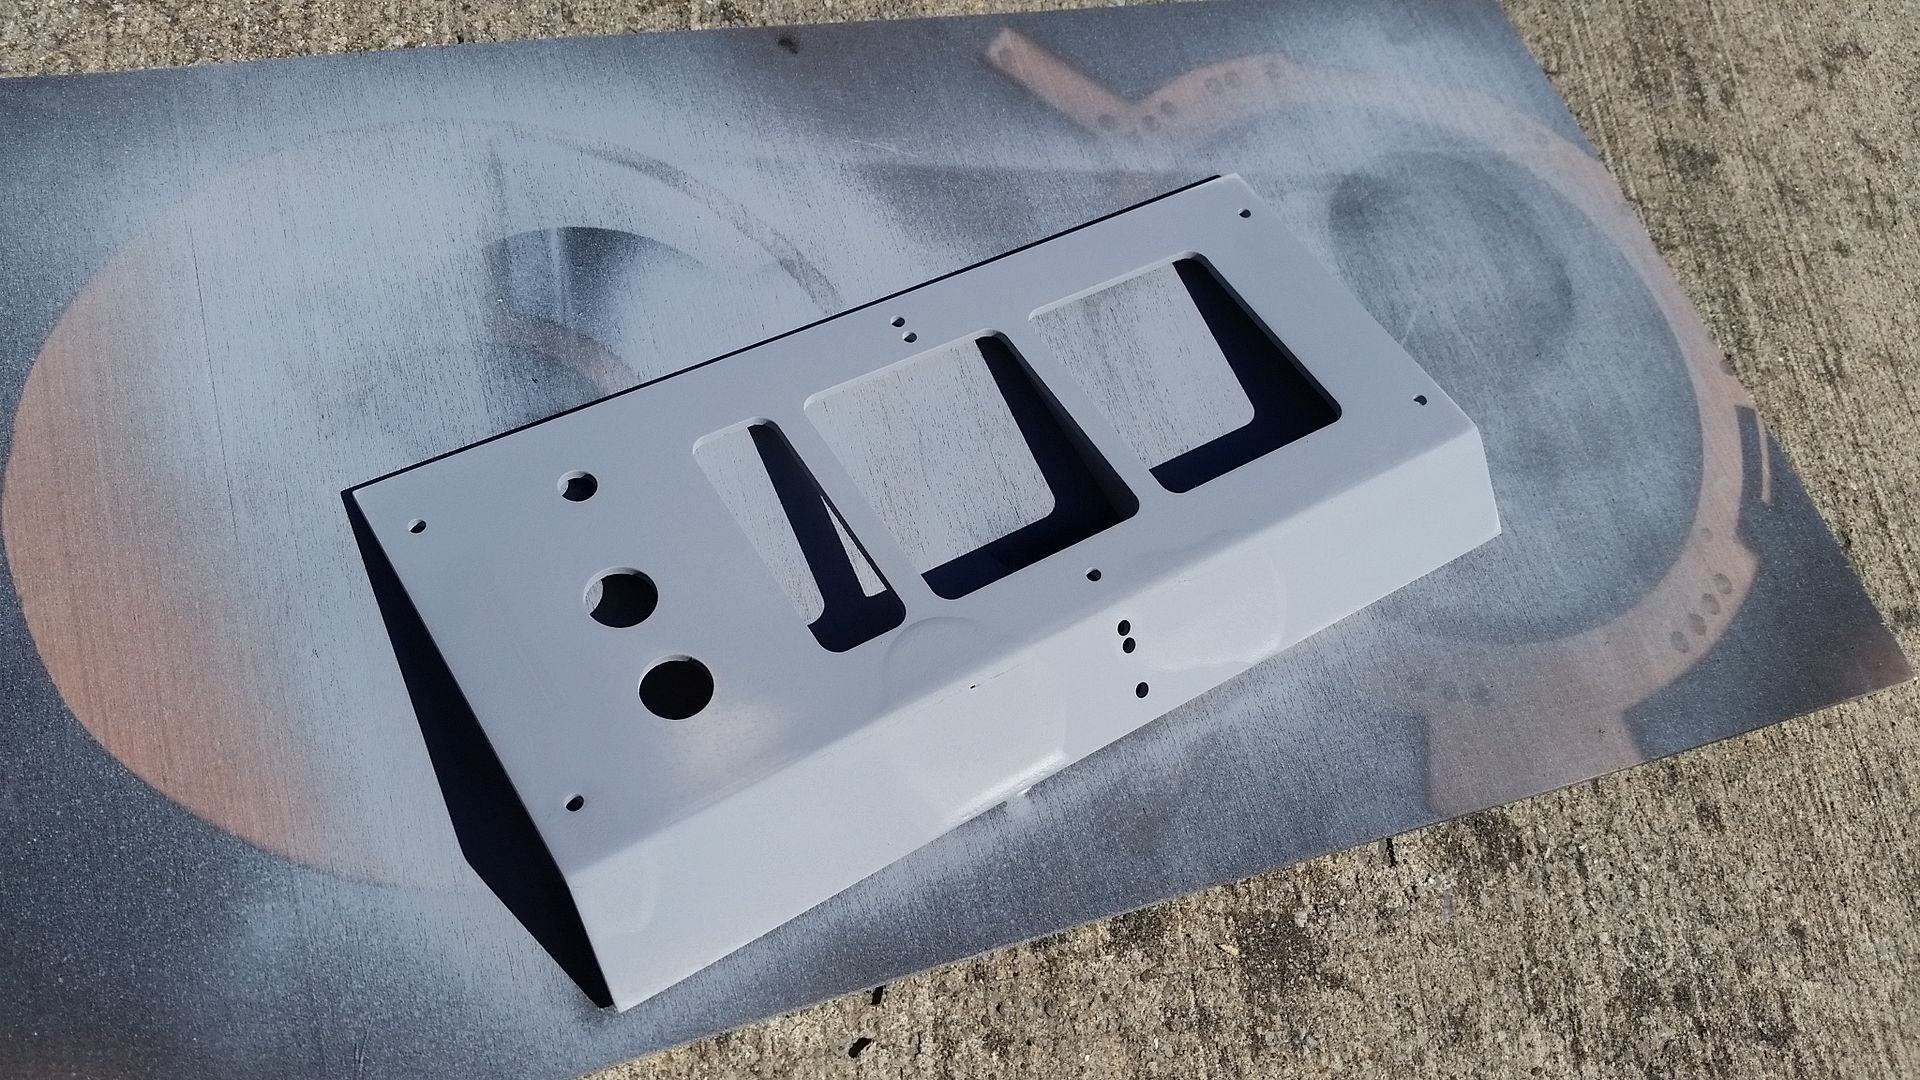
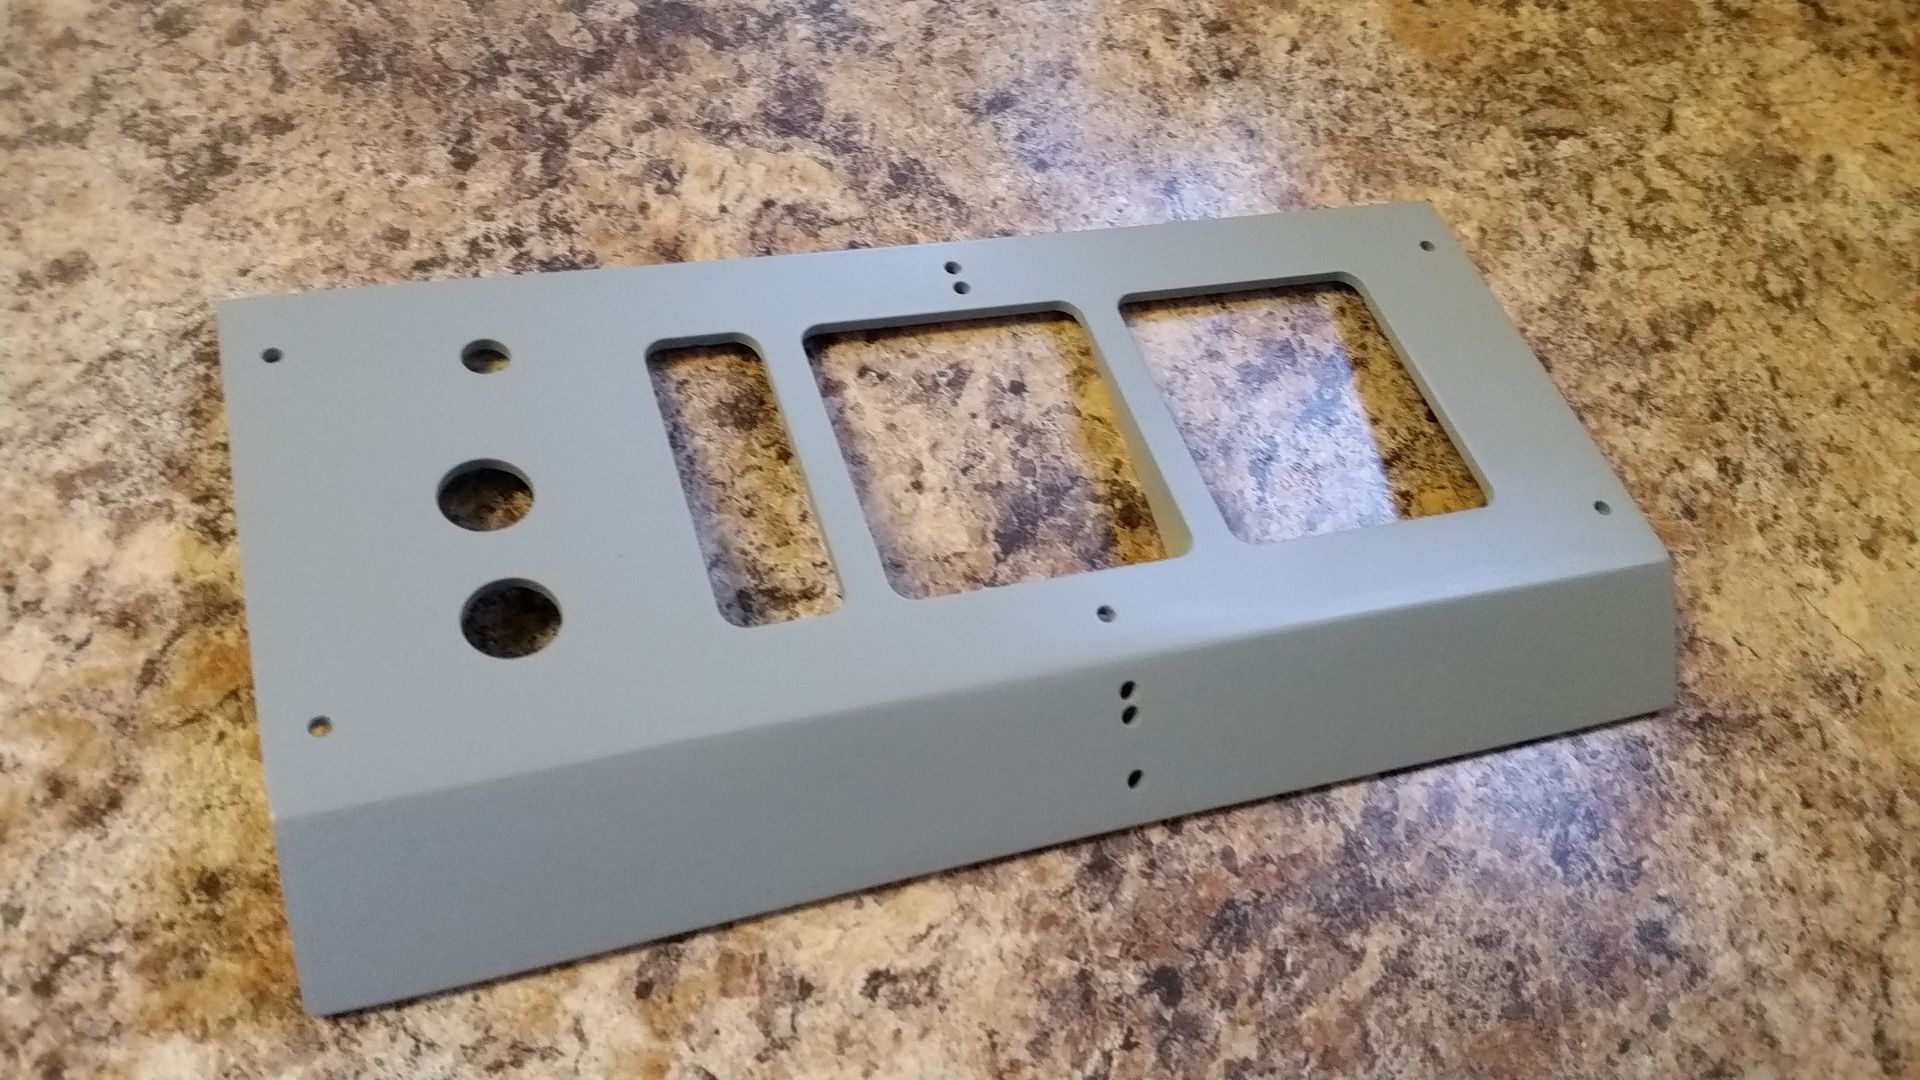
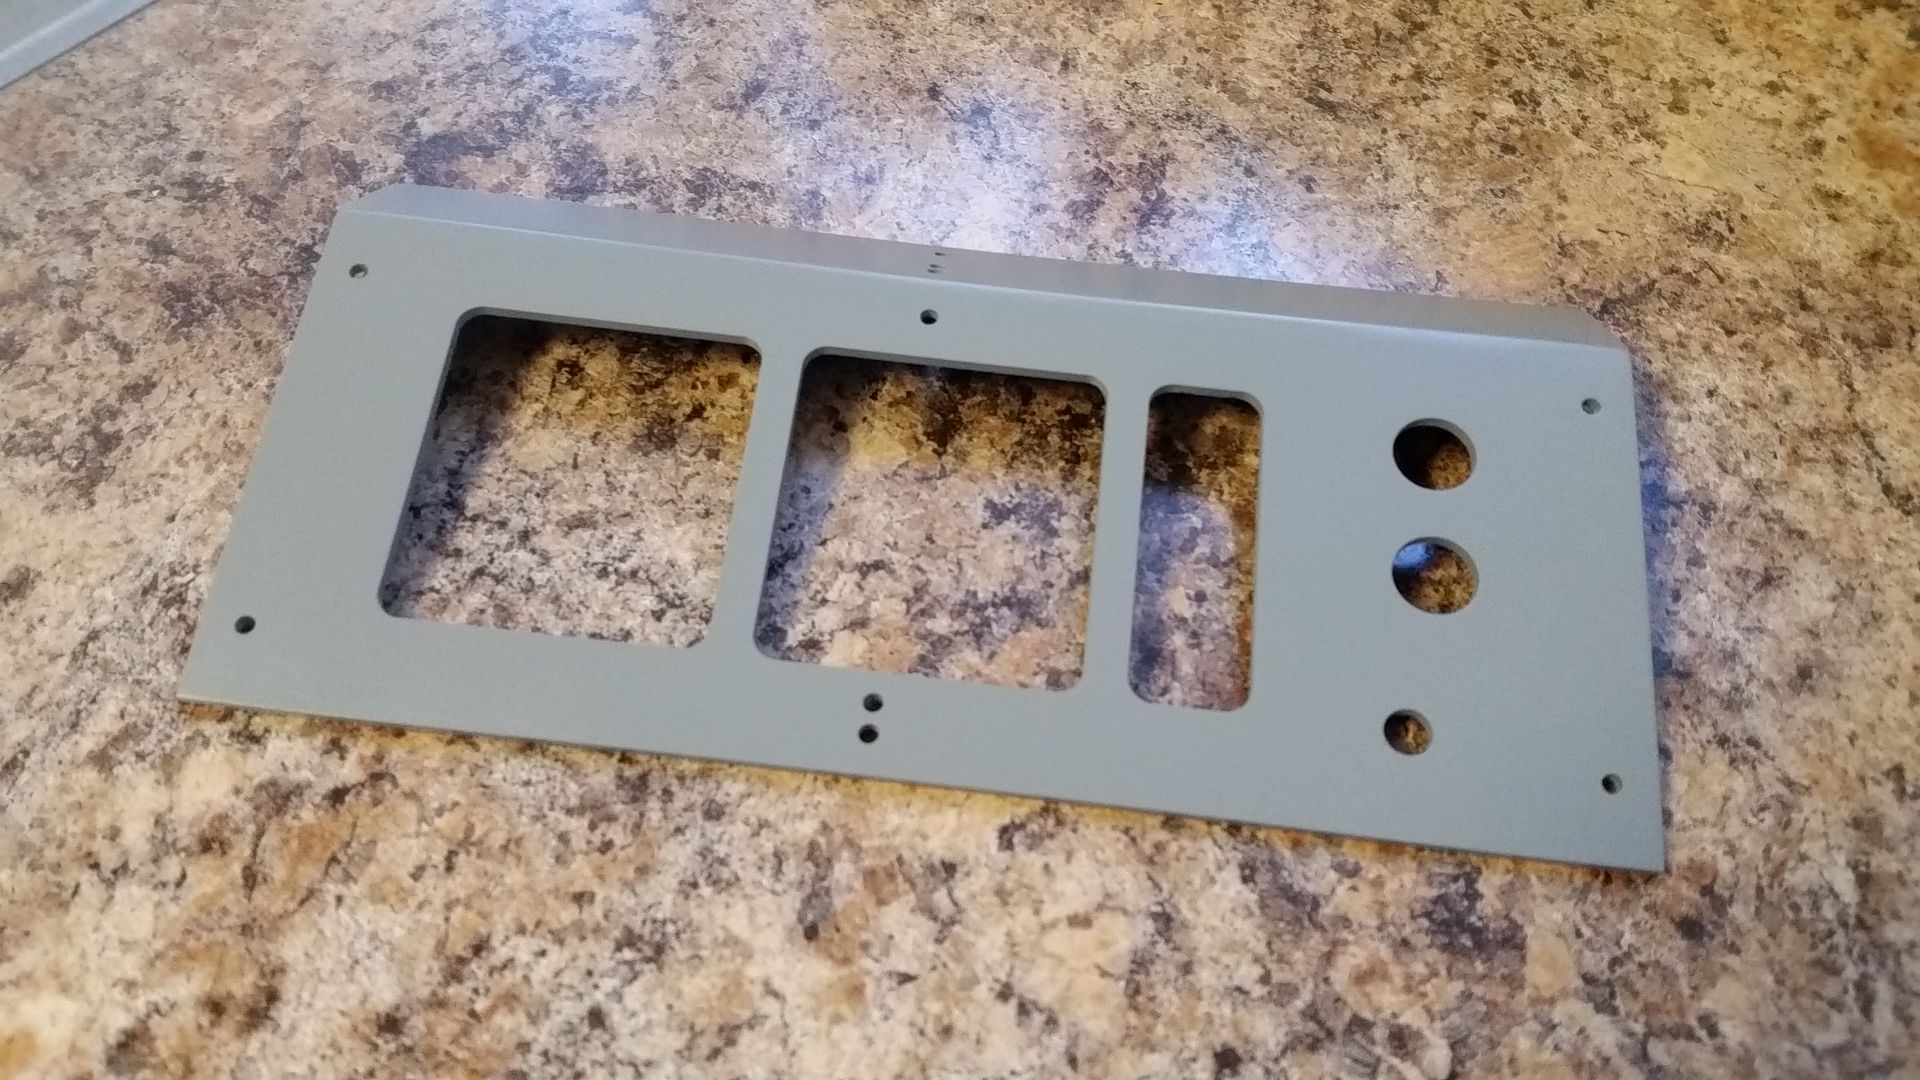
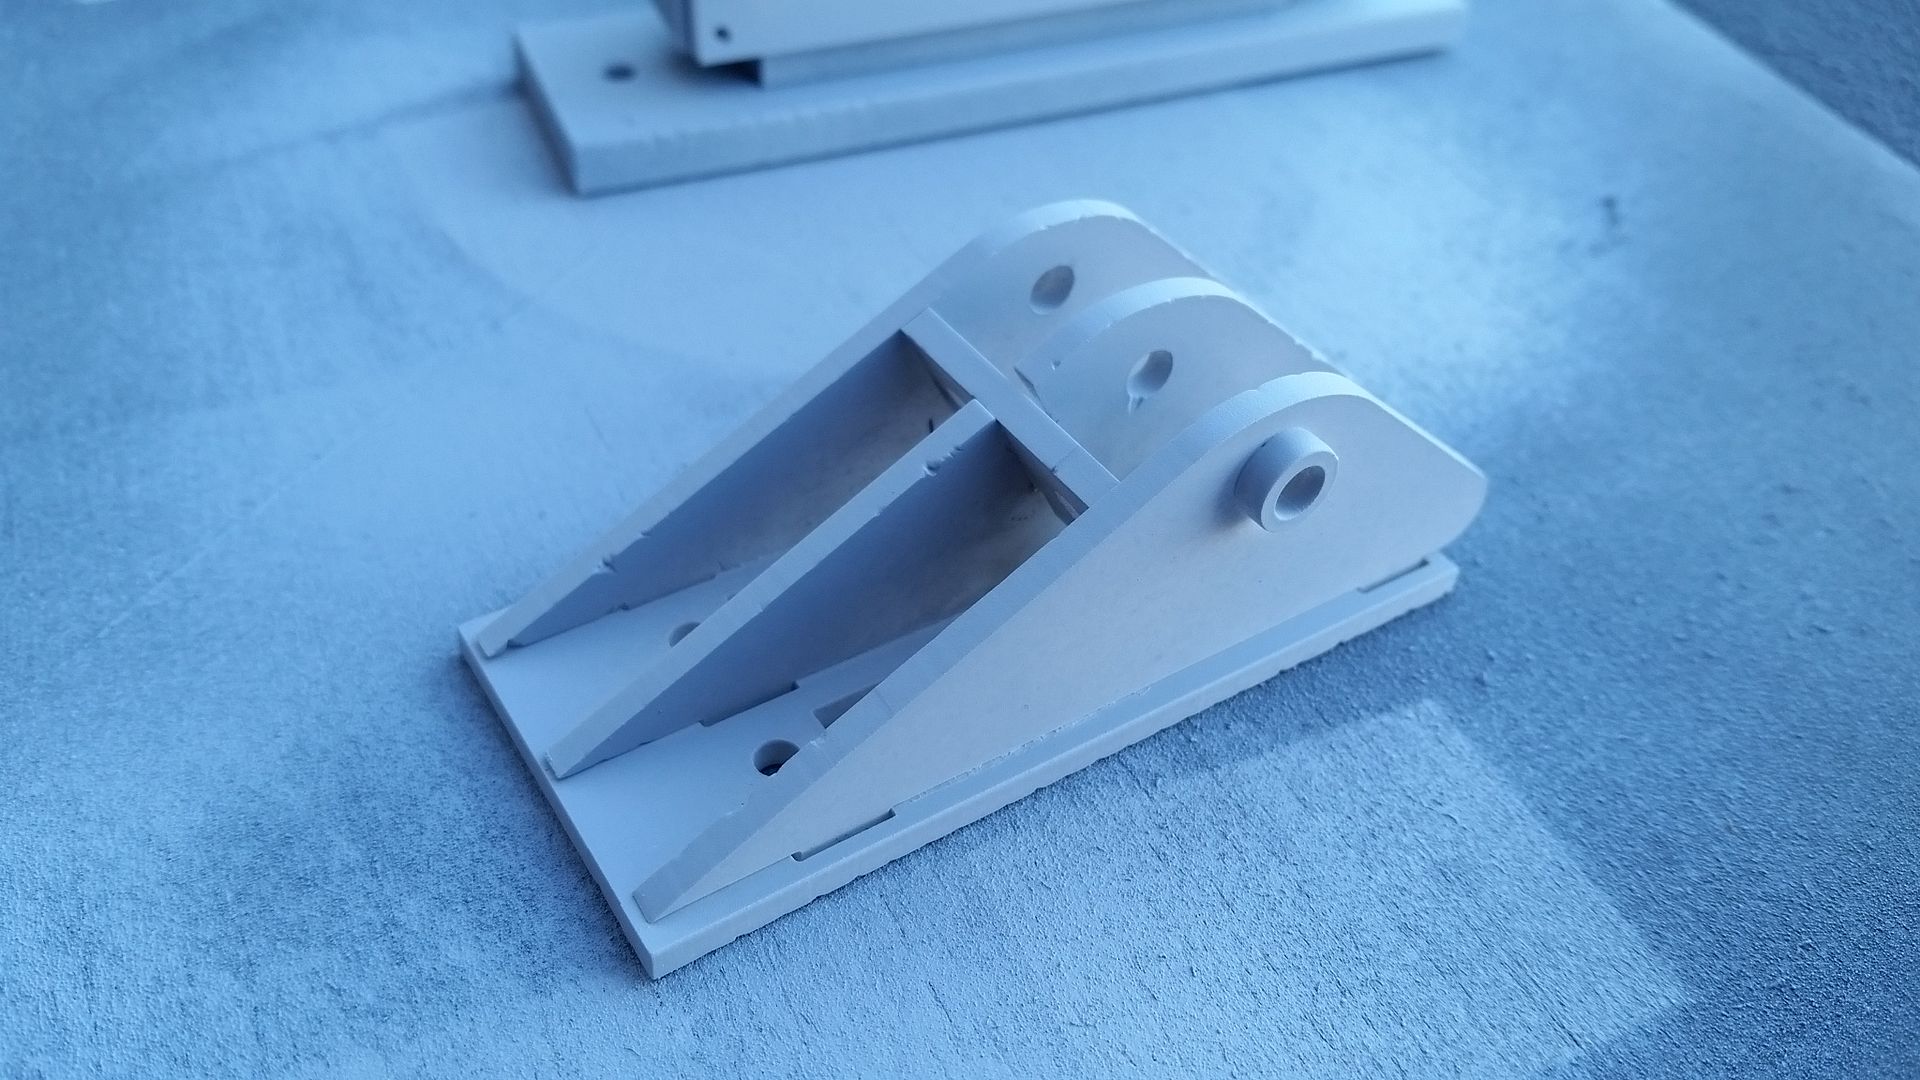
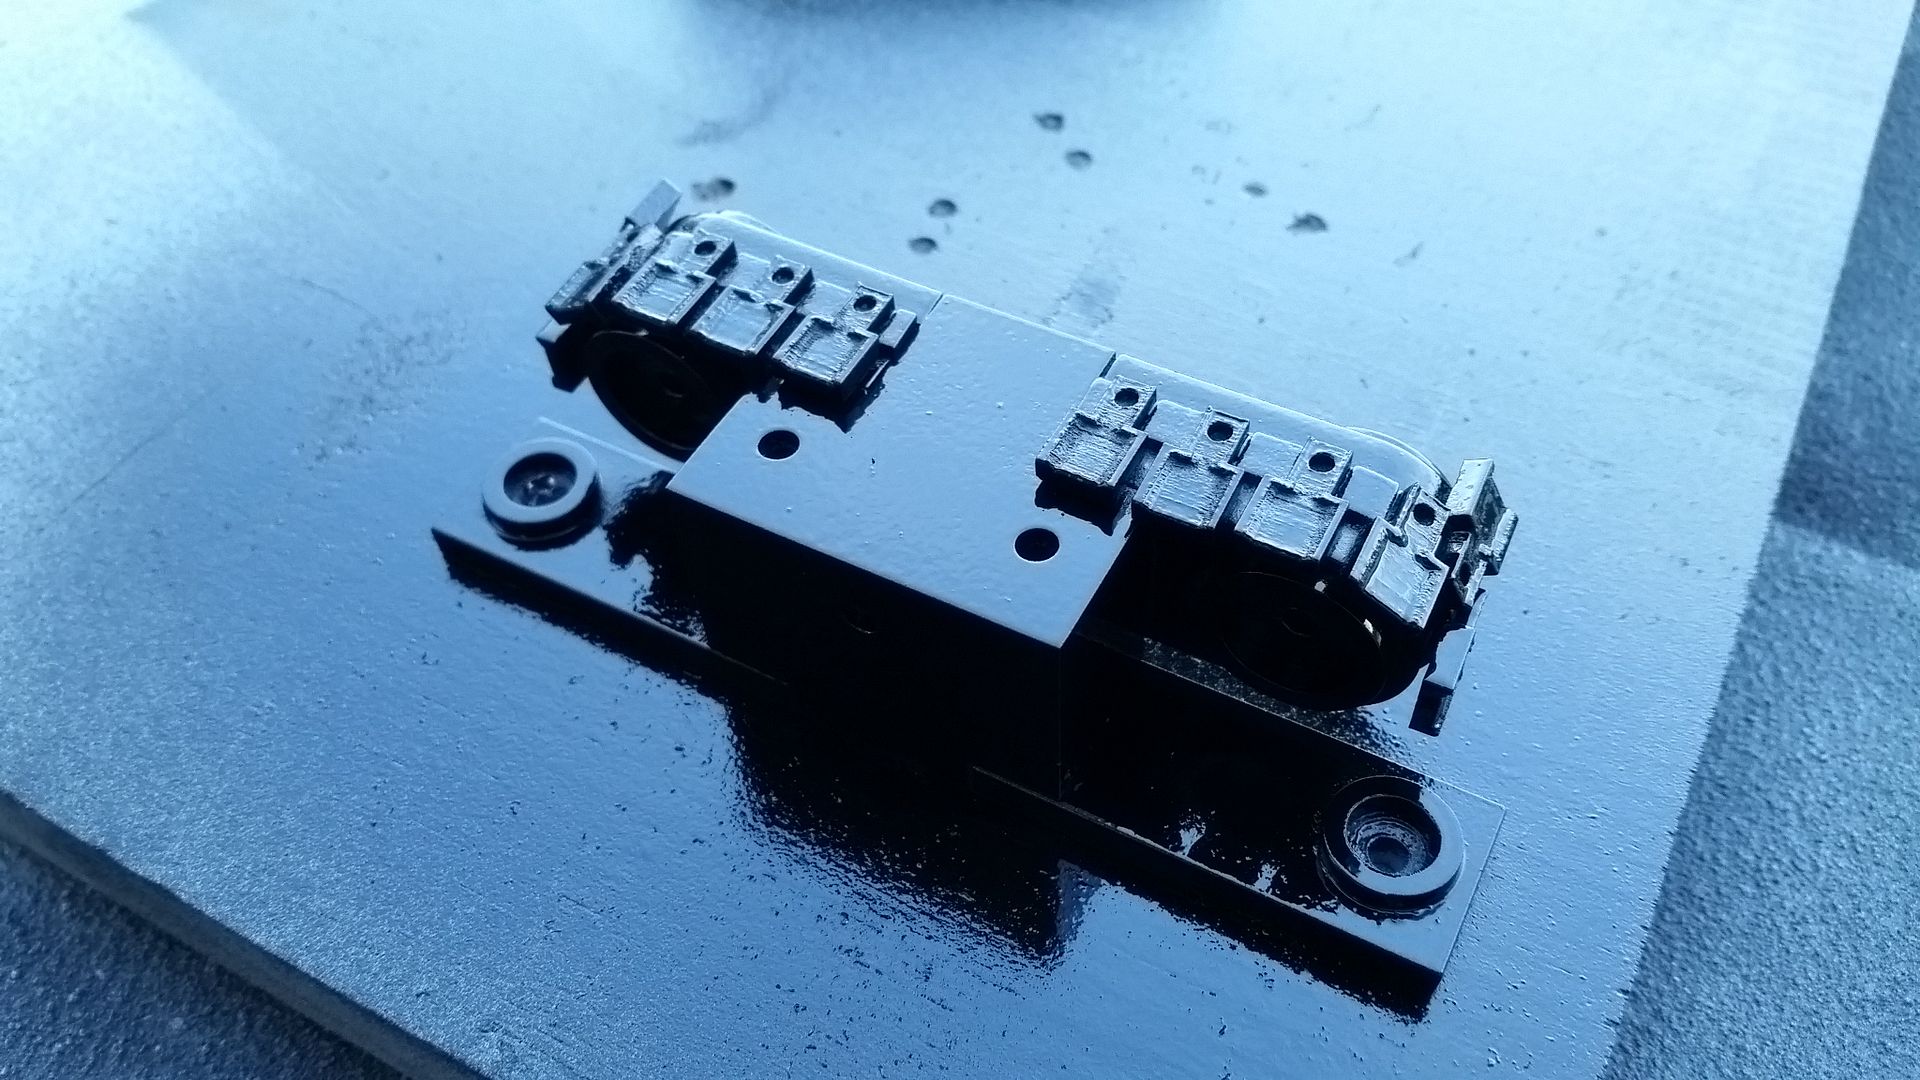
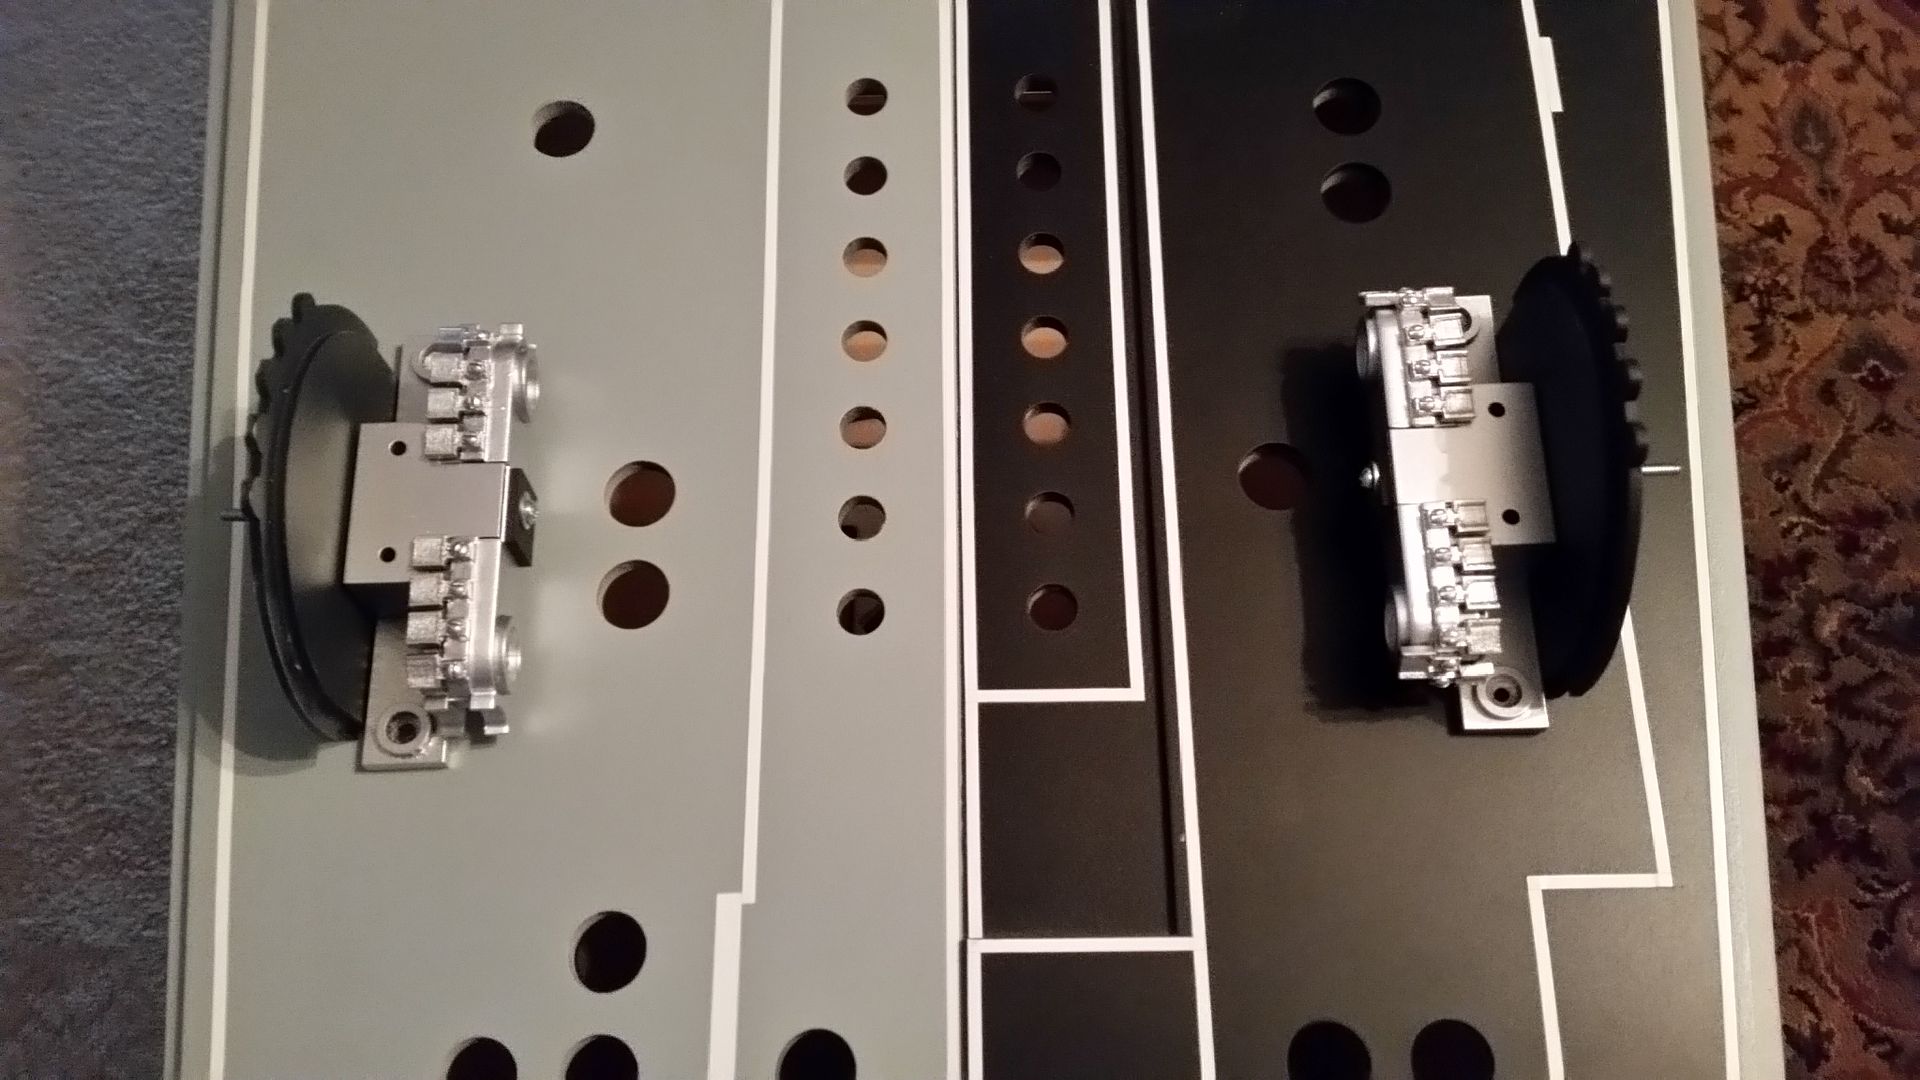
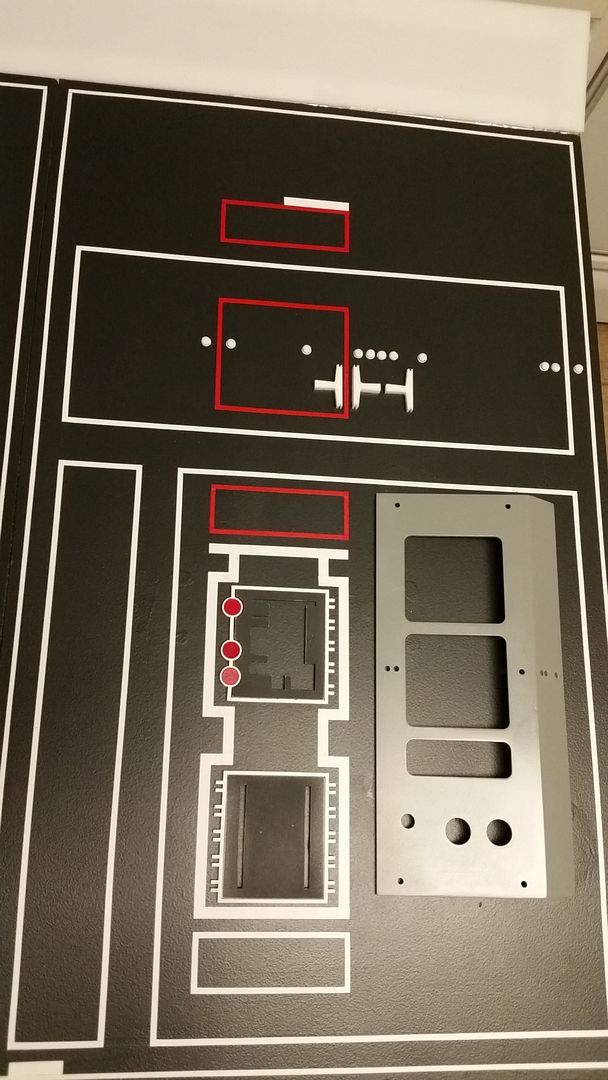
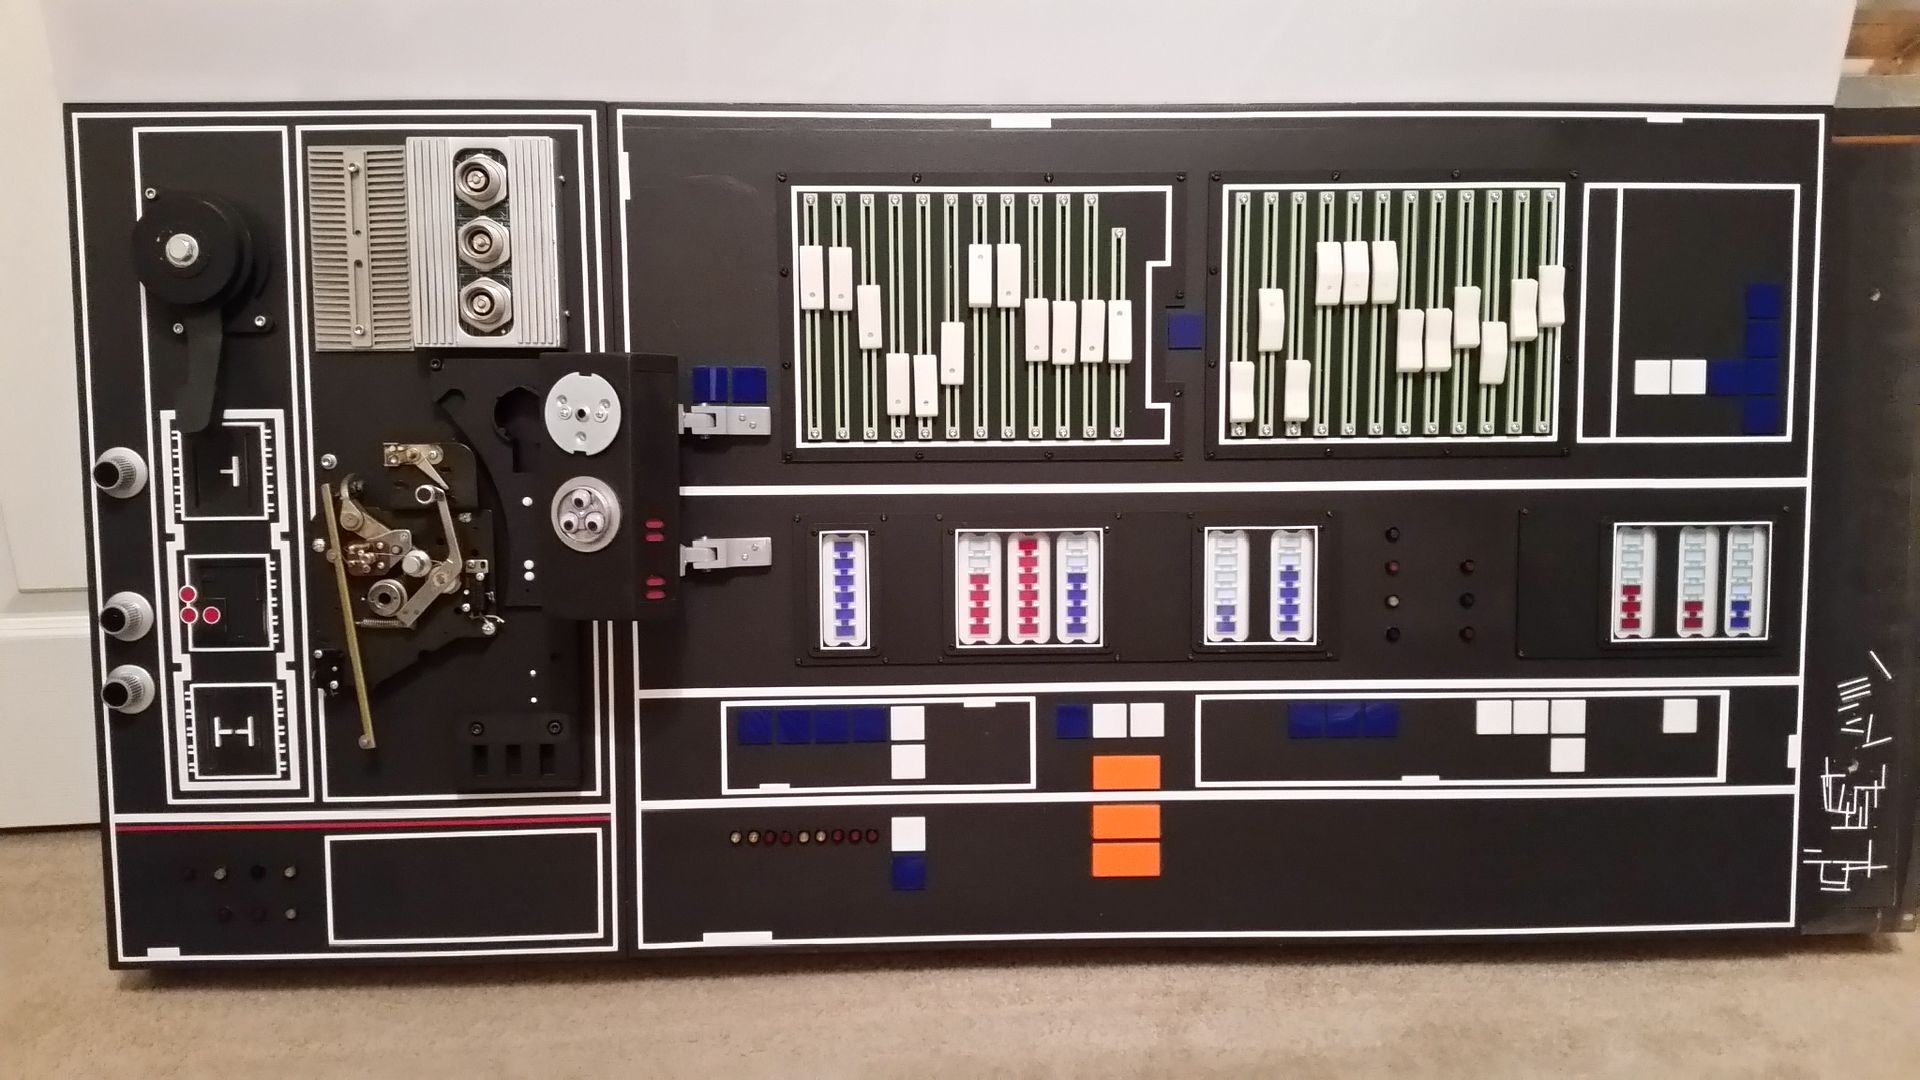
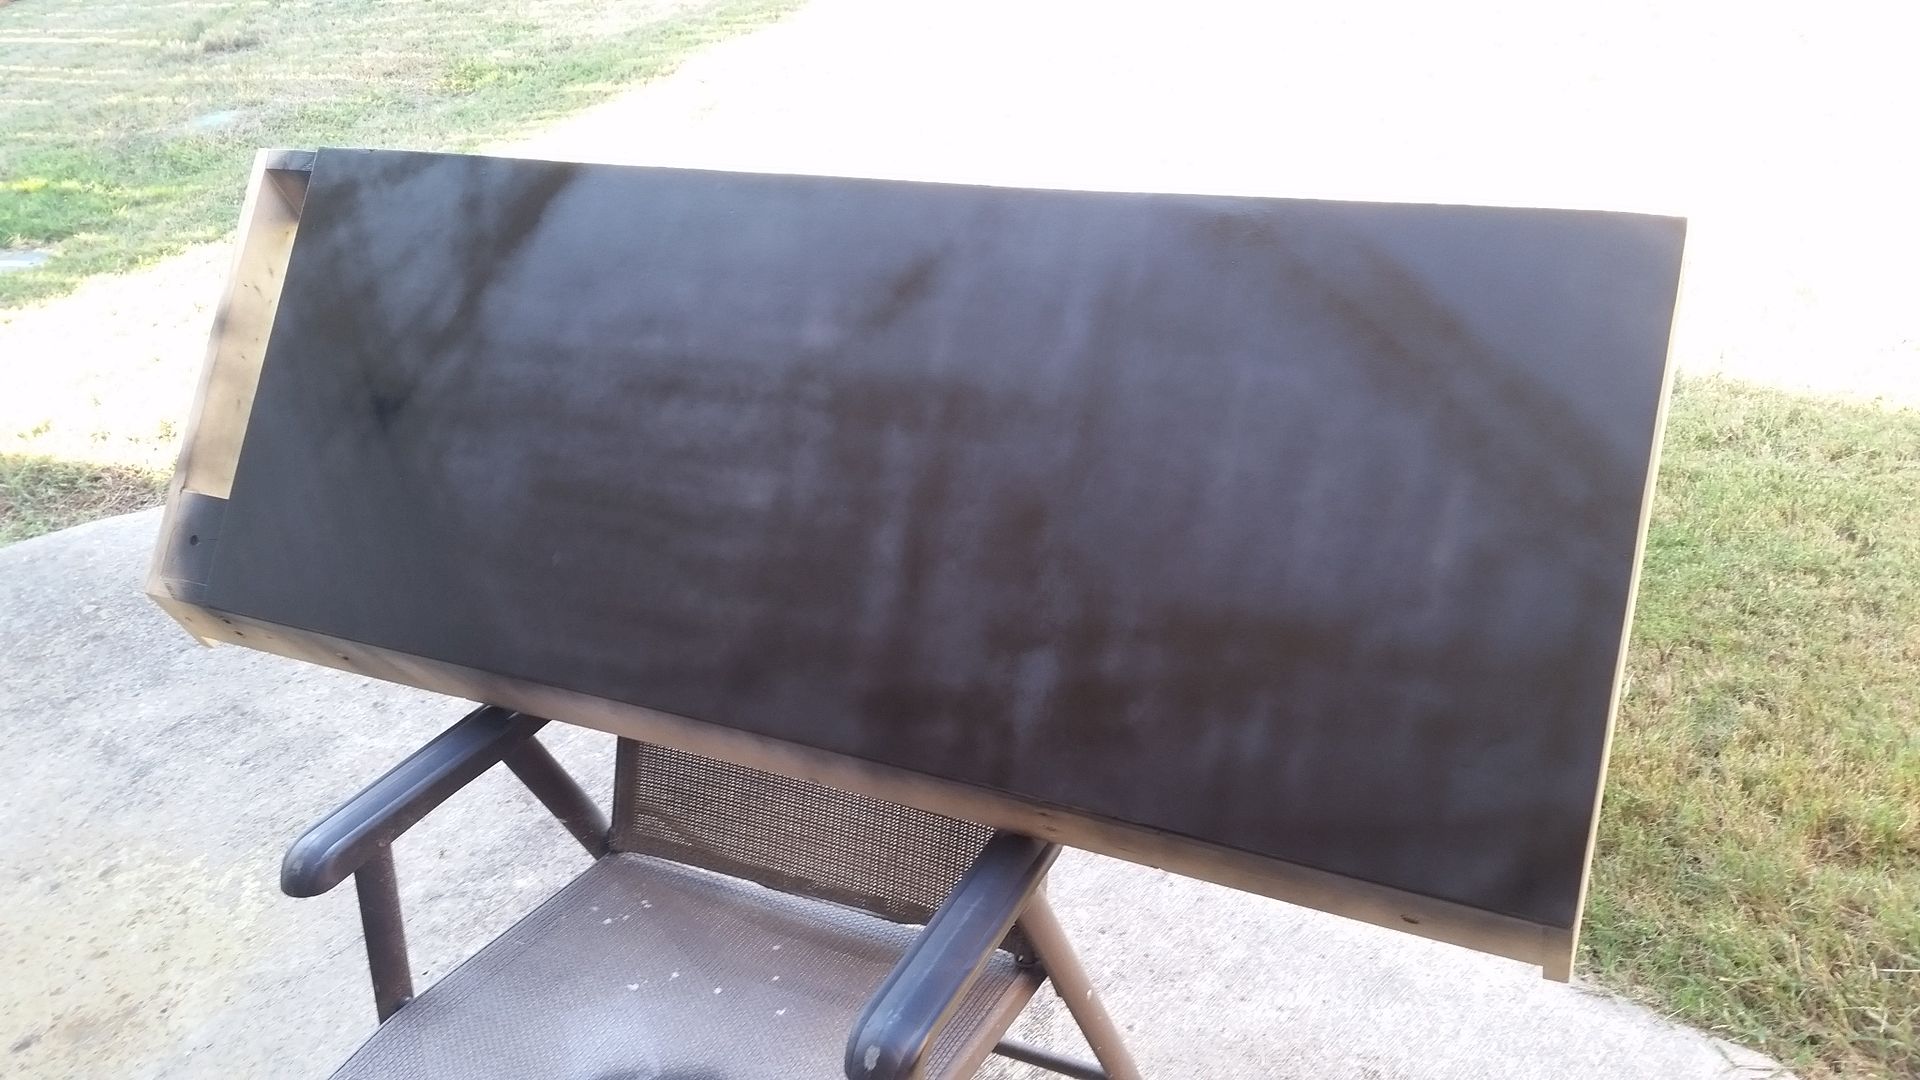
I finally got some paint on these lower panels (still have 2 more to build)

More to Follow!
Another early morning update. Well... as much as I hoped the painted dots would work, they were just too small. I looked for stencils, plain white pre-cut stickys... nothing. The wiggle eyes gave me an idea. They come in various sizes, sticky back, raised rounded edges... makes sense to me?
I sprayed some plastic primer then white paint on the wiggly eyes
Broke out the trusty ruler and simply covered the white dots
I'm very happy with the result. The paint would have more permanent... but I like the raised rounded edges.
I covered only 3 of the 5 dots on the Garrard trim piece
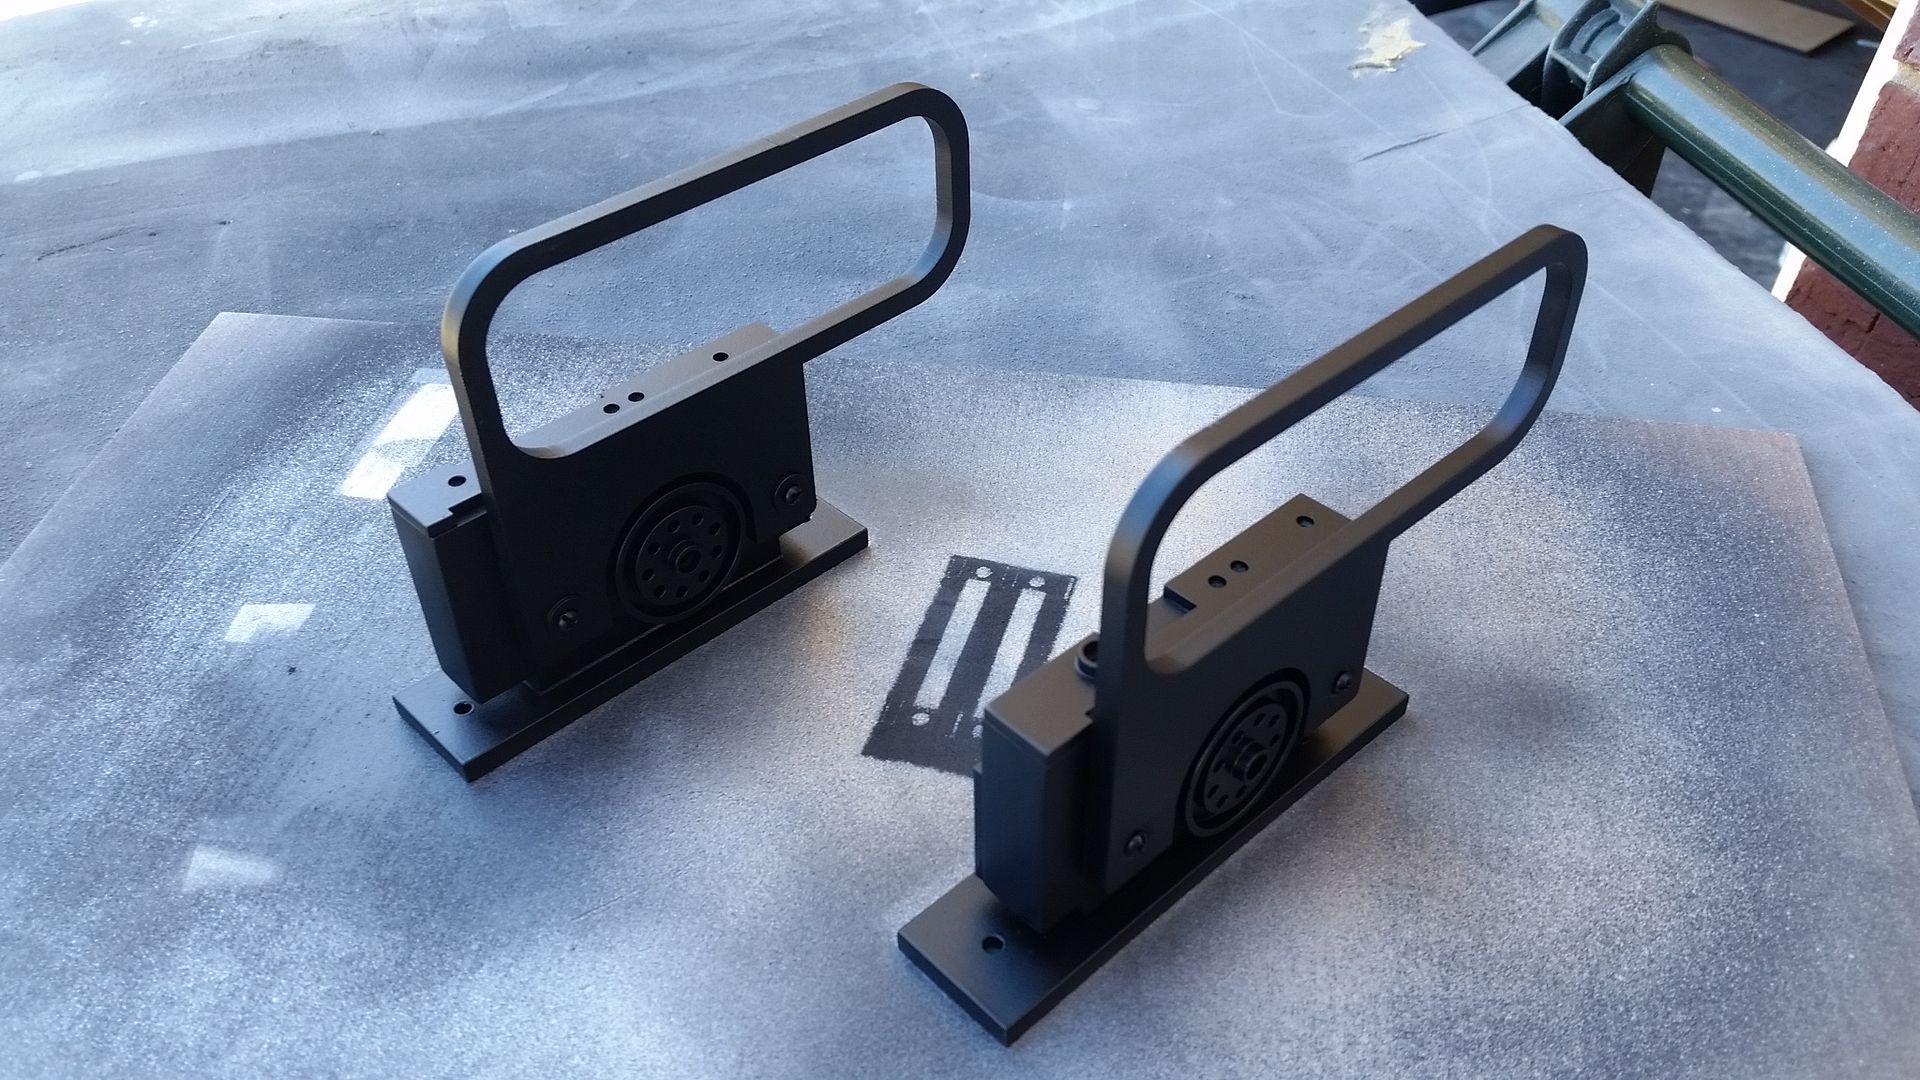
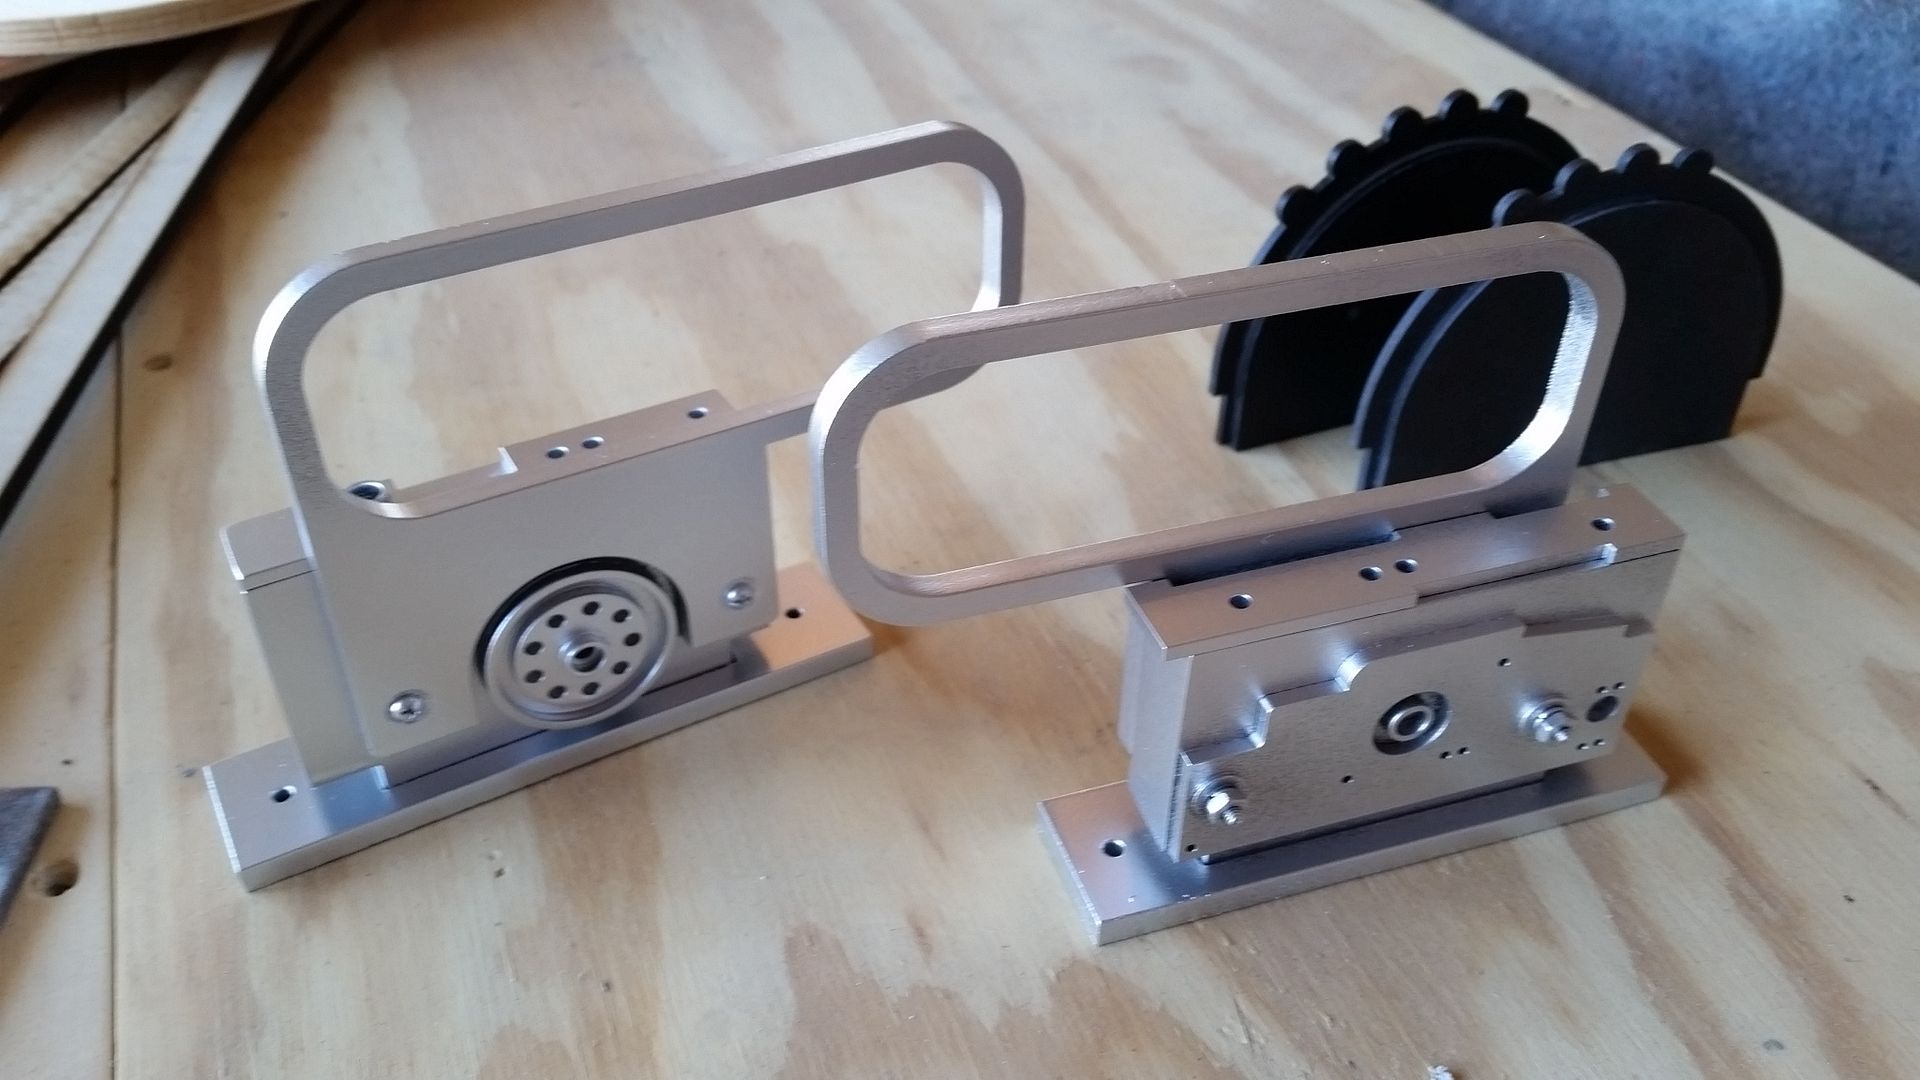
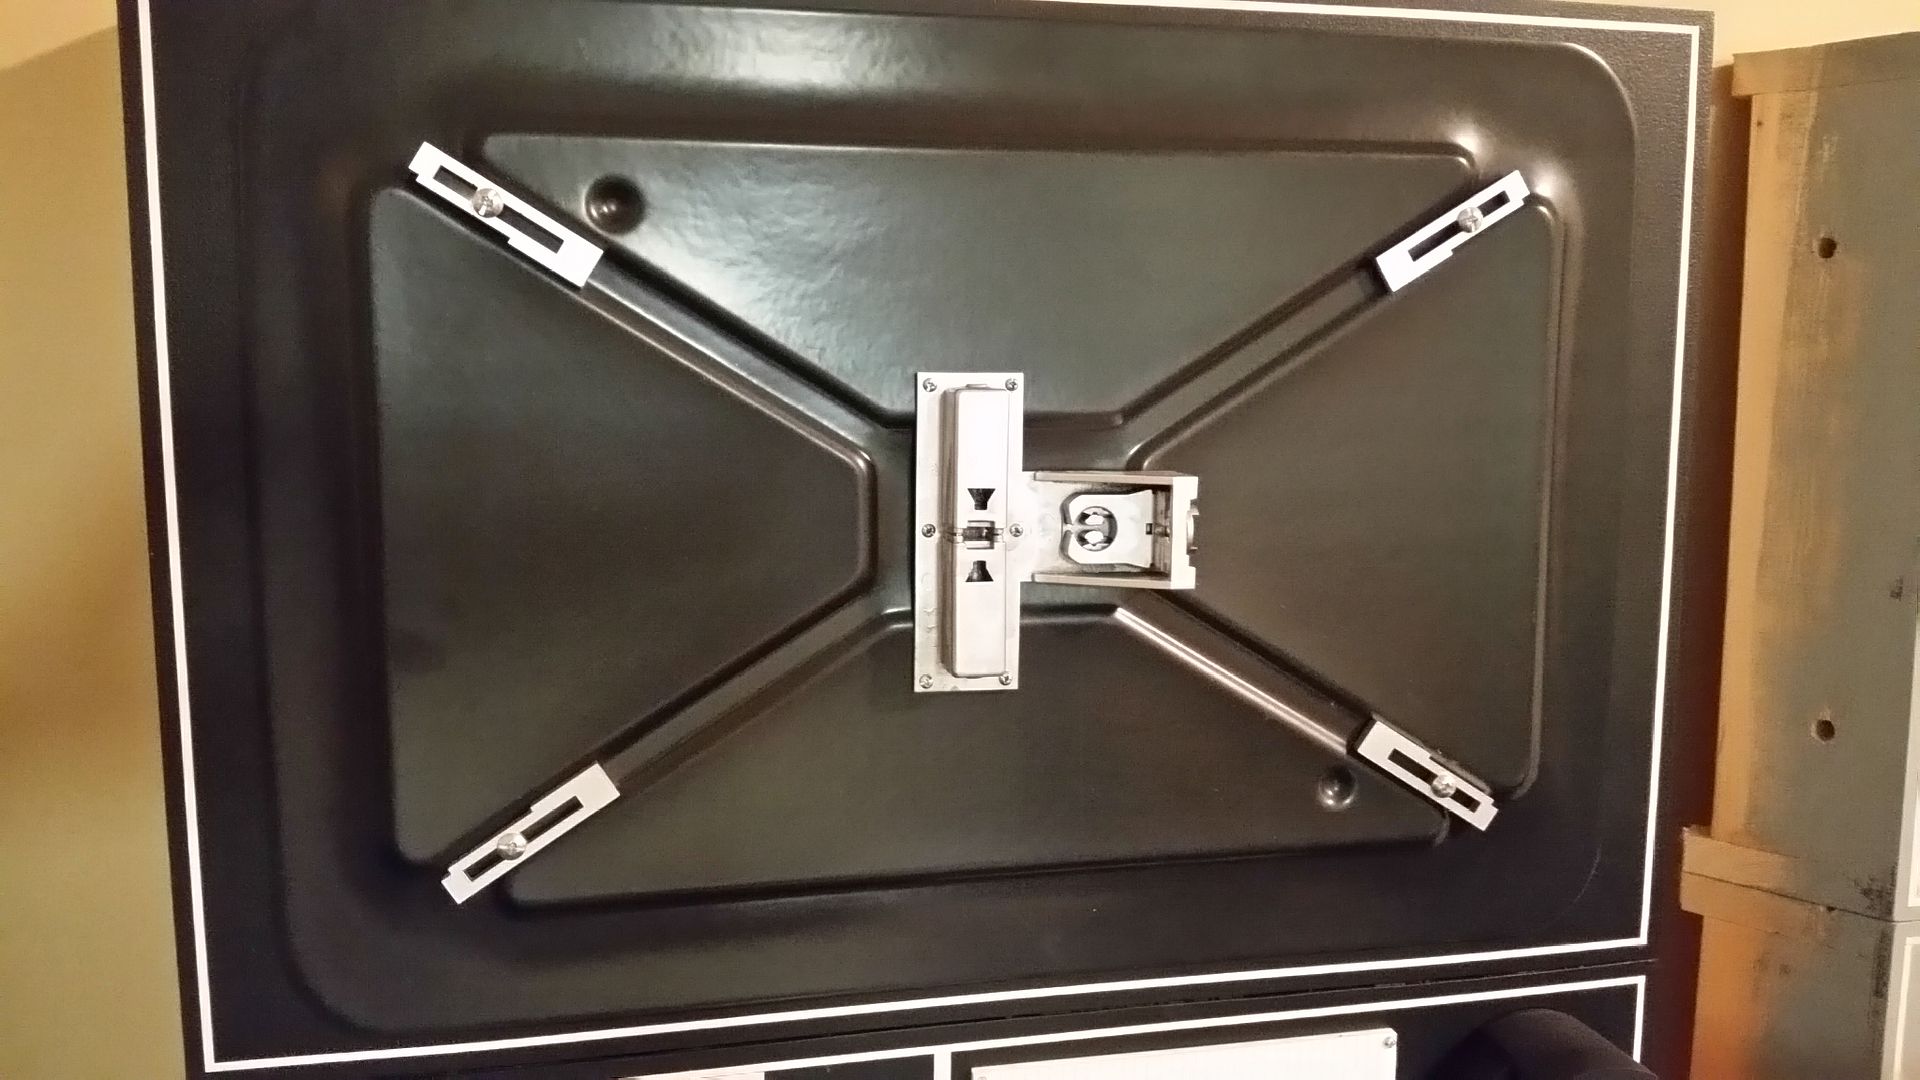
With the silver paint finally dry I attached the corner greeblies to the ext panel covers
Added the T knobs to this panel
I finally got some paint on these lower panels (still have 2 more to build)
More to Follow!
")