Hi Gang,
GREAT DAY at the Lab!
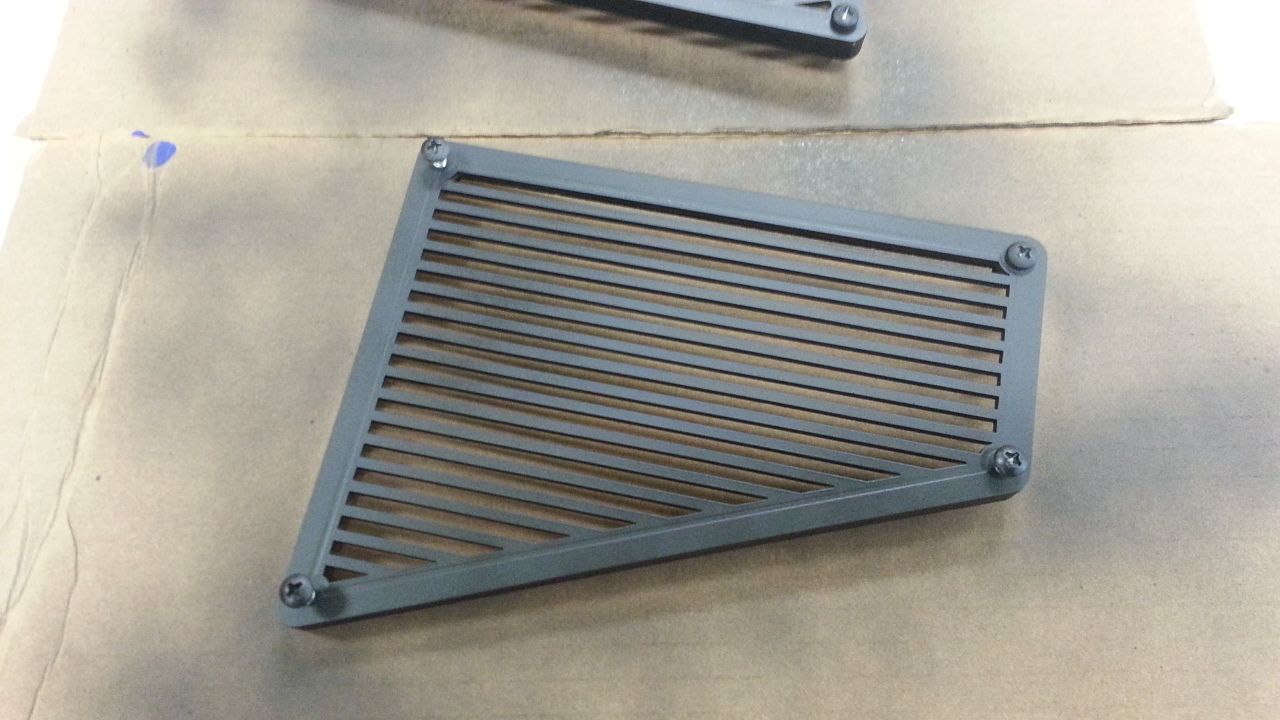
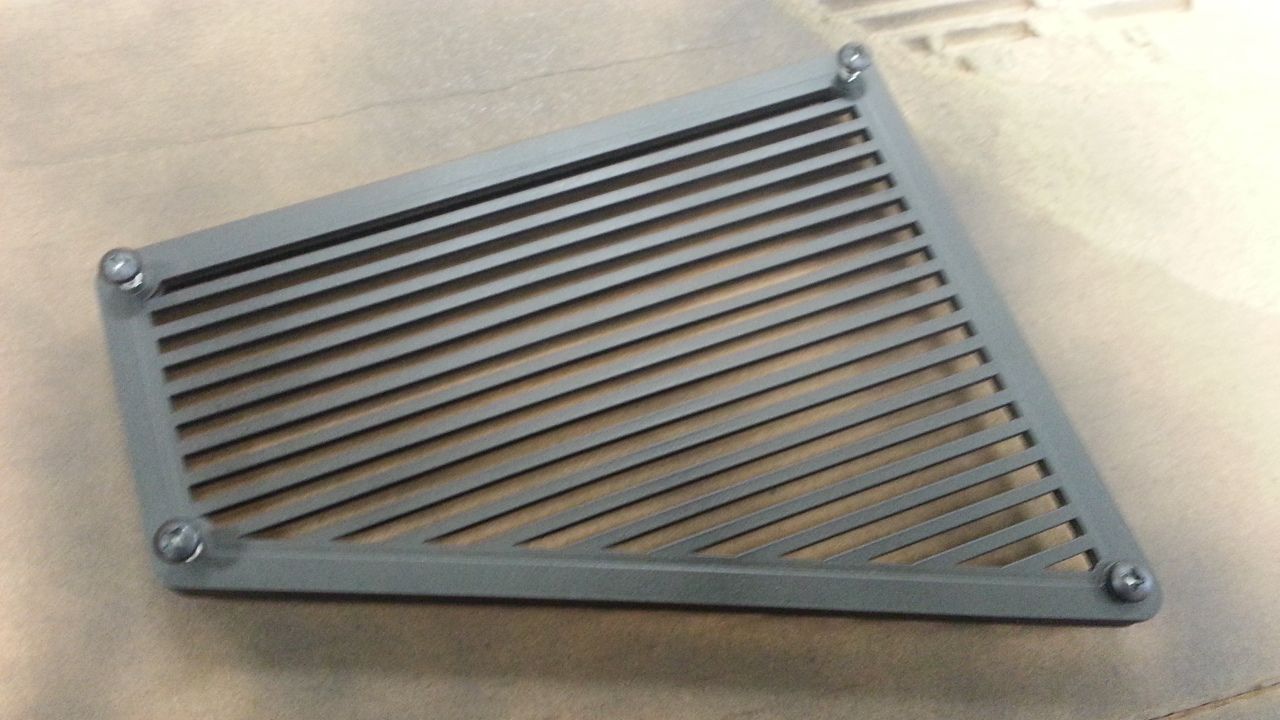
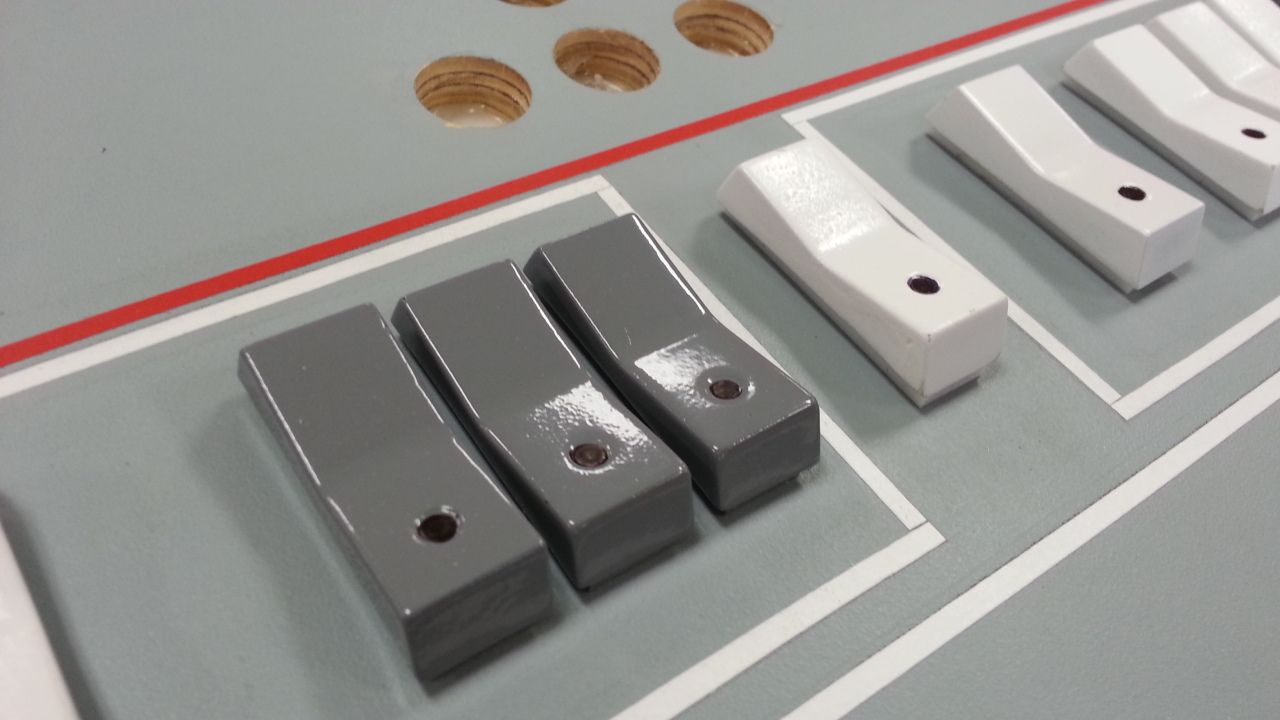
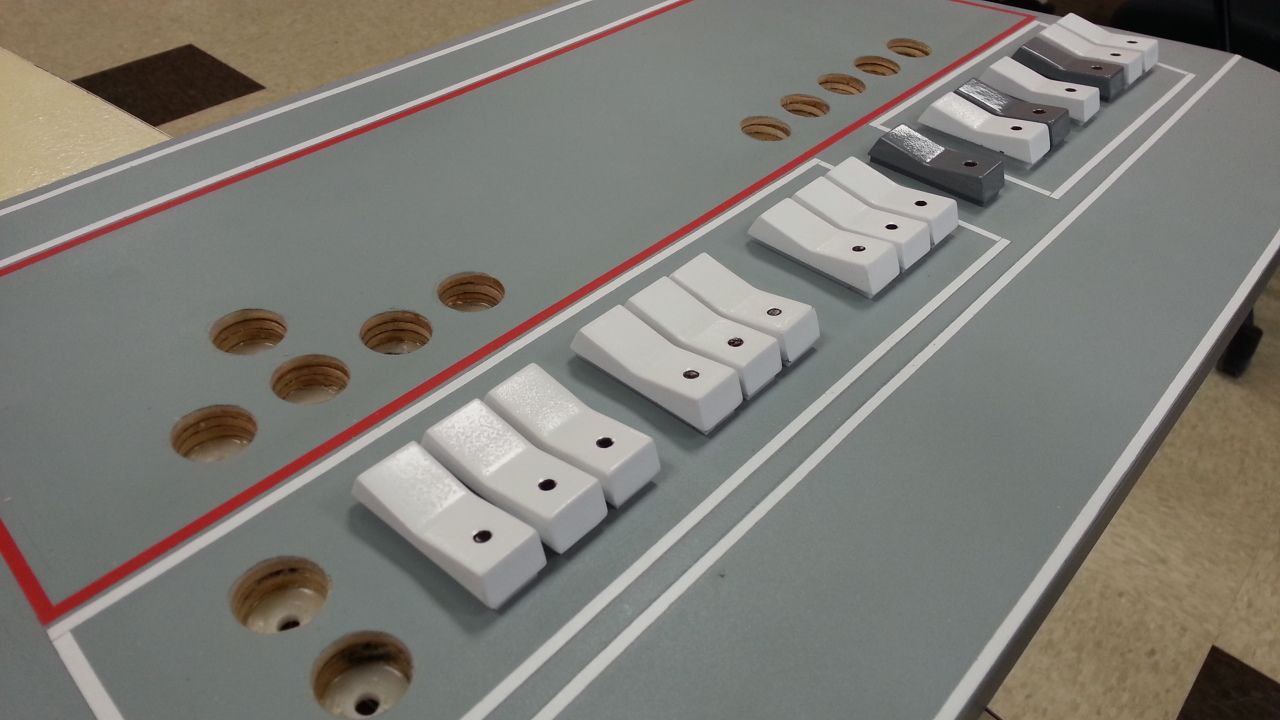
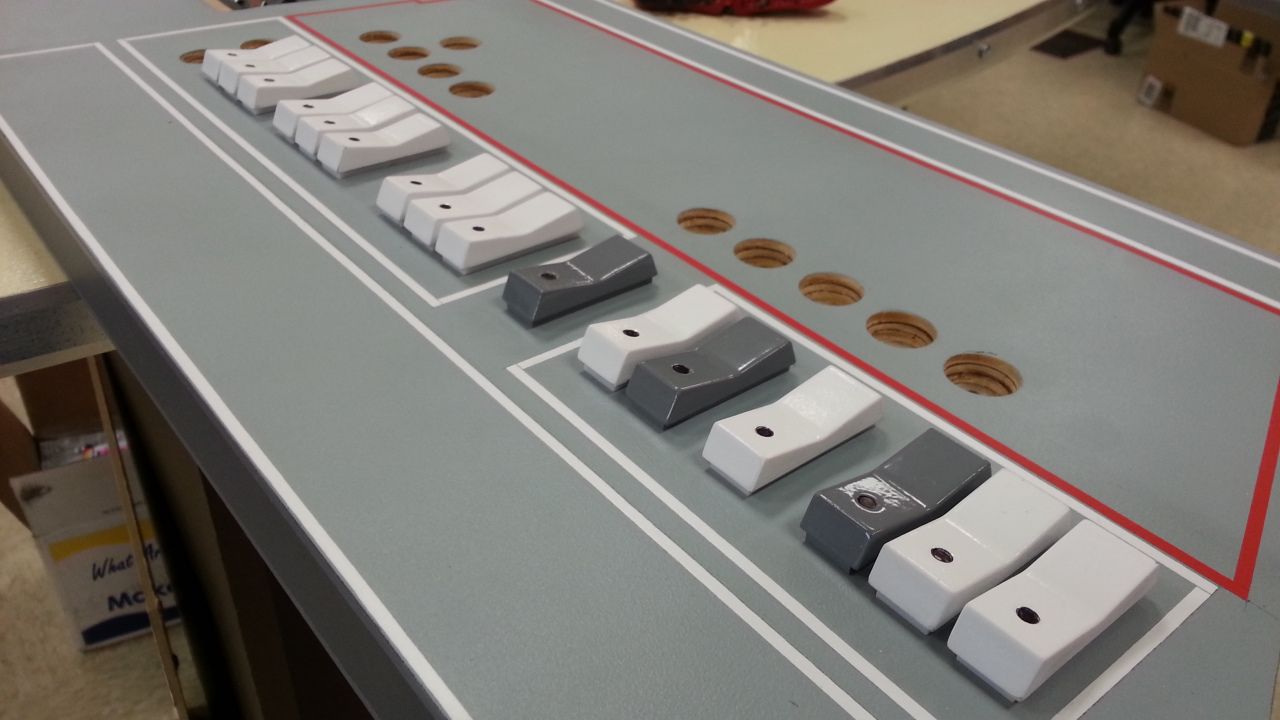
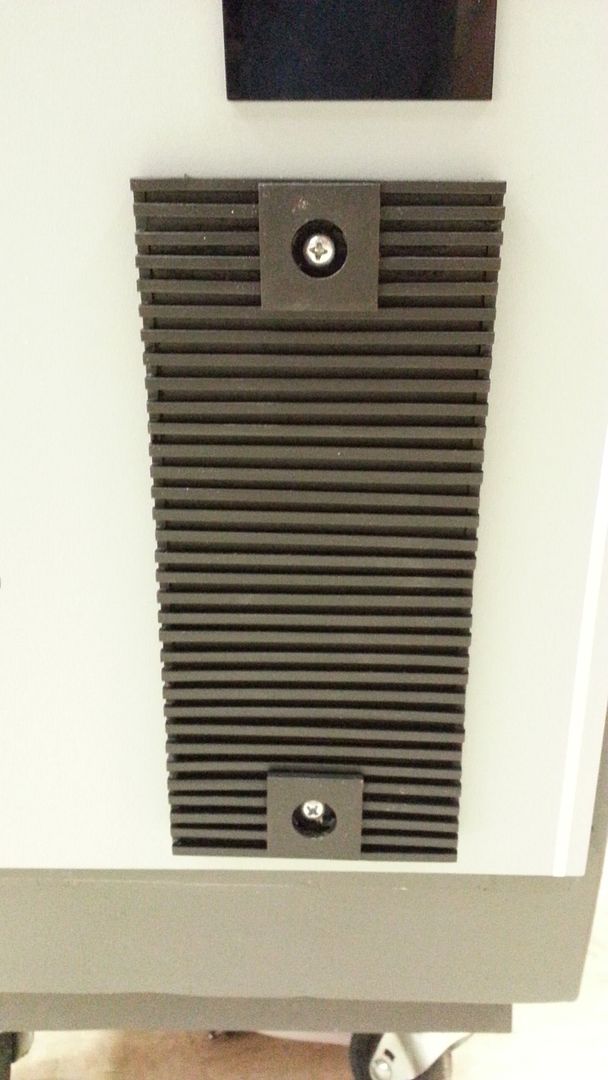
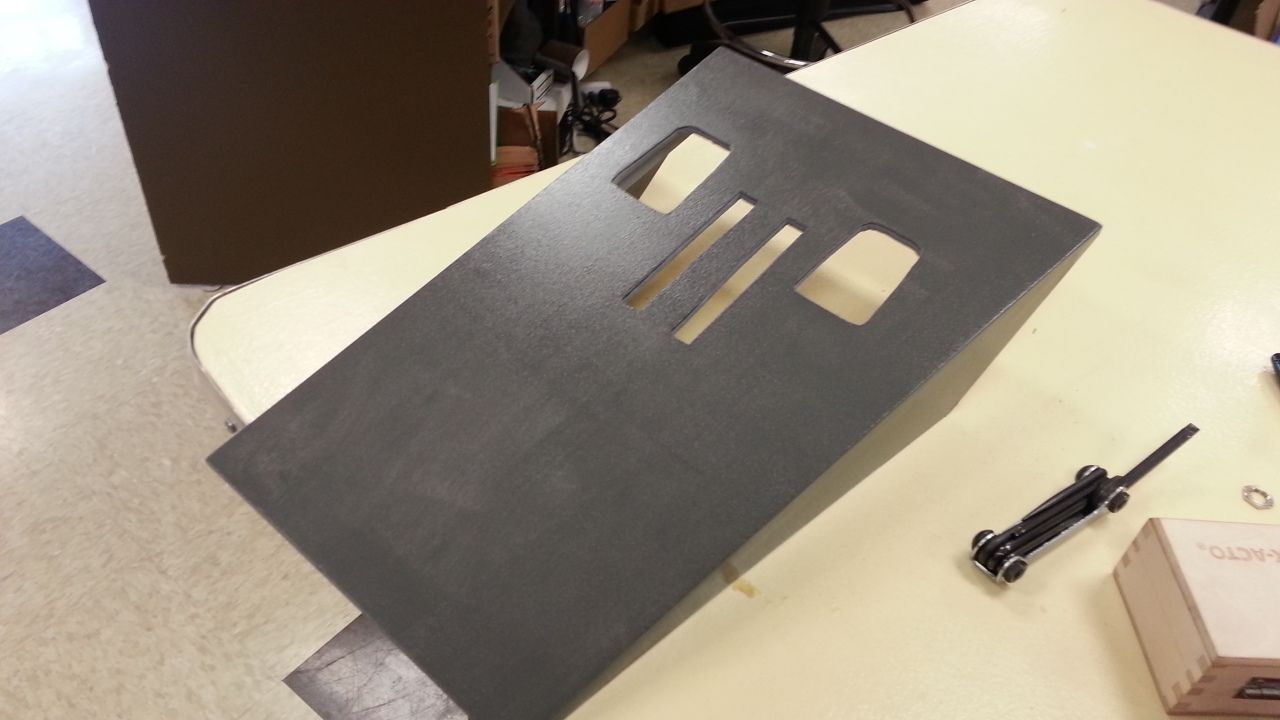
Finished up the front vents
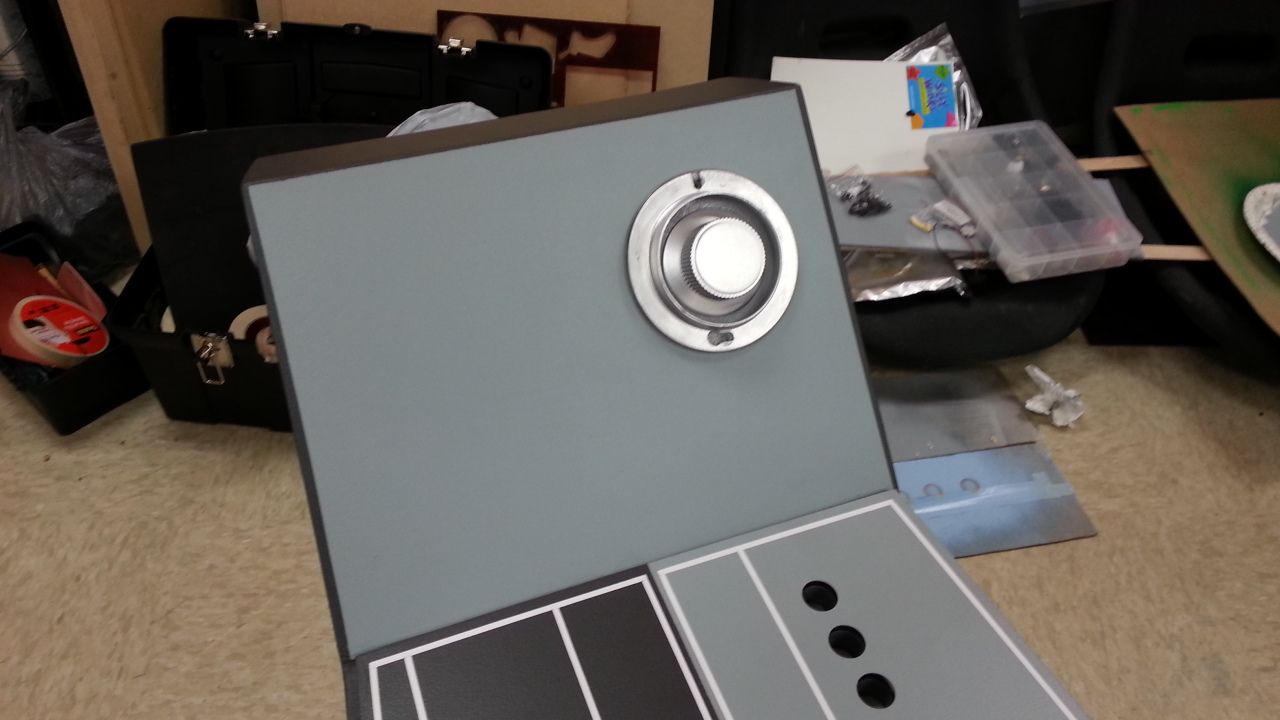
I was given the green light to go ahead and attach the rockers back to the console

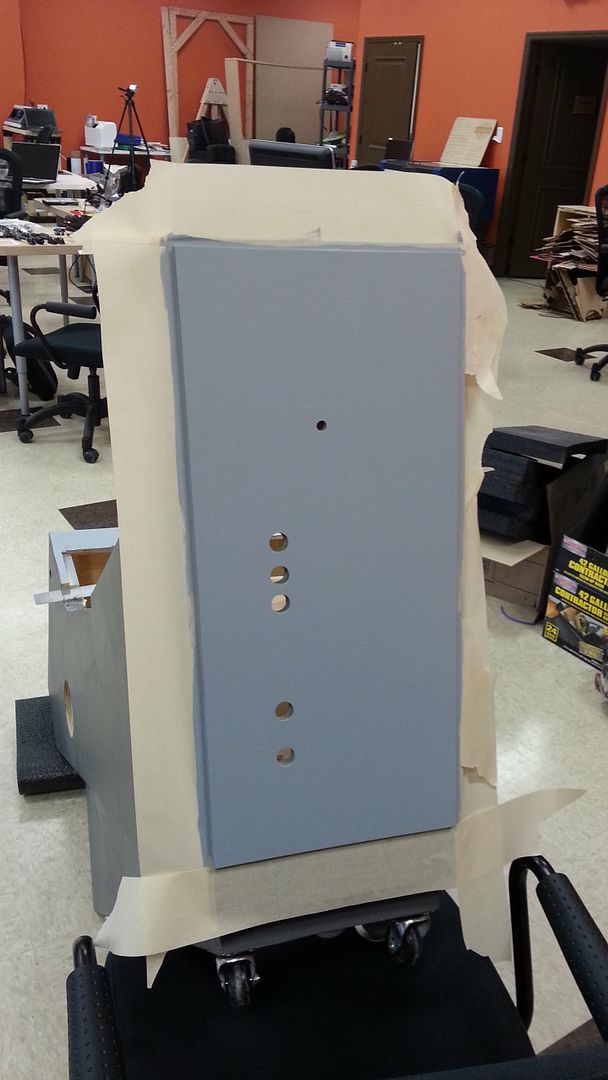
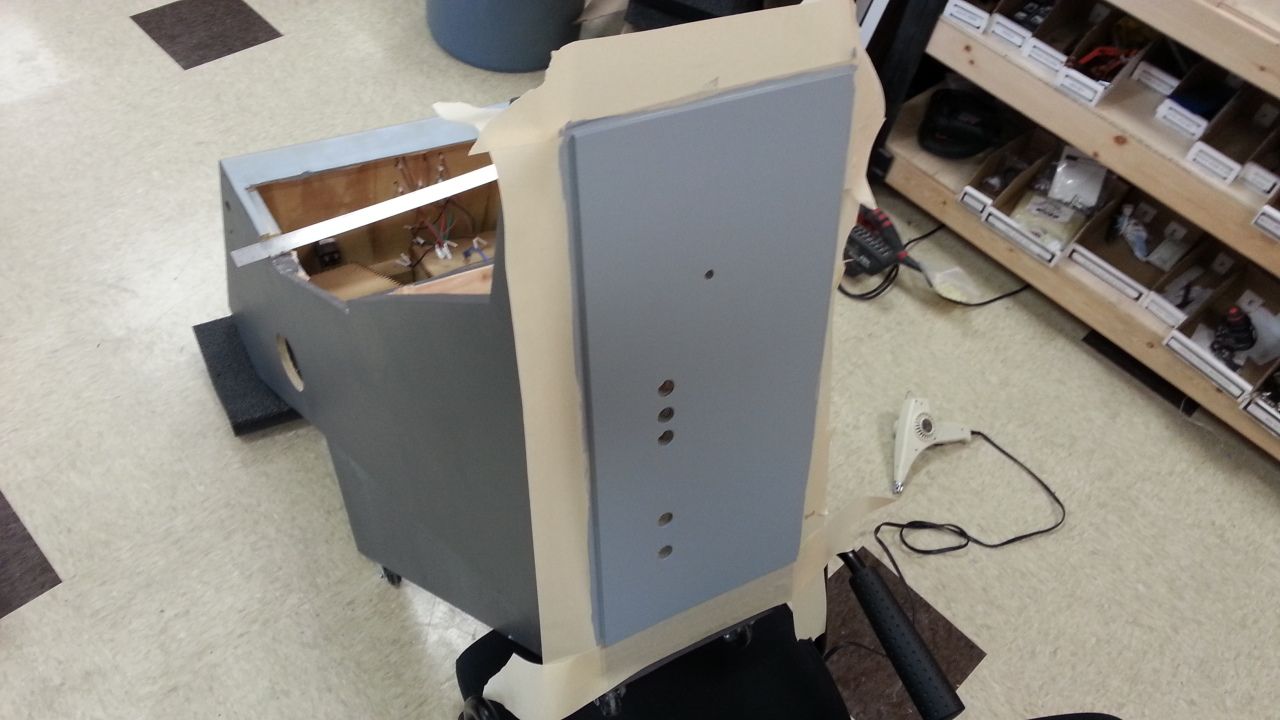
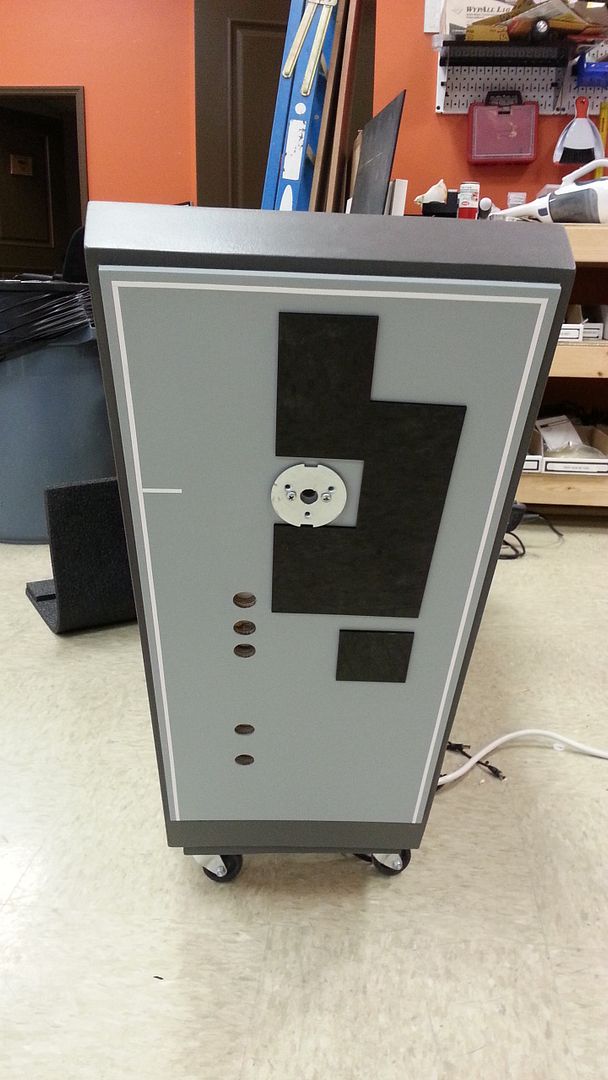
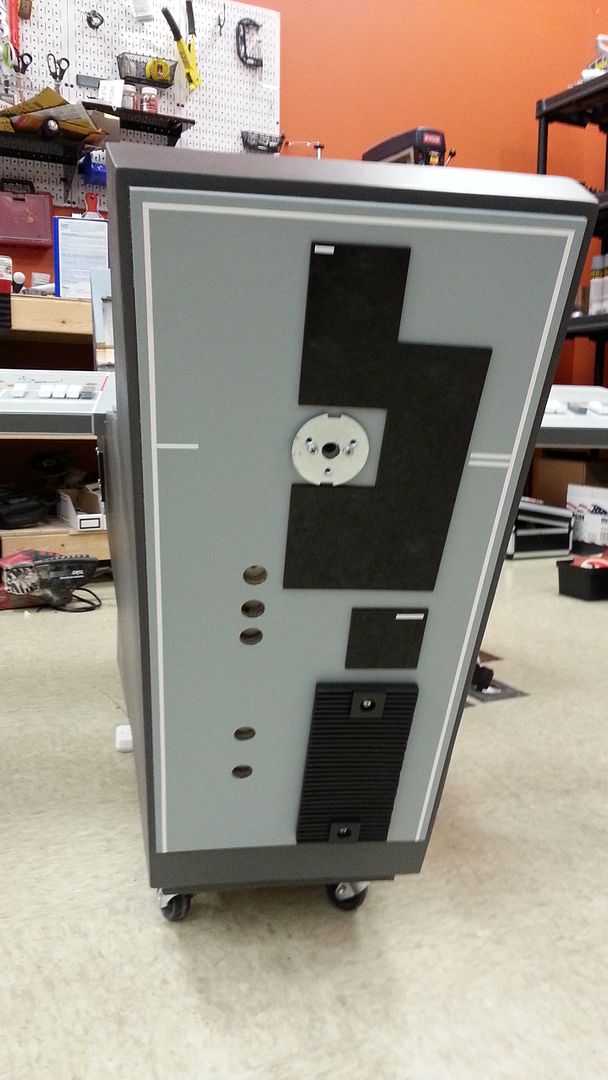
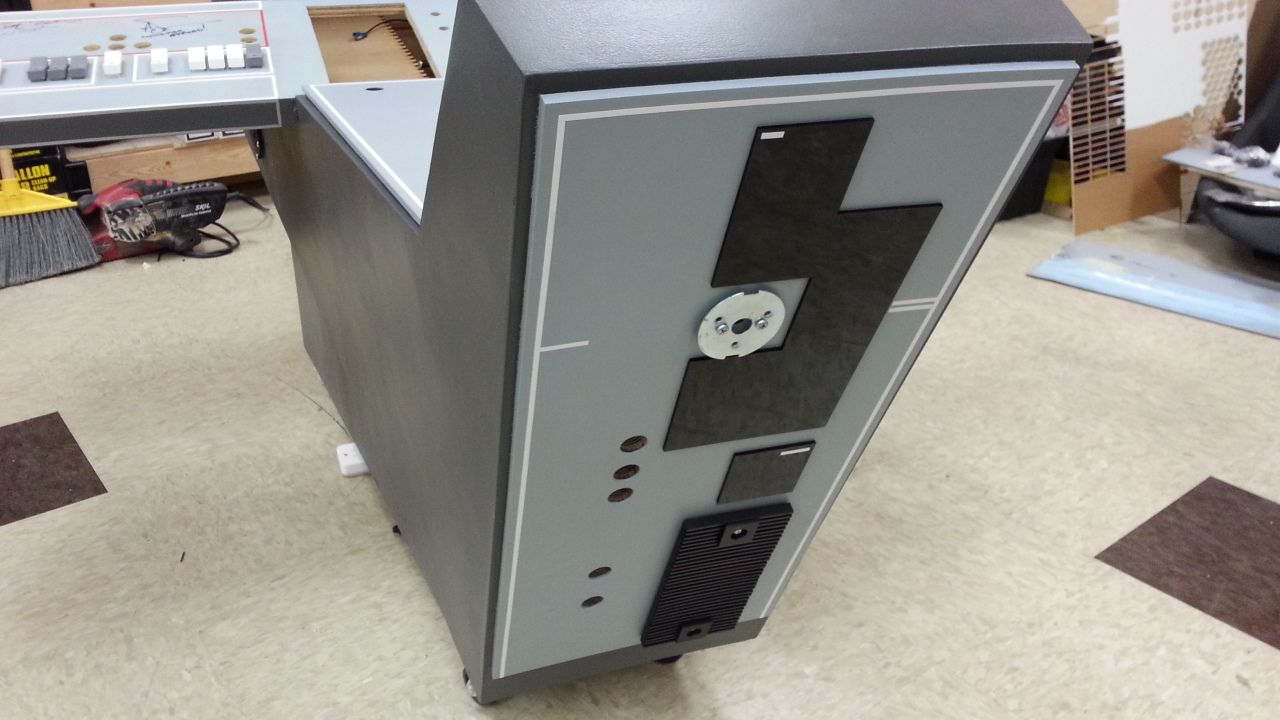
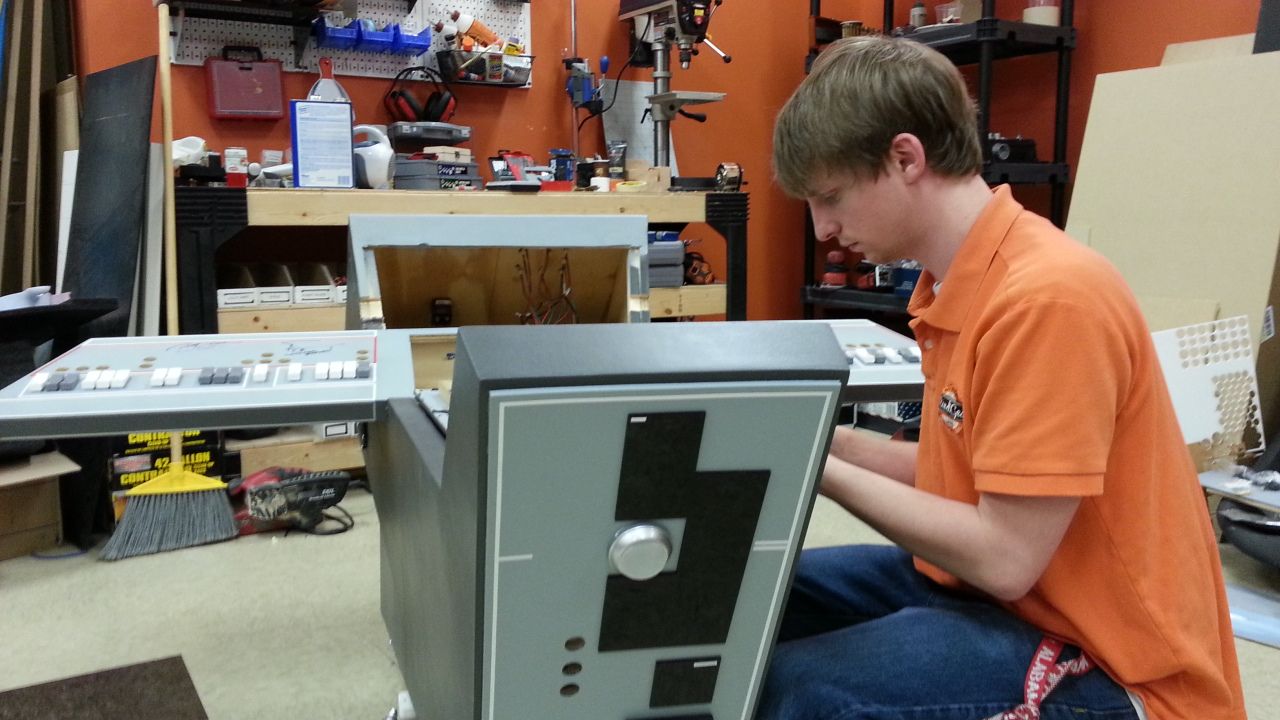
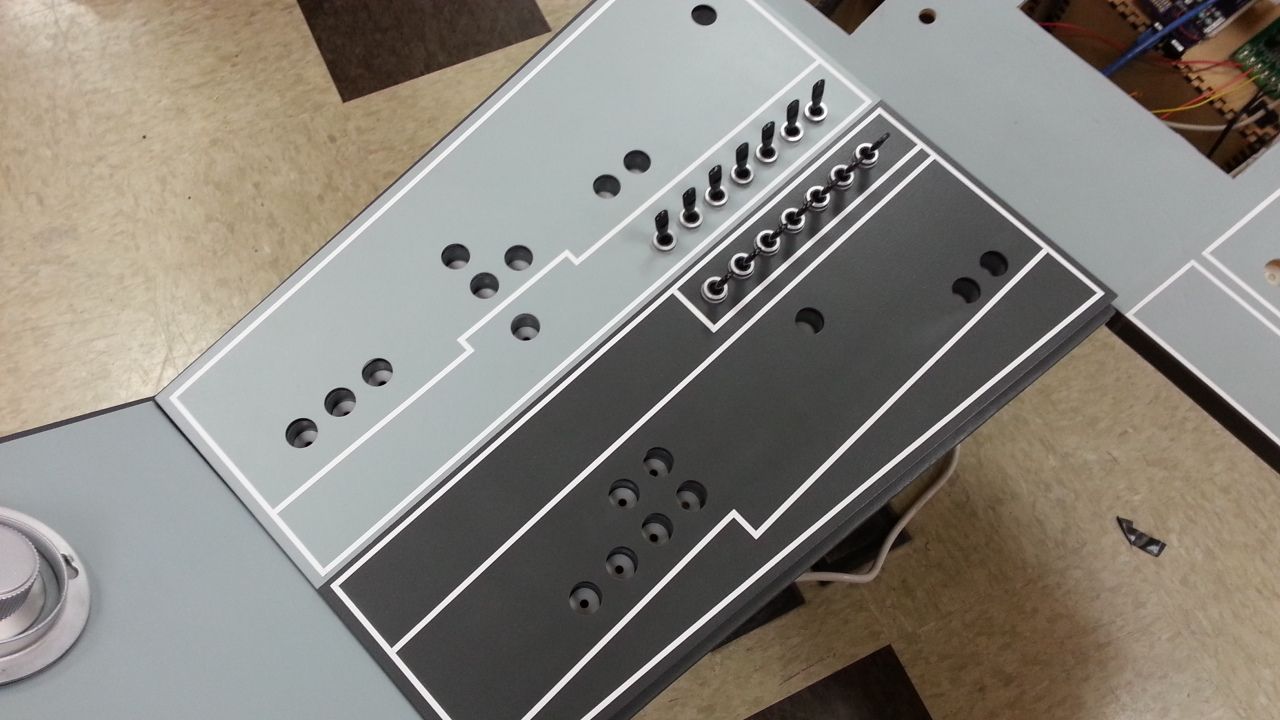
Mike and I then got started on the back panel

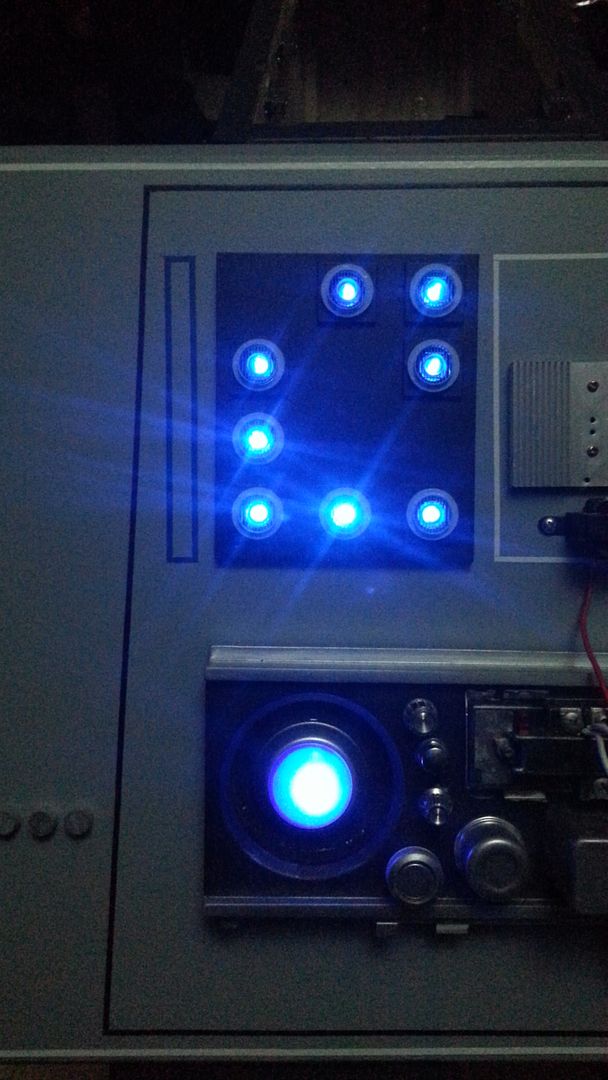
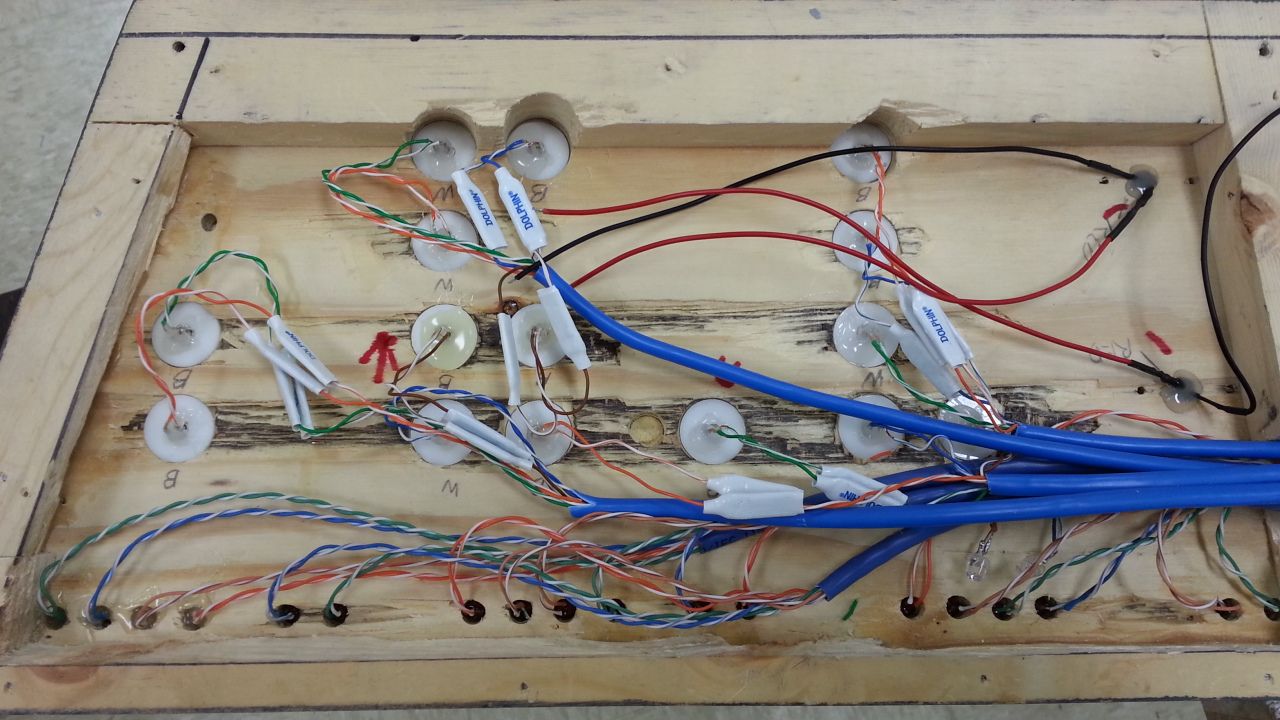
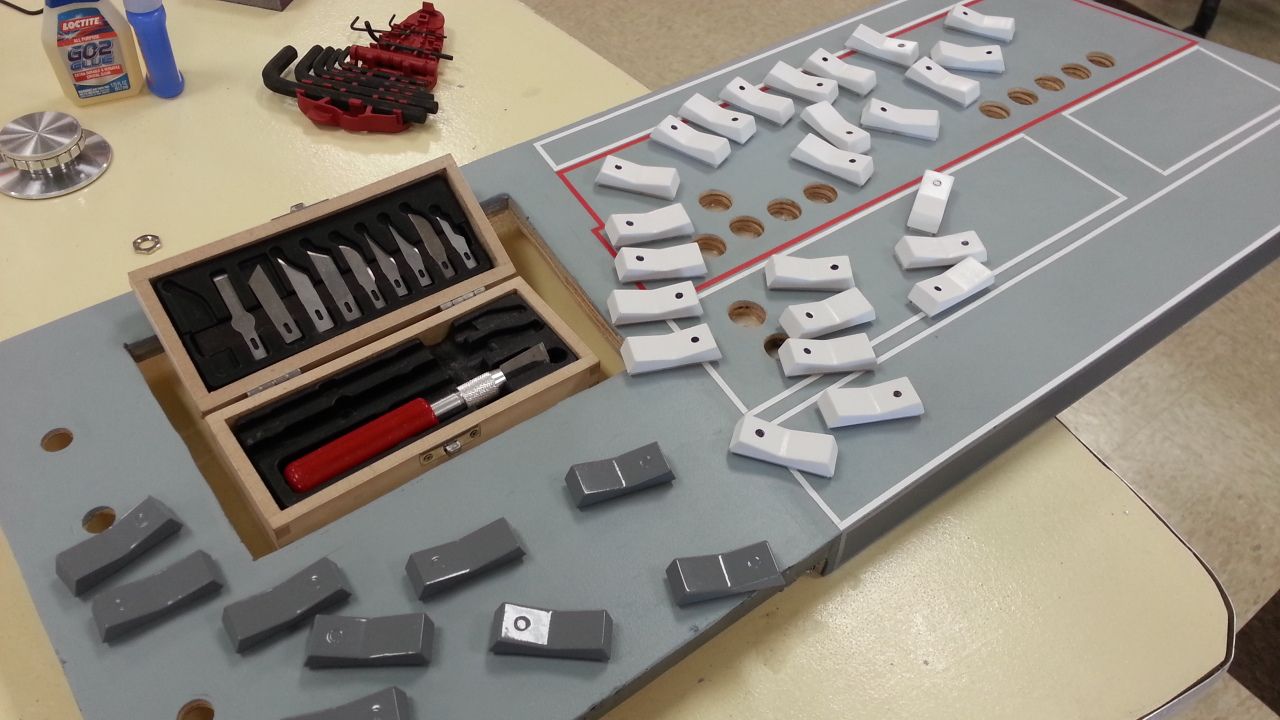
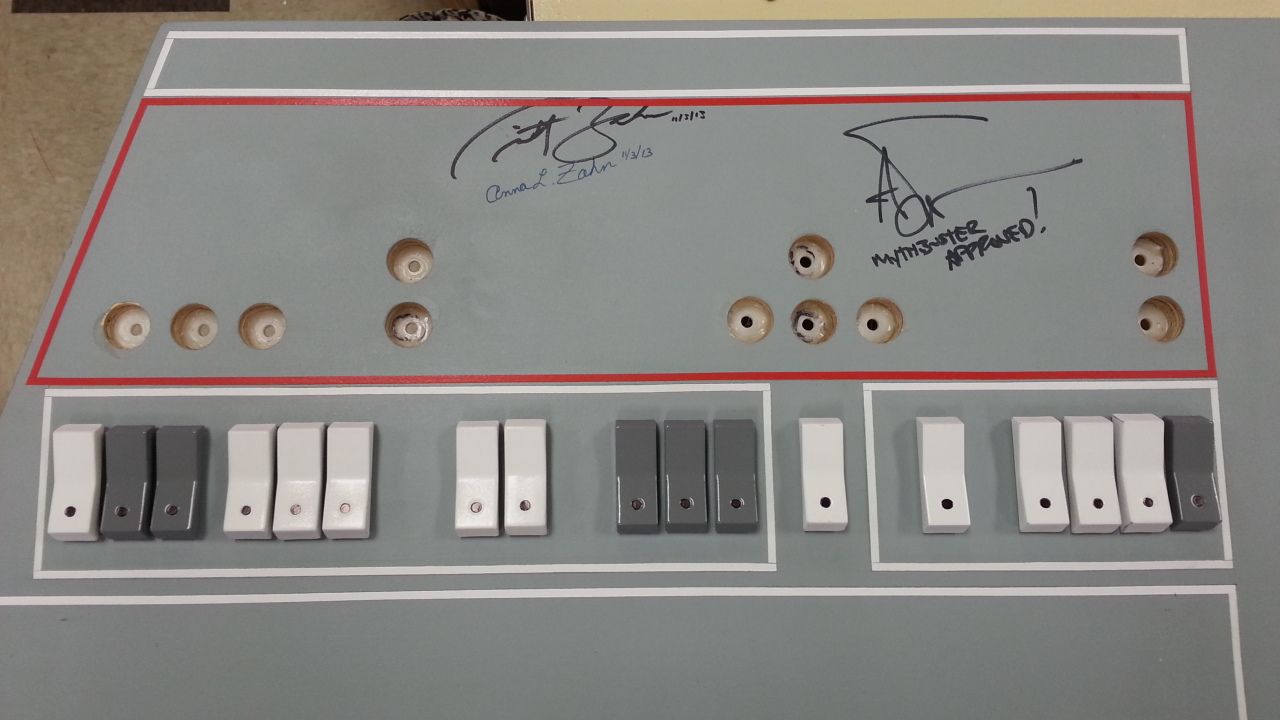
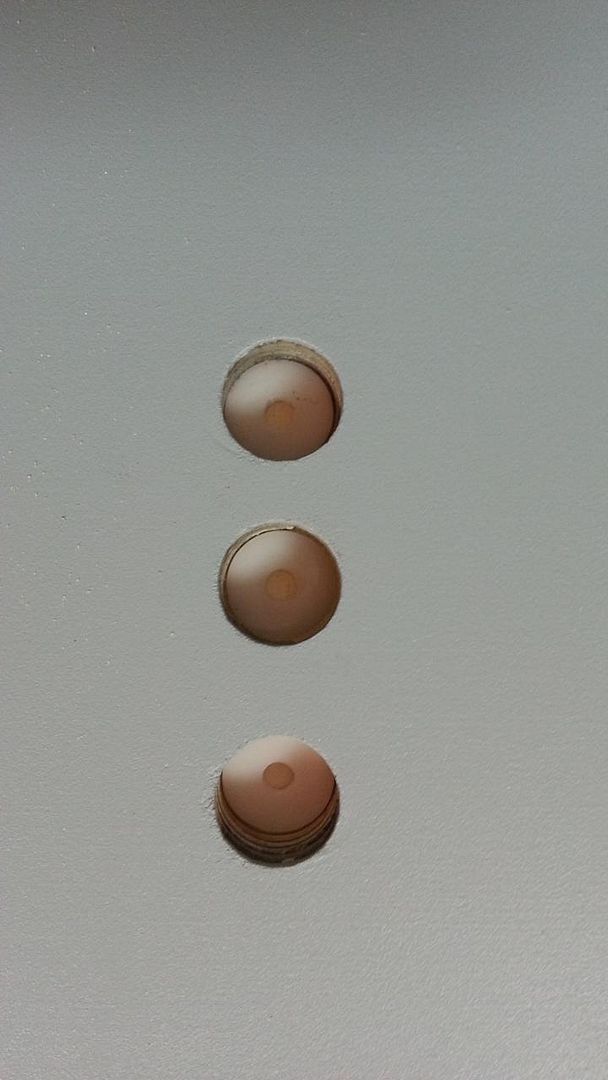
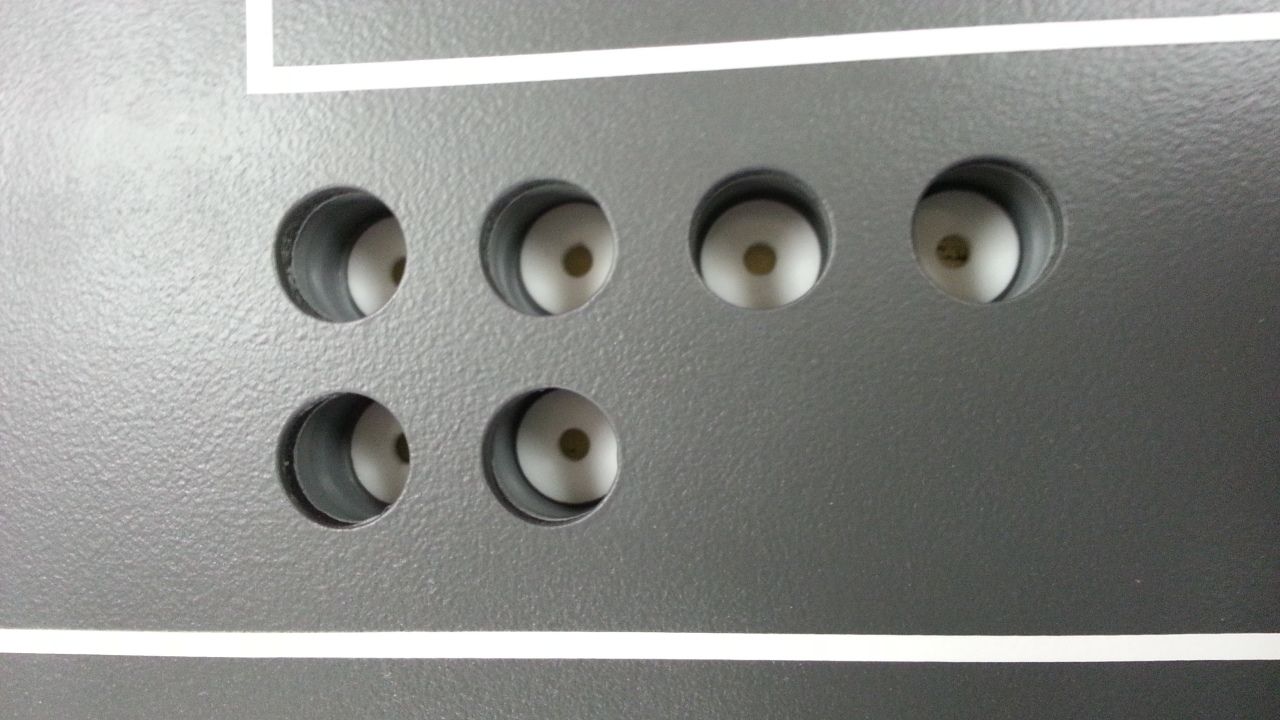
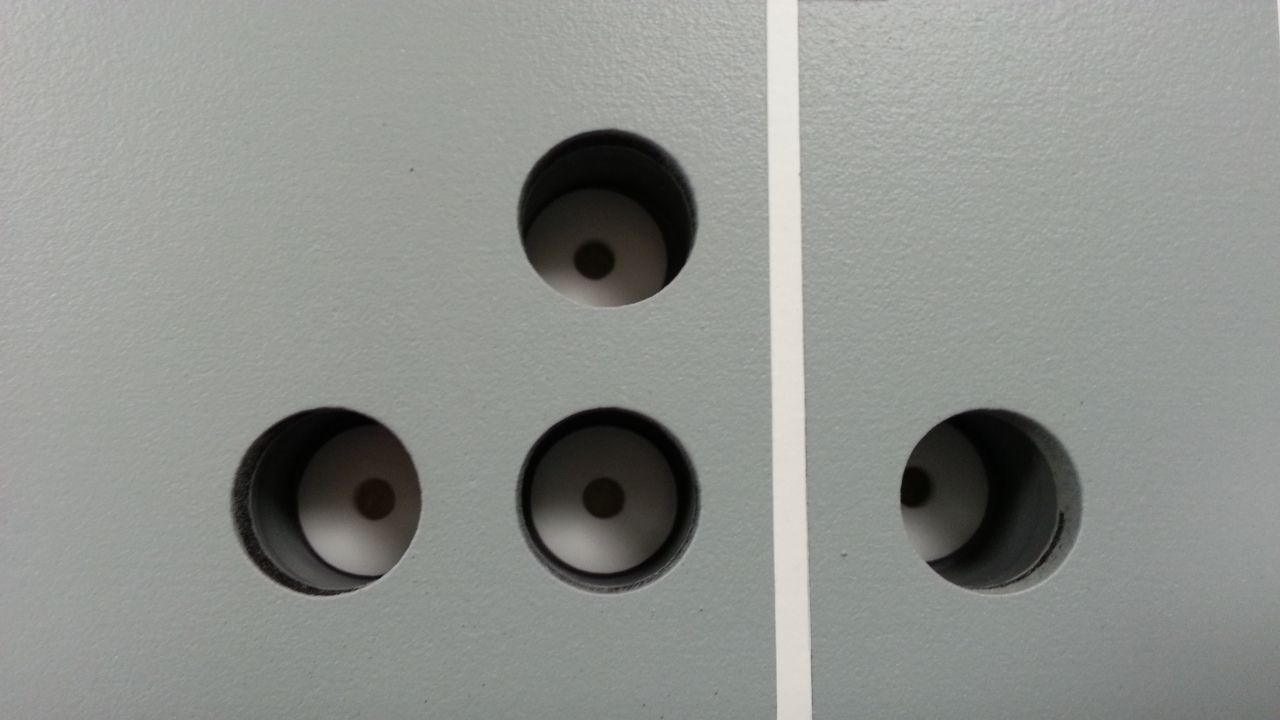
Applied the LED holders inside the holes
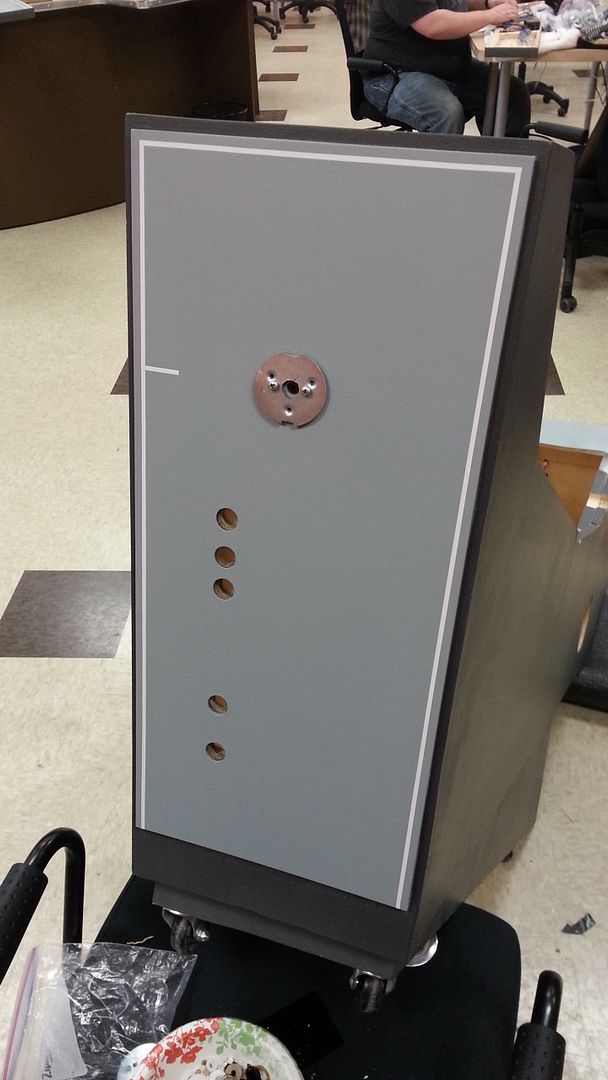
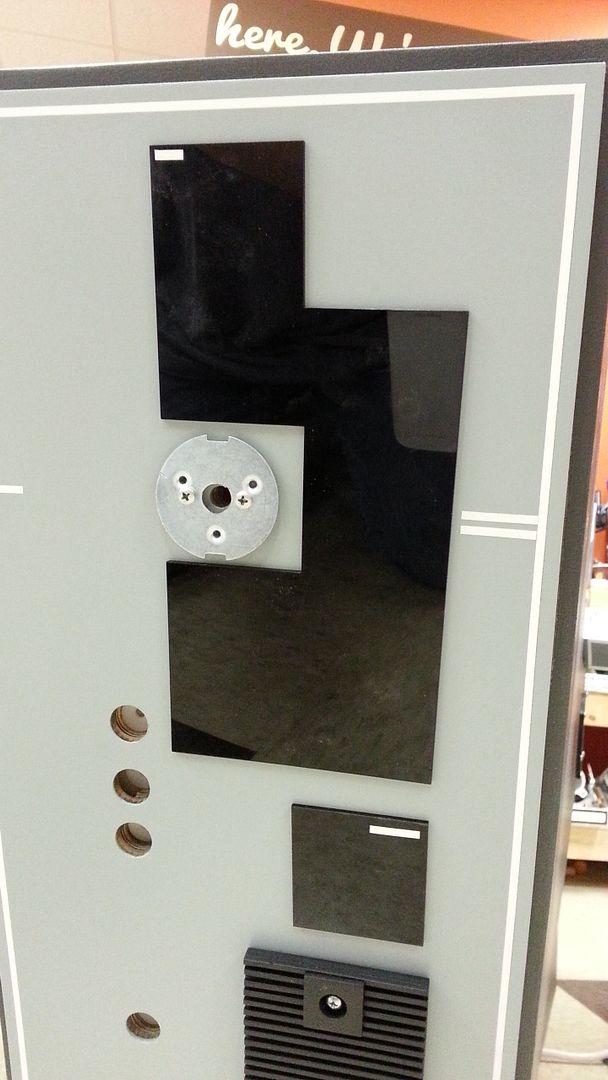
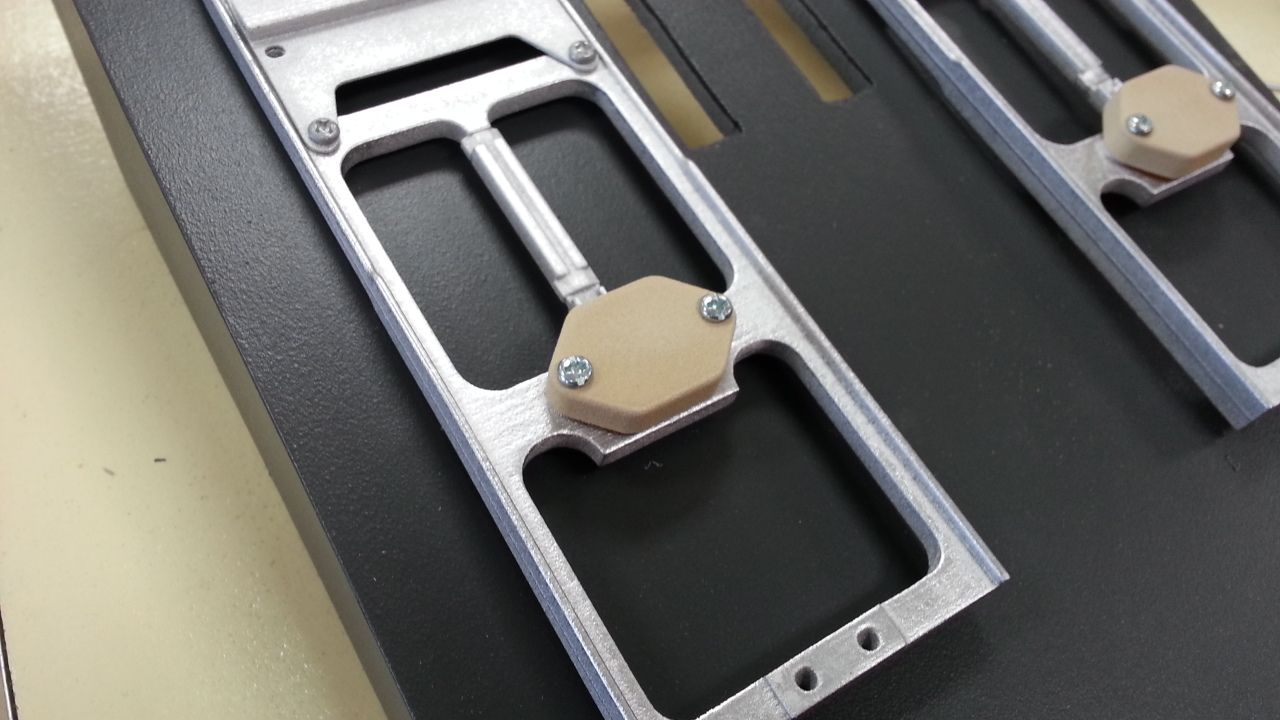
One of the panel greeblies

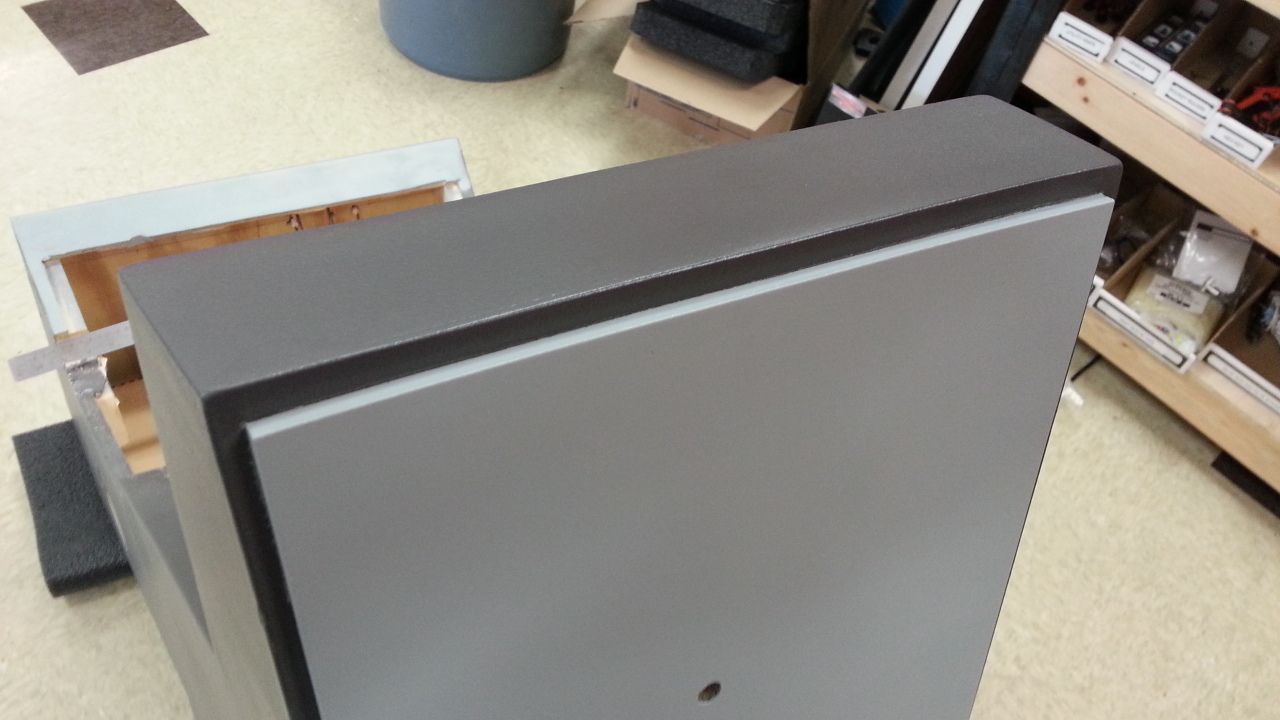
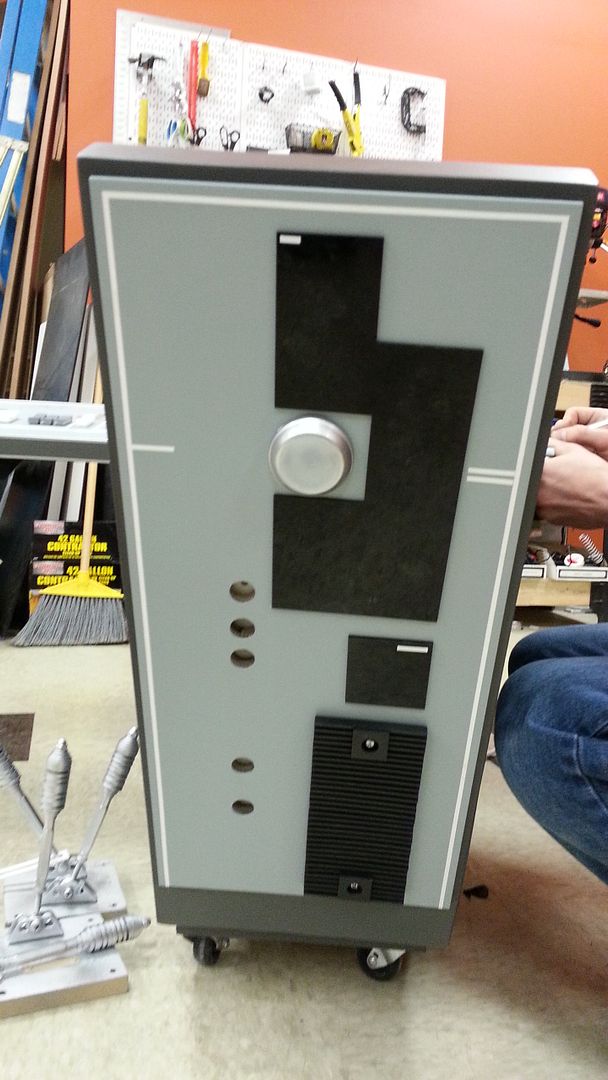
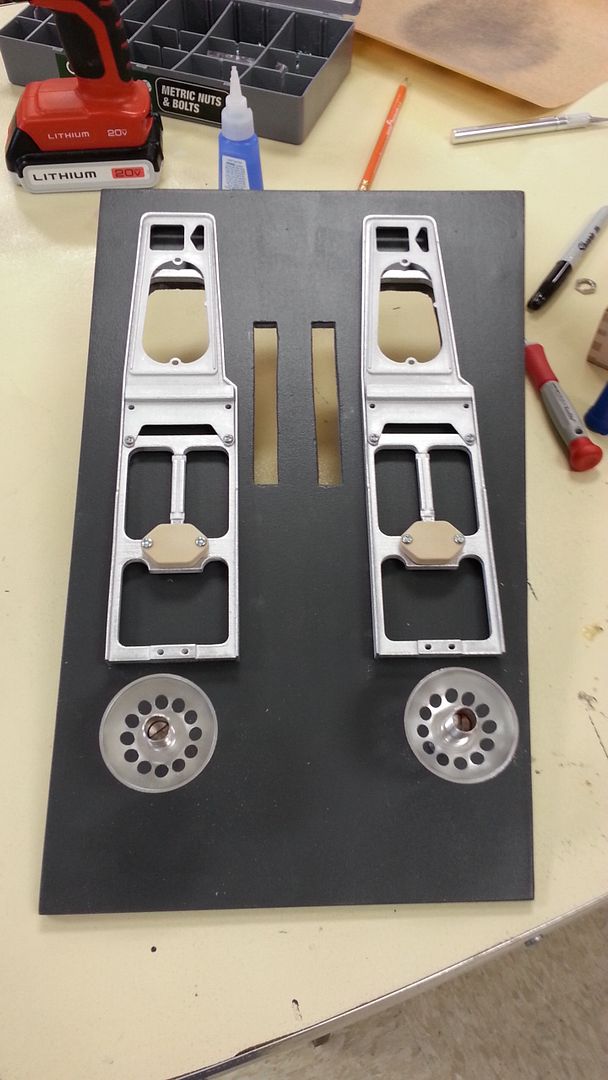
Almost finished
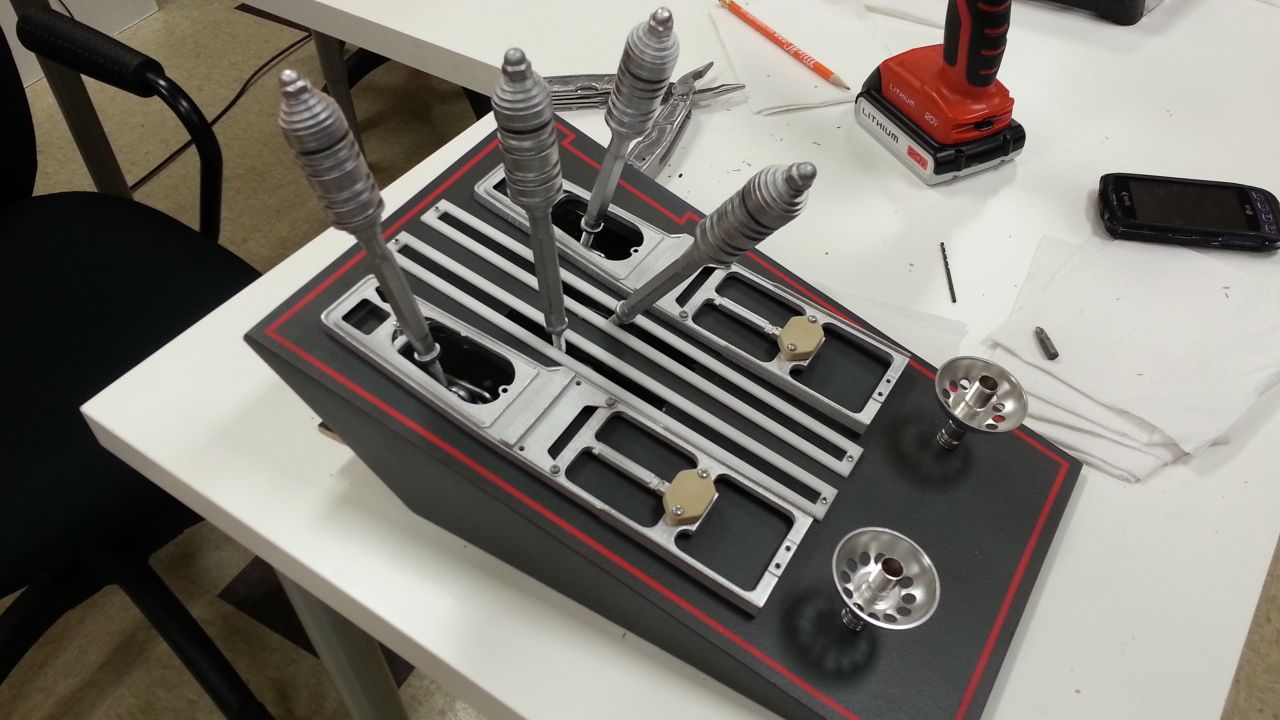
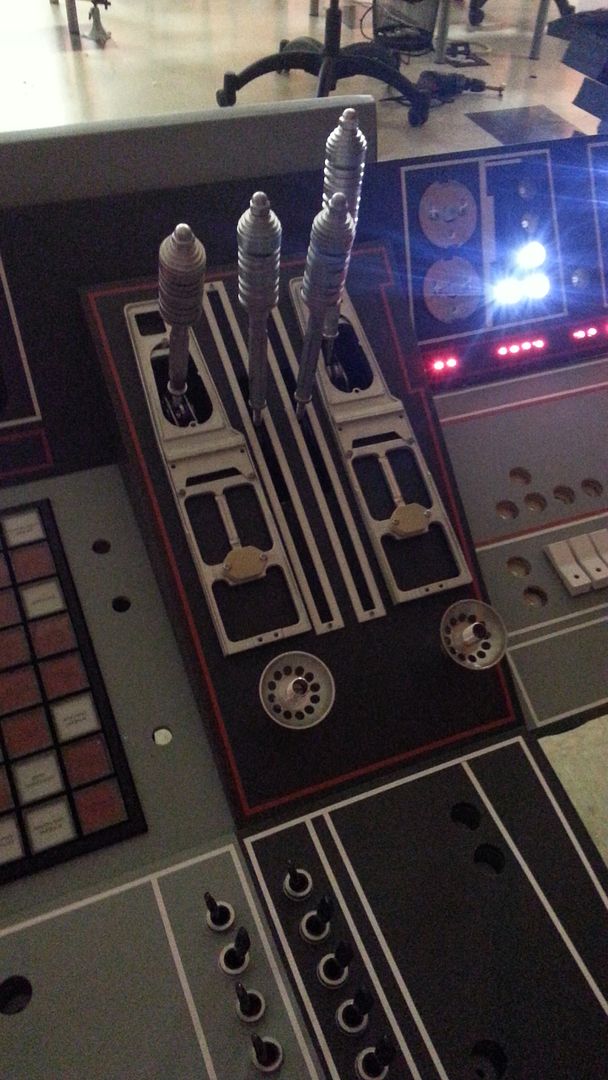
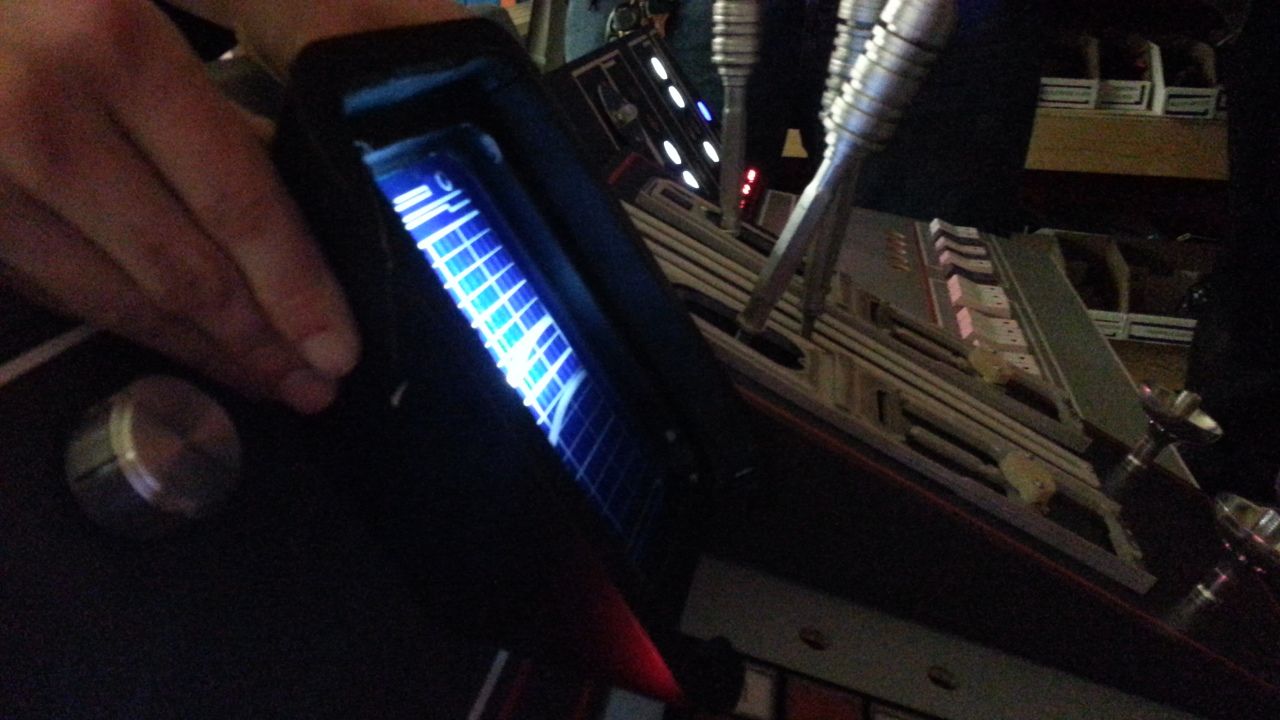
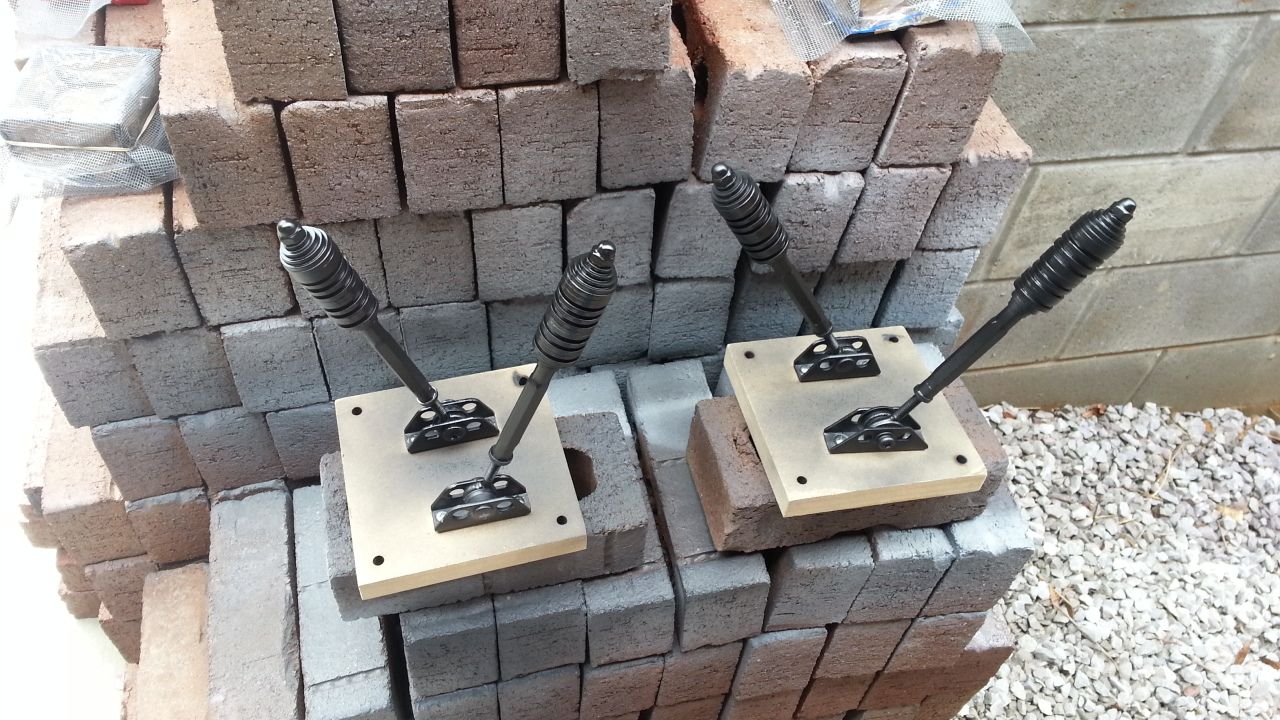
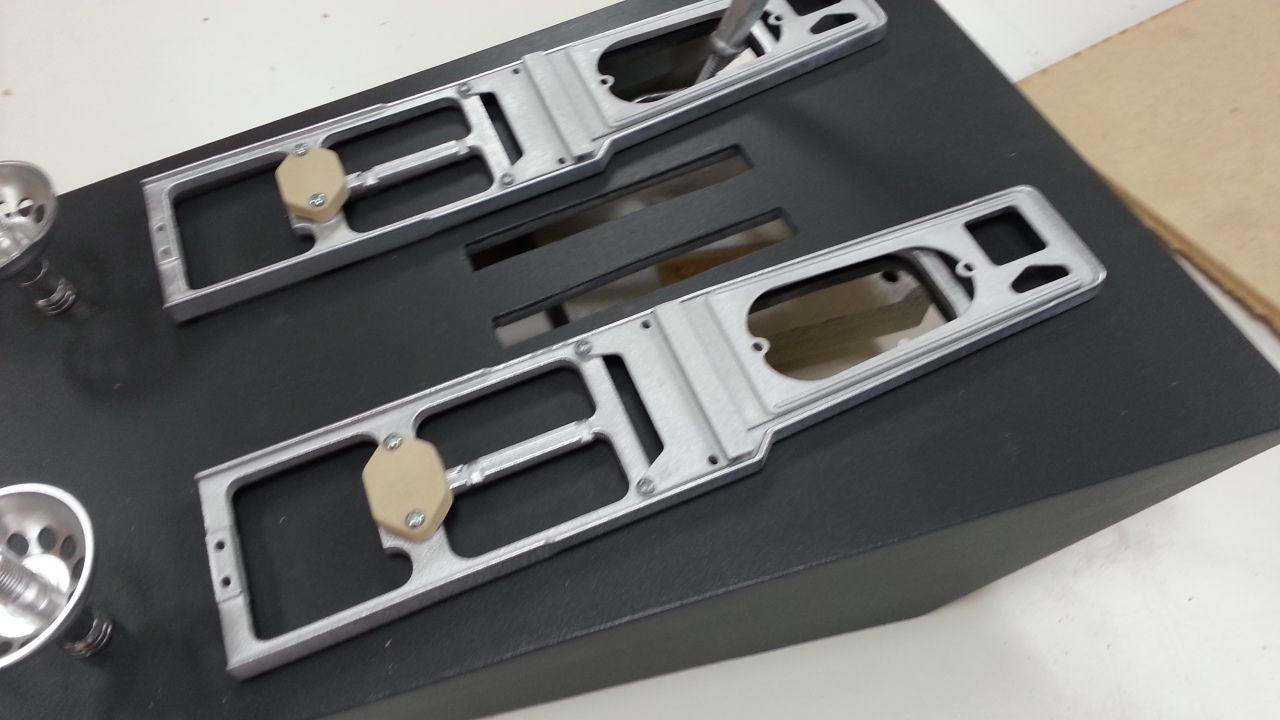
I think my least favorite part of this build is the dreaded throttle housing... UGH...
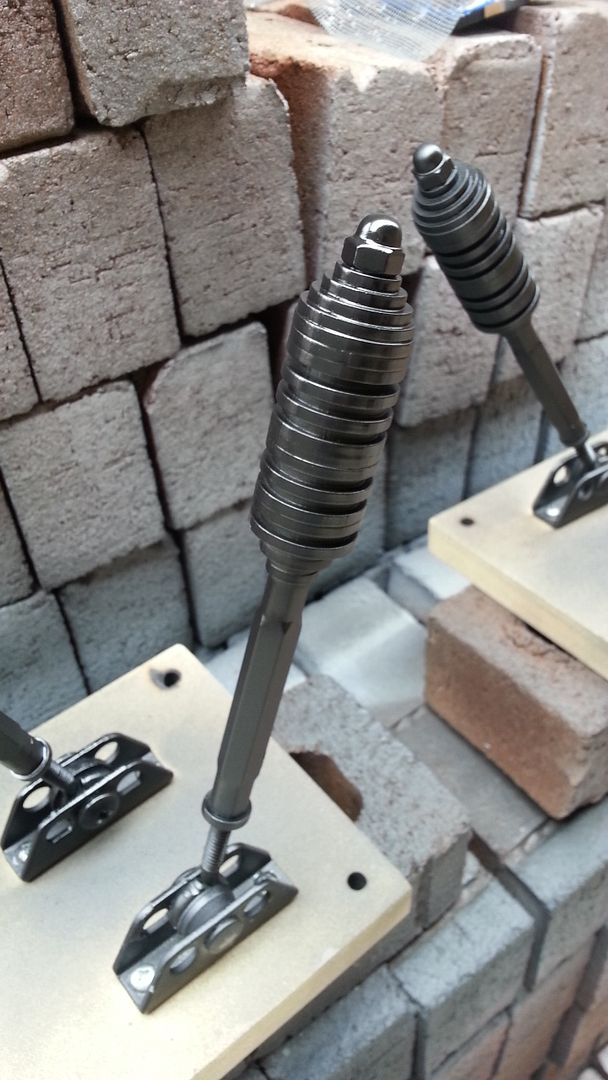
Included are the 4 throttle pistons - getting the first of many silver coats
Drying in the Easy Bake Oven
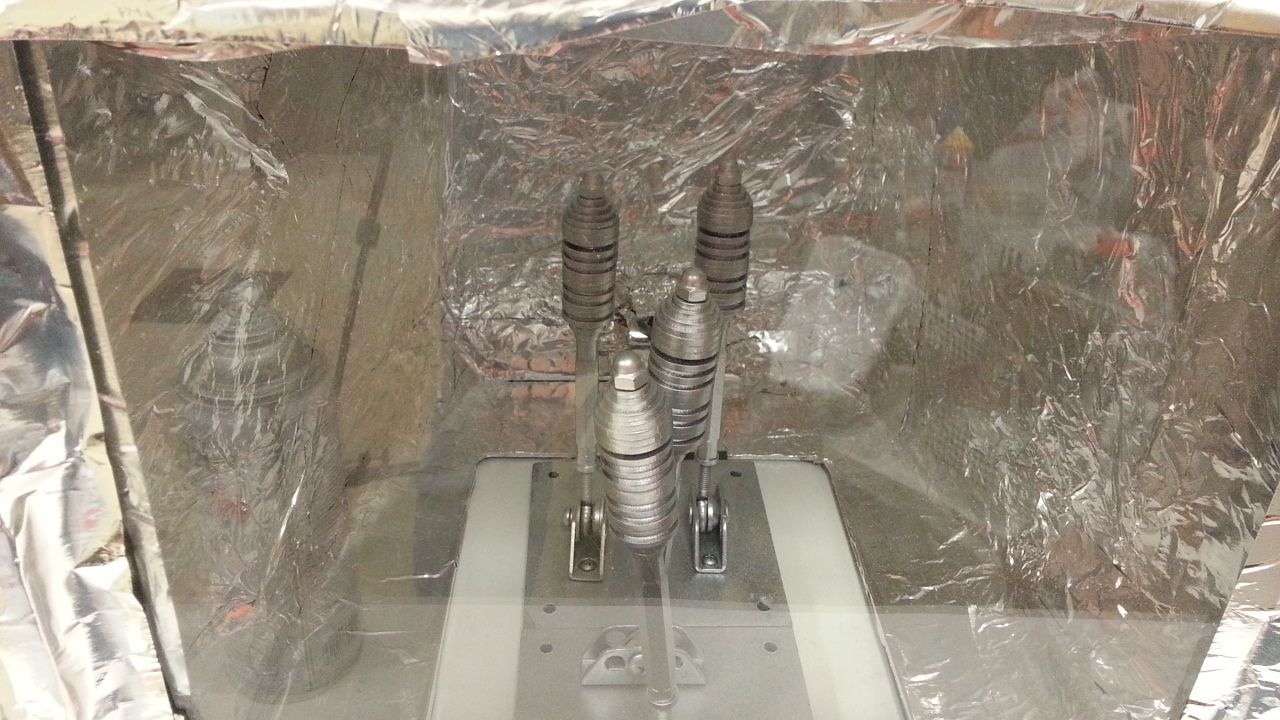
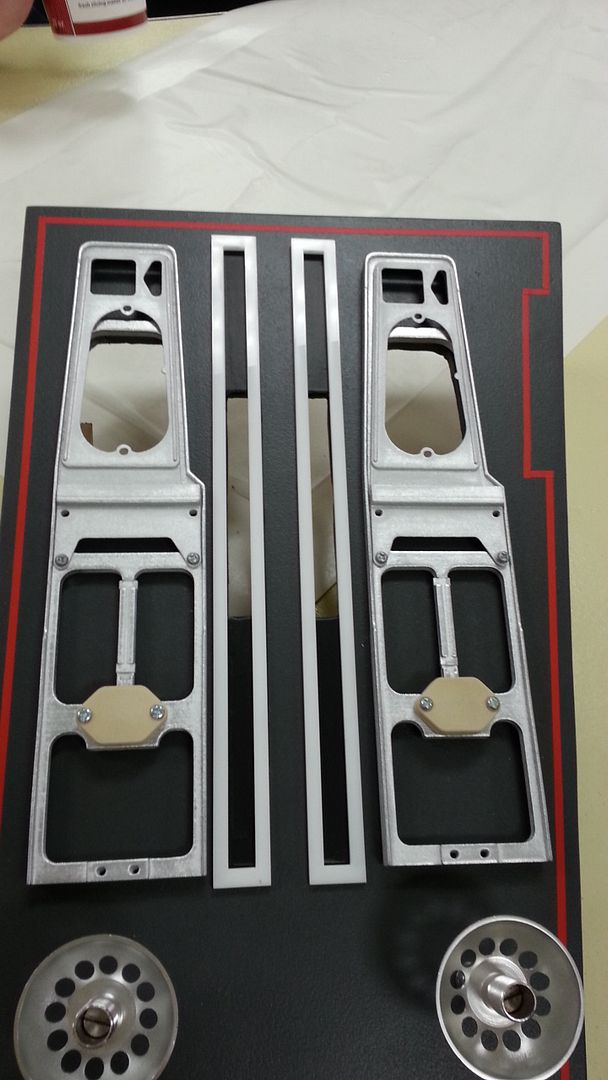
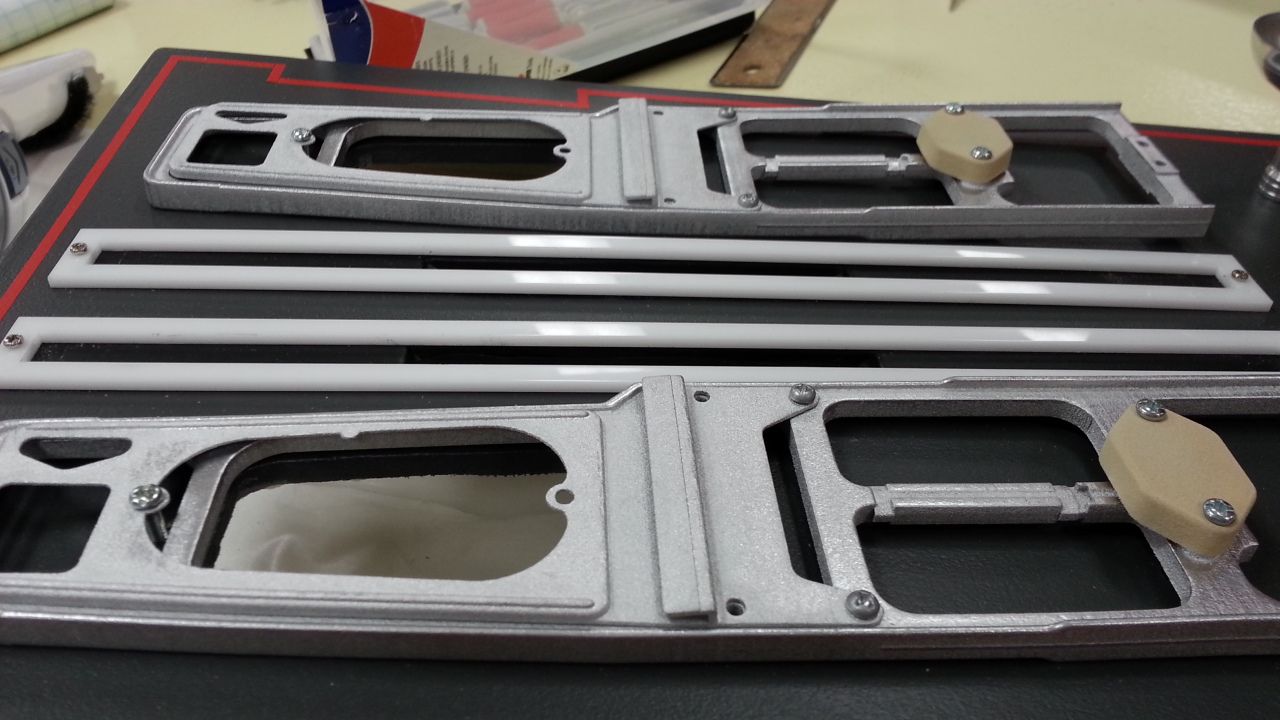
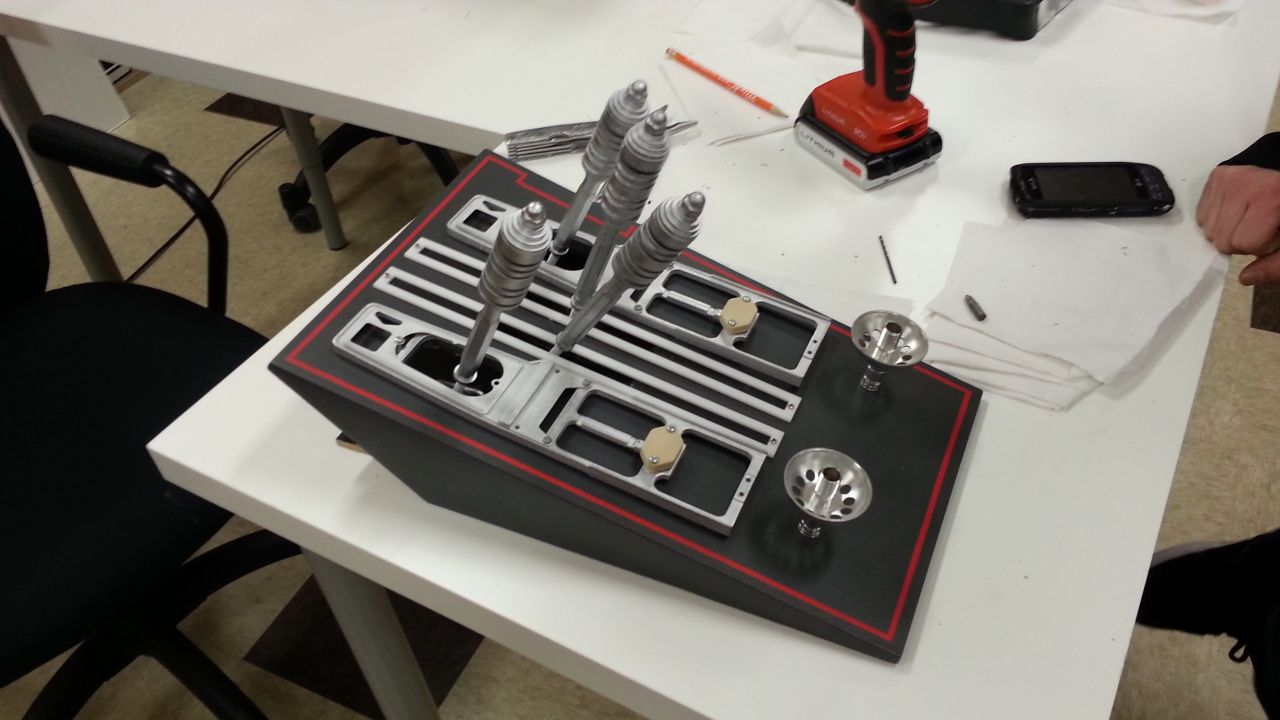
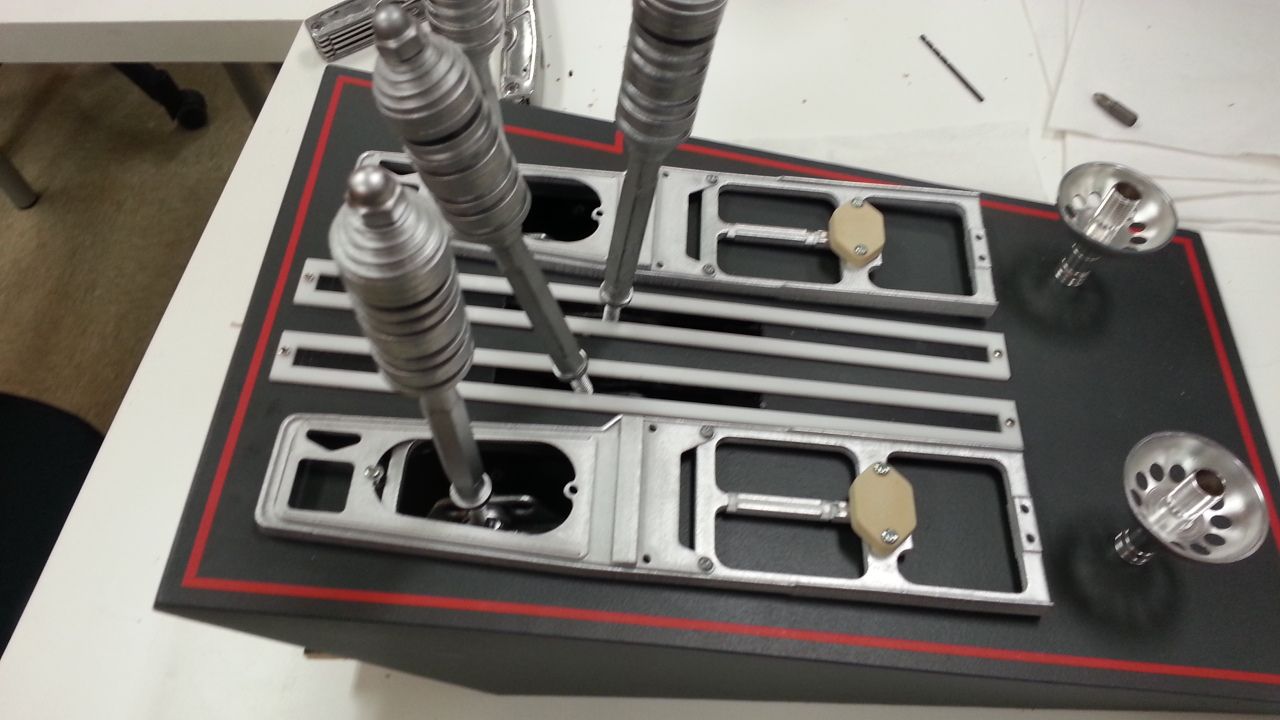
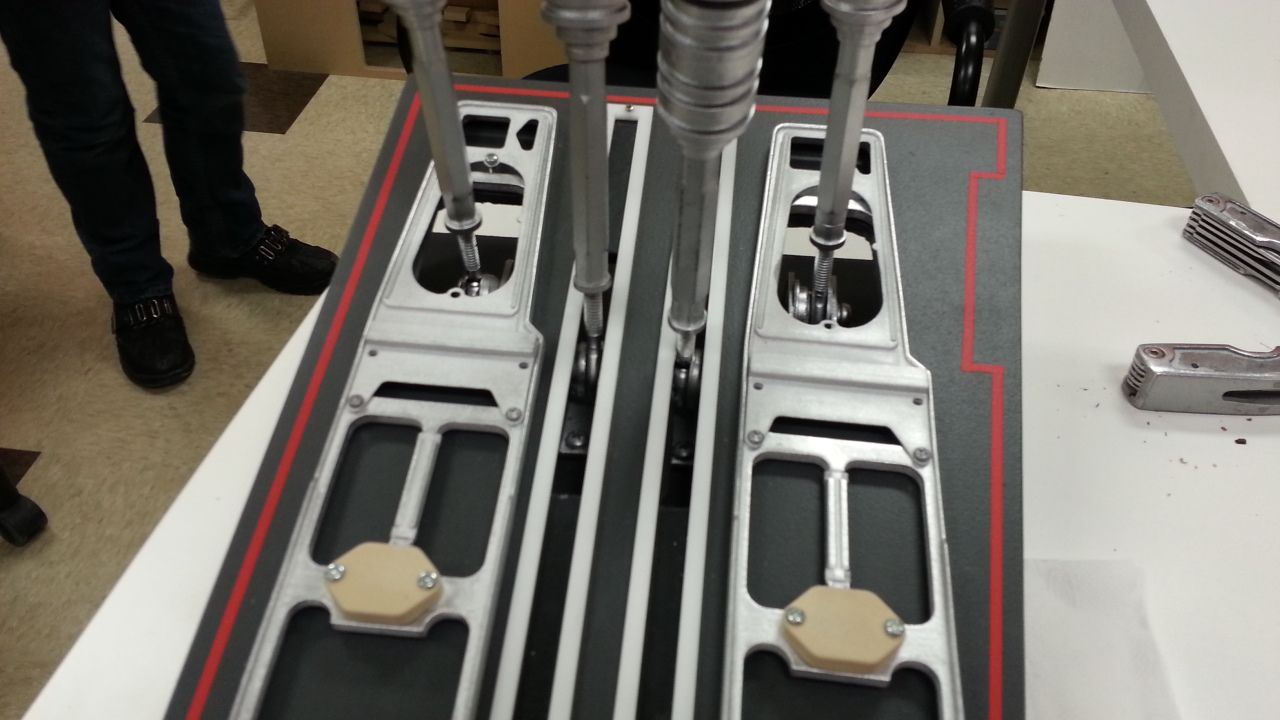
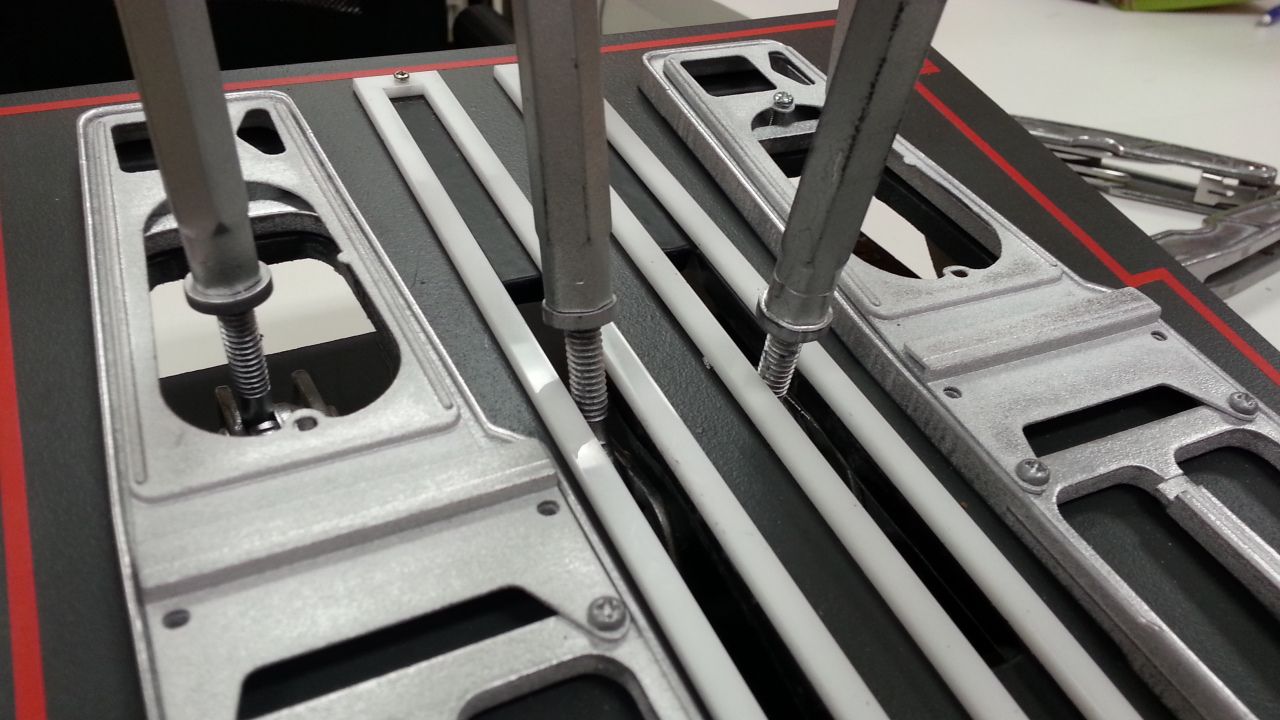
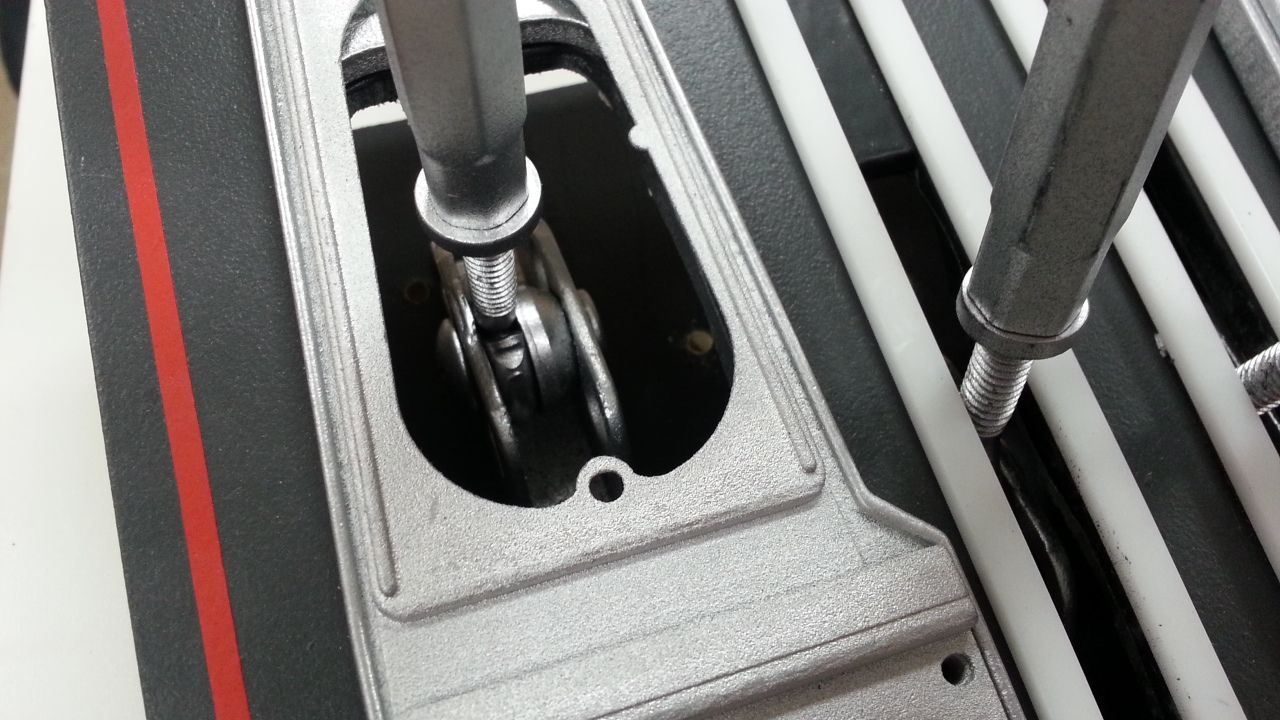
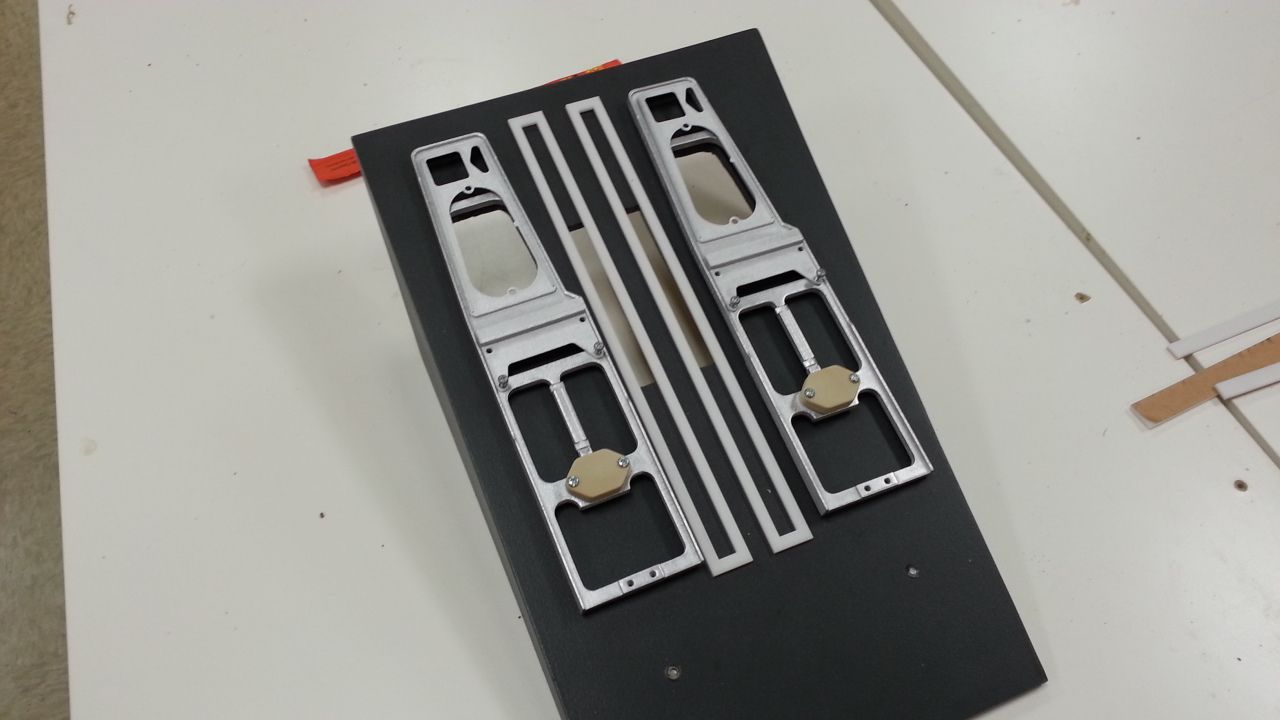
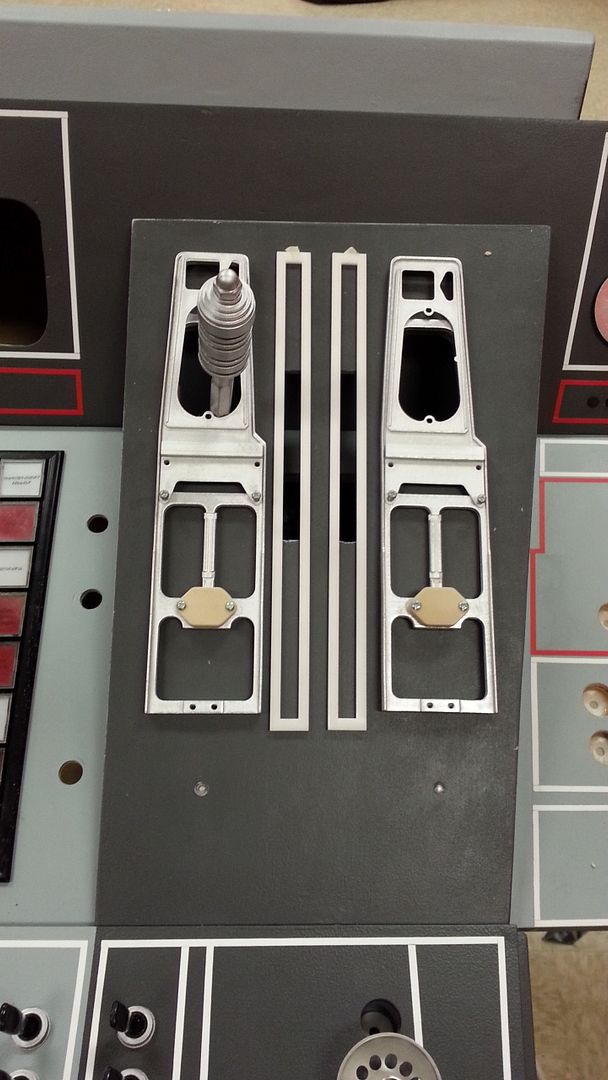
Slowly getting there...


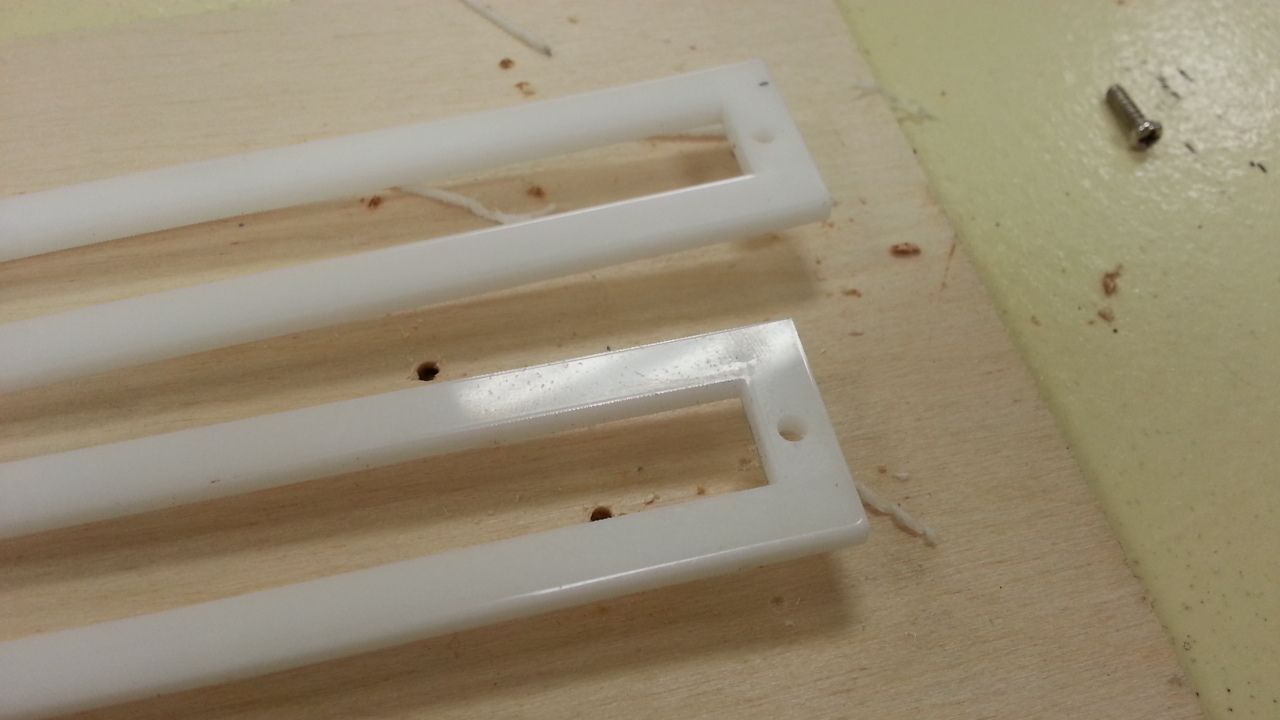
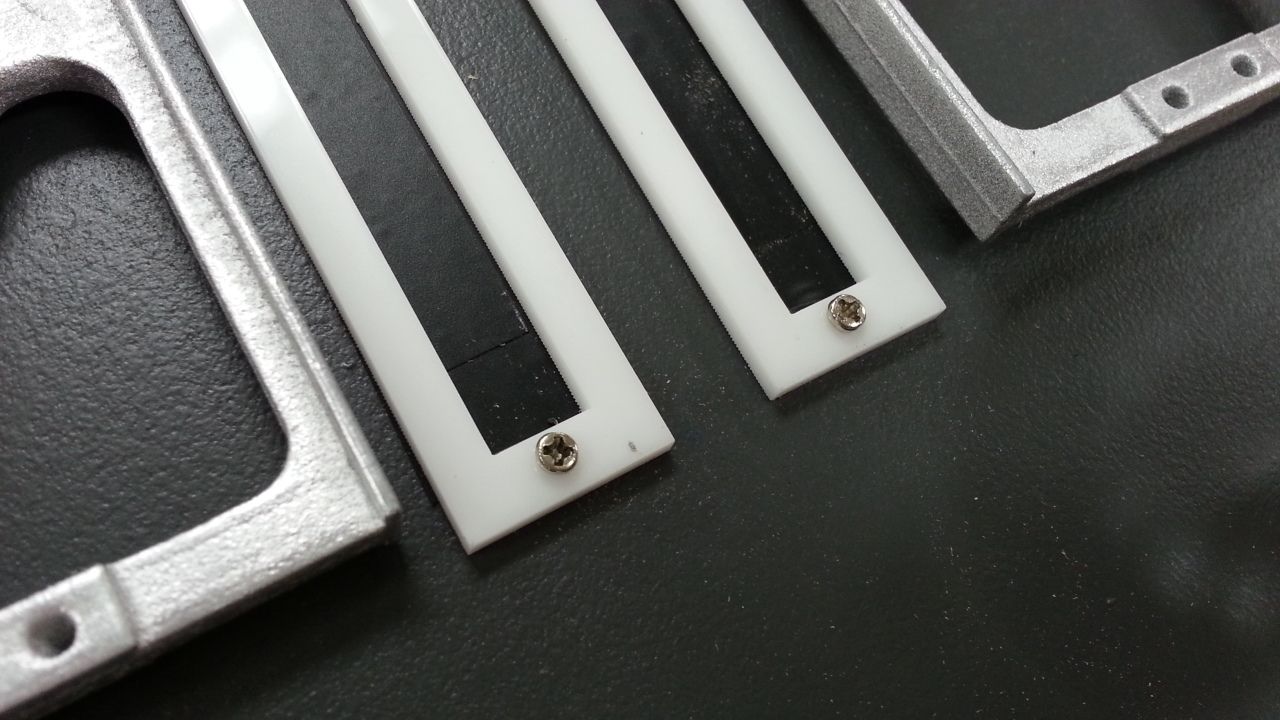
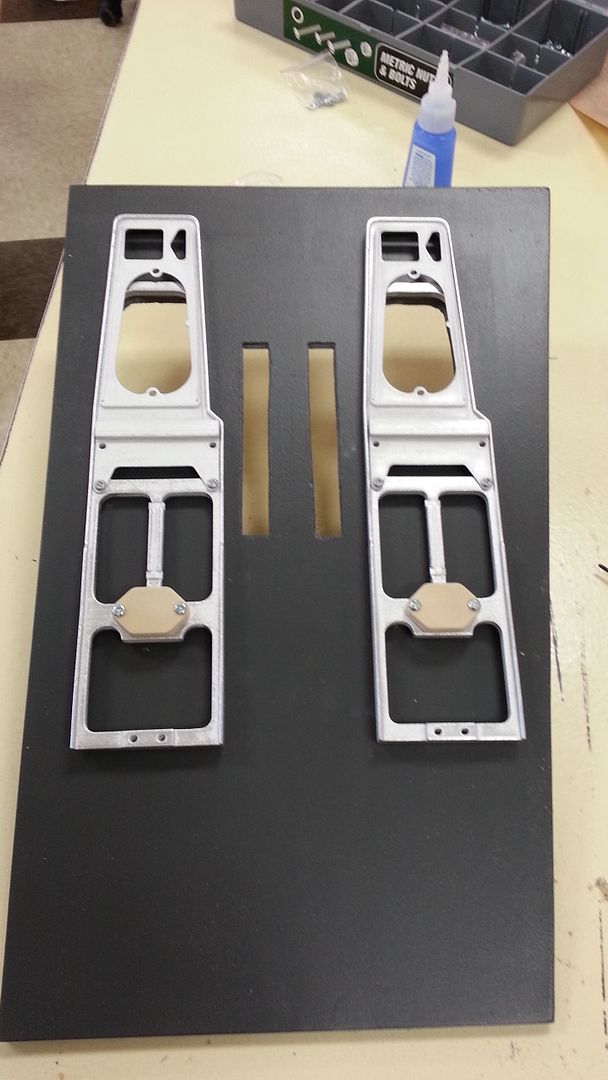
Mike then measured and laser cut the two white rectangles for the inner pistons
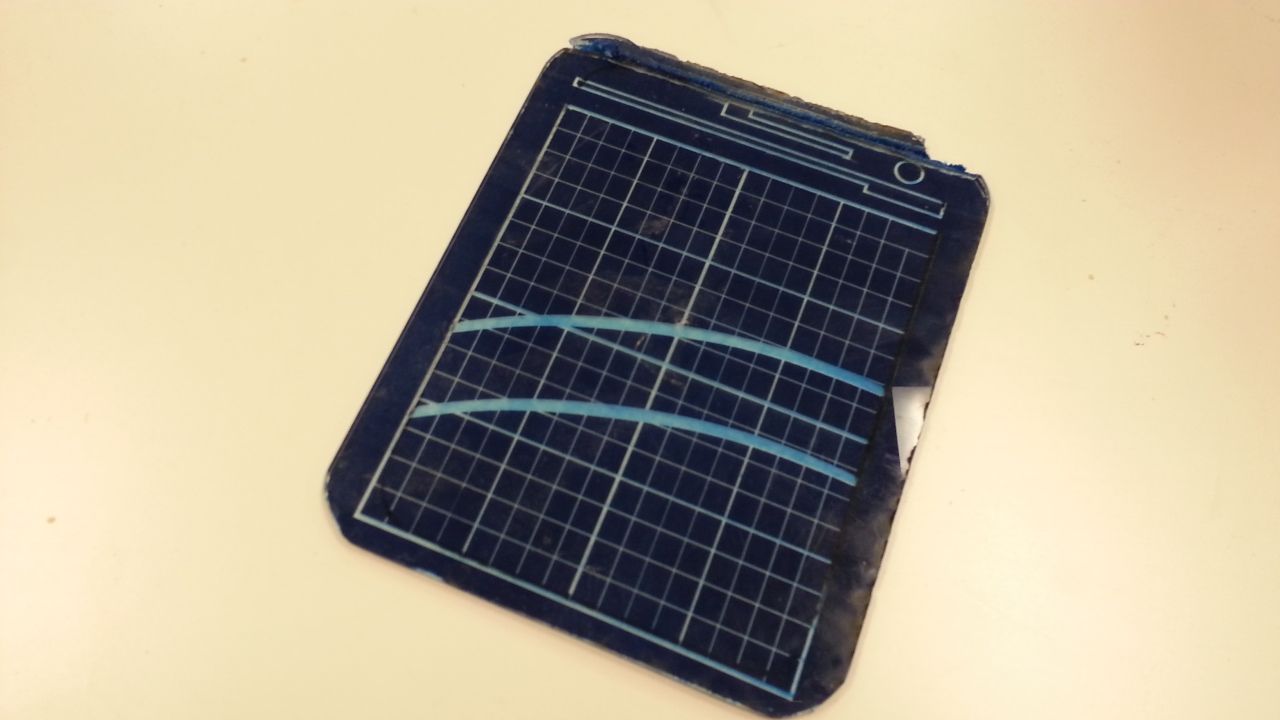
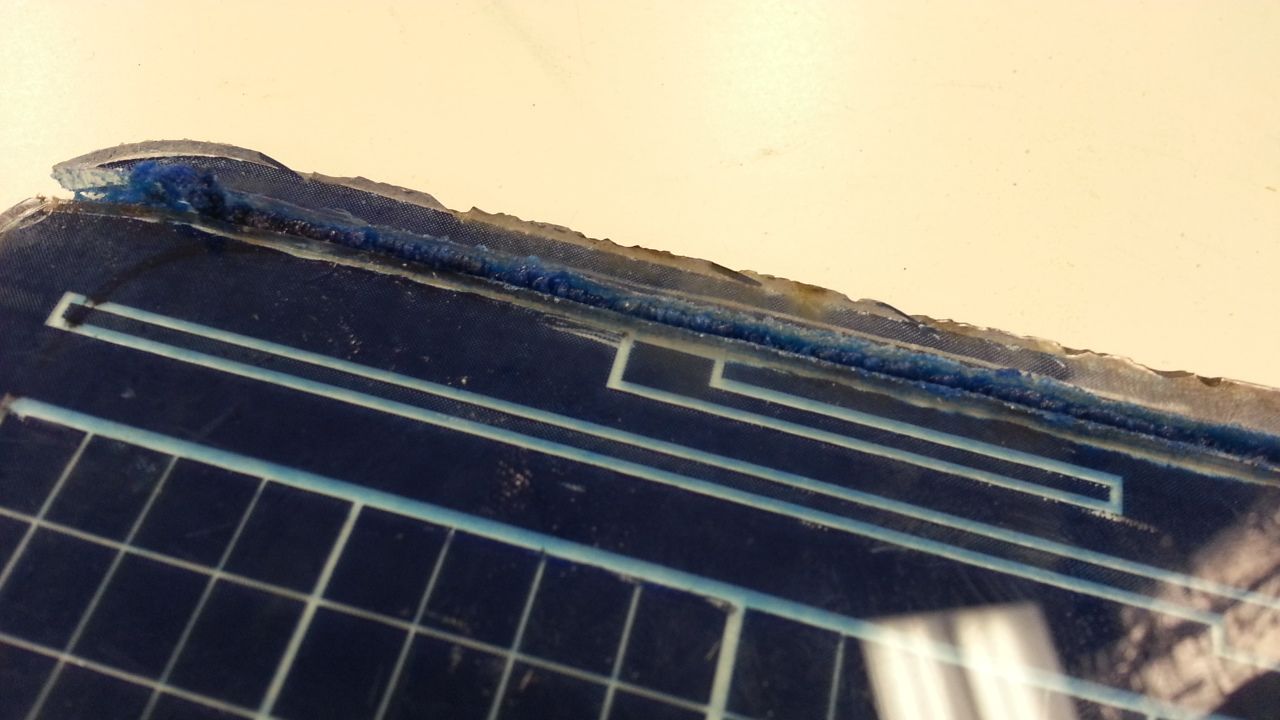
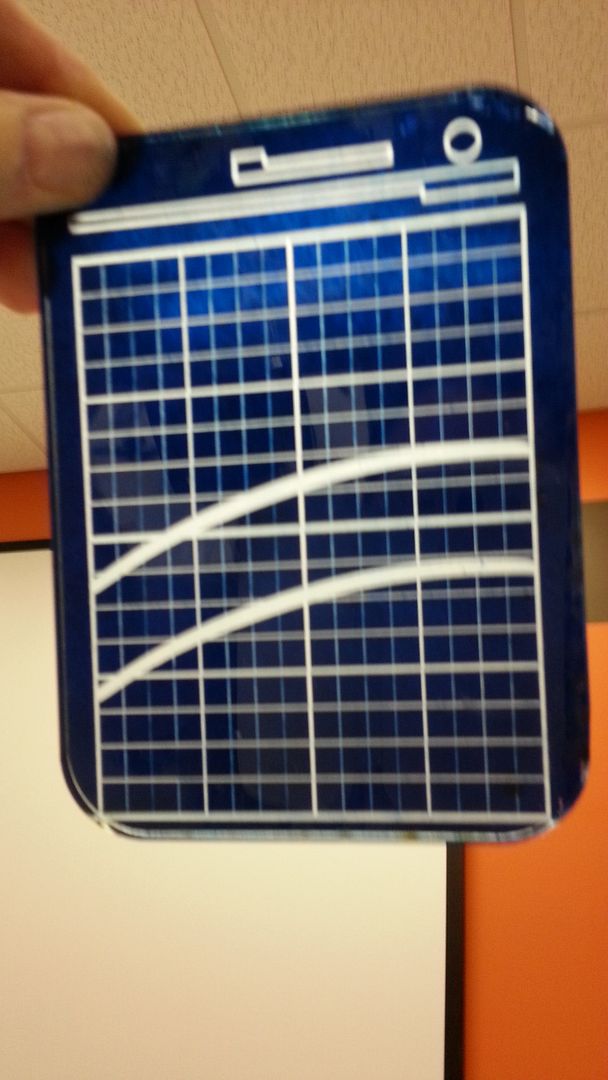
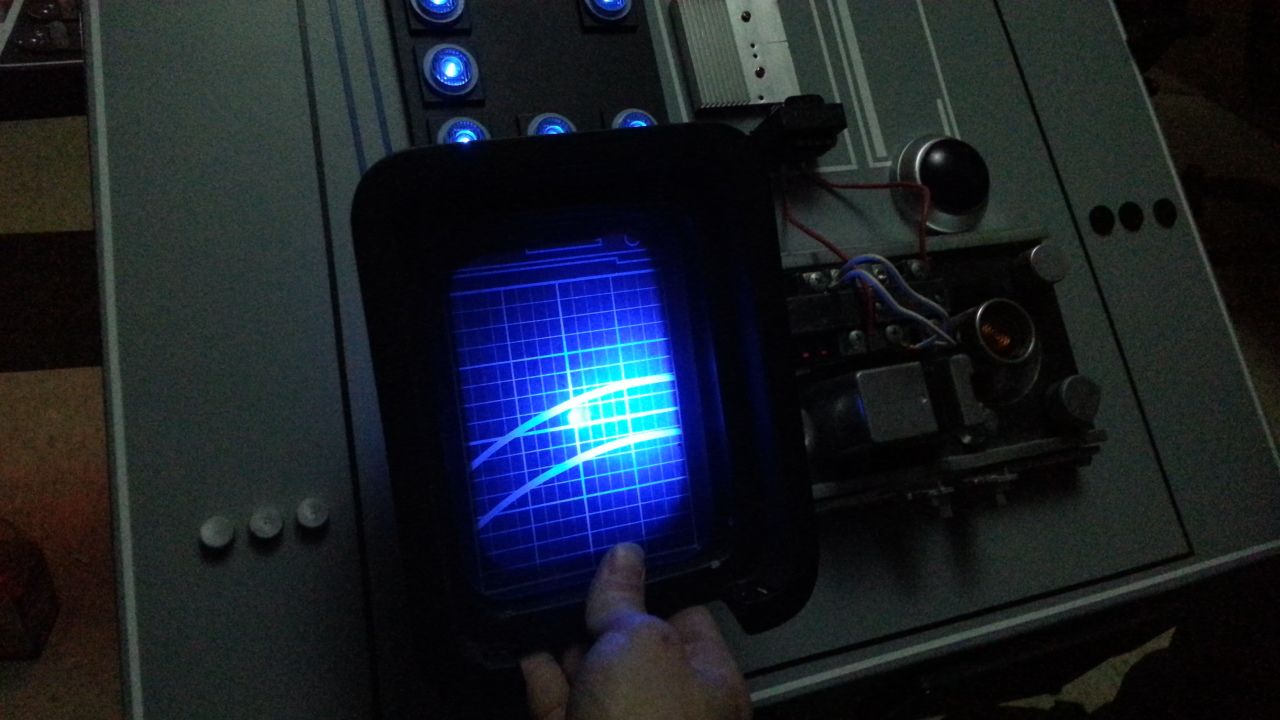
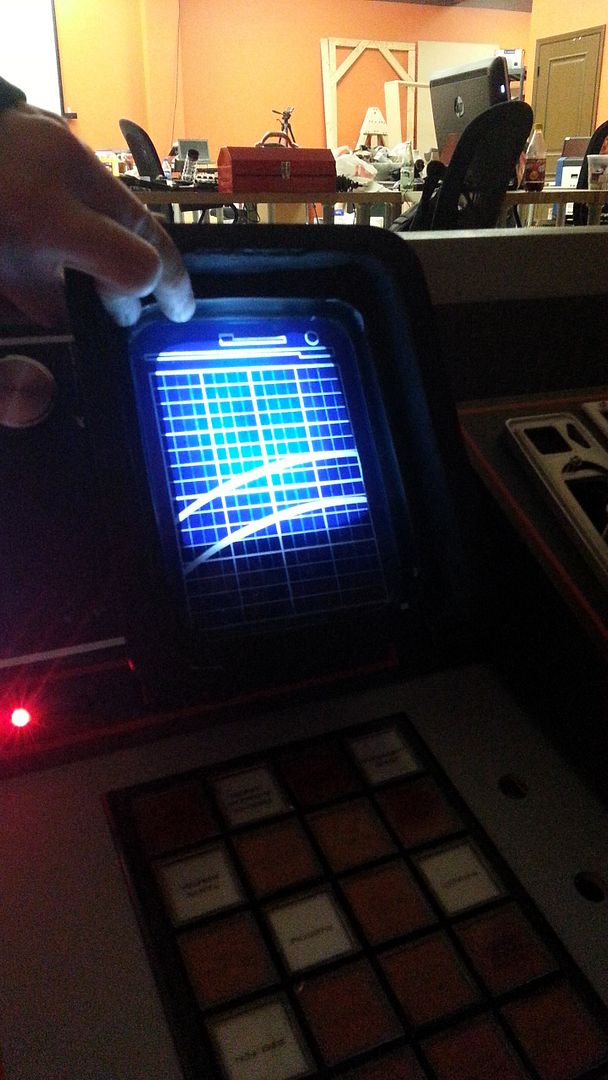
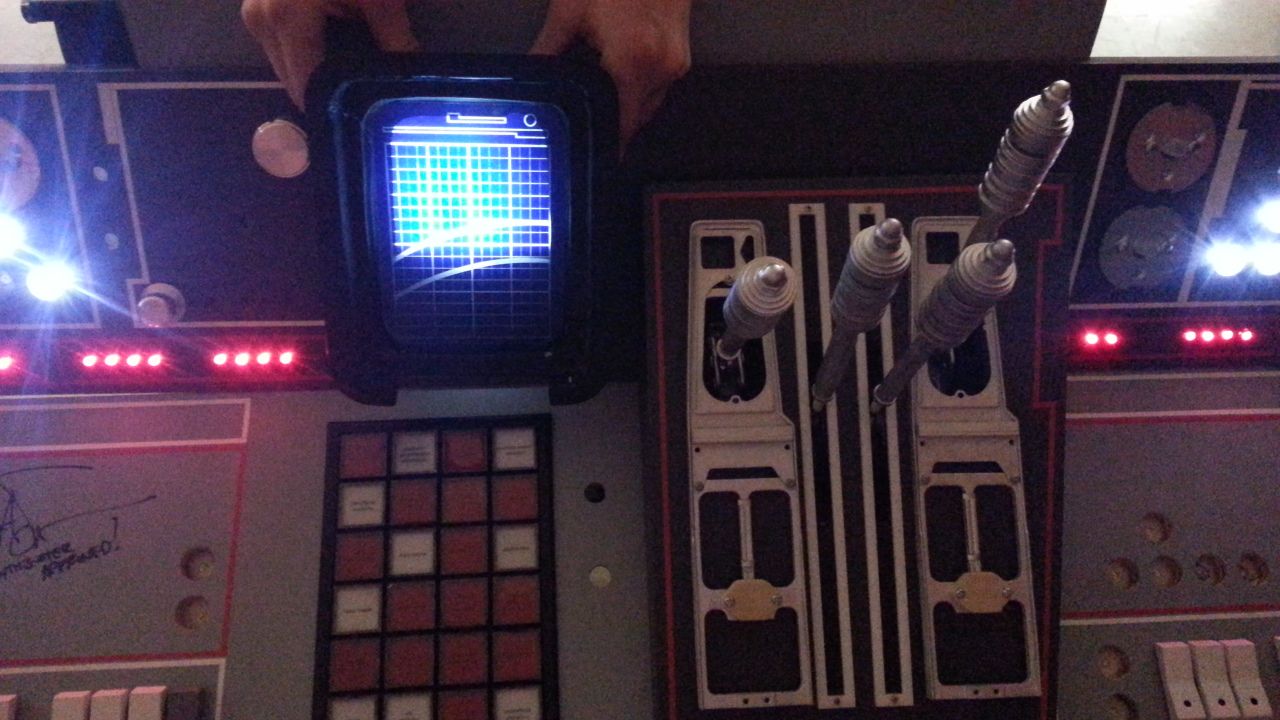
Graphic for the upcoming laser cut nav screen

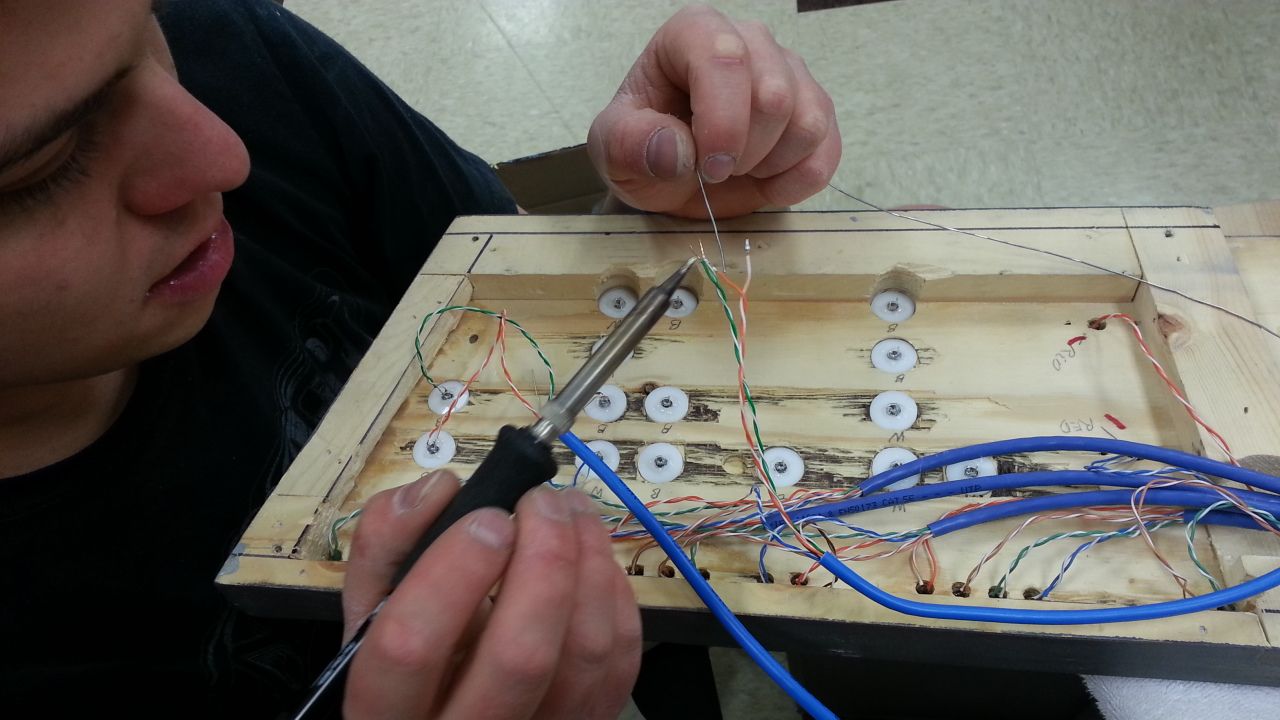
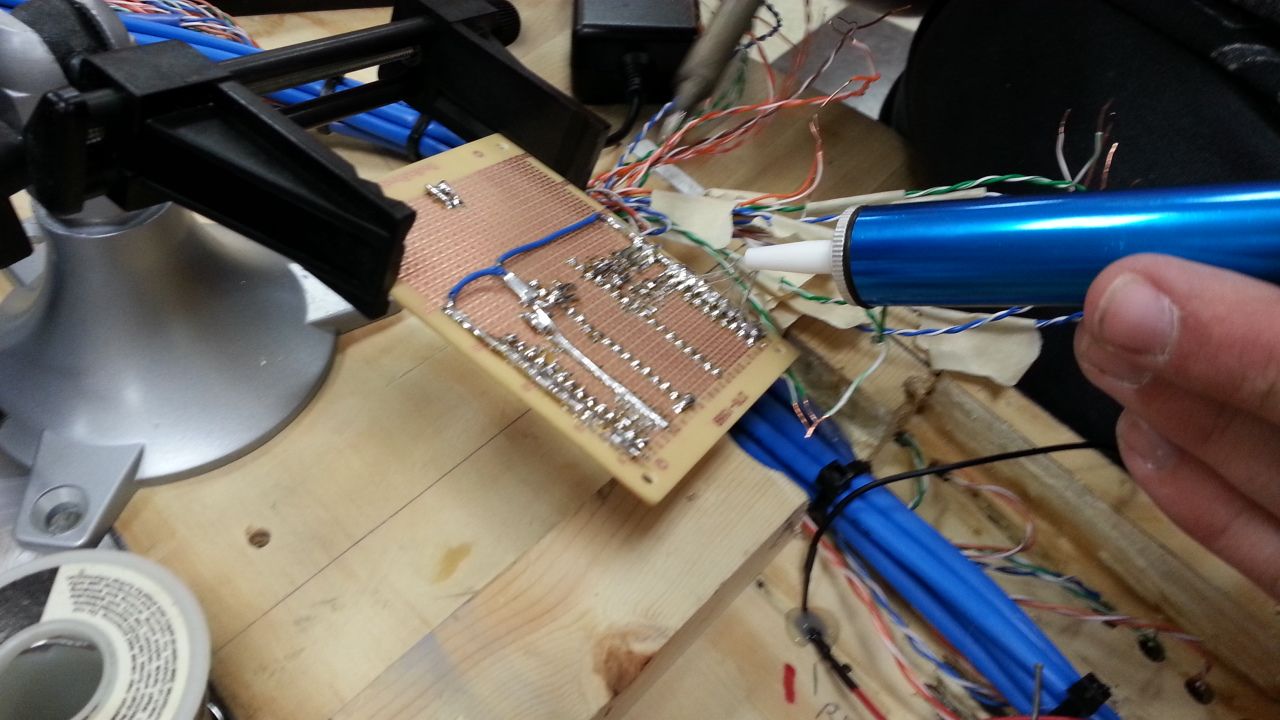
Here's Philip working his soldering skills
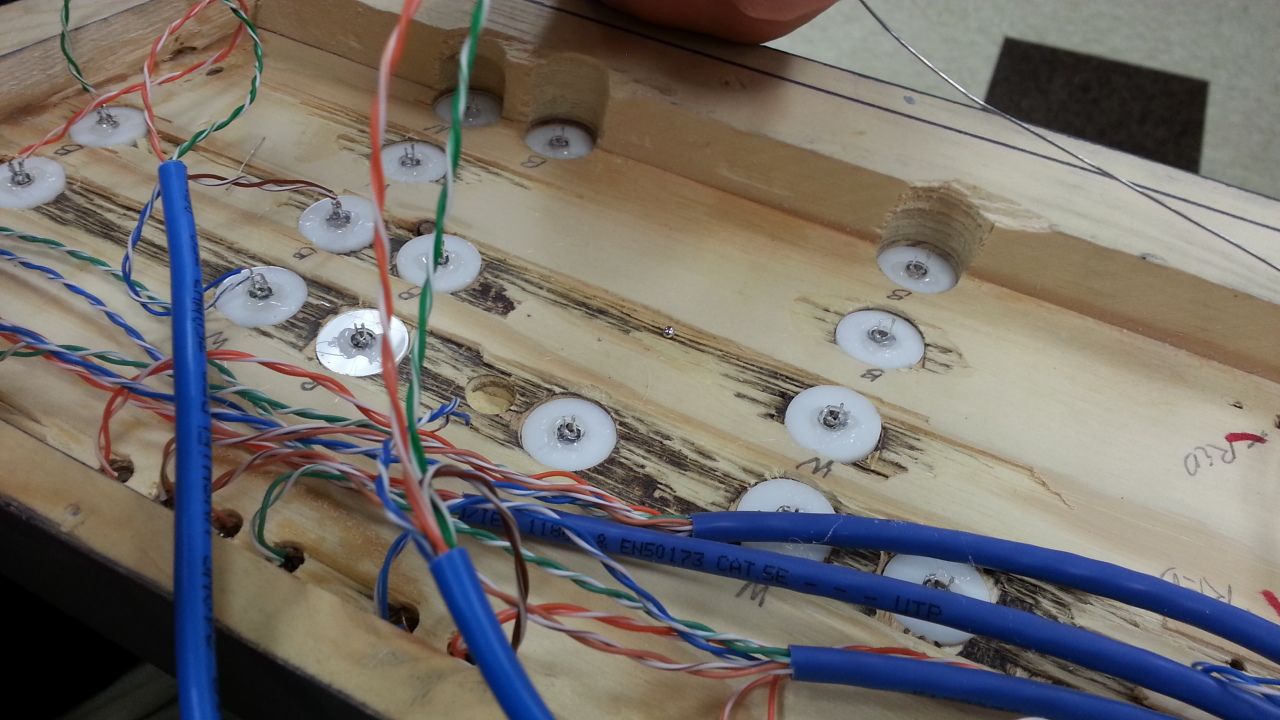
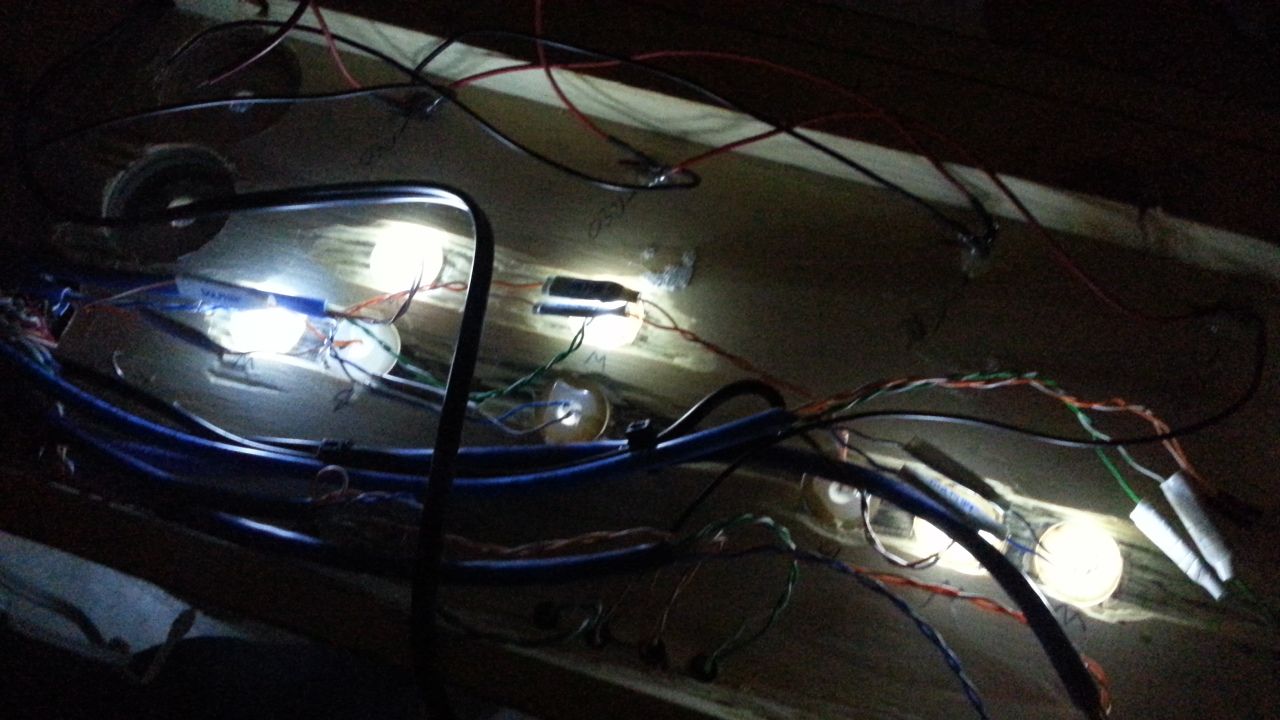
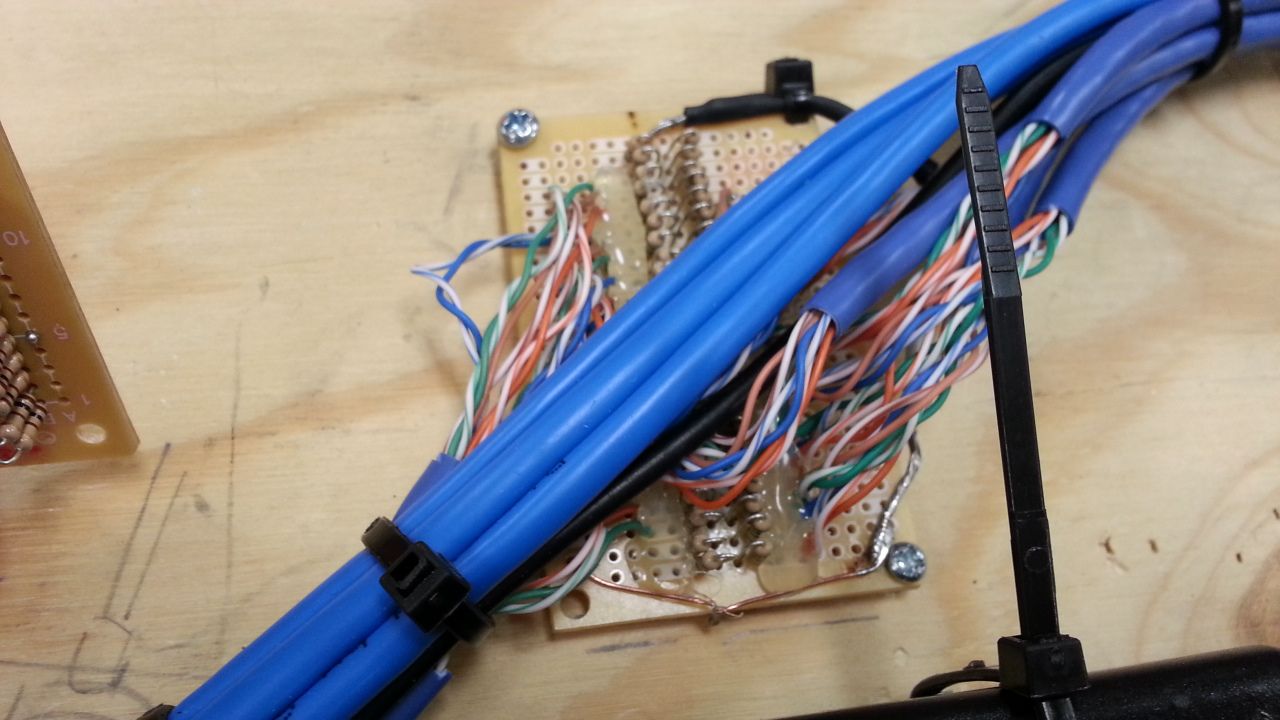
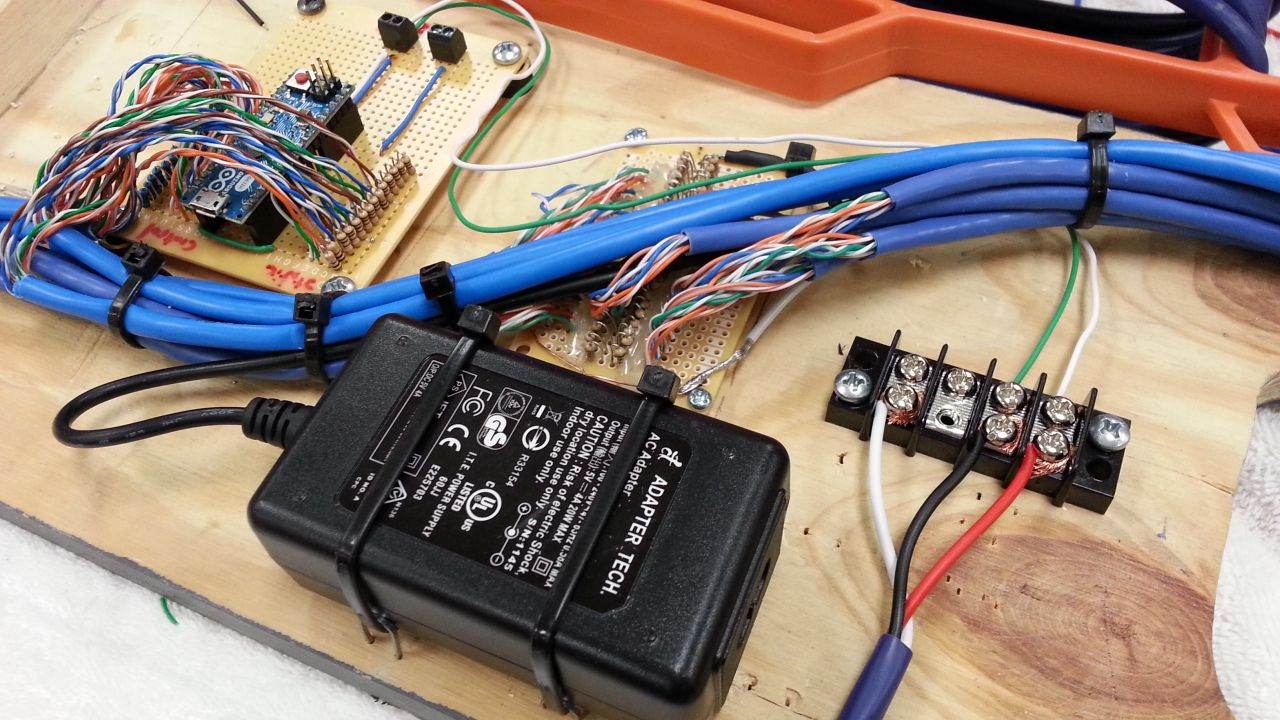
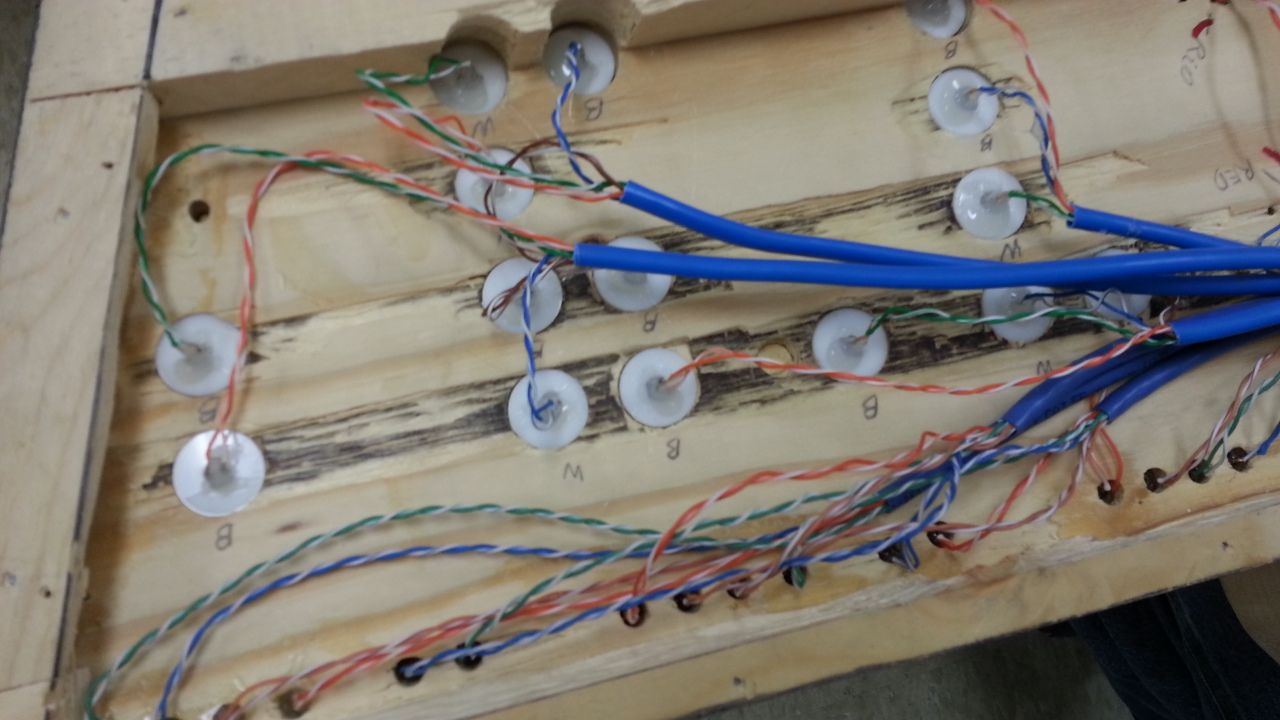
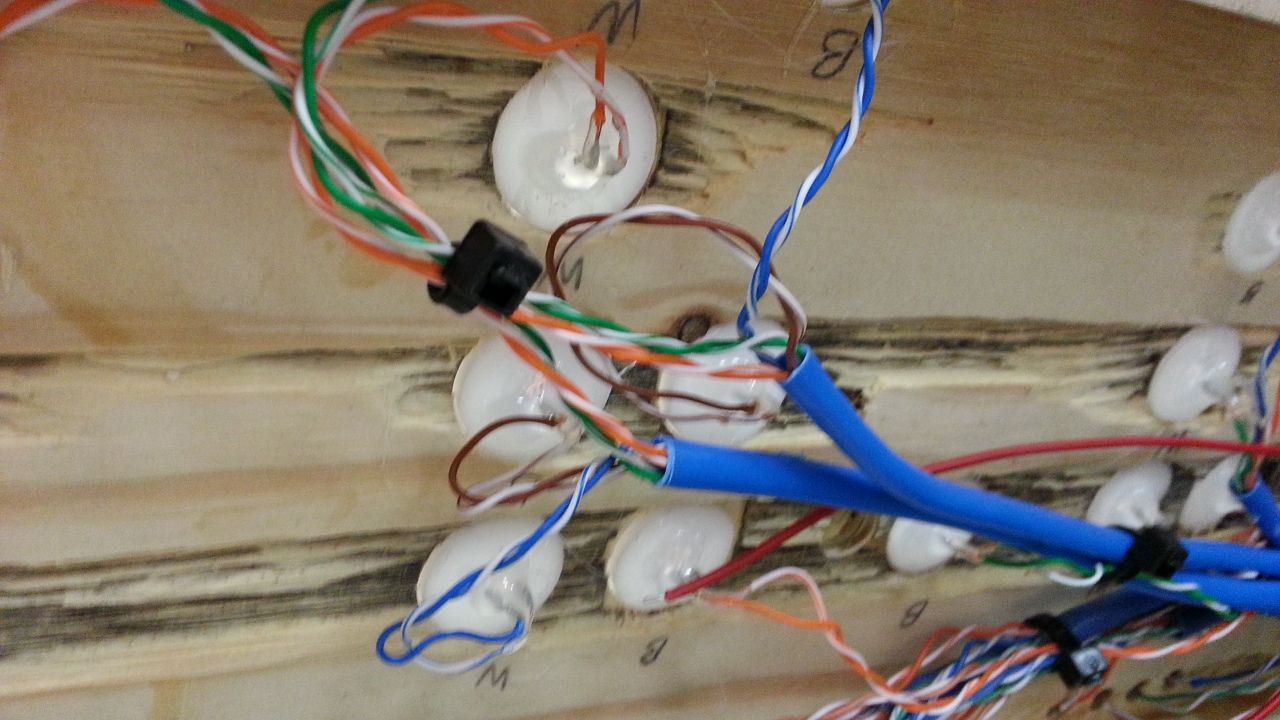
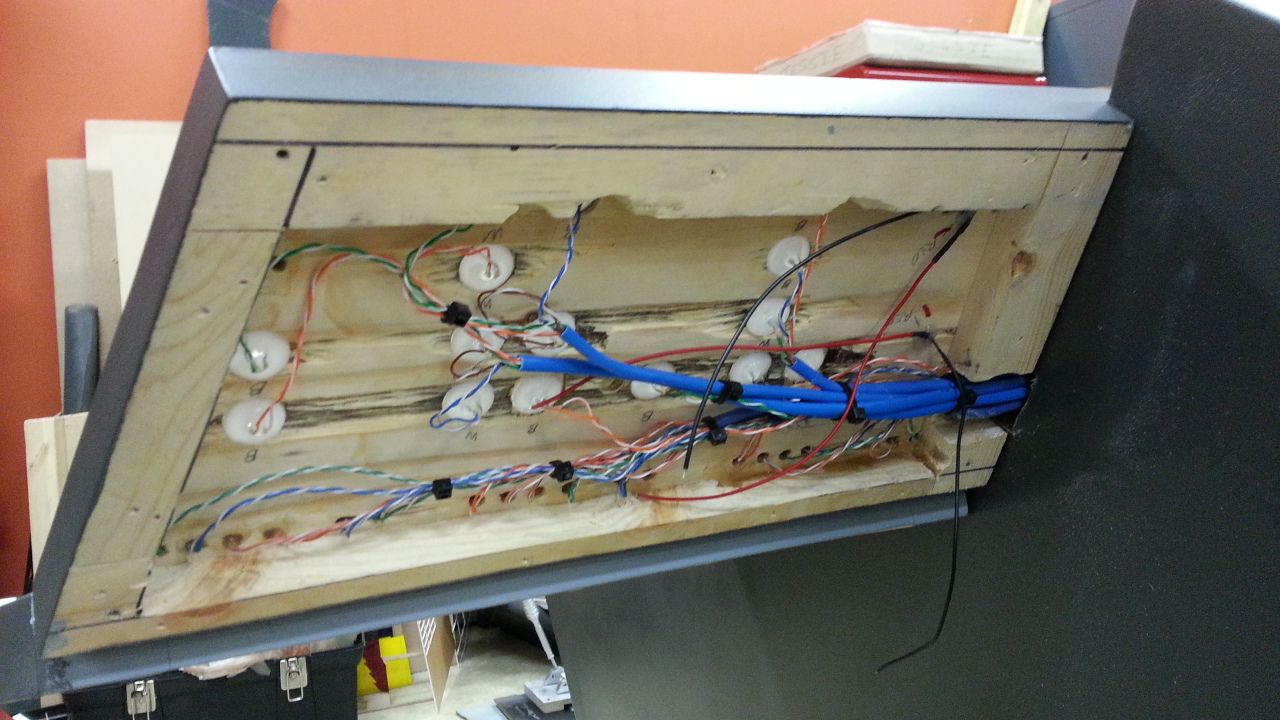
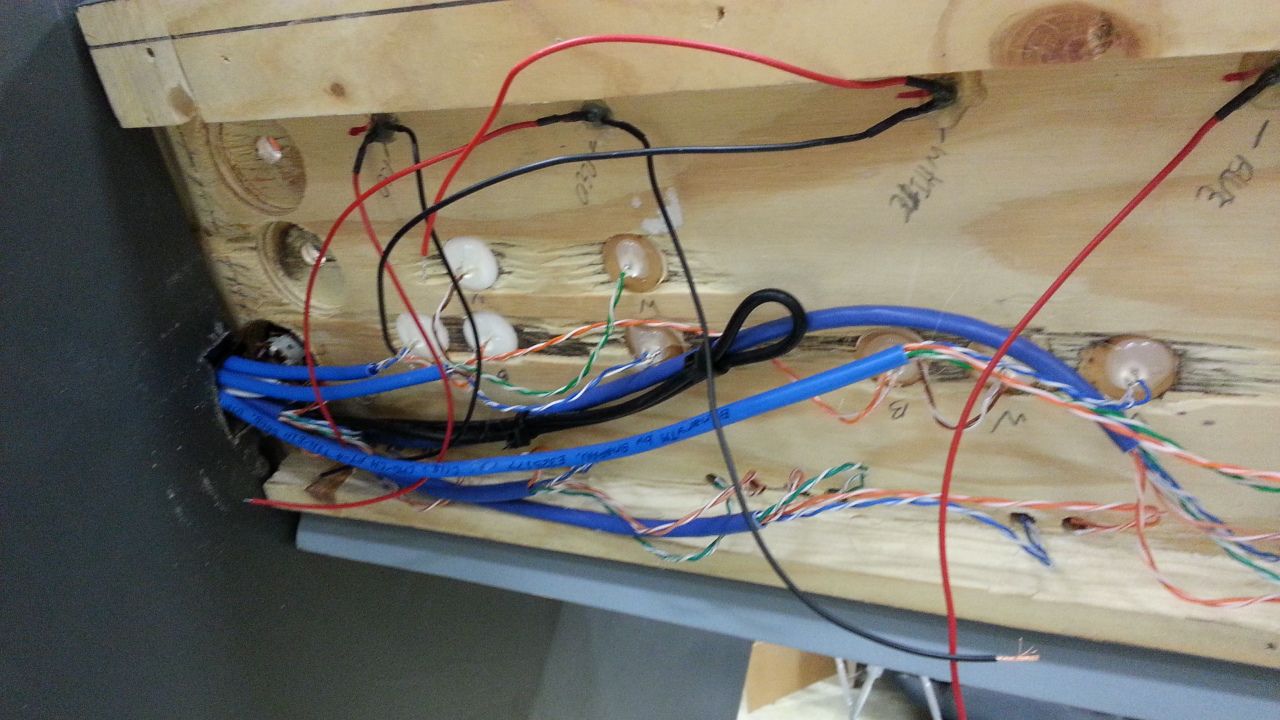
Jake was a MADMAN working all these wires and controllers the entire day!
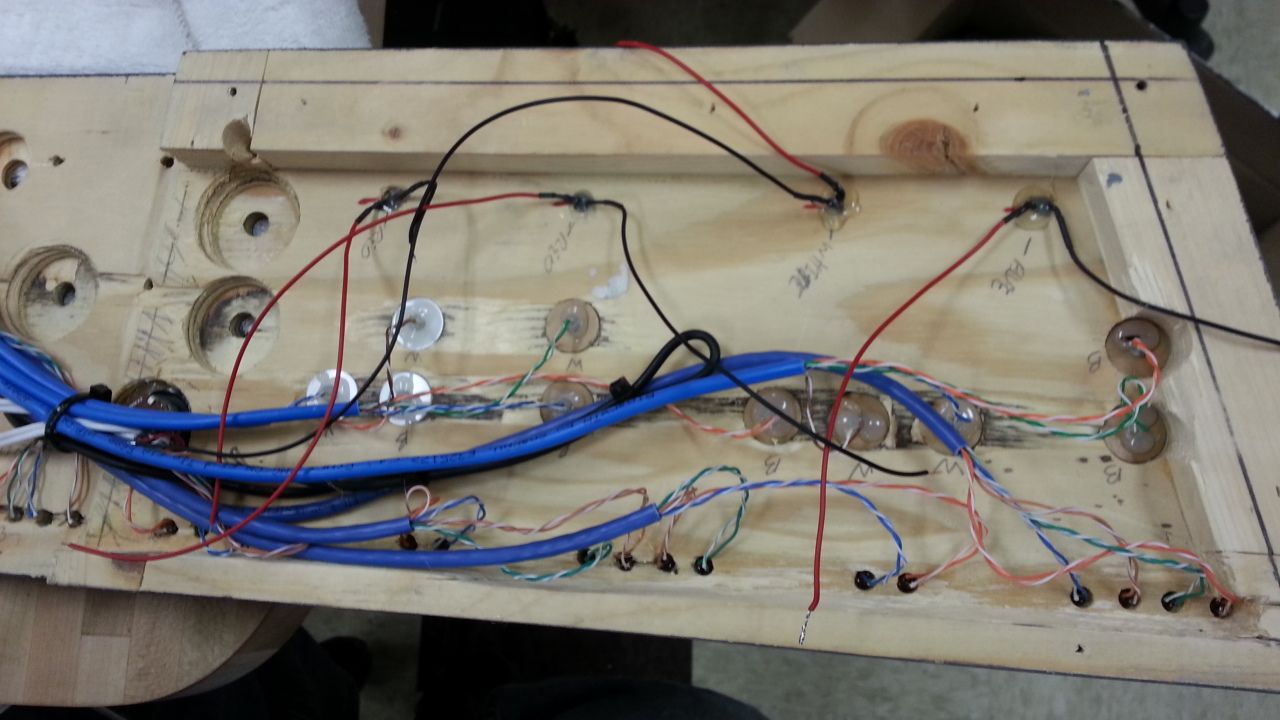
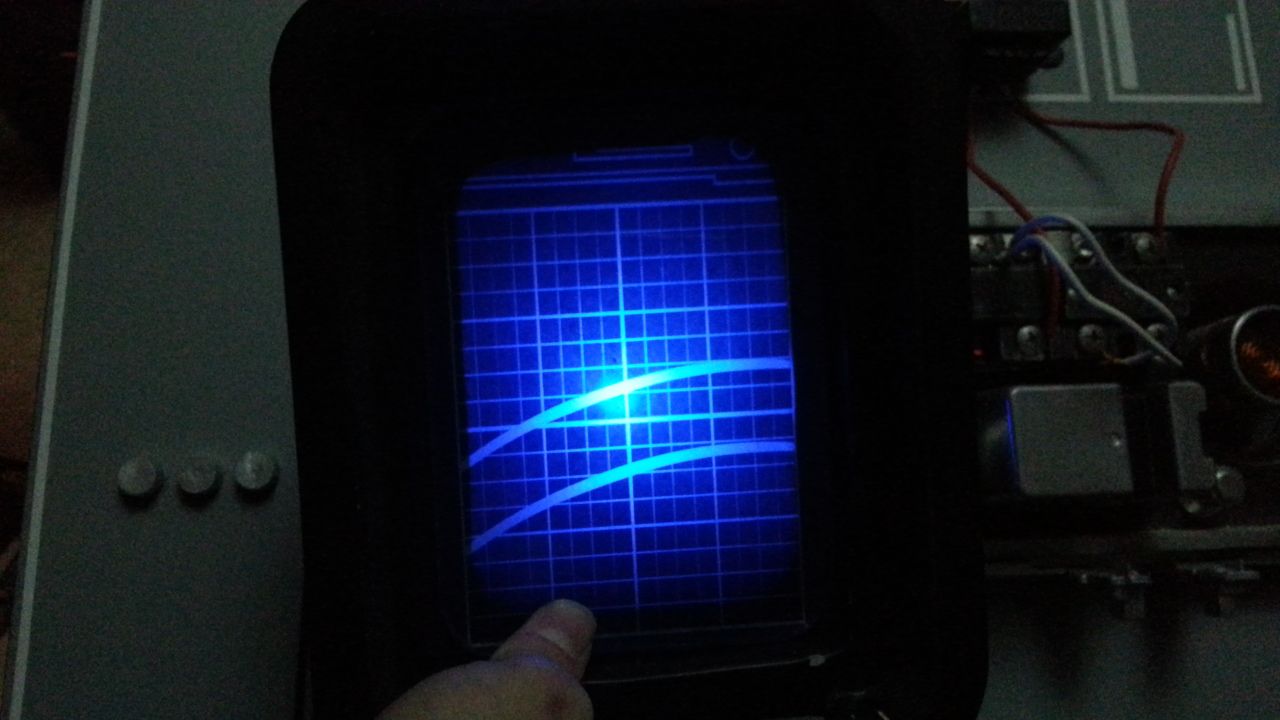
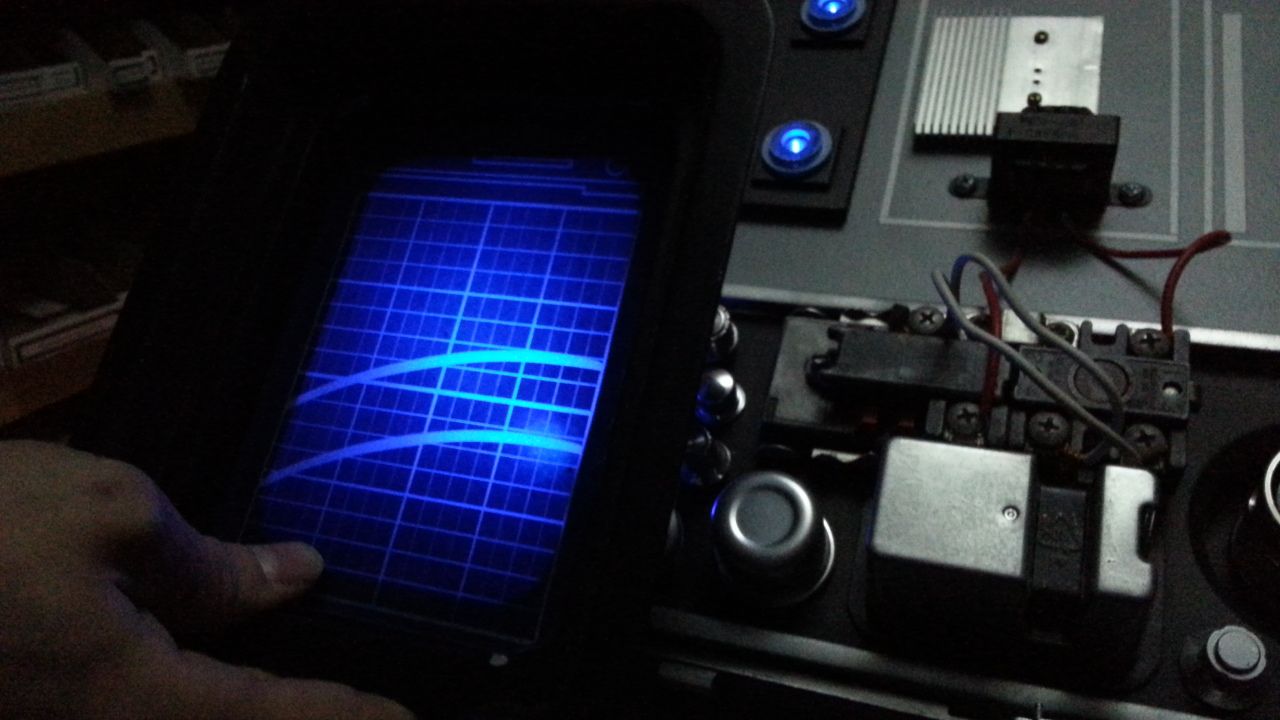
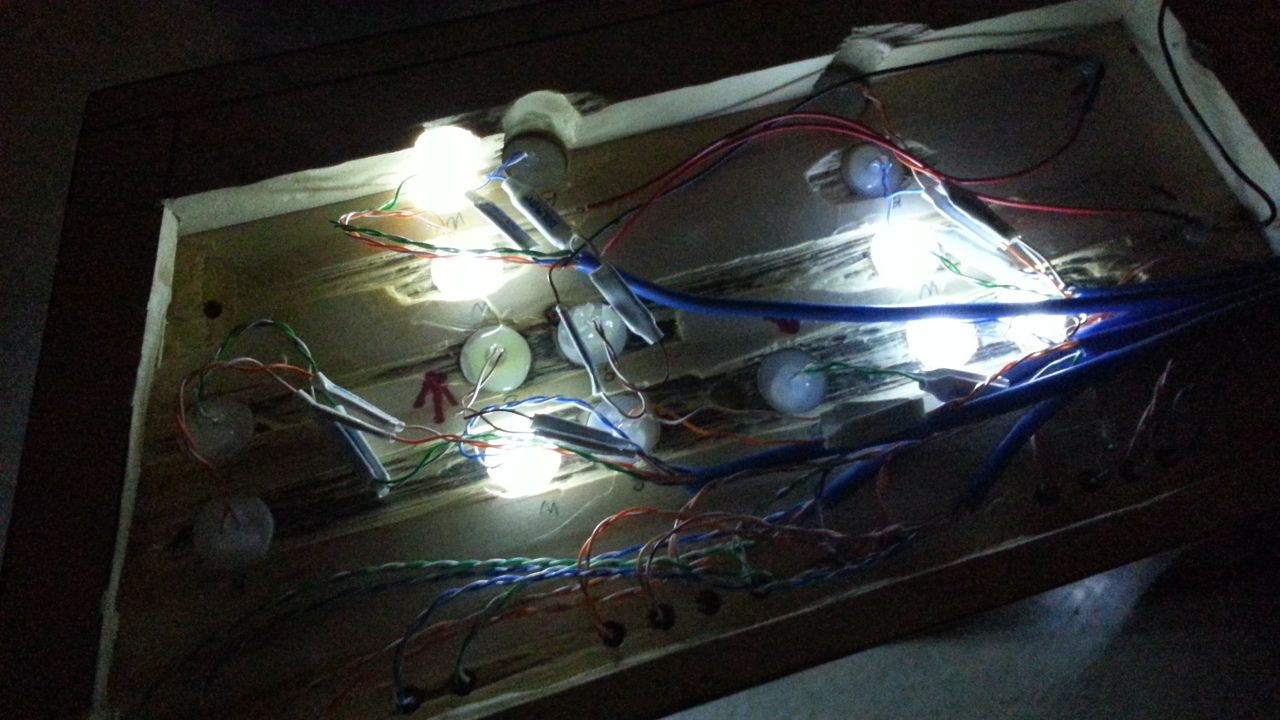
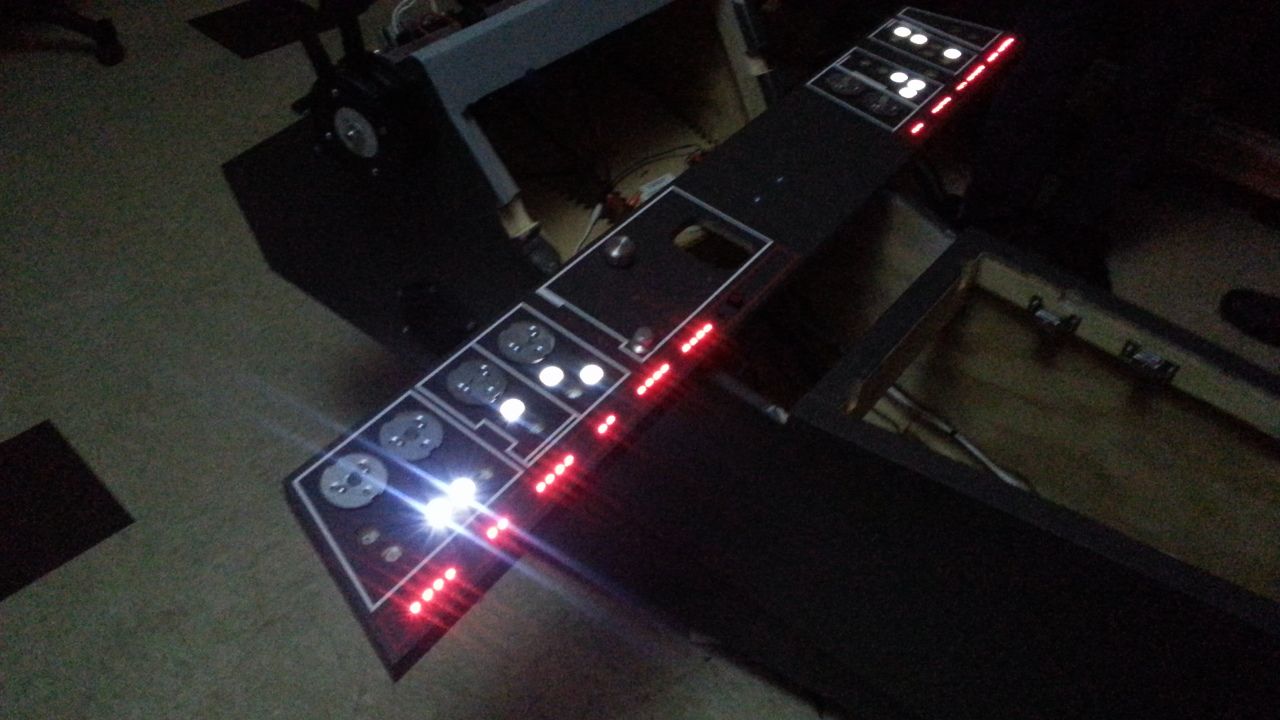
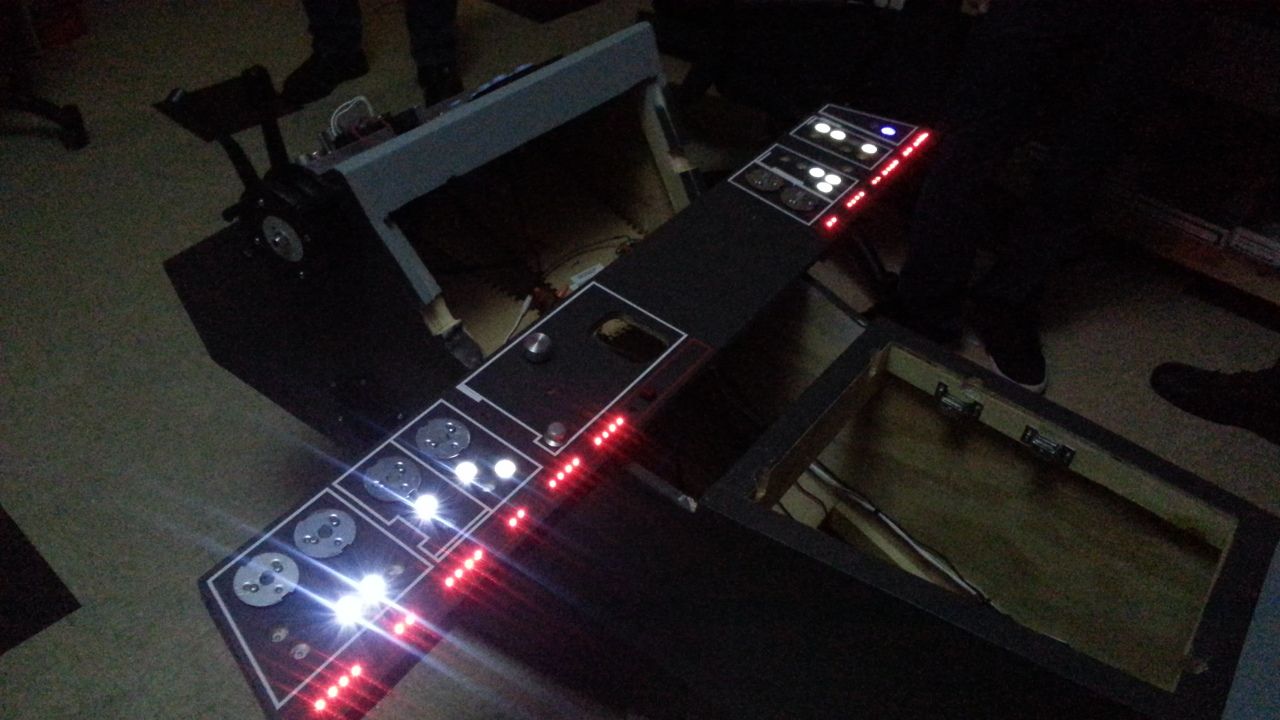
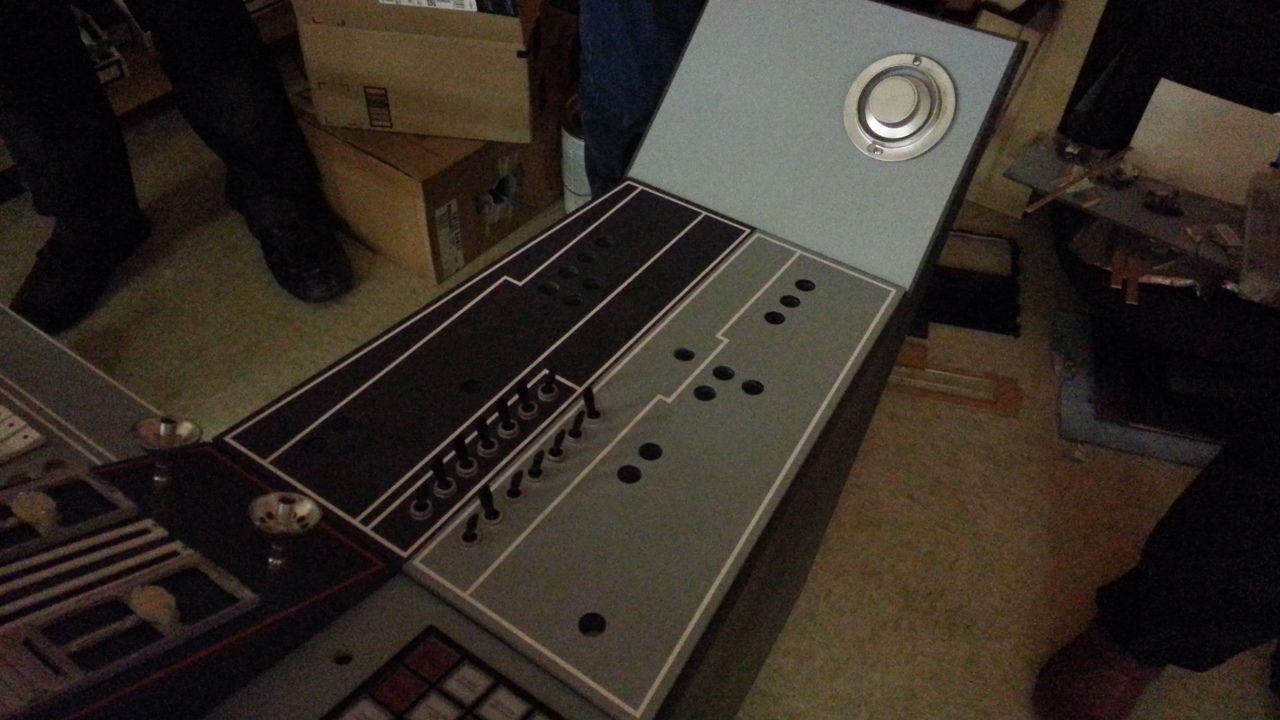
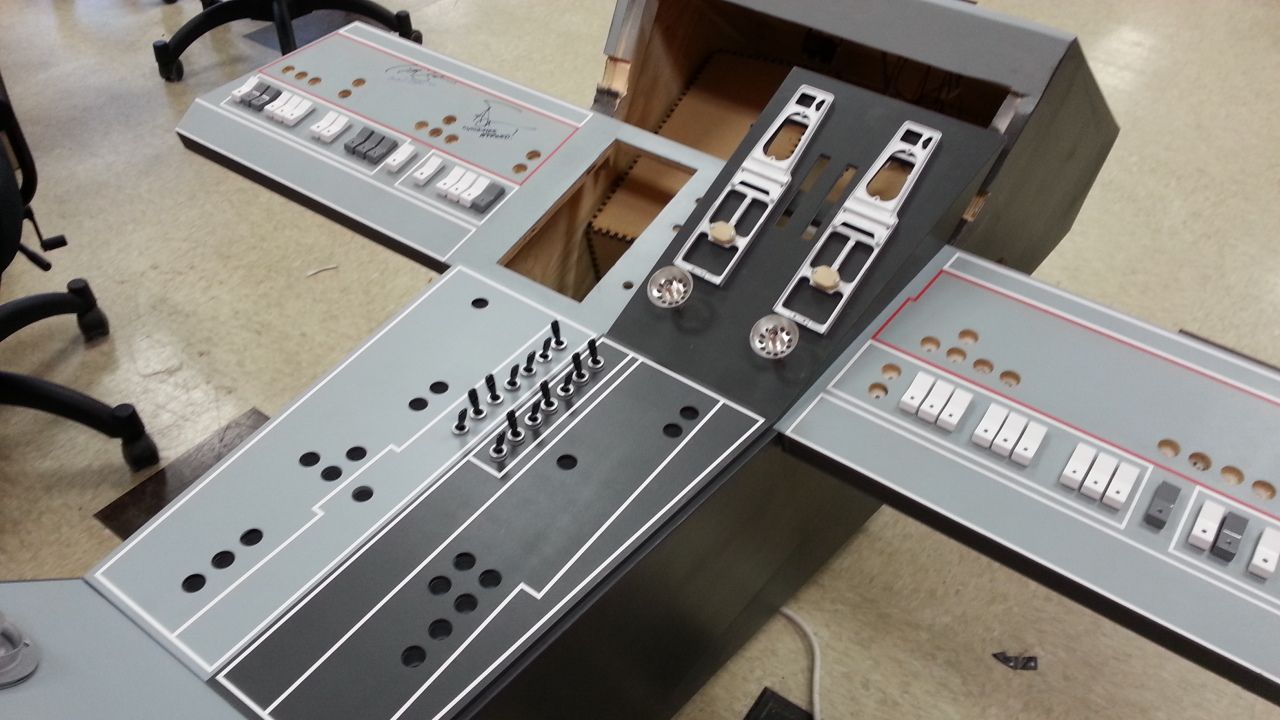
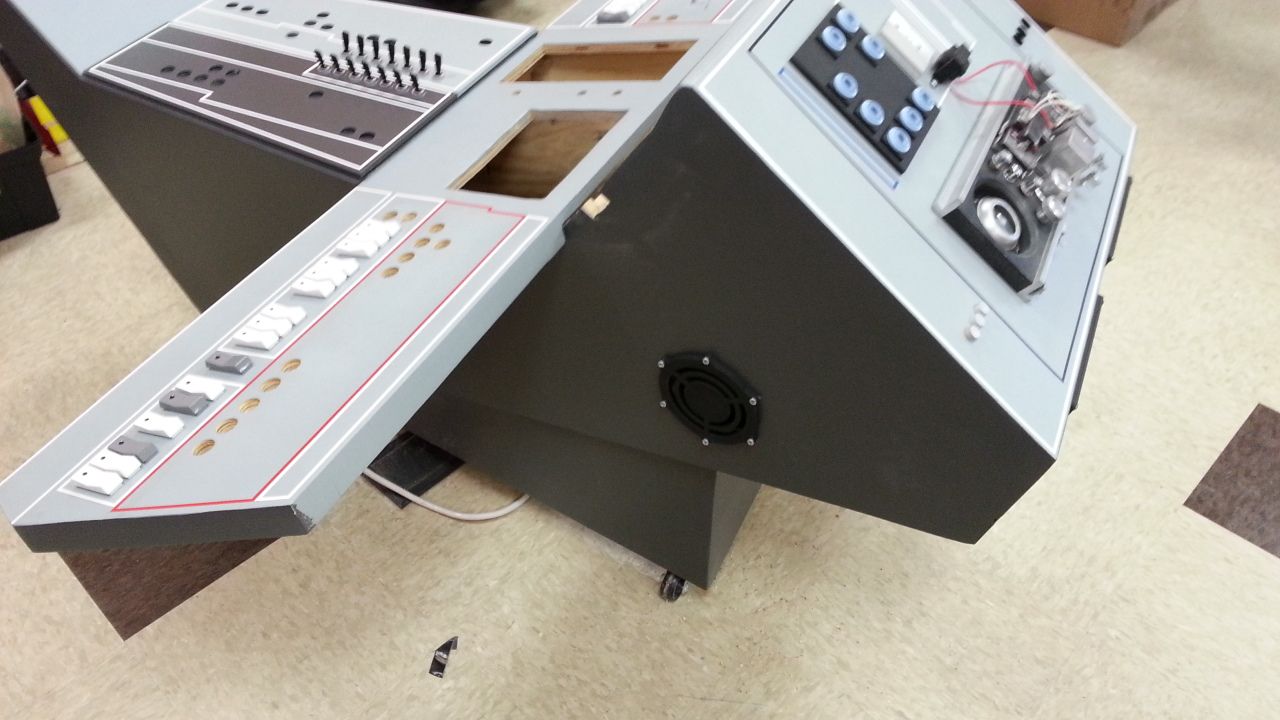
The upper panel is ALMOST finished!
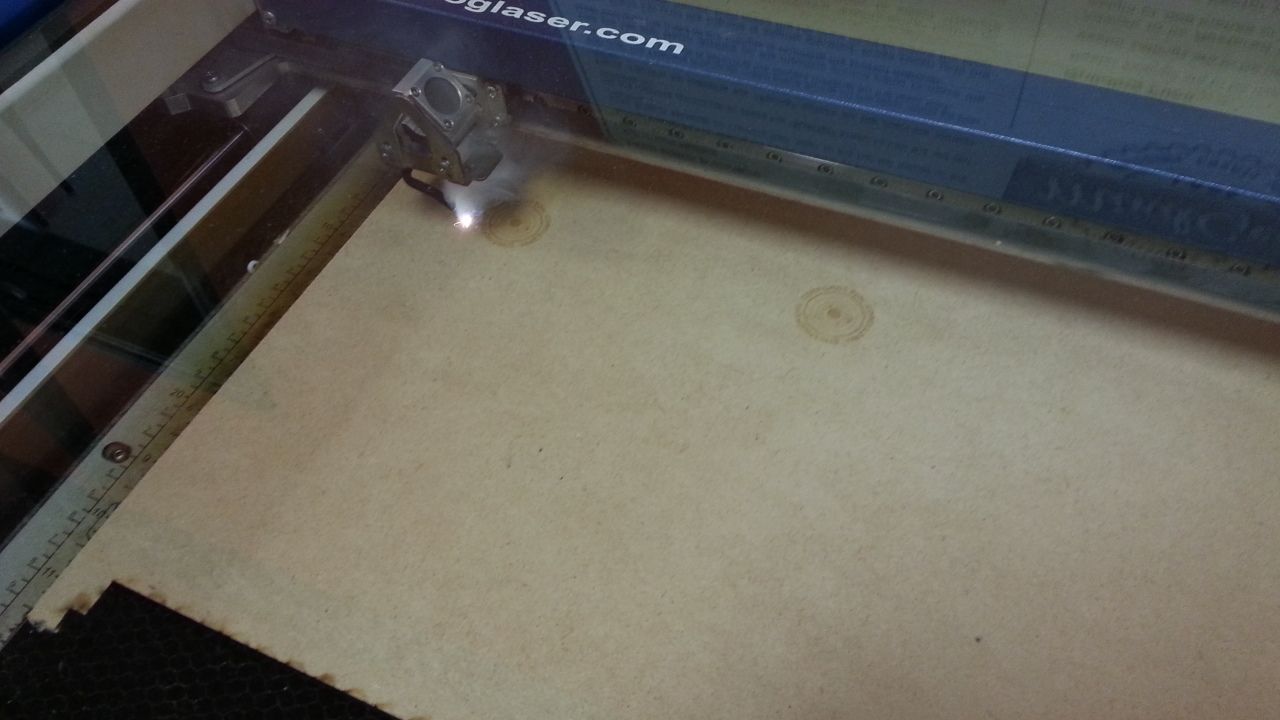
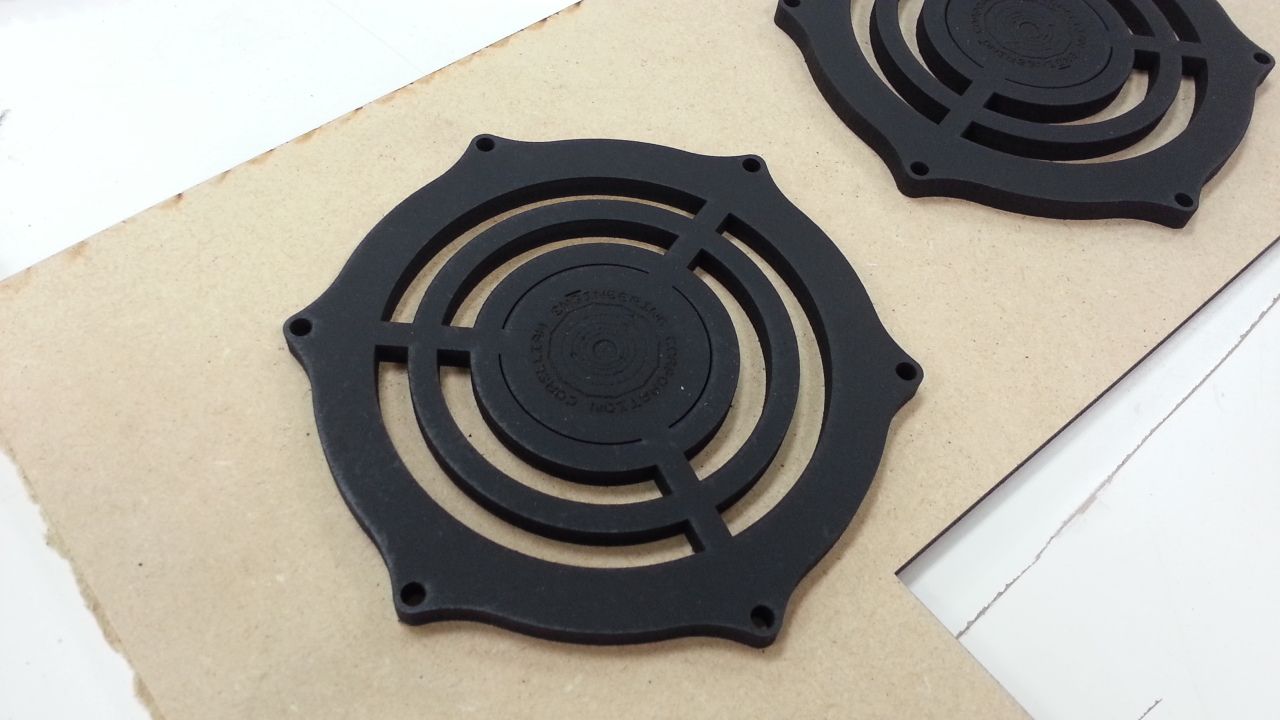
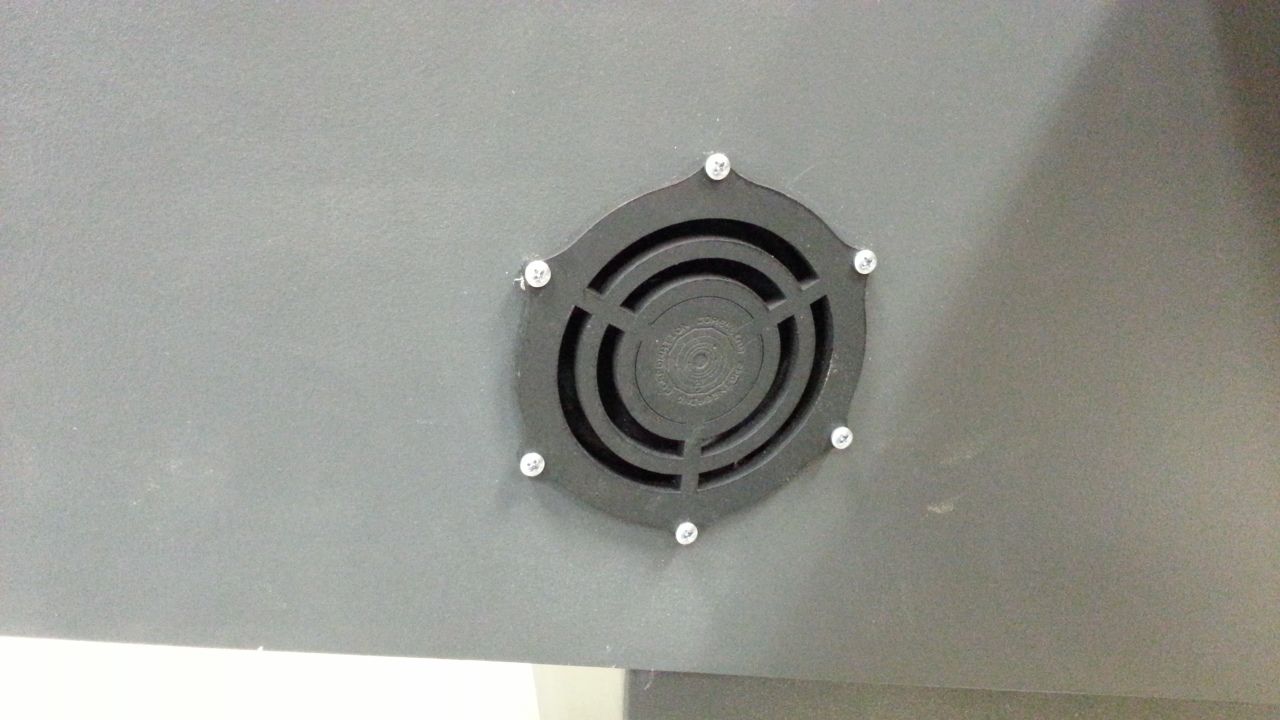
Mike then designed the two speaker covers - etching with the laser cutter

The MDF was cut then sprayed in black

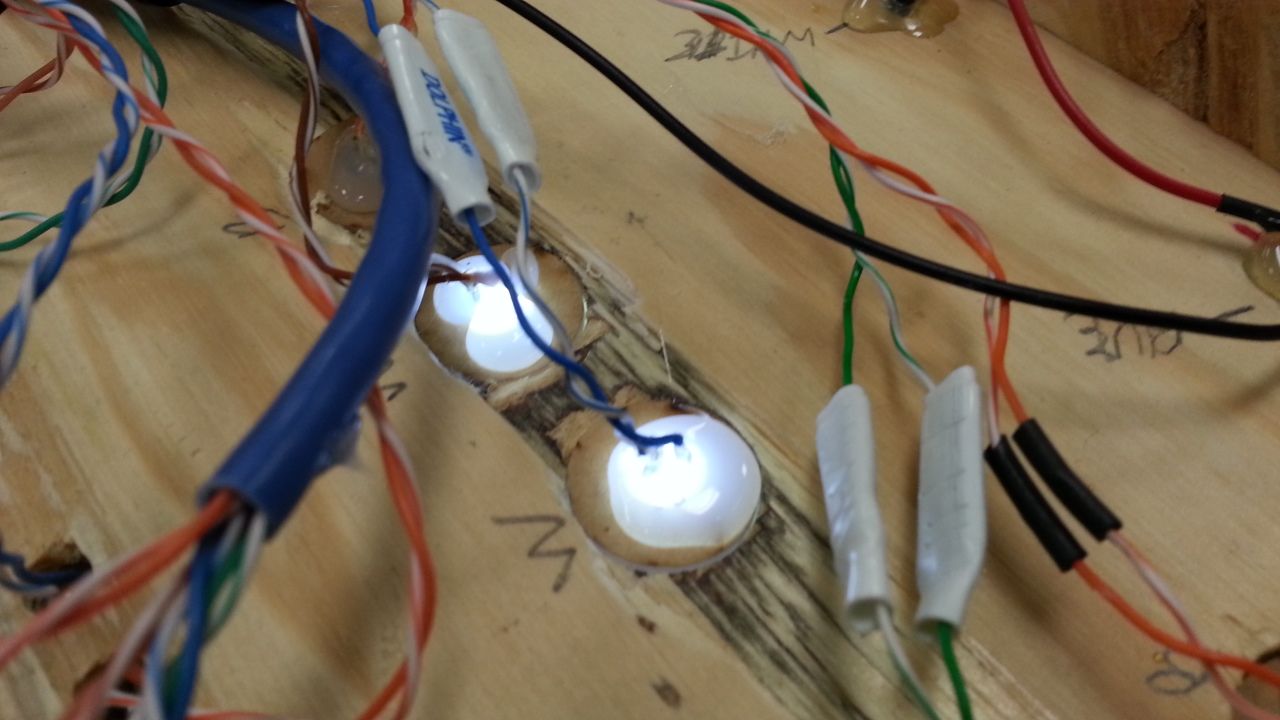
I then added the LED holders to the armrest panel
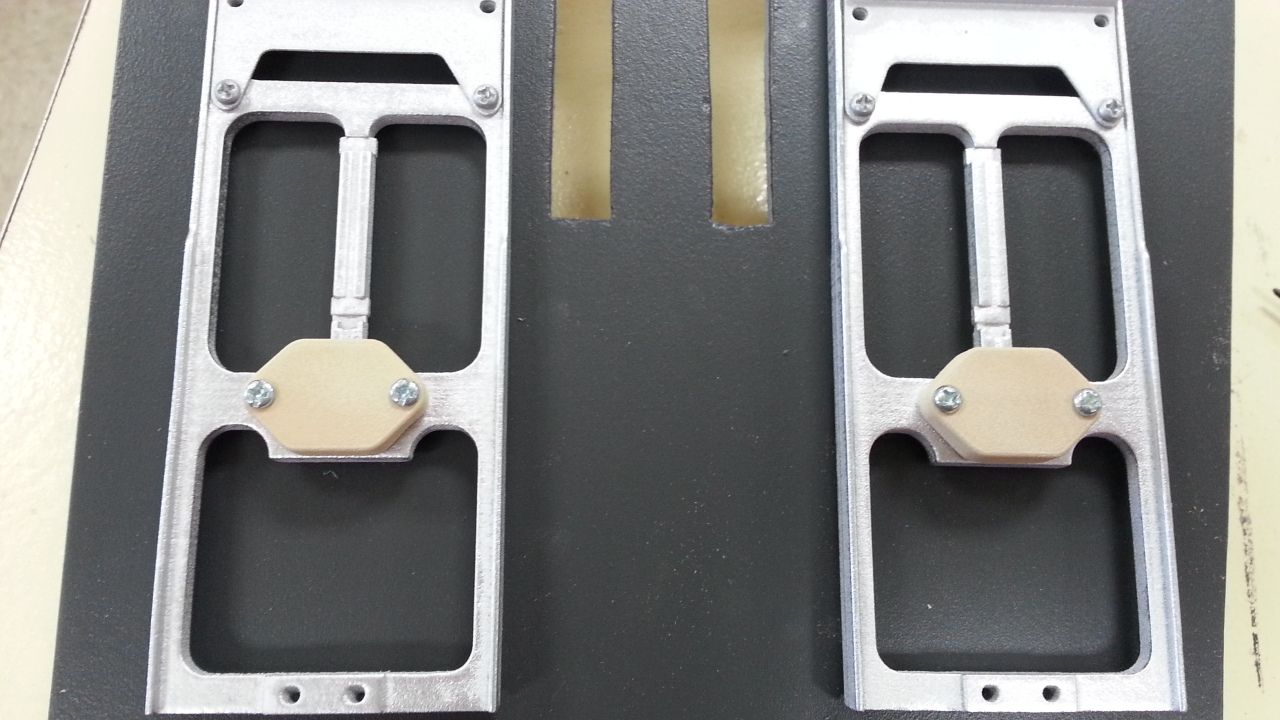
Another greeblie
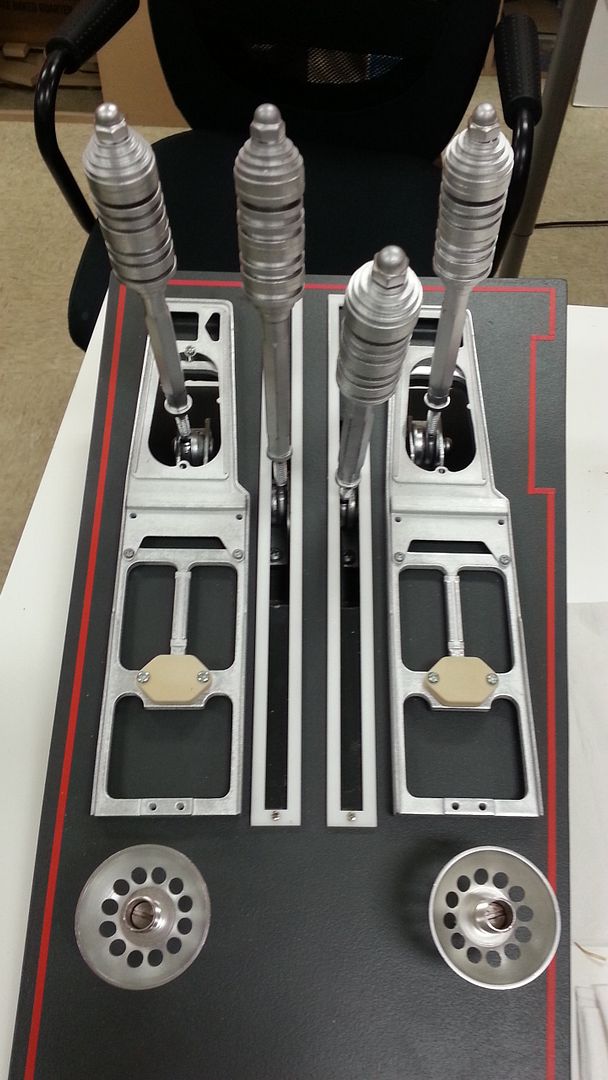
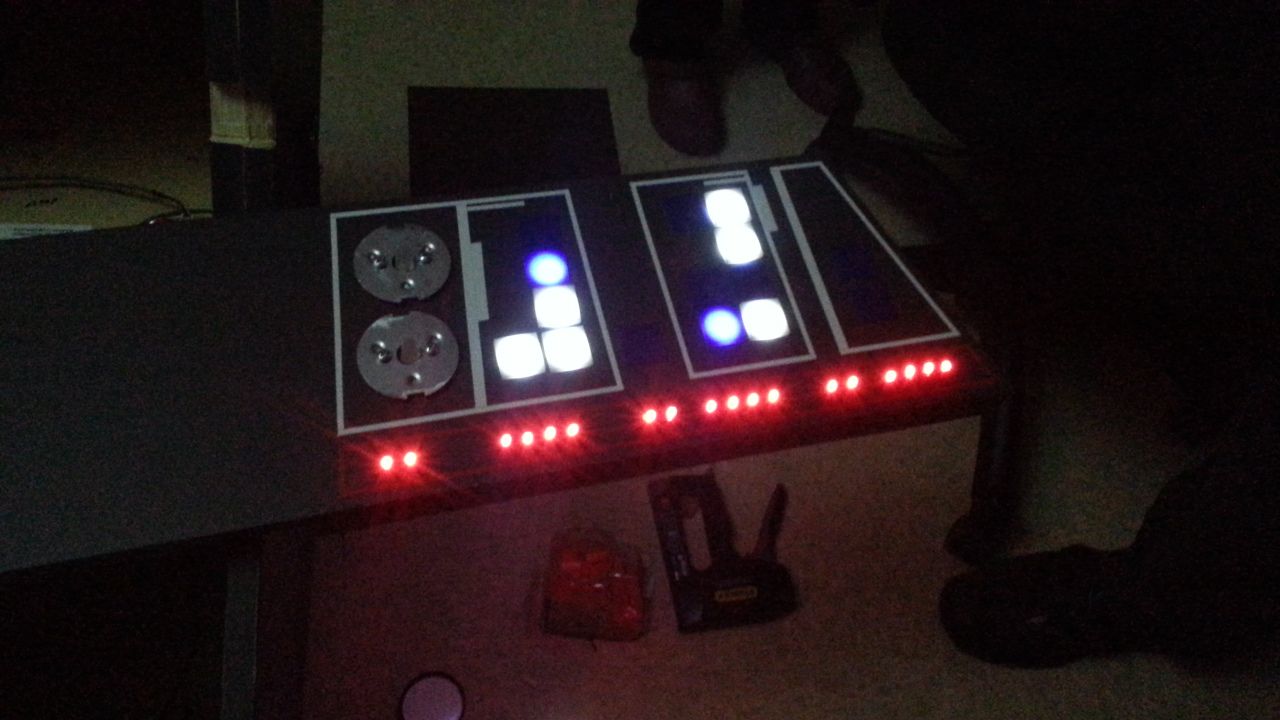
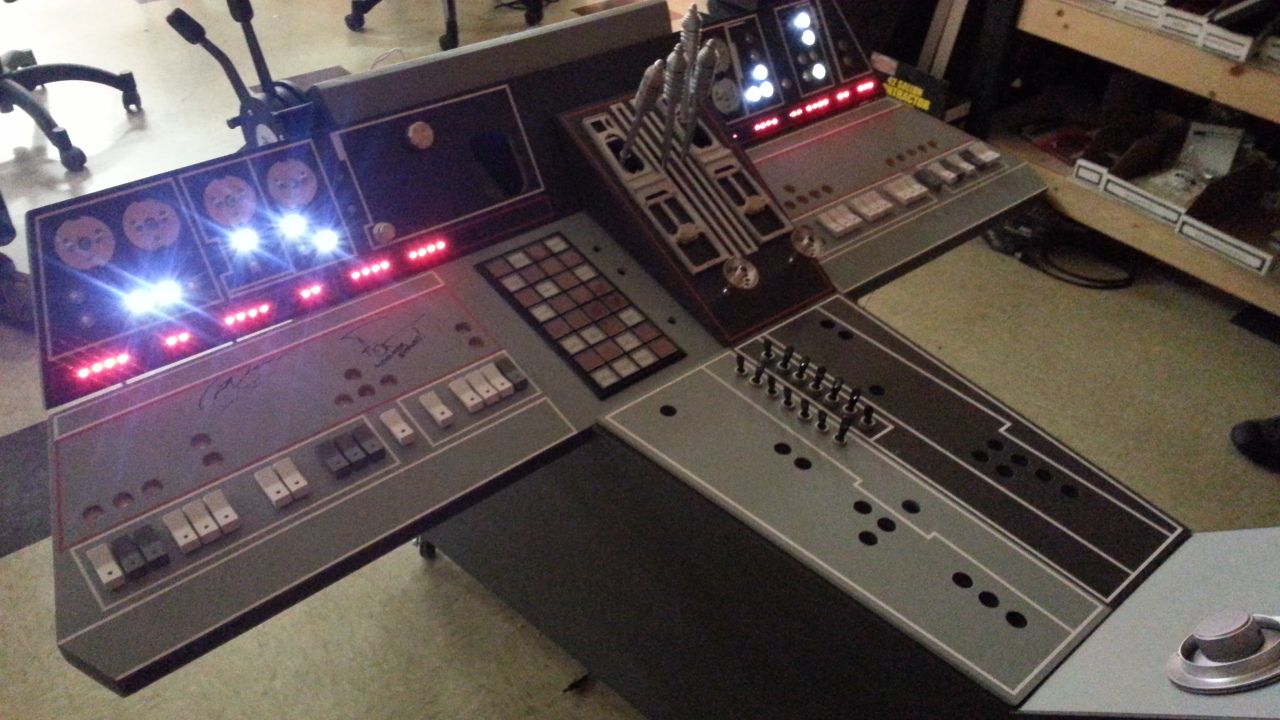
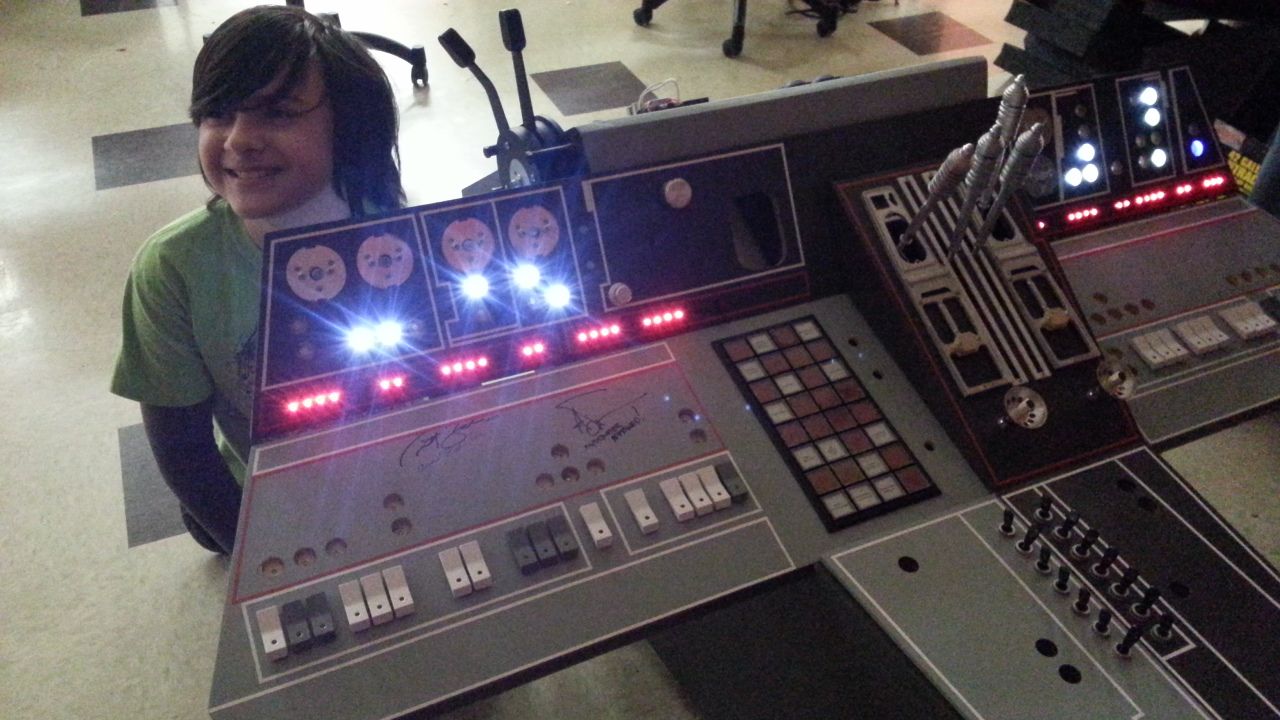
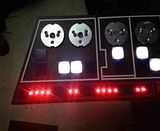
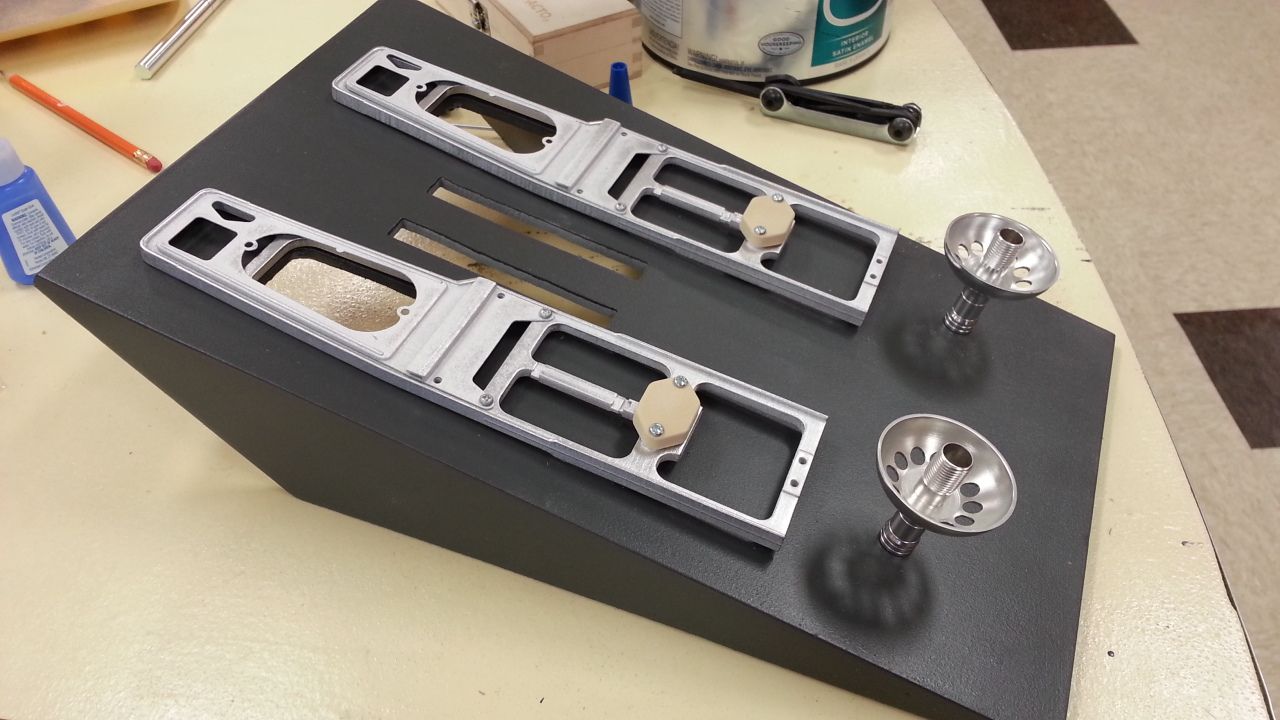
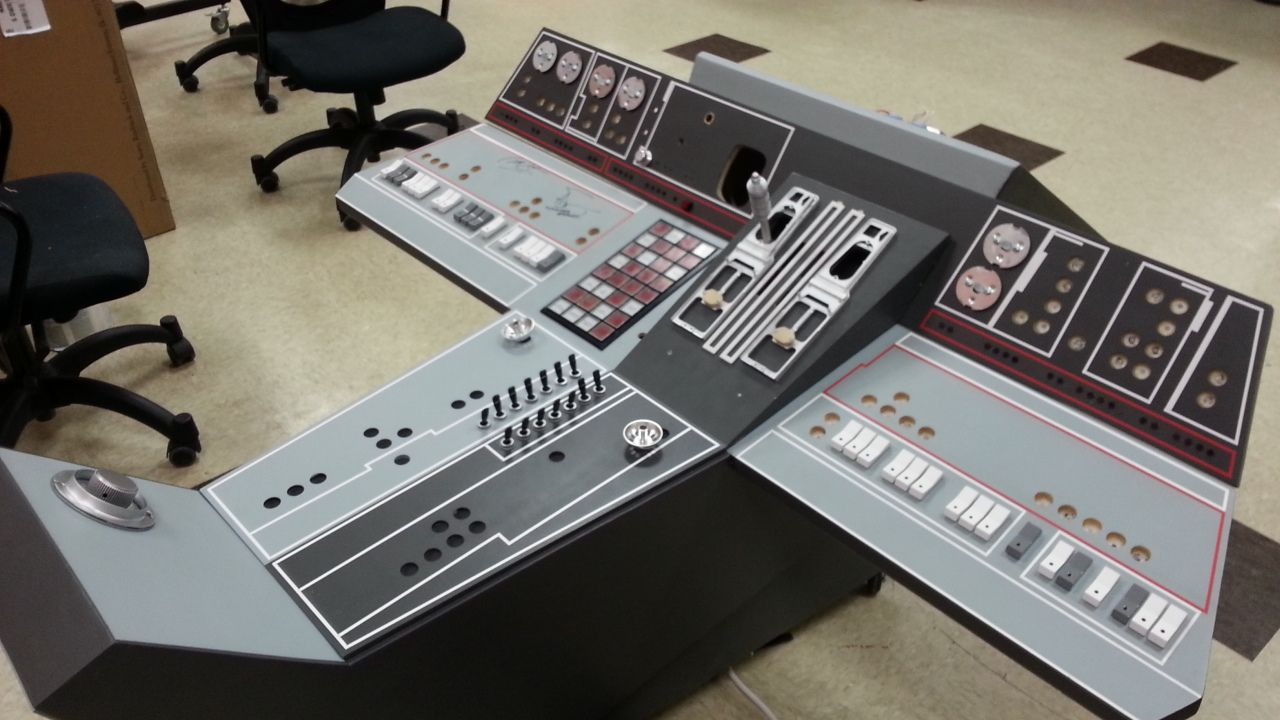
This weekends results...


Whew... More to Follow!
GREAT DAY at the Lab!
Finished up the front vents
I was given the green light to go ahead and attach the rockers back to the console
Mike and I then got started on the back panel
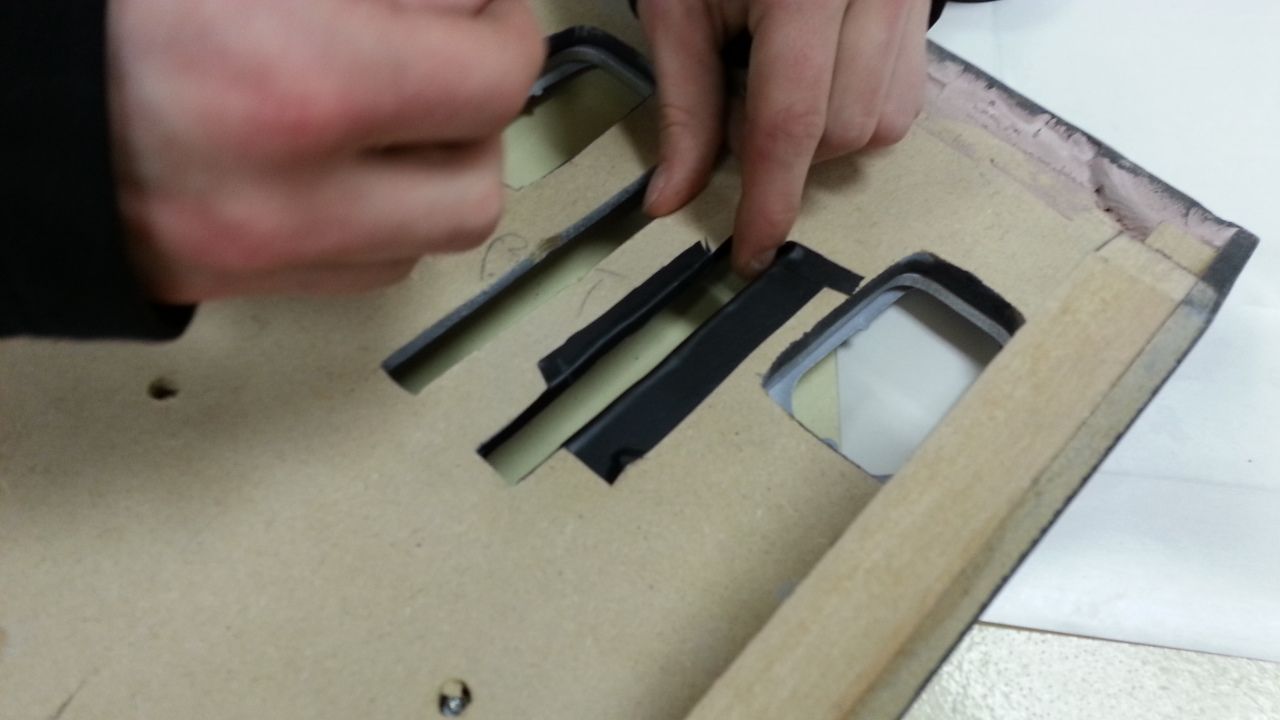
Applied the LED holders inside the holes
One of the panel greeblies
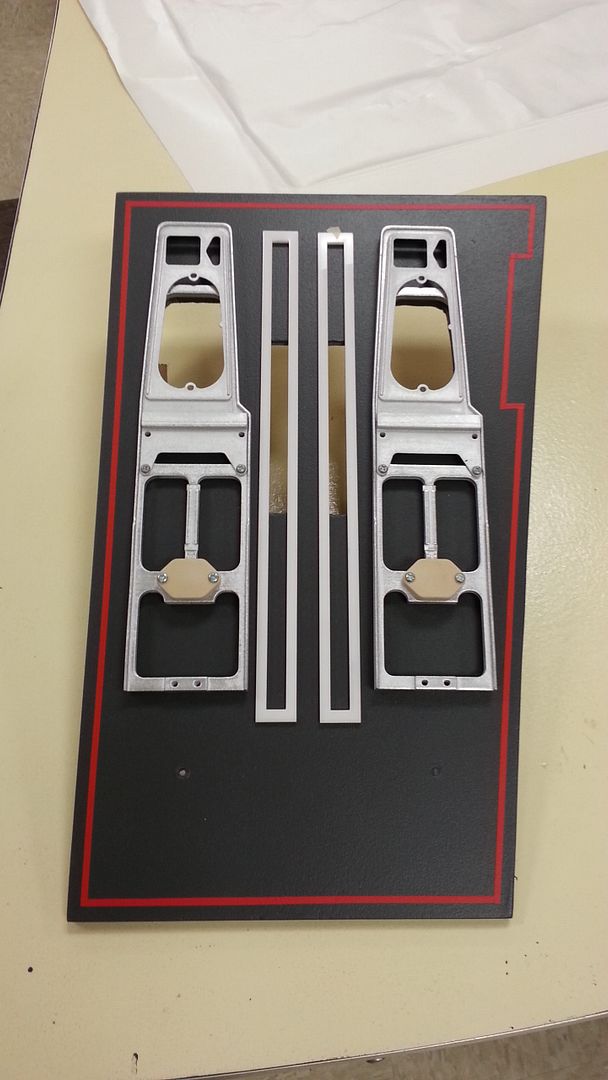
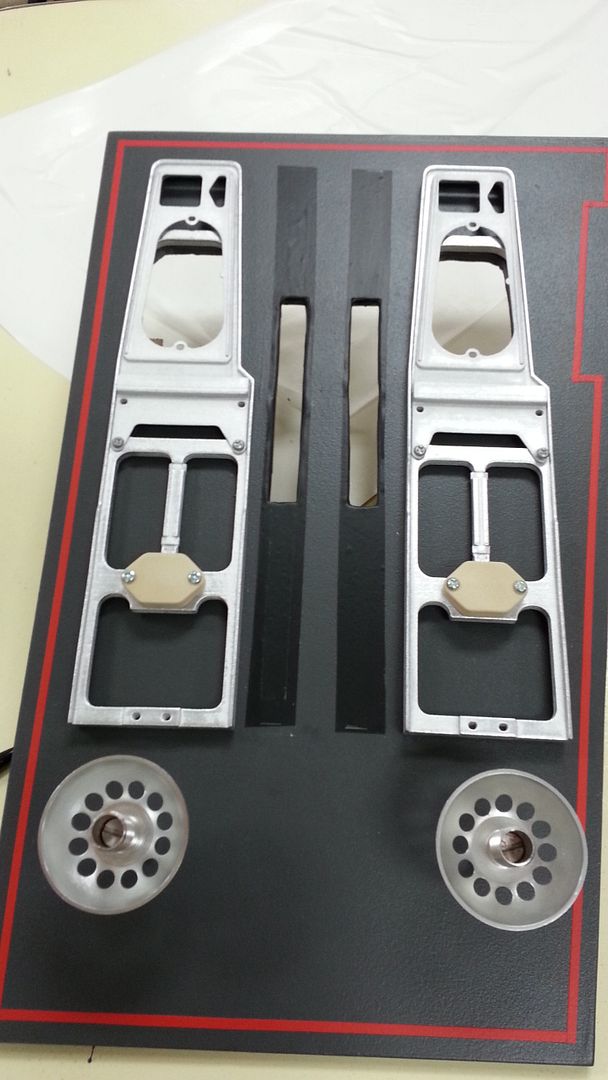
Almost finished
I think my least favorite part of this build is the dreaded throttle housing... UGH...
Included are the 4 throttle pistons - getting the first of many silver coats
Drying in the Easy Bake Oven
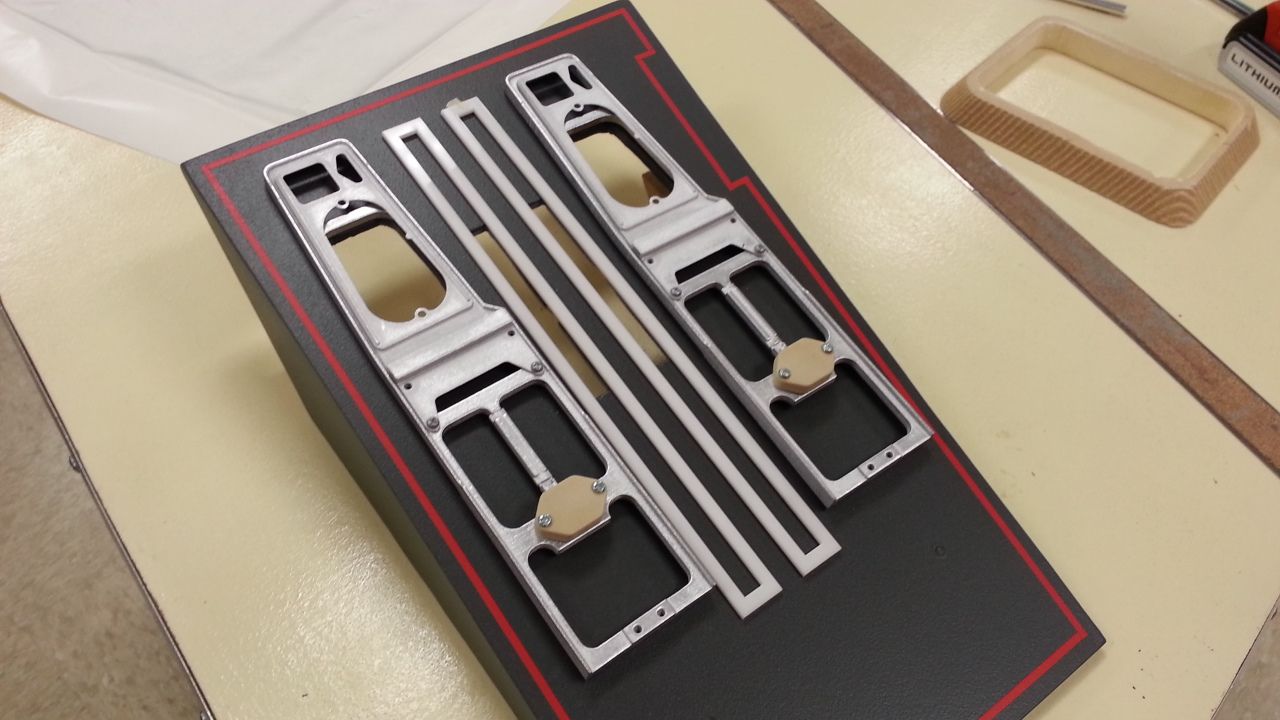
Slowly getting there...
Mike then measured and laser cut the two white rectangles for the inner pistons
Graphic for the upcoming laser cut nav screen
Here's Philip working his soldering skills
Jake was a MADMAN working all these wires and controllers the entire day!
The upper panel is ALMOST finished!
Mike then designed the two speaker covers - etching with the laser cutter
The MDF was cut then sprayed in black
I then added the LED holders to the armrest panel
Another greeblie
This weekends results...
Whew... More to Follow!