You are using an out of date browser. It may not display this or other websites correctly.
You should upgrade or use an alternative browser.
You should upgrade or use an alternative browser.
1:1 Millennium Falcon Cockpit Replica - Group Build
- Thread starter SteveStarkiller
- Start date
Hi Gang,
Another night at the lab... LEDs, sound, paint and pin stripes all rolled into one. Sorry... no vids and not a lot of pics... but LOTS of forward movement!
As many of you know we are shooting for the Nashville TEDx show on Saturday, 22 March. Chris Lee will be giving a 20 min presentation and the stand alone cockpit (maybe the quad) will be on display. Jake, Mike and I will be attending as well...
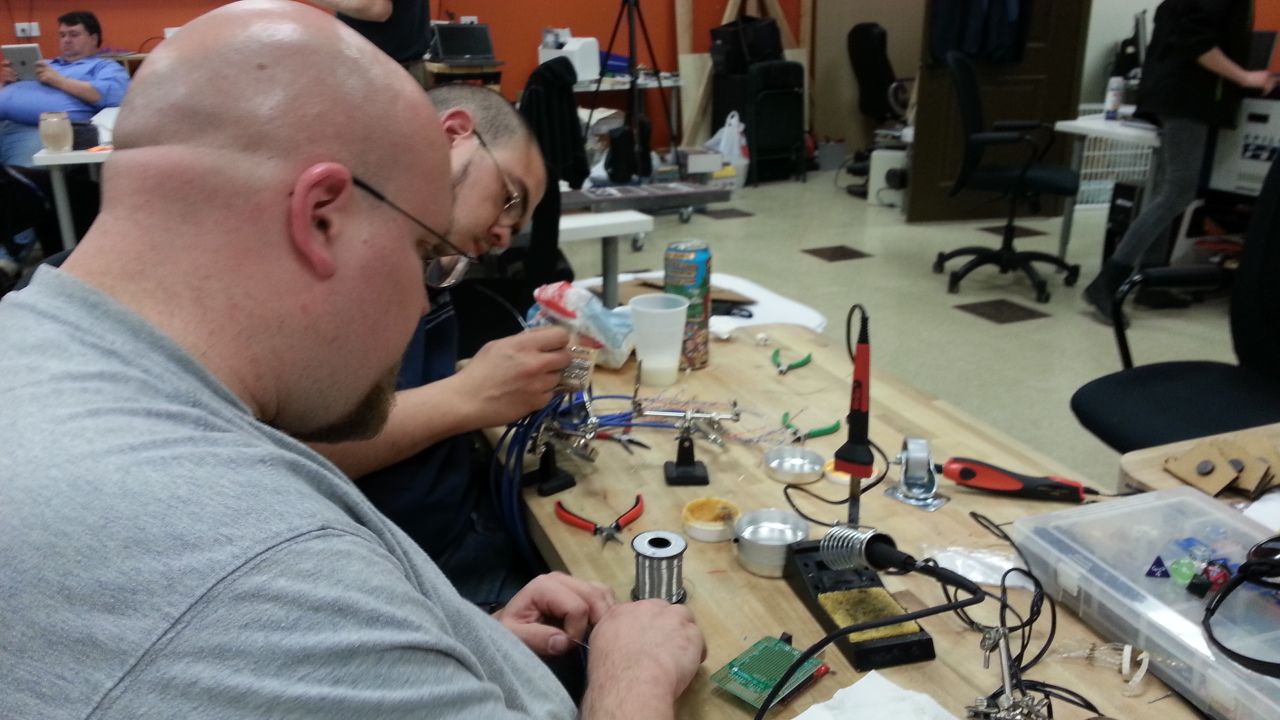
Doug working on a series of red LEDs for the upper control panel
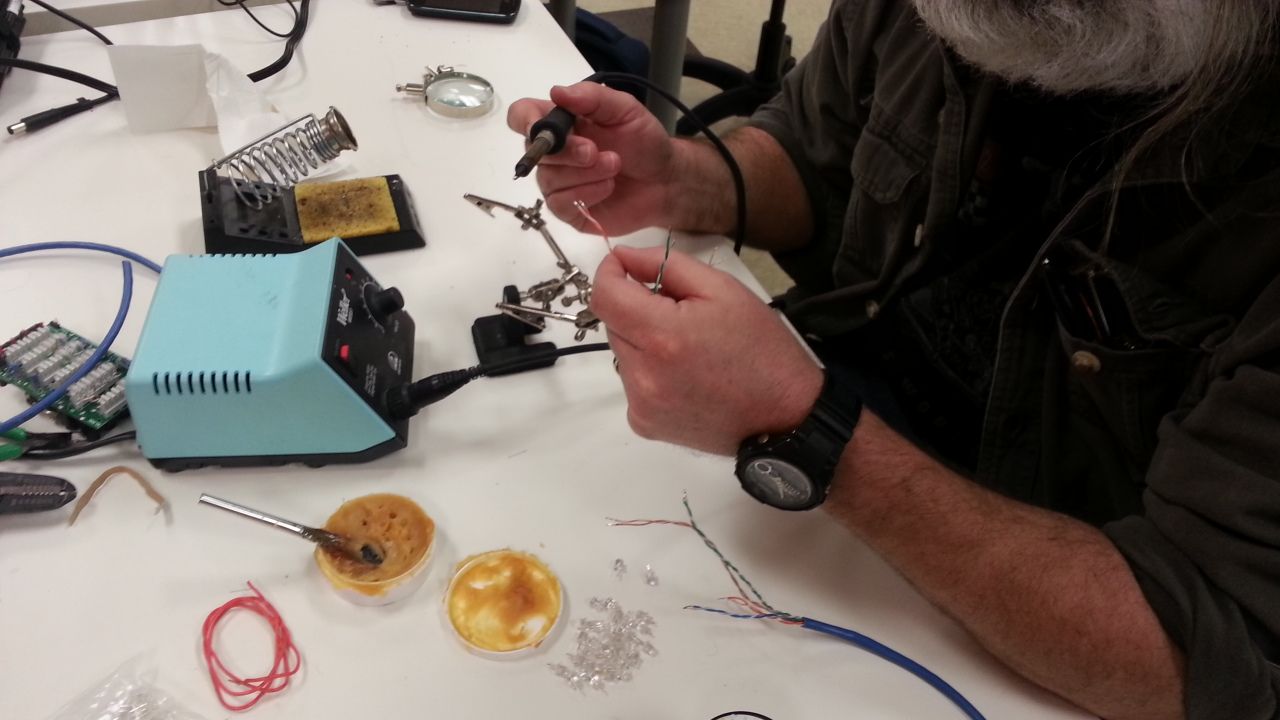
Daniel plugging away
Jake working another piece of magic

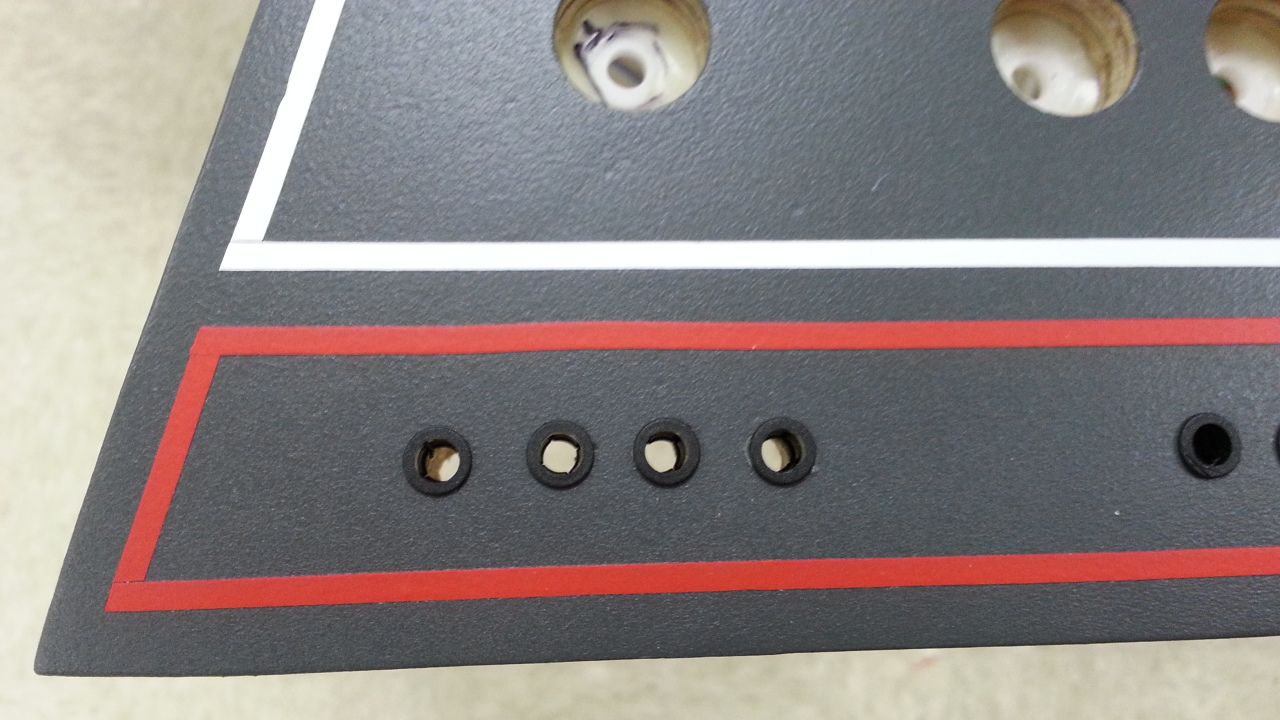
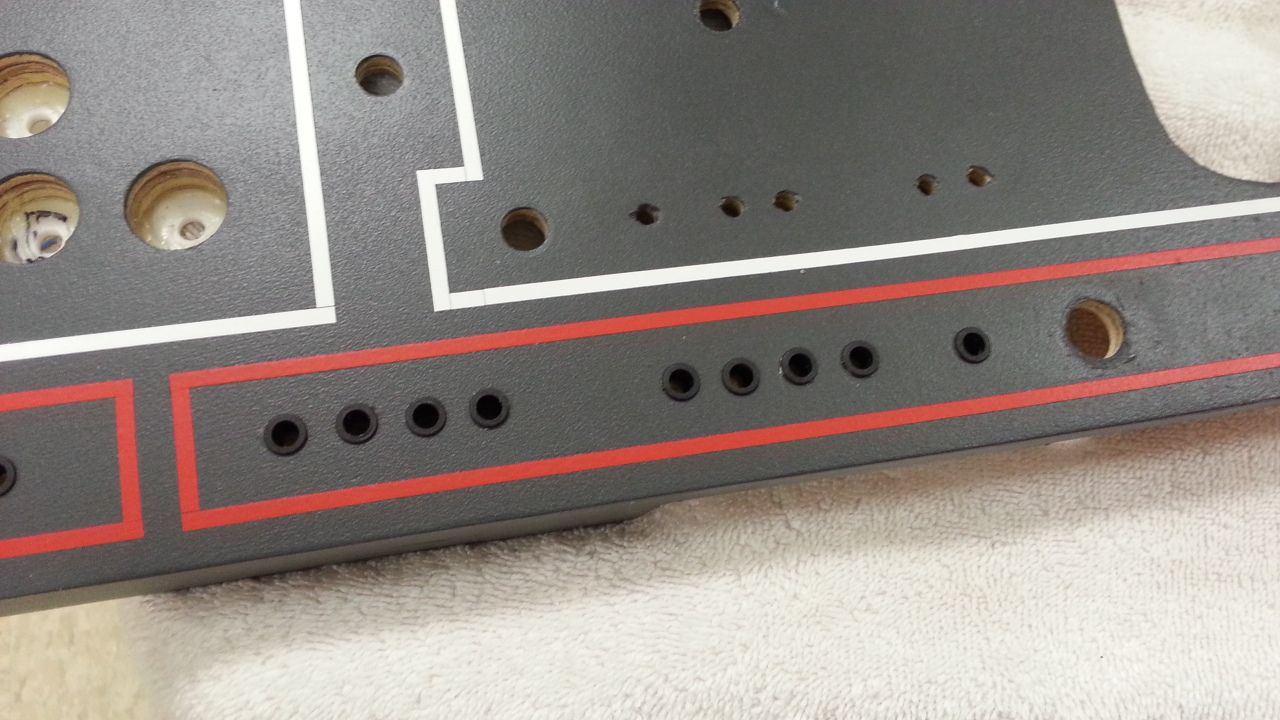
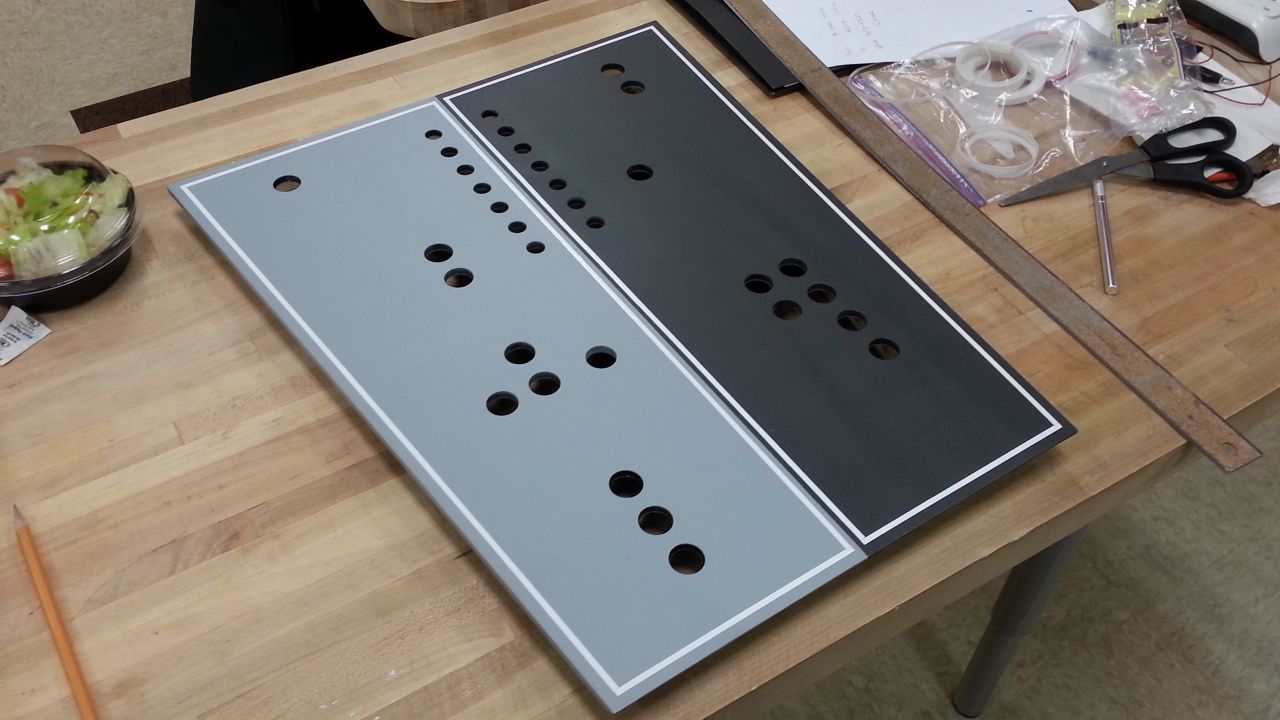
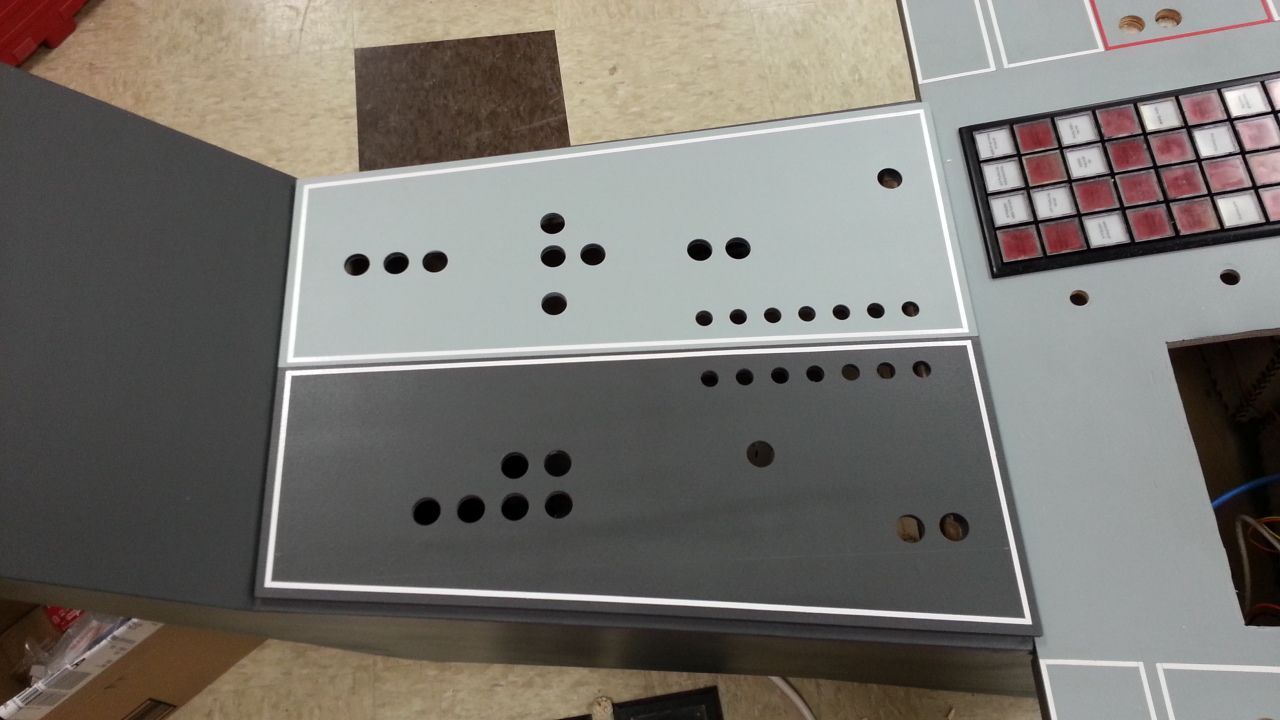
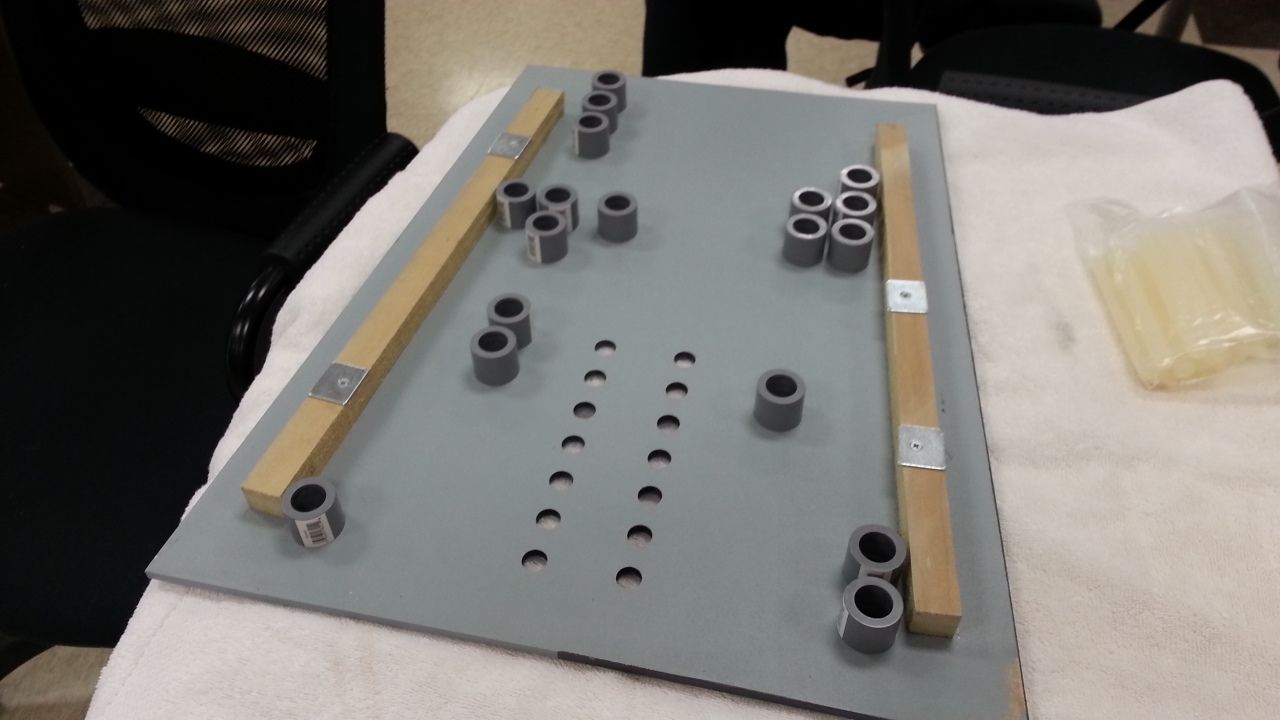
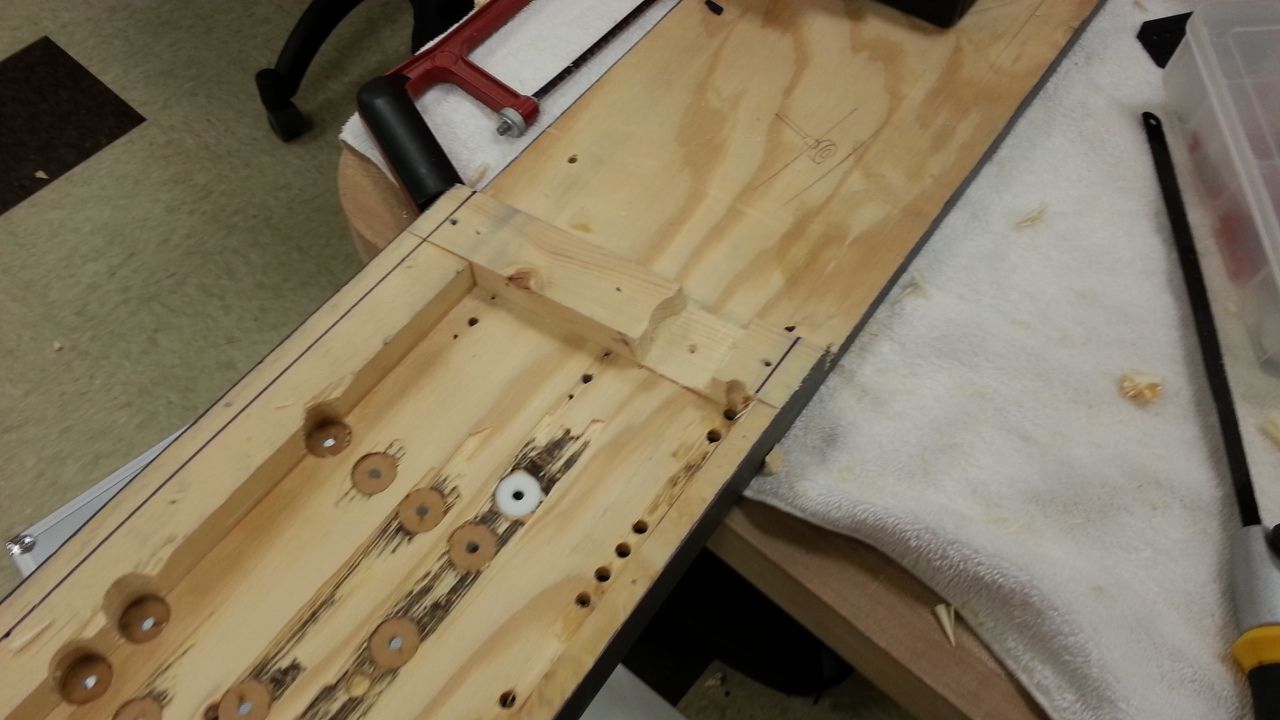
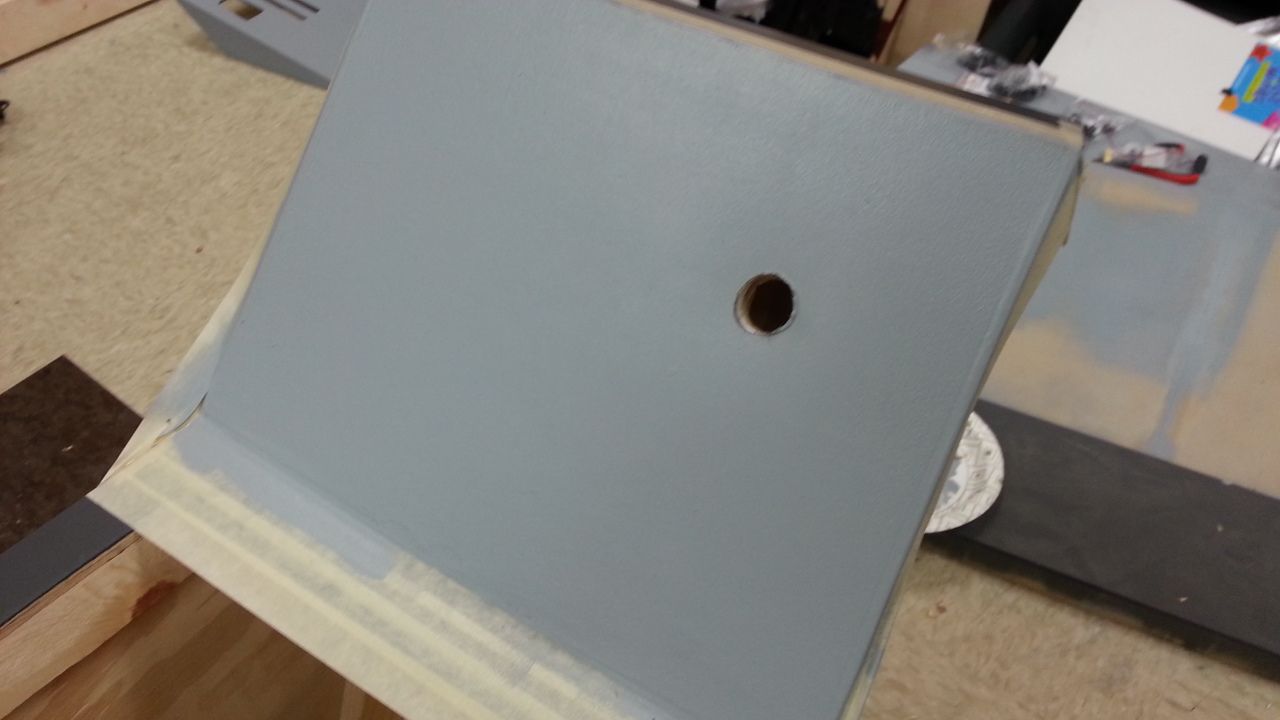
While the sound/light guys got to work I drilled holes for the LEDs, worked on the throttle housing and armrest!
Added another greeblie
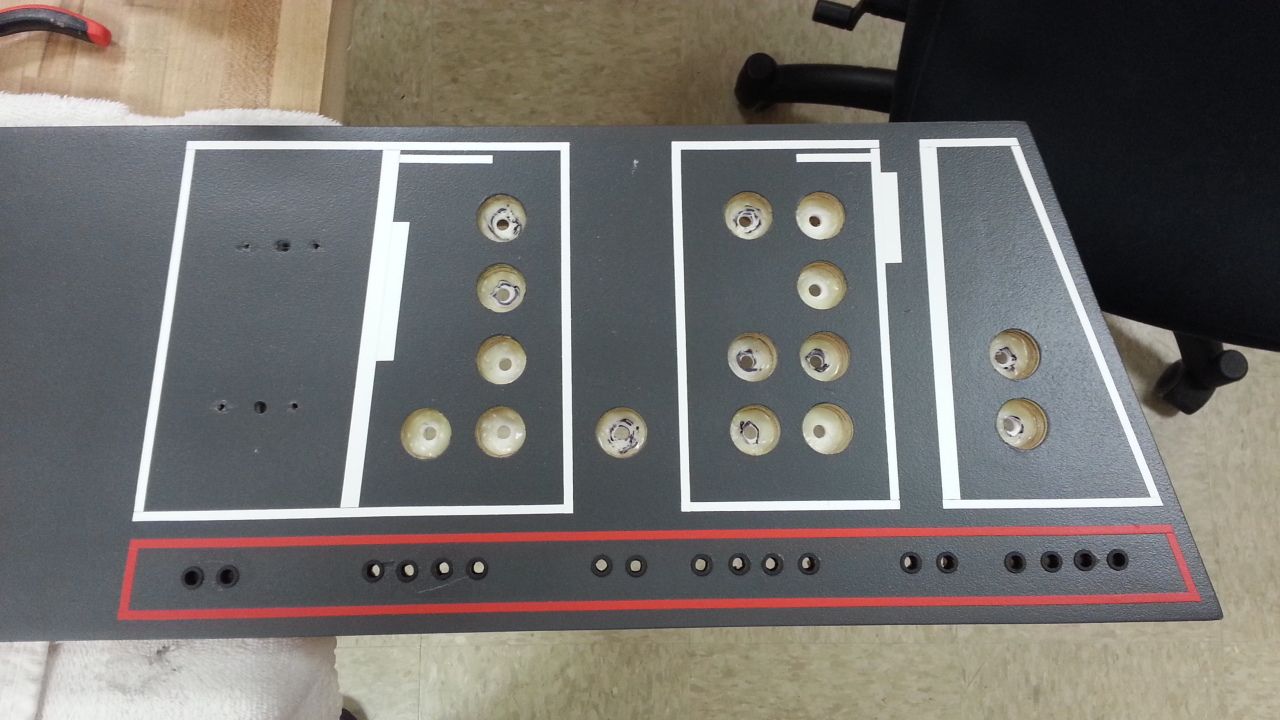
Getting ready to add the panel LEDs
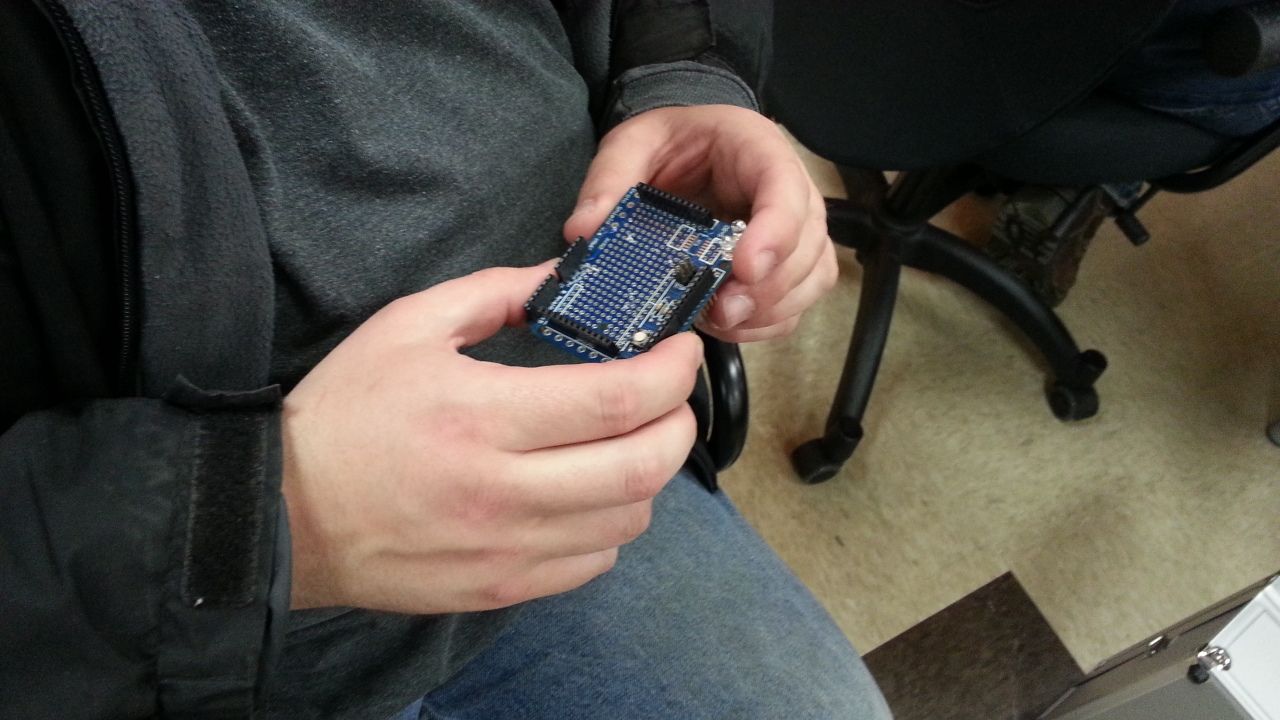
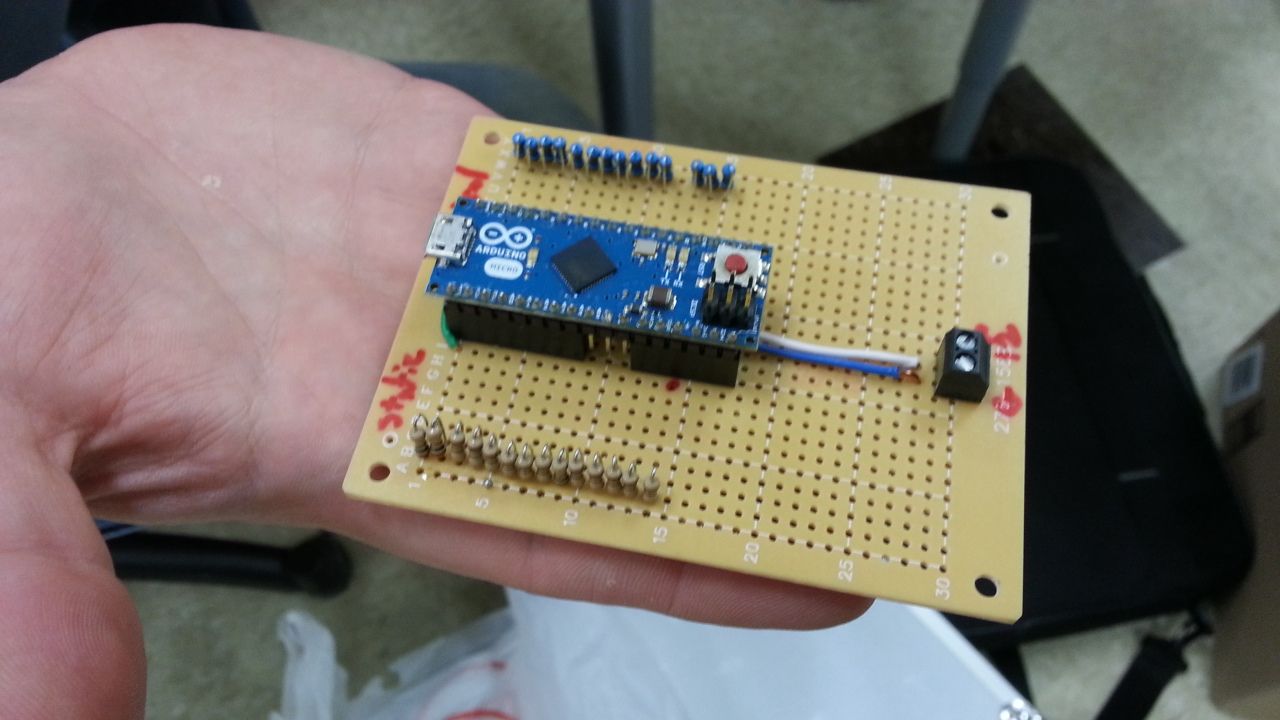
More electronic goodies

FINALLY got to the pinstripes. I should have ALL the painting and pin striping finished by the weekend

Tomorrow is a MAJOR push for the LEDs. Stay Tuned!
Another night at the lab... LEDs, sound, paint and pin stripes all rolled into one. Sorry... no vids and not a lot of pics... but LOTS of forward movement!
As many of you know we are shooting for the Nashville TEDx show on Saturday, 22 March. Chris Lee will be giving a 20 min presentation and the stand alone cockpit (maybe the quad) will be on display. Jake, Mike and I will be attending as well...
Doug working on a series of red LEDs for the upper control panel
Daniel plugging away
Jake working another piece of magic
While the sound/light guys got to work I drilled holes for the LEDs, worked on the throttle housing and armrest!
Added another greeblie
Getting ready to add the panel LEDs
More electronic goodies
FINALLY got to the pinstripes. I should have ALL the painting and pin striping finished by the weekend
Tomorrow is a MAJOR push for the LEDs. Stay Tuned!
maruska
Sr Member
This is simply beautiful; how I wish I could make it to Nashville for March 22...
You really need to bring this to Winnipeg")
How many parsecs is that?
...less than 12!How many parsecs is that?
EDIT: While what I said was true, to be more specific, it is actually about 7.45*10^-11 parsecs! That's practically a baby step!
Canobi
Sr Member
Hi G, just got to sort the stem out and the new lens master is ready for moulding
The diameter is a touch smaller and looks to be a little higher than the first one that was lost in the mail, but not bad for free handing it. If it's not right I can start again, though finding the right tops to make them from is getting harder as they keep changing the designs.
The diameter is a touch smaller and looks to be a little higher than the first one that was lost in the mail, but not bad for free handing it. If it's not right I can start again, though finding the right tops to make them from is getting harder as they keep changing the designs.

maruska
Sr Member
...less than 12!
EDIT: While what I said was true, to be more specific, it is actually about 7.45*10^-11 parsecs! That's practically a baby step!
Lol! But only when the hyperdrive works.
Hi Gang,
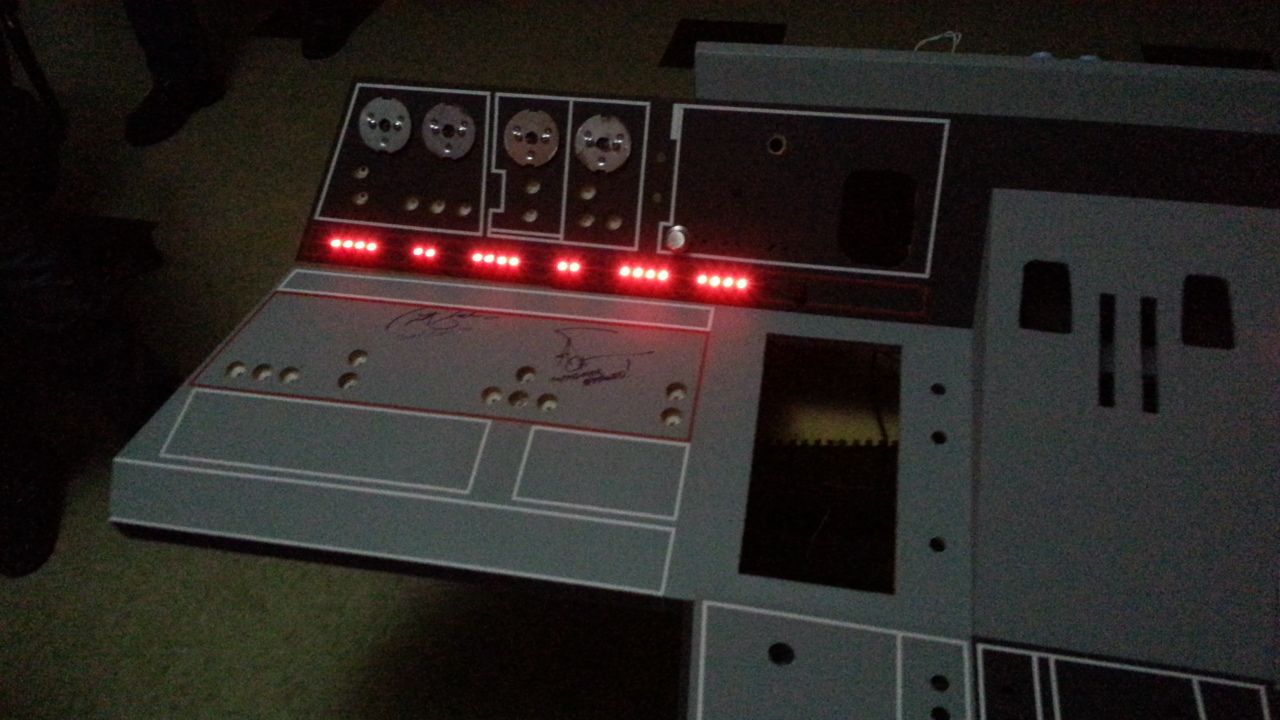
It has been an exhausting week so far... but it was another great night at the lab! The guys finished the upper panel's red LEDs and added more sounds... The console is truly coming to life! I hope I can keep up with the amazing talent around me!
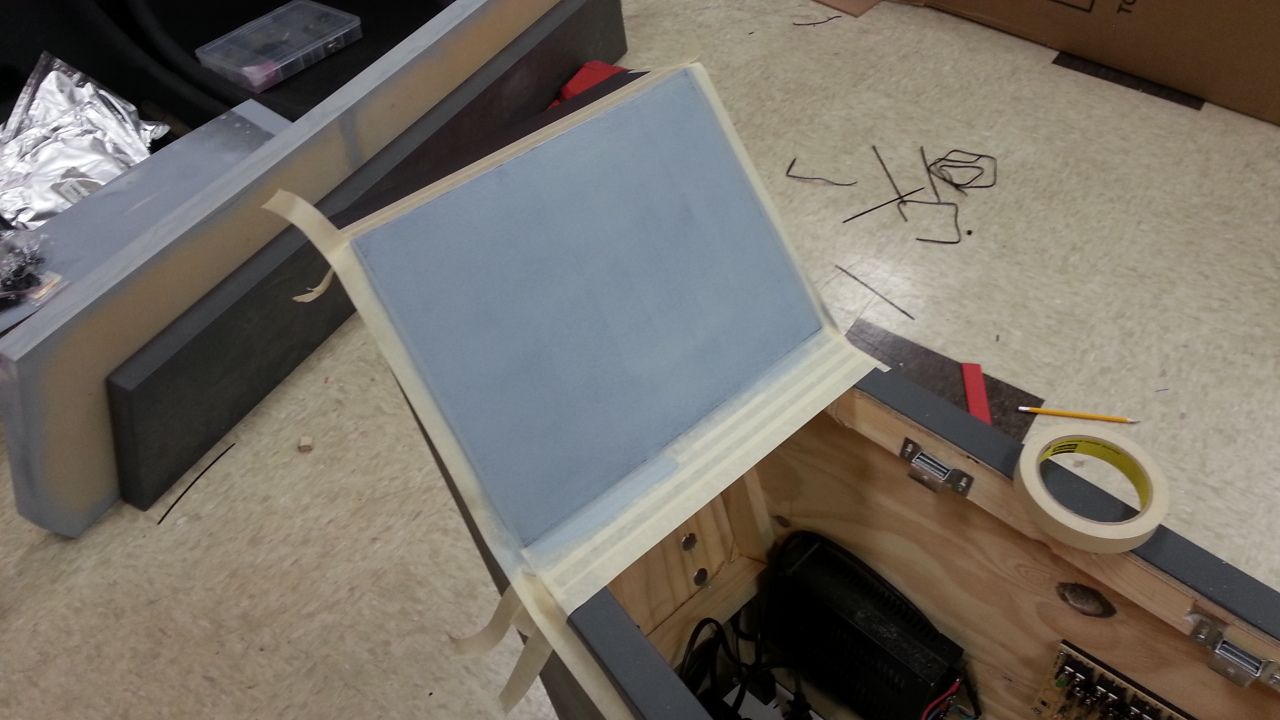
After downing a 5 hour energy drink I jumped on the armrest panel. This meant I had to attach the LED holders and get the pin striping done!
Added hot glue


DONE! This design is based on Starkiller's ESB version
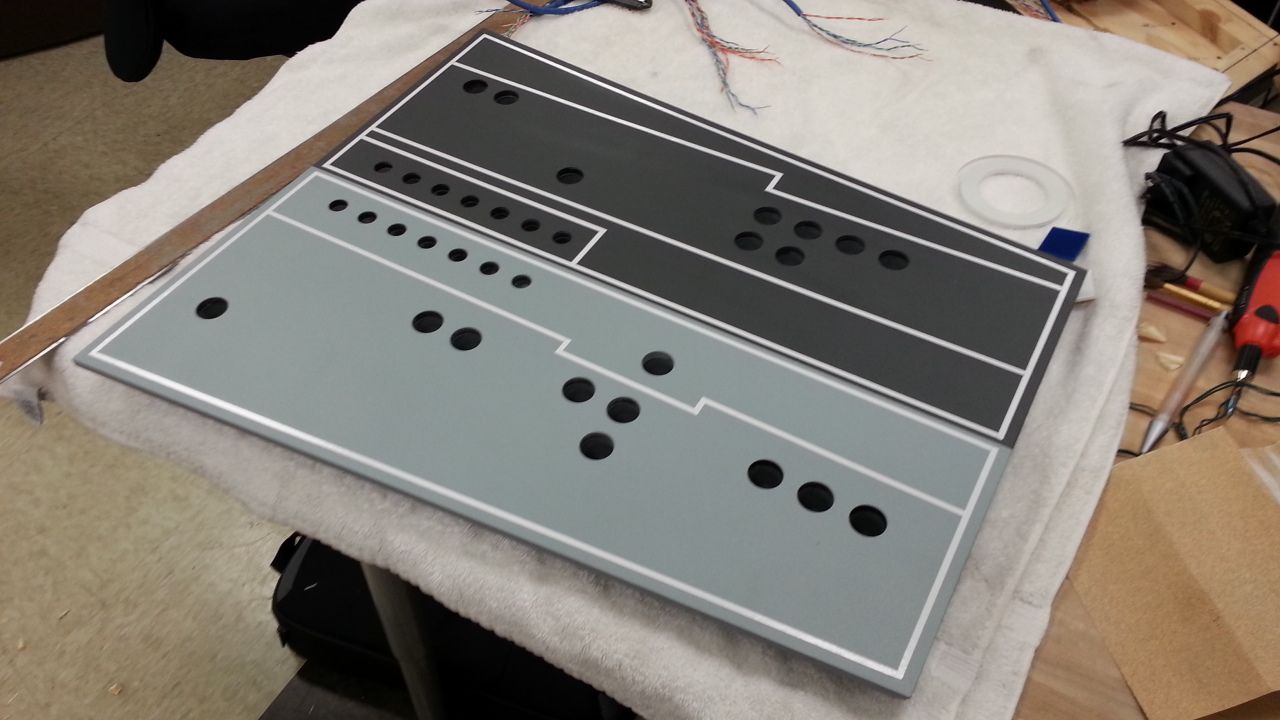
I then added a coat of paint - more tomorrow and then pinstripes

I'm going to try laser cutting 4 new throttle pistons... not sure if it will work but... we'll see...

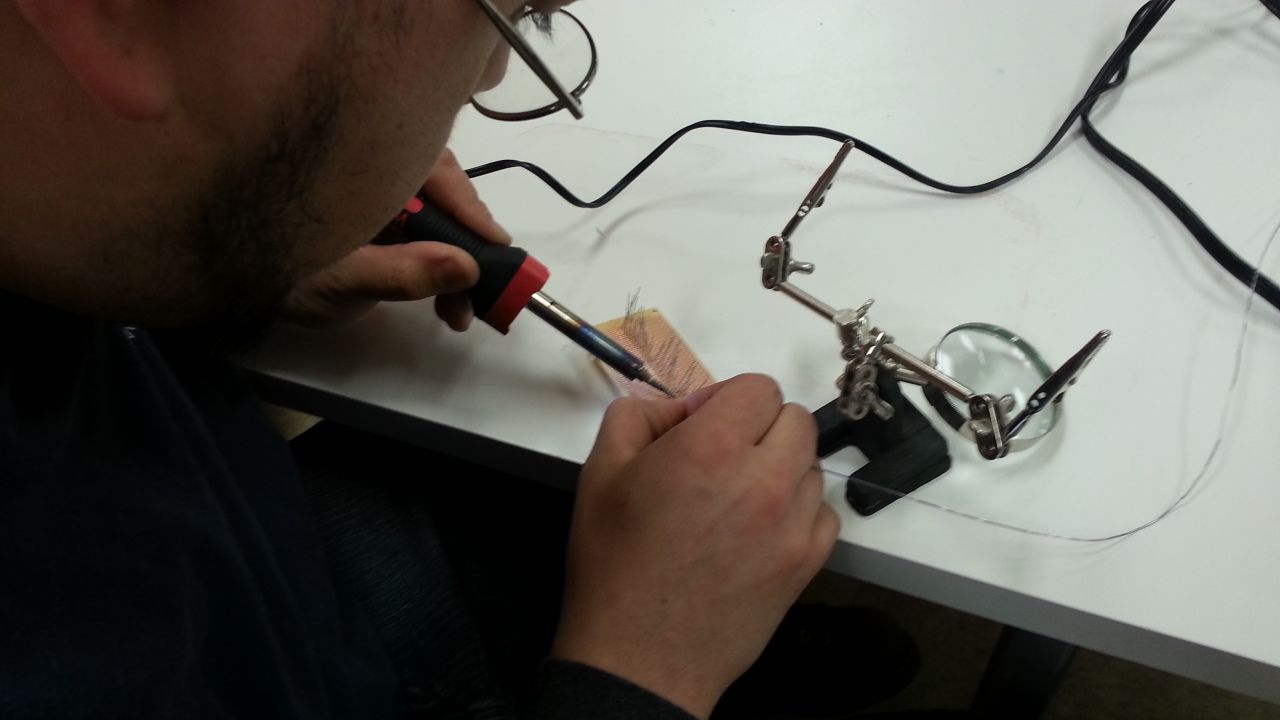
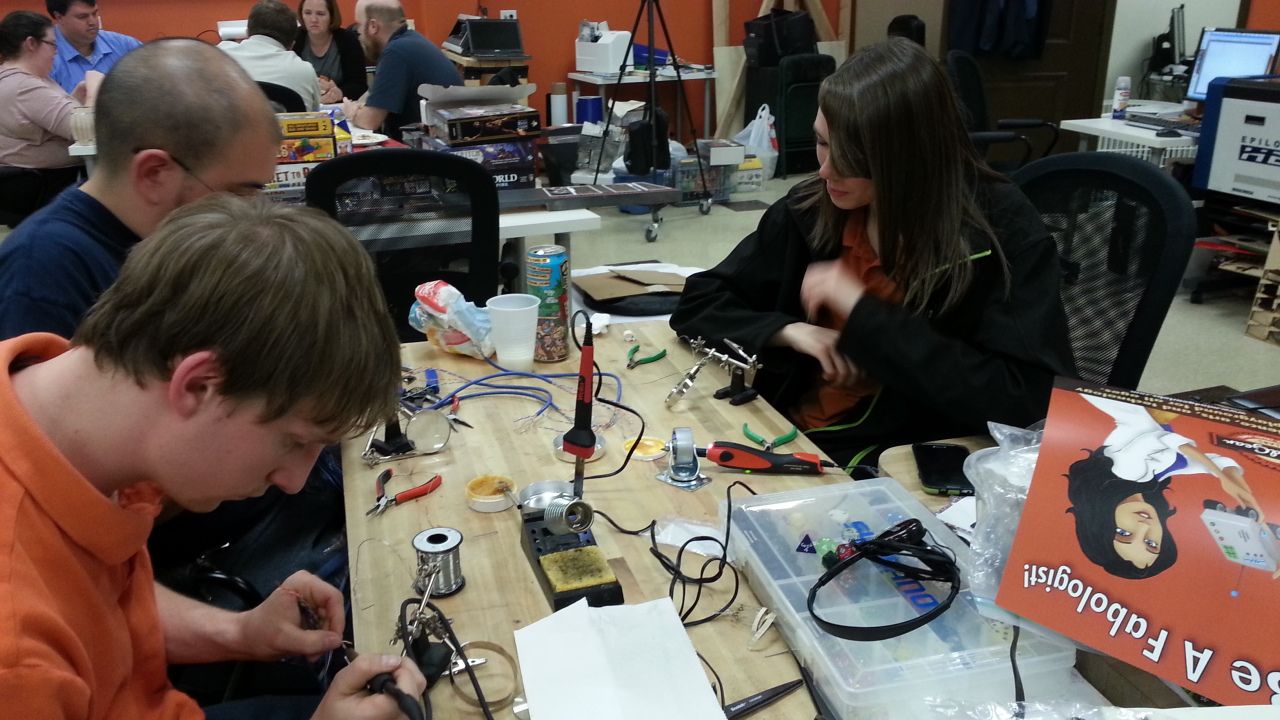
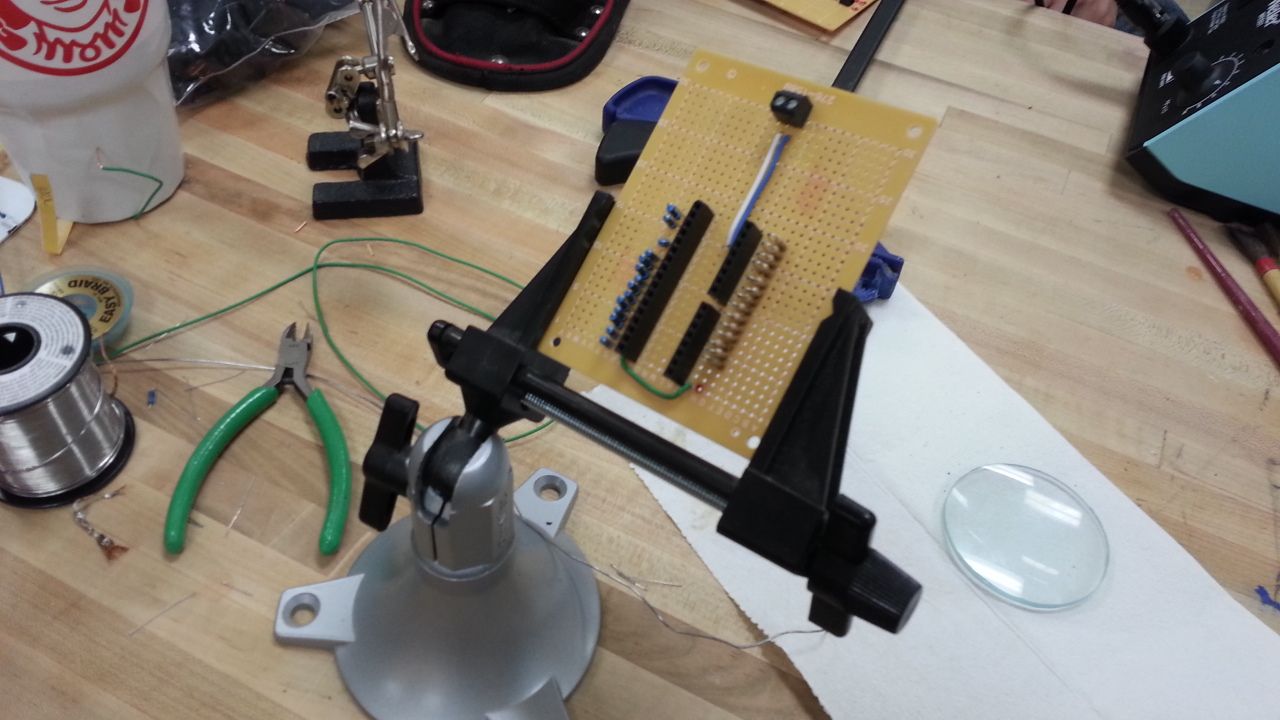
We all then switched gears and got to work on the wiring and LEDs. Mike and Daniel were joined by another Lab tech and newest member of the team - Jessie! She's an amazing graphic artist / 3D animator and (unfortunately for her) is a natural with the soldering iron! We hope she'll be joining us at TEDx! We welcome her with open arms!
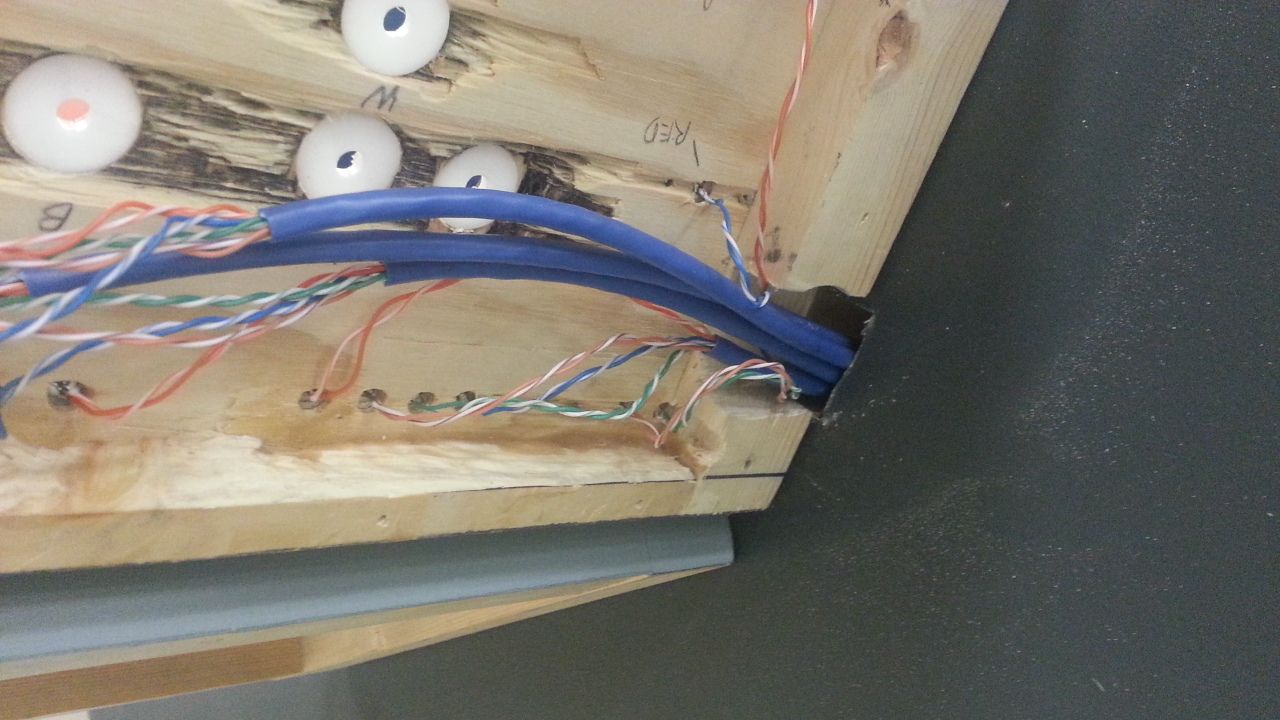
Making room for all the wiring
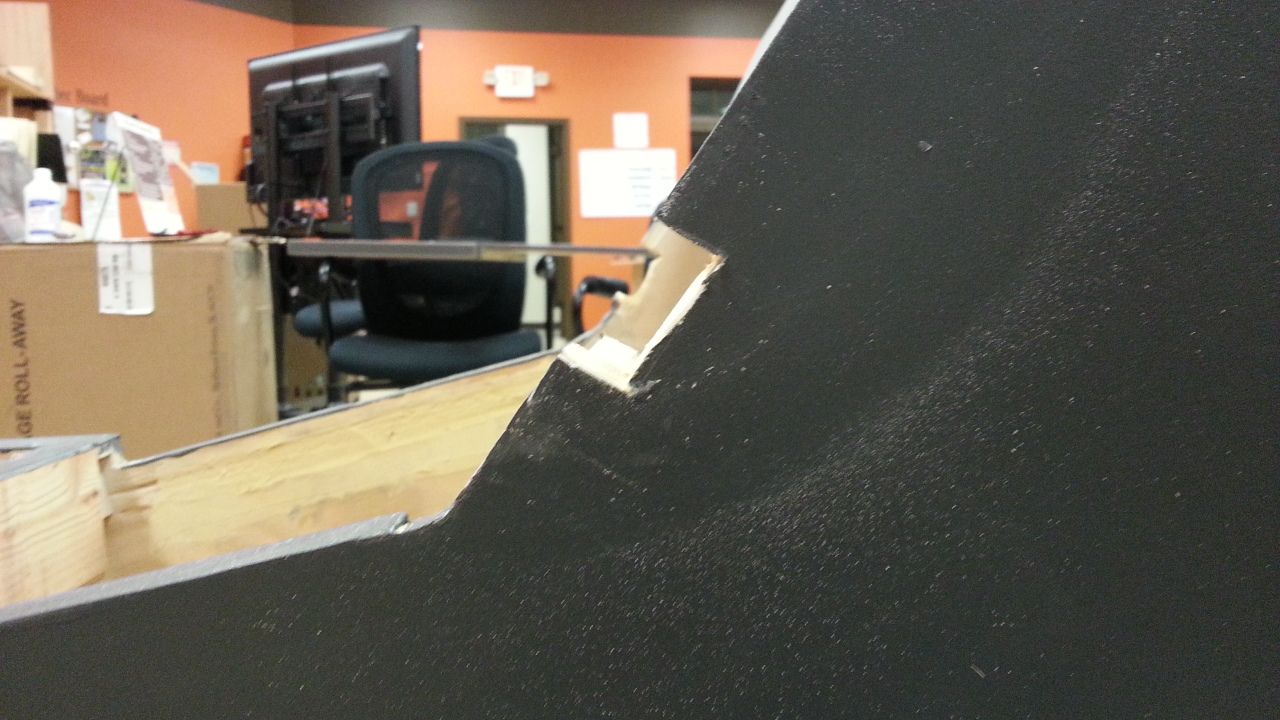
Had to remove more materiel from the console
Wiring in action!
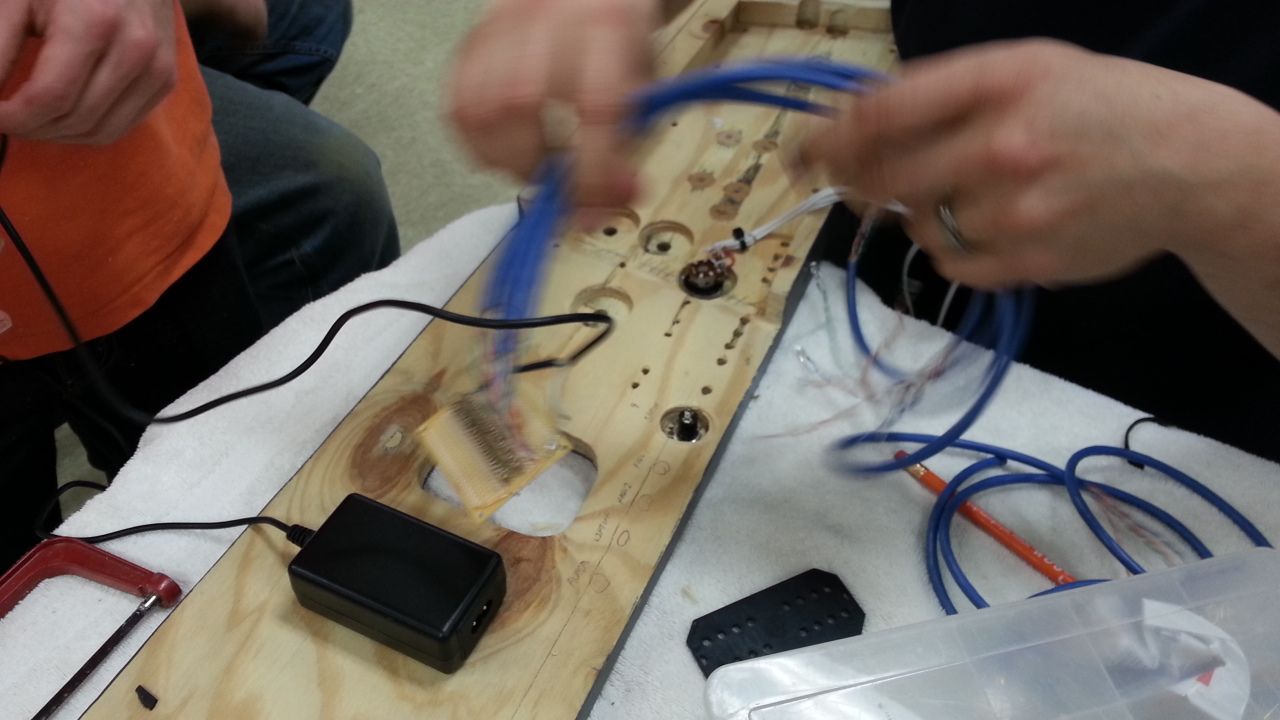
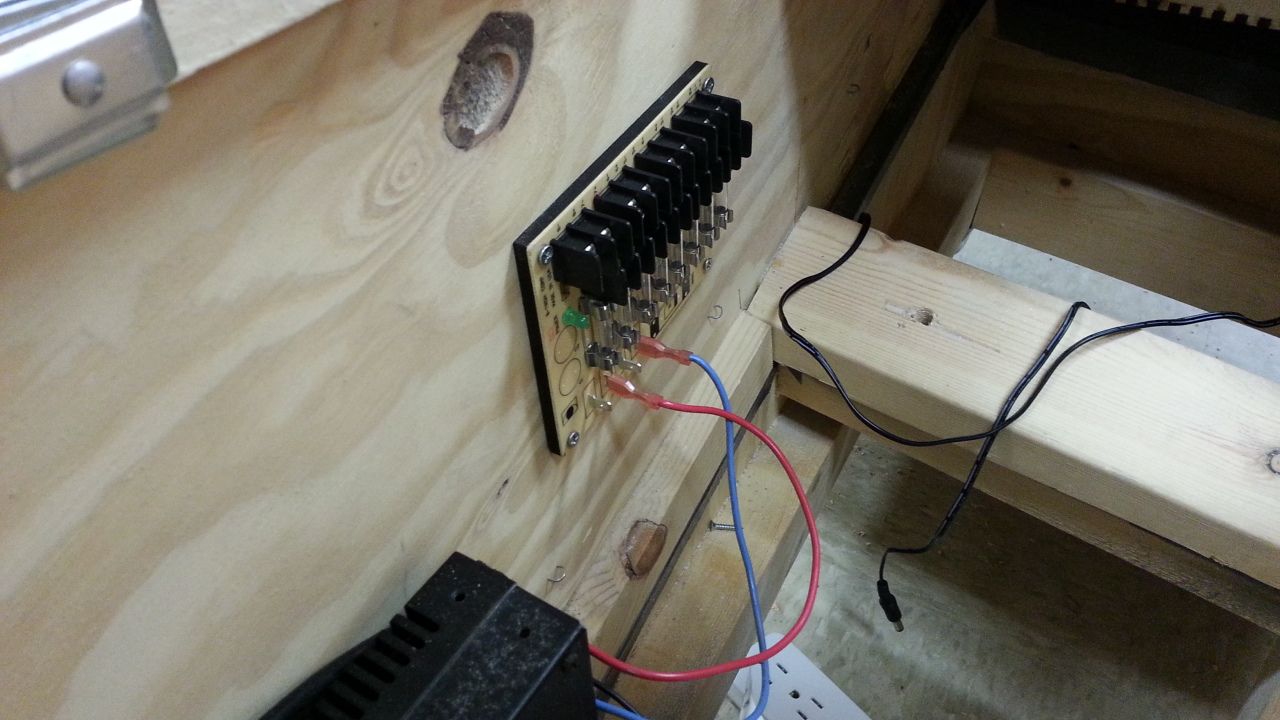
This is JUST the wiring for ALL the red LEDs
Jake and Daniel plugging away
Whew...

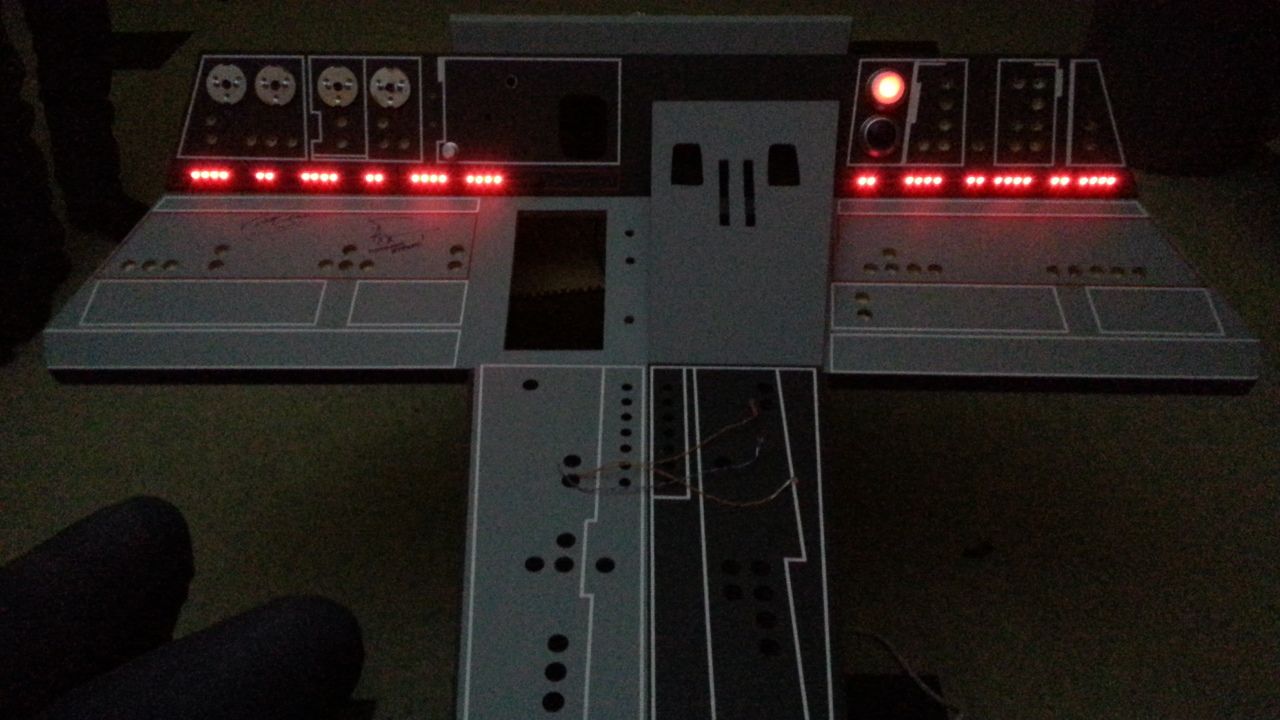
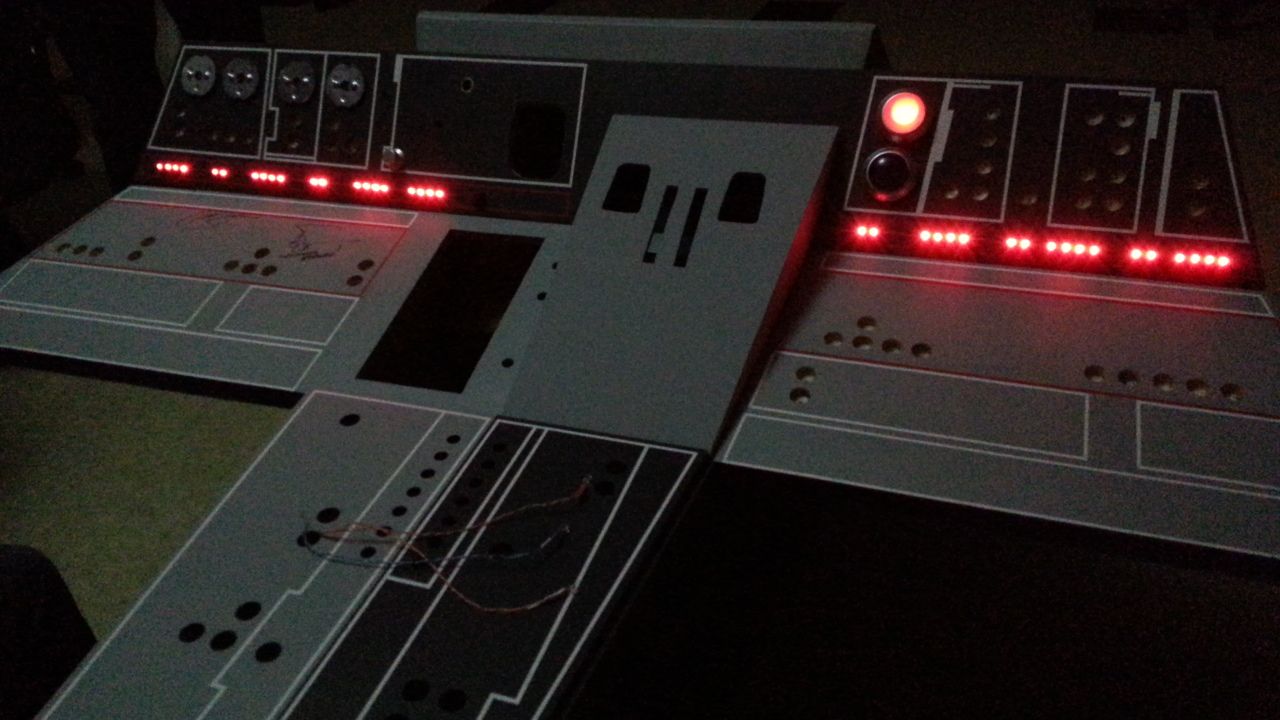
The results of this evenings work

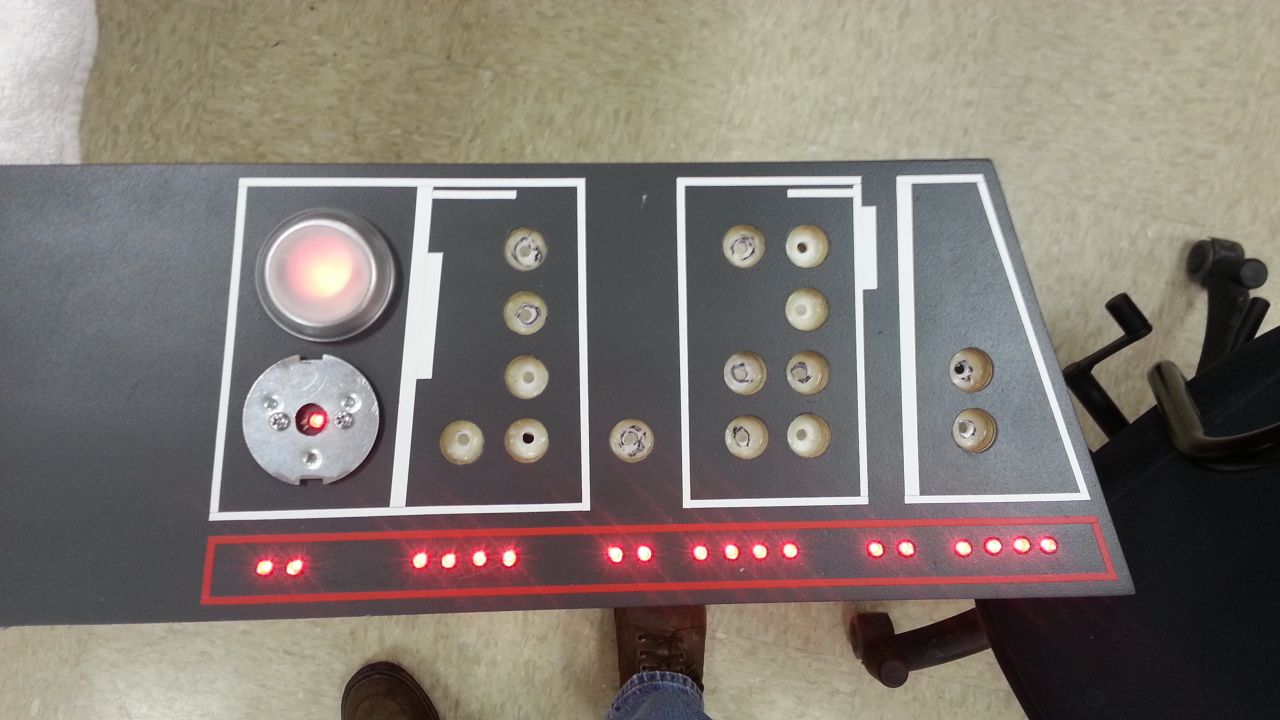

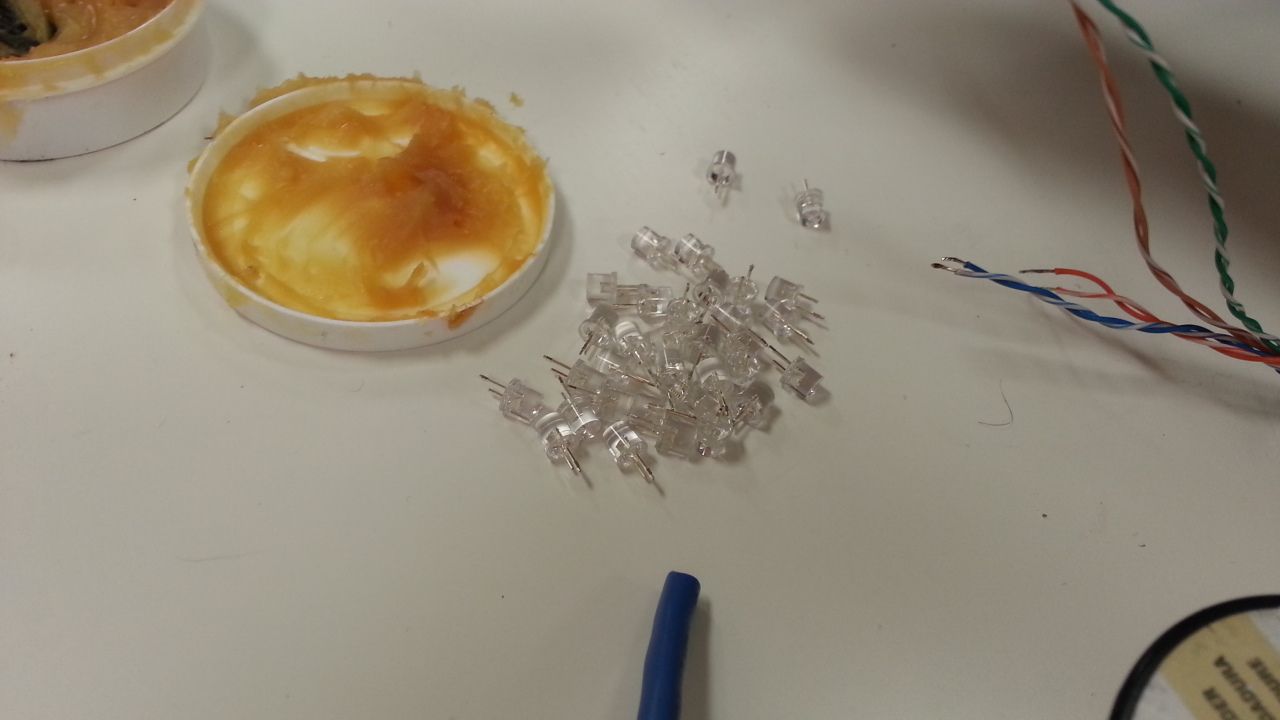
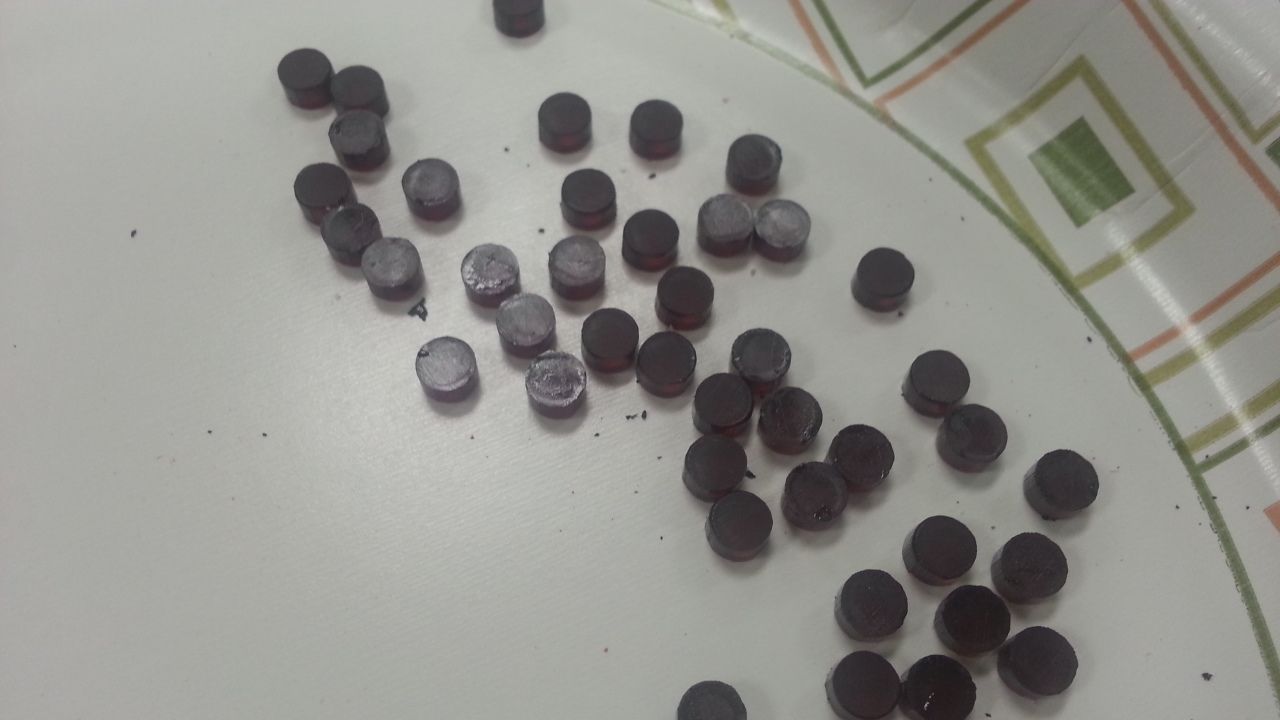
To help diffuse the bright light Jessie cut these 5.1mm fillers using some extra red acrylic that was sanded dull on one side. The tiny diffuser was simply slipped into LED holder right on top of the red LED. Worked like a champ!

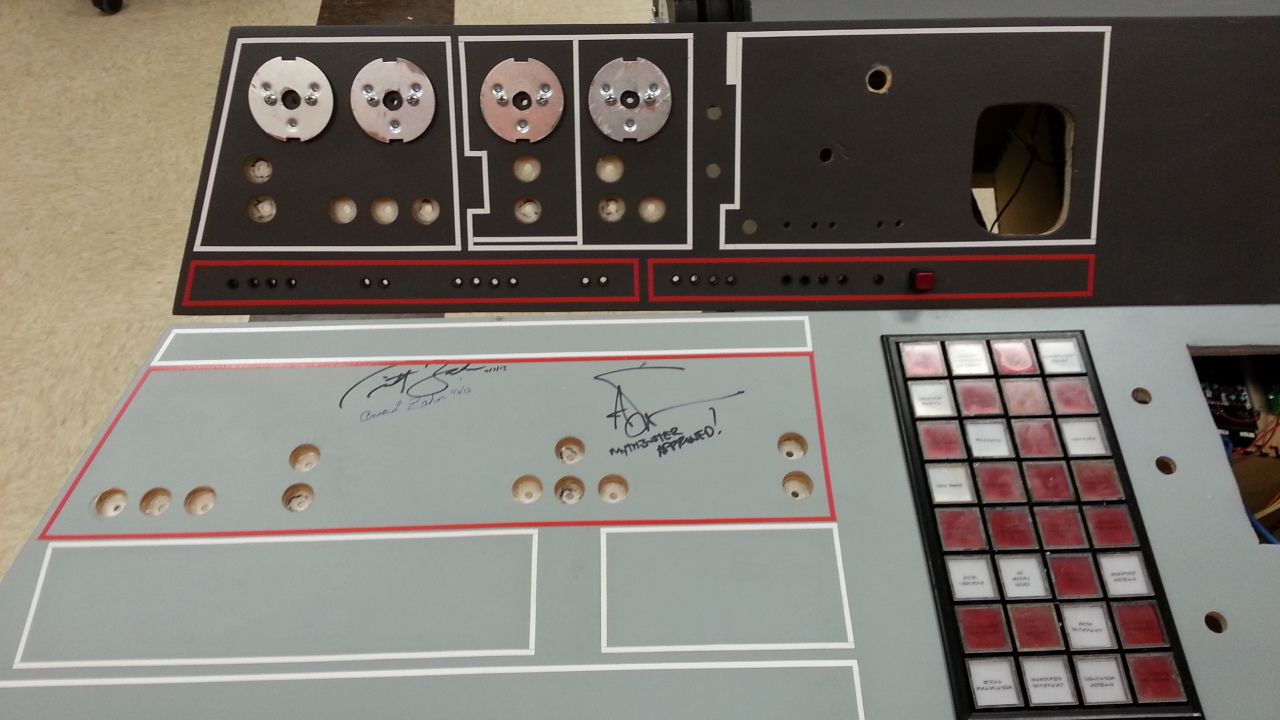
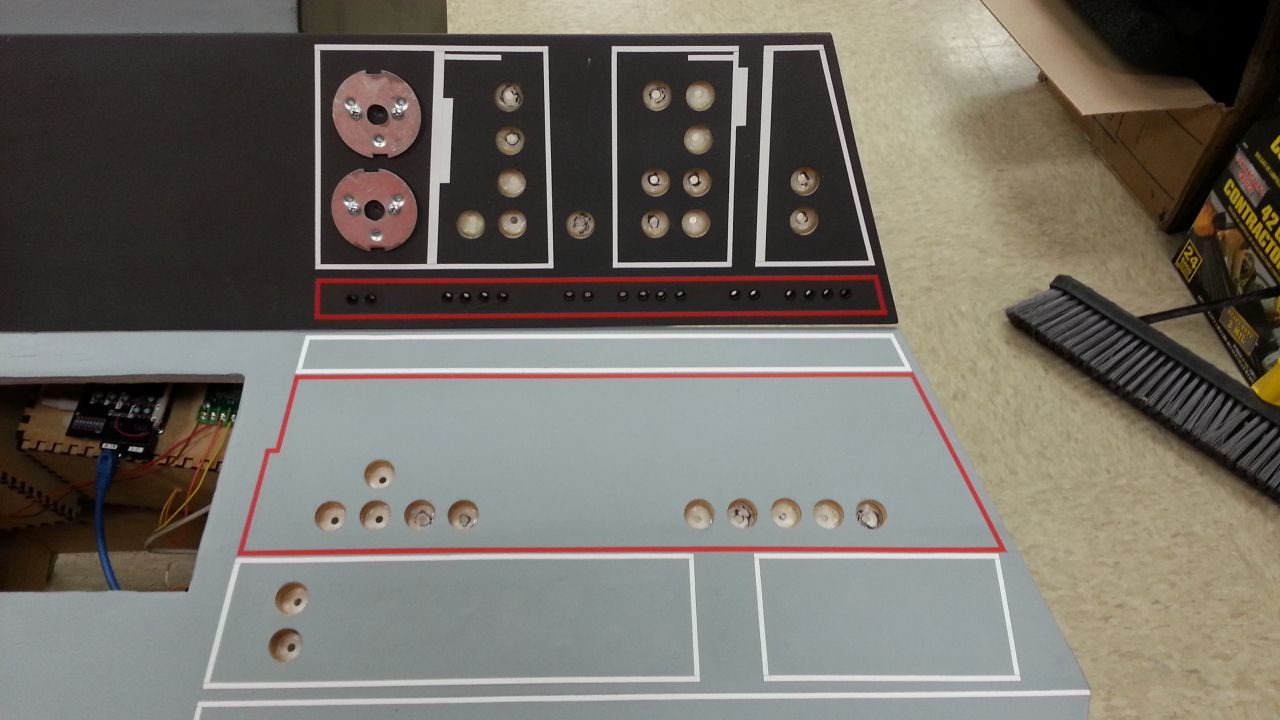
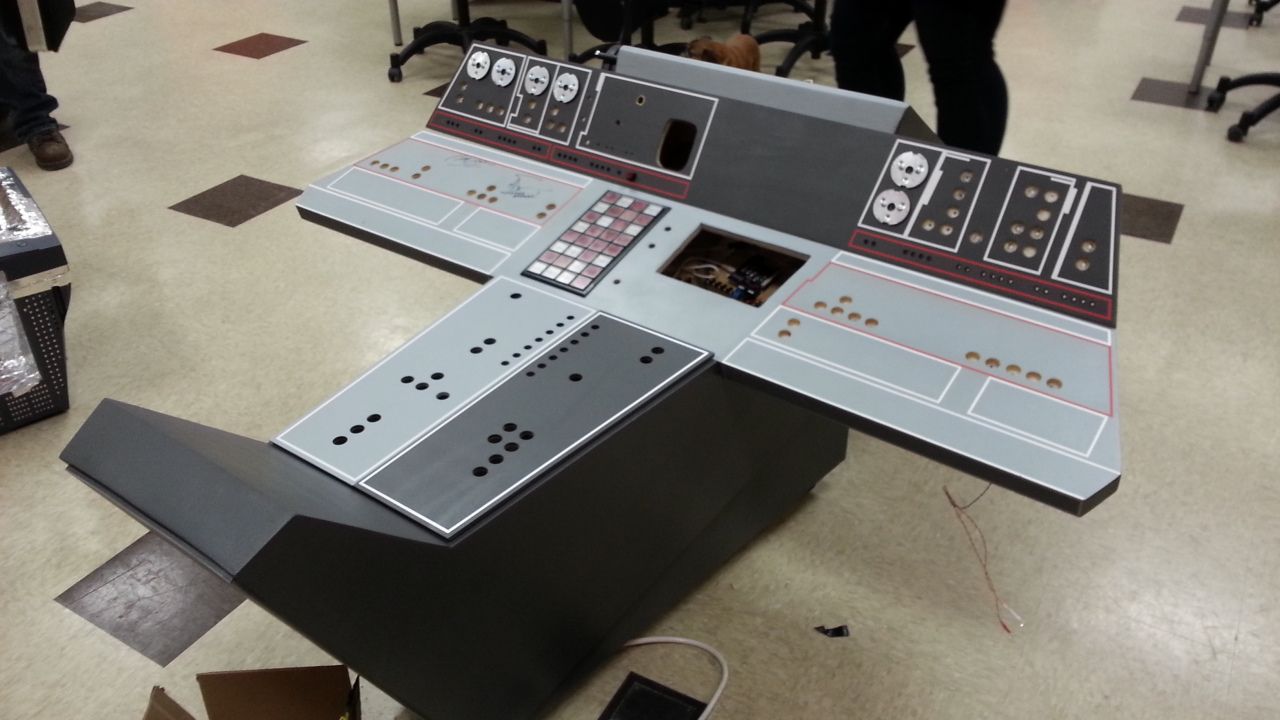
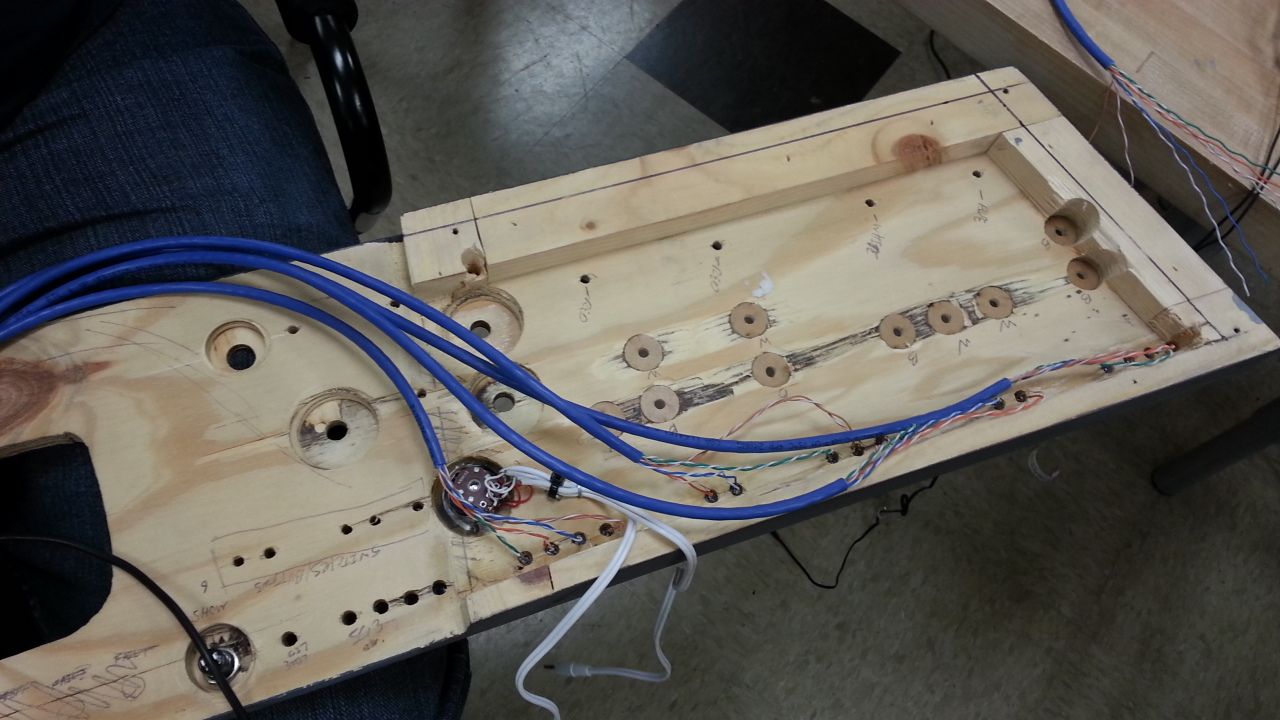
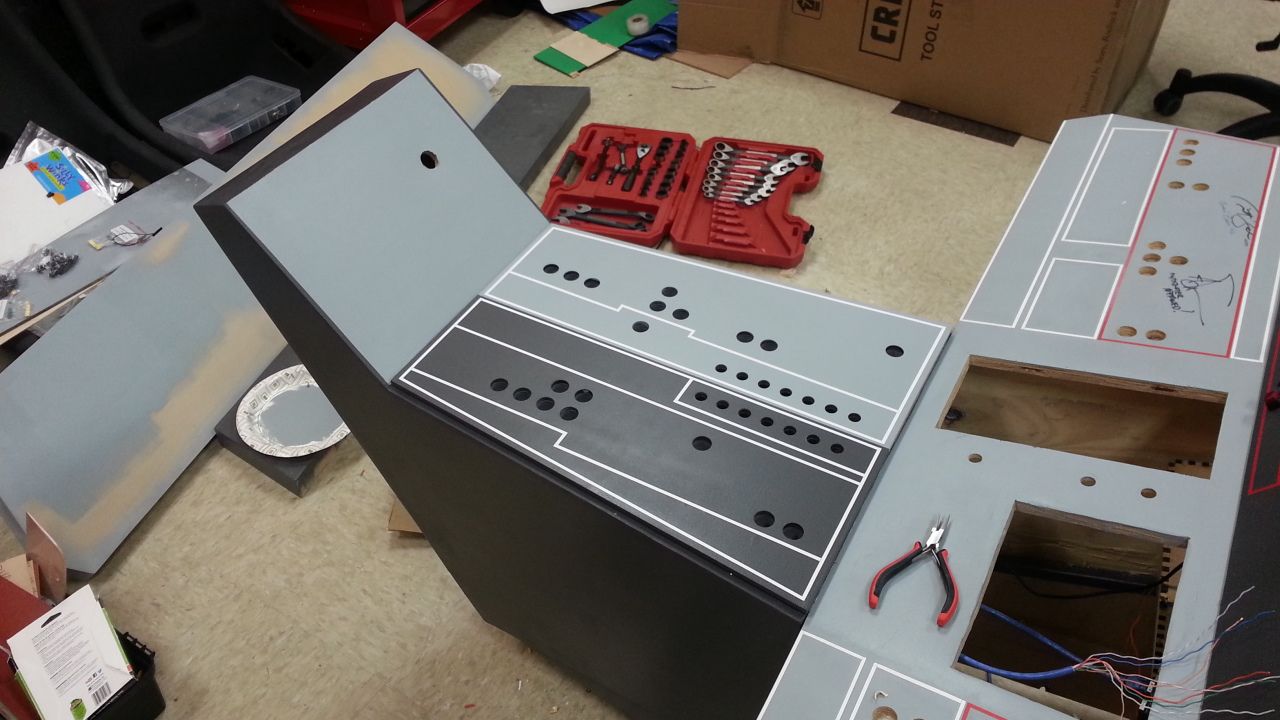
We then got the wiring in order and put the panels in place - all those white circles you see are for the LEDs that will backlight ALL the blue and white tiles. And yes... we will be doing to entire cockpit... ugh...


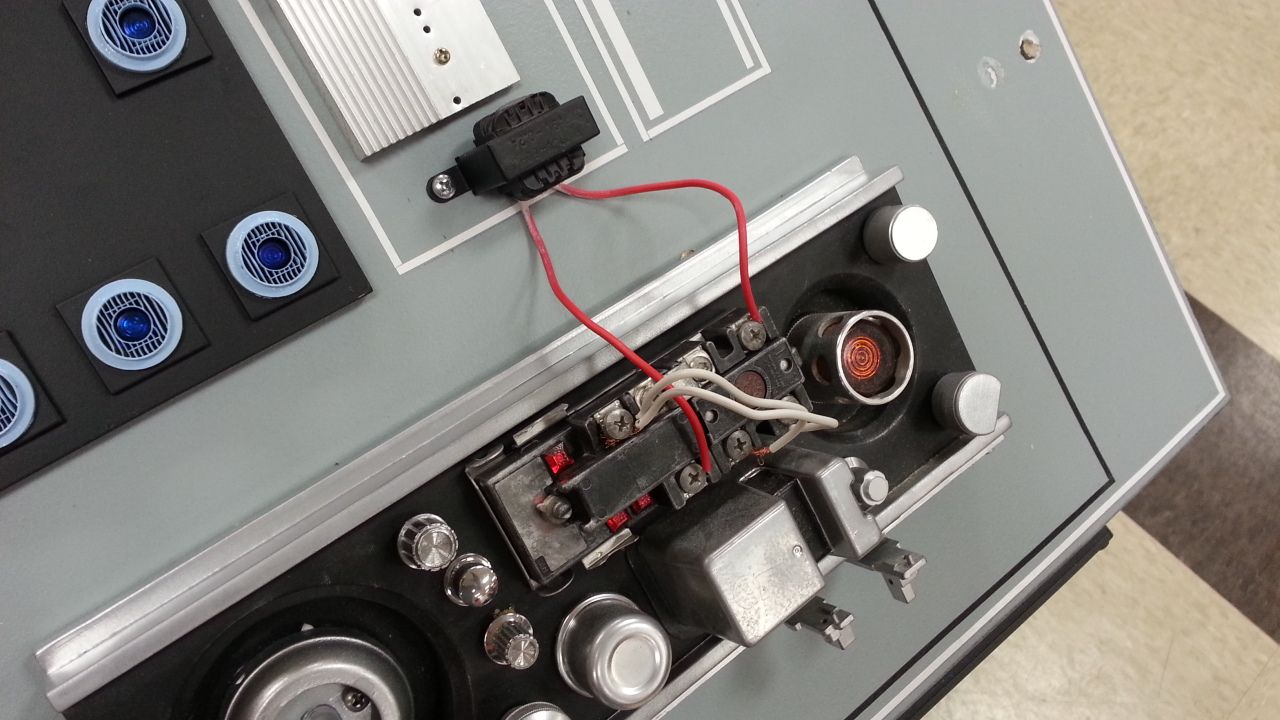
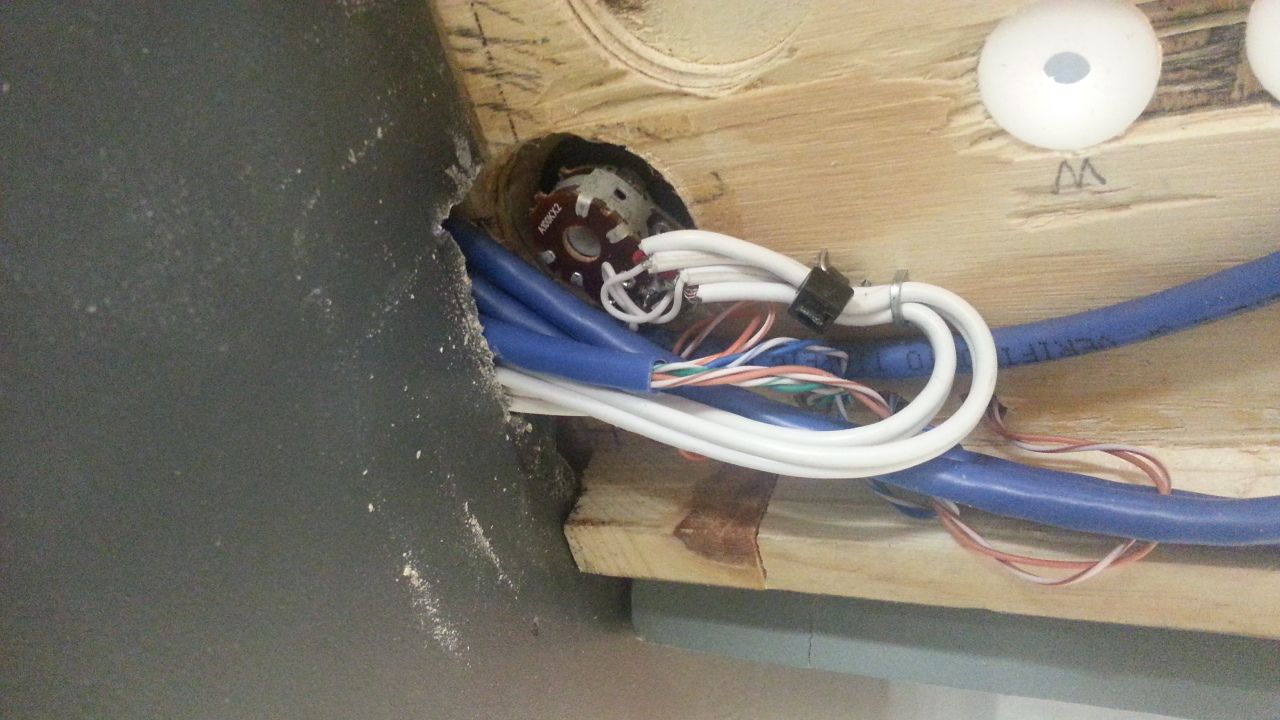
Speaker volume control - we have to reroute the white wires
The results... A simple vid with the red LEDs and various new sound files... Enjoy!

Finally, Mike and I got started on the design for the Matte Box and we think it's going to be pretty cool!
More to Follow!
It has been an exhausting week so far... but it was another great night at the lab! The guys finished the upper panel's red LEDs and added more sounds... The console is truly coming to life! I hope I can keep up with the amazing talent around me!
After downing a 5 hour energy drink I jumped on the armrest panel. This meant I had to attach the LED holders and get the pin striping done!
Added hot glue
DONE! This design is based on Starkiller's ESB version
I then added a coat of paint - more tomorrow and then pinstripes
I'm going to try laser cutting 4 new throttle pistons... not sure if it will work but... we'll see...
We all then switched gears and got to work on the wiring and LEDs. Mike and Daniel were joined by another Lab tech and newest member of the team - Jessie! She's an amazing graphic artist / 3D animator and (unfortunately for her) is a natural with the soldering iron!
We hope she'll be joining us at TEDx! We welcome her with open arms!
Making room for all the wiring
Had to remove more materiel from the console
Wiring in action!
This is JUST the wiring for ALL the red LEDs
Jake and Daniel plugging away
Whew...
The results of this evenings work
To help diffuse the bright light Jessie cut these 5.1mm fillers using some extra red acrylic that was sanded dull on one side. The tiny diffuser was simply slipped into LED holder right on top of the red LED. Worked like a champ!
We then got the wiring in order and put the panels in place - all those white circles you see are for the LEDs that will backlight ALL the blue and white tiles. And yes... we will be doing to entire cockpit... ugh...
Speaker volume control - we have to reroute the white wires
The results... A simple vid with the red LEDs and various new sound files... Enjoy!
Finally, Mike and I got started on the design for the Matte Box and we think it's going to be pretty cool!
More to Follow!
Last edited:
metal wood
Well-Known Member
"To help diffuse the bright light Jessie cut these 5.1mm fillers using some extra red acrylic that was sanded dull on one side. The tiny diffuser was simply slipped into LED holder right on top of the red LED. Worked like a champ!"
thats a really smart idea, love it!
thats a really smart idea, love it!
purplybunny
Active Member
Hi Gang,
It has been an exhausting week so far... but it was another great night at the lab!
Makes you all sound like mad scientists!
We then got the wiring in order and put the panels in place - all those white circles you see are for the LEDs that will backlight ALL the blue and white tiles. And yes... we will be doing to entire cockpit... ugh...
http://i778.photobucket.com/albums/...sole Build009/20140314_223449_zpsa68c0f8f.jpg
http://i778.photobucket.com/albums/...sole Build009/20140314_223454_zps0c5ba62d.jpg
http://i778.photobucket.com/albums/...sole Build009/20140314_223530_zps1daf477f.jpg
http://i778.photobucket.com/albums/...sole Build009/20140314_223539_zpsb3e99ed8.jpg
The inner child in me just wants to rip all those pretty wires out! *grabby hands* lol
Hi Gang,
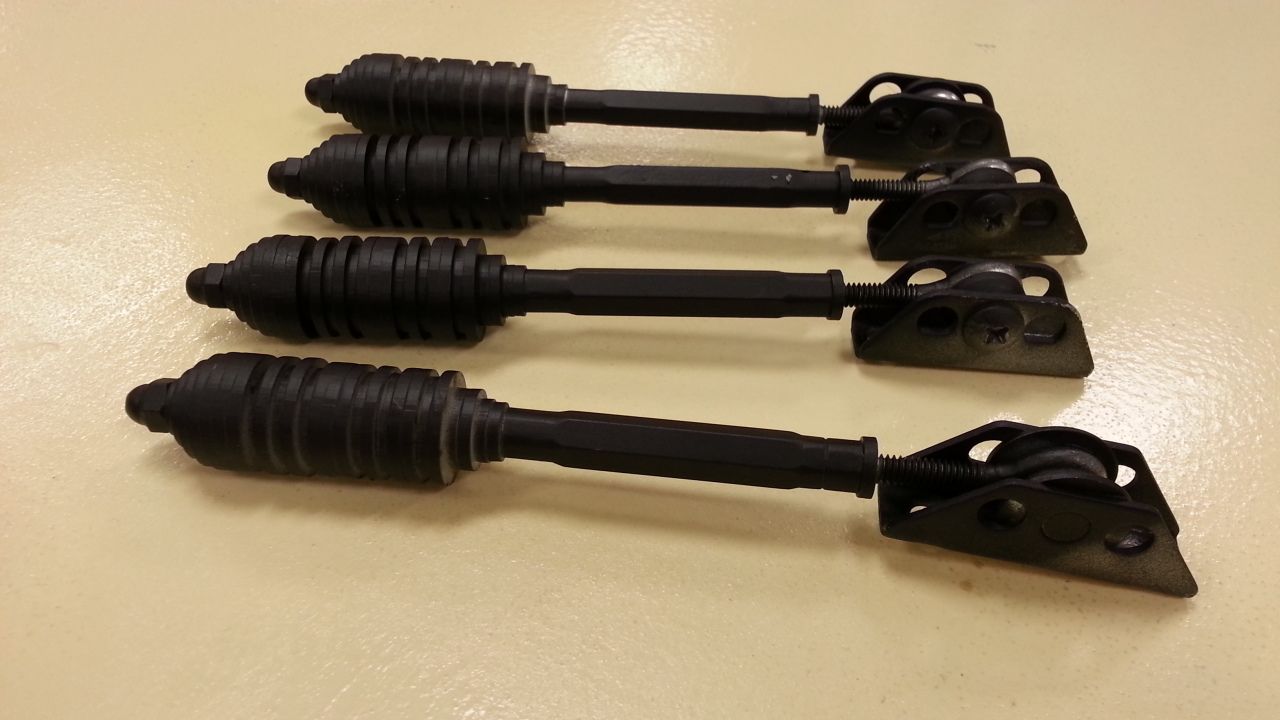
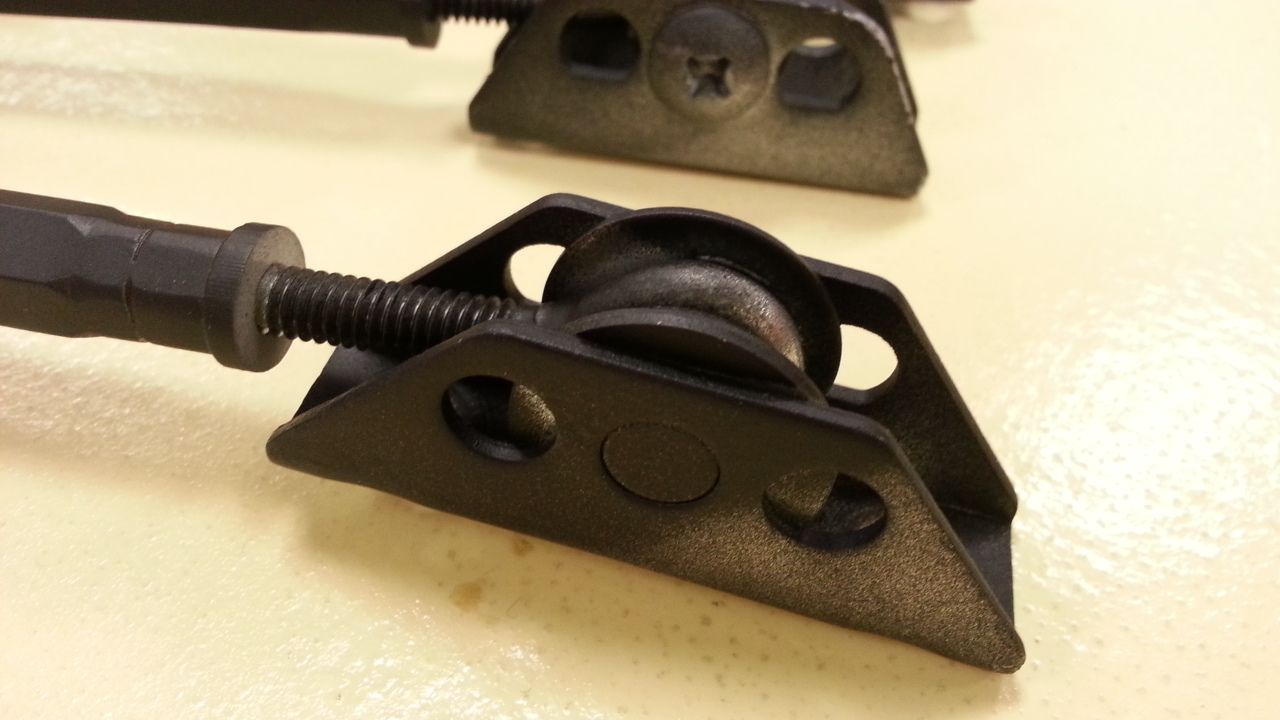
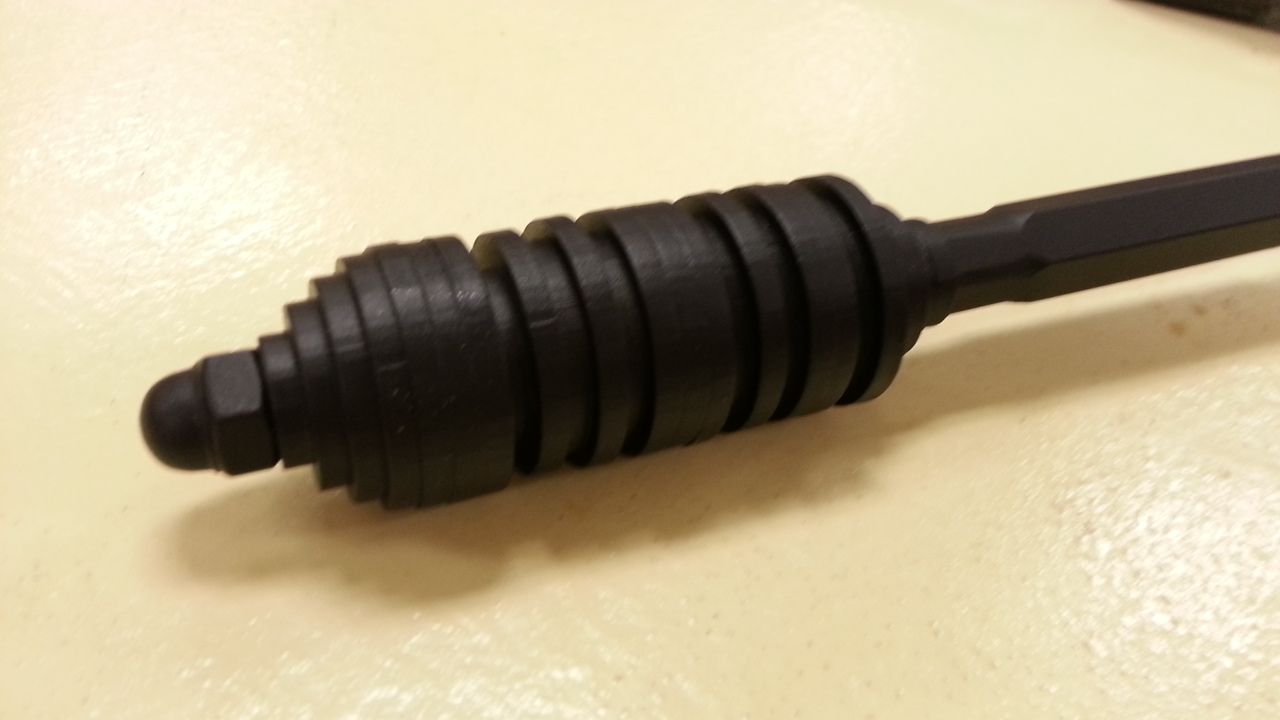
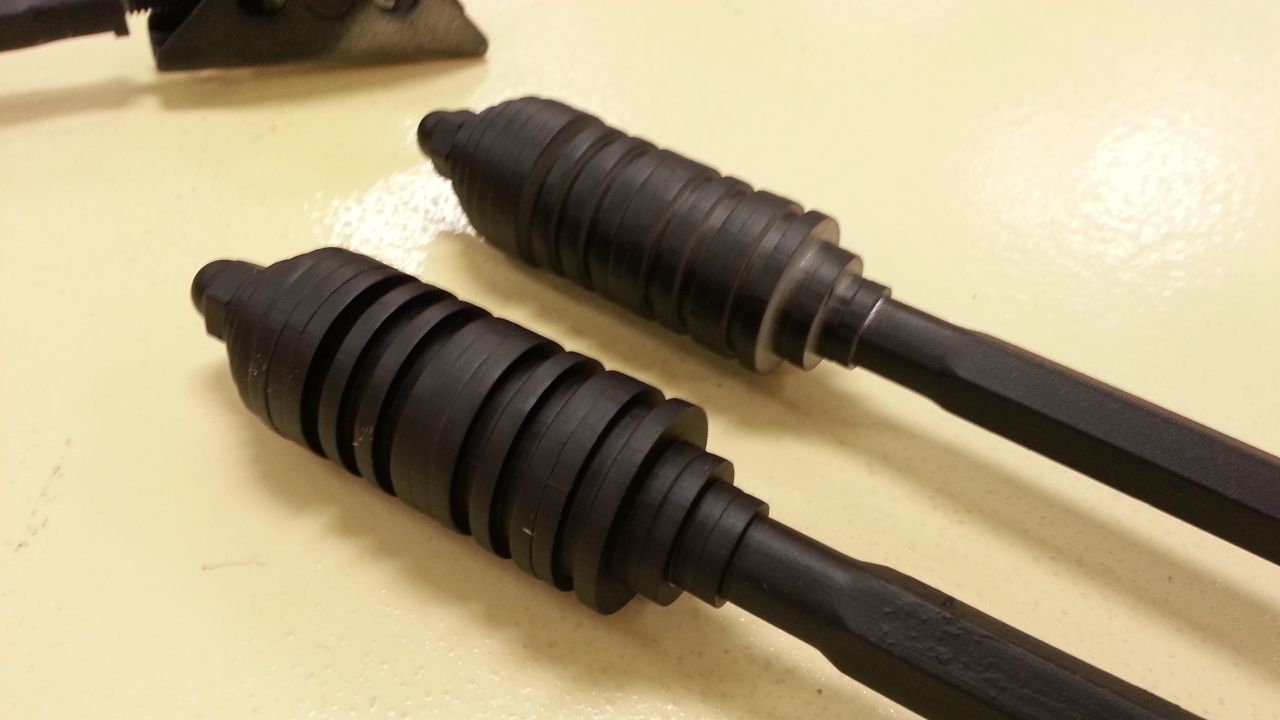
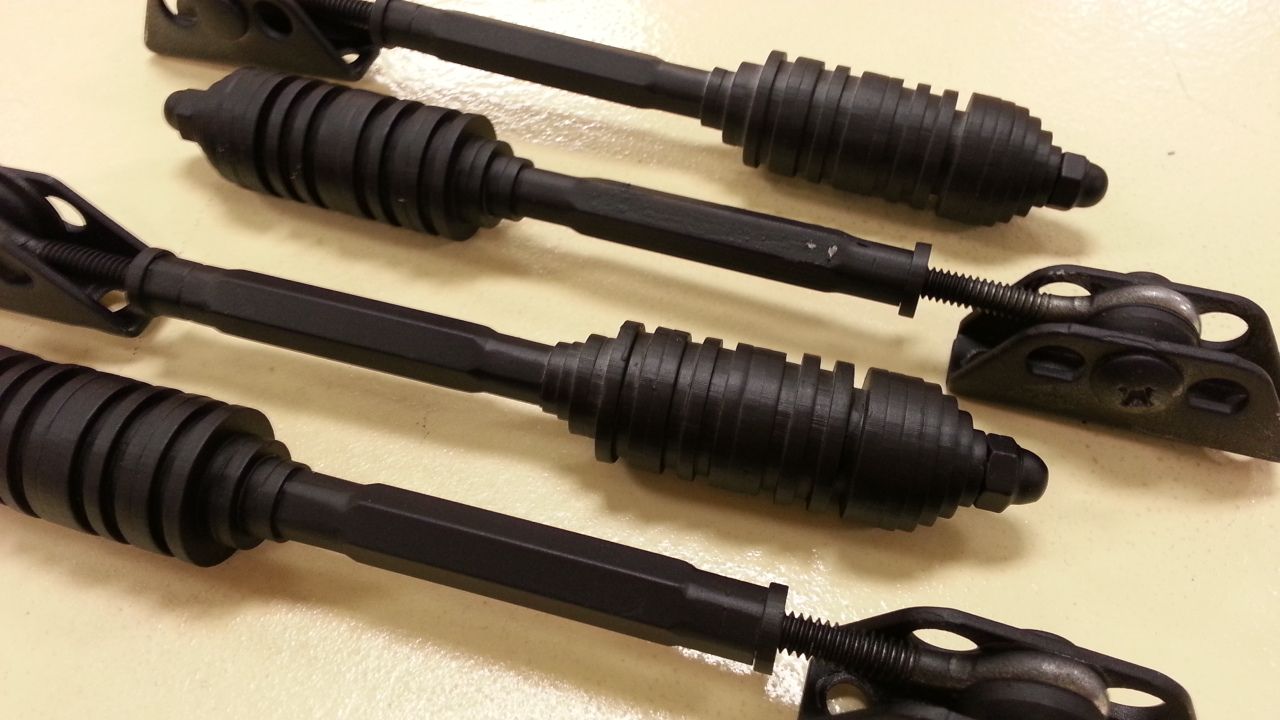
Forward progress... Since we only had 2 throttle levers I went ahead and quickly / crudely fabricated 4 temporary levers. I don't like them at all but at least we have 4 matching units now sitting in the throttle housing...
Laser Cut many different diam circles that simply slid over a threaded rod
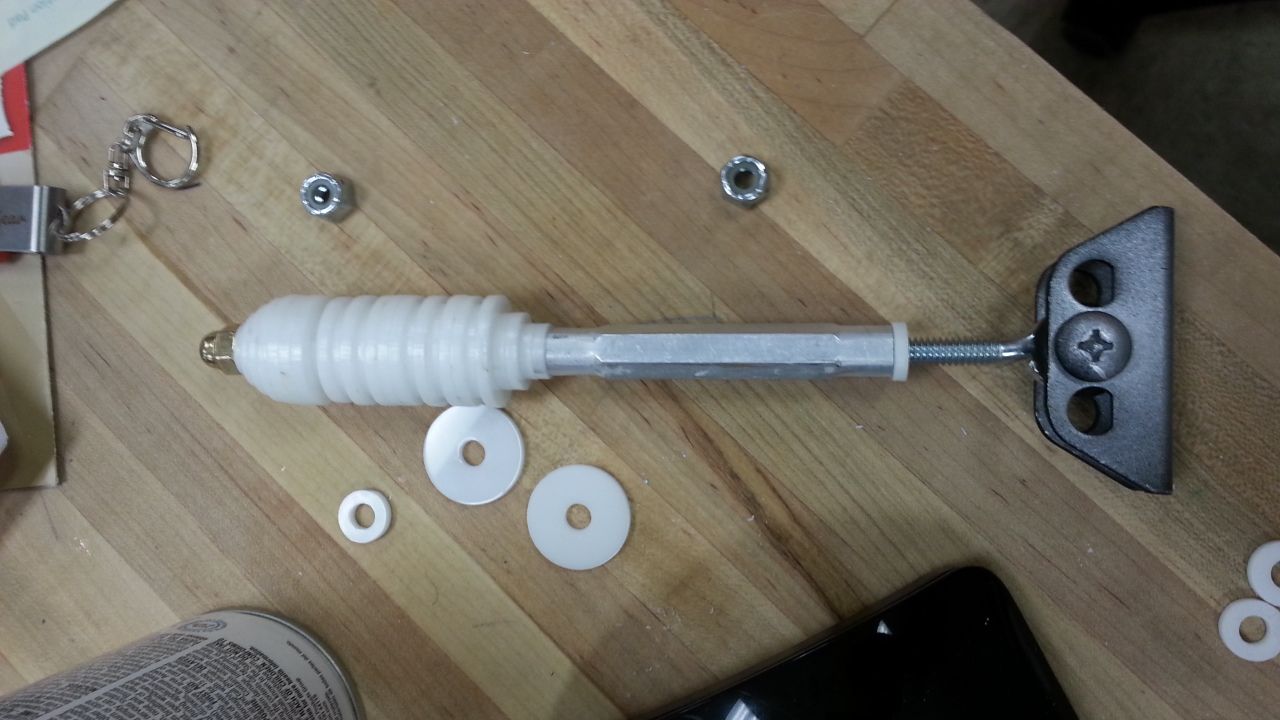
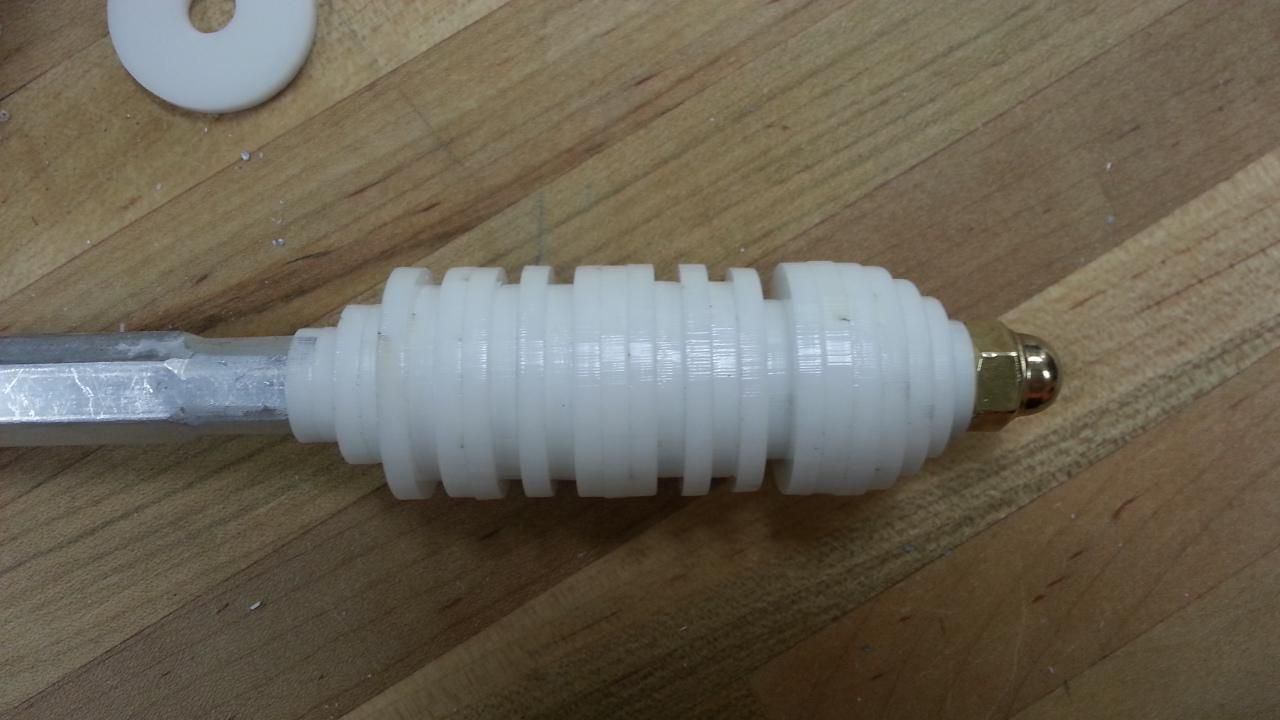

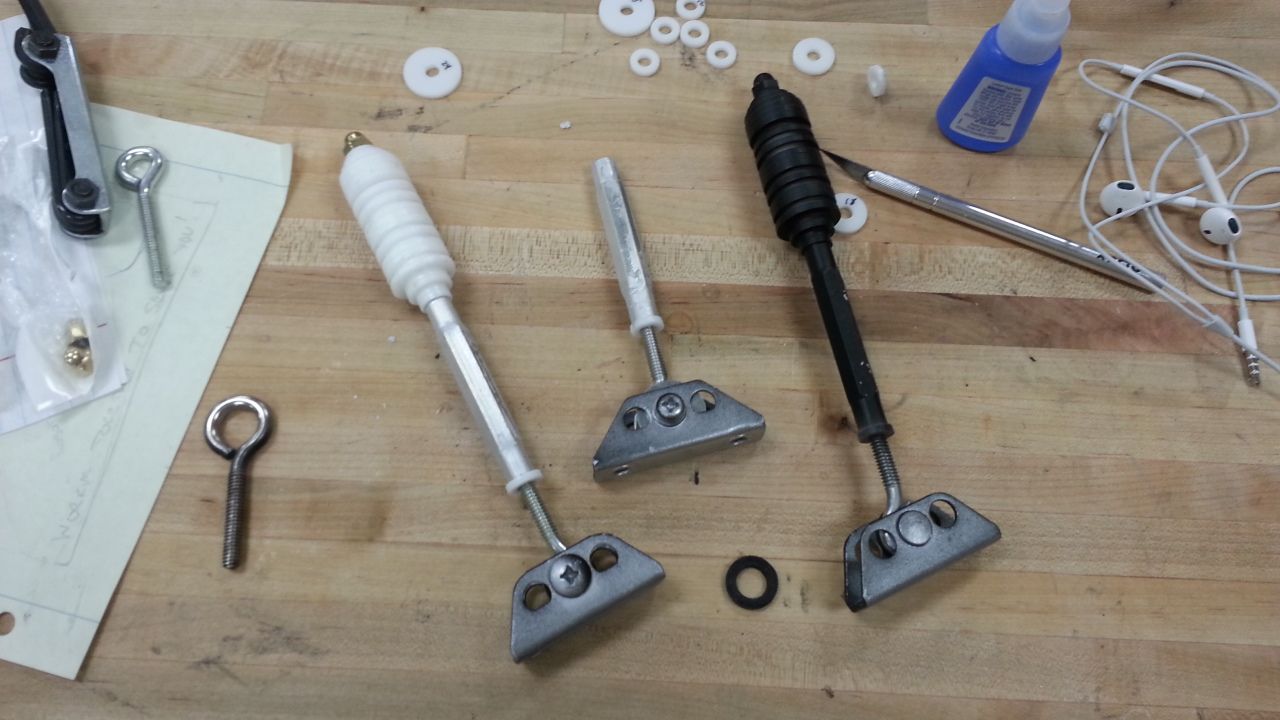
We've got 4 of them!


Still need to be painted black / silver
I then got to work on the console greeblies


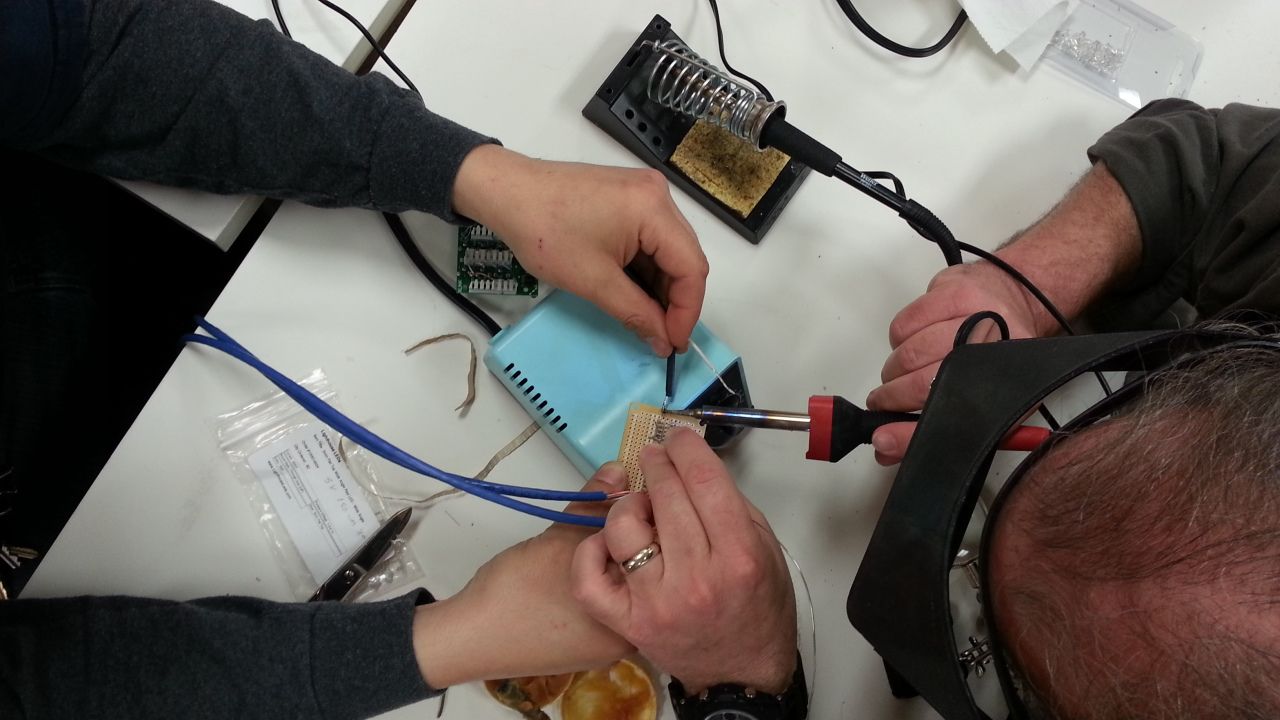
Jake and Doug continued marching forward with the electronics!
Doug's son Morgan shadowed me and was a tremendous help with the throttle housing and greeblie ideas! By the end of another day this is where we were...

In other AWESOME news... Chris Lee mounted the seats to the "Touring Platform"! We will meet up early Saturday morning and marry the two pieces together to showoff at TEDx!
Mounting the seats to the touring console platform | The Full Scale Millennium Falcon Project
More to Follow!
Forward progress... Since we only had 2 throttle levers I went ahead and quickly / crudely fabricated 4 temporary levers. I don't like them at all but at least we have 4 matching units now sitting in the throttle housing...
Laser Cut many different diam circles that simply slid over a threaded rod
We've got 4 of them!
Still need to be painted black / silver
I then got to work on the console greeblies
Jake and Doug continued marching forward with the electronics!
Doug's son Morgan shadowed me and was a tremendous help with the throttle housing and greeblie ideas! By the end of another day this is where we were...
In other AWESOME news... Chris Lee mounted the seats to the "Touring Platform"! We will meet up early Saturday morning and marry the two pieces together to showoff at TEDx!
Mounting the seats to the touring console platform | The Full Scale Millennium Falcon Project
More to Follow!
maruska
Sr Member
You've put a lot of time and work into the greeblies, but when are you going to get started on the doodads, doohickies, diddlybobs, fiddlybits, and whosawhatsits?
And didn't they stop making thingamajig's in 1978? I dread that...
red4
Sr Member
And didn't they stop making thingamajig's in 1978? I dread that...
I think you can still find those at specialty shops.
Similar threads
- Replies
- 11
- Views
- 1,091
- Replies
- 2
- Views
- 913
- Replies
- 2
- Views
- 956
- Replies
- 13
- Views
- 2,223