You are using an out of date browser. It may not display this or other websites correctly.
You should upgrade or use an alternative browser.
You should upgrade or use an alternative browser.
1:1 Millennium Falcon Cockpit Replica - Group Build
- Thread starter SteveStarkiller
- Start date
OK cheers, how many tiles are you estimating at? I am going to have to plan mine out but I would have thought a couple of hundred of white and blue would be about right for my needs but for you I can imagine way more? Has Steve put up picture of the whole of the interior section by section, so you could work out the panels?
Hi C,
The entire cockpit is based on Starkiller's 3D model - measurements, details, greeblies, pinstripes, etc. Basically, there was no real guess work involved - which made it somewhat easy for me. Here is the link to his post
http://www.therpf.com/f11/screen-accurate-millennium-falcon-cockpit-cg-model-102451/
Looking at the pictures it seems to me the original lights stood proud of the panels, and the ones you put in you did with a bevel? Are you staying with that or flush mounting? I know you were struggling with how to keep in place (hot glue wont work due to LED heat).
The Christmas tree string I originally put in place used a plastic LED holder - they wouldn't have stayed in position. Jake and Dan will more than likely use hot glue to keep the new flat top LEDs in place giving the flush look. They've been bouncing different ideas back and forth. I think the hot glue is the best solution. It's keeps the LED flush and gets rid of the ugly LED holder.
Good to see you back on the saddle...lots of work ahead but when it's in the name of accuracy, one cannot be careful enough. You've a lot of courage that's for sure and since this project is a "long-haul" one, I'll be tuning in often:thumbsup
Hey Joe,
Finally, huh? I have to admit, while the use of the new lab is awesome, this holding pattern we're in re: the workspace is VERY frustrating. I don't like waiting... But I digress... Once I get all the knobs and tiles popped off I'm sure the frustration will go away. Then at least I'll feel like there's been some forward progress.
Hard to believe that in May it will be 2 years since I started this project...
Hi Gang,
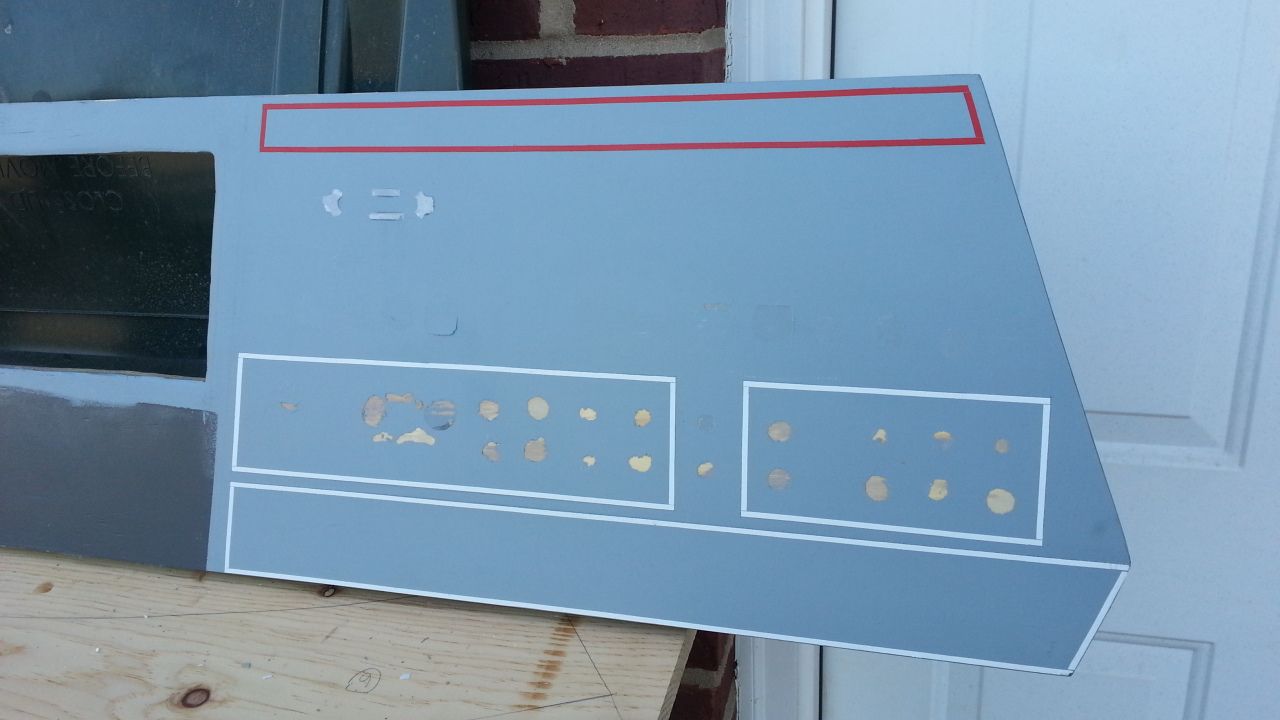
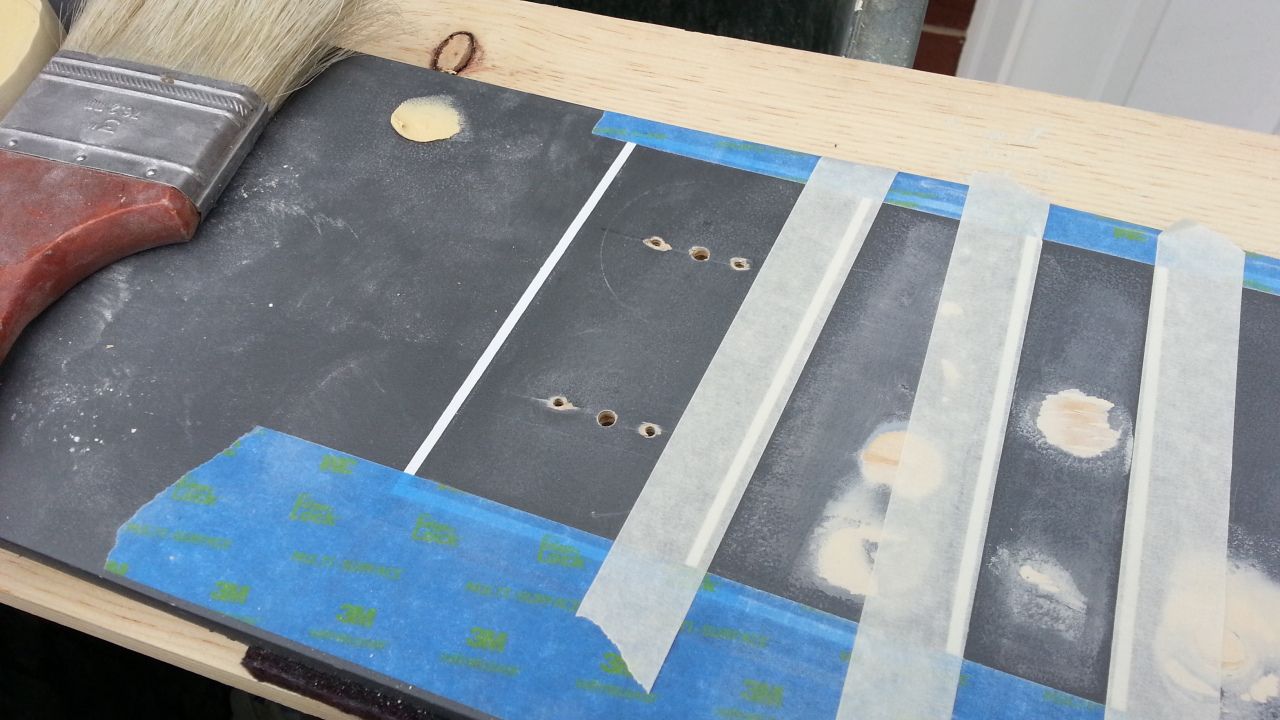
The weekend is finally here and I have begun the daunting task of removing ALL the knobs and mosaic tiles from the instrument panels... Enjoy")
Once again I used the compressed air. I turned the can upside down and sprayed directly under the knobs/tiles. Instantly the super glue began to crack - that's when I popped them off using a piece of wood and hammer
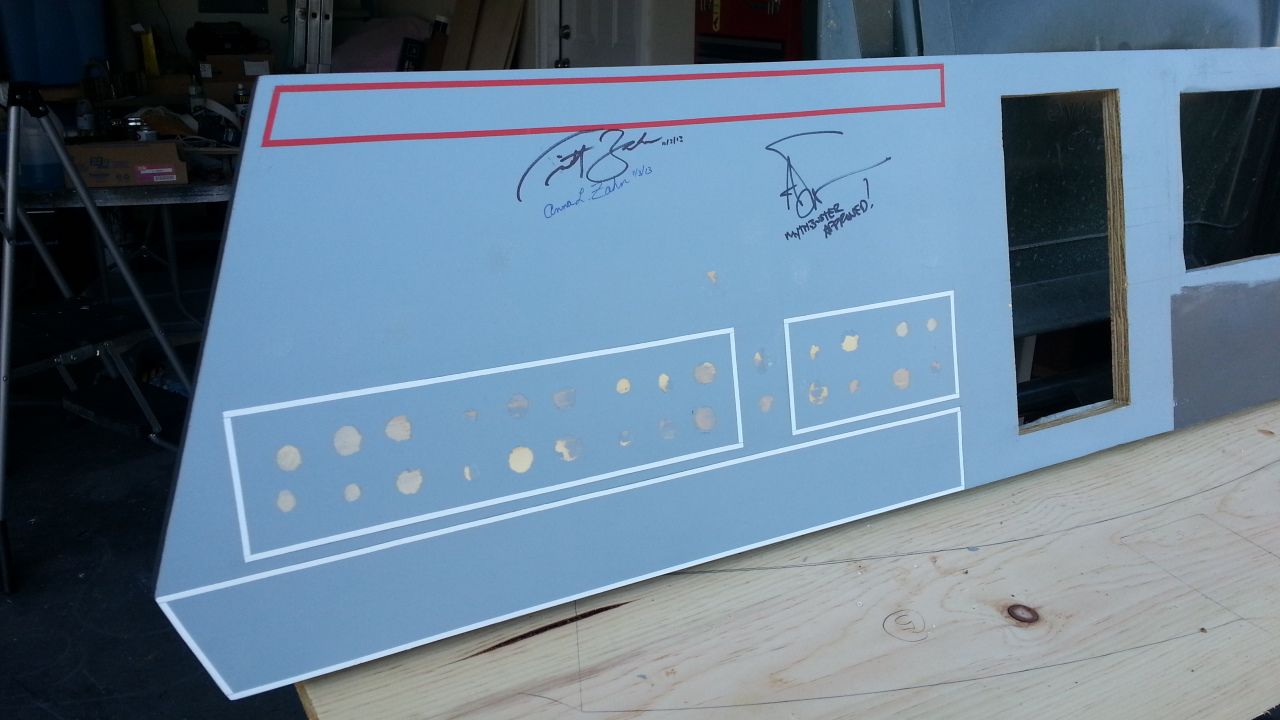
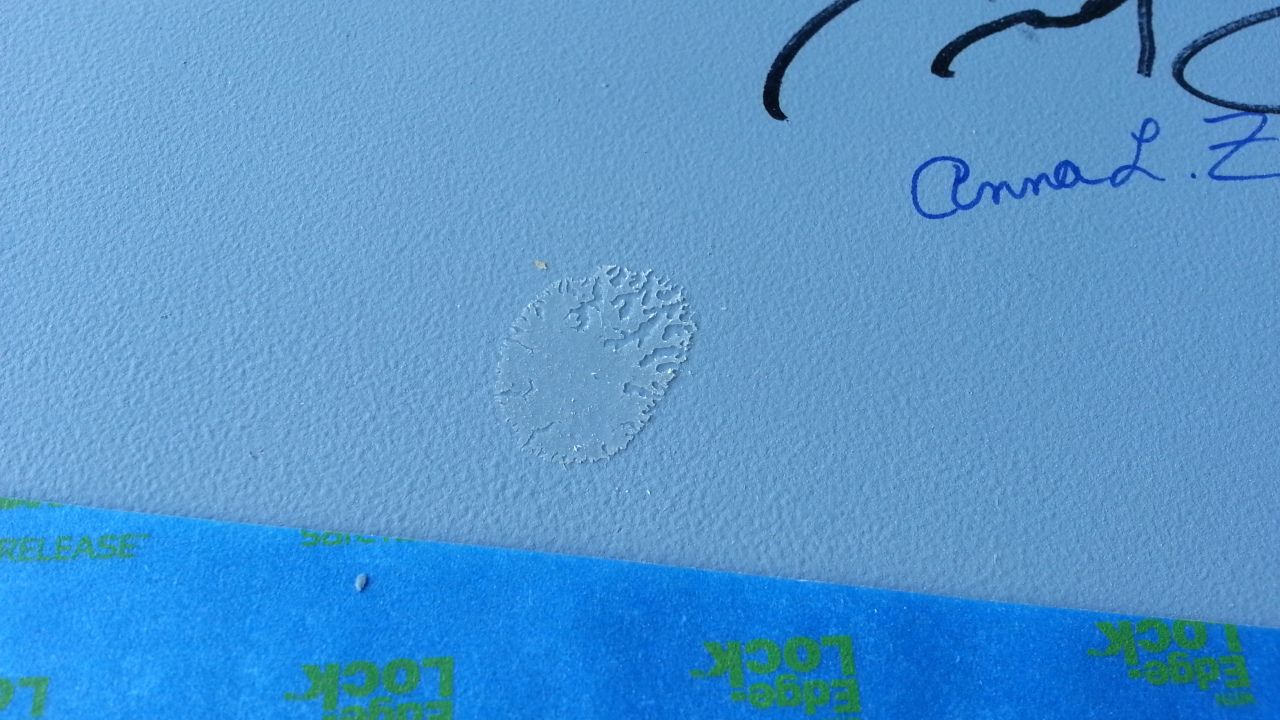
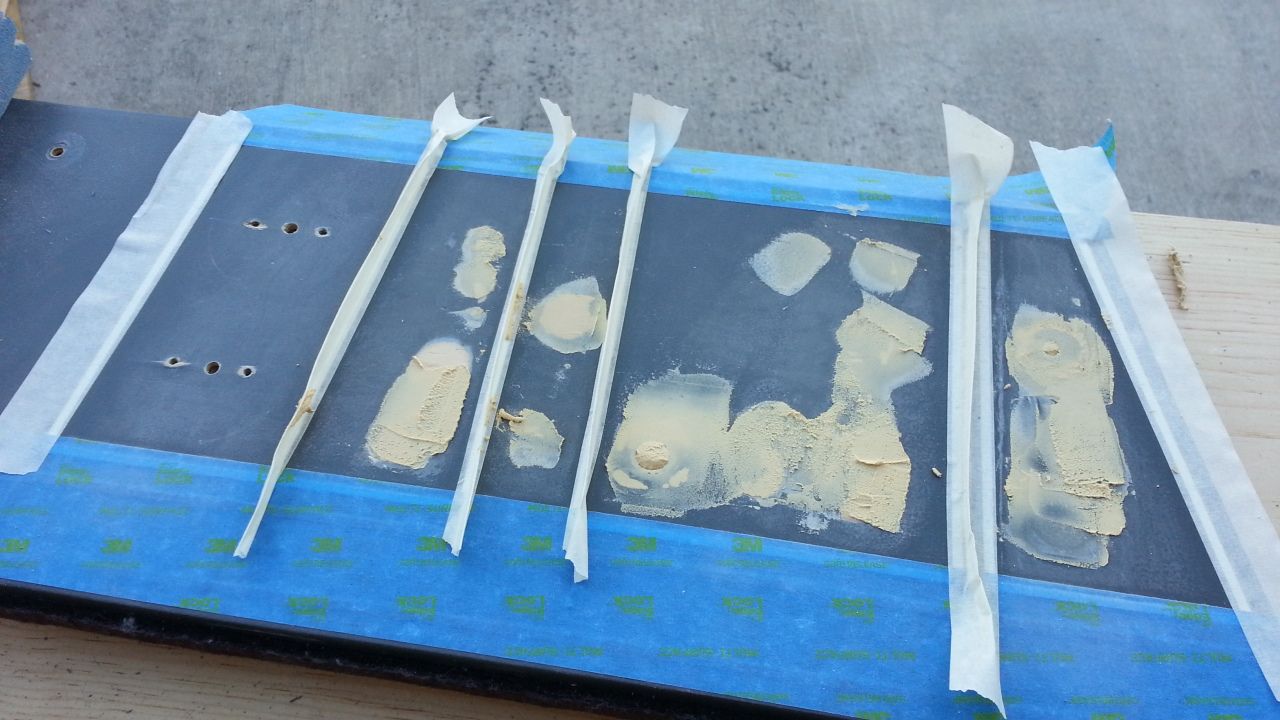
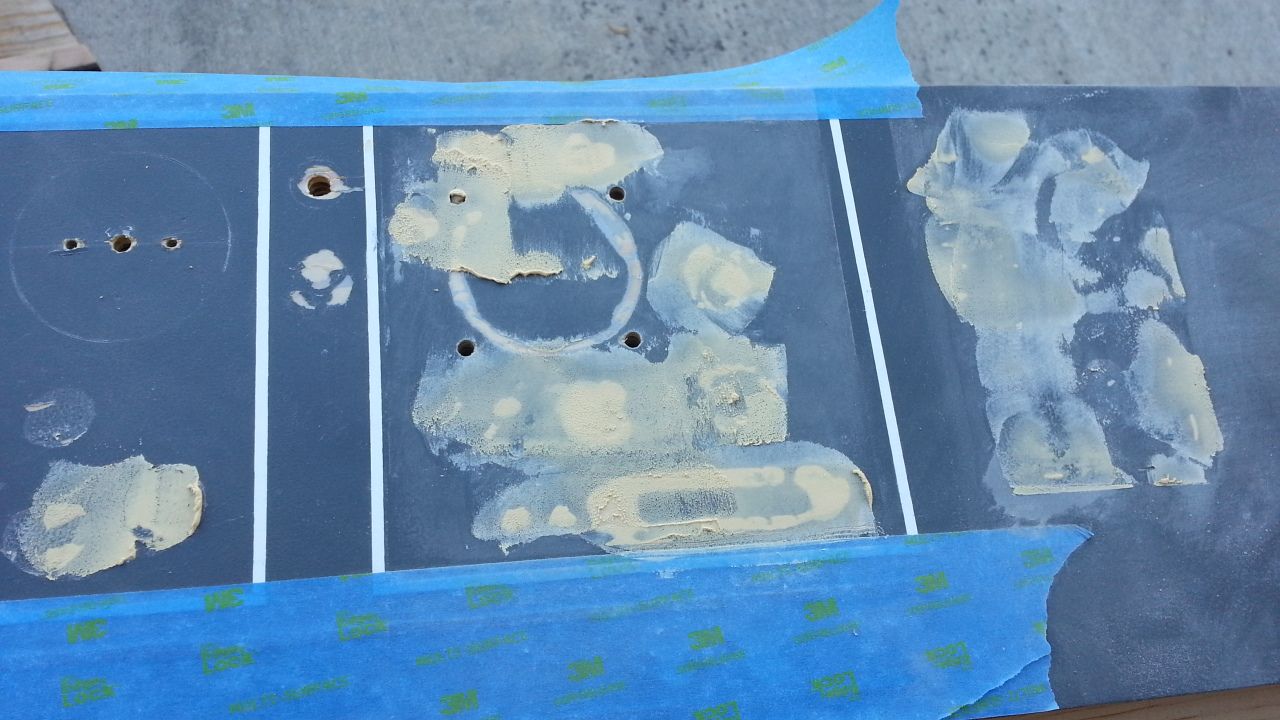
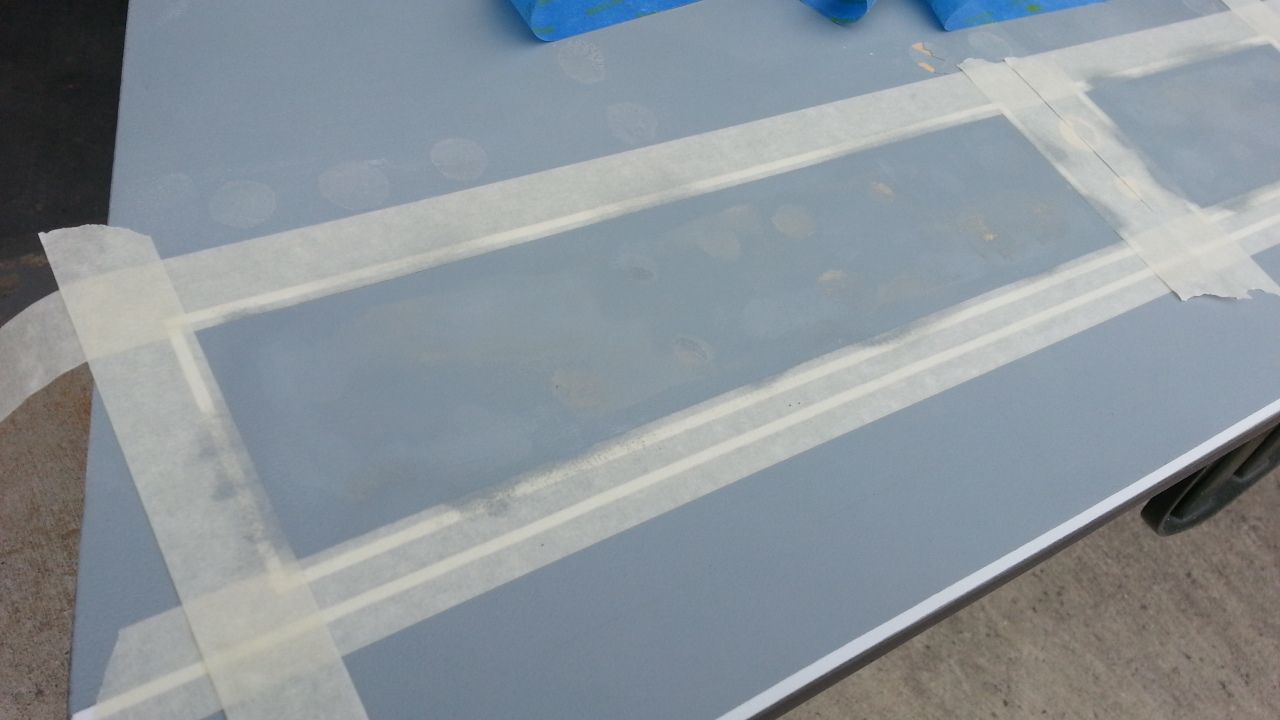
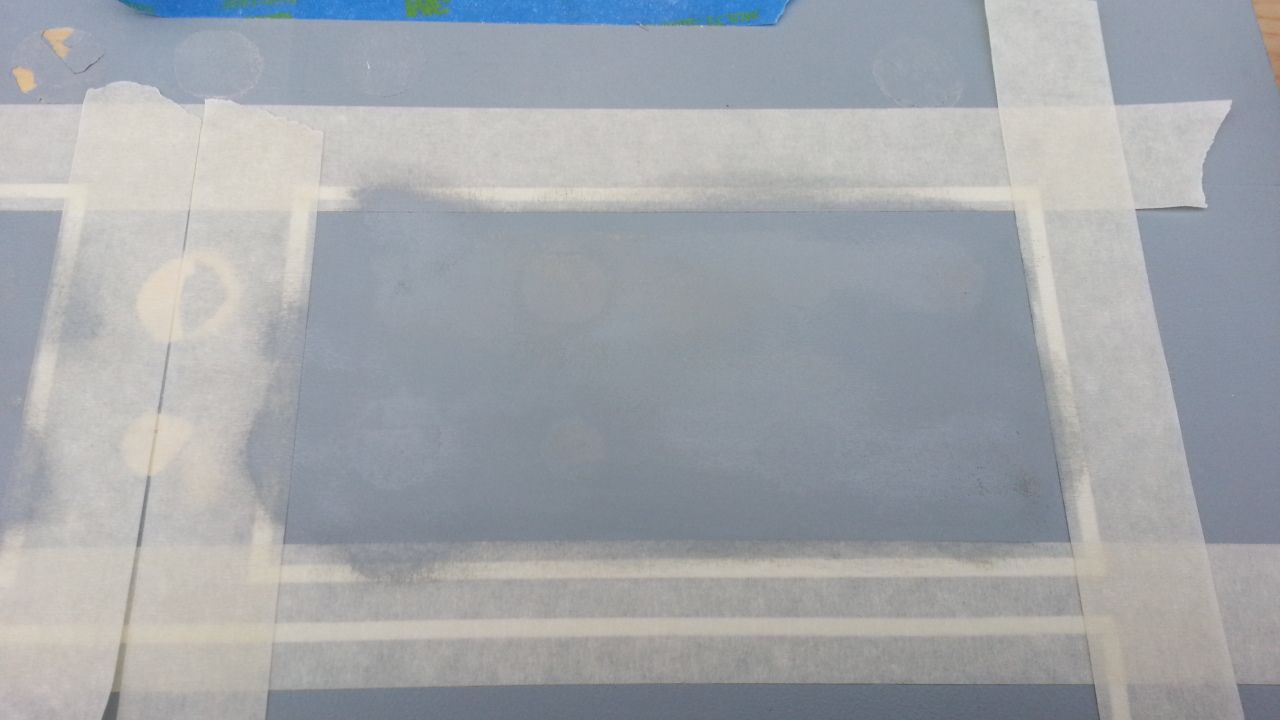
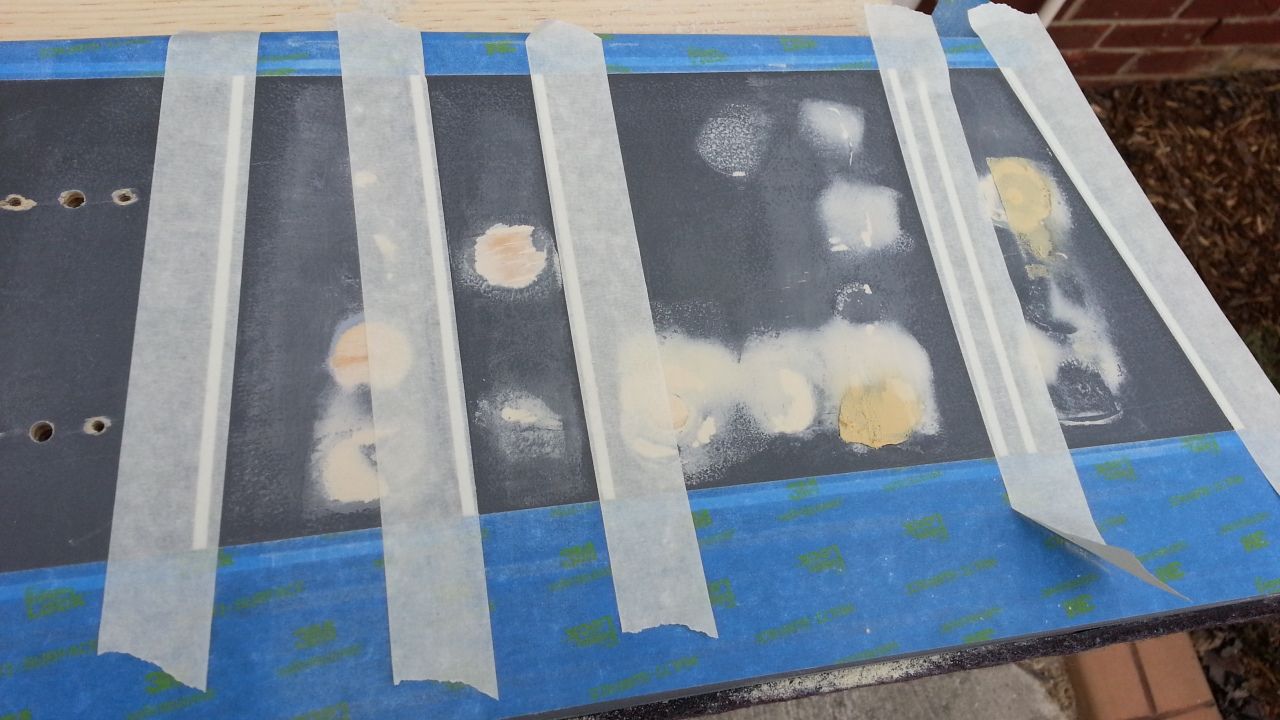
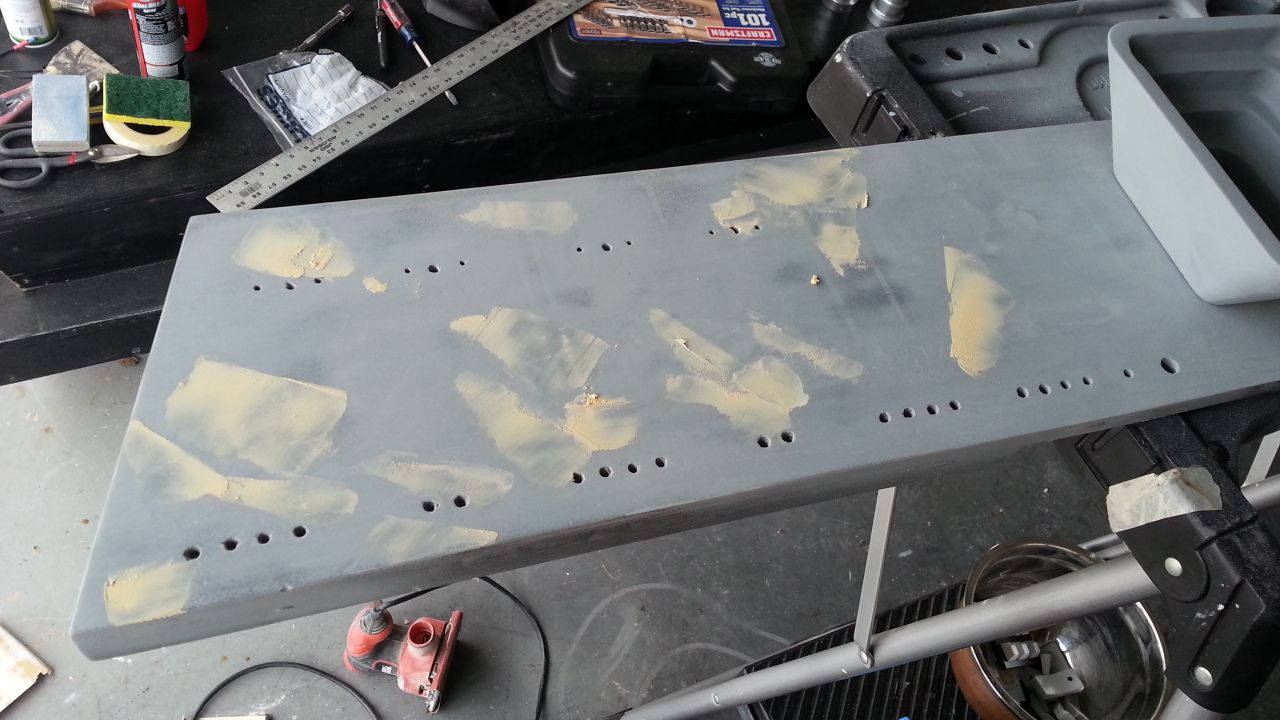
Much of the paint was removed so I am masking these areas off and filling them. I'll then sand smooth - gotta protect those sigs!
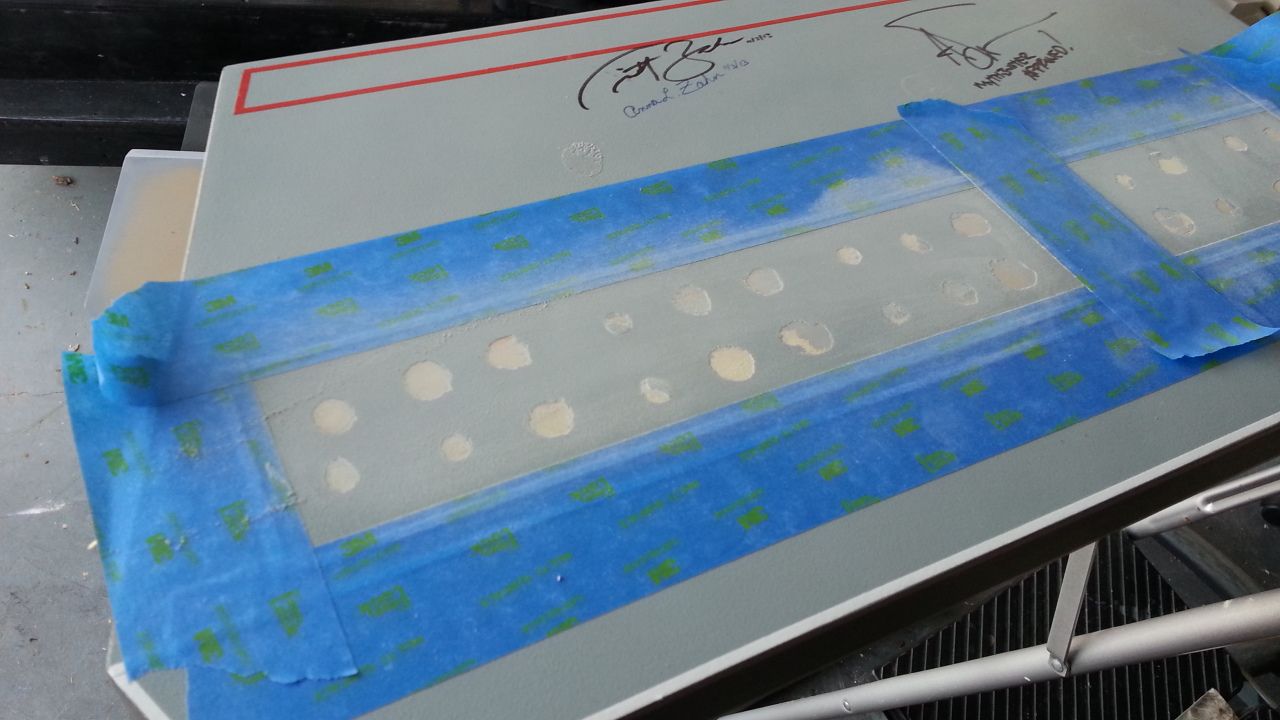
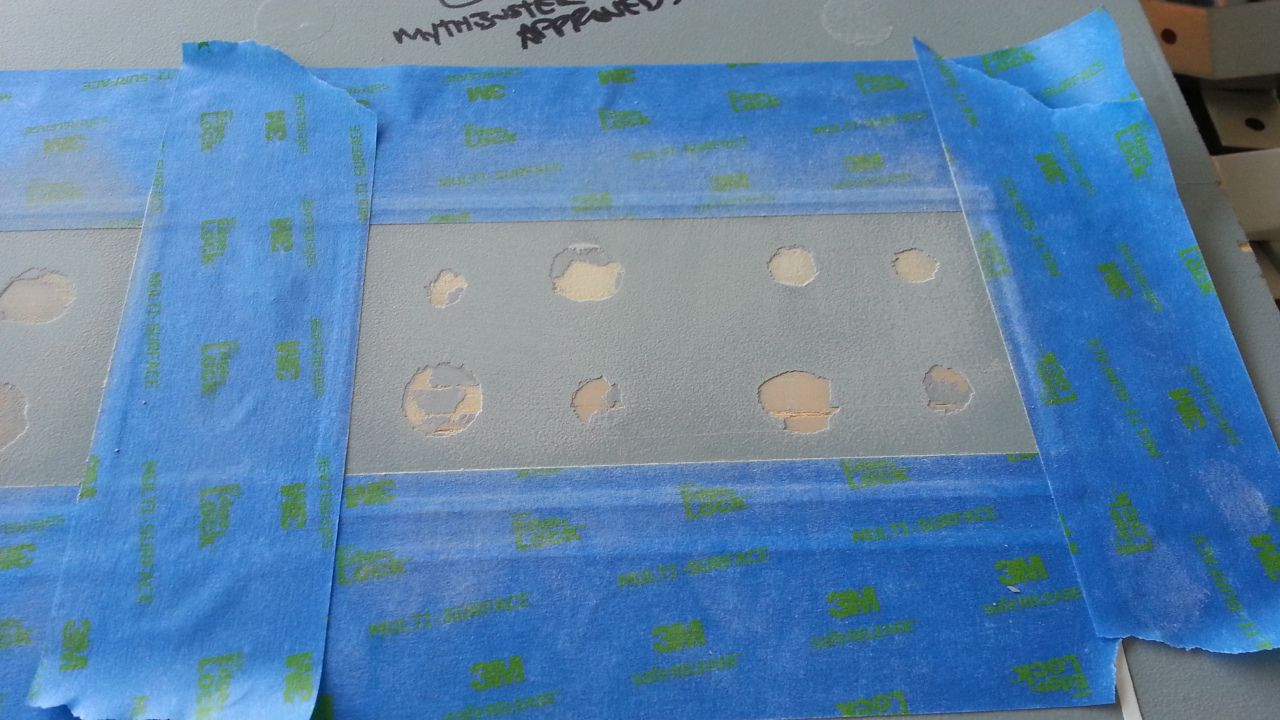
After a light sanding I applied the filler
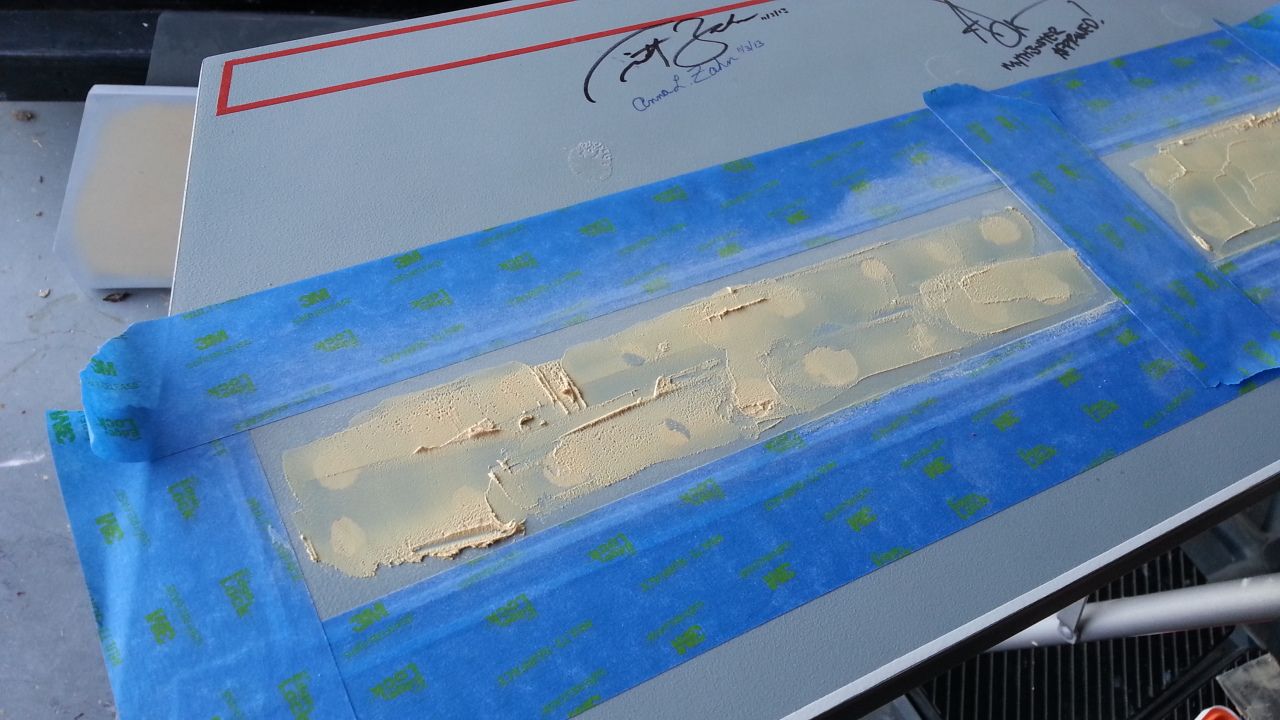
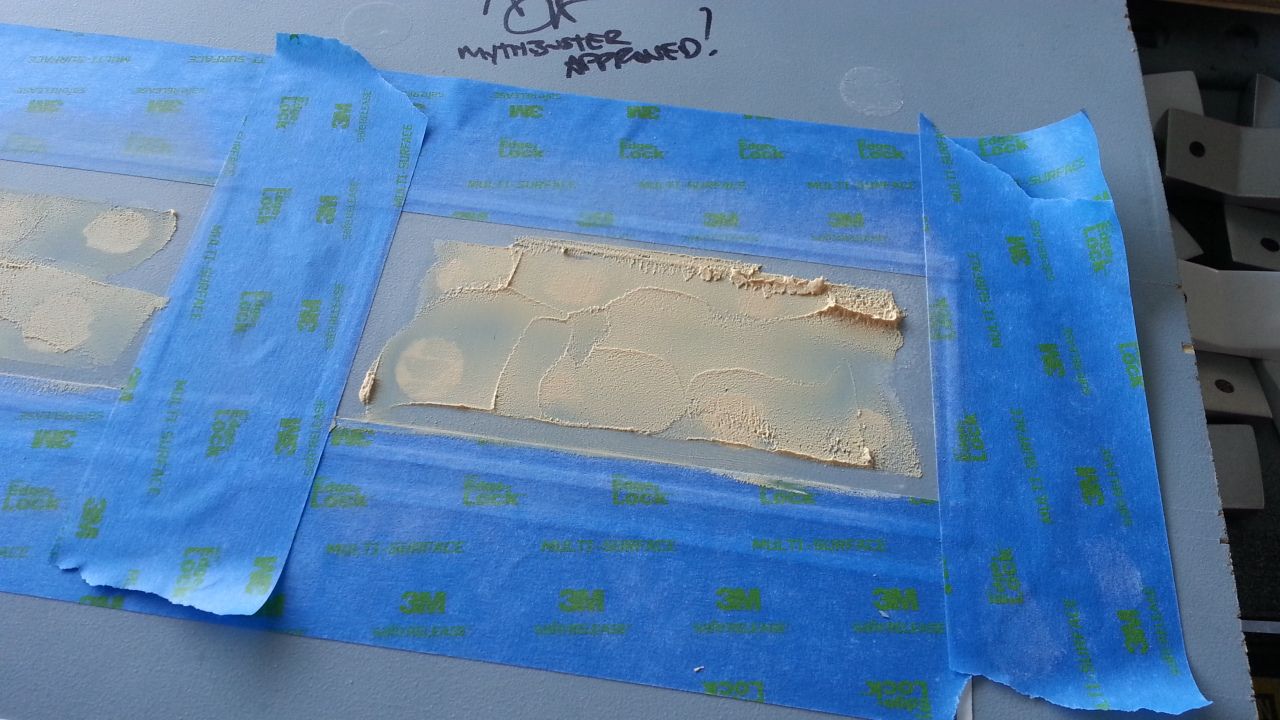
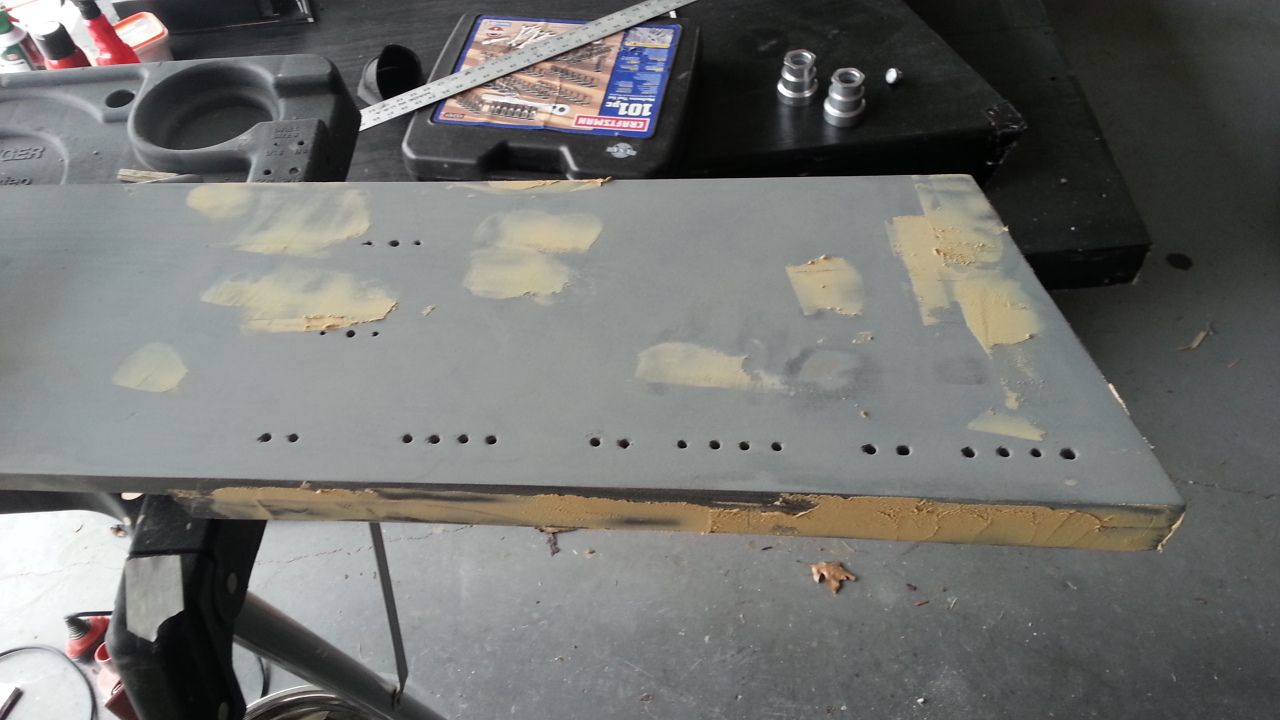
Other side
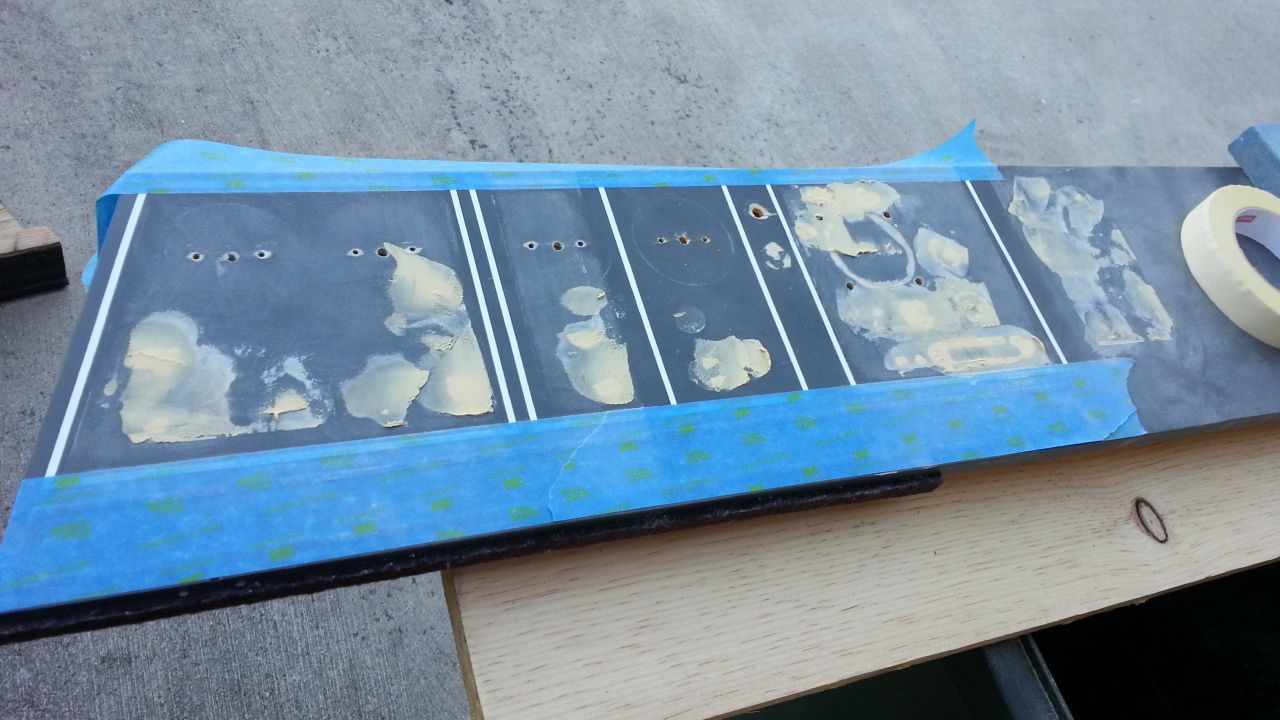
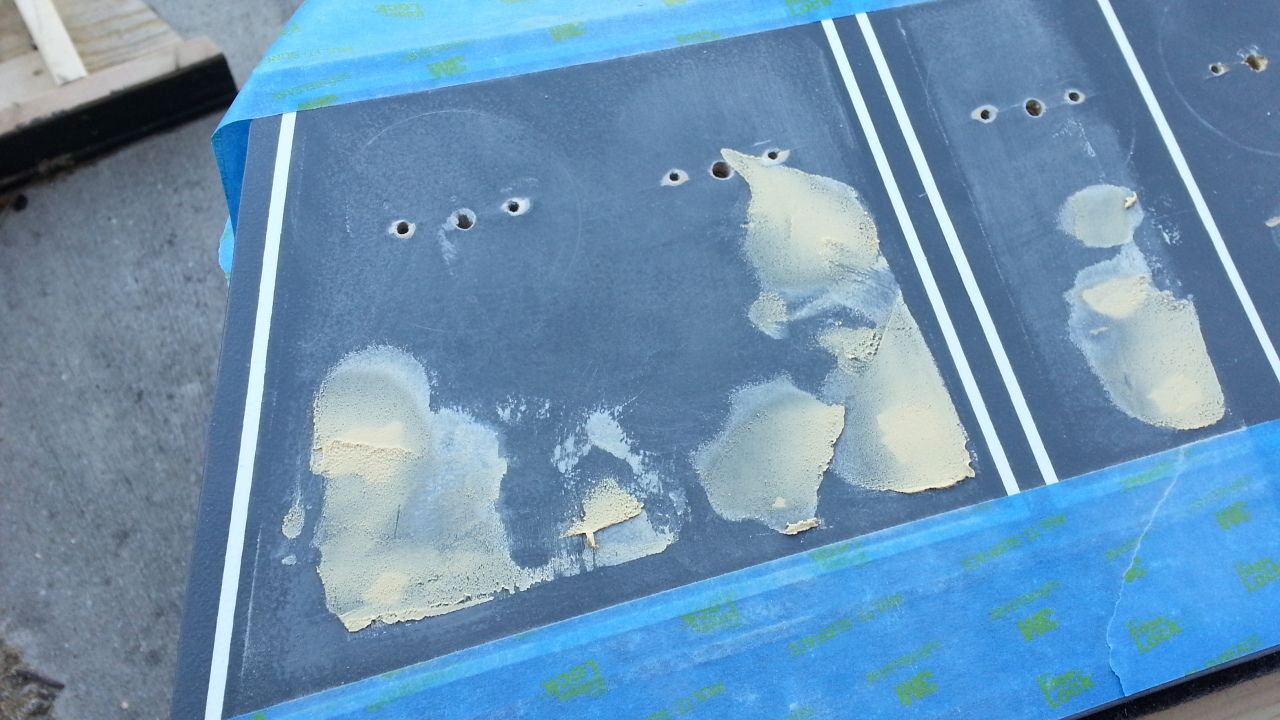
Once dried I'll sand smooth and then add a layer of paint
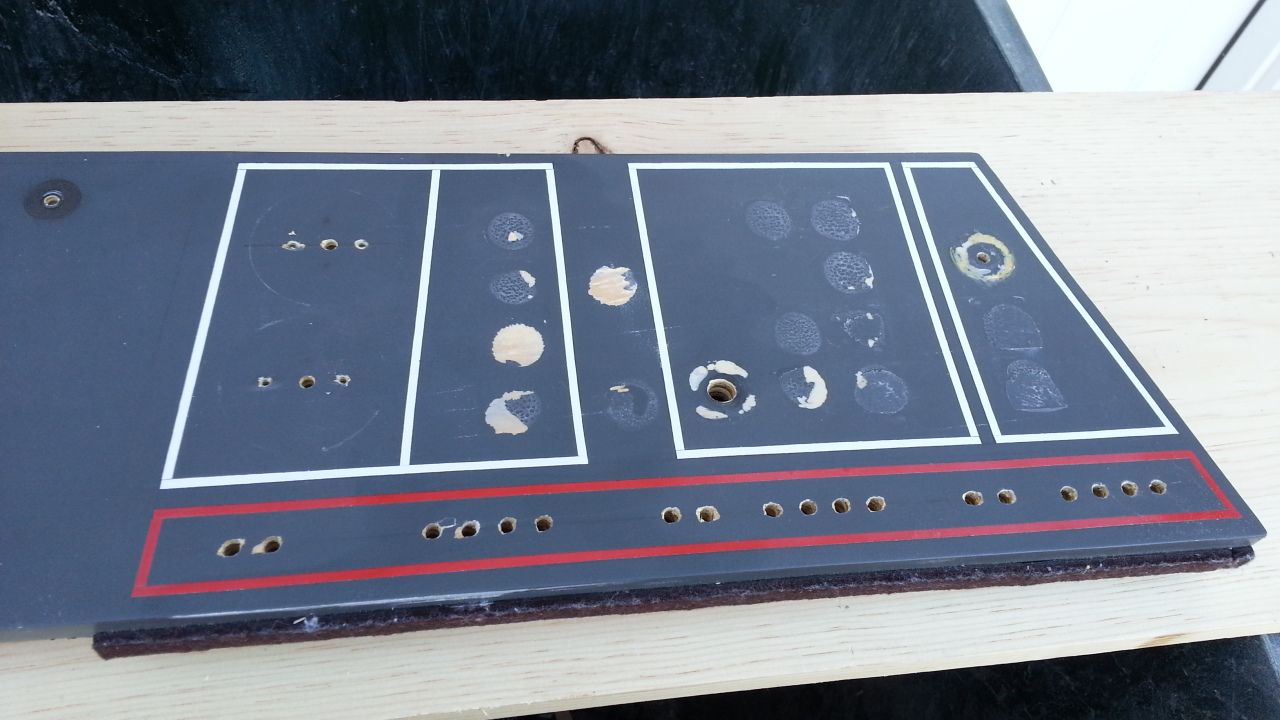
This is what the super glue looks like with the tile popped off. I'll have to sand smooth, add filler then mark the hole for the new 3mm tile to be back lit... whew...
More to Follow!
The weekend is finally here and I have begun the daunting task of removing ALL the knobs and mosaic tiles from the instrument panels... Enjoy
Once again I used the compressed air. I turned the can upside down and sprayed directly under the knobs/tiles. Instantly the super glue began to crack - that's when I popped them off using a piece of wood and hammer
Much of the paint was removed so I am masking these areas off and filling them. I'll then sand smooth - gotta protect those sigs!
After a light sanding I applied the filler
Other side
Once dried I'll sand smooth and then add a layer of paint
This is what the super glue looks like with the tile popped off. I'll have to sand smooth, add filler then mark the hole for the new 3mm tile to be back lit... whew...
More to Follow!
Hi Gang,
On to the upper panel...
I removed ALL the wiring
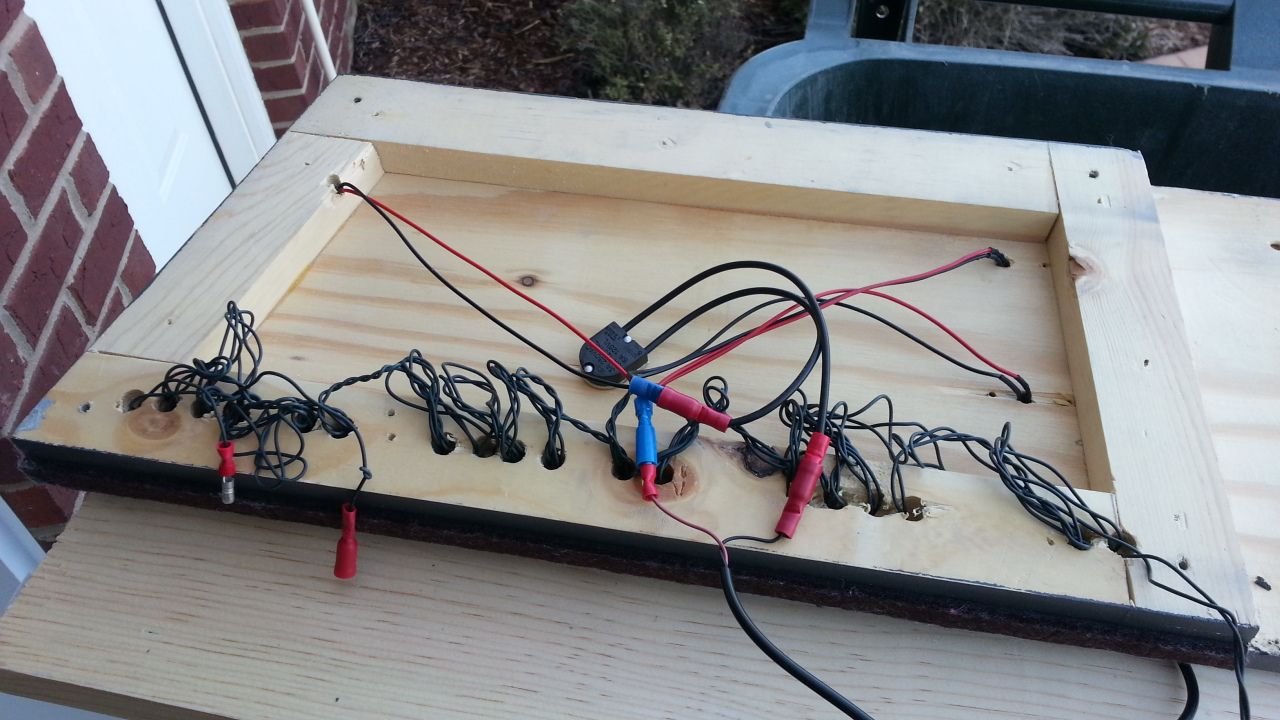
Then popped everything off - ewe
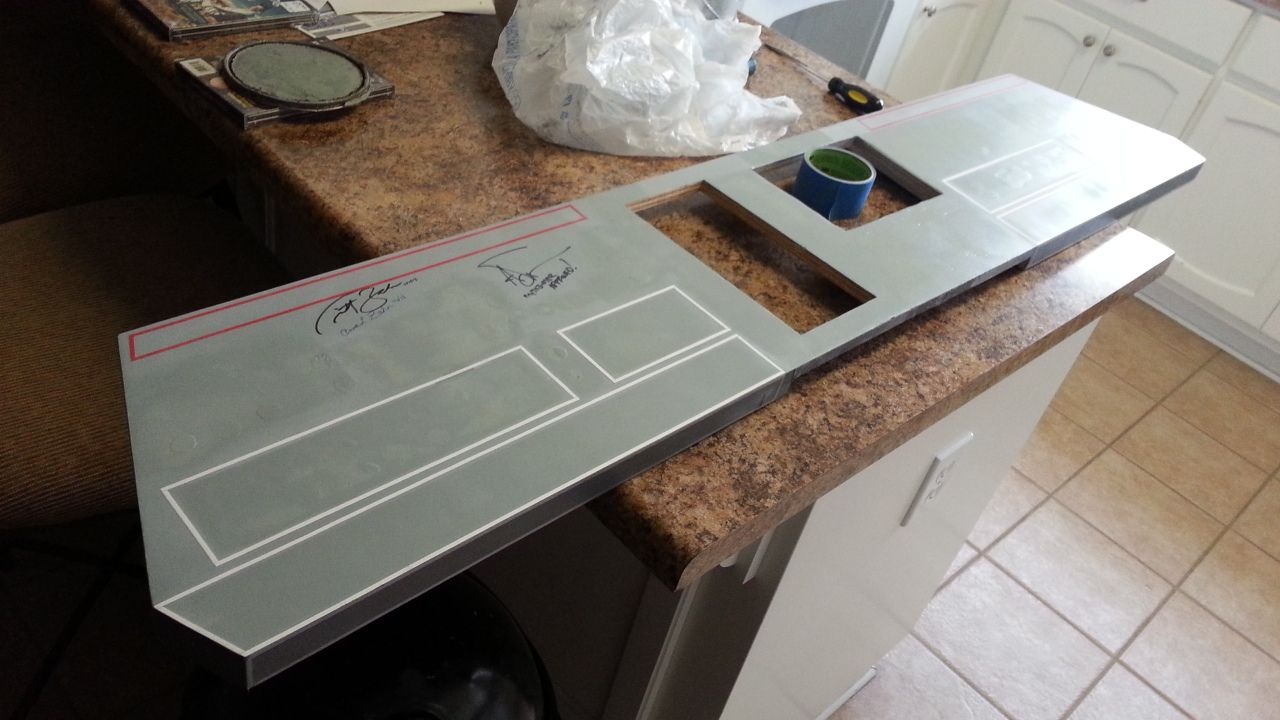
I'm going to see if I can salvage the pinstripes...
Added filler
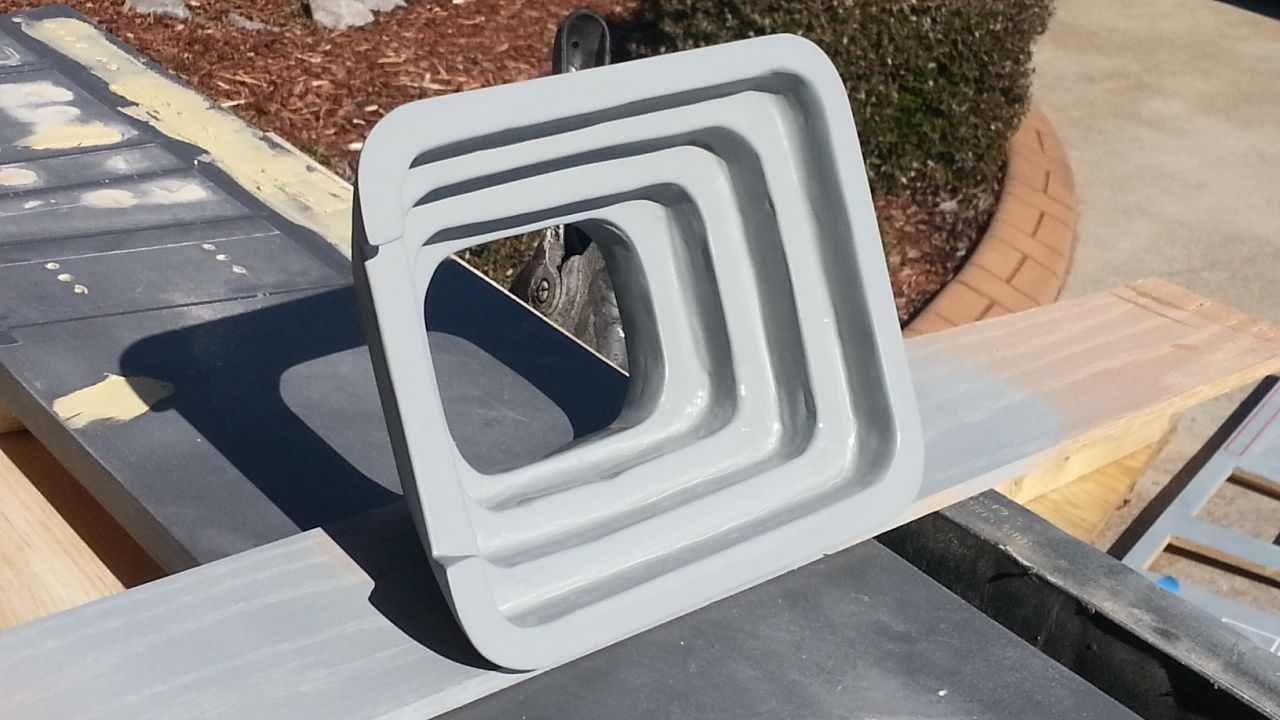
This is the area next to the view screen (matte box)
More to Follow!
On to the upper panel...
I removed ALL the wiring
Then popped everything off - ewe
I'm going to see if I can salvage the pinstripes...
Added filler
This is the area next to the view screen (matte box)
More to Follow!
Last edited:
Hi Gang,
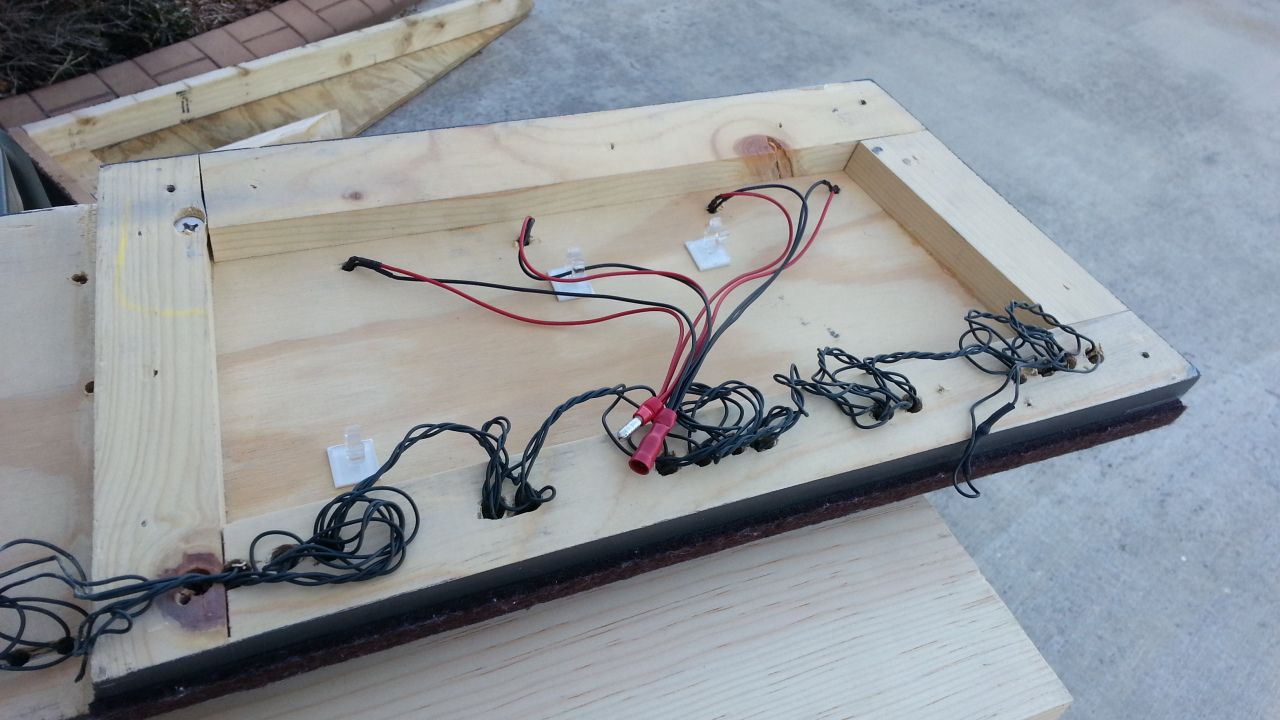
Late night sanding... The upper part of the panel on Chewie's side is nice and smooth. Now working the area where all the rockers sit
Han's side
More to Follow!
Late night sanding... The upper part of the panel on Chewie's side is nice and smooth. Now working the area where all the rockers sit
Han's side
More to Follow!
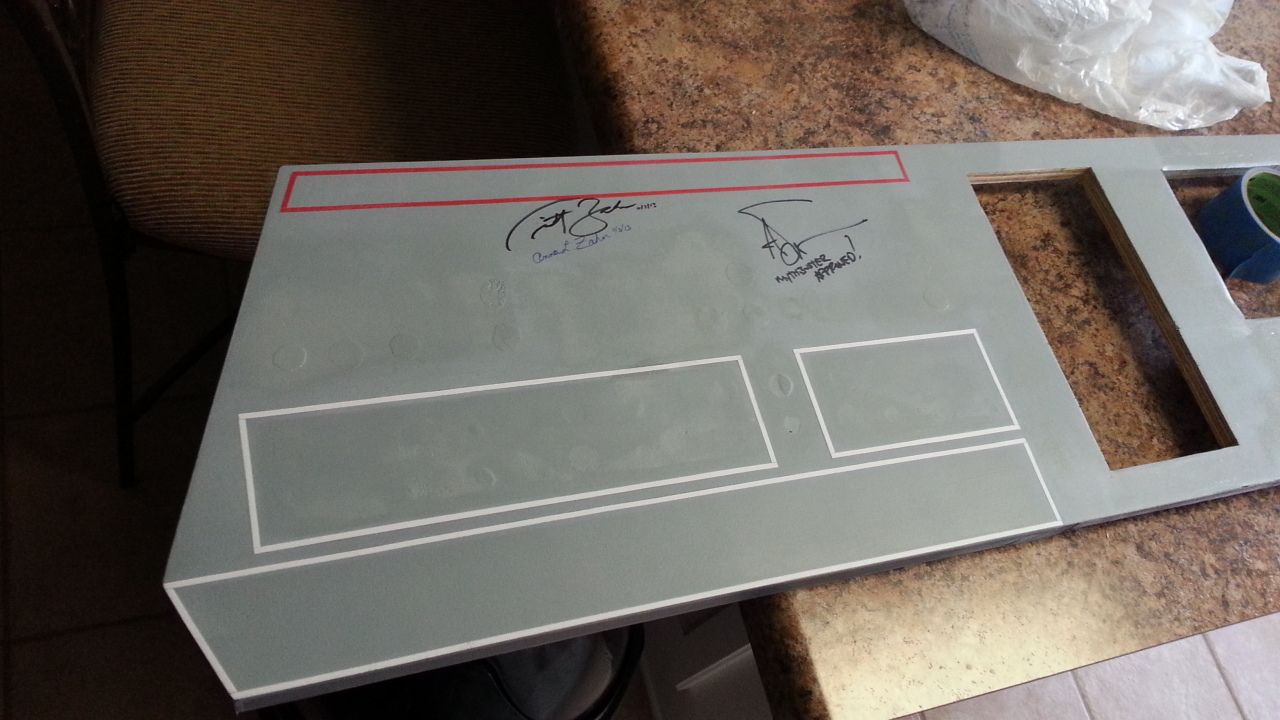
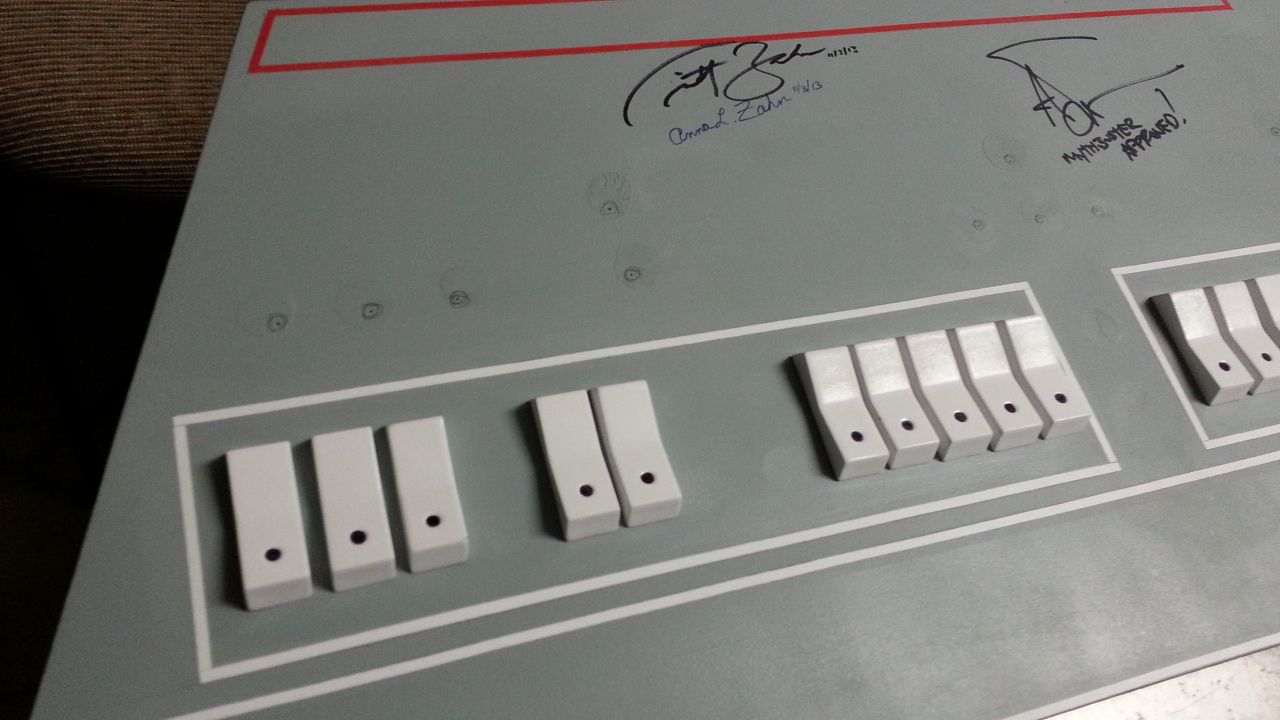
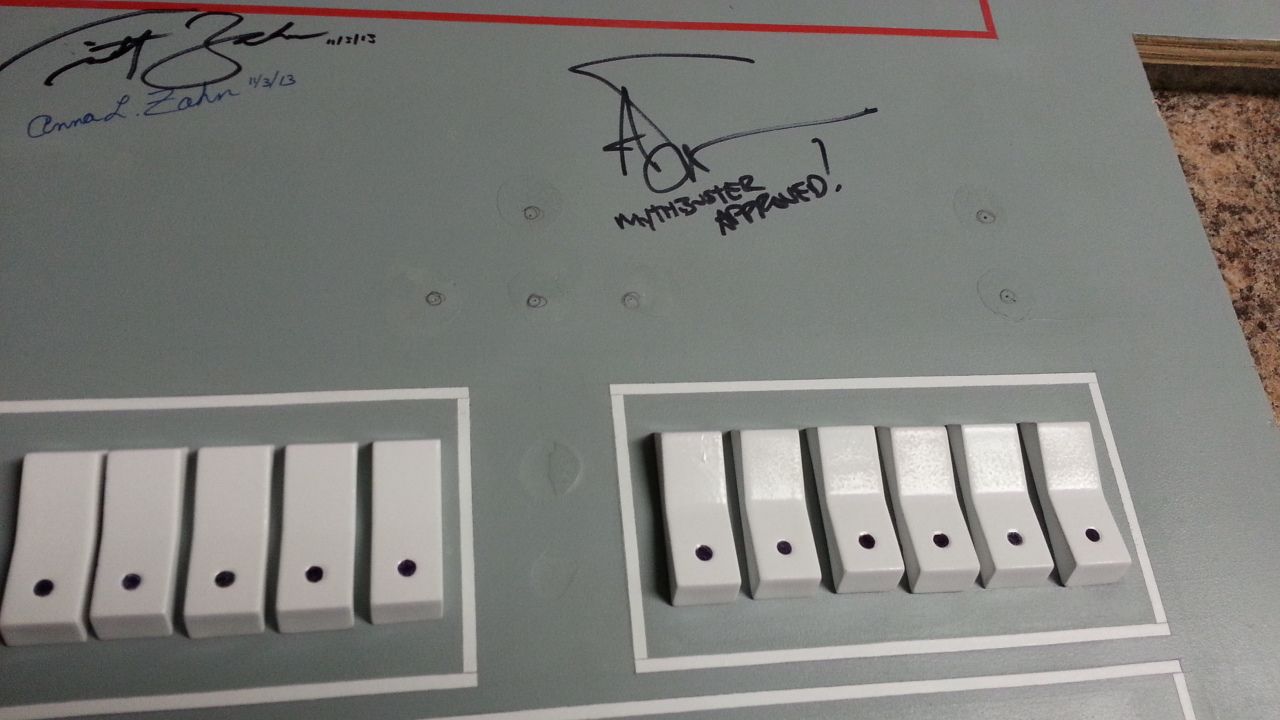
So what are you going to do with the signatures? It would be a shame to cover them up, but they're also not screen accurate...
Hey Y,
I know, they are far from screen accurate! What was I thinking
I'm DEFINATELY saving the signatures. This will become the "signature" console.- - - Updated - - -
keep at it, it would break my heart
I hope I don't let you down!
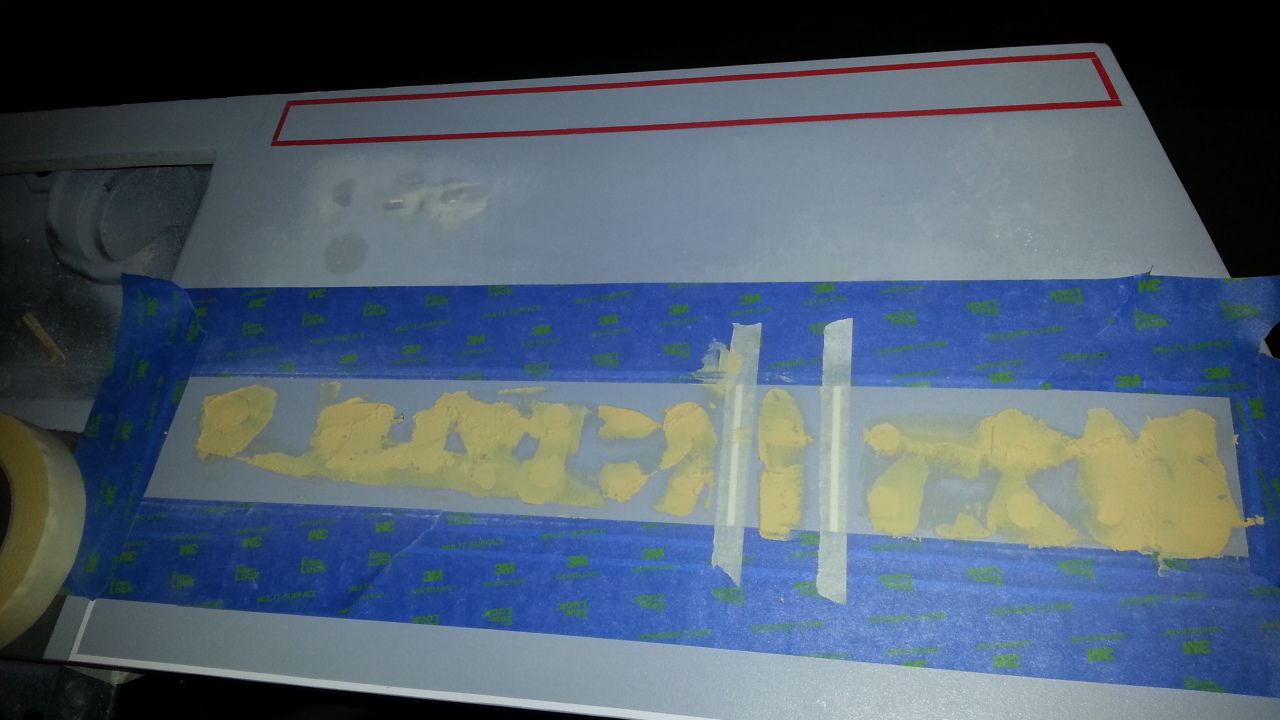
Hi Gang,
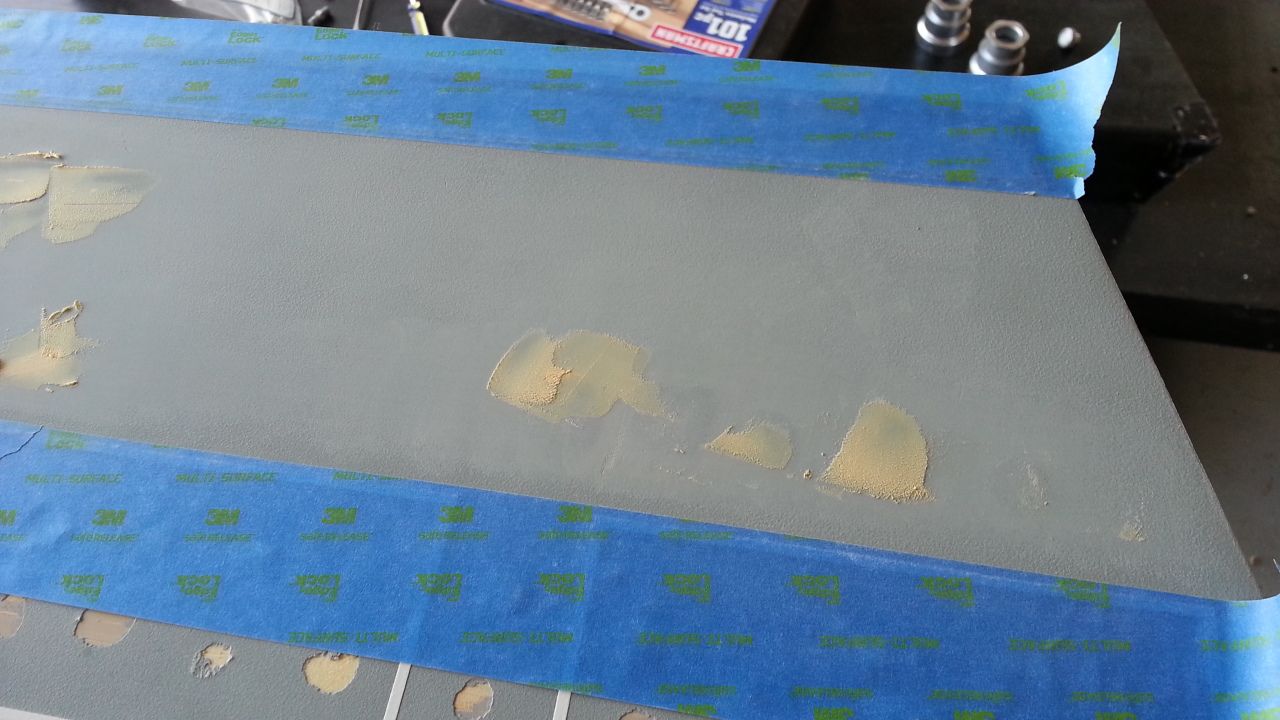
Got an early morning start on the console instrument panels...
Laid a quick layer of color
Then got started on sanding and applying more filler on the upper panel
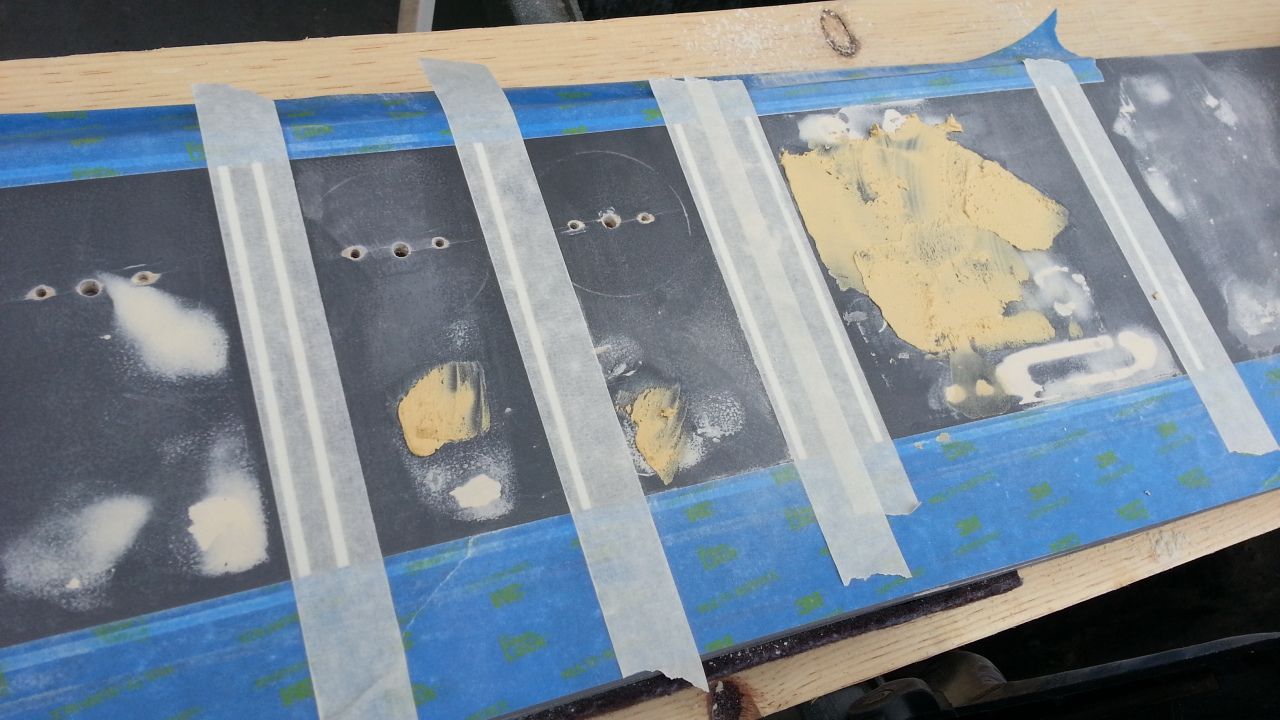
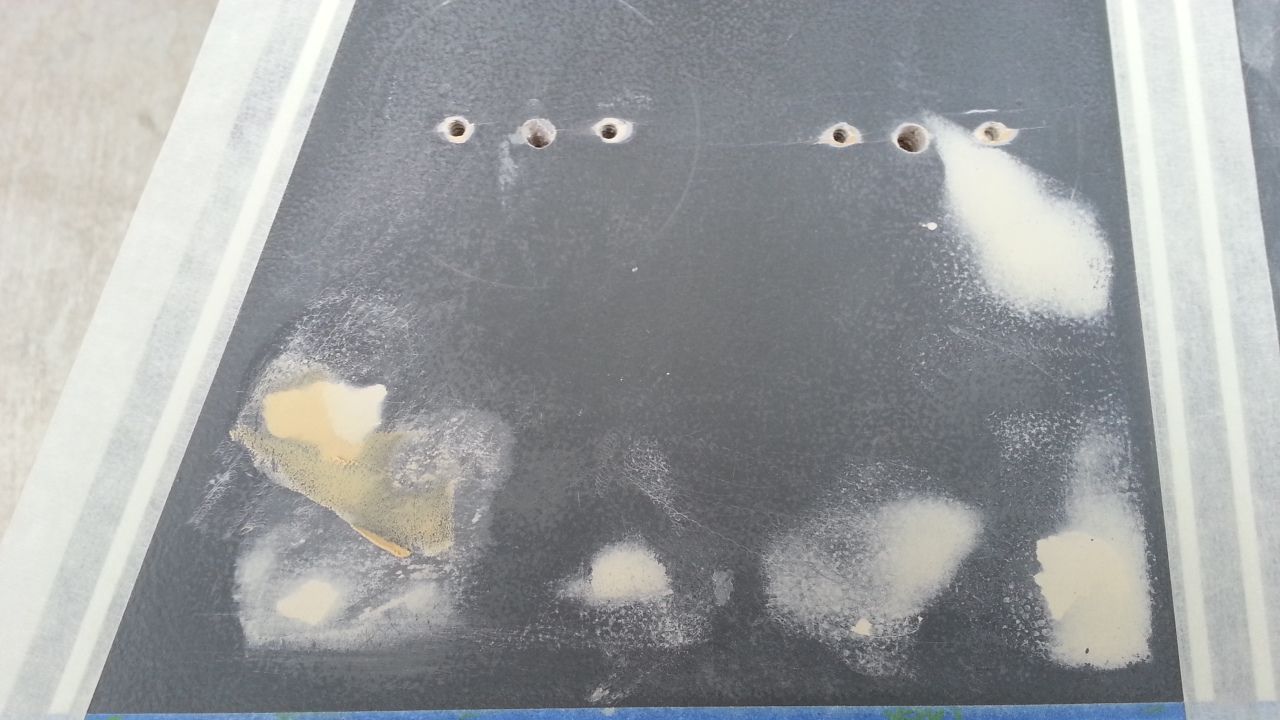
I thinking these should be ready to go by this evening
Got an early morning start on the console instrument panels...
Laid a quick layer of color
Then got started on sanding and applying more filler on the upper panel
I thinking these should be ready to go by this evening
Do you have the 3d models for those rocker switches by any chance? I can't find anything similar!
Hi C,
All of our 3D work was done by Starkiller. We have a very tight working relationship with Starkiller. I would suggest contacting him and see if he would be willing to forward the file. Sorry I can't be of anymore help.
Hi Gang,
Well... work is moving forward on the instrument panels. I decided to remove all the pin striping on the upper panel - it was just too complicated and I don't have to worry about the signatures
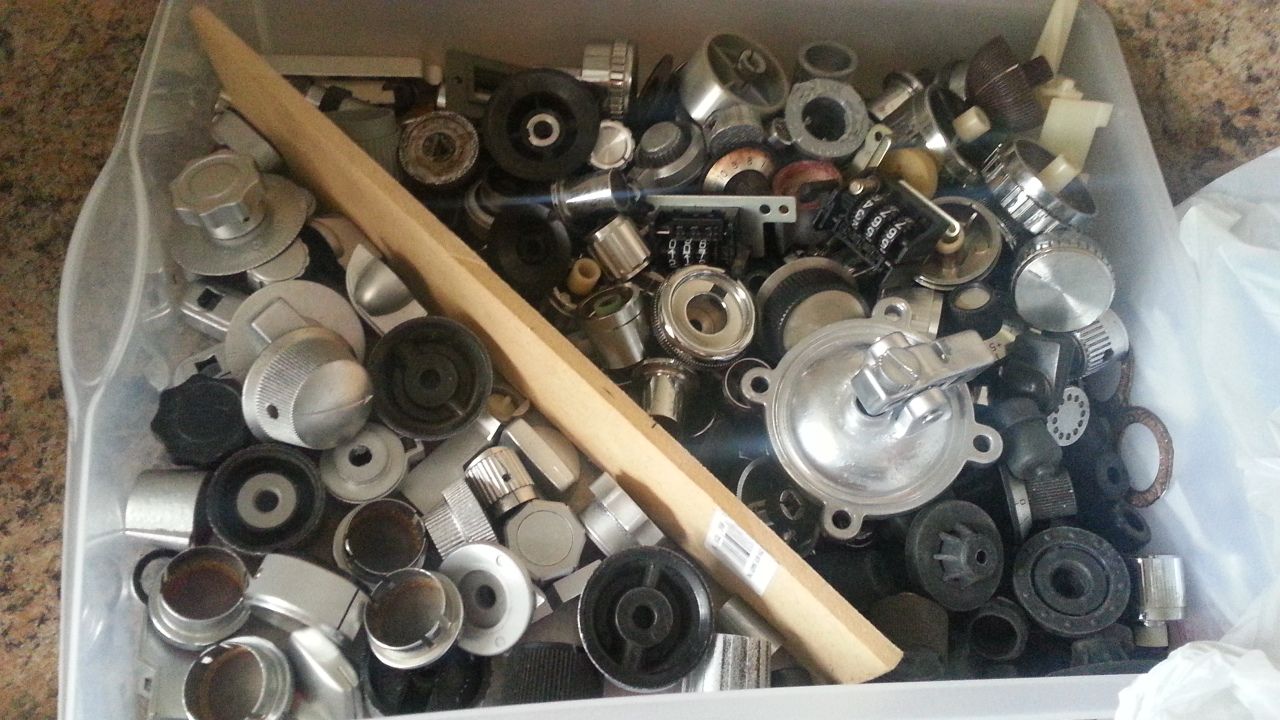
More greeblies arrived
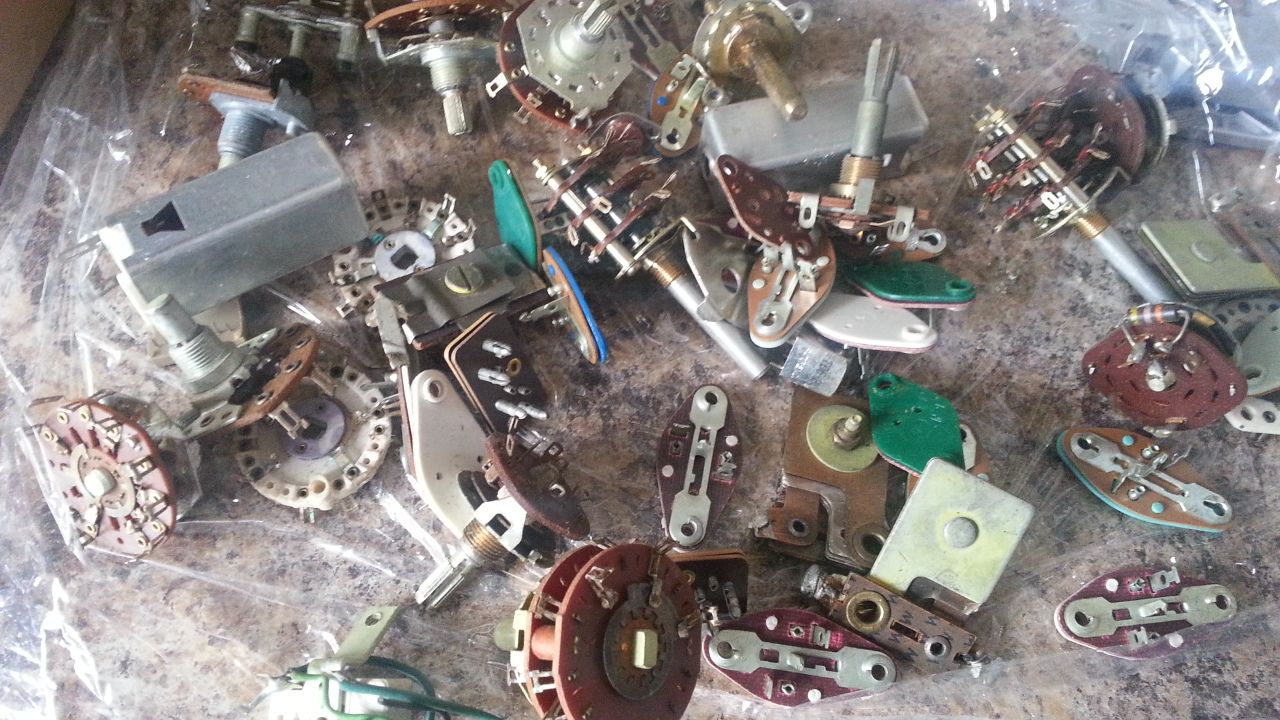
Gee... I hope I have enough knobs


Still working the matte box
Stay Tuned!
Well... work is moving forward on the instrument panels. I decided to remove all the pin striping on the upper panel - it was just too complicated and I don't have to worry about the signatures
More greeblies arrived
Gee... I hope I have enough knobs
Still working the matte box
Stay Tuned!
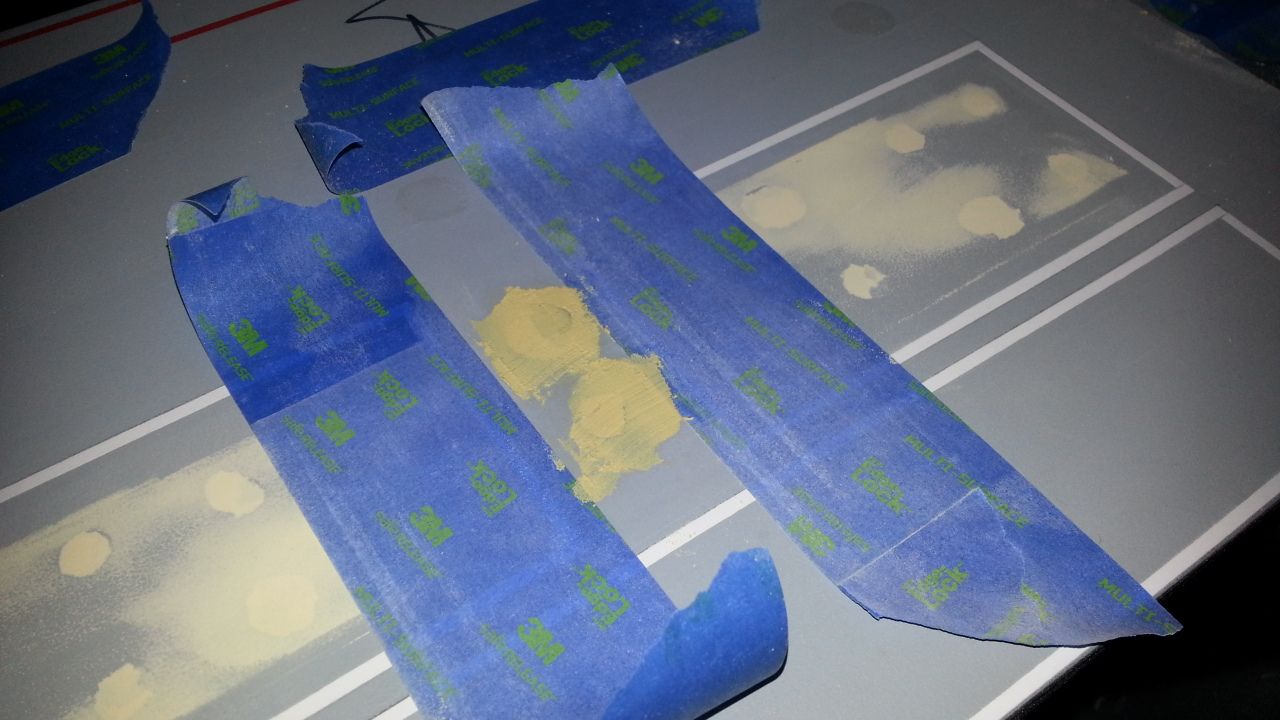
Hi Gang,
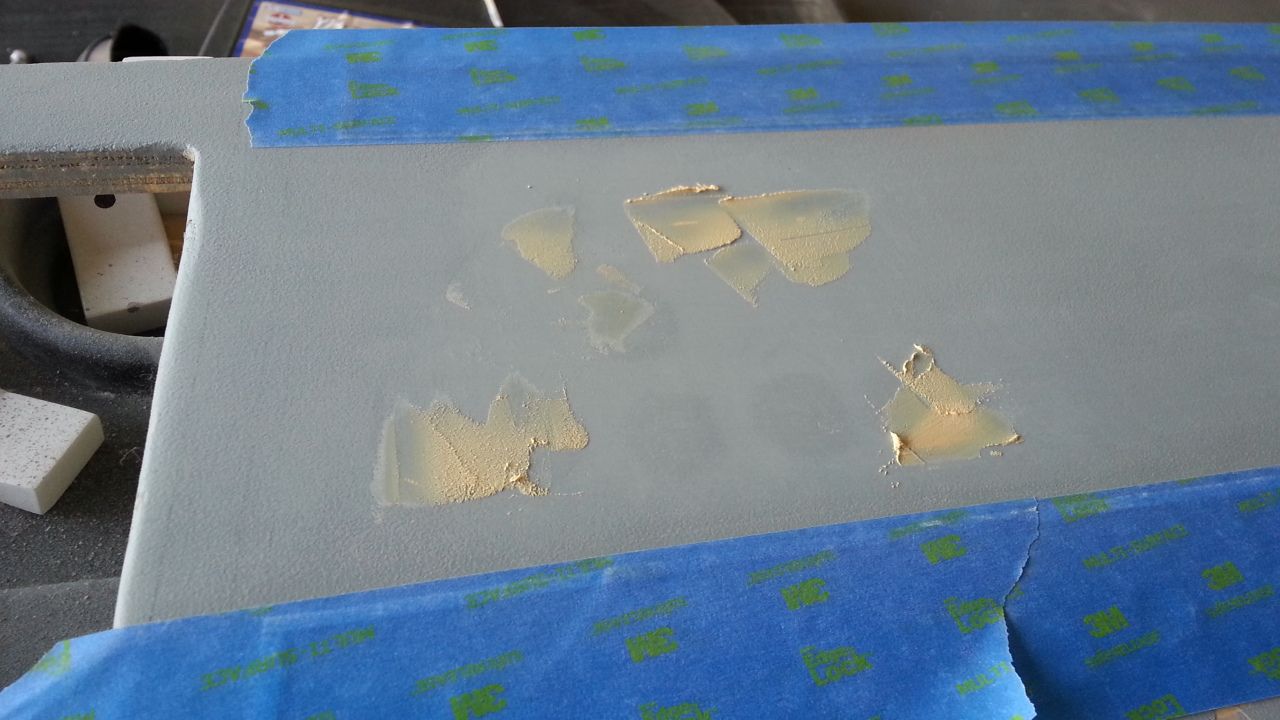
Almost there... A few more areas to sand on the upper panel and I can predrill and then add paint
Love that new matte box!

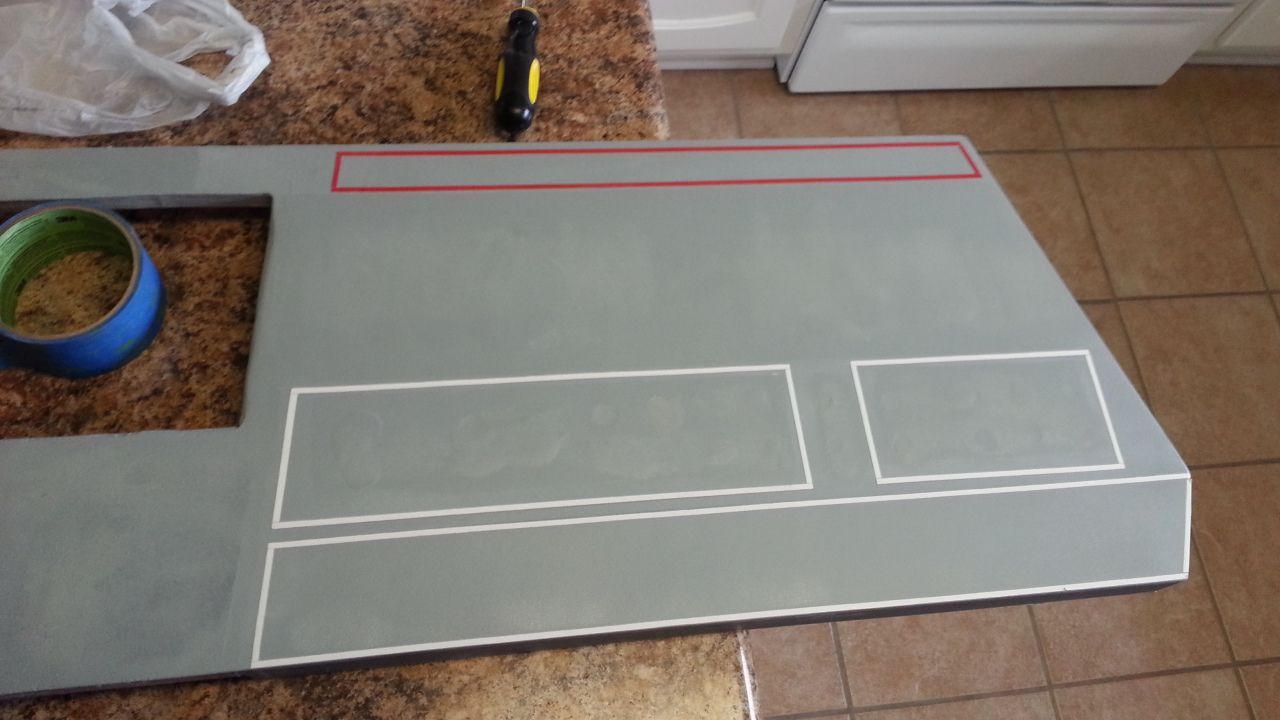
Lower panel is all set and ready for new LED holes. I hope the paint dries to match!
More to Follow
Almost there... A few more areas to sand on the upper panel and I can predrill and then add paint
Love that new matte box!
Lower panel is all set and ready for new LED holes. I hope the paint dries to match!
More to Follow
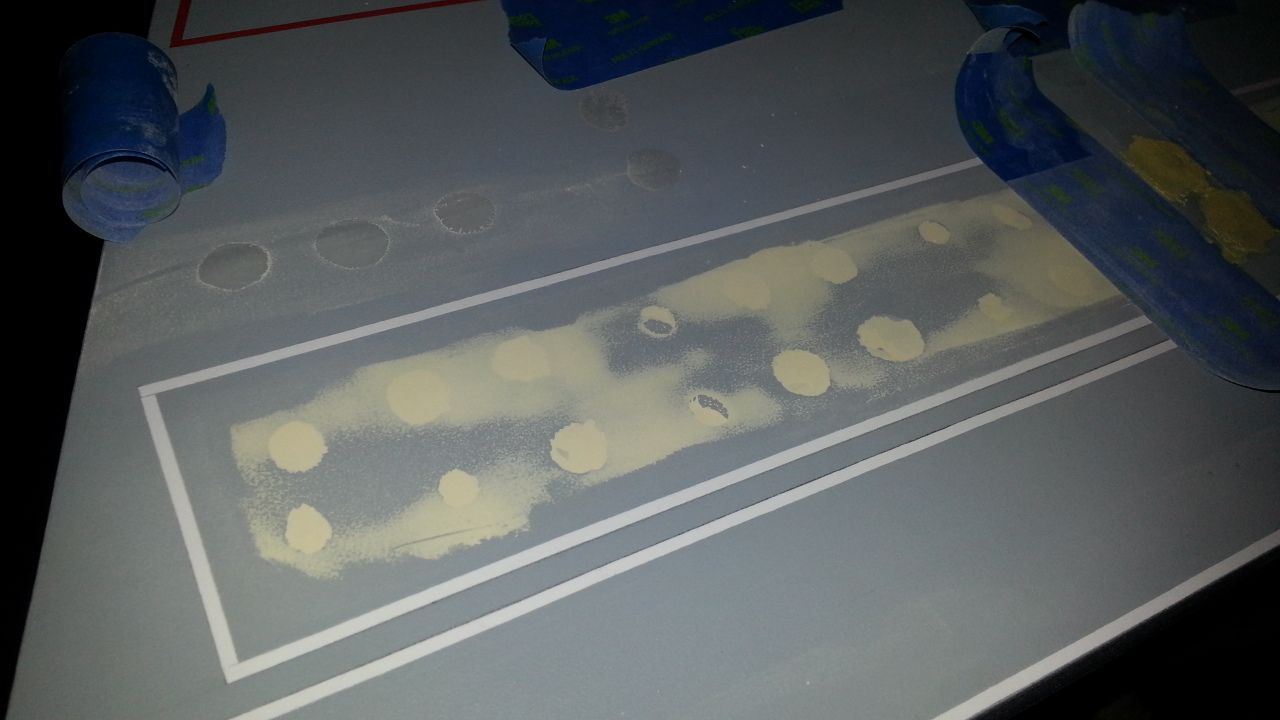
Hi Gang,
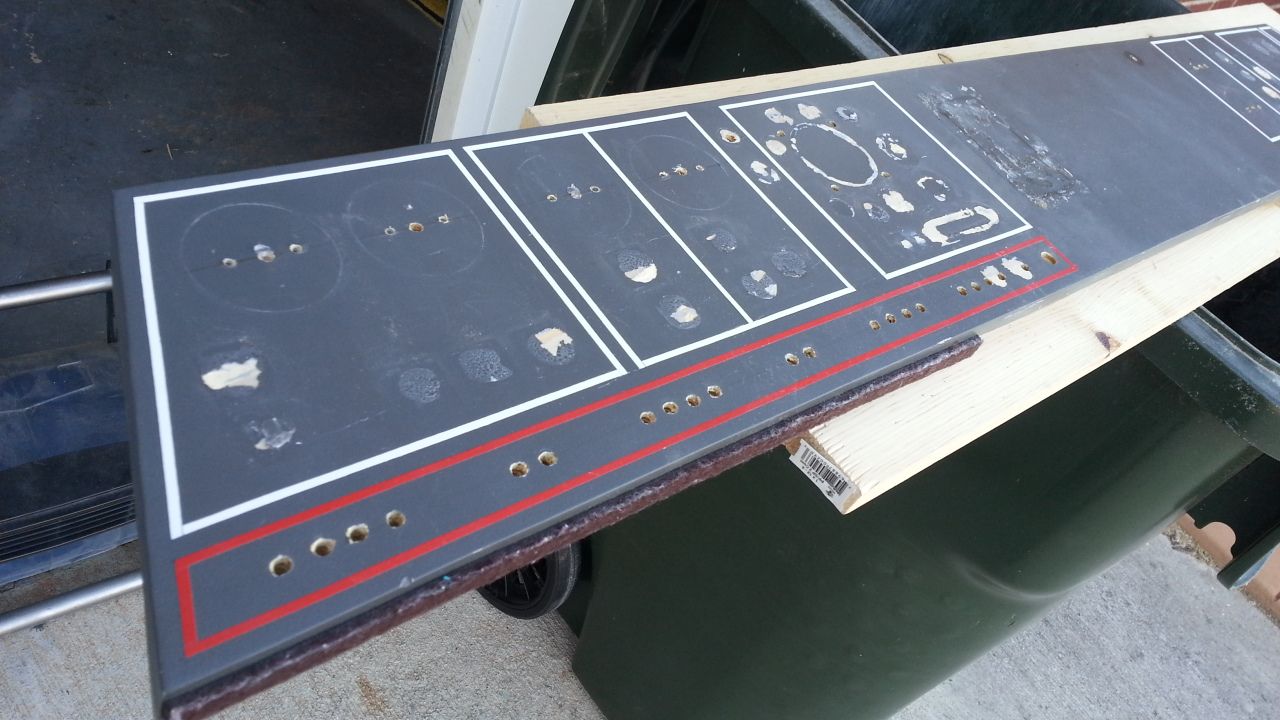
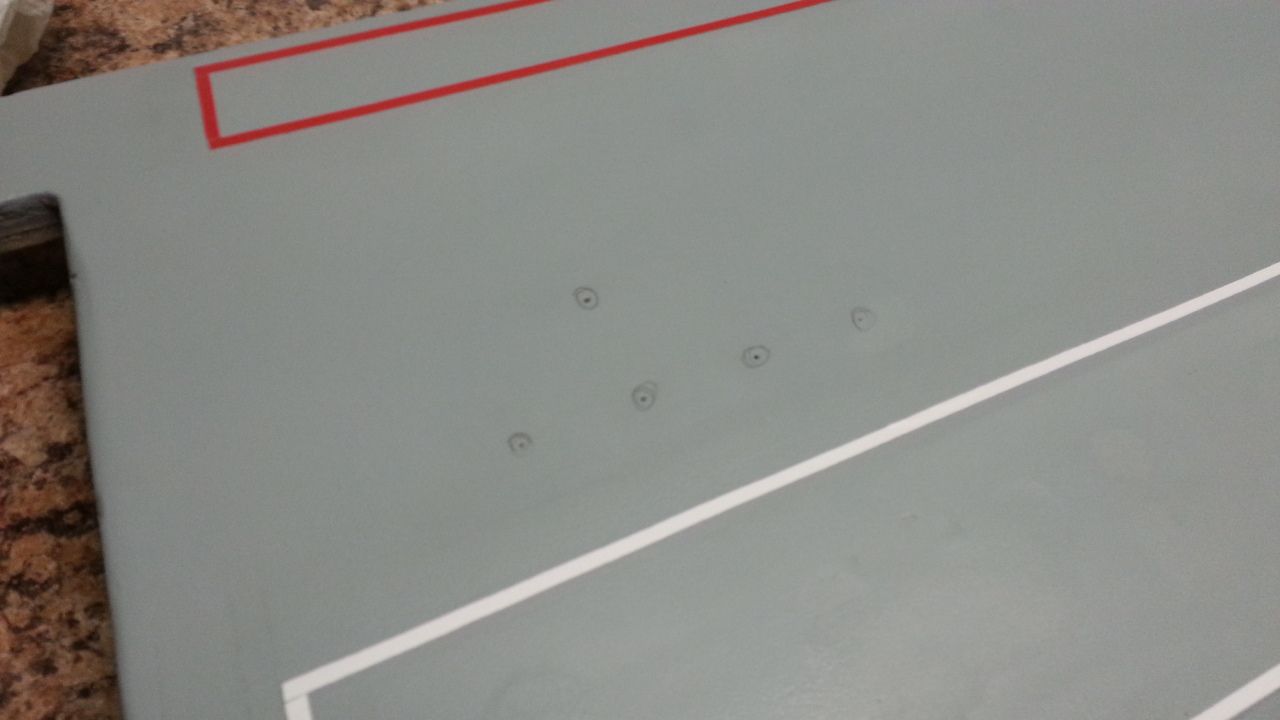
Plotting out the drill holes...
I created a 3X4 template of 1" squares to help me find the drill holes
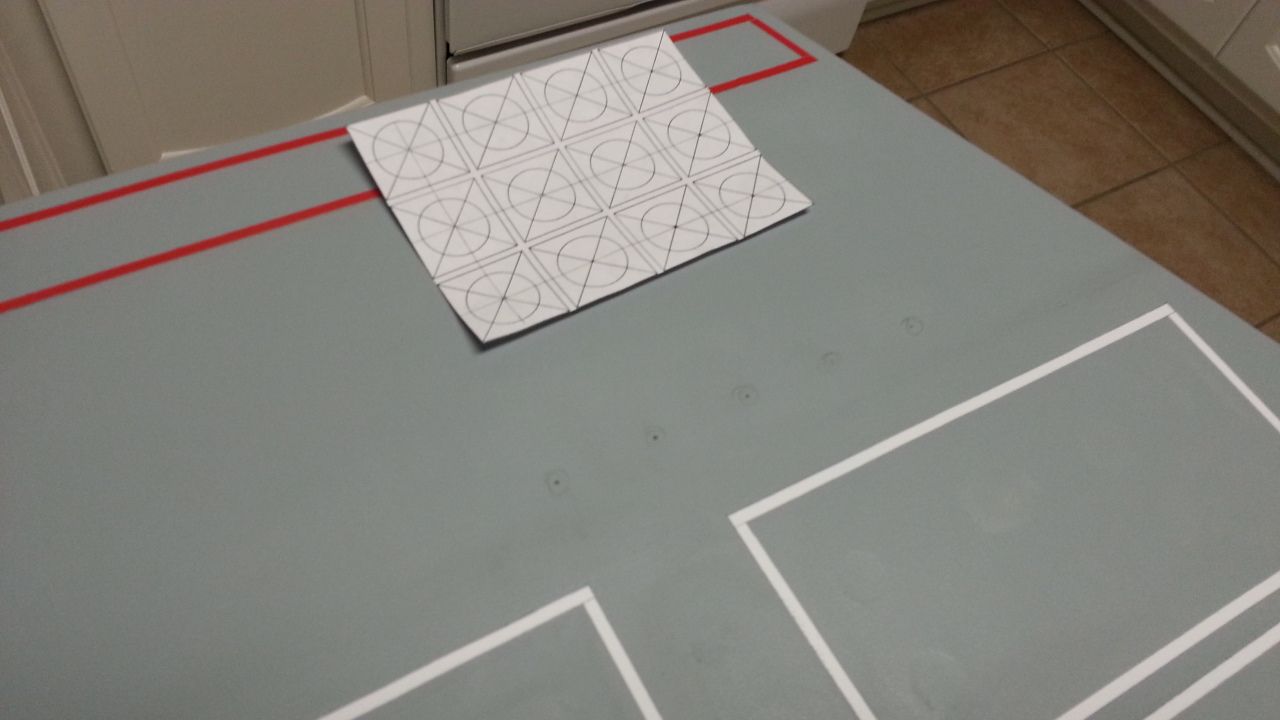
All of the 1" tiles will be laser cut at MGL. One step closer...
More to Come!
Plotting out the drill holes...
I created a 3X4 template of 1" squares to help me find the drill holes
All of the 1" tiles will be laser cut at MGL. One step closer...
More to Come!
Similar threads
- Replies
- 11
- Views
- 1,107
- Replies
- 2
- Views
- 922
- Replies
- 2
- Views
- 963
- Replies
- 13
- Views
- 2,242