NeilDavies
New Member
Yes, I made the manual from scratch and I drew all diagrams and exploded views.
I thought they must have come from various kit instructions, that's amazing you did it all yourself! Dedication
")
Yes, I made the manual from scratch and I drew all diagrams and exploded views.
I thought they must have come from various kit instructions, that's amazing you did it all yourself! Dedication
Well you're not entirely wrong. The Hartford blaster had a series of exploded views in their diagrams on their blaster and I used them as inspiration and as a base for many of the drawings I did. If you look at the manual, you will notice that I put the Hartford name next to the diagrams and while mine are mostly different, I did feel it was important to recognise the source.
M
Oh right, I did see the name, I didn't know what it referred to
It's a brilliant additional thing to be able to have in my mini display and I'm grateful to you for being generous enough to let everyone download it for their own use! And now I can say I have some Mark Raats artwork of my own. Until I can get hold of a print or proof that is
Cheers!
The metal is softer than steel, and cold blue isn't as durable either. If I were going for a worn look I'd blue it all nicely and cause holster wear by using a polish like flitz & a qtip on the edges & high spots. Or get one of the replics holsters & just put it in & take it out a couple thousand times.I'm glad this page exists, I just got my Tomenosuke Assembly blaster for close to $300 cheaper than retail! So I definitely have plans to build it. Questions for peeps who know more about this than I do:
Those who blue the reciever/barrel and want it to keep that used/worn look rather than a glossy look, once you blue it then you can just leave it? Or would it be wise to still let it cure in something in order to preserve the blueing?
What would i look up if I want to get some of the vintage parts for my build? Mainly the knobs and the binding post.
Very well done! What did you use to polish the plastic frame?
eethan said;
“I then used mothers mag and aluminium polish on the frame”
ok I have a favour to ask of any of you. I stripped down my blaster, replaced the barrel, blued everything successfully and my screws are jumbled and I'm having trouble identifying each individual one.. Could someone familiar with them possibly create a legend as to what each screw is so I can proceed. I know this is a big ask ..
thankyou all
Colin
Amazing thankyou !

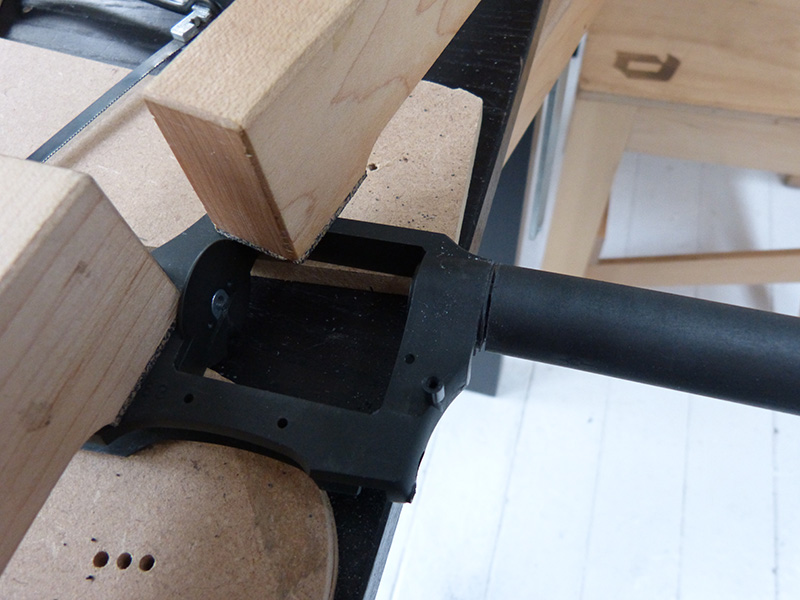
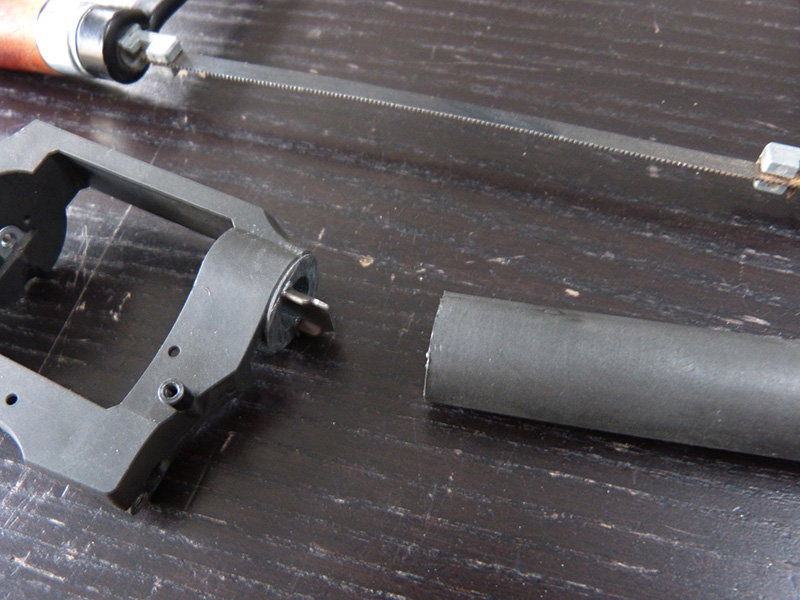
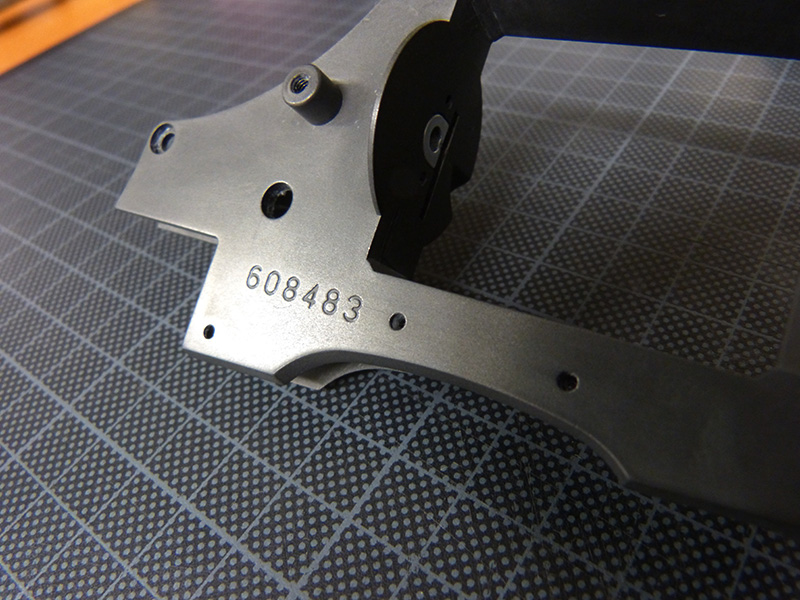
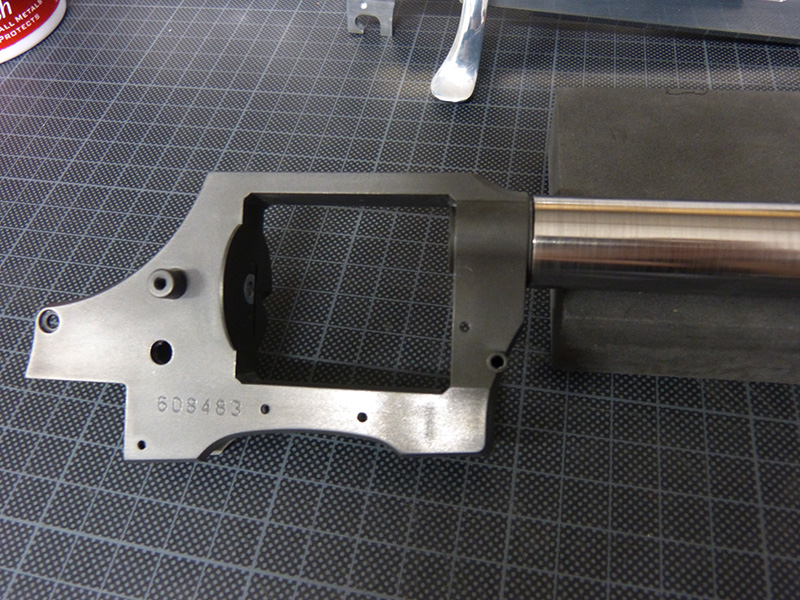
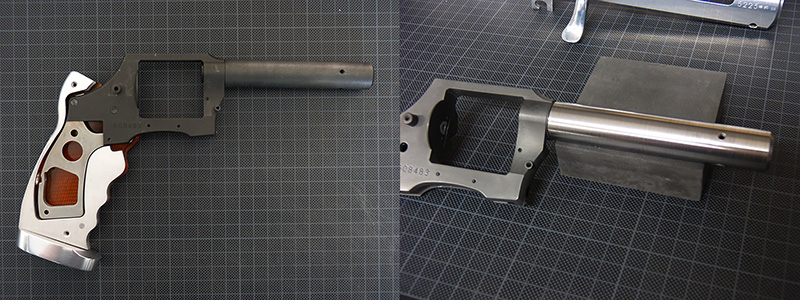
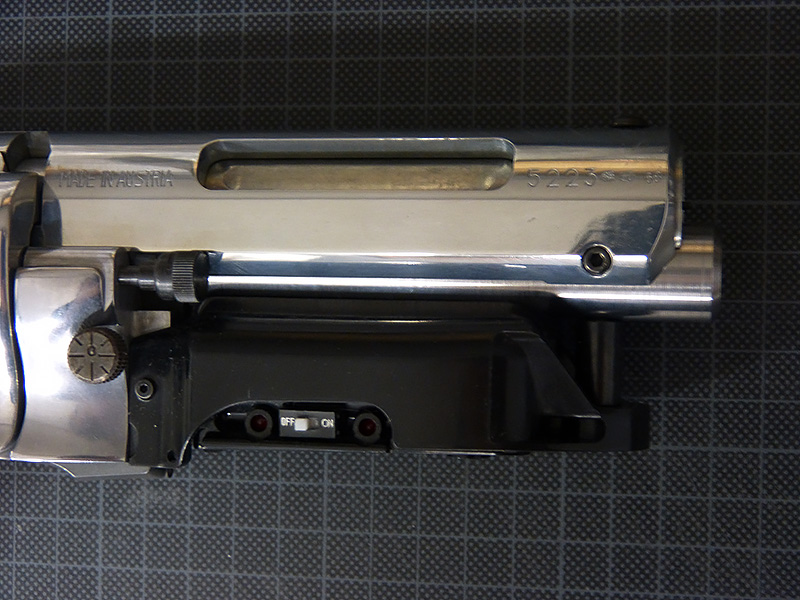
Hey guys, I received my steel barrel yesterday and installed it today and wanted to show how I did. This is not a tutorial, but this is to hopefully help those that wanted to know if it's easy or not to get a better idea of how to do it.
