This blows my mind! Absolutely amazing work sir!
You are using an out of date browser. It may not display this or other websites correctly.
You should upgrade or use an alternative browser.
You should upgrade or use an alternative browser.
1:1 Millennium Falcon Cockpit Replica - Group Build
- Thread starter SteveStarkiller
- Start date
This blows my mind! Absolutely amazing work sir!
Hi HB,
Thank you so much! Hang on... the next month or so is going to be insane!
")
Is IzzyMel sending you the finish product?? It would look AMAZING!
Is IzzyMel sending you the finish product?? It would look AMAZING!
Hi F,
He is! In fact he's already sent me several 3D prints - to include the yoke base. I'm hoping to have several of these ready for paint and/or mounting by the end of the weekend.
The yokes are particularly special. They are next to impossible to find and when mounted they will change the entire look of the console.
That's great! It will really bring the whole thing together!
IzzyMel
Sr Member
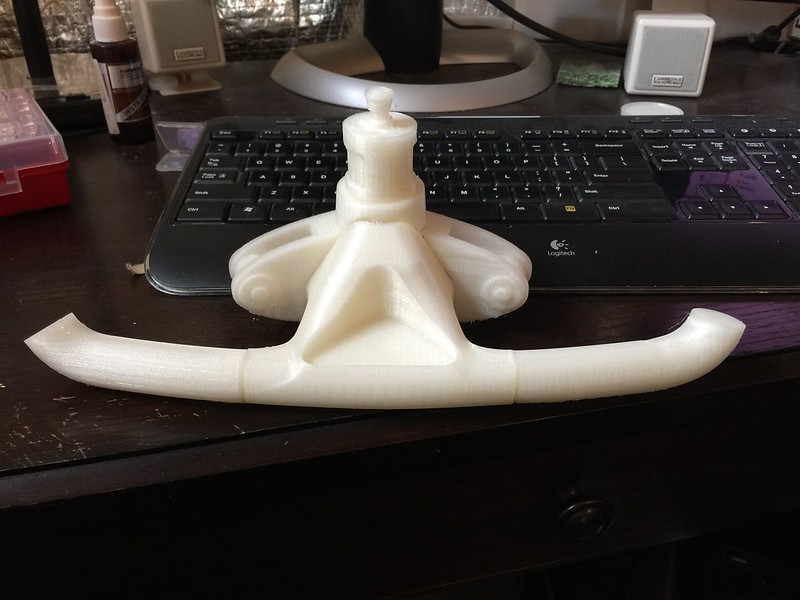
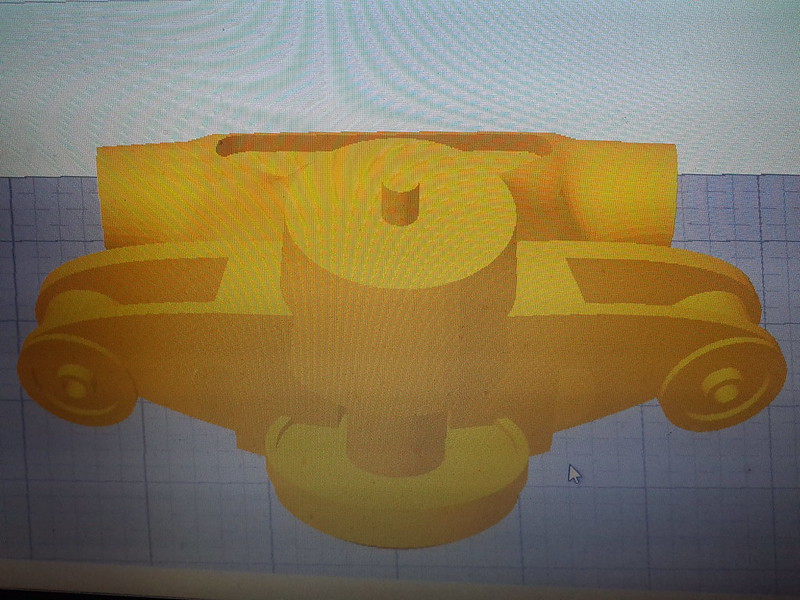
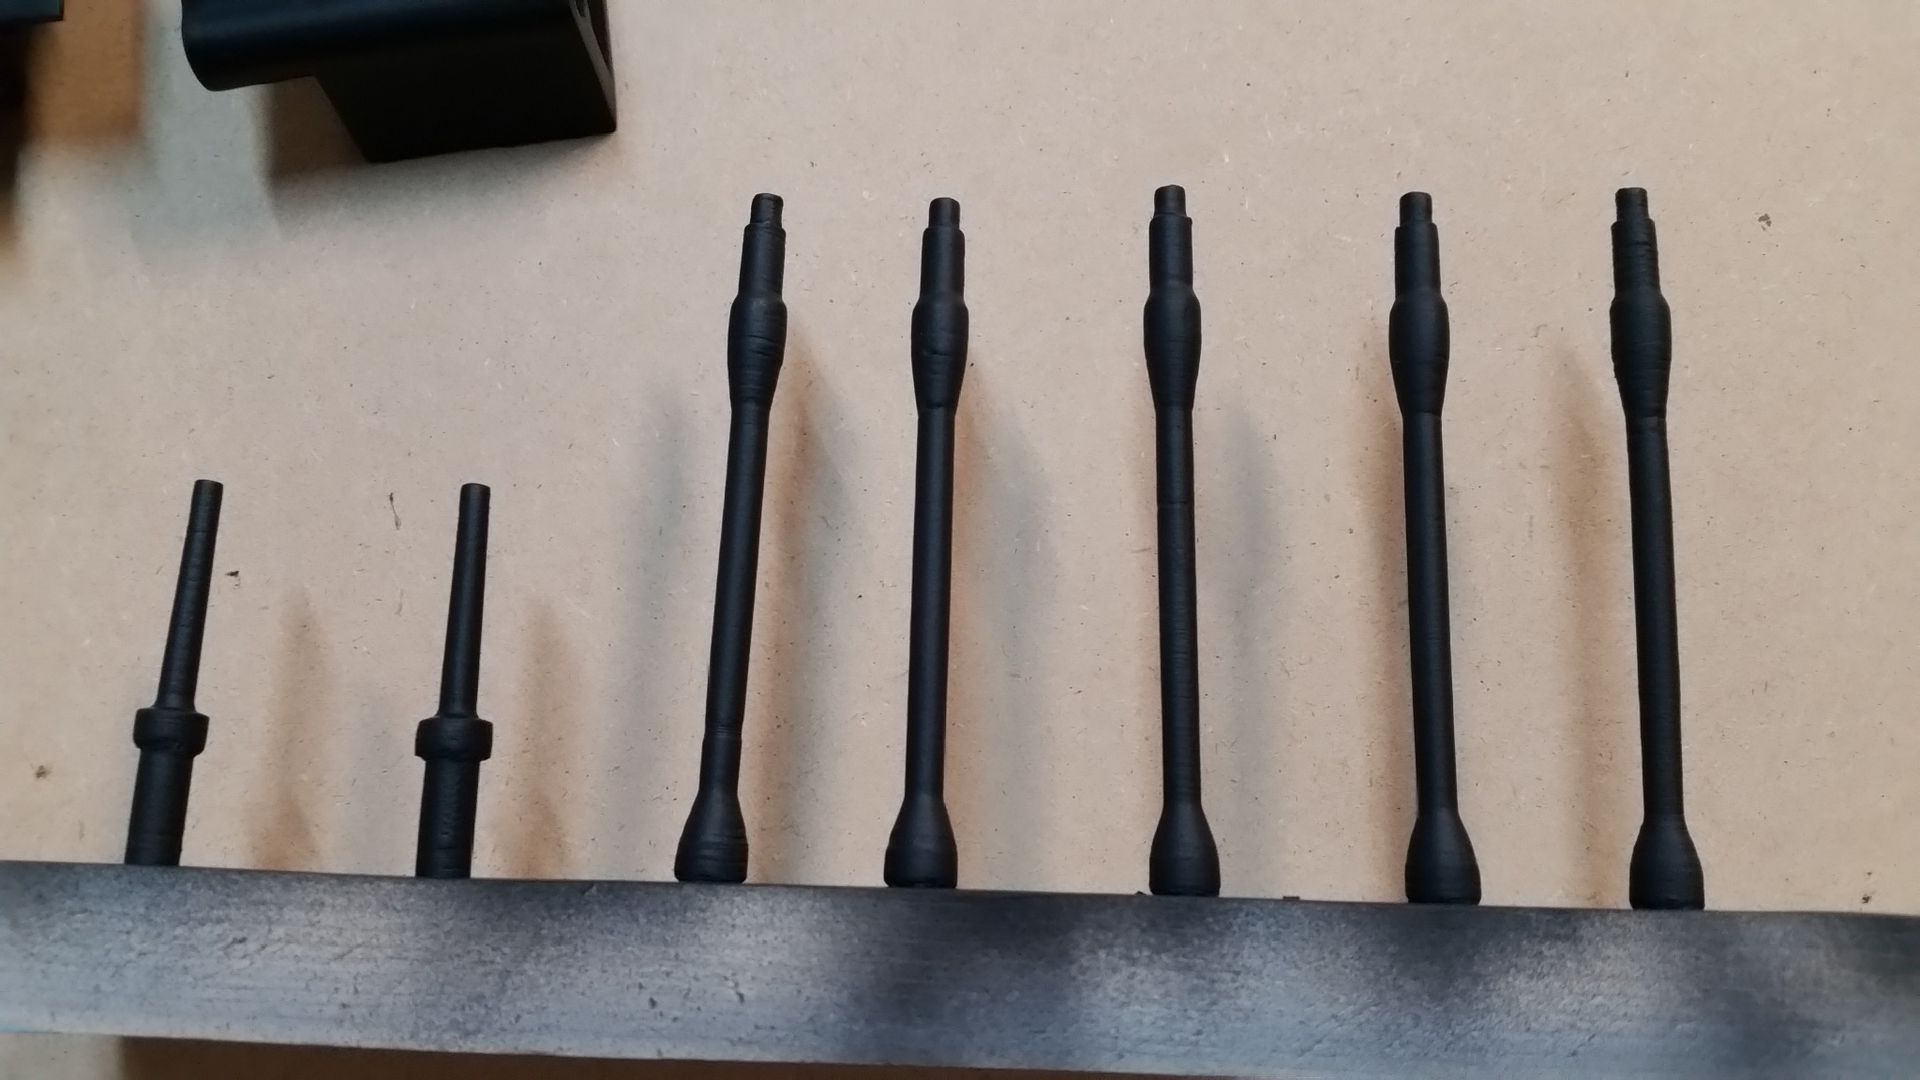
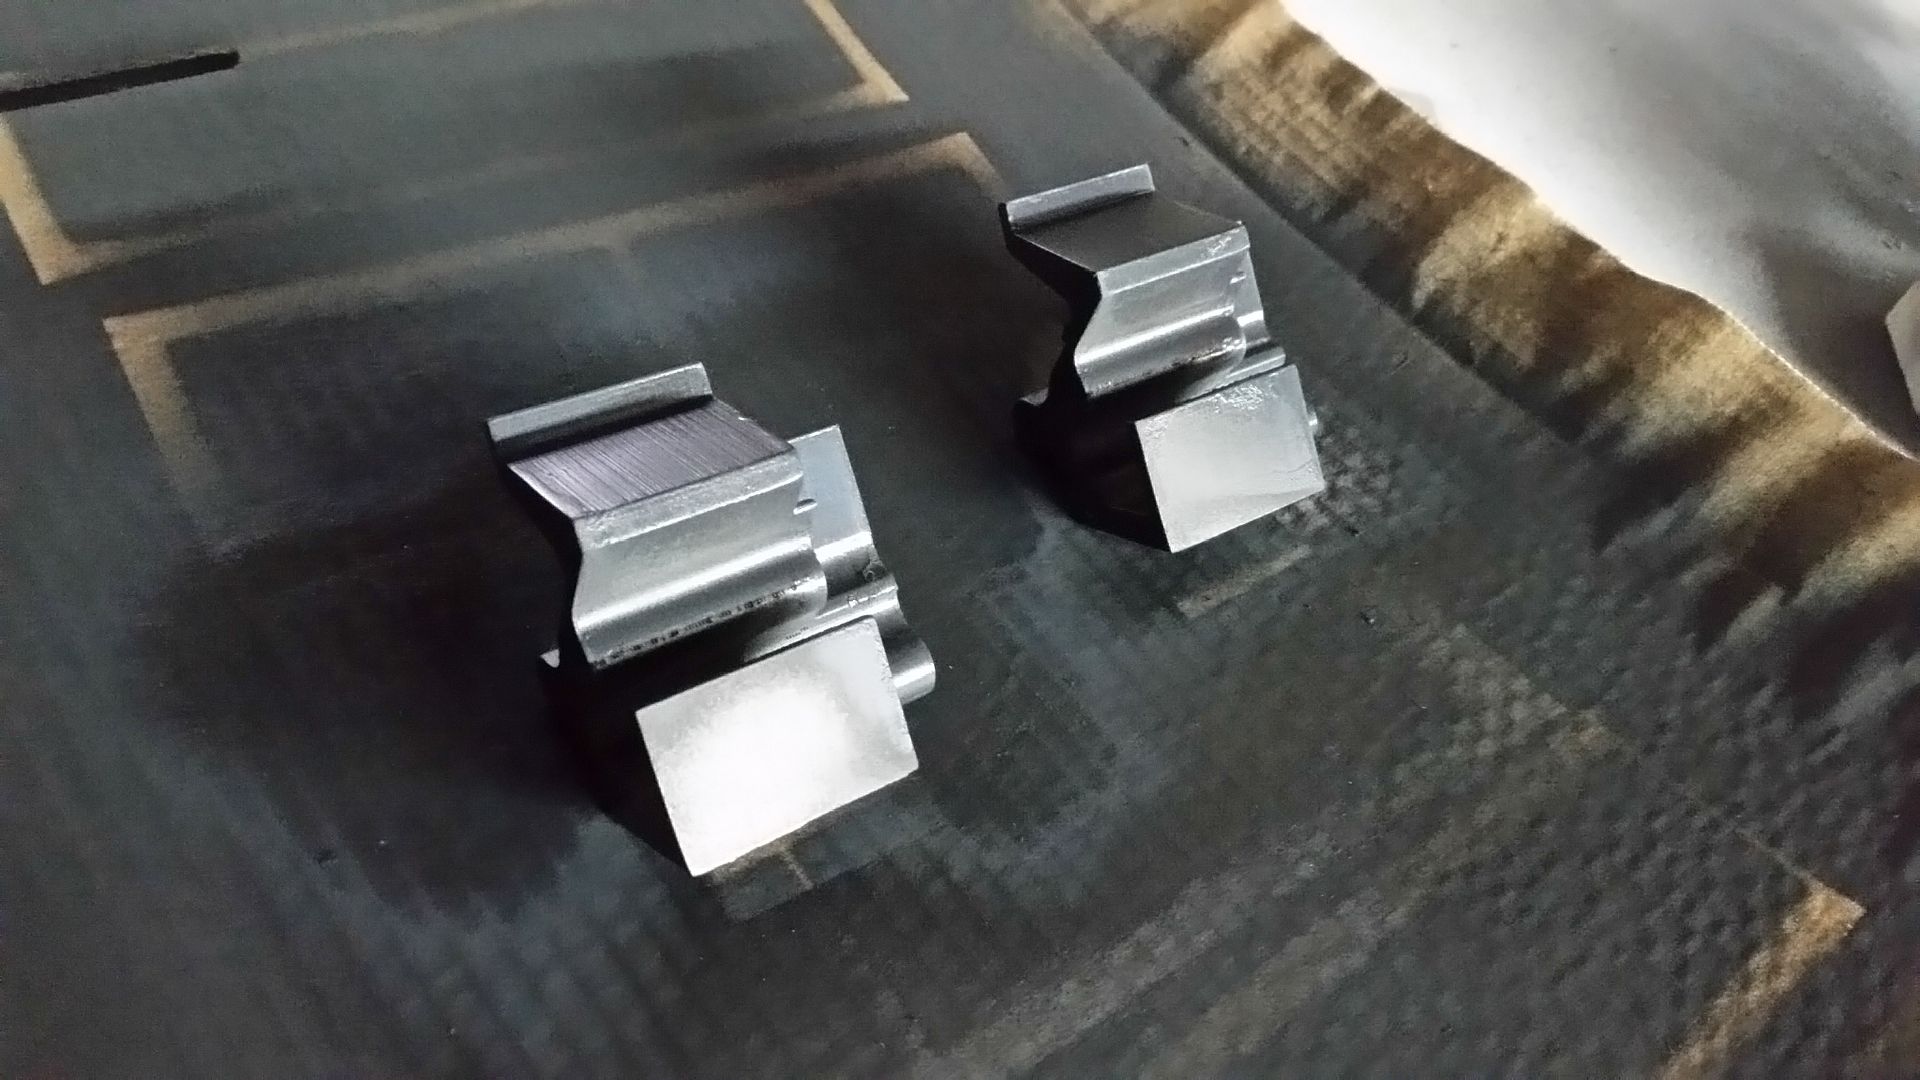
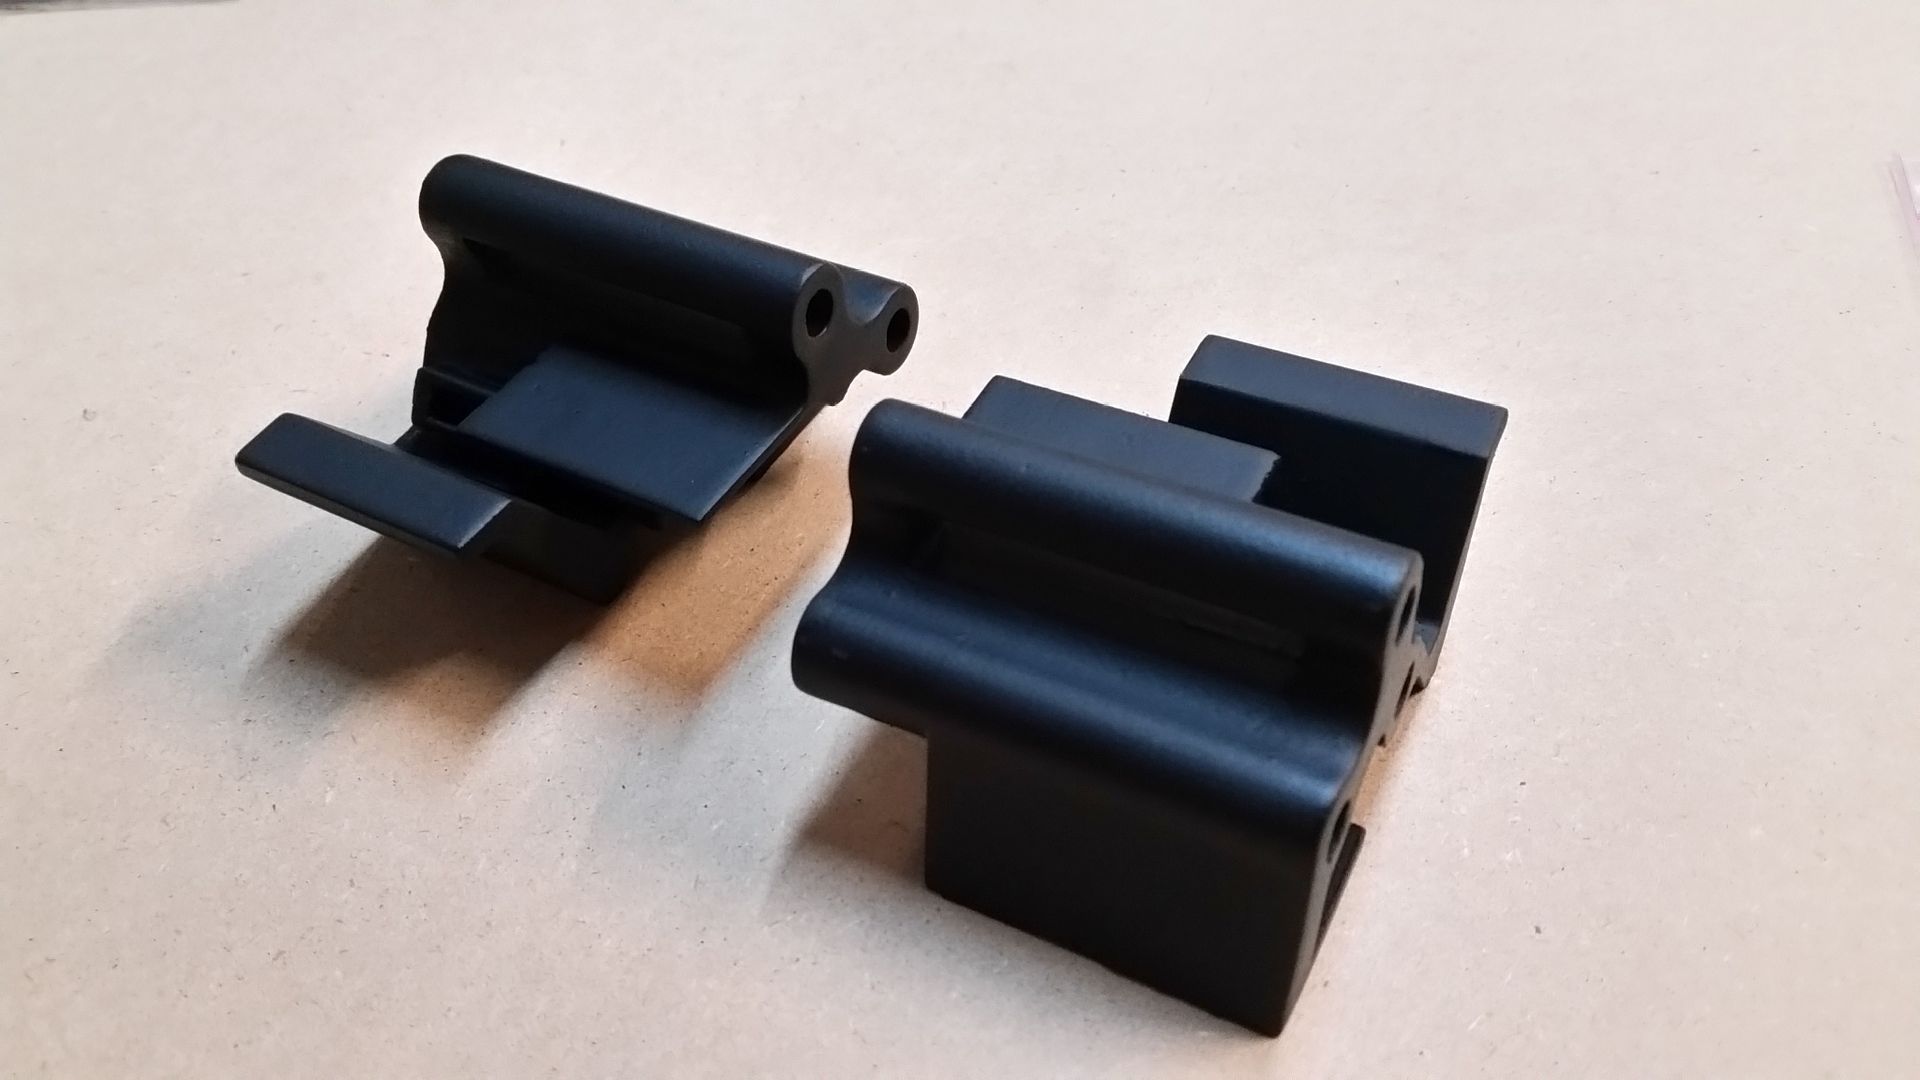
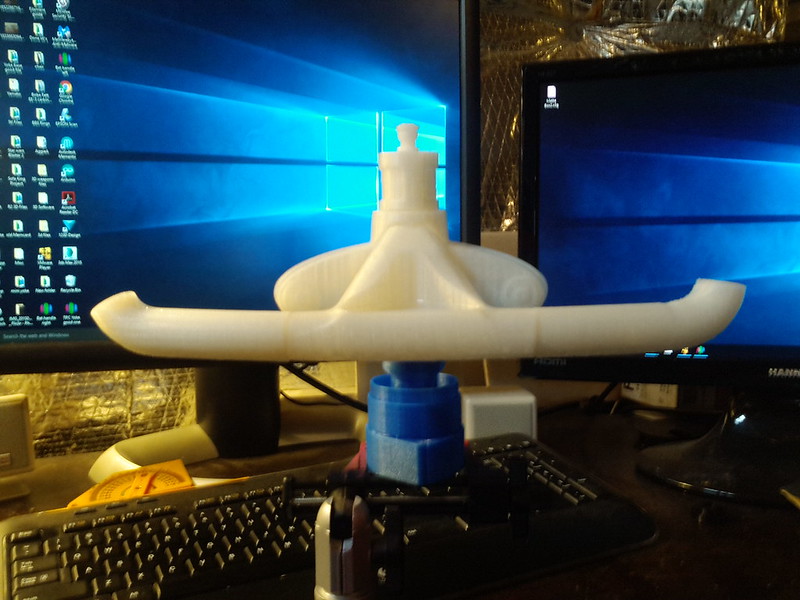
Here are a few more updates on the Vickers Yoke. I was able to print the arms. No need for me to print the bat handles. SofaKing01 has the real deal.
 Yoke by Izzy Mel, on Flickr
 Yoke by Izzy Mel, on Flickr
 Yoke by Izzy Mel, on Flickr
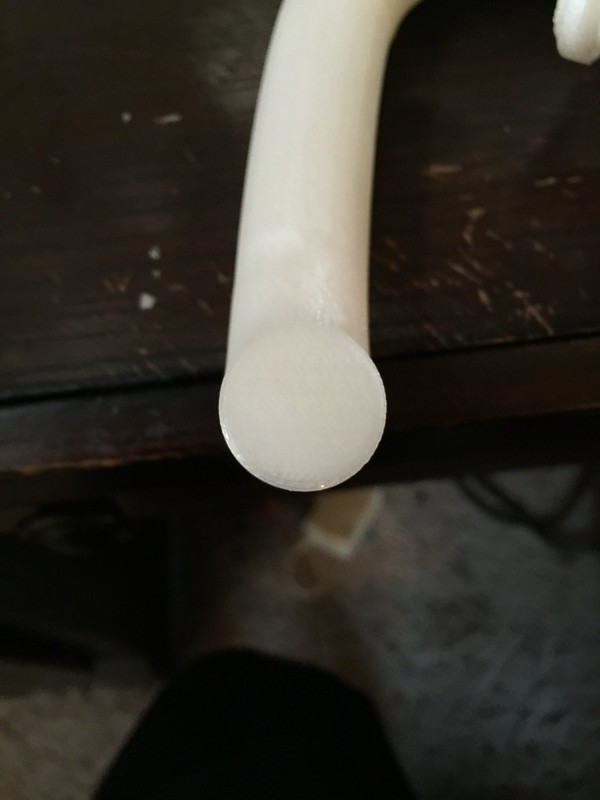
The outer arm has a flat surface to mount the Bat handle:
 Yoke by Izzy Mel, on Flickr
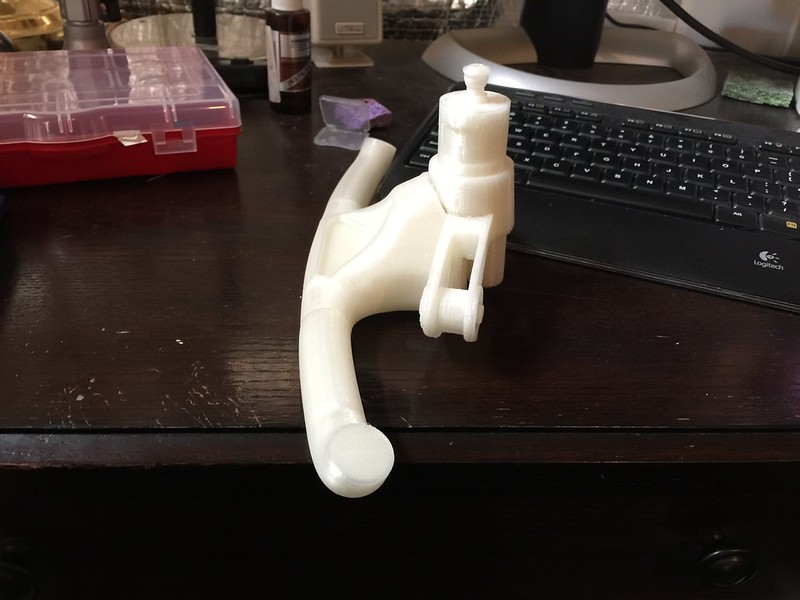
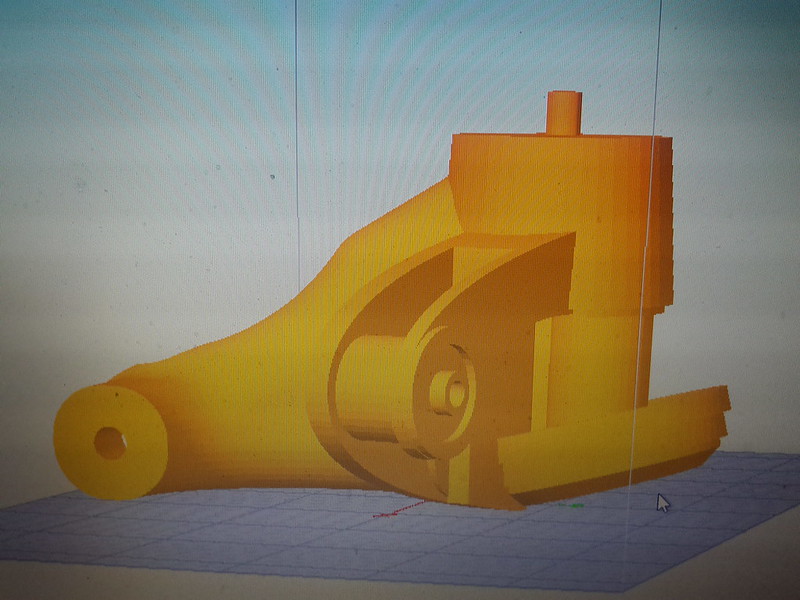
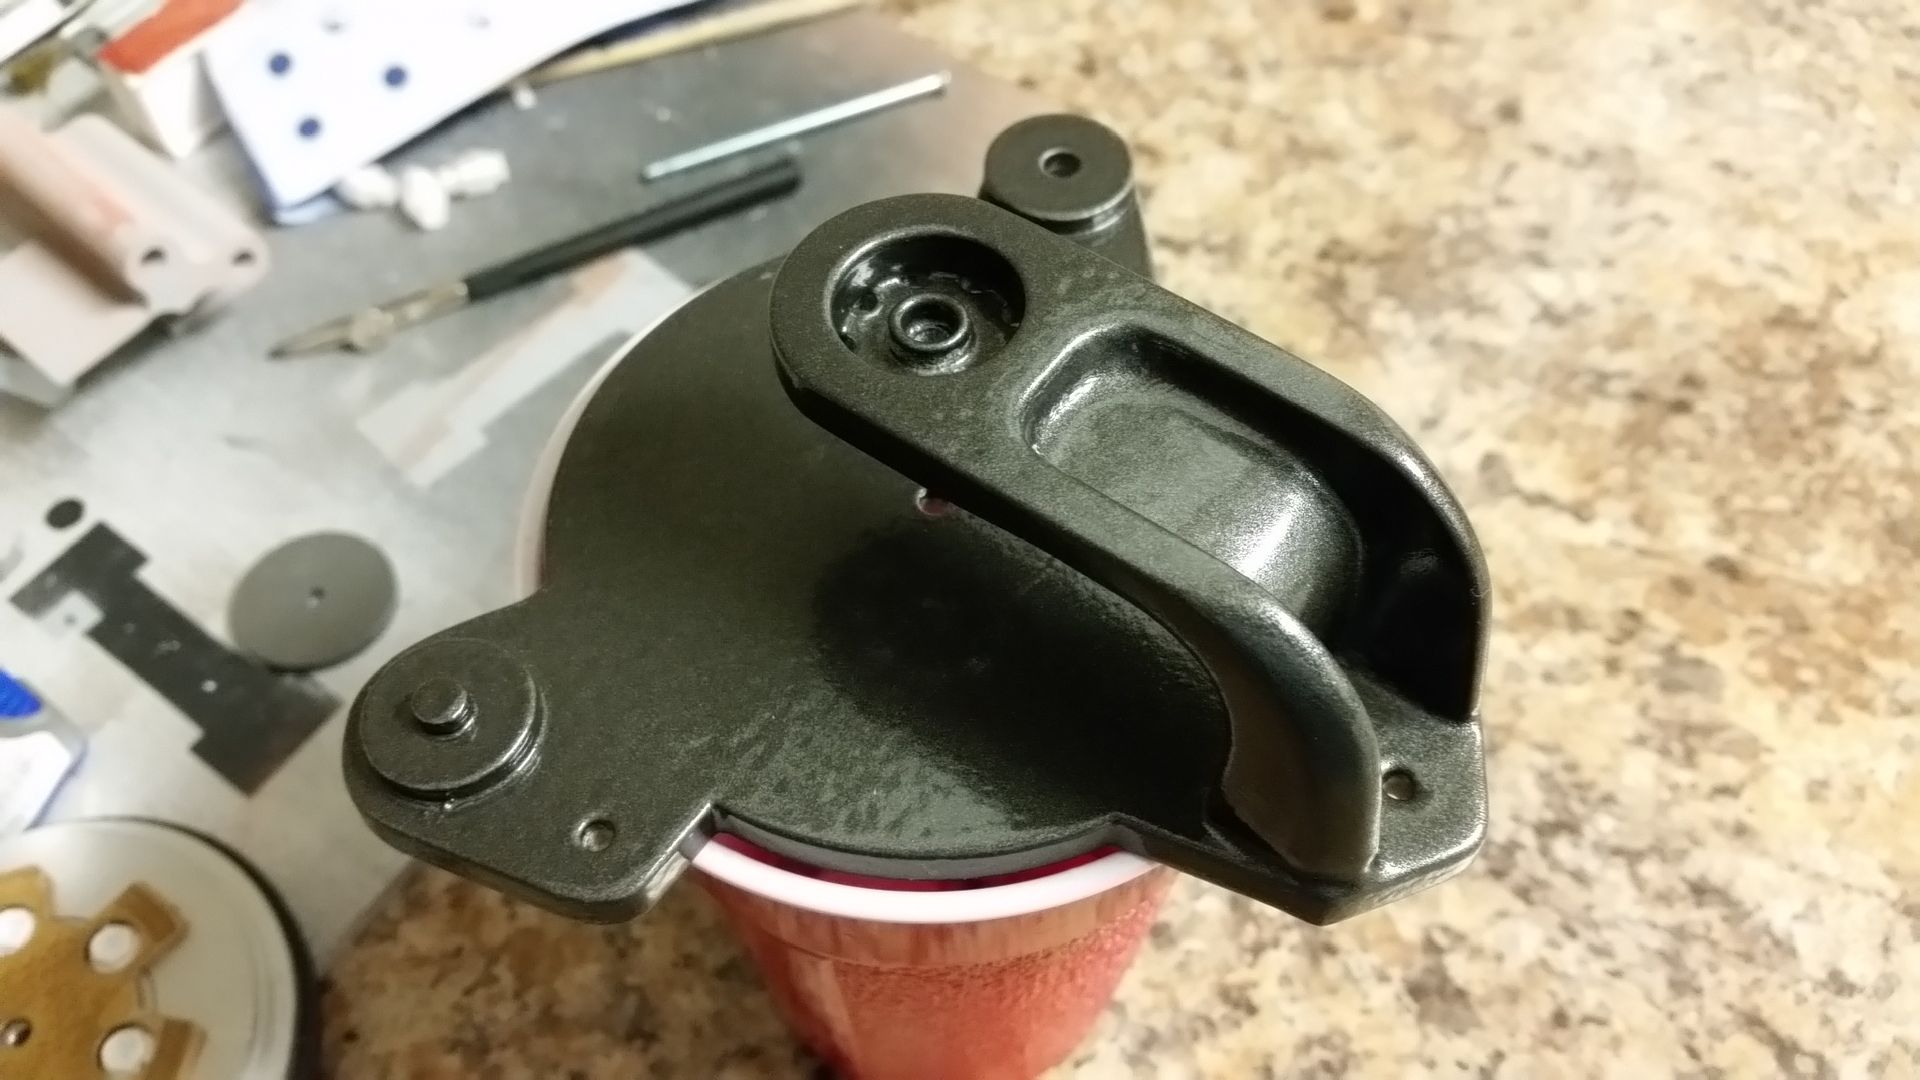
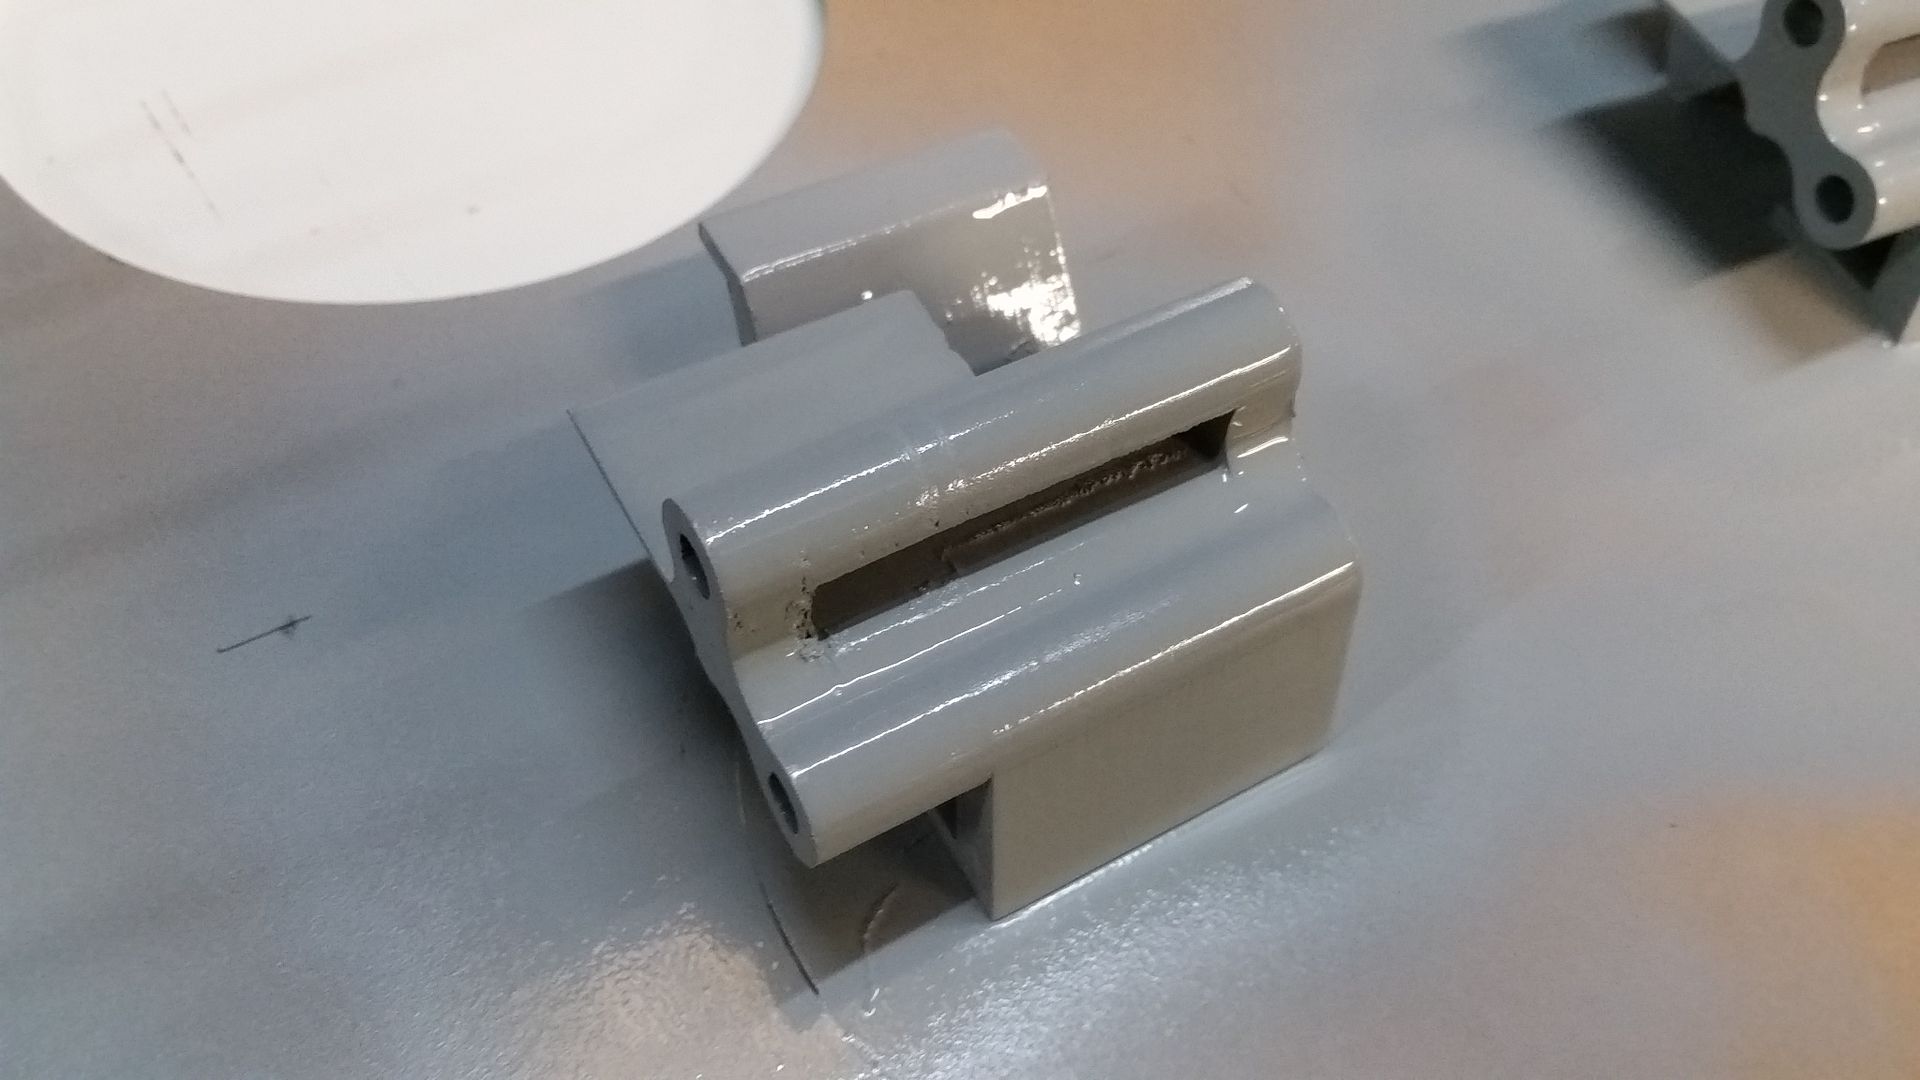
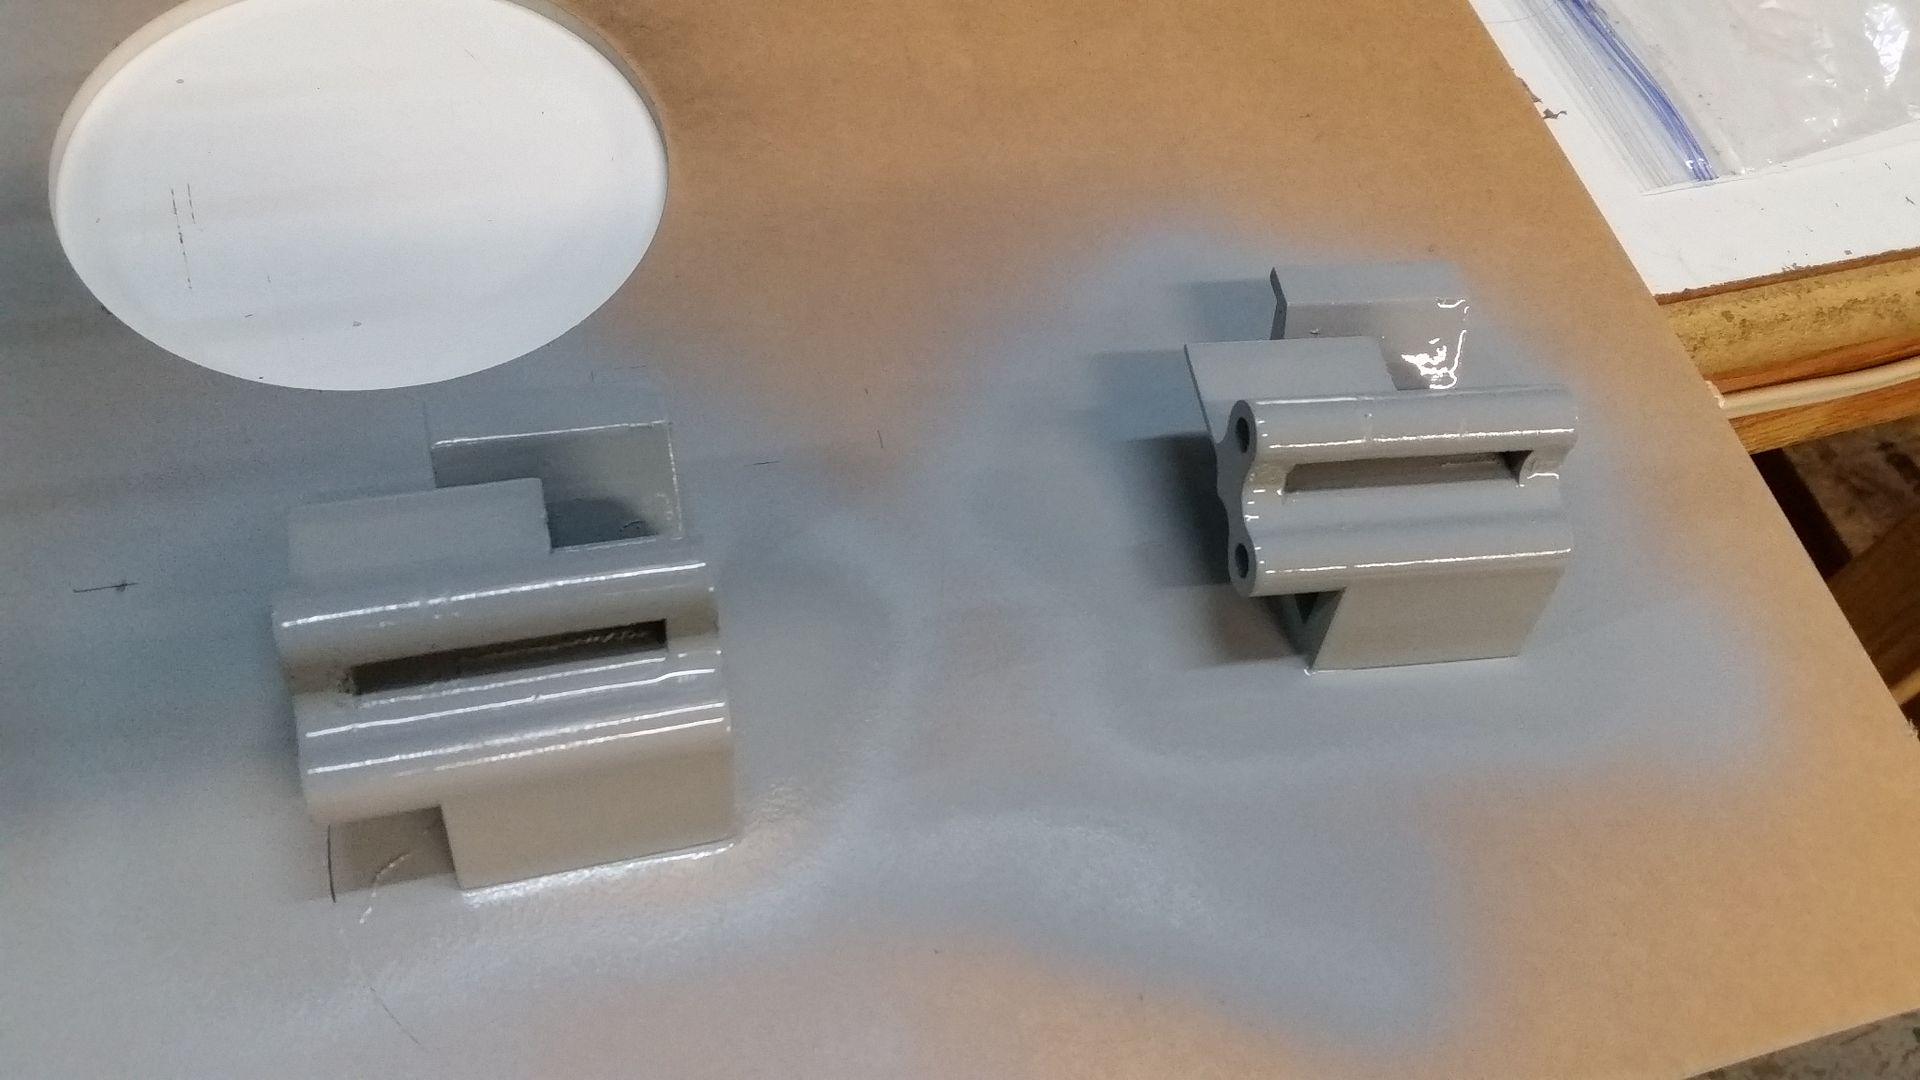
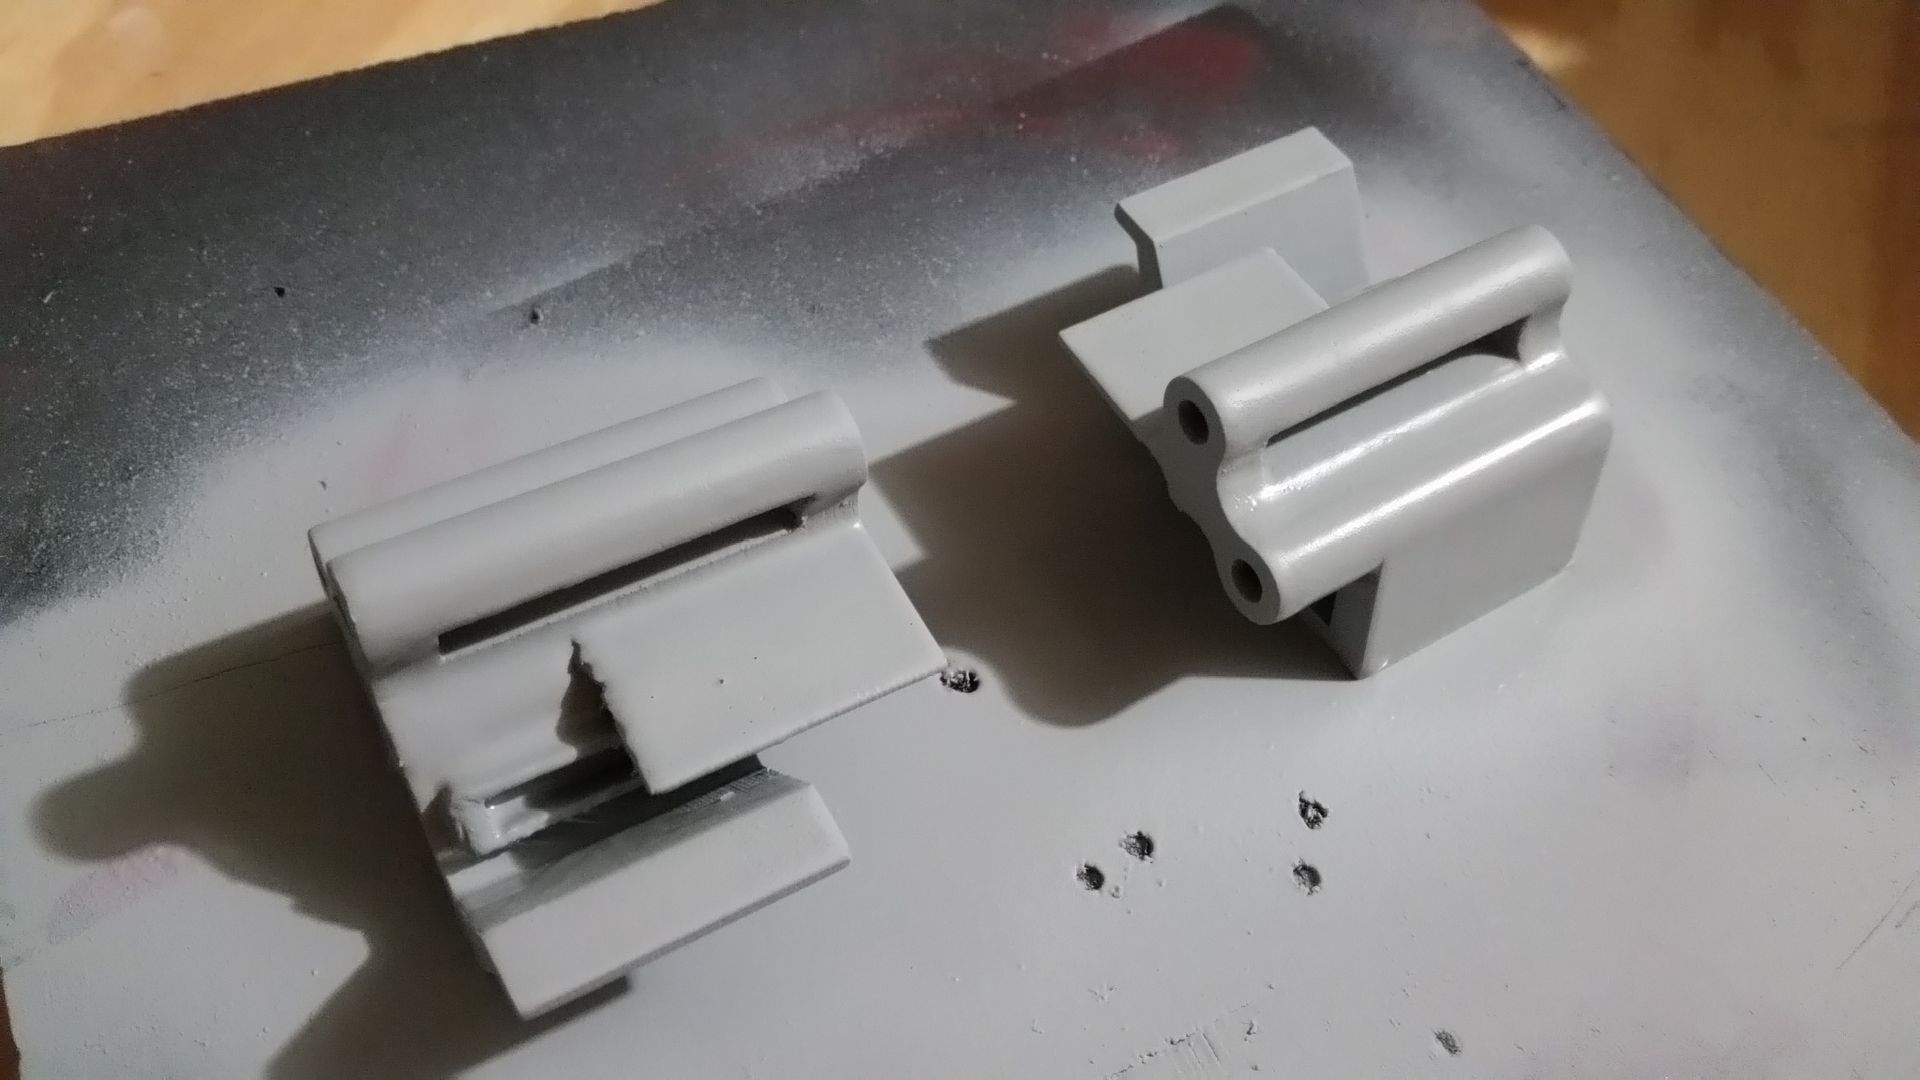
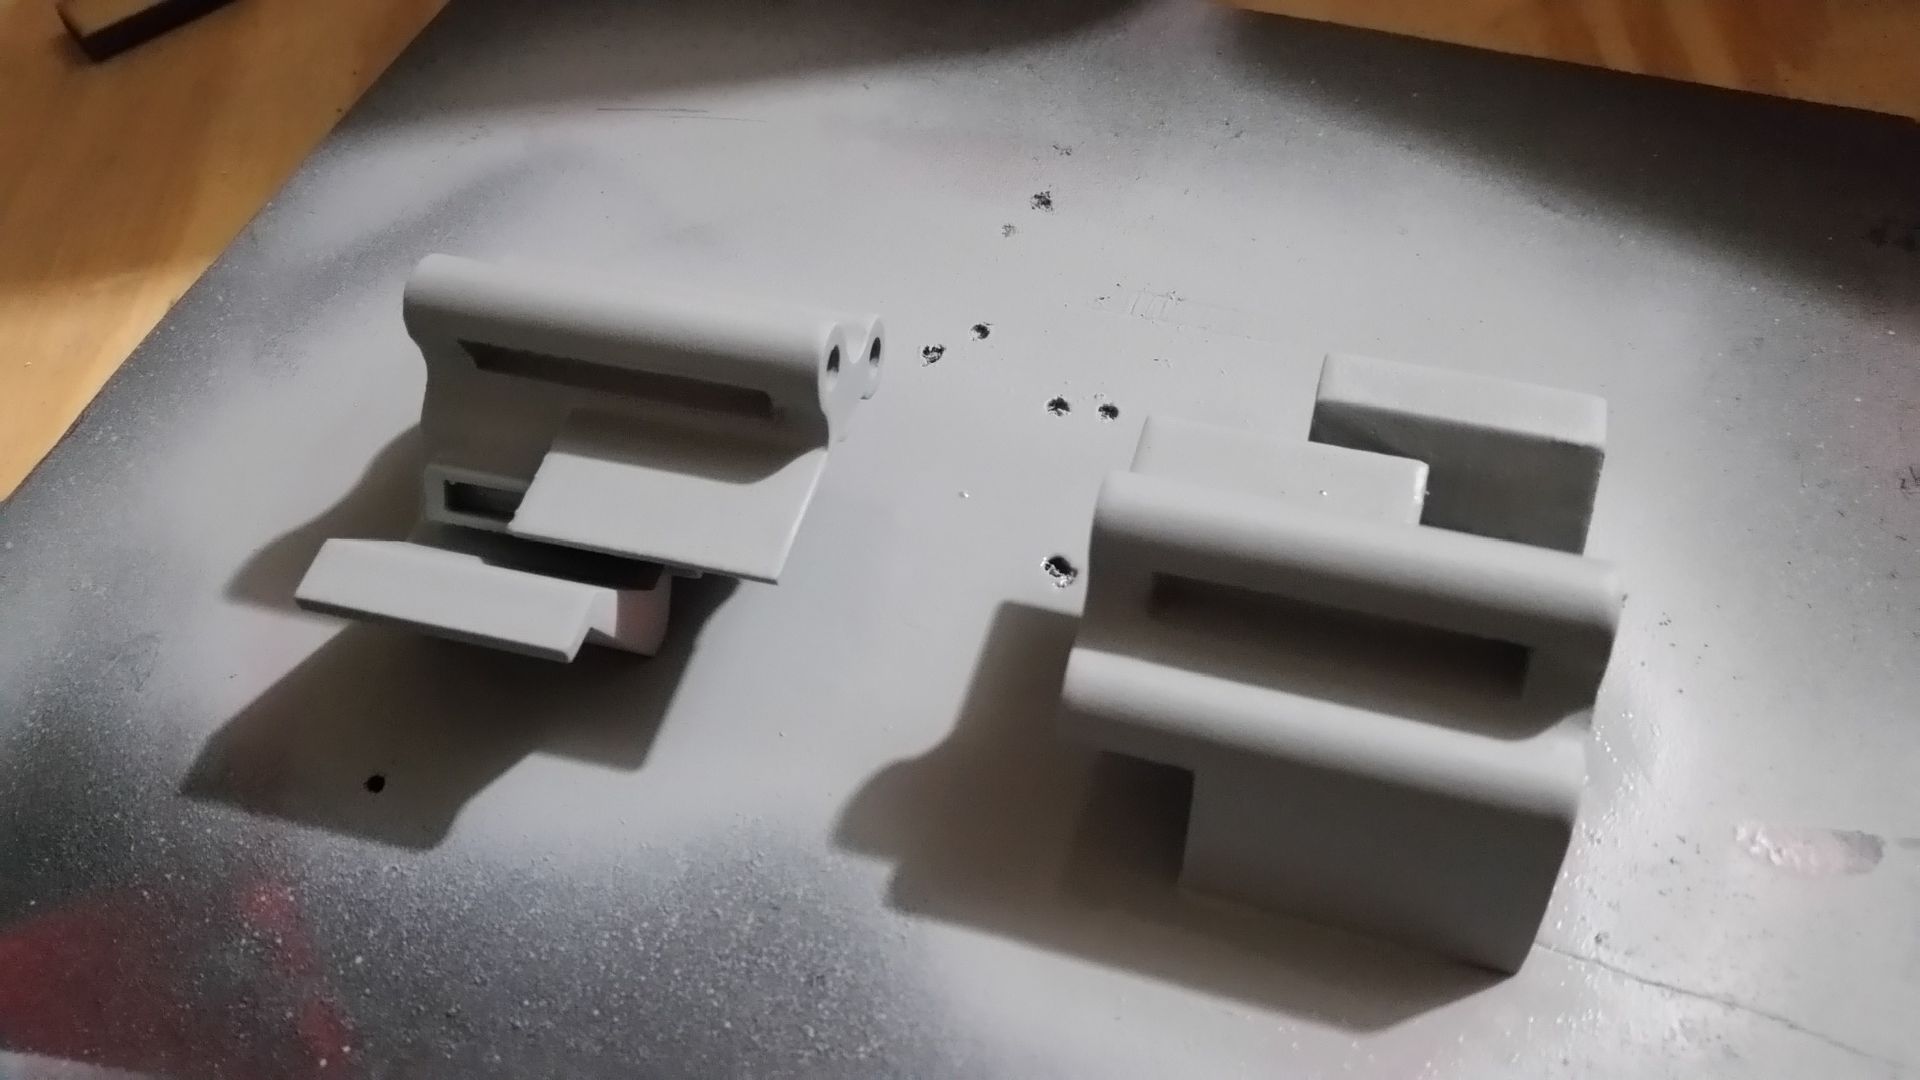
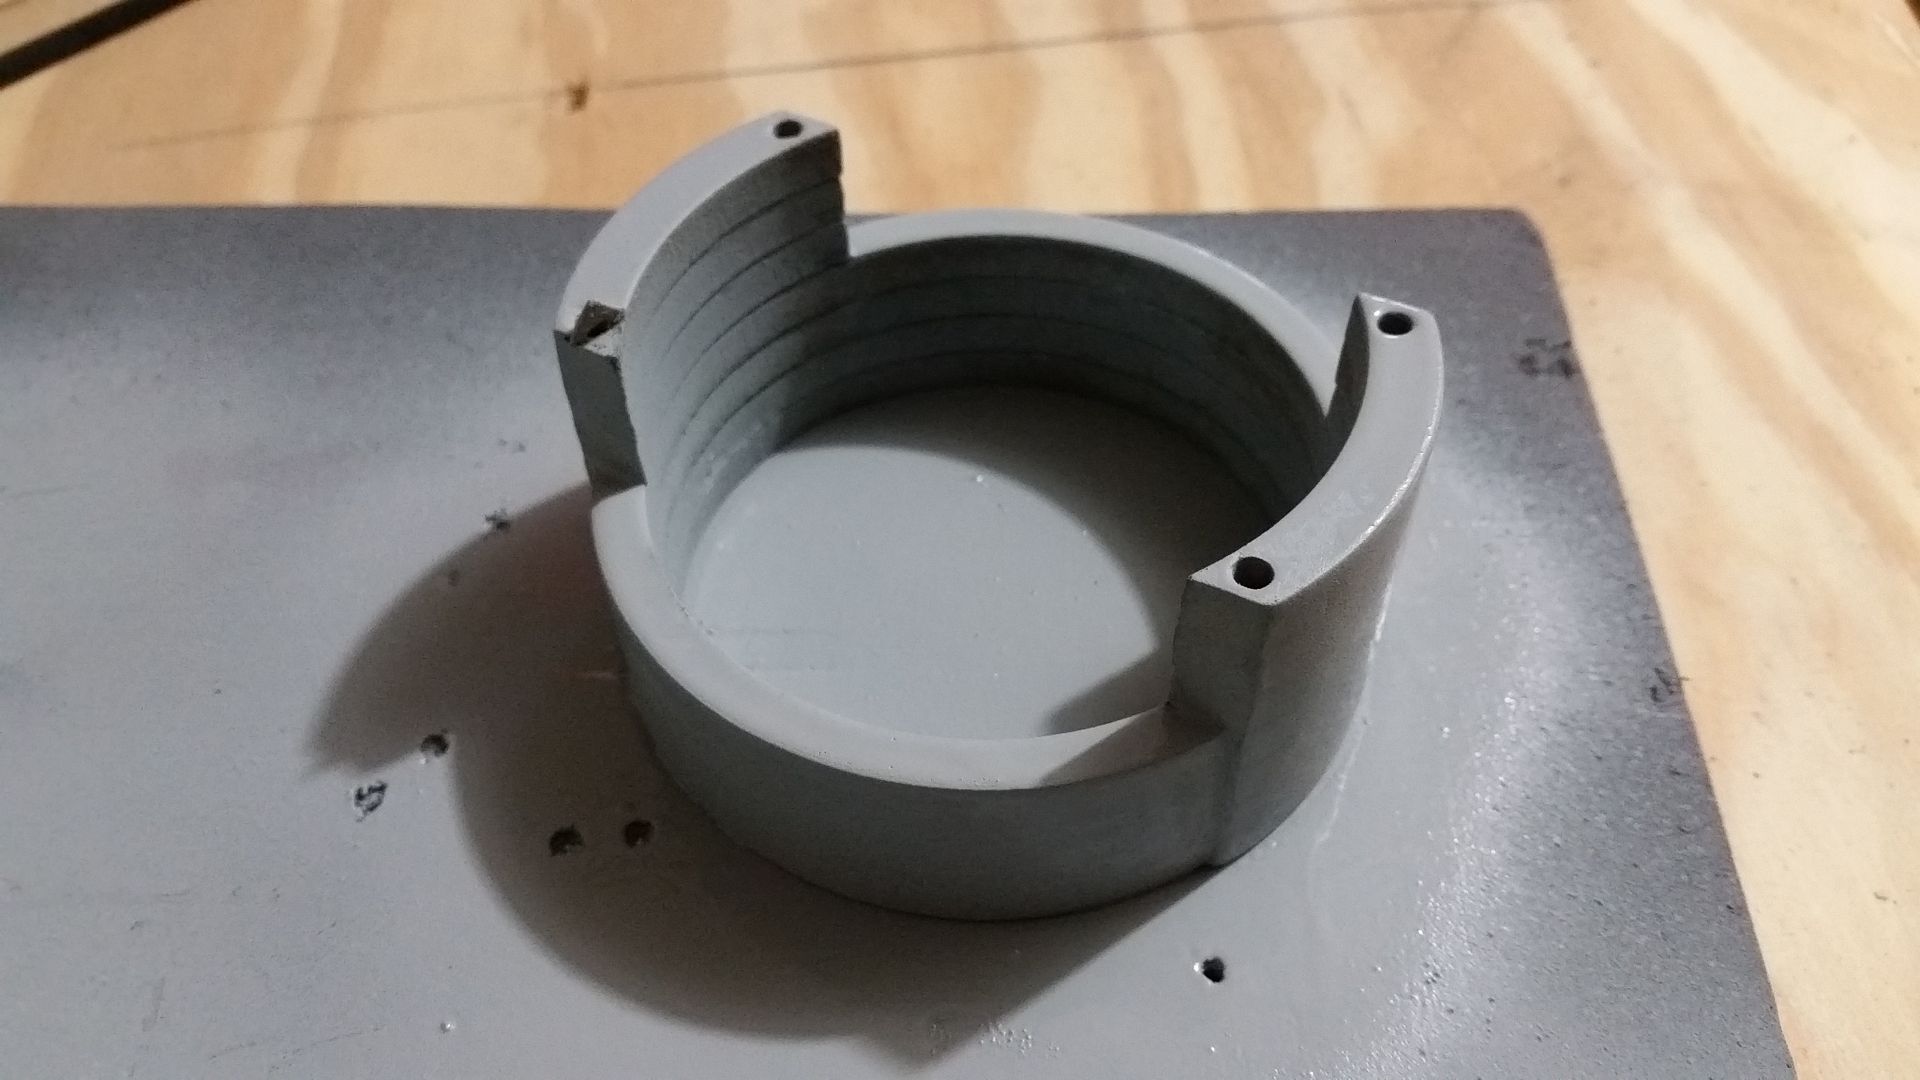
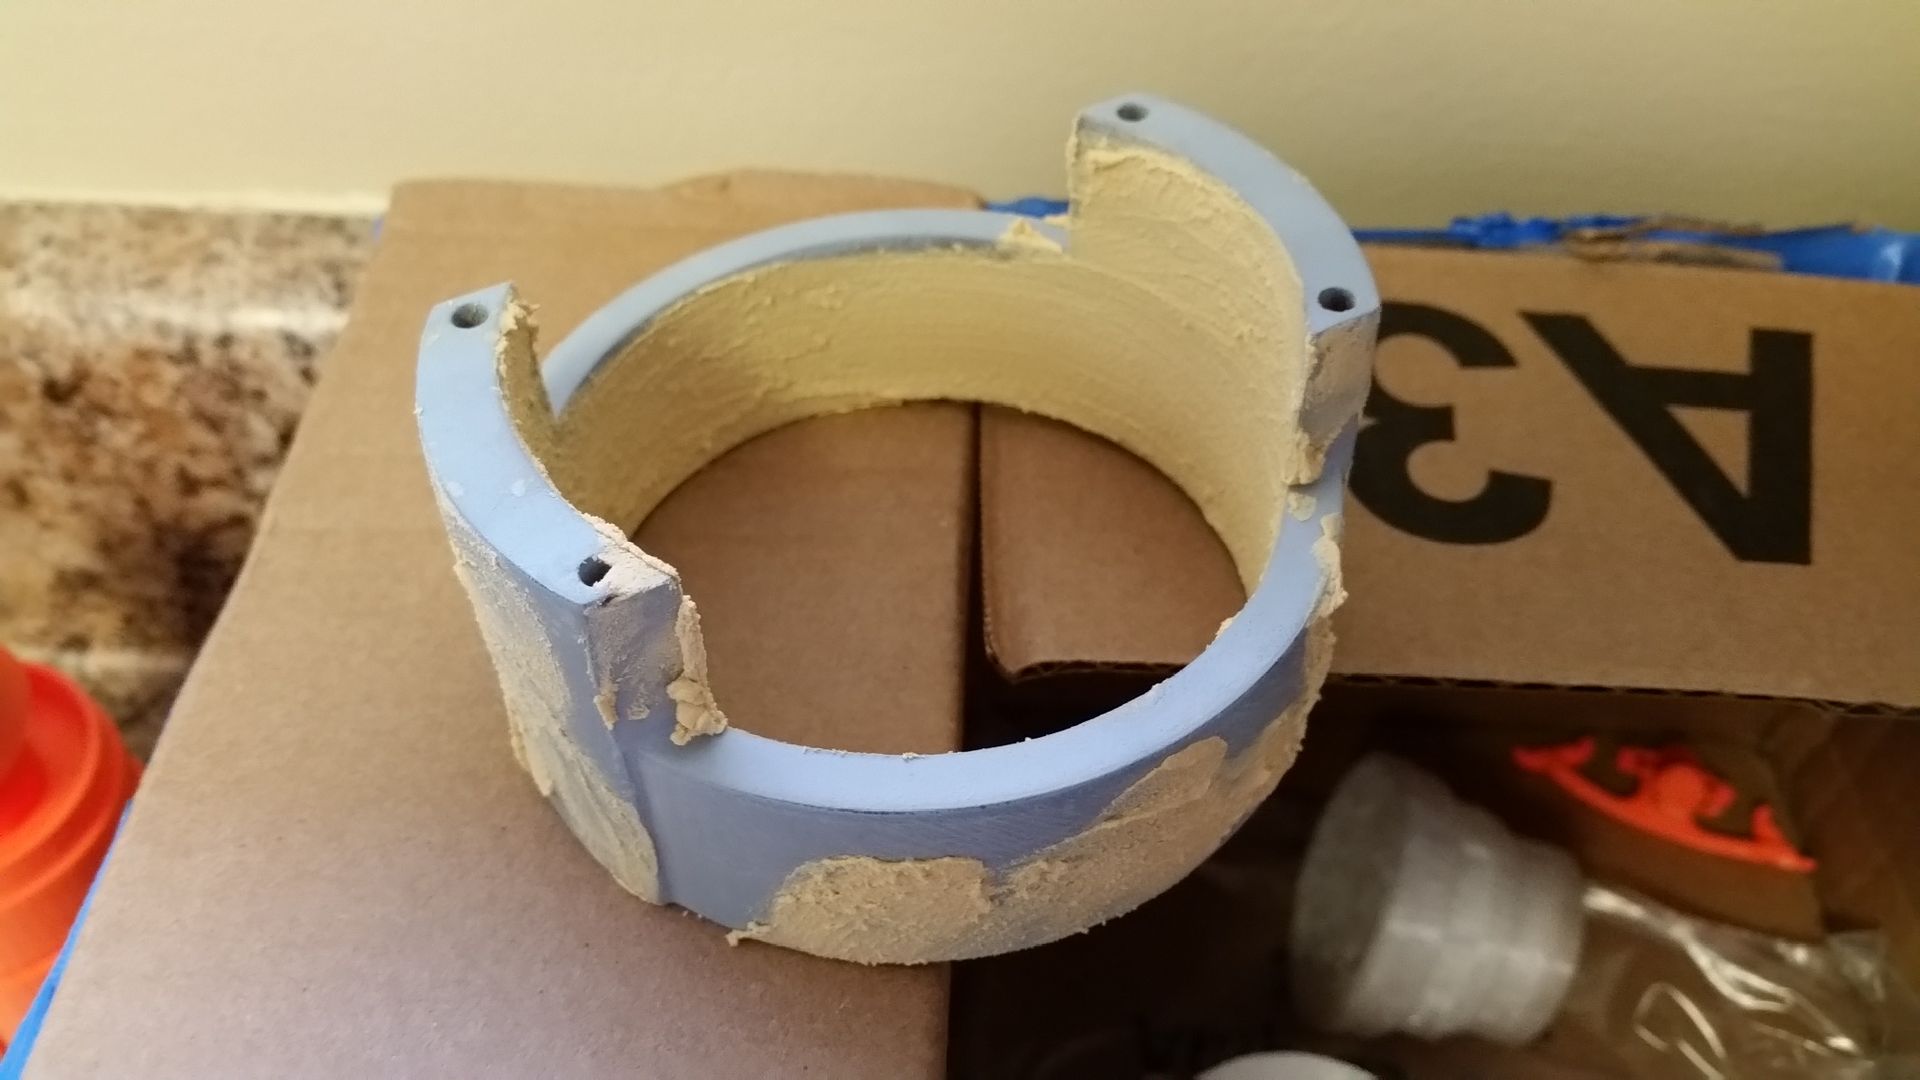
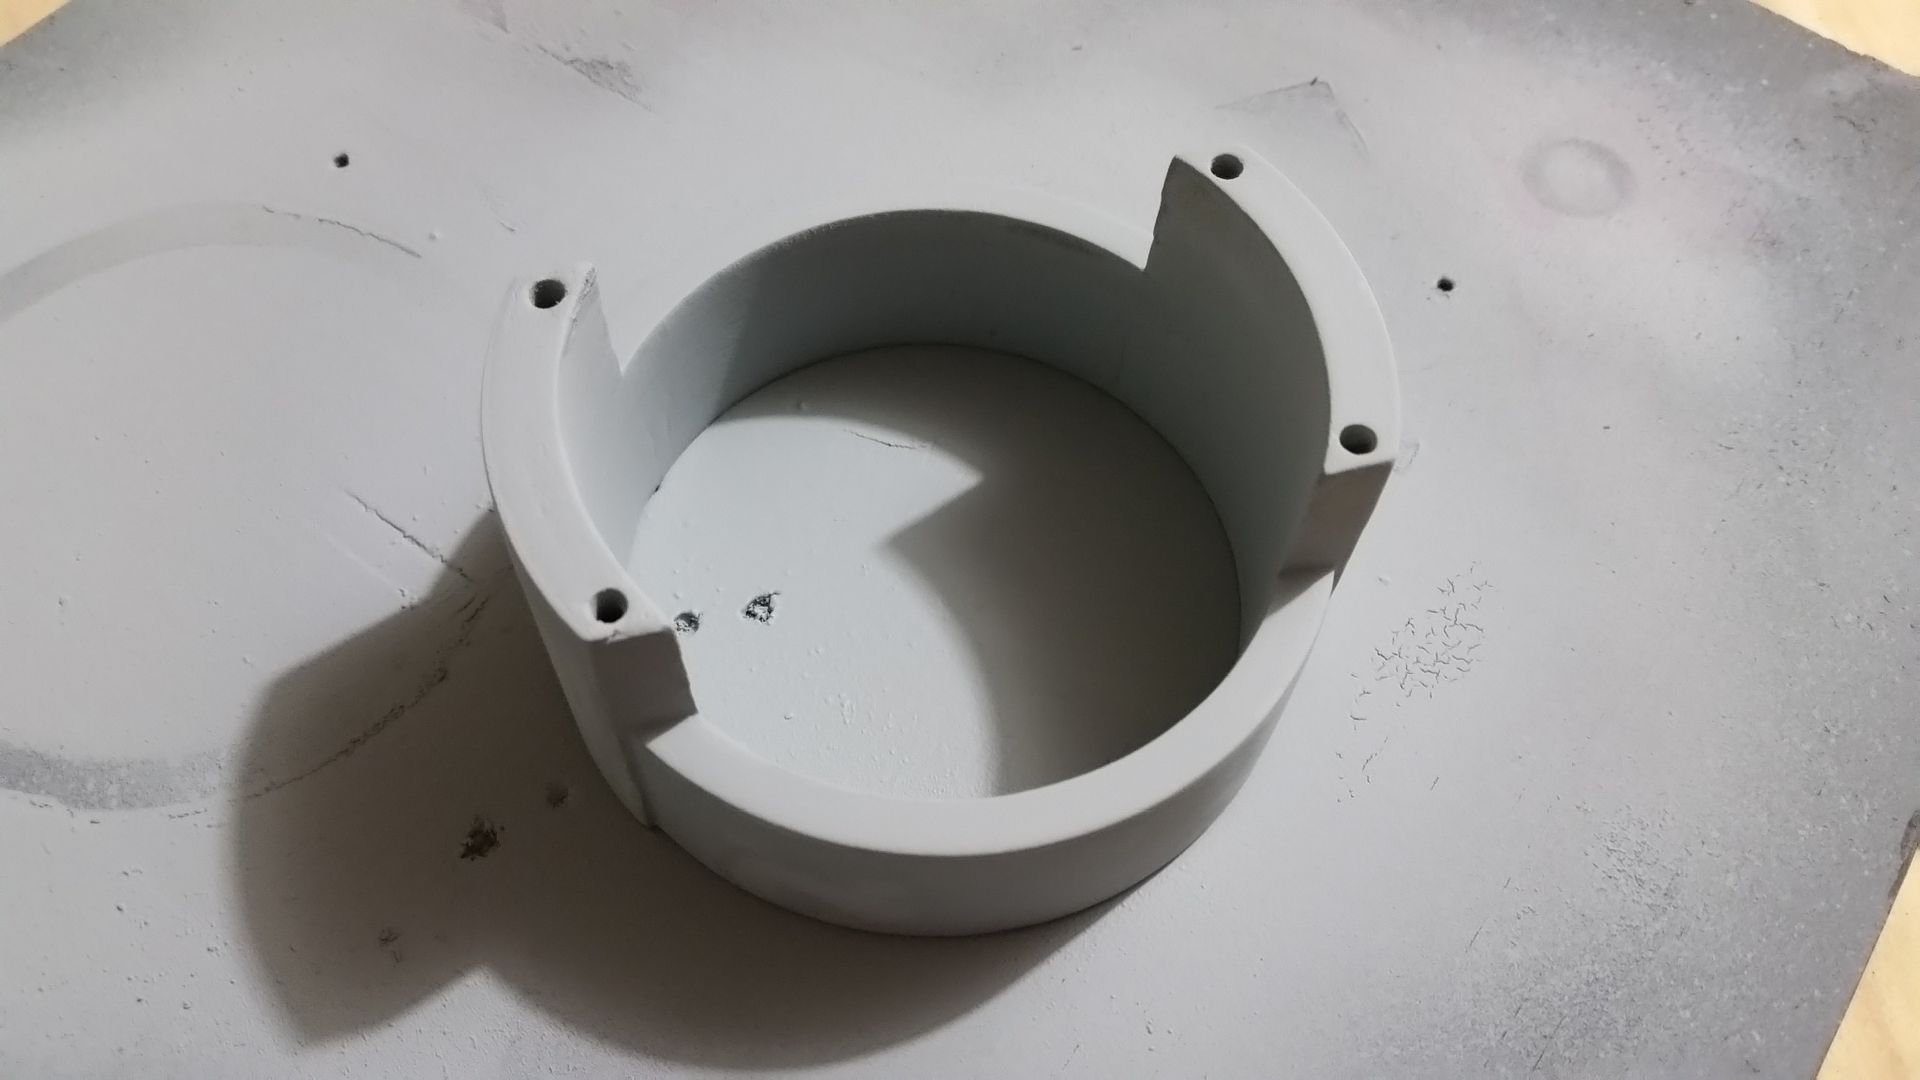
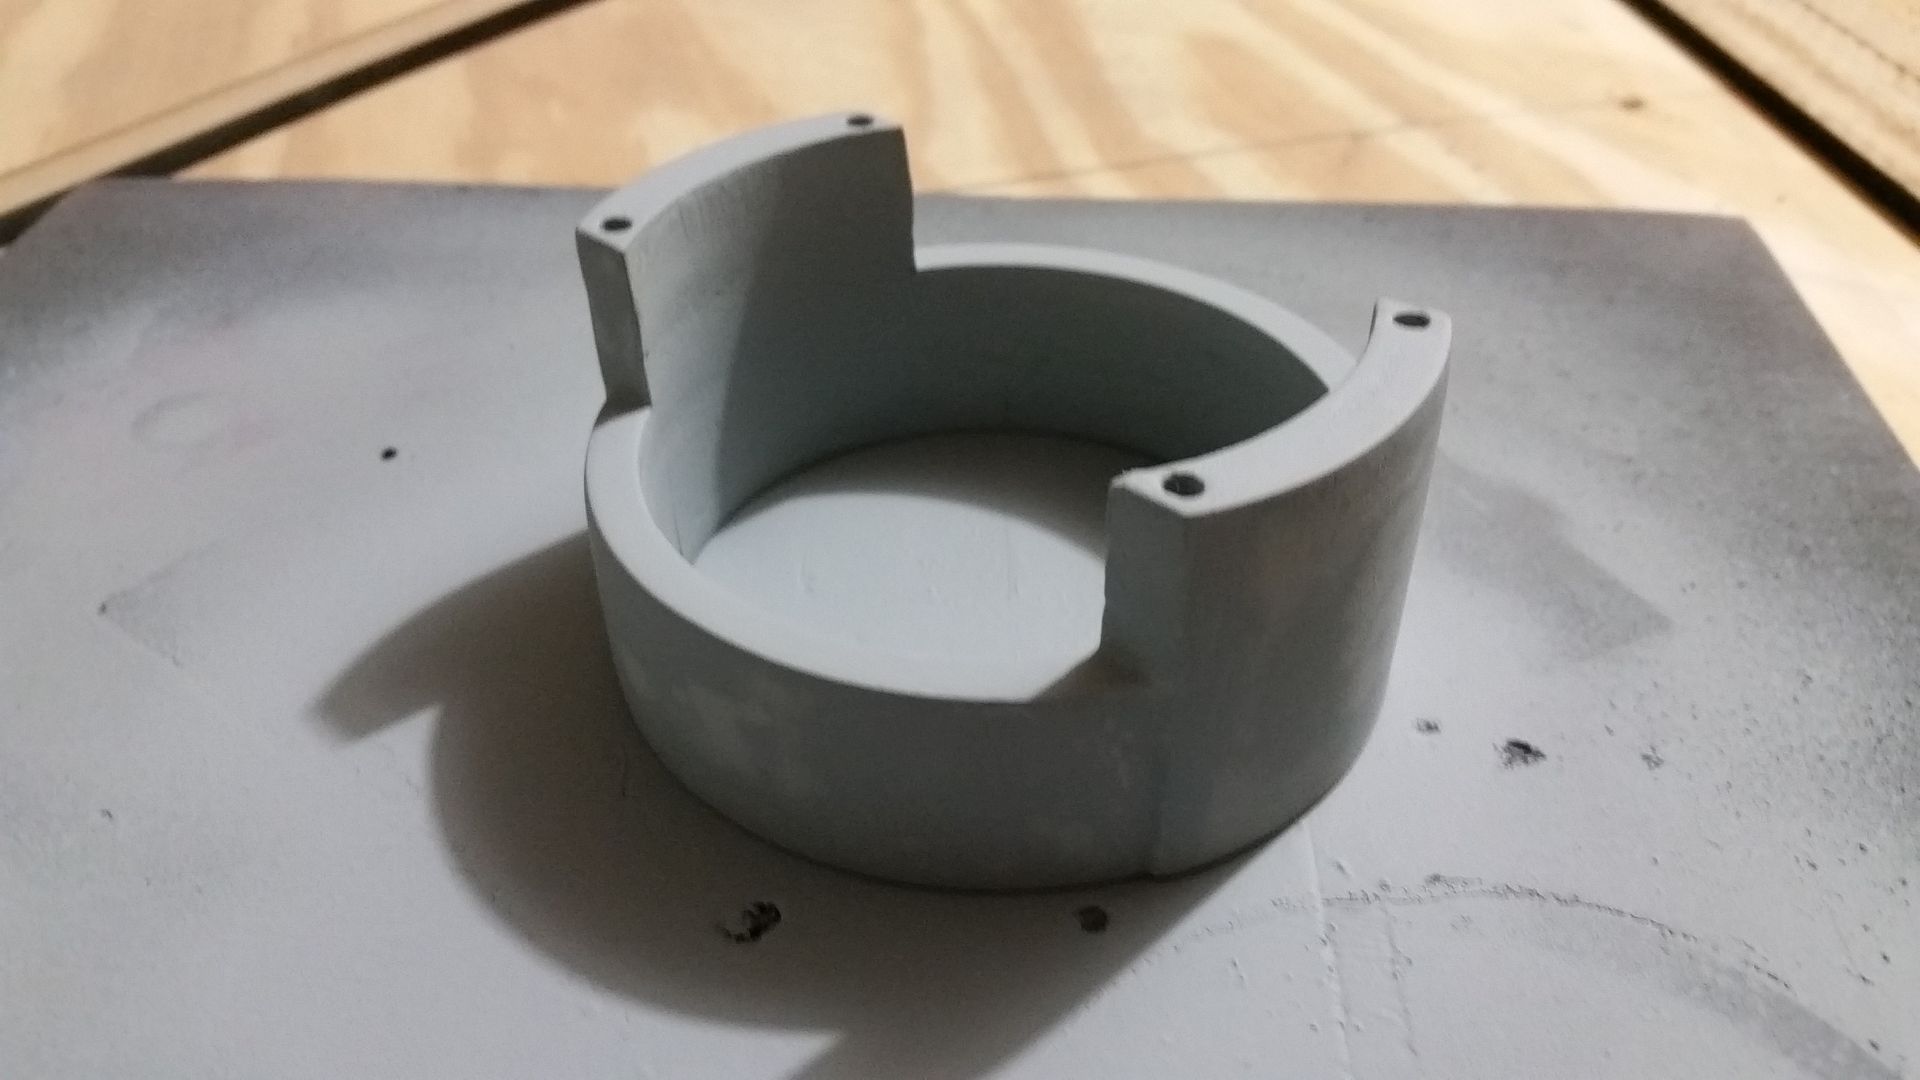
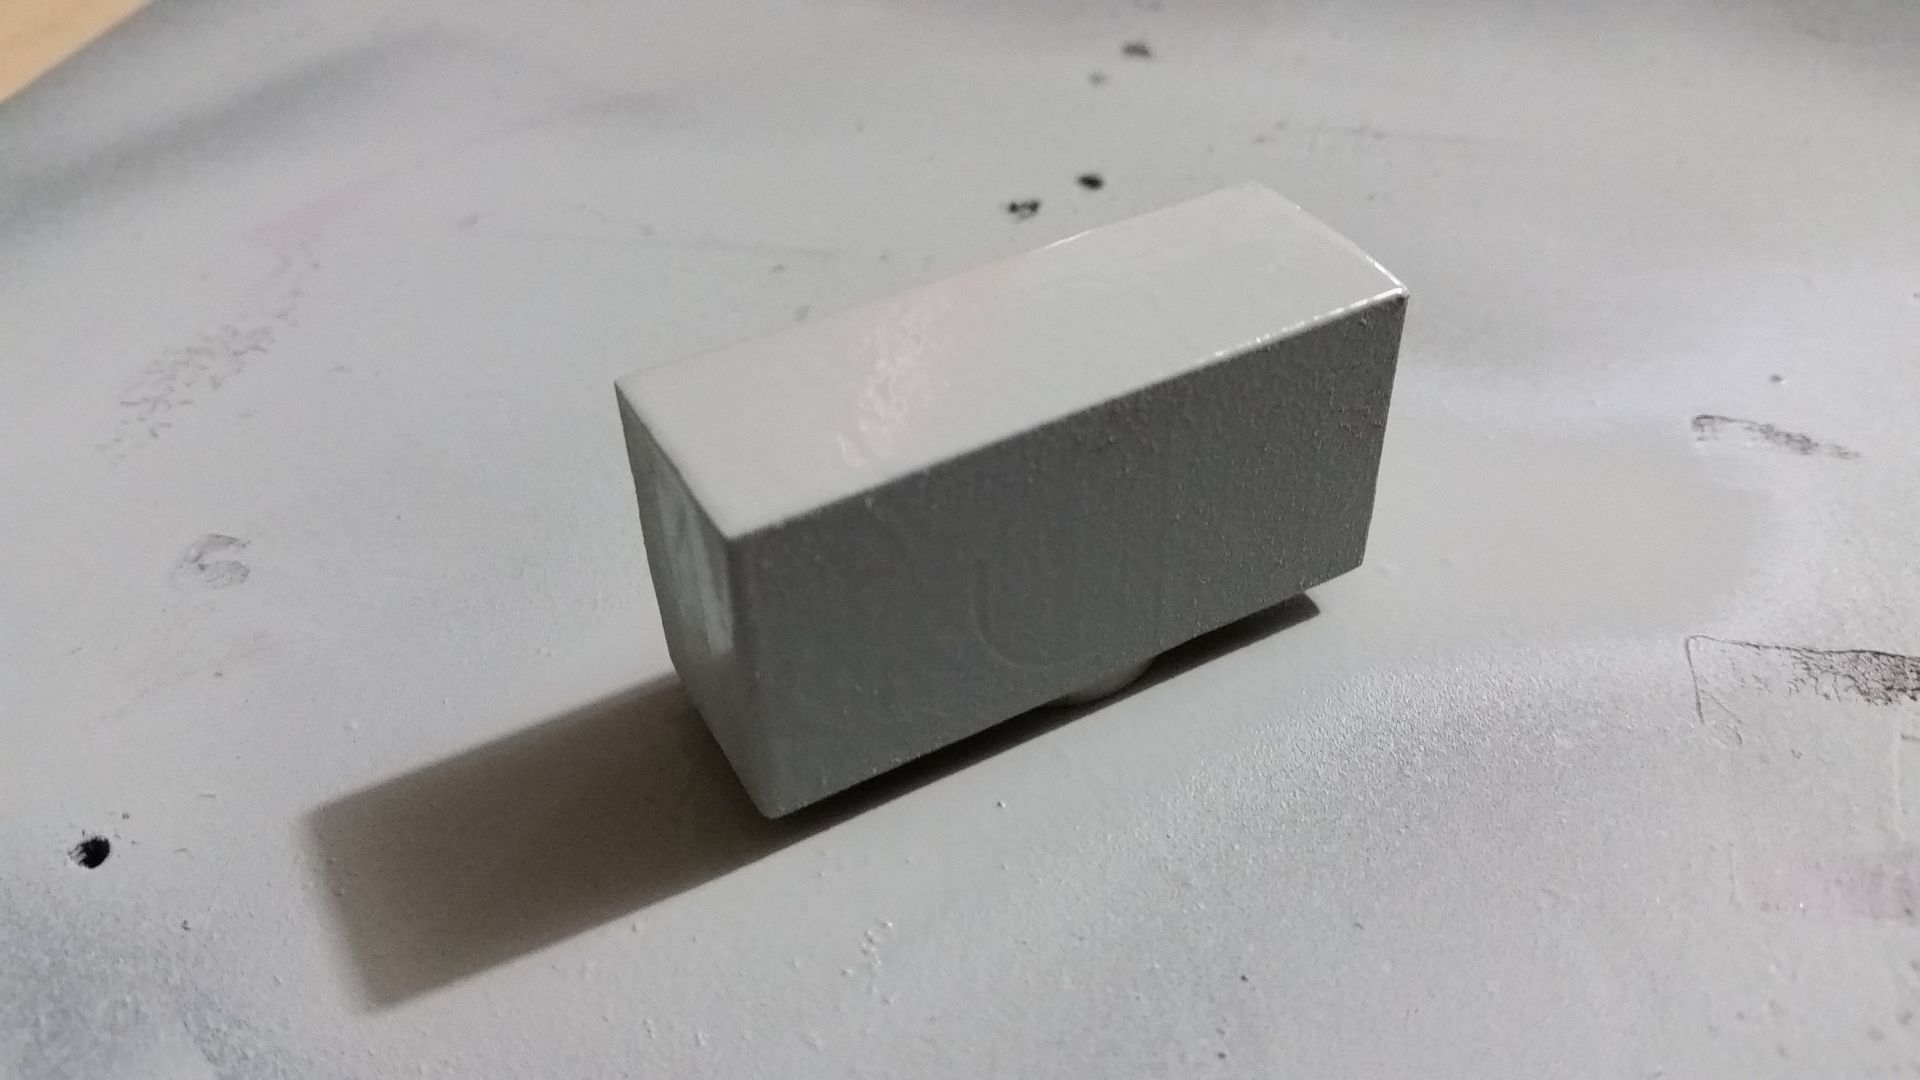
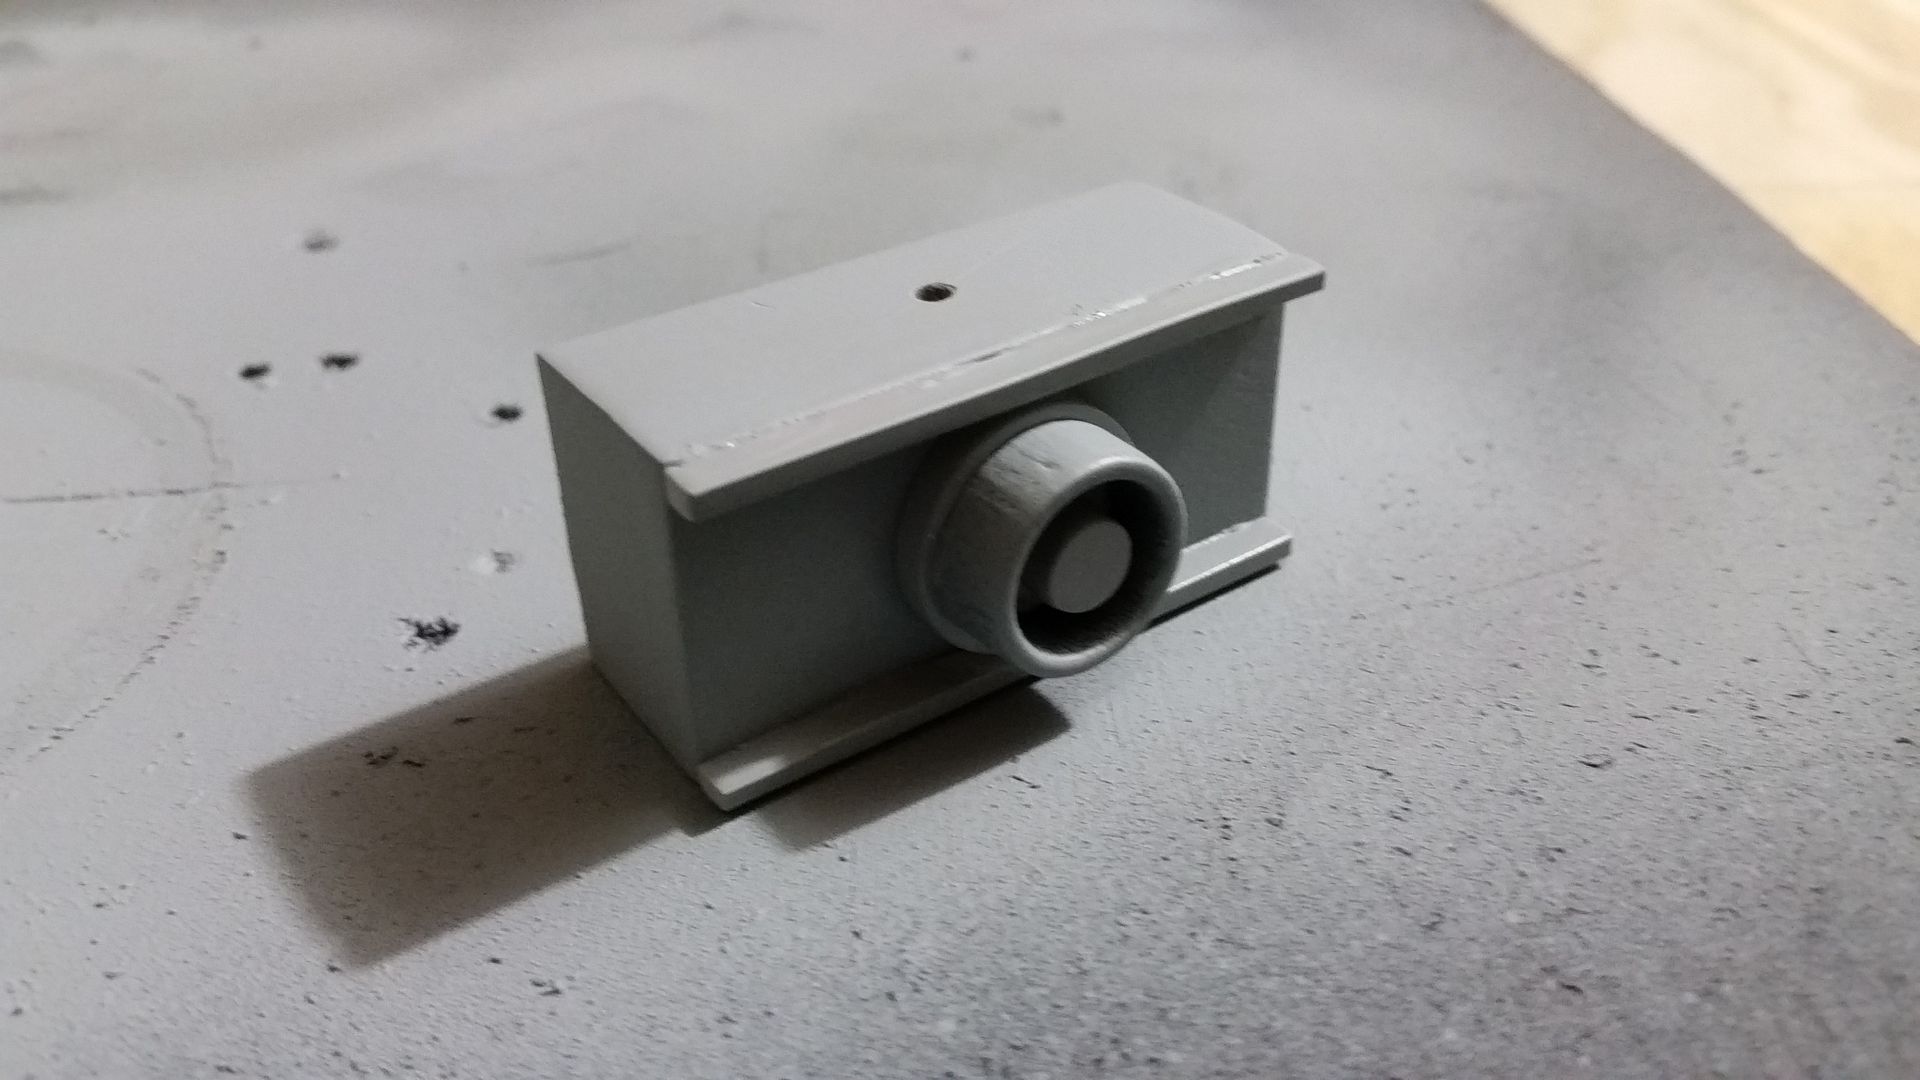
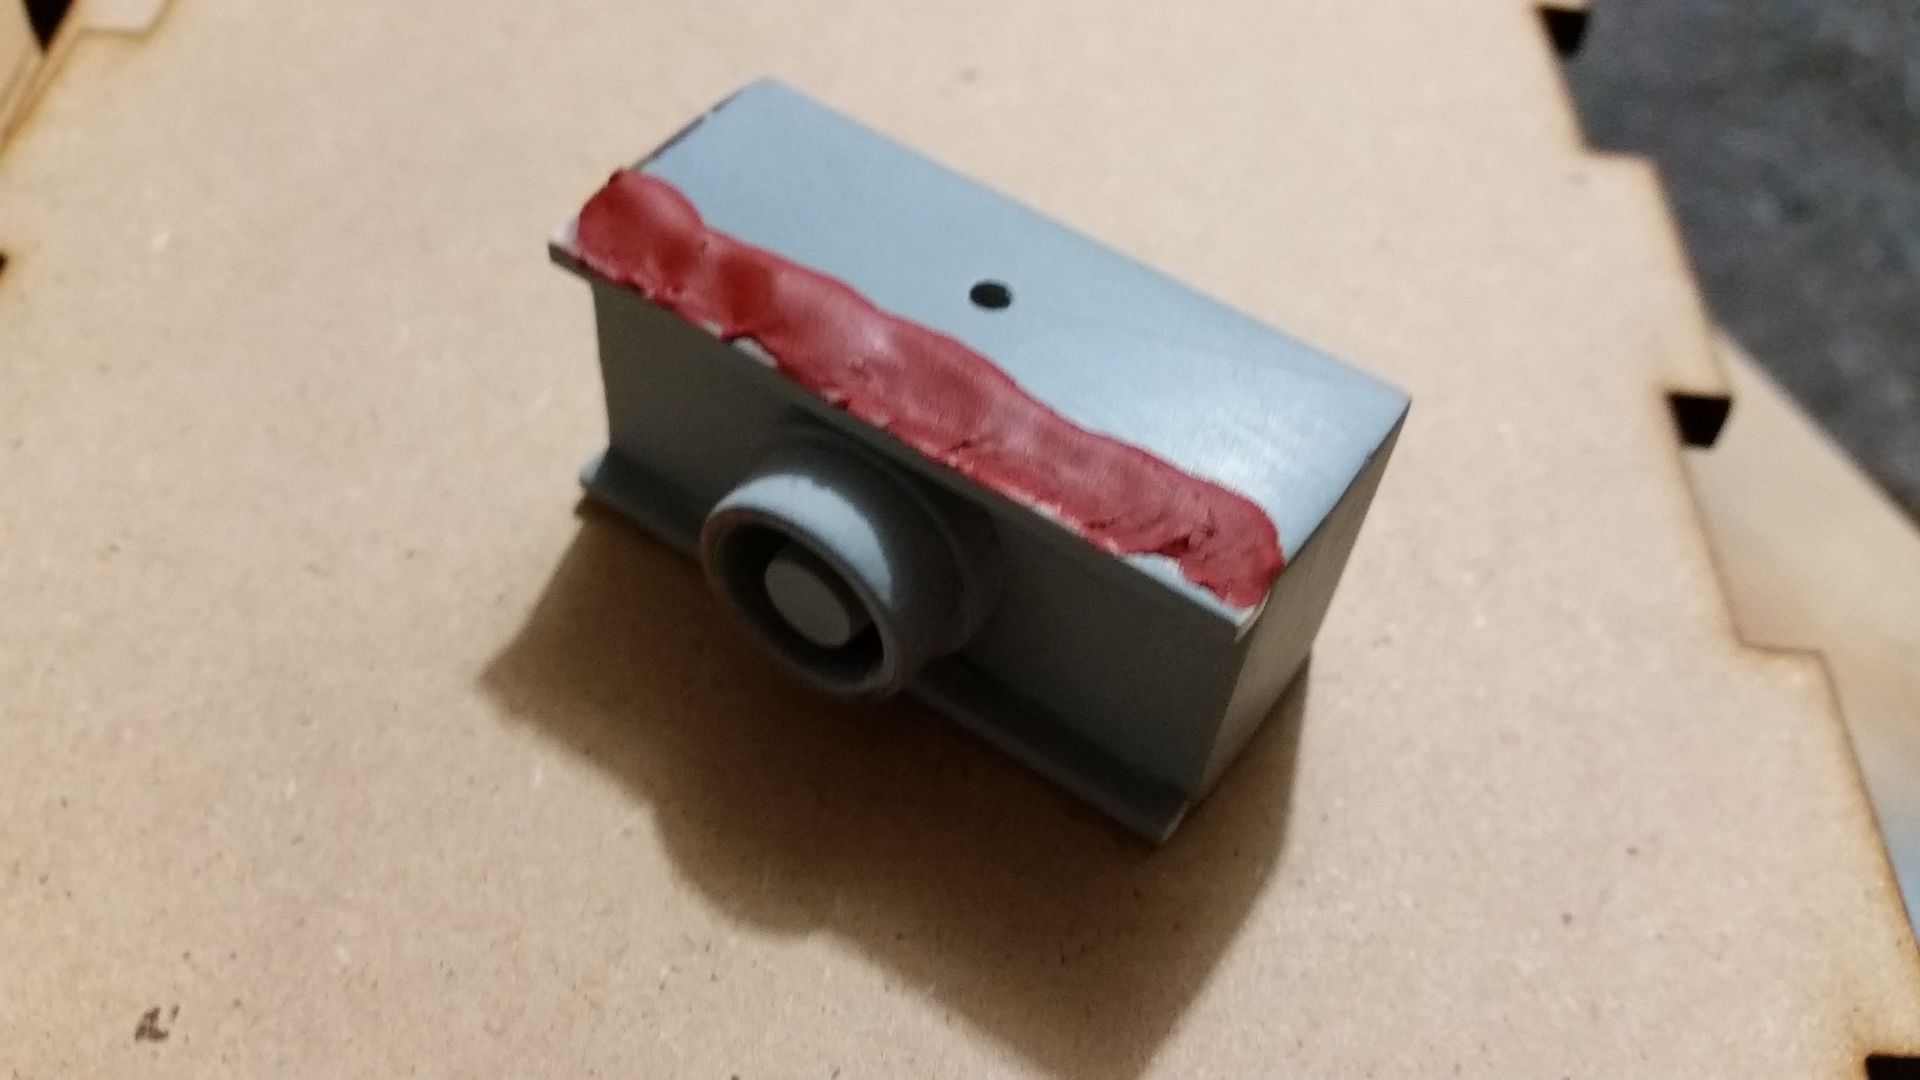
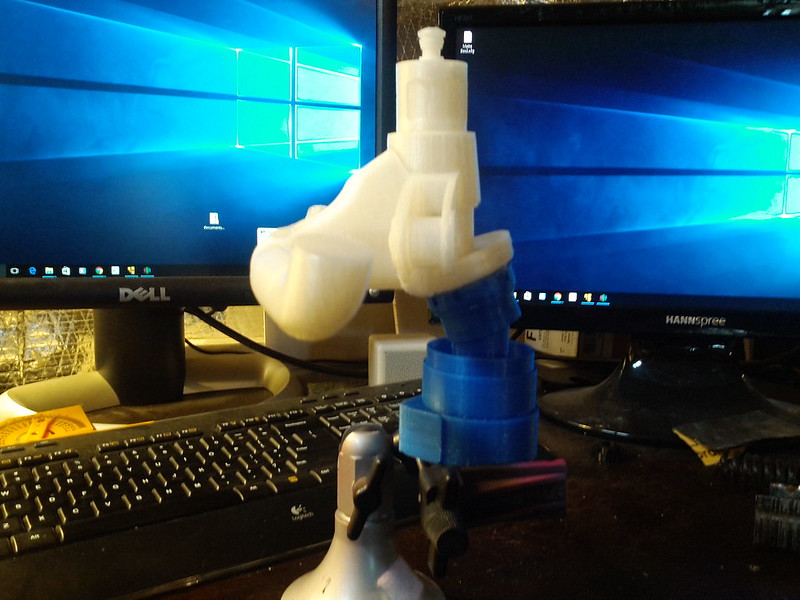
The only thing left was to figure out how to mount the Main Body of the yoke to the base. Here's what I did;
 IMG_20151031_172016 by Izzy Mel, on Flickr
 IMG_20151031_172043 by Izzy Mel, on Flickr
I'm running a test print tonight to see if it will work. I think it should at least I hope it will.
Yoke by Izzy Mel, on FlickrYoke by Izzy Mel, on FlickrYoke by Izzy Mel, on FlickrThe outer arm has a flat surface to mount the Bat handle:
Yoke by Izzy Mel, on FlickrThe only thing left was to figure out how to mount the Main Body of the yoke to the base. Here's what I did;
IMG_20151031_172016 by Izzy Mel, on FlickrIMG_20151031_172043 by Izzy Mel, on FlickrI'm running a test print tonight to see if it will work.
I think it should at least I hope it will.Davy Jones
Sr Member
Sorry for the crappy camera phone picture...
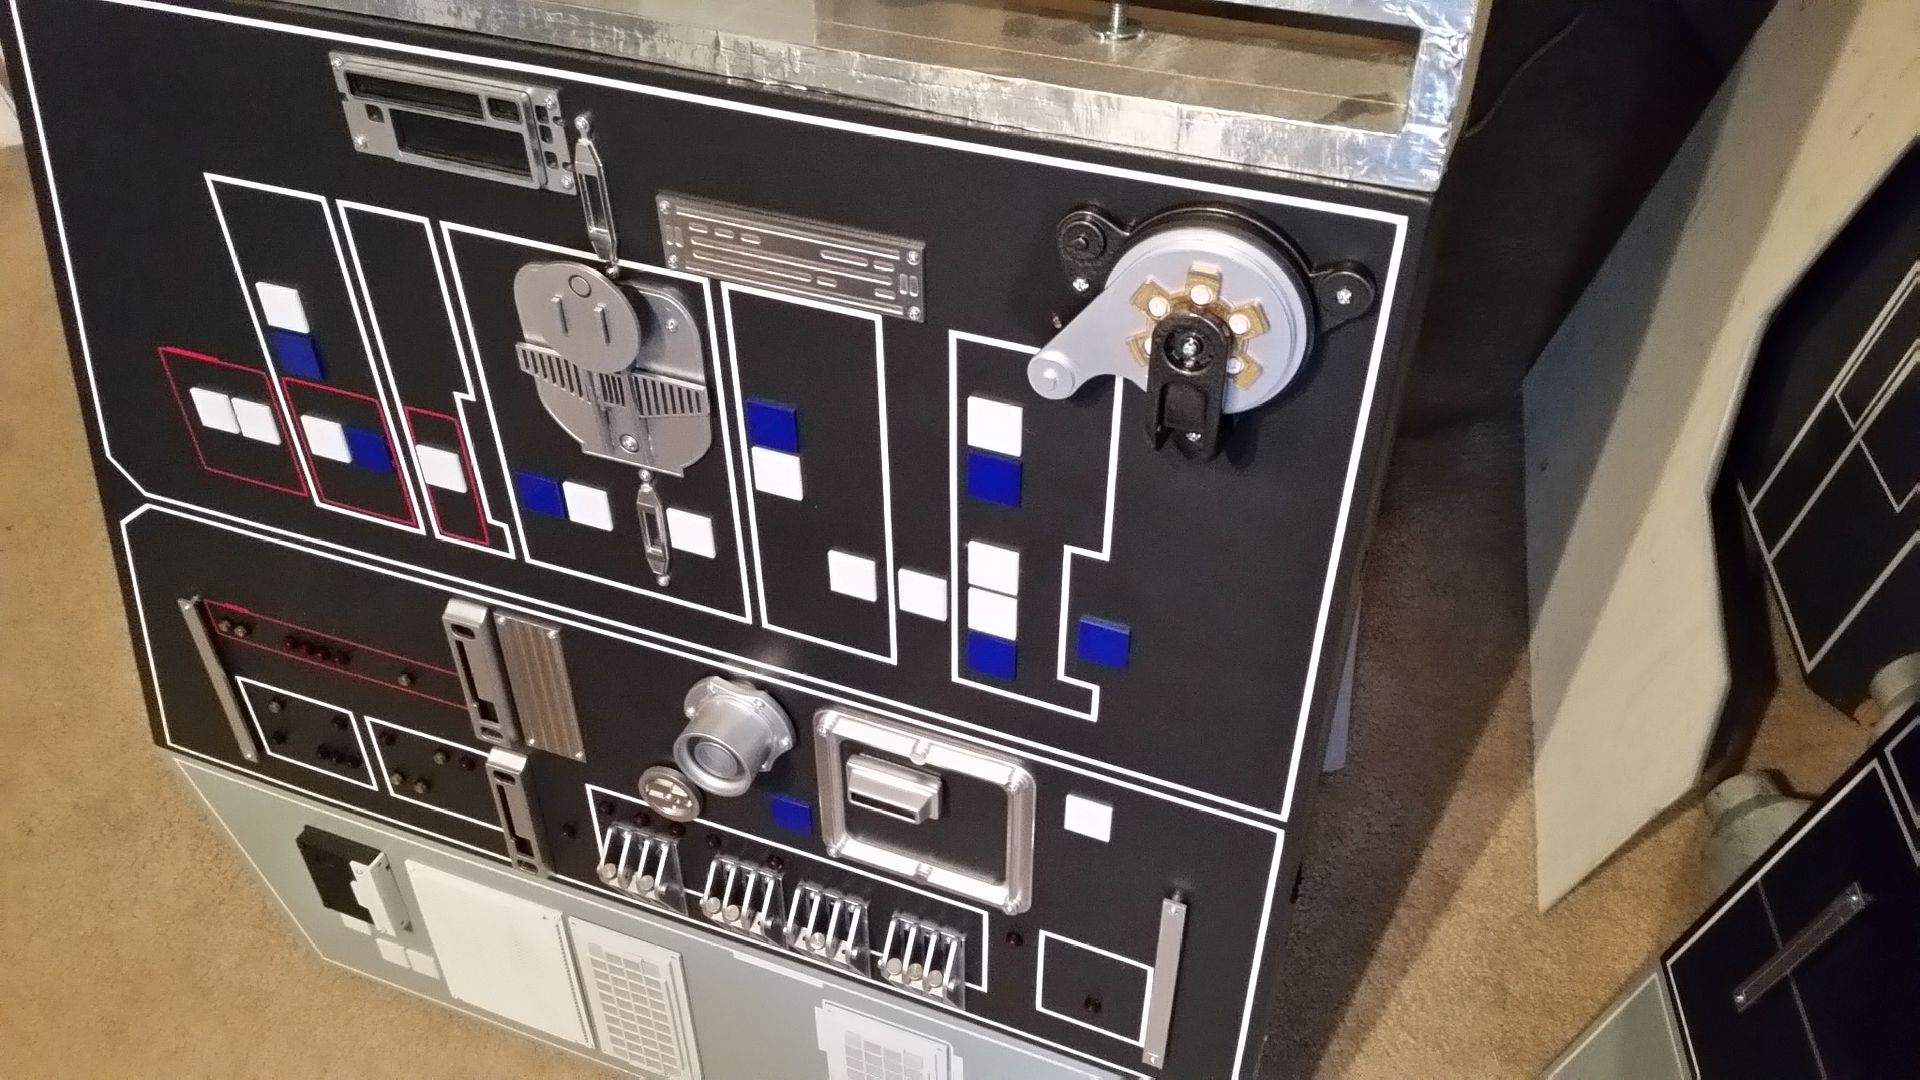
Just making sure you guys had this one? It shows the center console and yoke really well.
https://drive.google.com/file/d/0B8K2XuwSx8vCdlZKaGpqZUZOTTg/view?usp=docslist_api
Just making sure you guys had this one? It shows the center console and yoke really well.
https://drive.google.com/file/d/0B8K2XuwSx8vCdlZKaGpqZUZOTTg/view?usp=docslist_api
IzzyMel
Sr Member
IzzyMel, What printer do you have? how big is your print bed?
Operascot,
I have a CTC Replicator 2 clone. It works great. I maybe wrong but, I believe it has a 5 X 8 x 6 print bed.
Hi Gang,
RAIN RAIN RAIN! All weekend long... Dont you hate that? Rain prevented me from doing any bulk size work but I was able to knock out a few more little greeblies and also helped IzzyMel with his 1/6th scale cockpit adventure! So what was I able to get done?
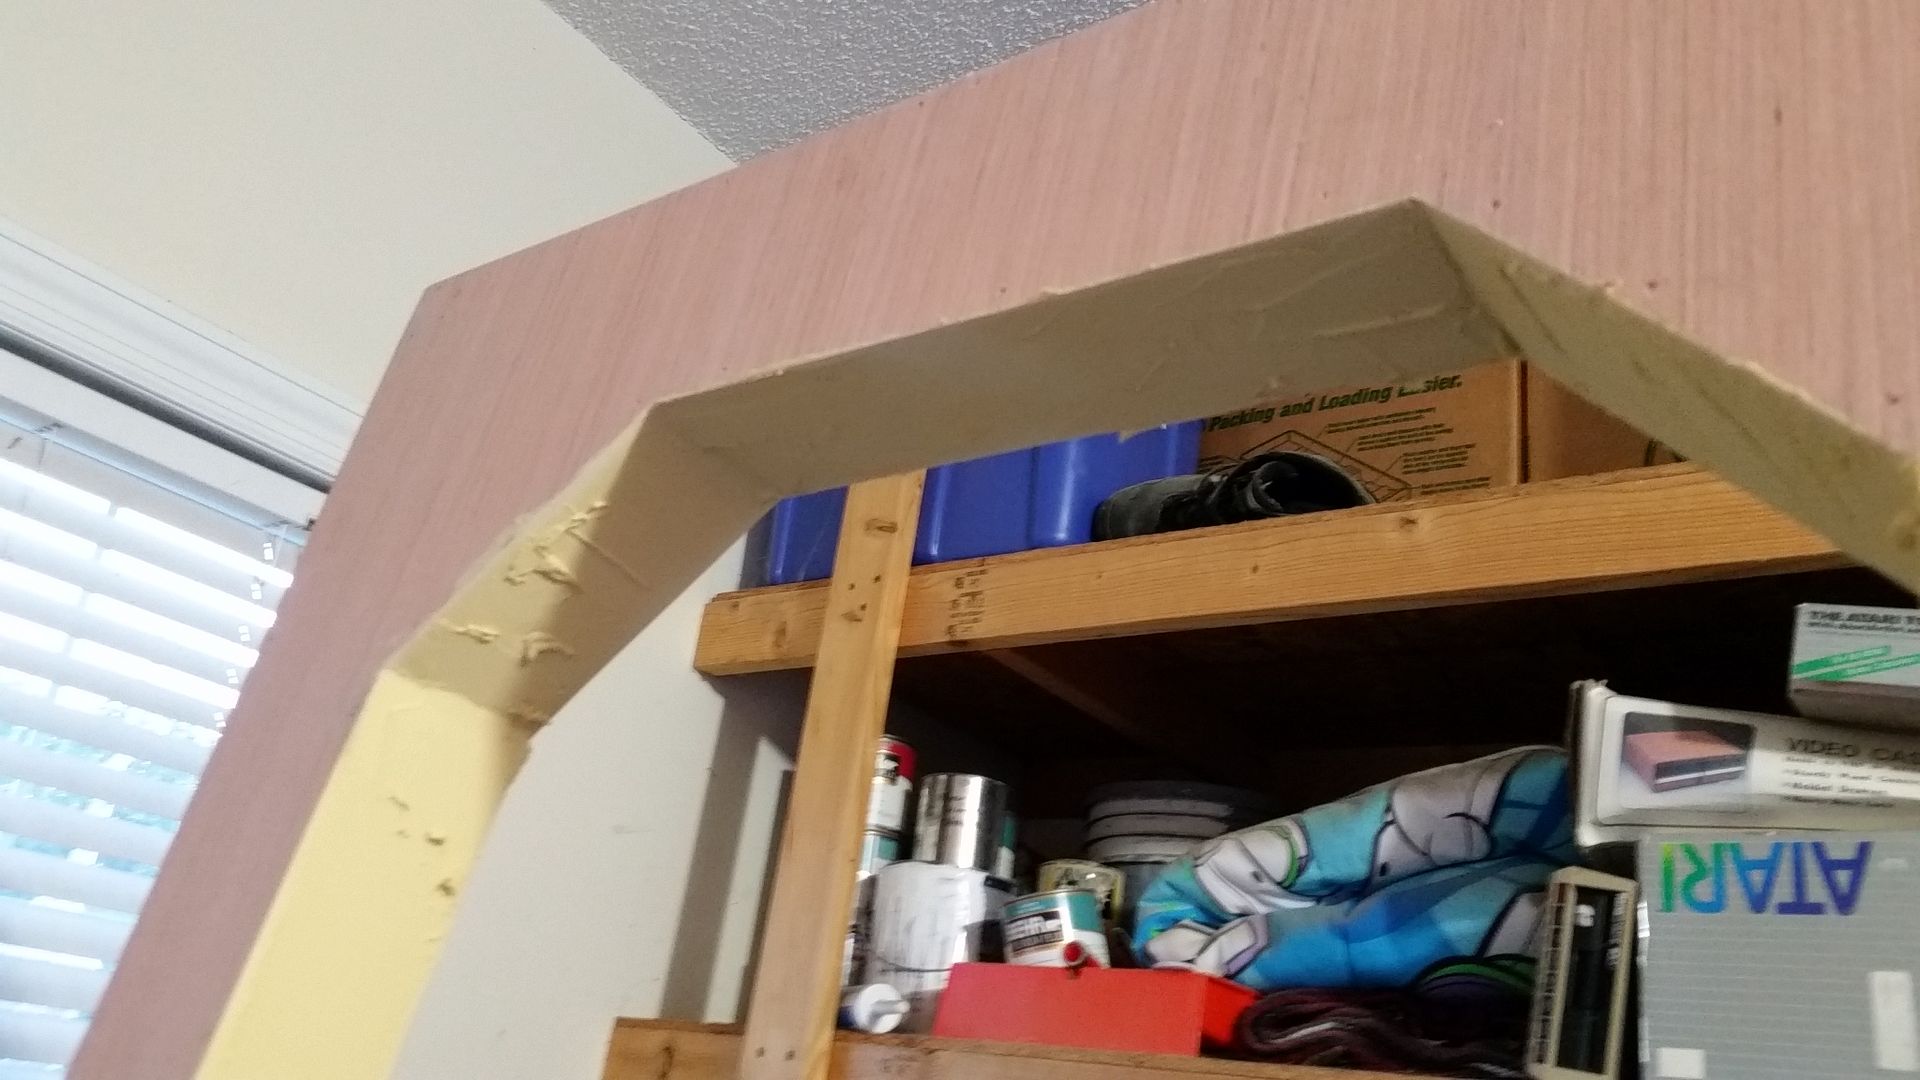
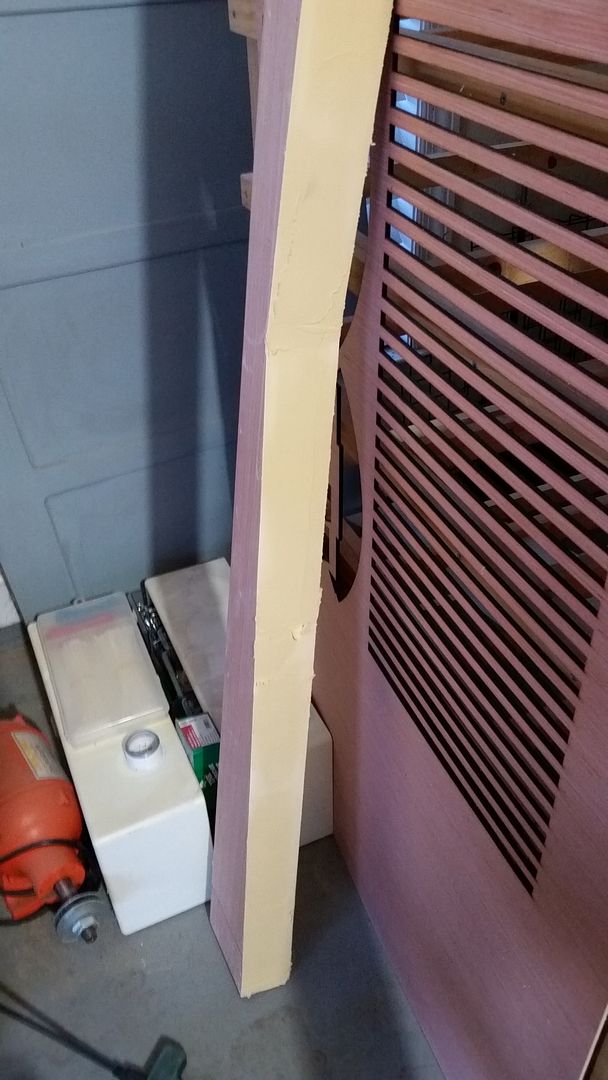
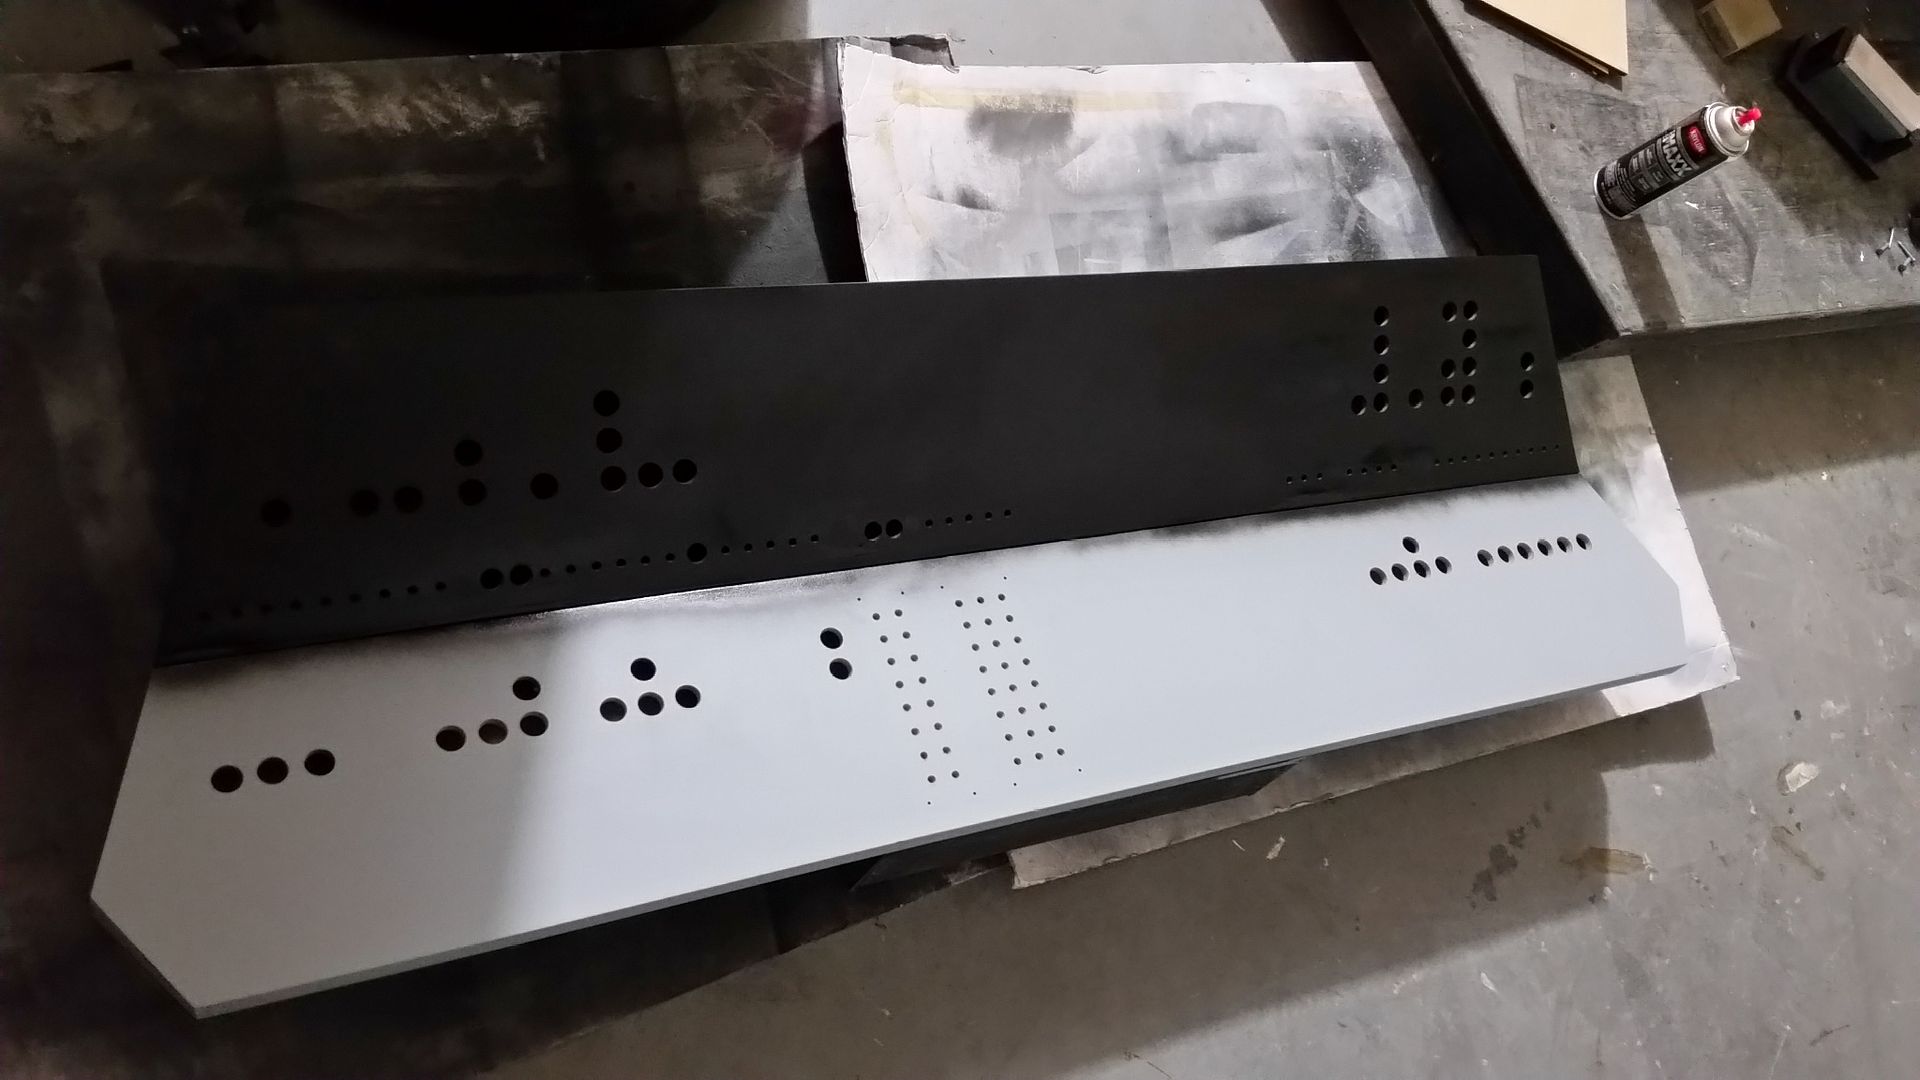
Friday was a perfect day! After work I was able to sand down the door pieces and add more filler
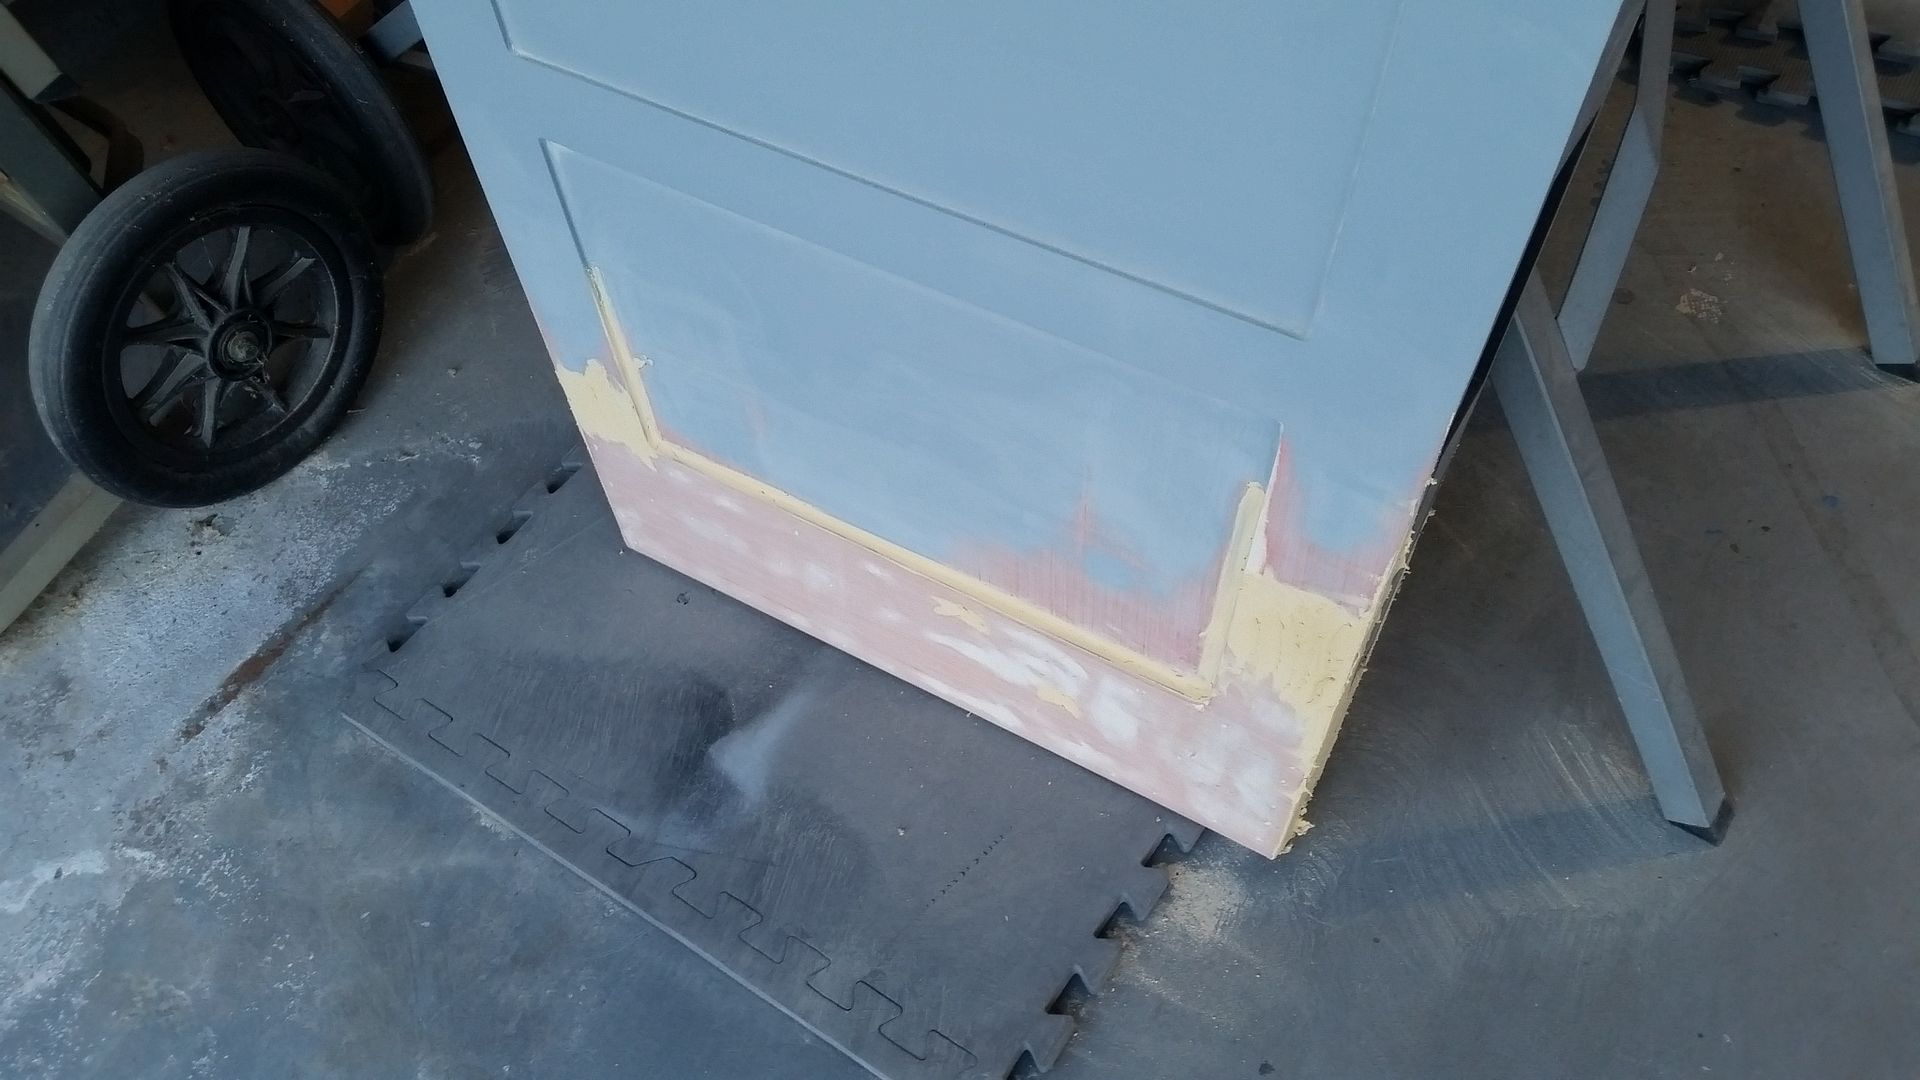
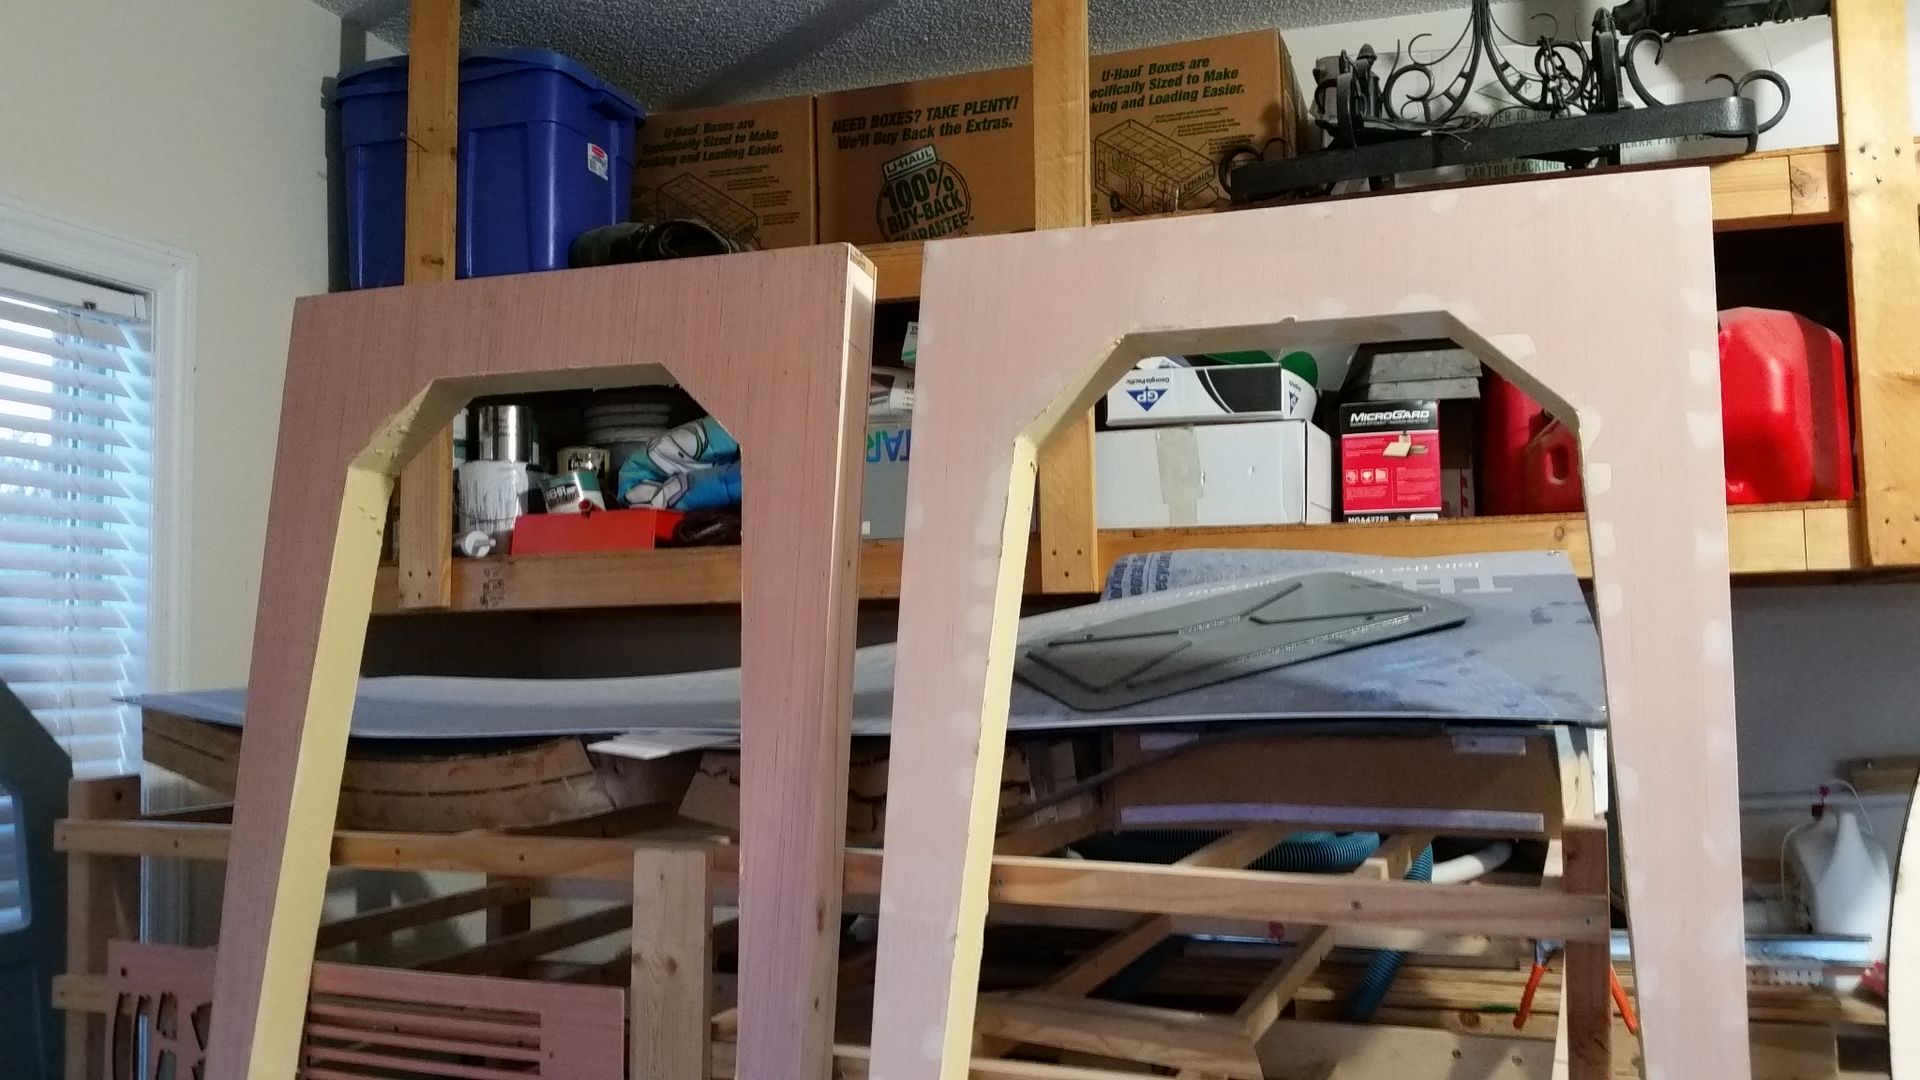
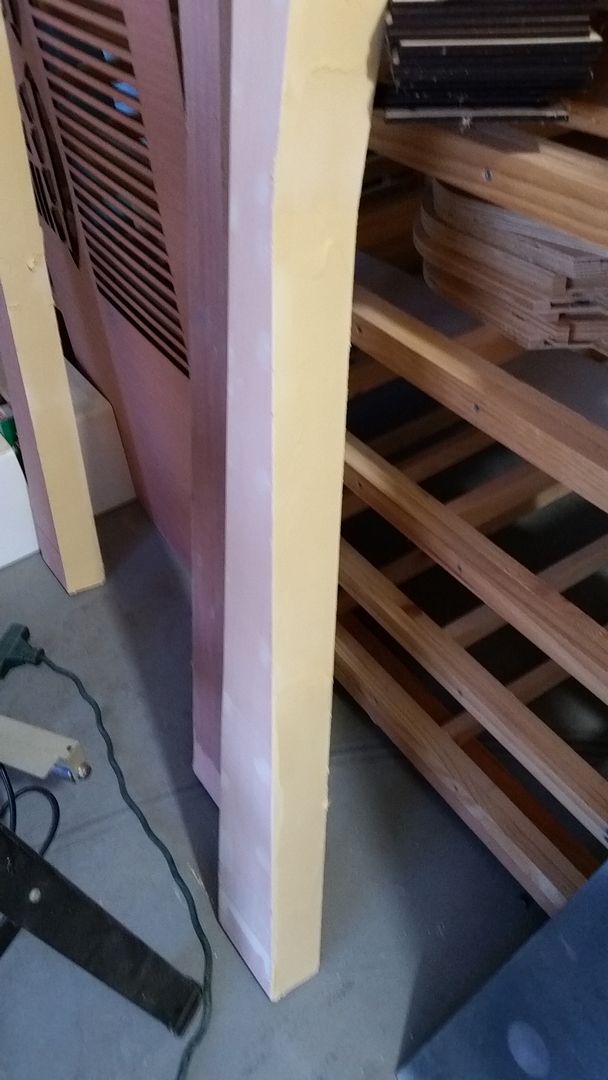
It would appear that the door assembly is going to a complete stand-alone piece of the build that then bolts into place - should be interesting
Not very exciting... I know
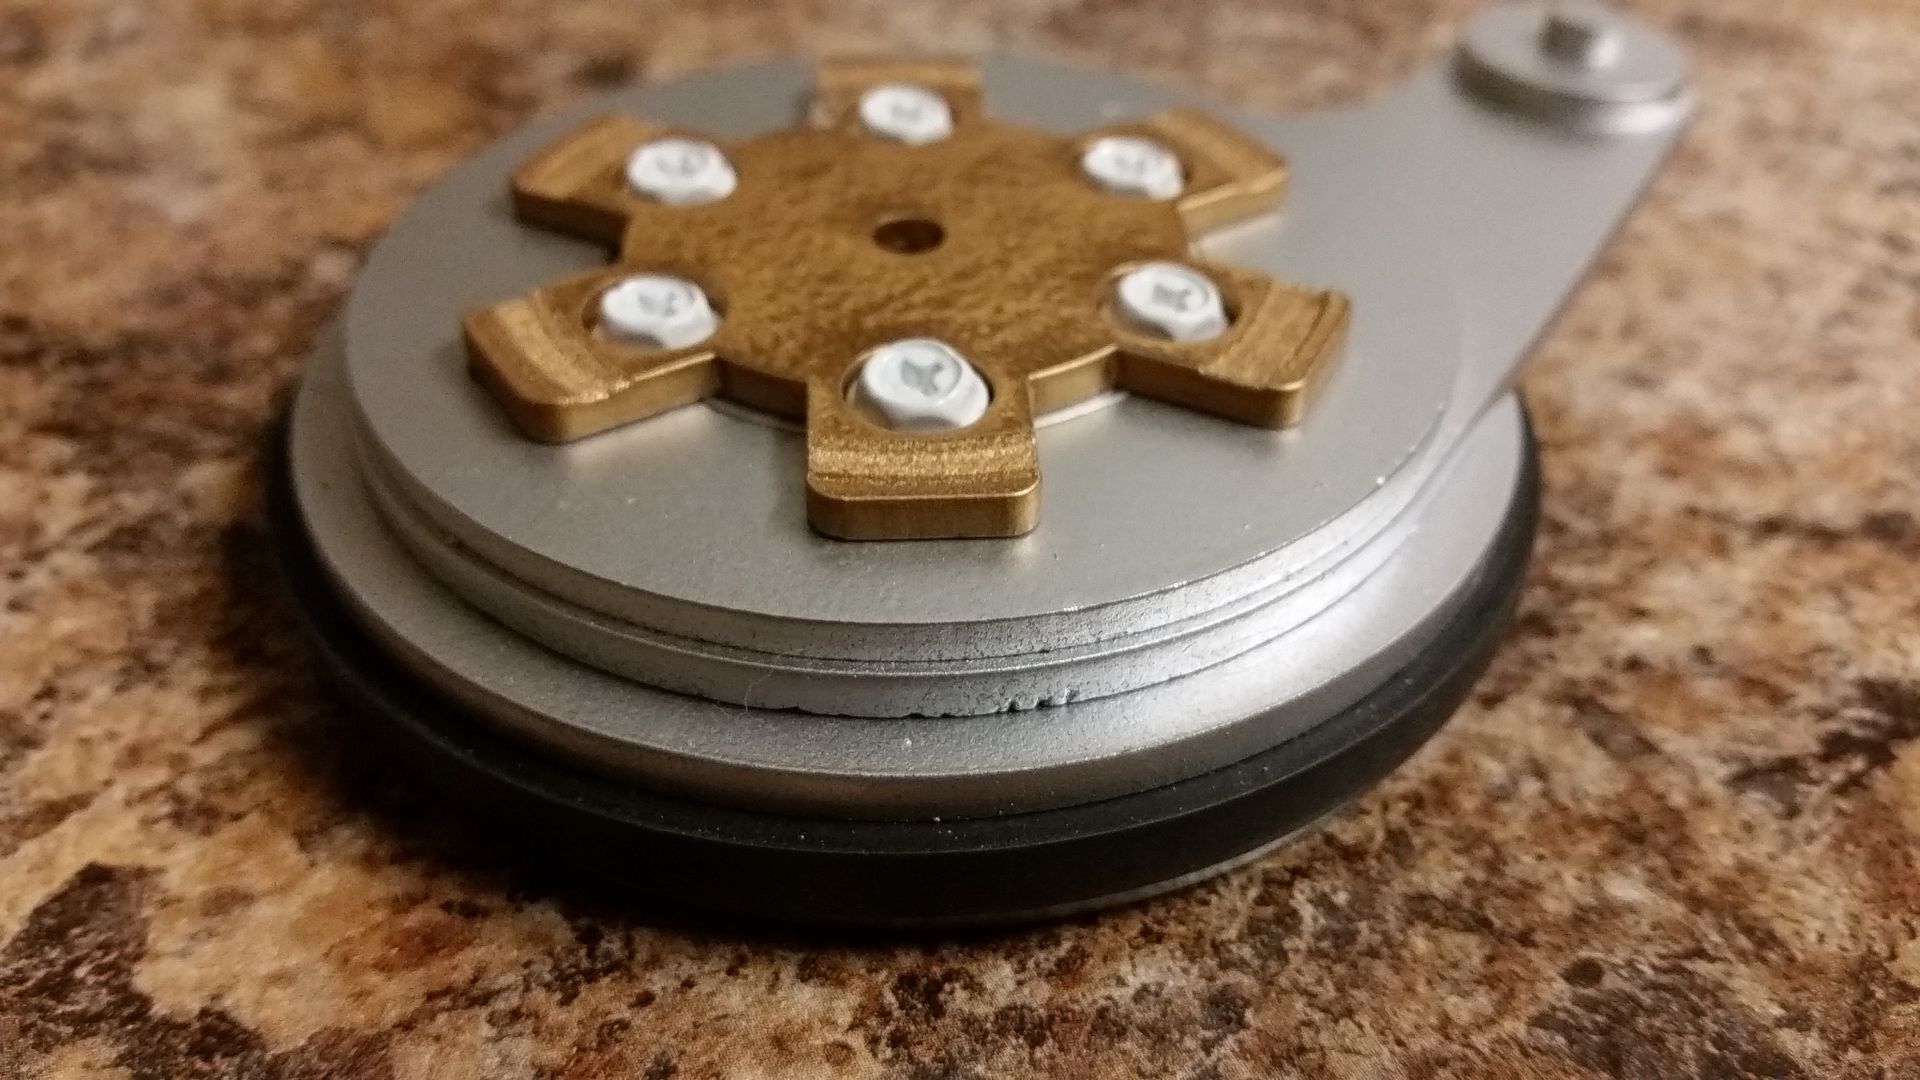
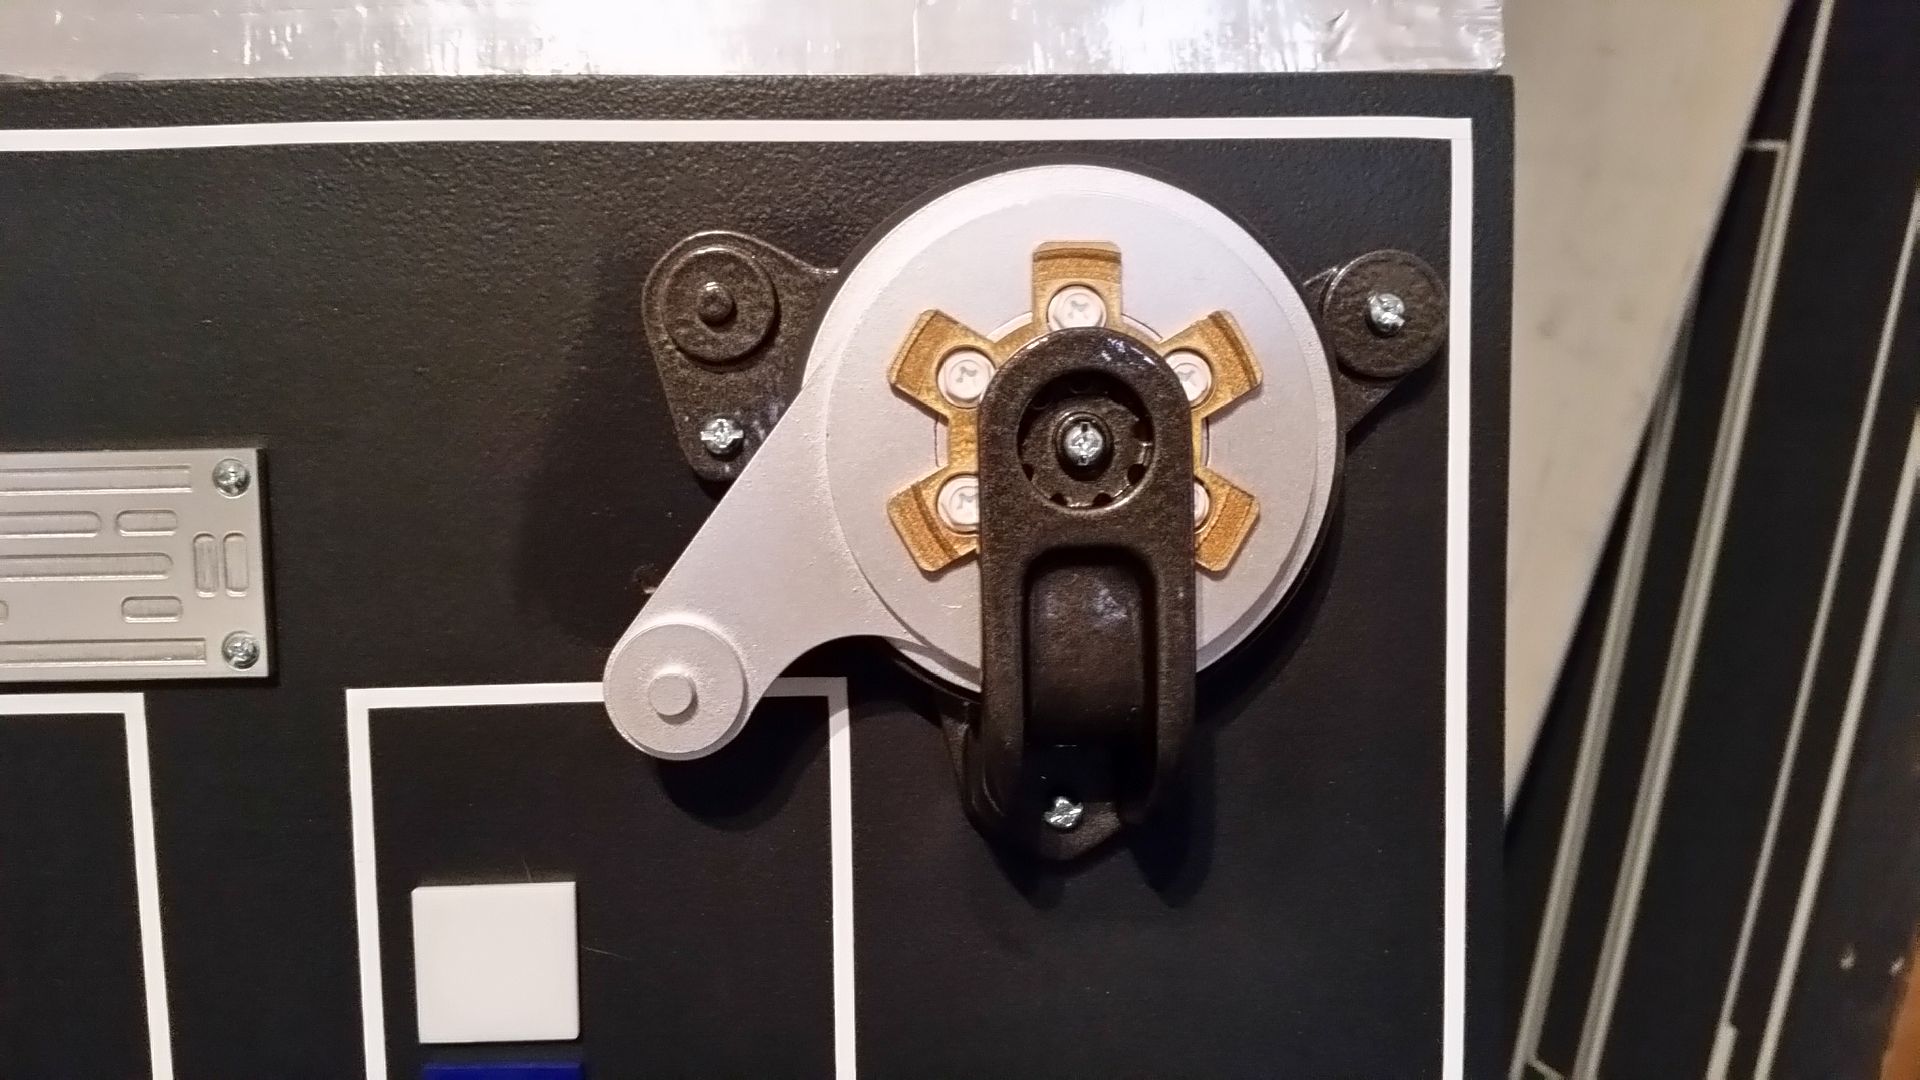
I then sanded down the auto pilot cultch base, gave it a few more coats of primer
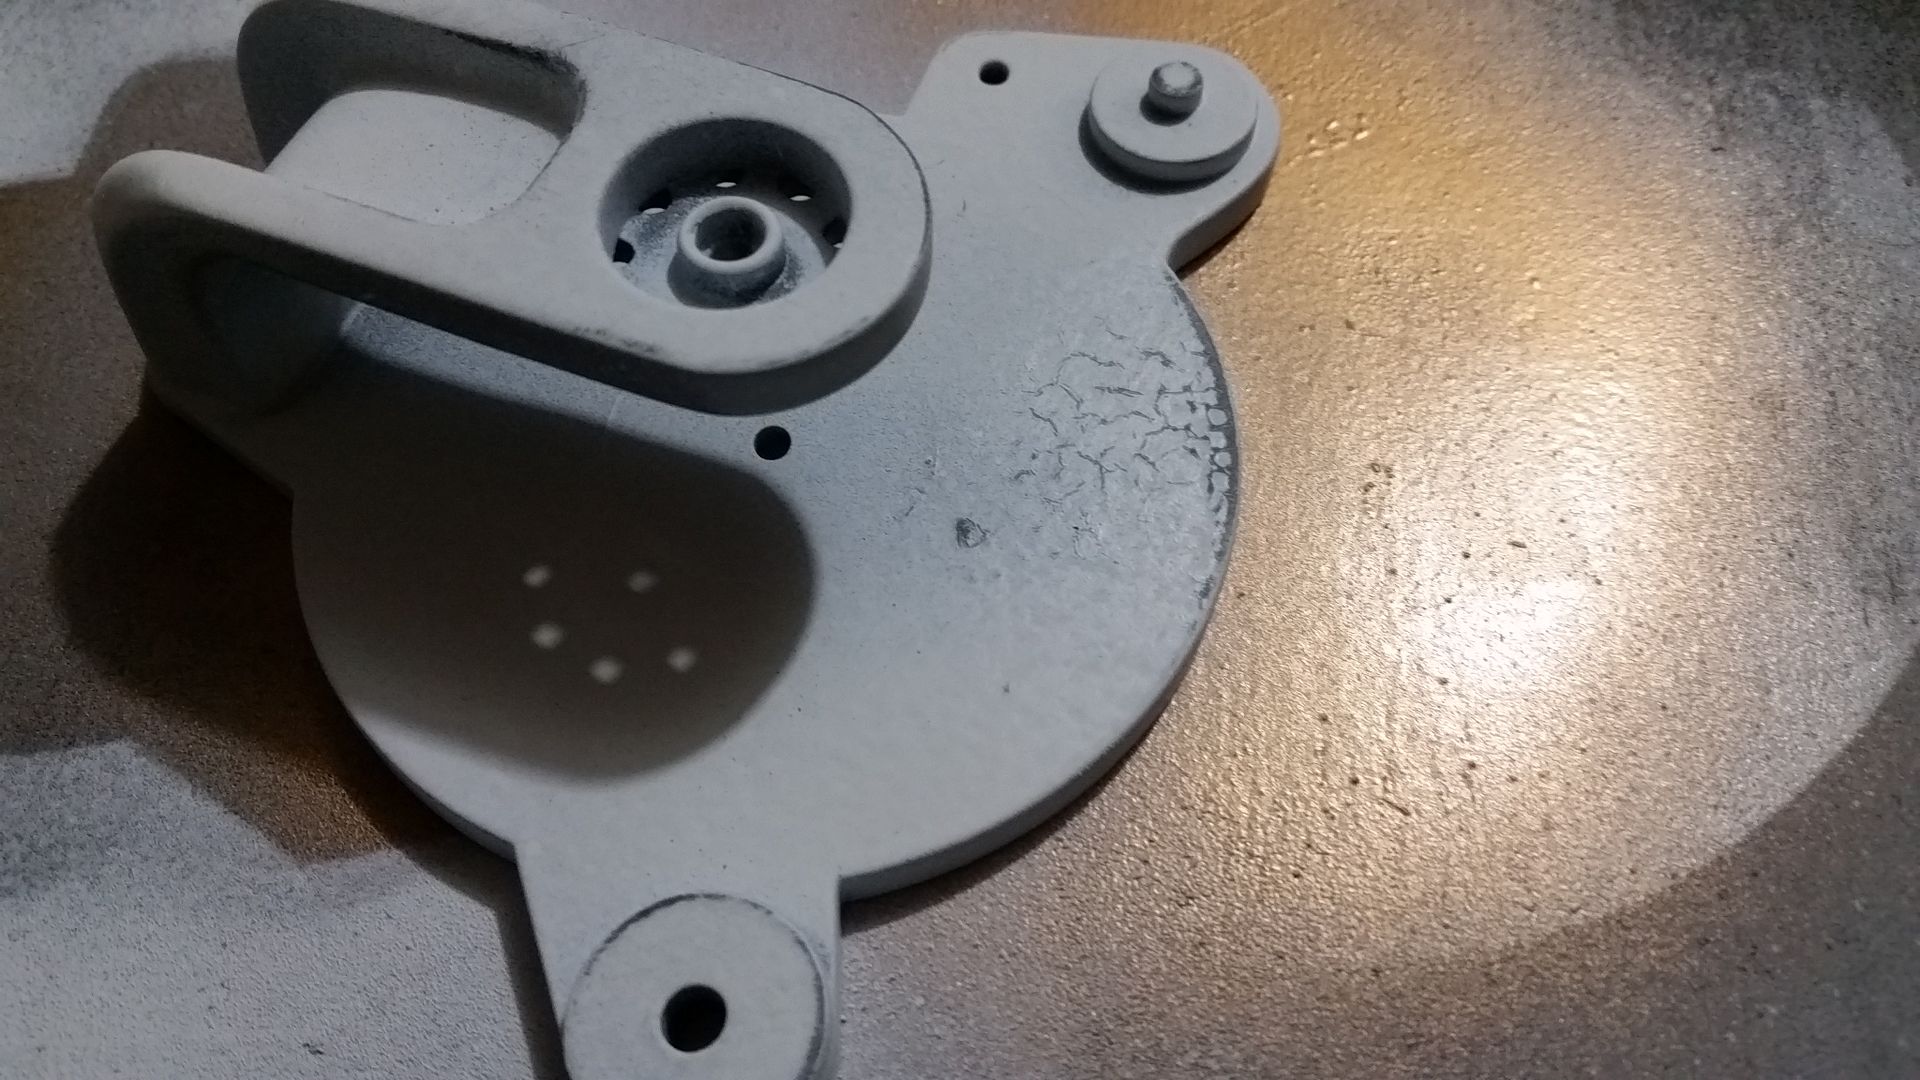
I was using the "hammered" texture paint and decided to break away and use a simple metallic
It's funny... there are probably 10-15 layers of primer and paint. But I think it adds to the overall look and feel
Got this piece finished up

I'm not sure why, but the laser cutter is "nicking" the edges of the acrylic. Any experts know what's going on?
We join the two pieces together and mount!
Still need to paint the bolts
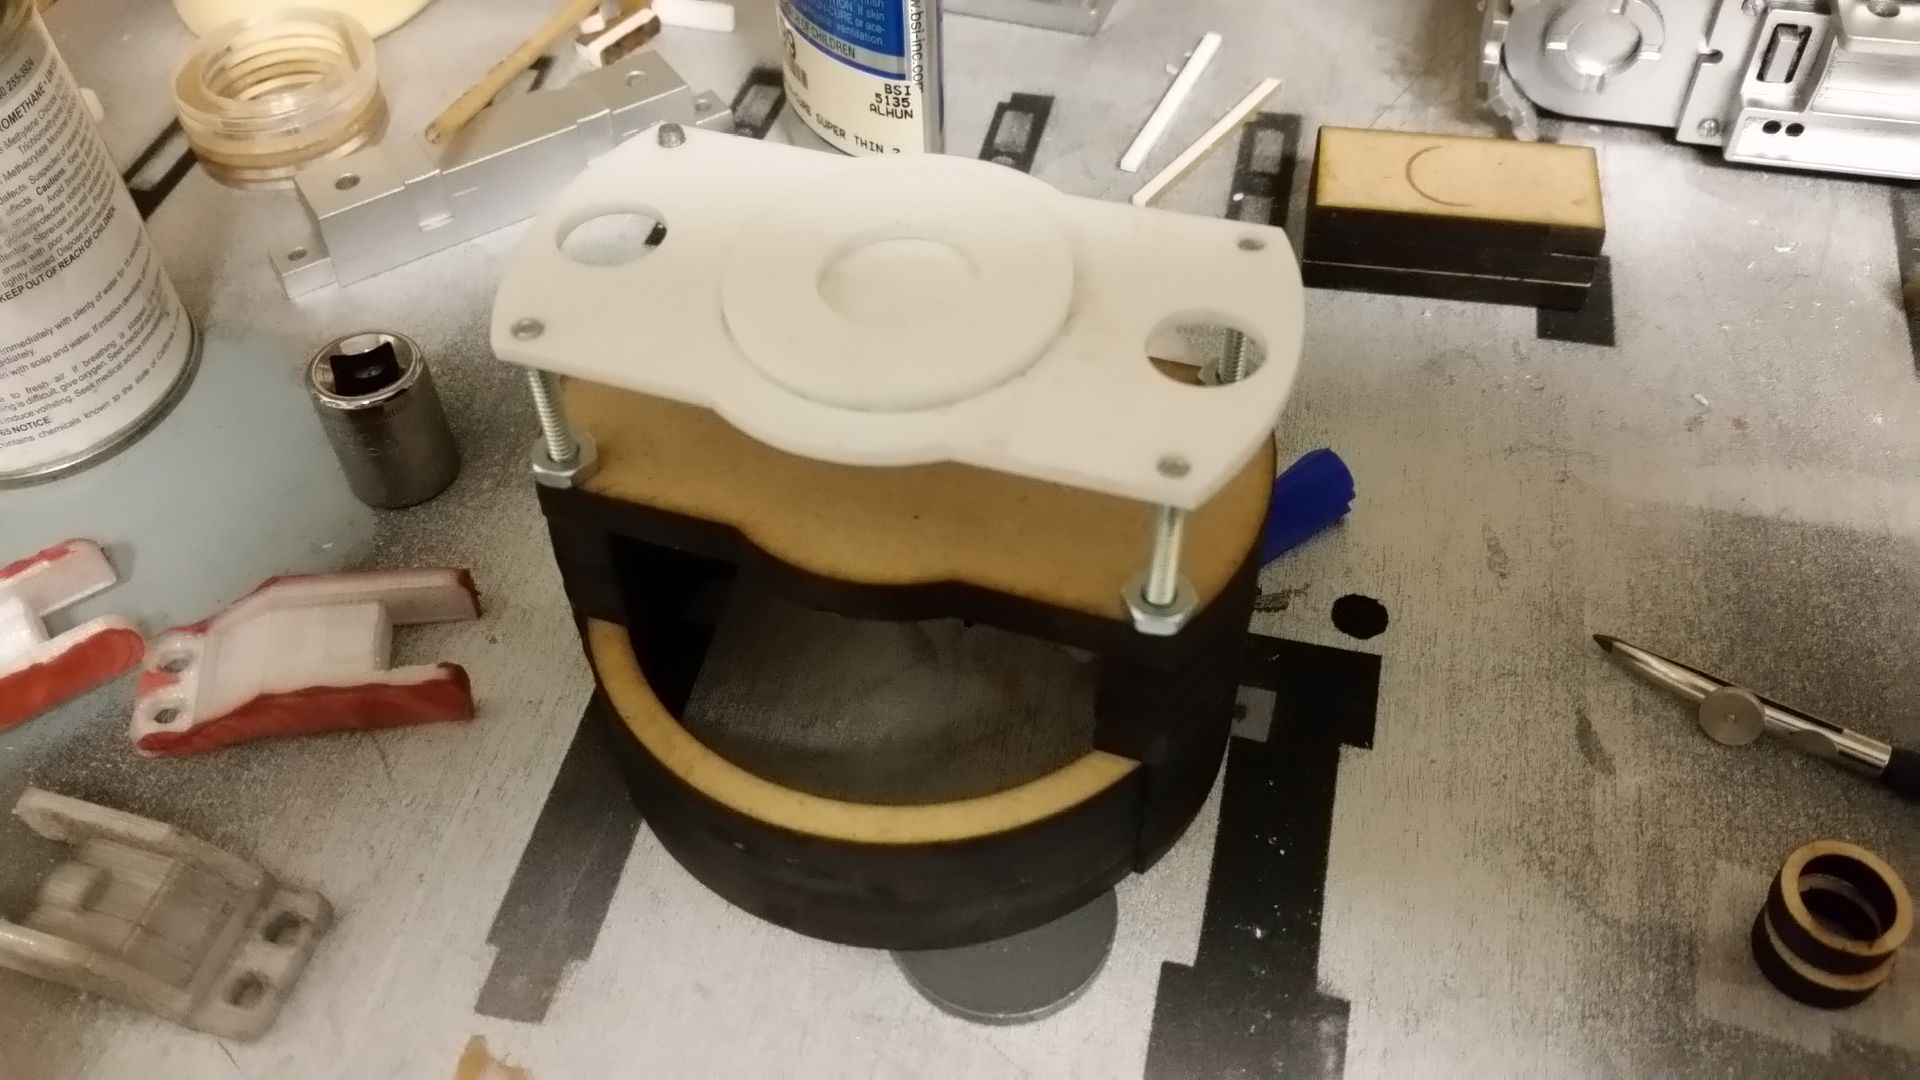
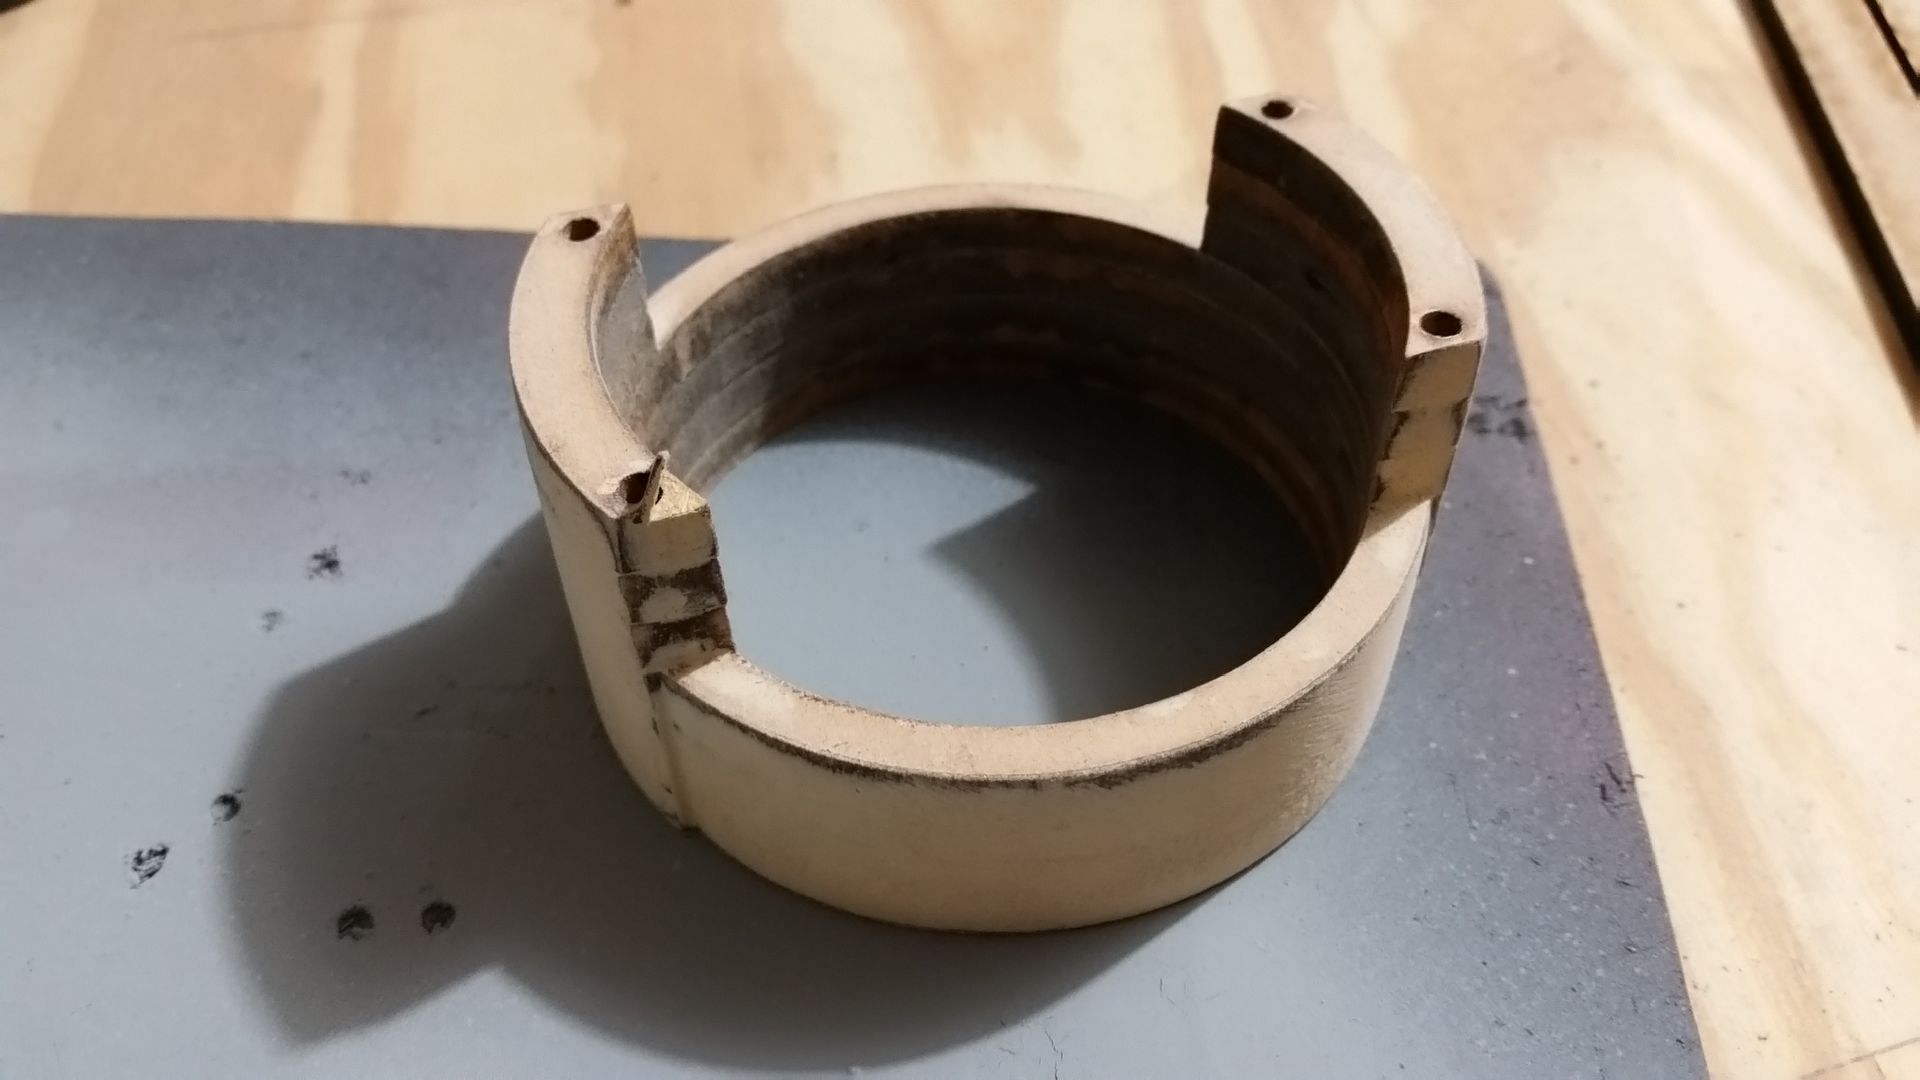
The Rainy weekend started with me spending nearly 6 hours on the laser cutter. Most of it was the 1/6th scale greeblies but I also worked on this piece
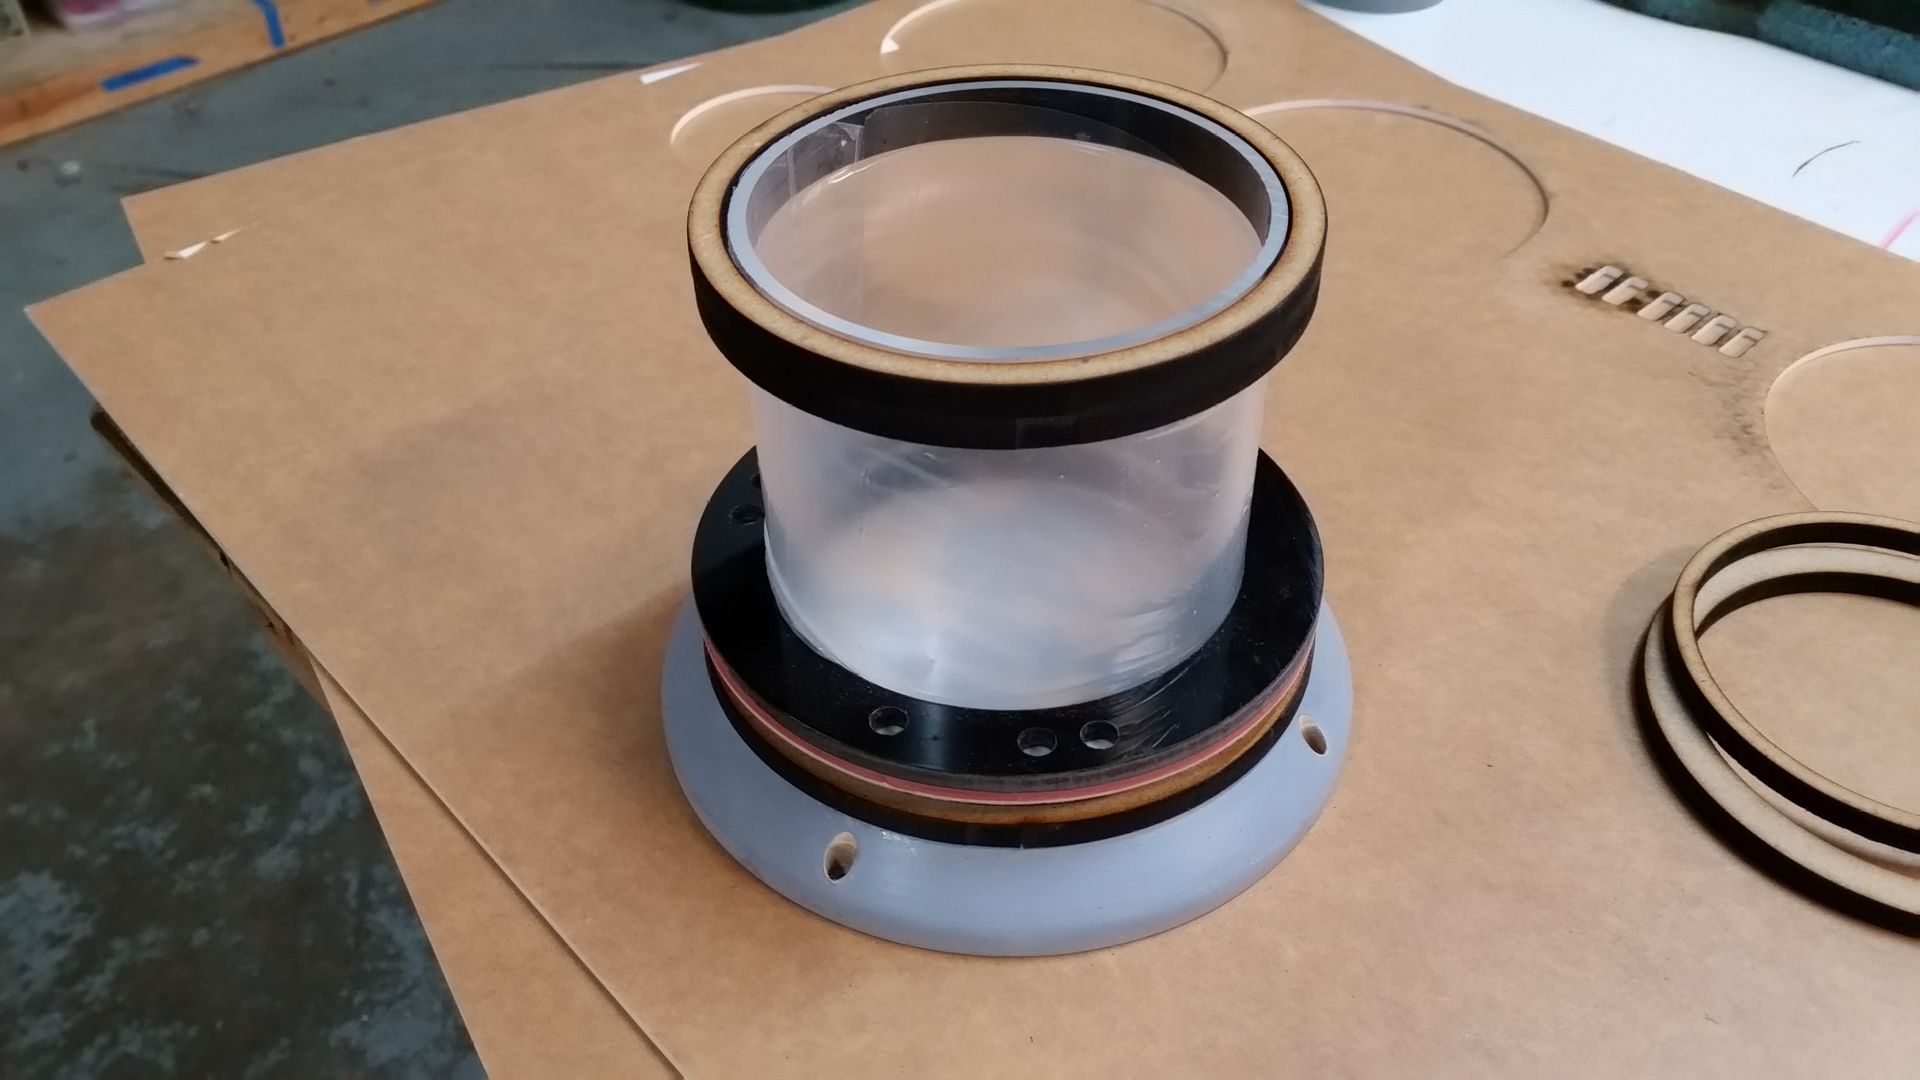
Several passes with the laser cutter...
I laser cut several rings and adhered together
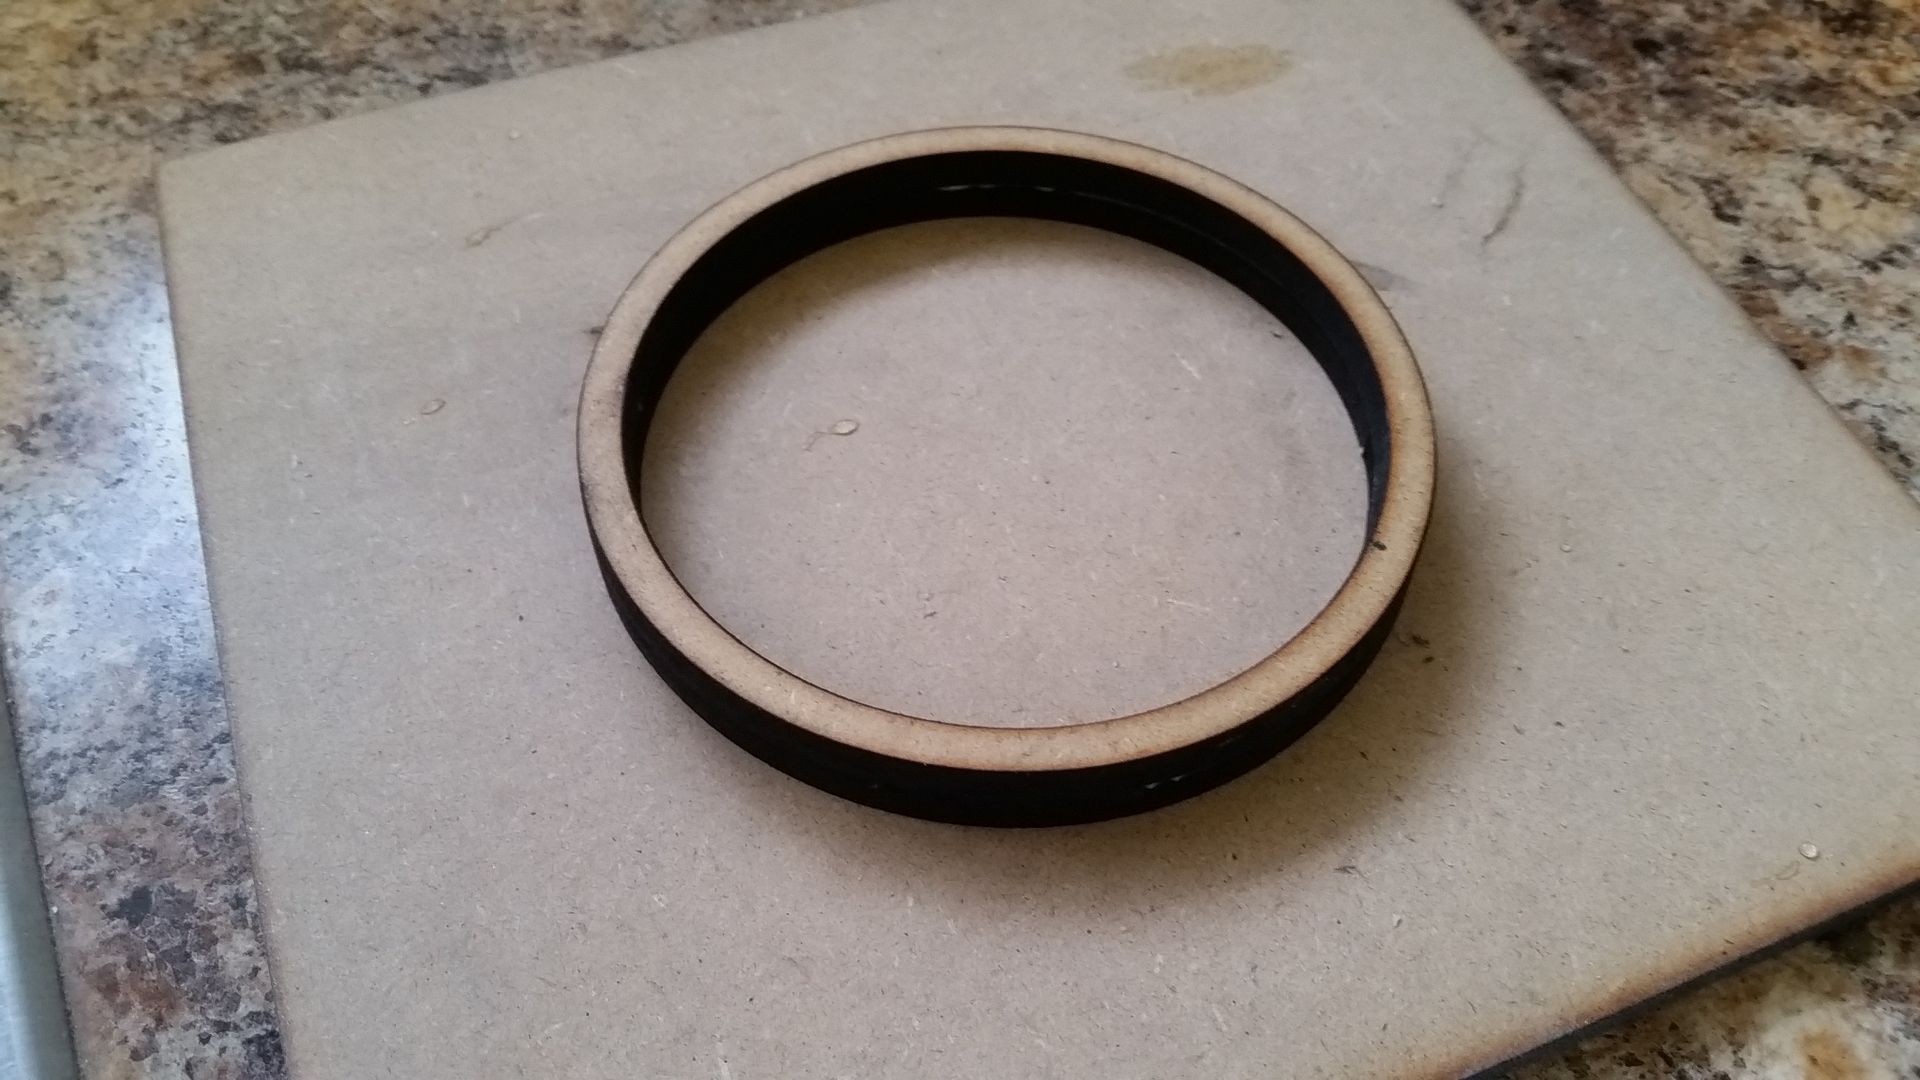
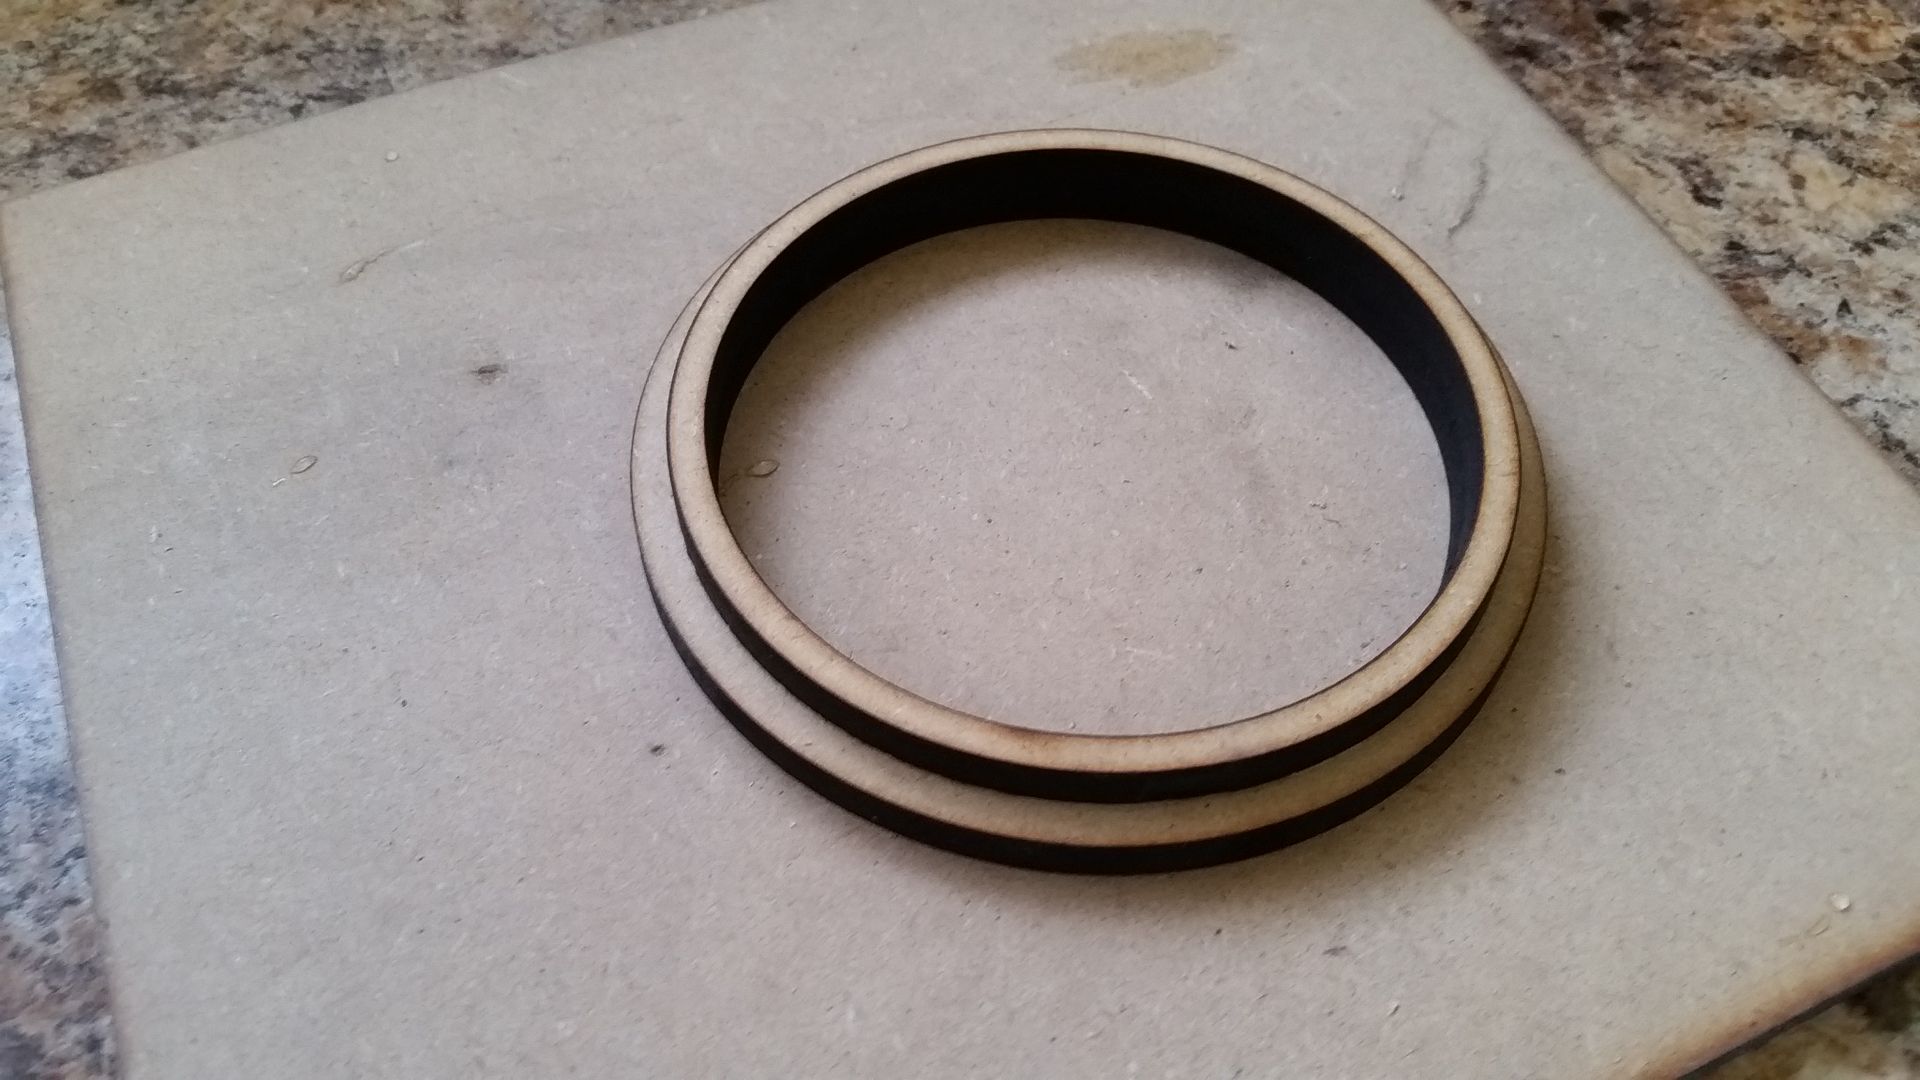
In place
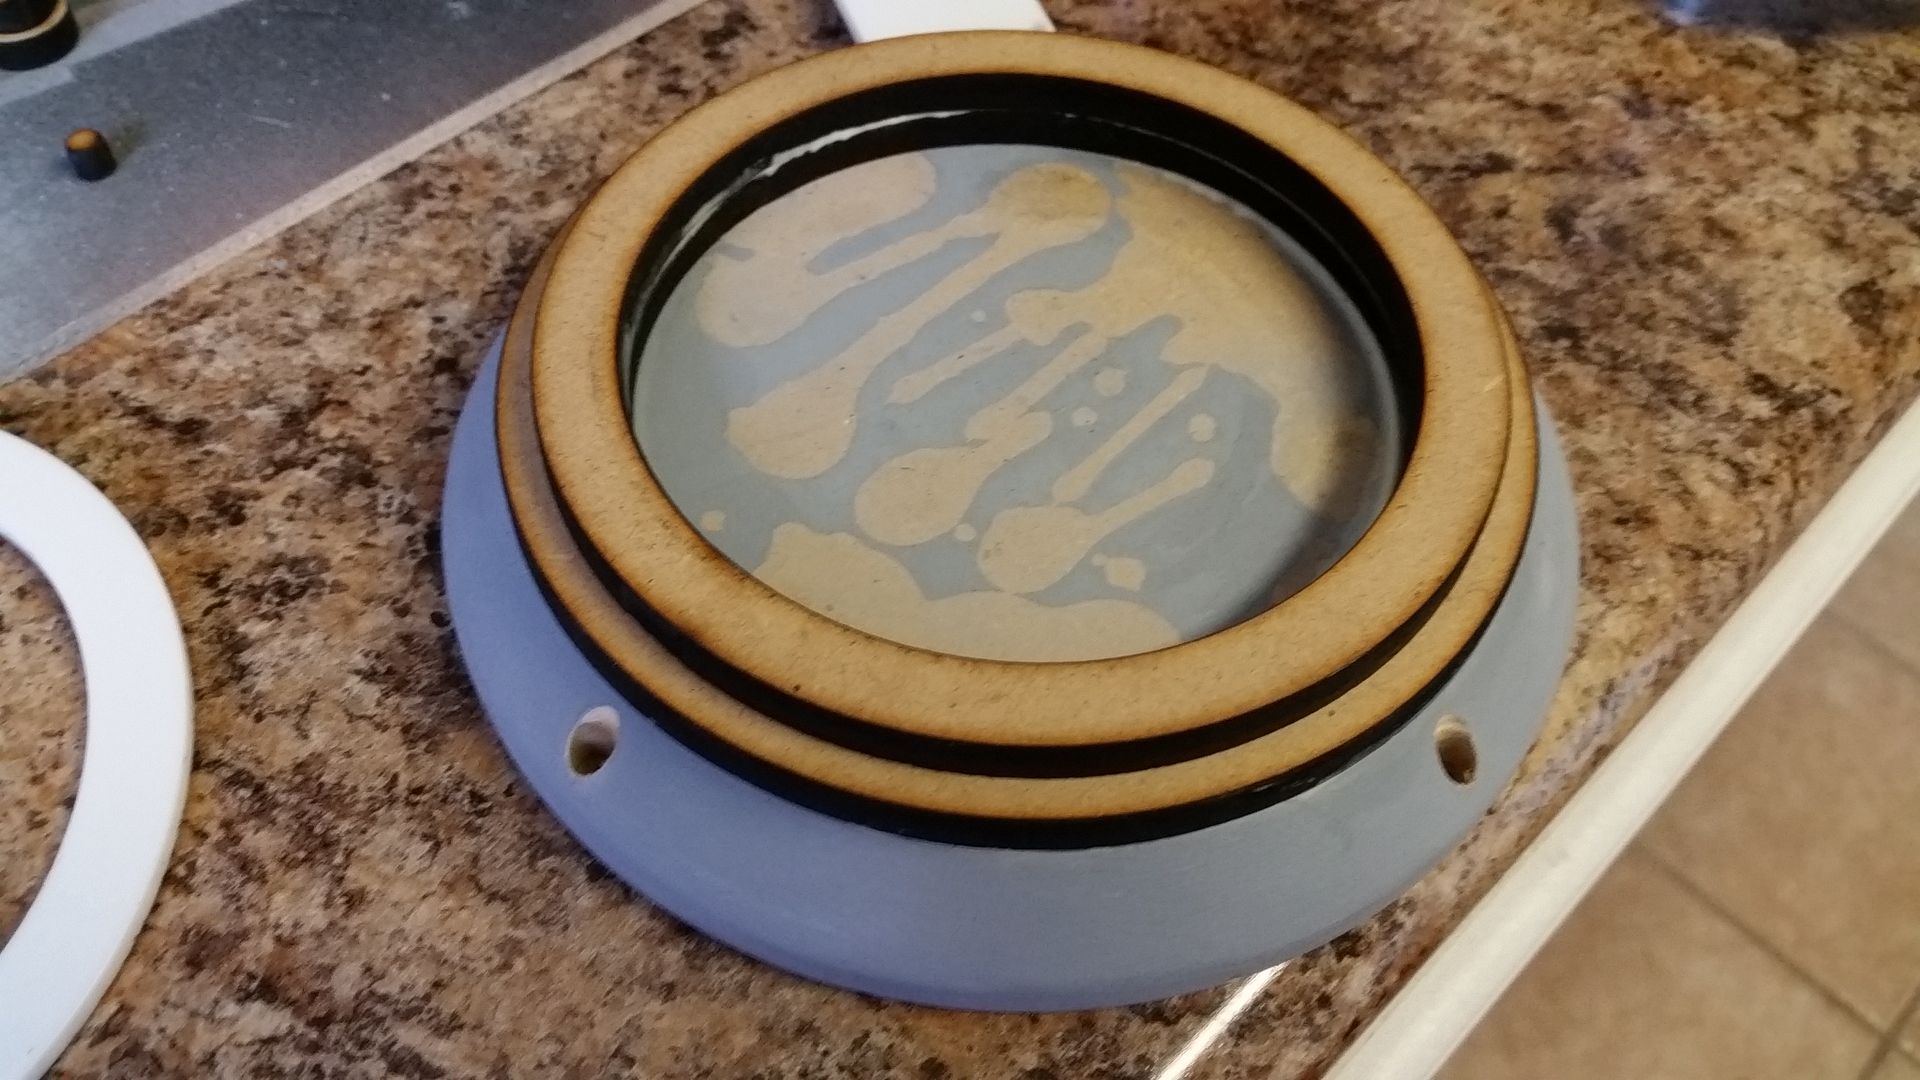
The lid to this odd greeblie appears to be kept in place with these guys - a HUGE thanks to Izzy for 3D printing these
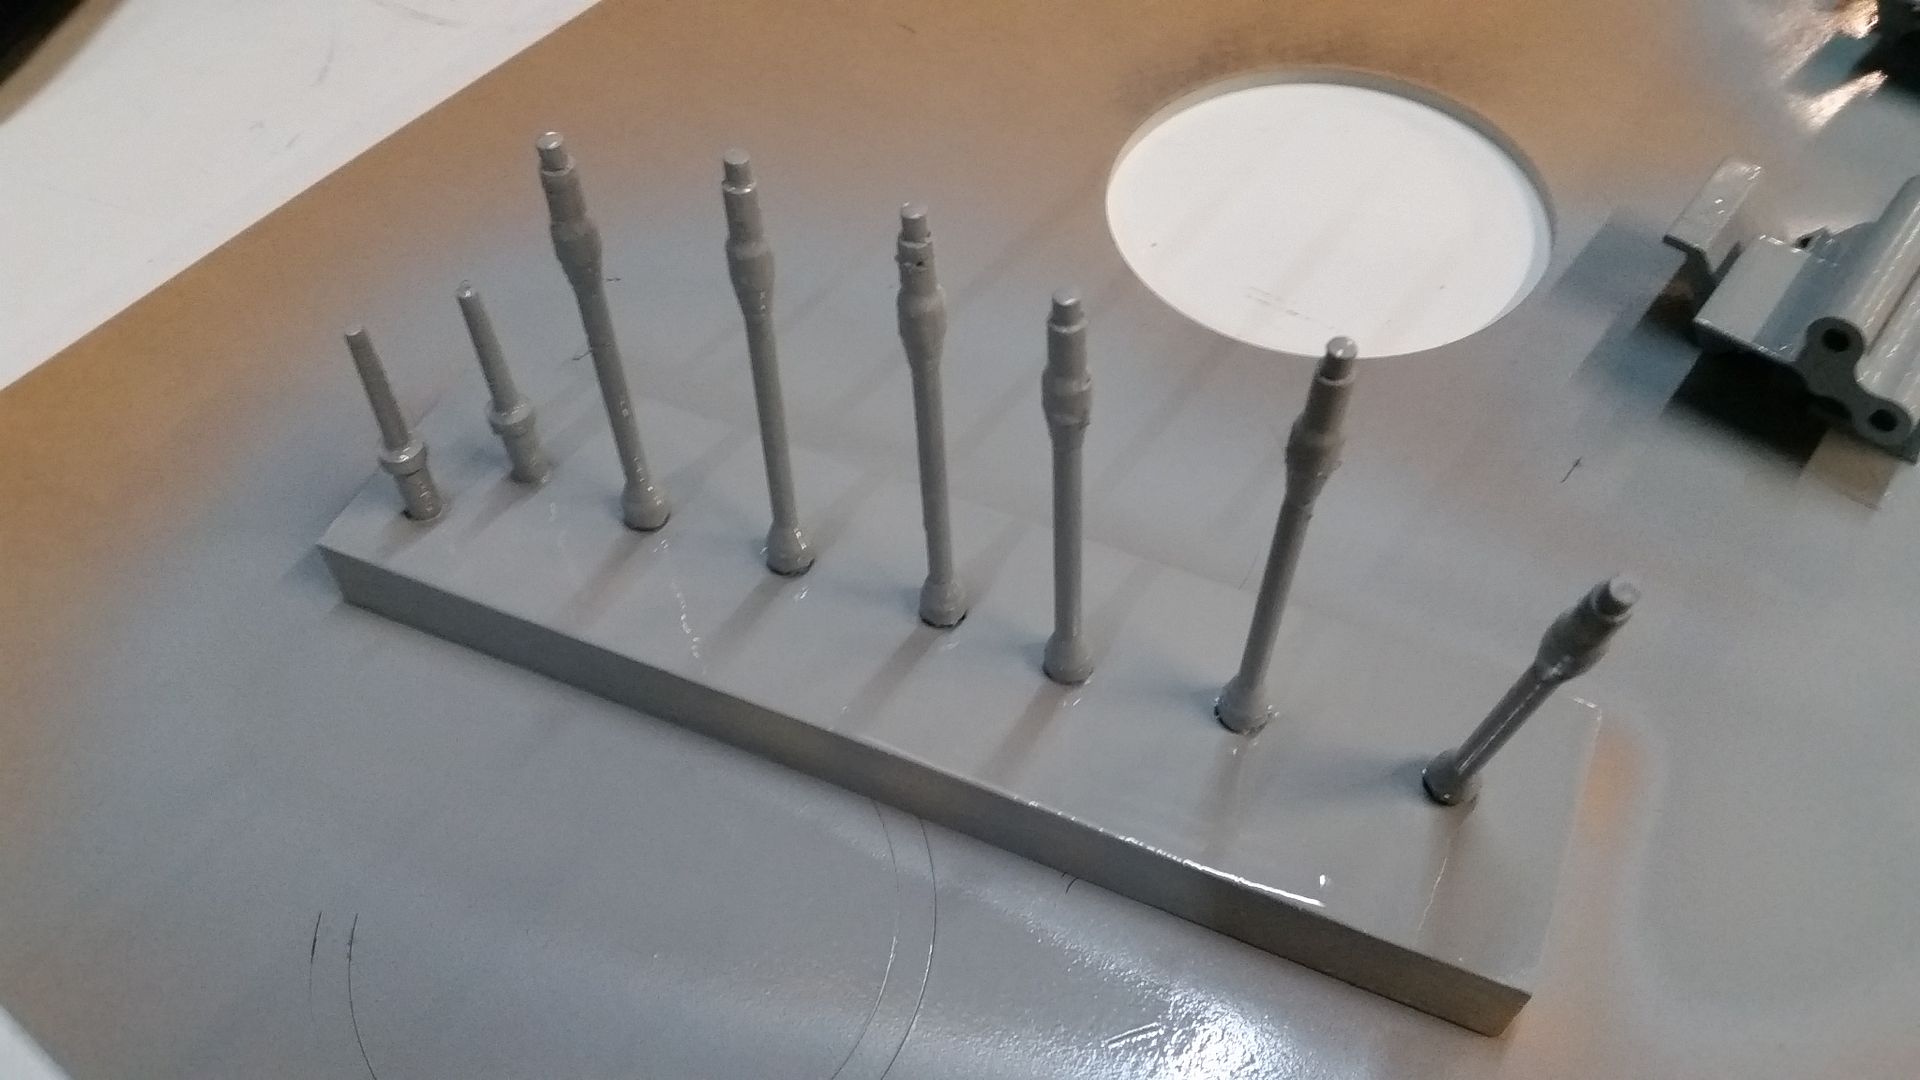
While the laser cutter was doing its thing I sanded them down
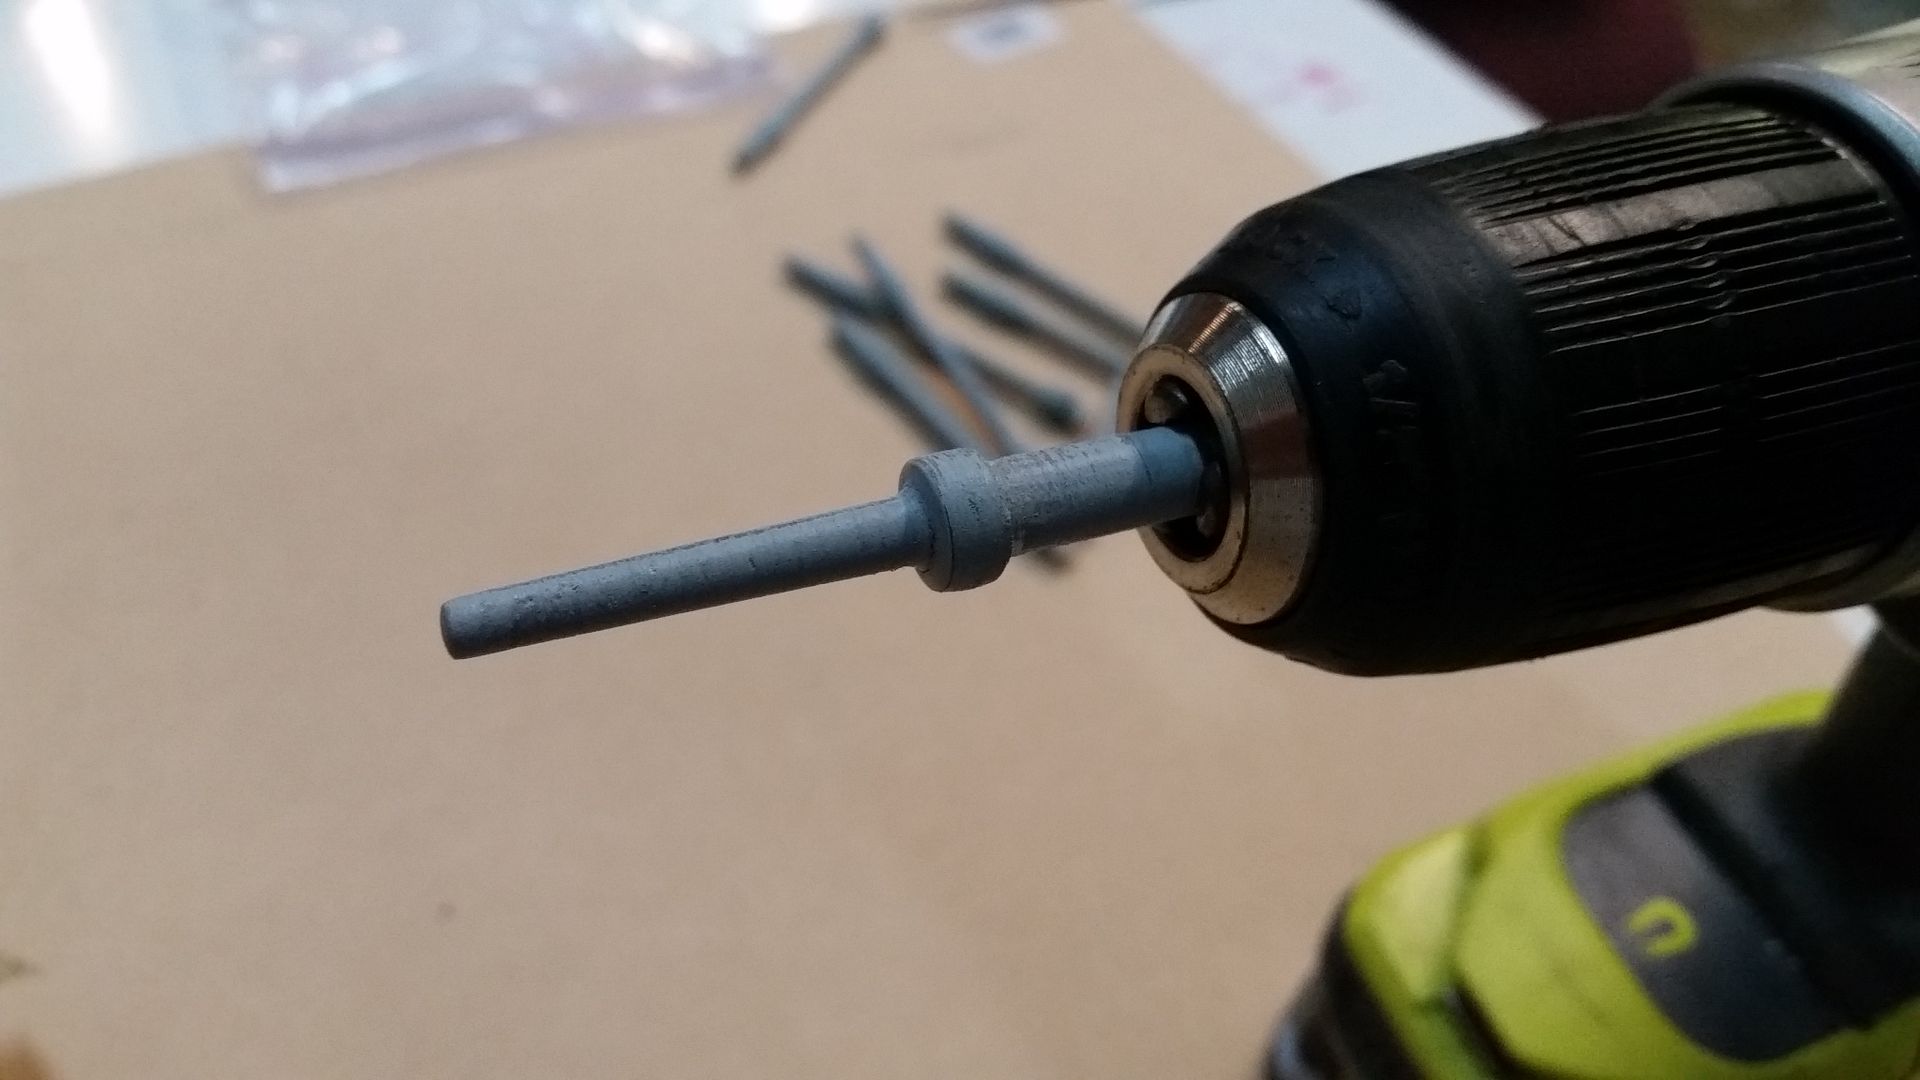
Simply place to the drill and slowly sanded the edges. 3D prints are REALLY tough to smooth and require a strong hand and LOTS of filler
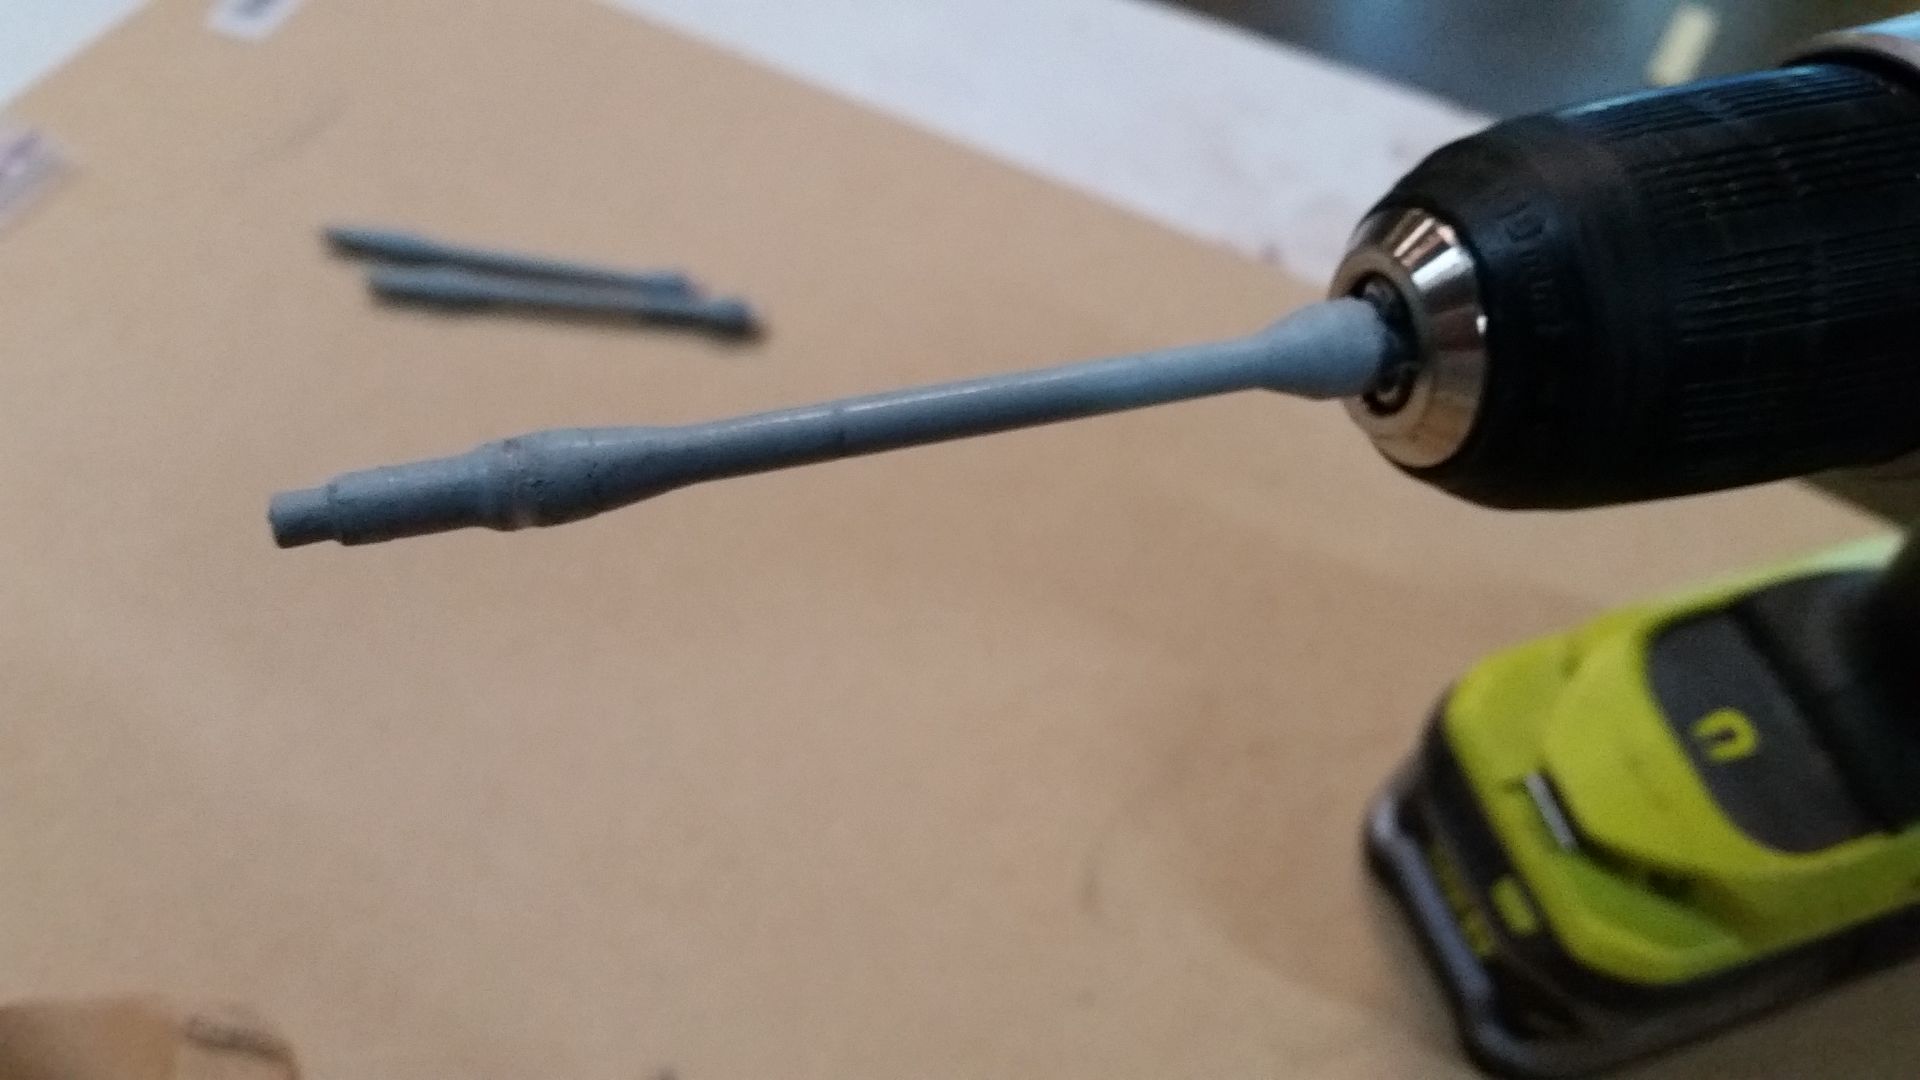
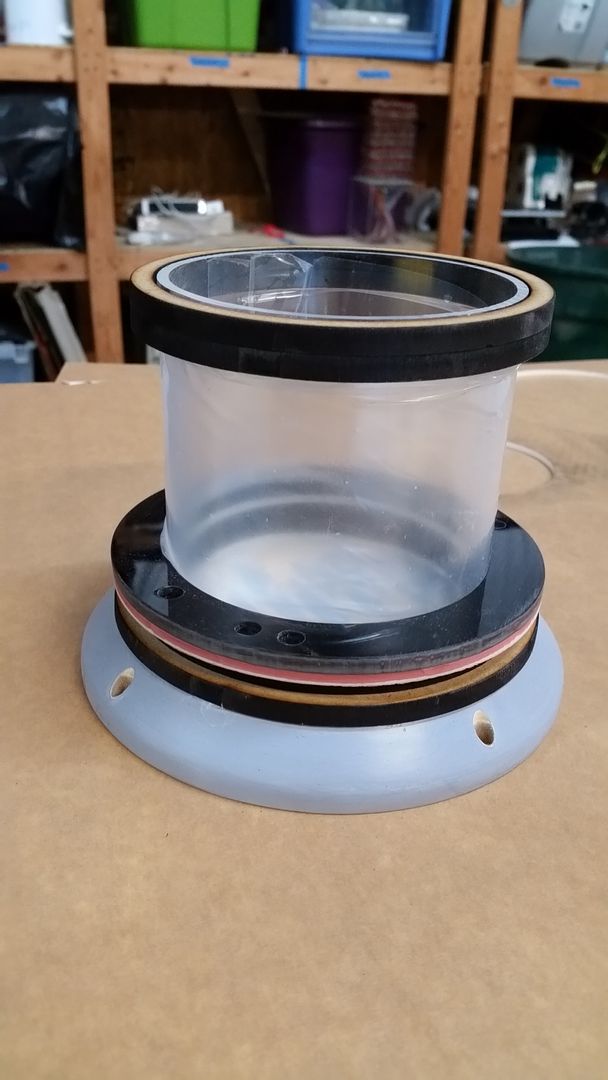
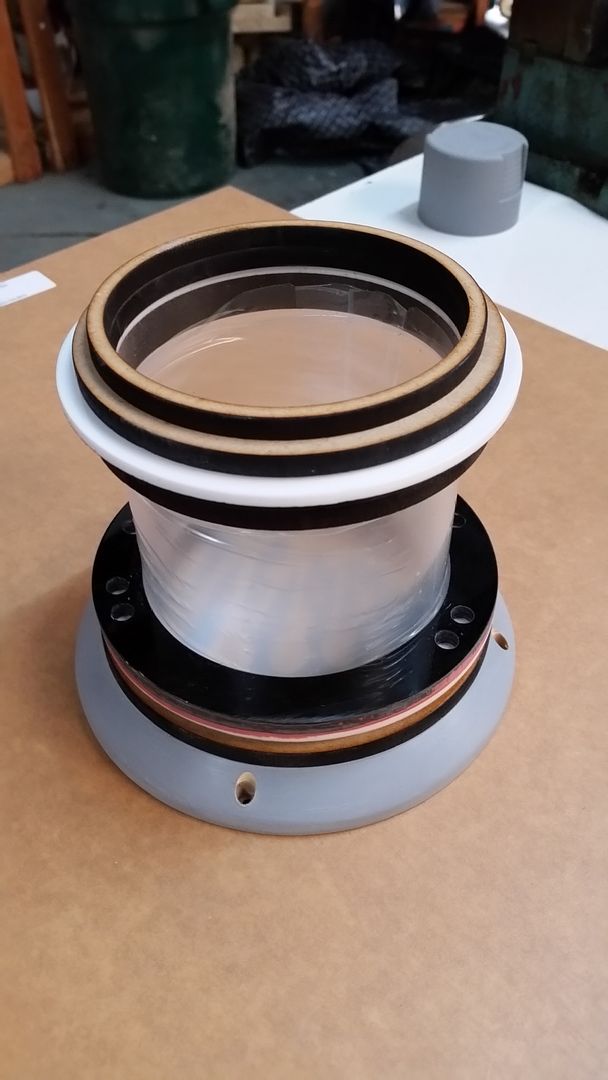
I got to the last one... SNAP
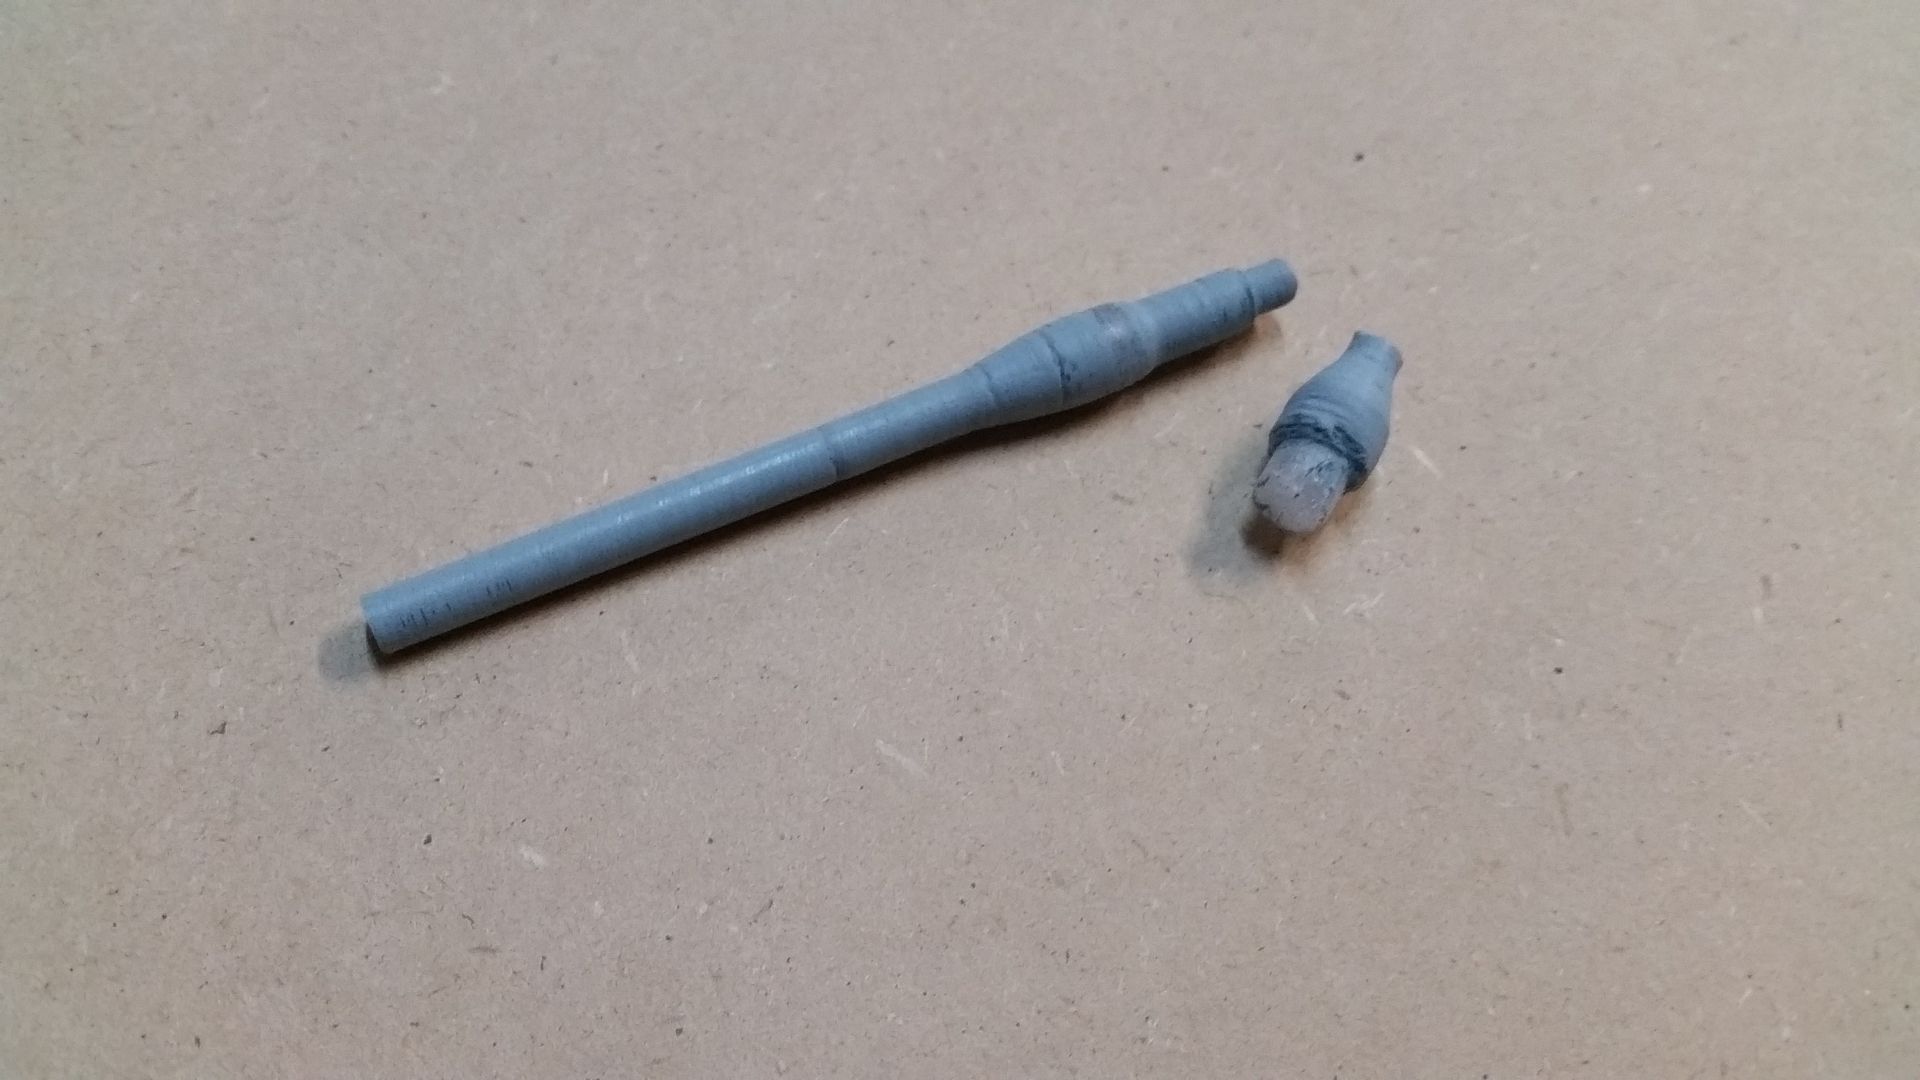
After several coats of primer/filler and sanding I added some color
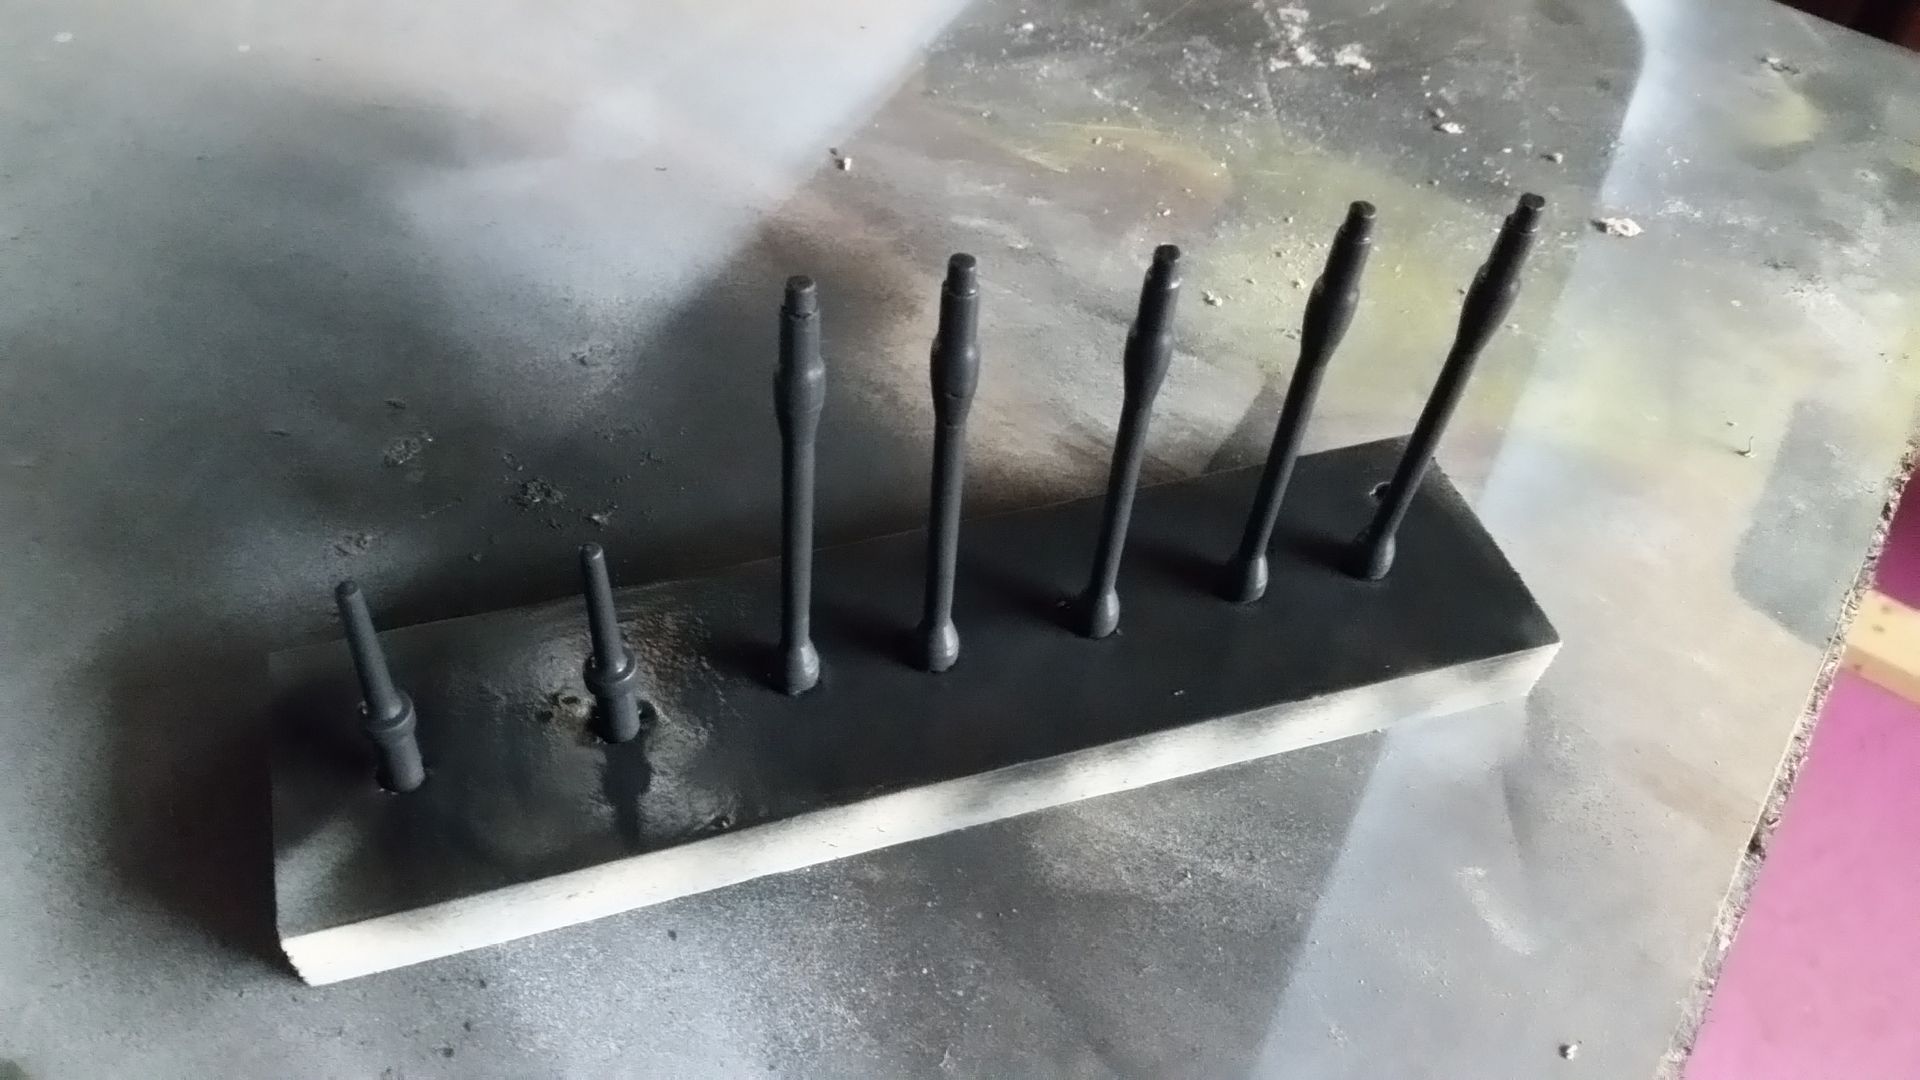
And this is where we are - more filler required
Another Izzy printed greeblie are the two odd looking greeblies on the back armrest
Lots of primer filler in between sanding
A lot of attention was required for these guys

After sanding... more primer filler
Slowly getting there
Let's add some paint!
There were a few areas that are so delicate I couldn't get the file or sand paper to apply enough pressure to sand smooth - not bad
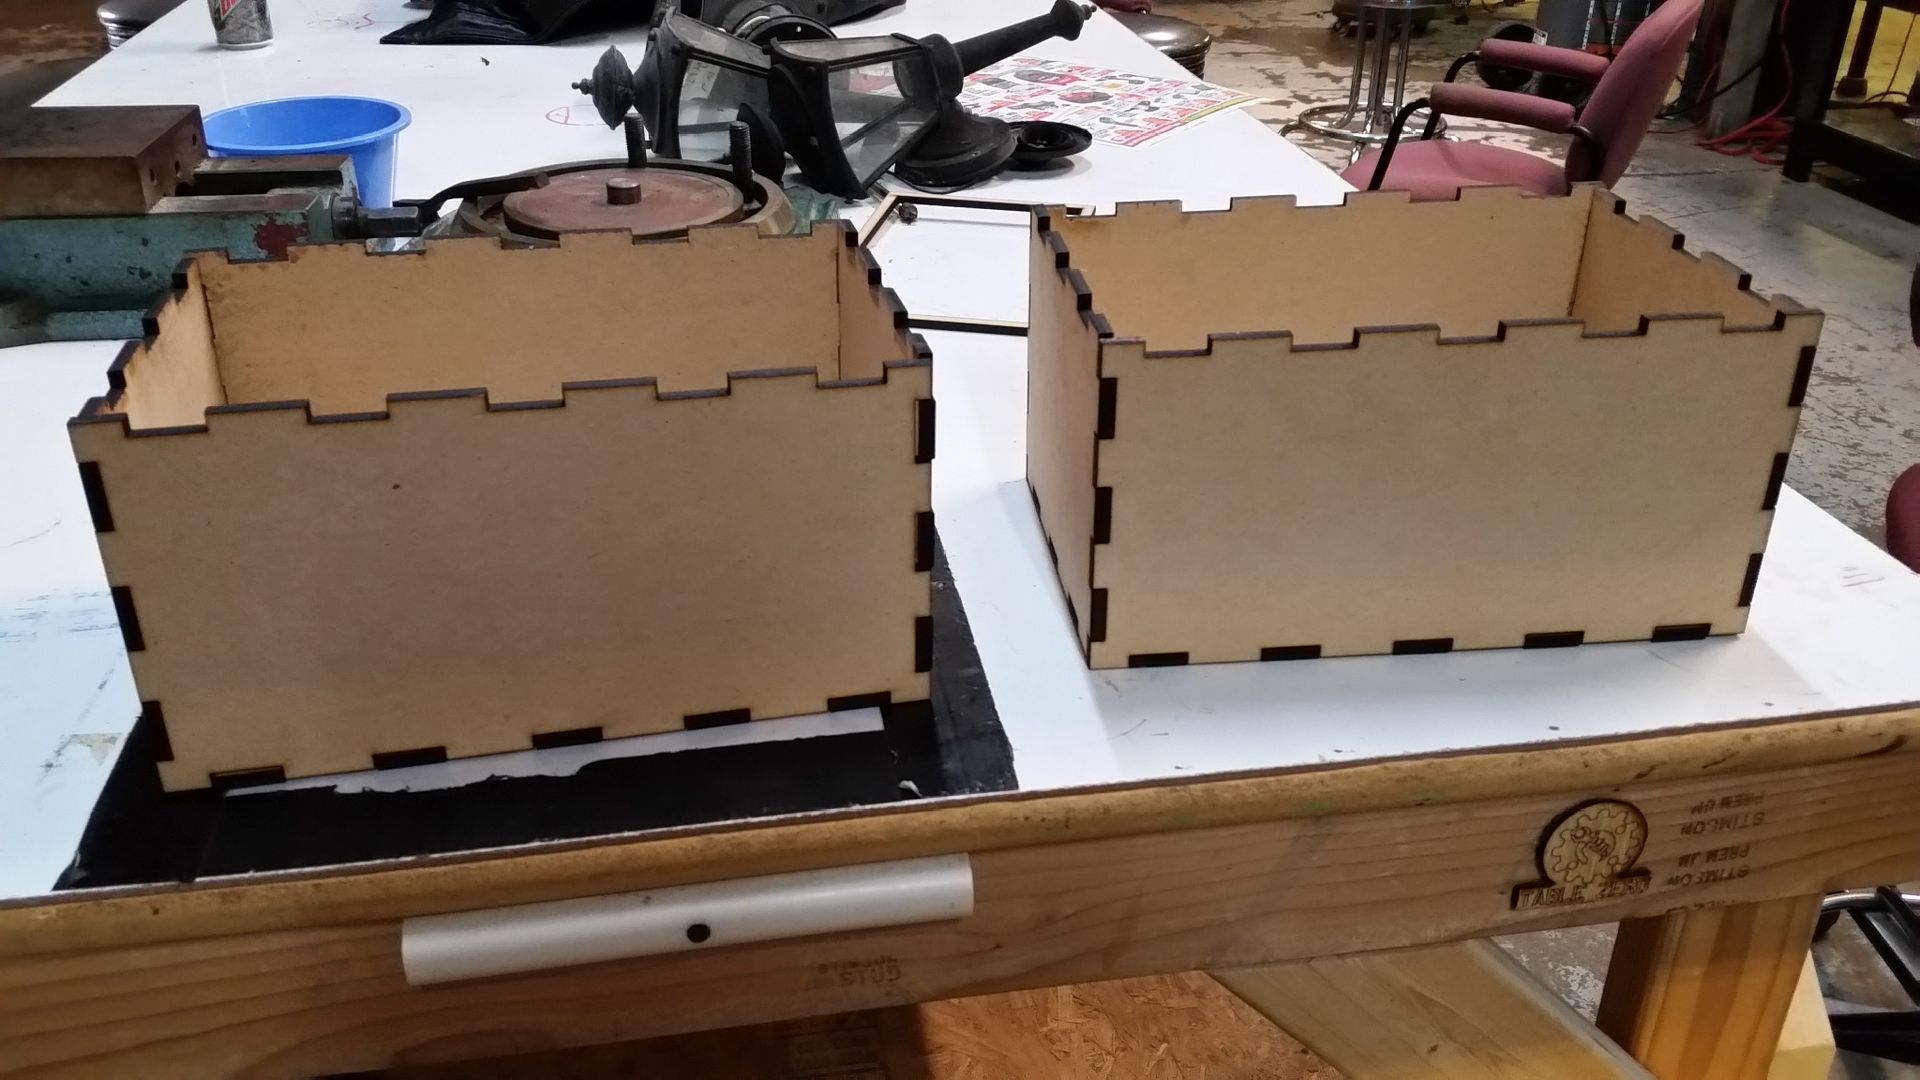
I then designed and laser cut the new canopy boxes

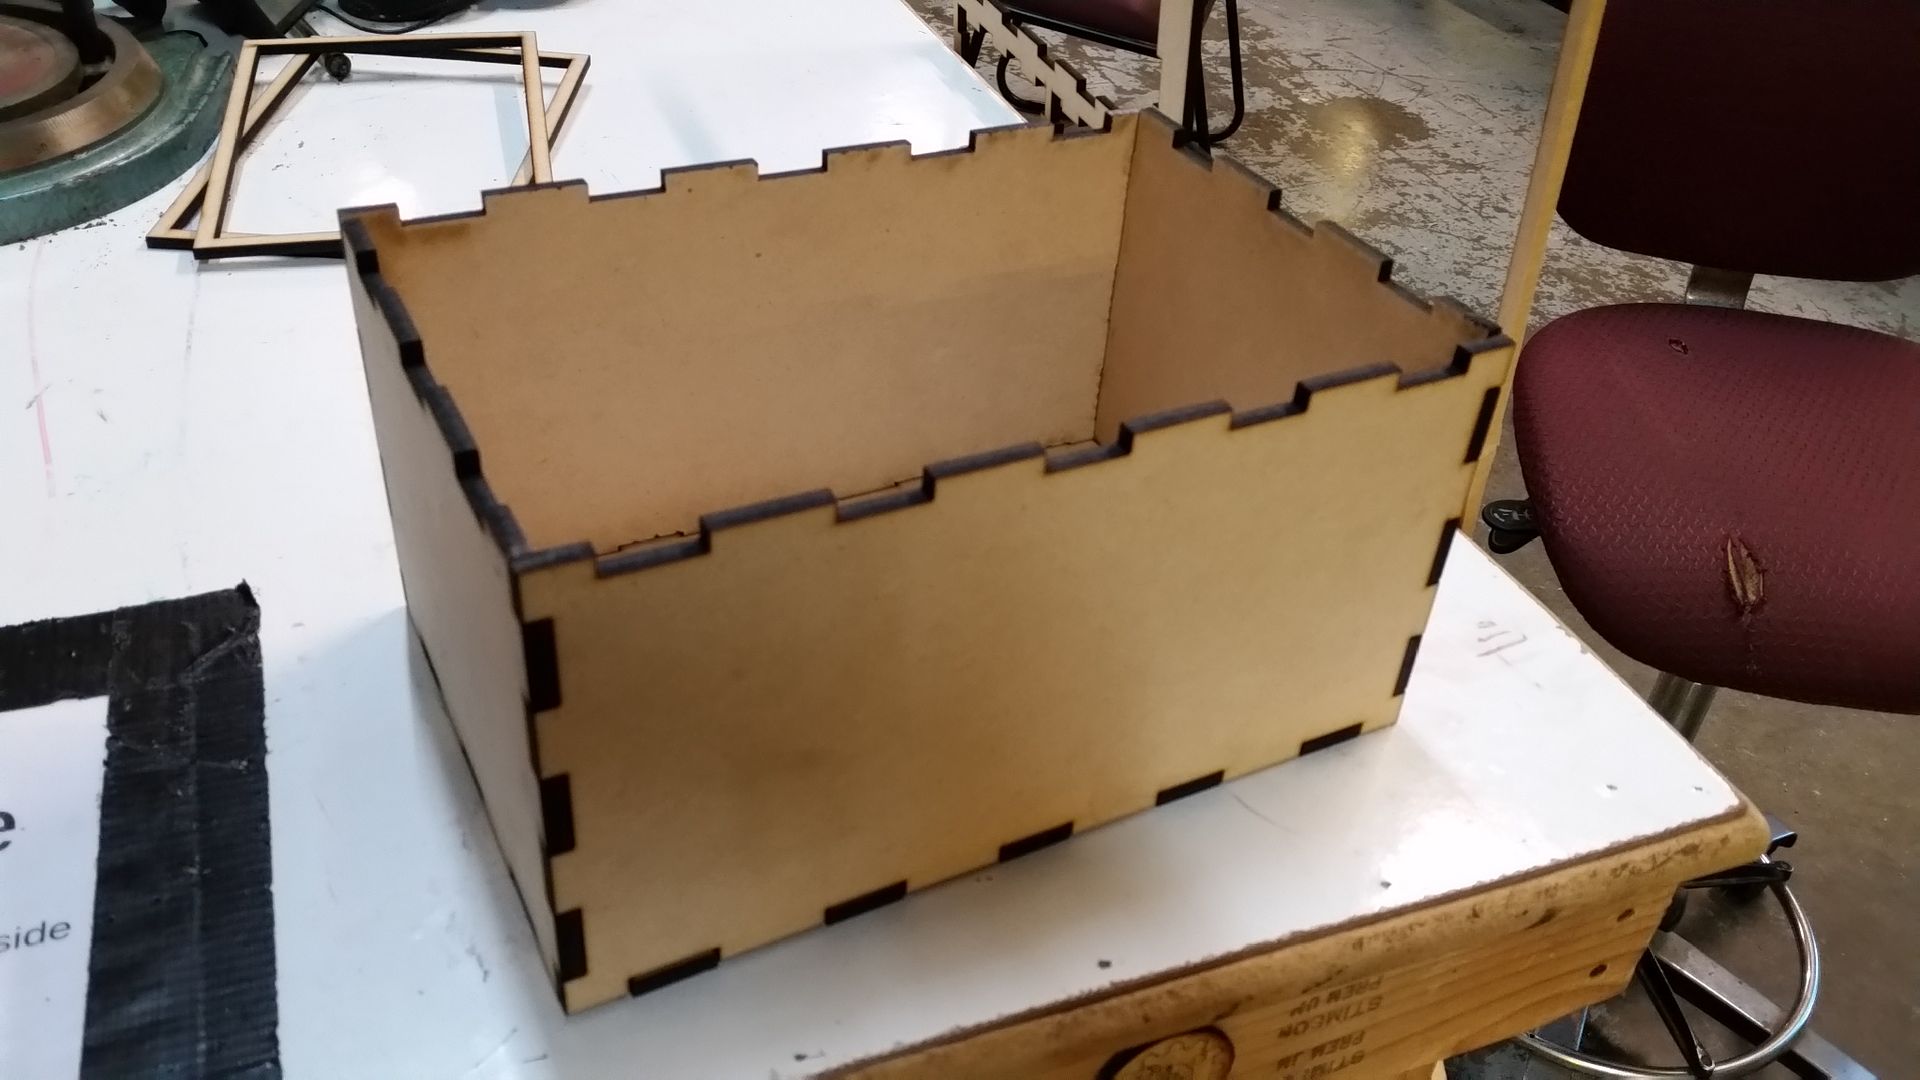
Still lots of work to do on these
The canopy boxes also has one of these cup type greeblies
The armrest also has this odd little greeblie
Adding more filler - the interesting thing... I dont how this fits into place. There is very LIMITED room on the small lip. We'll see...
Another amazing EBAY find brought me a ton of great knobs and misc metal greeblies. So, I added these to the front nose panel
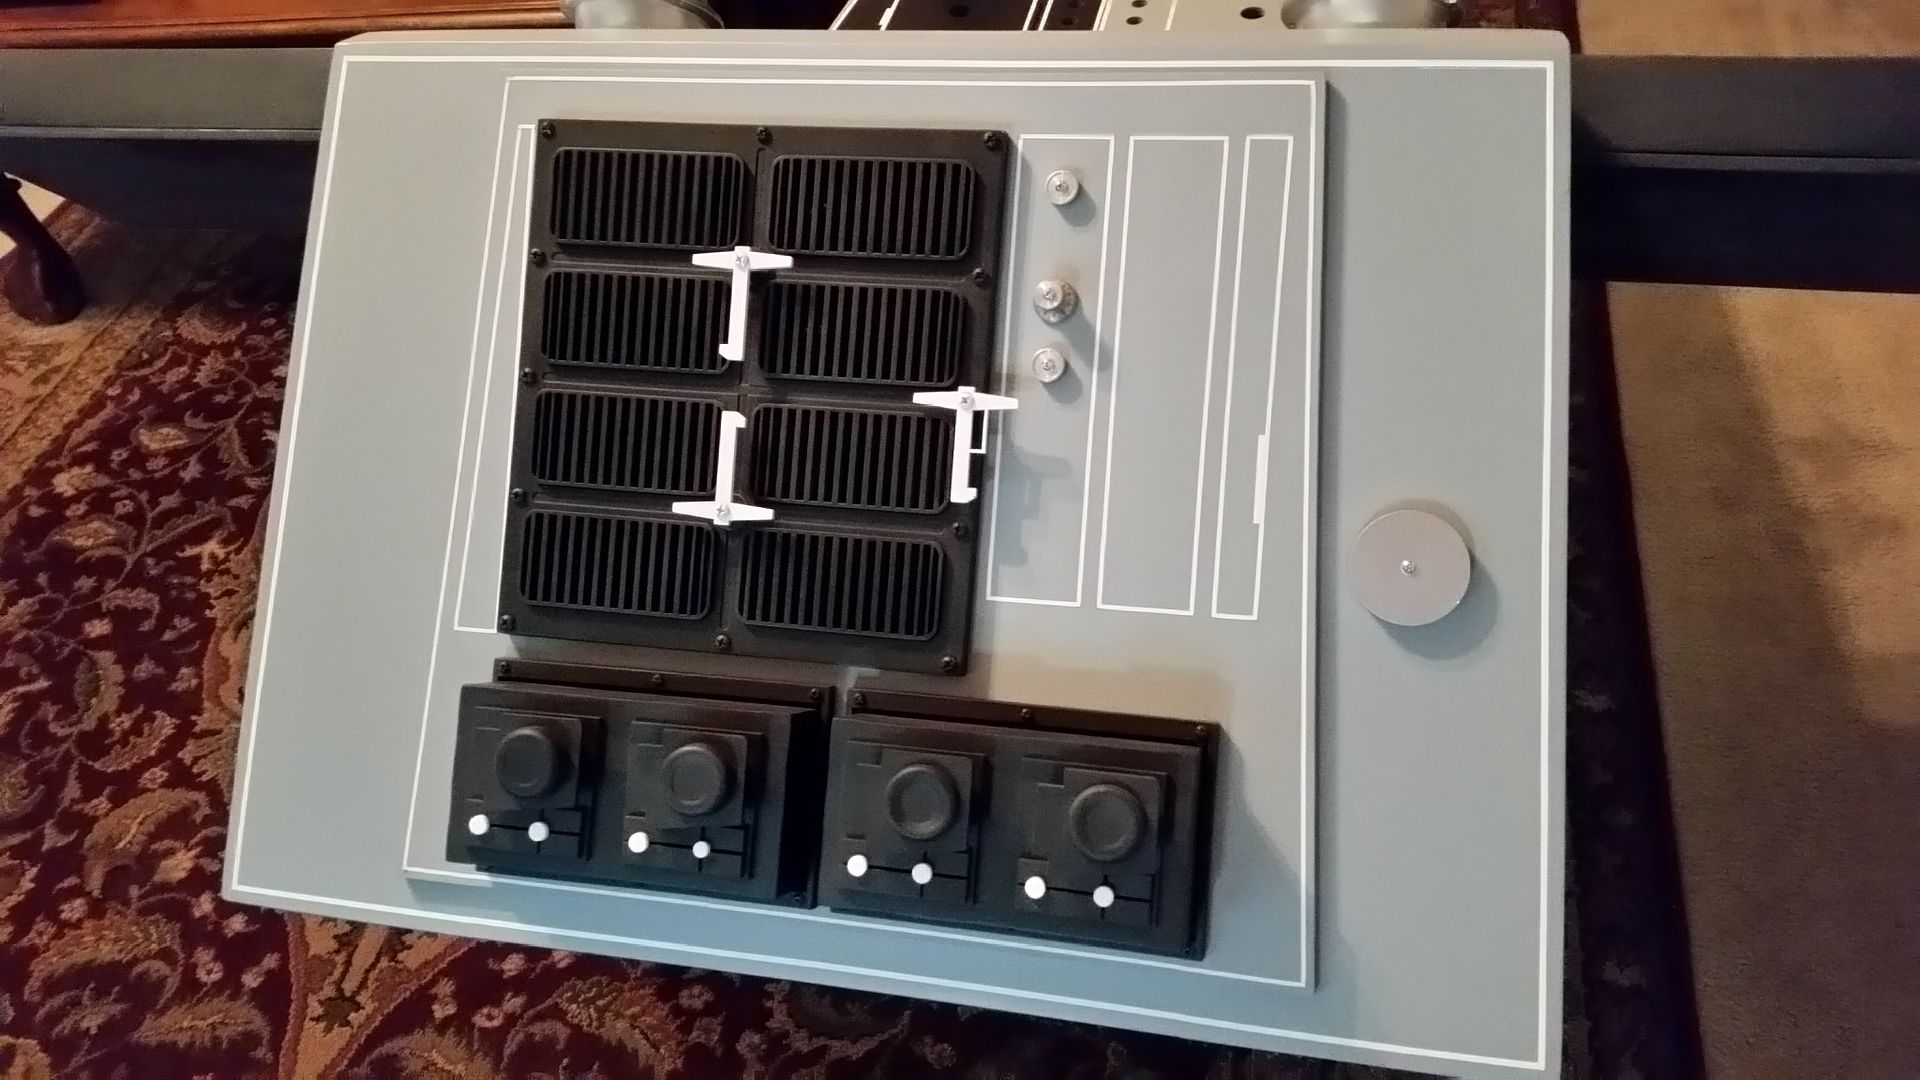
Finally, I filled in a few LED holes on the instrument panels
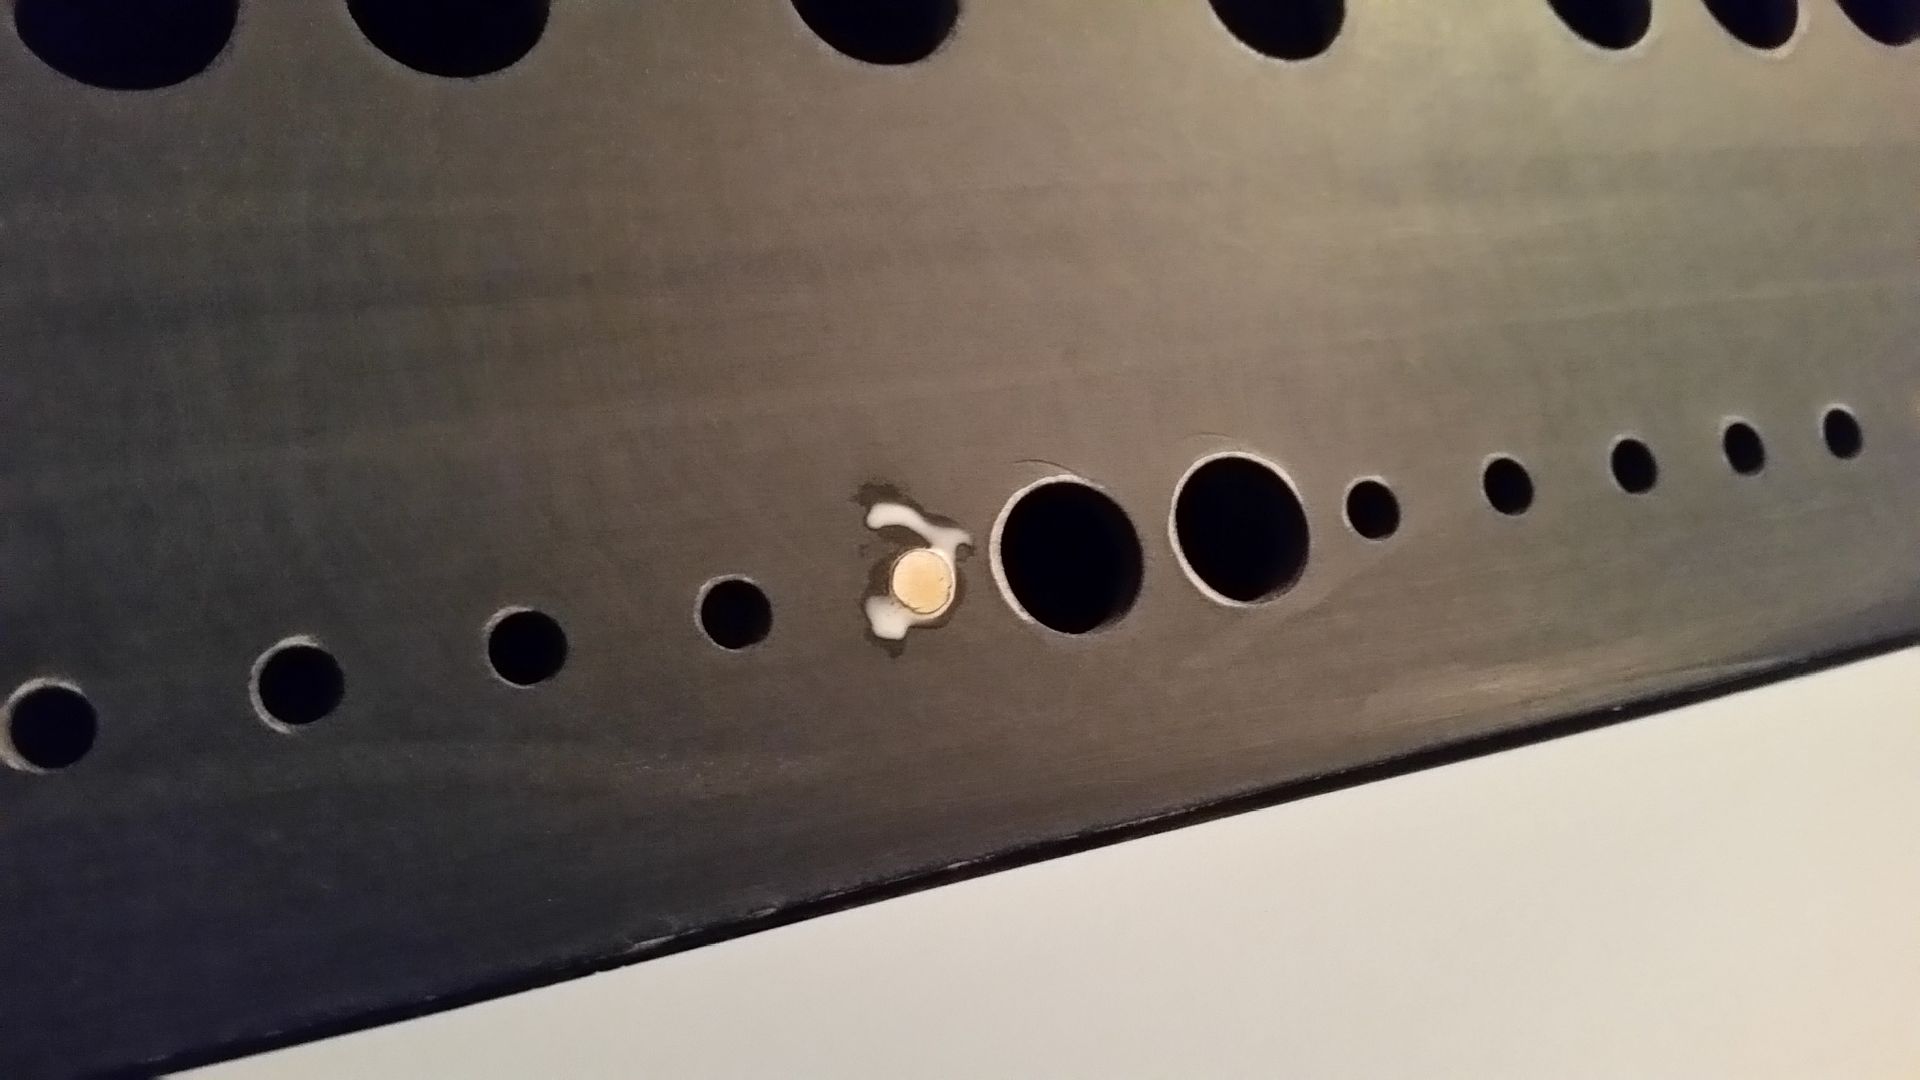
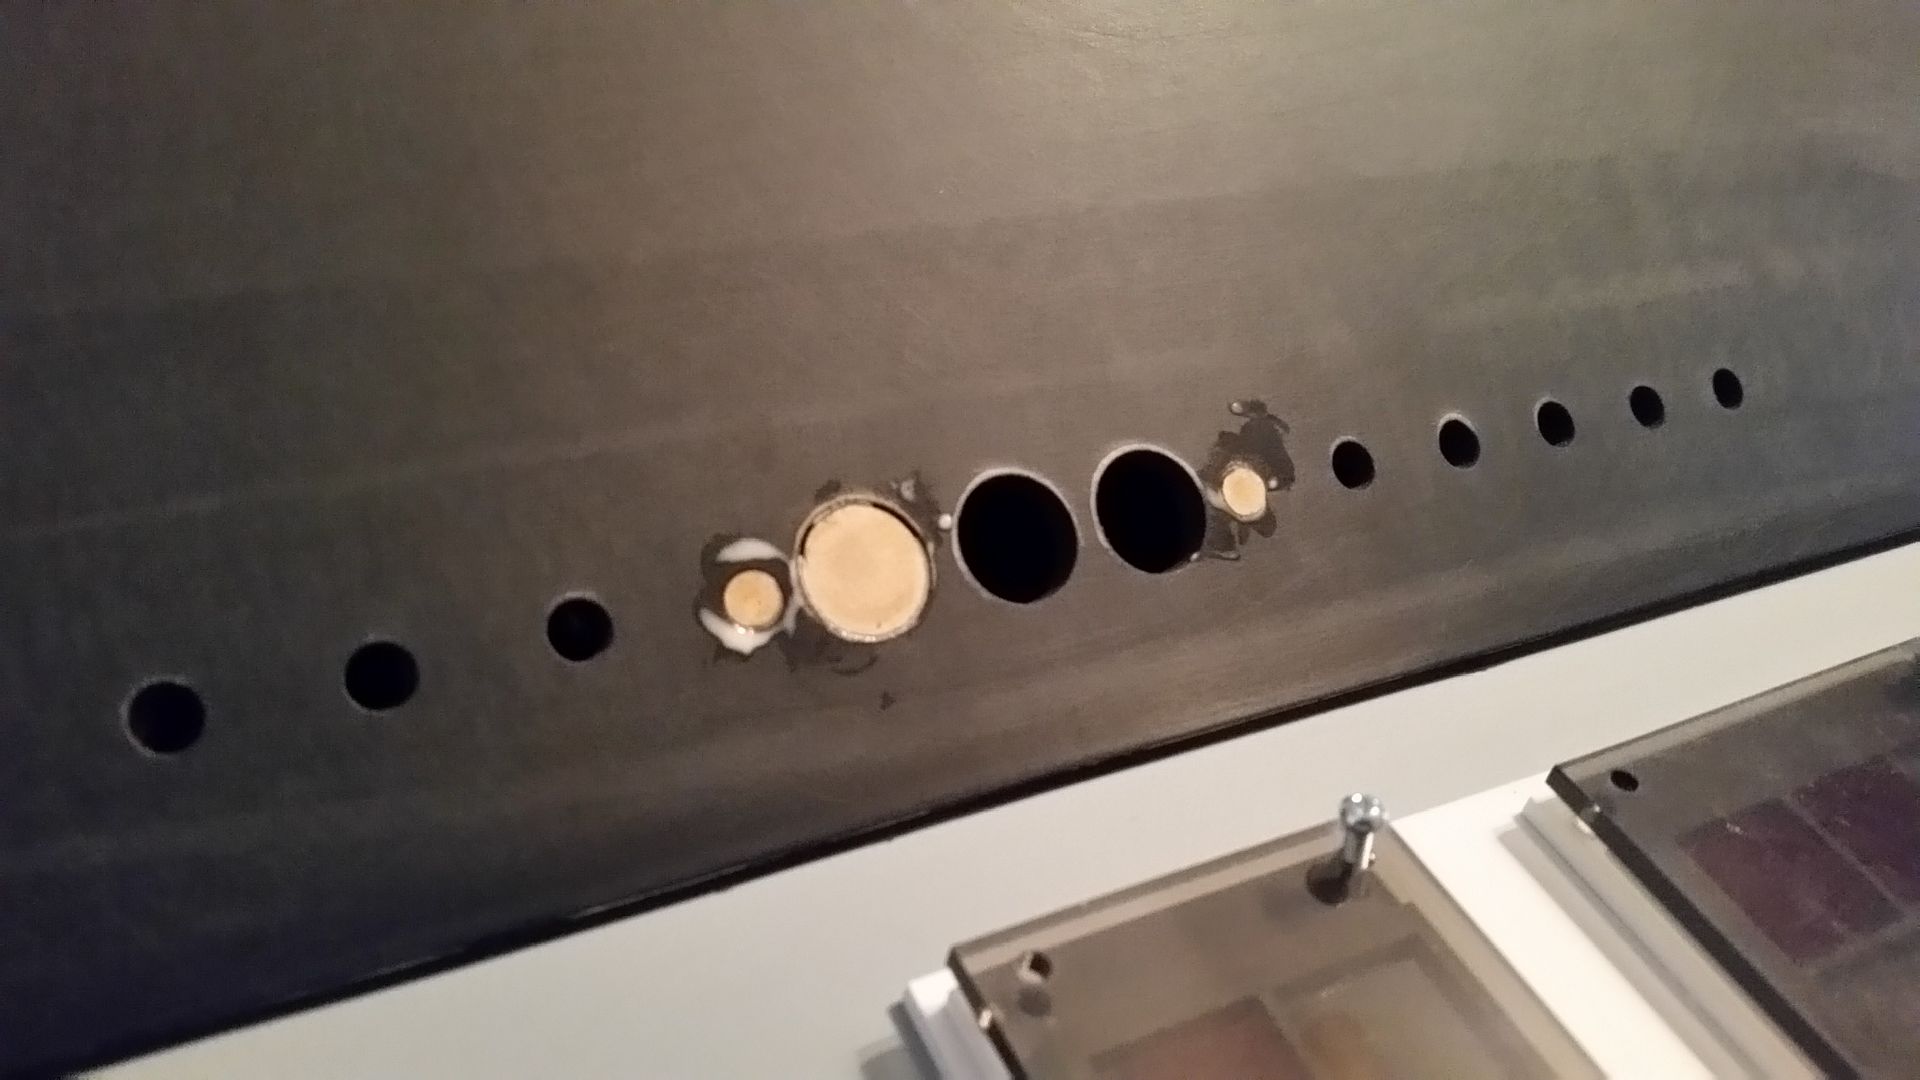
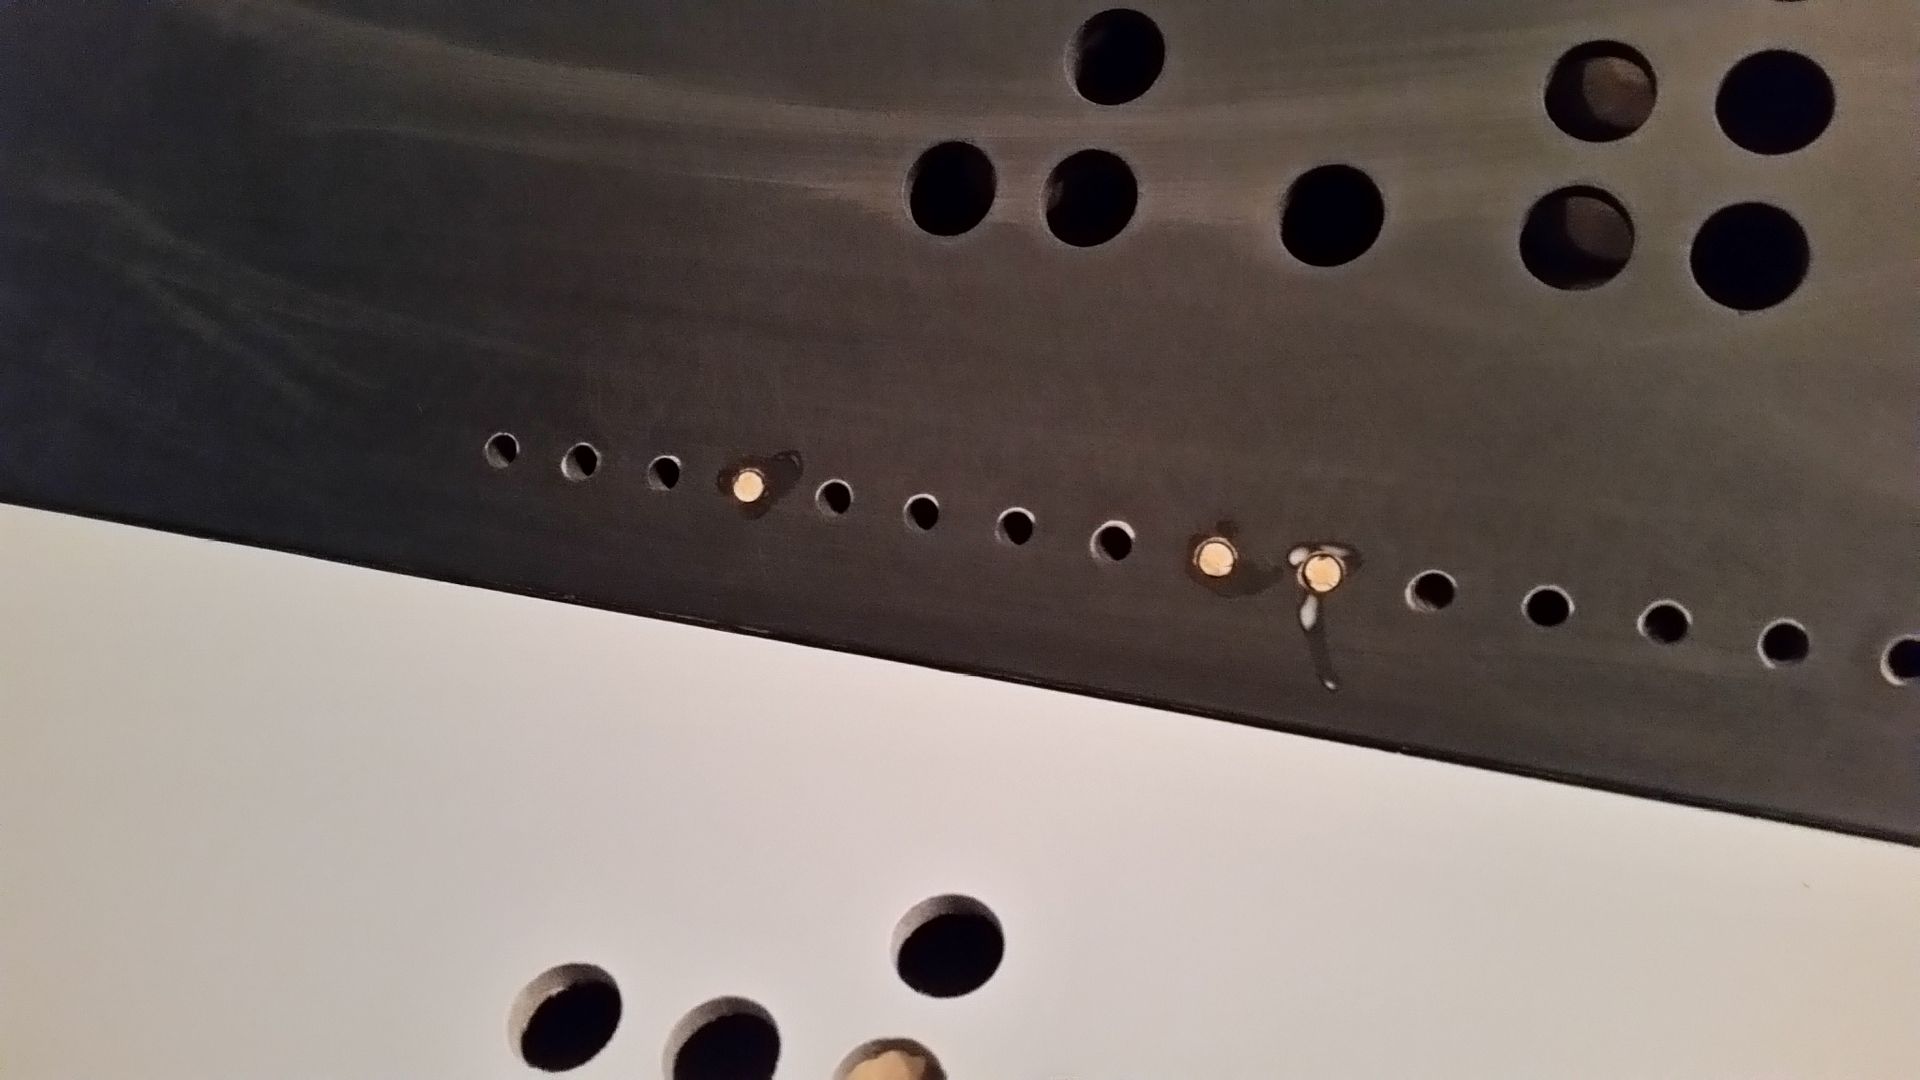
After the glue dries I hand sanded down
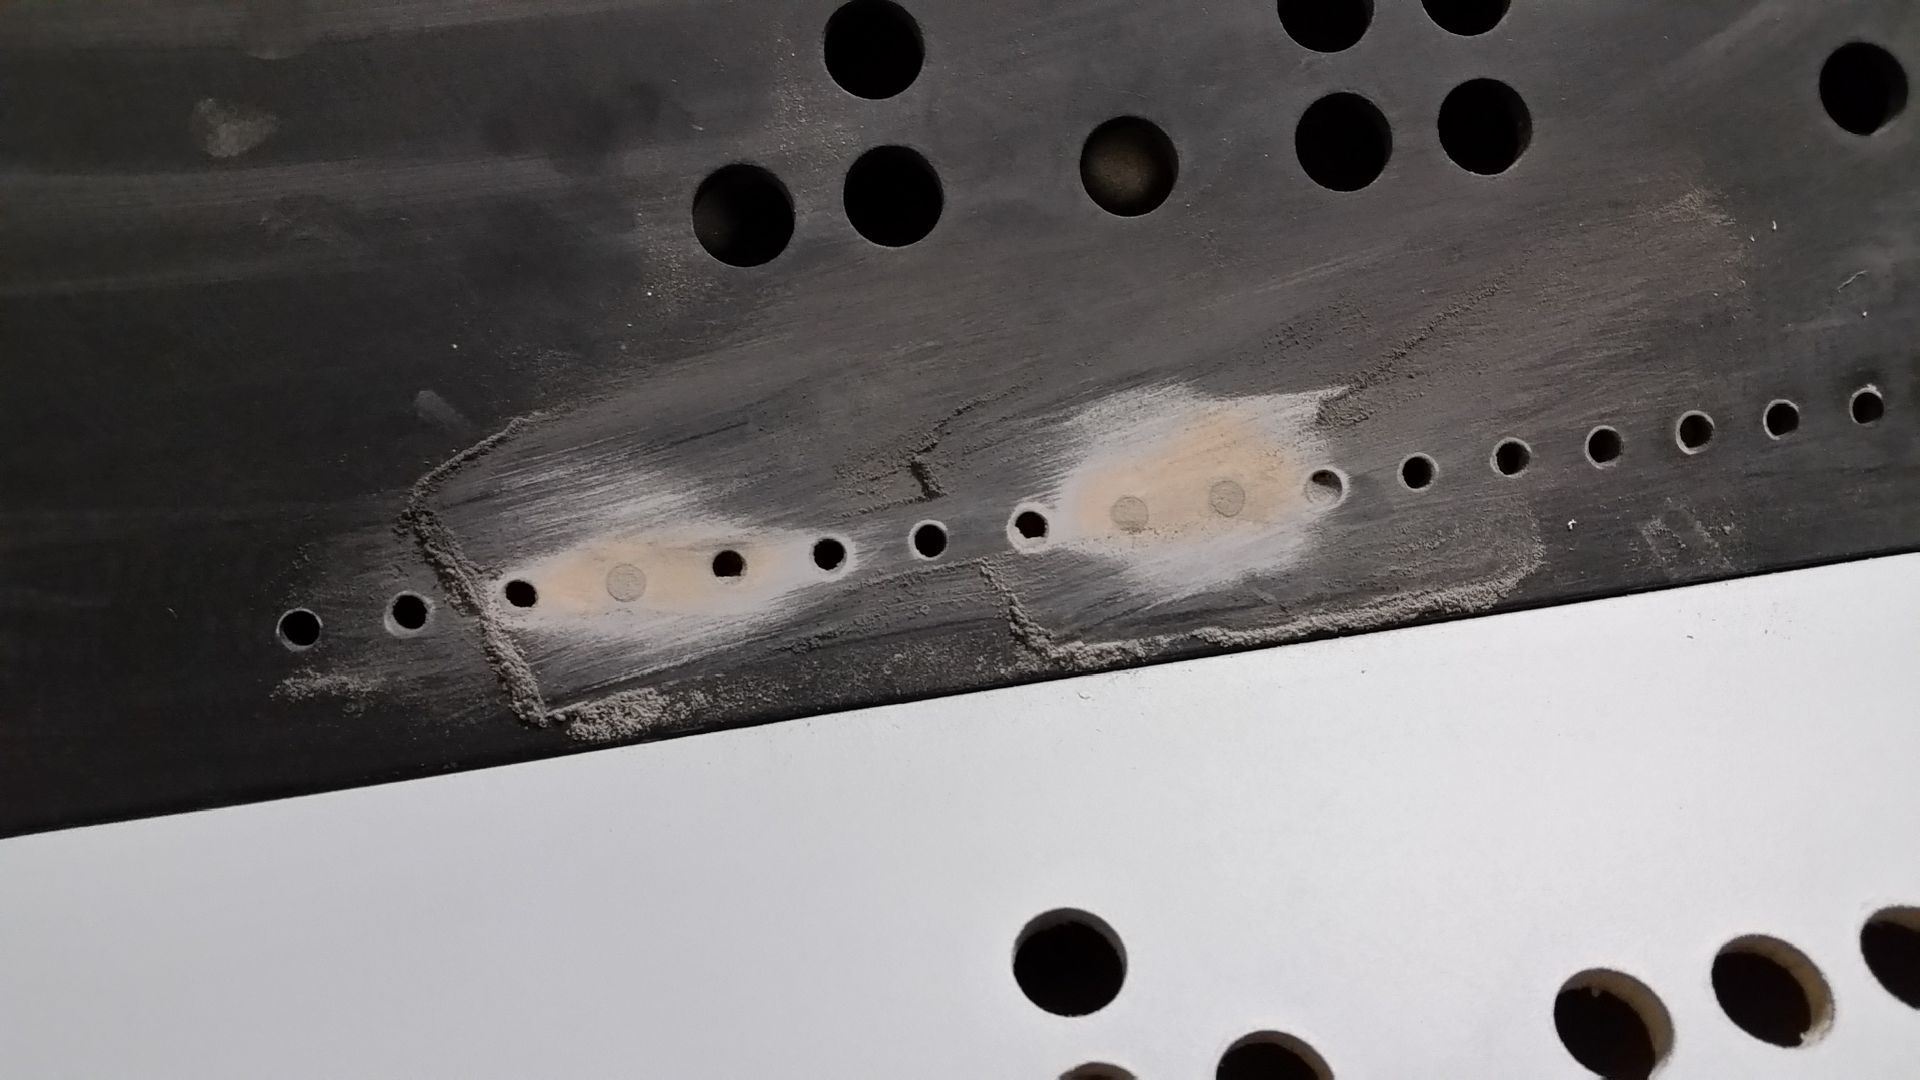
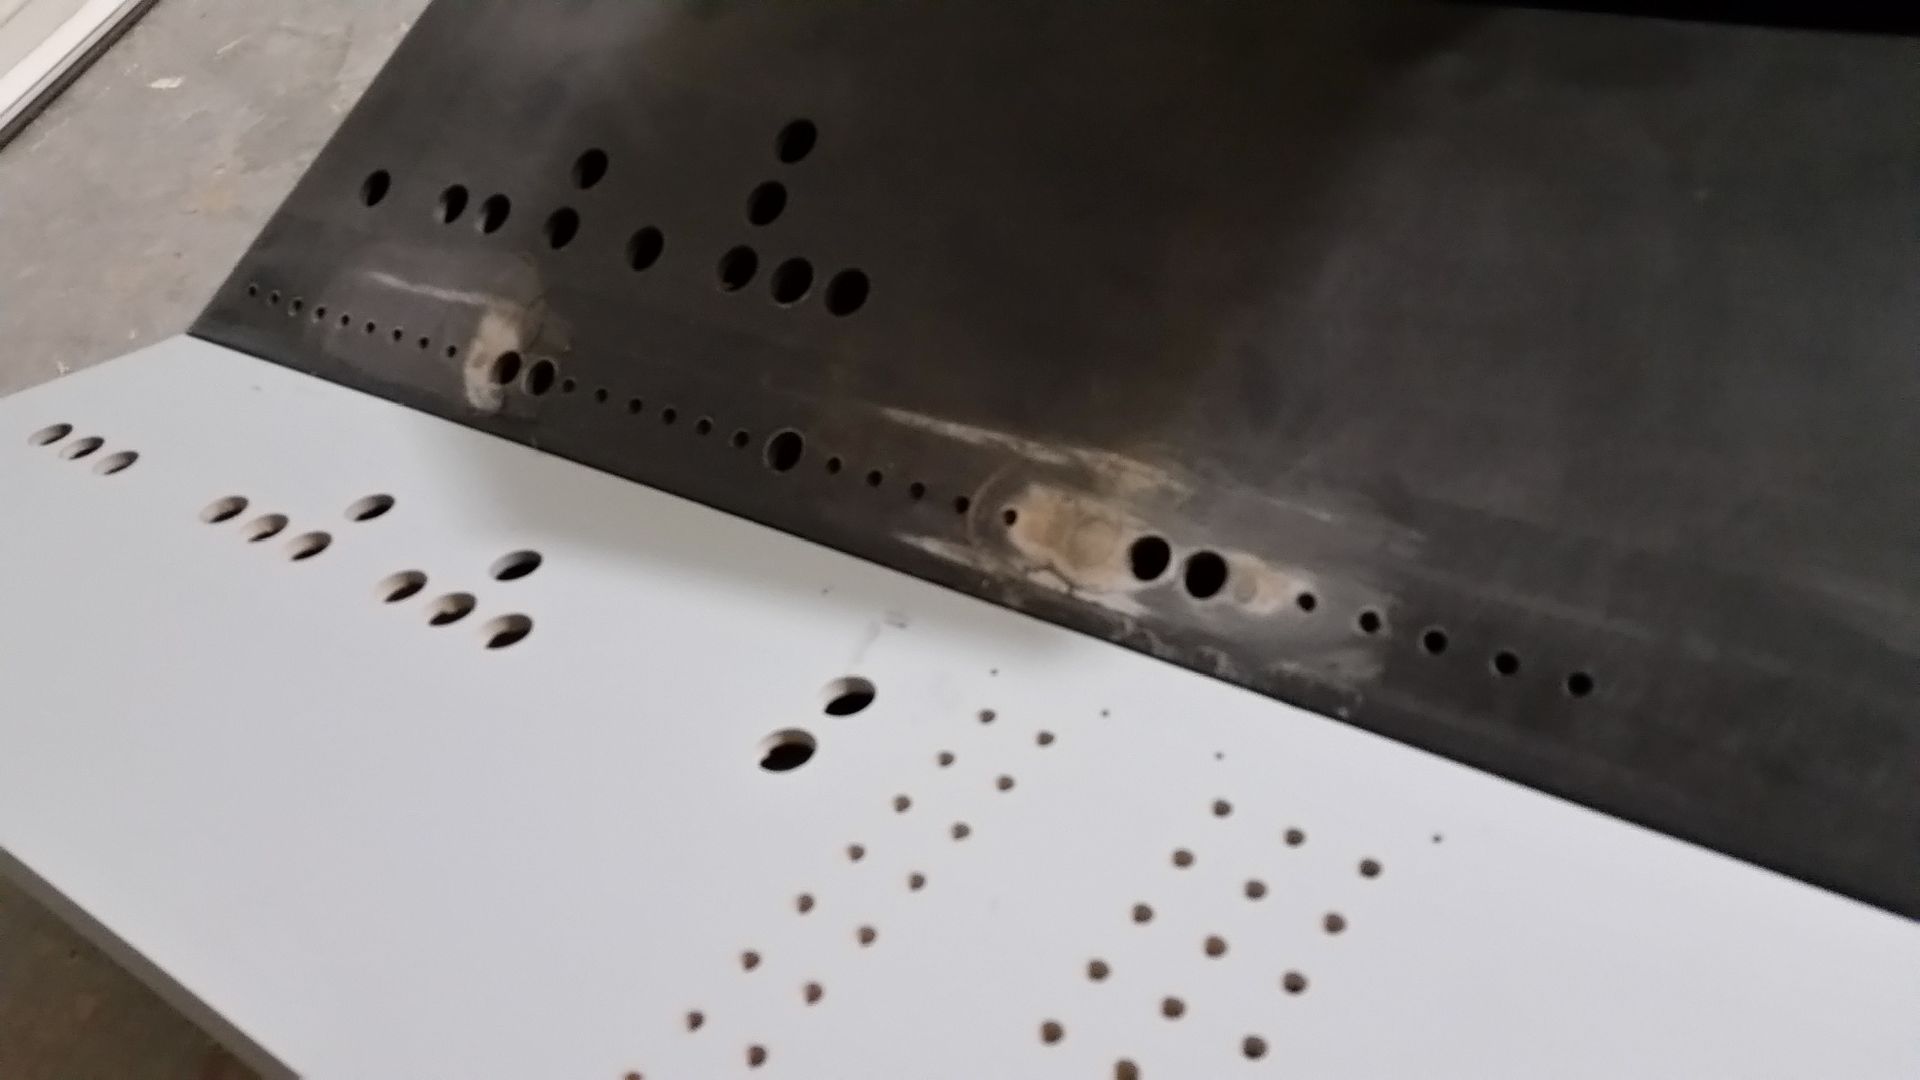
Added filler
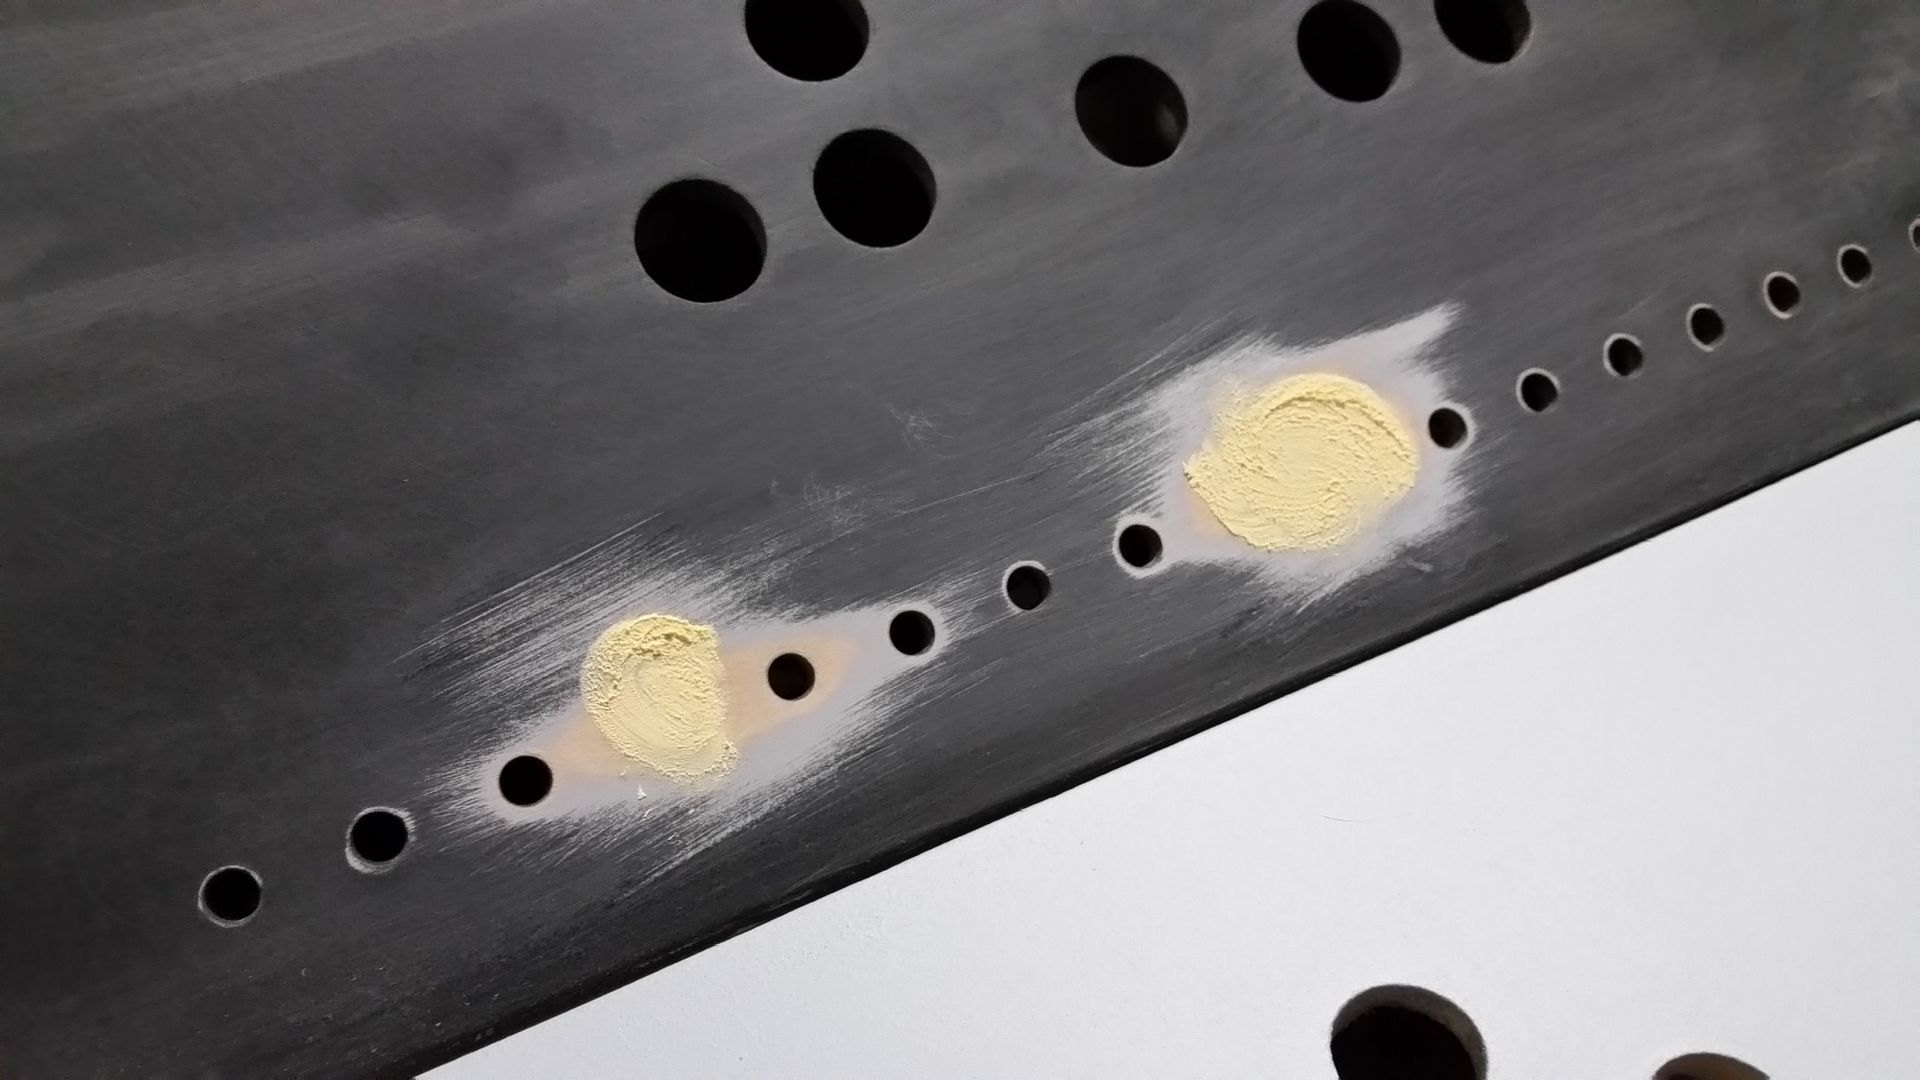
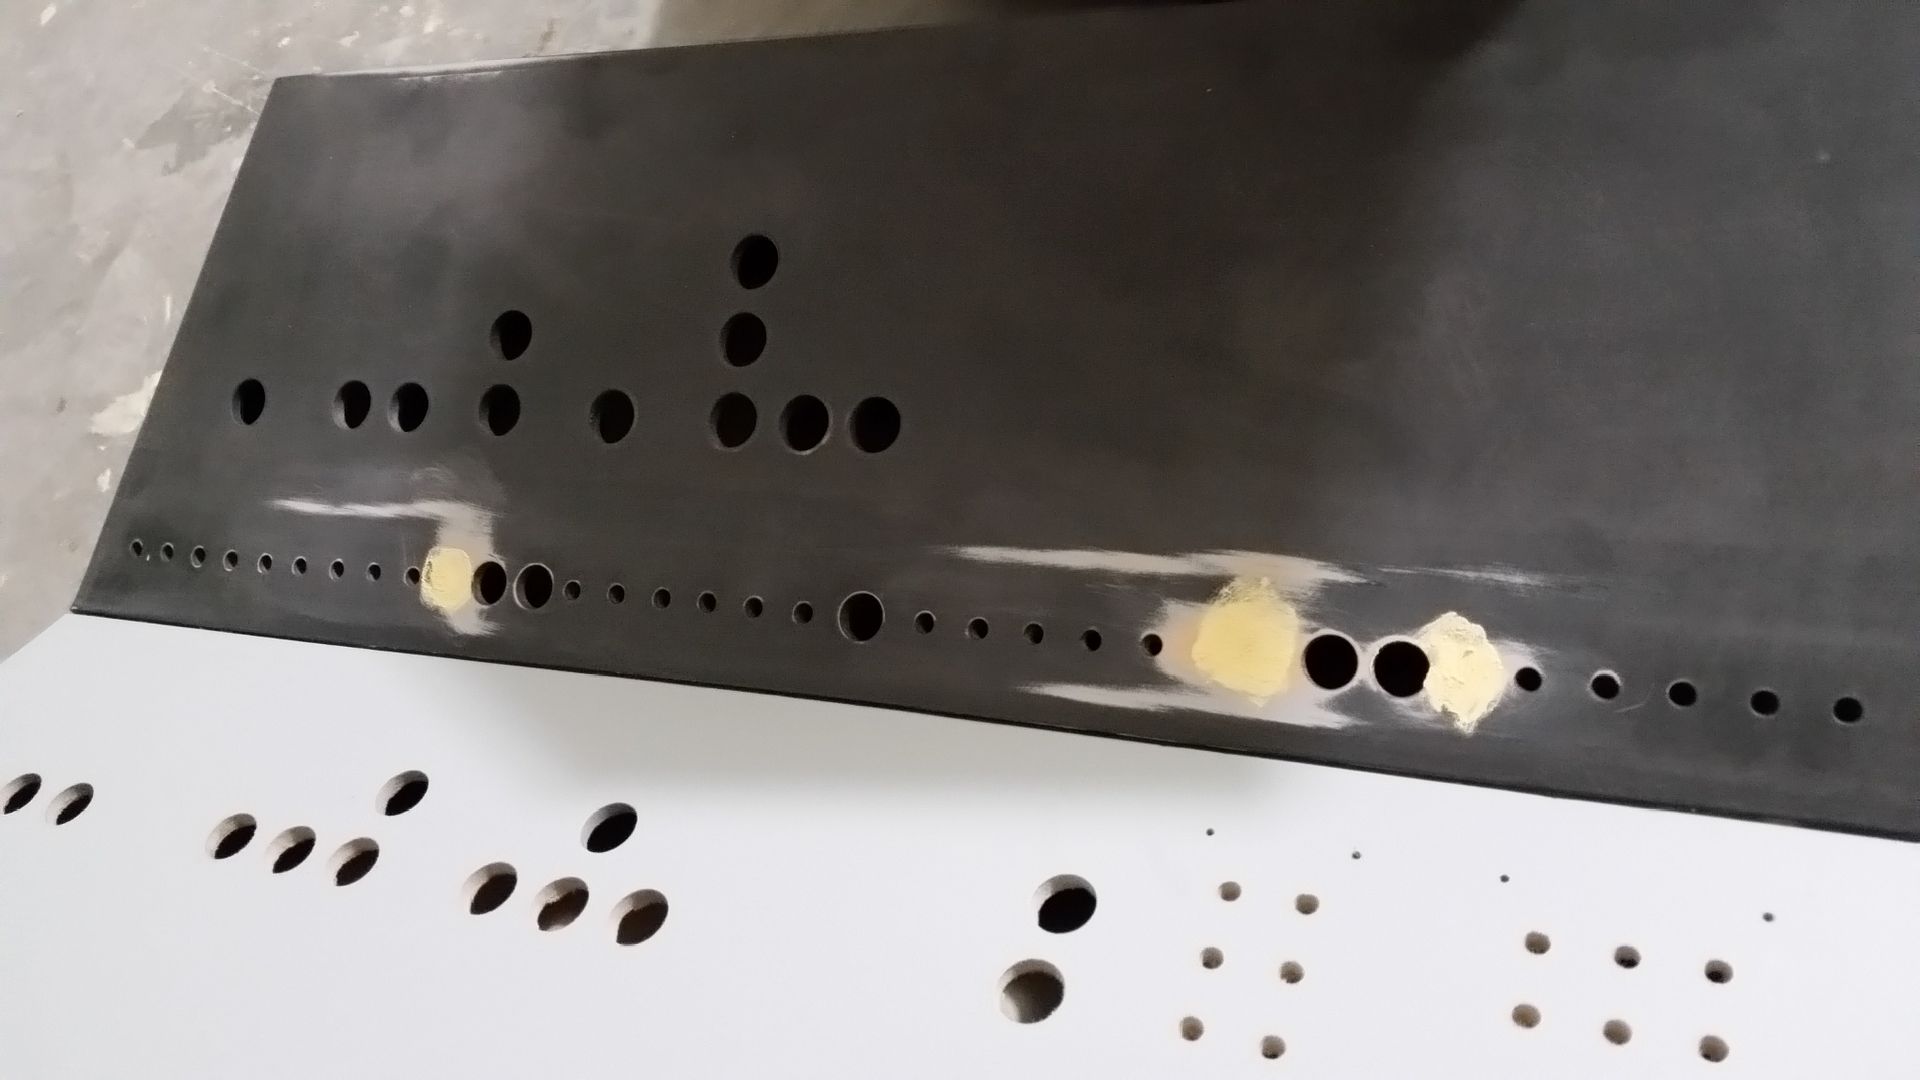
Then paint

I think it's supposed to rain again today... ugh!
For those who haven't seen IzzyMel's 1/6th build - check it out!
http://www.therpf.com/showthread.php?t=241516
More to Follow!
RAIN RAIN RAIN! All weekend long... Dont you hate that? Rain prevented me from doing any bulk size work but I was able to knock out a few more little greeblies and also helped IzzyMel with his 1/6th scale cockpit adventure! So what was I able to get done?
Friday was a perfect day! After work I was able to sand down the door pieces and add more filler
It would appear that the door assembly is going to a complete stand-alone piece of the build that then bolts into place - should be interesting
Not very exciting... I know
I then sanded down the auto pilot cultch base, gave it a few more coats of primer
I was using the "hammered" texture paint and decided to break away and use a simple metallic
It's funny... there are probably 10-15 layers of primer and paint. But I think it adds to the overall look and feel
Got this piece finished up
I'm not sure why, but the laser cutter is "nicking" the edges of the acrylic. Any experts know what's going on?
We join the two pieces together and mount!
Still need to paint the bolts
The Rainy weekend started with me spending nearly 6 hours on the laser cutter. Most of it was the 1/6th scale greeblies but I also worked on this piece
Several passes with the laser cutter...
I laser cut several rings and adhered together
In place
The lid to this odd greeblie appears to be kept in place with these guys - a HUGE thanks to Izzy for 3D printing these
While the laser cutter was doing its thing I sanded them down
Simply place to the drill and slowly sanded the edges. 3D prints are REALLY tough to smooth and require a strong hand and LOTS of filler
I got to the last one... SNAP
After several coats of primer/filler and sanding I added some color
And this is where we are - more filler required
Another Izzy printed greeblie are the two odd looking greeblies on the back armrest
Lots of primer filler in between sanding
A lot of attention was required for these guys
After sanding... more primer filler
Slowly getting there
Let's add some paint!
There were a few areas that are so delicate I couldn't get the file or sand paper to apply enough pressure to sand smooth - not bad
I then designed and laser cut the new canopy boxes
Still lots of work to do on these
The canopy boxes also has one of these cup type greeblies
The armrest also has this odd little greeblie
Adding more filler - the interesting thing... I dont how this fits into place. There is very LIMITED room on the small lip. We'll see...
Another amazing EBAY find brought me a ton of great knobs and misc metal greeblies. So, I added these to the front nose panel
Finally, I filled in a few LED holes on the instrument panels
After the glue dries I hand sanded down
Added filler
Then paint
I think it's supposed to rain again today... ugh!
For those who haven't seen IzzyMel's 1/6th build - check it out!
http://www.therpf.com/showthread.php?t=241516
More to Follow!
Last edited:
IzzyMel
Sr Member
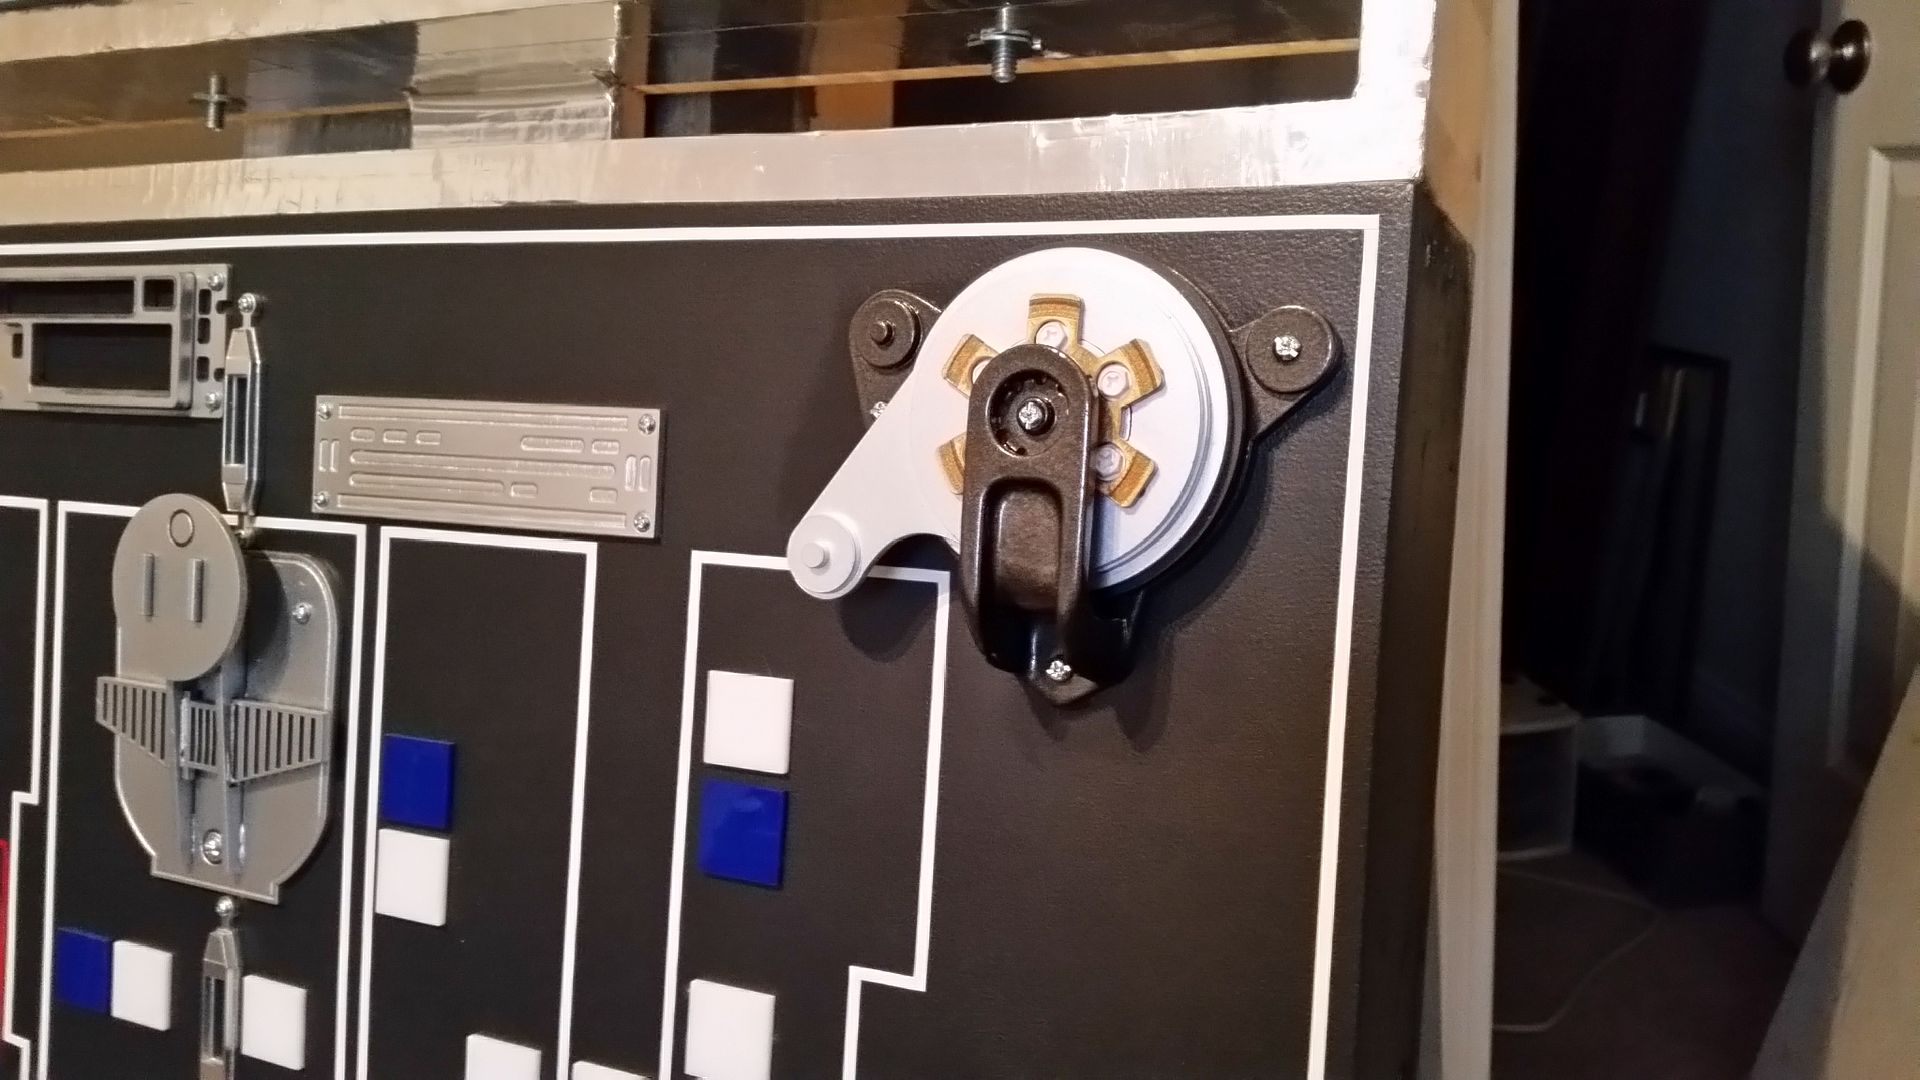
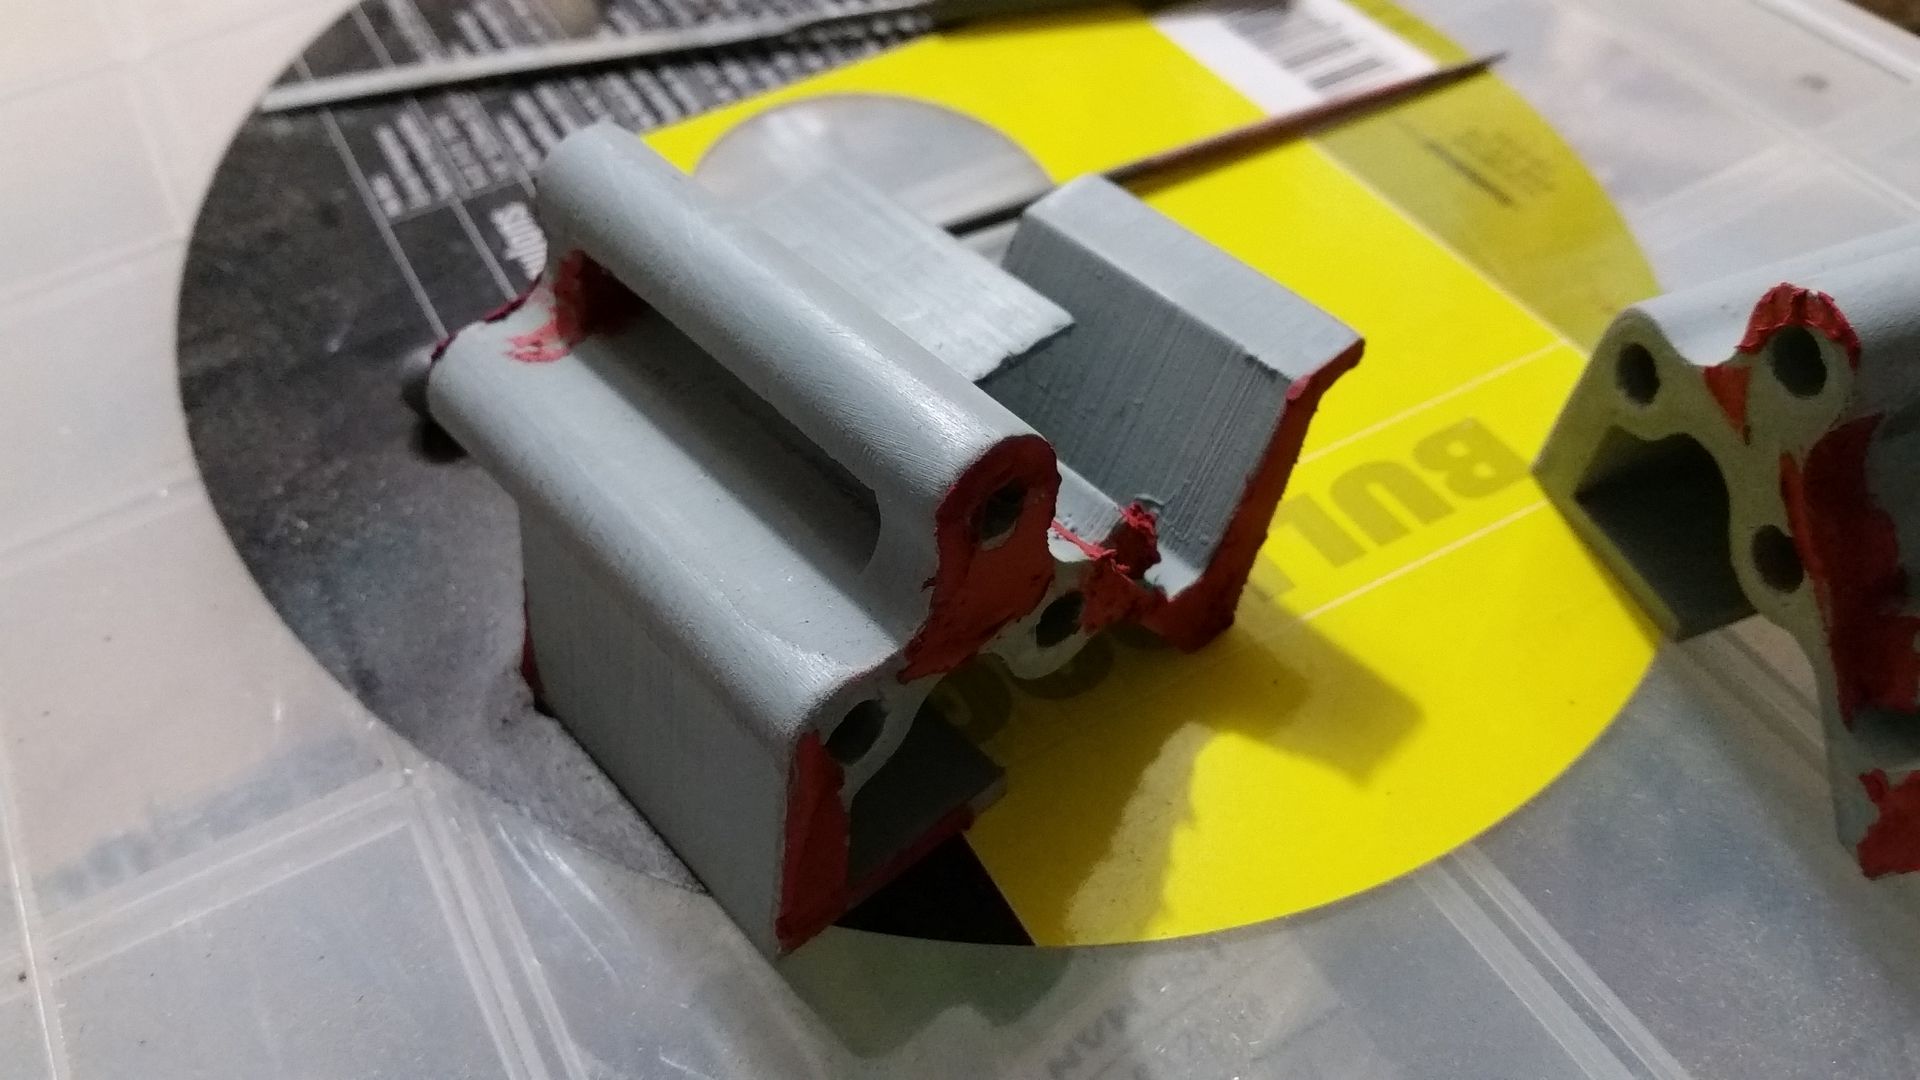
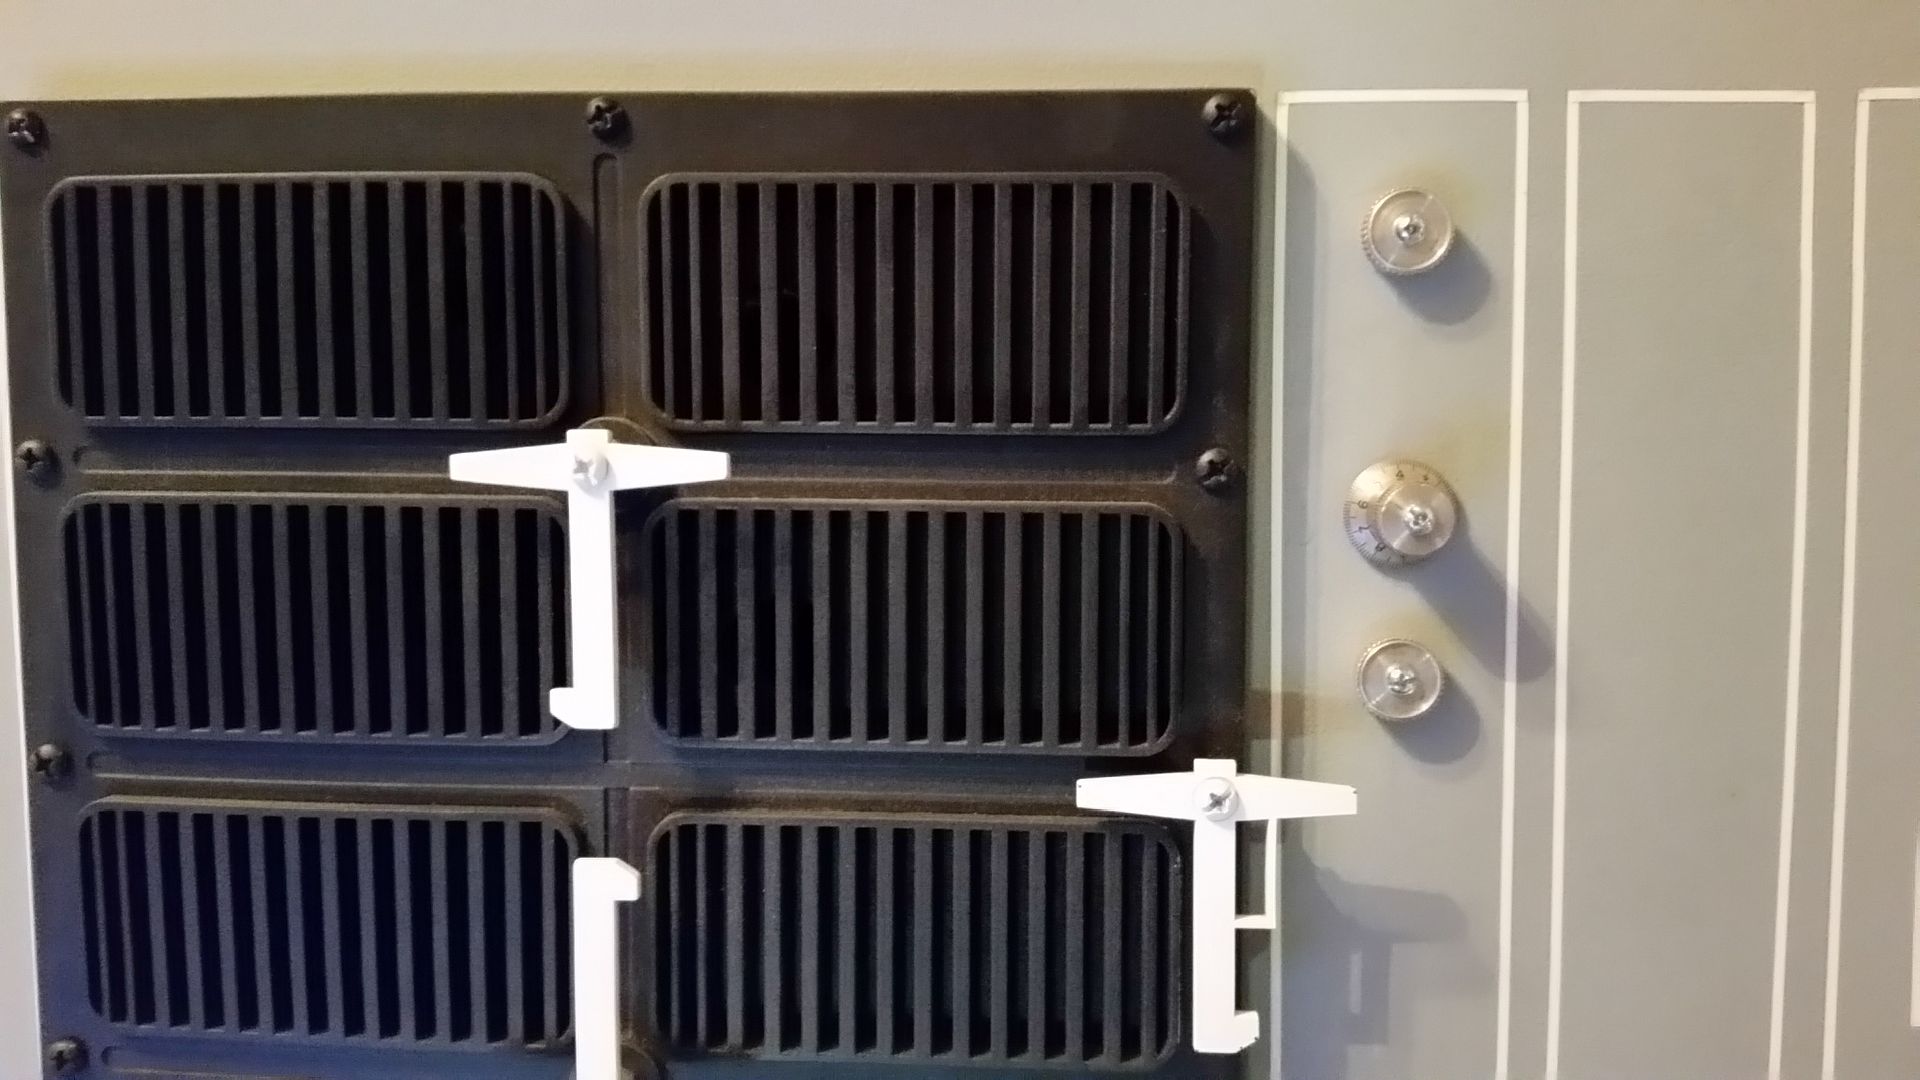
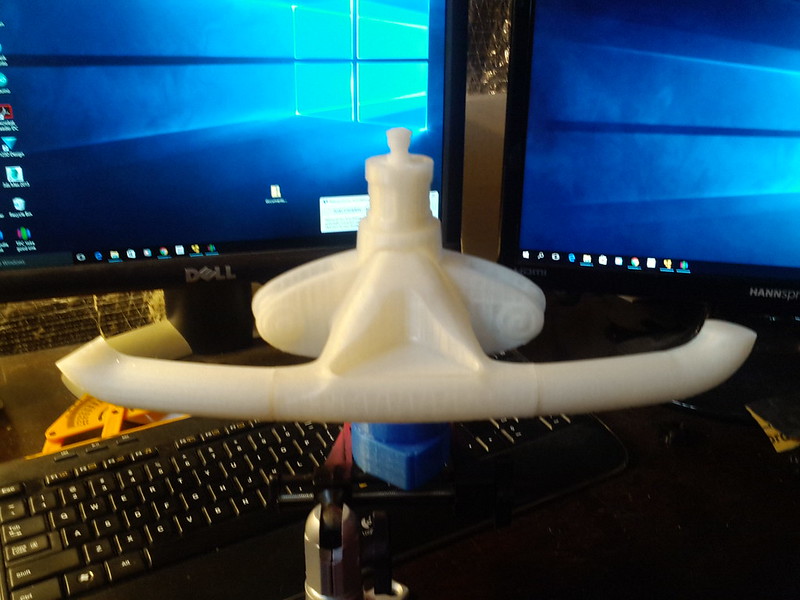
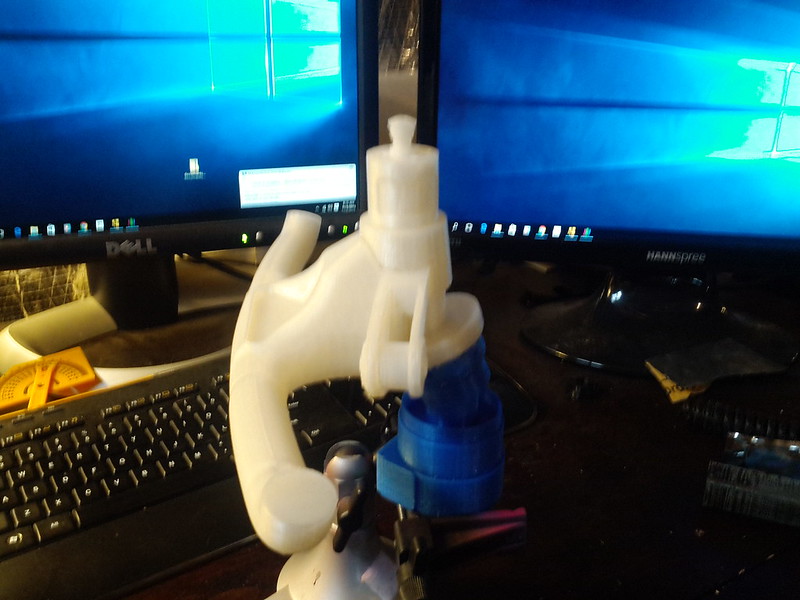
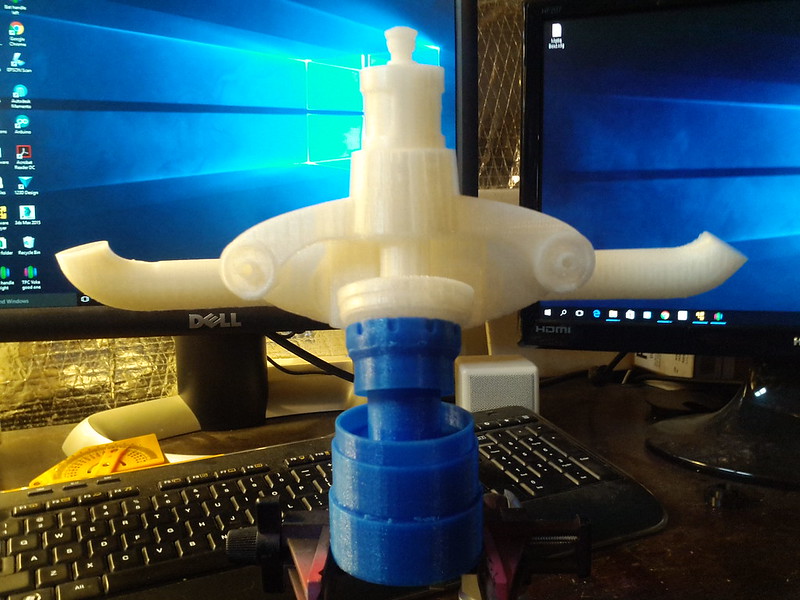
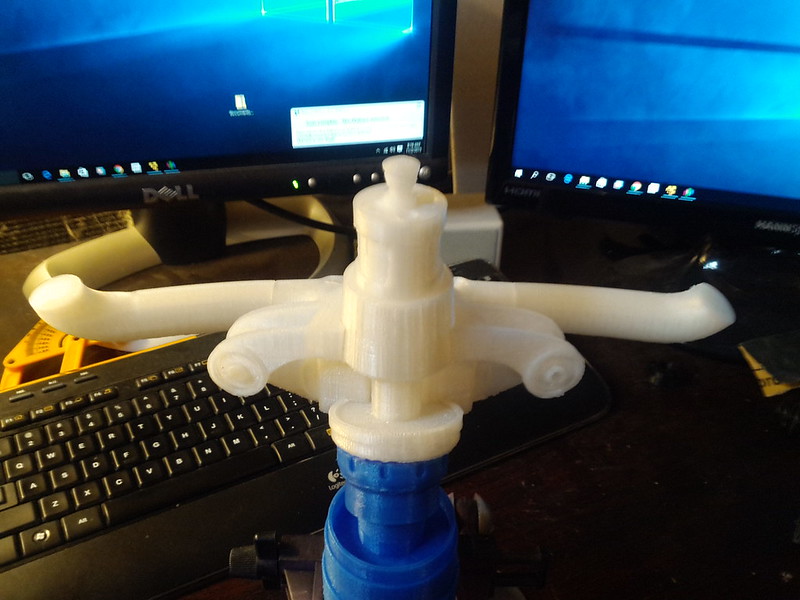
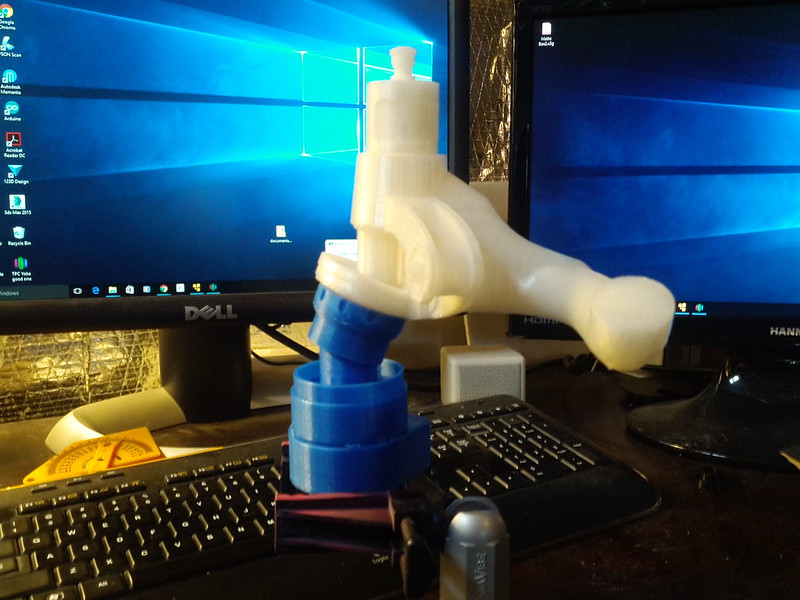
I finished the test print on the yoke. I used hot glue to temporarily hold it in place to take some pics. I'll leave it to SofaKing01 permanently glue, sand and prime it. I know how much he loves that. Here you go;
 IMG_20151102_081529 by Izzy Mel, on Flickr
 IMG_20151102_081535 by Izzy Mel, on Flickr
 IMG_20151102_081543 by Izzy Mel, on Flickr
 IMG_20151102_081548 by Izzy Mel, on Flickr
 IMG_20151102_081556 by Izzy Mel, on Flickr
 IMG_20151102_081604 by Izzy Mel, on Flickr
 IMG_20151102_081614 by Izzy Mel, on Flickr
I used hot glue to temporarily hold it in place to take some pics. I'll leave it to SofaKing01 permanently glue, sand and prime it. I know how much he loves that. Here you go;IMG_20151102_081529 by Izzy Mel, on FlickrIMG_20151102_081535 by Izzy Mel, on FlickrIMG_20151102_081543 by Izzy Mel, on FlickrIMG_20151102_081548 by Izzy Mel, on FlickrIMG_20151102_081556 by Izzy Mel, on FlickrIMG_20151102_081604 by Izzy Mel, on FlickrIMG_20151102_081614 by Izzy Mel, on FlickrI finished the test print on the yoke... I'll leave it to SofaKing01 permanently glue, sand and prime it. I know how much he loves that.
Under my breath chuckle ending with a ugh...
The yoke looks AWESOME!!!! I cannot wait to see it/them finished up and mounted in place.
- - - Updated - - -
Sorry for the crappy camera phone picture...
Just making sure you guys had this one? It shows the center console and yoke really well.
https://drive.google.com/file/d/0B8K2XuwSx8vCdlZKaGpqZUZOTTg/view?usp=docslist_api
Hi DJ,
Thanks for the great pic! Def shows us some interesting details.
- - - Updated - - -
Great repro on the yoke IzzyMel, that will make a whole lotta difference to the dash.
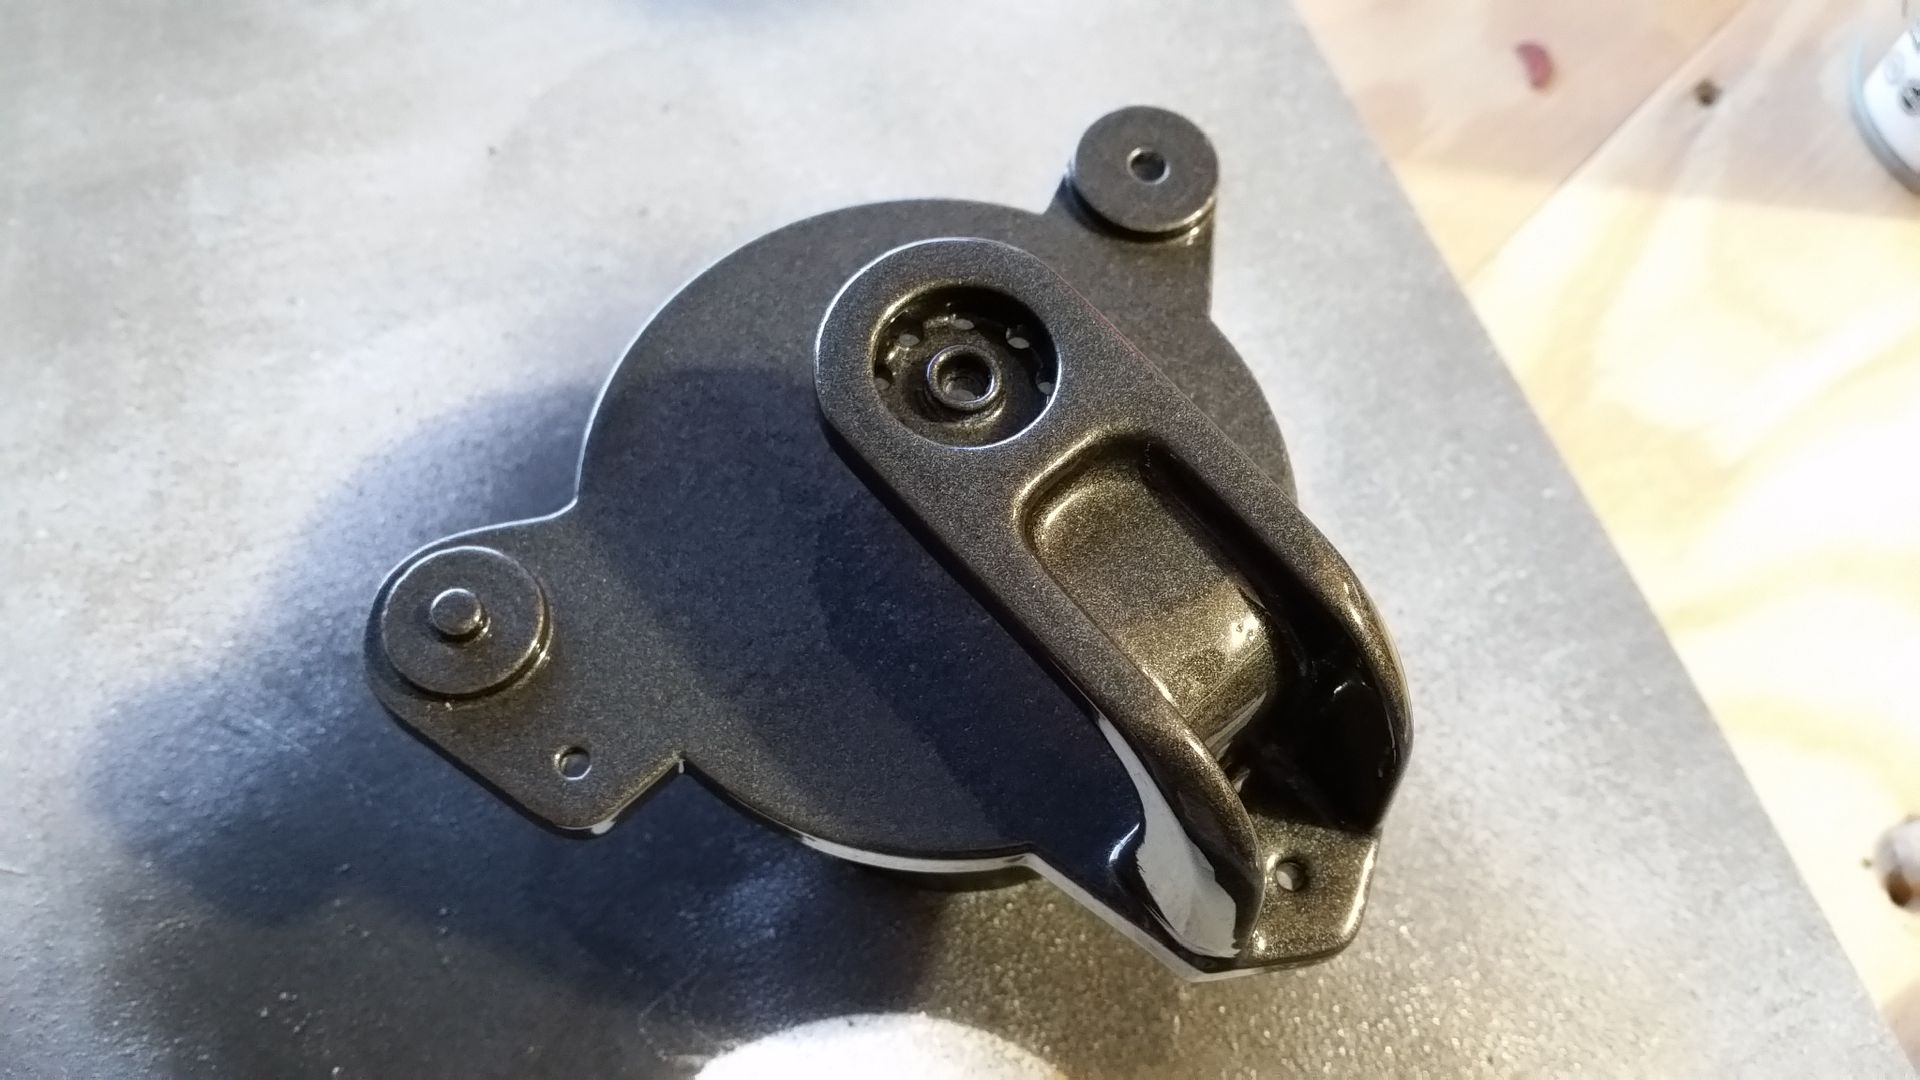
And that clutch greeblie is spot on!
Hey W,
That yoke! Amazing! Thanks for the kind words. The clutch greeblie is finally finished! I'm still looking for a comparable paint to use that matches the dull metal look of the original piece.
Fer sure, someone has slipped over to the 'Dark Side'!
;^P
Amazing, guys!
Regards, Robert
It was... his... dessstiny...
Wow this build looks incredible. I'm amazed by the level of detail and hard work that has gone into this!
Hi D,
Thanks so much! A lot of folks have put a lot of time and energy to get to this point... Hang On!
Izzy... that's insane! Love it... how long did it take to print? I bet it took forever.
Sofa... you really know how to make a guy feel inferior ya know! I tryed getting close with my 1/48 cockpit but its not easy when the dimensions are out of whack to begin with! See...

Sofa... you really know how to make a guy feel inferior ya know! I tryed getting close with my 1/48 cockpit but its not easy when the dimensions are out of whack to begin with! See...
DANG! That is an insane amount of work! Brilliant!
DANG! That is an insane amount of work! Brilliant!
You're my rolemodel bro! My work isn't half as insane as your's is, but thanks!
Similar threads
- Replies
- 2
- Views
- 872
- Replies
- 6
- Views
- 637
- Replies
- 8
- Views
- 562
- Replies
- 9
- Views
- 1,020
- Replies
- 4
- Views
- 2,334