"Dummy Sterling" E11 Build.

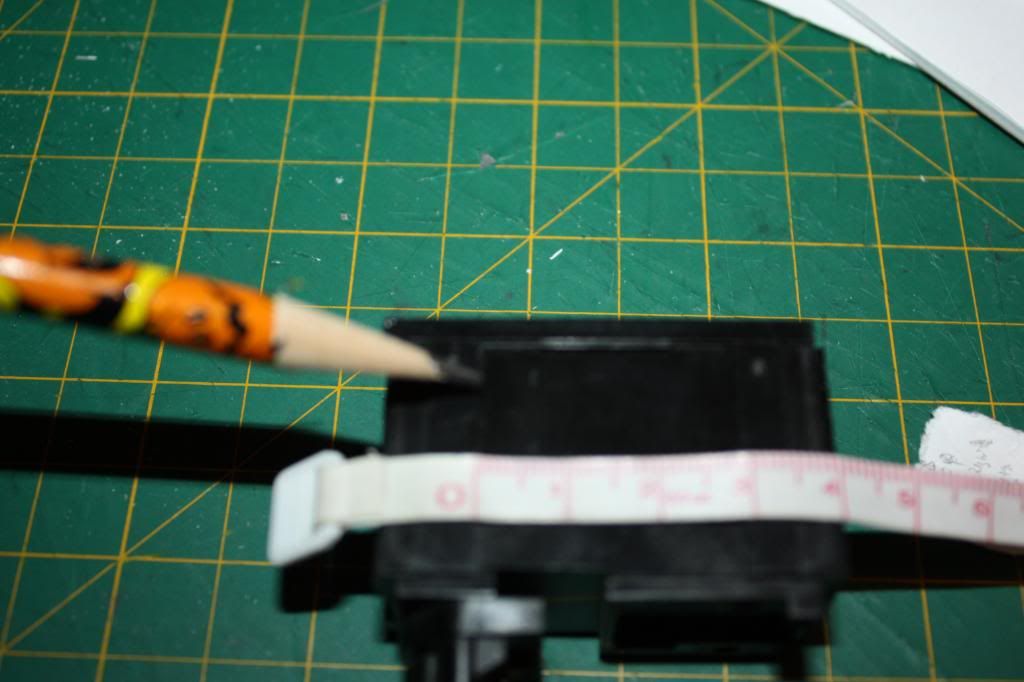
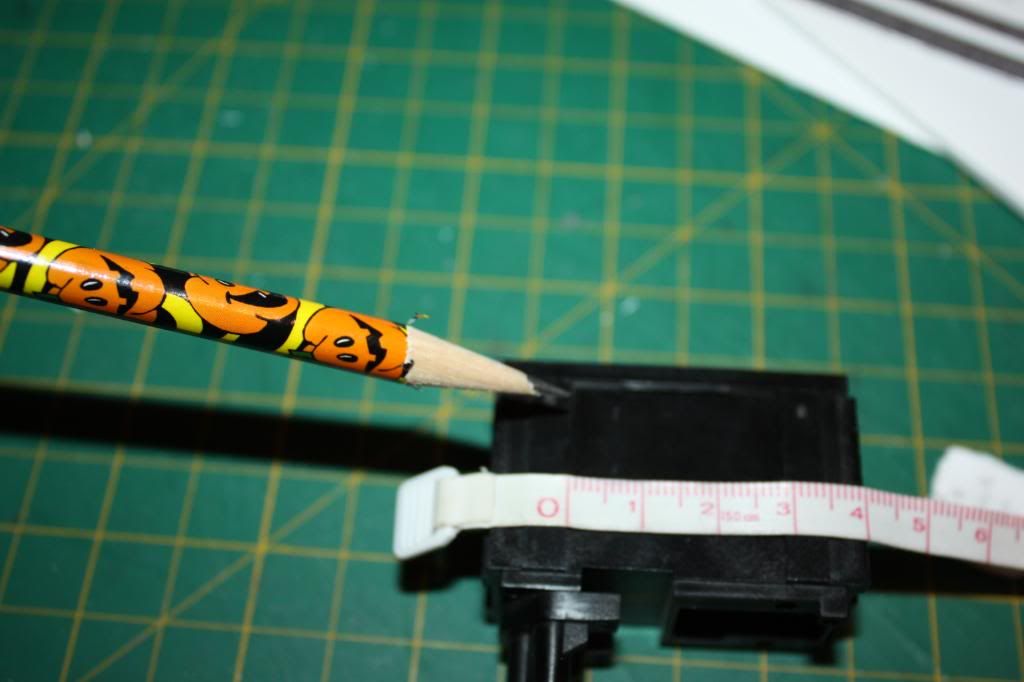
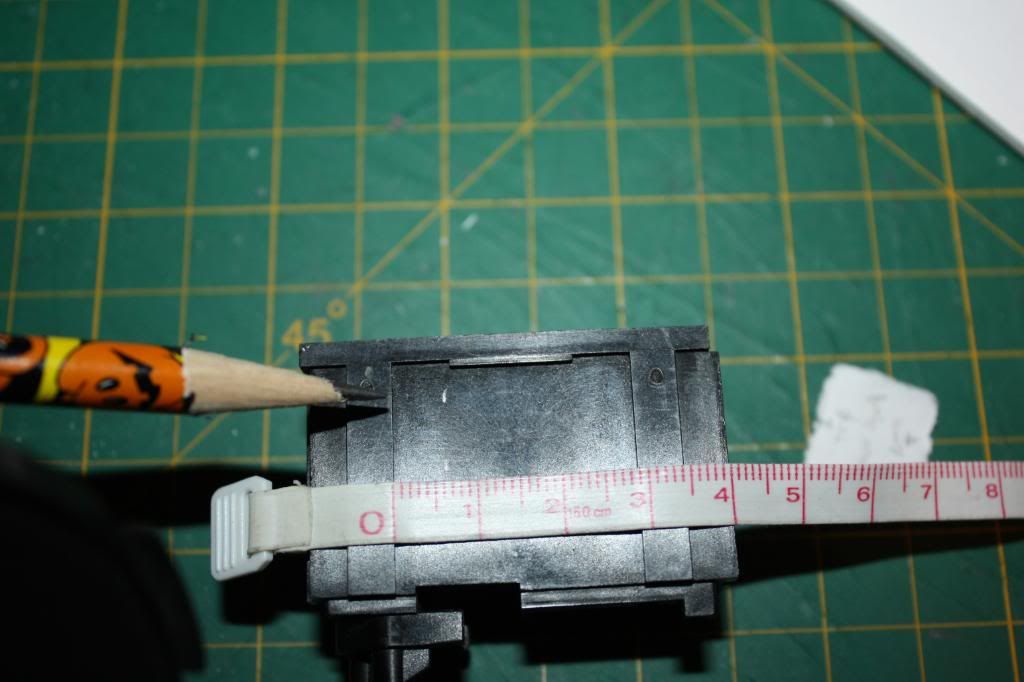
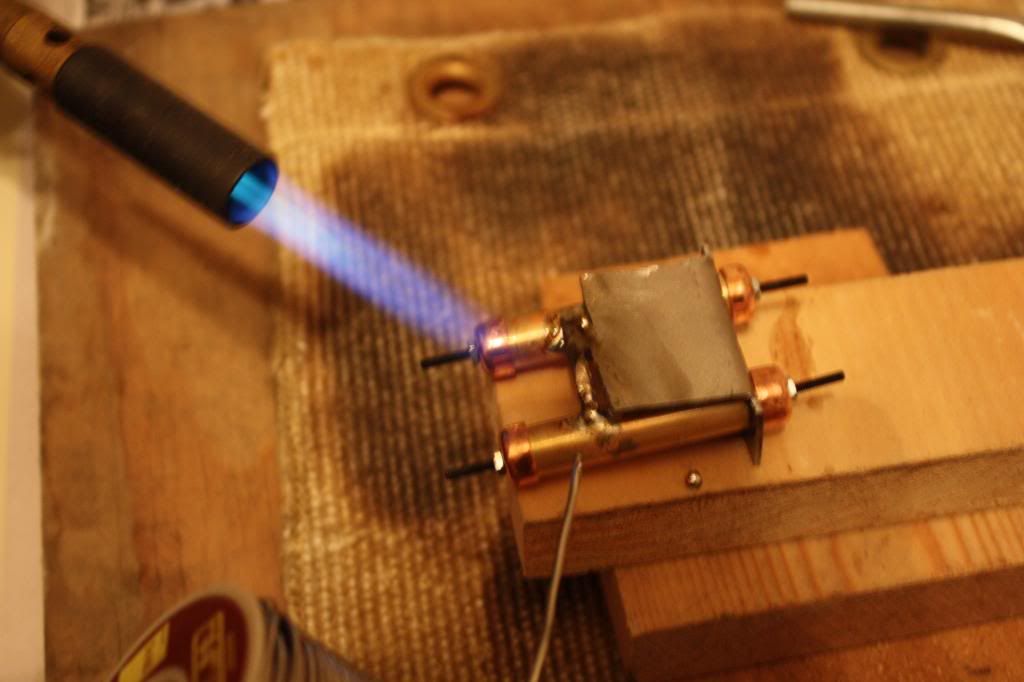
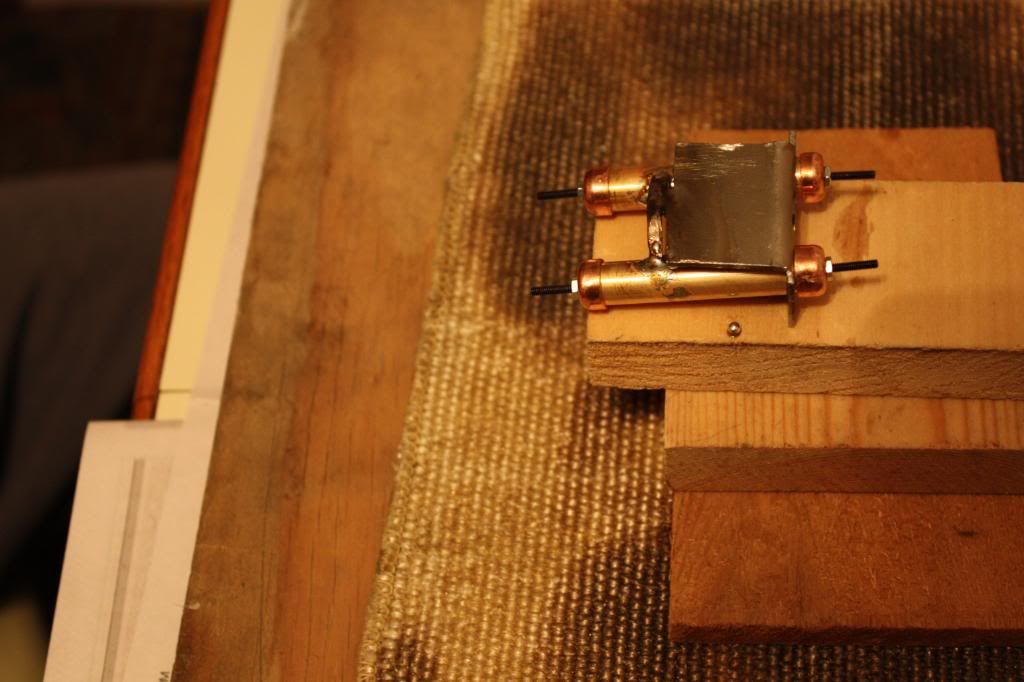
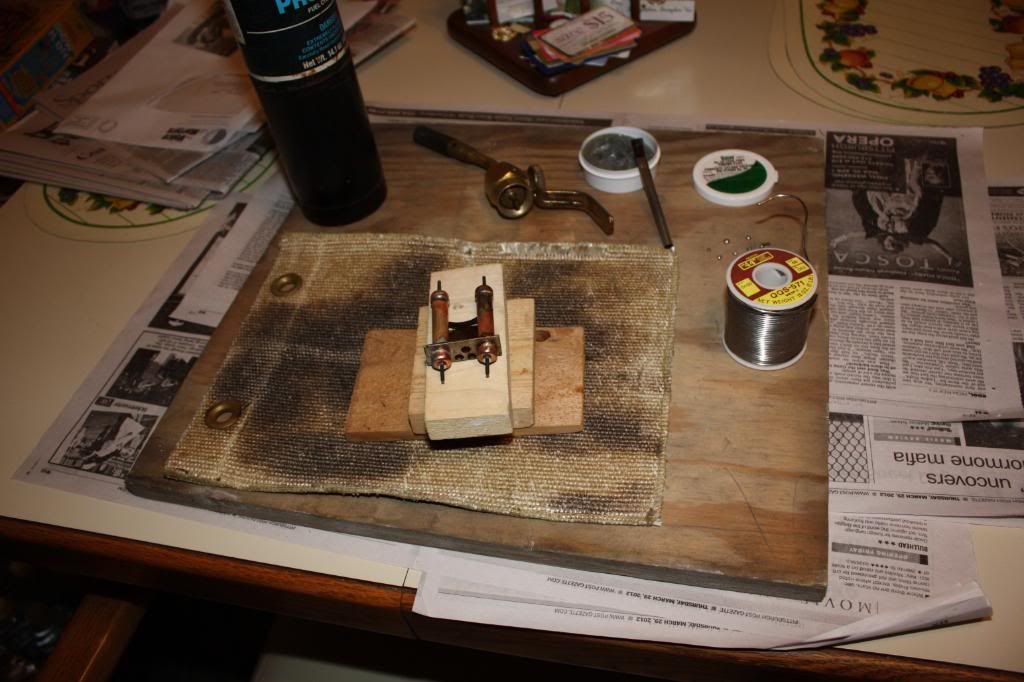
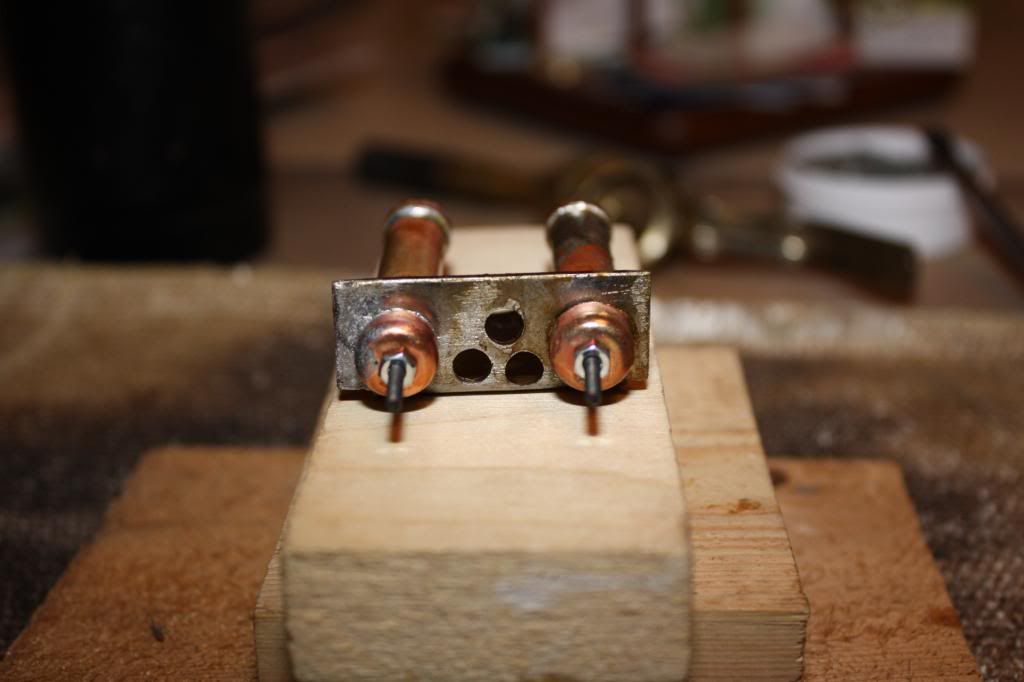
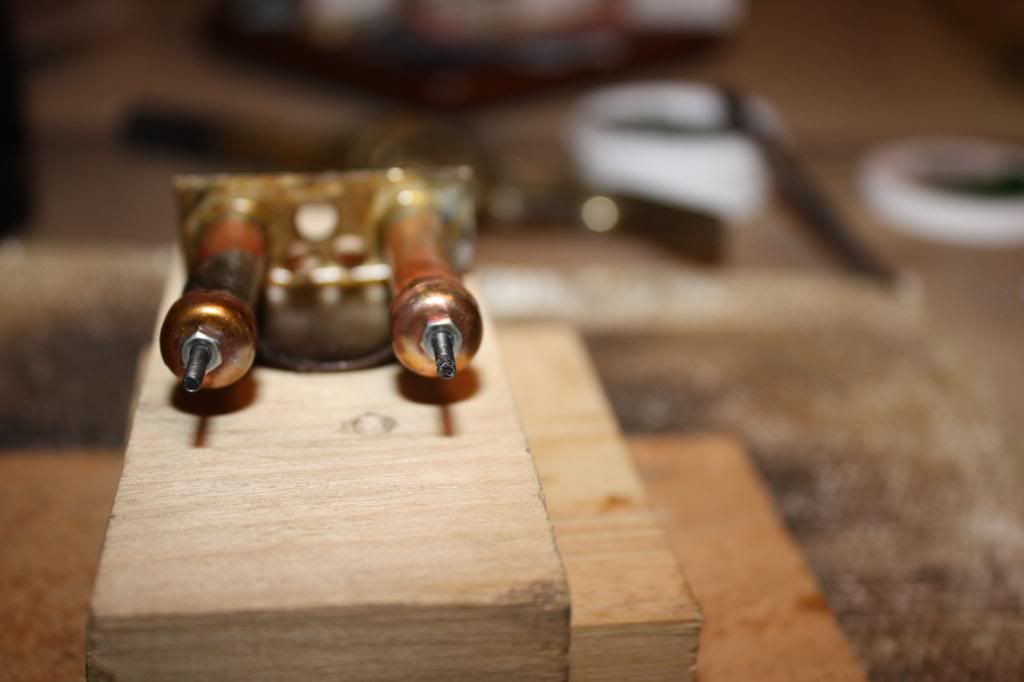
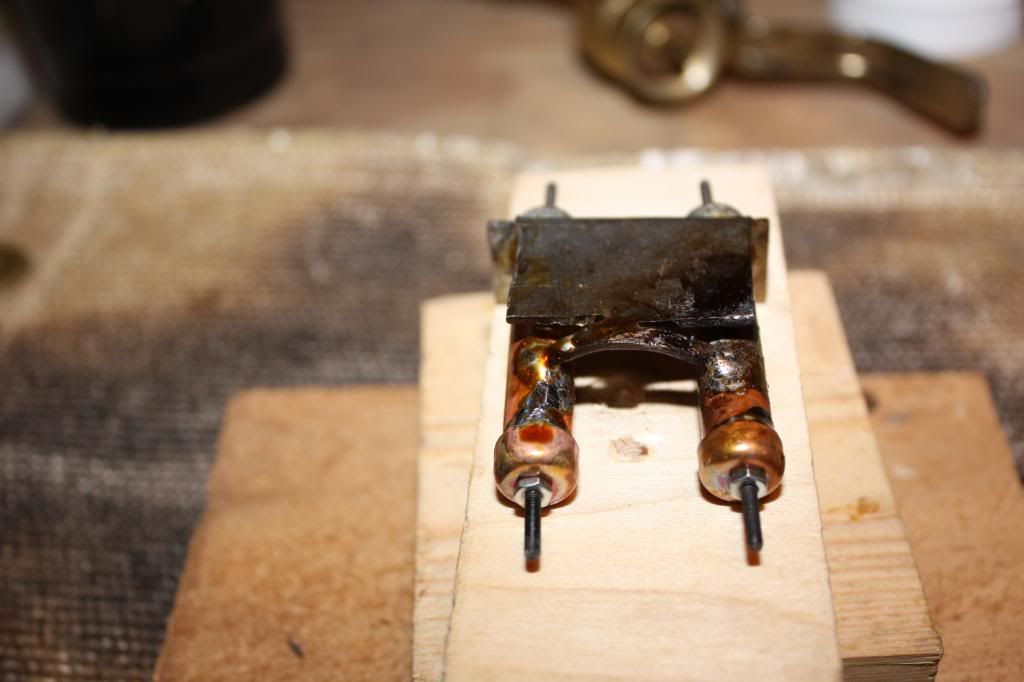
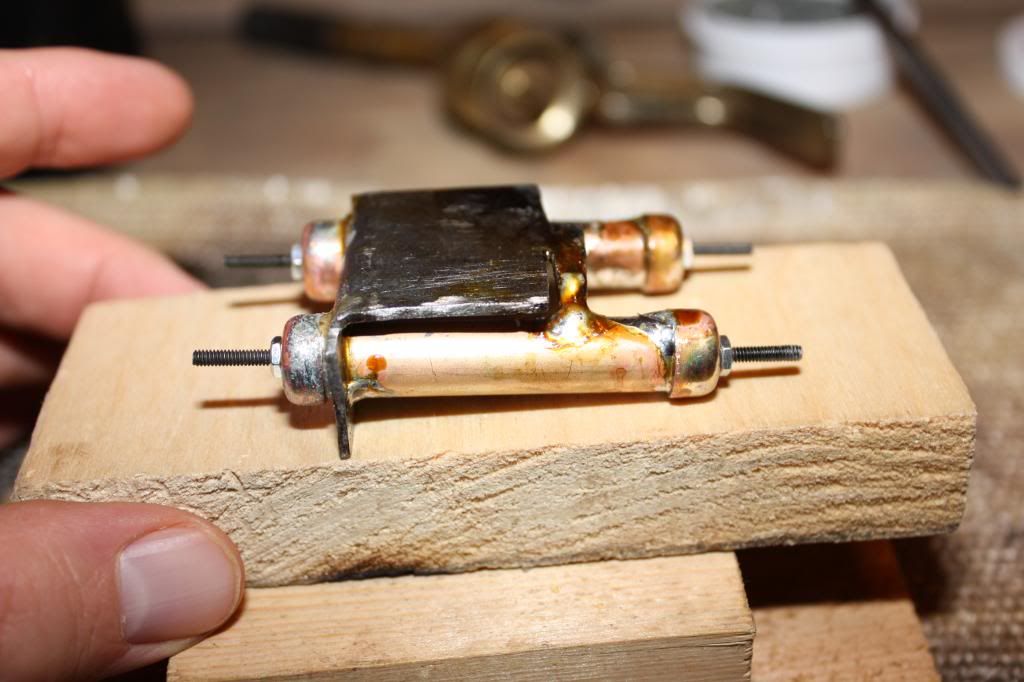
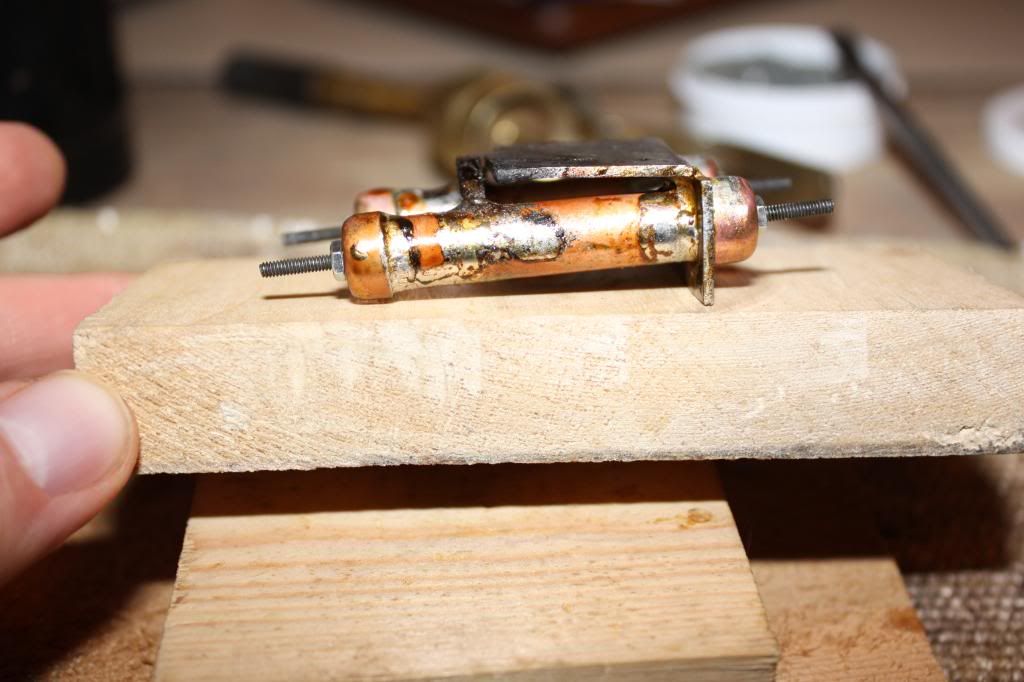
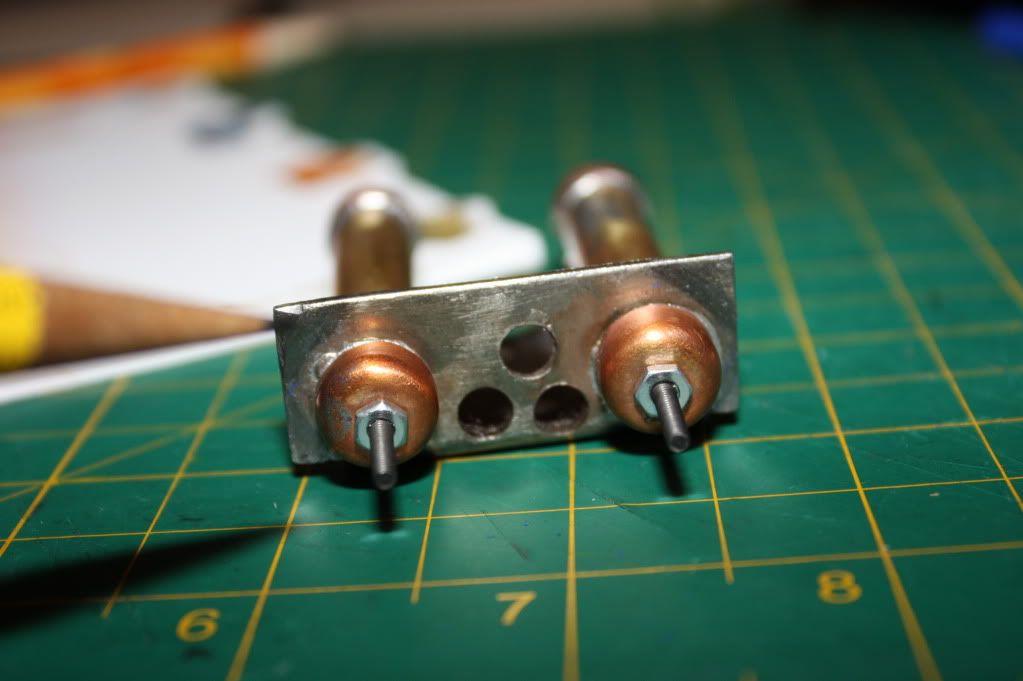
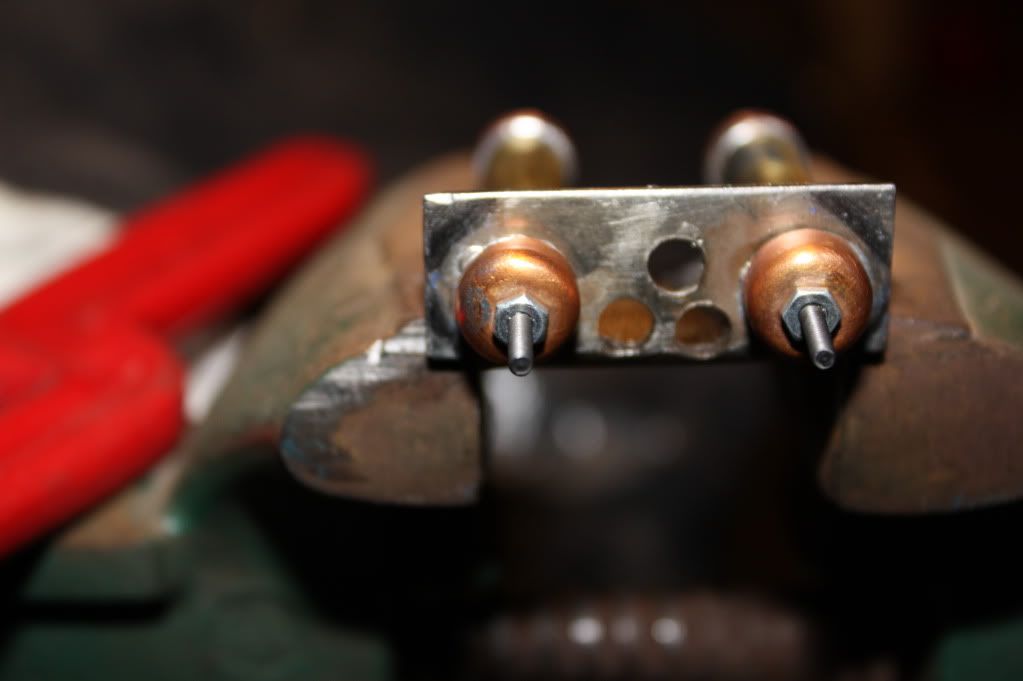
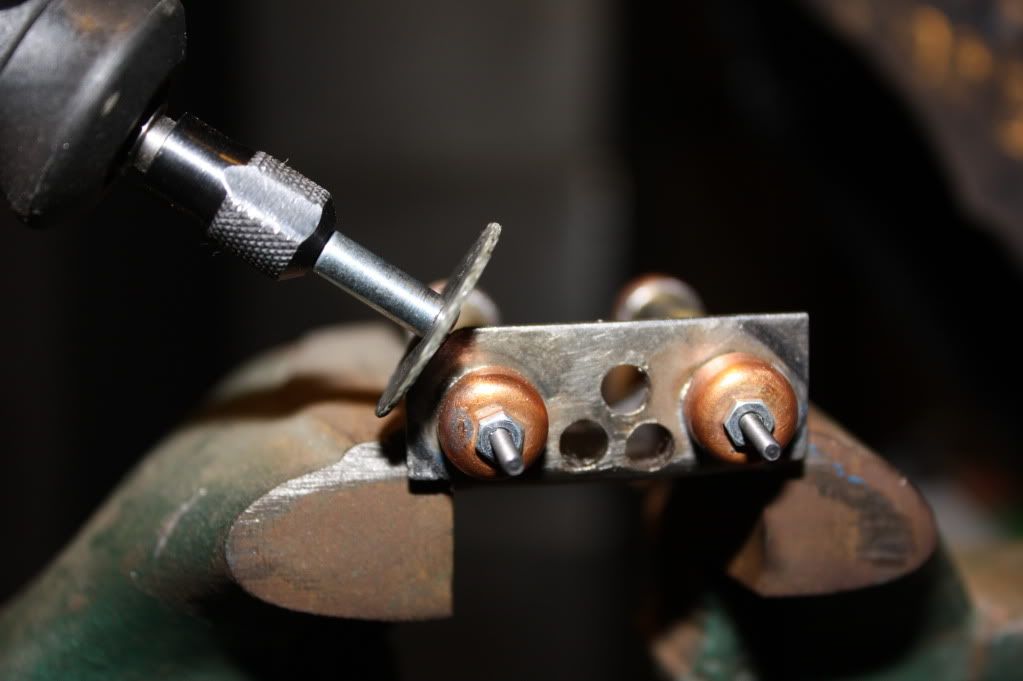
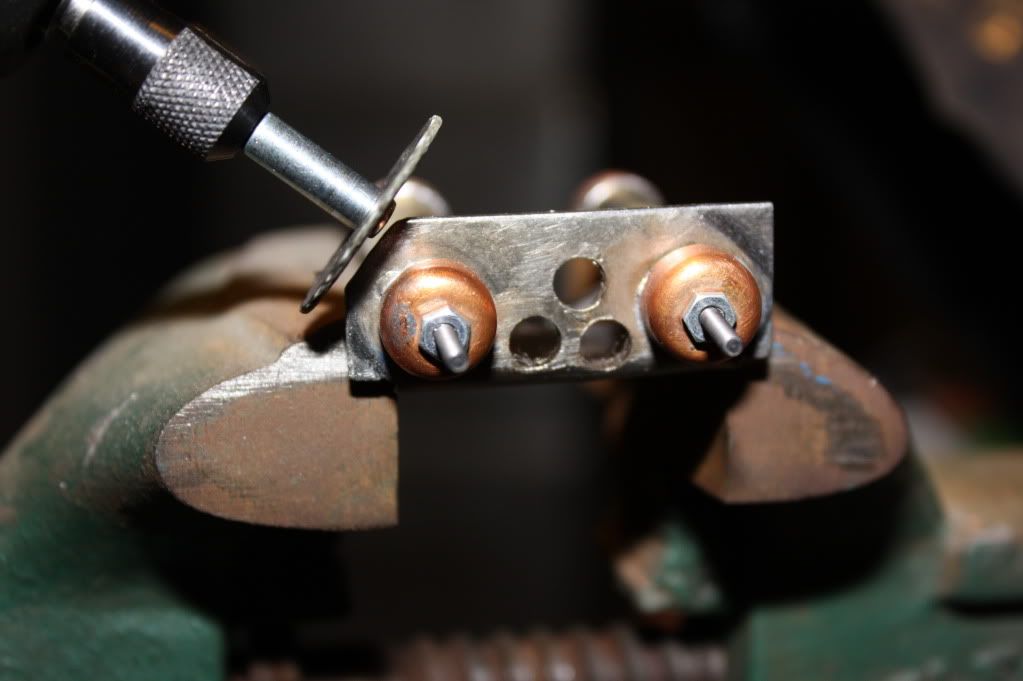
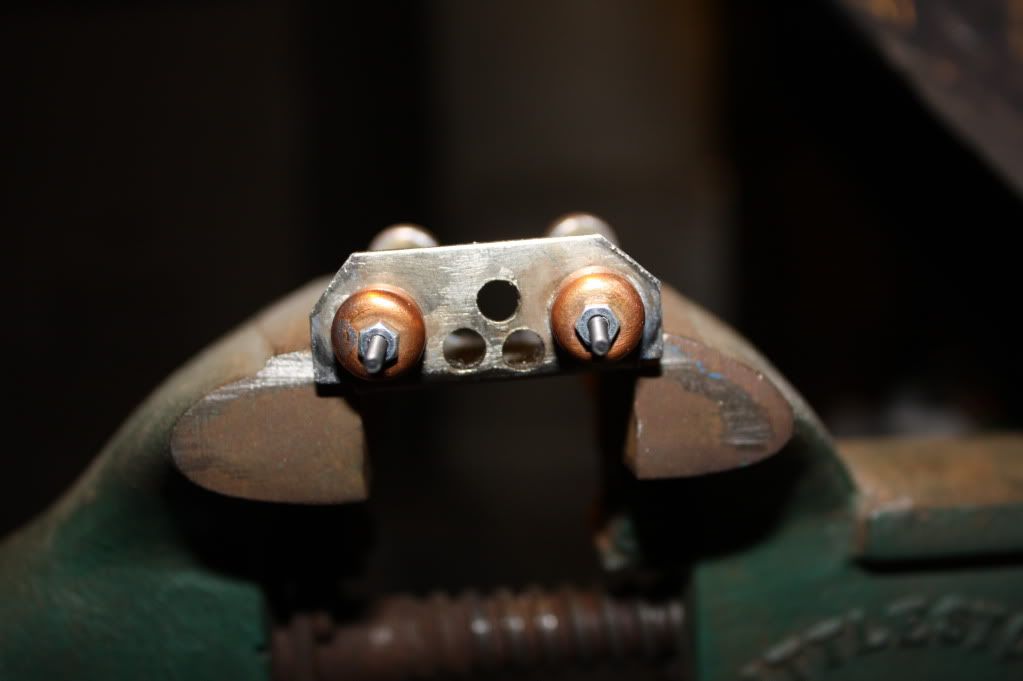
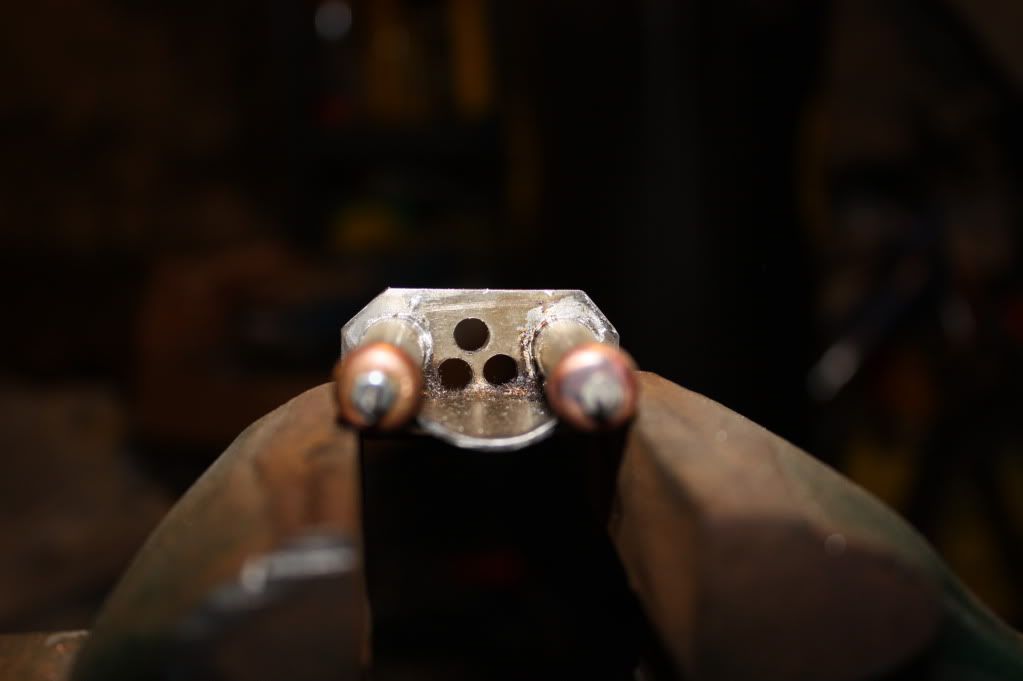
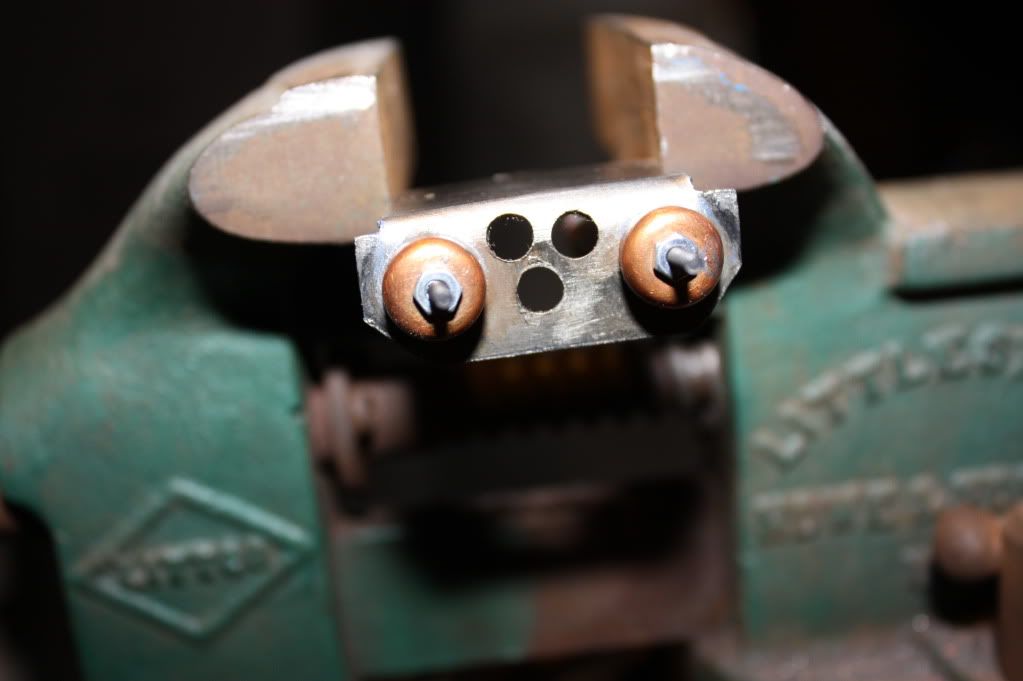
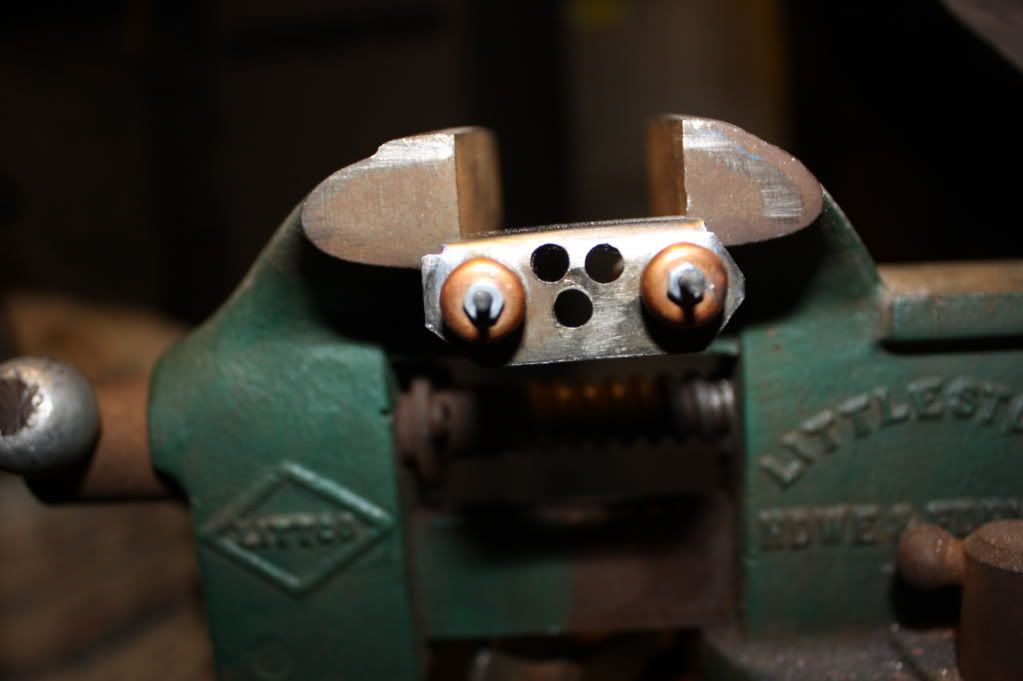
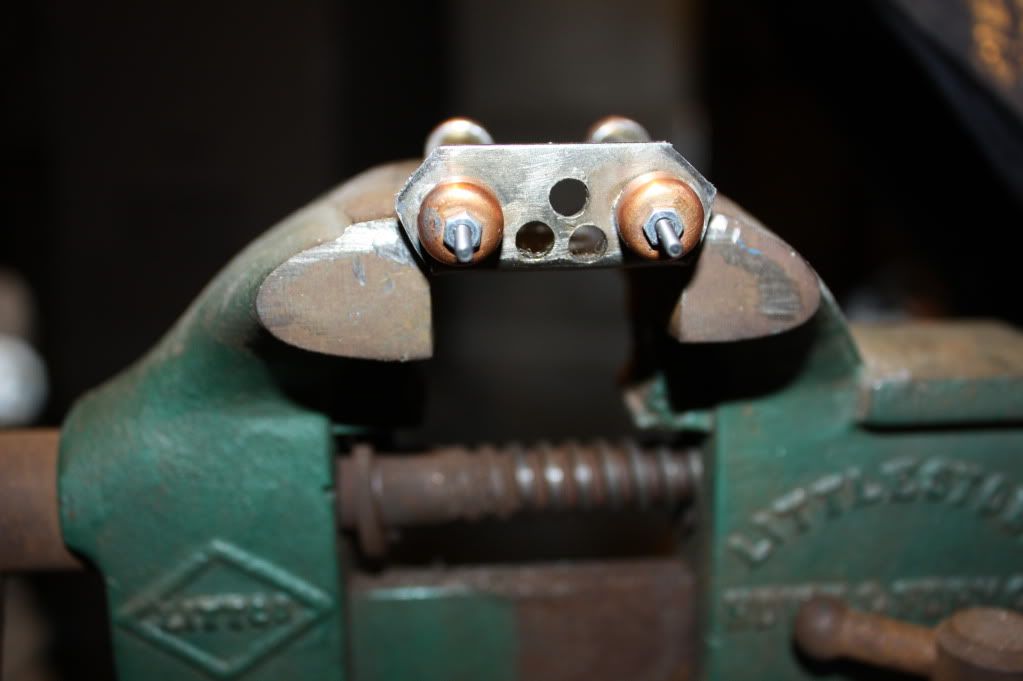
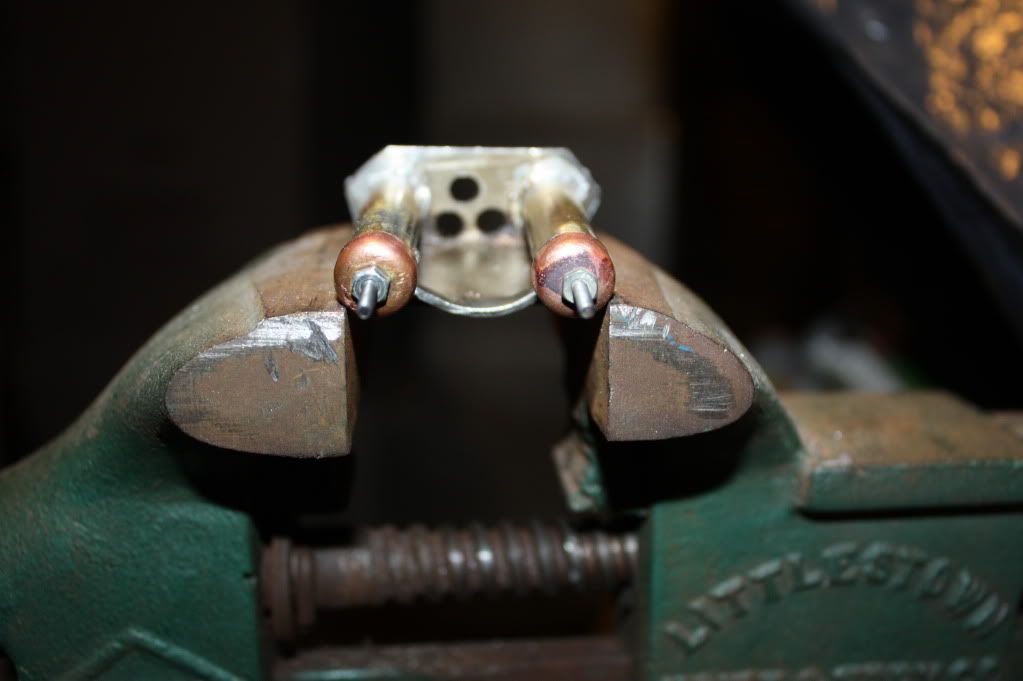
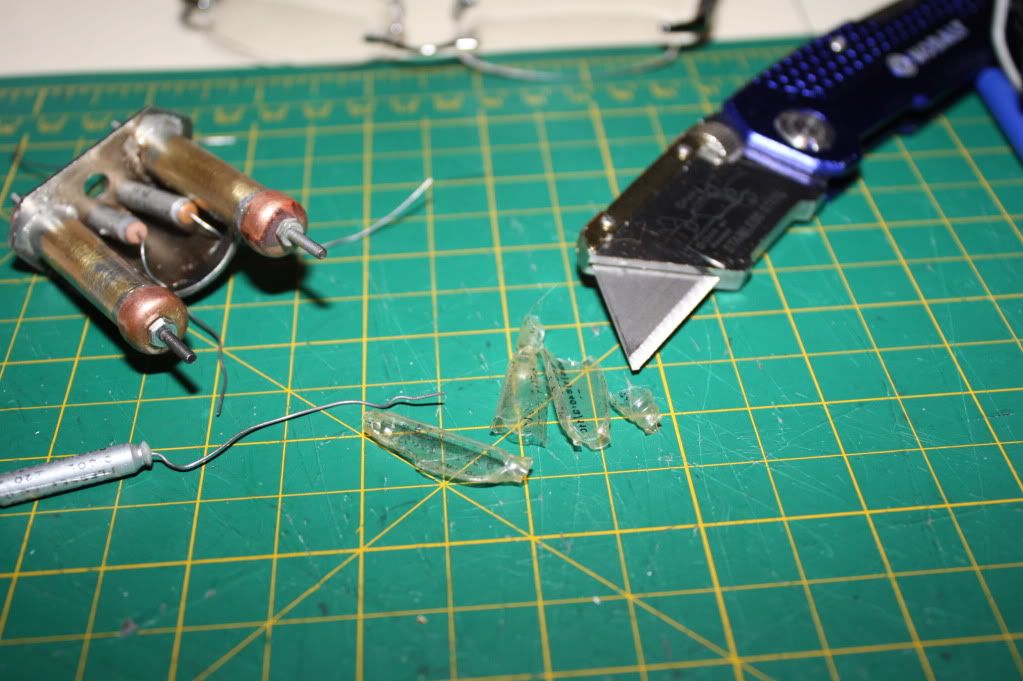
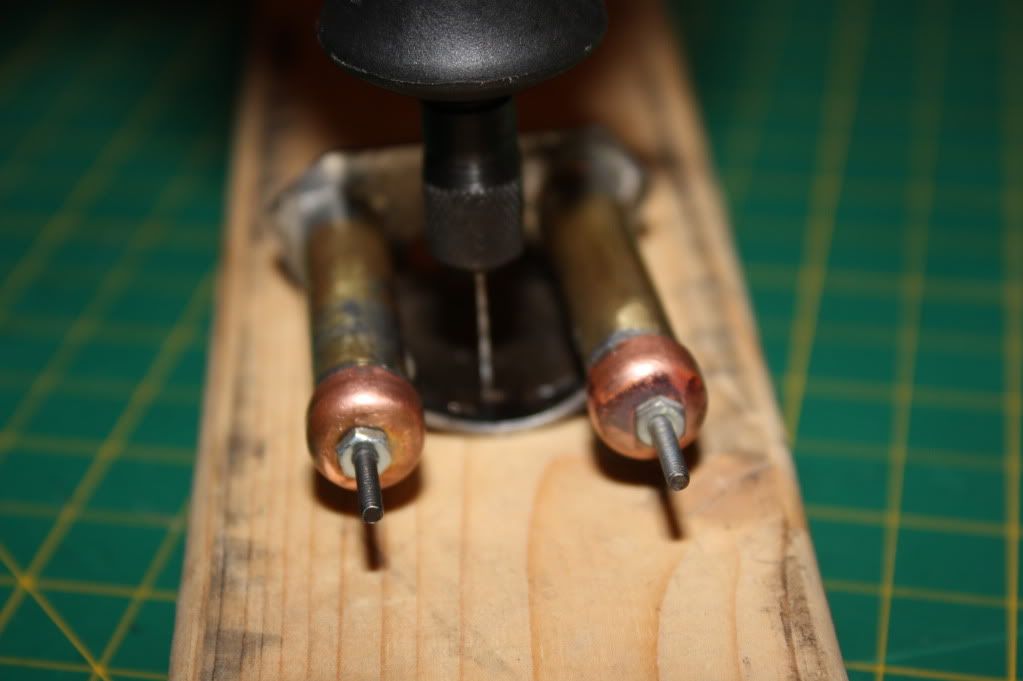
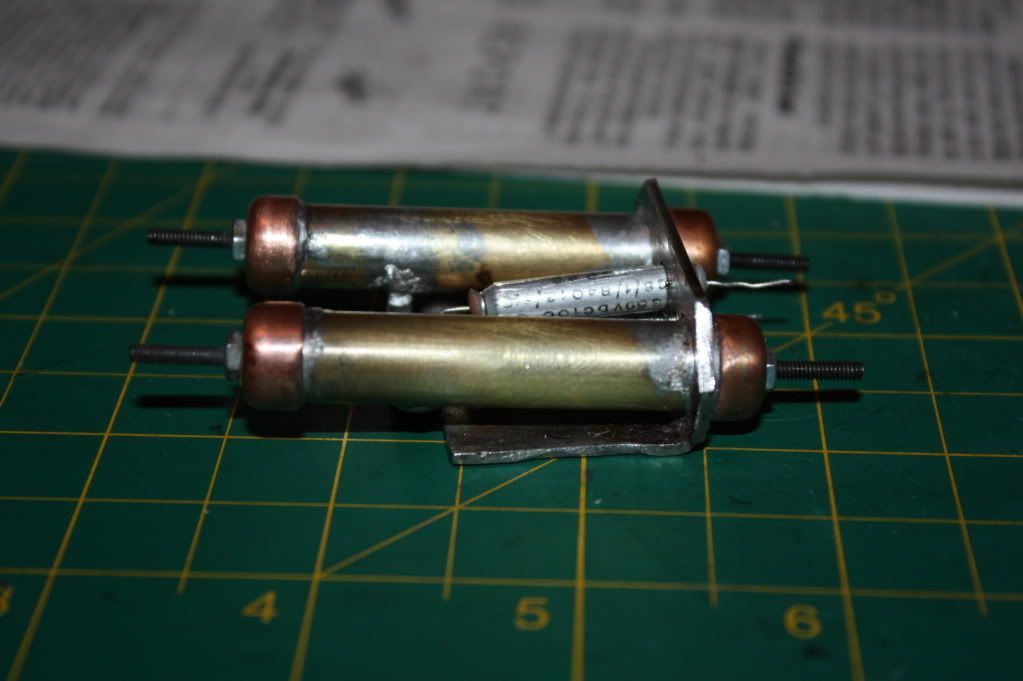
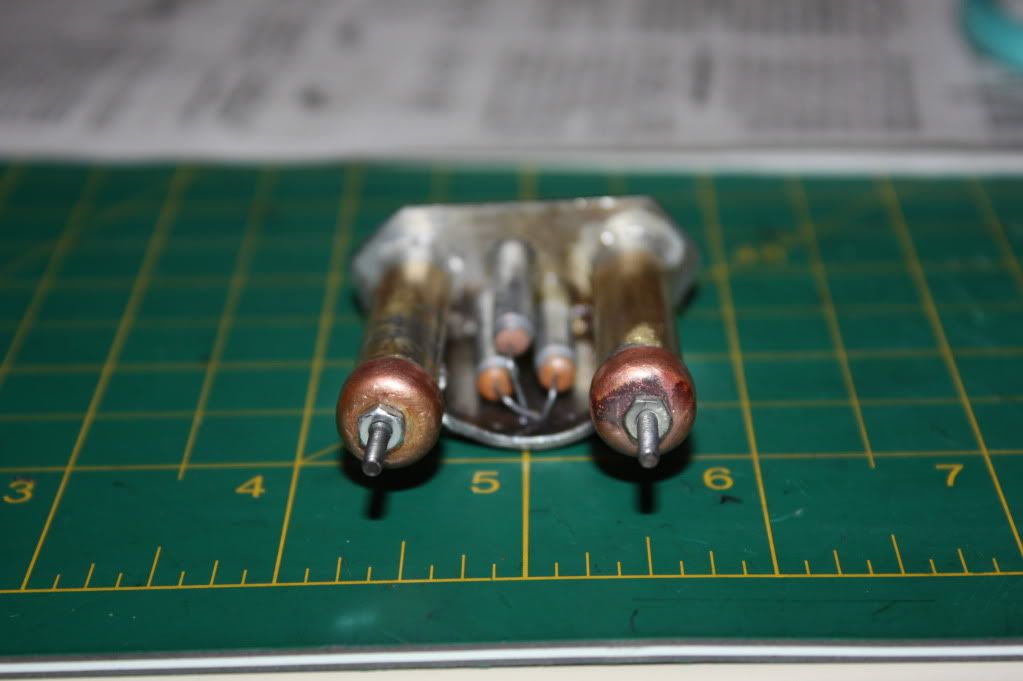
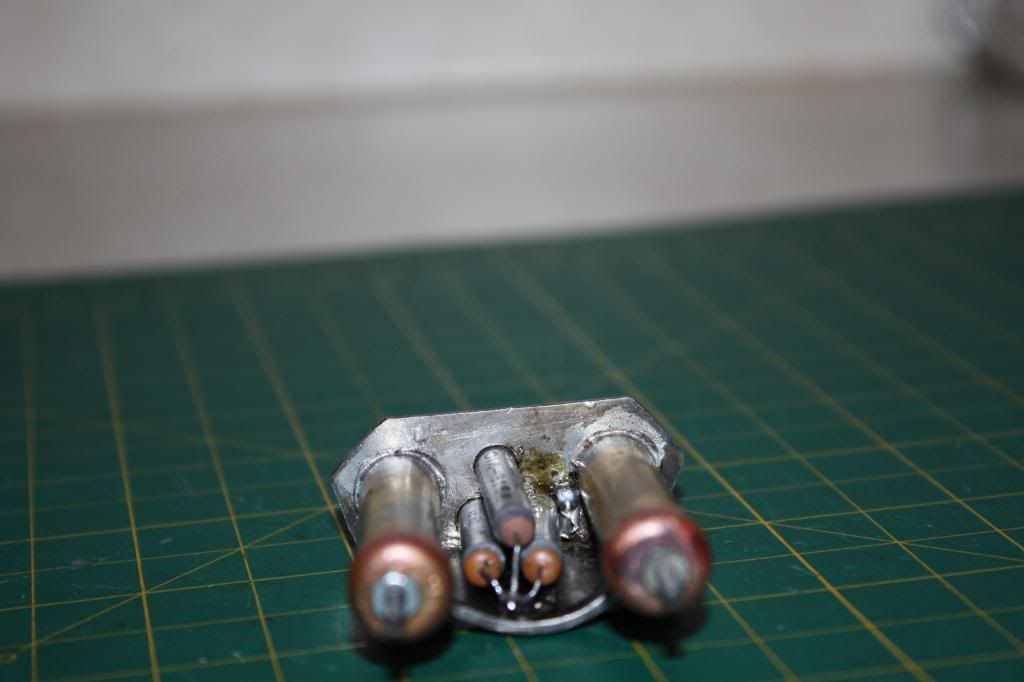
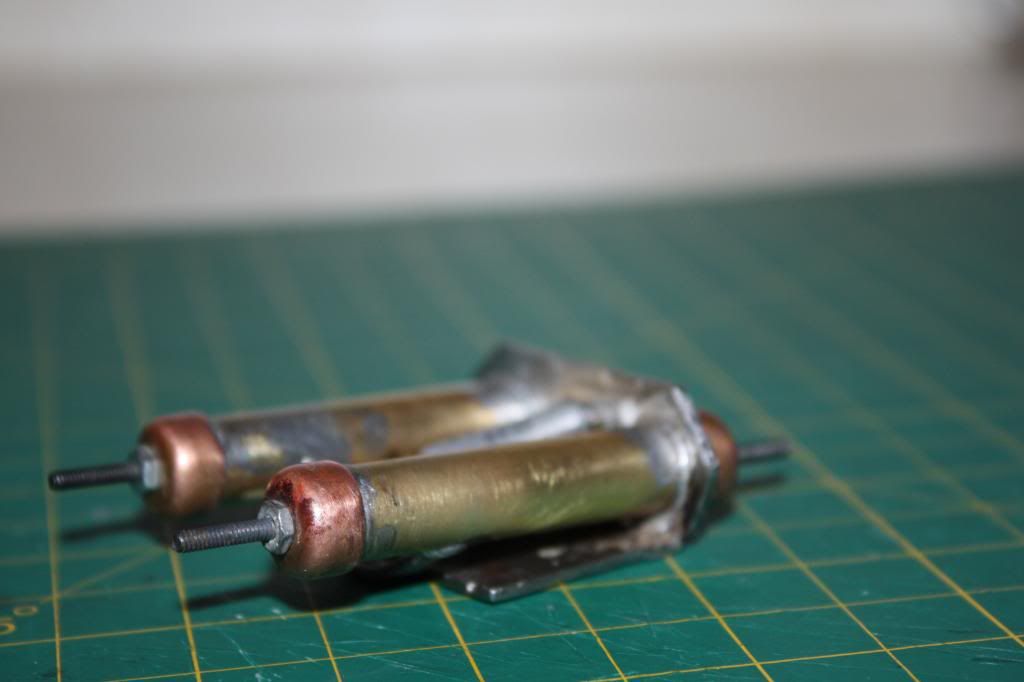
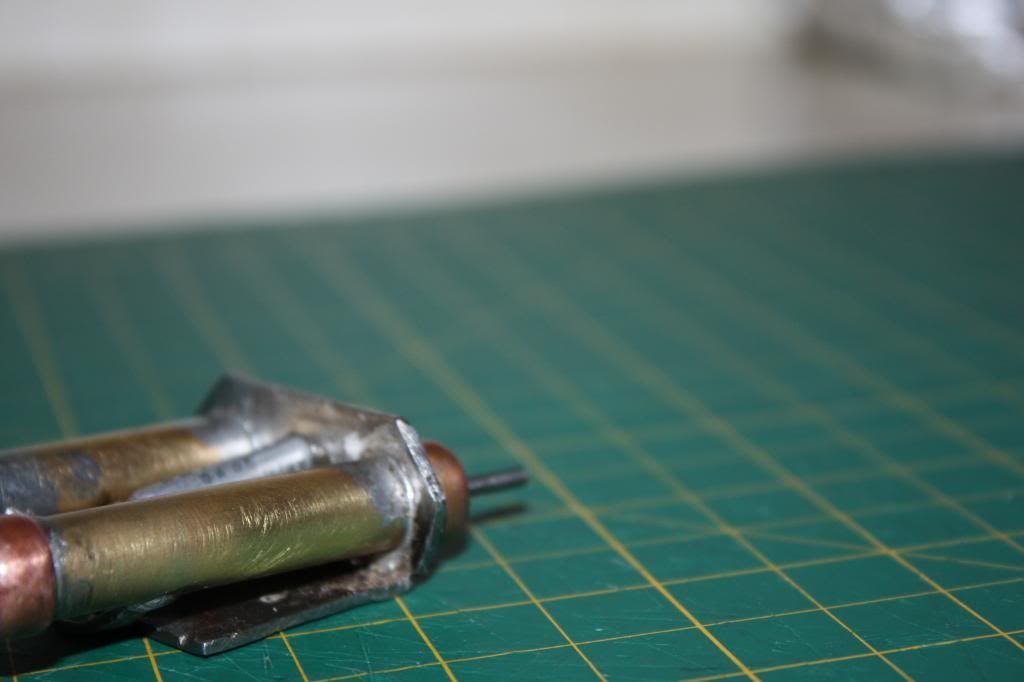
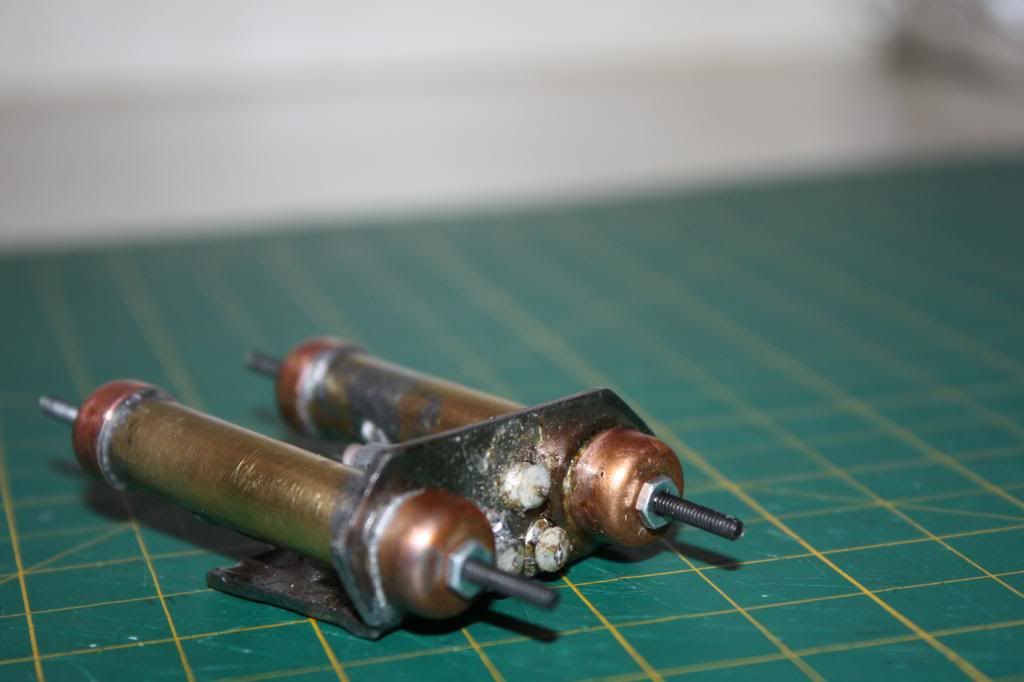
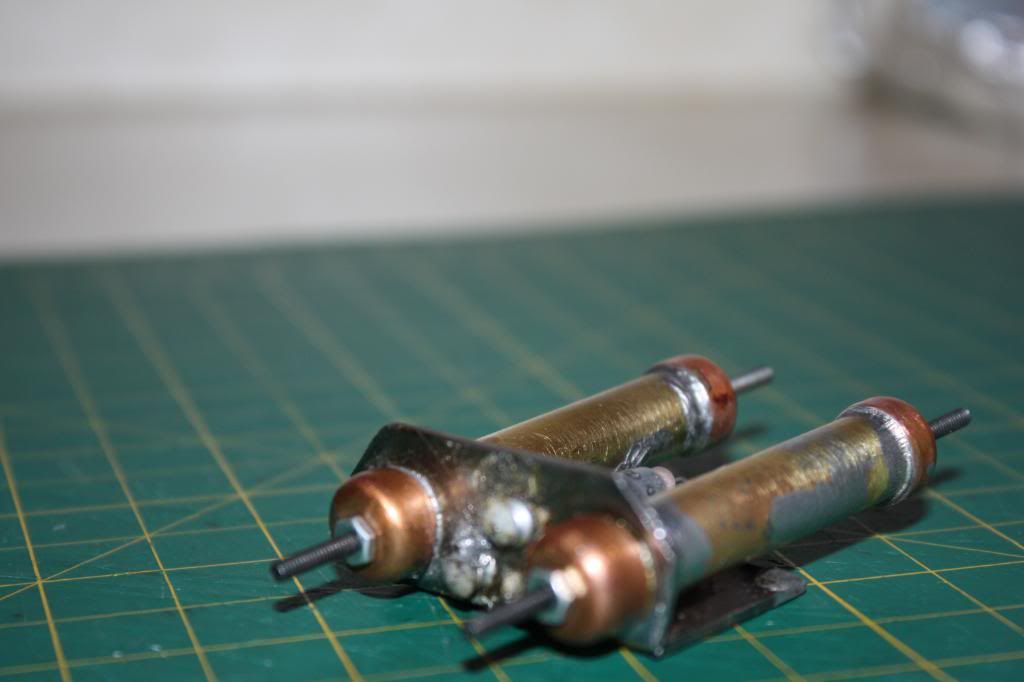
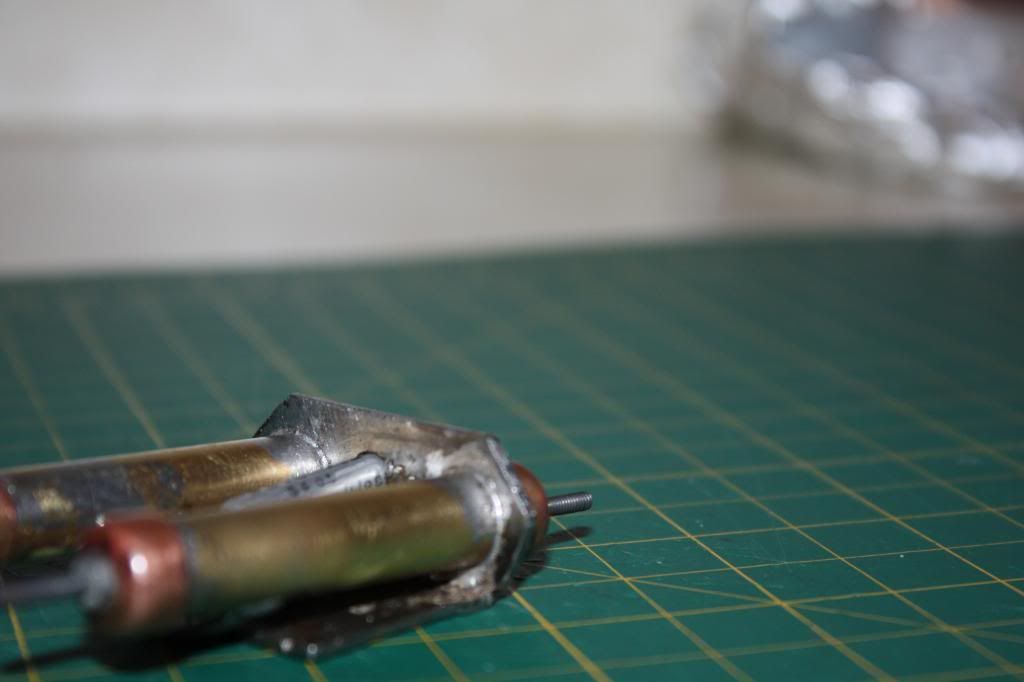
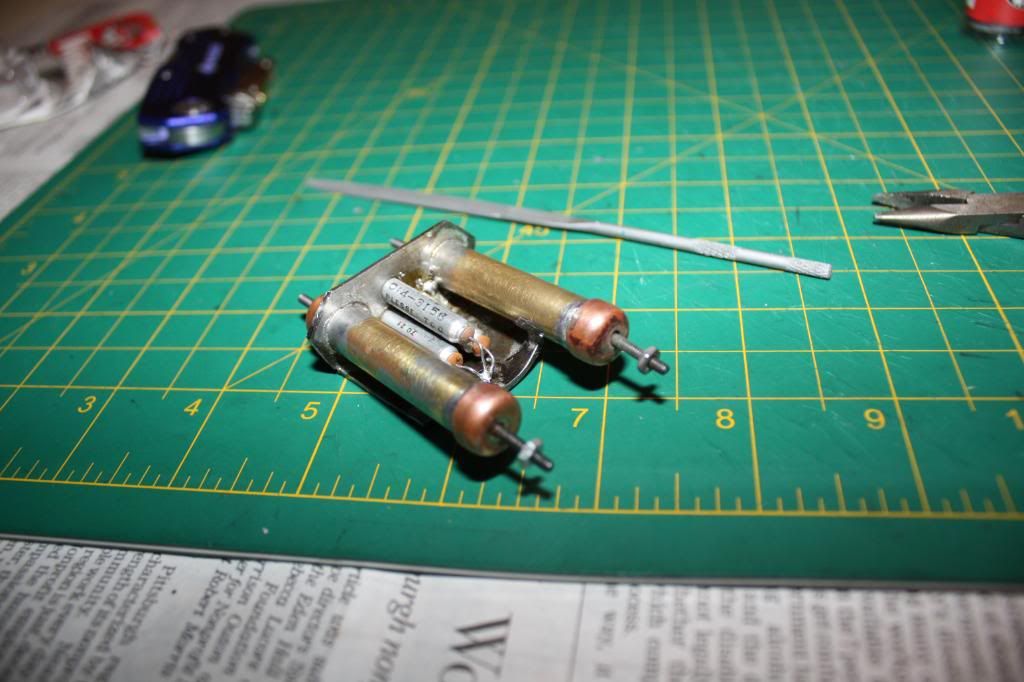
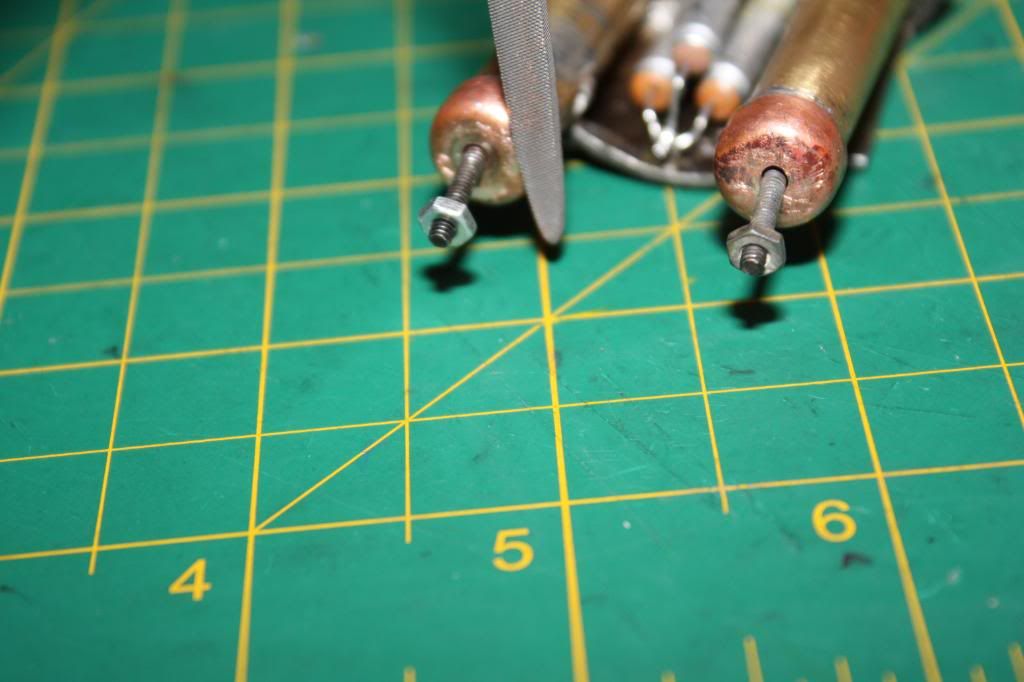
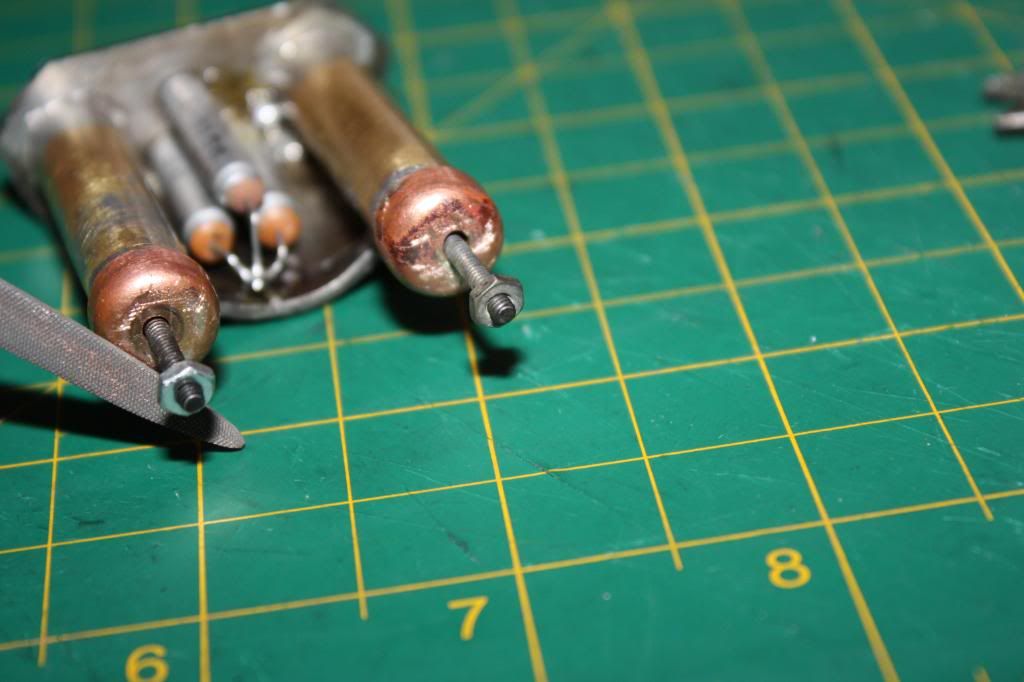
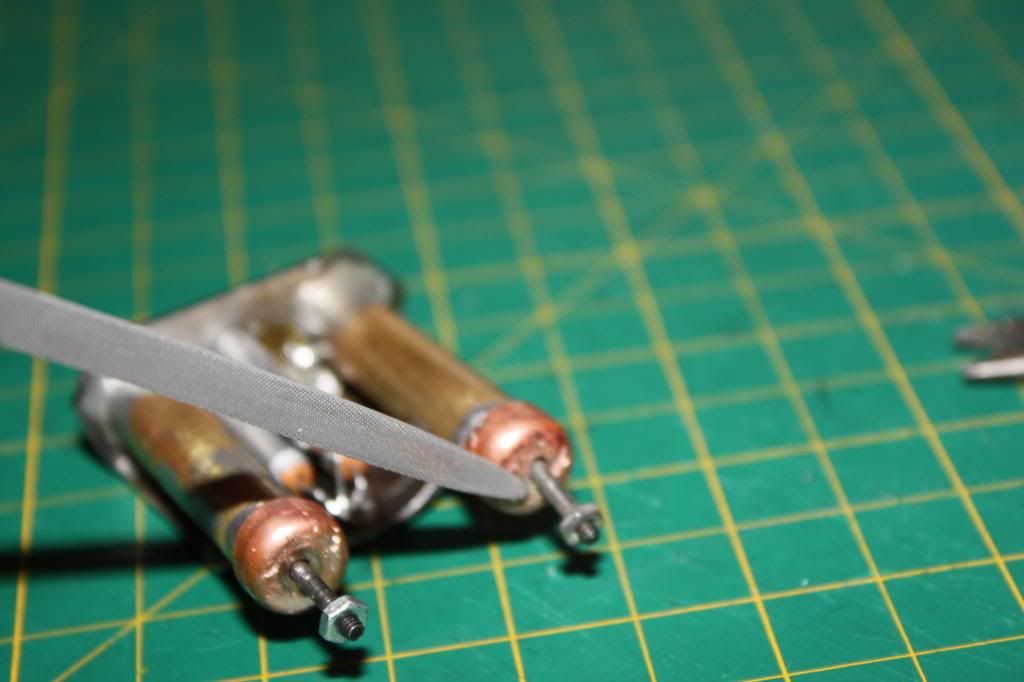
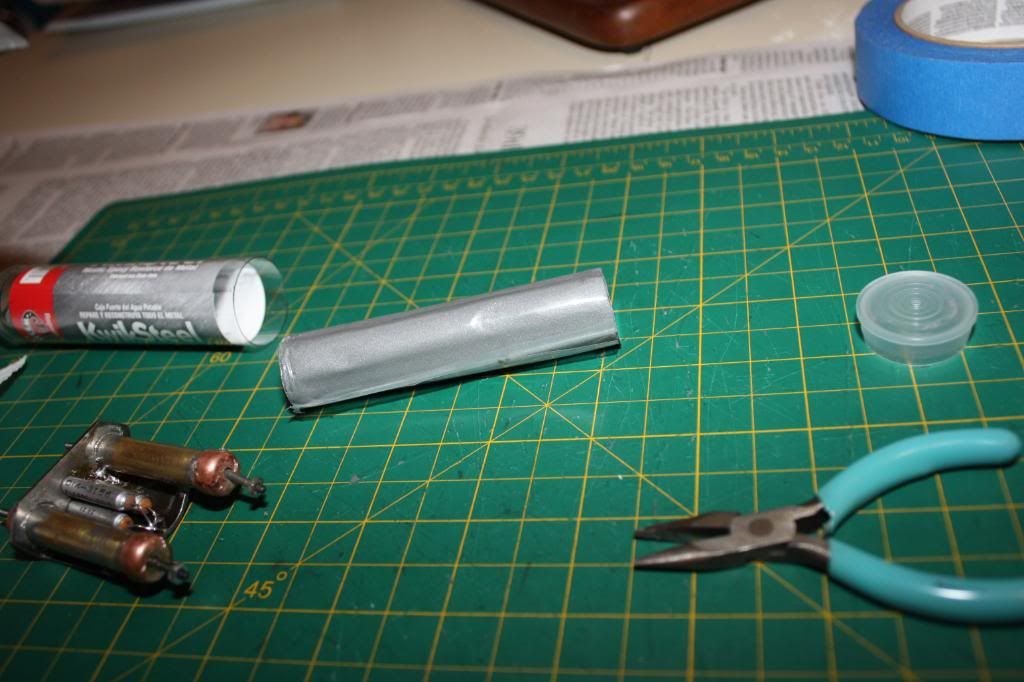
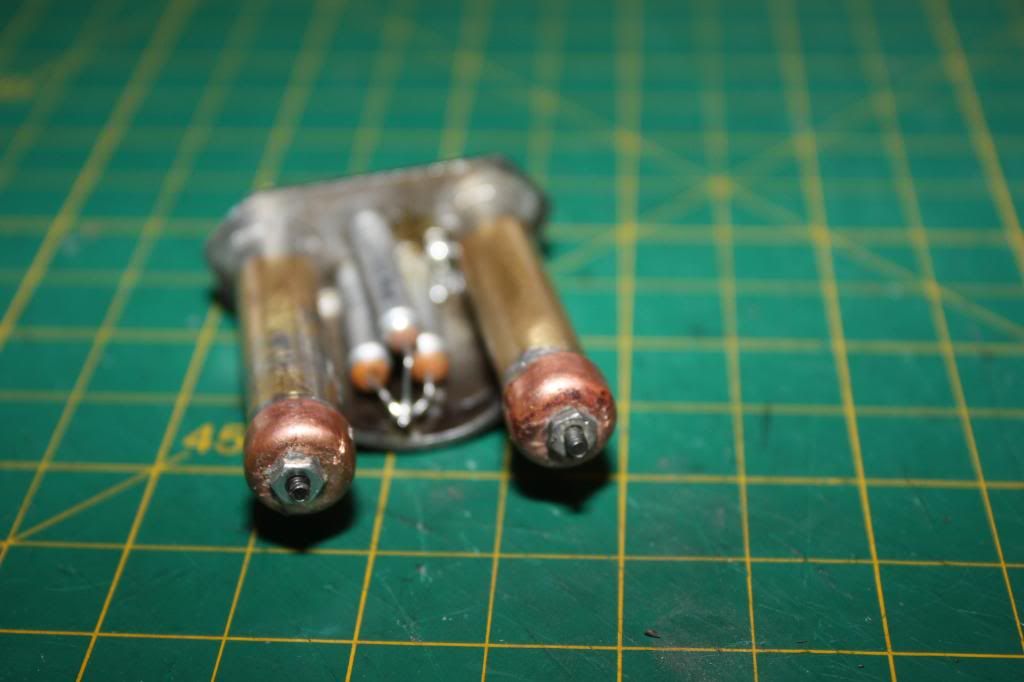
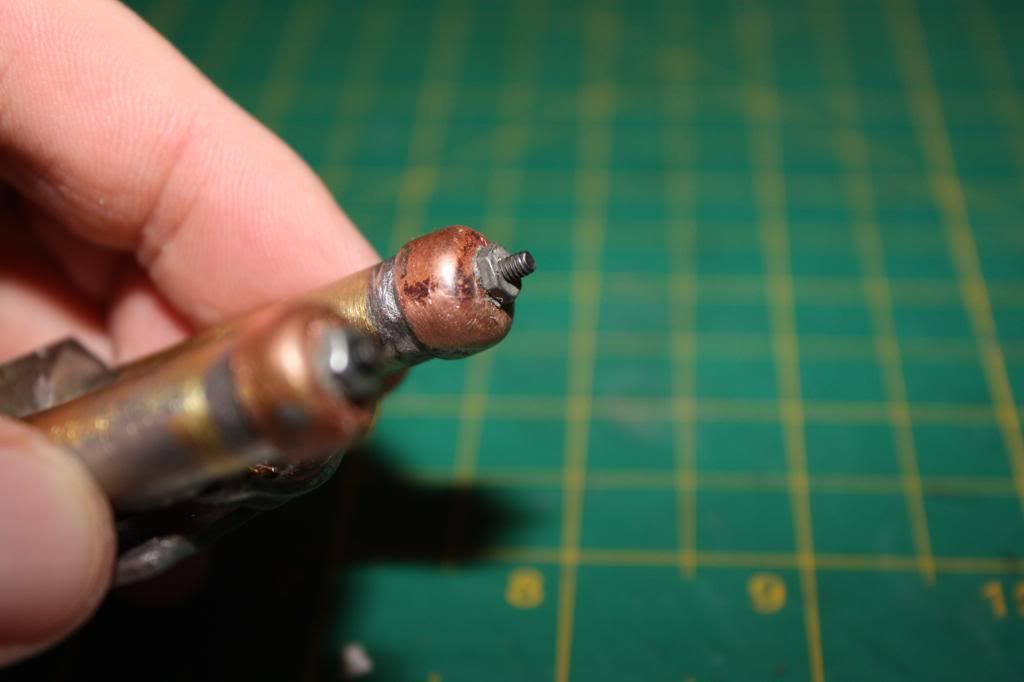
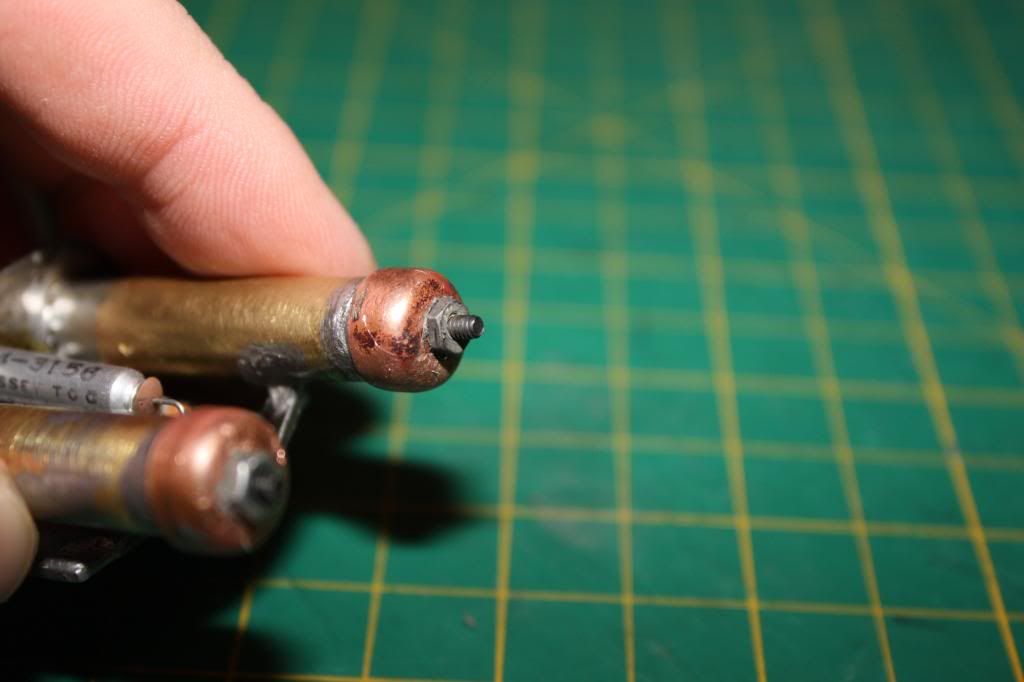
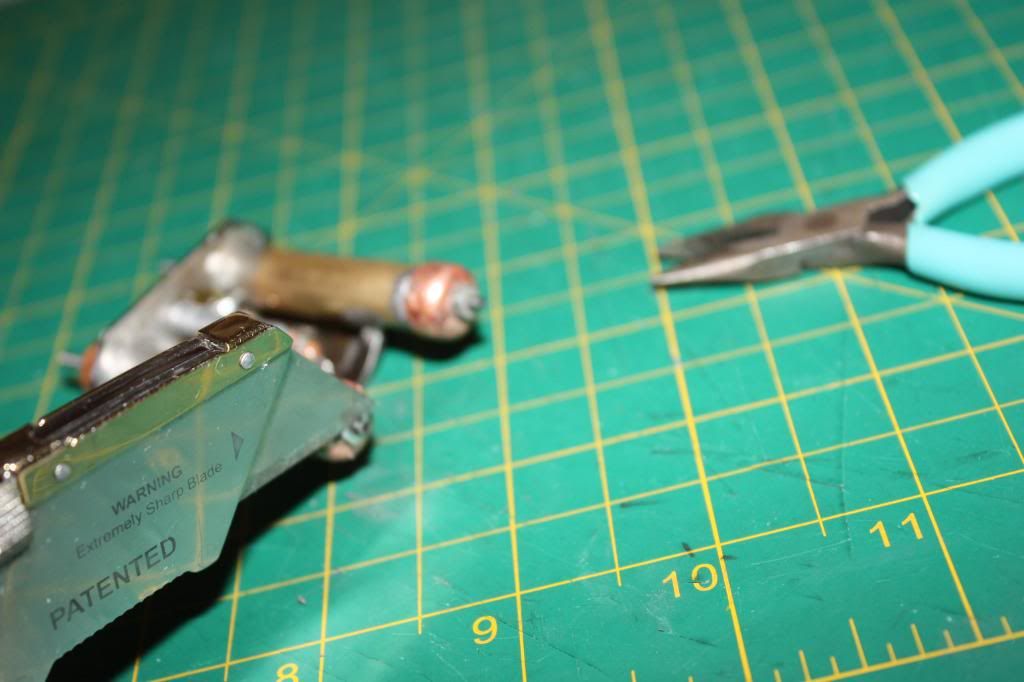
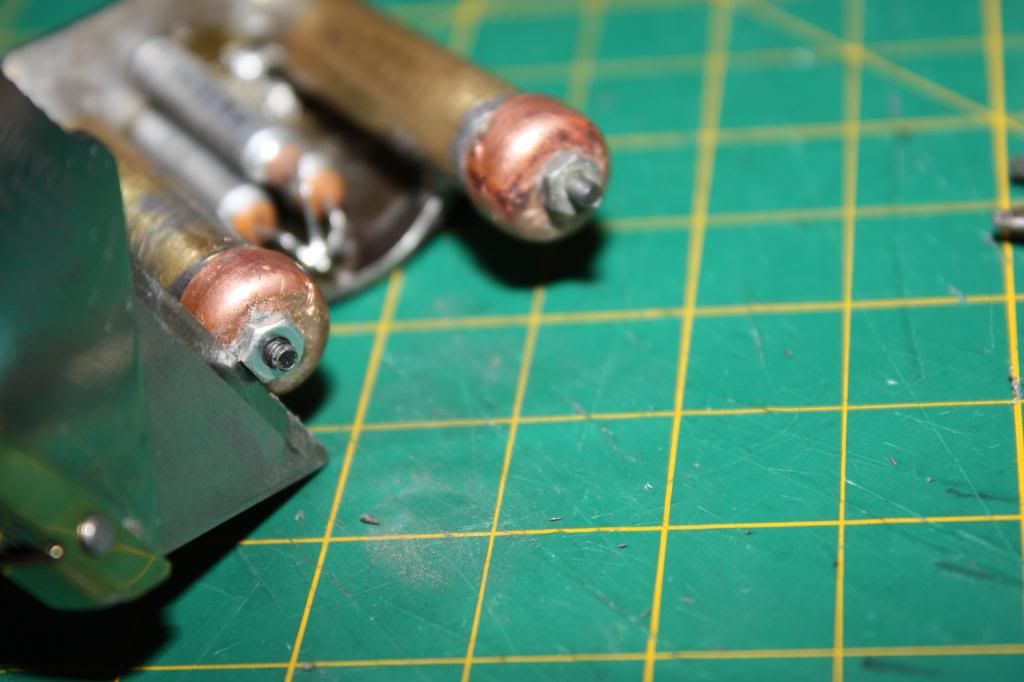
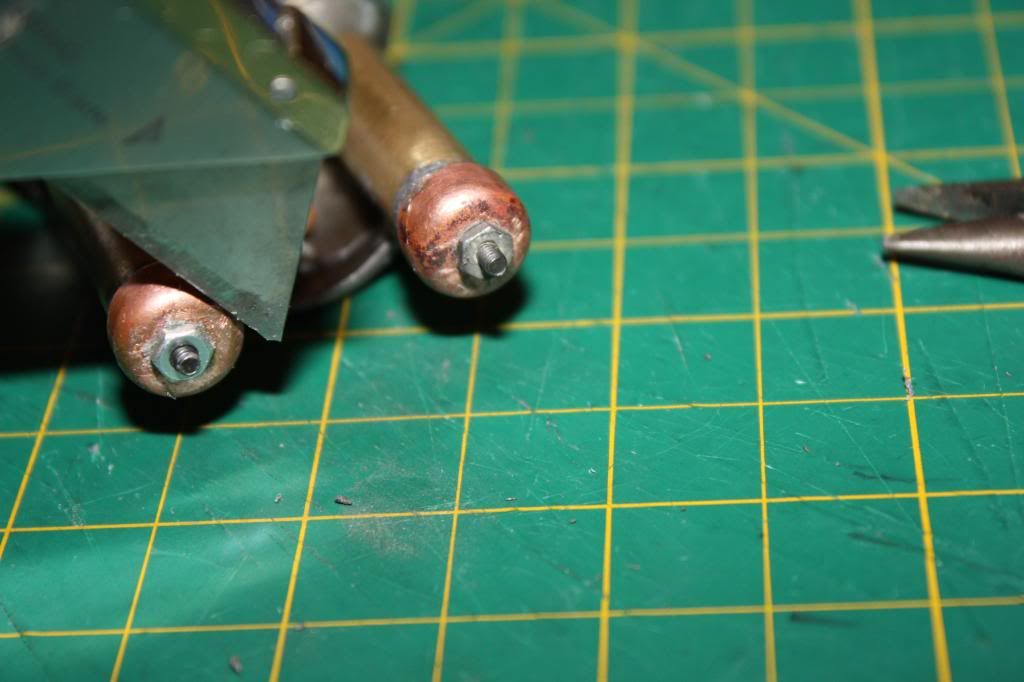
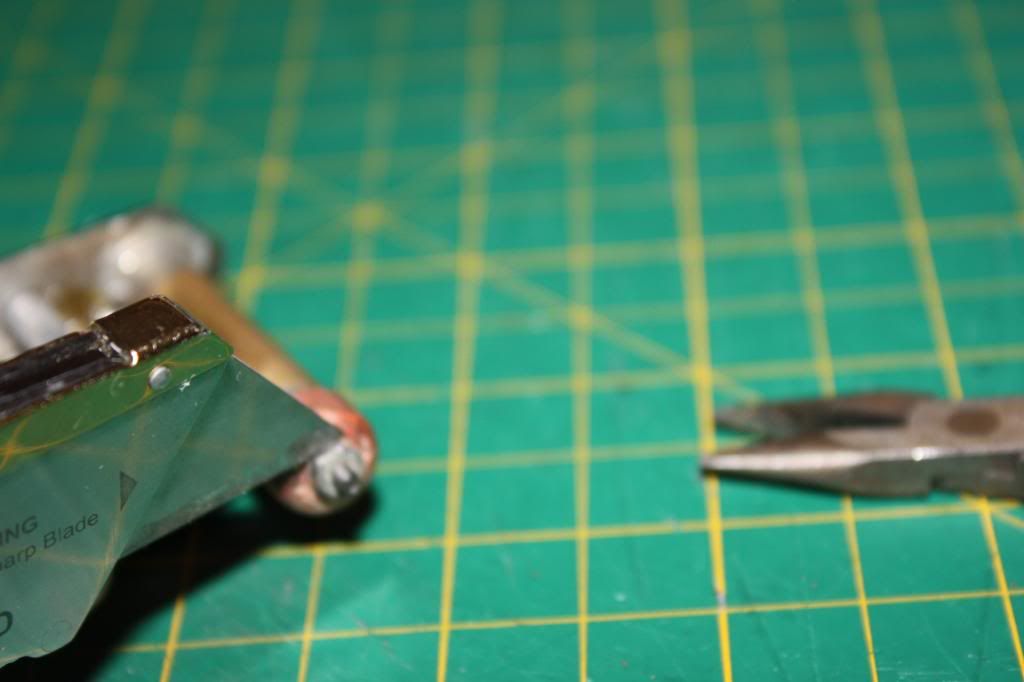
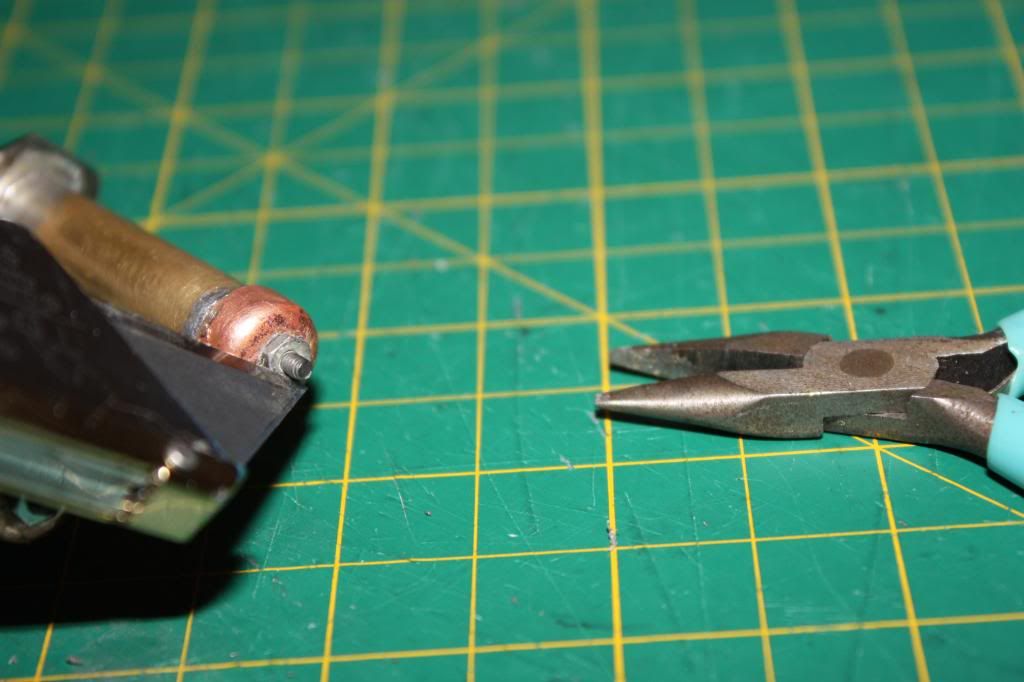
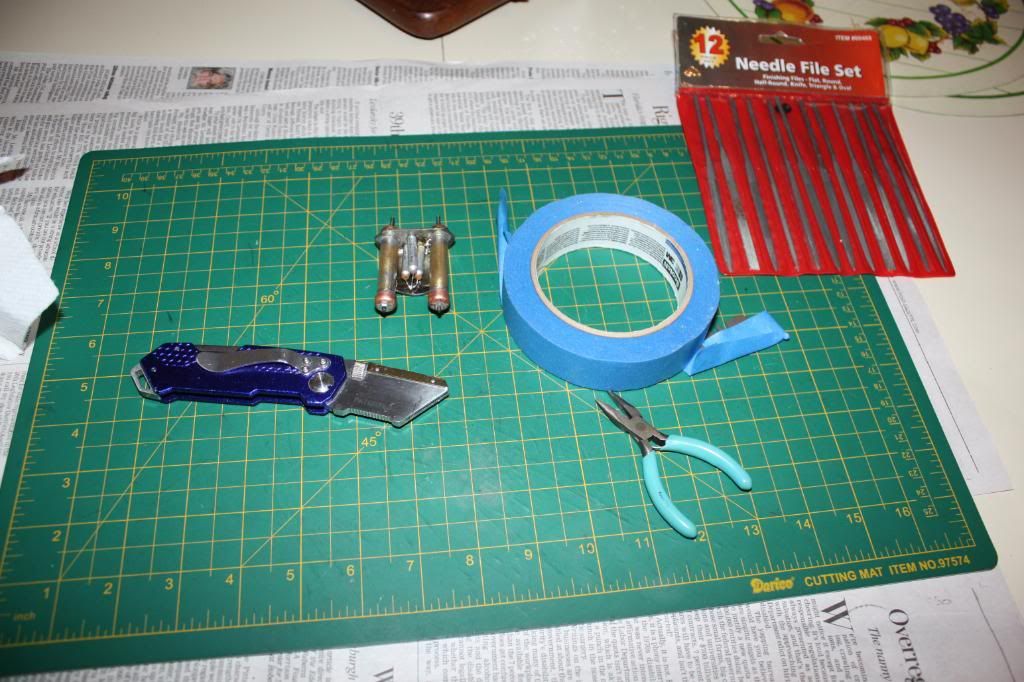
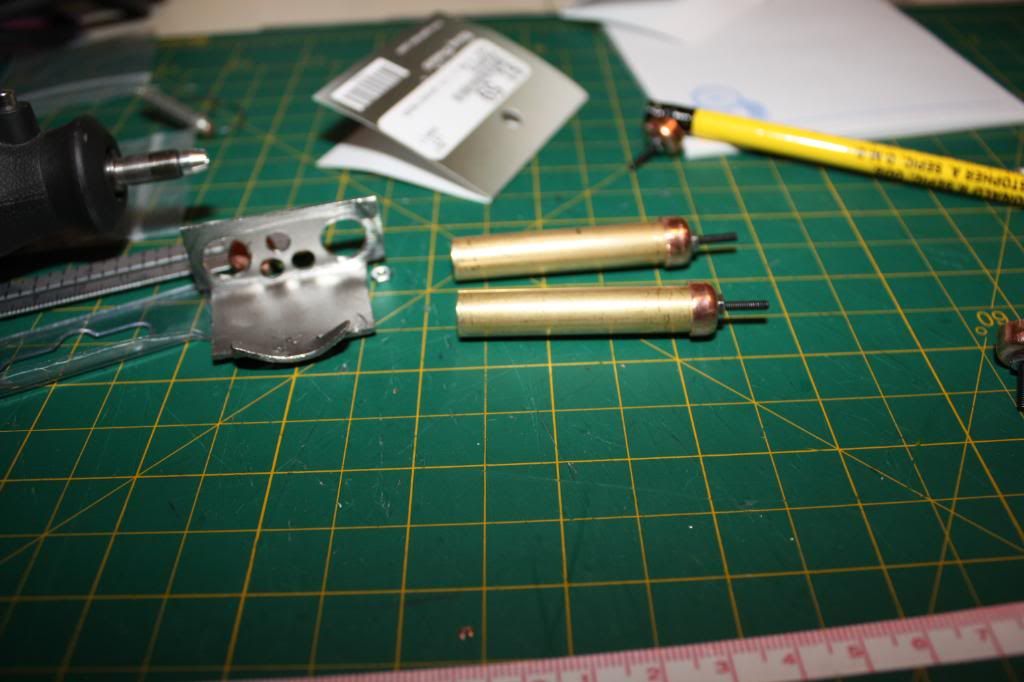
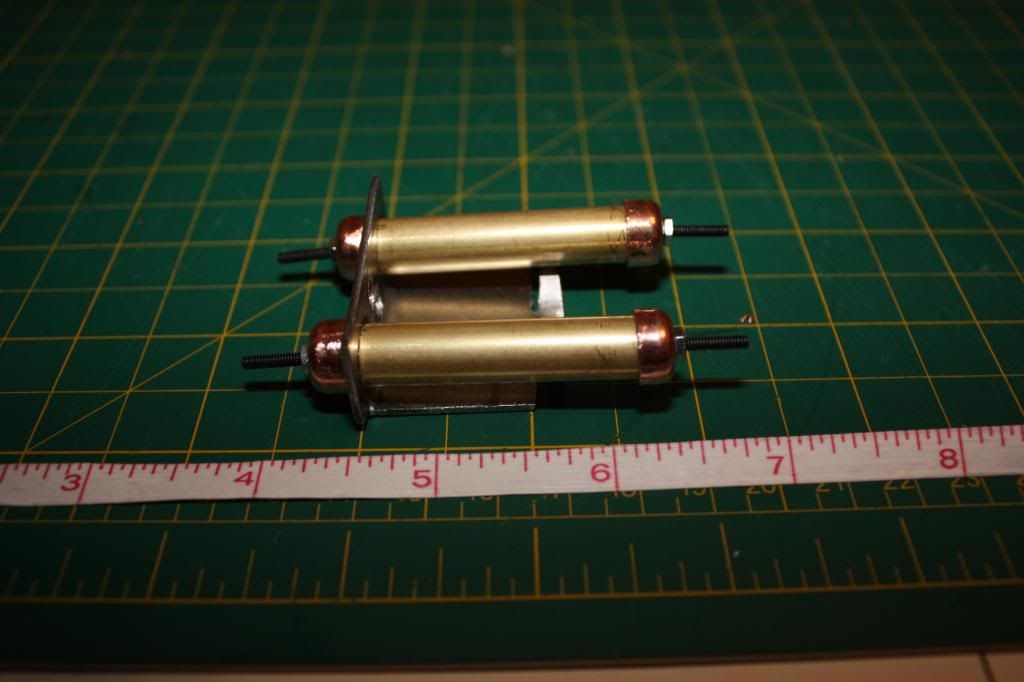
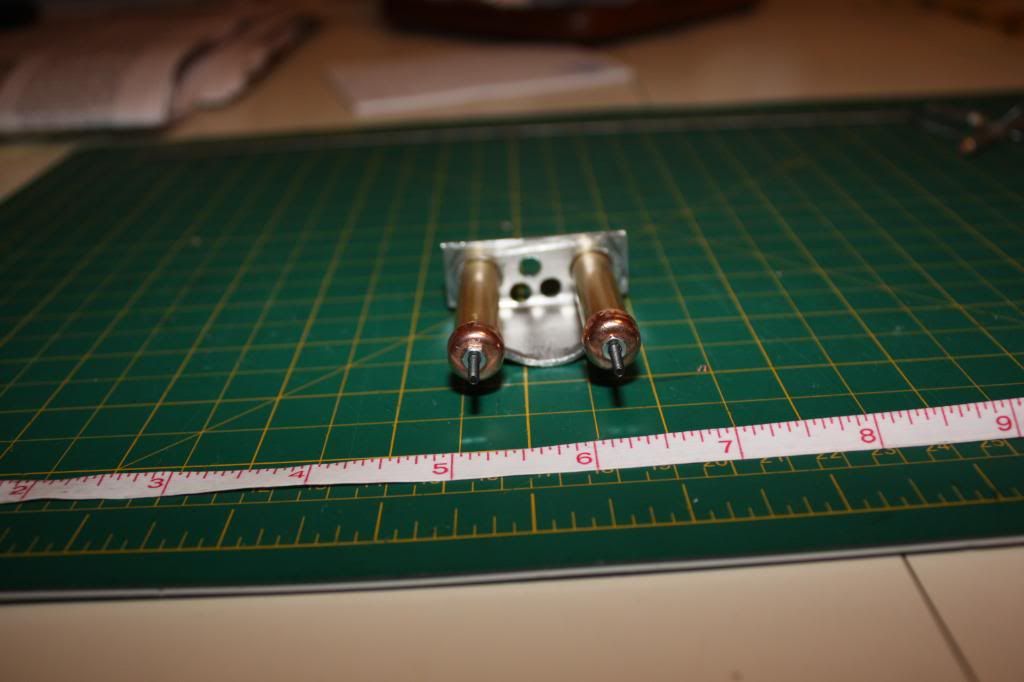
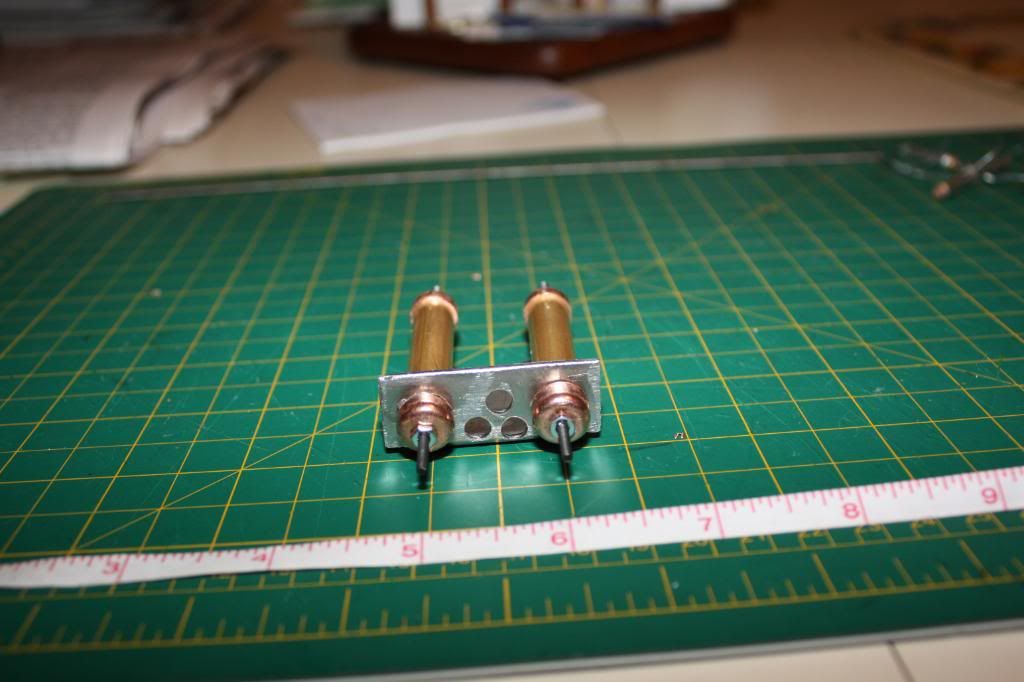
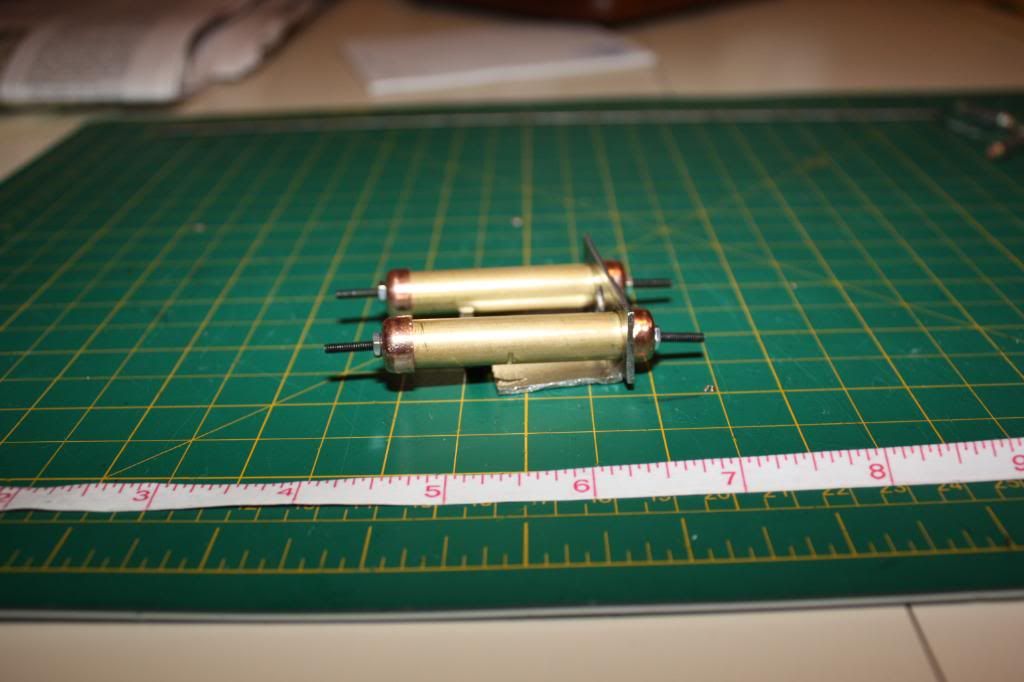
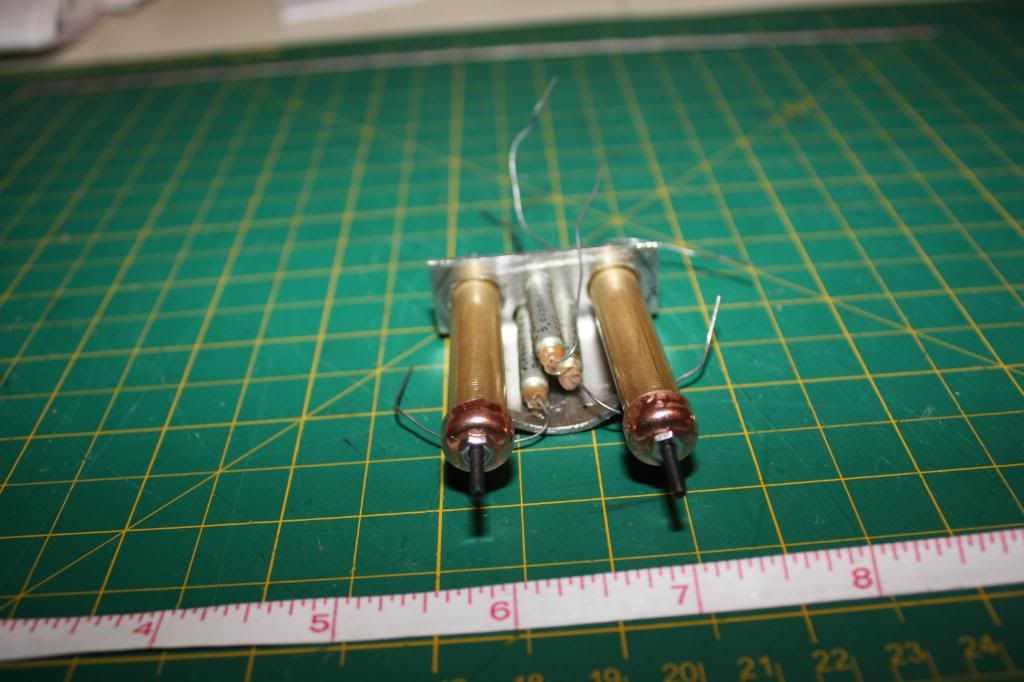
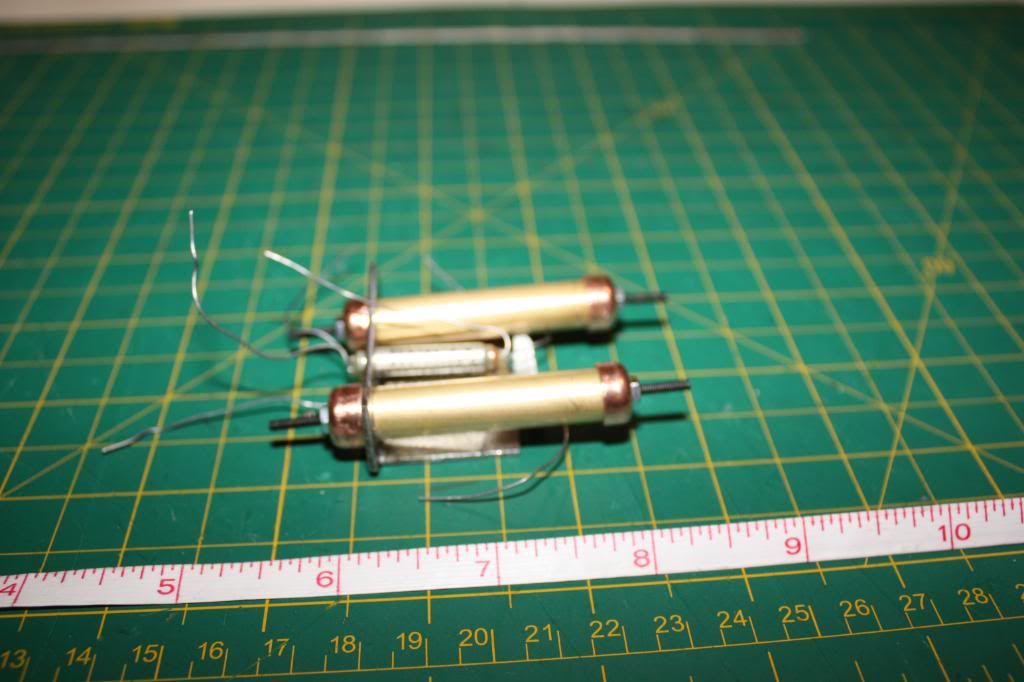
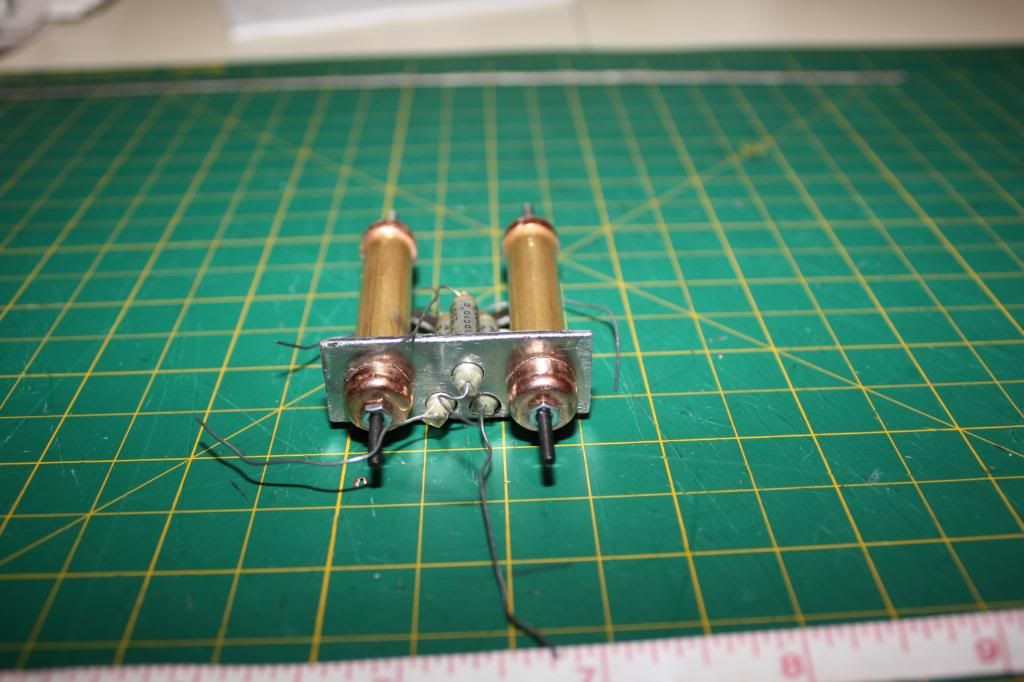
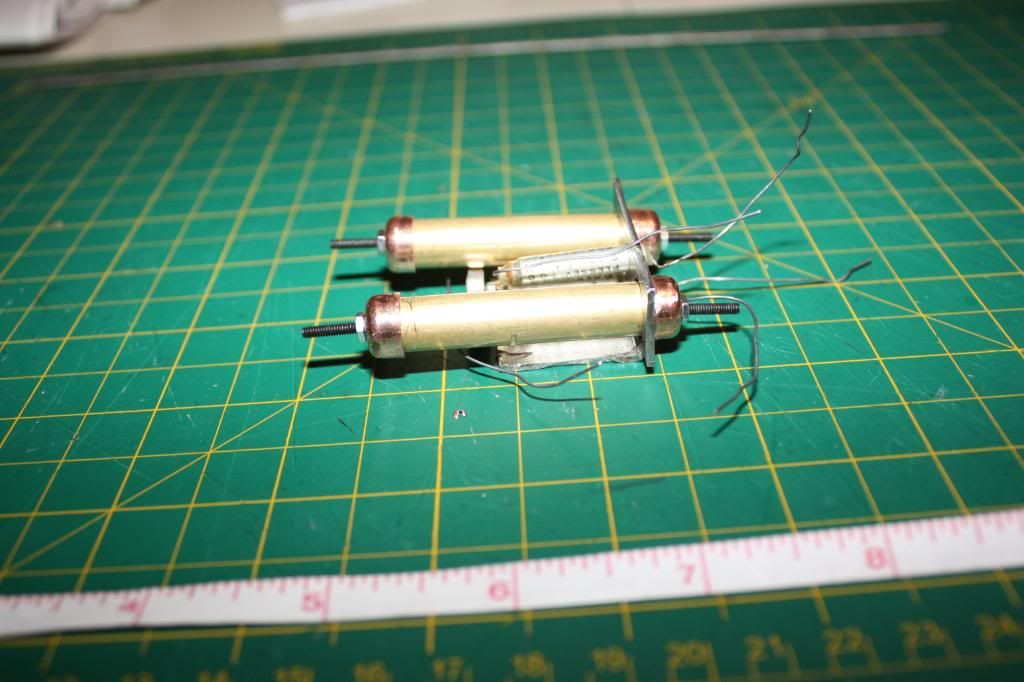
After this was done, I started to assemble the “Power Cylinders” to see how it
Looks all put together. I put the “Brass Tubes” in the holes and set them on the
“Wings”. Next I placed the “End Caps” on the ends of the “Brass Tubes”. Then,
I placed the “Capacitors” in the center holes. I aligned up the “Brass tubes” and
The “Caps” and took pics.

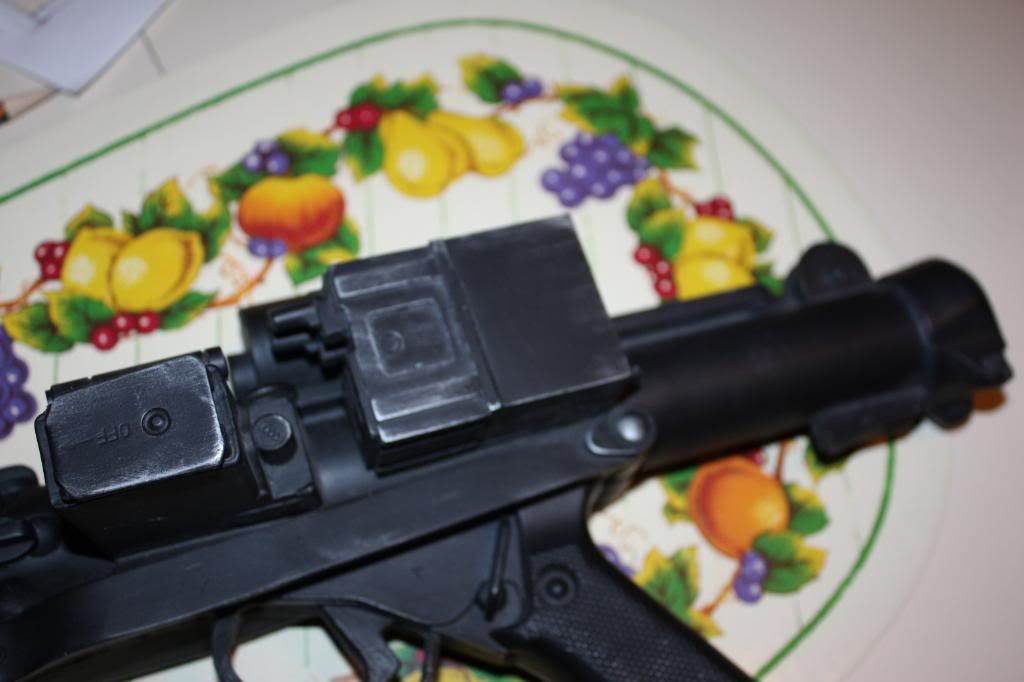
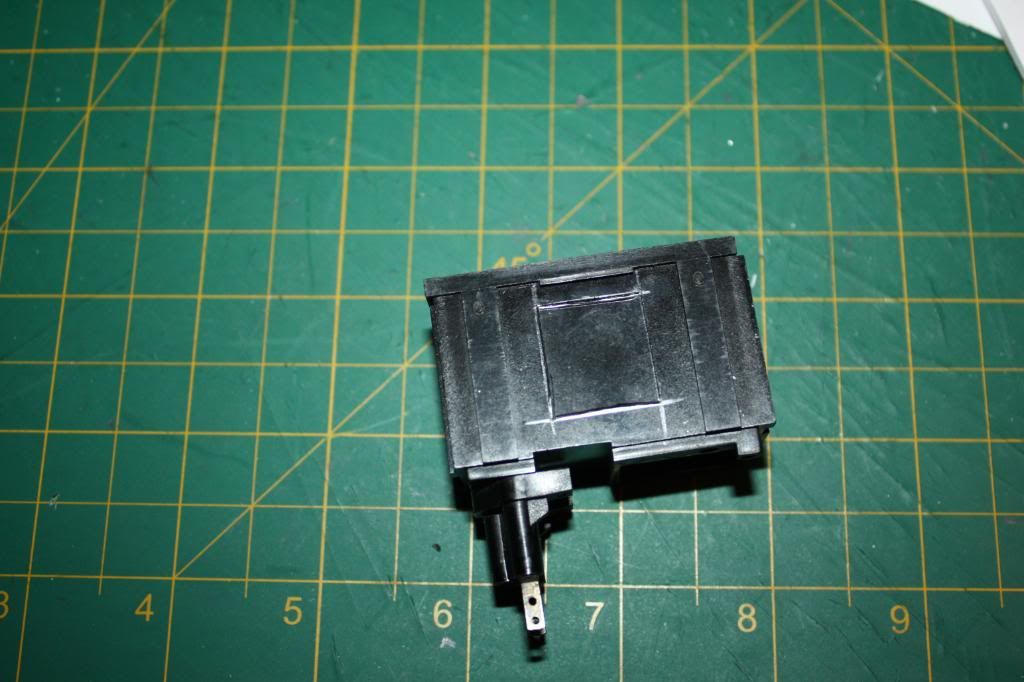
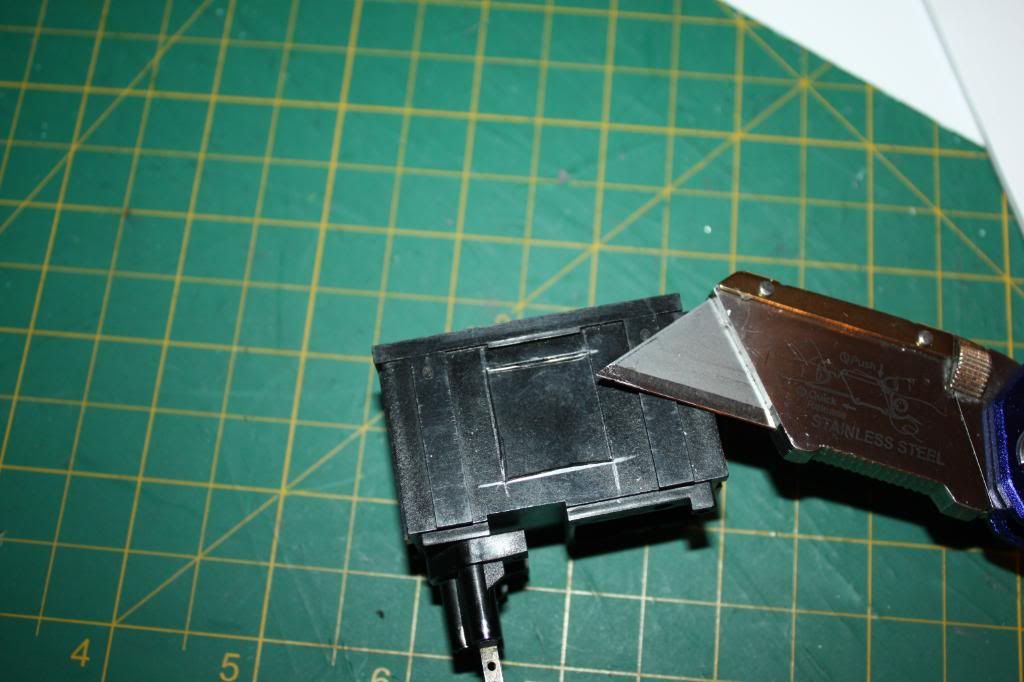
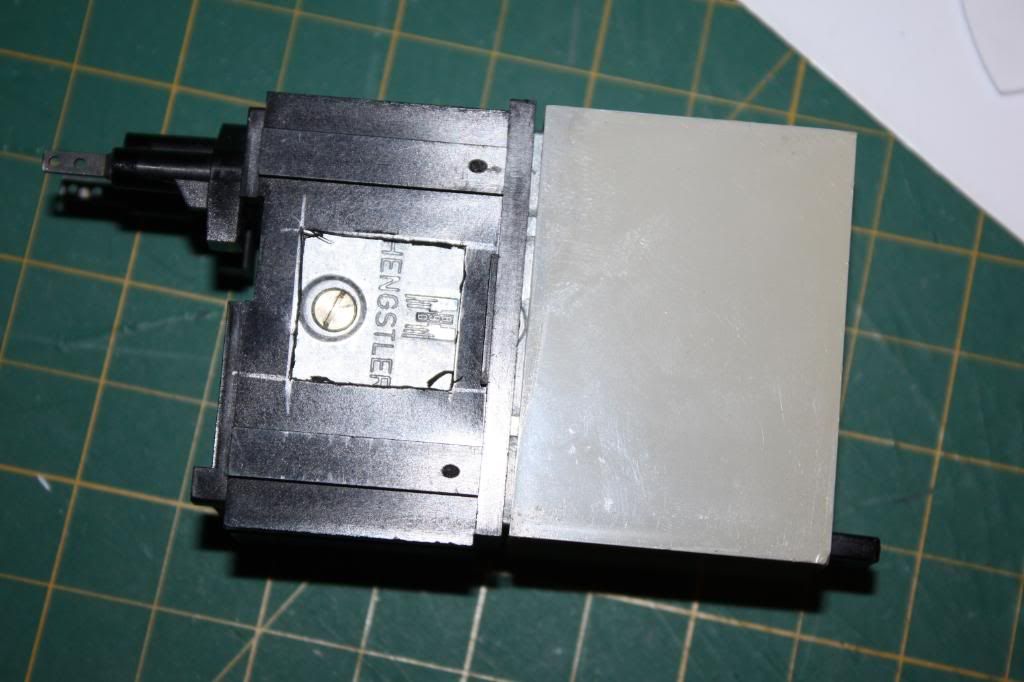
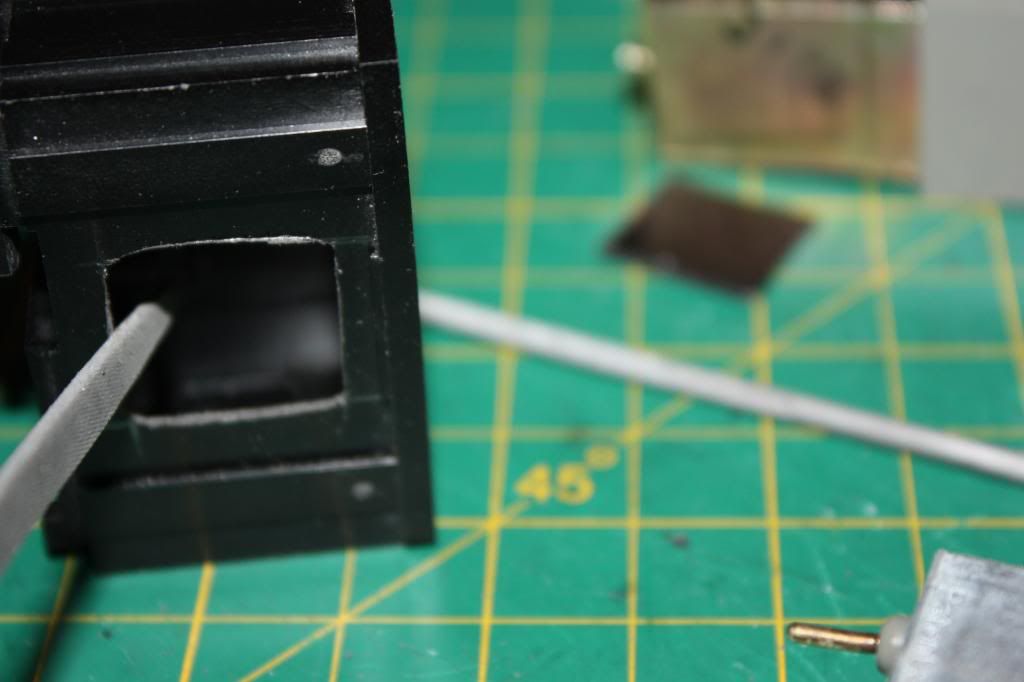
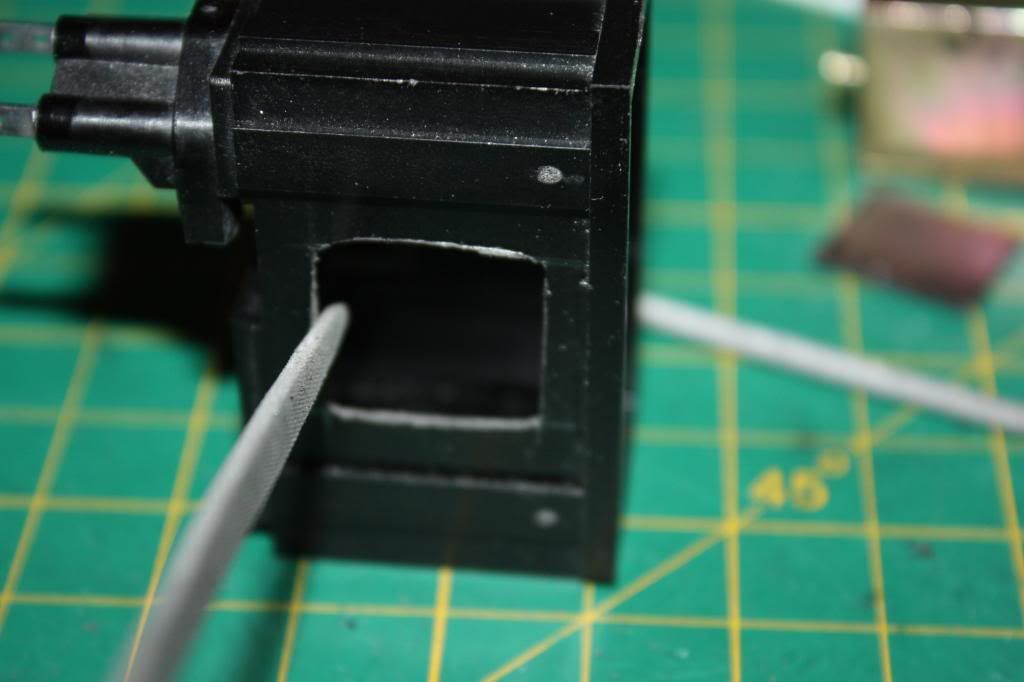
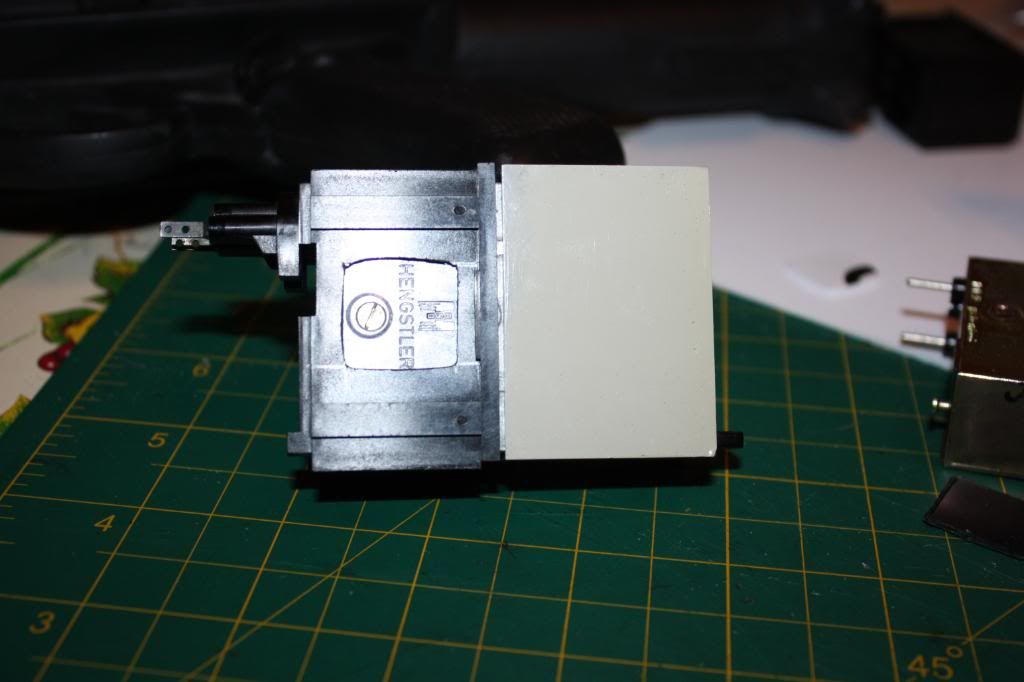
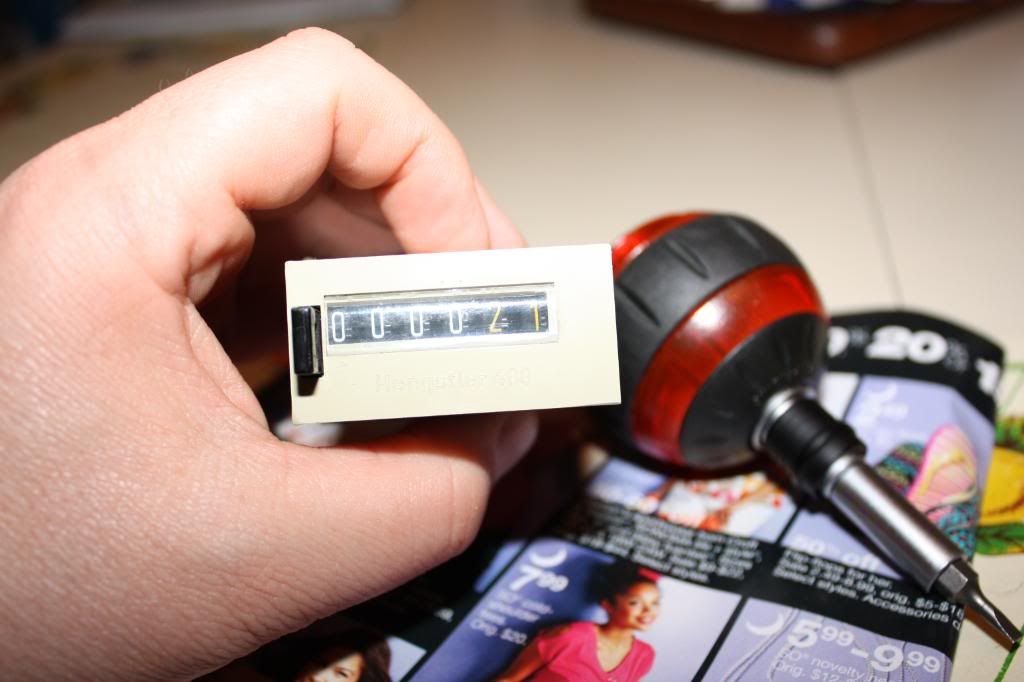
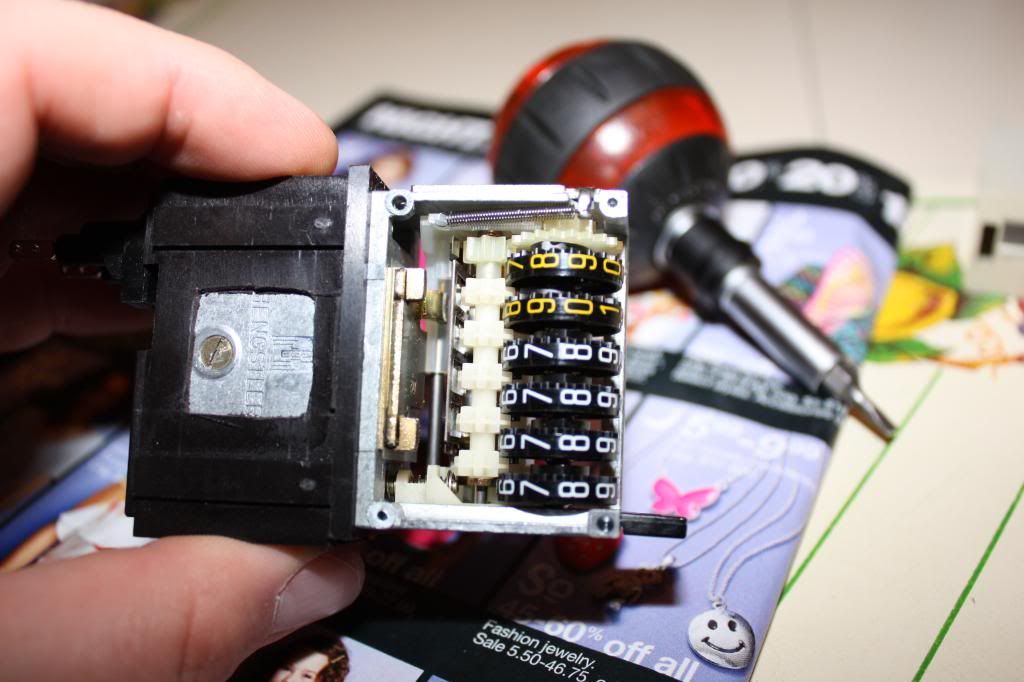
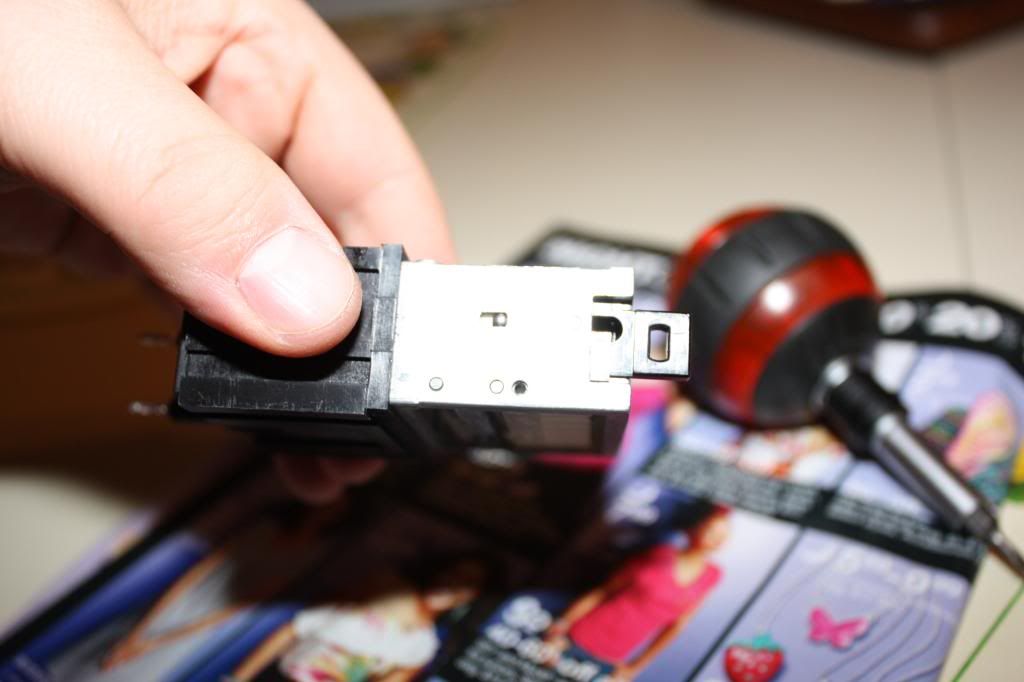
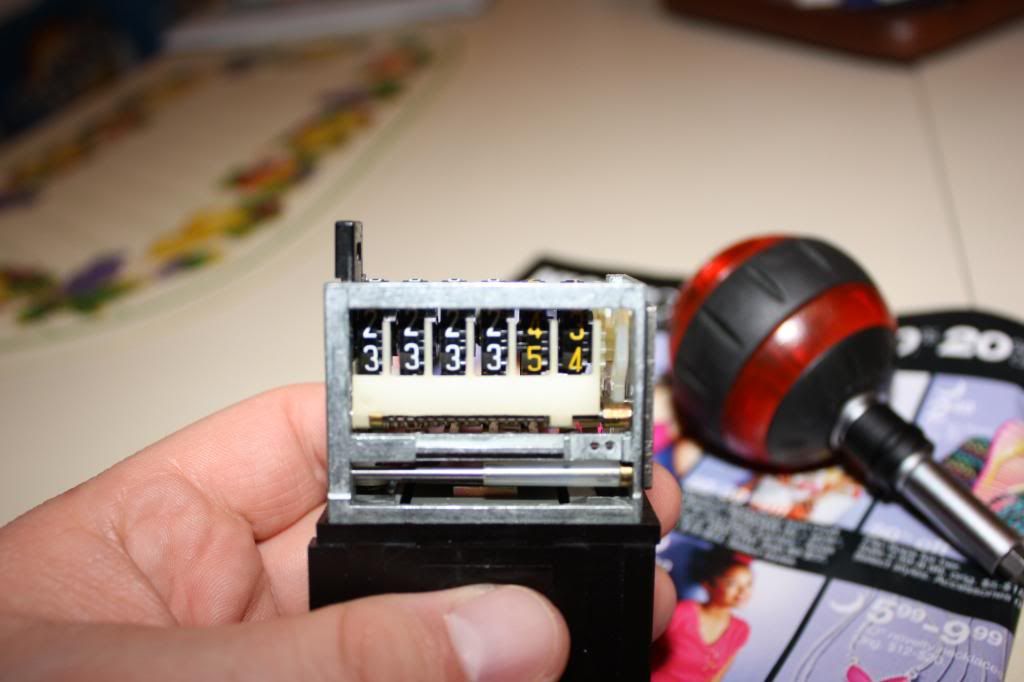
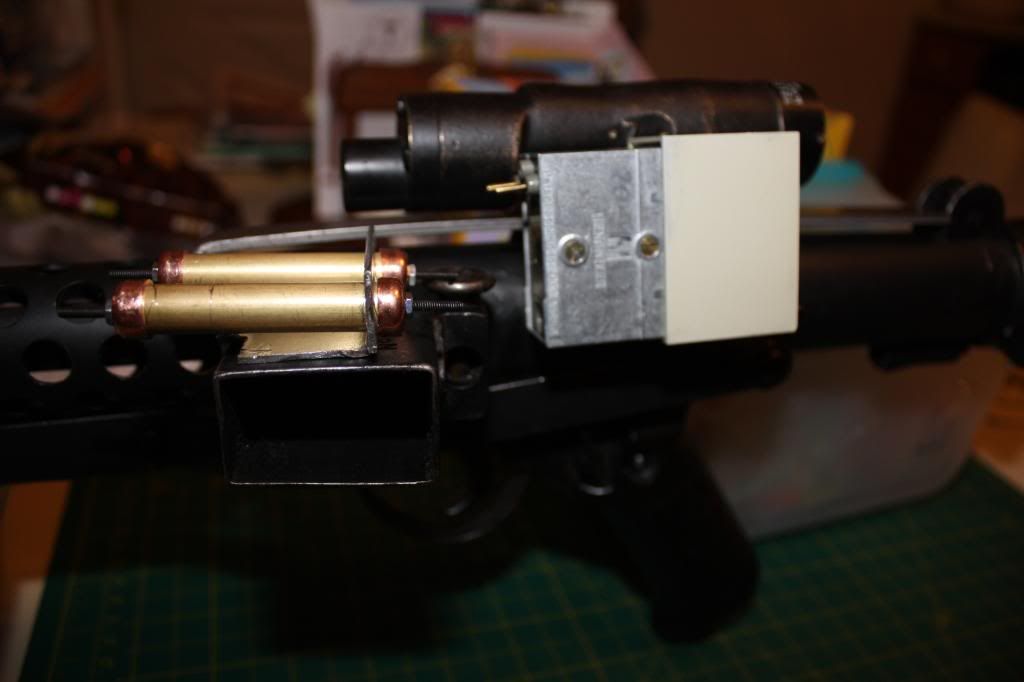
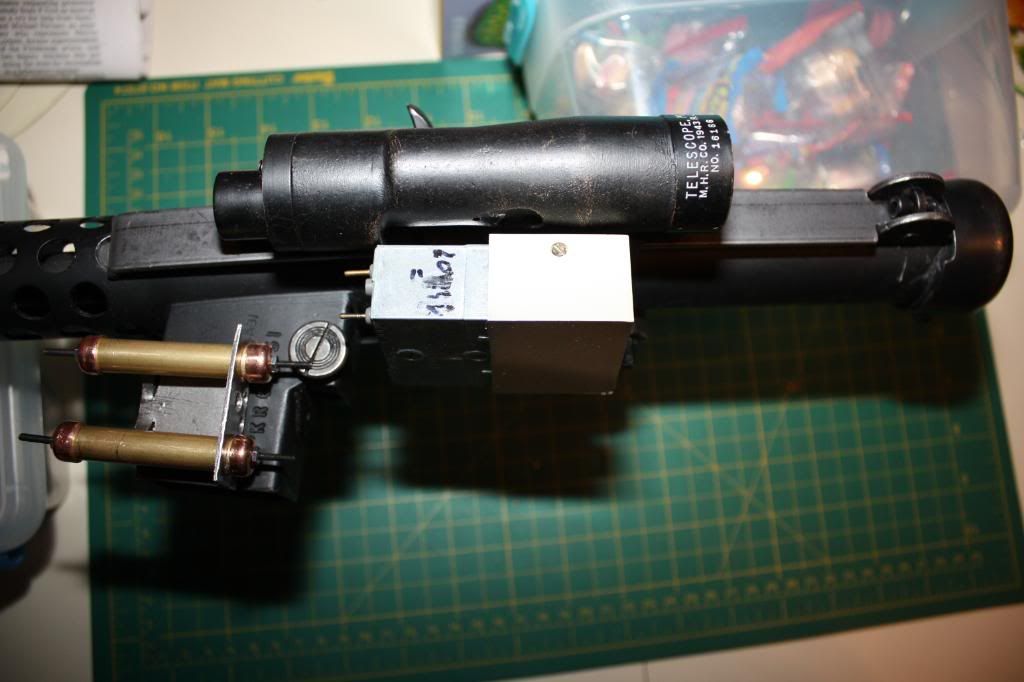
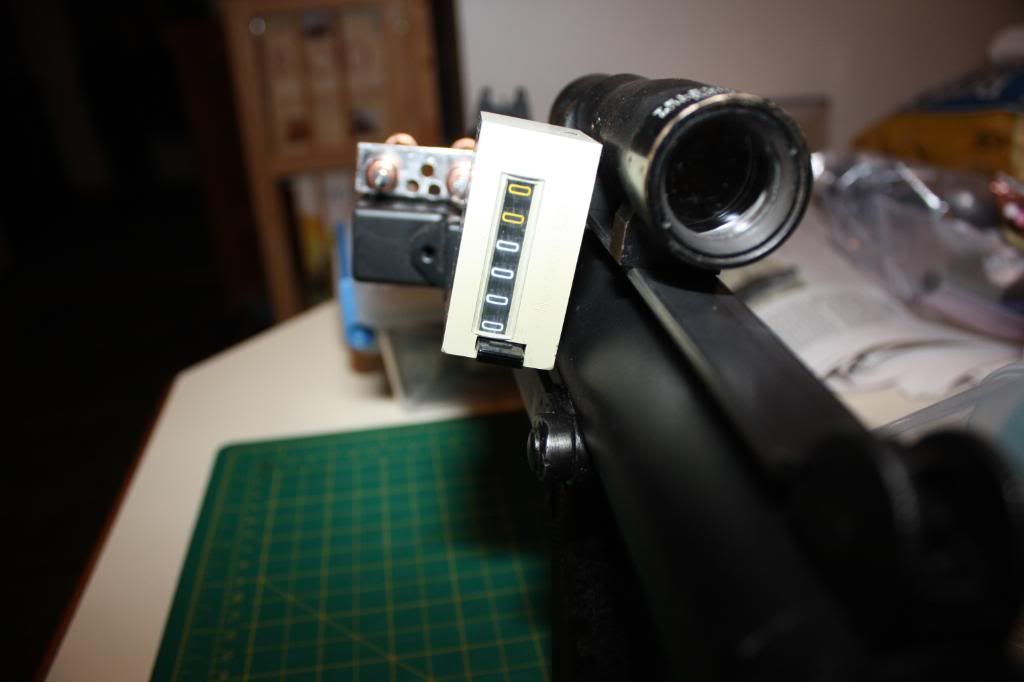
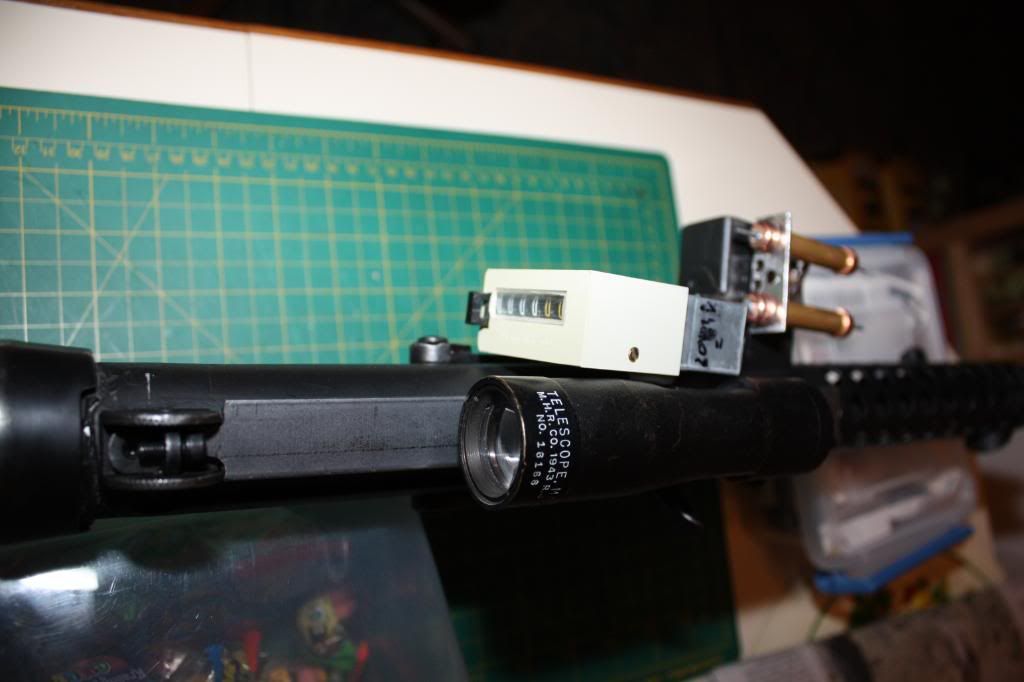
I then got my “Dummy Sterling”, my Scope with the Rail, my Hengestler, and
And placed everything in place for a test fit. I used a plastic container and a cookie
Box to hold the “Dummy Sterling in place while I placed everything on the sterling
And took some pics. How does it look so far?
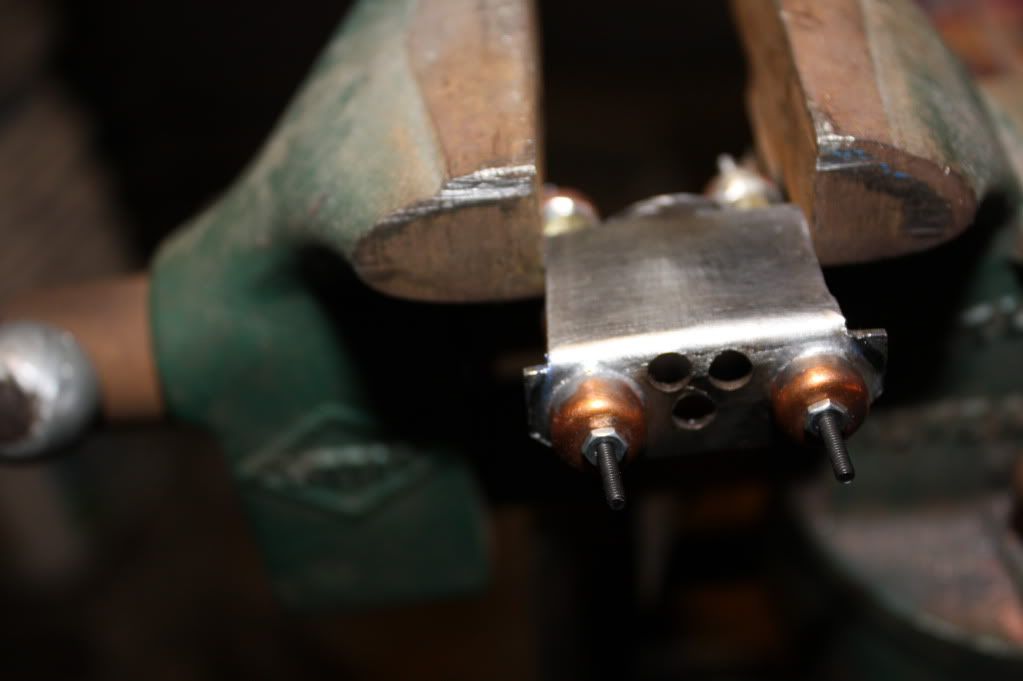
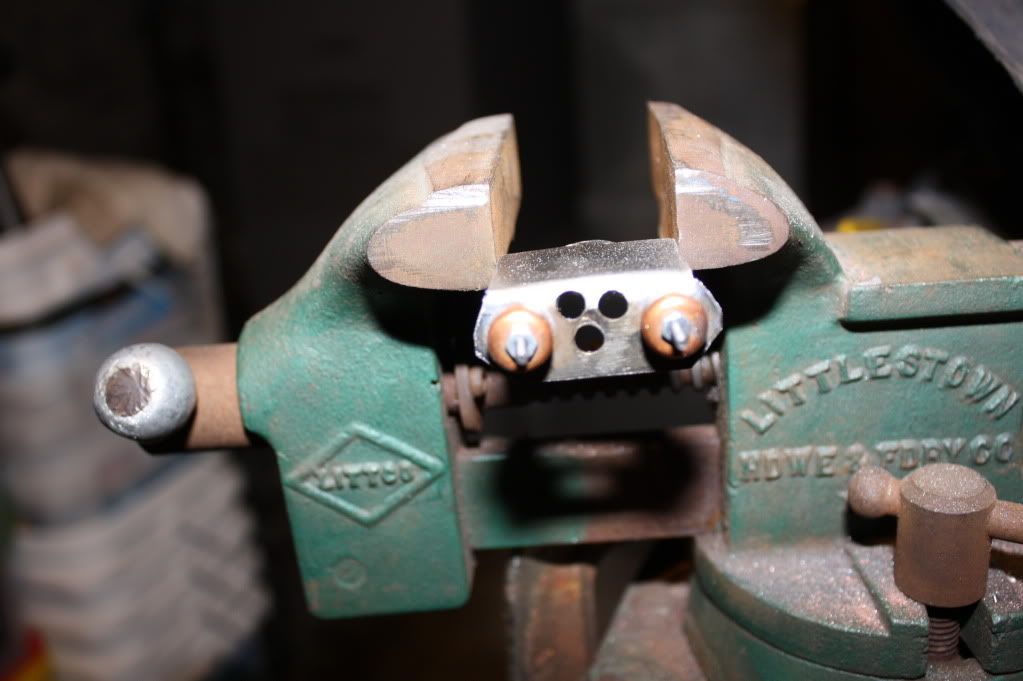

076-7.jpg


078-7.jpg


079-6.jpg


080-7.jpg


081-6.jpg


082-6.jpg


083-6.jpg


084-6.jpg


085-5.jpg


086-6.jpg


087-5.jpg


088-4.jpg


089-4.jpg
 
That´s a hell of a lot pictures... WOW! :lol

You did some amazing work on this Sterling, mate!
I especially love what you did with those power cylinders! :love:thumbsup
Keep the good work up, i will follow this thread closely!
 
Wow, great work so far. I too have a scope and Hengstler. Hopefully I can get me a demill Sterling and get to work like you have. This thread and your useful pictures should help me quite a bit.
 
Andy,

This is turning out great! Awesome Job... Good pics as well really informative. That blaster looks spot on..

Your friend,

Mike
 
How to convert a Plastic "Hengester Socket\Connector".

Since I do not have a "Metal Socket\Connector" for my counter. I am going to convert my plastic one. I took out my "E11 Hyperfirm" and took some measurements of the "Cutout" section of the counter. I measured the distance from the top, bottom, left and right. Made the markings on the "Socket". Took out a metal ruler and connected the lines. I got my "Xacto knife and kept scoring till I cut out the center. I got some "Jewler's Needle Files" to smooth it out. Got my "Counters" and slipped it in too see how it looks and compaired it to the "Hyperfirm".

003-19.jpg

009-16.jpg

010-17.jpg

011-16.jpg

012-16.jpg

013-15.jpg

014-15.jpg

015-15.jpg

018-14.jpg

019-15.jpg

020-15.jpg

026-14.jpg

028-13.jpg

029-13.jpg

030-13.jpg
 
Next up is sodering the tubes to the base. To do this I had some help. I am not good with sodering. First the front of the tubes were sodered. Then I did my best to allign the tubes as best as I can and then soder the back caps and run a bead on the backplate allong the tubes. Then soder the tubes to the "V" wings.
035-13.jpg

034-12.jpg

036-14.jpg

037-14.jpg

039-12.jpg

041-13.jpg

042-13.jpg

043-13.jpg
 
Next up I beveled off the "Backplate". I was studying "Play Wolf Cub" modified Template on the variations of the "Powercylinders" I decided to trim off the back of mine. I used a pencil to mark the lines on the back of the "Backplate" and secured it in the vice. I used a "Dremmel" to cut off the corners and to sand off any remaining pieces of metal. When using a "Dremmel"
233.jpg

234.jpg

235.jpg

236.jpg

237.jpg

238.jpg

239.jpg

240.jpg

241.jpg

242.jpg

243.jpg

244.jpg

245.jpg
 
Next up is to set the "Center Caps" and tack them in. I frst used a "Utility Knife" to remove the plastic sleave around the "Caps". Then I used a pen awe to tap and mark the area where I wanted to drill the holes for the front wires to sit. I used a dremmel to drill the holes a little deeper I did not want to go all the way through. I did this so that the wires would have a place to sit, so that they can be tacked with one bead of soder. Once the pilot holes were drilled. I began to place the "Caps" in and try to get them as level and even as I could. Once as I got them where I wanted them. I trimmed off and shaped the front wire. Then I got help again to soder the back of the "Caps". I started with the bottom and sodered each one. One at a time. This was to make sure they were placed were I wanted them. After the back was finished, the front wires were tacked.
250.jpg

249.jpg

248.jpg

251.jpg

254.jpg

258.jpg

257.jpg

255.jpg

011-17.jpg

012-17.jpg

013-16.jpg

014-16.jpg

015-16.jpg

016-16.jpg

018-15.jpg
 
What great pictures! Such a lot of work and detail going into this, thanks for sharing it with us. I was wondering how the scope rail should be fixed at the front and now I've got a good idea of what to do.
 
Painting the parts.
To secure the front screws I untightened the screws to shorten the bolts. When I got the bolts to where I wanted them to be, I used a "Jewel File" to roughen up the front of the end caps and use a papertowel to wipe off any excess shavings. Then I dapen my hands with a moist paper towel. Then I used "Kwick Steel" to hold them into place.
"Kwick Steel" is a type of Epoxy that comes in a tube. First You cut off what you need to work with and then put the rest back intoo the tube and put the cap back on to seal the tube to prevent it from hardening. Then you need to dapen your hands with a moist paper towel. Grab the piece of 'Kwick Steel and roll and kneed it till it turns into a solid color. Then very quickly place the piece of "Kwick Steel" on the end cap. and place the screw back into place and press and hold. I repeated the process on the other cap. Note! "Kwick Steel" cures/dries VERY FAST! you have to be quick to work with it.
001-22.jpg

002-22.jpg

003-21.jpg

004-18.jpg

005-21.jpg

006-20.jpg

007-20.jpg

008-19.jpg

009-18.jpg

010-19.jpg
 
Next I used my "Utility Blade" to cut off any excess "Kwick Steel" from the areas arround the "Bolts and End Caps". After wards I used "Blue Painters Tape" to tape the edge of the blade for throwing it out.
018-16.jpg

019-17.jpg

020-17.jpg

021-17.jpg

022-15.jpg

023-15.jpg

024-14.jpg

025-14.jpg
 
After, letting the "Kwick Steel" set for a day, I began to paint the parts, ie the "Power Cylinders", Counter holder and Counter/Socket.
For the paint I used Krylon, Primer & Paint Flat Black. I sent email to Unique caines whom I ordered my "Dummy\Deactivated Stering from and ask what type of paint that he used on assembeling the "Dummy\Deactivated Sterling" . He replied back saying that he used "Flat Black" and polish it wth a cloth after drying.
I took the pieces out on the wall and layed out the paper. I set the "Power Cylinders" on some pieces of scrap wood . I read the instructions on the can and shook the can for a few minutes and checked the direction of the wind and sprayed away.

046-10.jpg

048-9.jpg

049-9.jpg

050-9.jpg

051-9.jpg

052-9.jpg

053-9.jpg
 
In painting the counter, I removed the two screws, from the counter. I removed the plastic cover. I placed some "Blue Painters Tape" over the clear plastic. I used a "Xacto Hobby Knife" to trim along the clear window. and removed the excess. I places the counter and the screws in a "Ziplock" plastic bag for safekeeping.
027-13.jpg

028-14.jpg

029-14.jpg

030-14.jpg

031-14.jpg

032-14.jpg

034-13.jpg

035-14.jpg

036-15.jpg

037-15.jpg
 
This thread is more than 12 years old.

Your message may be considered spam for the following reasons:

  1. This thread hasn't been active in some time. A new post in this thread might not contribute constructively to this discussion after so long.
If you wish to reply despite these issues, check the box below before replying.
Be aware that malicious compliance may result in more severe penalties.
Back
Top