You are using an out of date browser. It may not display this or other websites correctly.
You should upgrade or use an alternative browser.
You should upgrade or use an alternative browser.
Hero Phaser Scratchbuild
- Thread starter robn1
- Start date

Chrisisall
Sr Member
Better & better.
robn1
Master Member
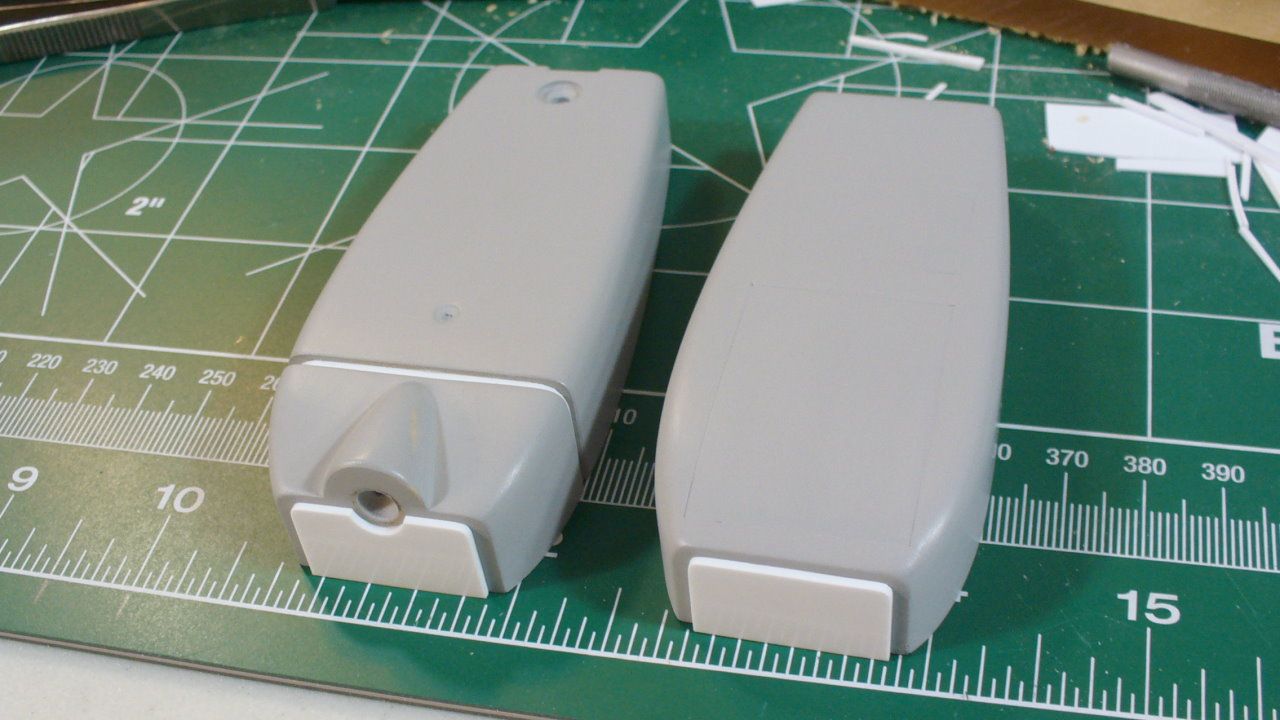
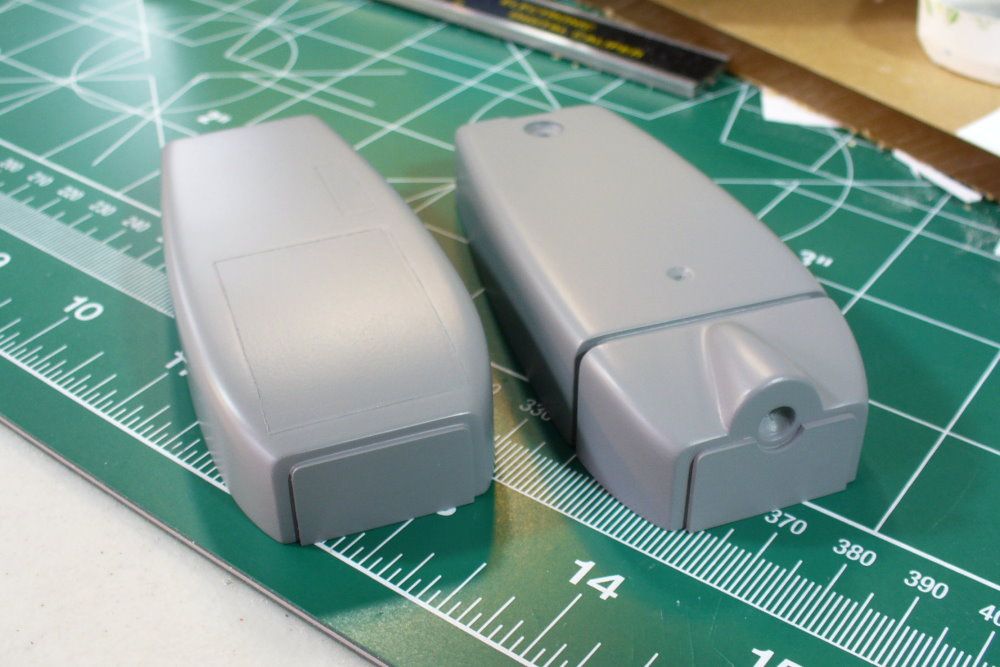
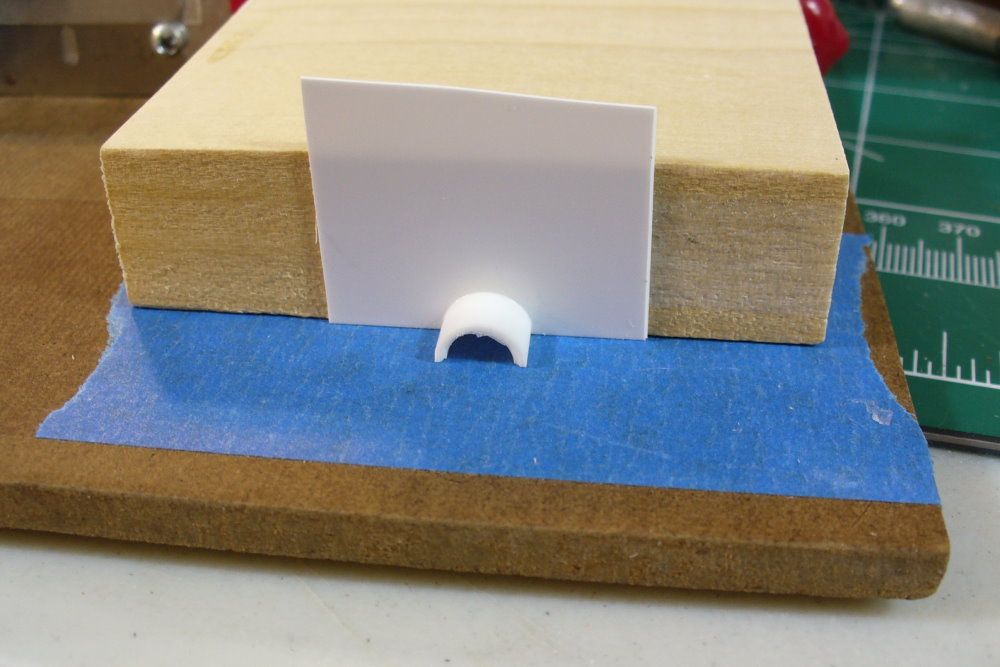
Just a few more details to finish on the P1. I taped the two bottom parts together and gave them a light sanding, to make sure they lined up with each other.
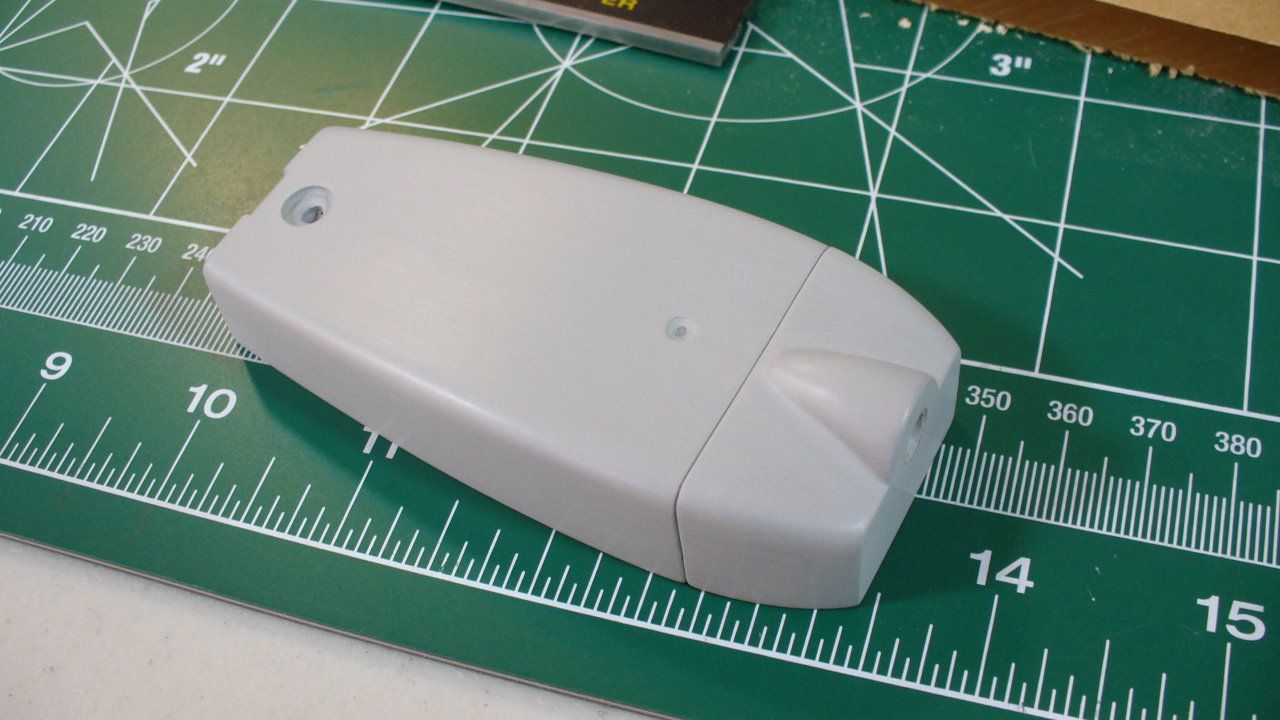
I made a spacer out of 1/16in styrene sheet. This was sized slightly smaller than the shells, then glued to the face of the rear half.
Then I glued the front part in place. The spacer creates a groove, and allows the bottom to be cut apart while maintaining the size and shape. The extra material can be sanded off.
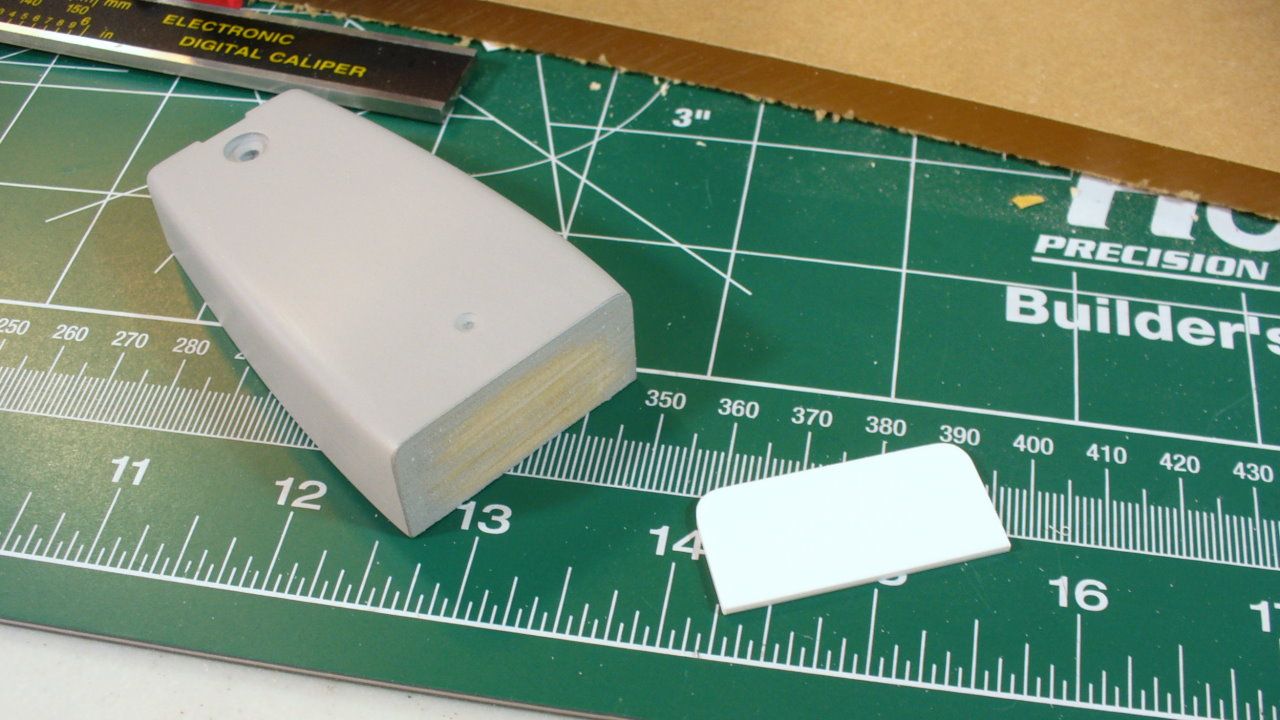
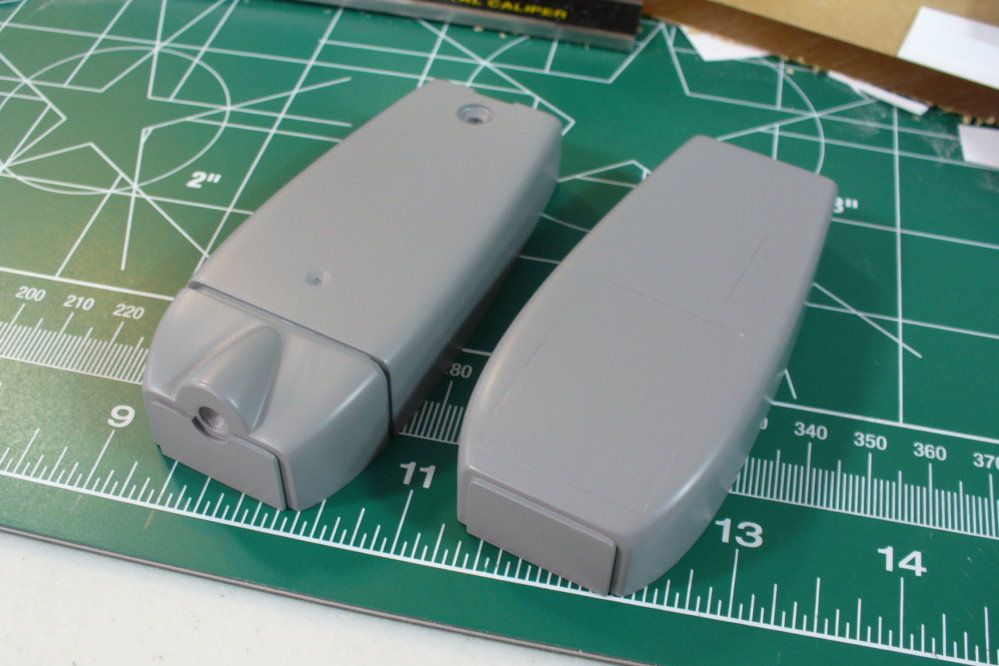
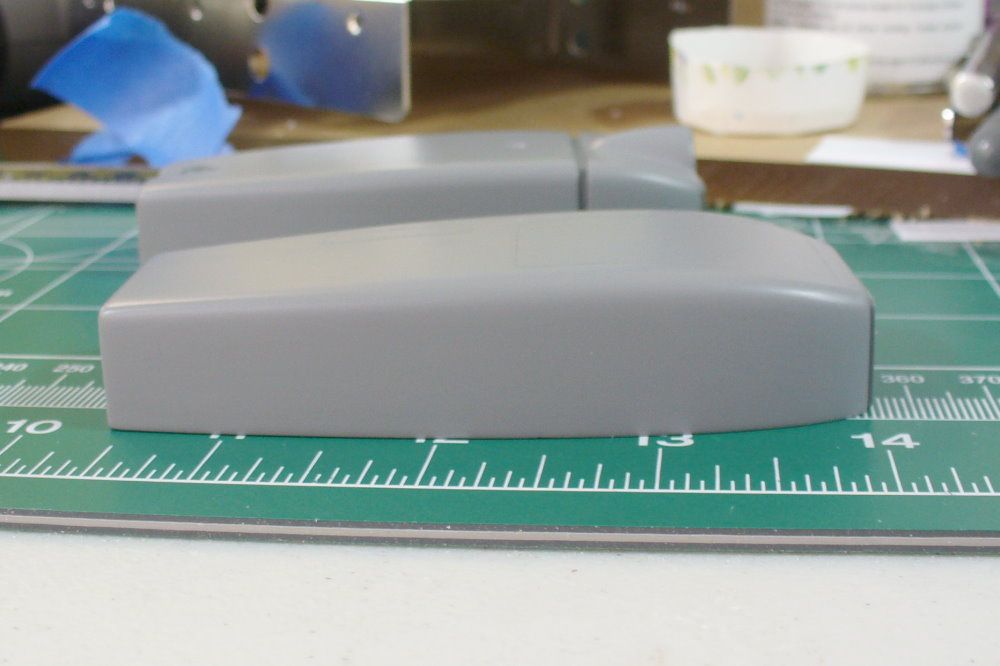
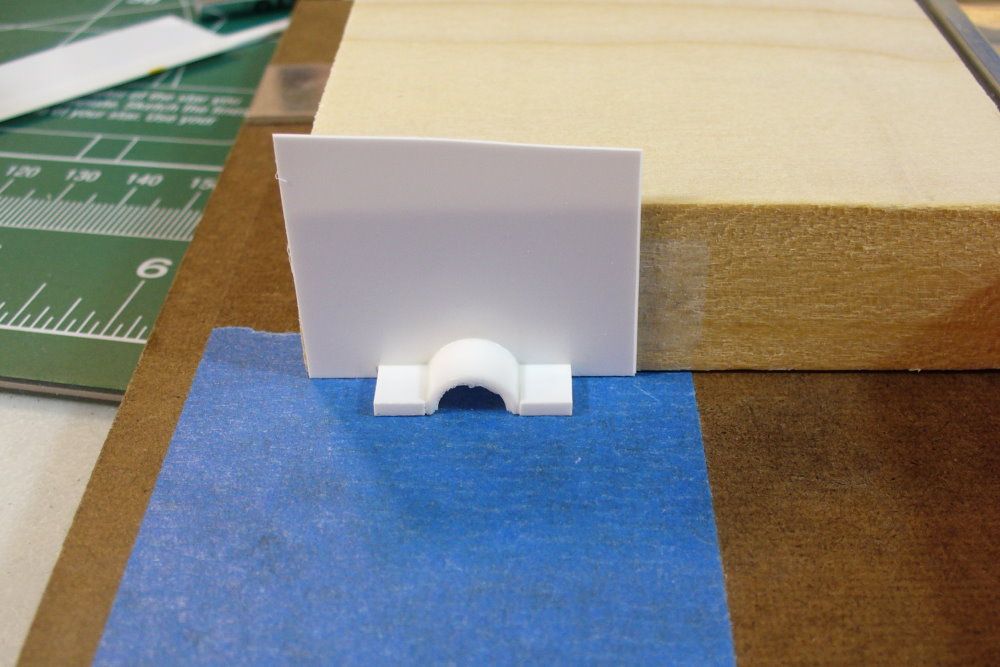
Here you can see how the bottom shell with the spacer is a bit longer than the top. They will match up after the bottom is separated.
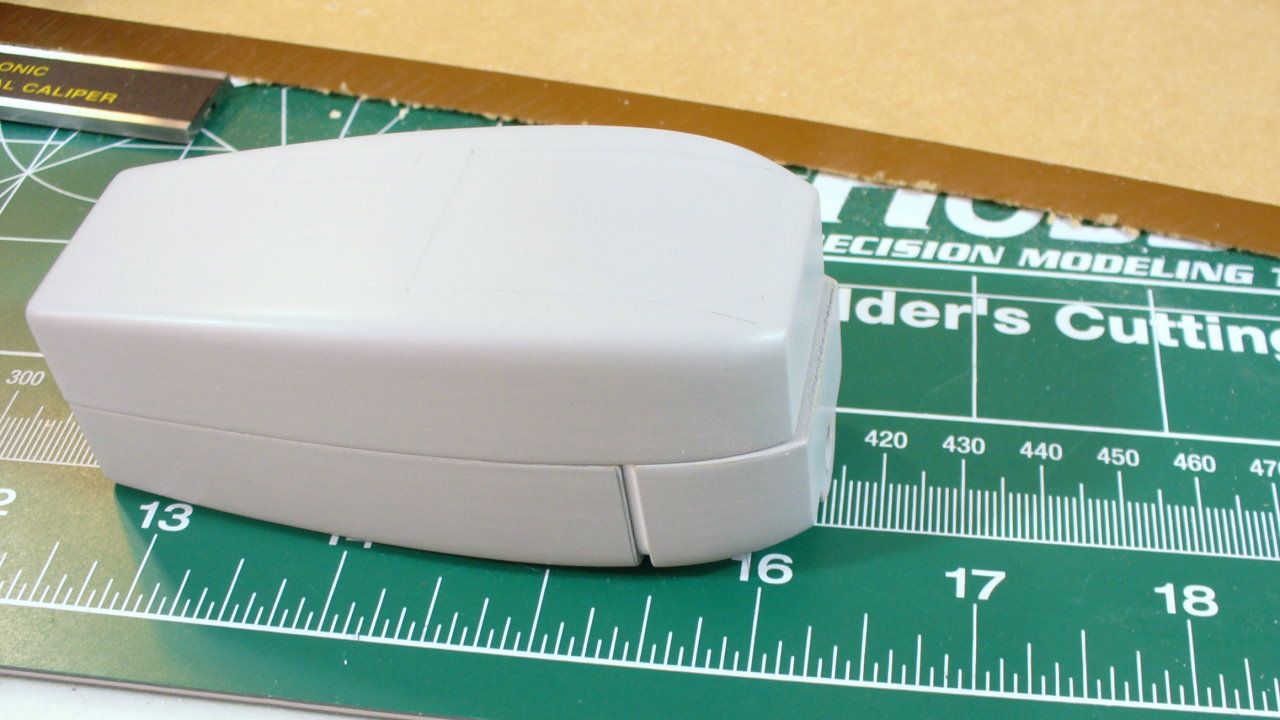
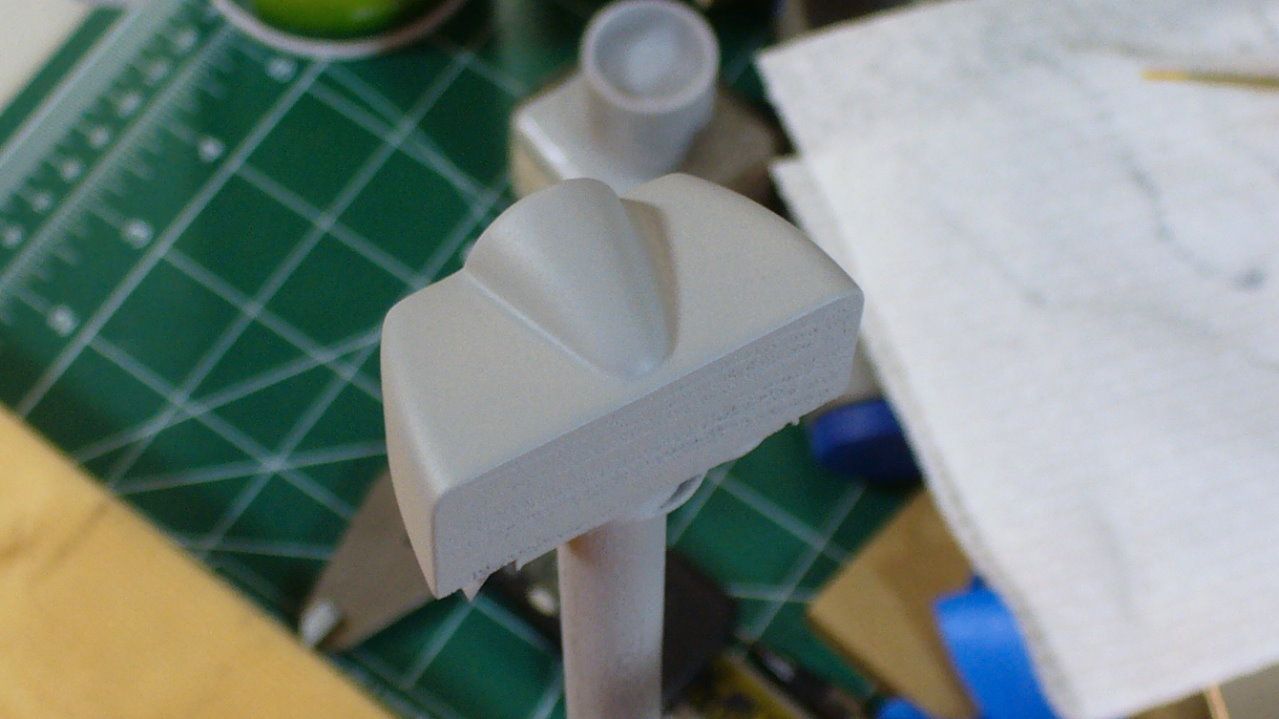
I also added the step that the sight bezel will attach to. I'll give them a coat of Tamiya spray, then they'll be ready for molding.
I made a spacer out of 1/16in styrene sheet. This was sized slightly smaller than the shells, then glued to the face of the rear half.
Then I glued the front part in place. The spacer creates a groove, and allows the bottom to be cut apart while maintaining the size and shape. The extra material can be sanded off.
Here you can see how the bottom shell with the spacer is a bit longer than the top. They will match up after the bottom is separated.
I also added the step that the sight bezel will attach to. I'll give them a coat of Tamiya spray, then they'll be ready for molding.
robn1
Master Member
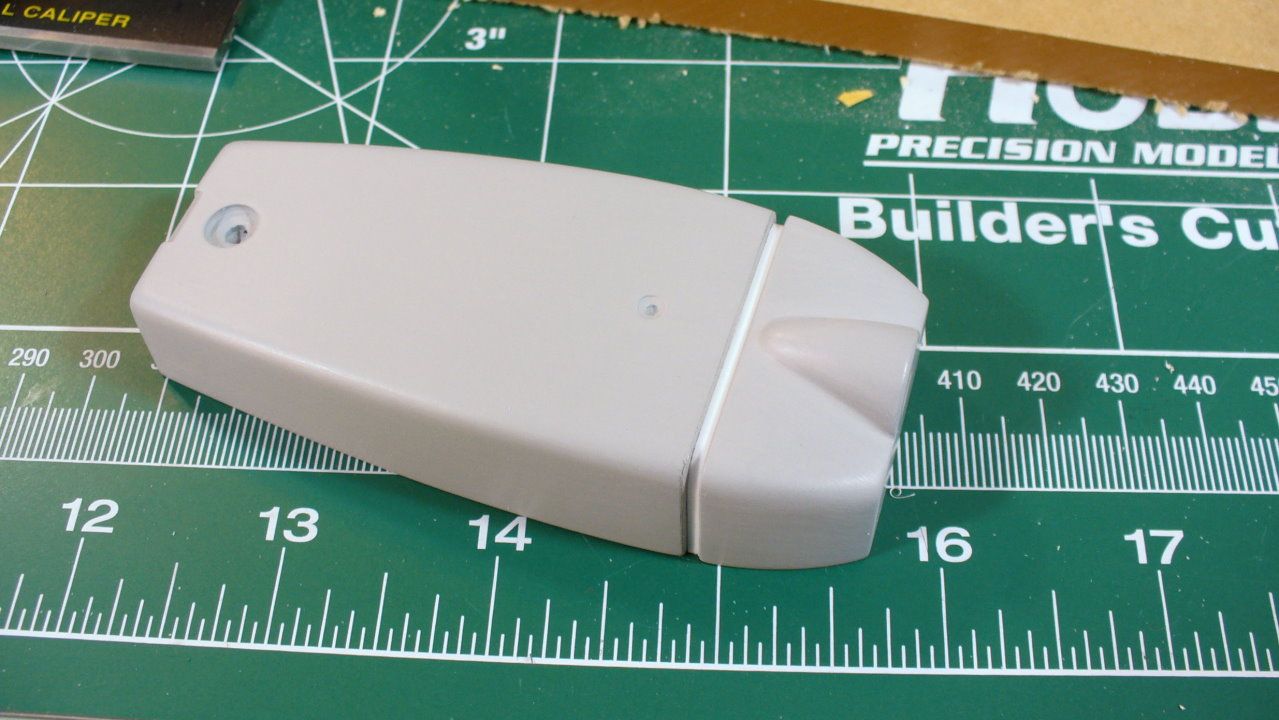
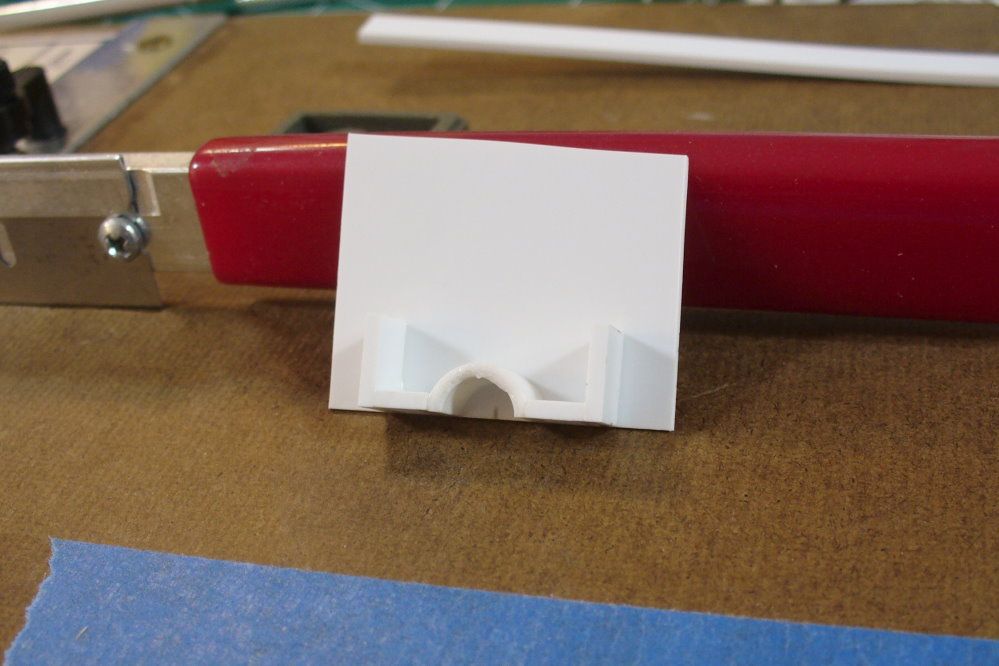
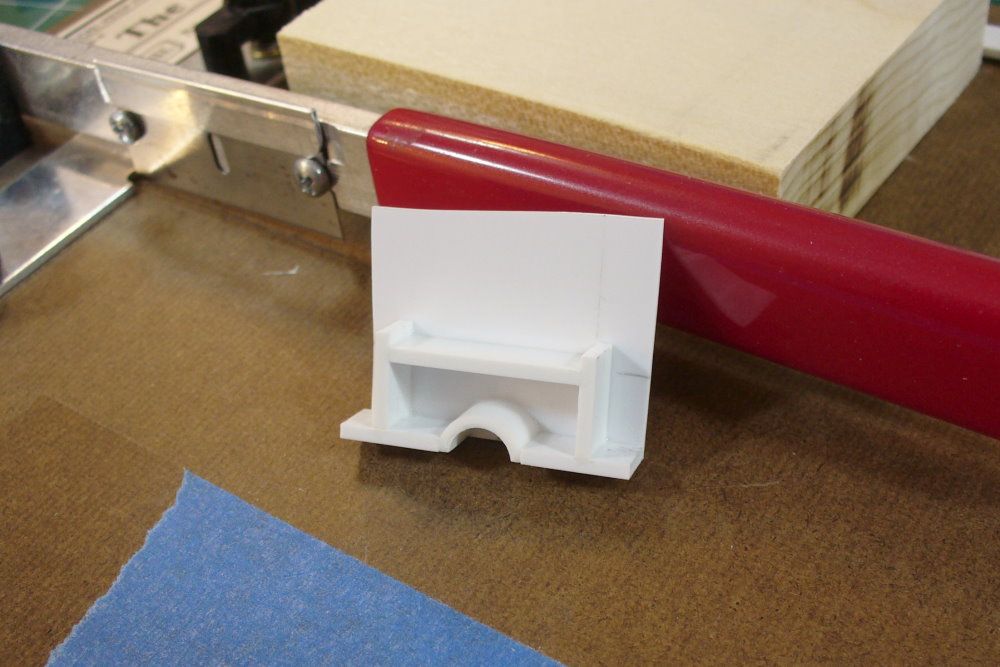
I sprayed them with Tamiya, to give them a nice hard finish. The sight and wheel cut out lines were a little soft so I masked them again before the last coat. The Tamiya paint doesn't release the tape as well as the primer does, the lines are a little rough but should be OK. They still don't photograph too well.
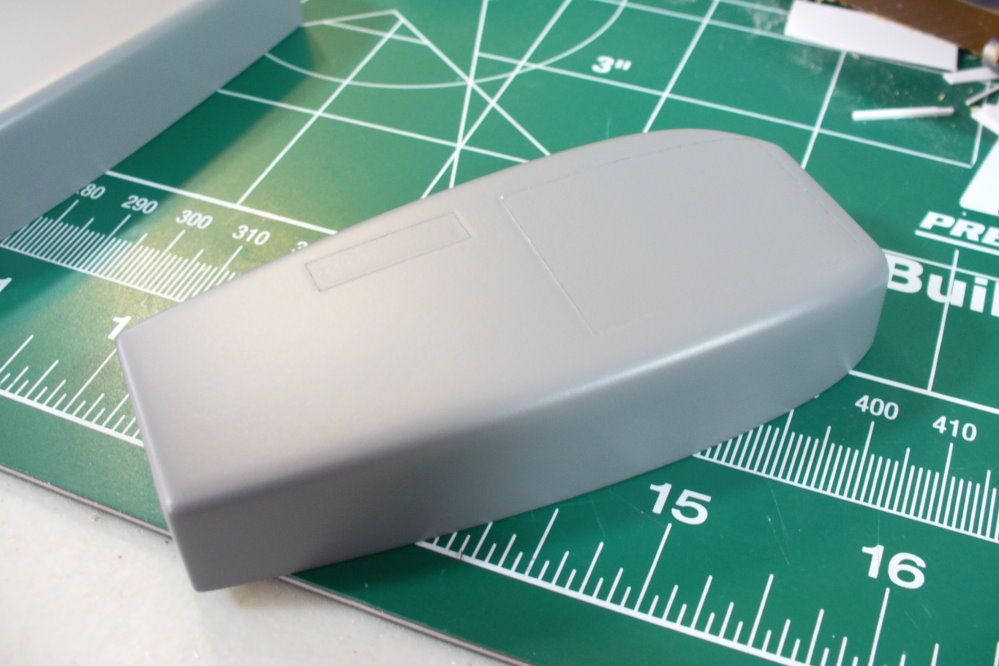
I made the guide notch for the release, but not the main recess. That can be cut into the finished parts.
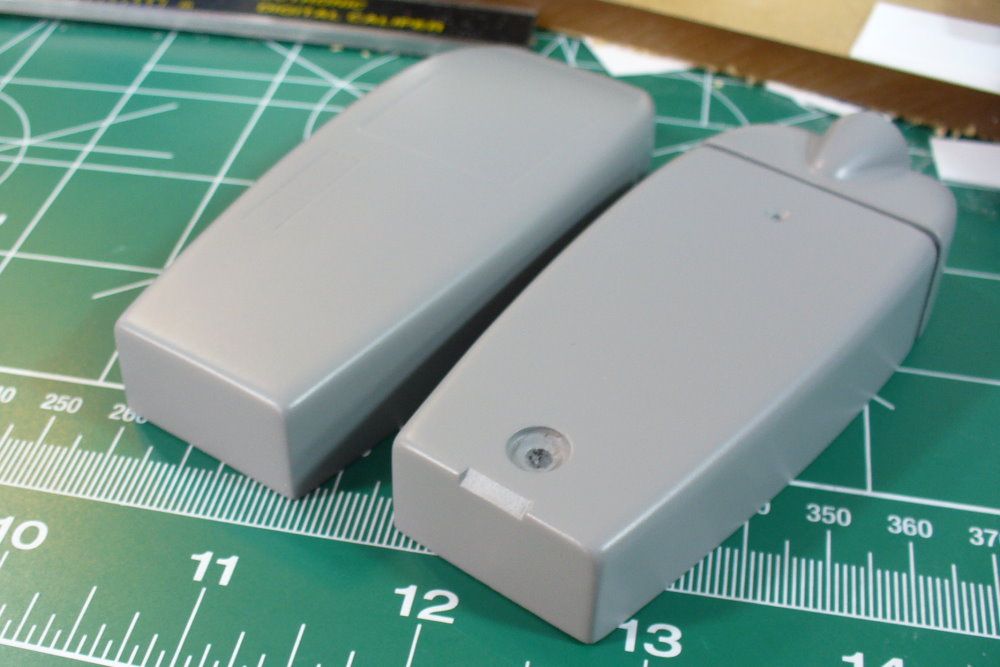
Next step is to pour some rubber.
I made the guide notch for the release, but not the main recess. That can be cut into the finished parts.
Next step is to pour some rubber.
robn1
Master Member
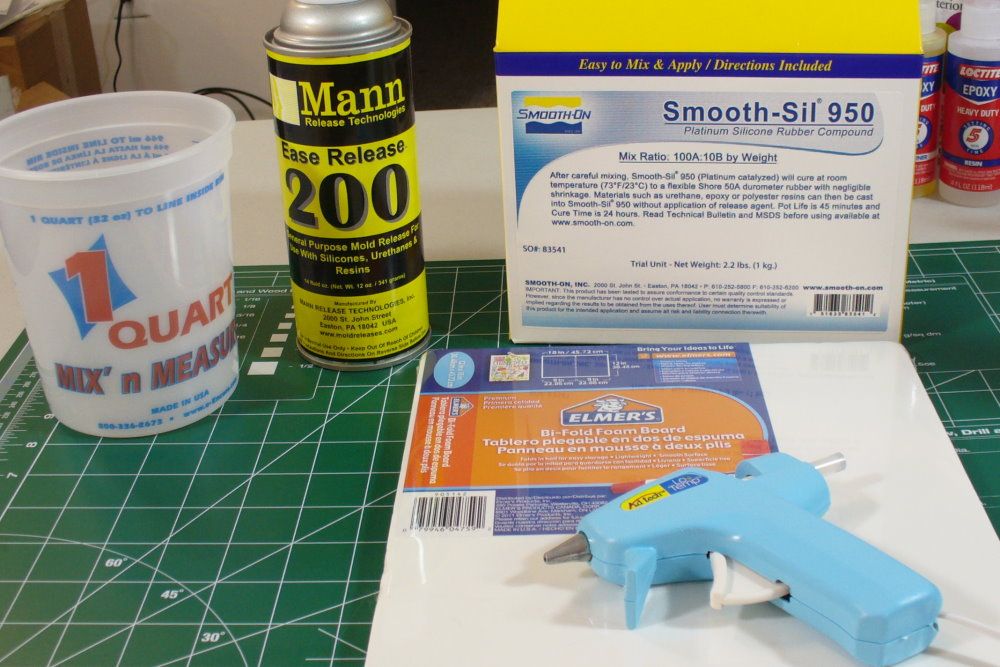
Thanks guys. I have the silicone and fiberglass stuff ready, but I realized last night that I don't have any mold release! I ordered it last night, and some resin to cast the bezel with. It'll be a few days at least until I can mold. Meanwhile I'll make the master for the bezel.
robn1
Master Member
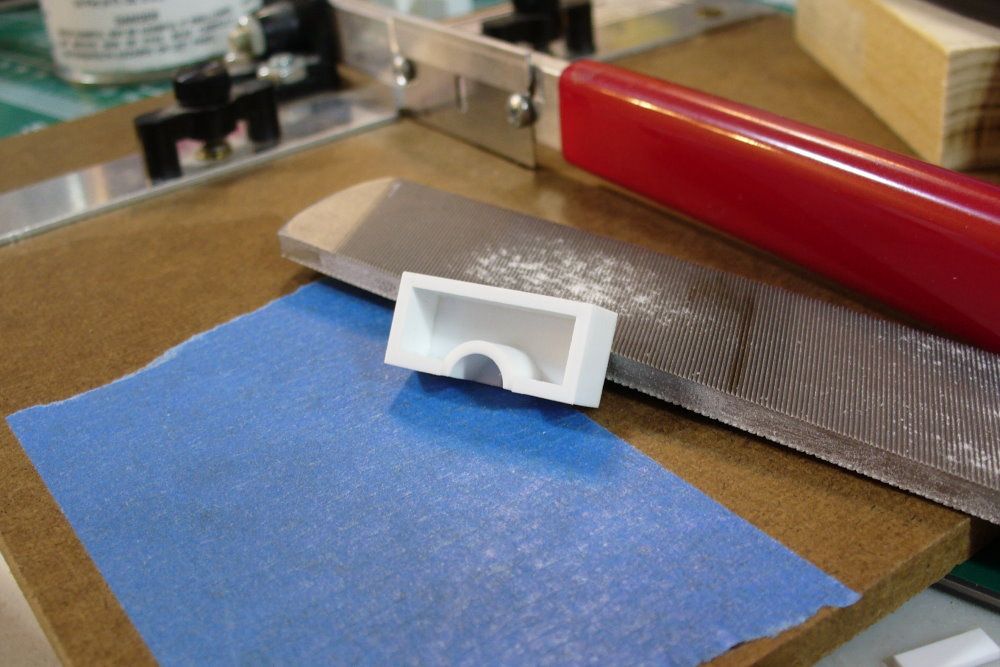
I trimmed it up, and filed a flat area on the edge. This makes a flat joint where the straight frame connects.
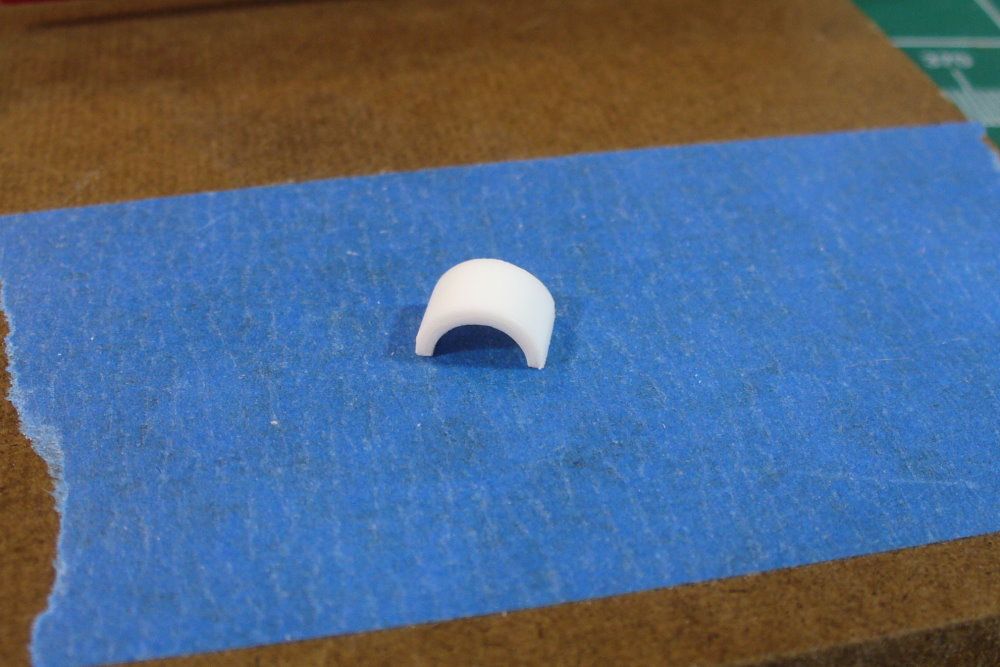
I then glued it to a sheet backing and started adding the straight parts of the frame, styrene strips cut and glued on. I just worked my way around until it was boxed in.
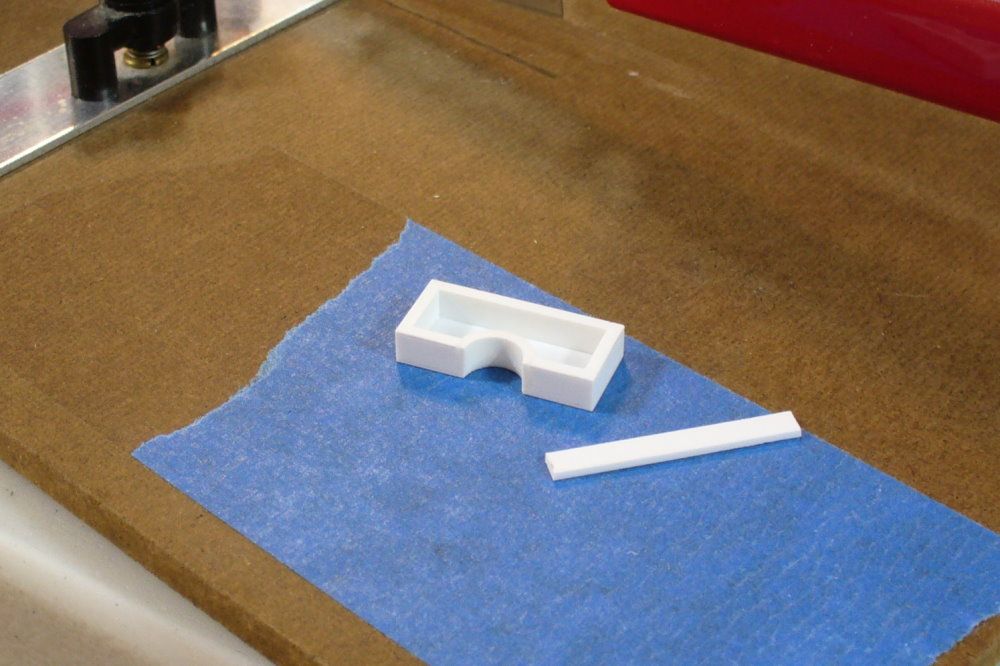
Then I cut away the extra backing and trimmed it up.
The I added the outer frame layer, narrower strip glued on.
I then glued it to a sheet backing and started adding the straight parts of the frame, styrene strips cut and glued on. I just worked my way around until it was boxed in.
Then I cut away the extra backing and trimmed it up.
The I added the outer frame layer, narrower strip glued on.
robn1
Master Member
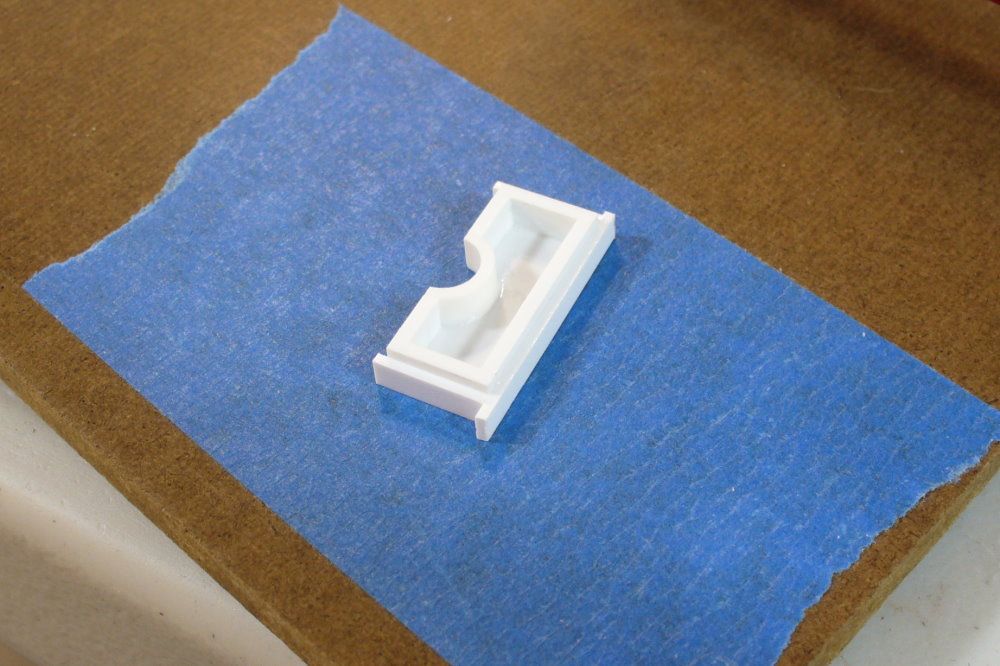
Again I went all the way around.

After cleaning up, I then rounded the corners. The inner corners first. I made a sanding stick from styrene strip, with sand paper attached with double sided tape.


Scissors trimmed the sand paper close to the edge.

I then slowly sanded each corner, rounding them over.


Then I did the outer corners.

After cleaning up, I then rounded the corners. The inner corners first. I made a sanding stick from styrene strip, with sand paper attached with double sided tape.
Scissors trimmed the sand paper close to the edge.
I then slowly sanded each corner, rounding them over.
Then I did the outer corners.
Chrisisall
Sr Member
Rob, you do some really fine work!:love
Tiberius Kirk
Sr Member
Coming along nicely!
This is looking amazing!!! 
nwjedidave
Sr Member
This is looking amazing!!!
agreed!
Karl and I were talking P2s just last night!
Outstanding work!
Yeah Dave, scrap all that advice I gave you... this looks like the one to beat.
robn1
Master Member
Thanks guys! (No pressure Rob :lol)
I started the P1 molds. I'm following Steve Neill's technique of pouring a thin layer of silicone, then backing it up with plaster. Steve showed that you can brush the liquid rubber up onto the master, and just keep brushing it up until it sets. It takes a while, 40 minutes in this case, but it works. And it saves on rubber, and that stuff's pricey.
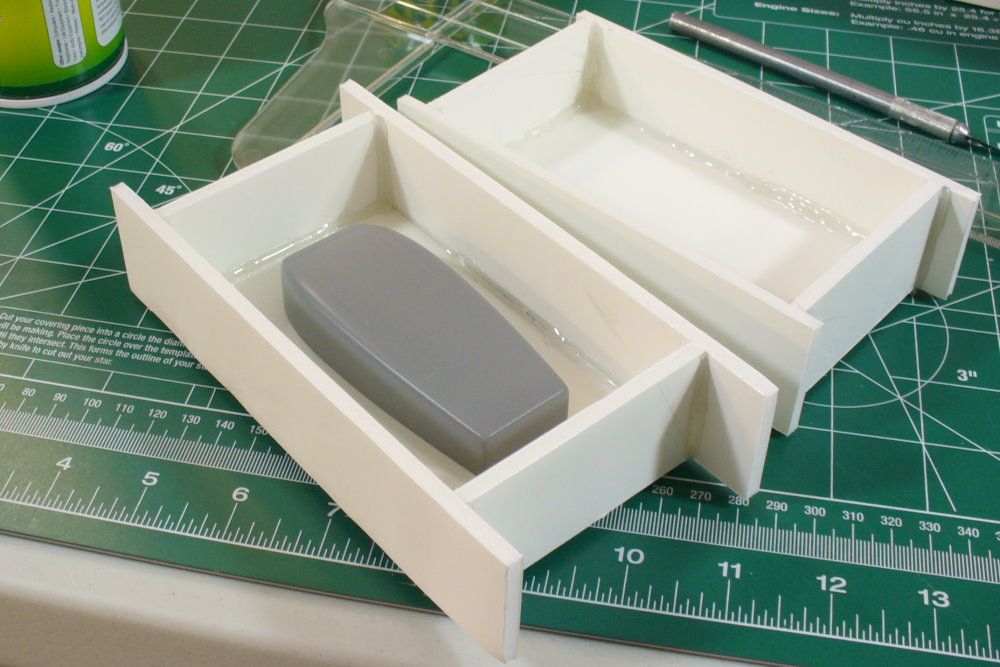
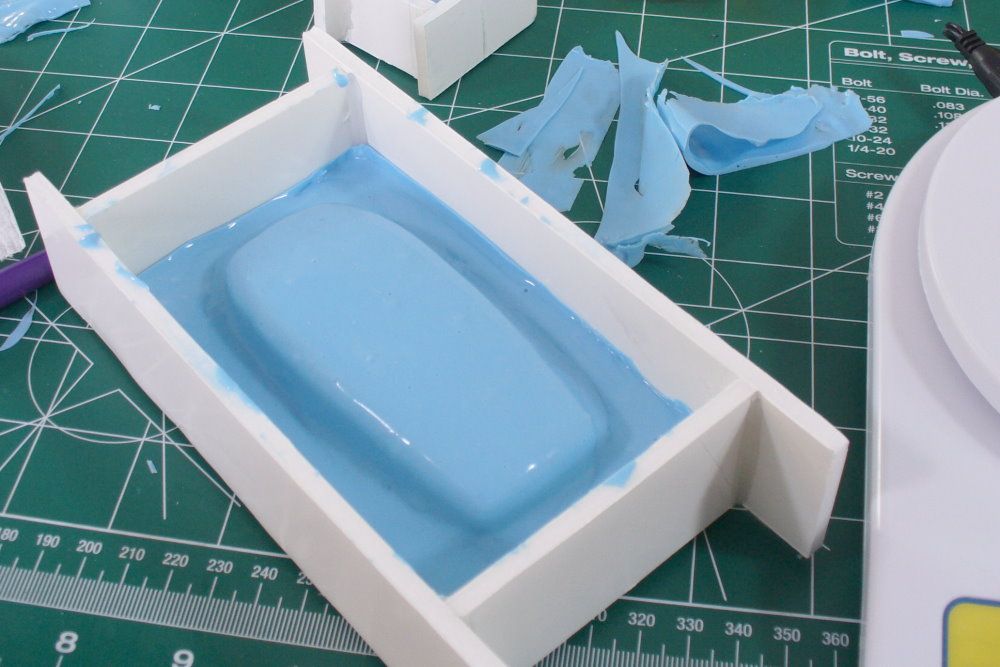
I made some mold boxes out of foam board and hot glue.
Then placed the top master in the box with double sided tape.
I mixed up some silicone and drizzled it on. Then I spent 40 minutes slopping it back up as it ran off. This got old really fast.
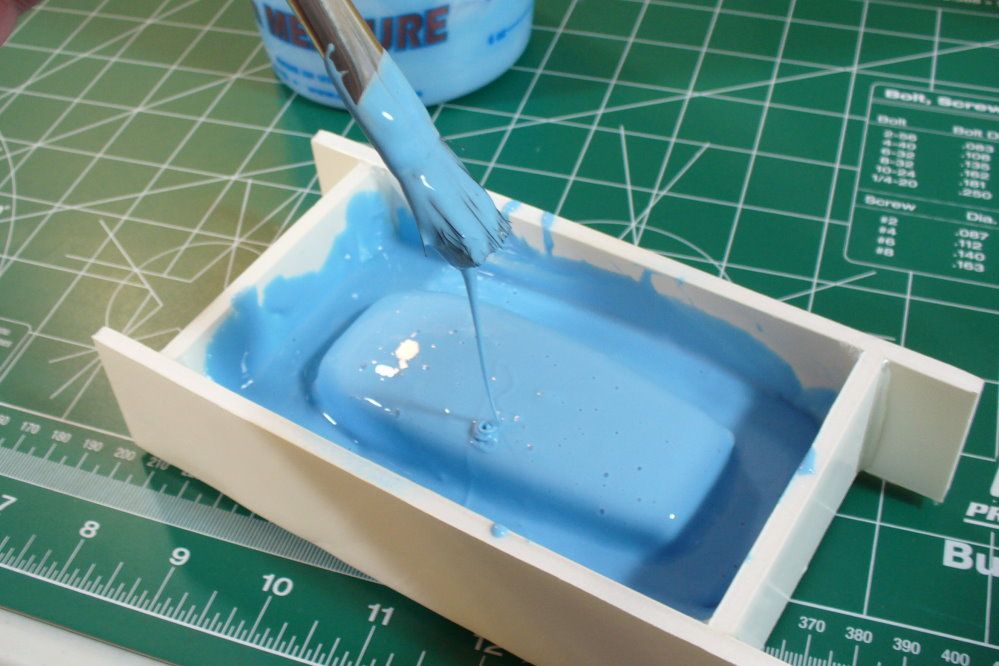
Eventually it got stiff enough to stay put. A lot of bubbles visible on the surface.
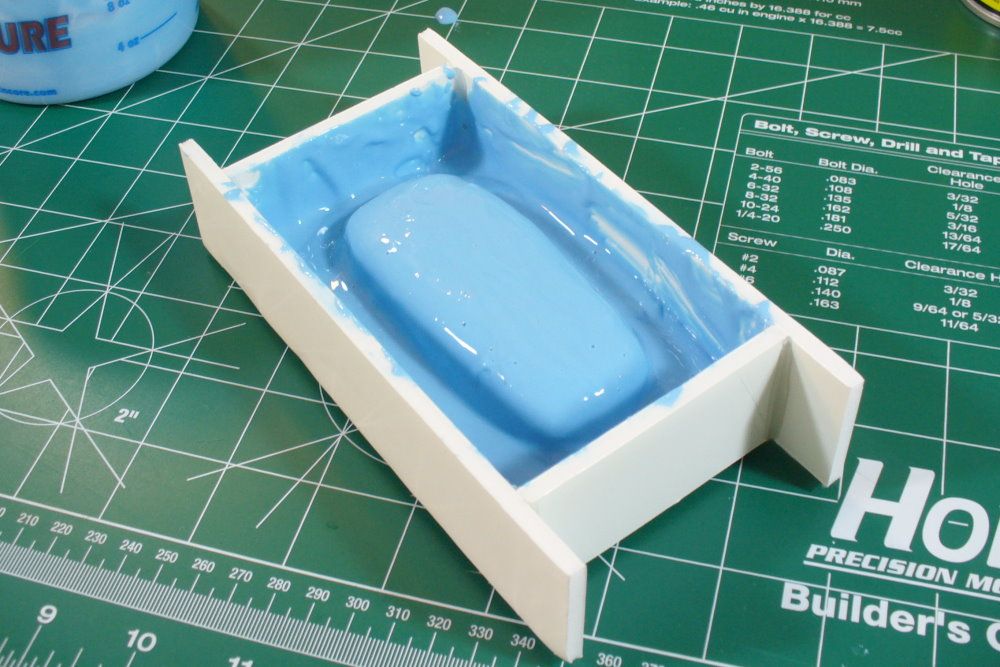
But the underside looks good.
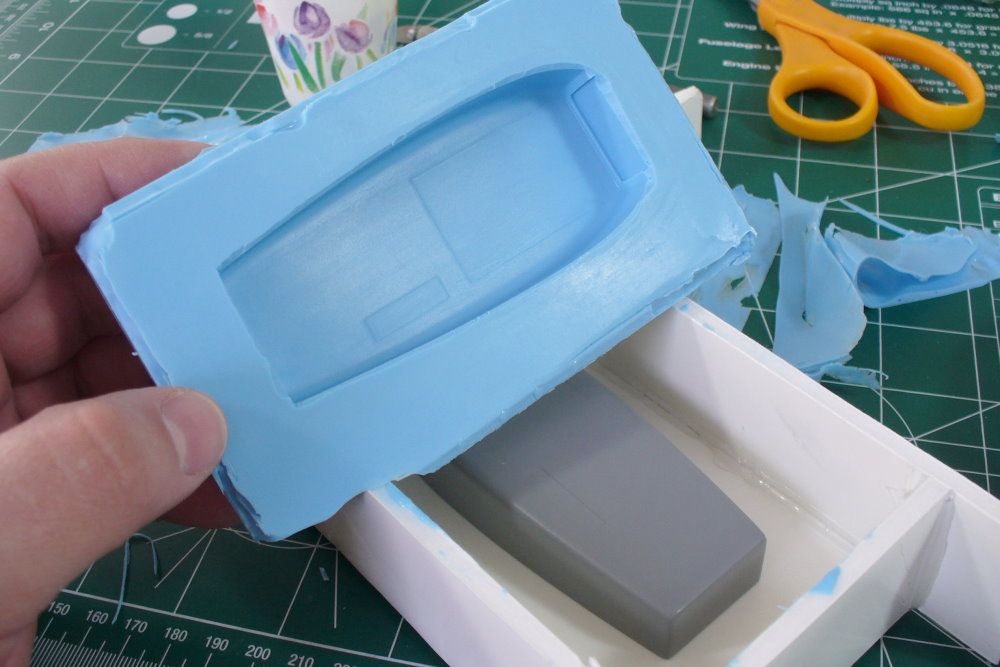
There are bubbles within the rubber, and they make dimples if I flex it.
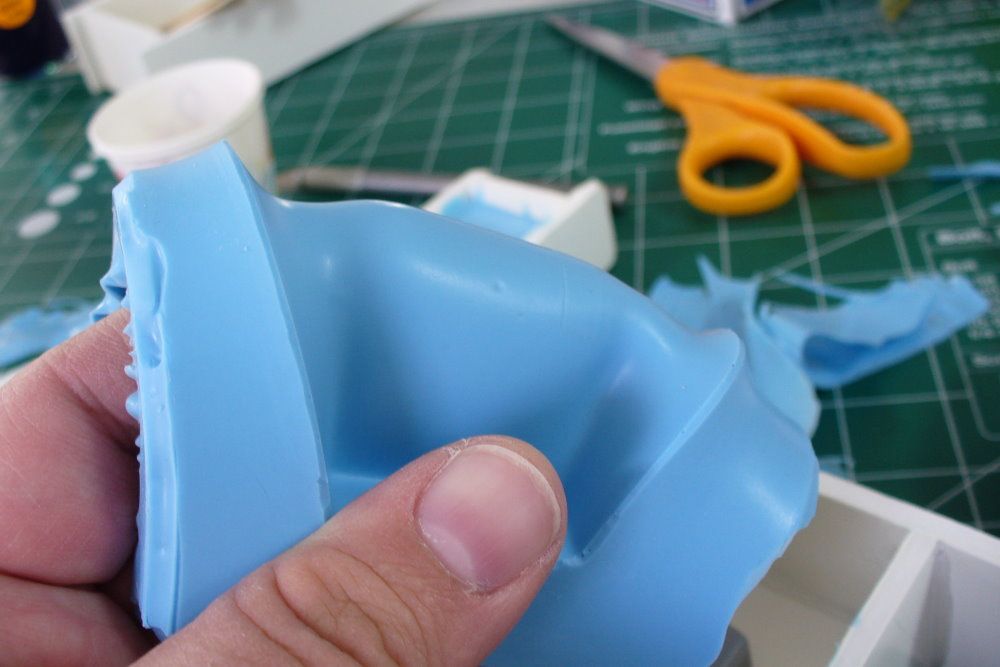
But it's perfect when relaxed.
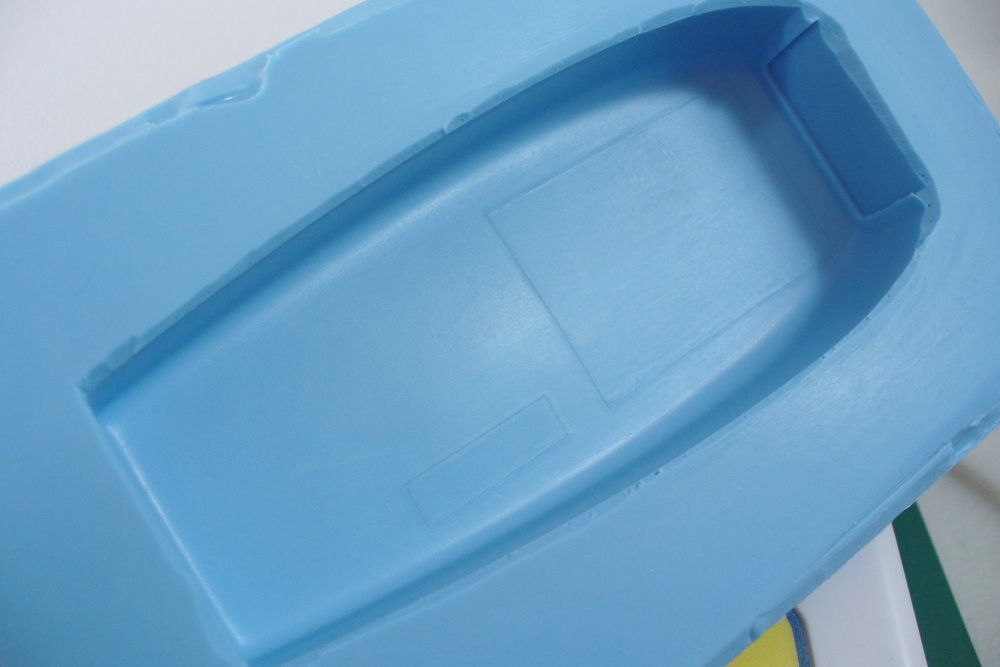
I trimmed it up, and placed it back in the box so I can pour plaster.
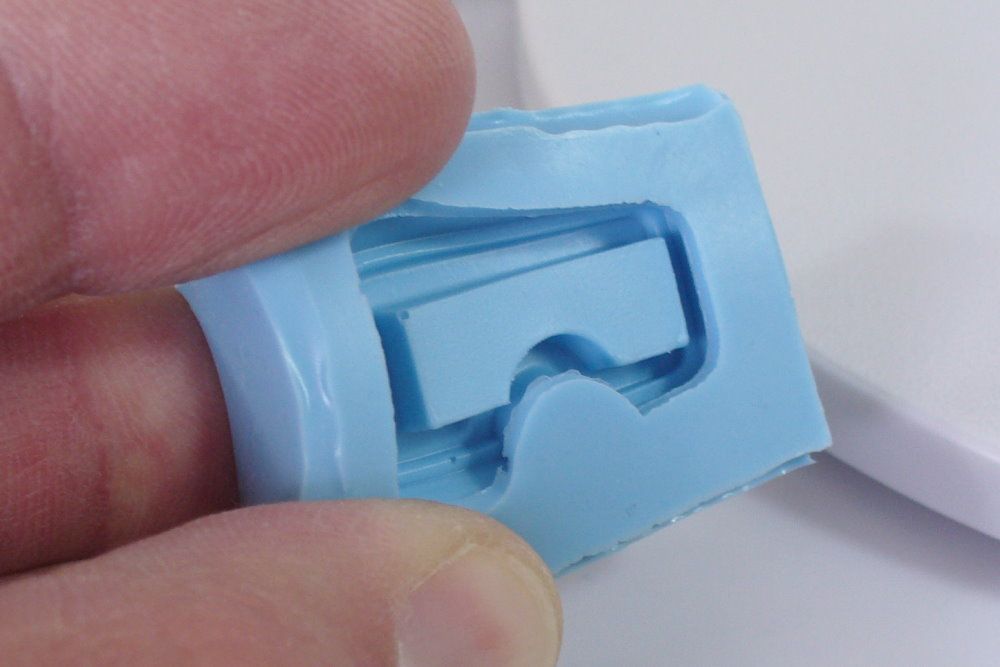
The bezel mold didn't do so well, it got a few bubbles. I'll redo it.
I started the P1 molds. I'm following Steve Neill's technique of pouring a thin layer of silicone, then backing it up with plaster. Steve showed that you can brush the liquid rubber up onto the master, and just keep brushing it up until it sets. It takes a while, 40 minutes in this case, but it works. And it saves on rubber, and that stuff's pricey.
I made some mold boxes out of foam board and hot glue.
Then placed the top master in the box with double sided tape.
I mixed up some silicone and drizzled it on. Then I spent 40 minutes slopping it back up as it ran off. This got old really fast.
Eventually it got stiff enough to stay put. A lot of bubbles visible on the surface.
But the underside looks good.
There are bubbles within the rubber, and they make dimples if I flex it.
But it's perfect when relaxed.
I trimmed it up, and placed it back in the box so I can pour plaster.
The bezel mold didn't do so well, it got a few bubbles. I'll redo it.
Tiberius Kirk
Sr Member
Looking good so far.
Chrisisall
Sr Member
"We learn by doing."
"Who's holding up the damn P1??"
:lol
"Who's holding up the damn P1??"
:lol
Similar threads
- Replies
- 11
- Views
- 1,357