1/100 747-400 toy rework

crackerjazz

Sr Member
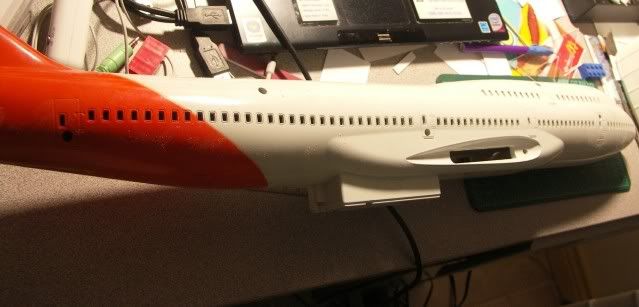
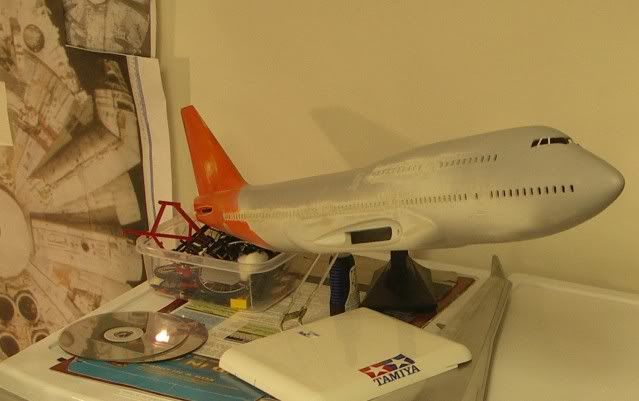
Hi guys, it's Spring time - building time again. Seeing 747 builds got me worked up enough to decide to rework a toy I saw from the childrens' toy section. It's a Smart Toys 747-400 (Singapore, I think) that I got back in 2006 for next to nothing. I examined the toy and thought it had potential so I went ahead and bought it. It has the usual toy wheels with that noisy mechanism - just like the pullback ones. I don't know where the mold is based from, but I tried comparing it to the Doyusha 747-100 model and it's just as big and couldn't complain at all about the profile - except for the cockpit windows and nose - where major work is in order. What I like about it is the fact that it's a 747-400, with the hump extension and winglets.

I don't really plan on superdetailing it but do want to rescribe it where I can, putty up screw holes and those window jambs, hide all the seams and just make it look good enough to fool people into believing it's a scale model, at least at first glance.

01FirsttimeIgother.jpg


I'll be patterning the nose after this Doyusha 1/100 747-100 which has a shorter hump and less number of windows on the top deck:
15747-100.jpg


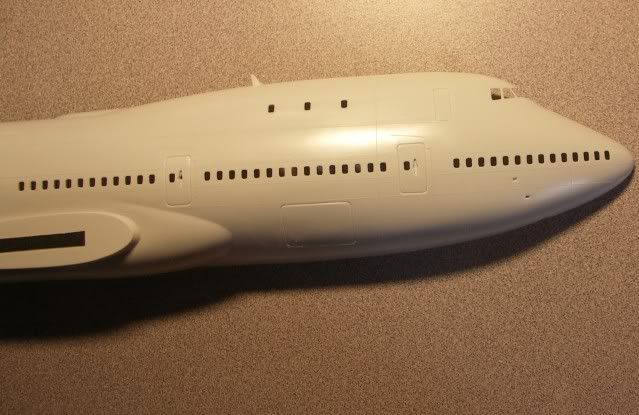
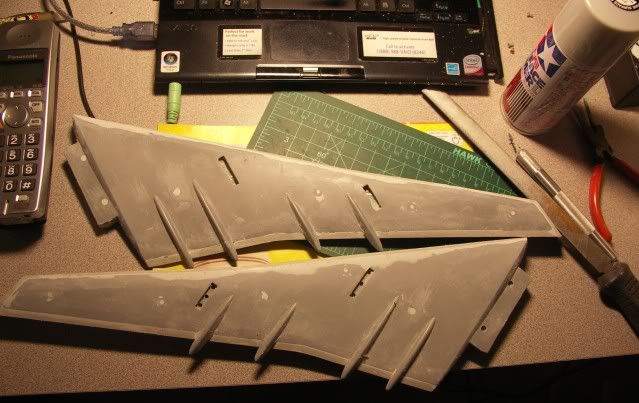
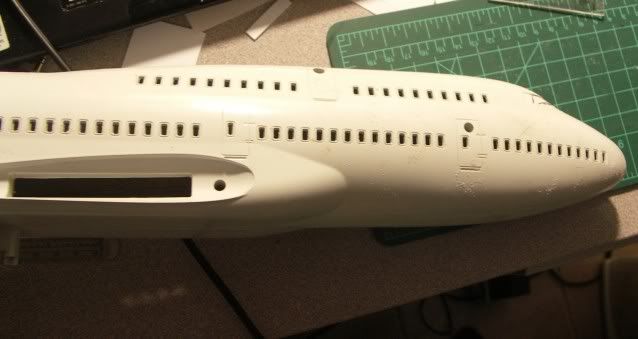
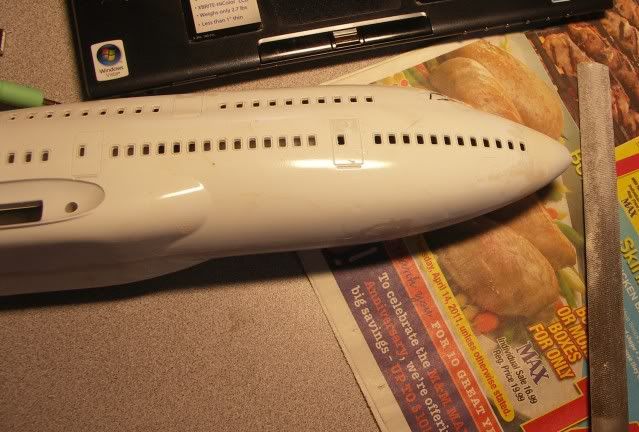
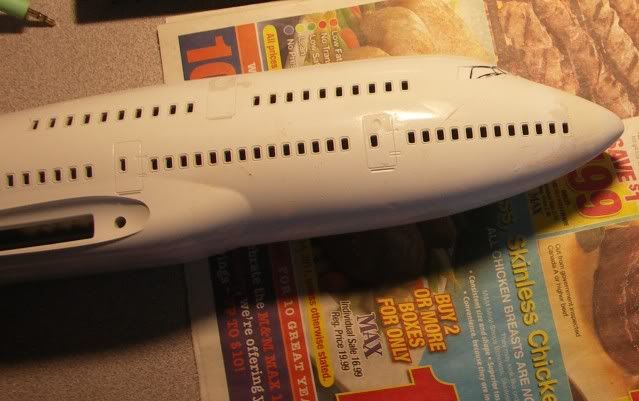
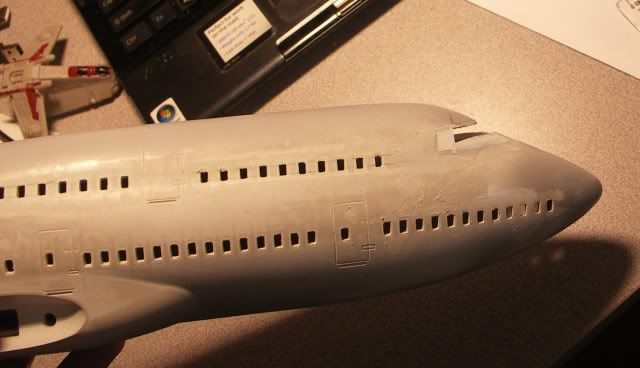
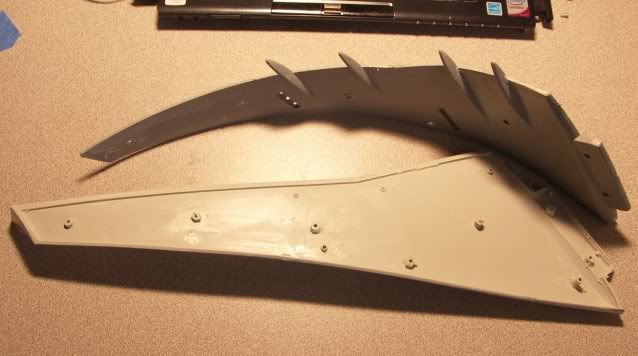
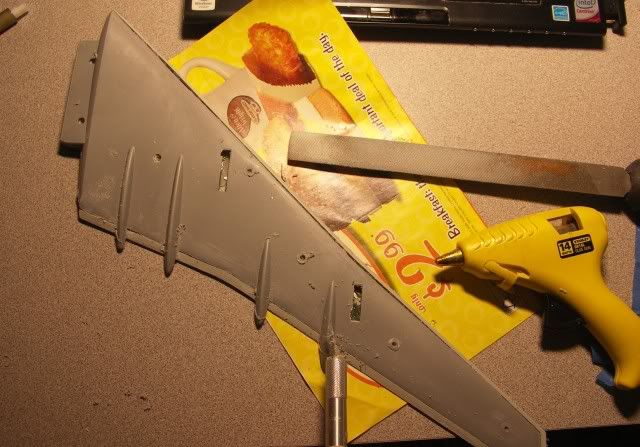
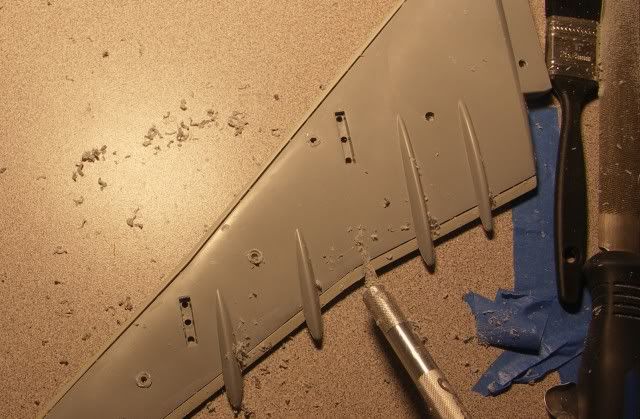
That's a nice canvas to rescribe:
09Screwholesunderthewing.jpg


003Itsgottheboxatthebottom.jpg


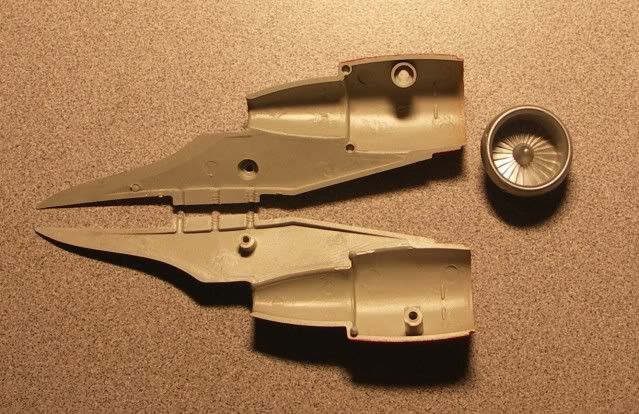
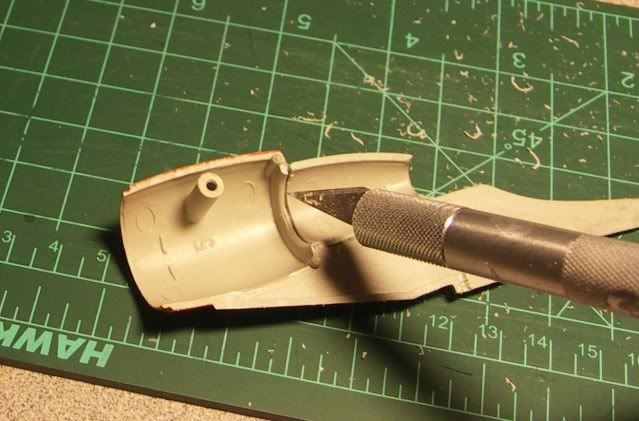
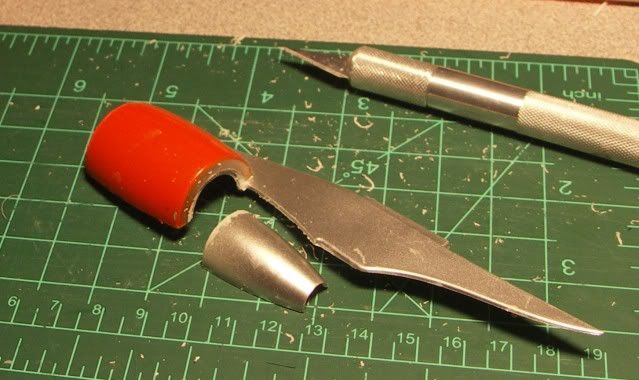
I took out all screws and wheel mechanism and CA glued the shell halves tight. I'd probably cut off that wheel mechanism box.

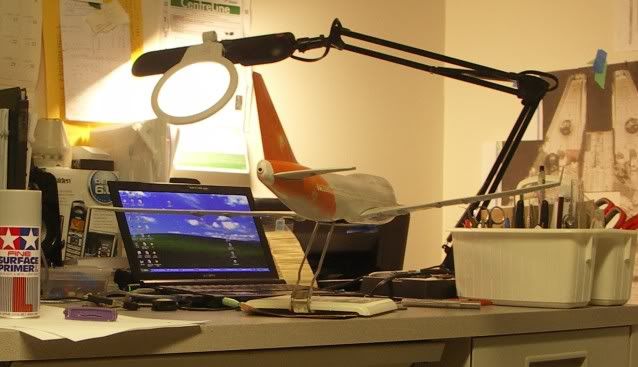
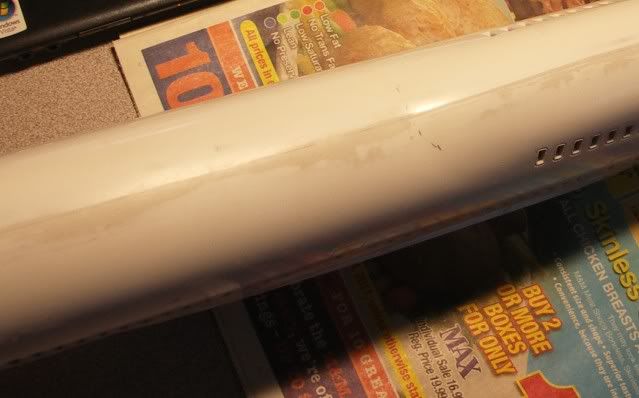
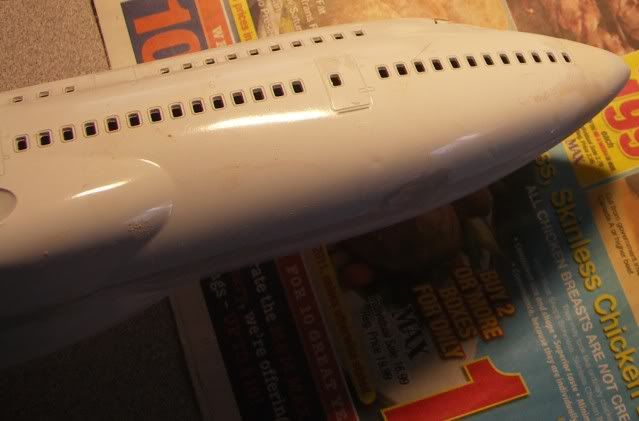
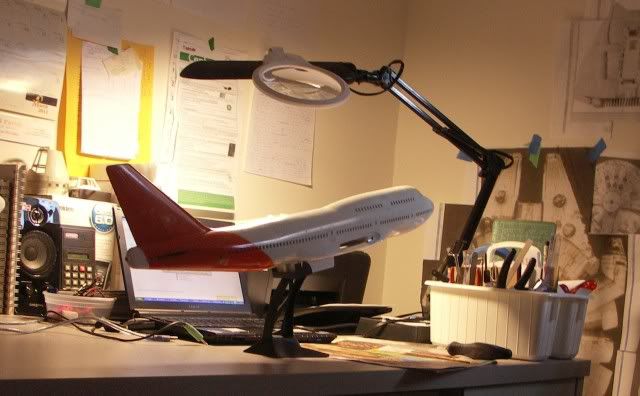
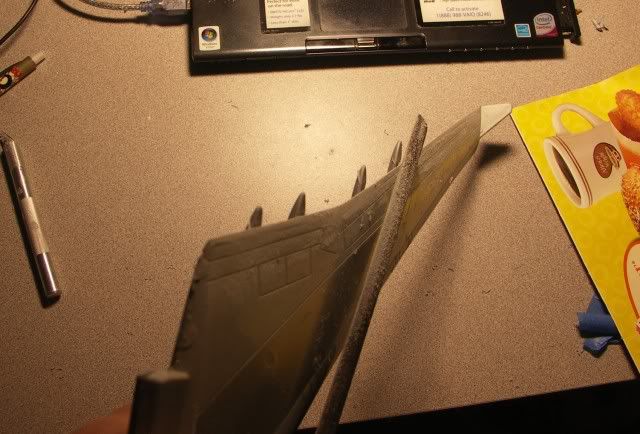
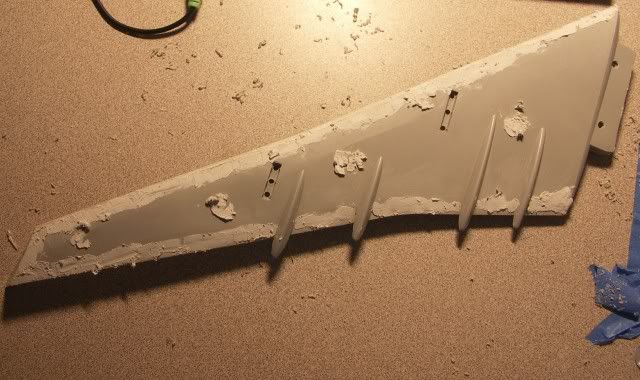
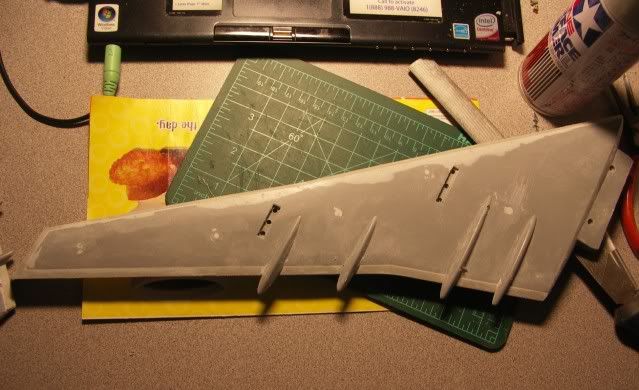
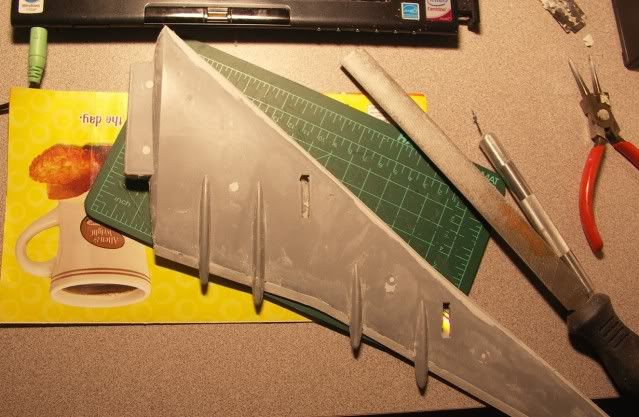
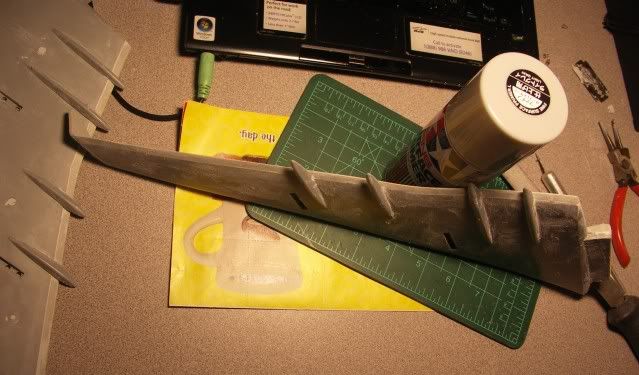
Spent a great deal on puttying up and sanding those seams over and over. I want to make the fuselage at least to appear as one continuous seamless piece.
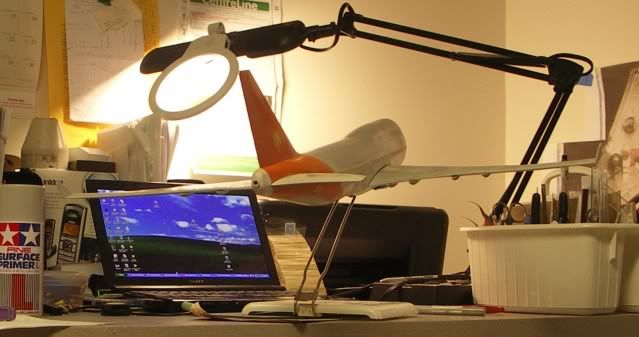
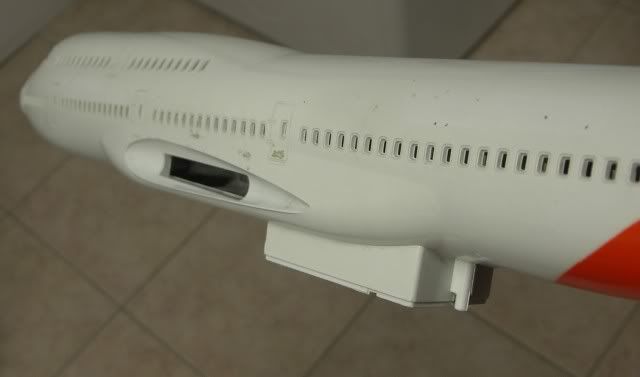
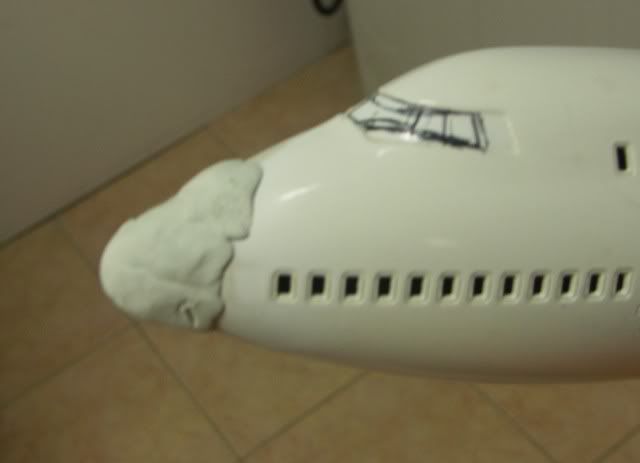
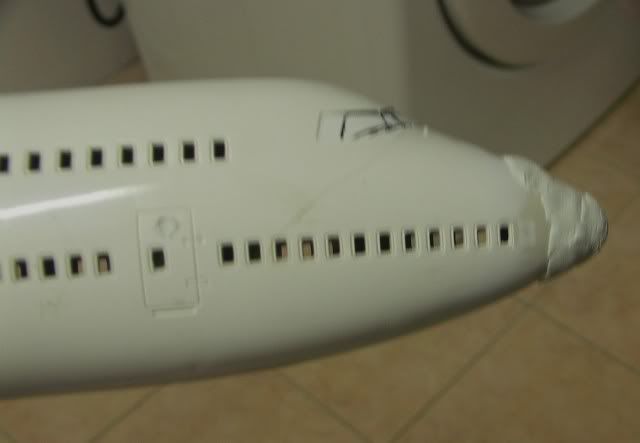
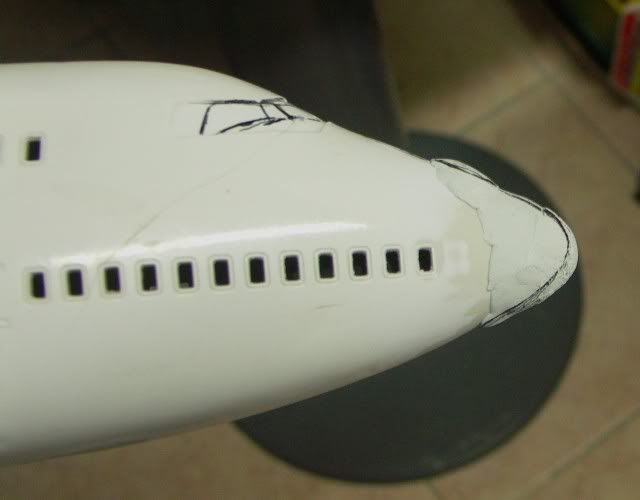
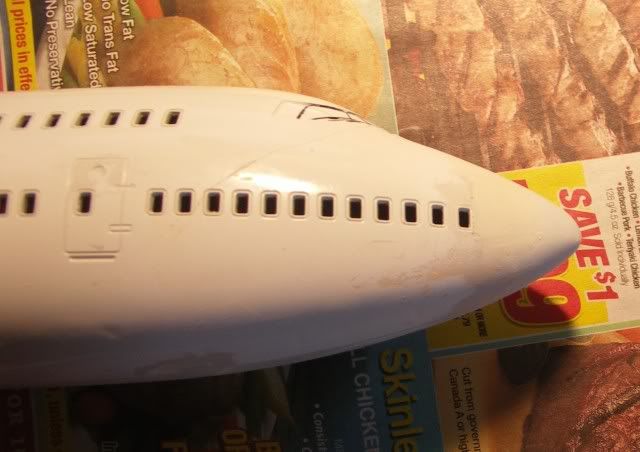
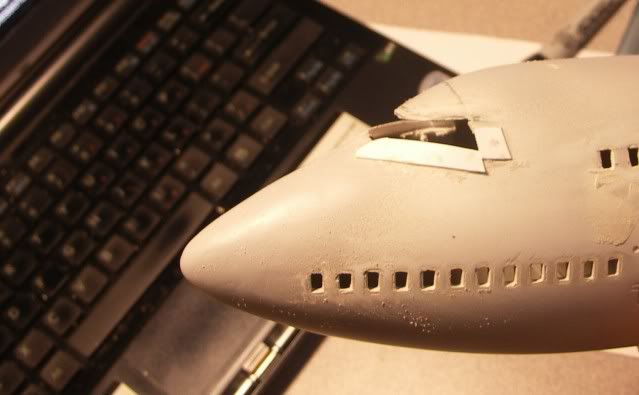
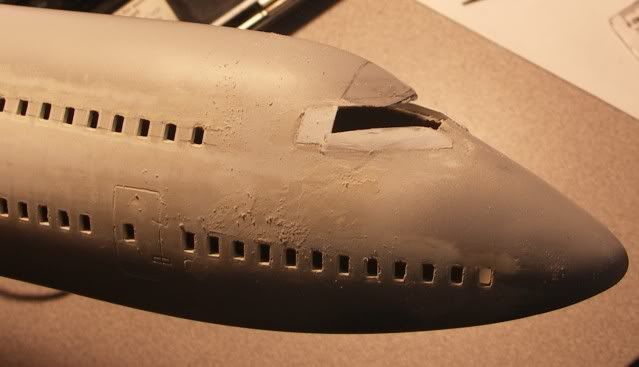
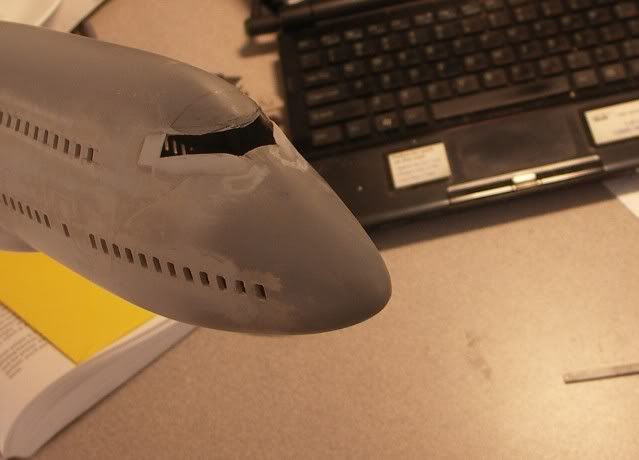
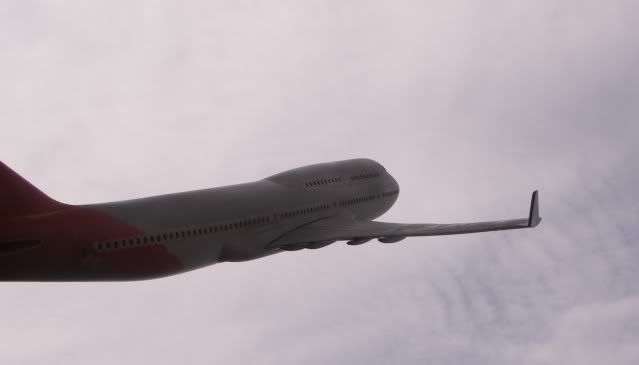
13Sandingthebody.jpg


Stubby nose:

10Frontandscrewholes.jpg


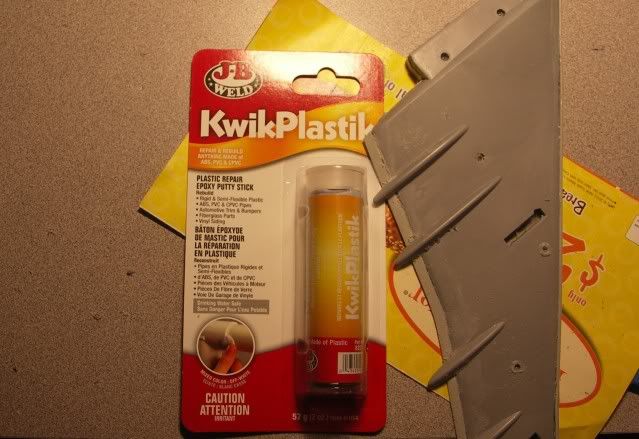
Slathered on some epoxy putty to correct the shape.

02Patchedthefront2.jpg


01Patchedthefrontwithepoxyputty.jpg


003Outlinedthenose.jpg


04Filedandputtiedandsanded.jpg


12Nose.jpg


06Nose.jpg


11Frontnose.jpg


08Onitsstand.jpg


15DeskView.jpg

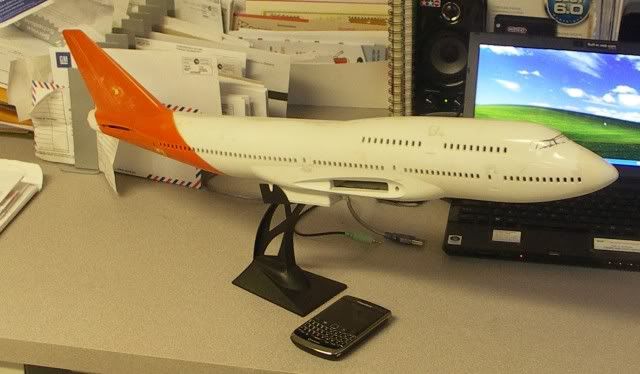
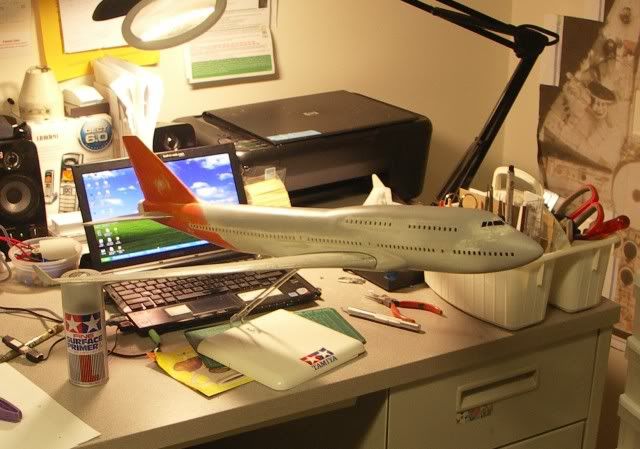
Those 747 desk models at travel agencies always grab my attention. I hope this one turns out to look just as good.
 
Last edited:
Worked on a the cockpit windows. Dremeled it open and patched with some styrene to the right shape.

001Patchedthecockpitwindowwithstyrene.jpg


003Inthemiddleofthework.jpg


Sanded and feathered the edges to blend. Frankly, I was worried it wouldn't work. Fortunately
it was forgiving:
002Aftersanding.jpg


005Inprogressshot.jpg


006Model.jpg


007Modelwithoutwings.jpg
 
Nice work.. you should fly to Seattle (Everett actually) and check out the -8... you think this one's a big plane? The 747-400 is like a 777 in comparison to it's new brother..
 
Awesome work so far.

For me, the make or break of any 747 model is the nose and hump, including the flightdeck windows. Get either of those wrong and it just looks naff.

So far, you've nailed it!
 
1/100 747-400 toy rework (Final Destination)

I woke up feeling great today - my day off - got some time to work on my 747-400. Yesterday I glued the upper and lower halves of the starboard wing together with a little bit of Amazing Goop because the wing material was made of plastic that was a bit more flexible. By afternoon the glue had dried and it looked solid so I test fitted it to the plane. I got worked up enough that I did the port wing as well, but this time with more Amazing Goop. I wasn't prepared for what I saw this morning. The port wing was horribly distorted. Rushed to dunk cotton balls into acetone and rubbed all the goop off. Alas, nothing could bring the wing back into shape. Anyone have a time machine?

015Bentwings.jpg


Well, she made me happy even for just a little while. I will miss you, girl. Photo below: Last flight to her final destination. She will remain nameless, engine-less, with only a starboard wing to keep her airborne into the wild blue yonder.

014FinalFlight.jpg
 
Last edited:
:cry

It would have been a beauty. I loved the way you corrected the nose and really achieved the Jumbo look.

I feel for you, man... any chance to find another one and start over?
 
Could you scratchbuild something? Use the wing as a template to craft a new piece? Judging from the quality of your work thus far, I think it might be worth the effort to try. That modification to the nose is flawless.
 
Thanks for boost, guys. Gatekeeper, no dice with finding another one :cry. But I will go with saving this plane. There's still the possibility of salvaging the distorted wing by using metal inserts. Perhaps a hacksaw blade or two. Something stiff and light. Or maybe I'll cut up some old compact discs and stick them inside. And this time I'll make sure I don't use any solvent-based adhesive - just the good ol' glue gun. If it doesn't work then I'll take Glorbe's suggestion to make a new wing out of styrene - I just don't think I have the skill to produce something with the proper airfoil cross-section.
 
Another thing worth considering is a few years ago Hobbycraft issued a 1/100 747-400 model which essentially was a travel agency model unbuilt. They went for pretty cheap prices considering the size of the model. They are discontinued, byt acquire one of these or at least a trashed one and you might be able to get a decent set of wings to use.
 
Thanks for the suggestions, guys. Hey Jim, checked out Ebay - you're right Hobbycraft did release a 747-400. I thought they only did a 747-100. I was trying to enlarge those photos and it looks like those fuselage shells don't have windows? Looks like a nice kit, though.

I played Rob's music and took the repair route. Flattened the portside wing with some heavy books, cut up some old compact discs and glued them inside the wing to keep it straight. I once tried breaking one of those CDs and they're tough - they won't distort to heavy bending and they're thin so I figured they'll do. After gluing the wing halves (with glue gun this time) I scraped the edges down.

016InsertedCDs.jpg


Filed the trailing edges as thin as they would go like I see on the real planes.

017Filedasthinasitwillgo.jpg


Did the same for the good wing:
019Preparedalsothestarboardwing.jpg


I wanted to test the capabilities of this type of 2-part putty, and to keep the wings straight. It says
it's good for ABS and flexible plastics. That sounds like "toys" to me!

018Toseethecapabilitiesofthisputty.jpg


So I slapped the stuff onto all of the wing seams:
020PuttiedupbothwingswithKwikPlastic.jpg


And sanded after a couple of hours:
021Filedandsanded.jpg

The port wing now looks good enough to me:
022Filedalsootherwing.jpg


023PortWingready.jpg


I'm back to two good wings! :)
025NowImbacktotwogoodwings.jpg


Mounting her up to see how she looks:
027Mount2.jpg


028Mount.jpg


She's back in flight once more! :) Now I can go back to re-doing the engines.
029BackinFlight2.jpg
 
Last edited:
nice save...

That JB plastic putty looks interesting as well - sets in 25 minutes. Might be a good alternative to milliput or aves.
 
Just a thought...

But maaaybeeeee give it a few days before investing more blood, sweat, and tears - just to ensure the correction holds.
 
great to see that you saved this! I have been watching closely and it was sad to think this wasnt going to get finished...keep up the great work!
 
This thread is more than 11 years old.

Your message may be considered spam for the following reasons:

  1. This thread hasn't been active in some time. A new post in this thread might not contribute constructively to this discussion after so long.
If you wish to reply despite these issues, check the box below before replying.
Be aware that malicious compliance may result in more severe penalties.
Back
Top