Hi Gang,
I hope everybody had a wonderful Easter weekend and you were able to spend time with family and friends
")
Time for the "End of the Weekend" Update! Heads up... one part of the nav chair build gave me extreme heartache! But... Enjoy!
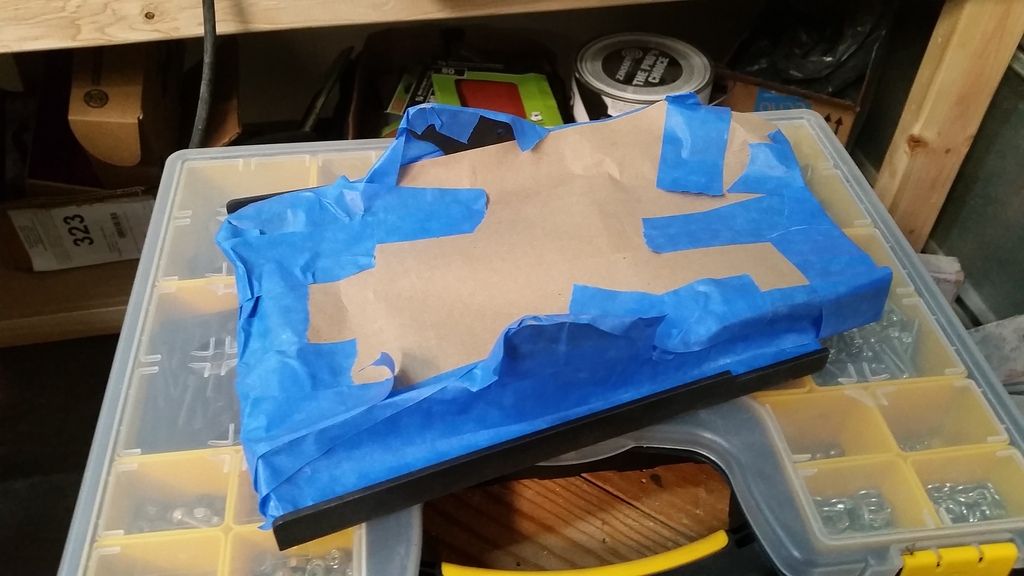
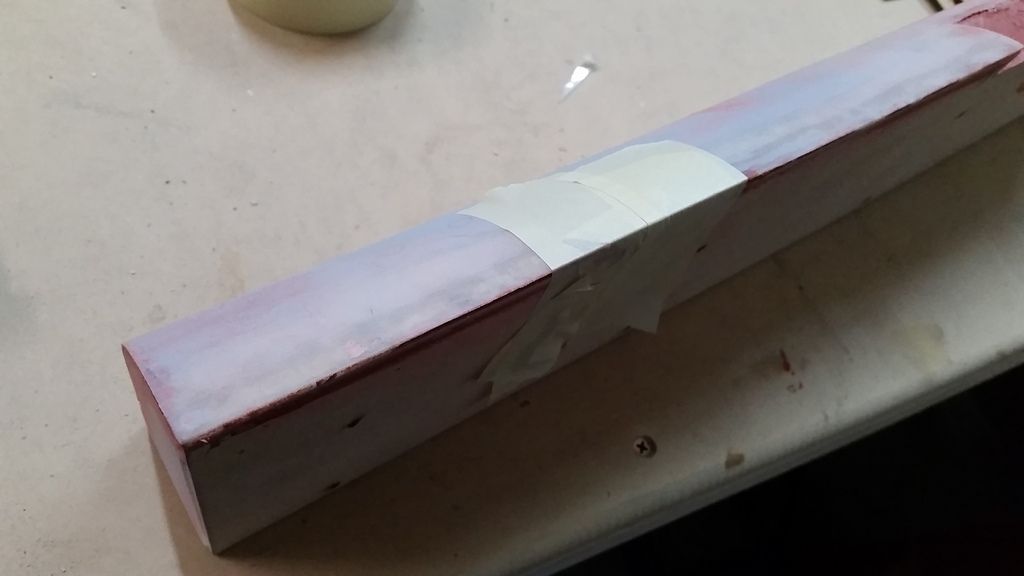
Lets start with ALL the small stuff. Started to mask off the headrest to paint the silver edges
This little piece is going to be cast
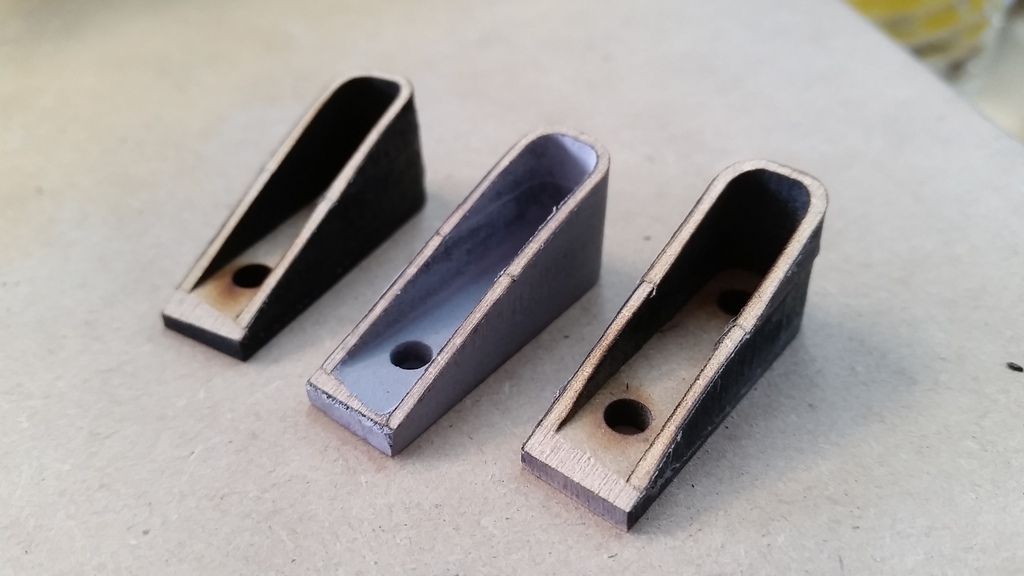
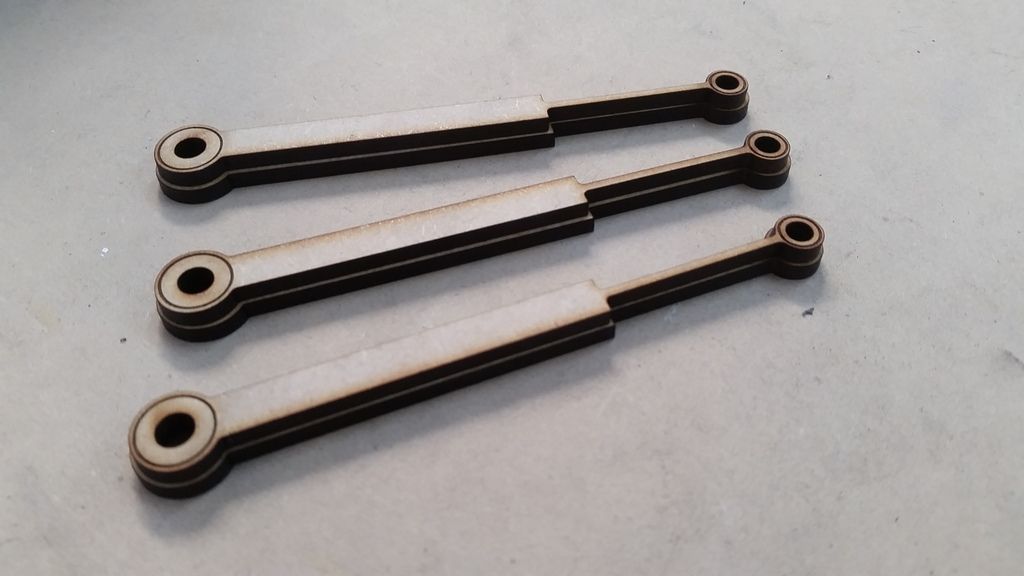
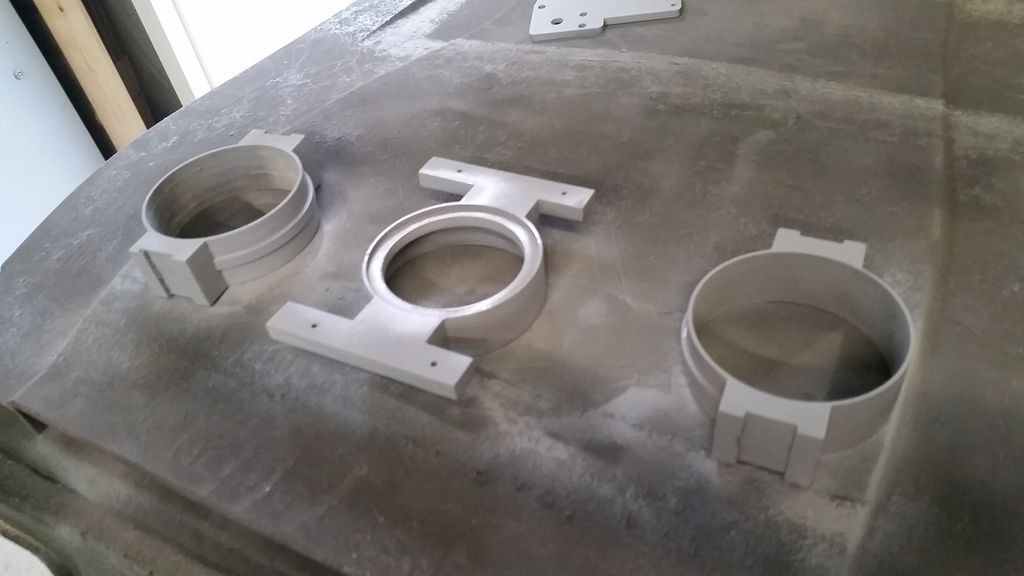
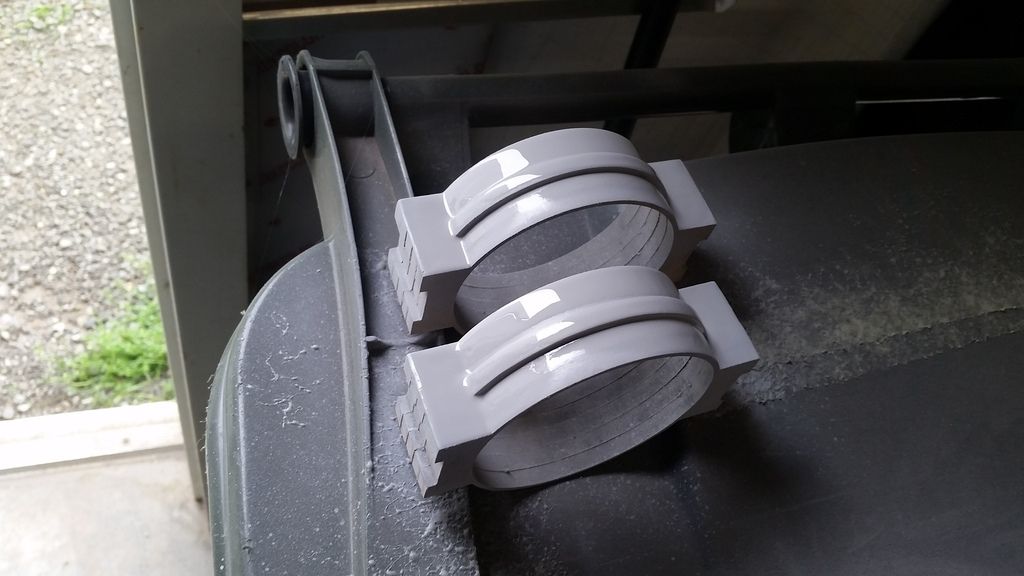
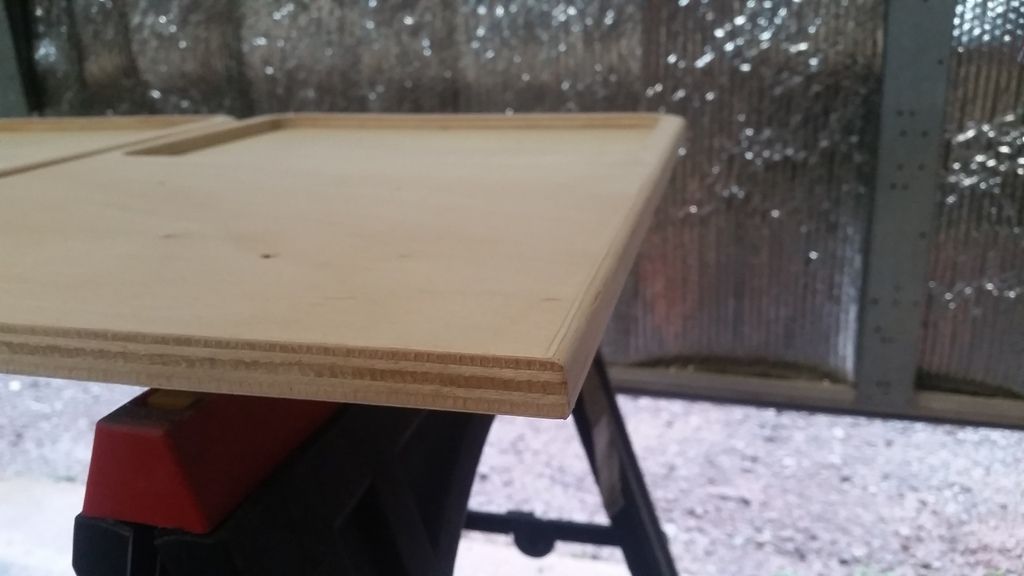
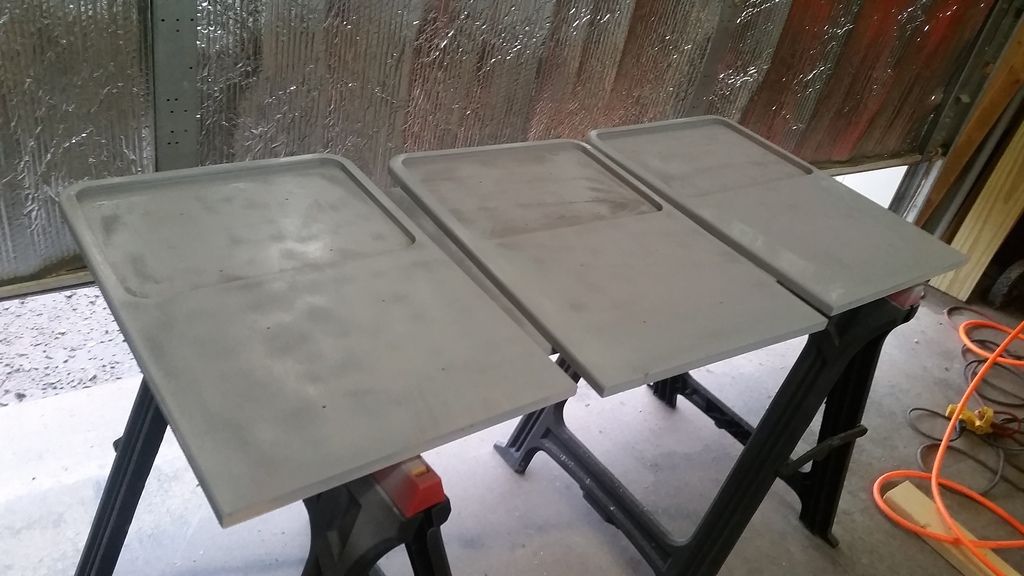
I broke out the belt sander and "whoosh"... took care of these three guys! Still needs more sanding and filler
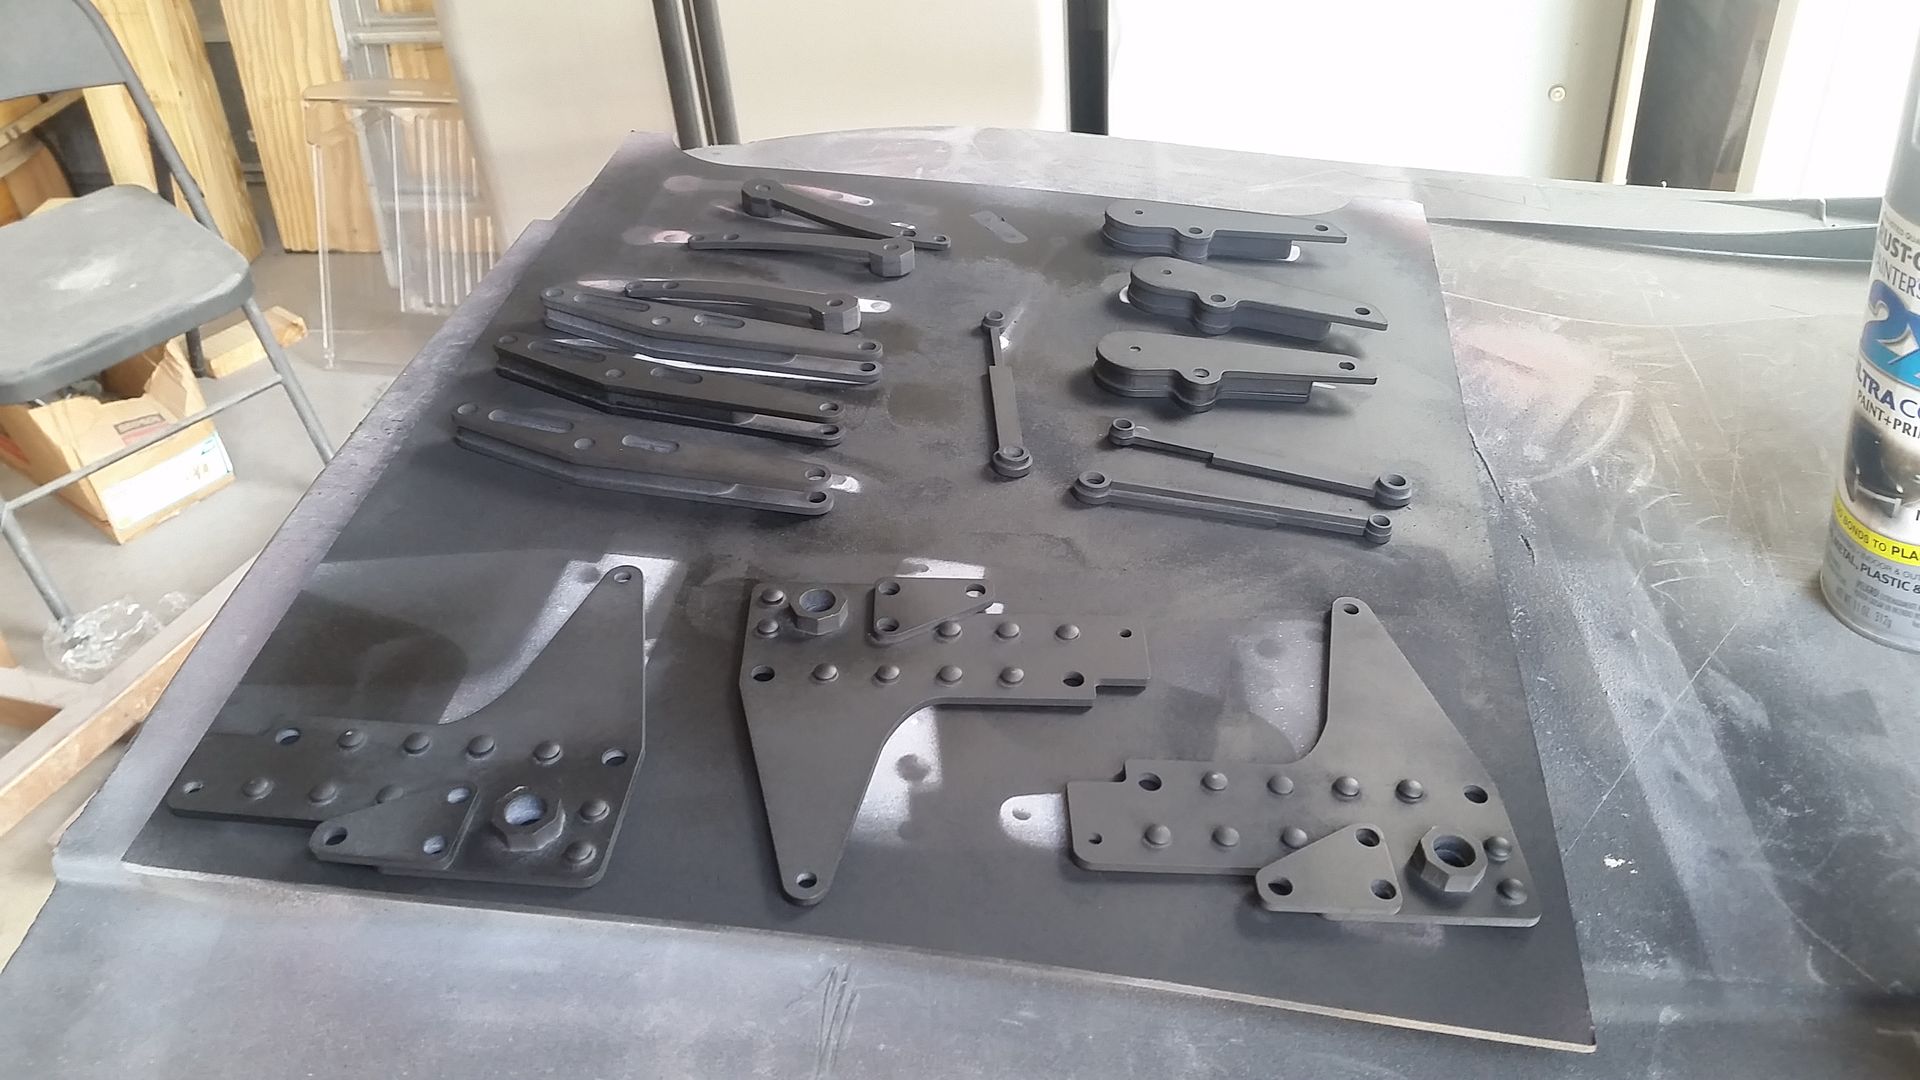
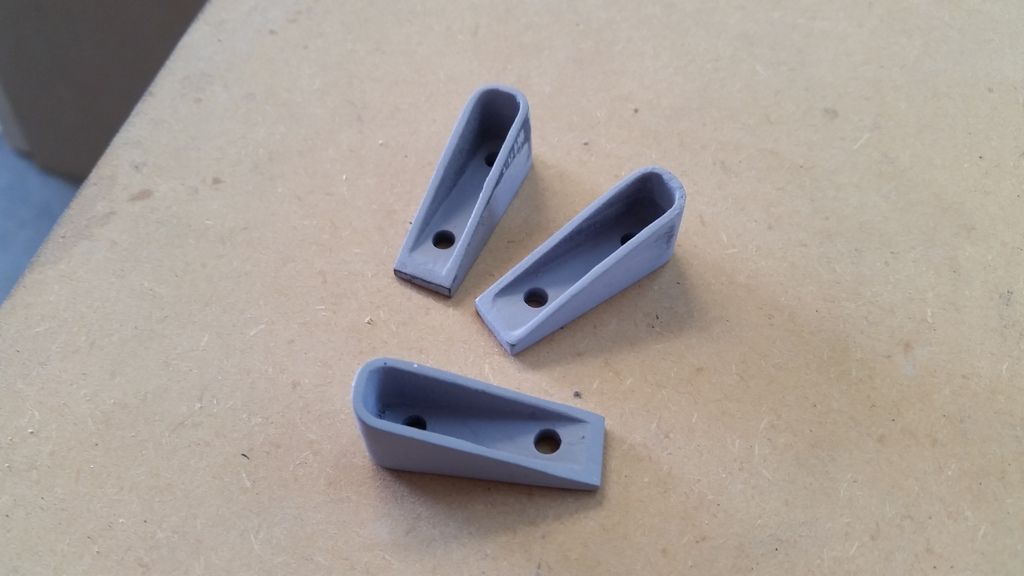
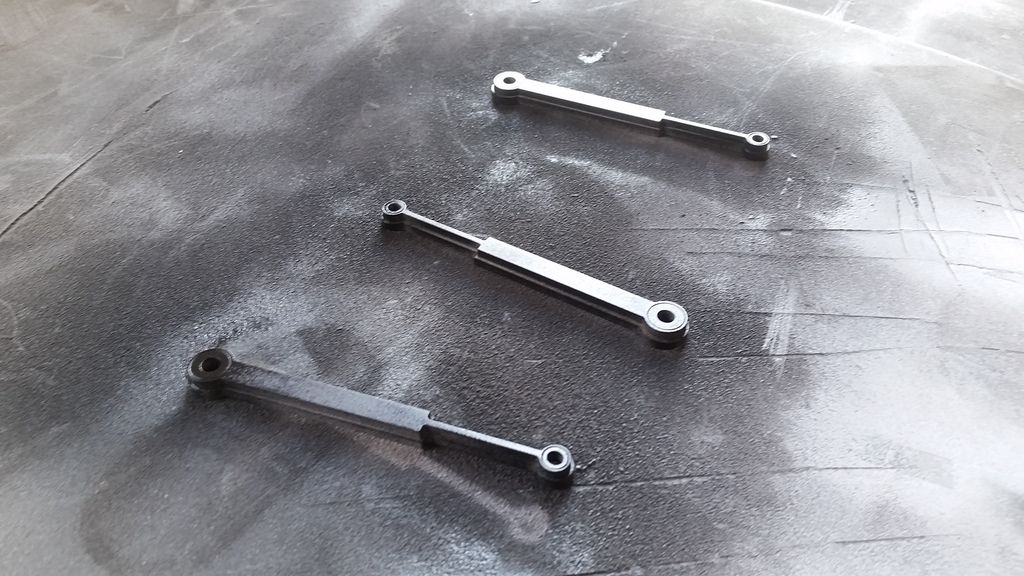
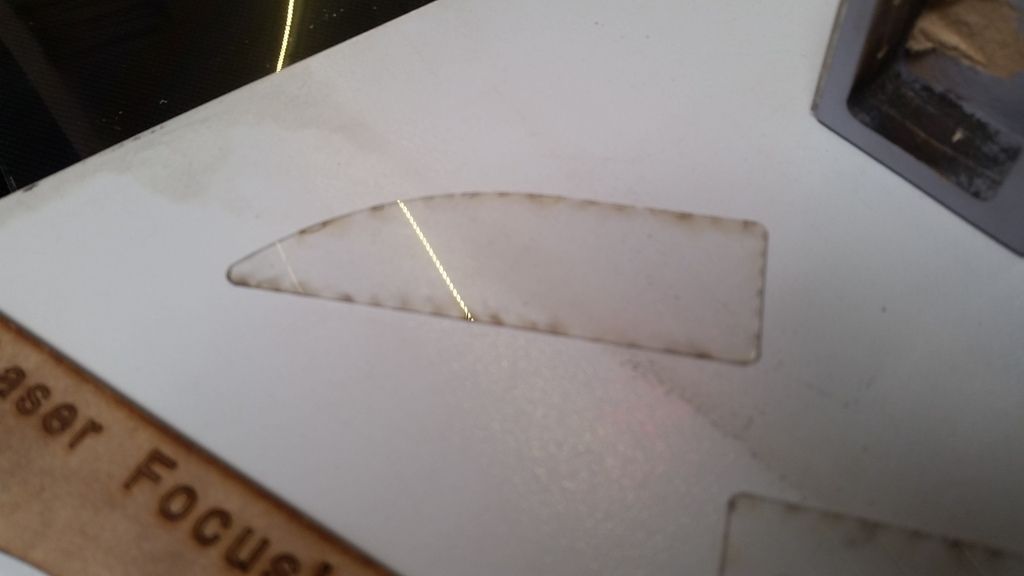
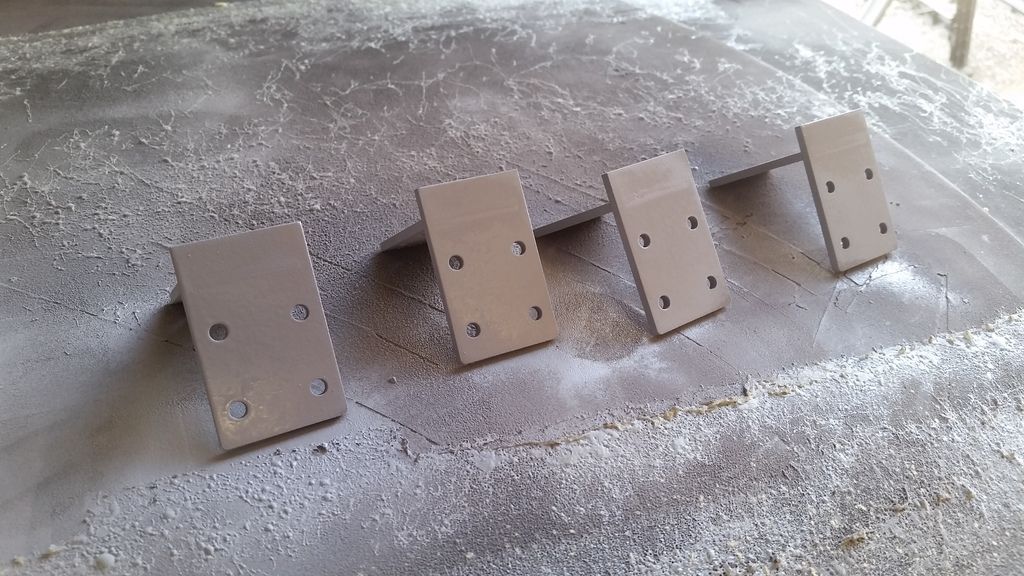
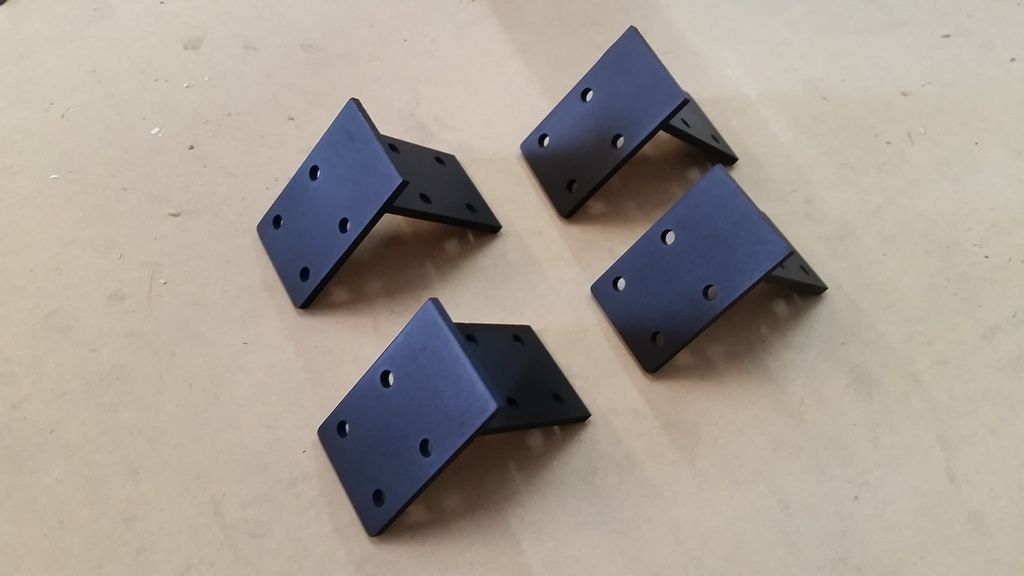
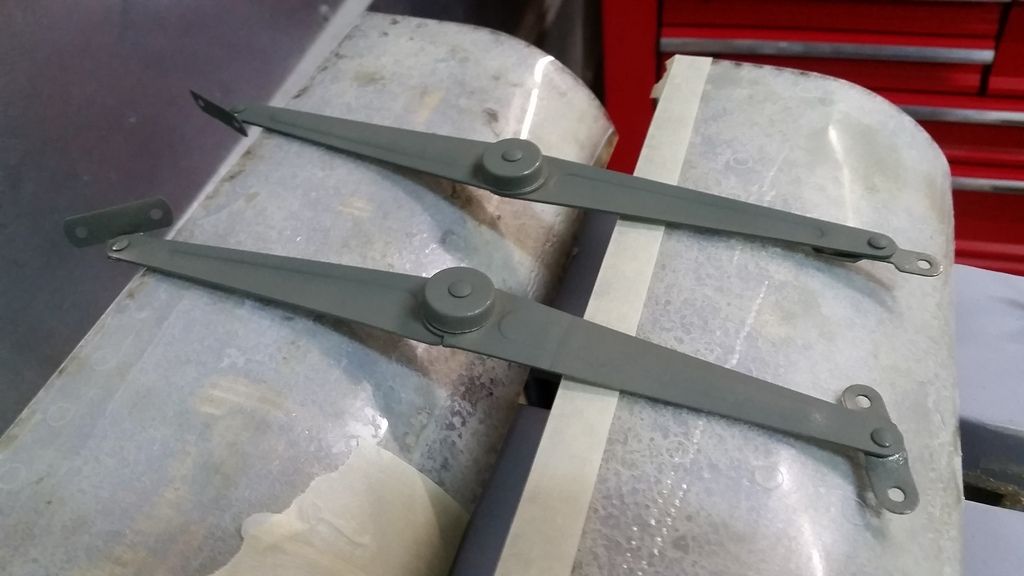
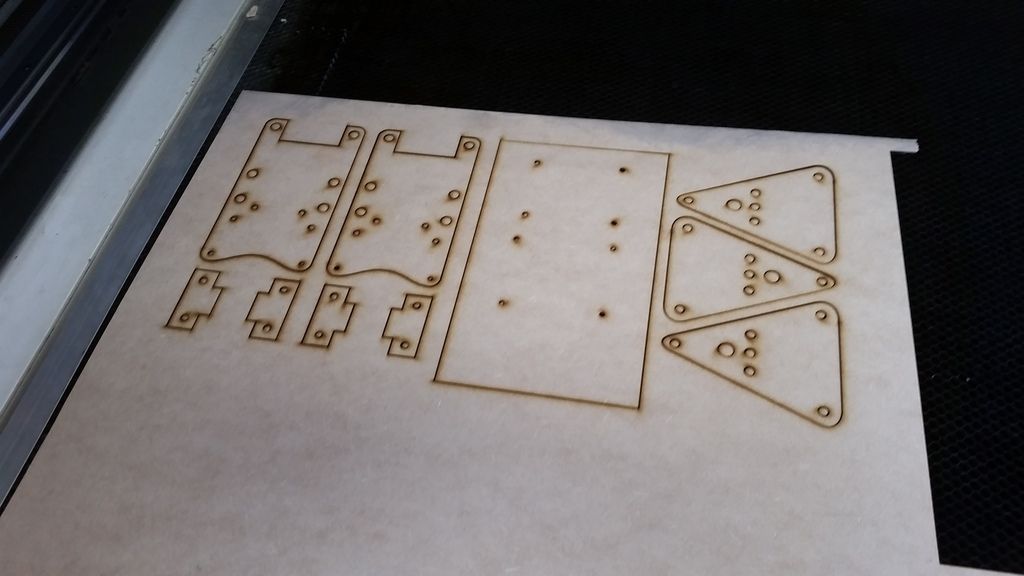
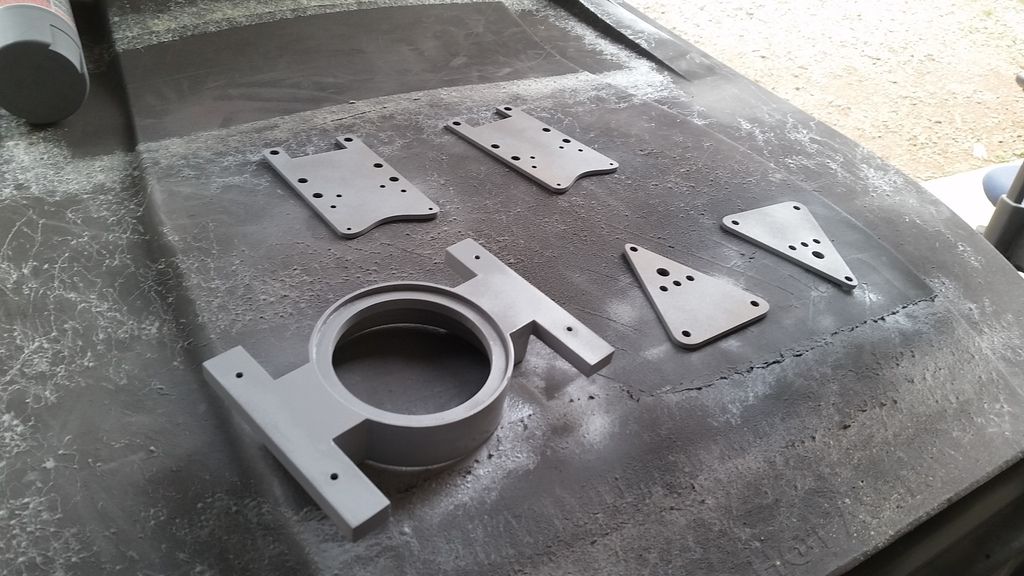
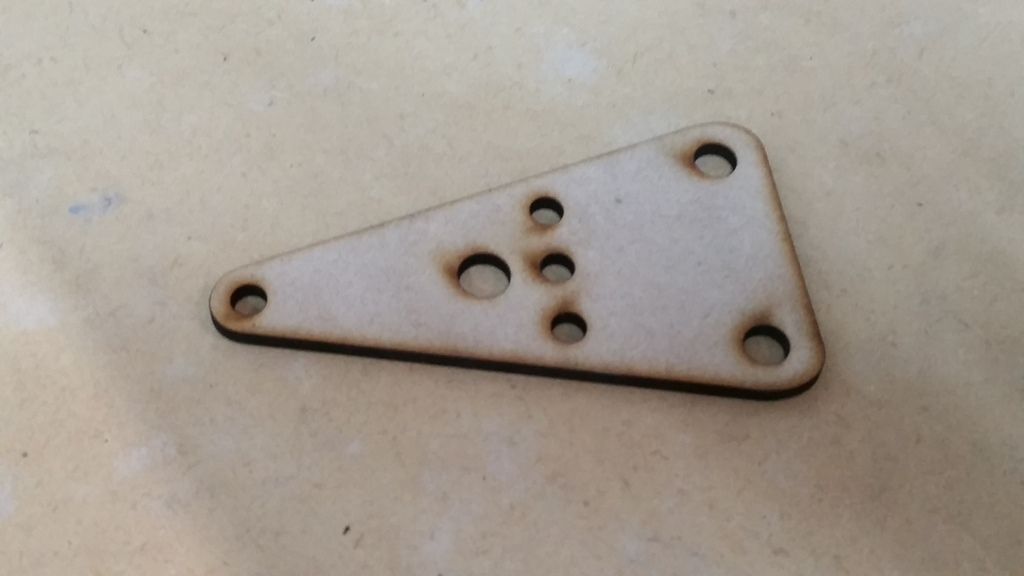
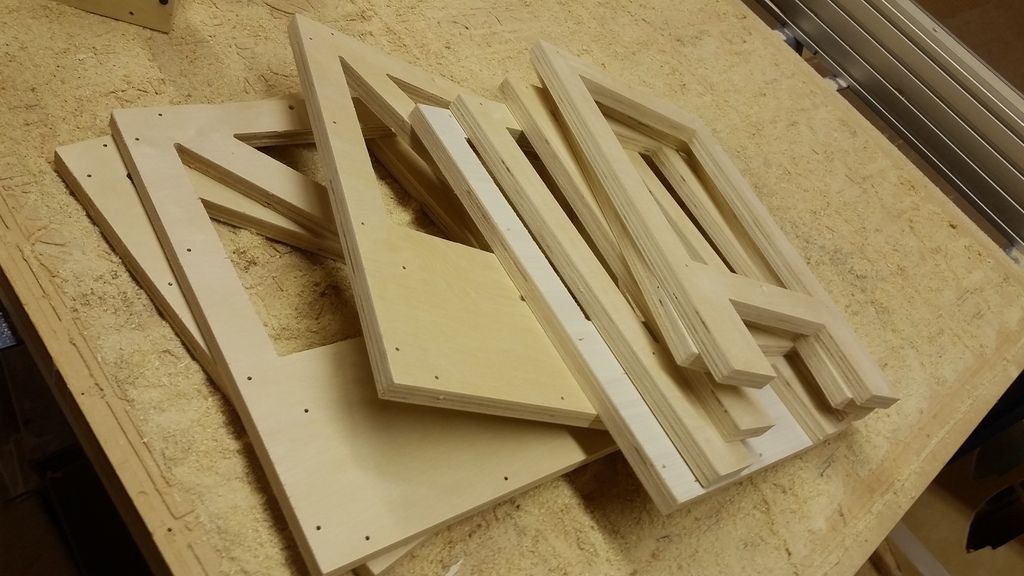
I then redesigned and laser cut these guys
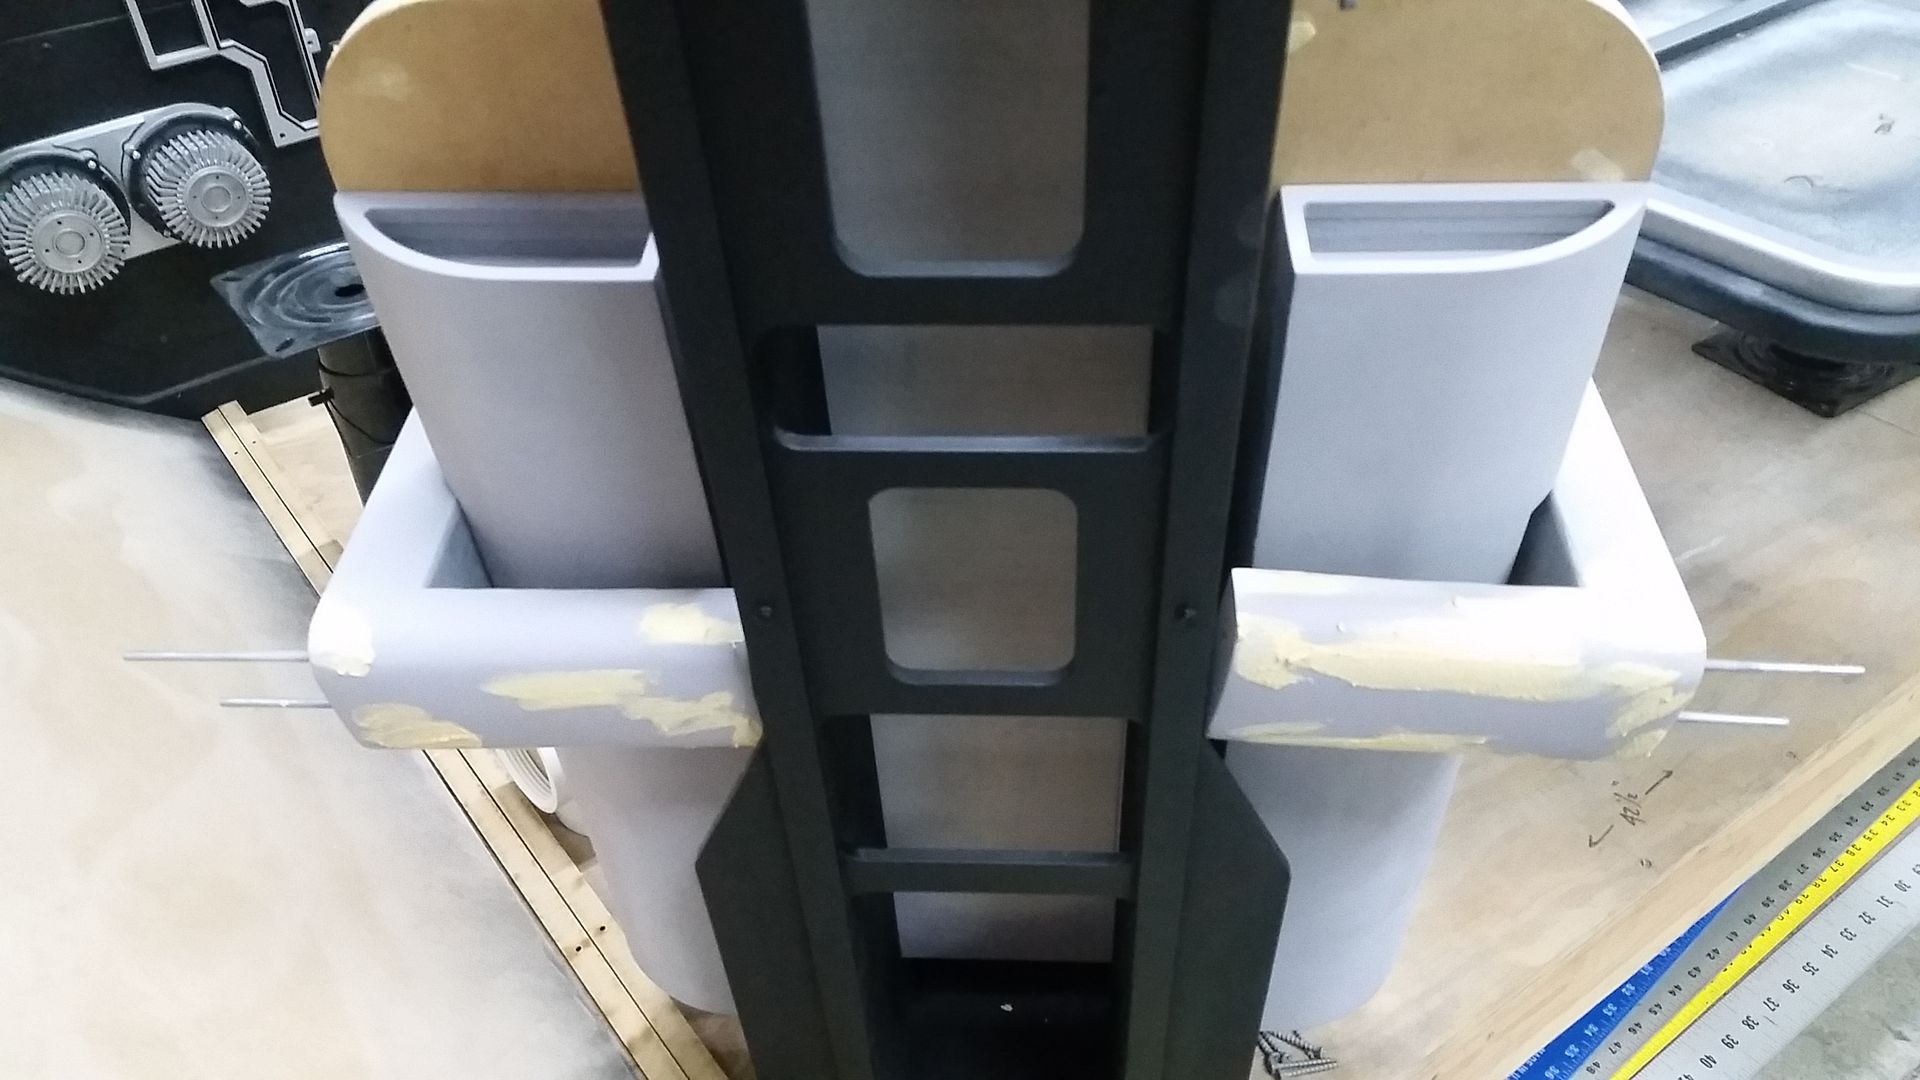
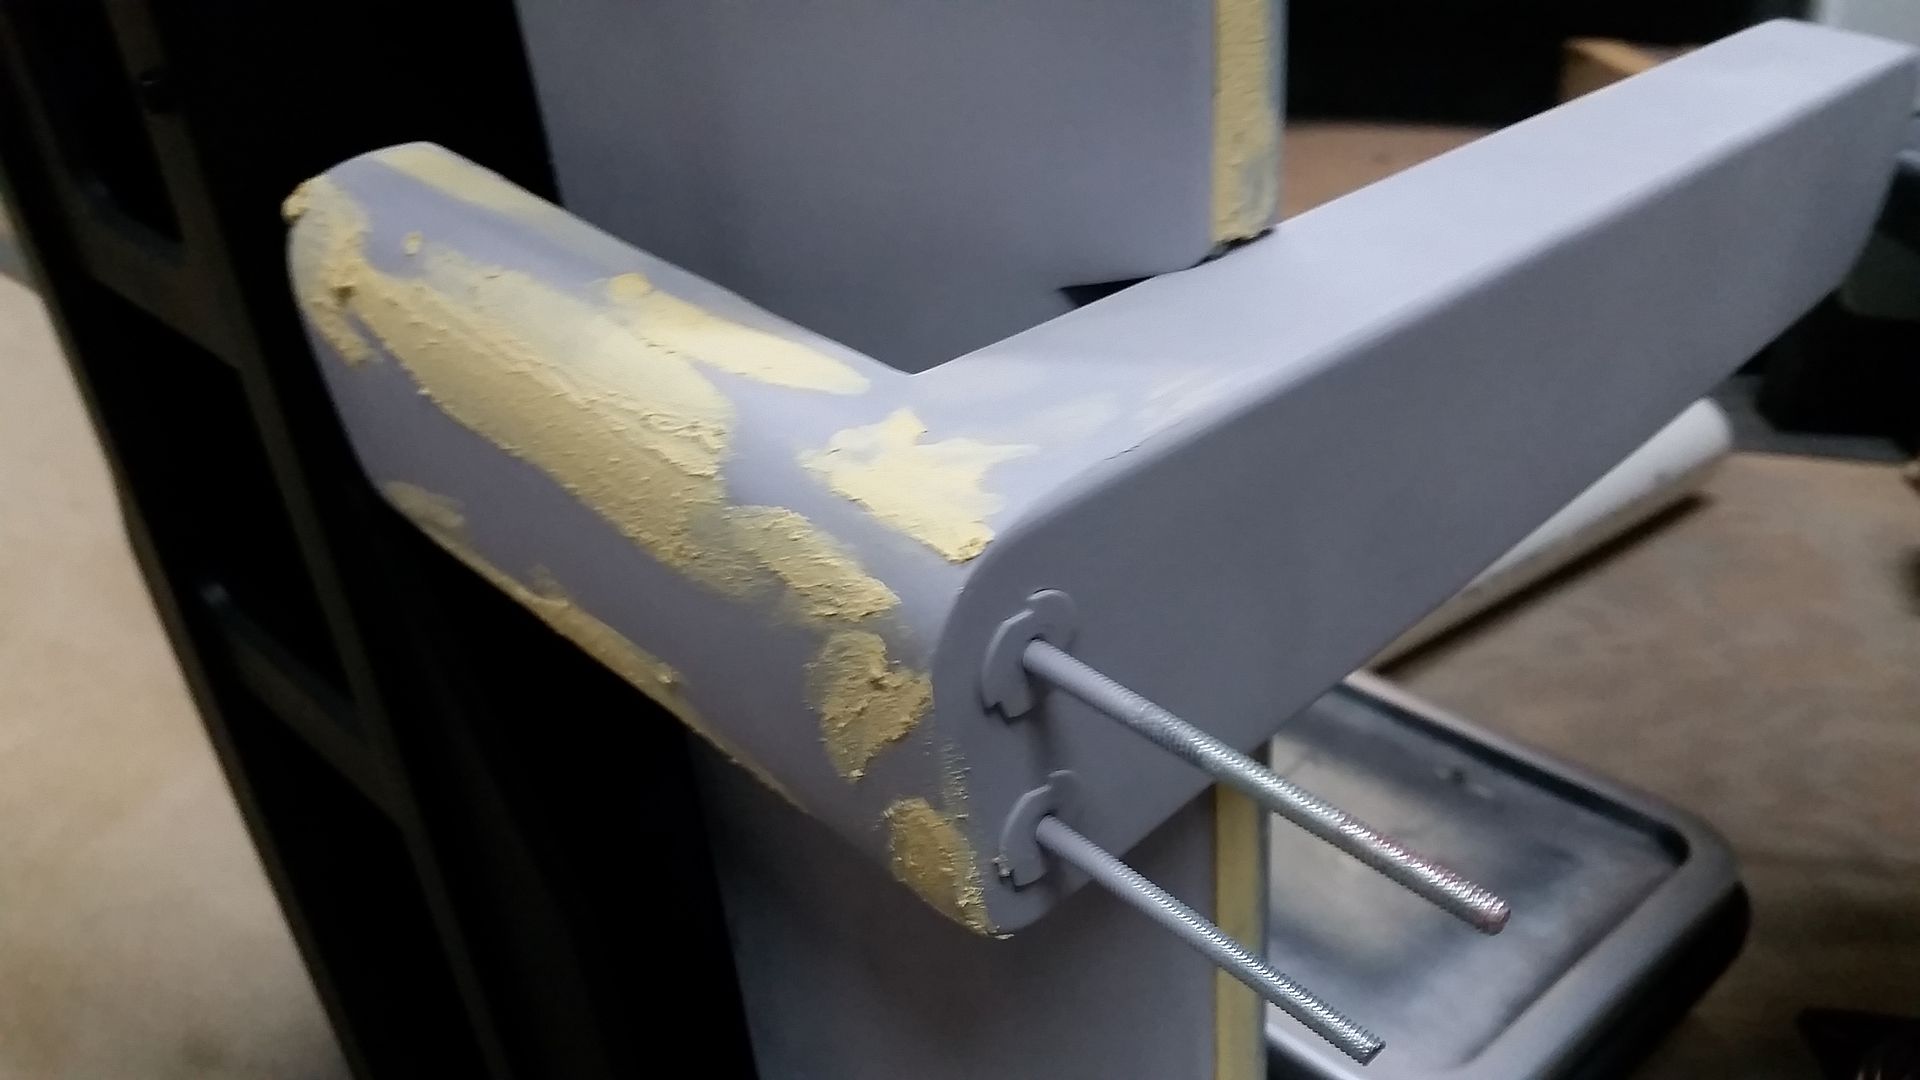
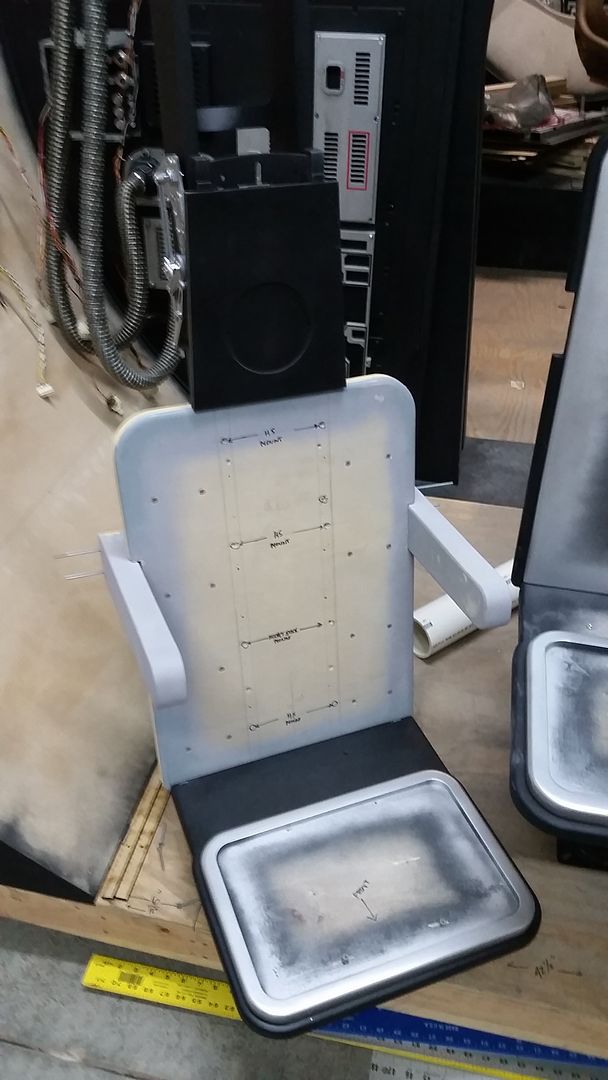
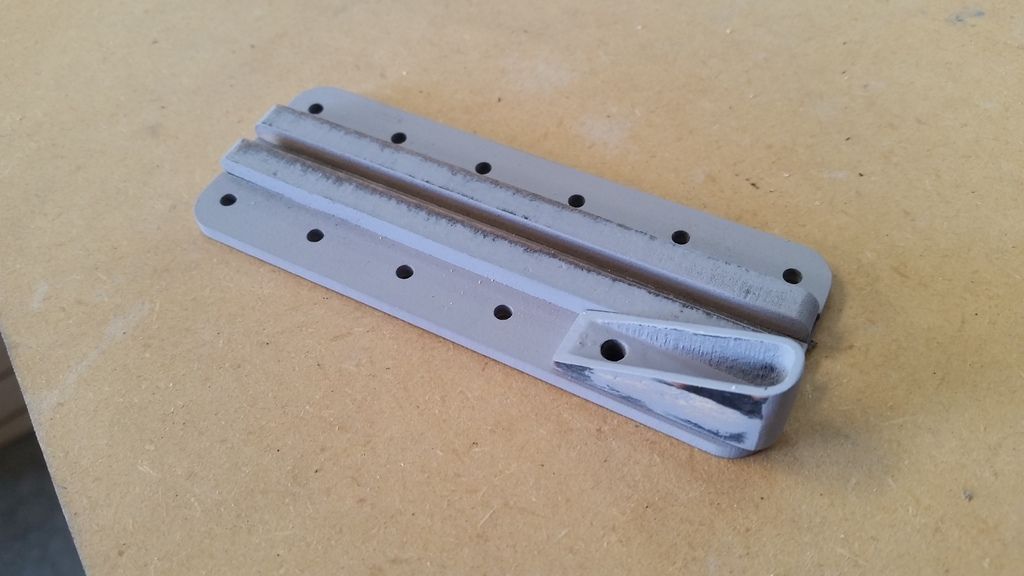
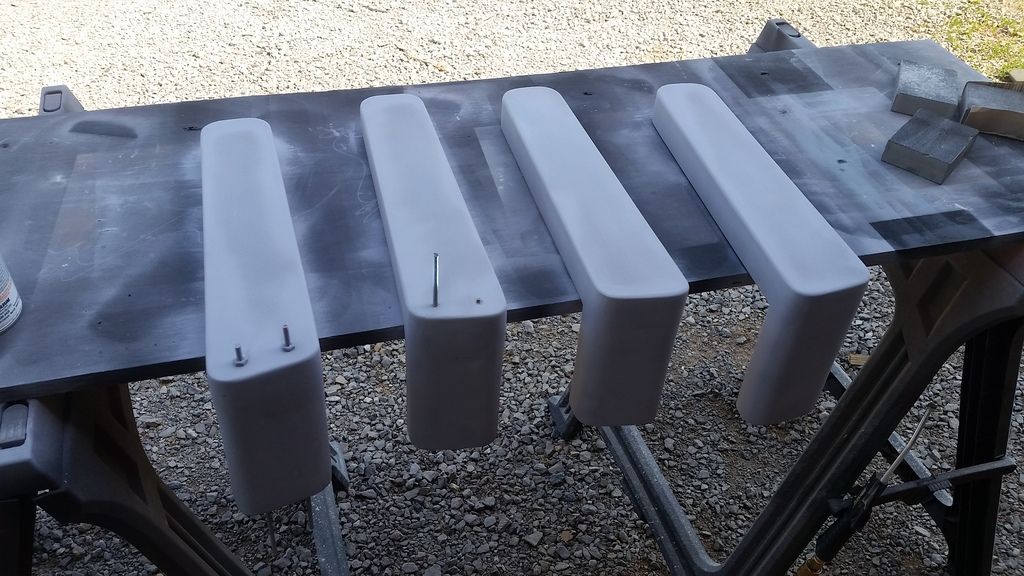
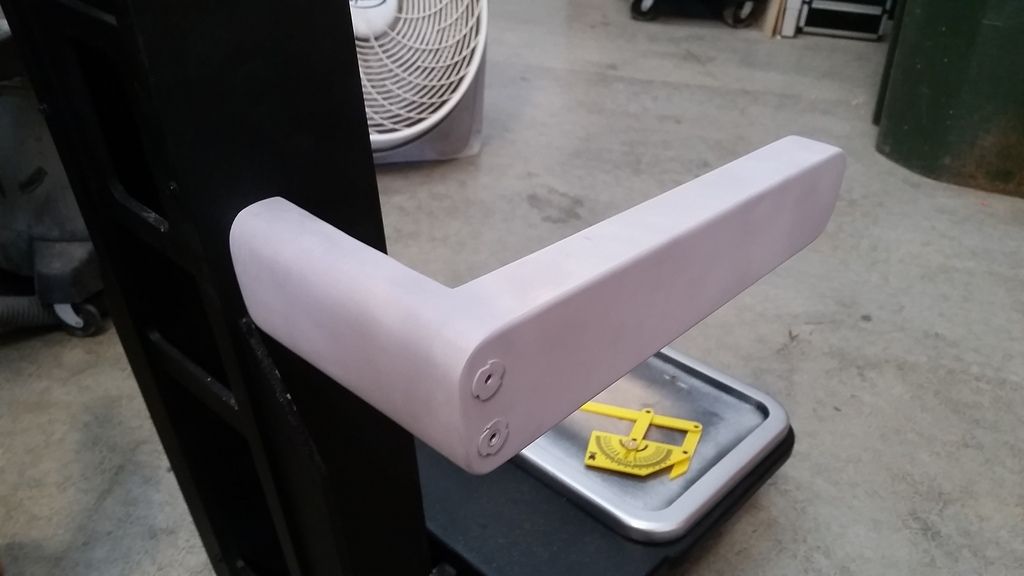
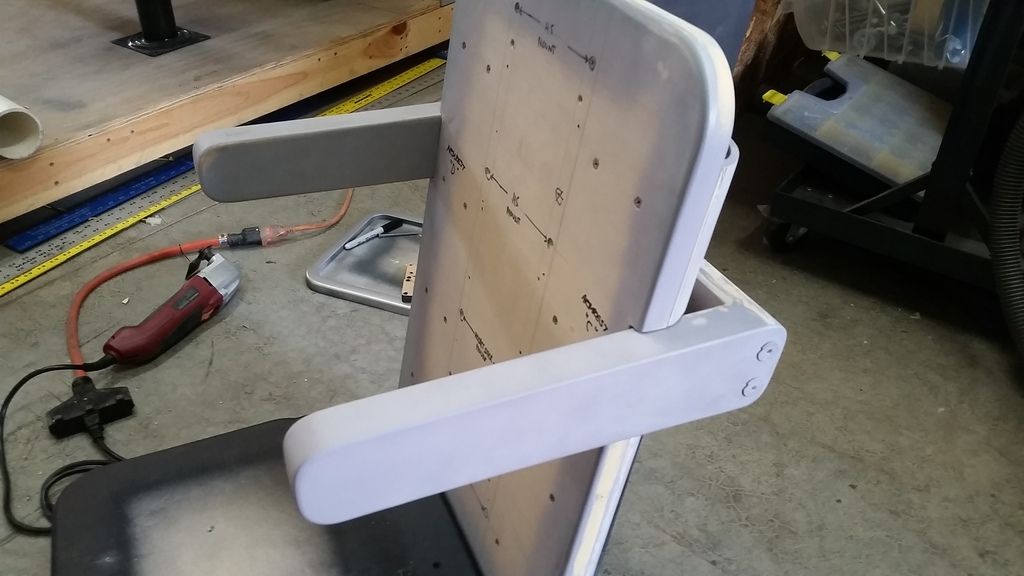
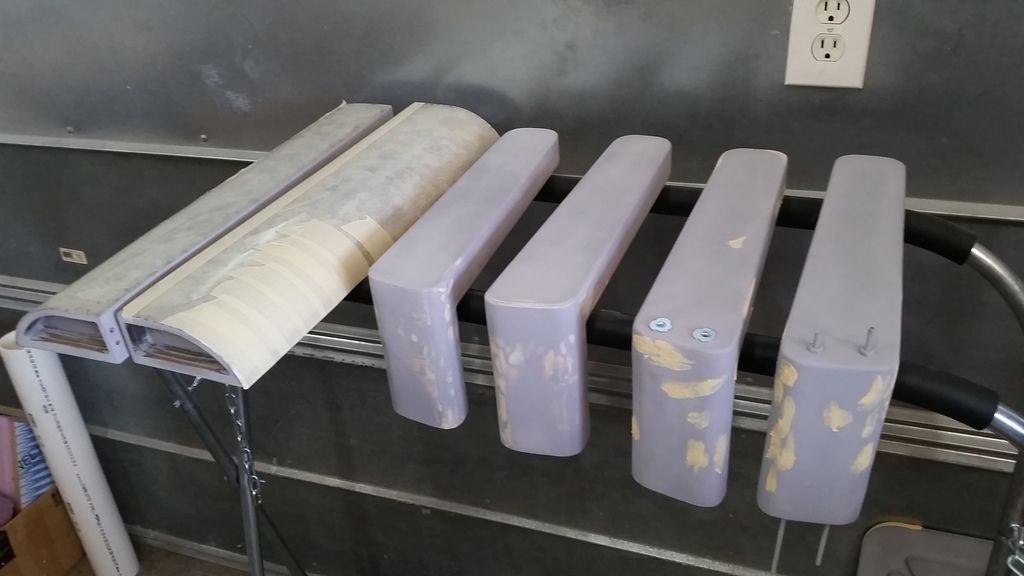
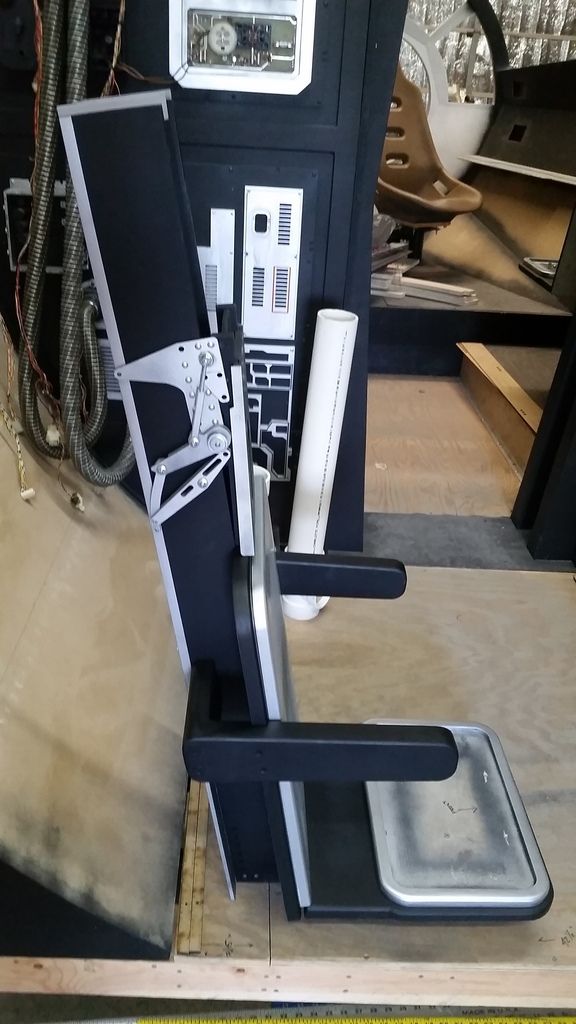
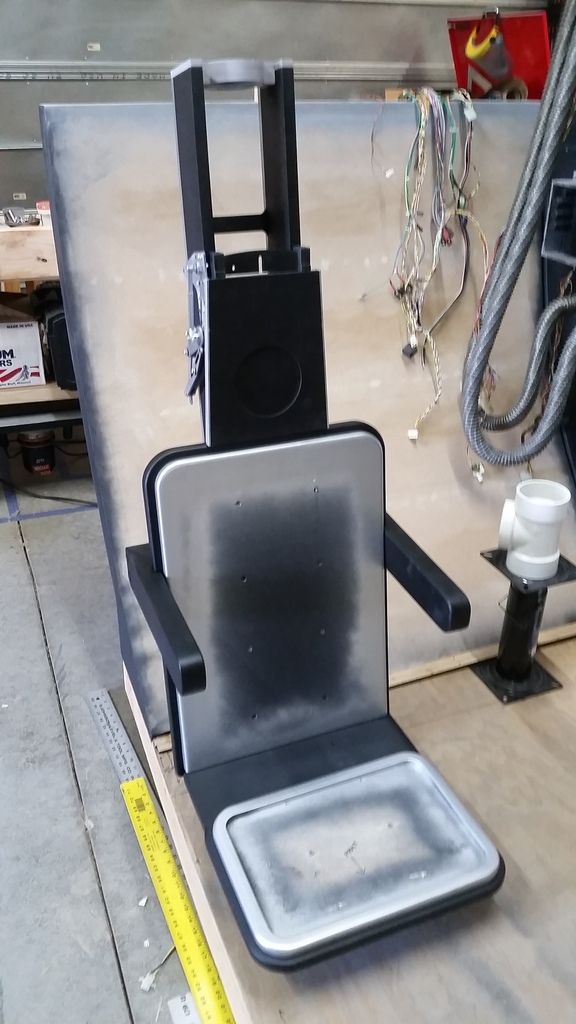
I then started work on the armrests
I notched the other side of the one chair Im currently working
Perfect!
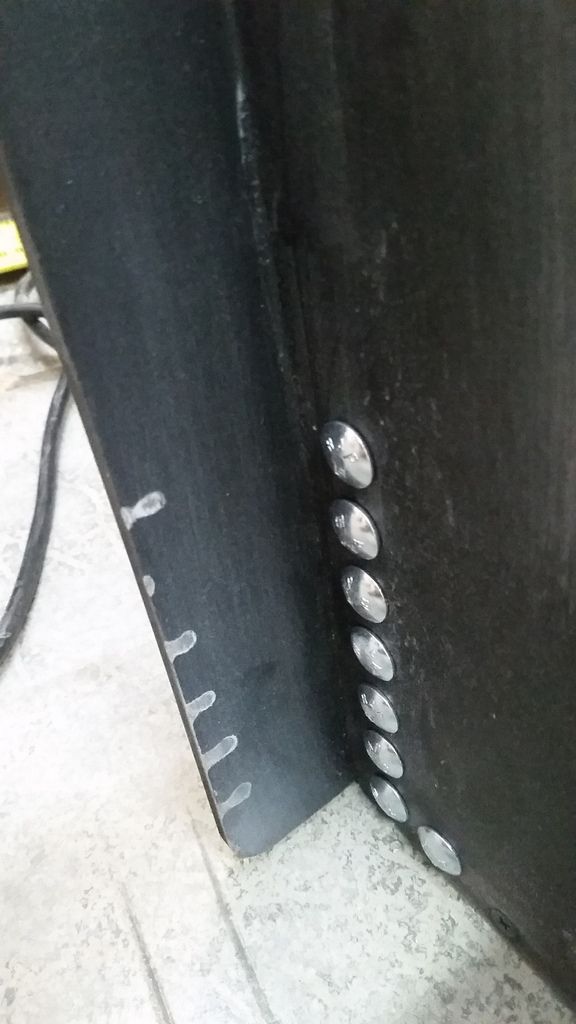
This straight cut (which looks like and angle) is from the CNC
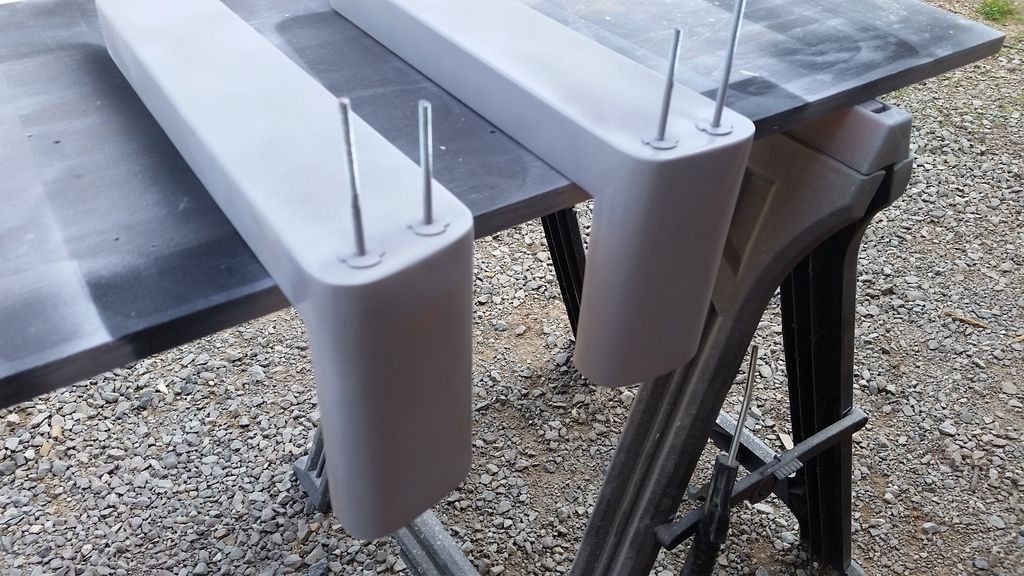
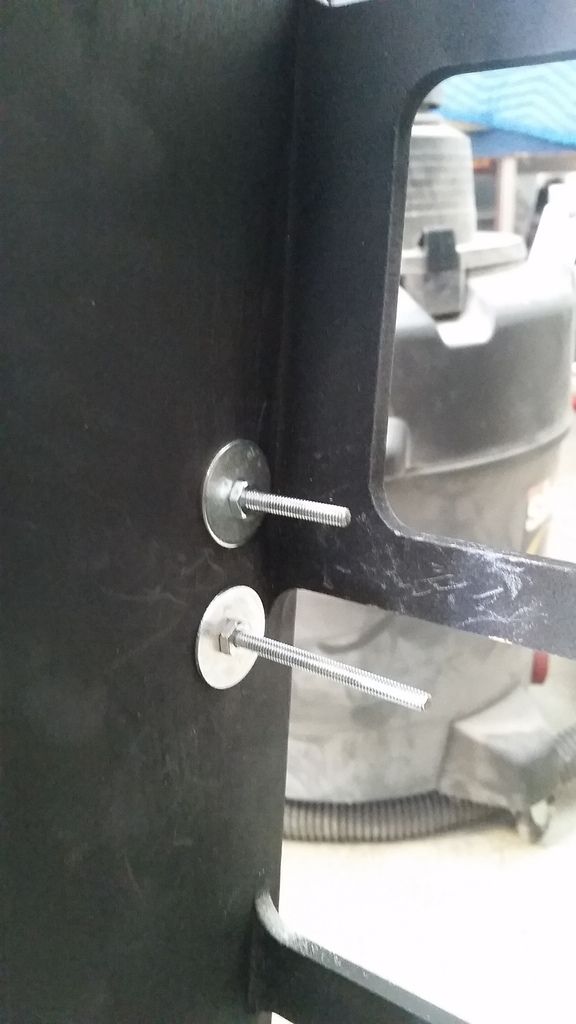
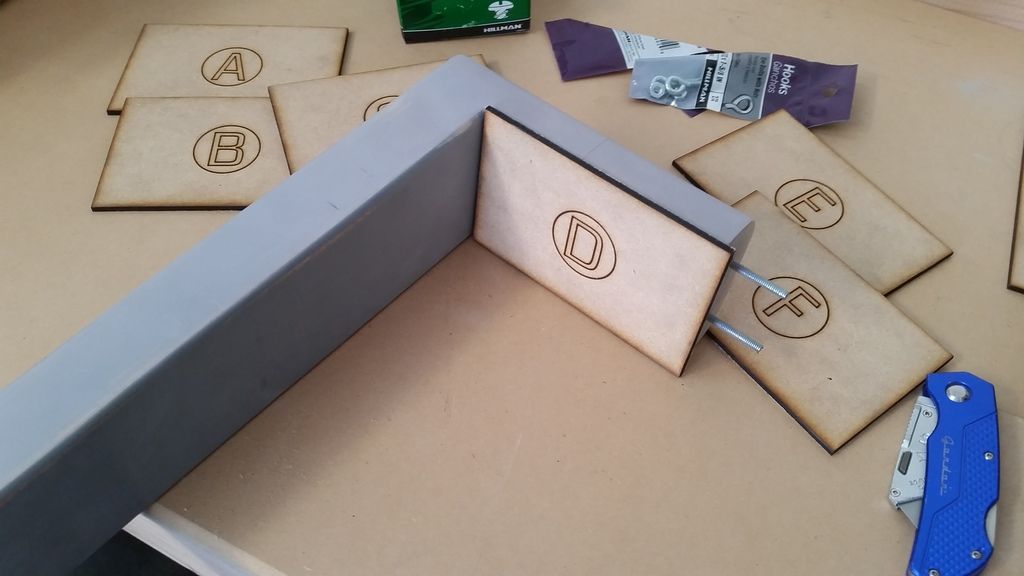
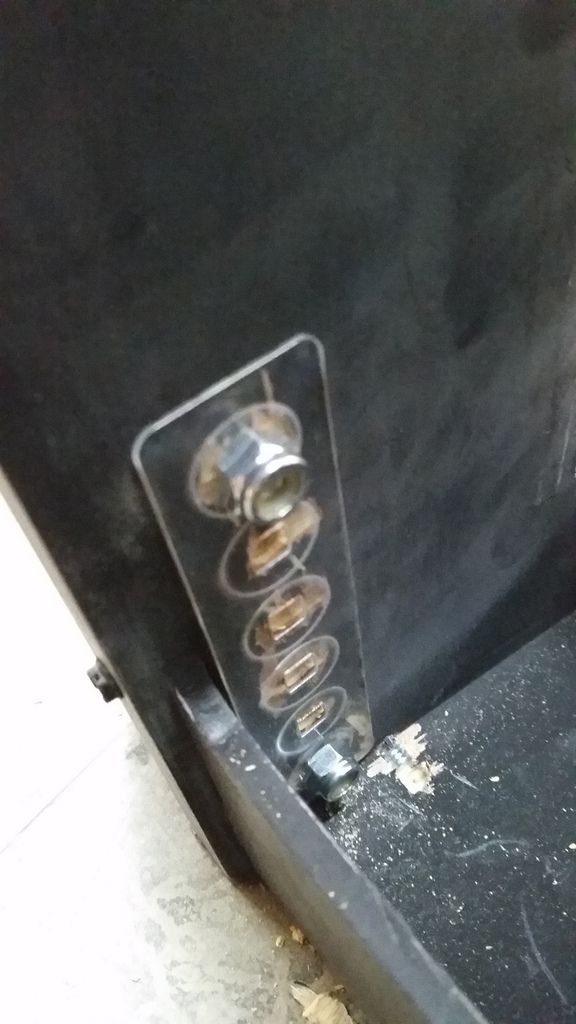
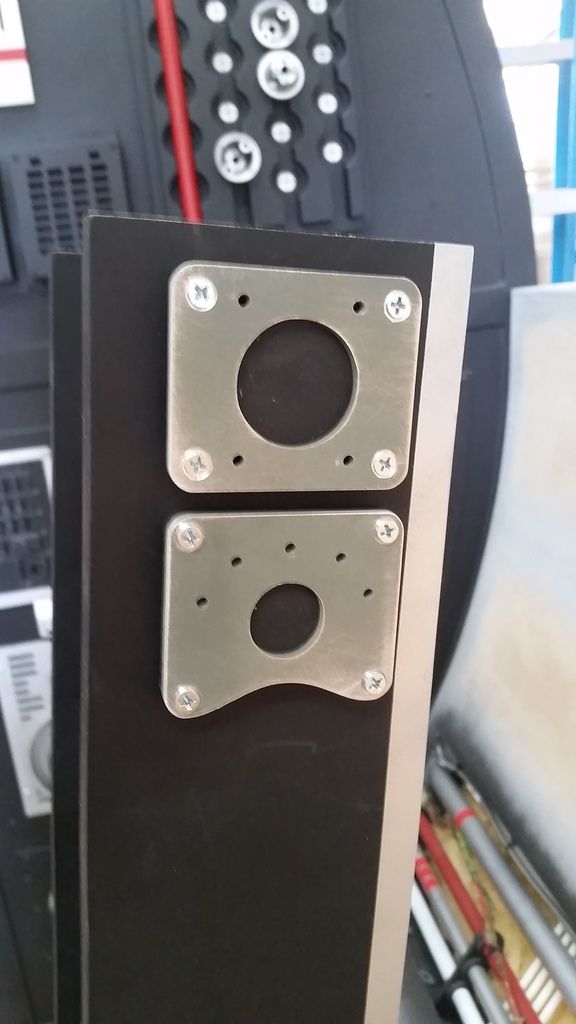
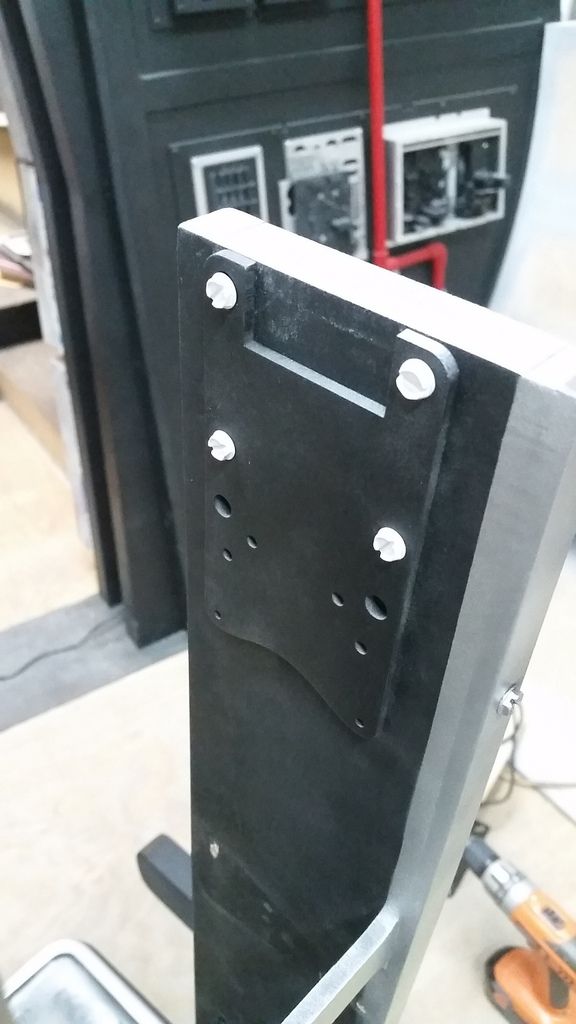
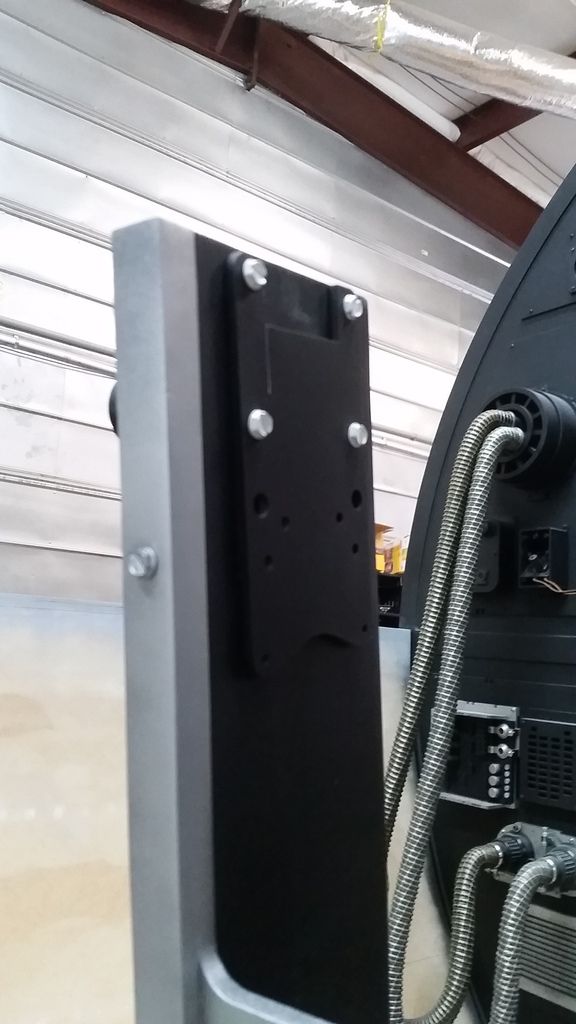
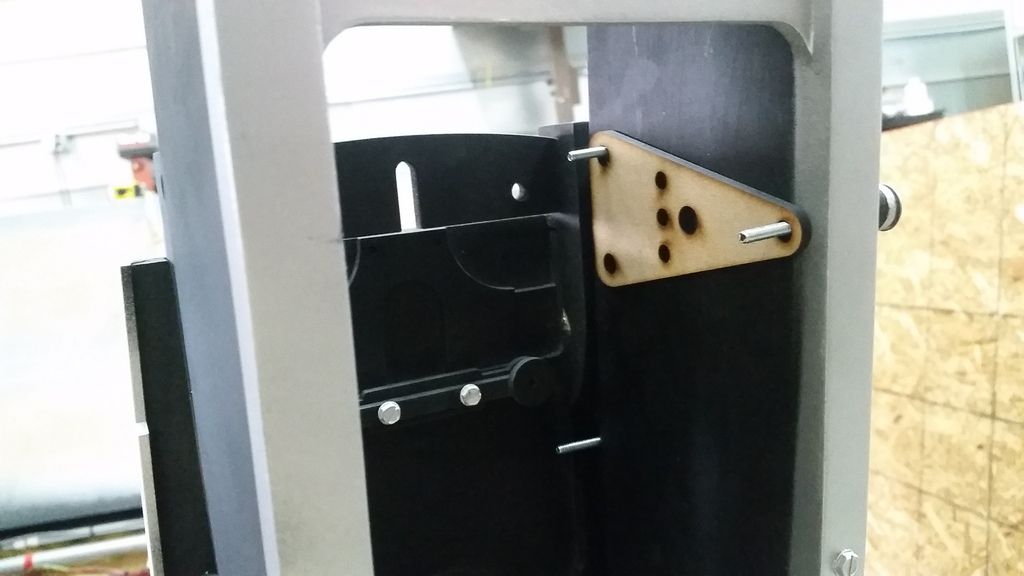
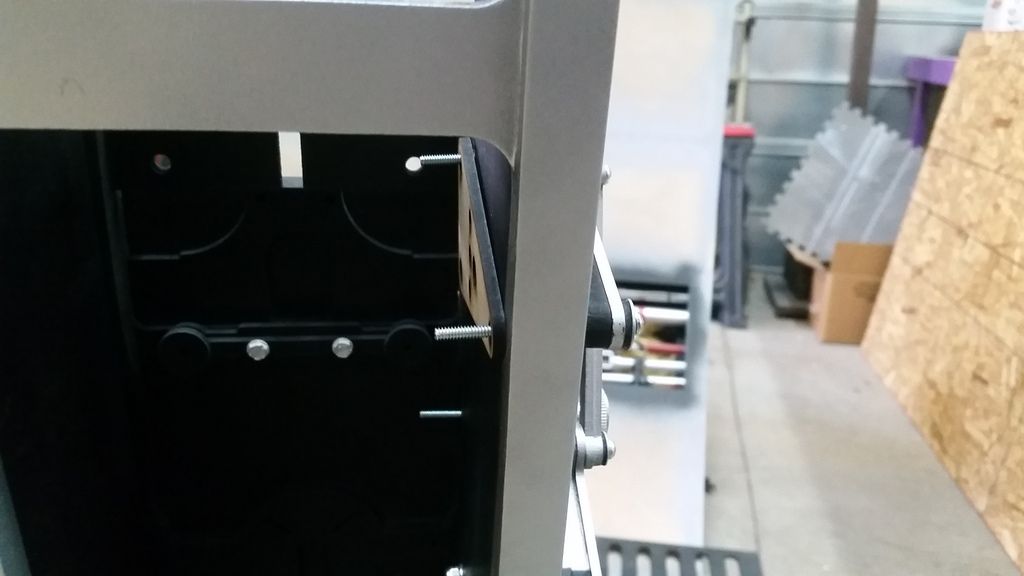
I then cut mounting holes for the armrest!
Need to trim those threaded rods to fit
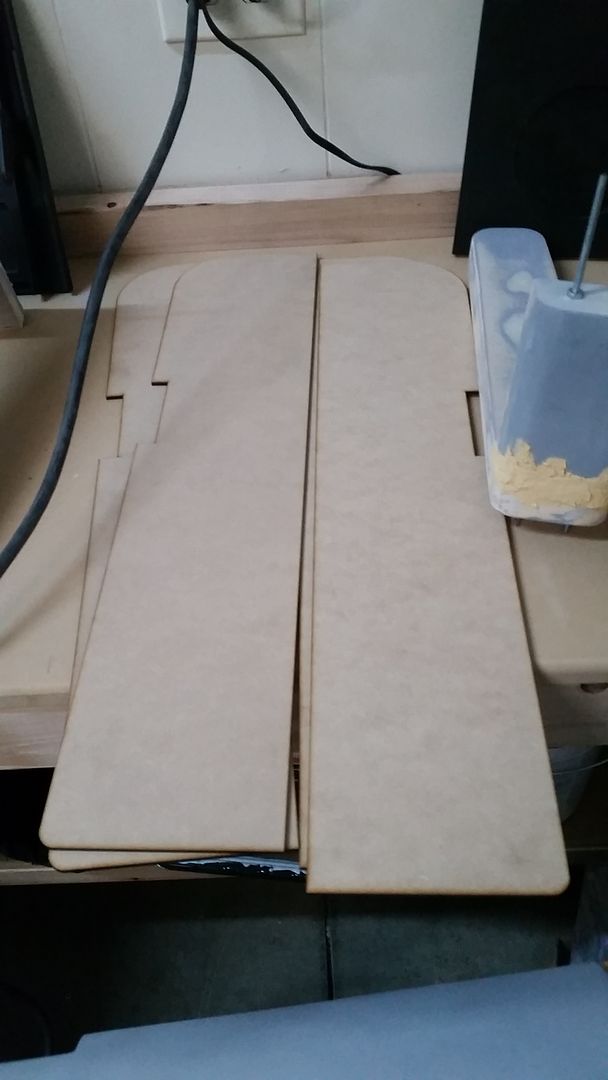
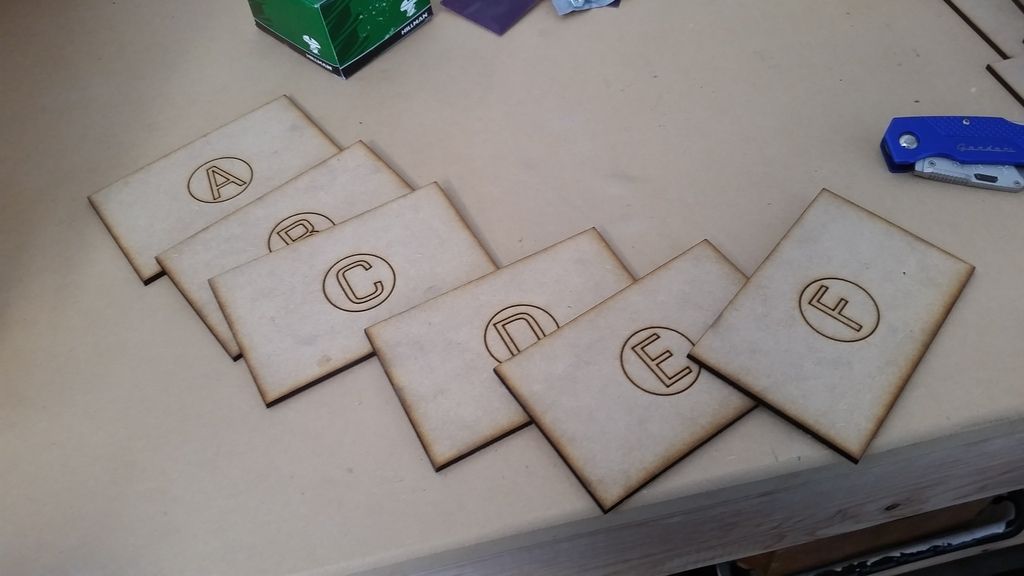
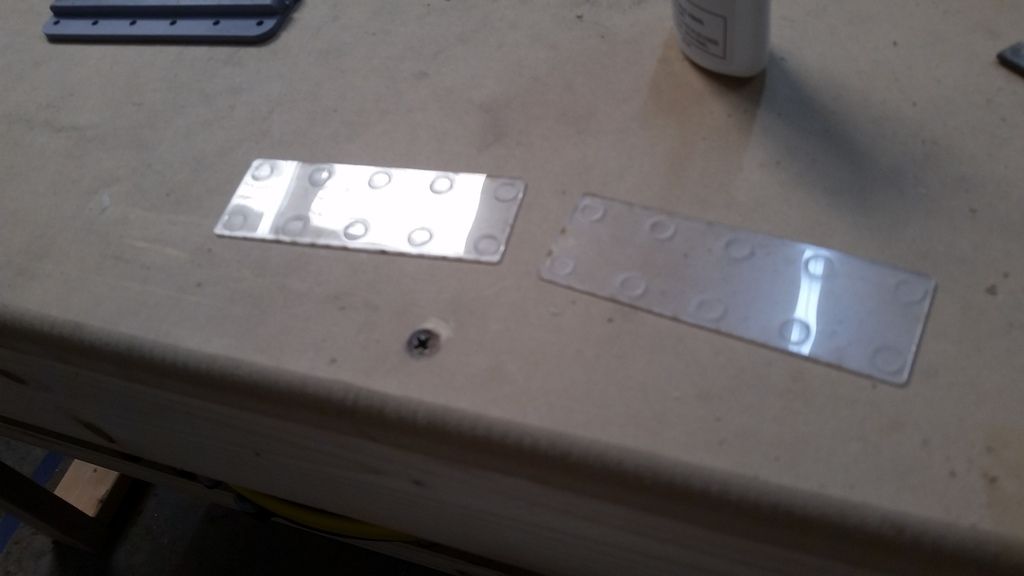
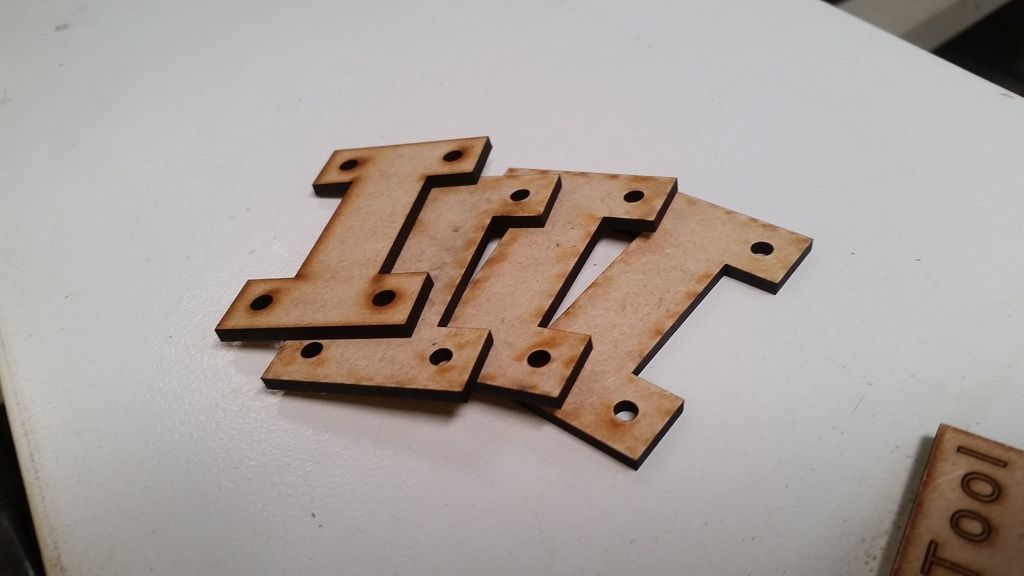
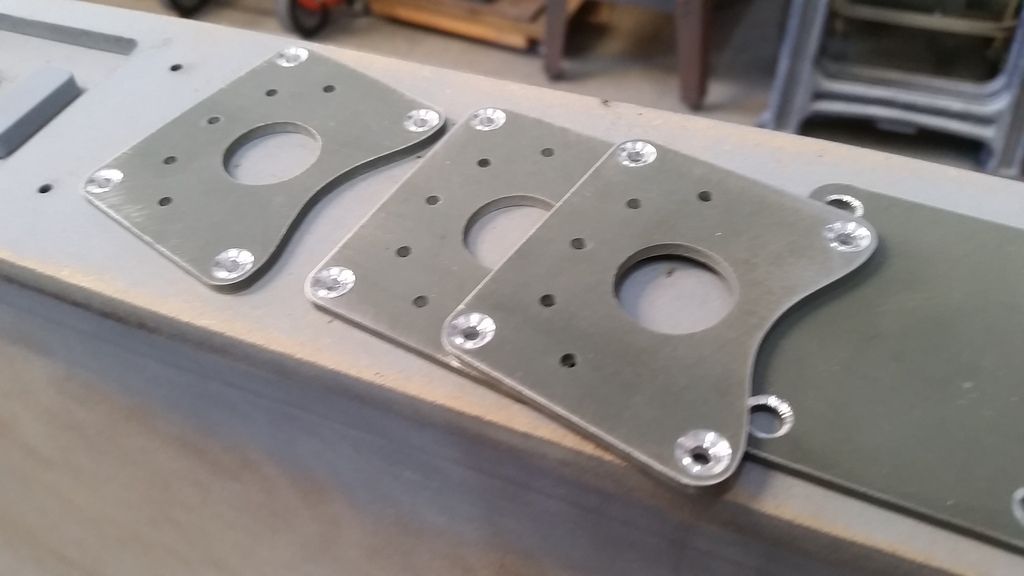
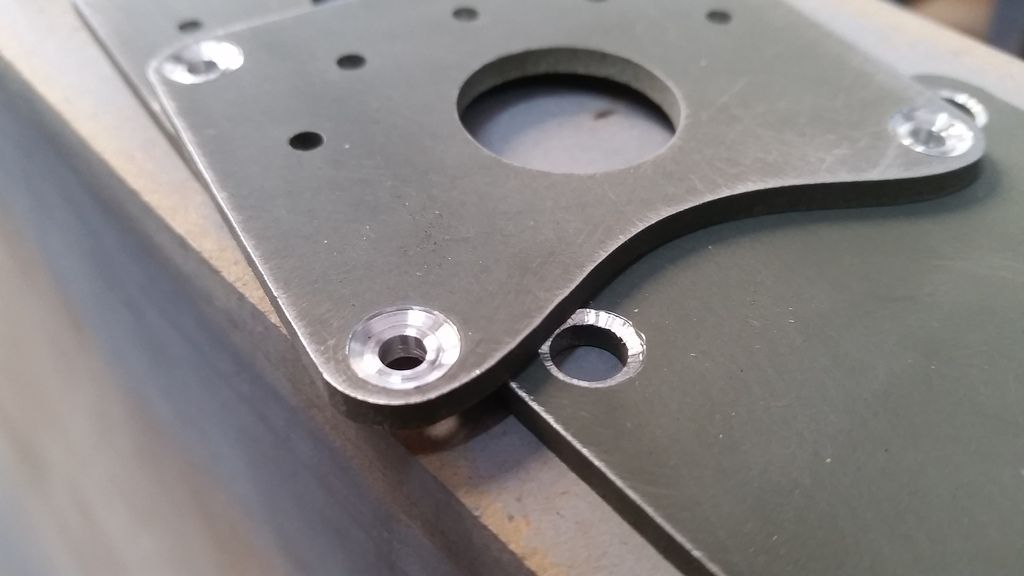
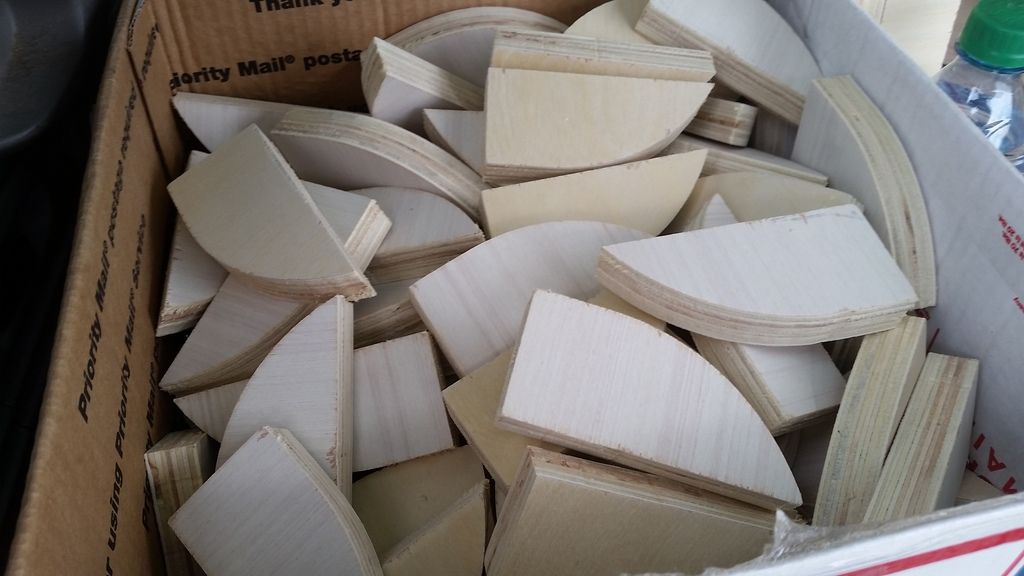
I have 6 armrests! I was getting so confused which ones went where I laser cut these 1/8" MDF "marked" plates that will fit to the inside of the armrest
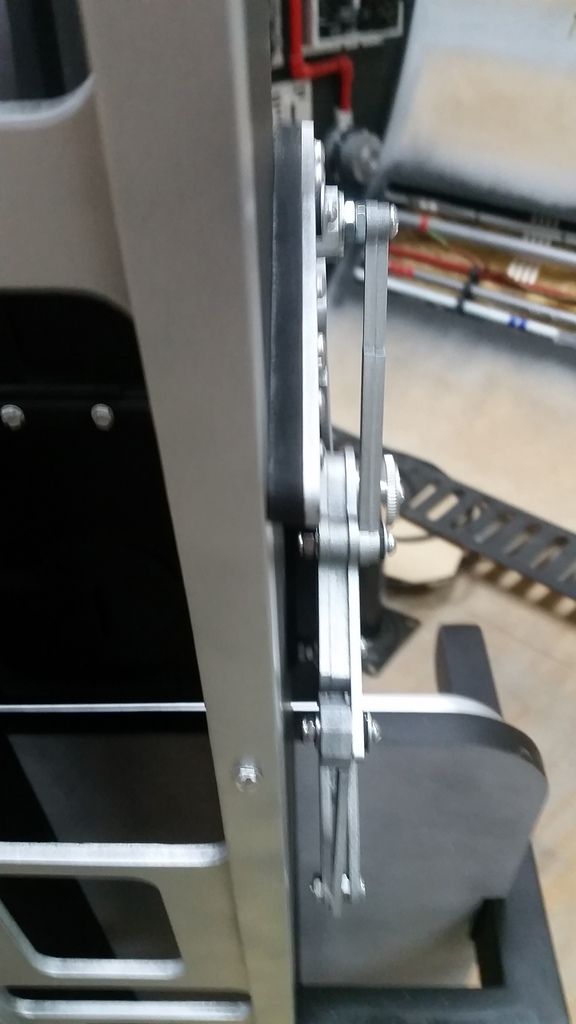
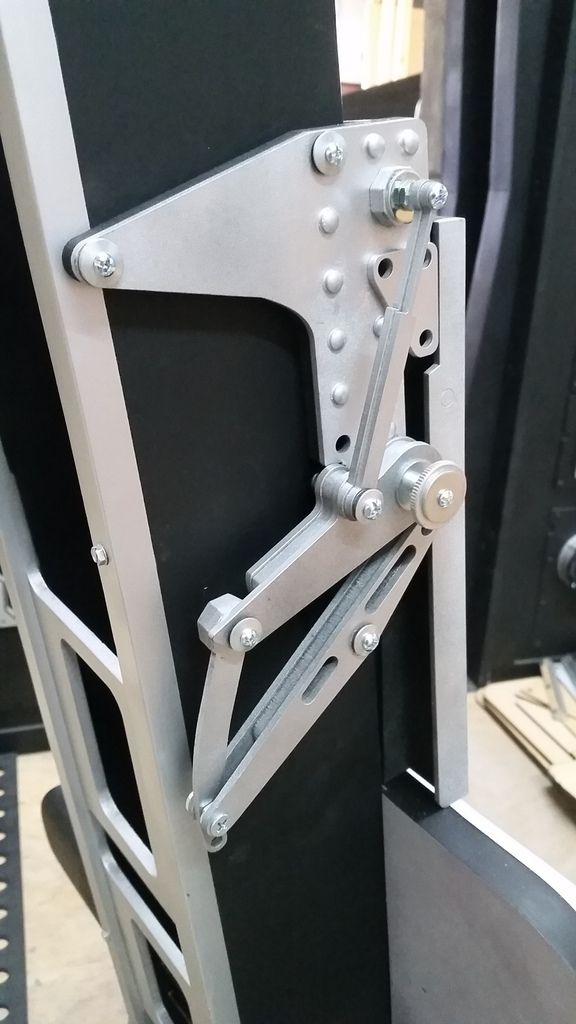
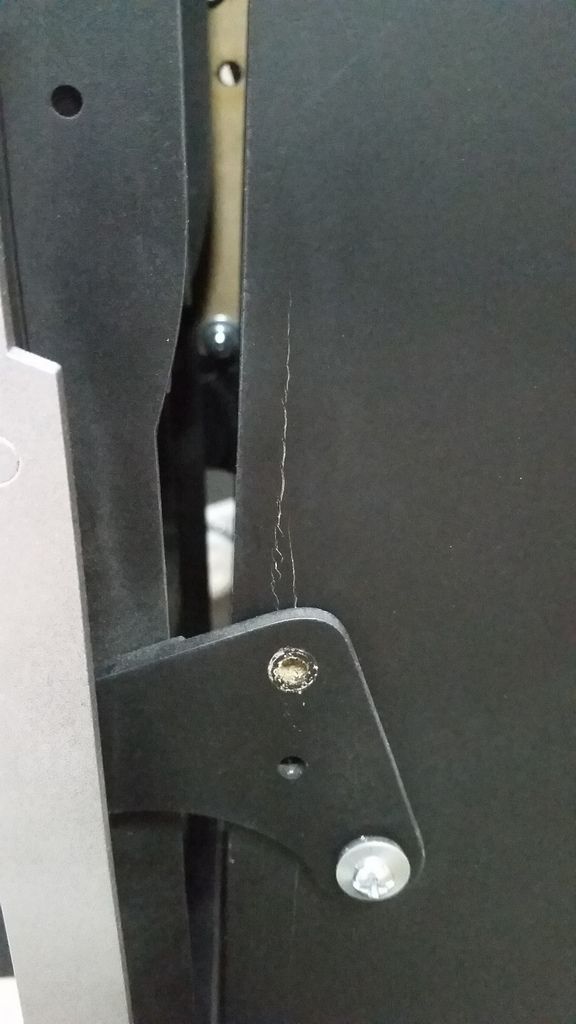
It also adds a little extra strength to the extensions - cracks started to appear - note the crack DEAD center
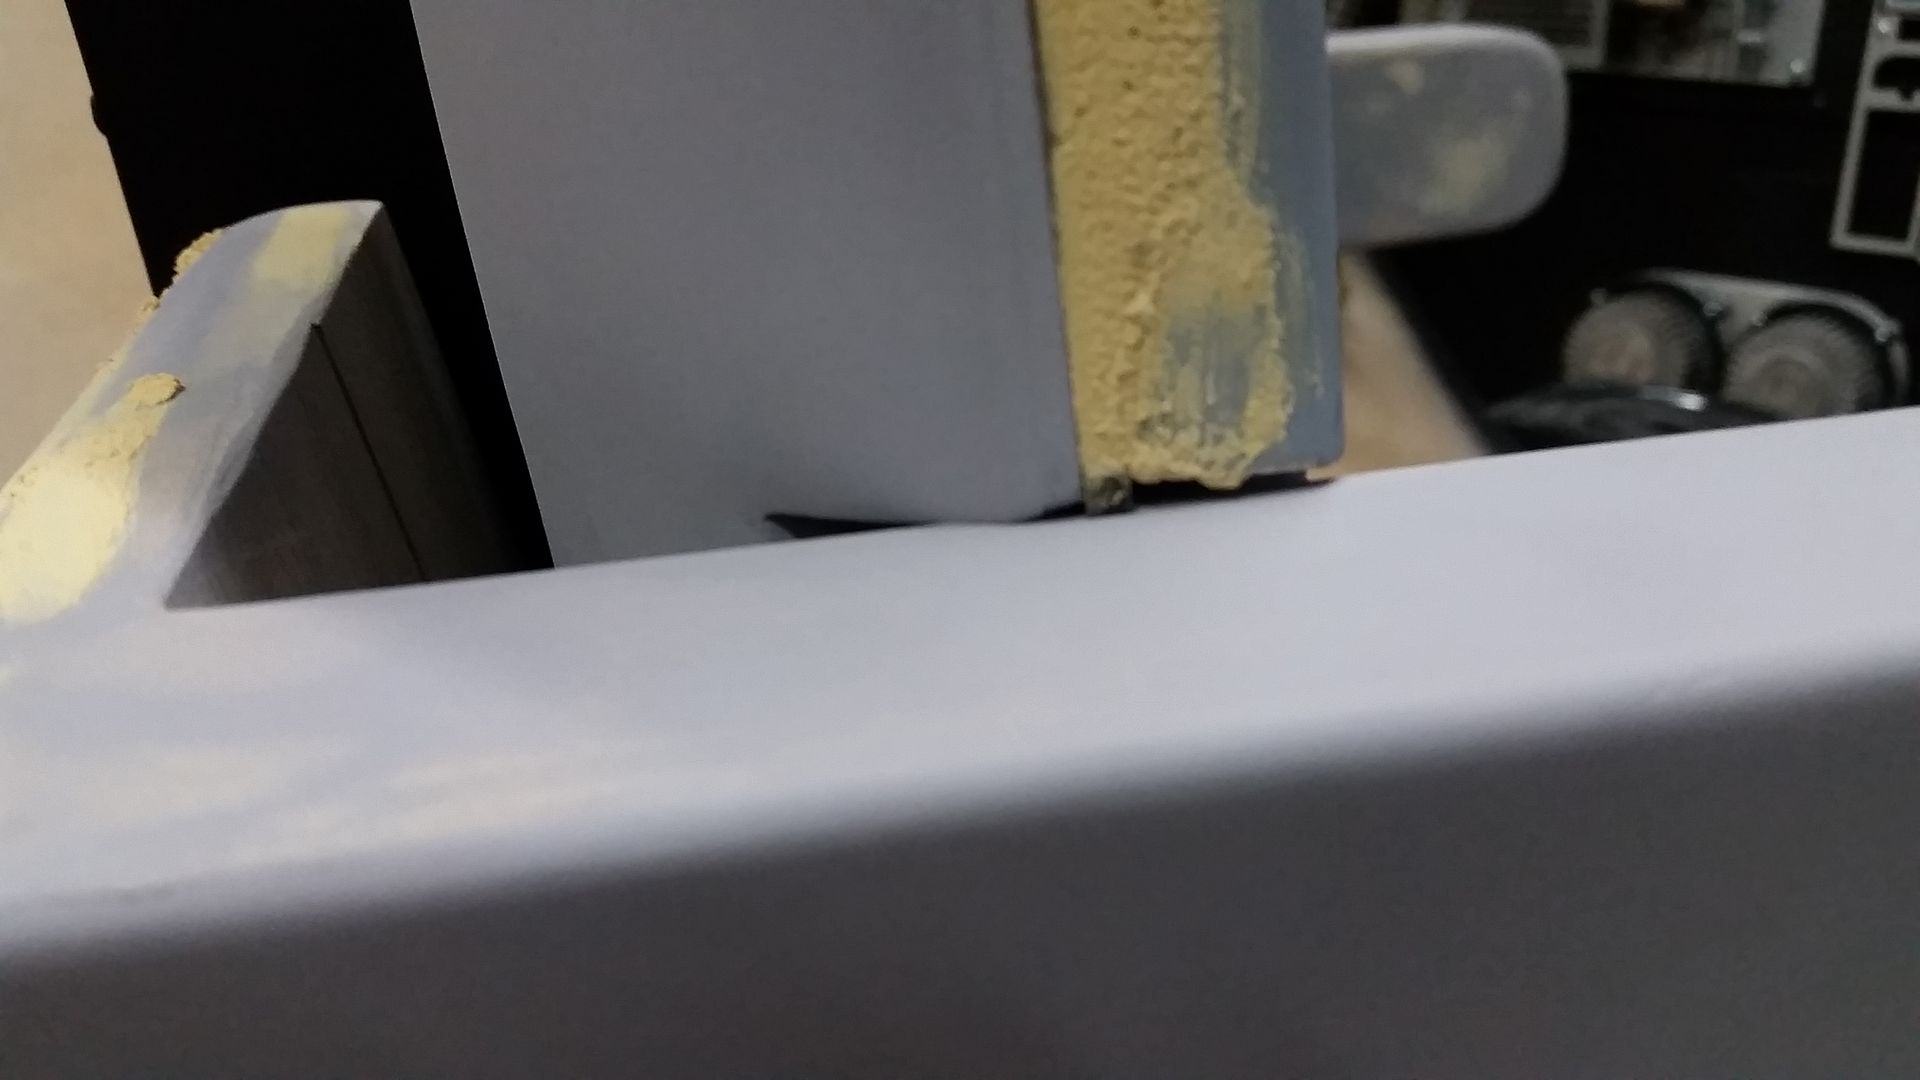
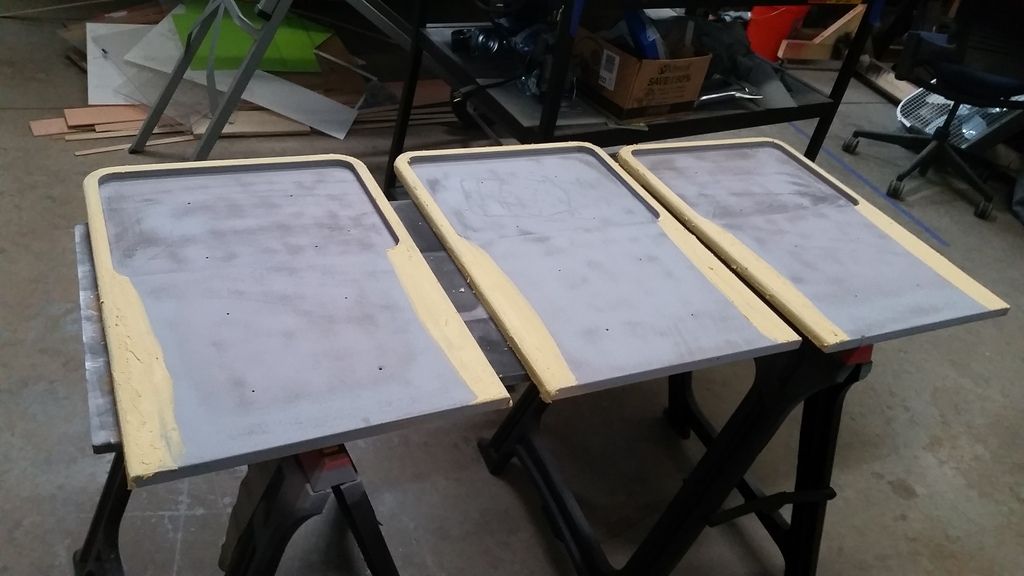
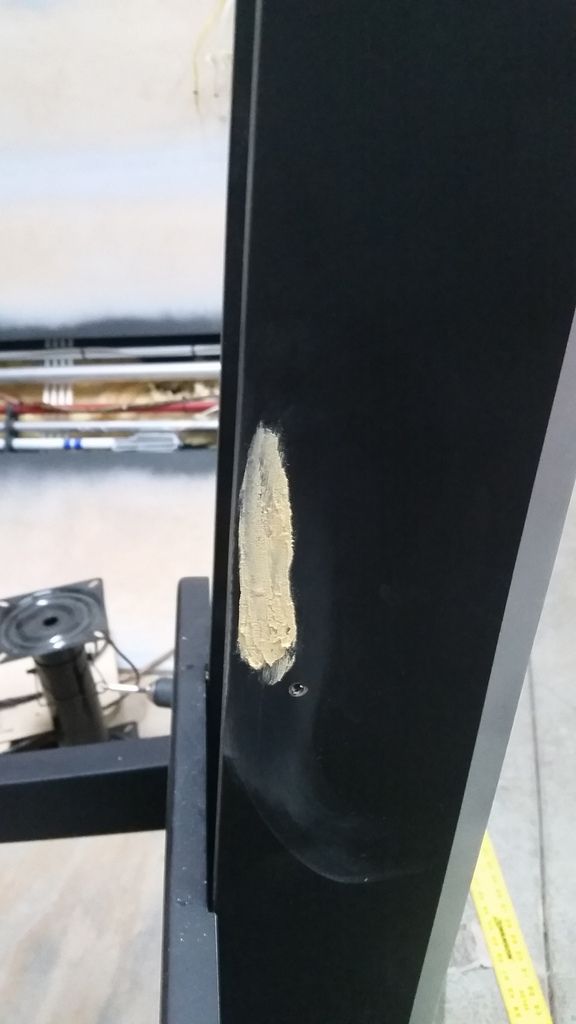
This one required some filler pieces - not sure why?
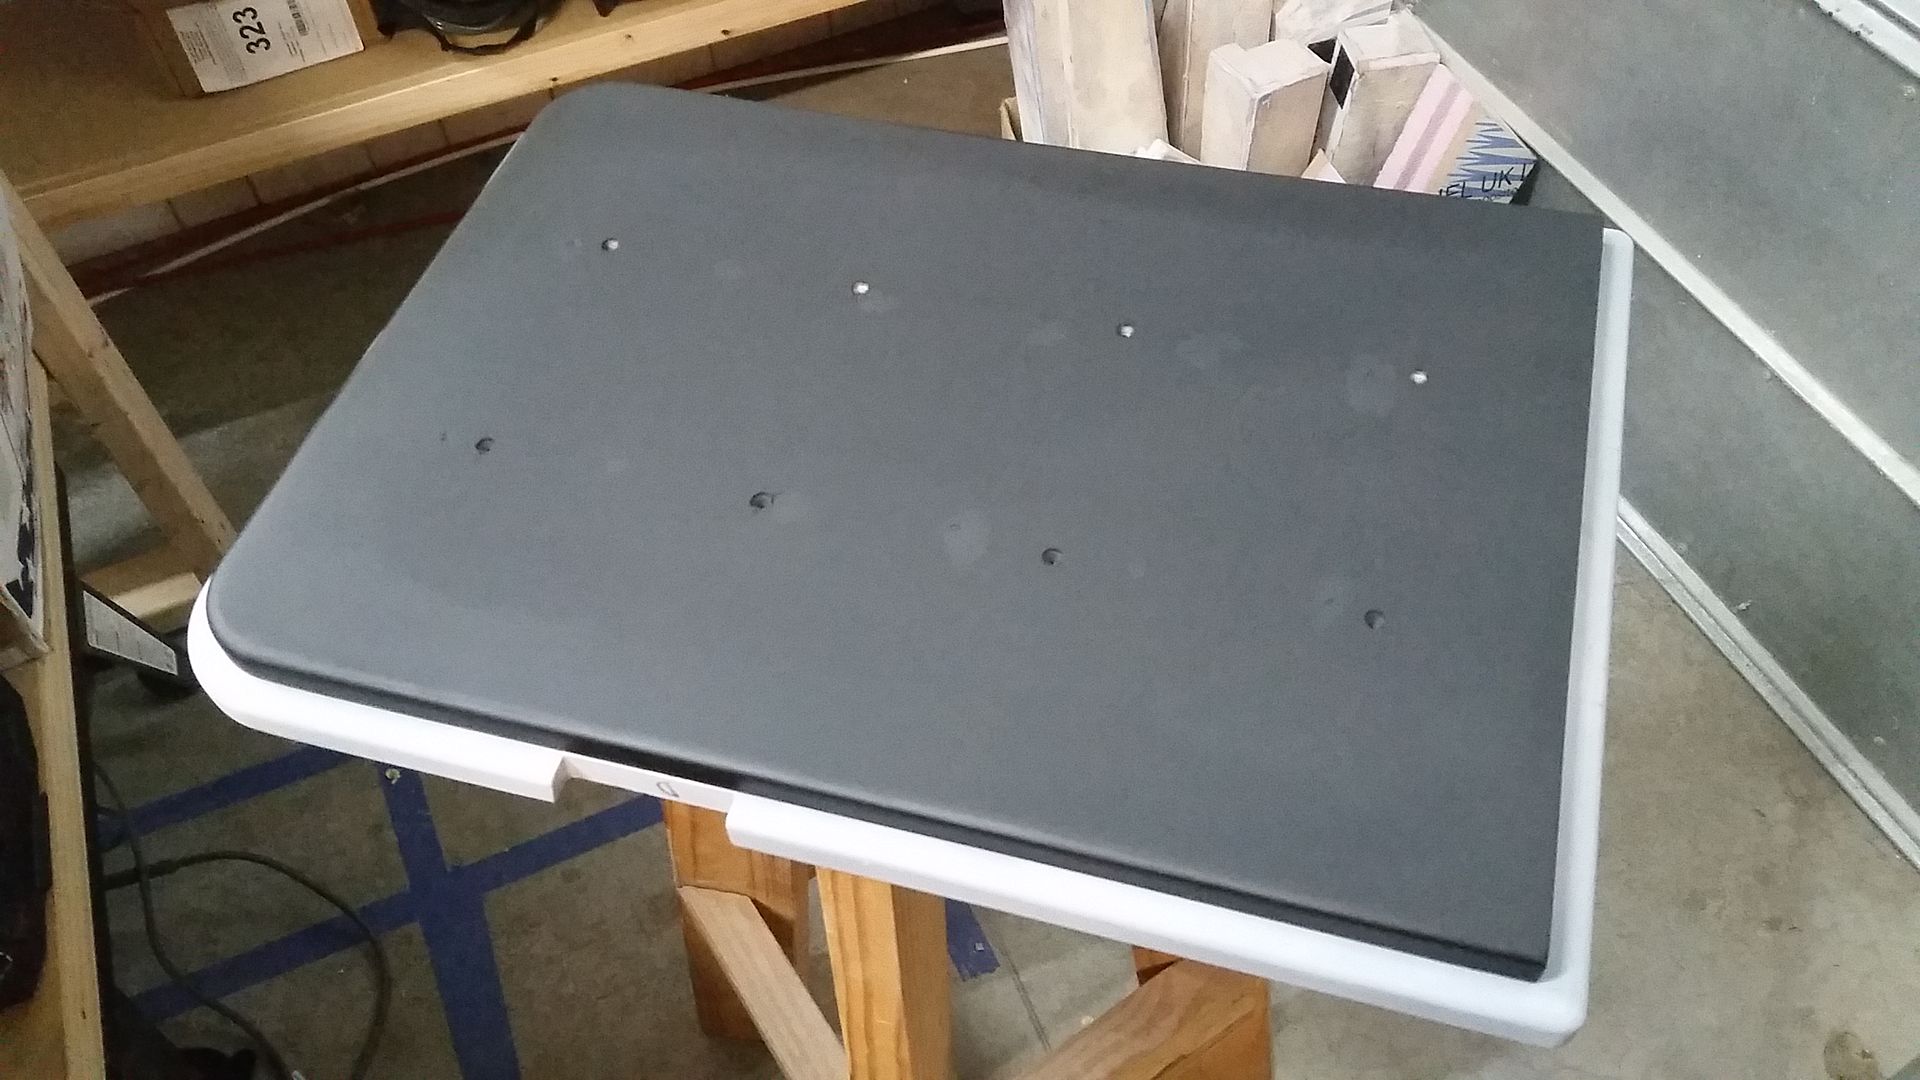
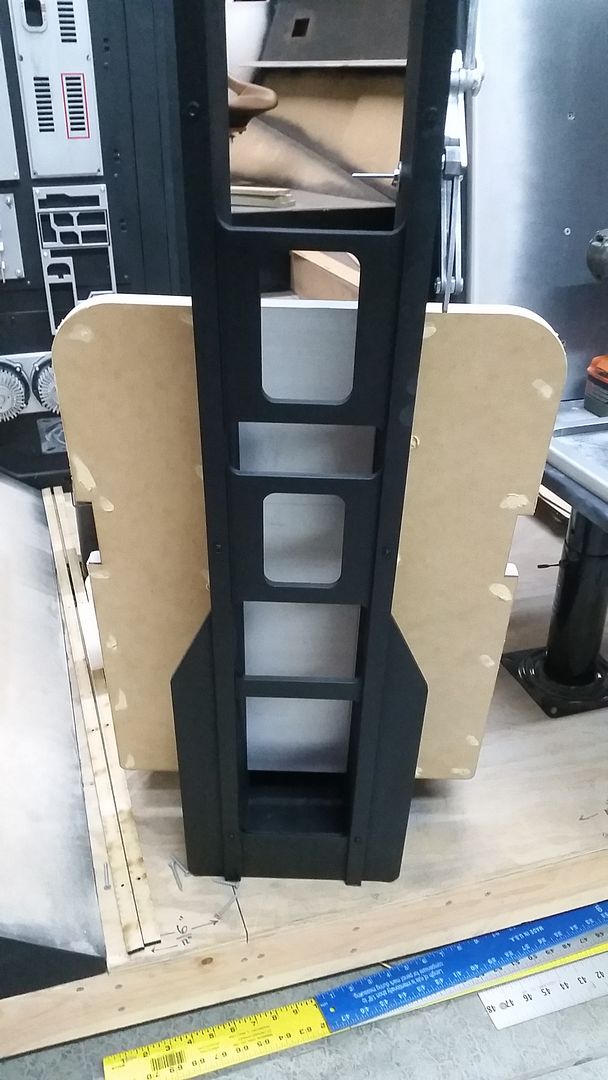
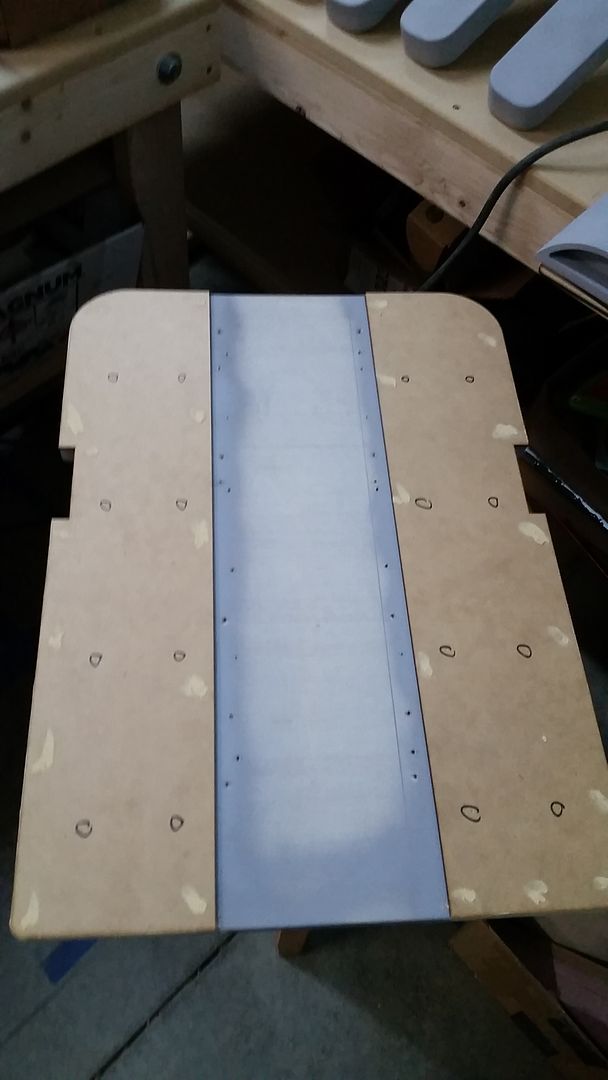
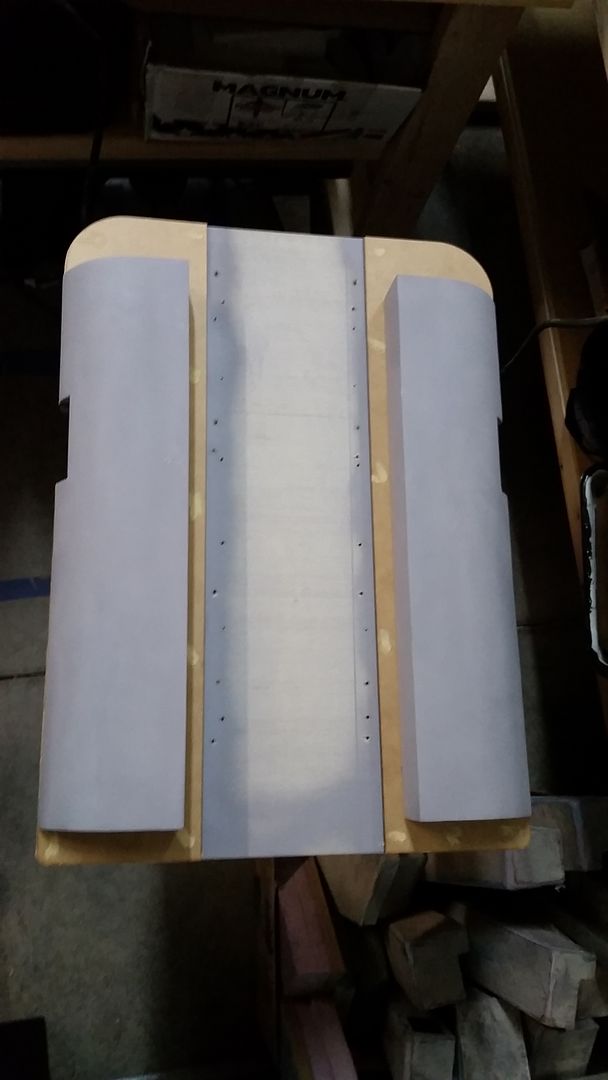
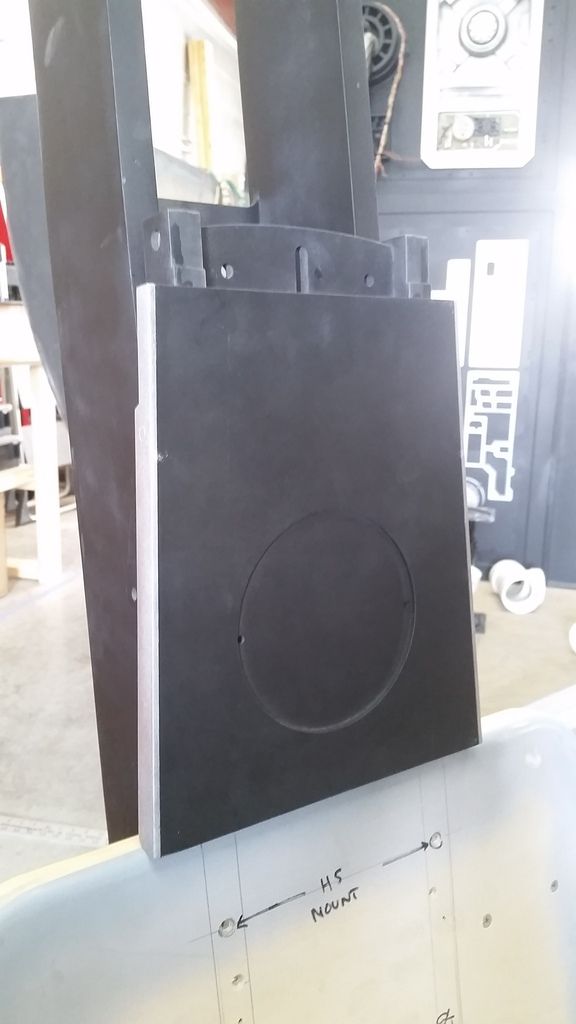
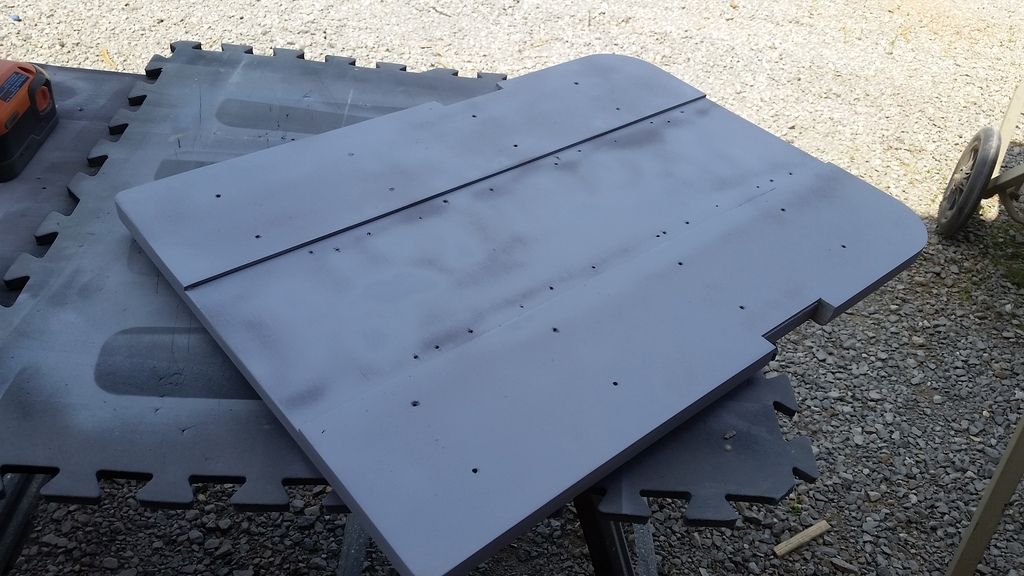
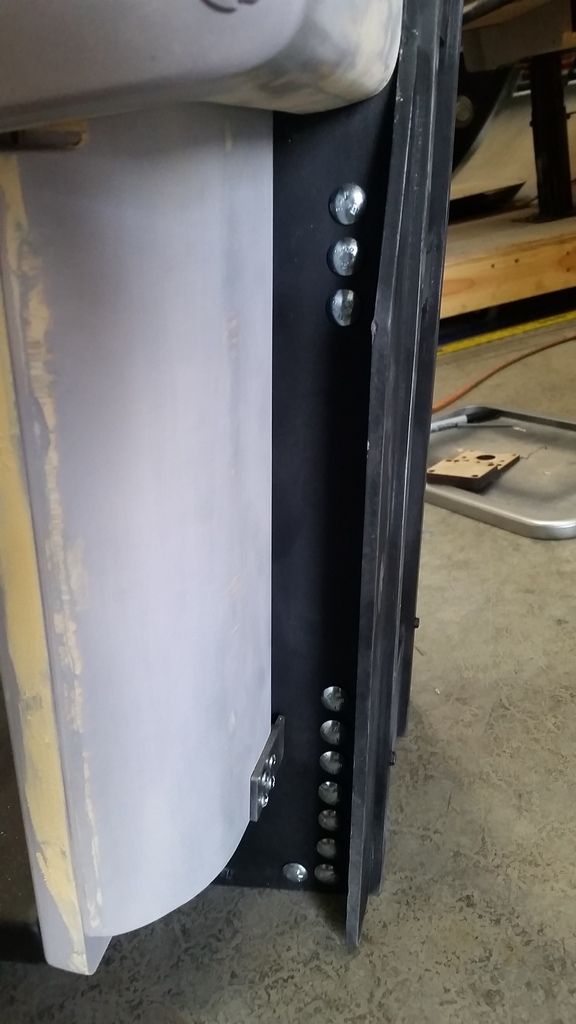
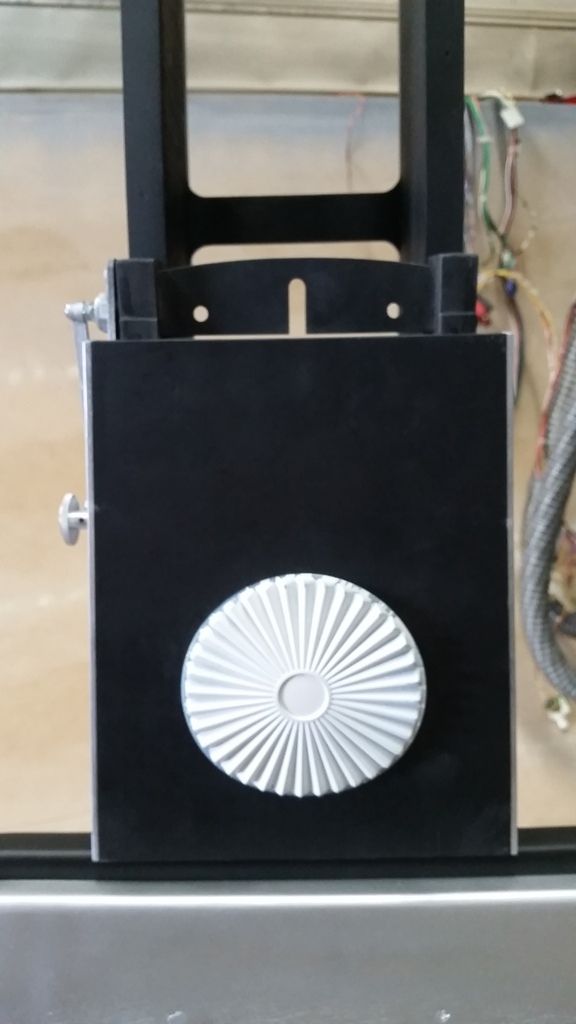
I then primed and sanded the back panel
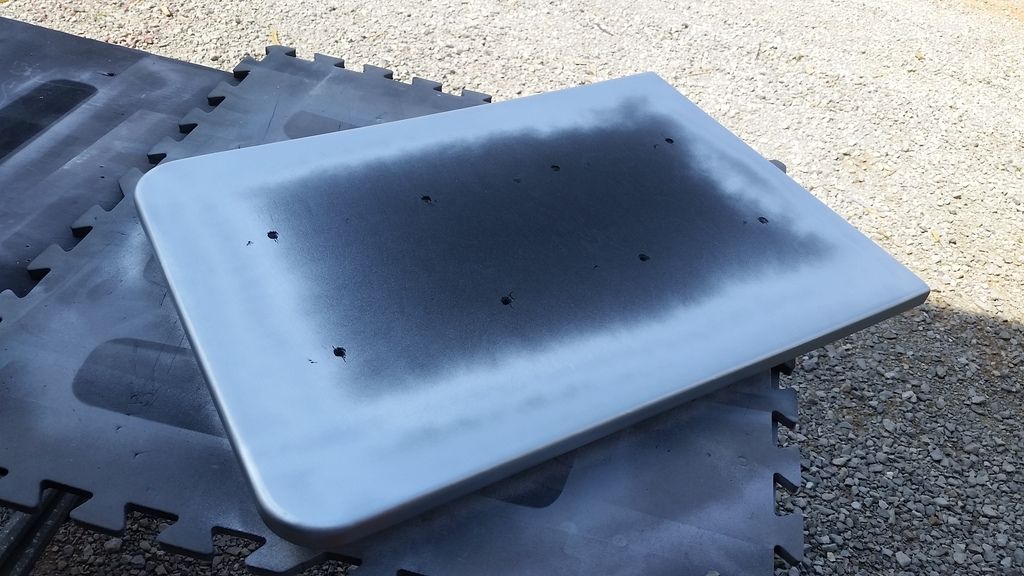
Painted the back support
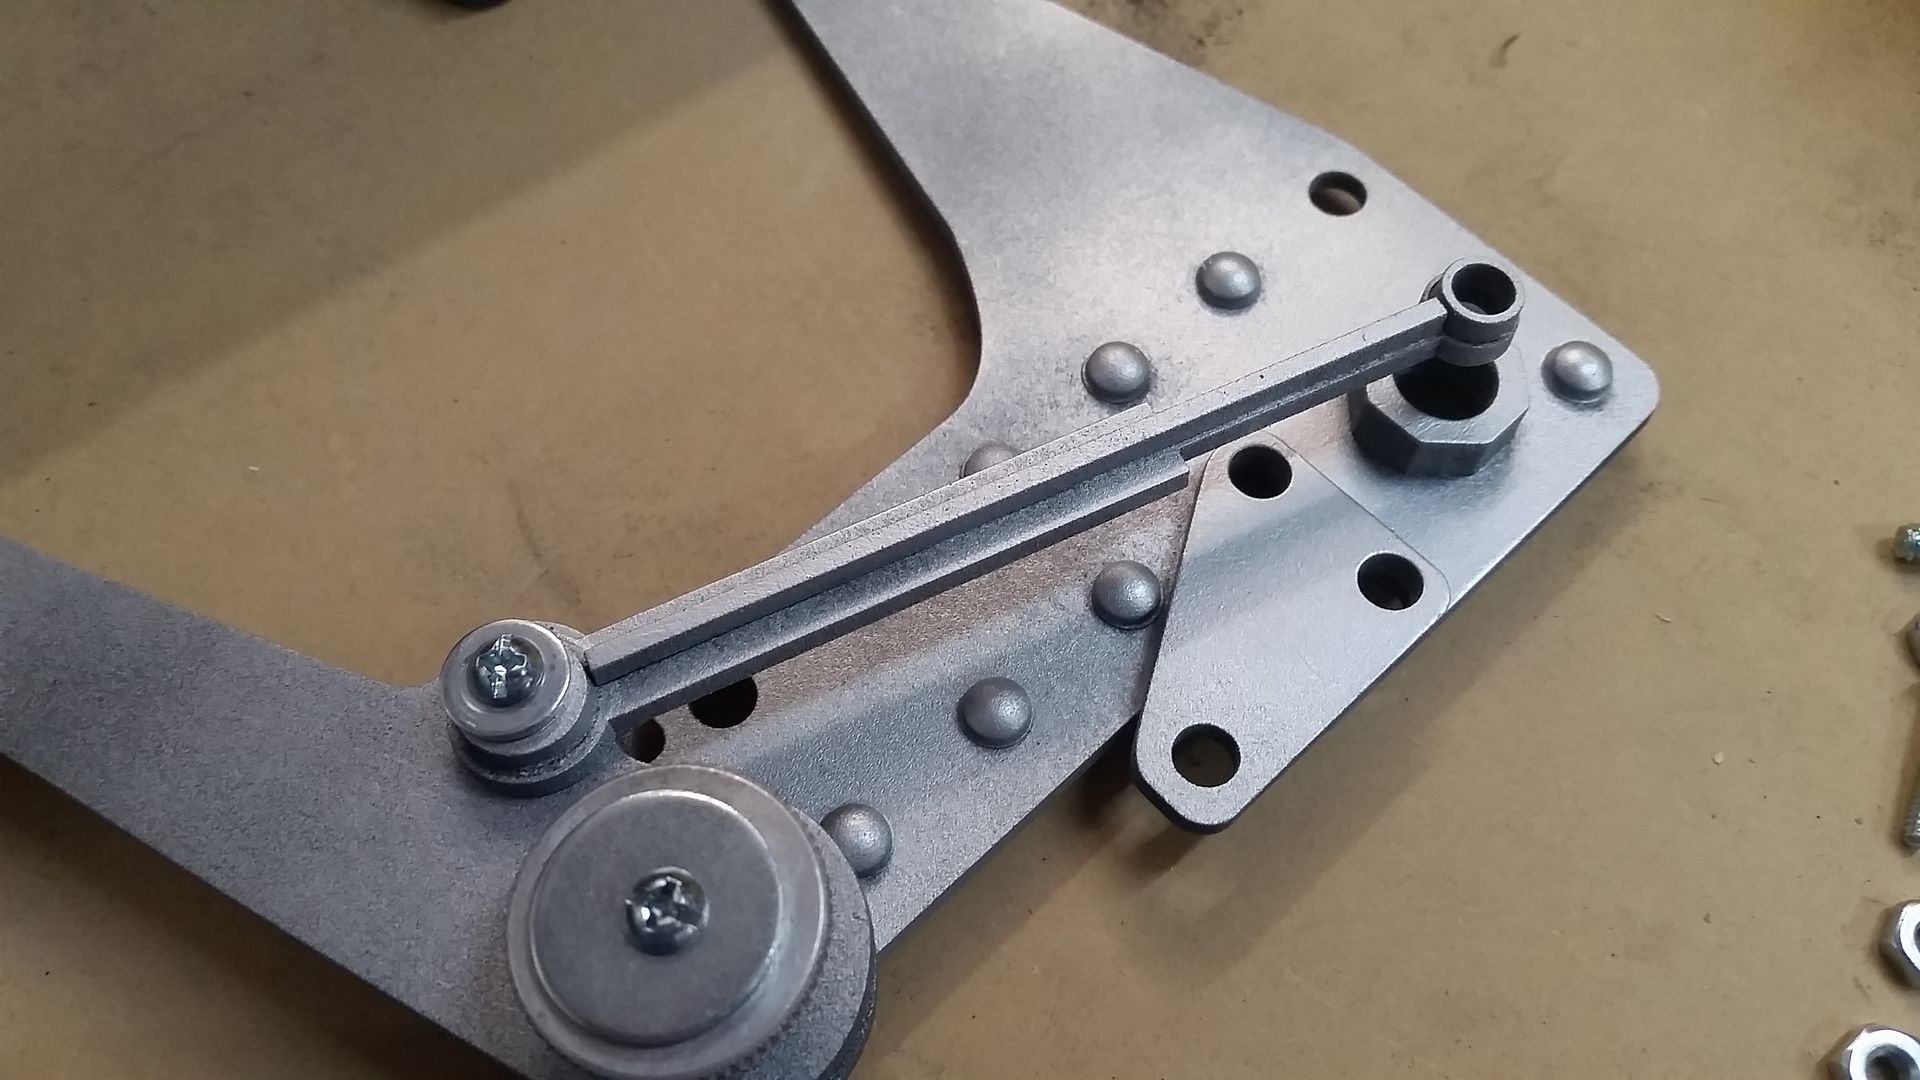
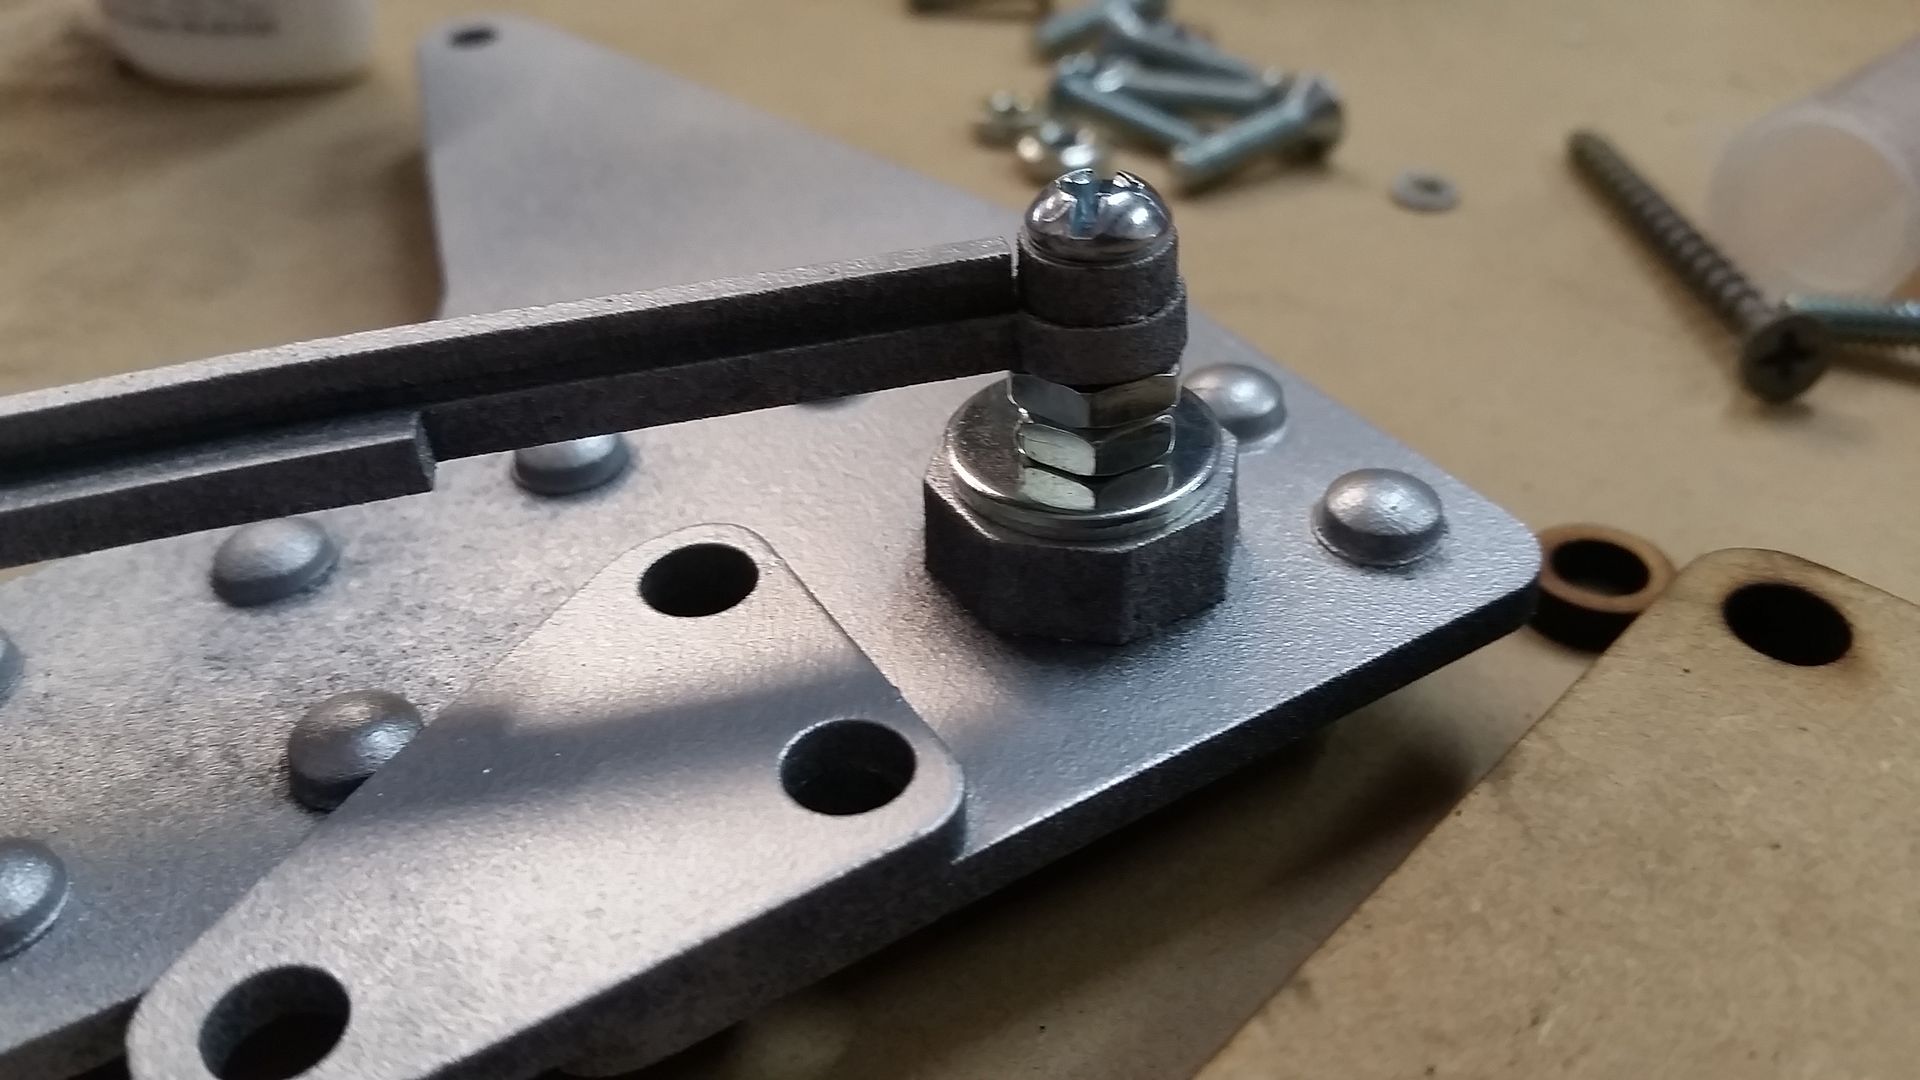
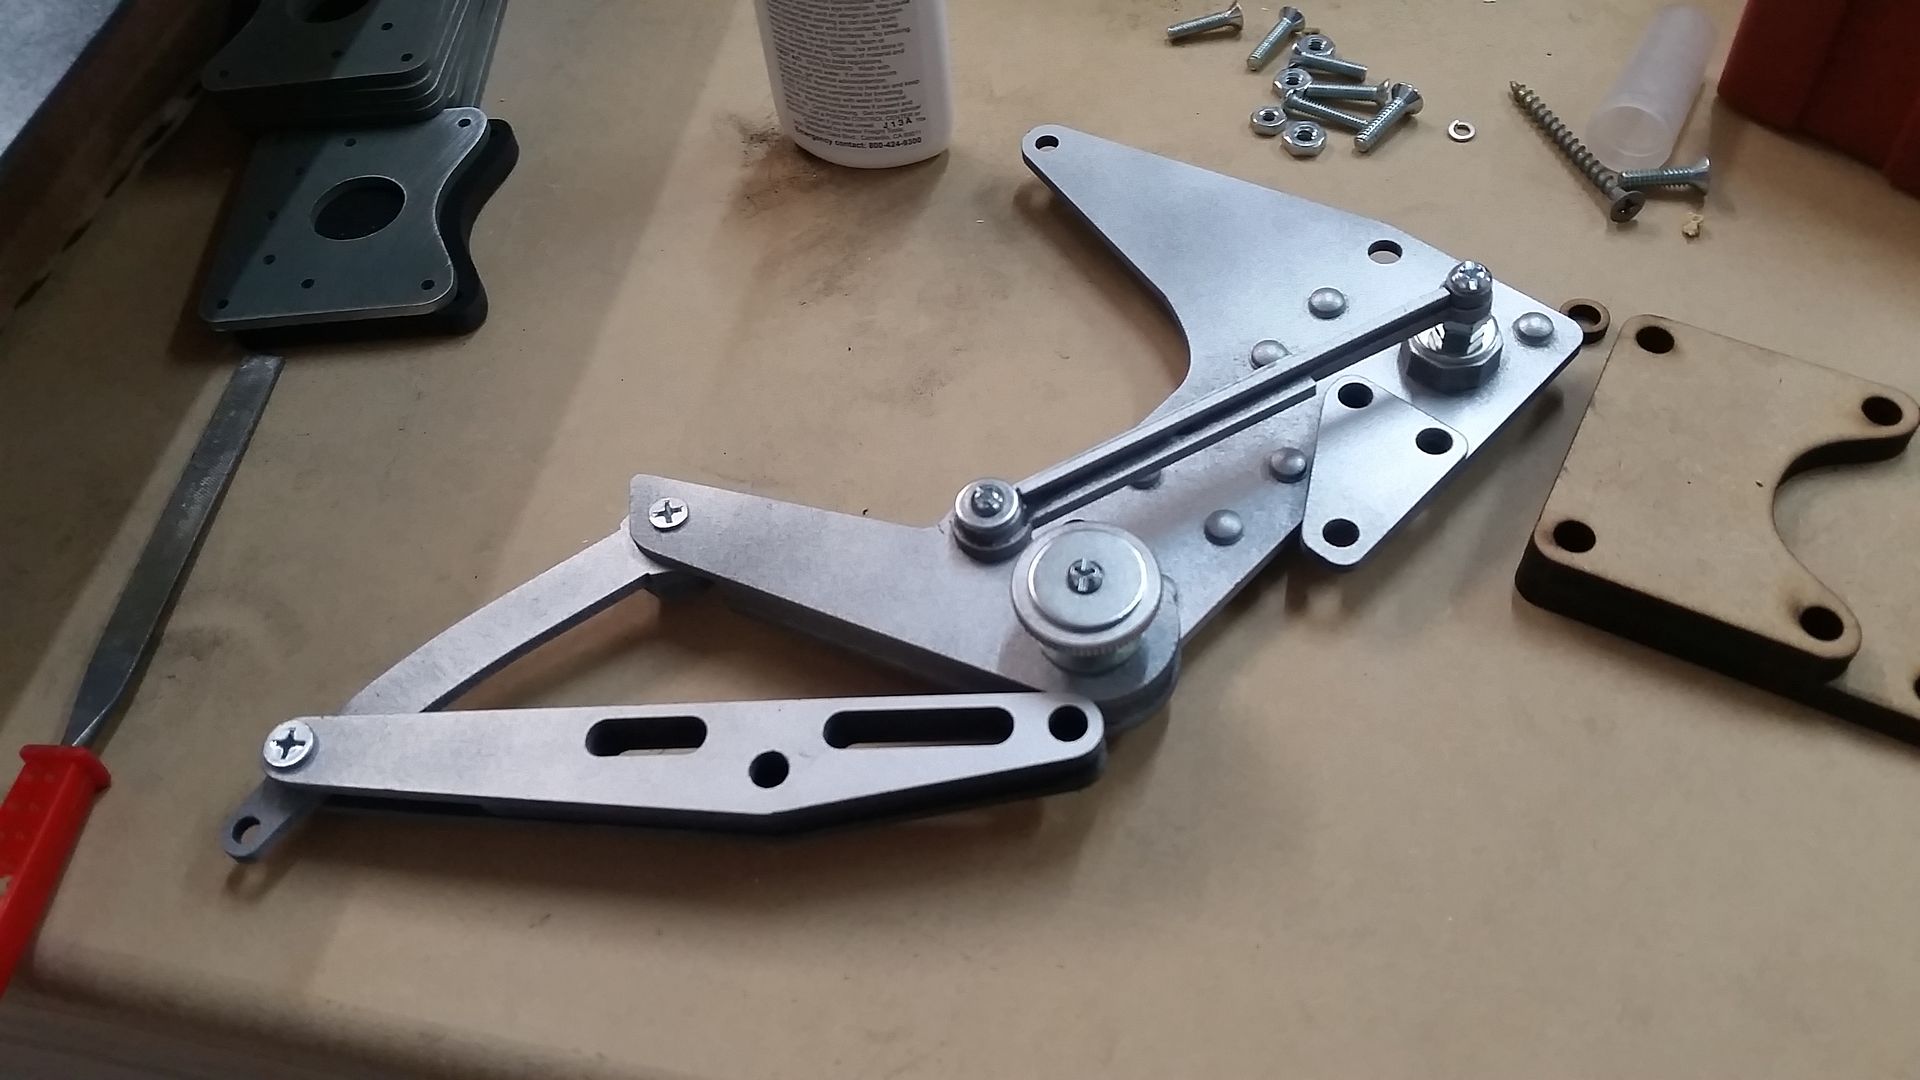
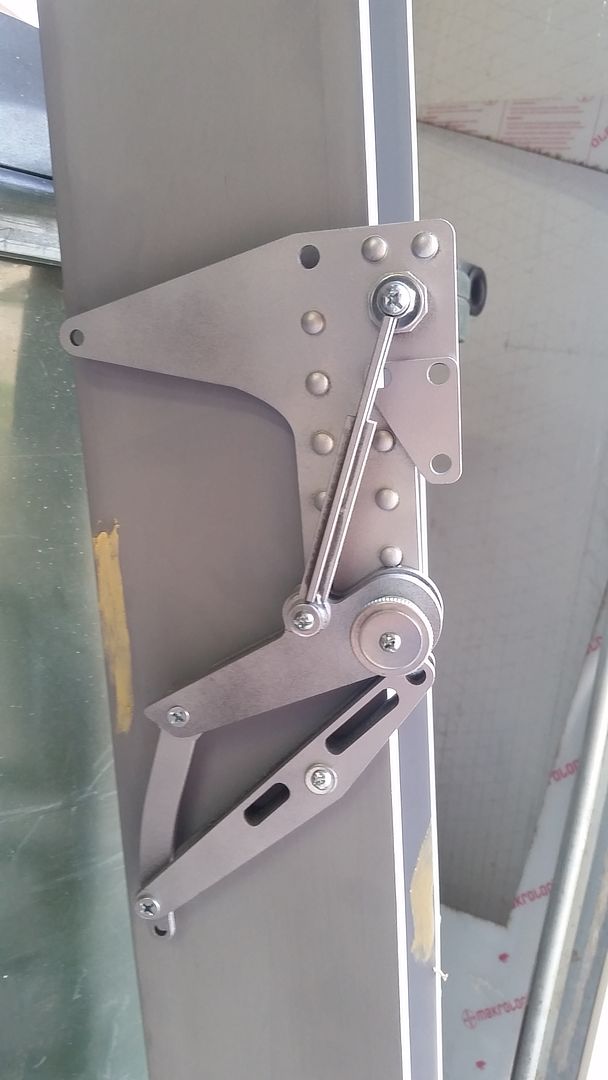
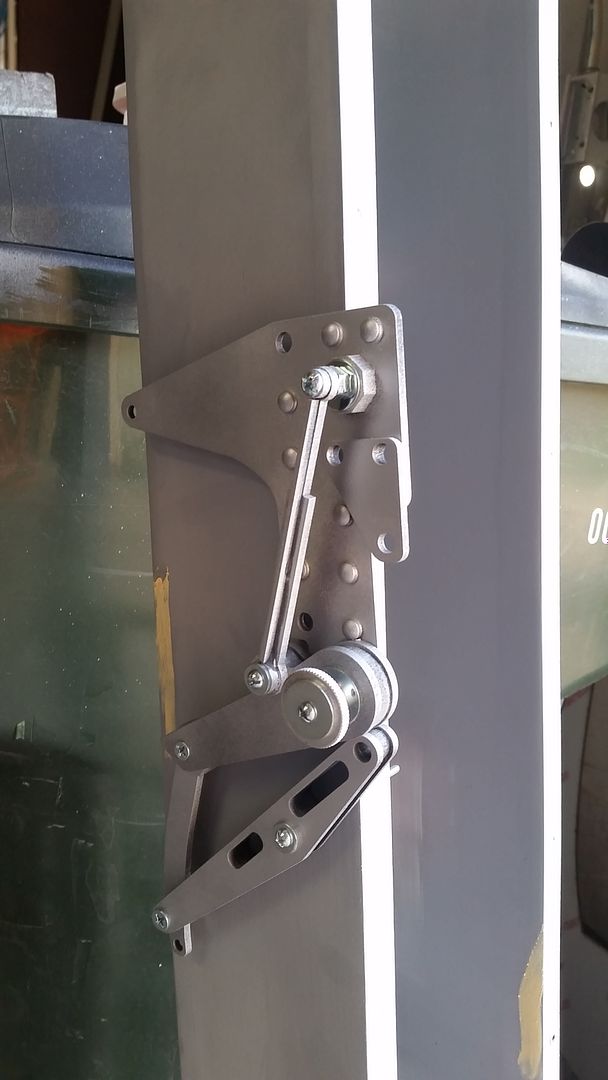
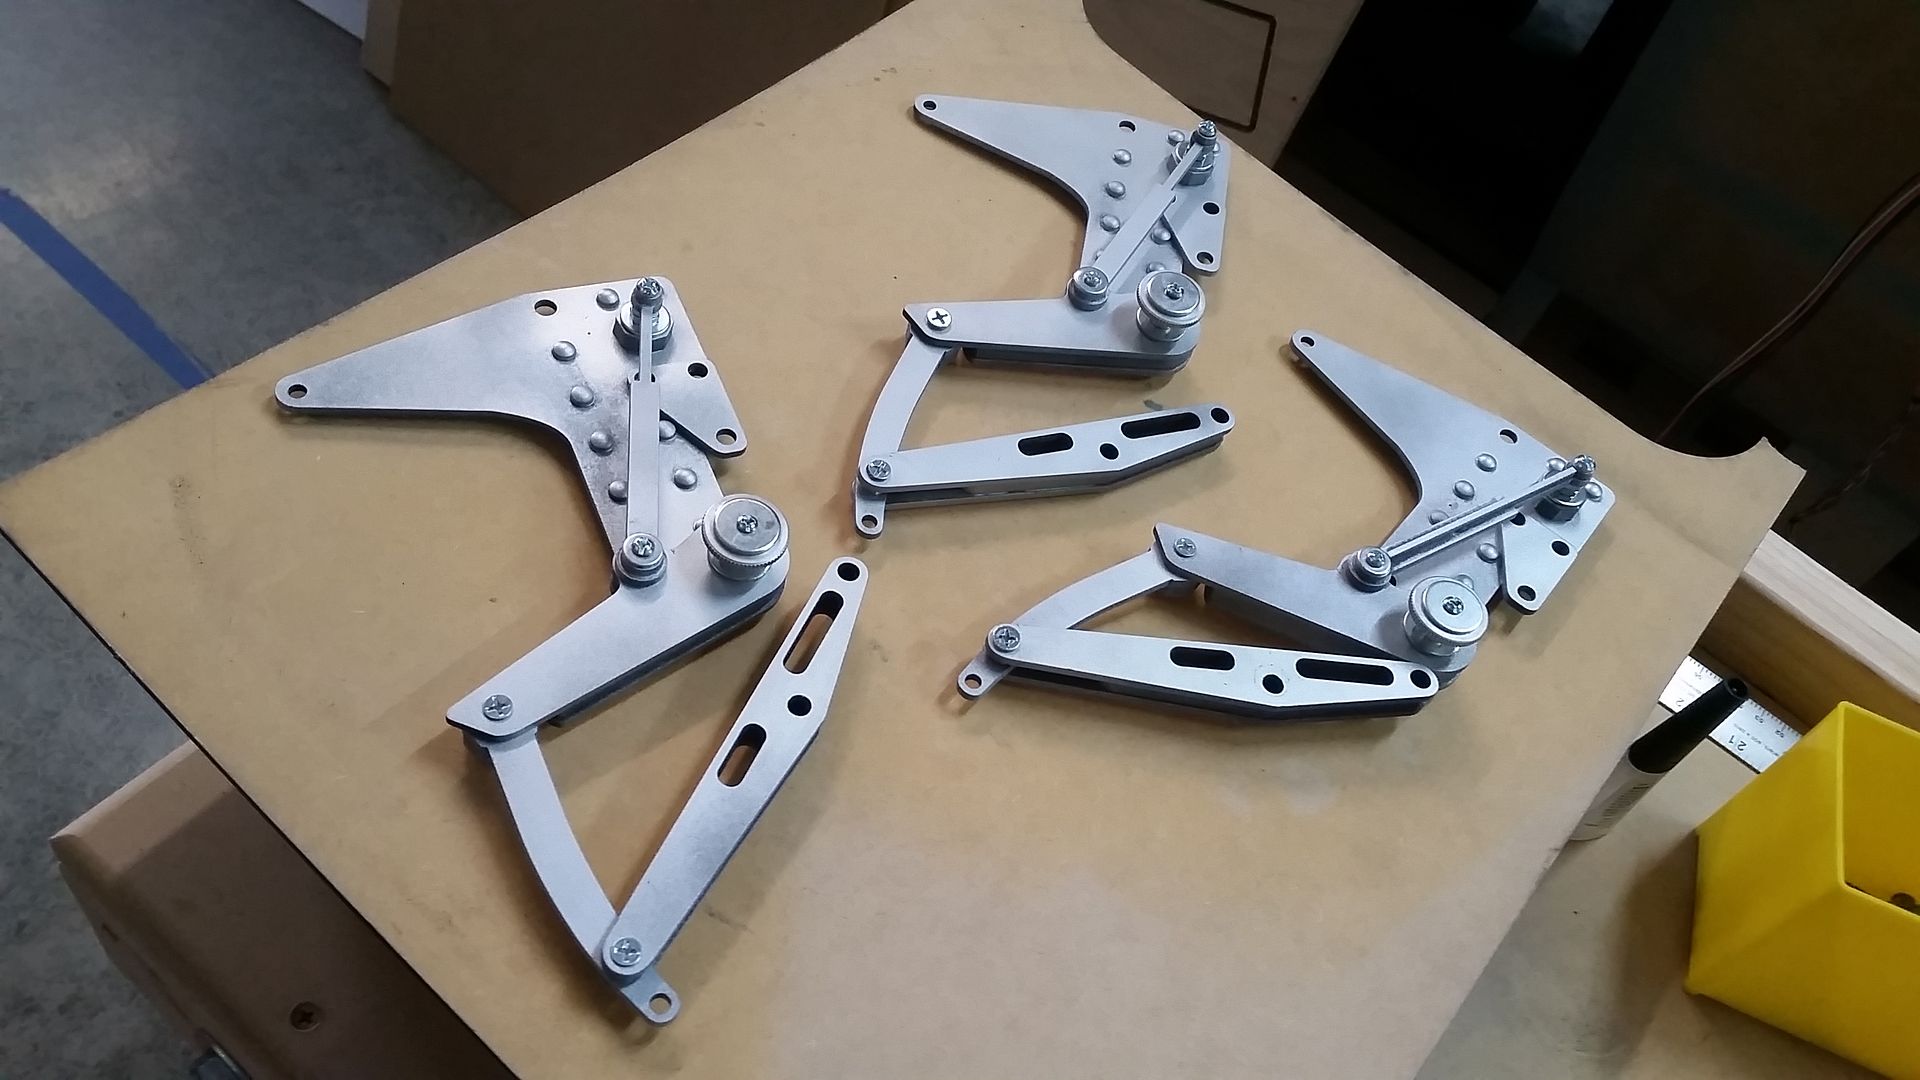
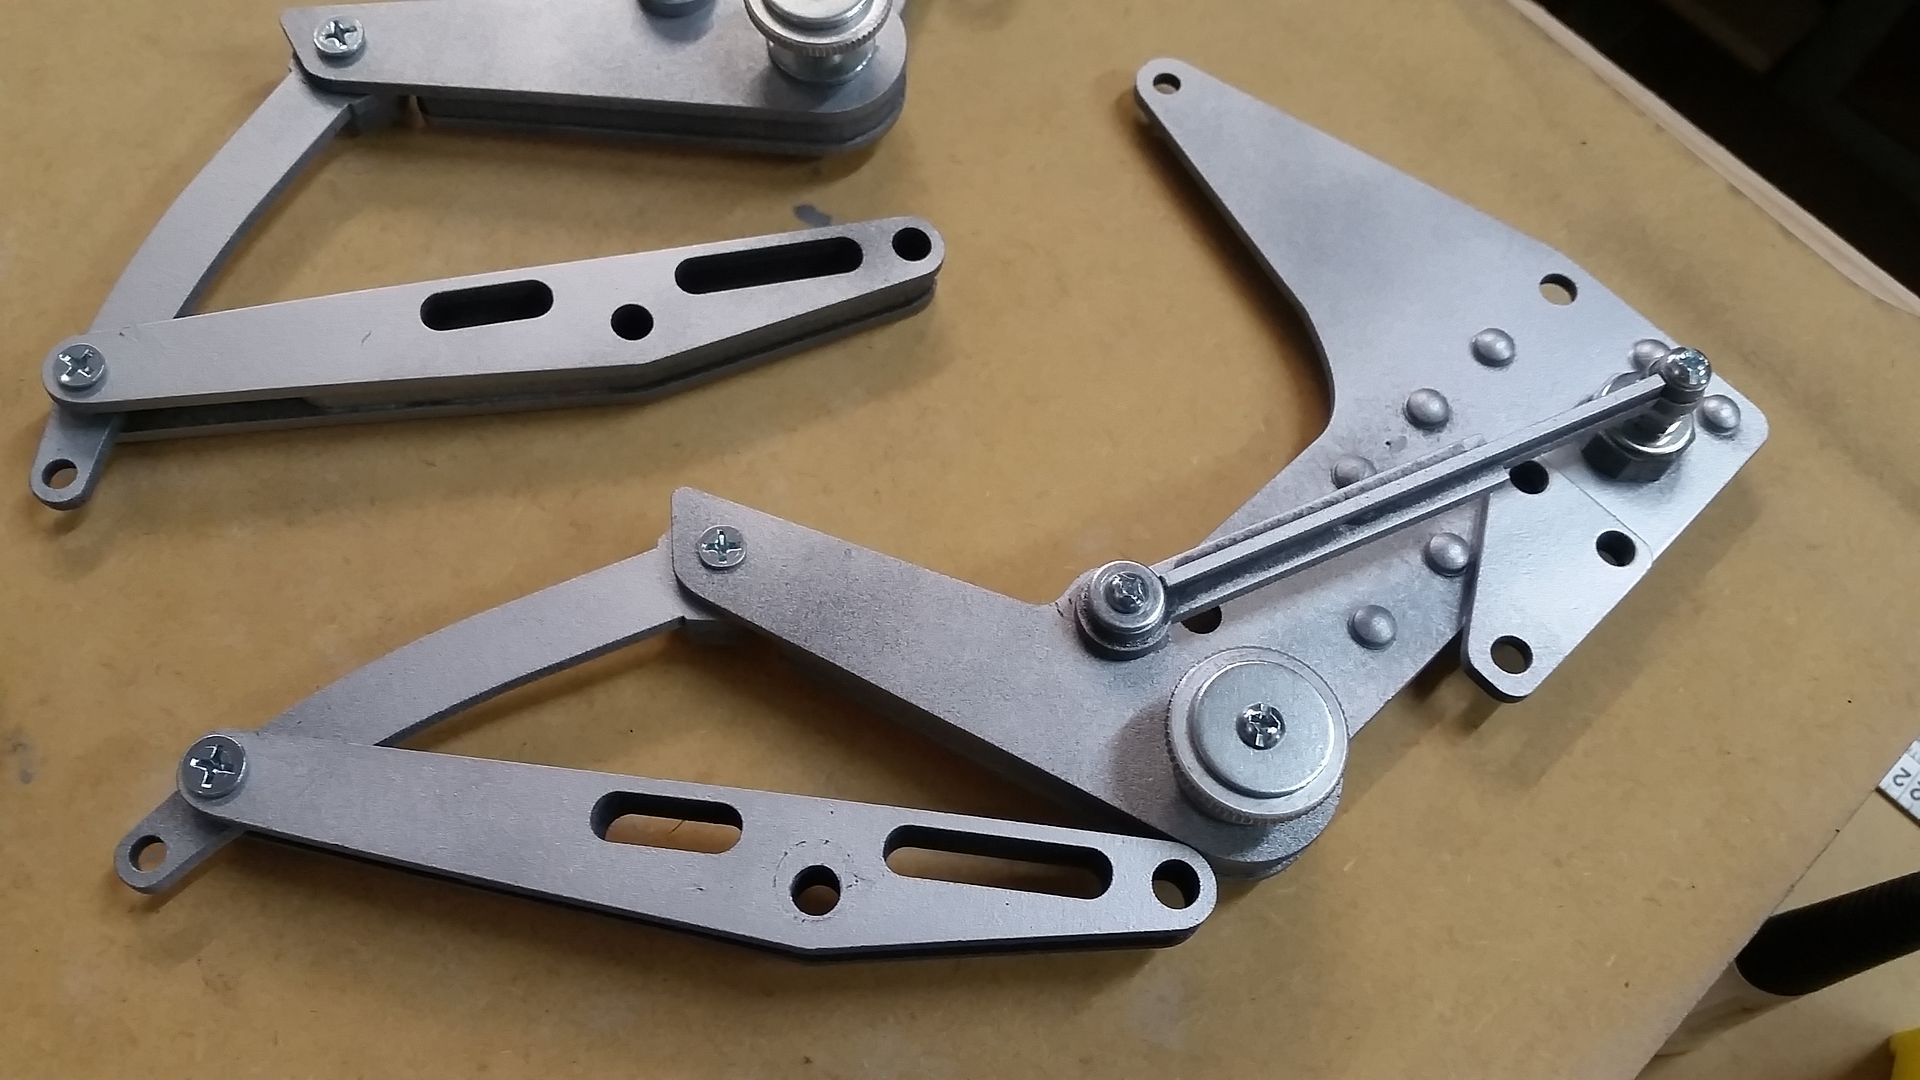
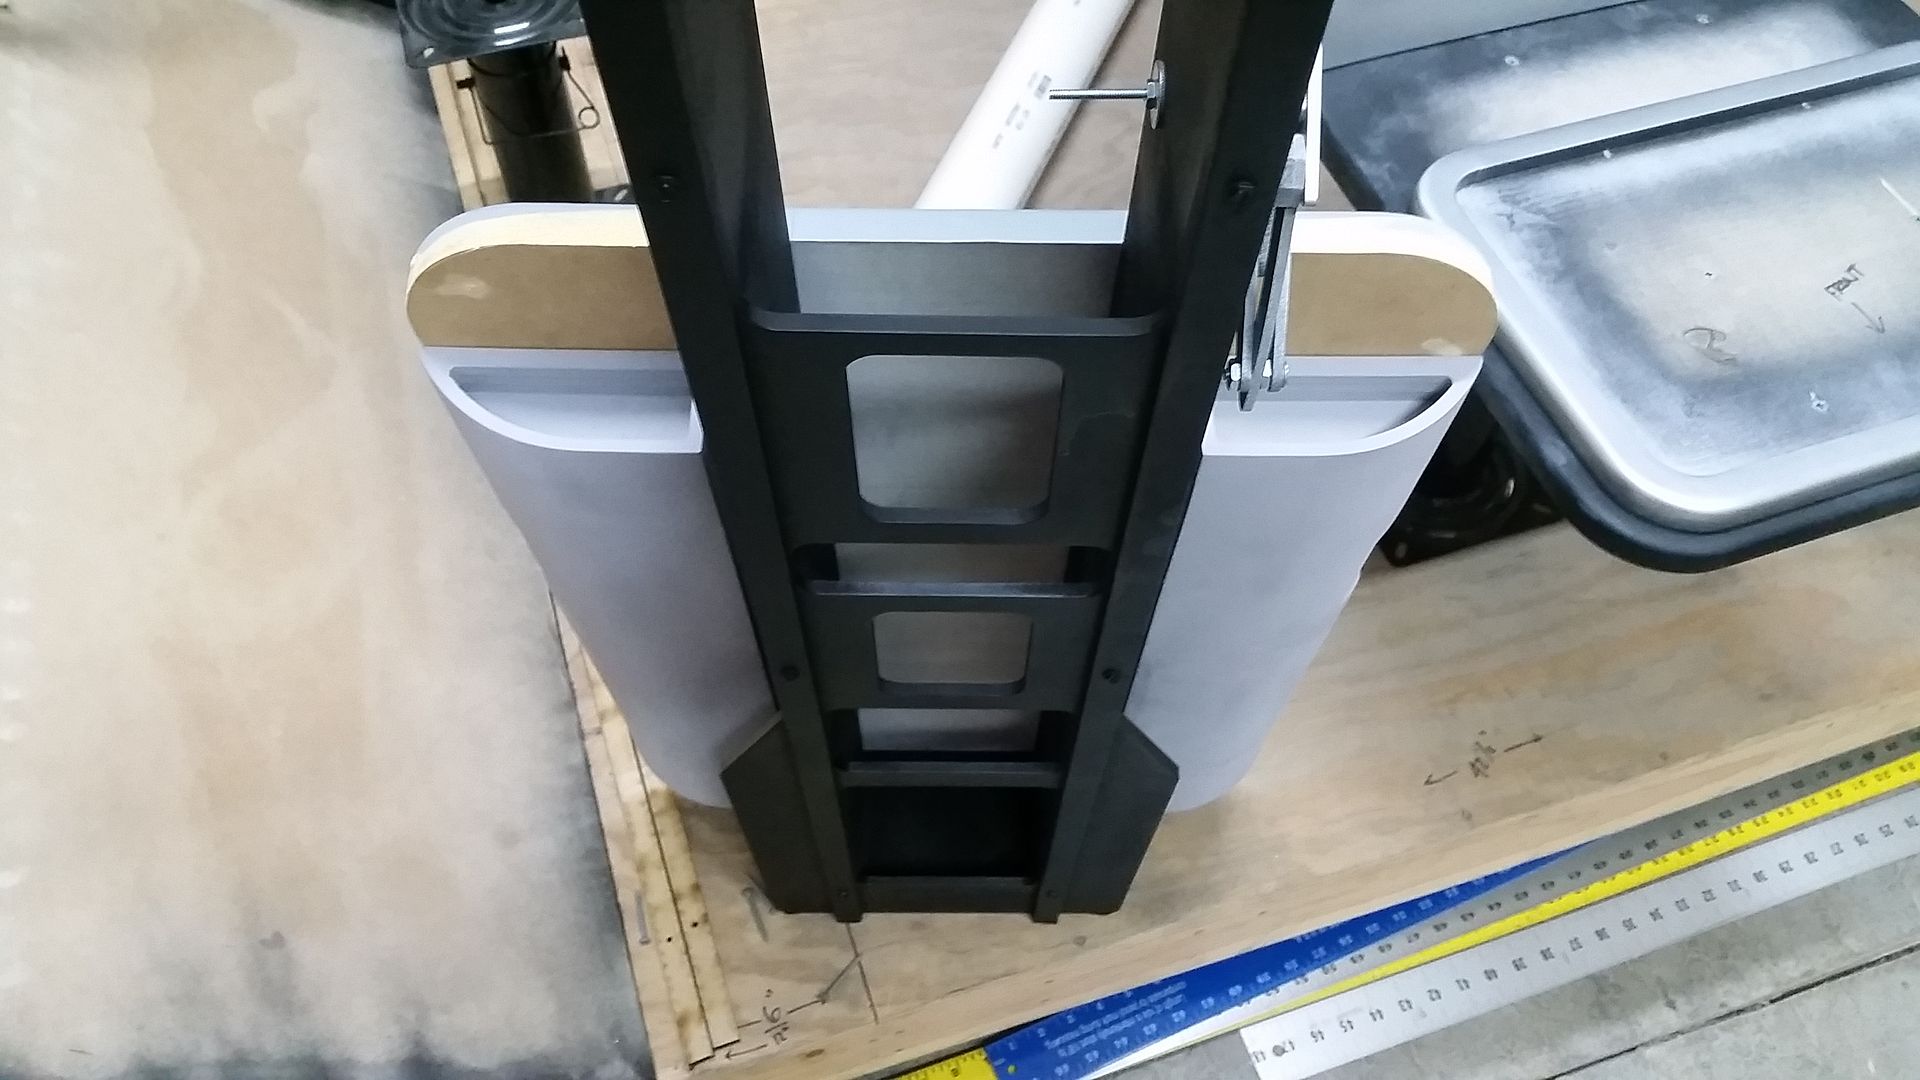
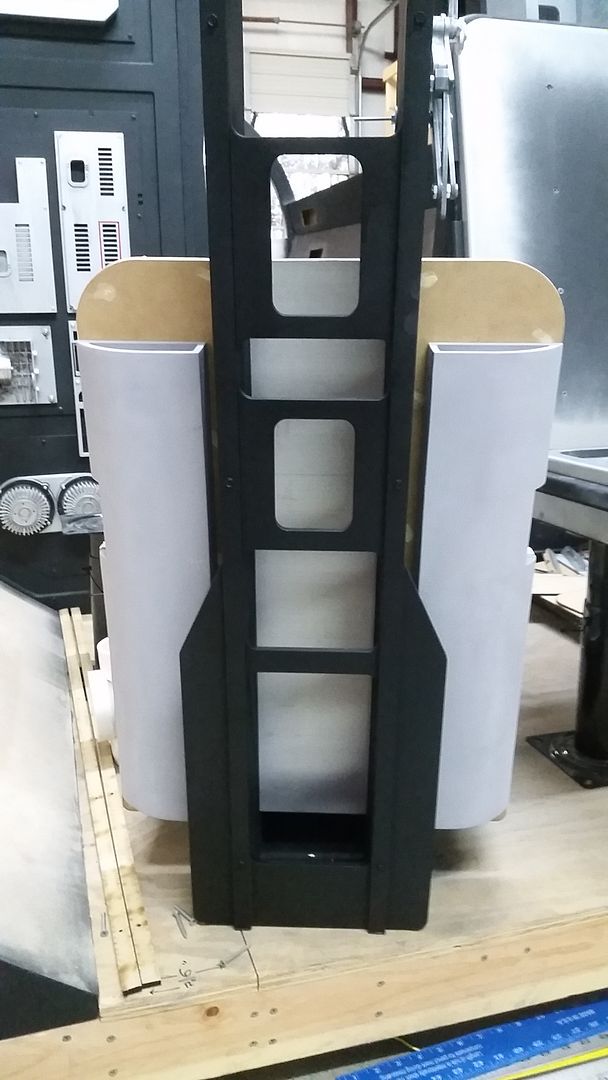
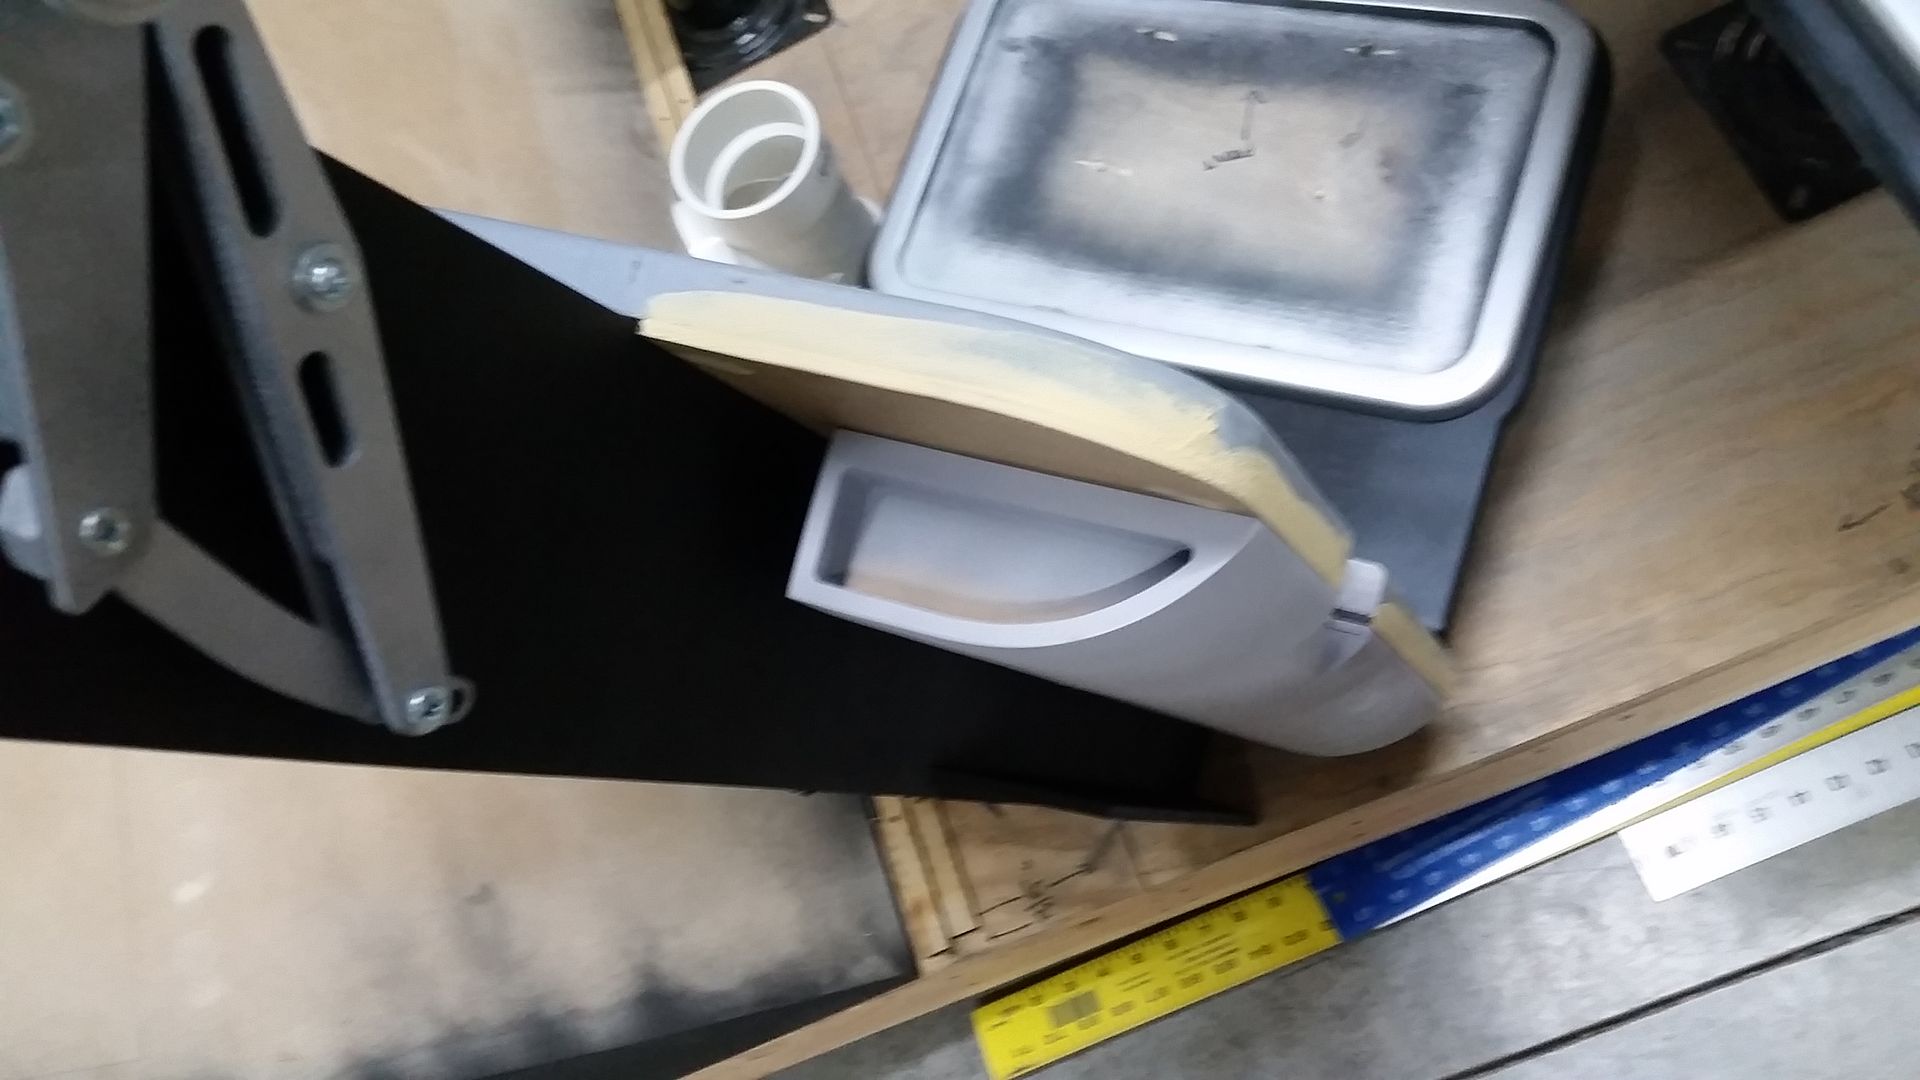
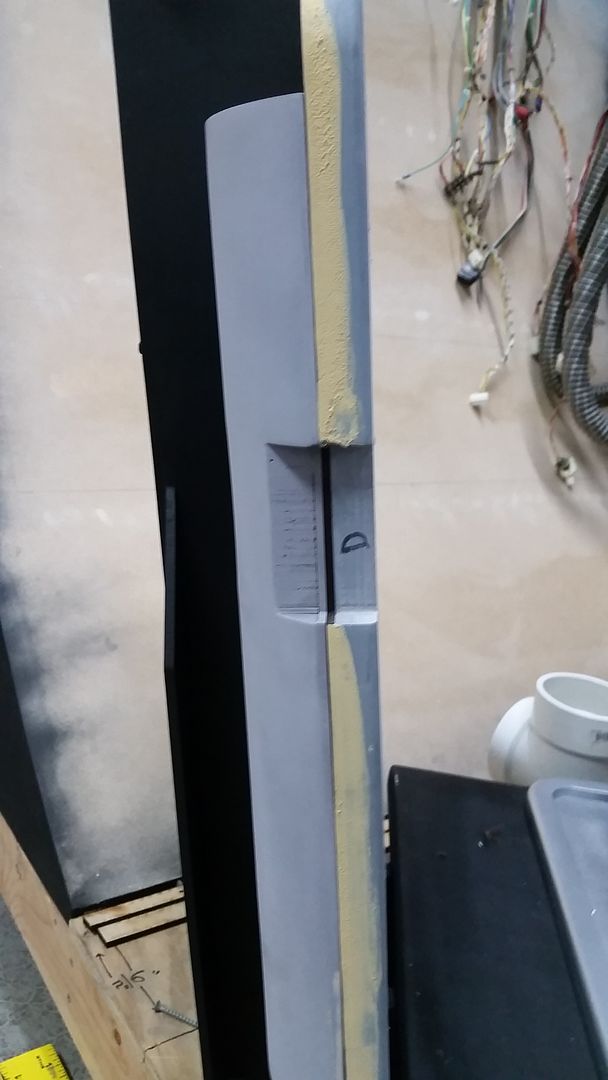
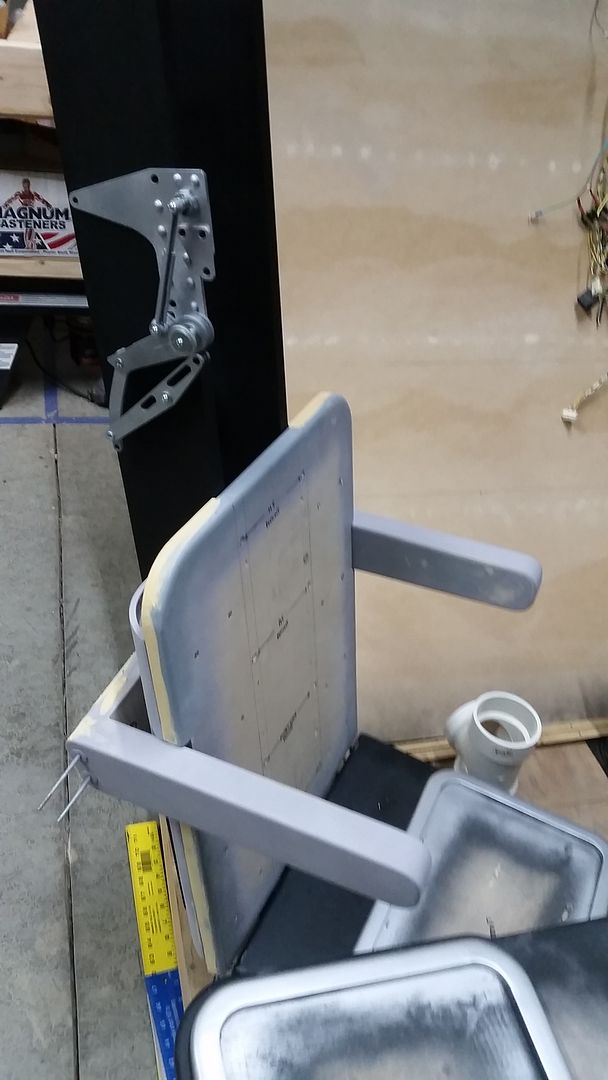
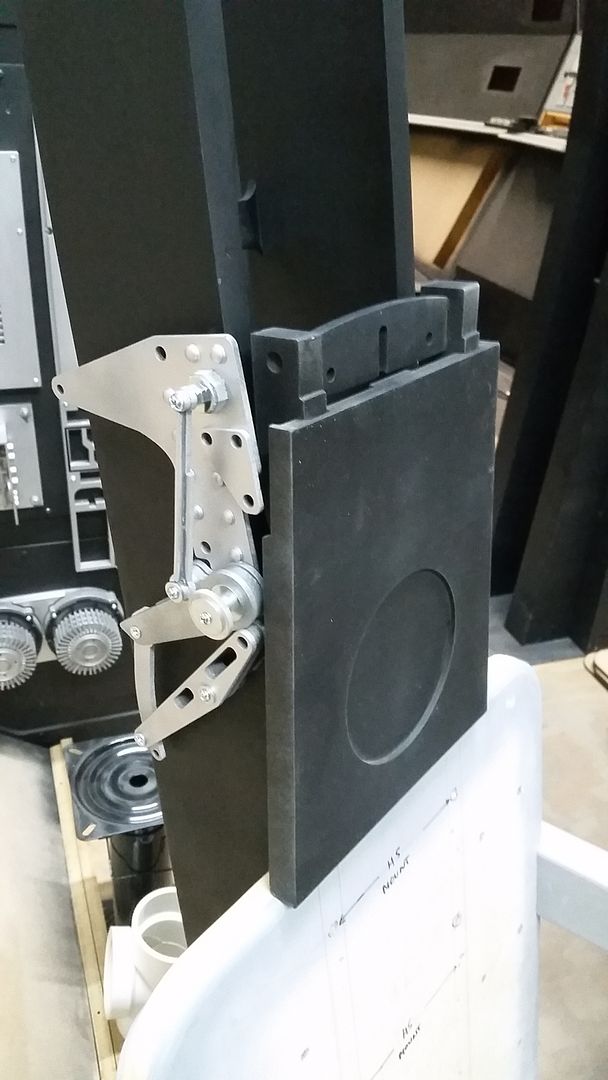
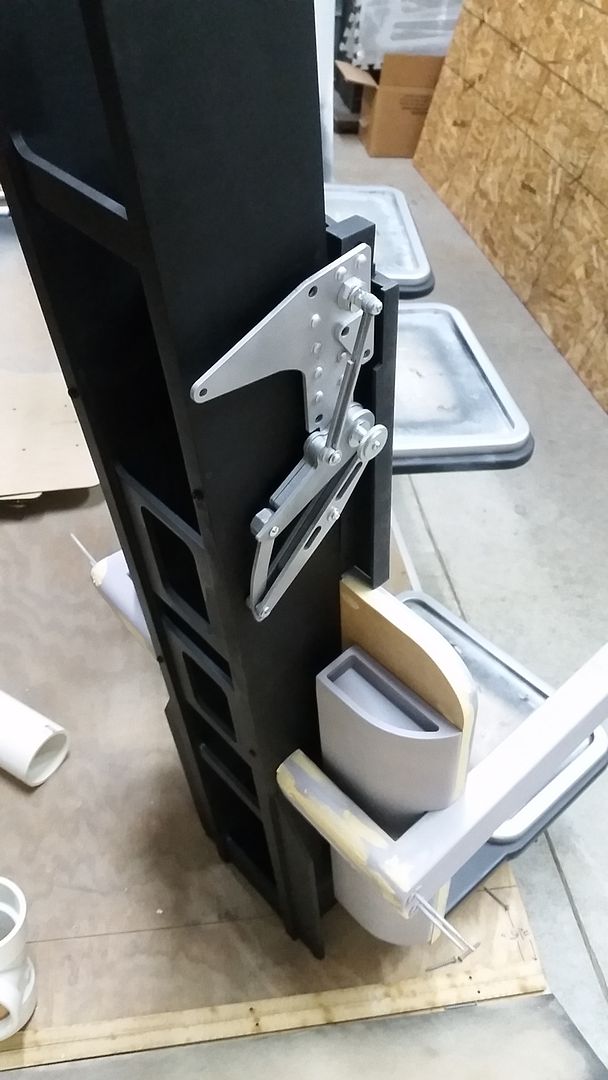
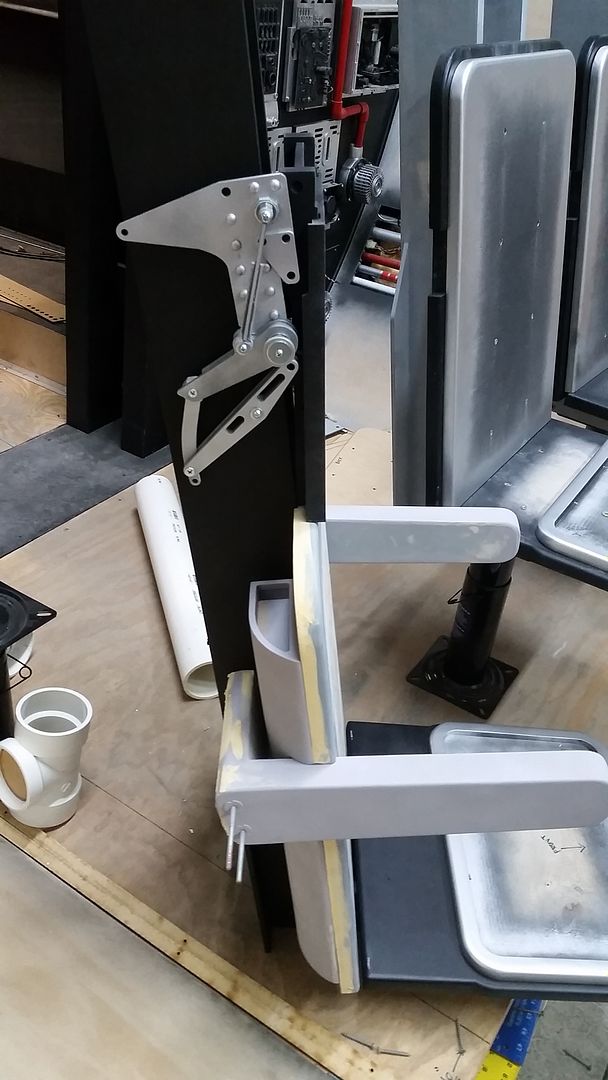
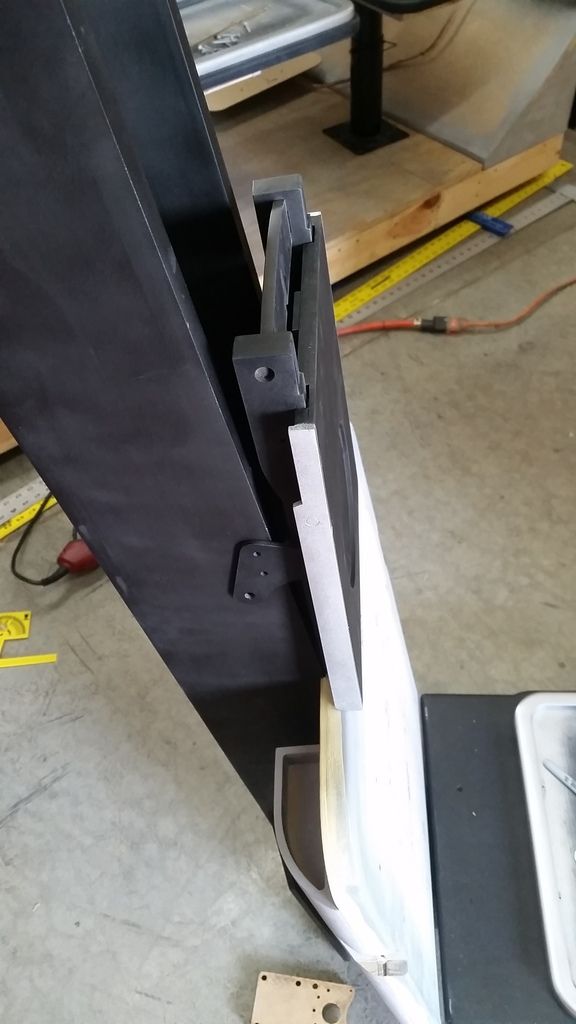
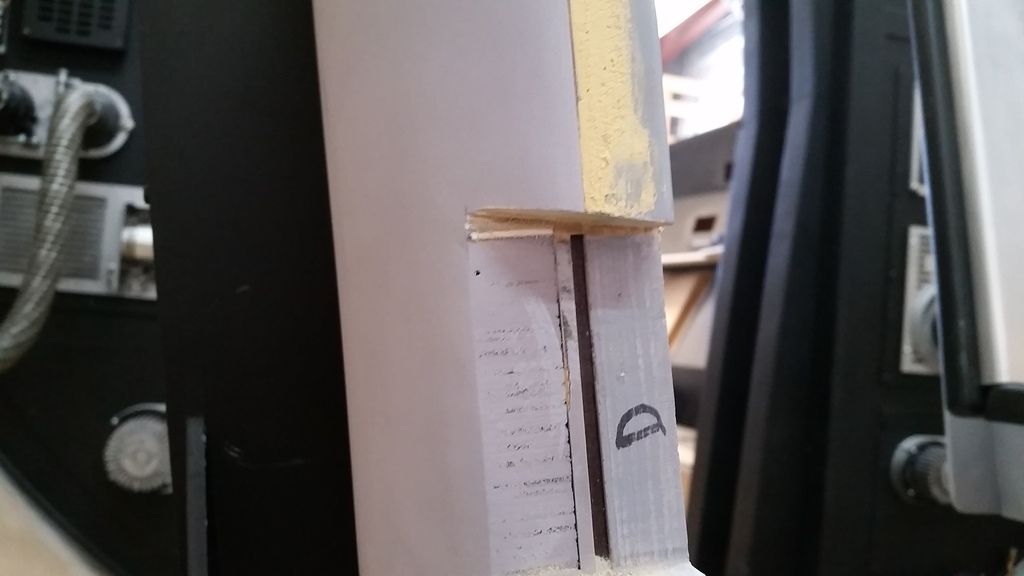
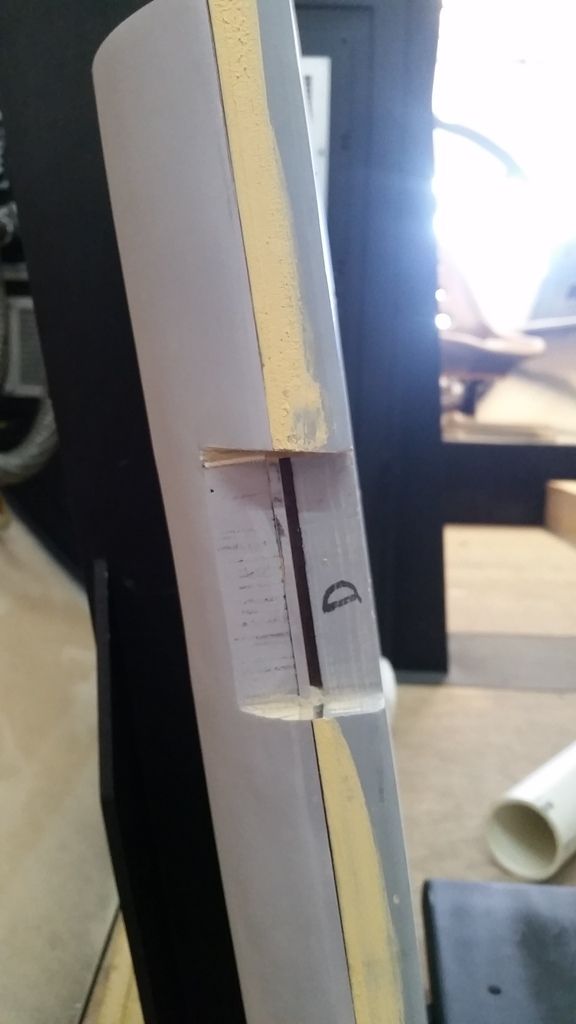
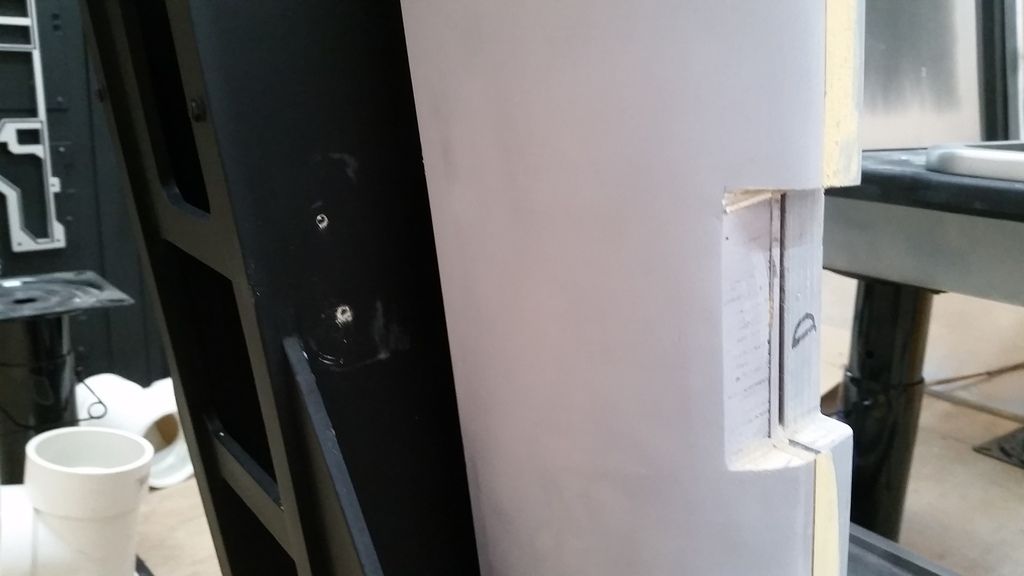
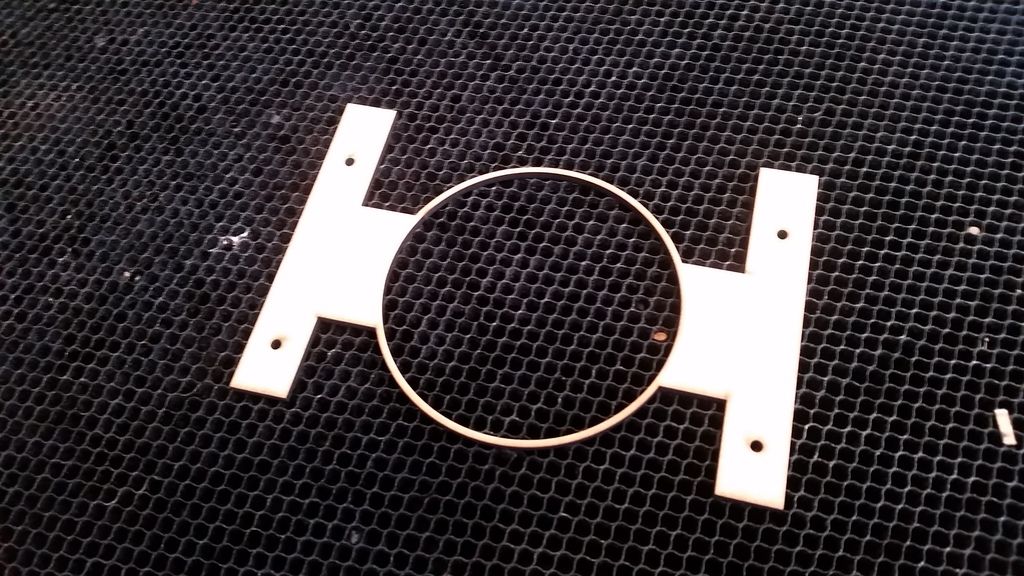
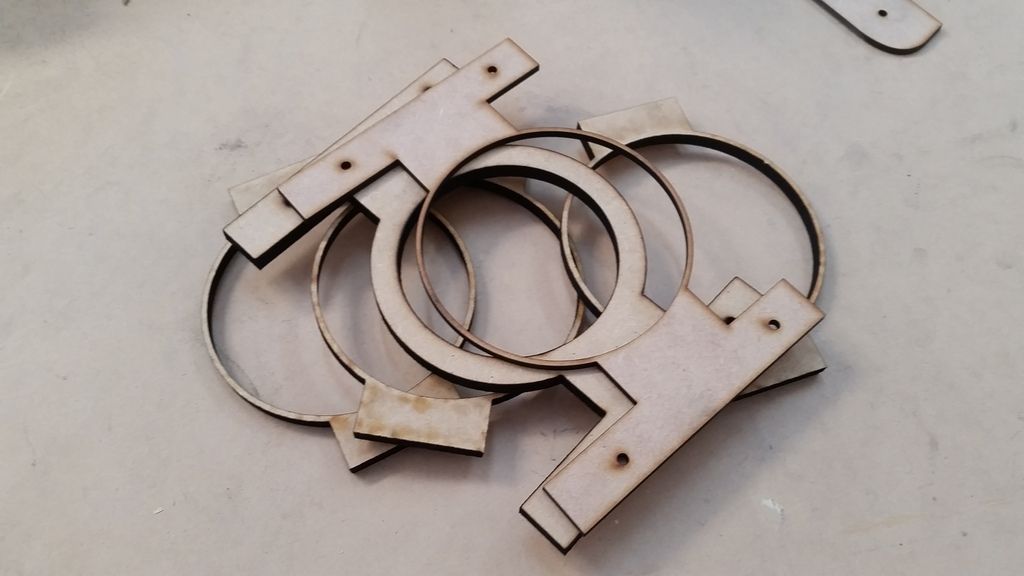
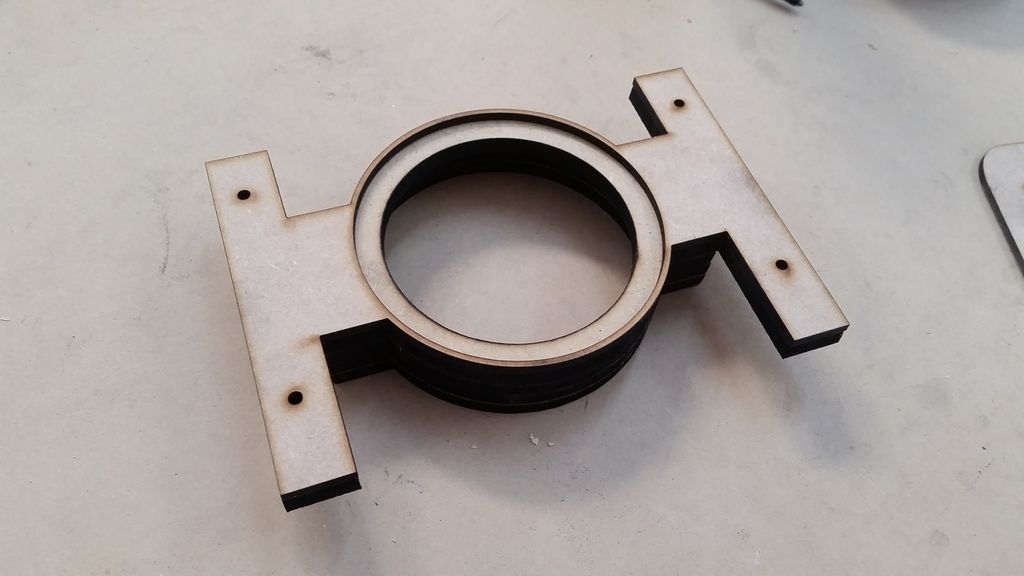
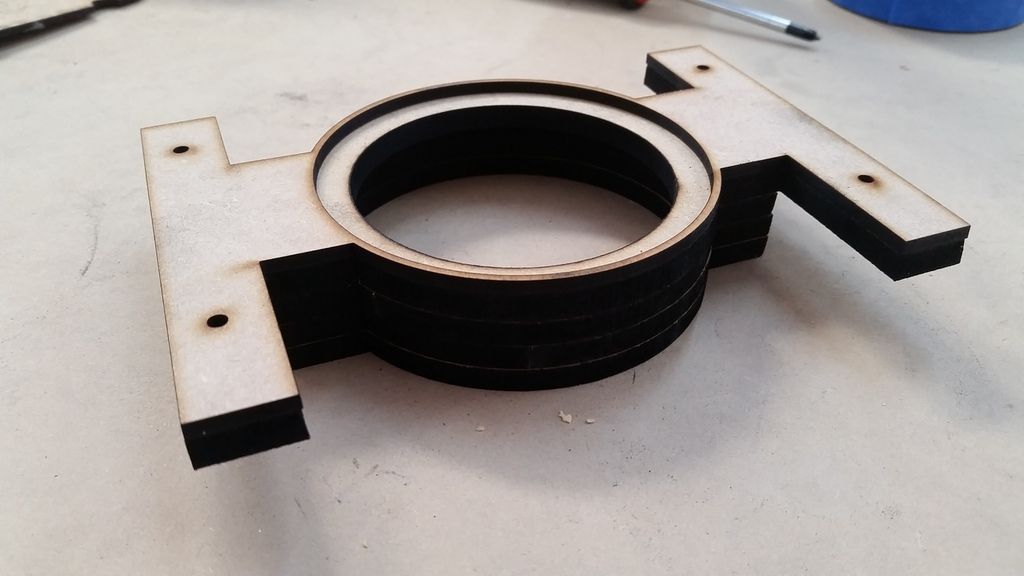
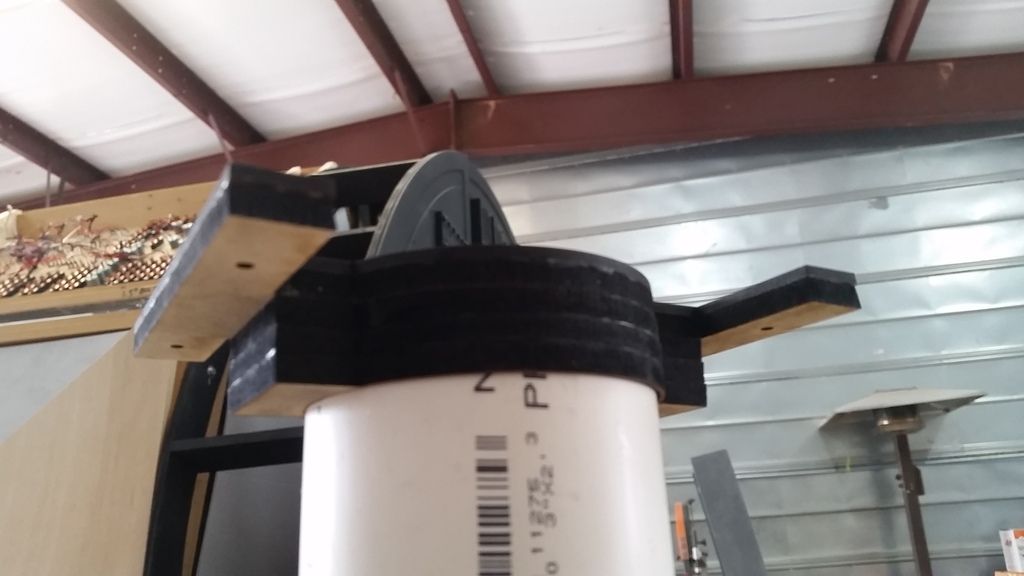
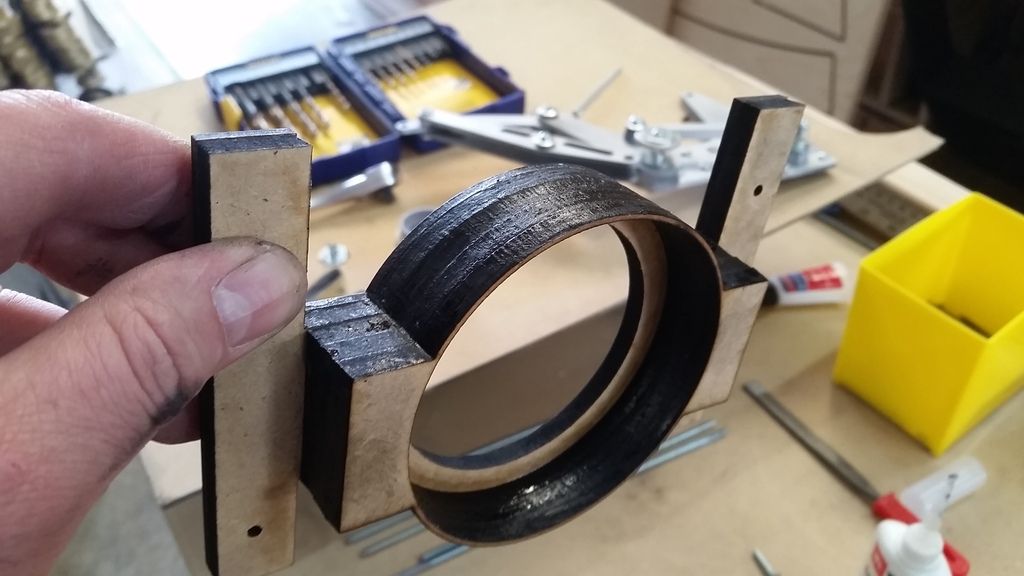
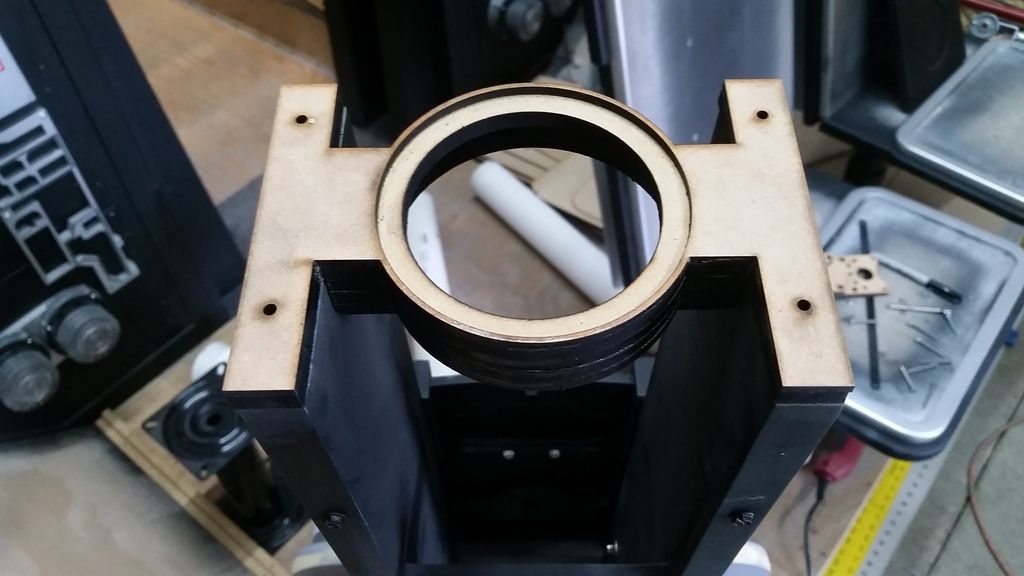
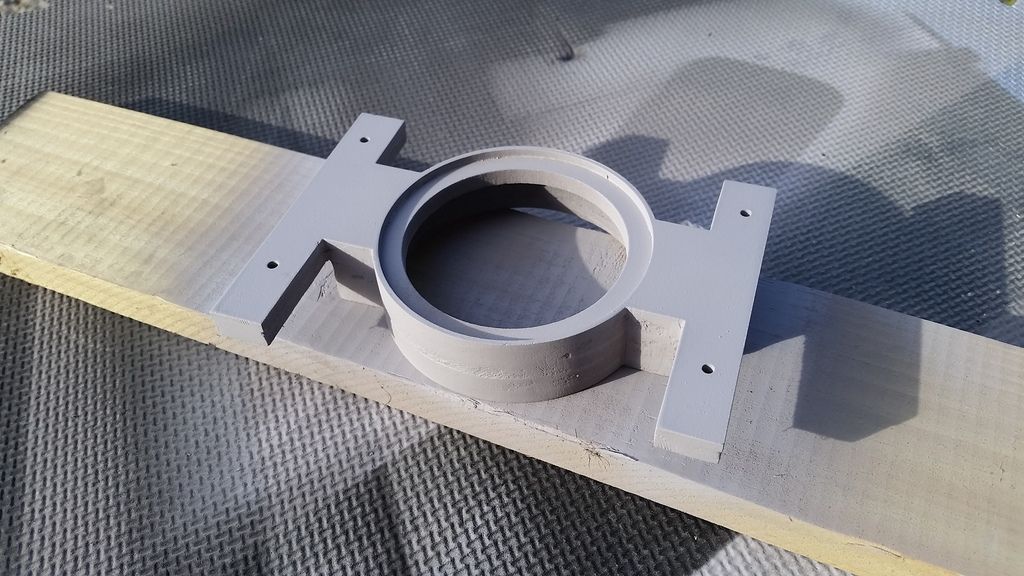
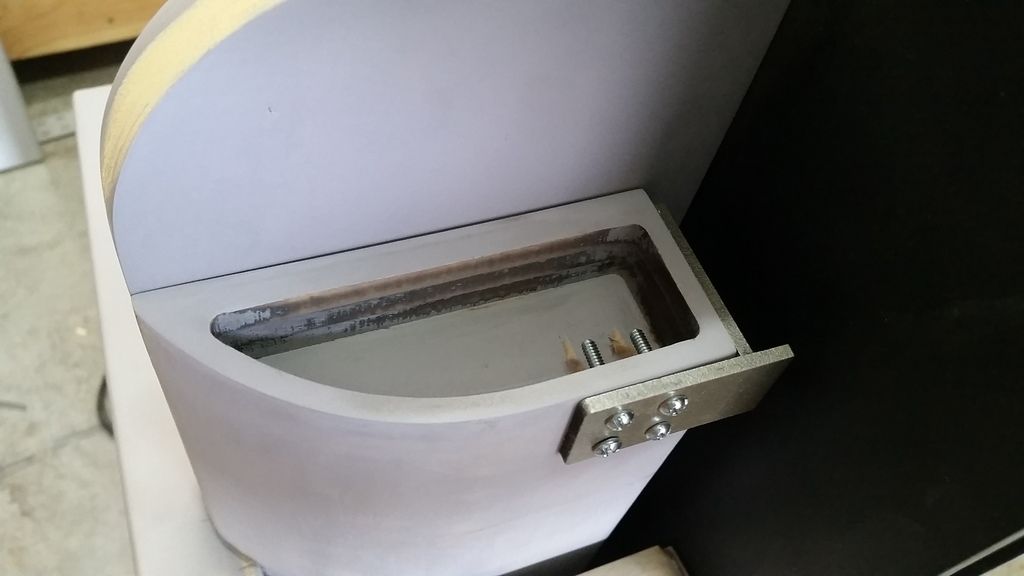
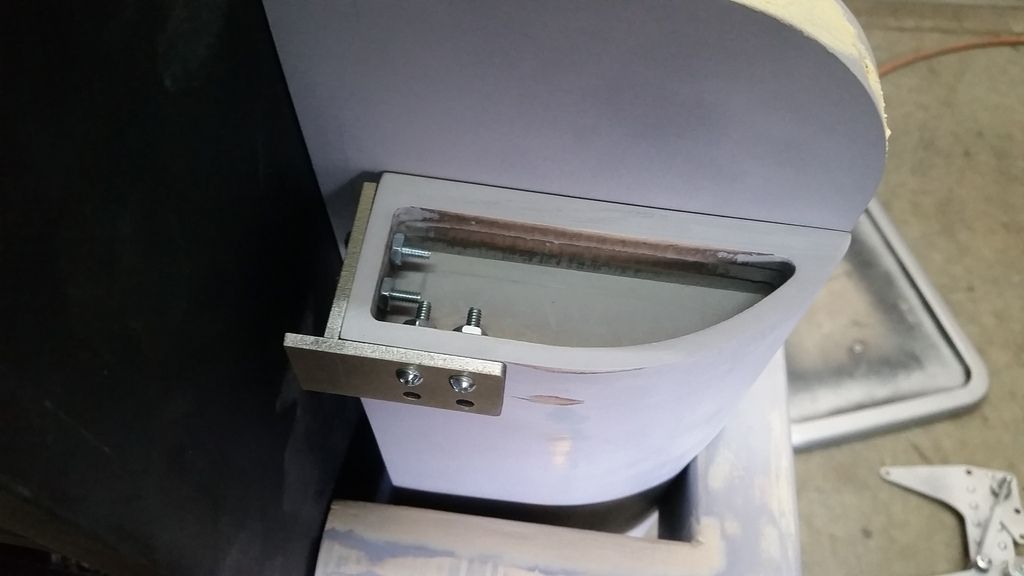
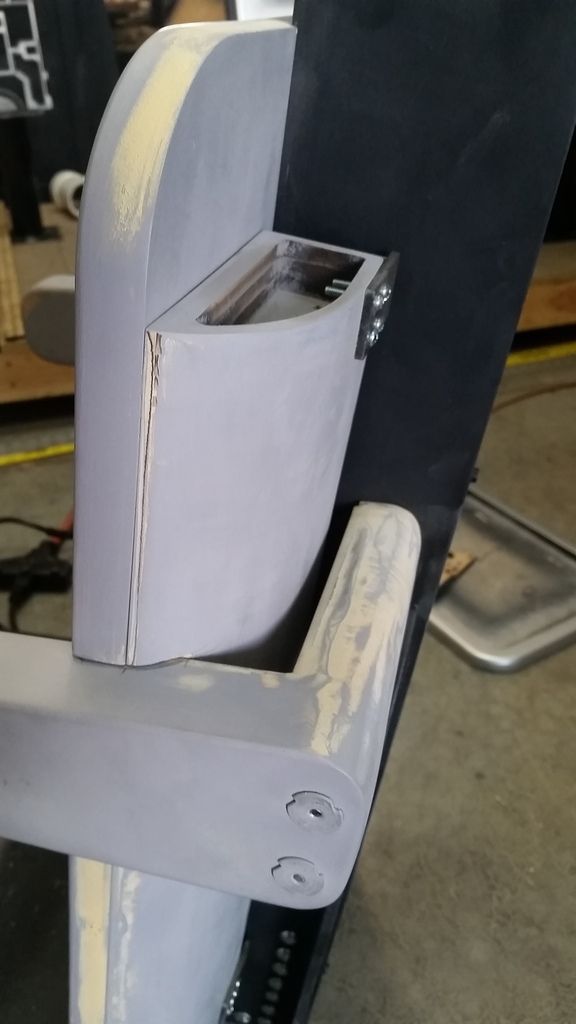
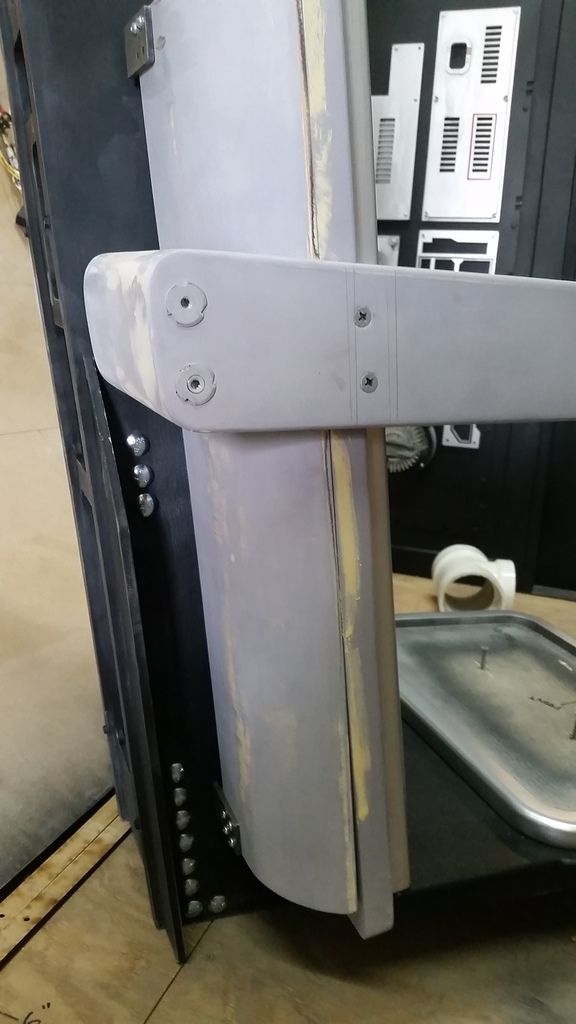
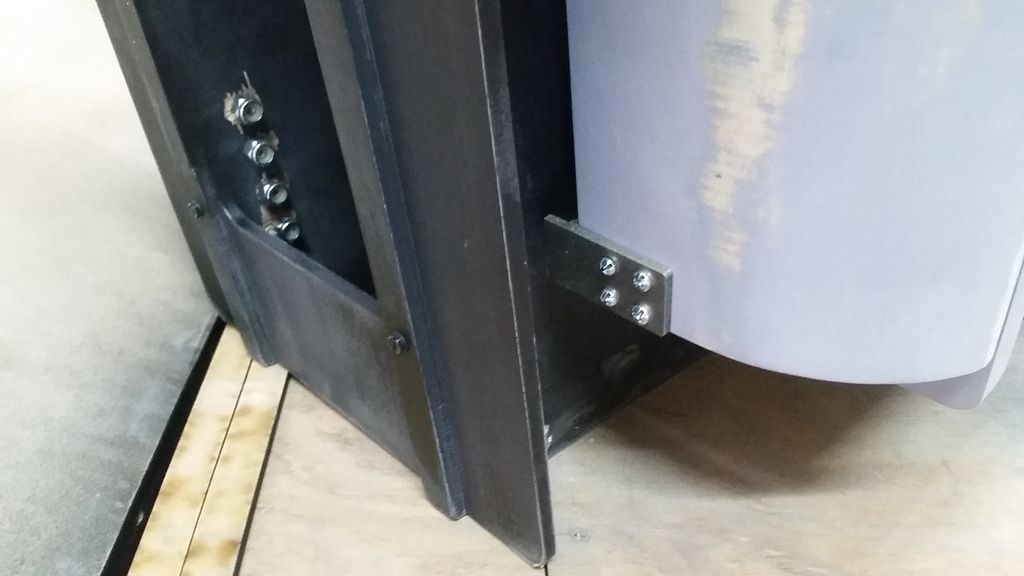
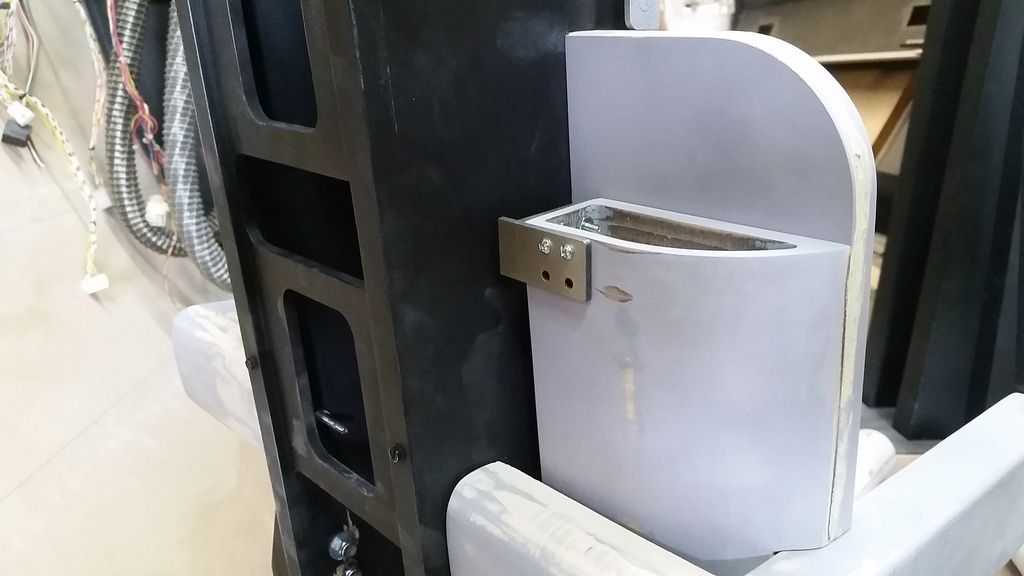
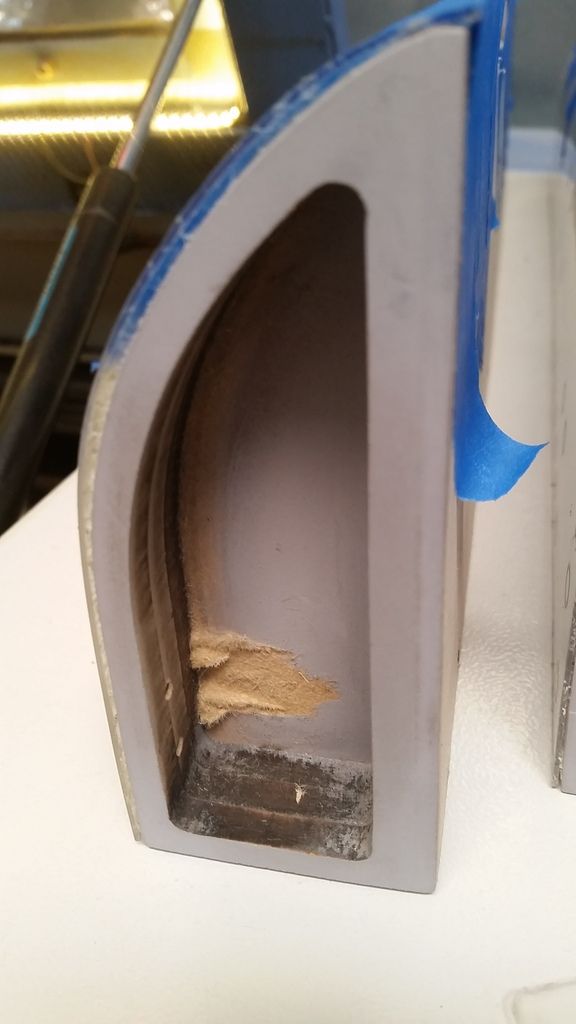
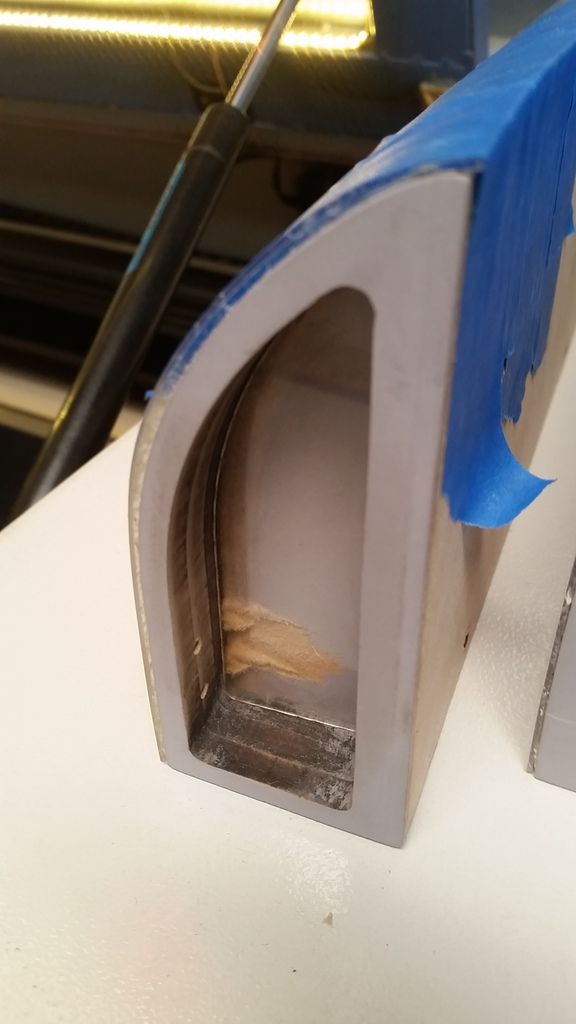
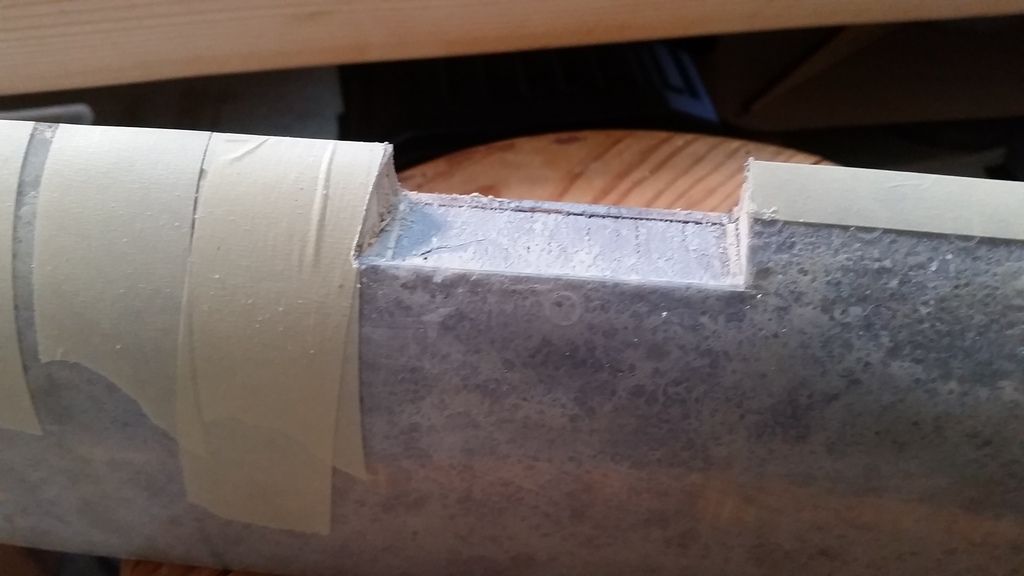
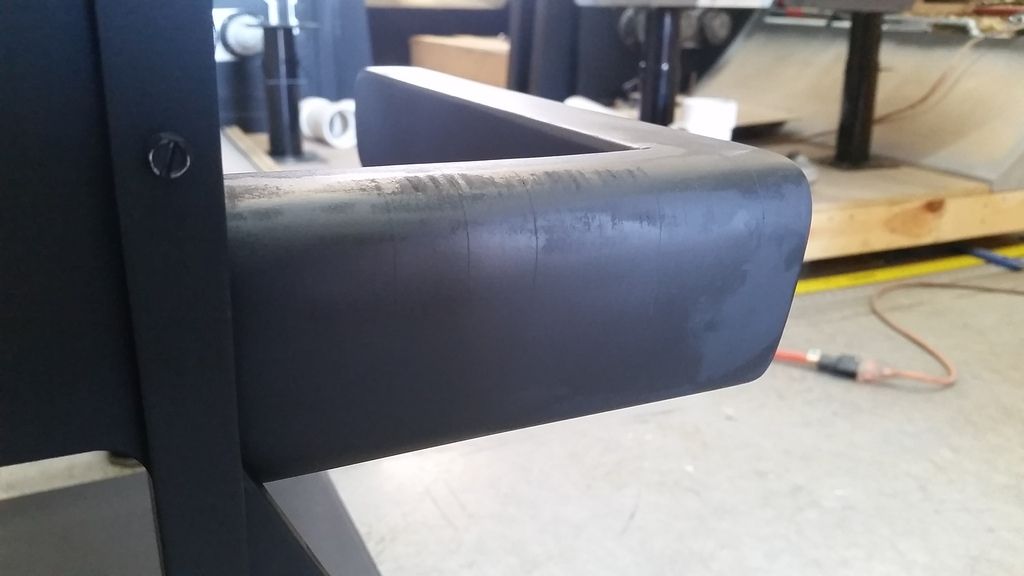
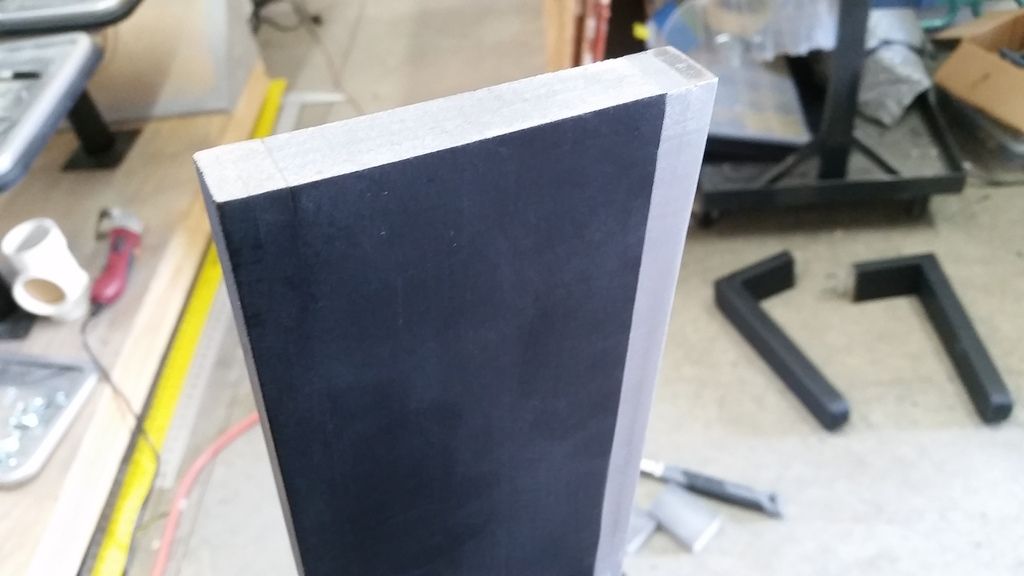
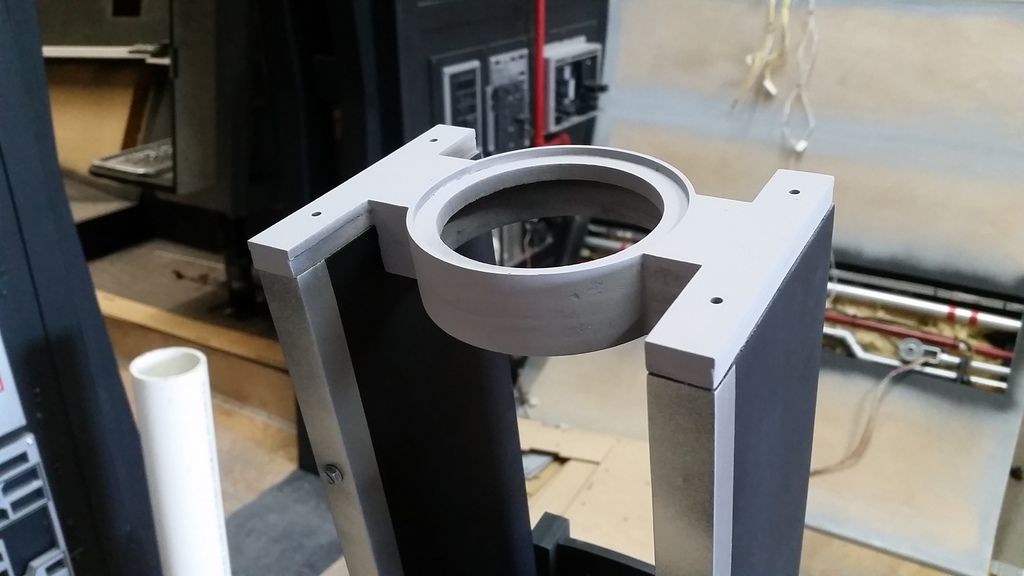
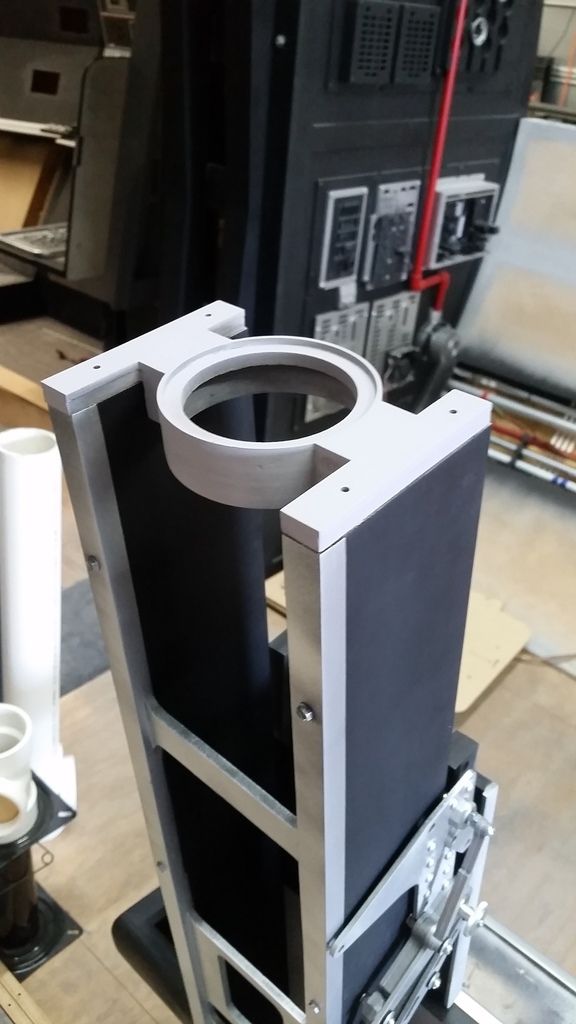
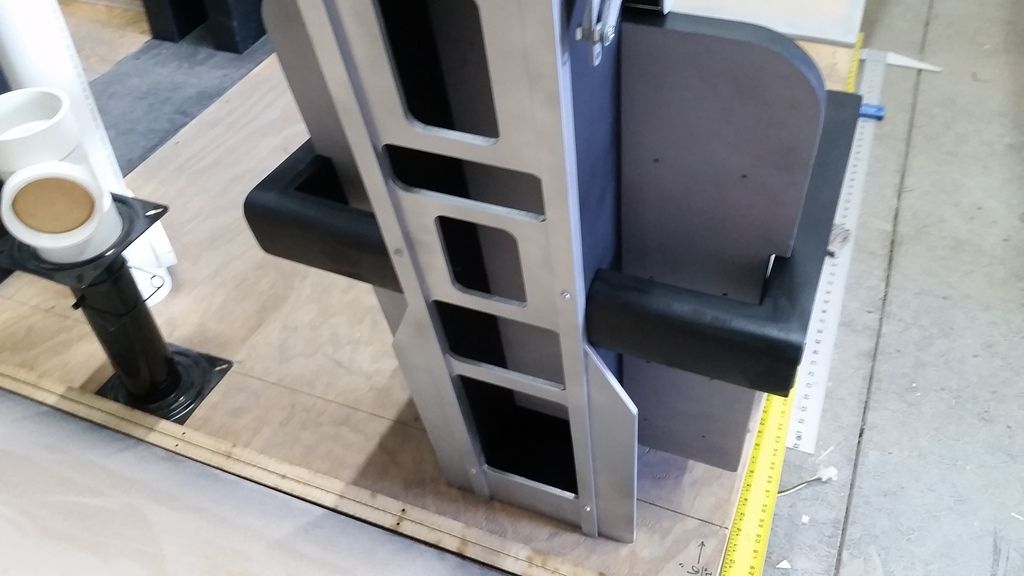
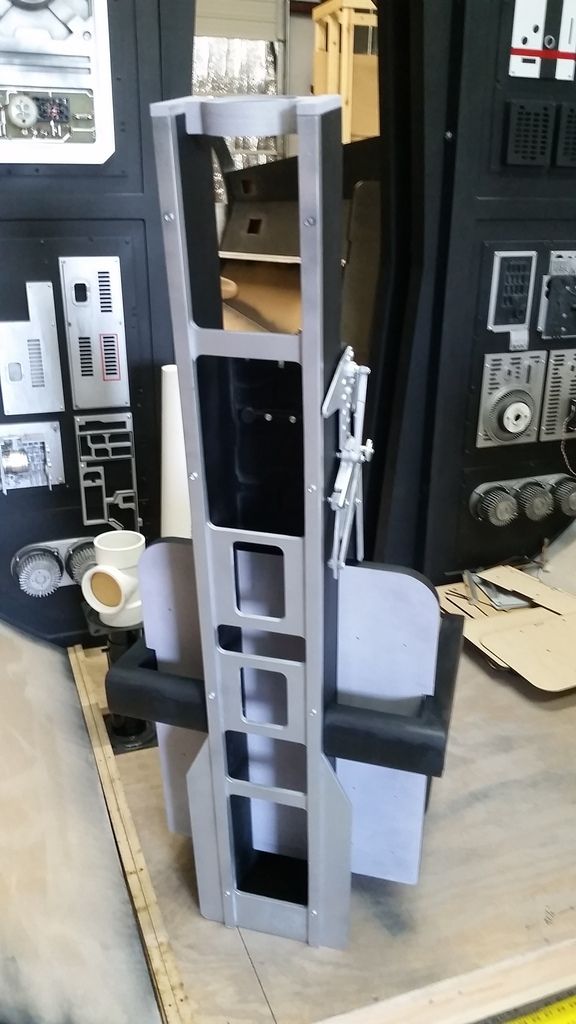
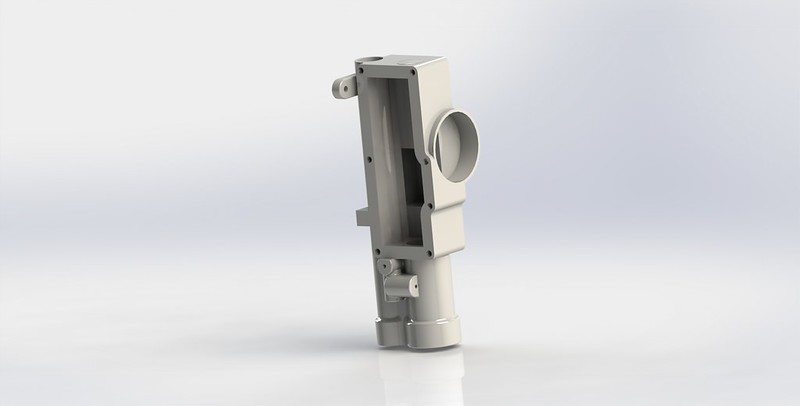
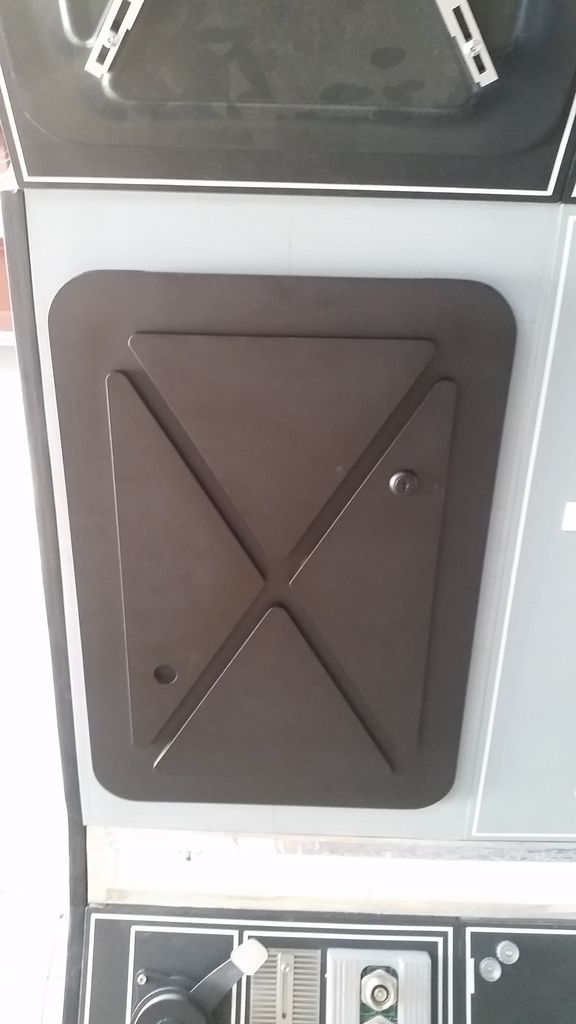
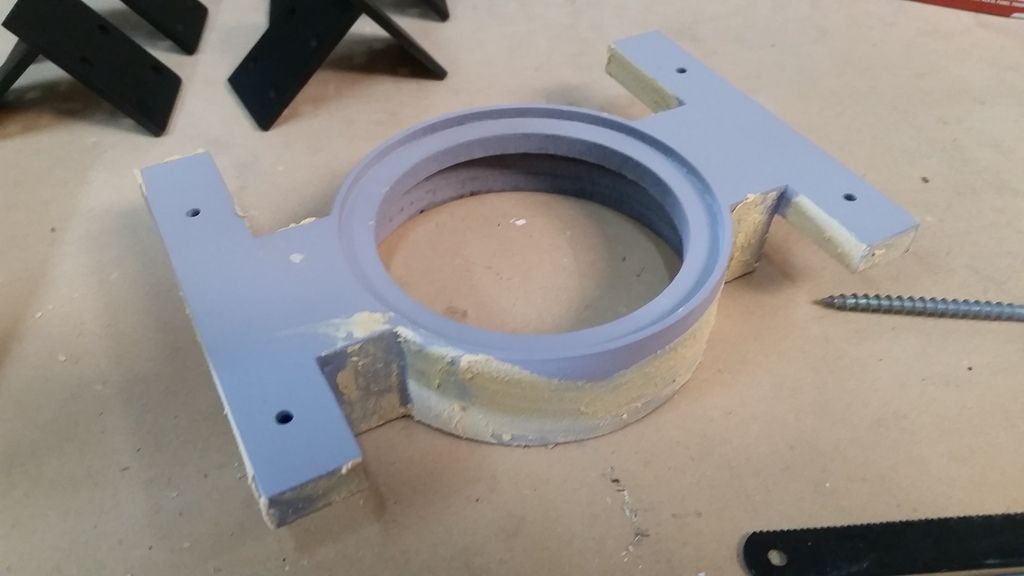
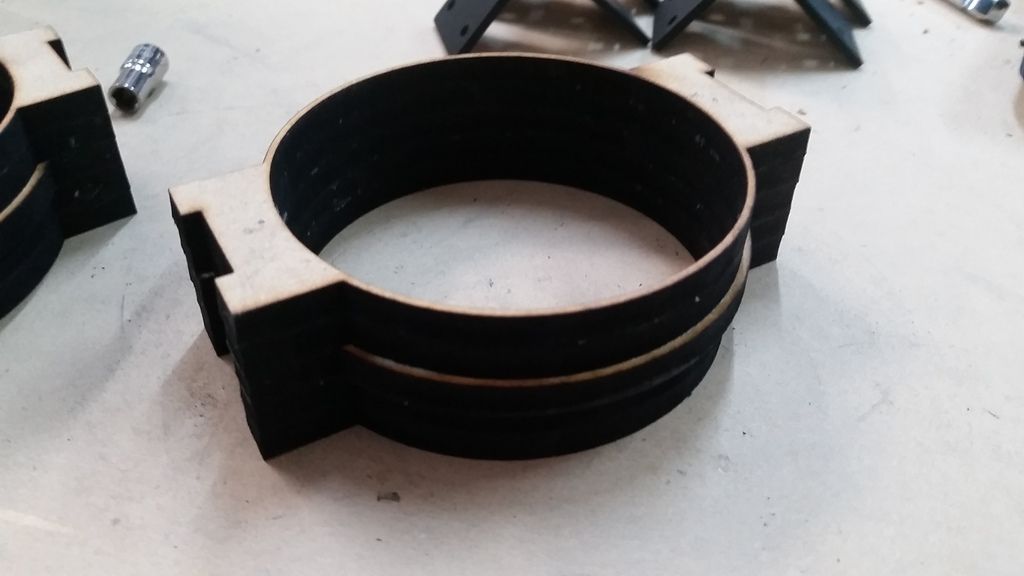
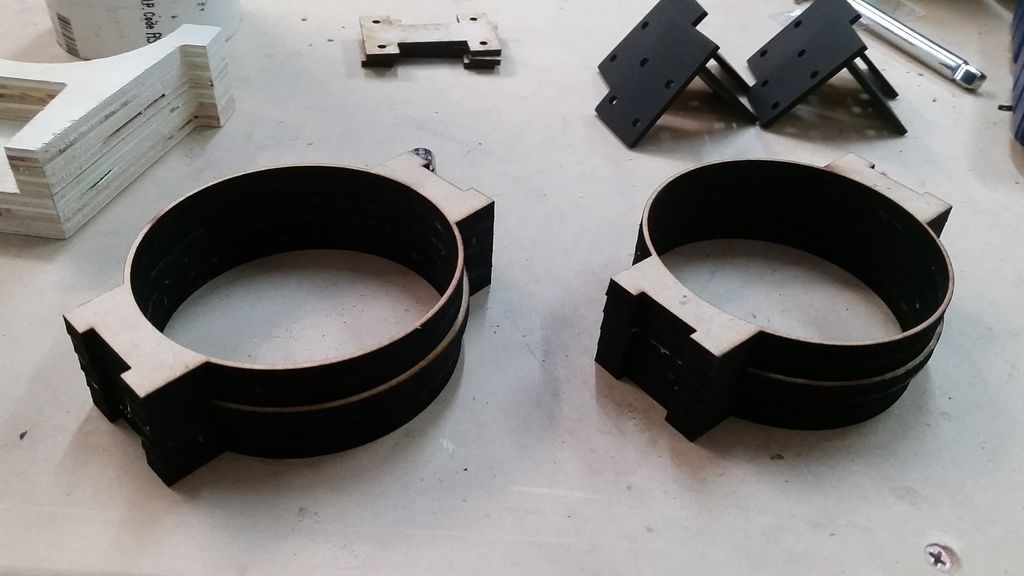
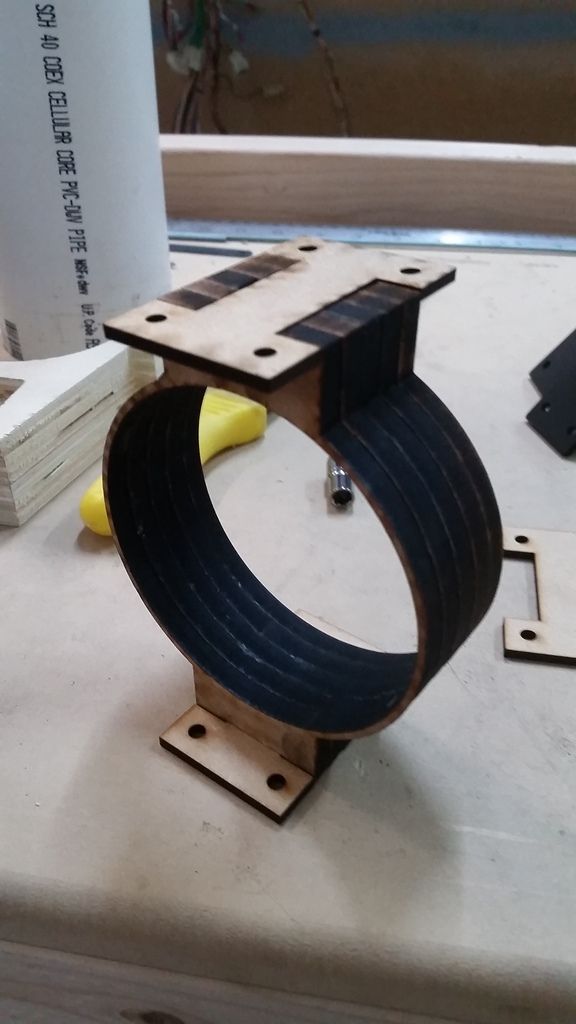
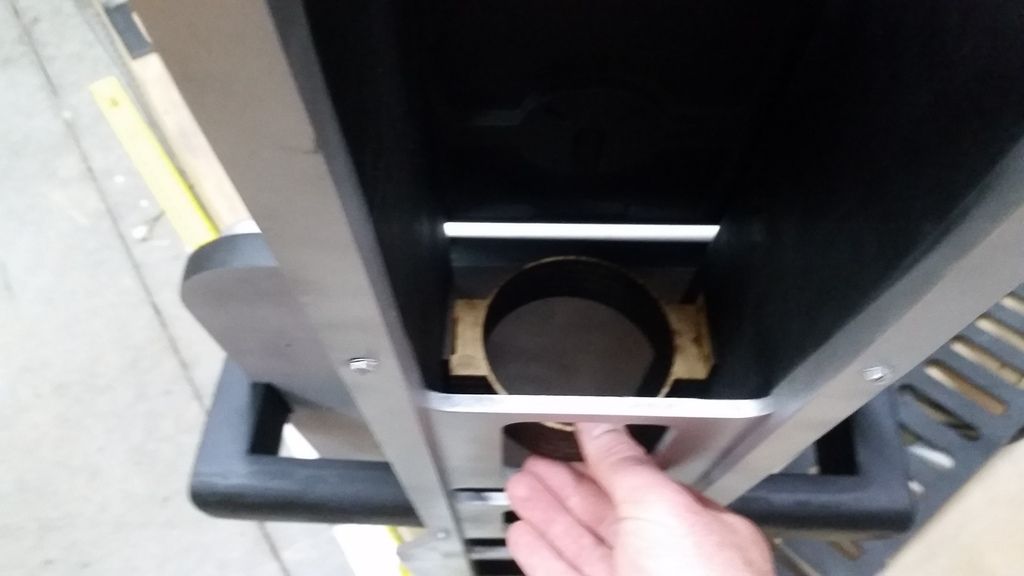
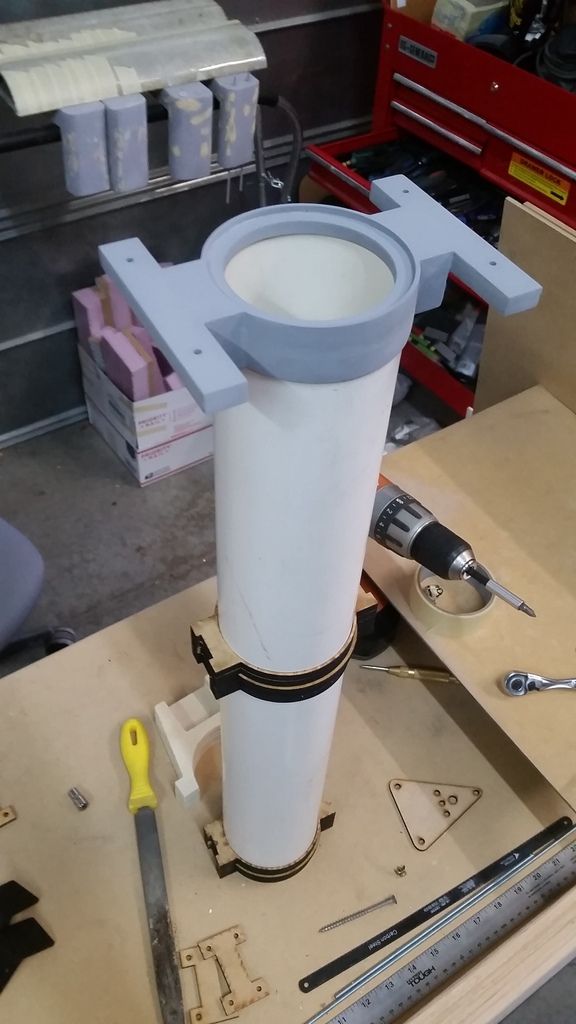
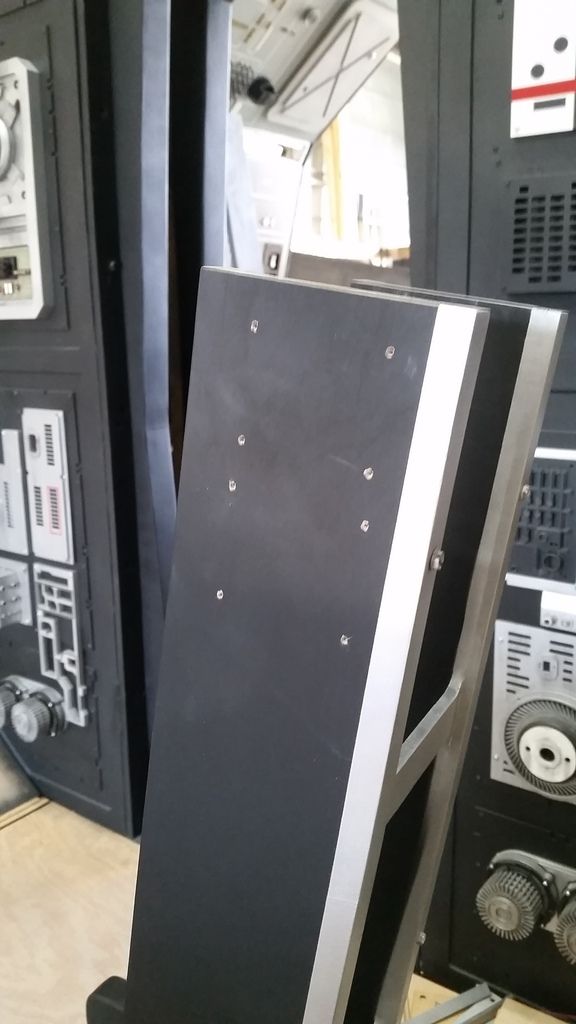
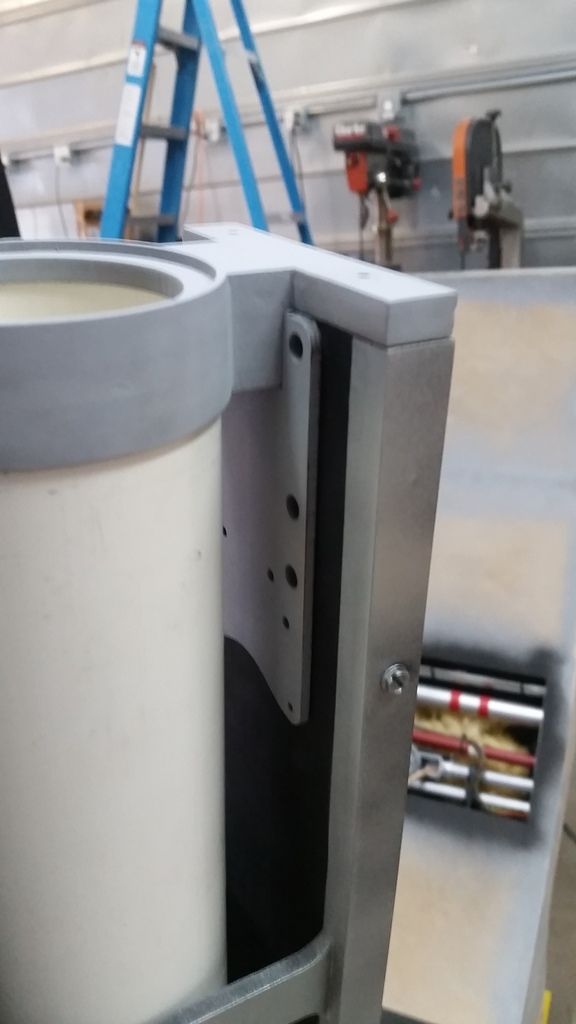
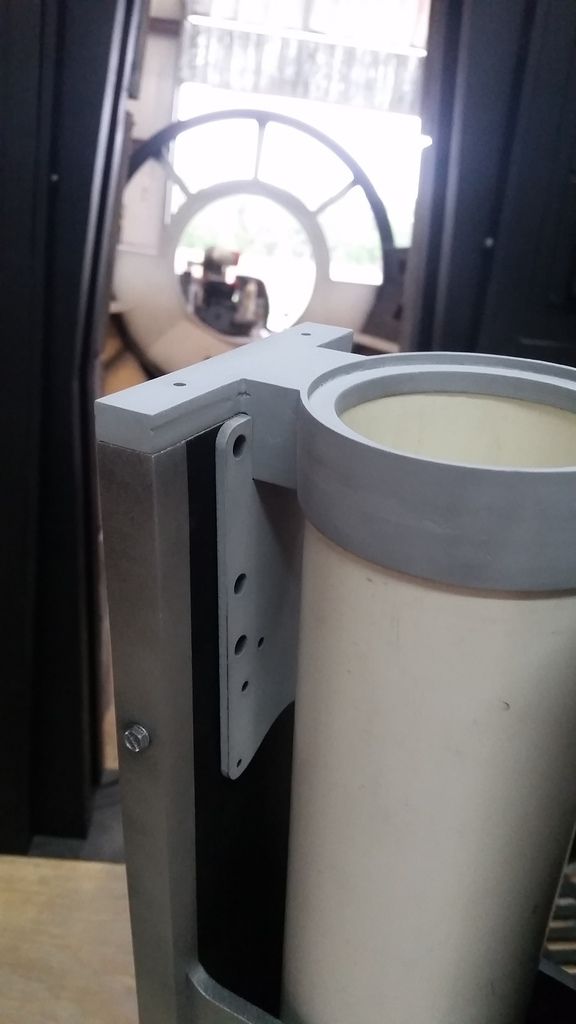
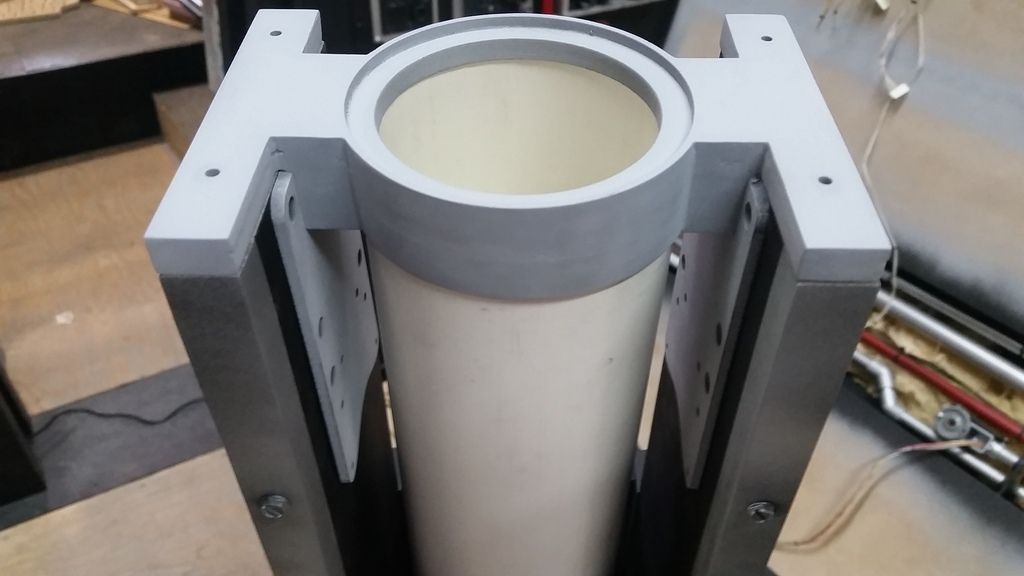
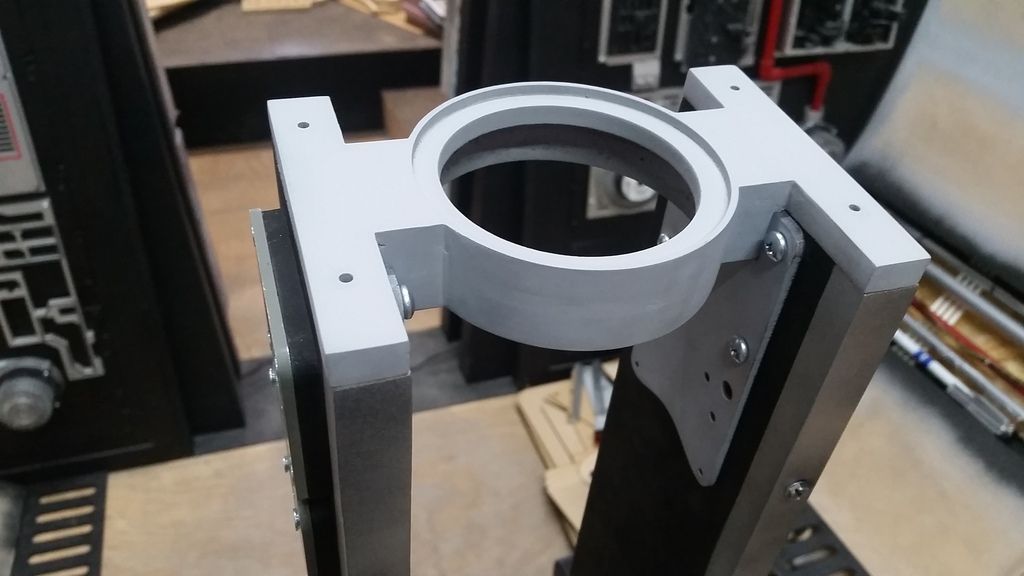
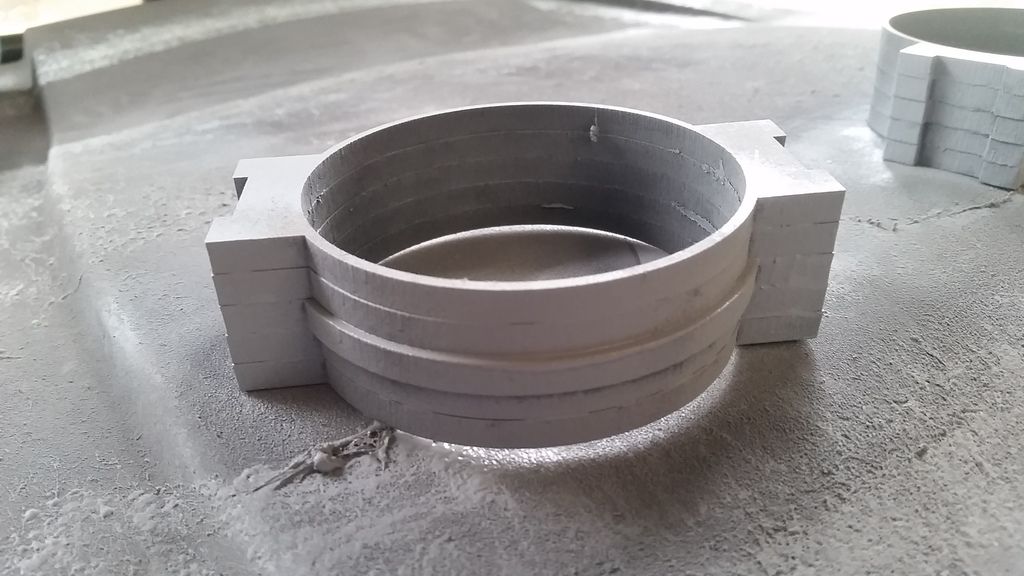
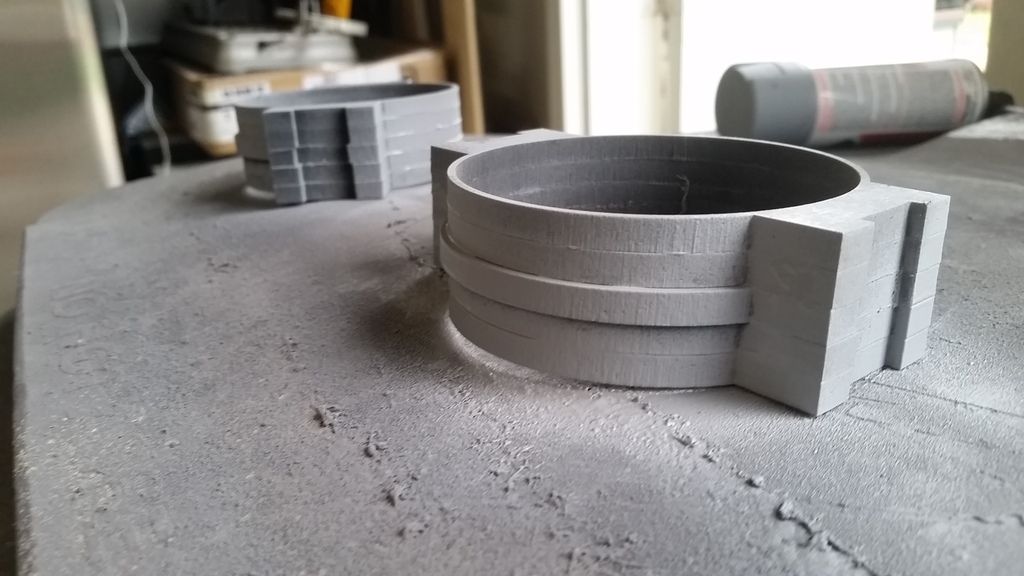
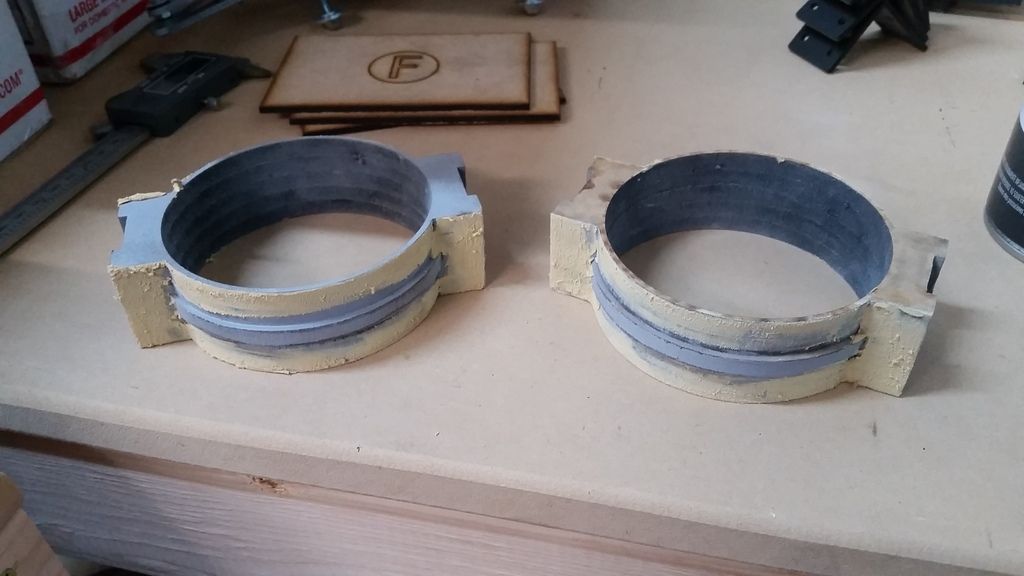
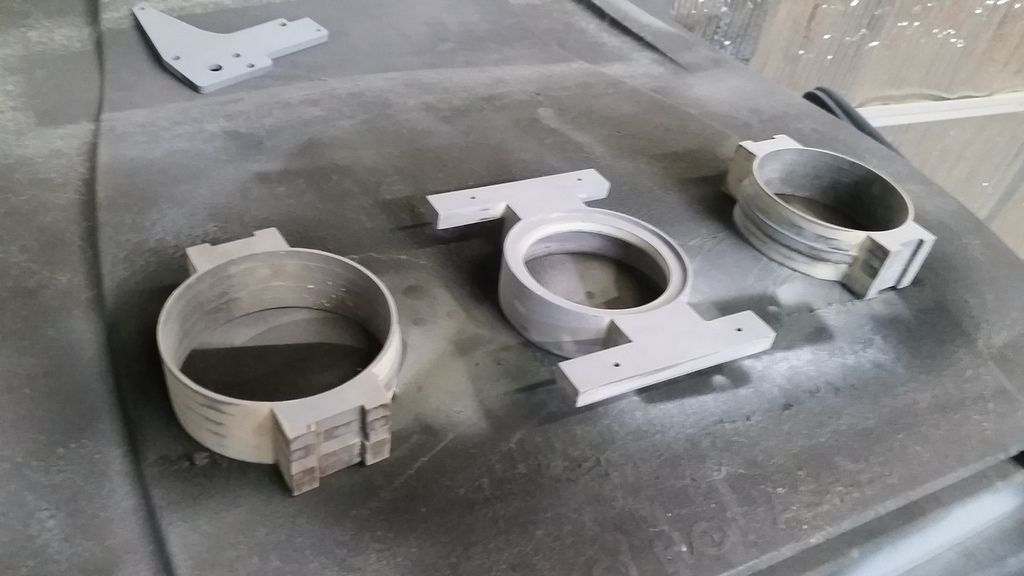
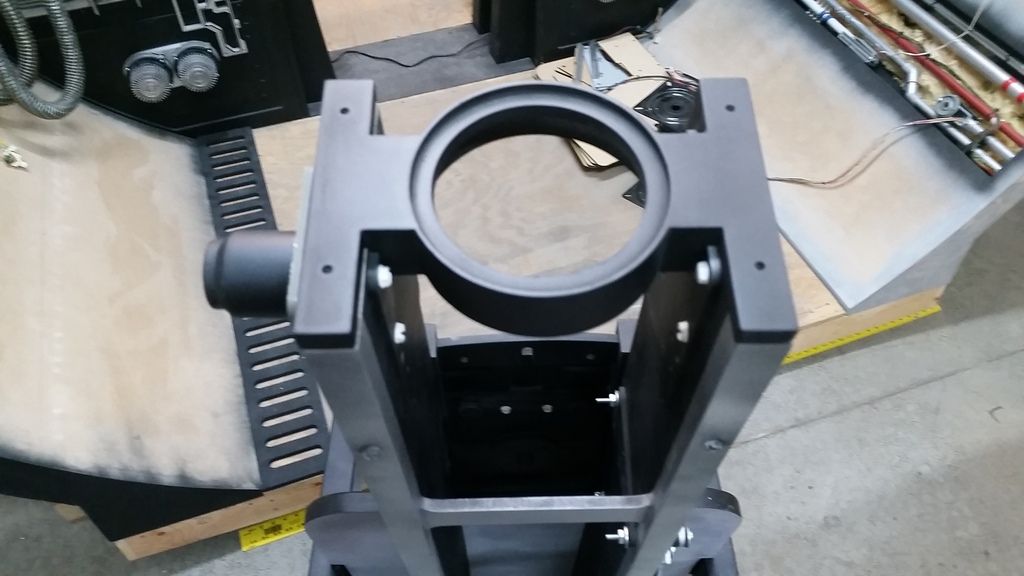
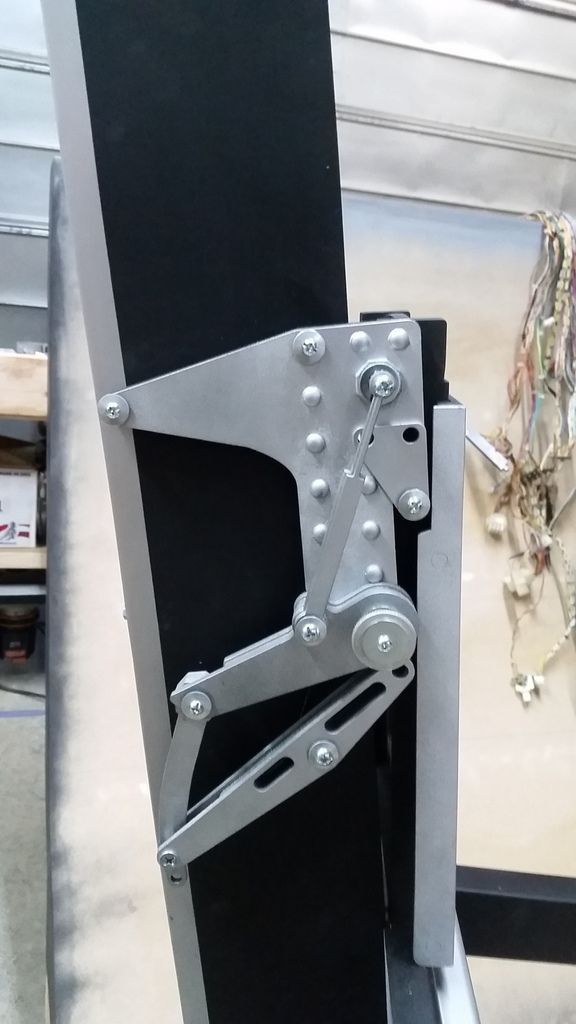
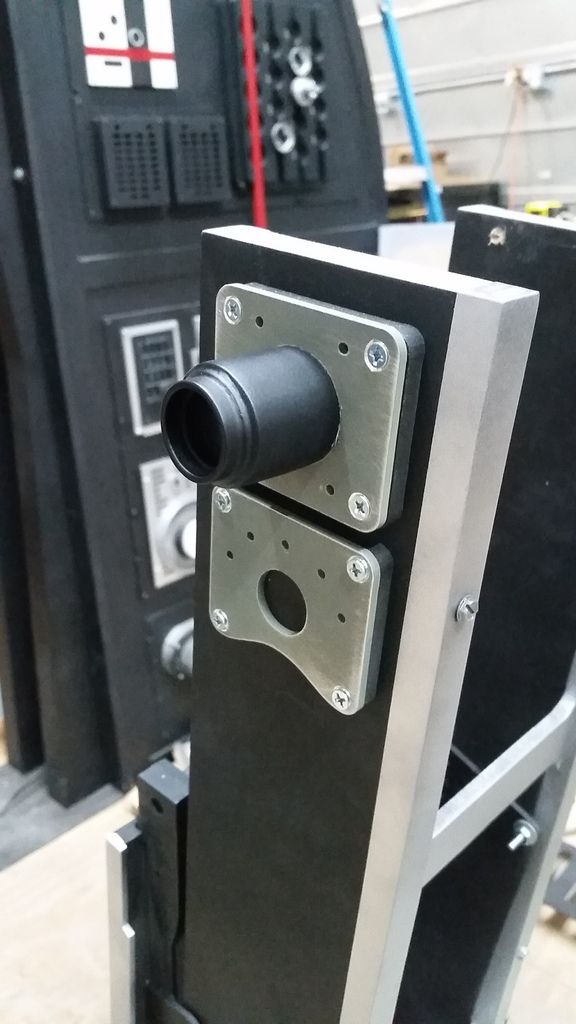
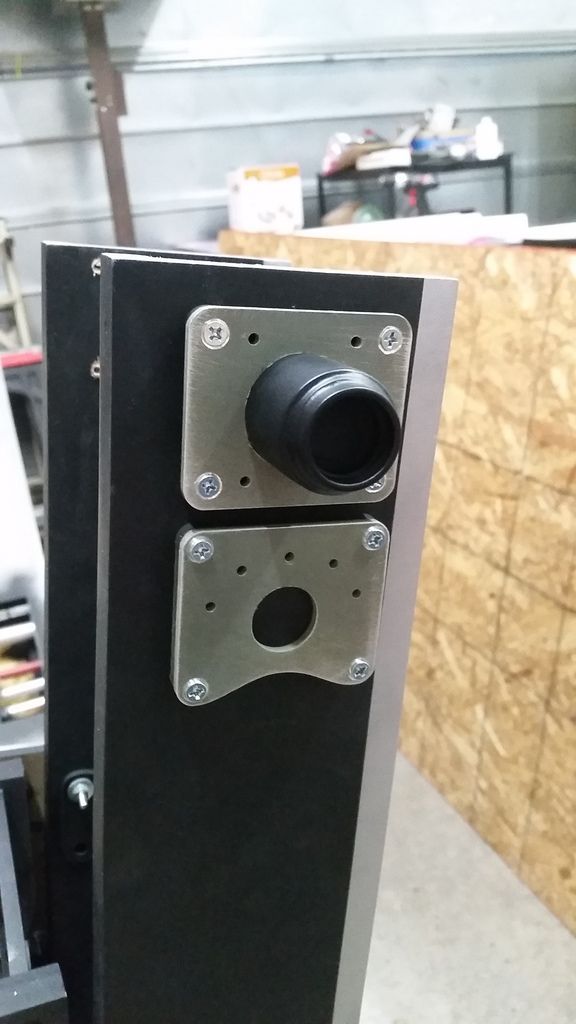
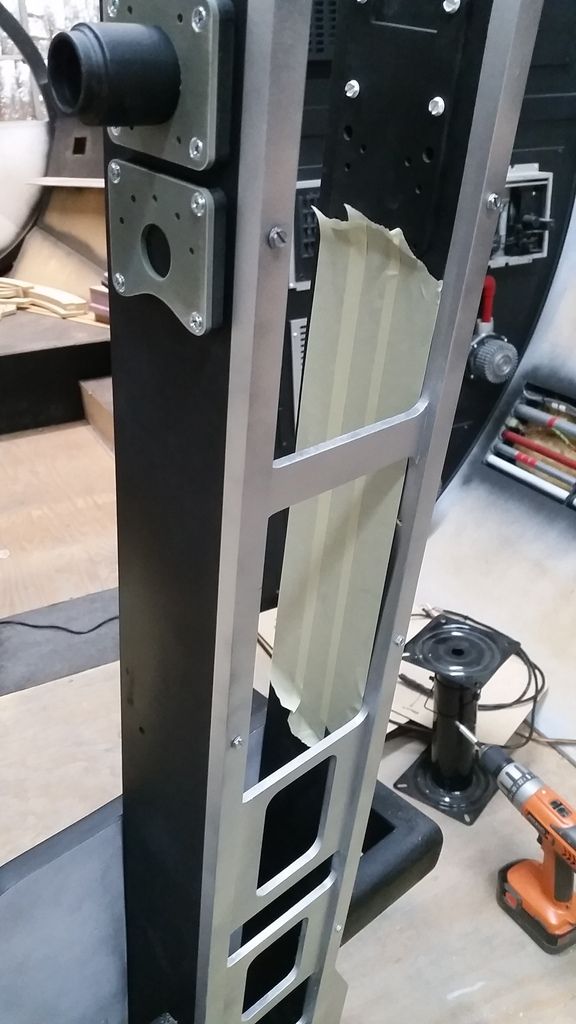
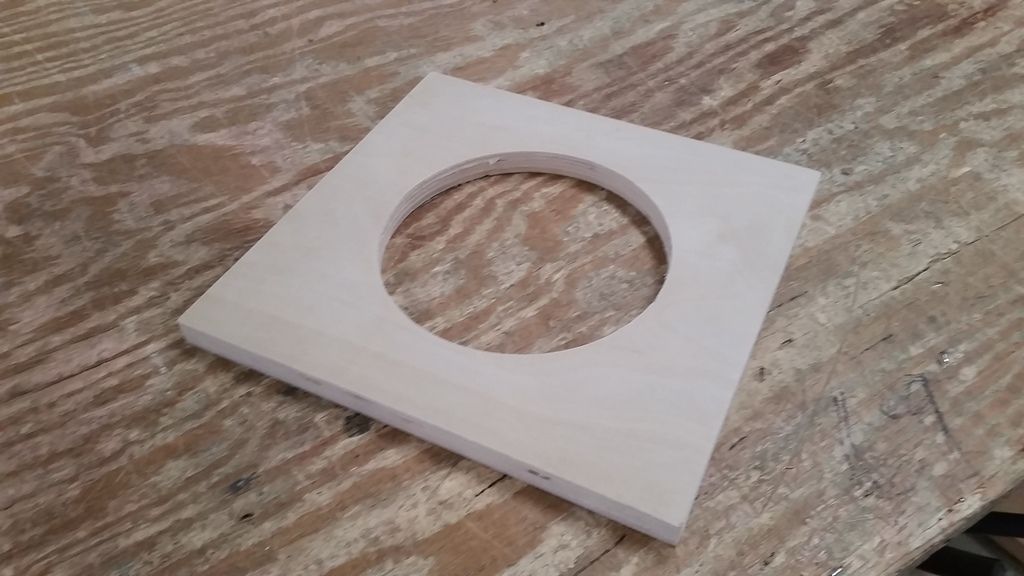
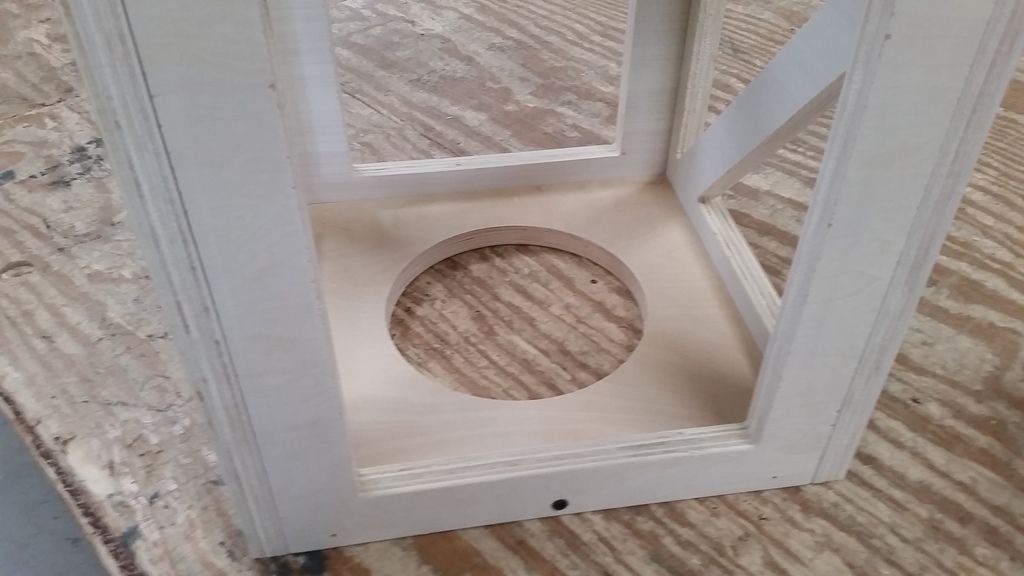
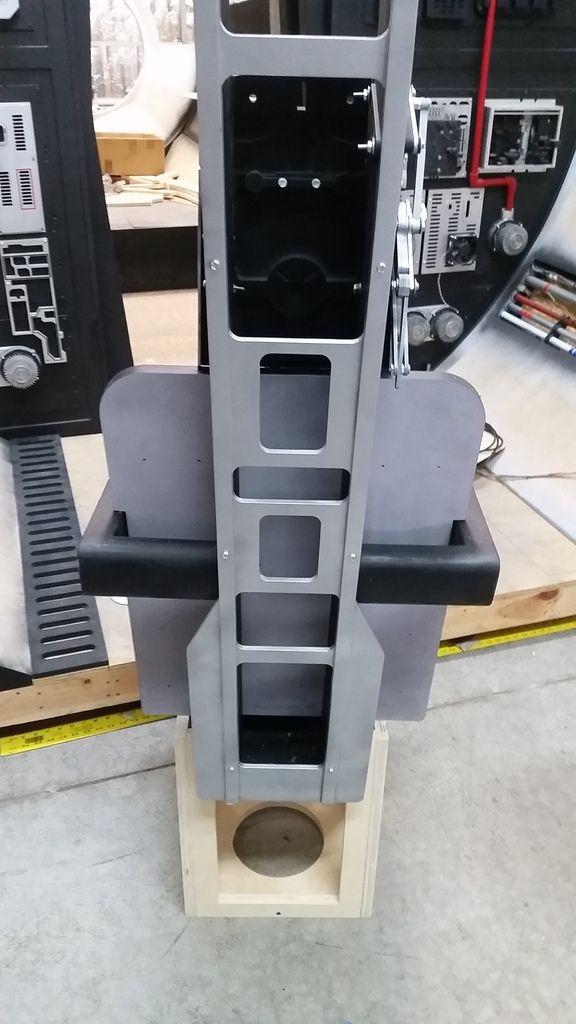
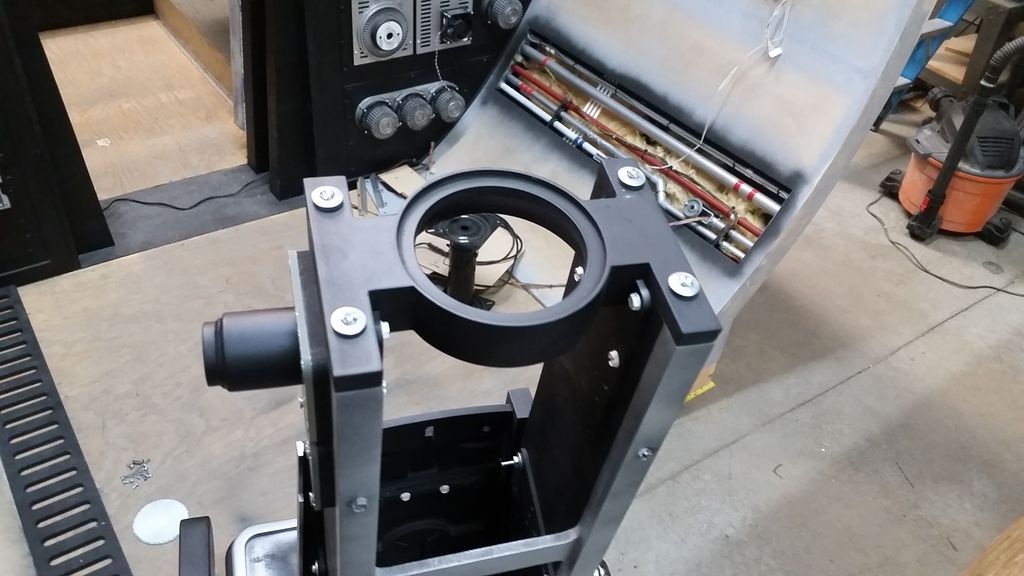
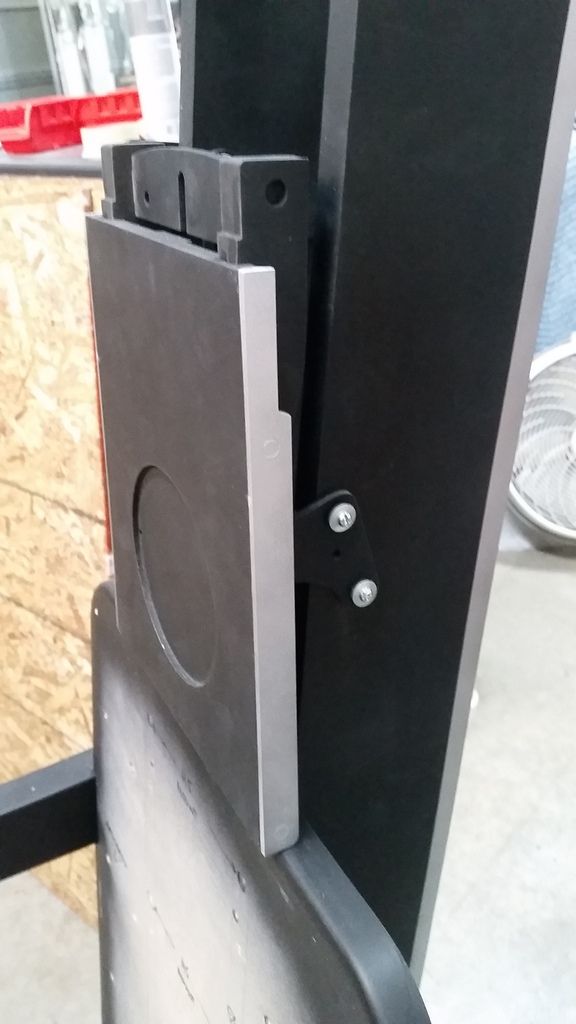
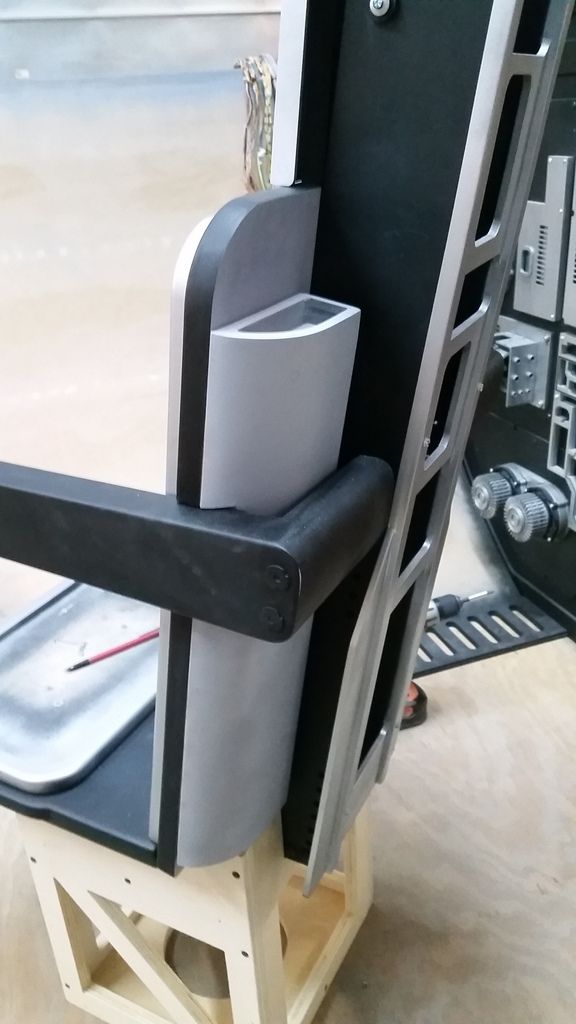
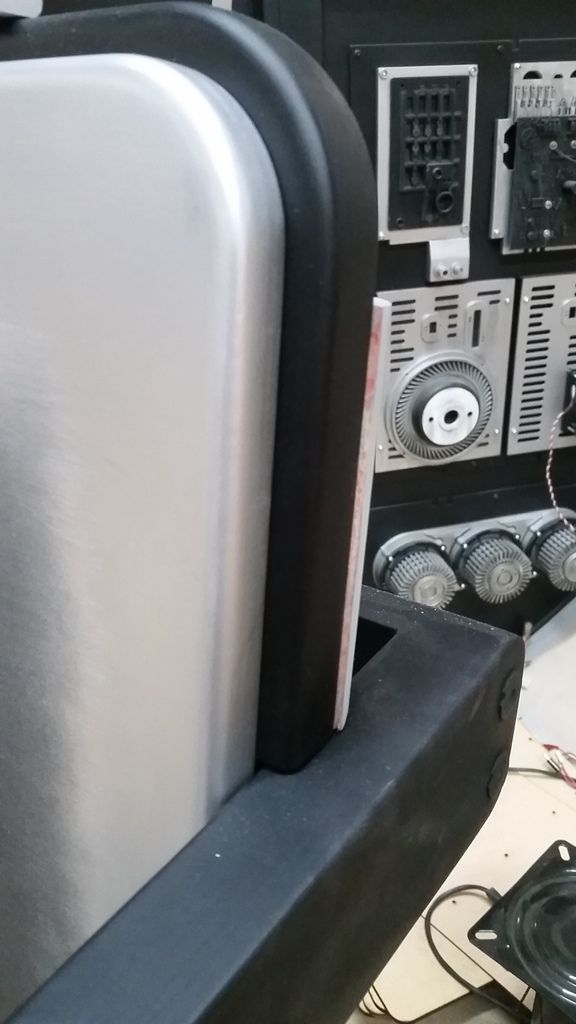
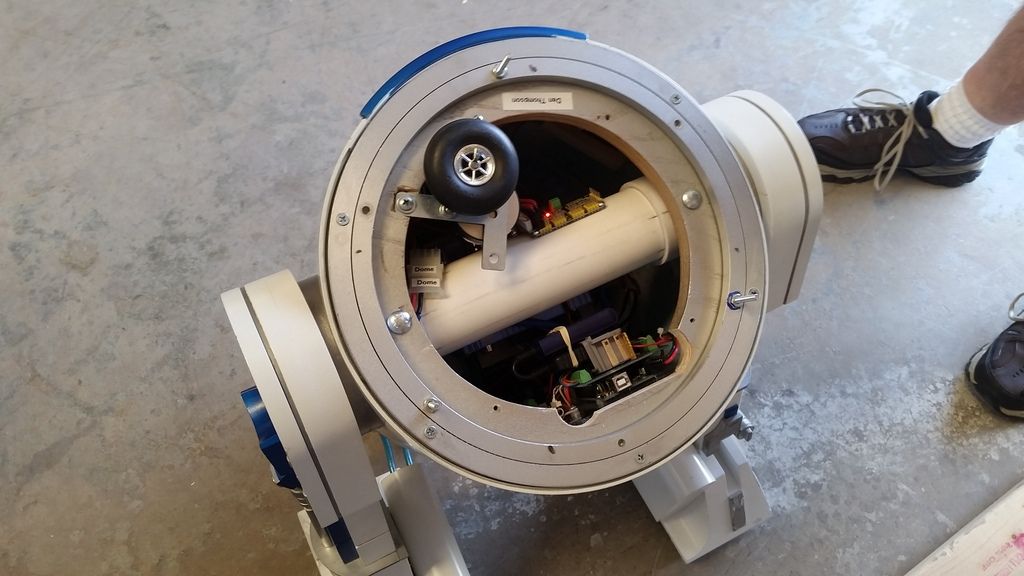
This started out frustrating me but it actually turned out better than I hoped! This is the ejection tube guide piece. NOTE how thin the material is! That's how much room I have on the inside of the frame for the PVC pipe
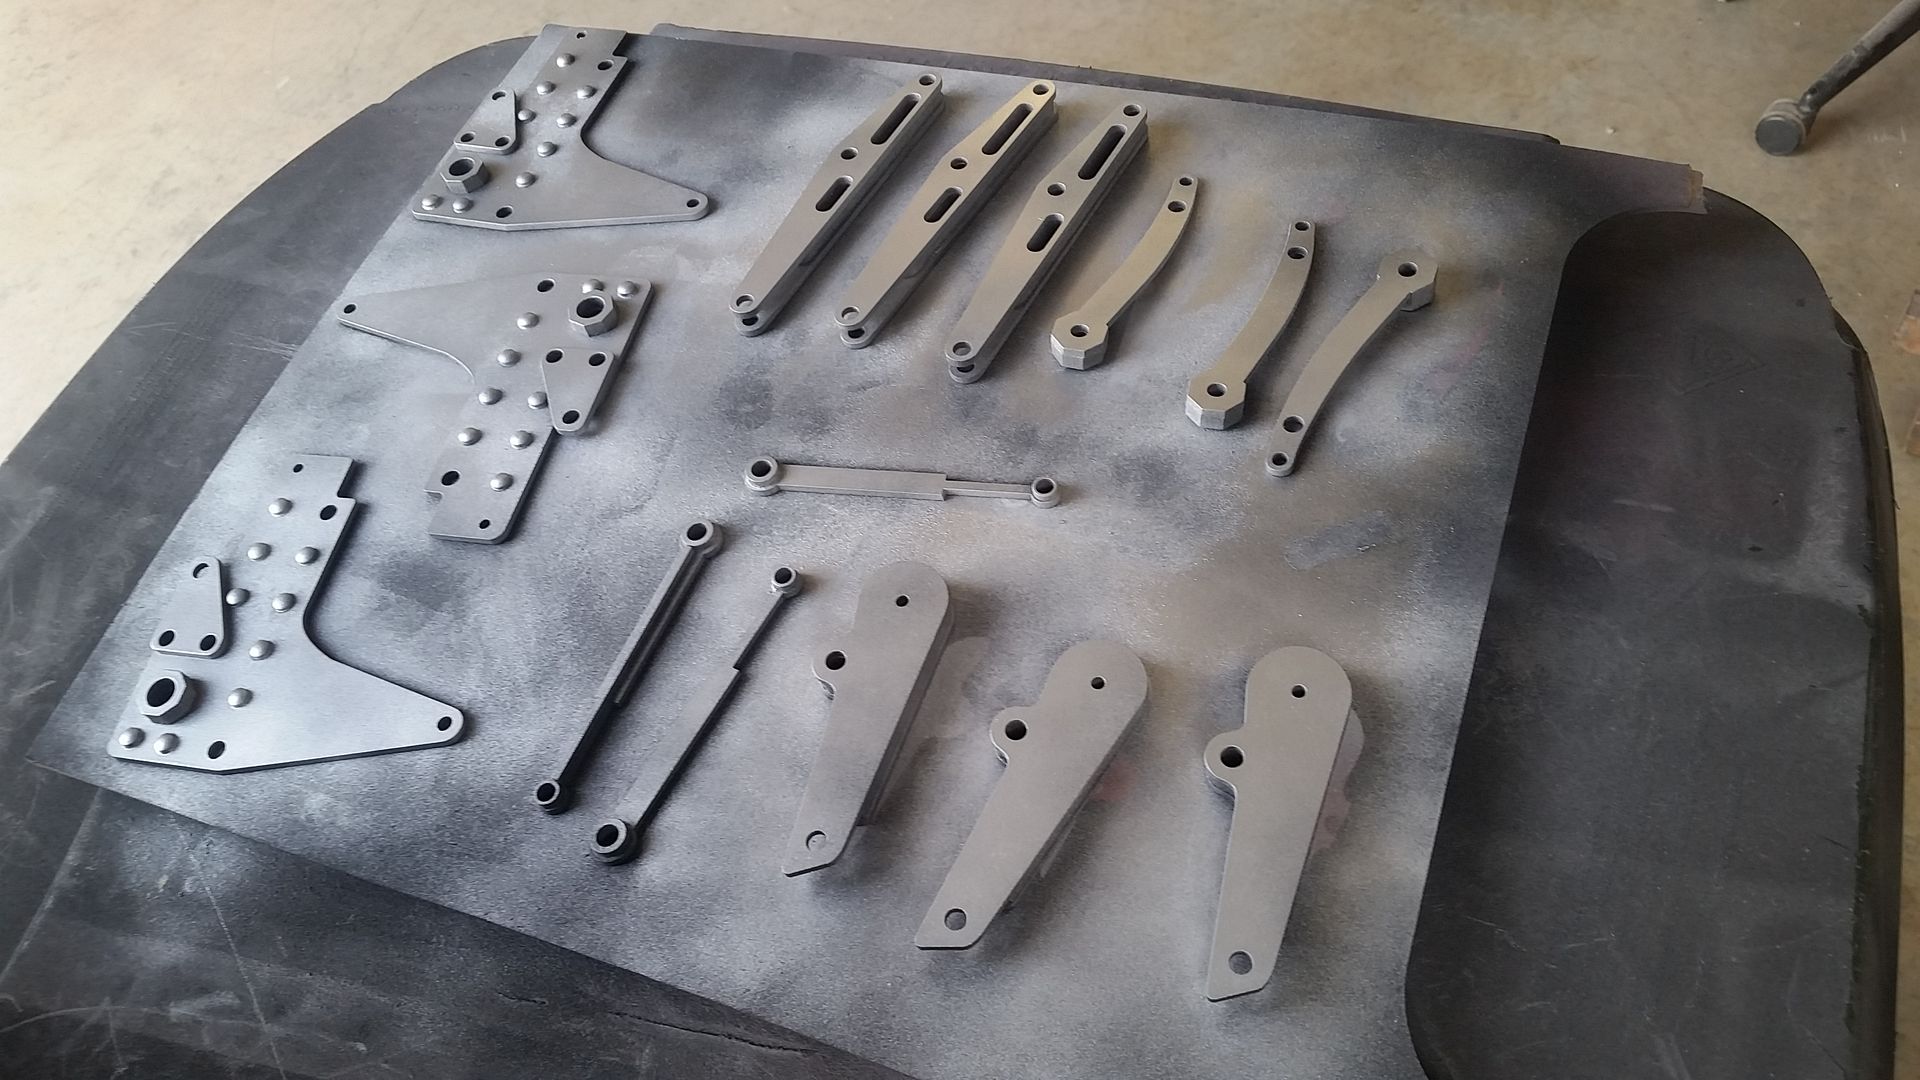
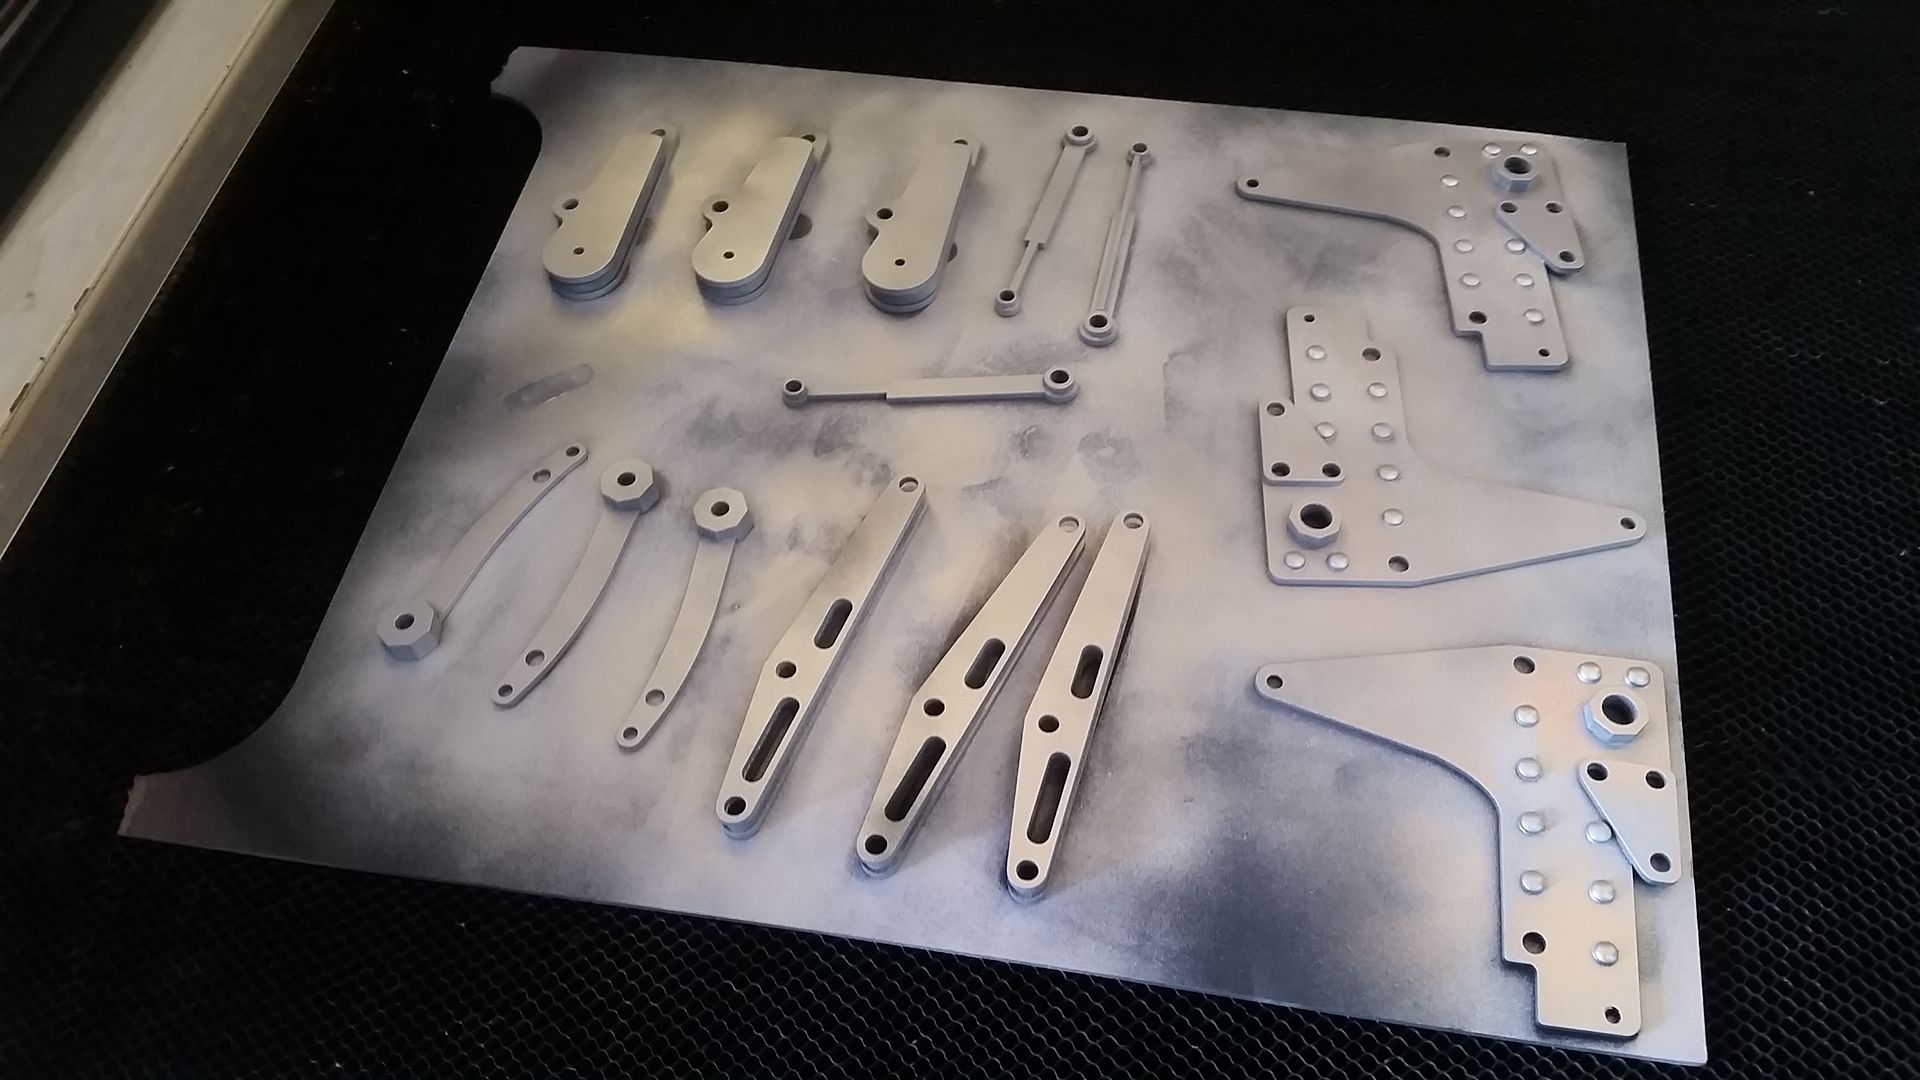
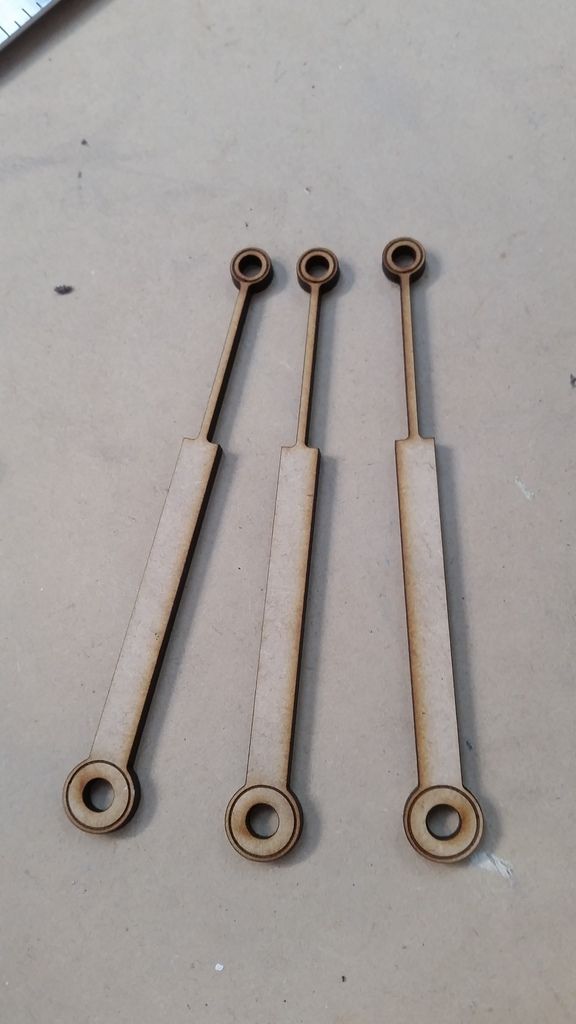
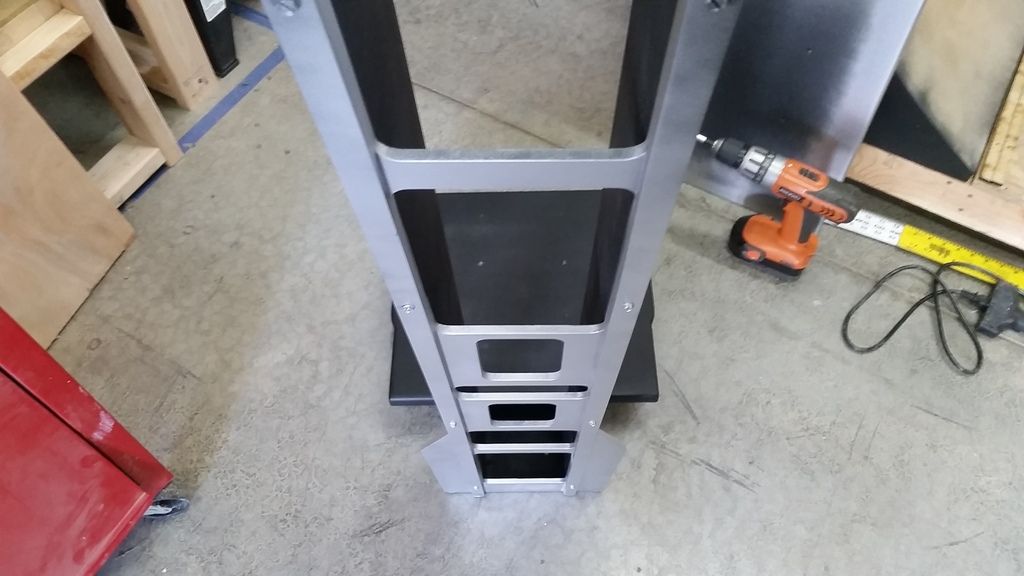
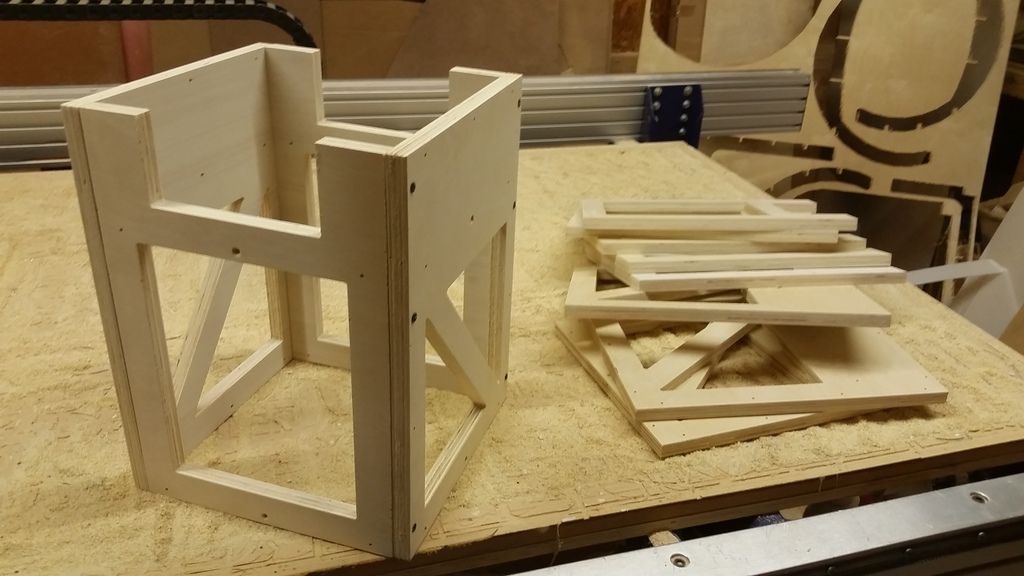
I designed and laser cut the entire design
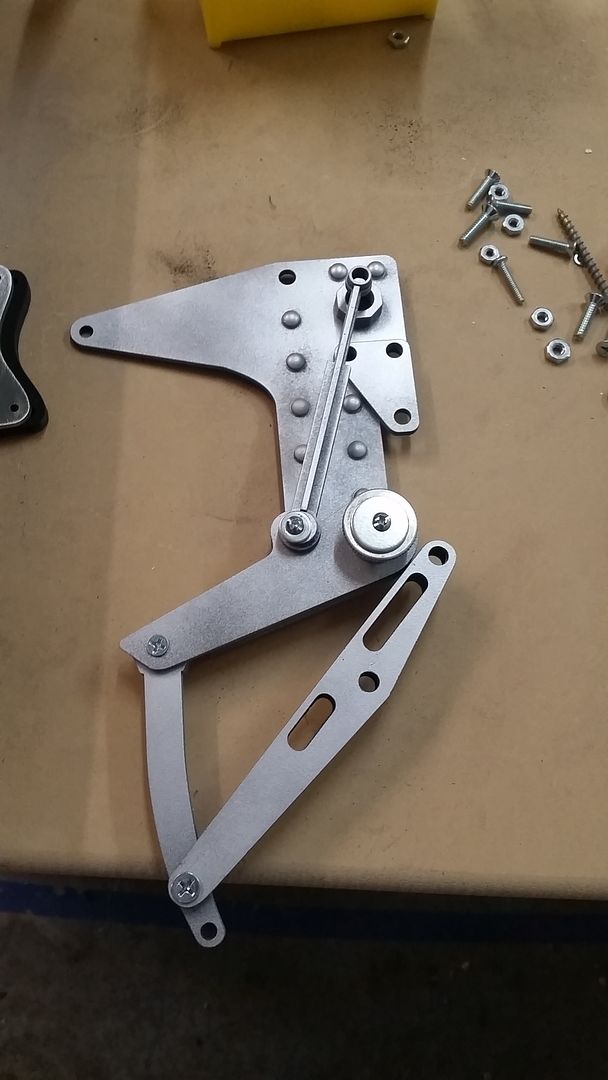
Which then become this
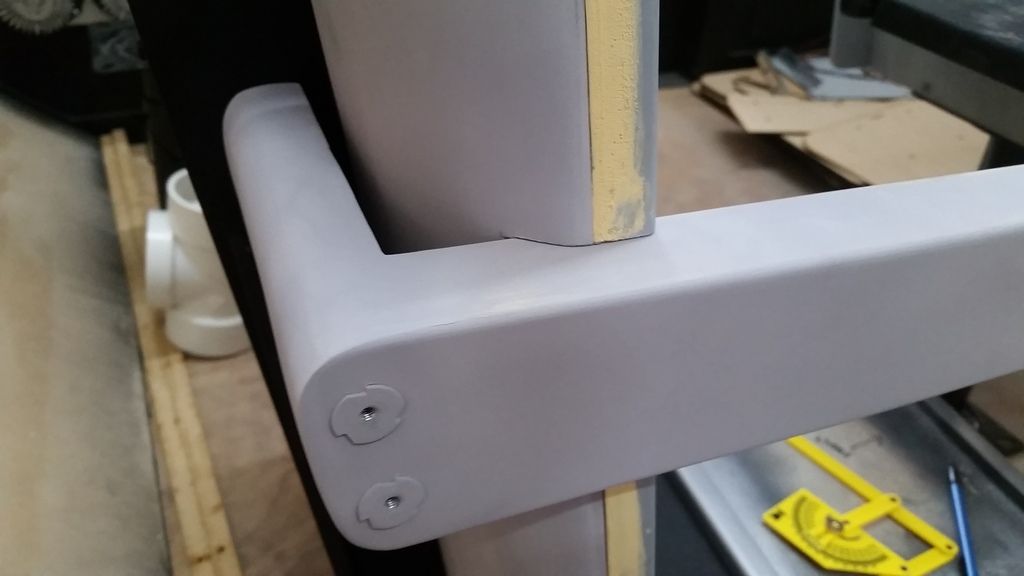
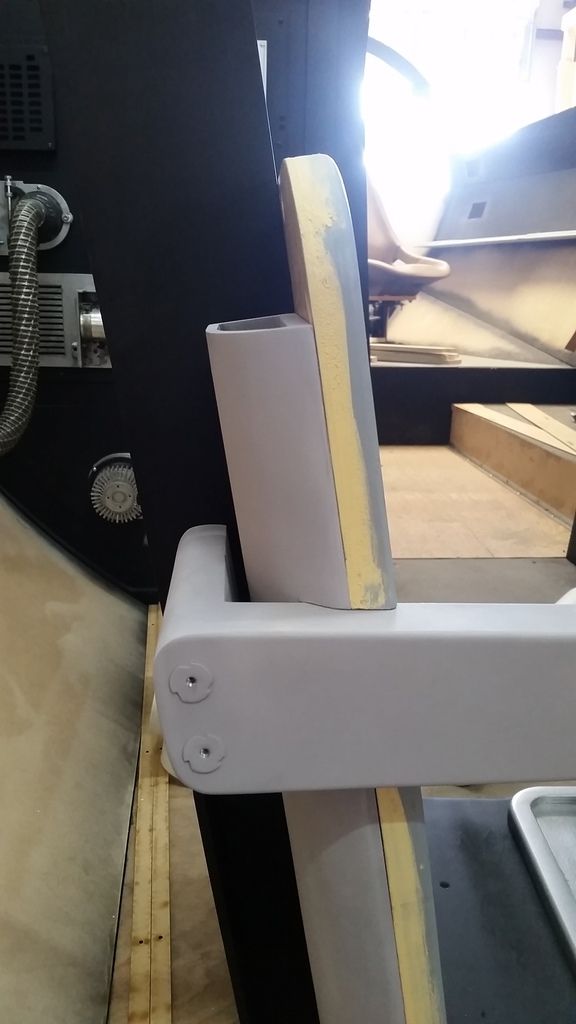
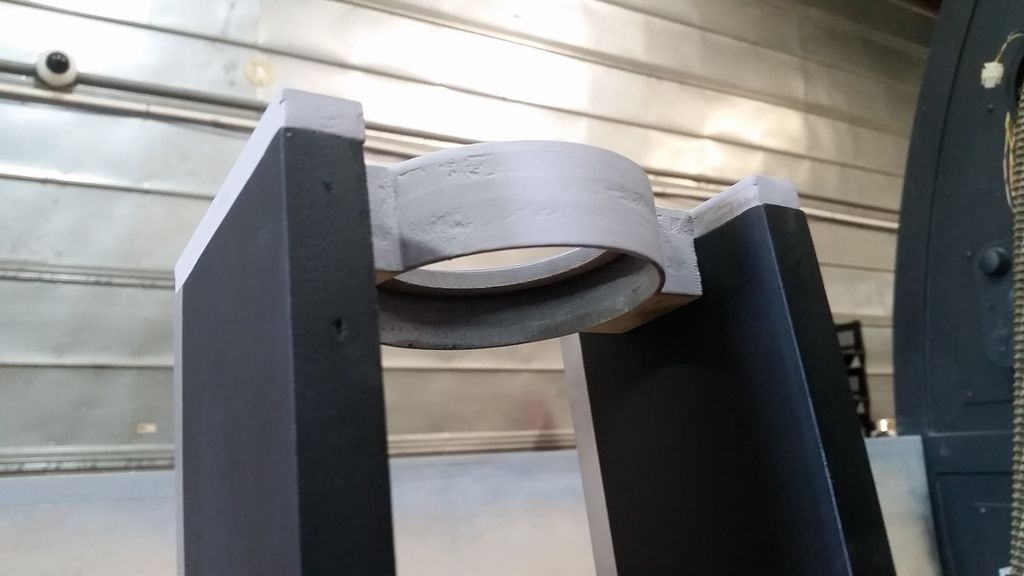
It sits on top of the frame and guides the PVC straight down the center of the frame
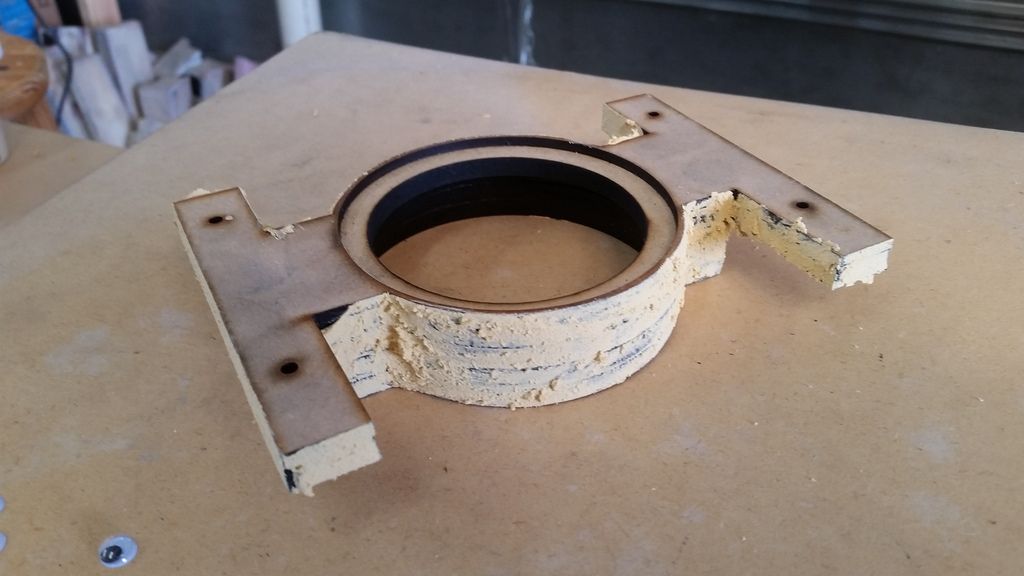
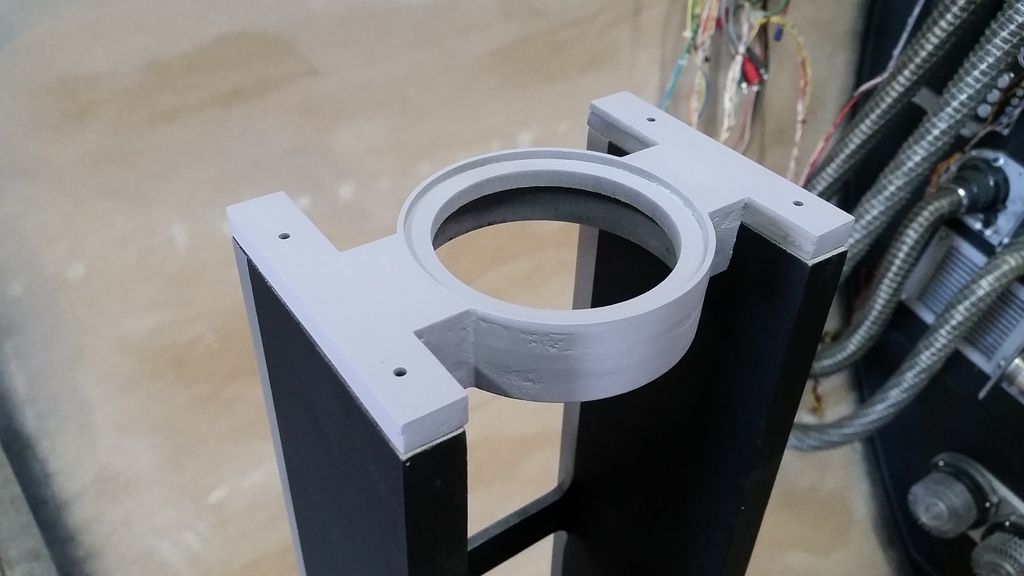
Added lots of super glue for strength - I wouldn't hang from it with a hardhat!
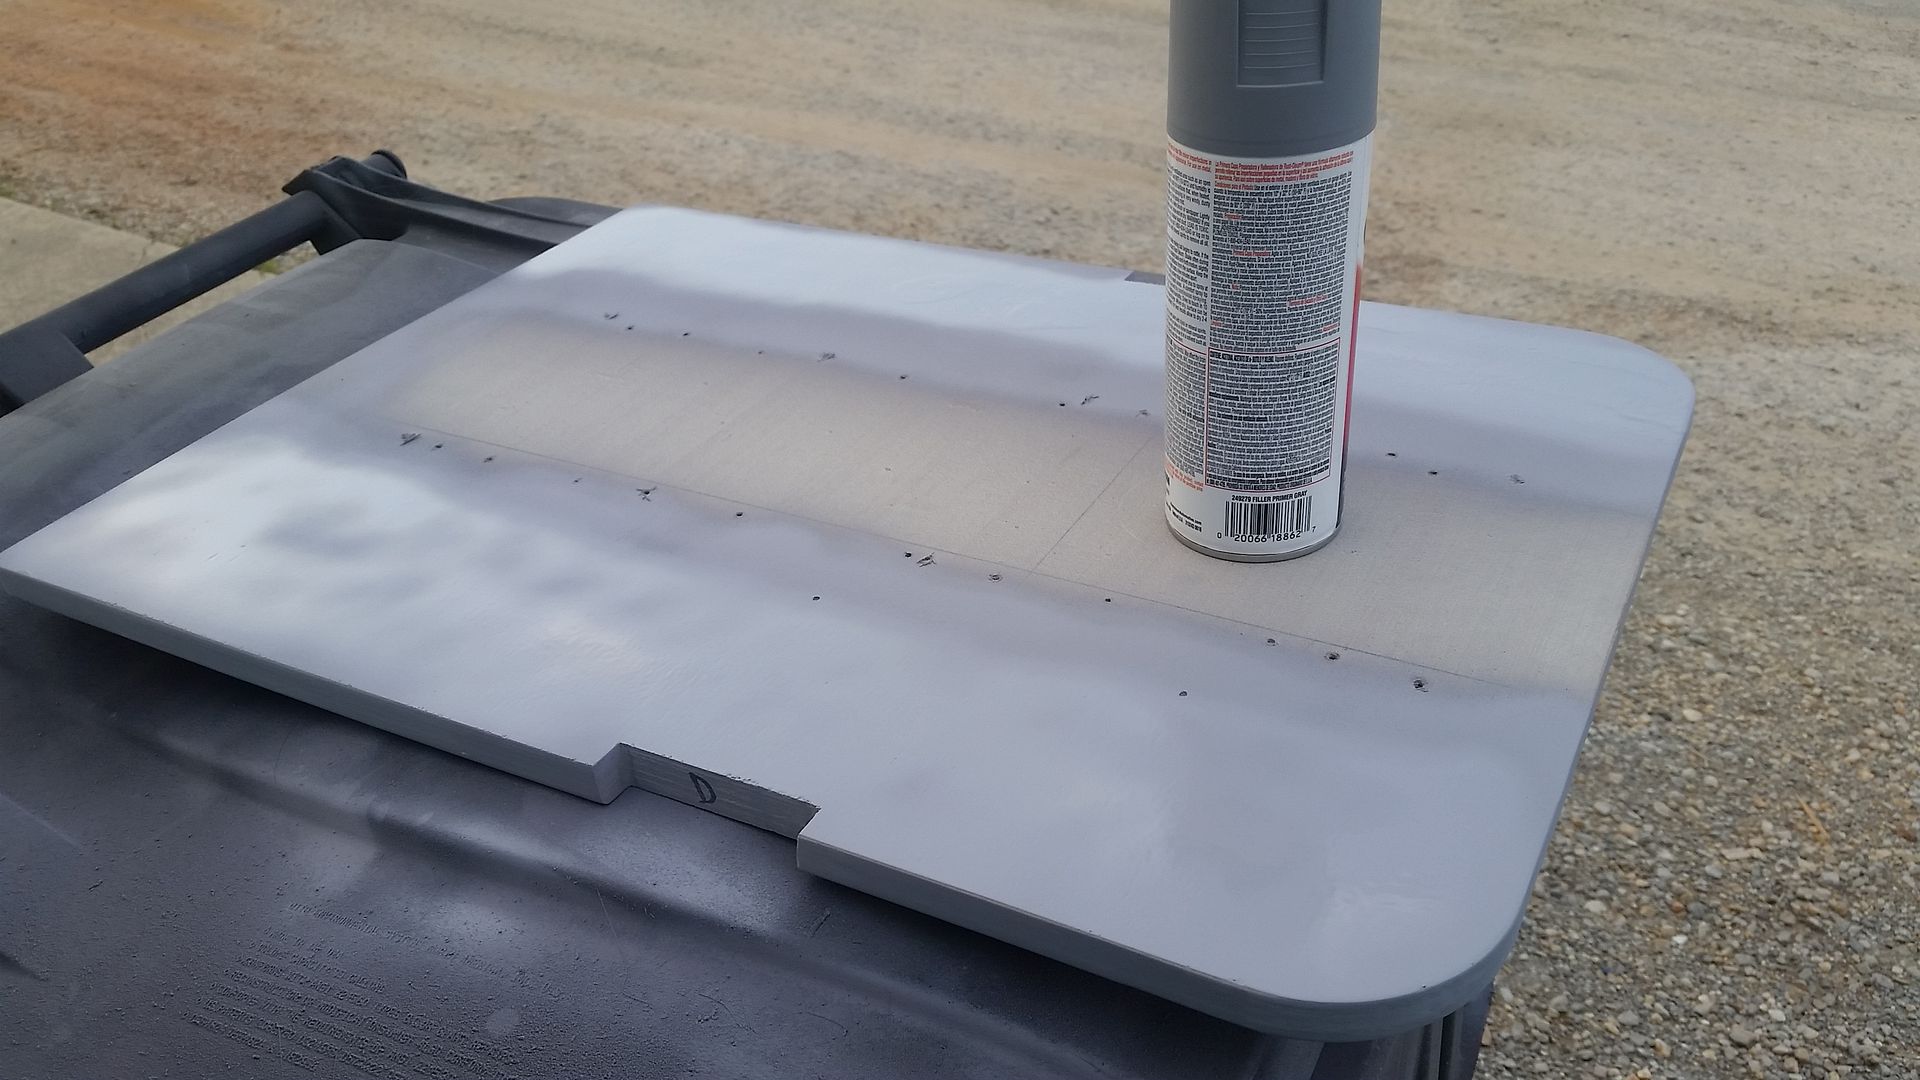
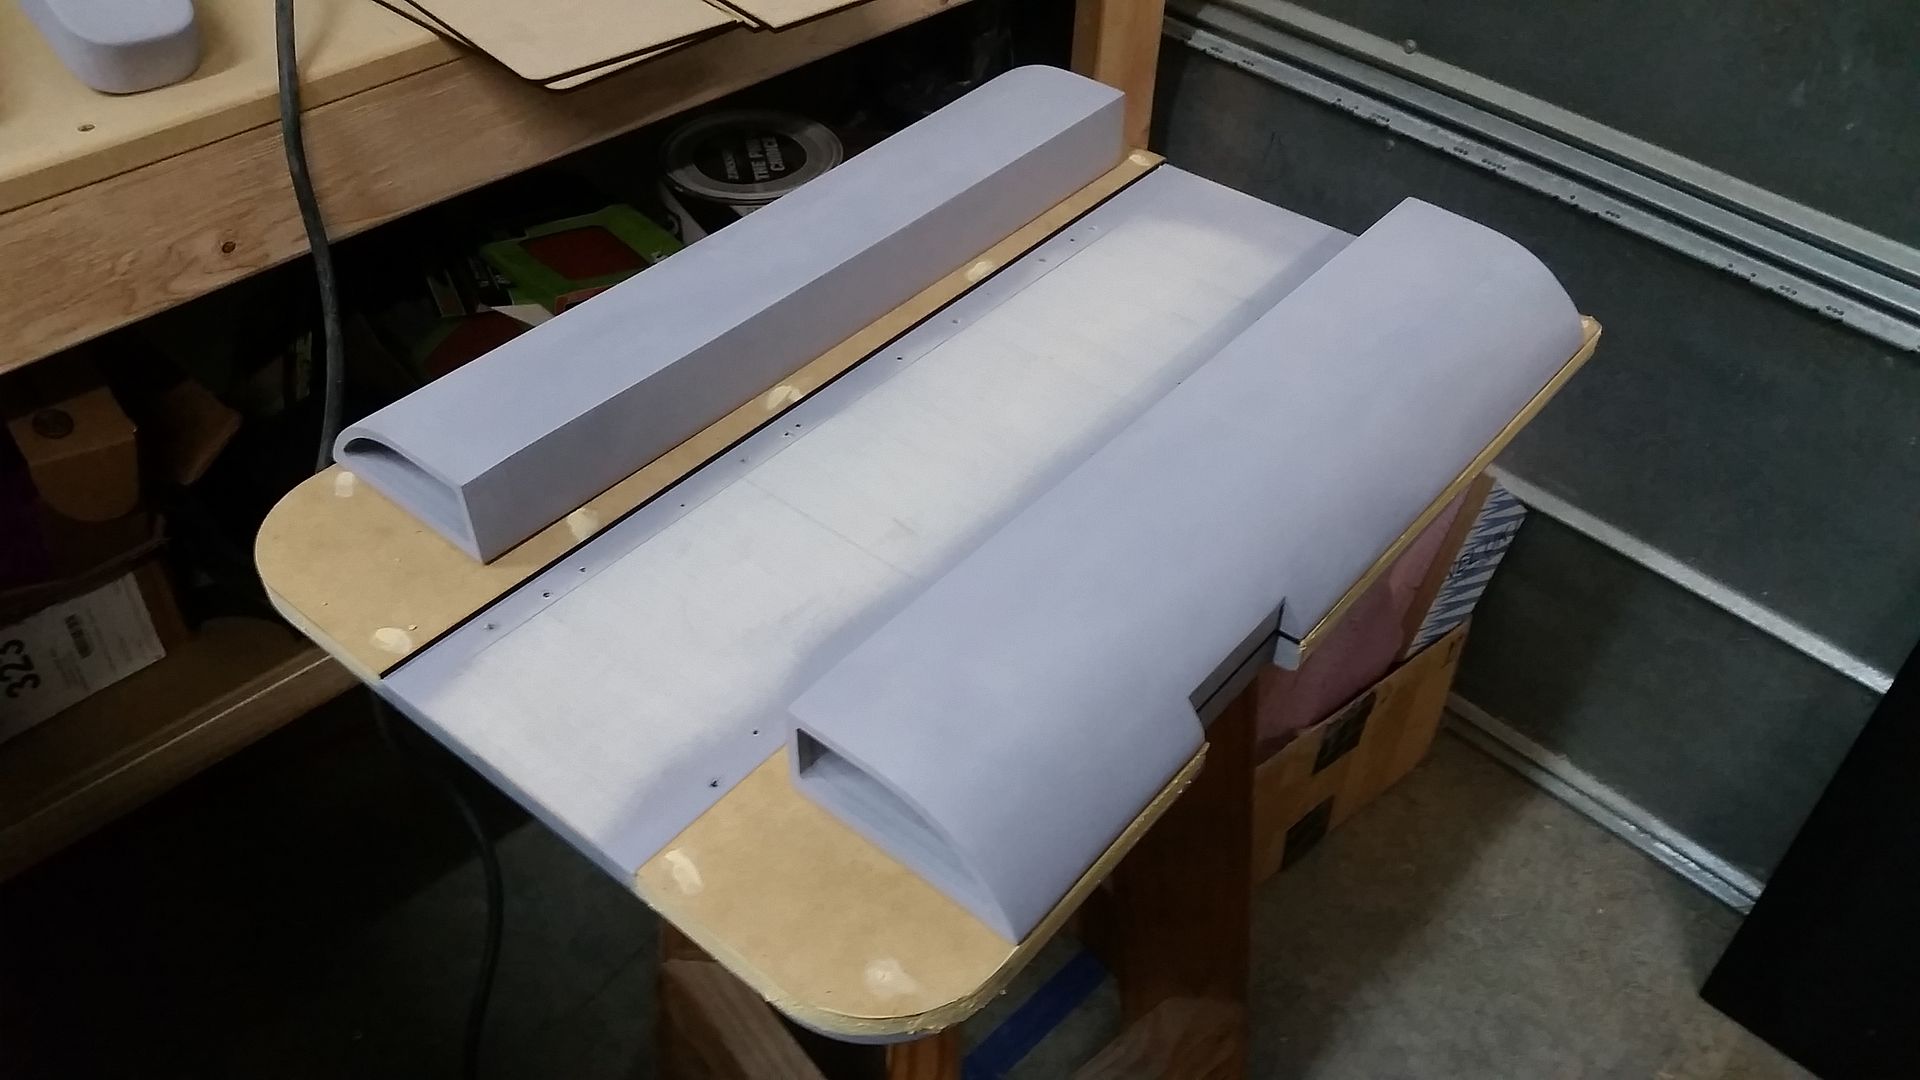
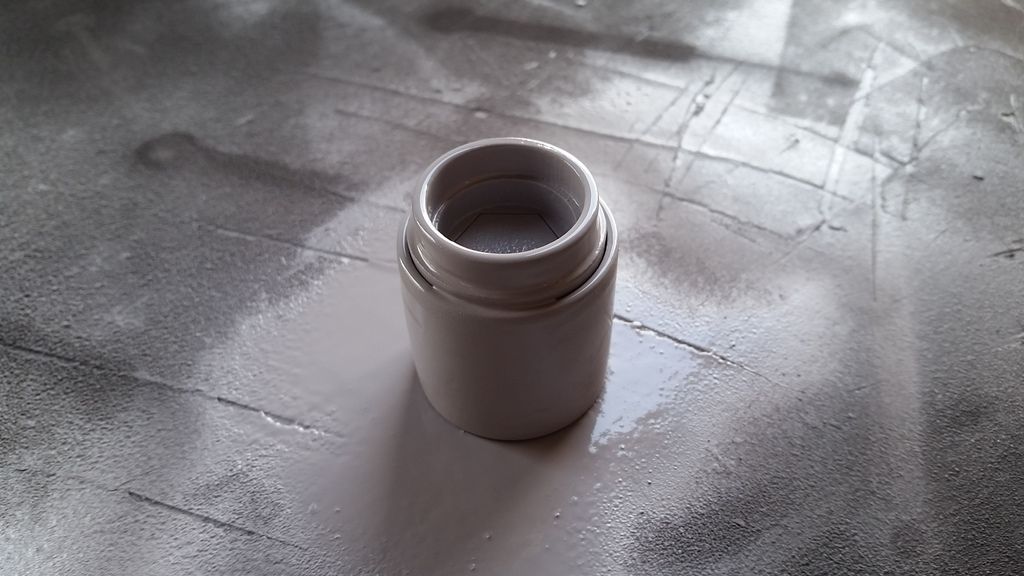
First coat of primer
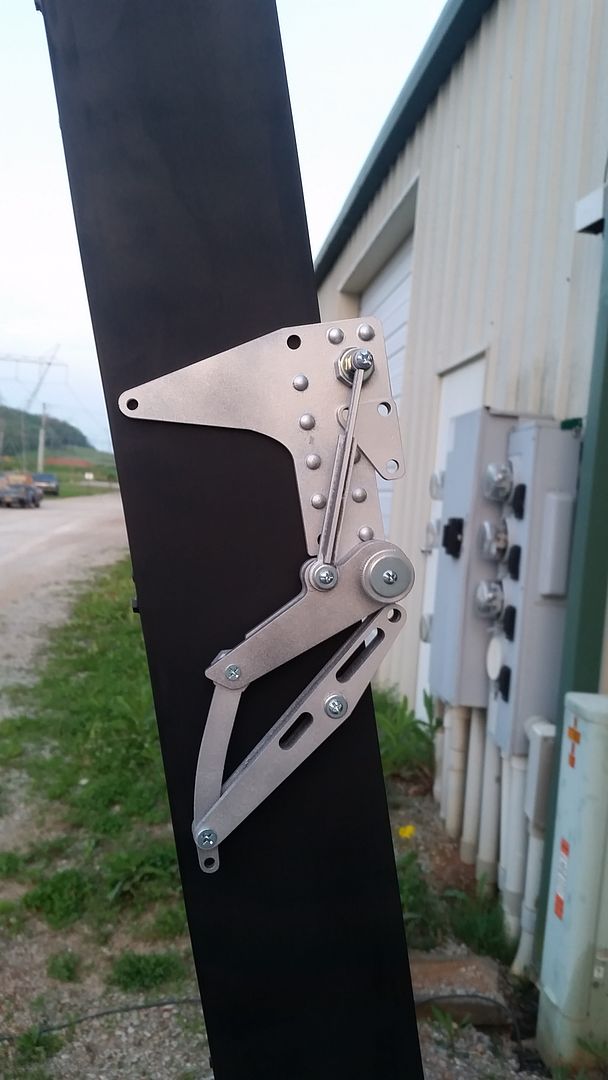
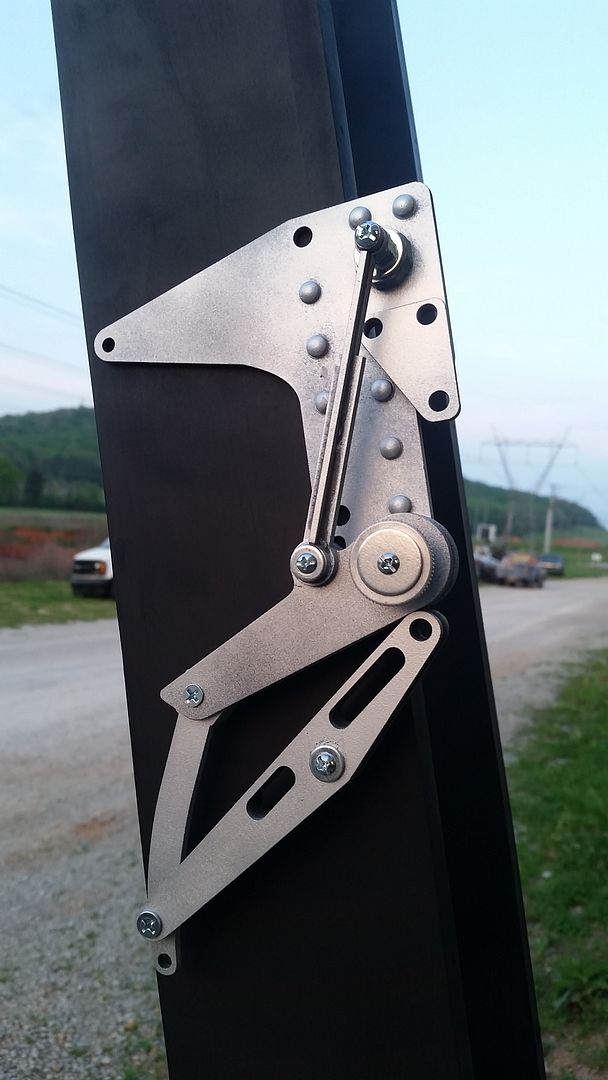
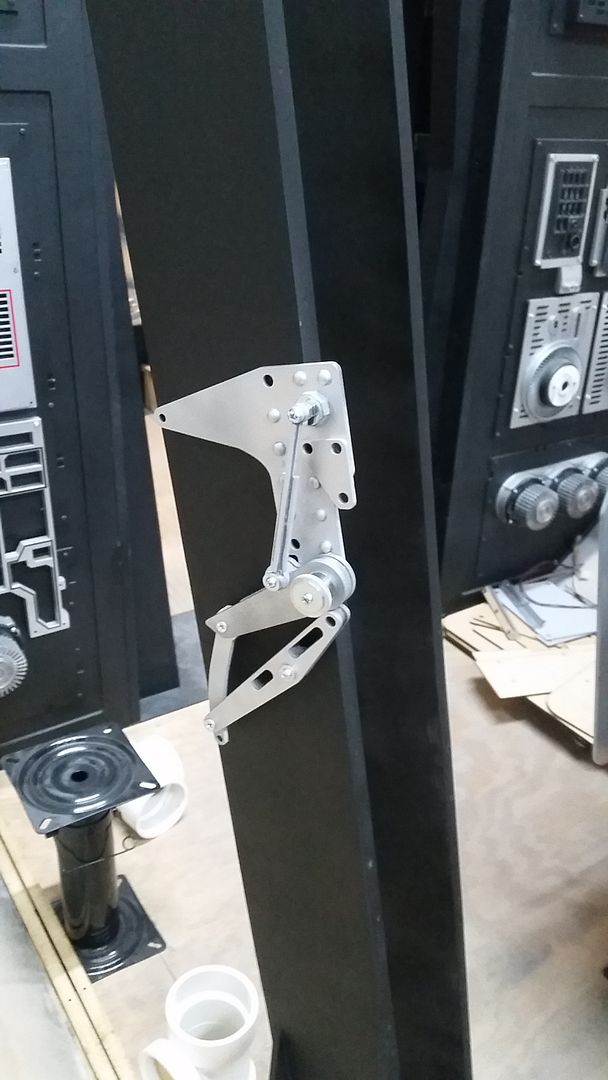
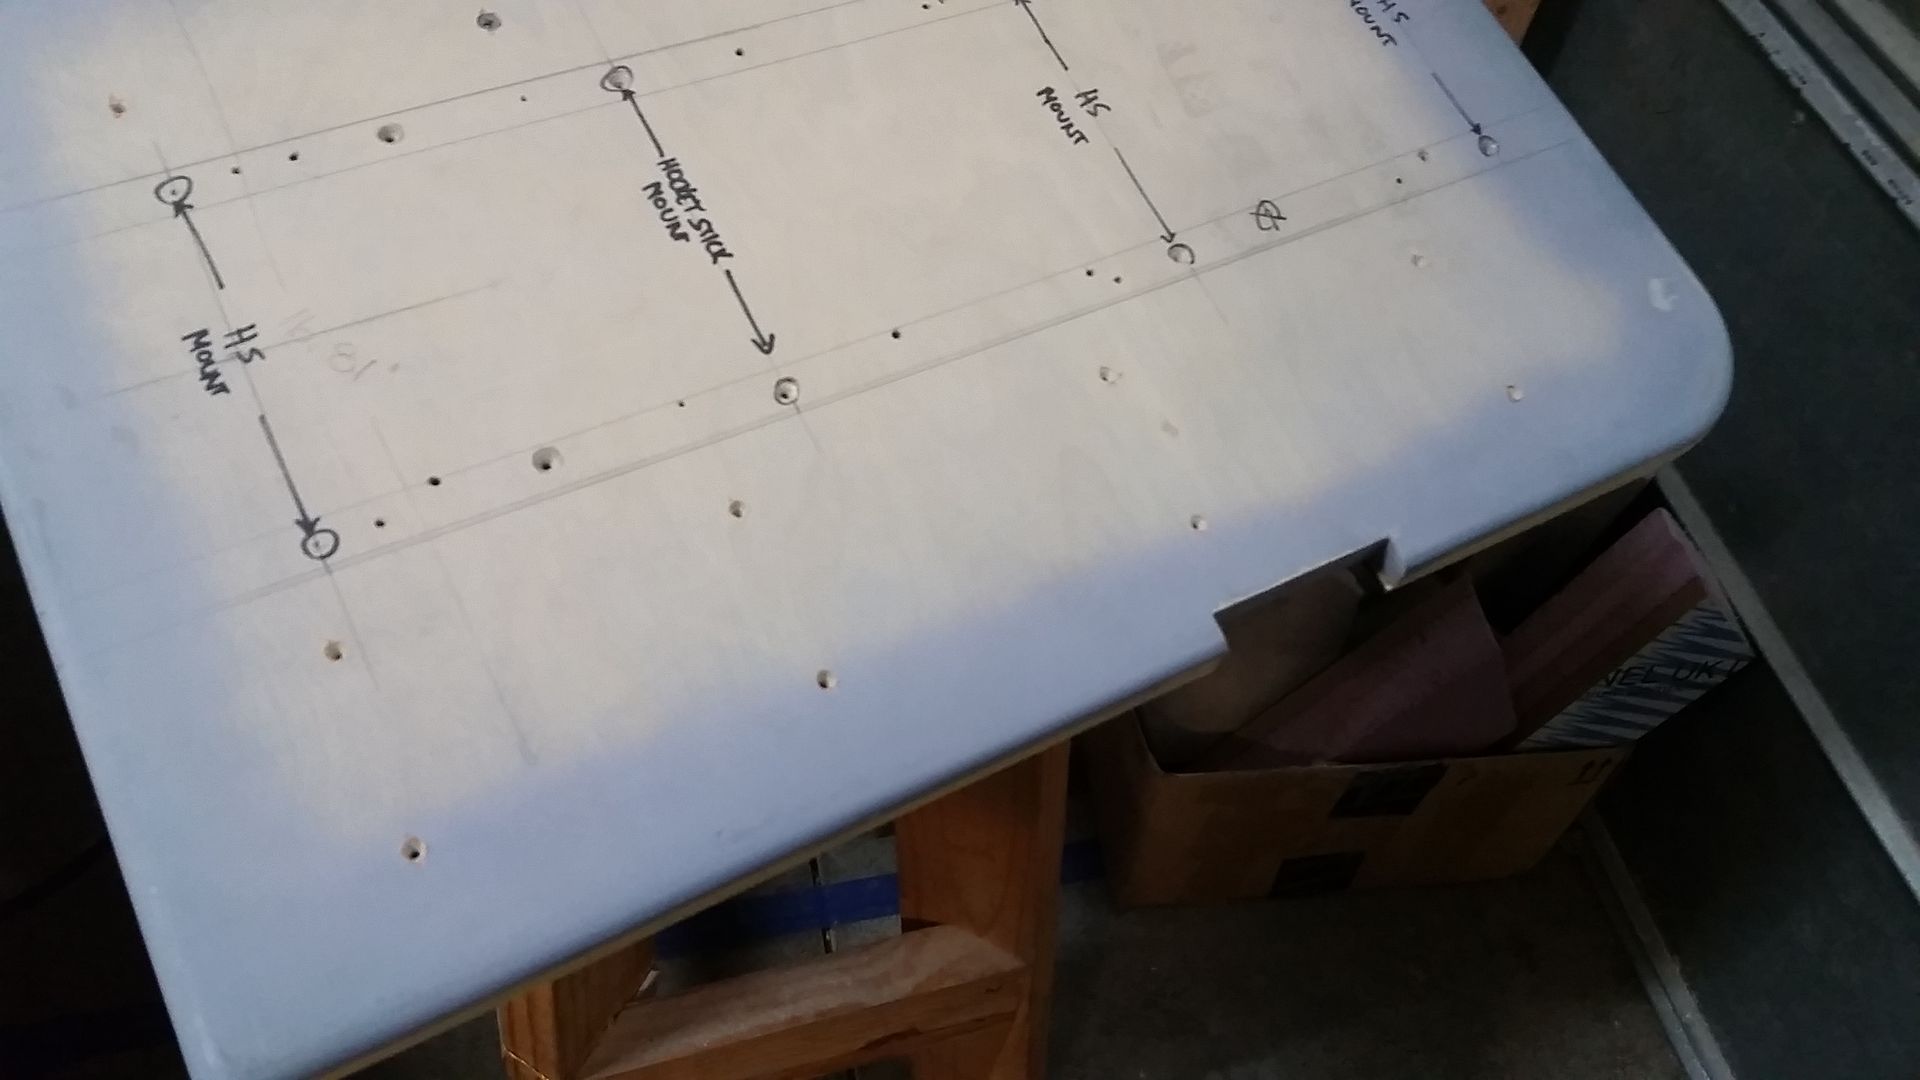
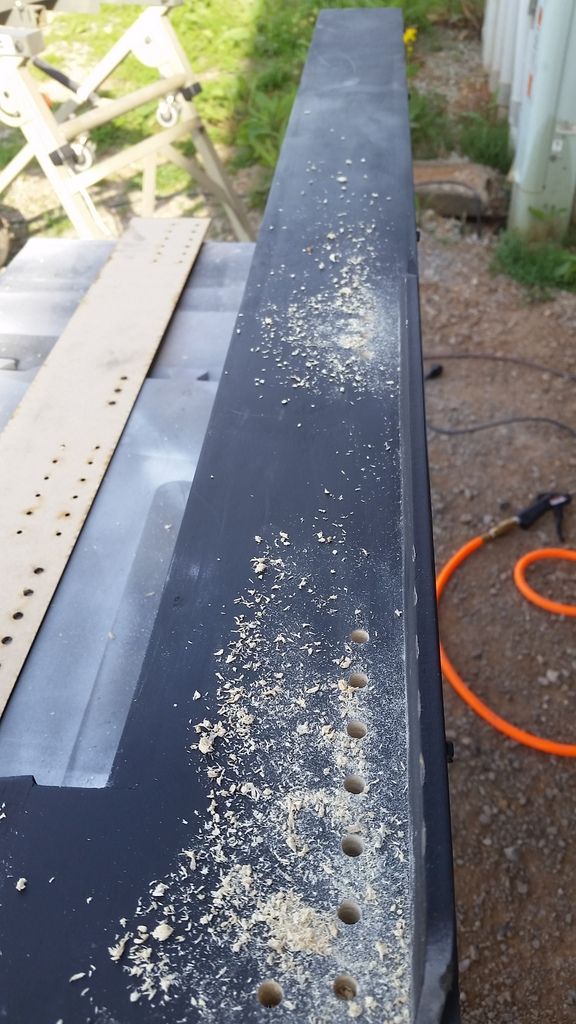
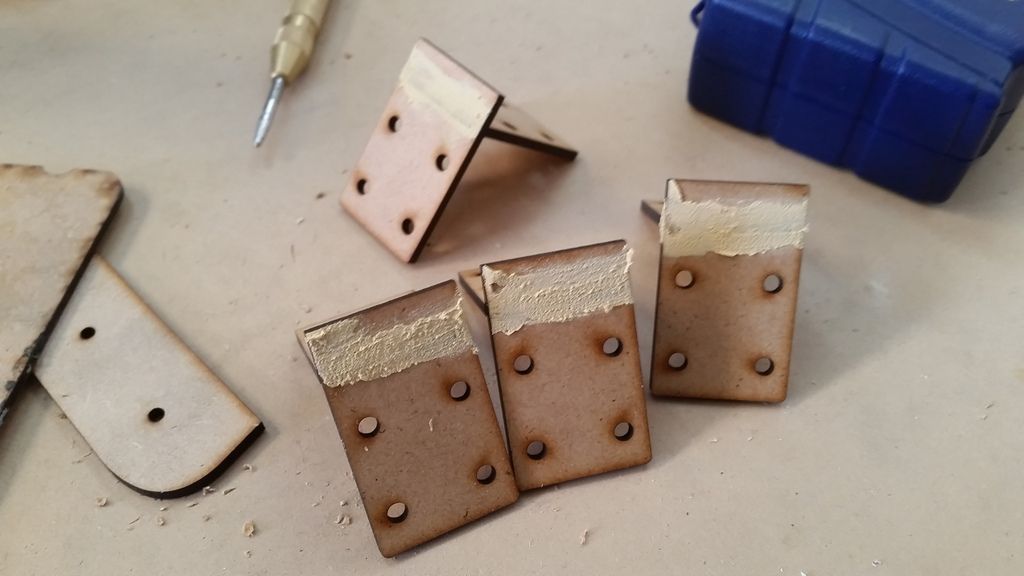
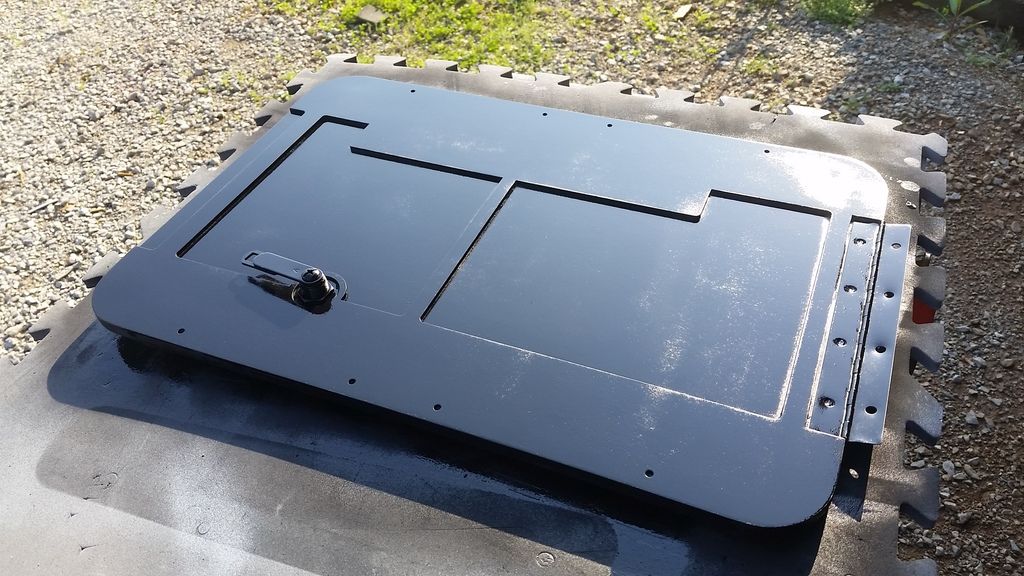
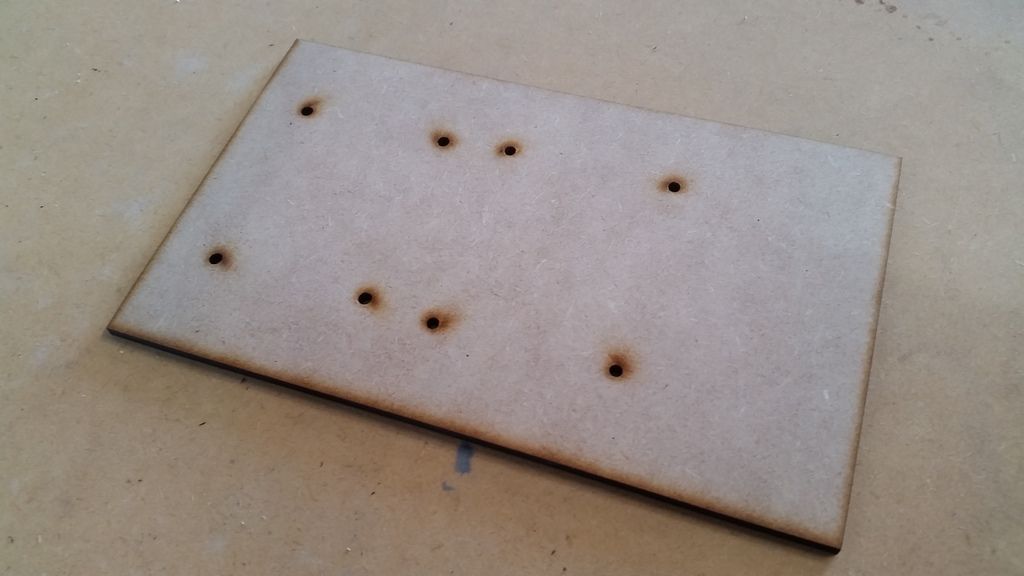
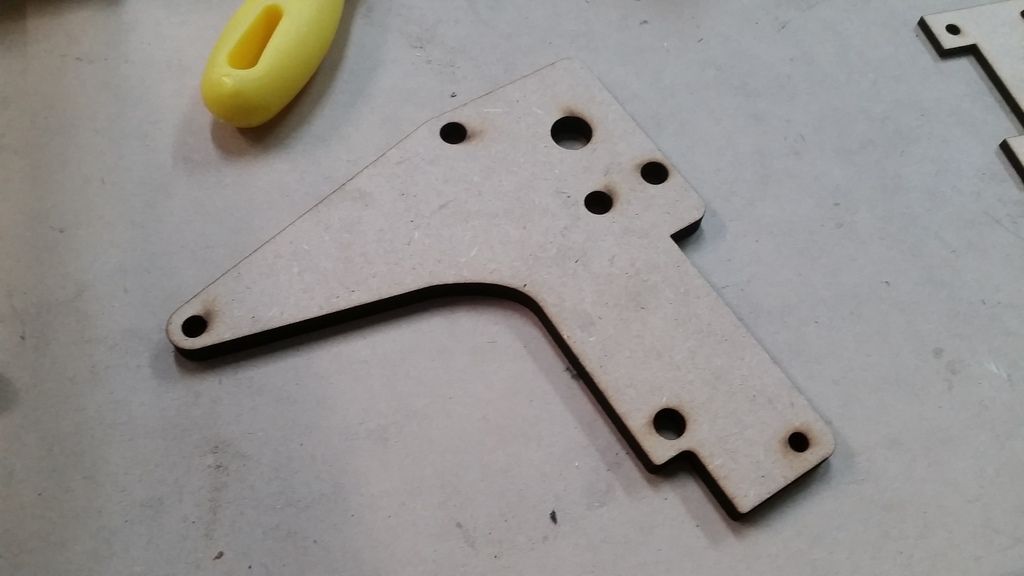
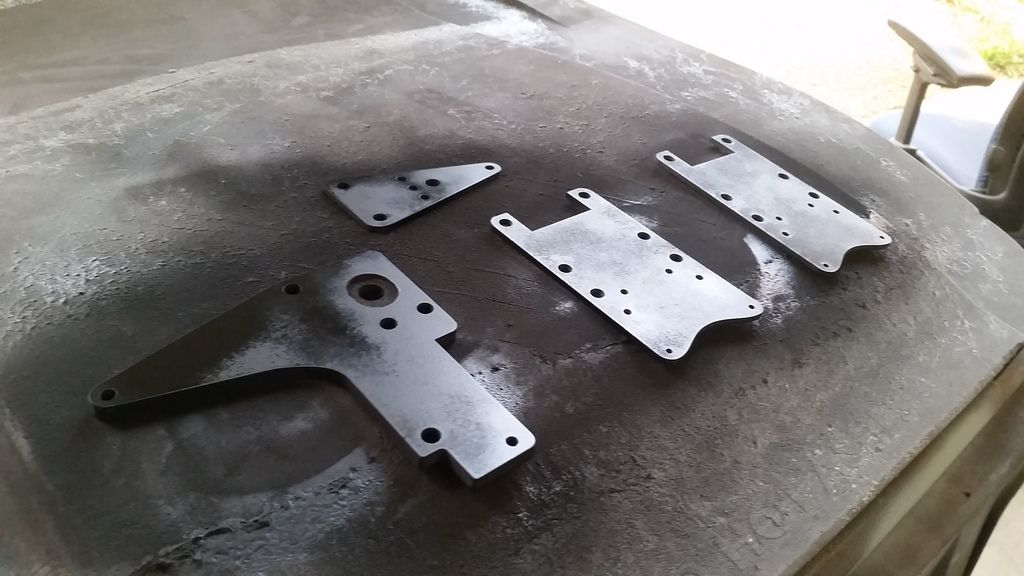
I then designed and laser cut a new carriage bolt template
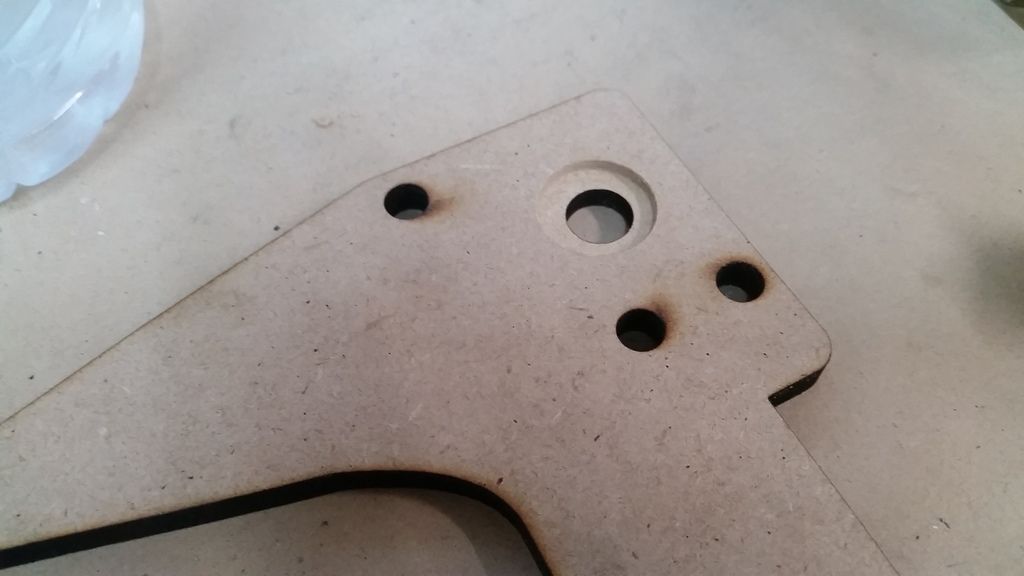
Marked the holes
Drilled
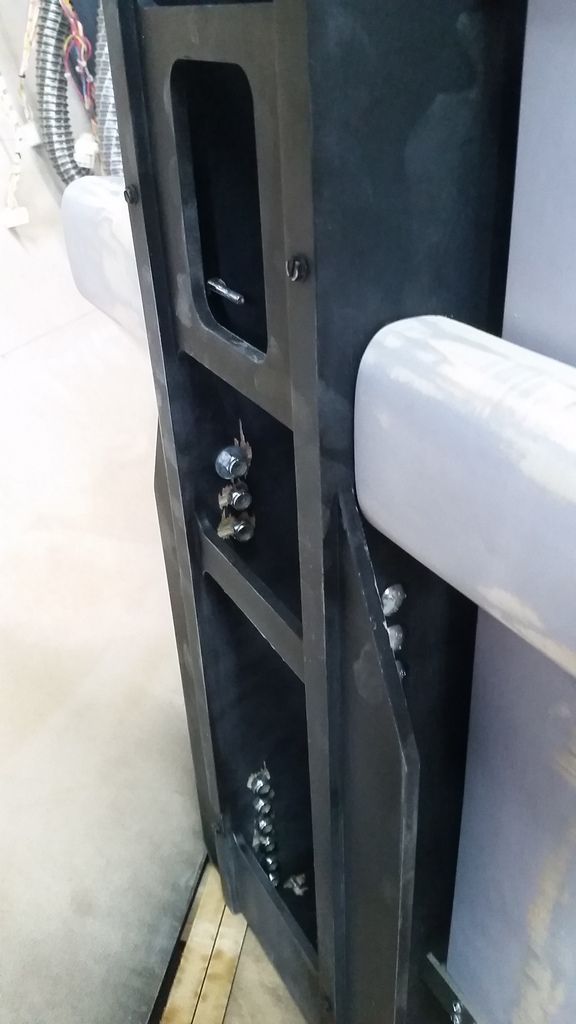
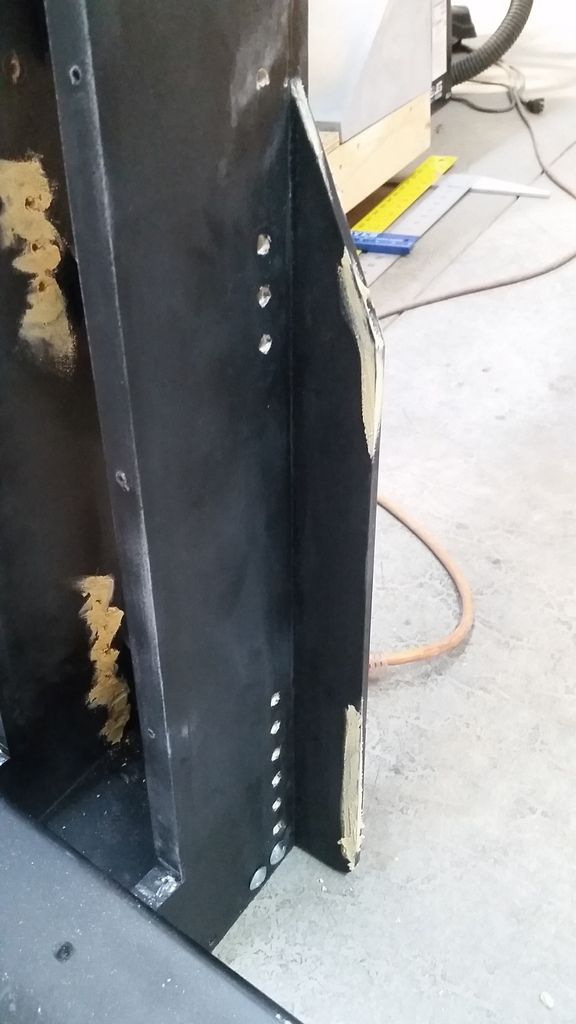
Nice! In the process I scratched up the frame... ugh
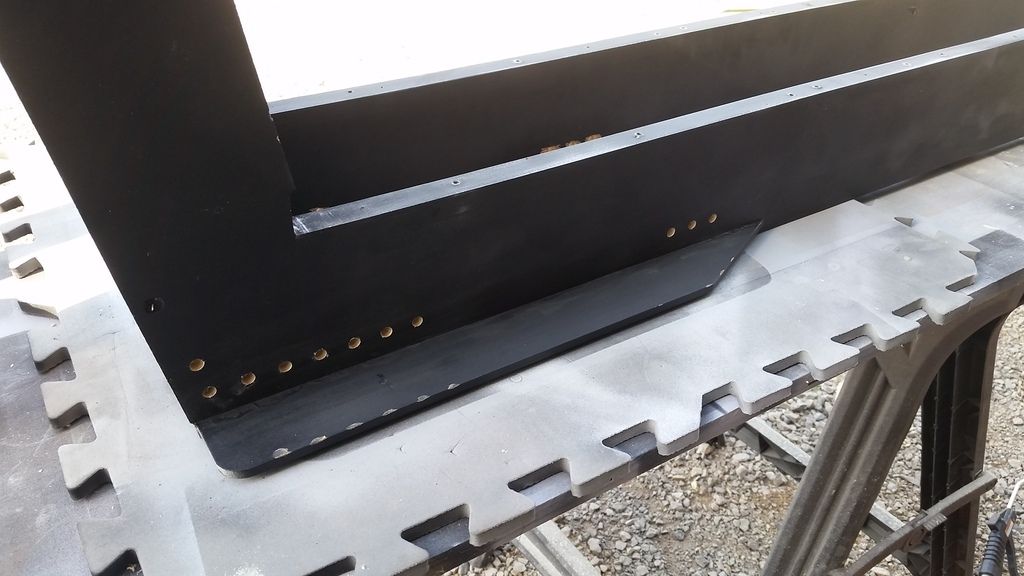
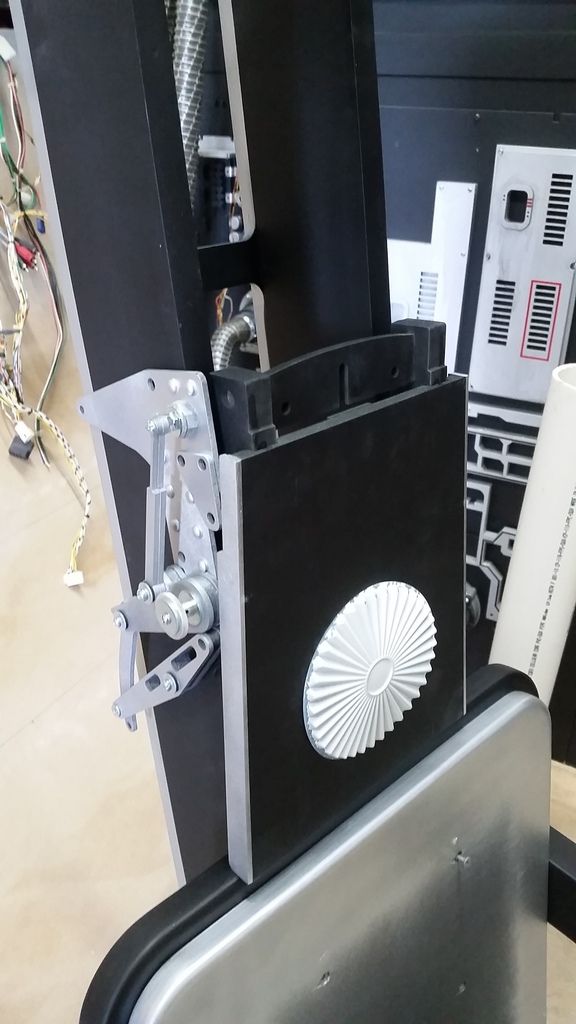
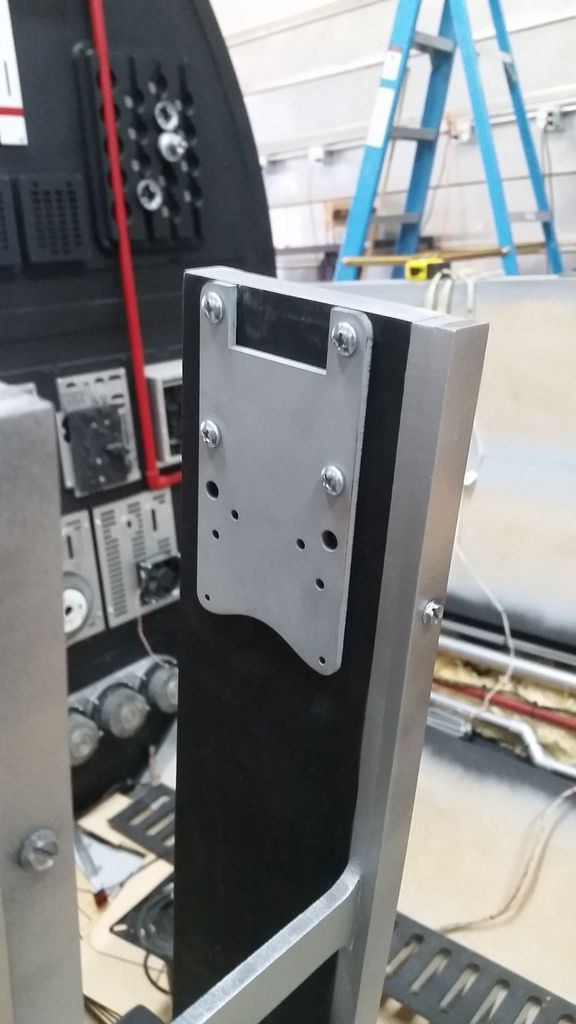
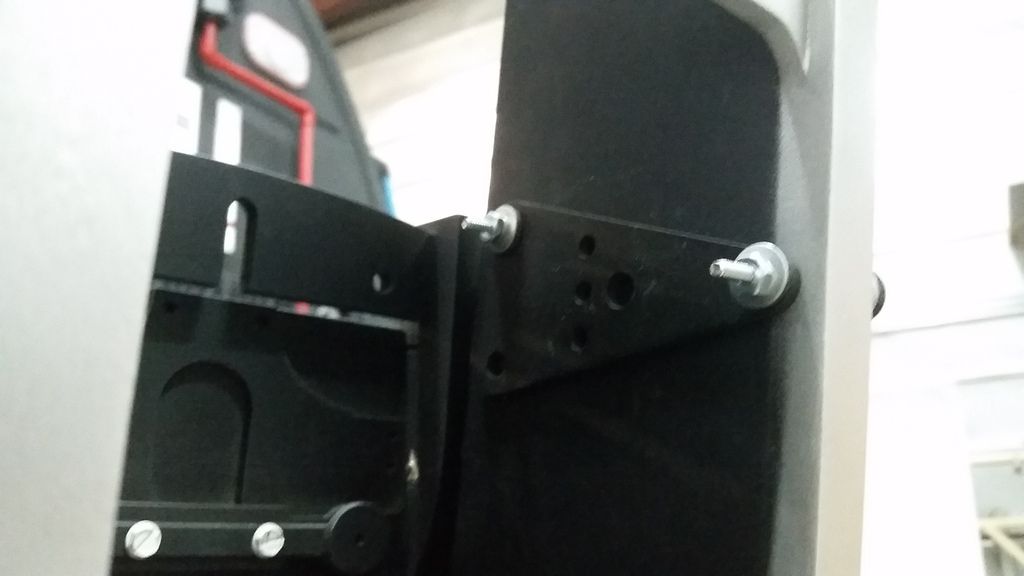
Back to the armrests... I screwed this side to the back support panel
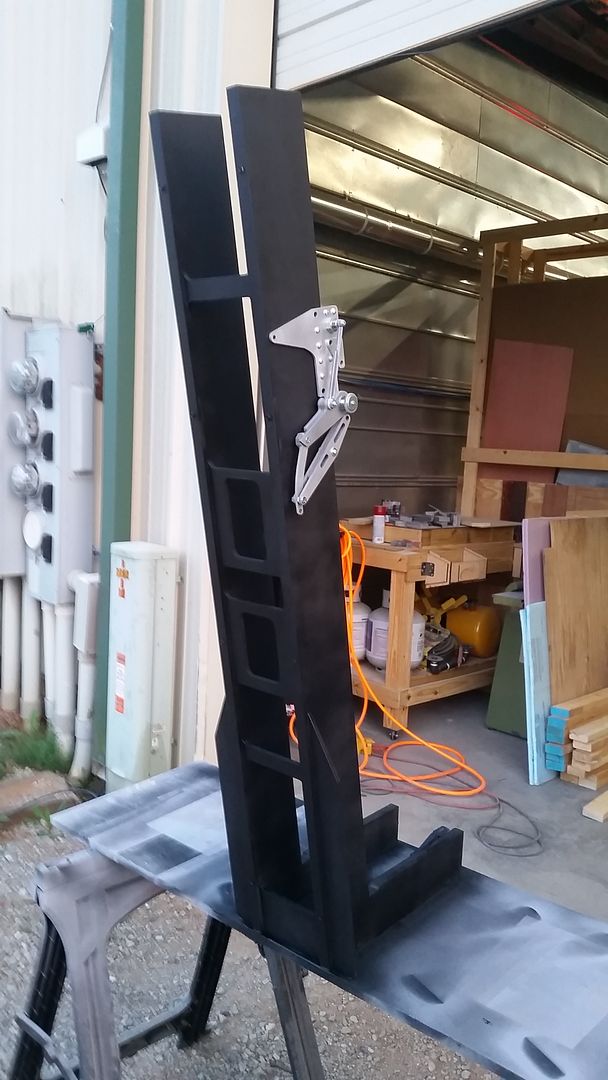
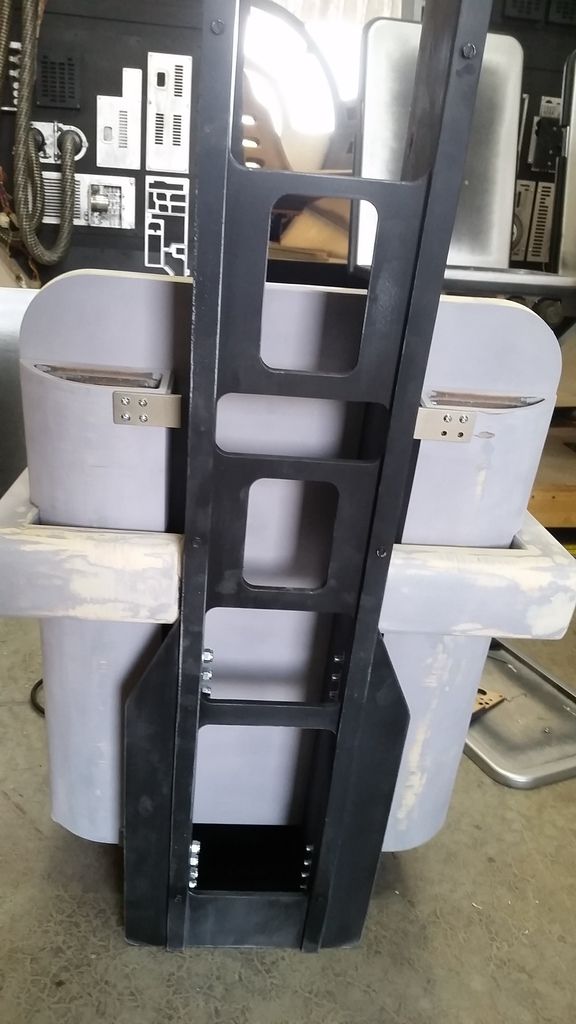
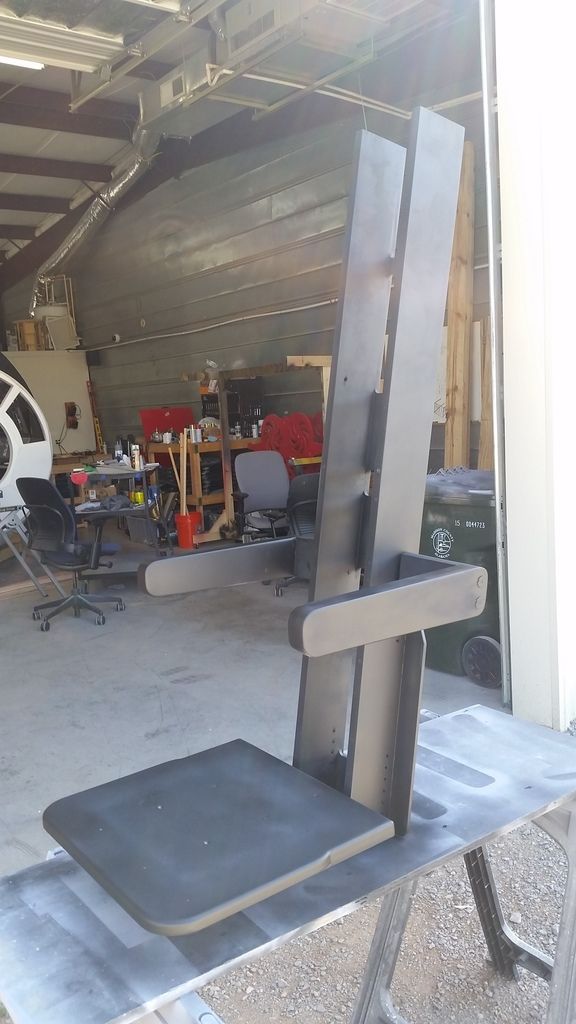
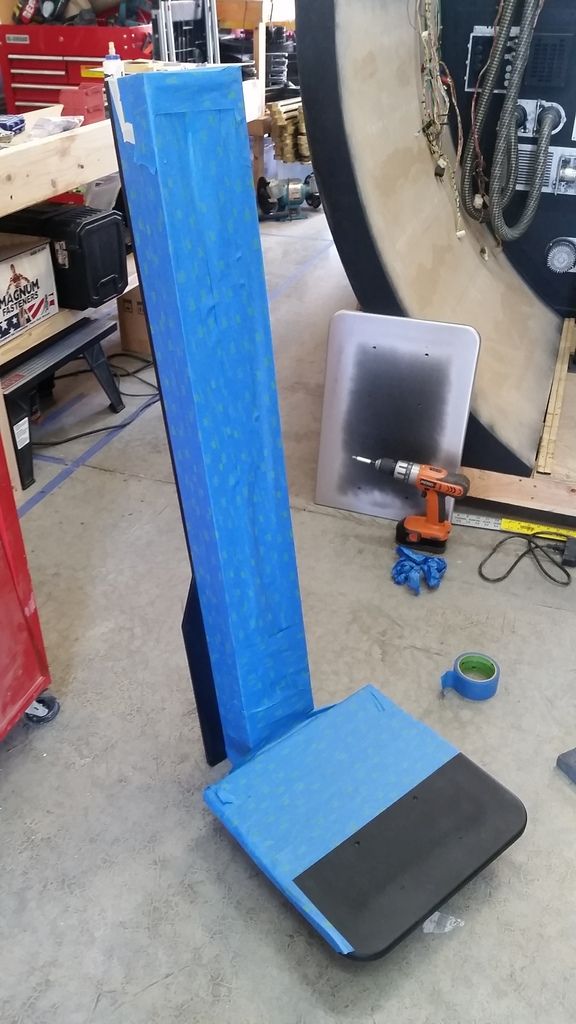
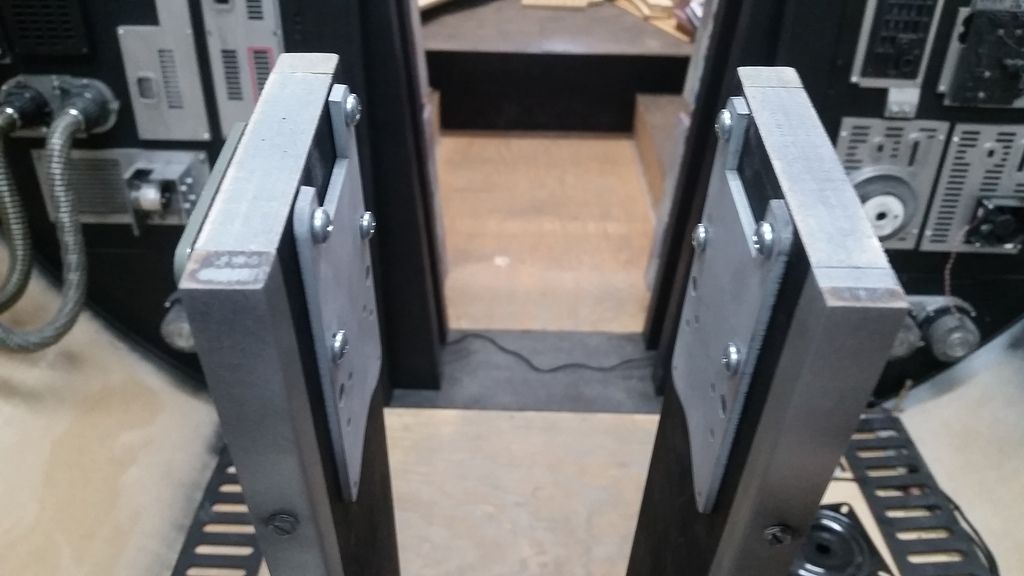
By Saturday's end, it was time to dry fit everything!
Wound up making a small error! Note the drill marks. Ugh! I have to redesign the exterior pieces of the nacelles
Still need to screw this armrest in place
Note the carriage bolts!
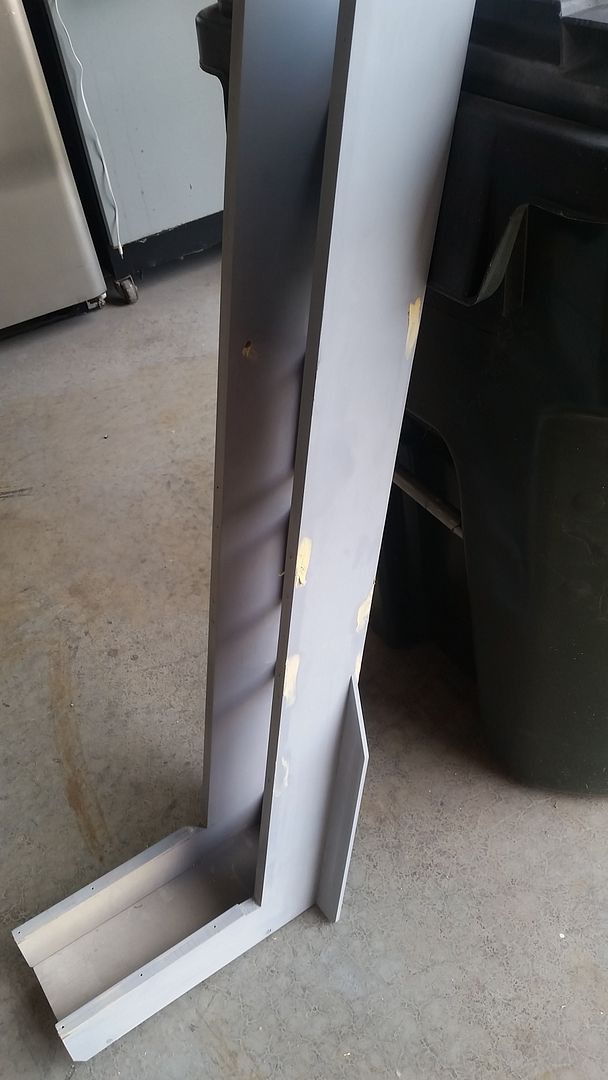
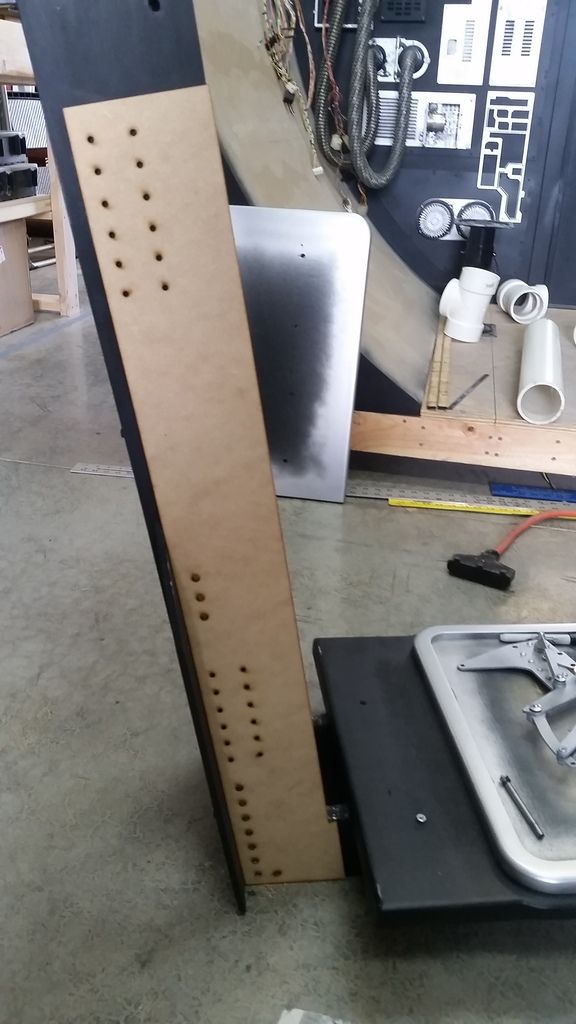
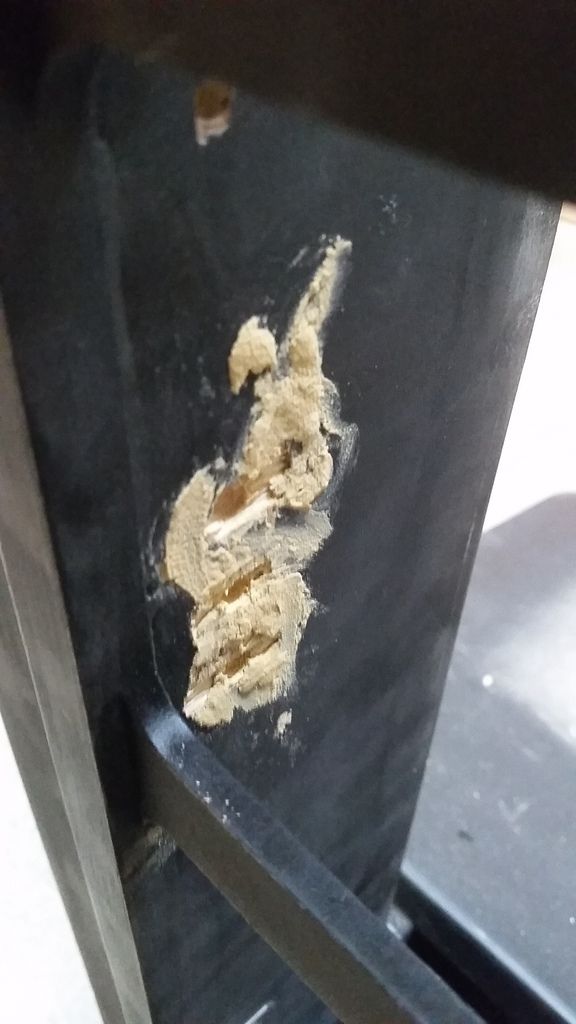
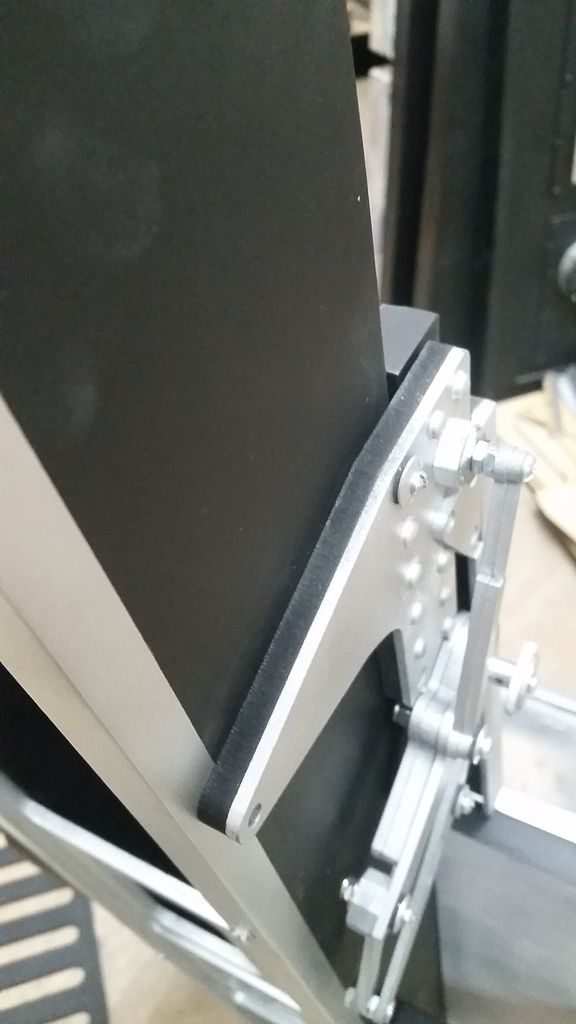
EWE... gotta fix that exposed wood frame!
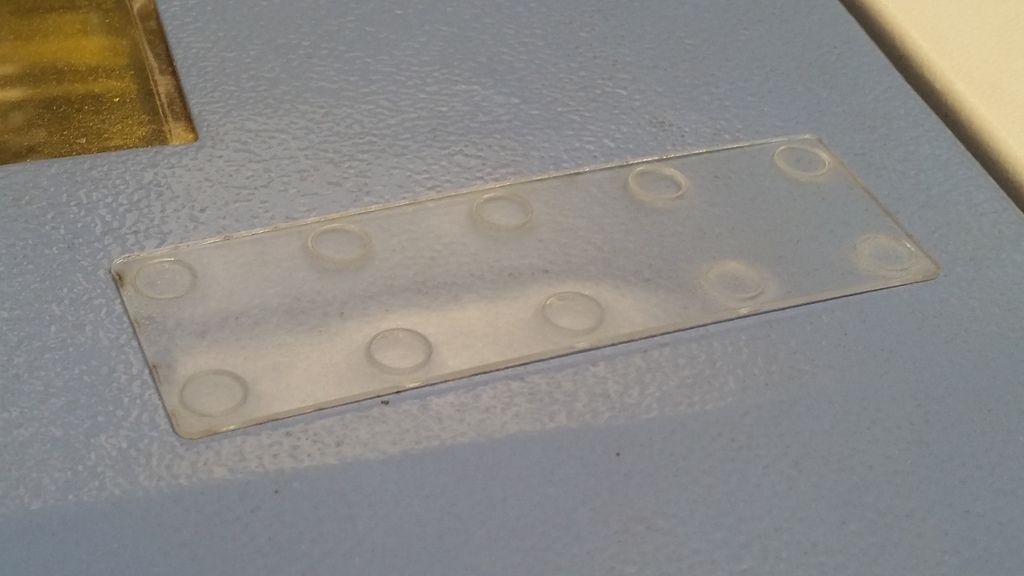
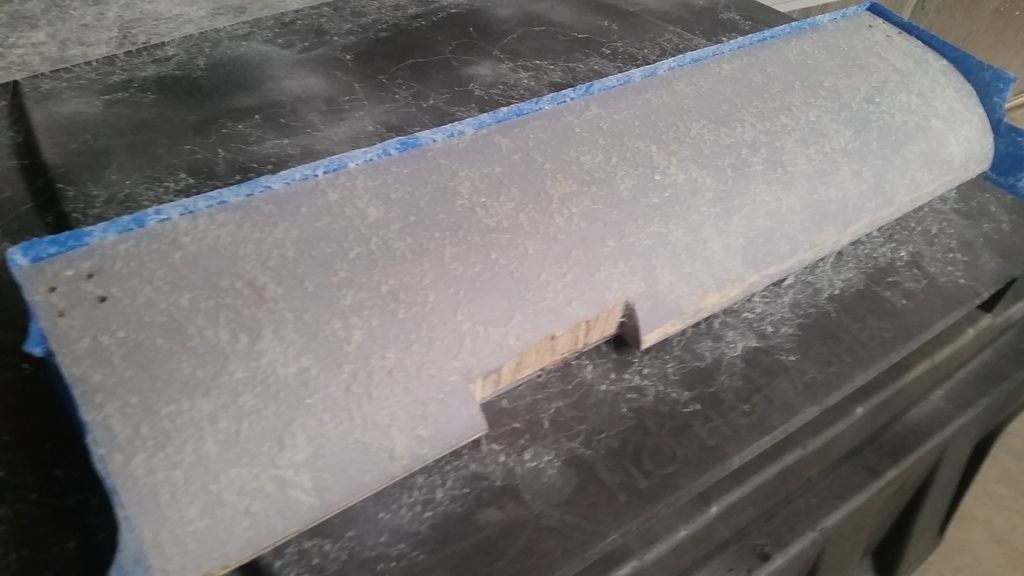
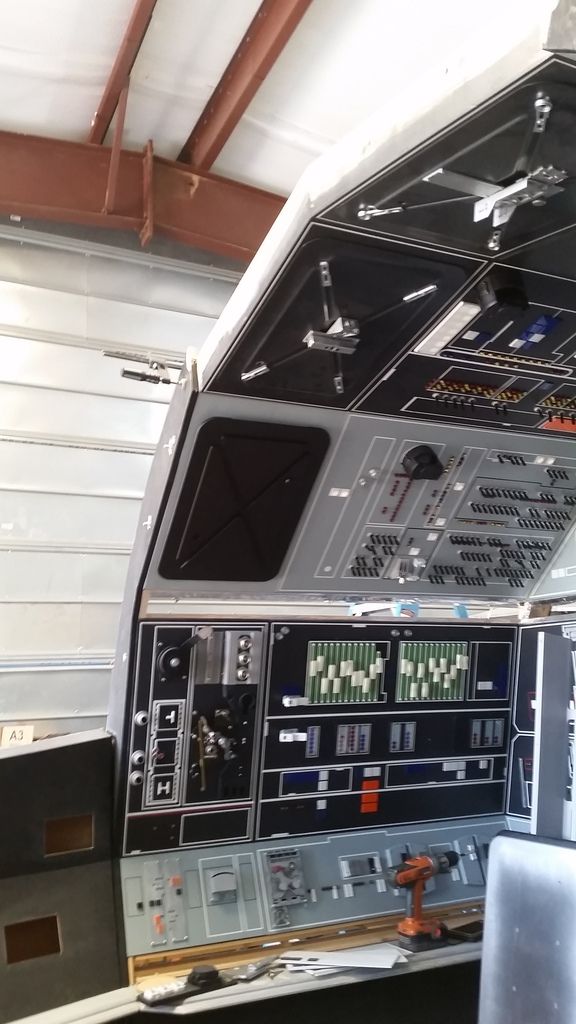
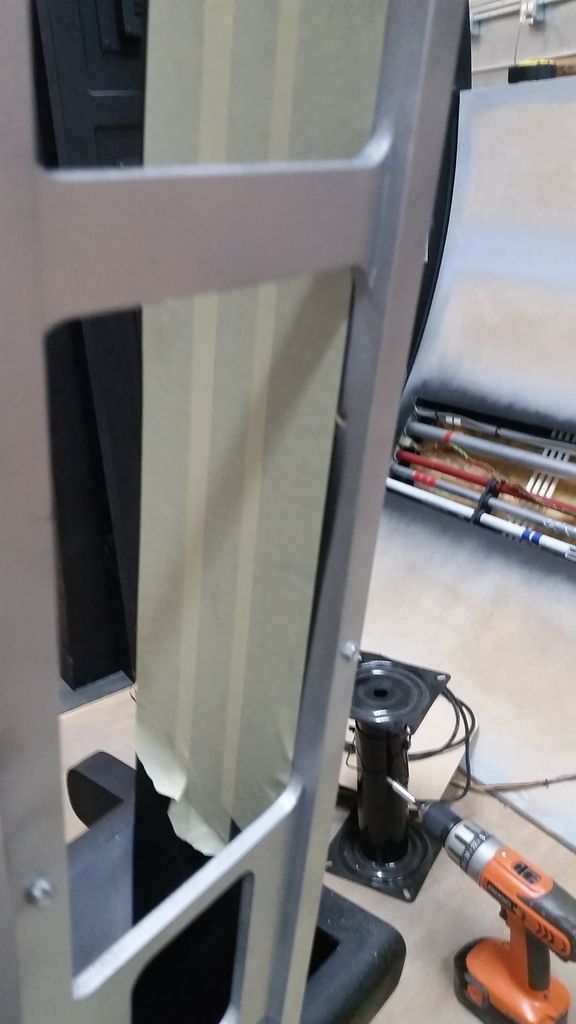
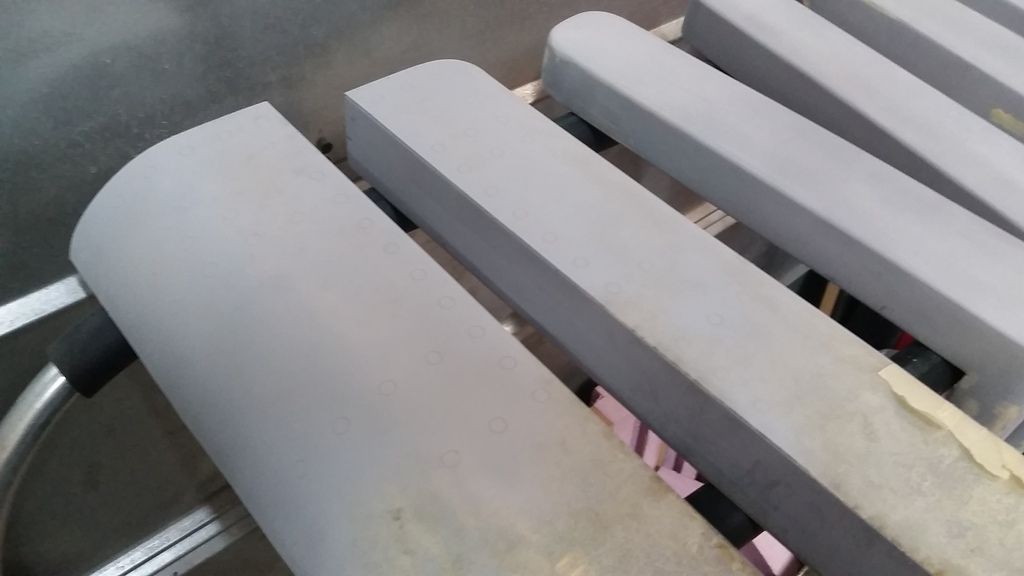
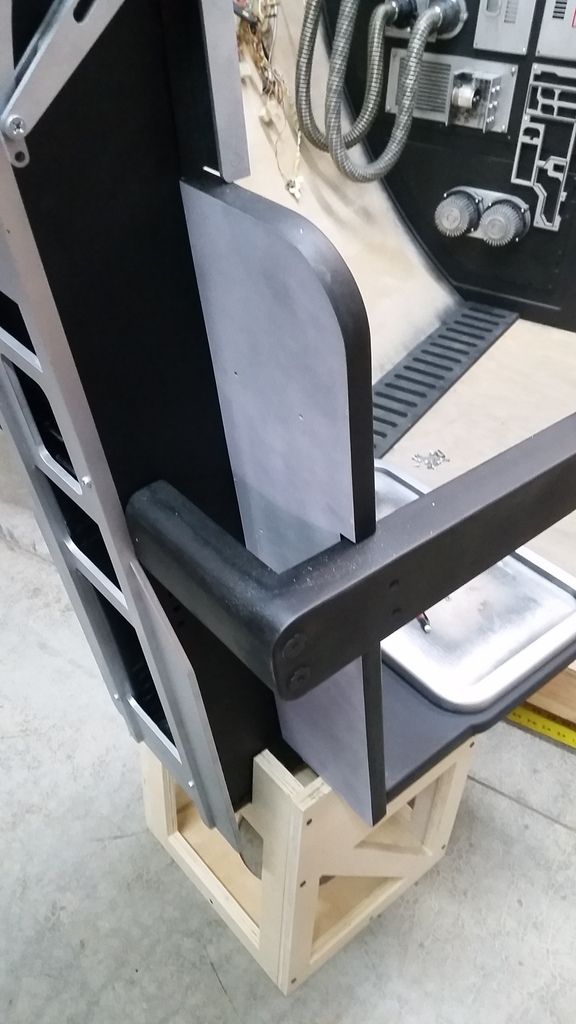
There is a TON of detail on those back nacelles! Which is awesome! So I dove in and started the process of designing and detailing a new addition! Found some thin material to laser cut
This panel will essentially wrap around the face of the nacelle. I think this is a must as cracks are also showing...
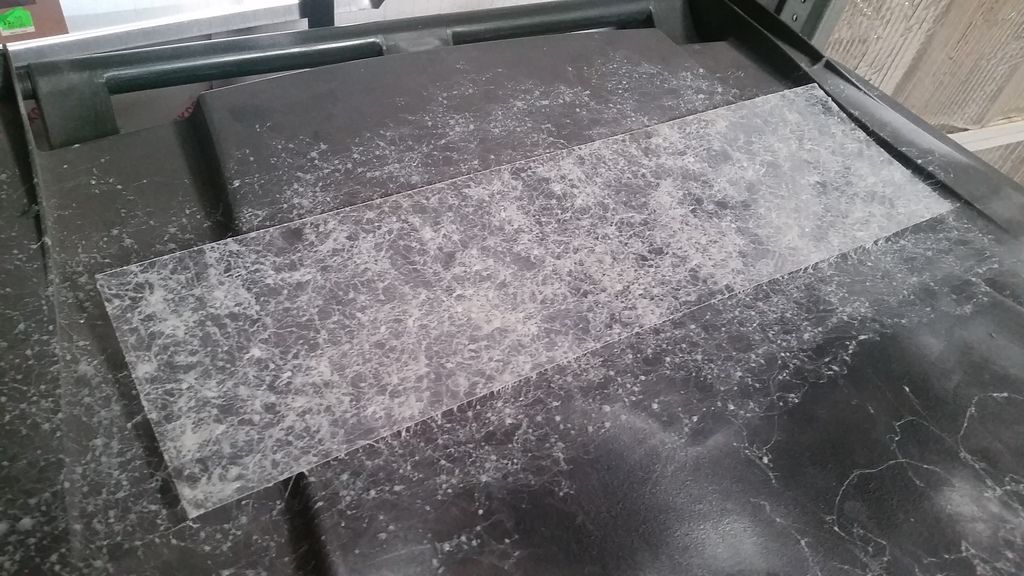
Let's do a test piece
Primer!
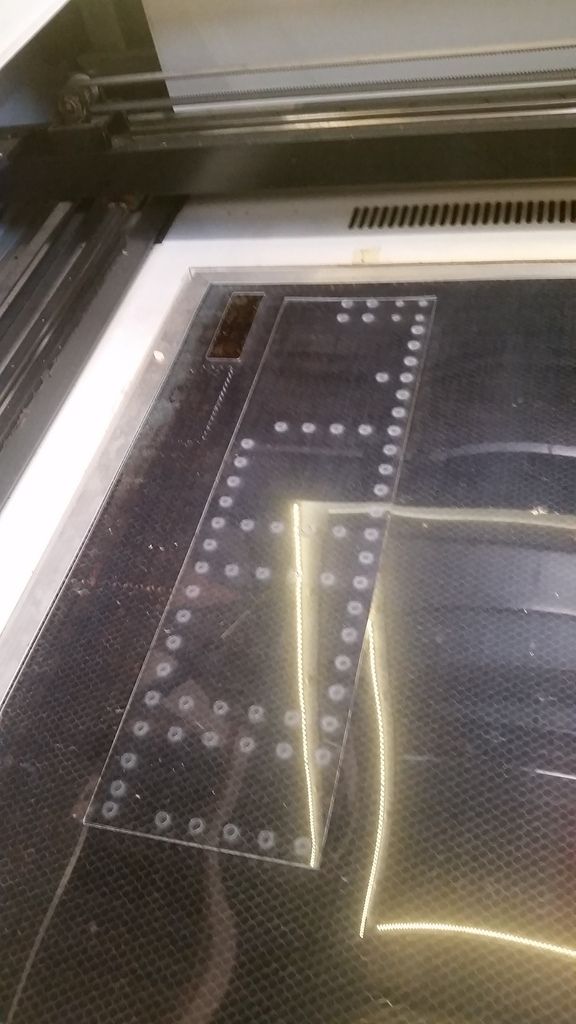
OK... So... Laser cut the two pieces, spray with adhesive, let it sit and get tacky then adhere the two pieces together... simple right?
AWESOME
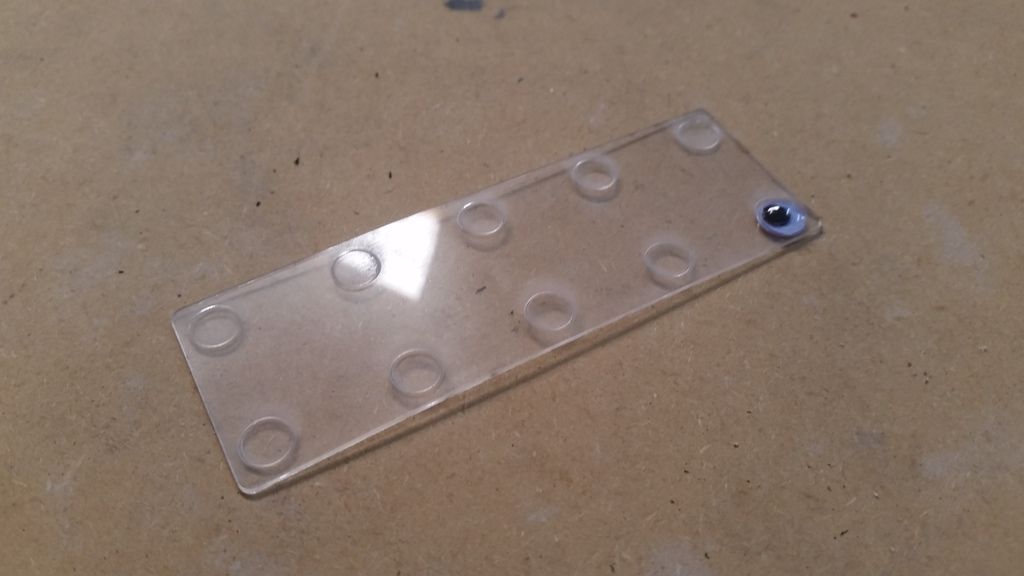
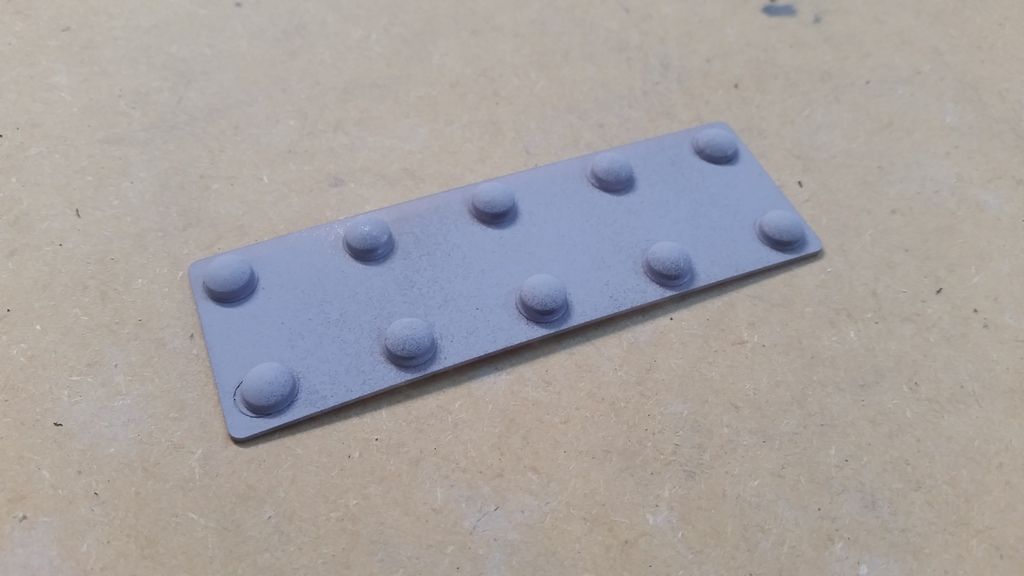
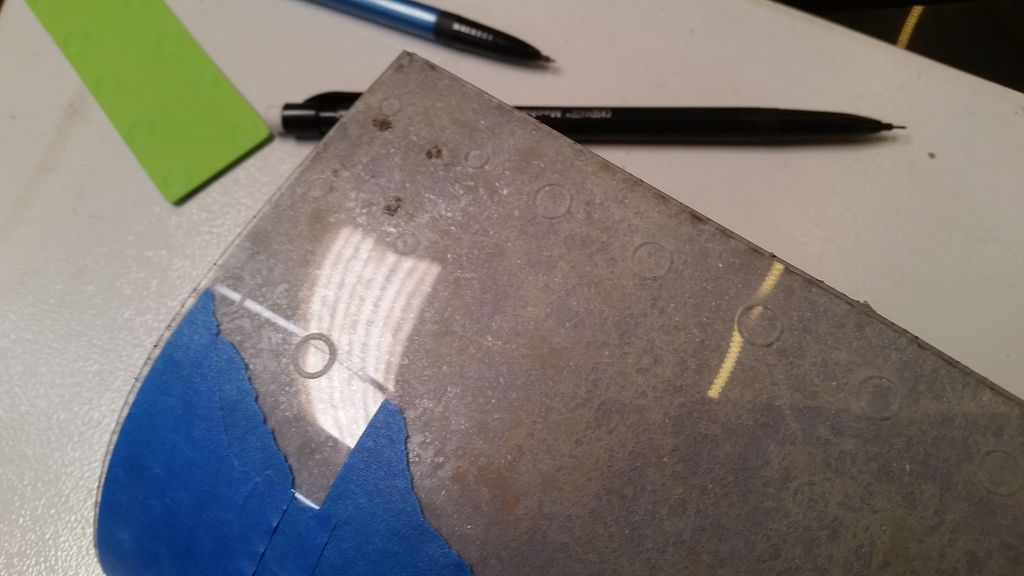
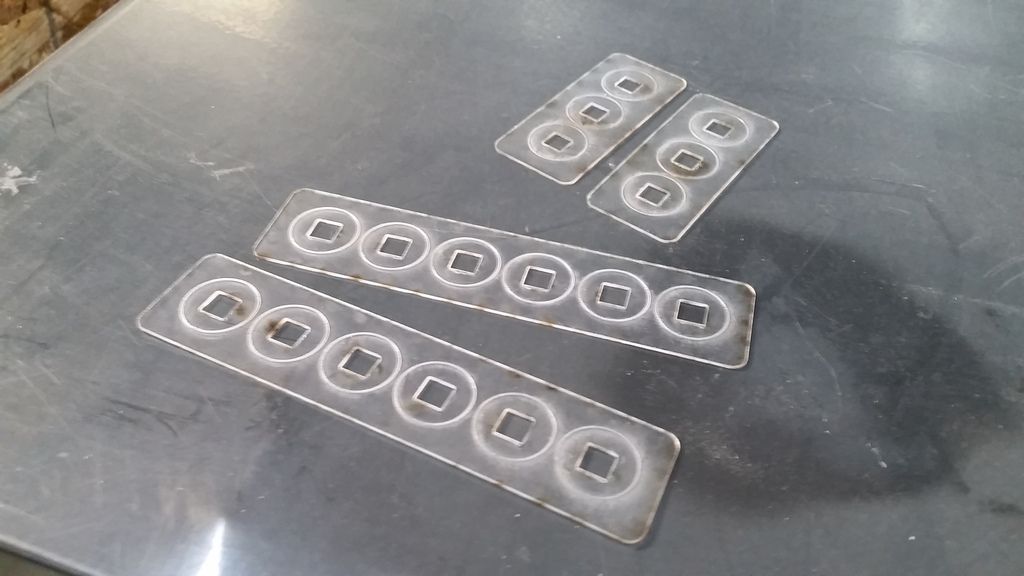
Note the etched circles... those are for the googly eyes!
As the new nacelle skin dried I covered up these problem areas
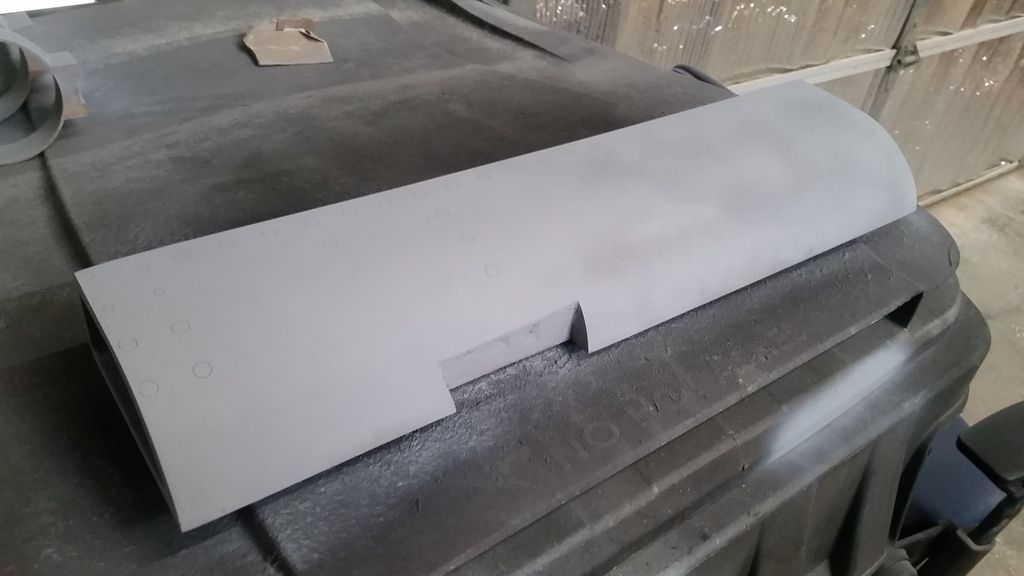
I laser cut two new pieces
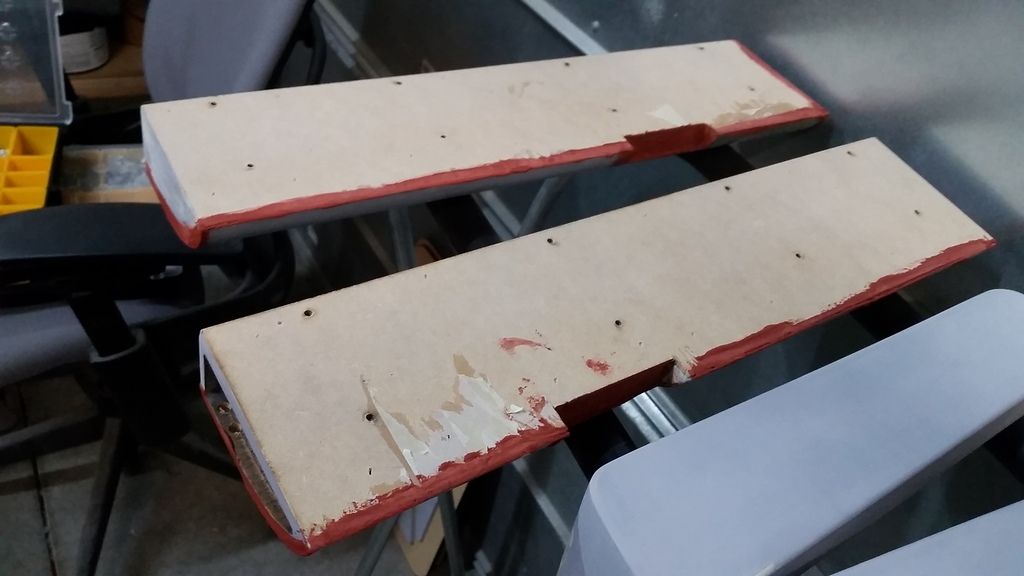
I then trimmed out the armrest area then noticed a VERY SERIOUS problem
For the next two hours I had to remove the two nacelle skins and ALL the adhesive! Unbeknownst to me there was a second ultra thin protective layer on the acrylic backside that I failed to see... The skin simply popped off leaving the clear protective layer and adhesive! It was a NIGHTMARE!!!! And I made sure not to take pics! Lol This pic was AFTER I cleaned, recut and reapplied
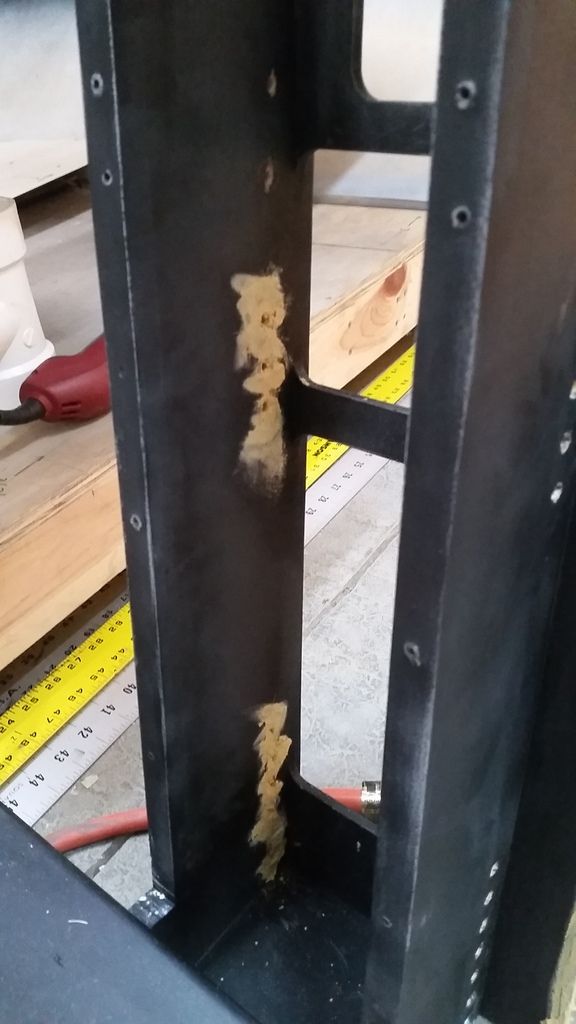
But all was NOT lost... I cleaned up all these little scratch marks
Added filler
I added filler to the holes then realized I could have simply laser cut a simple cover
And yes... I took the clear protective plastic off!
Saves time and looks cool! I'm considering painting silver?
Pesky filler!
With the new nacelle skins drying I redesigned these edge pieces and added a bit more space between the mounting holes
Primer
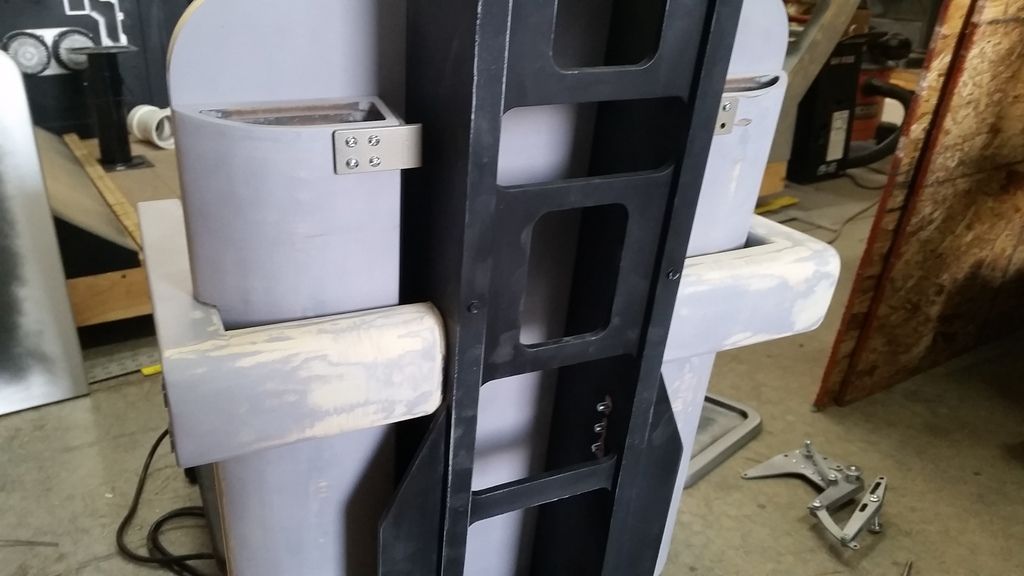
The cool thing is that they slip into another greeblie! More later...
Lets get some more paint on this frame!
Note the cracking... Anybody have any ideas? I really dont want to fiberglass but will fiberglass resin alone hold up to the stress?
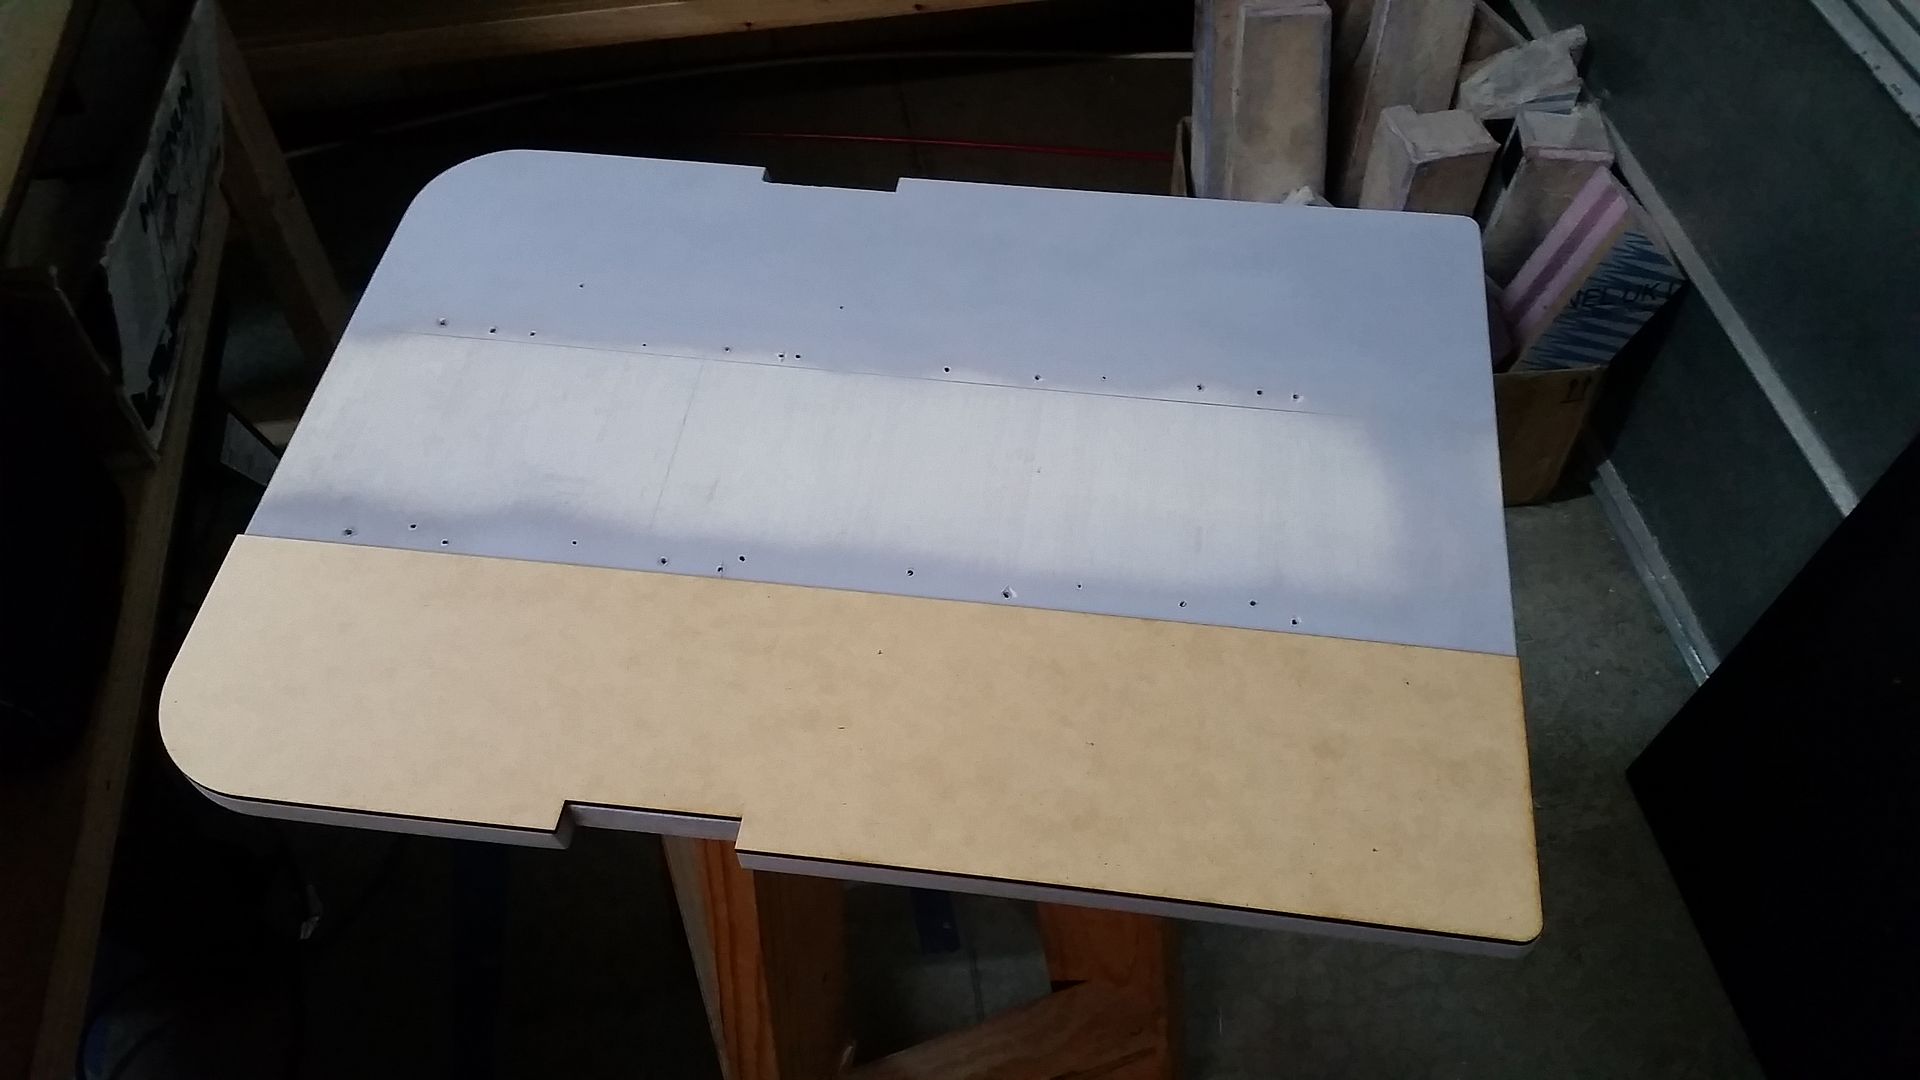
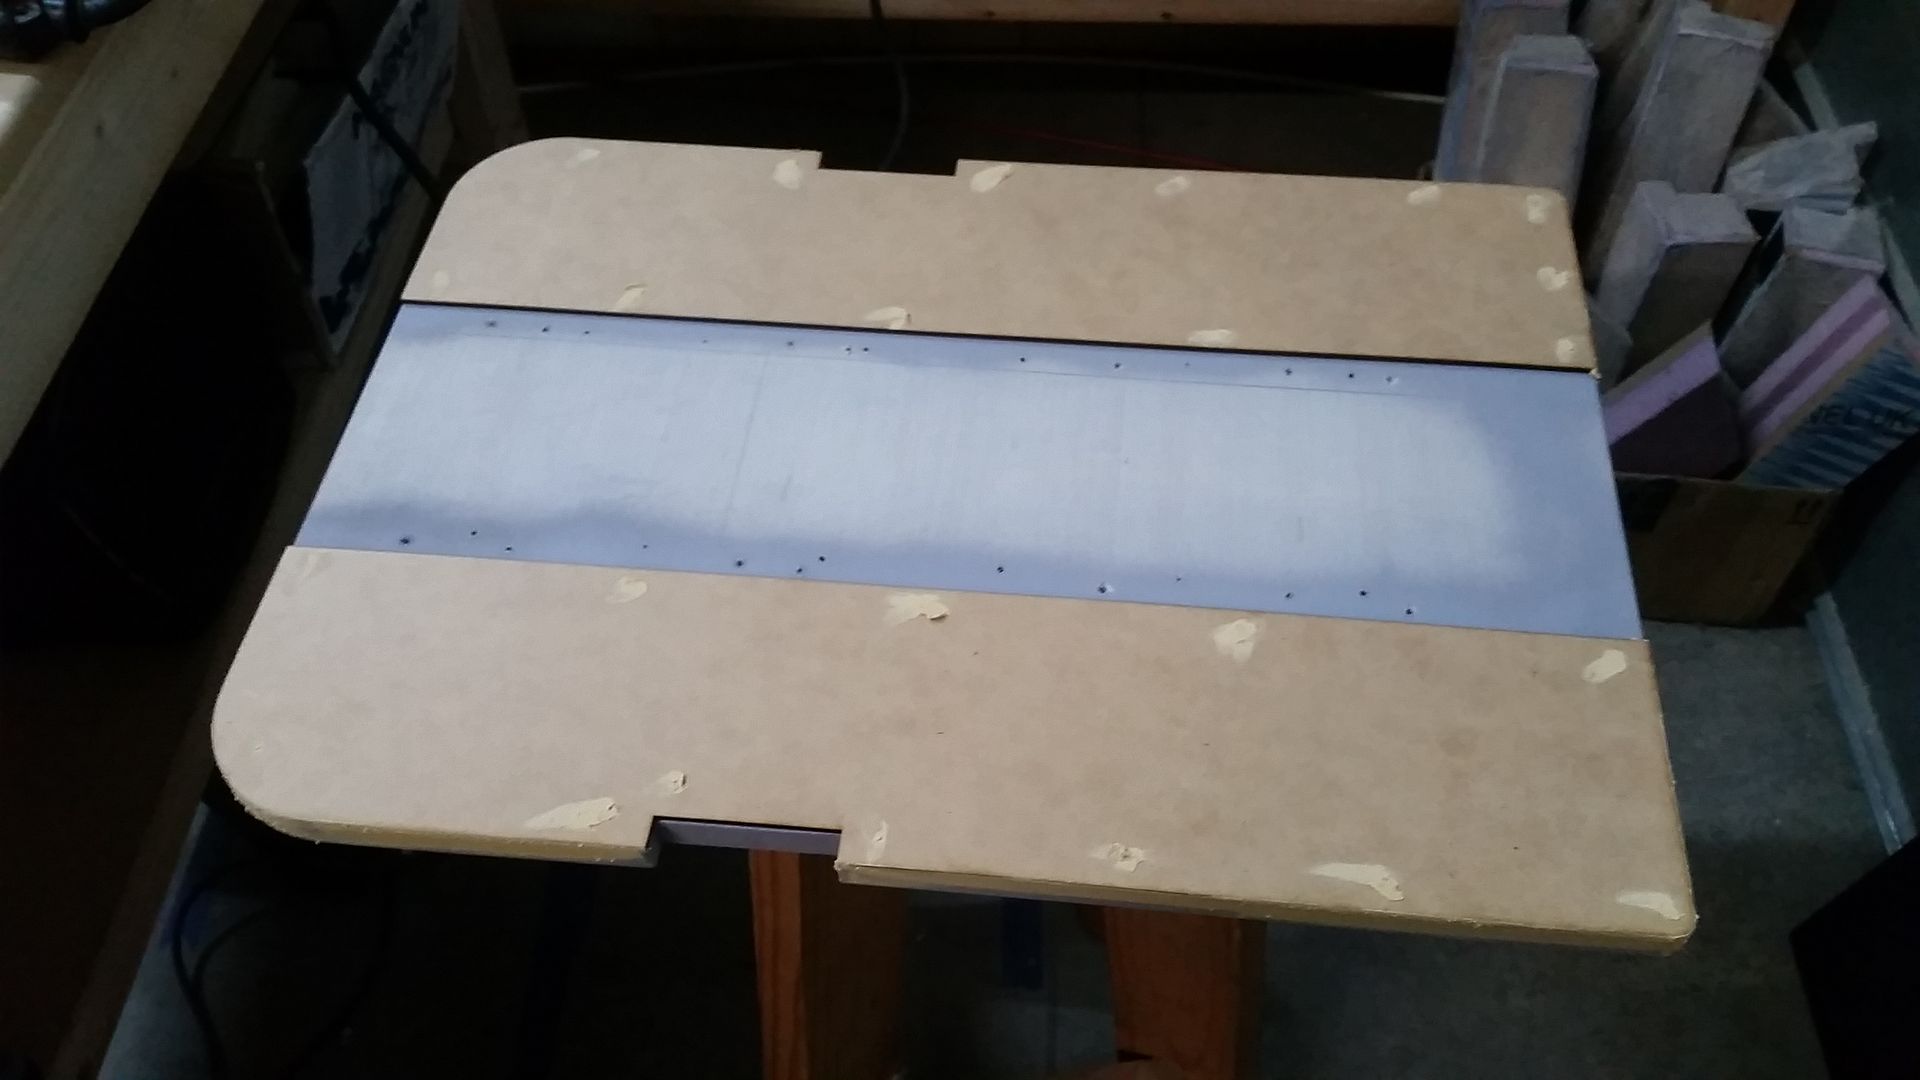
I then masked off the chair
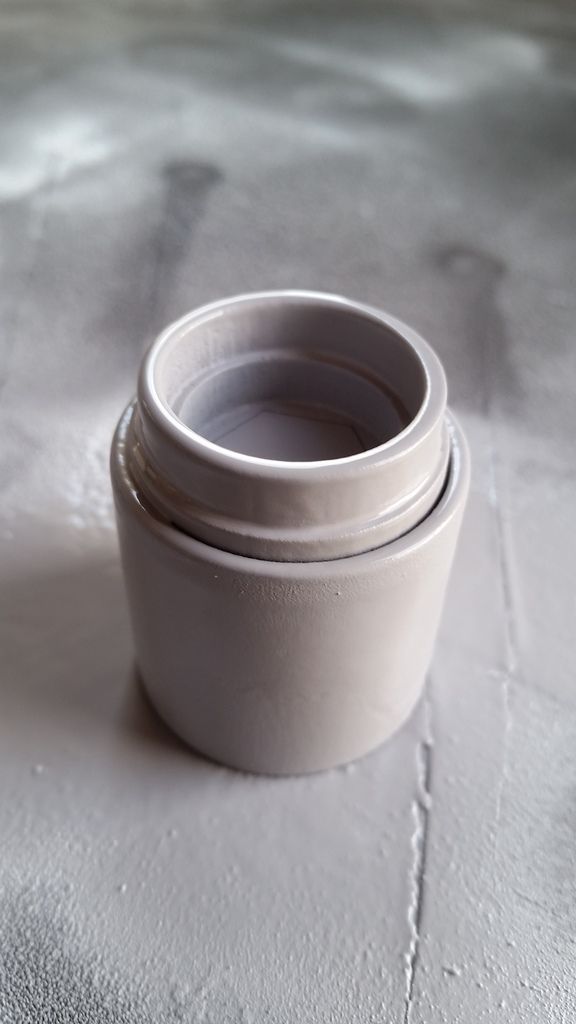
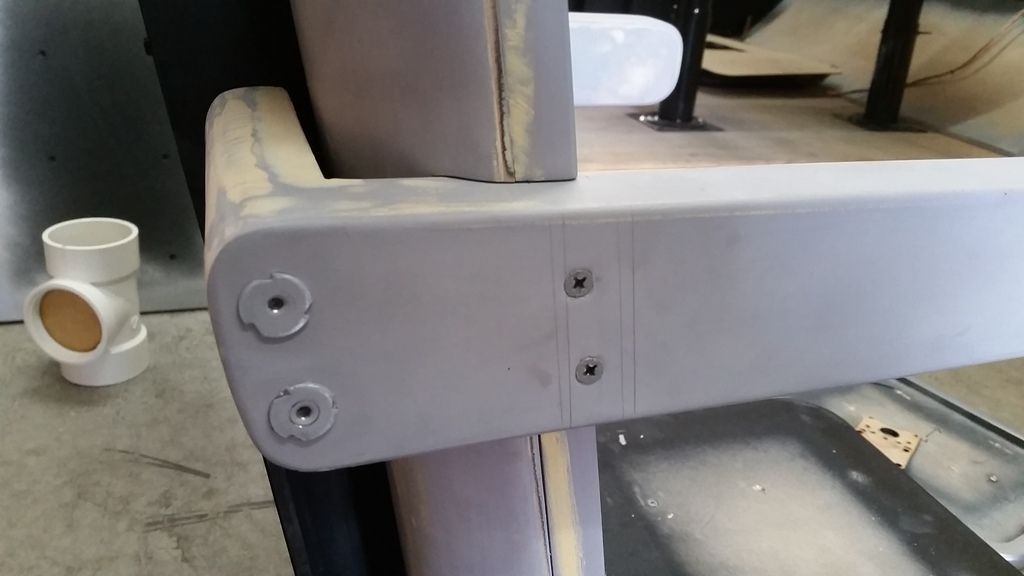
Note to self... DO NOT adhere these back panels with wood glue. They simply screw into place! Silver added!
Again, this panel should have been a standalone piece and then screwed into place... ugh
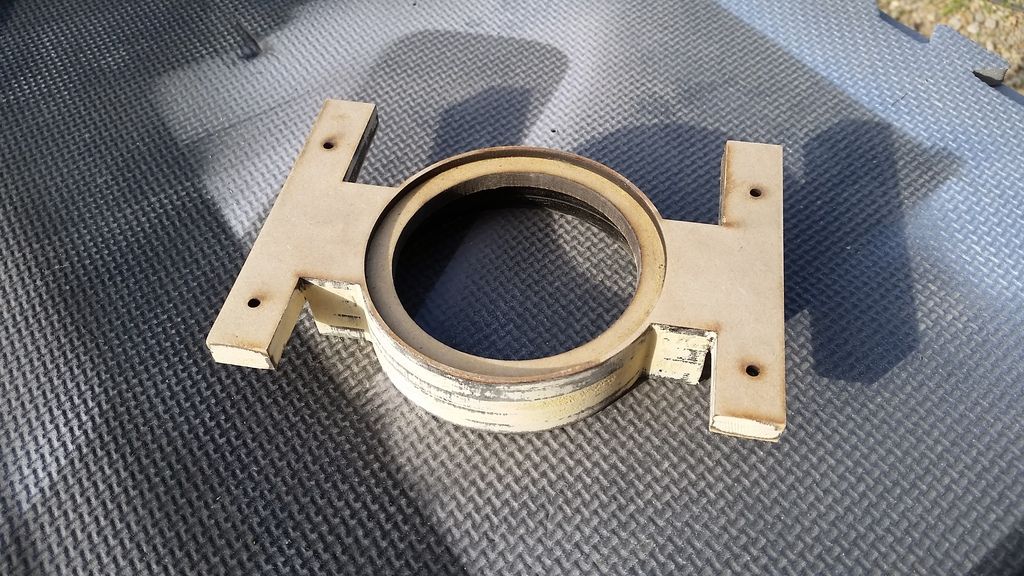
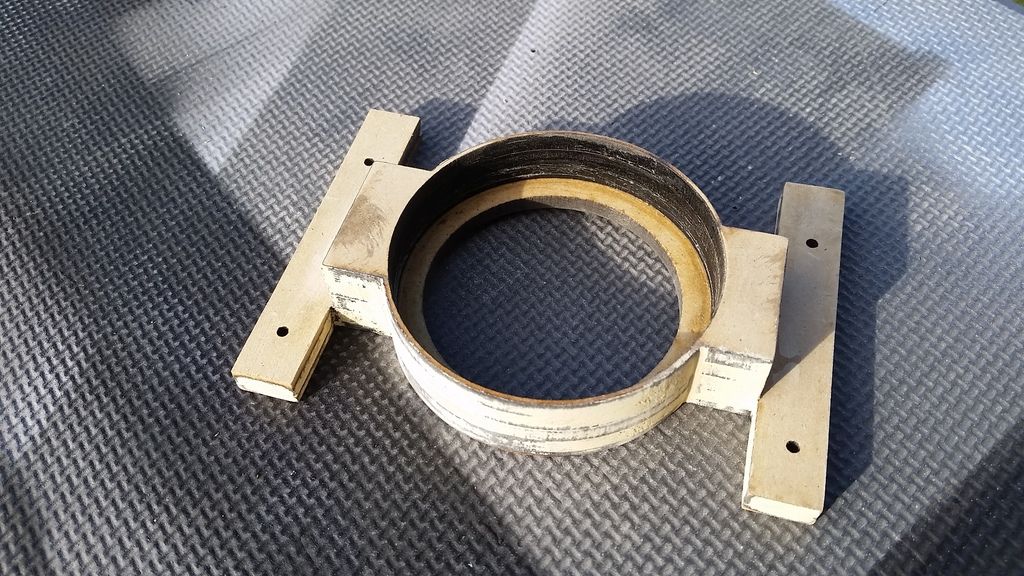
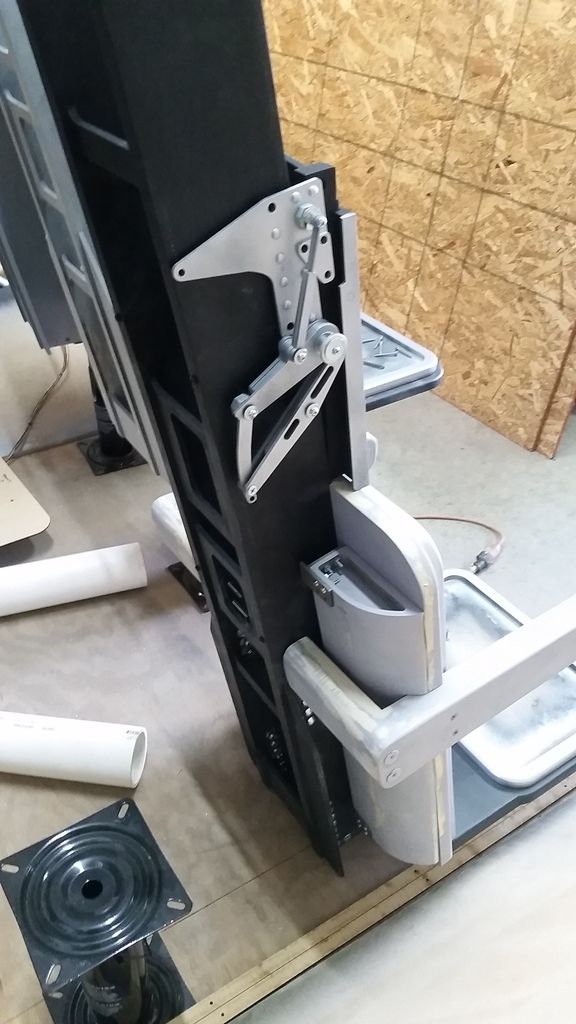
PVC guide
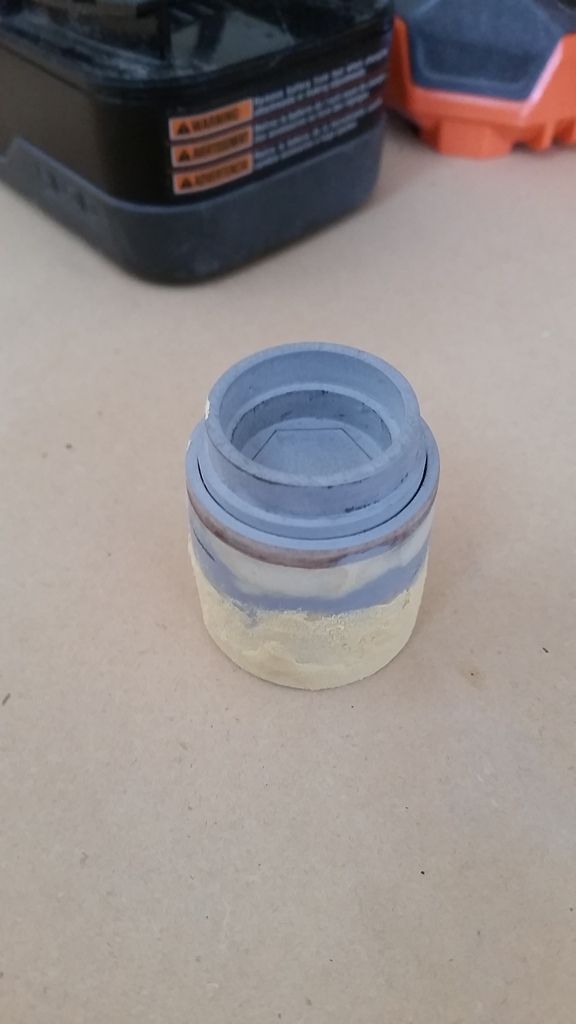
Needs more... filler?
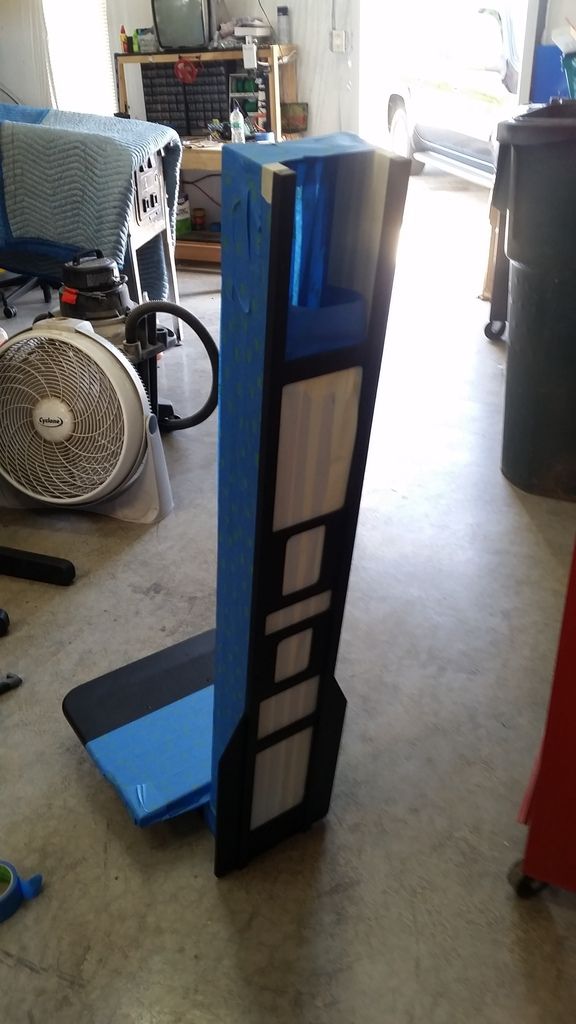
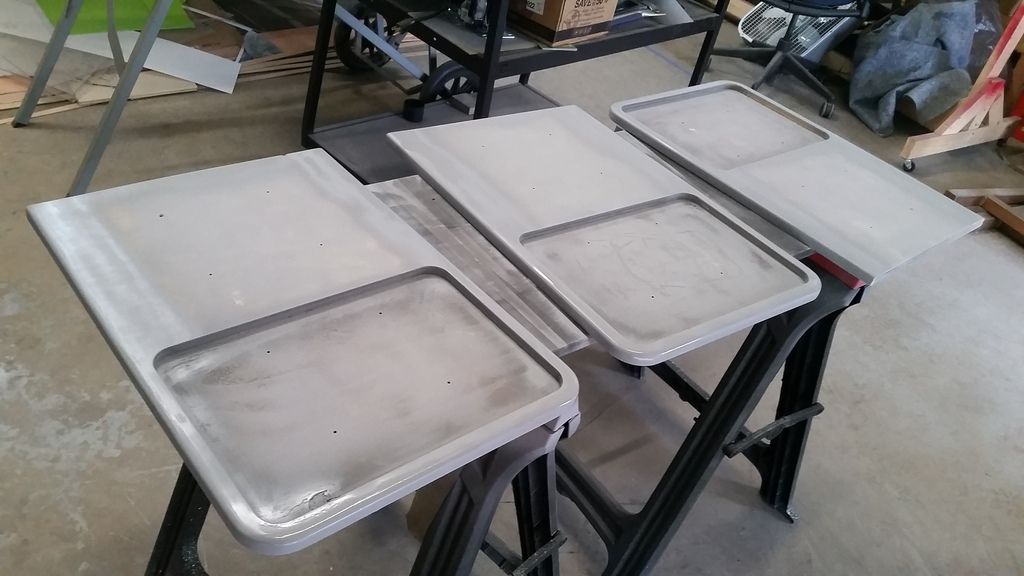
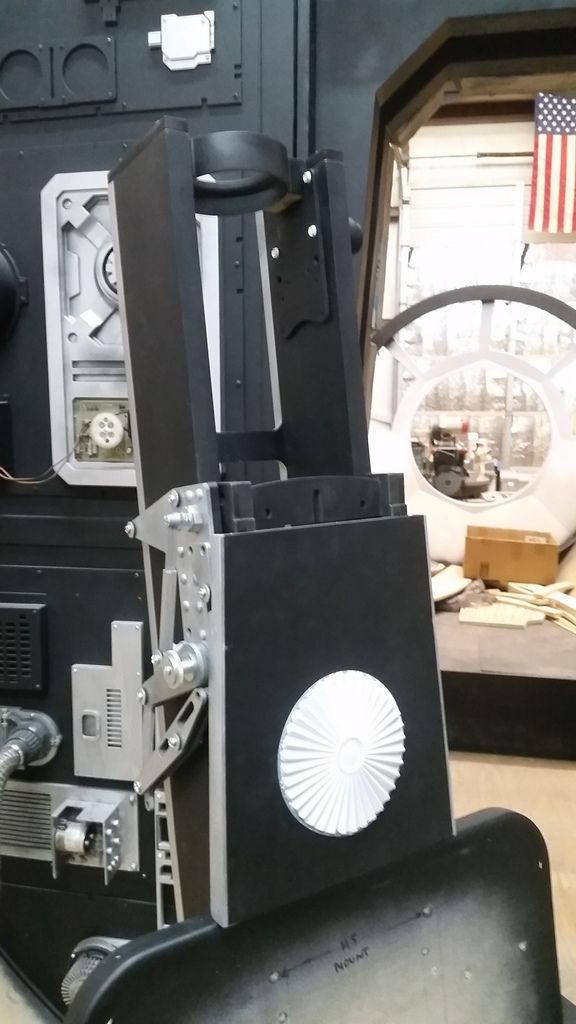
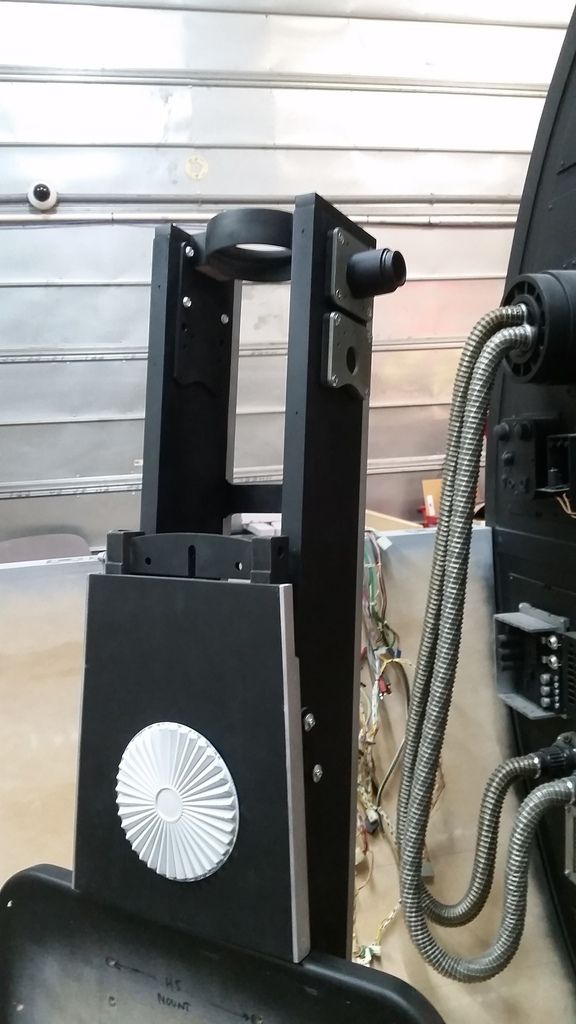
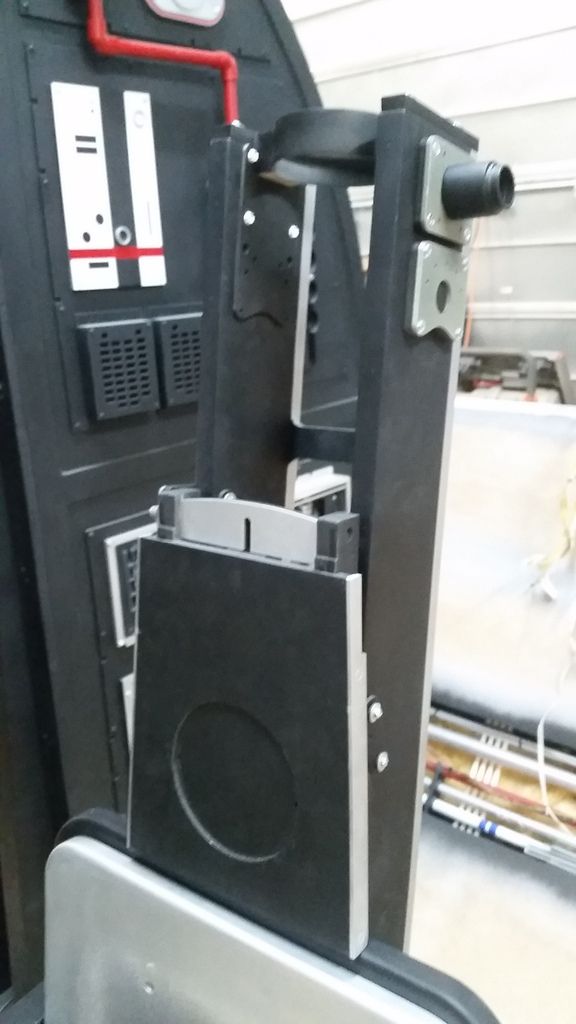
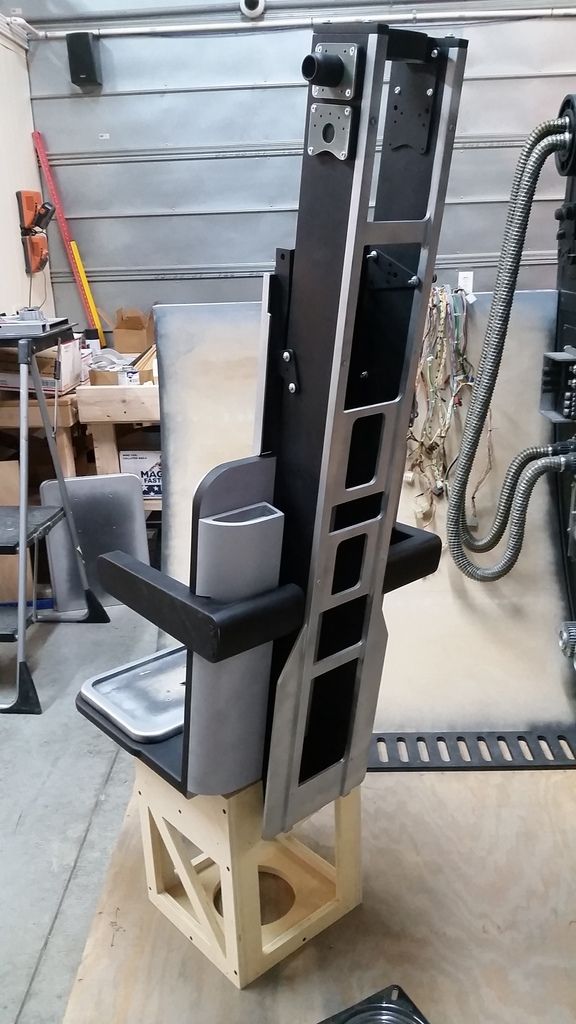
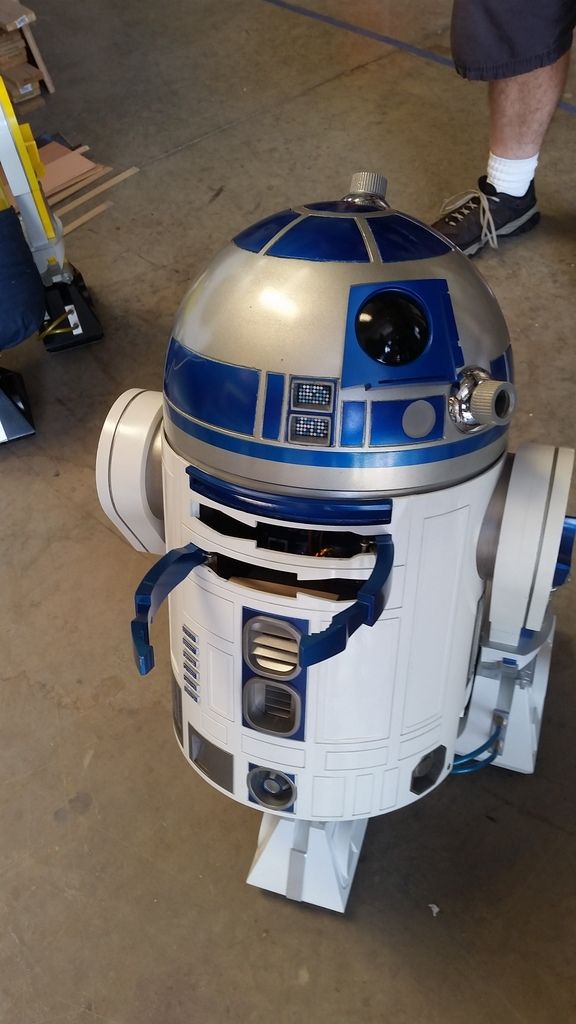
At the end of the holiday weekend... this is what we have!
Another added detail
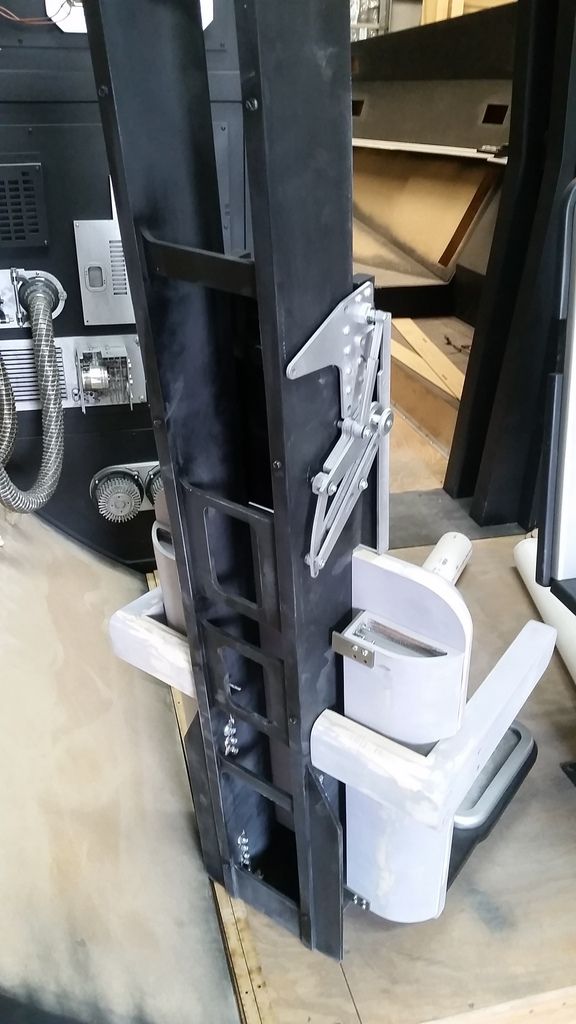
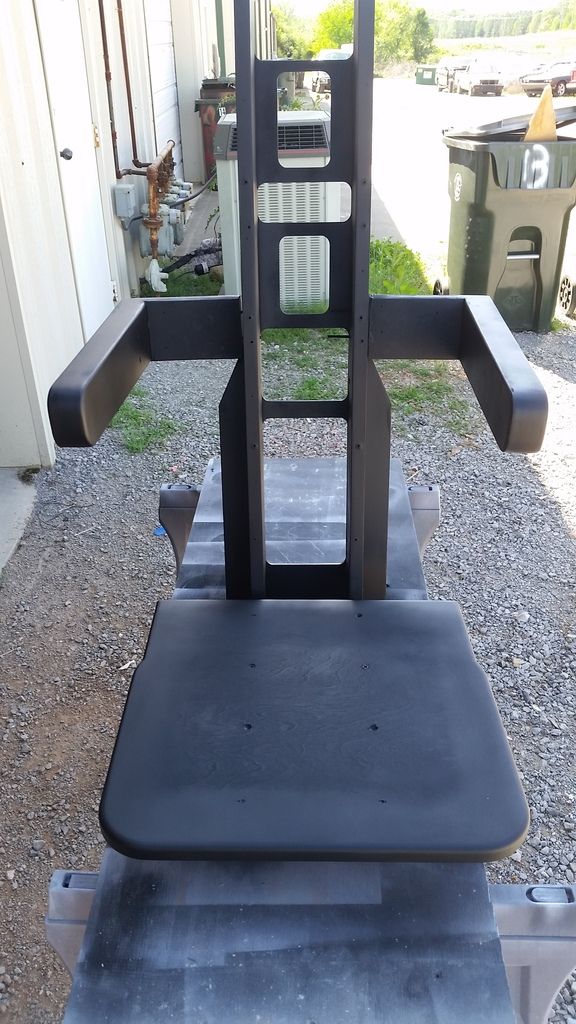
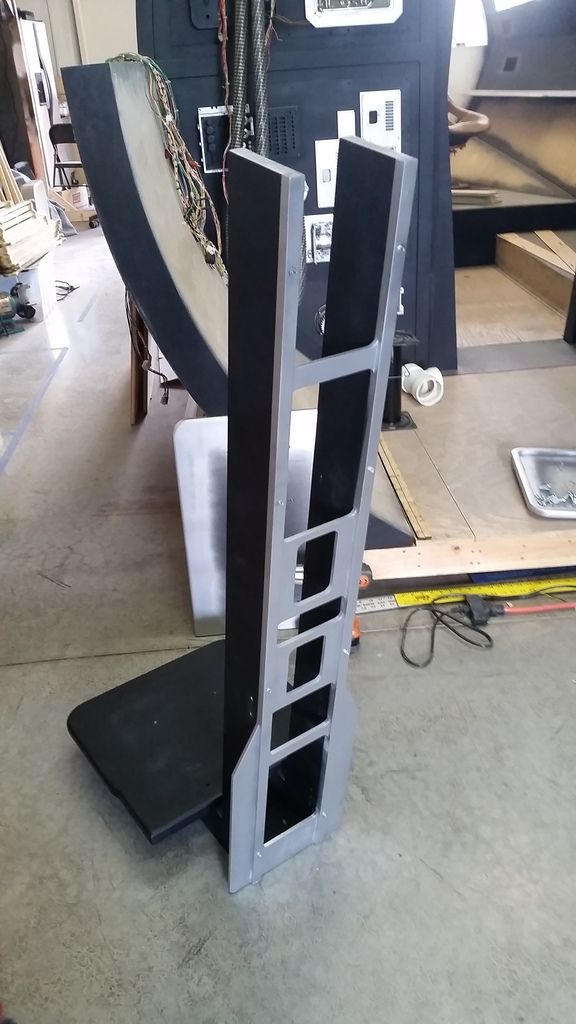
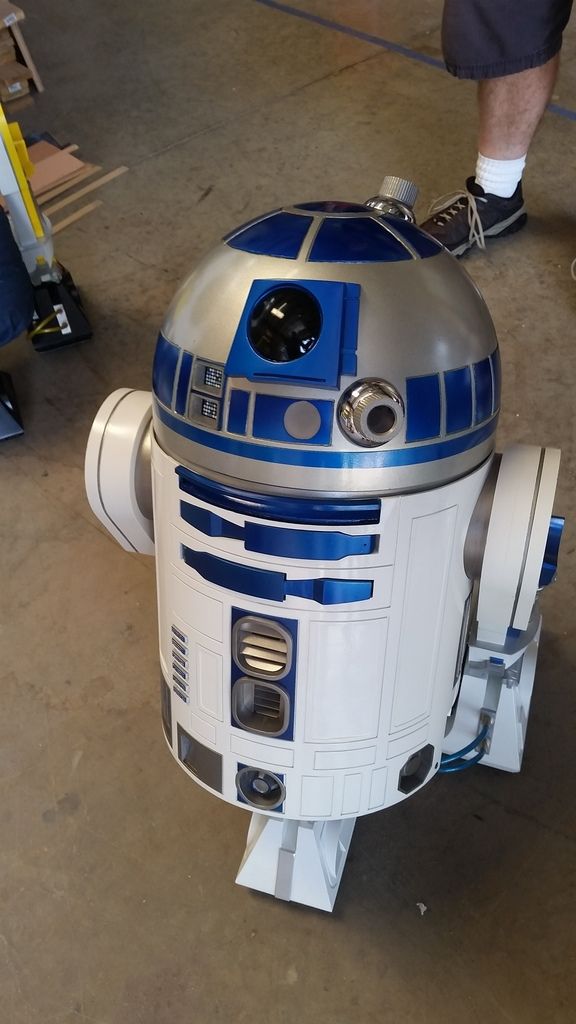
And this is where we are!
More to follow so stay tuned!