You are using an out of date browser. It may not display this or other websites correctly.
You should upgrade or use an alternative browser.
You should upgrade or use an alternative browser.
1:1 Millennium Falcon Cockpit Replica - Group Build
- Thread starter SteveStarkiller
- Start date
Using the cockpit:eek Great news for sure Sofa! Those Nav chairs are going to look the bomb of course...
Hey J,
We're very excited about it! I'm hoping we'll be able to let more fans use the cockpit for future films!
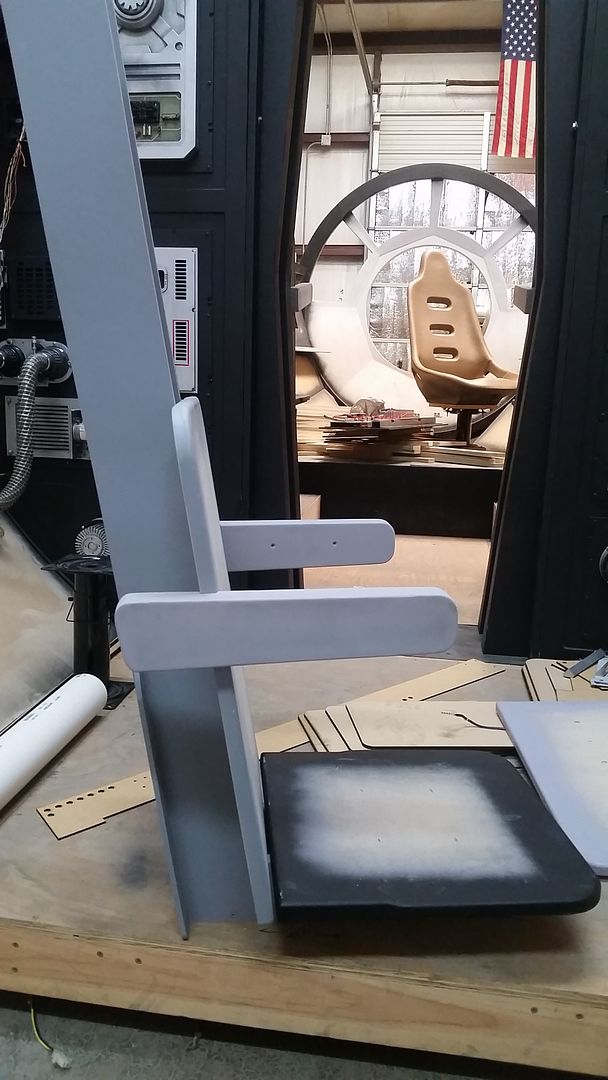
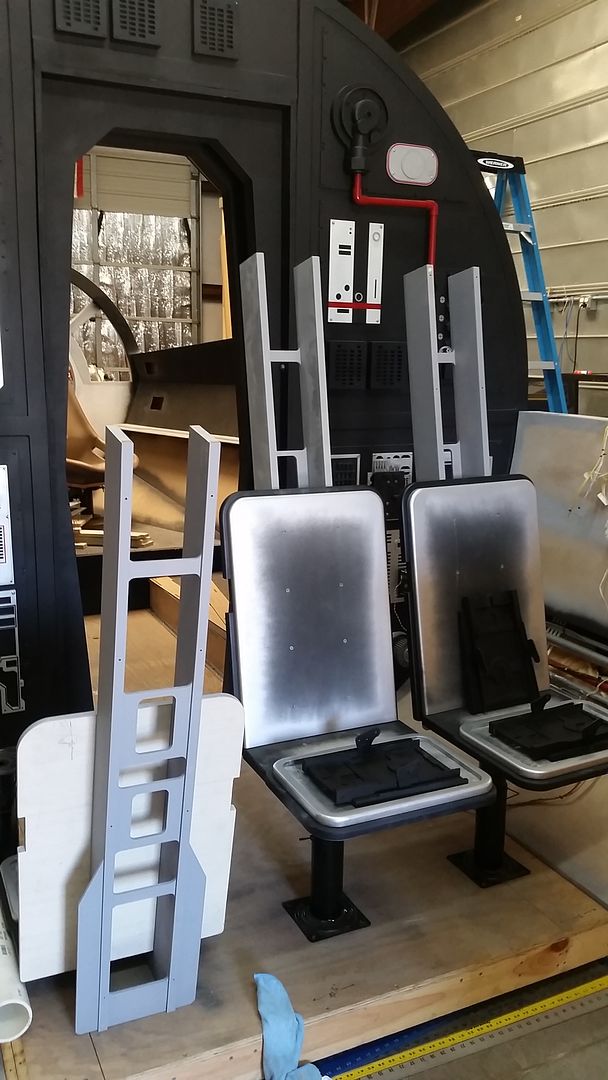
Time to get to work on the chairs!
Hi Gang,
Time for that Monday Morning Update! I dont like wood filler!") I spent most of the weekend sanding, filling and priming (repeat) so, 1) I didn't get as far I would have liked (as I always say) and 2) I didn't take that many pics... Enjoy
I spent most of the weekend sanding, filling and priming (repeat) so, 1) I didn't get as far I would have liked (as I always say) and 2) I didn't take that many pics... Enjoy
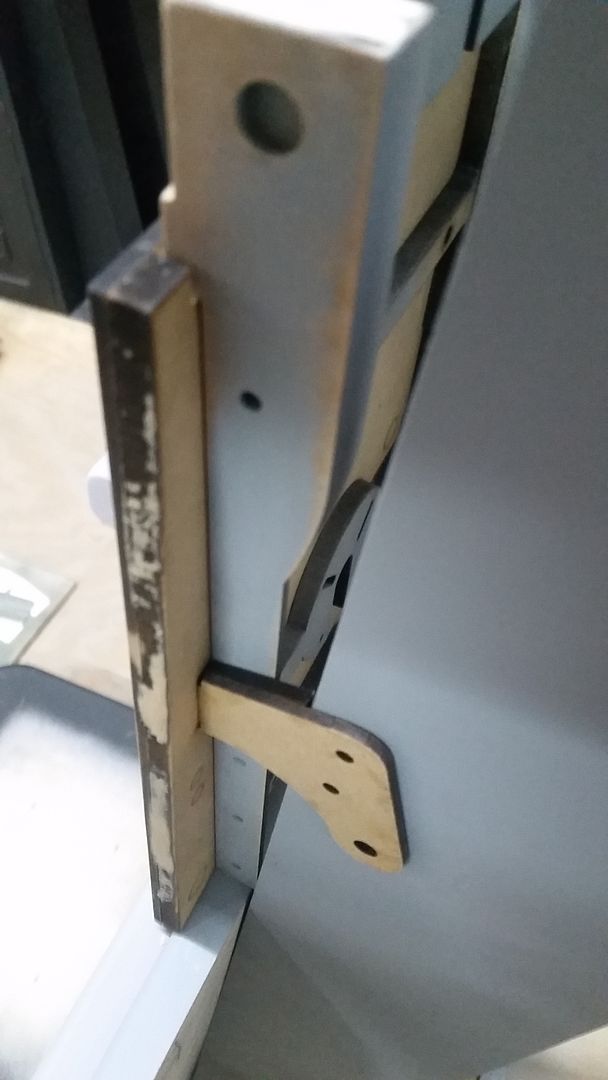
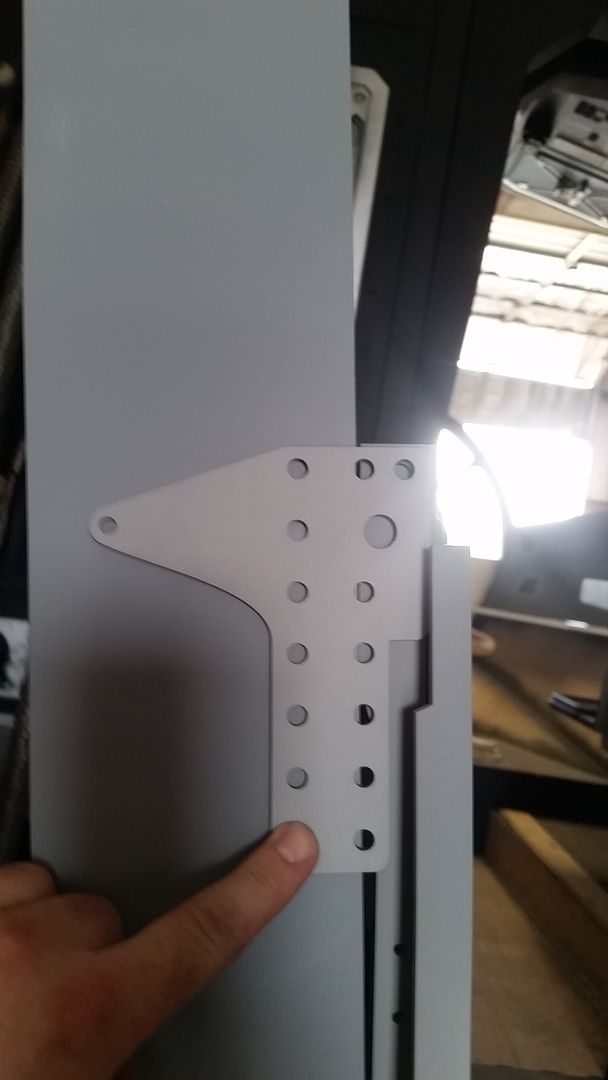
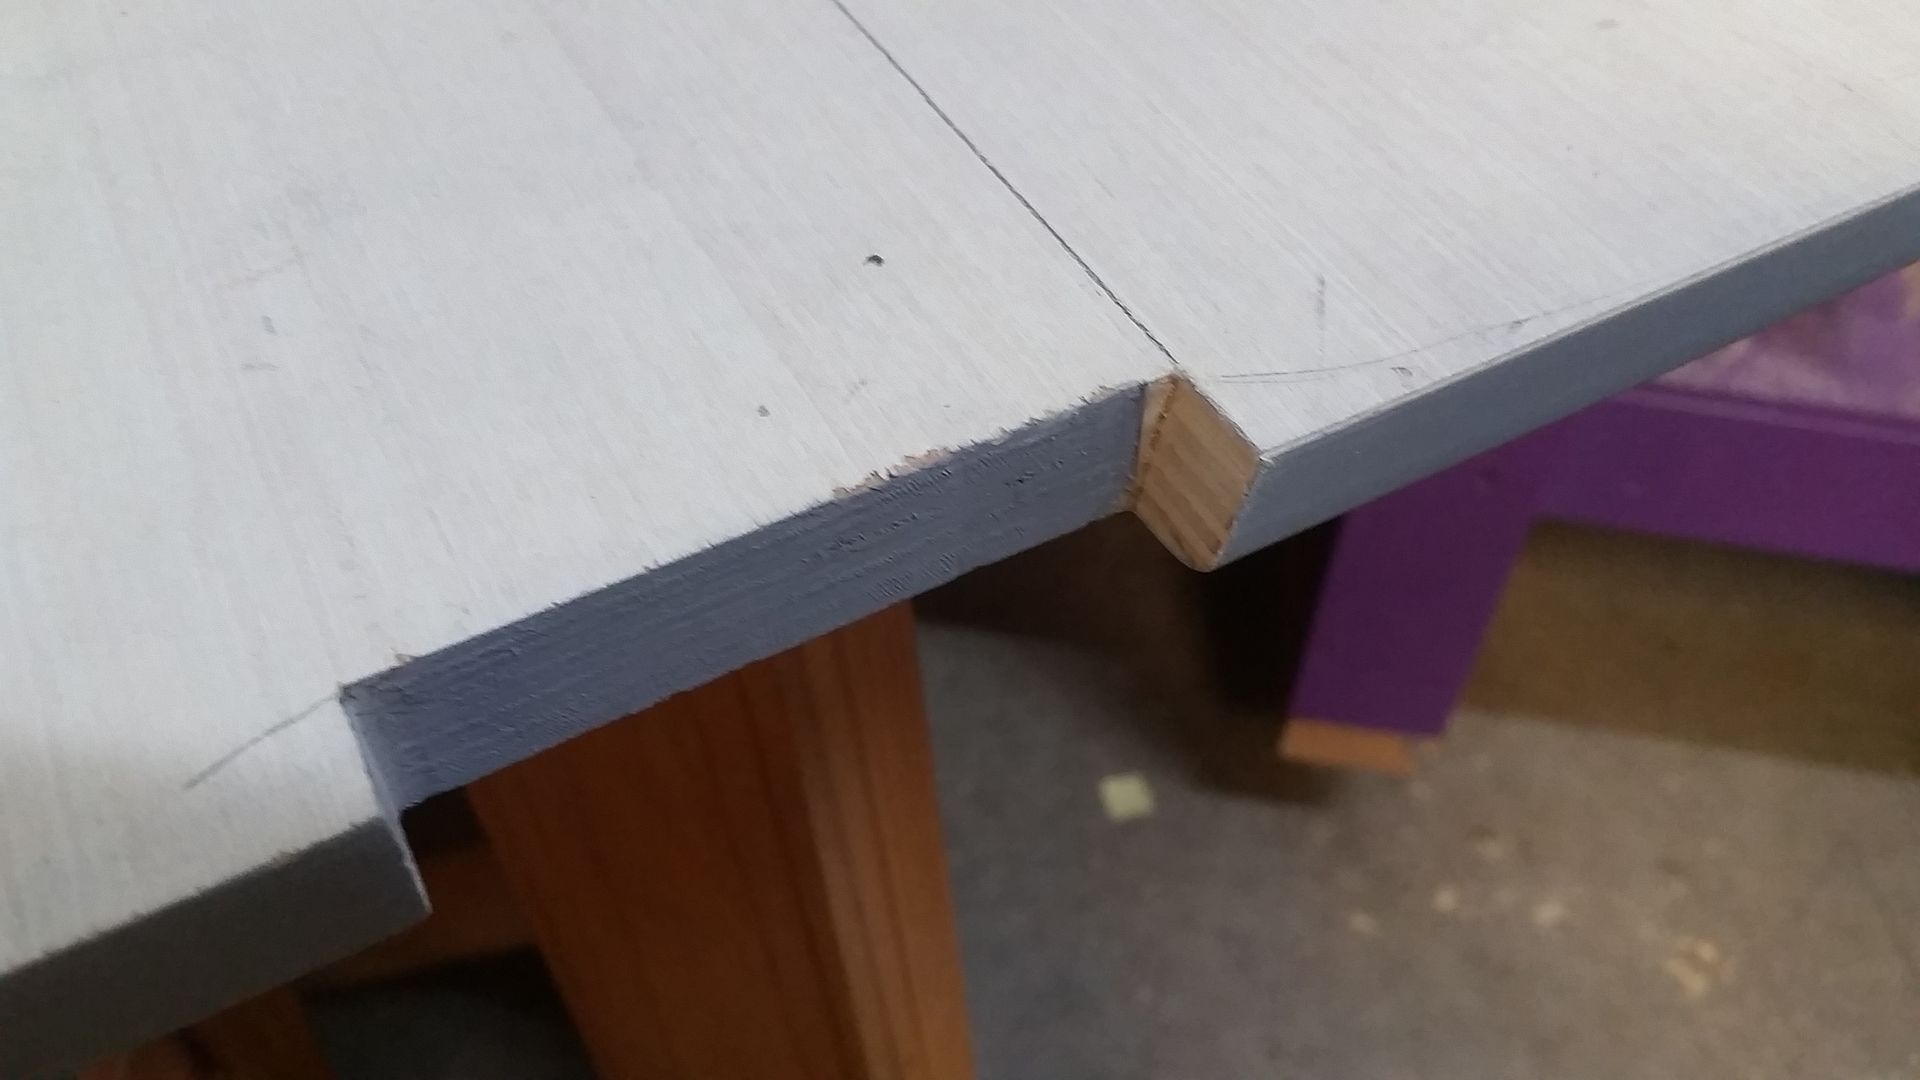
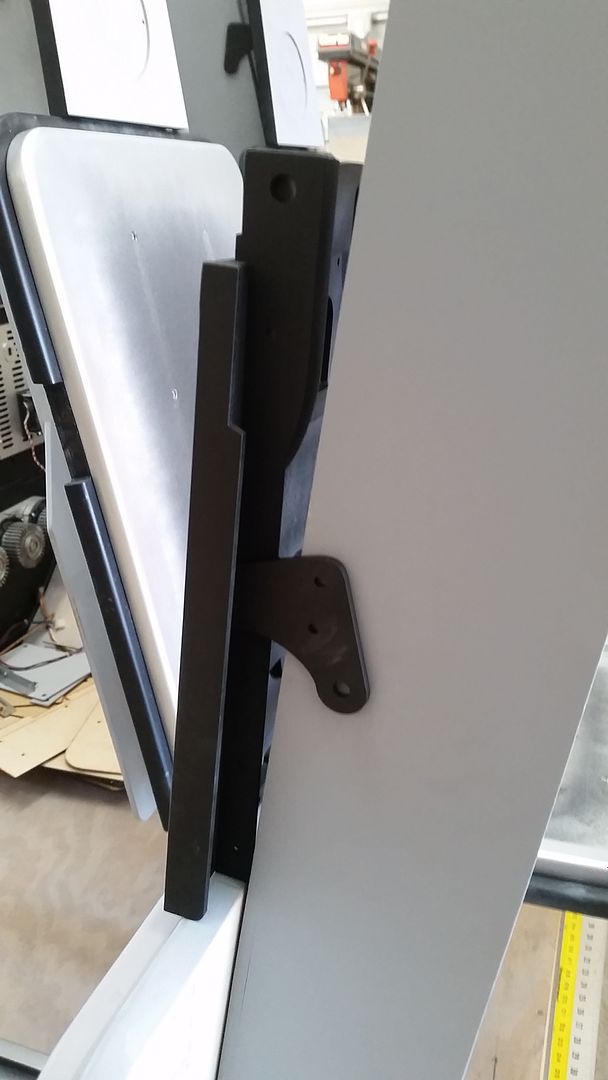
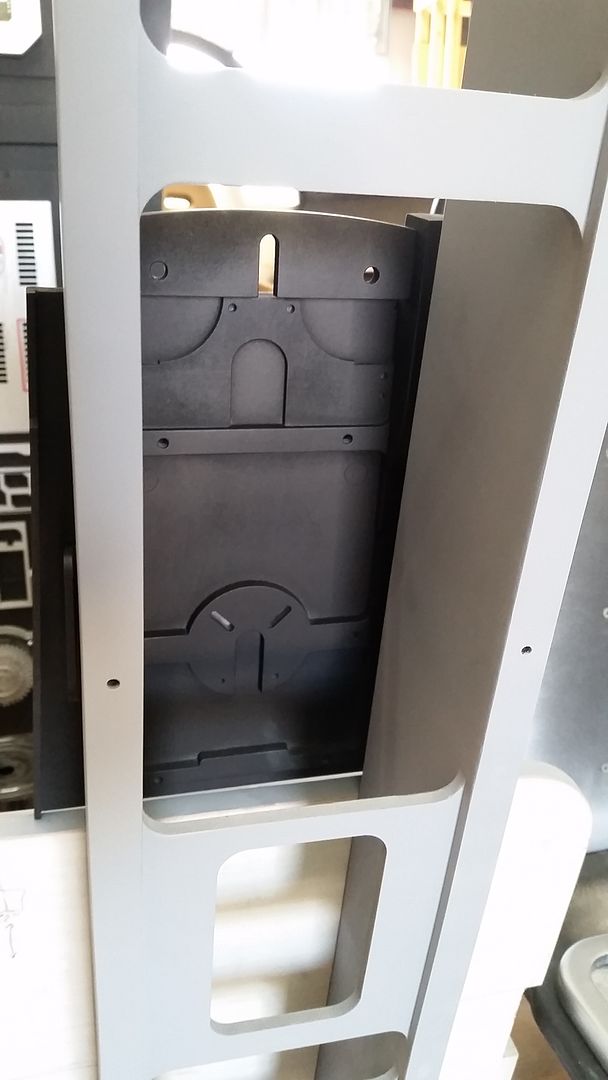
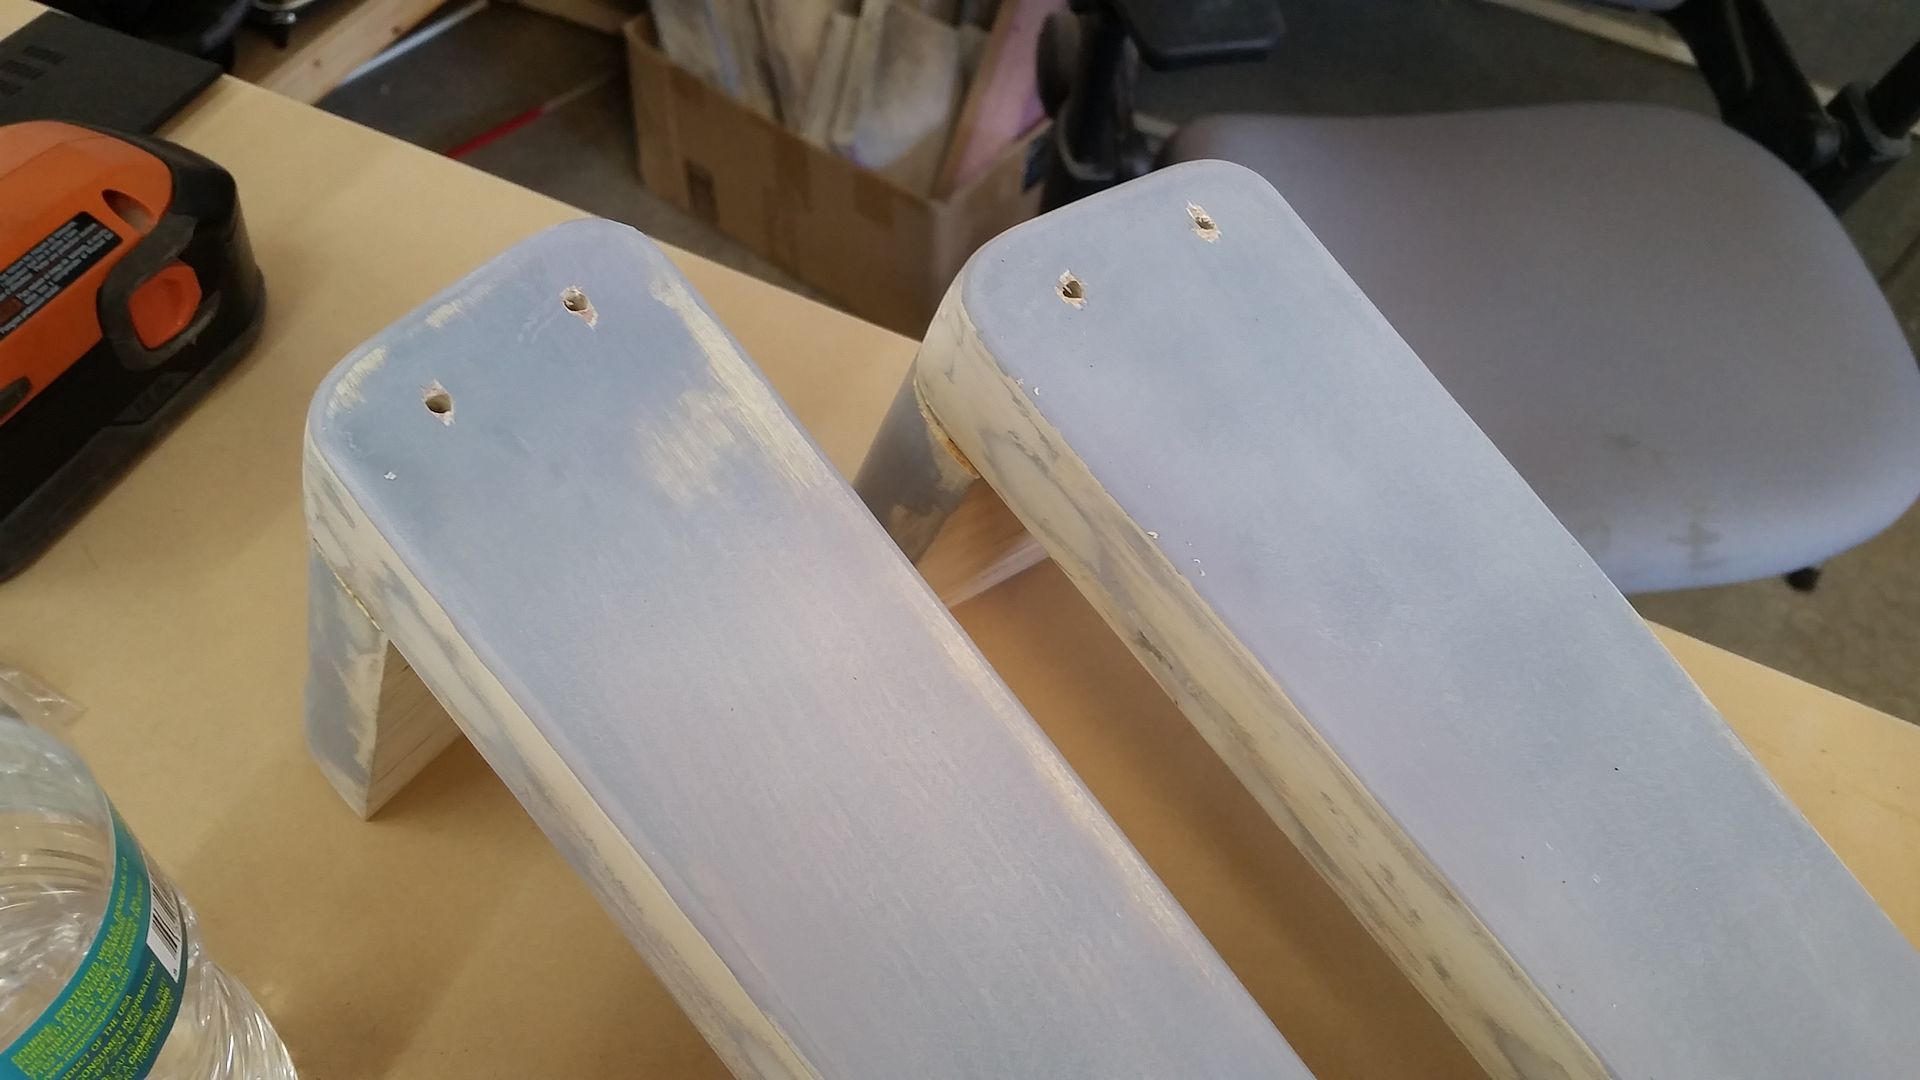
Work continues on the nav chairs. Working the headrest(s)
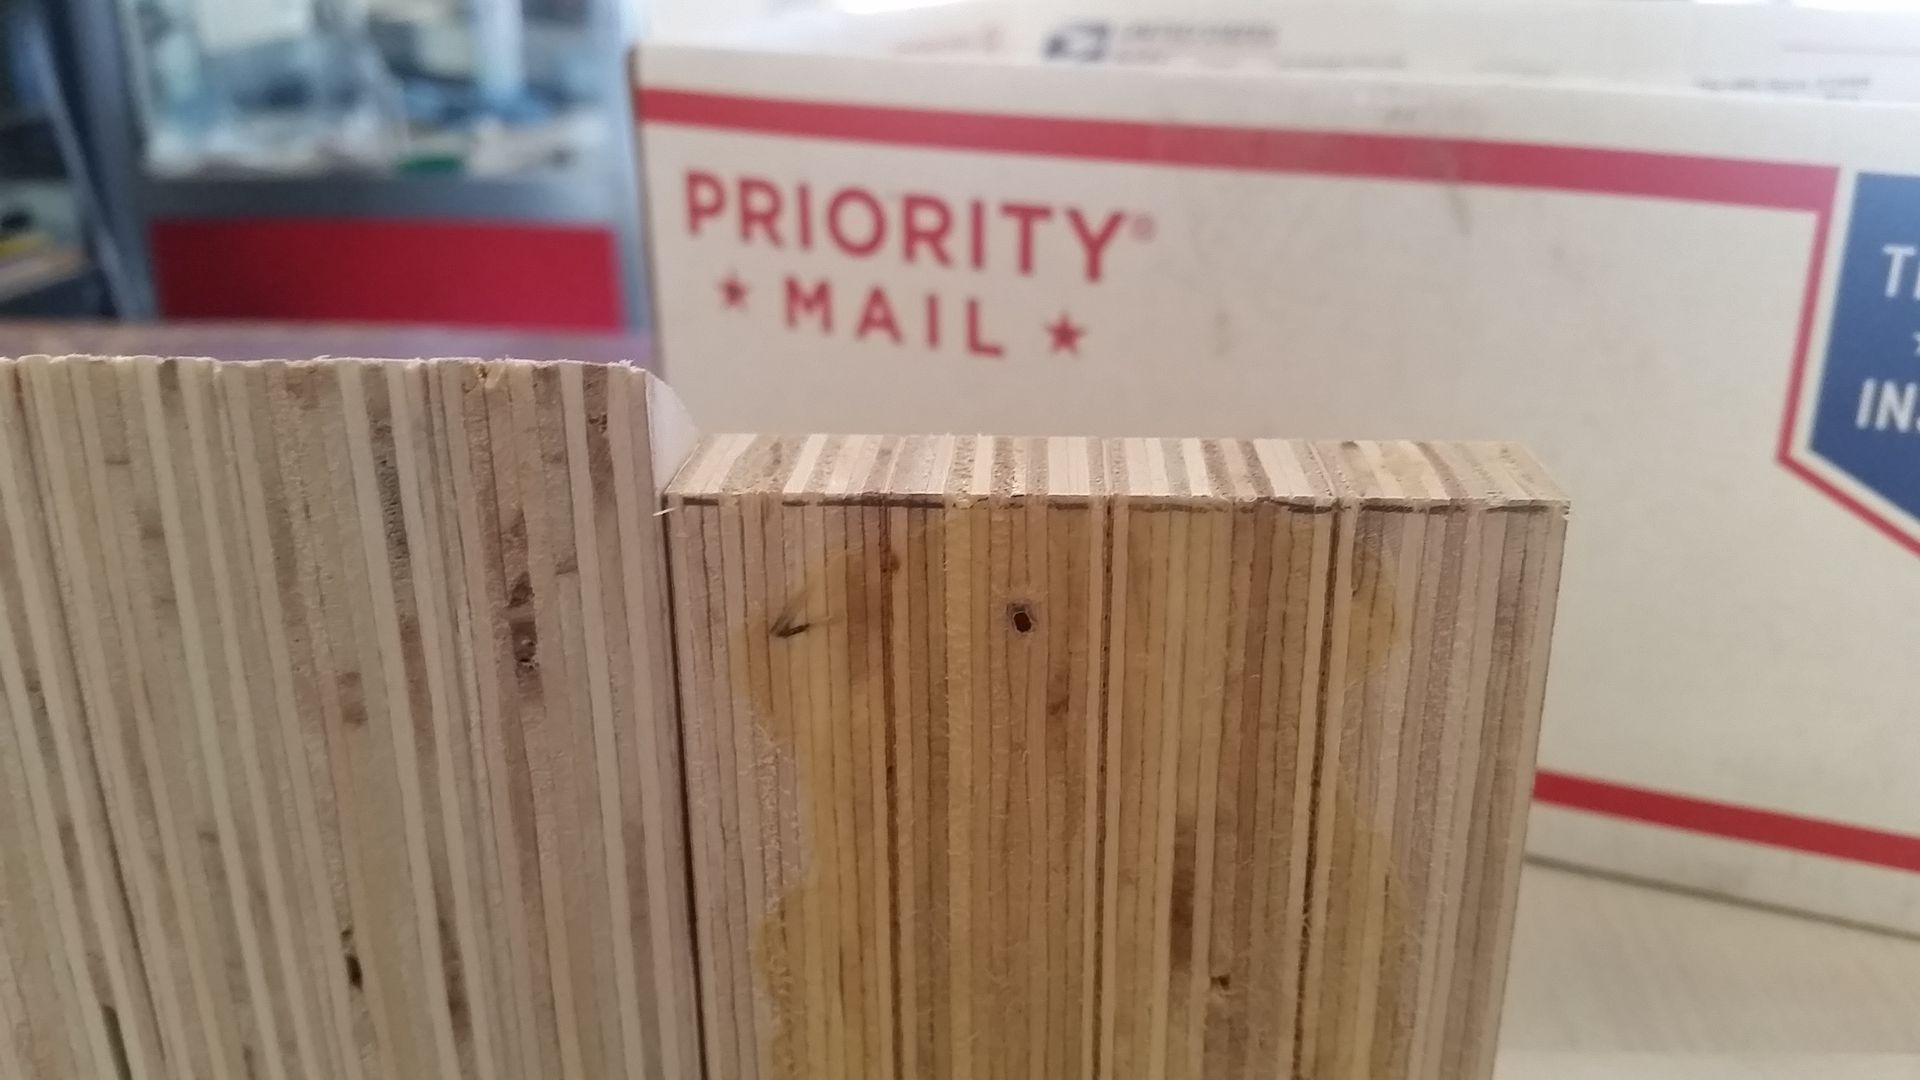
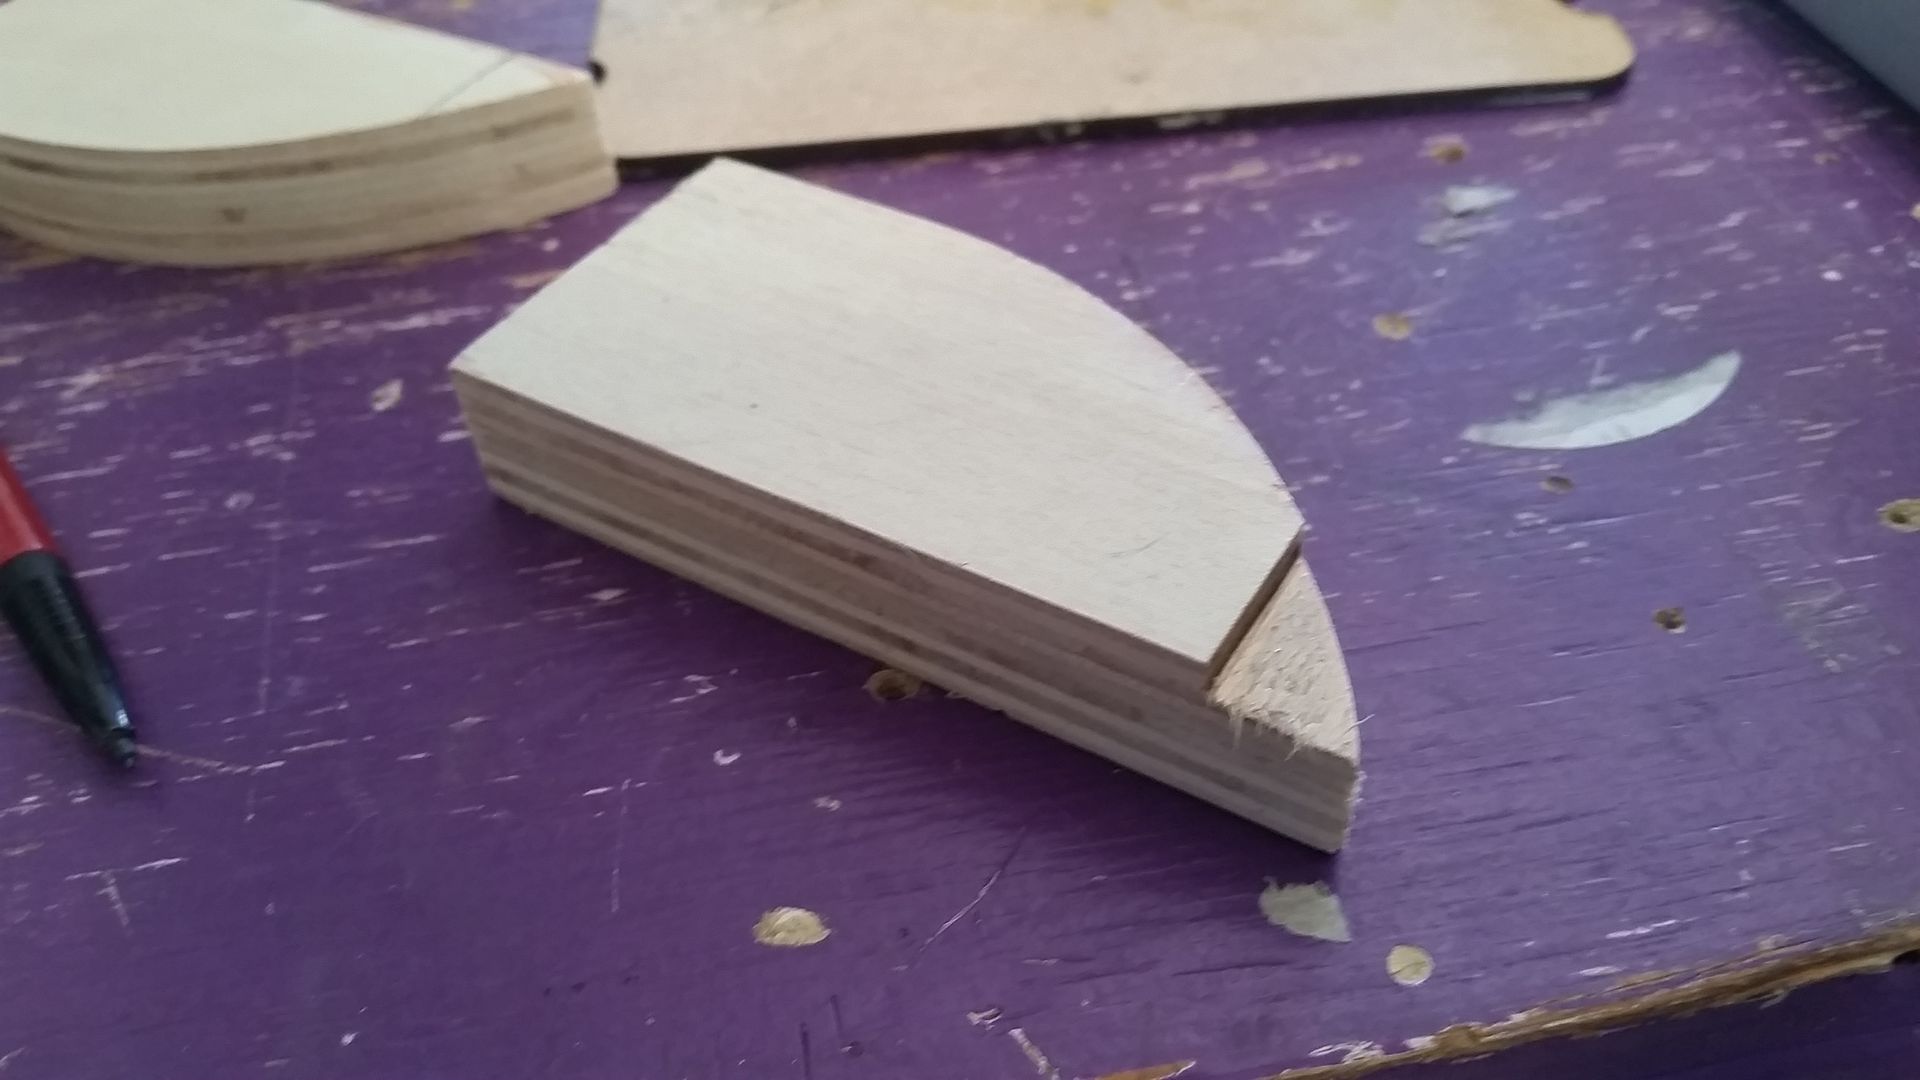
The headrest mounts to the side of the seat frame. I cut this little spacer
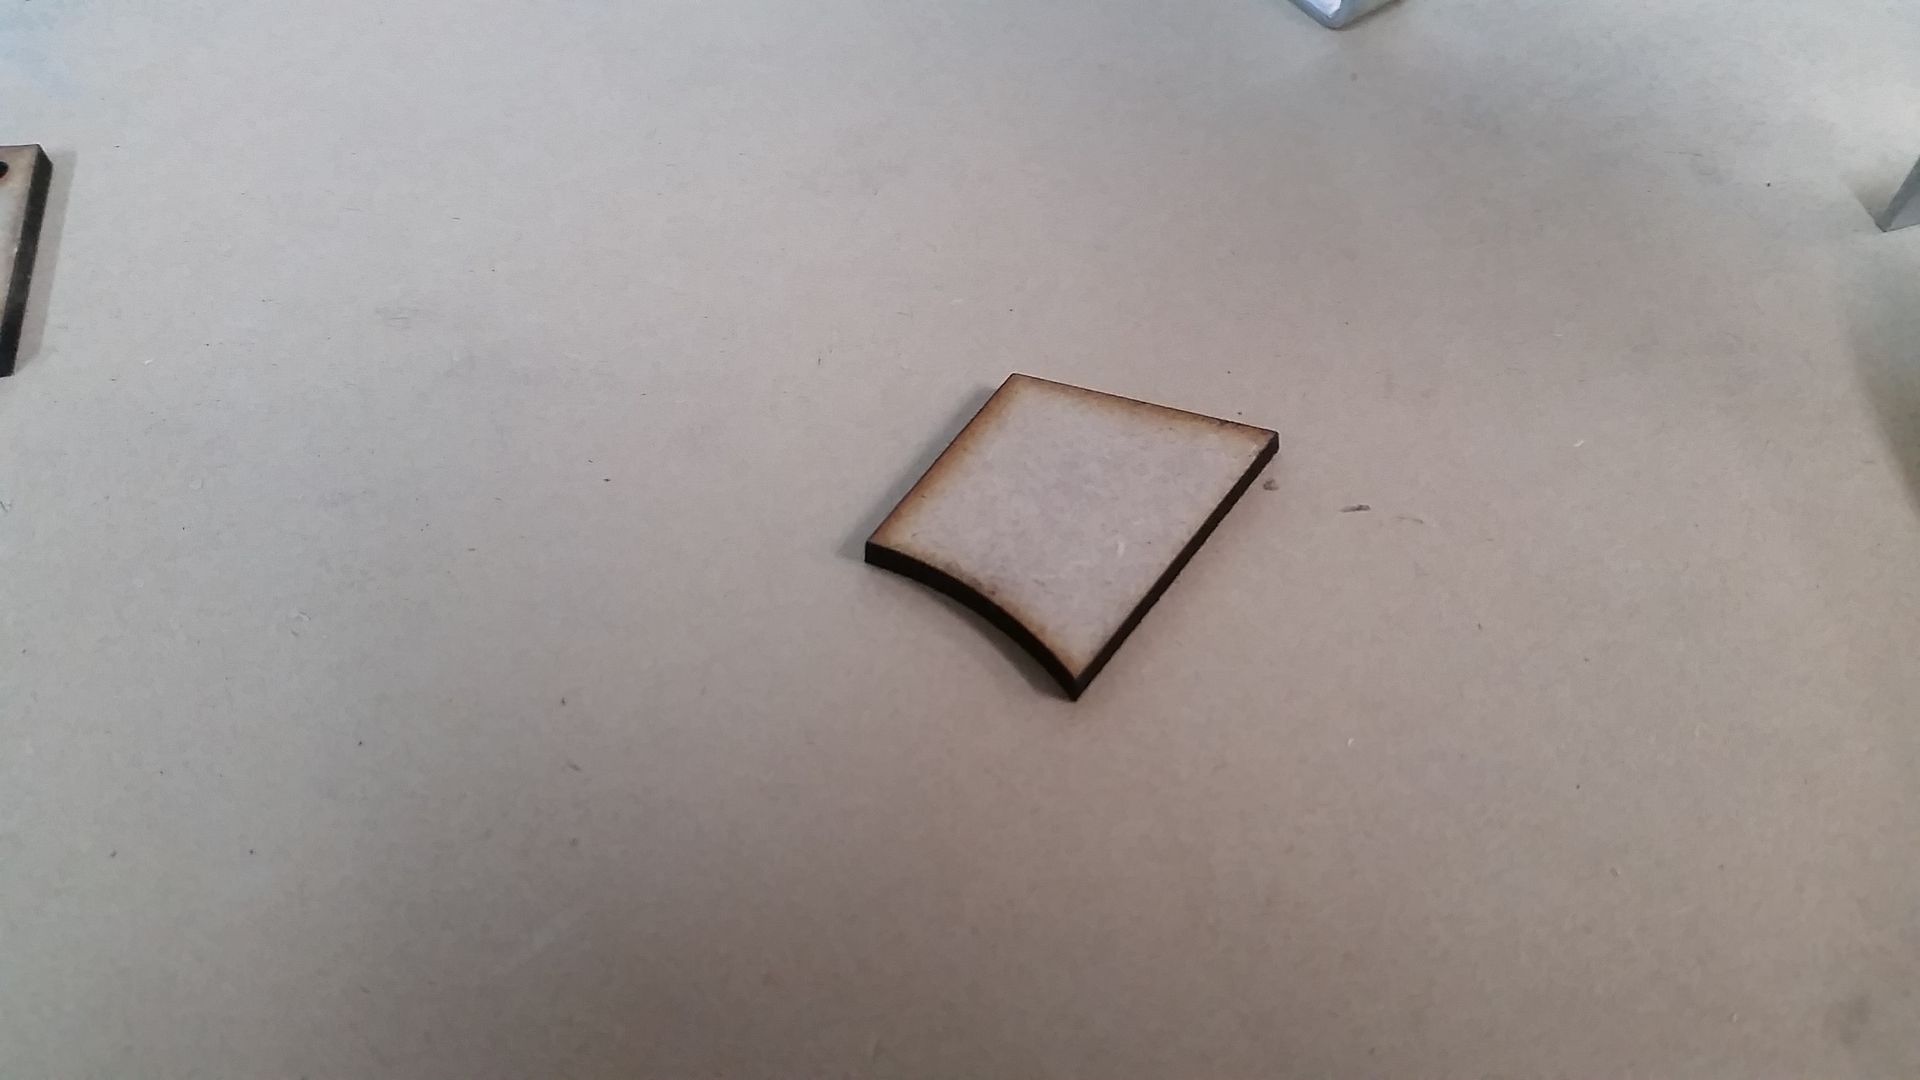
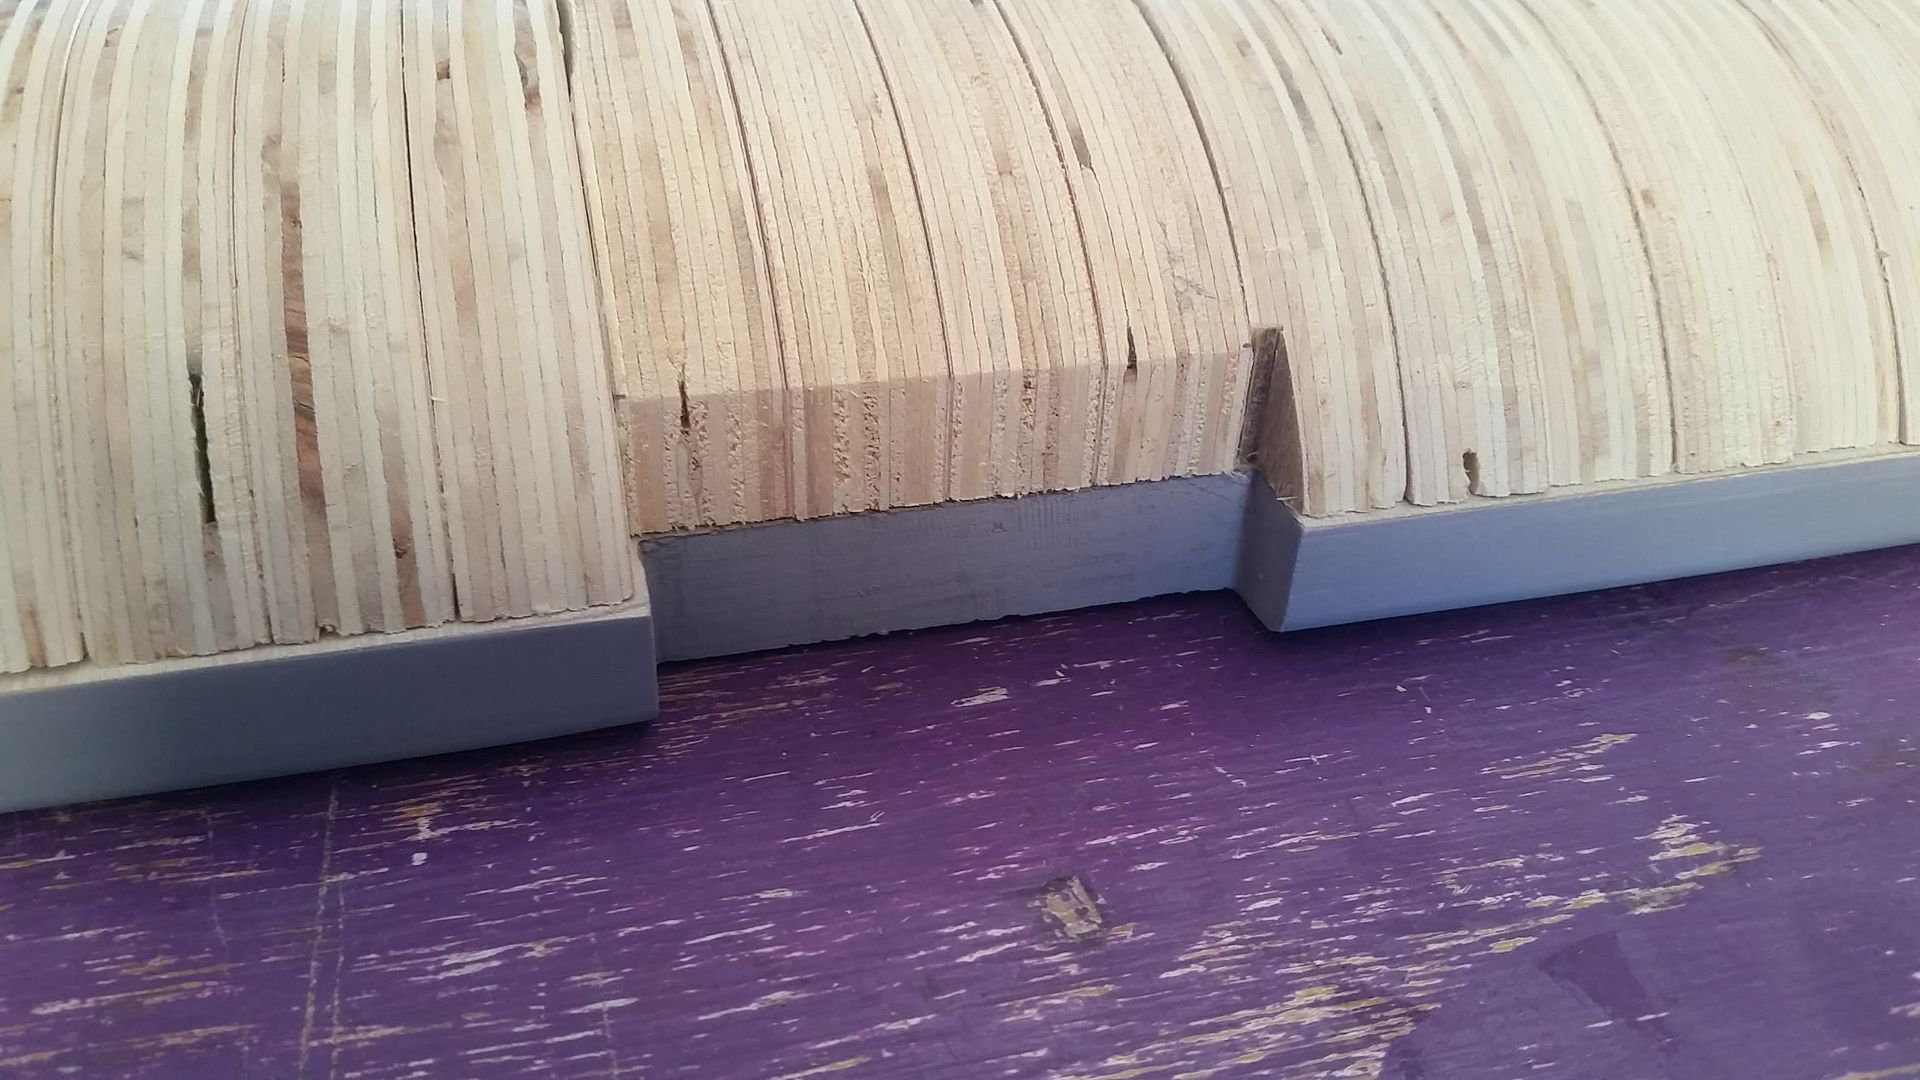
Which wedges itself between the headrest mount and panel frame
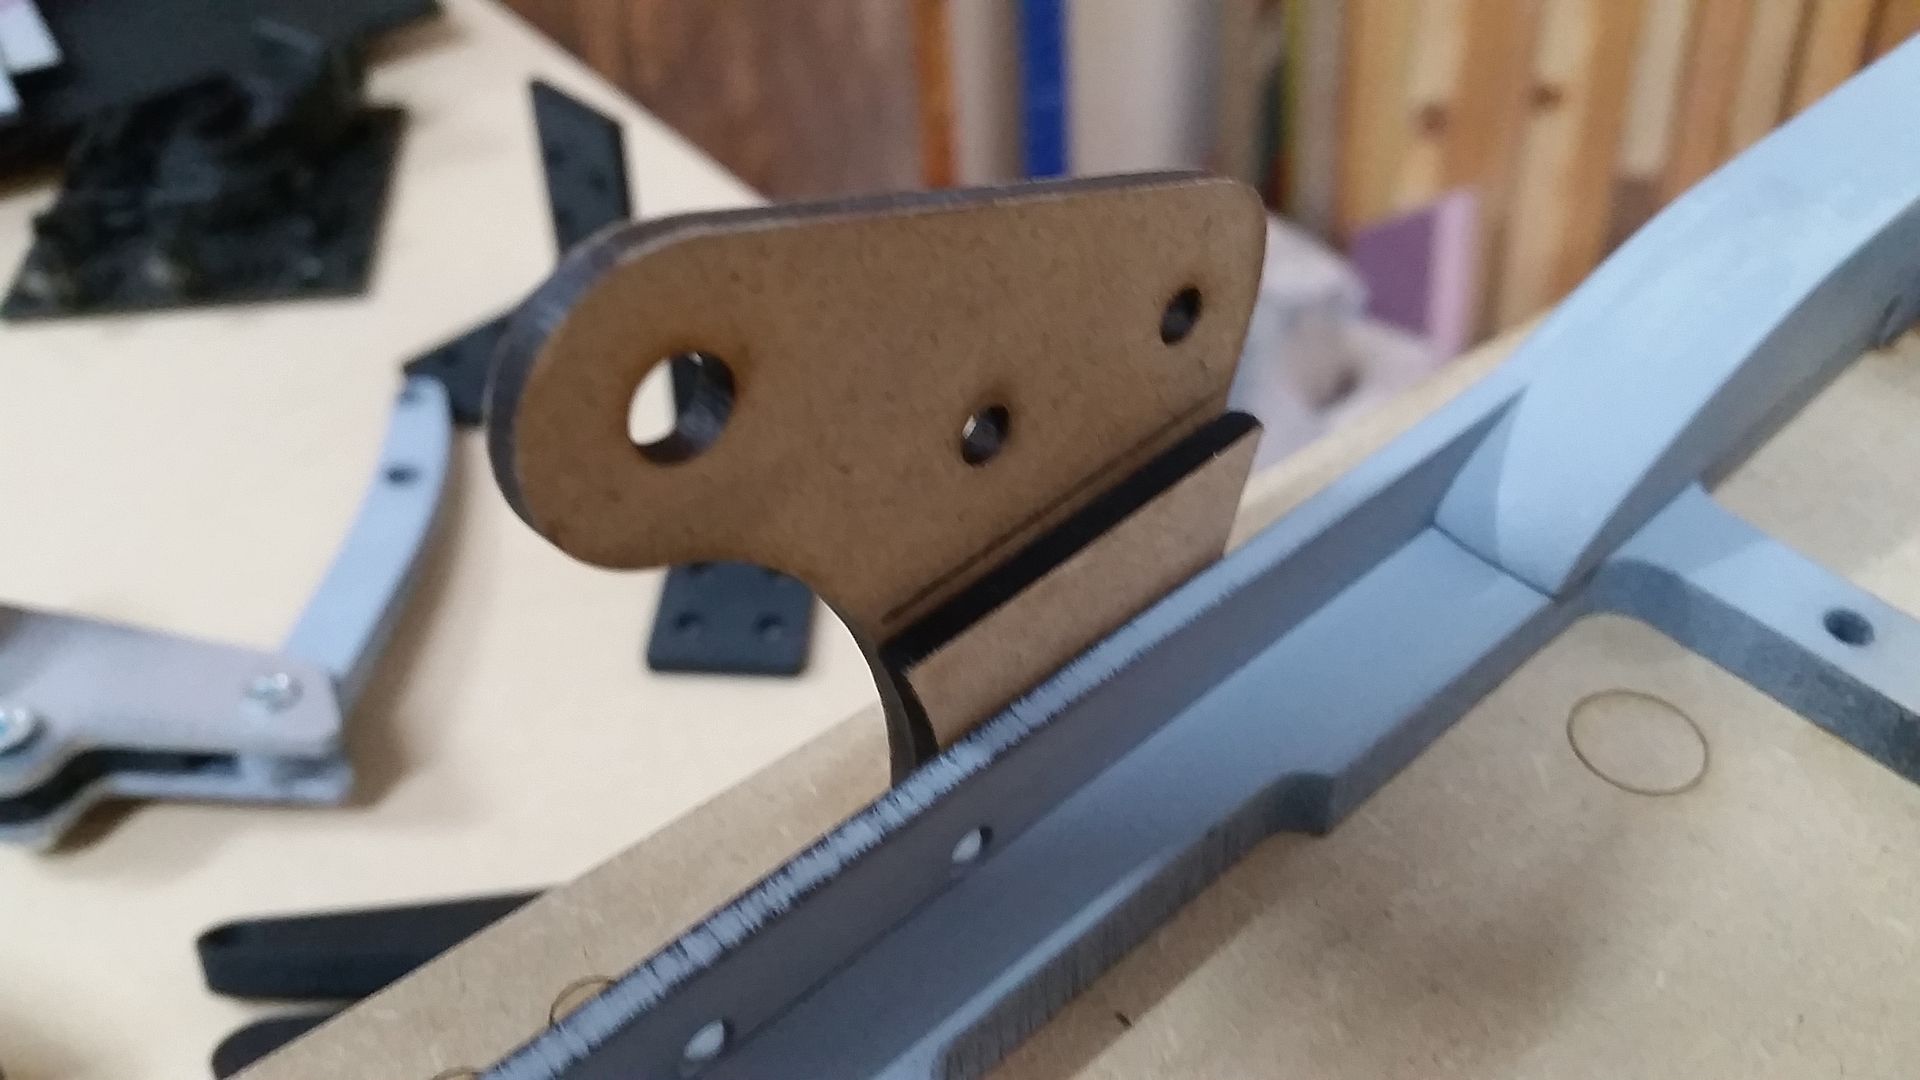
The wedge also acts as a stopper which determines the angle of the actual headrest

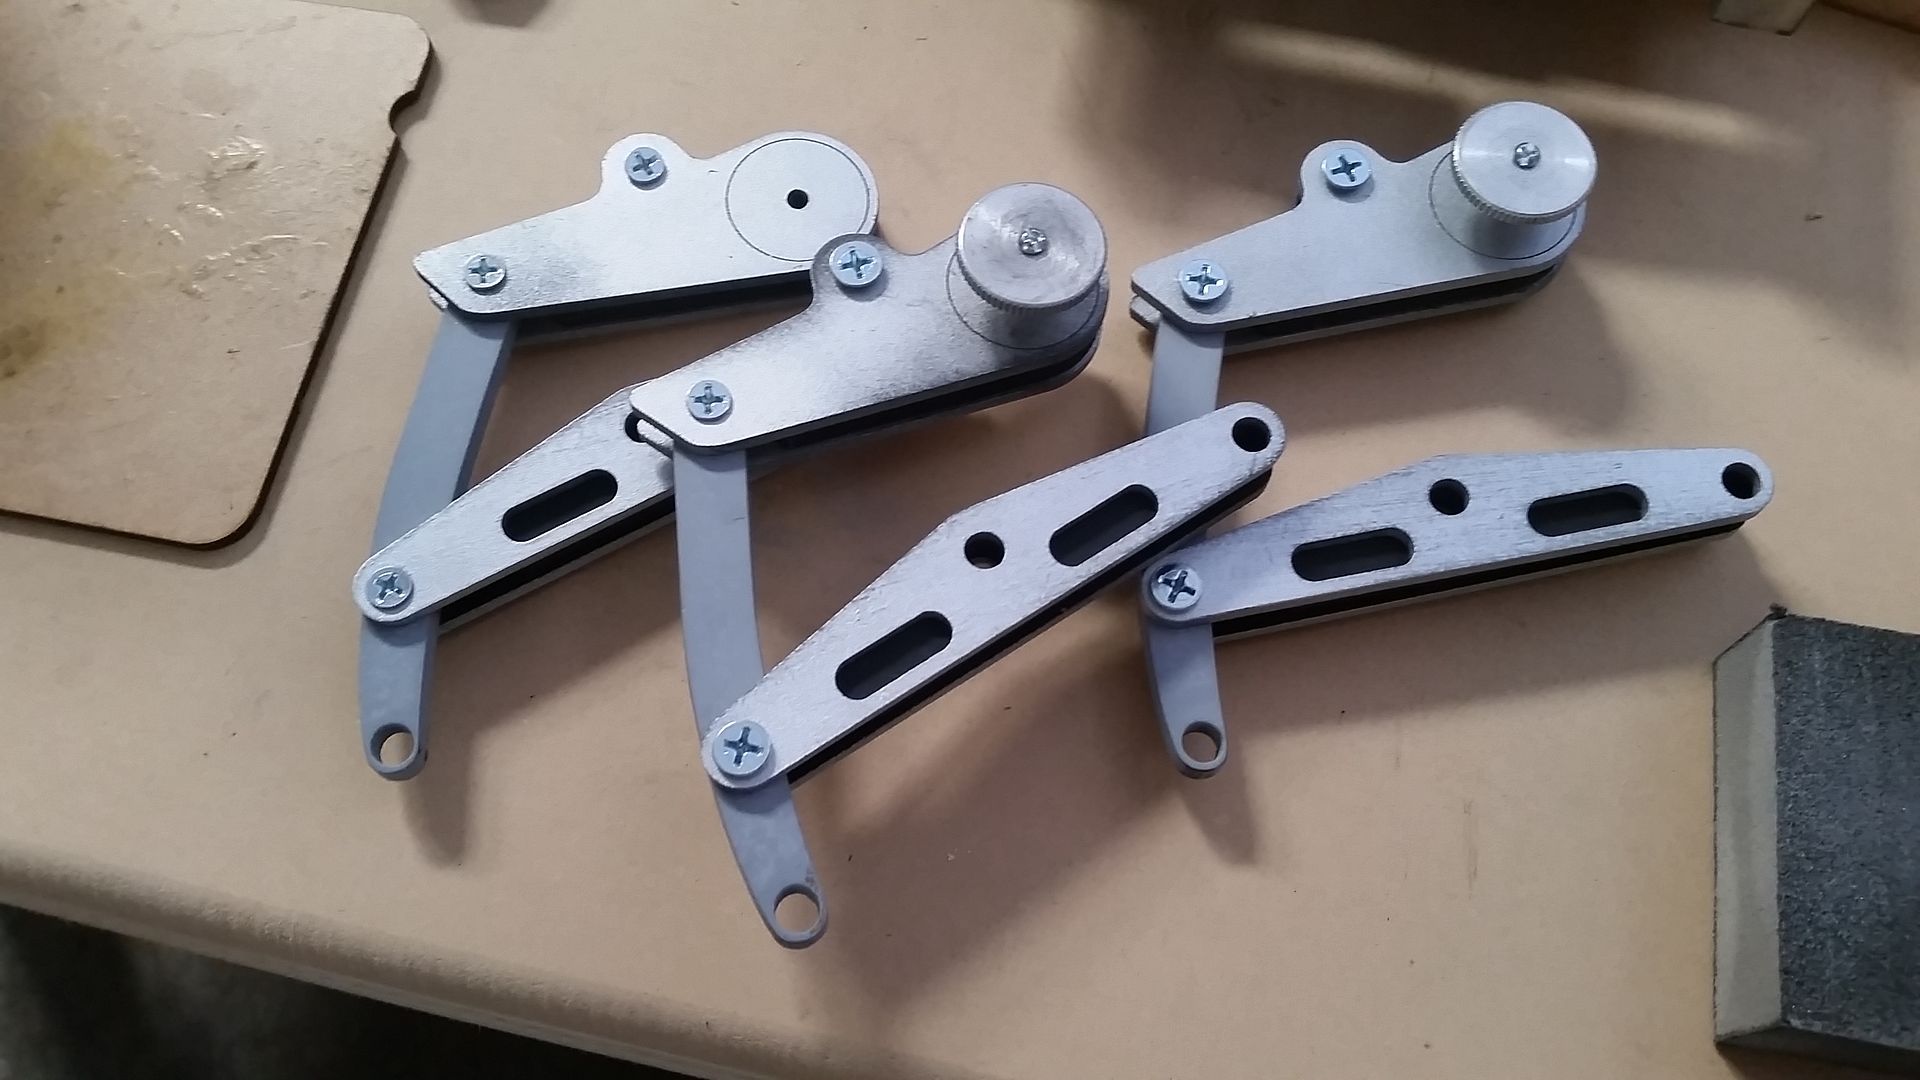
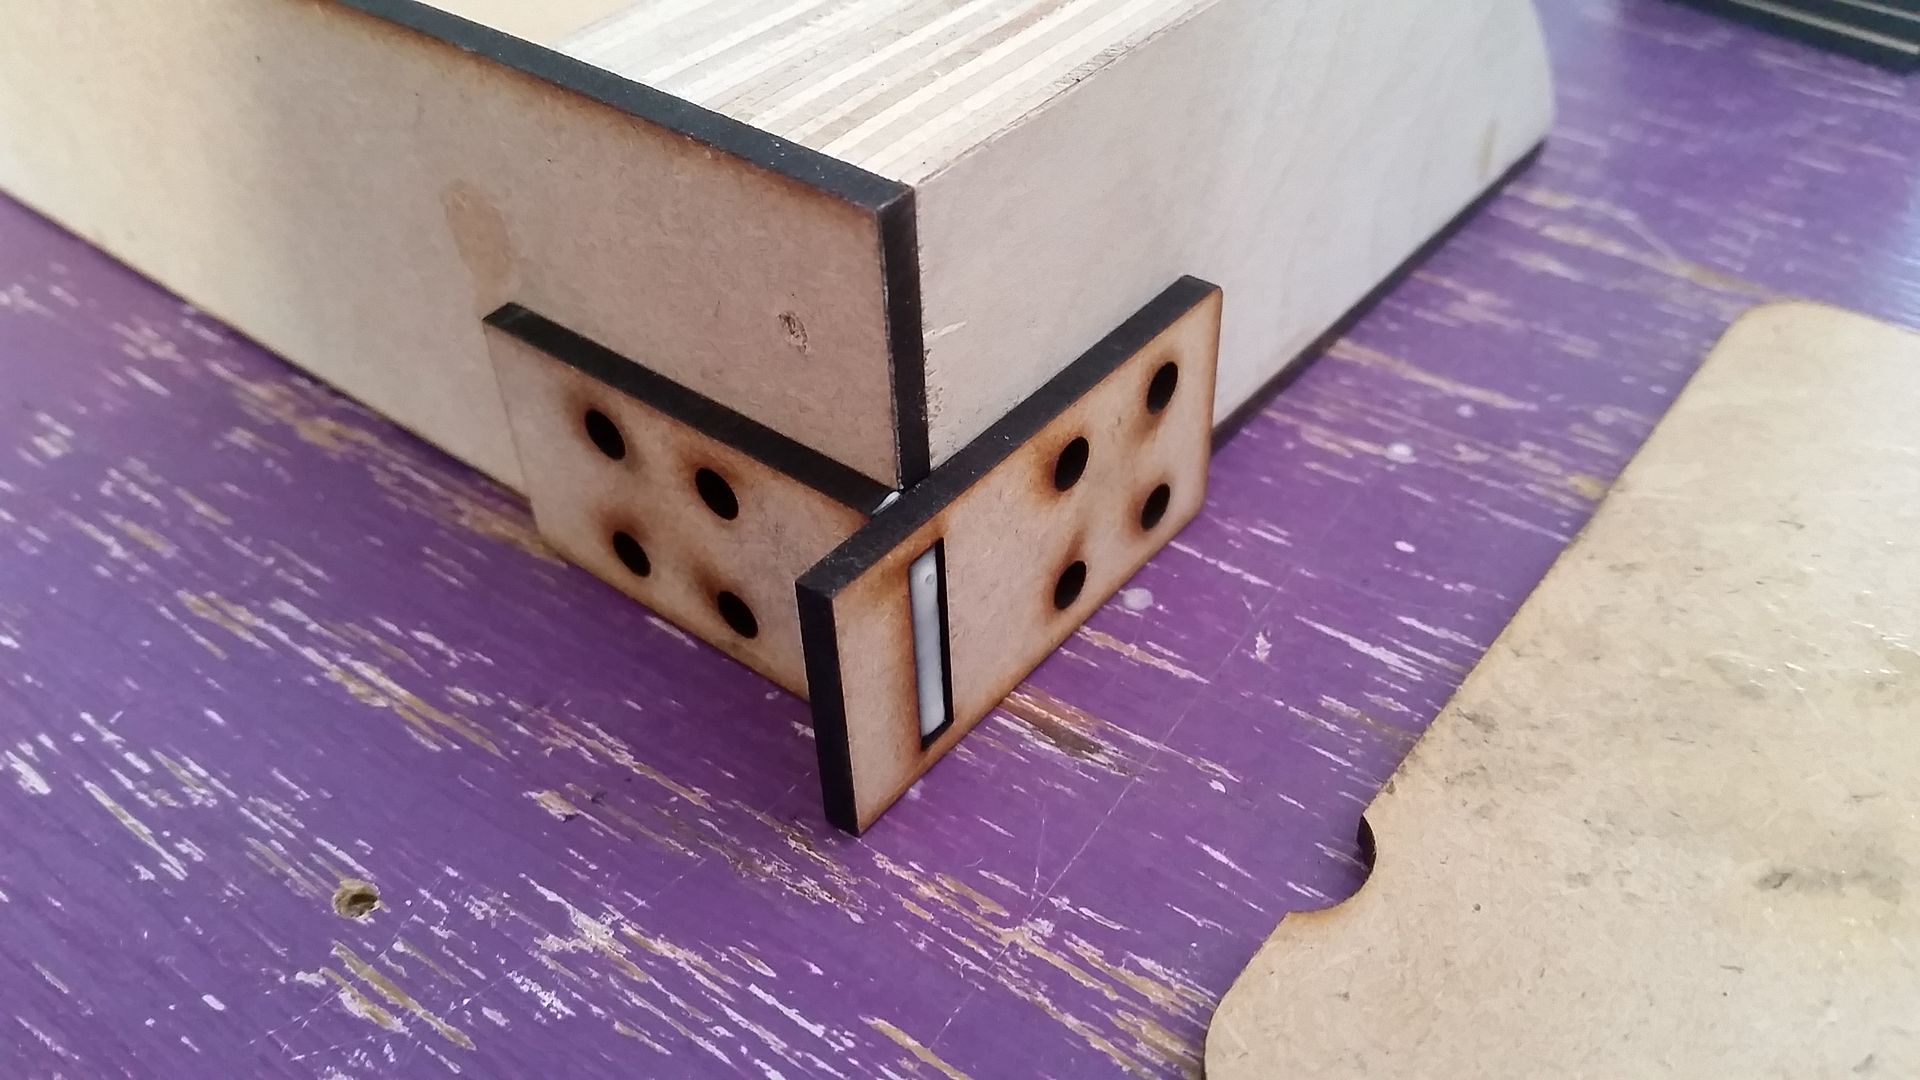
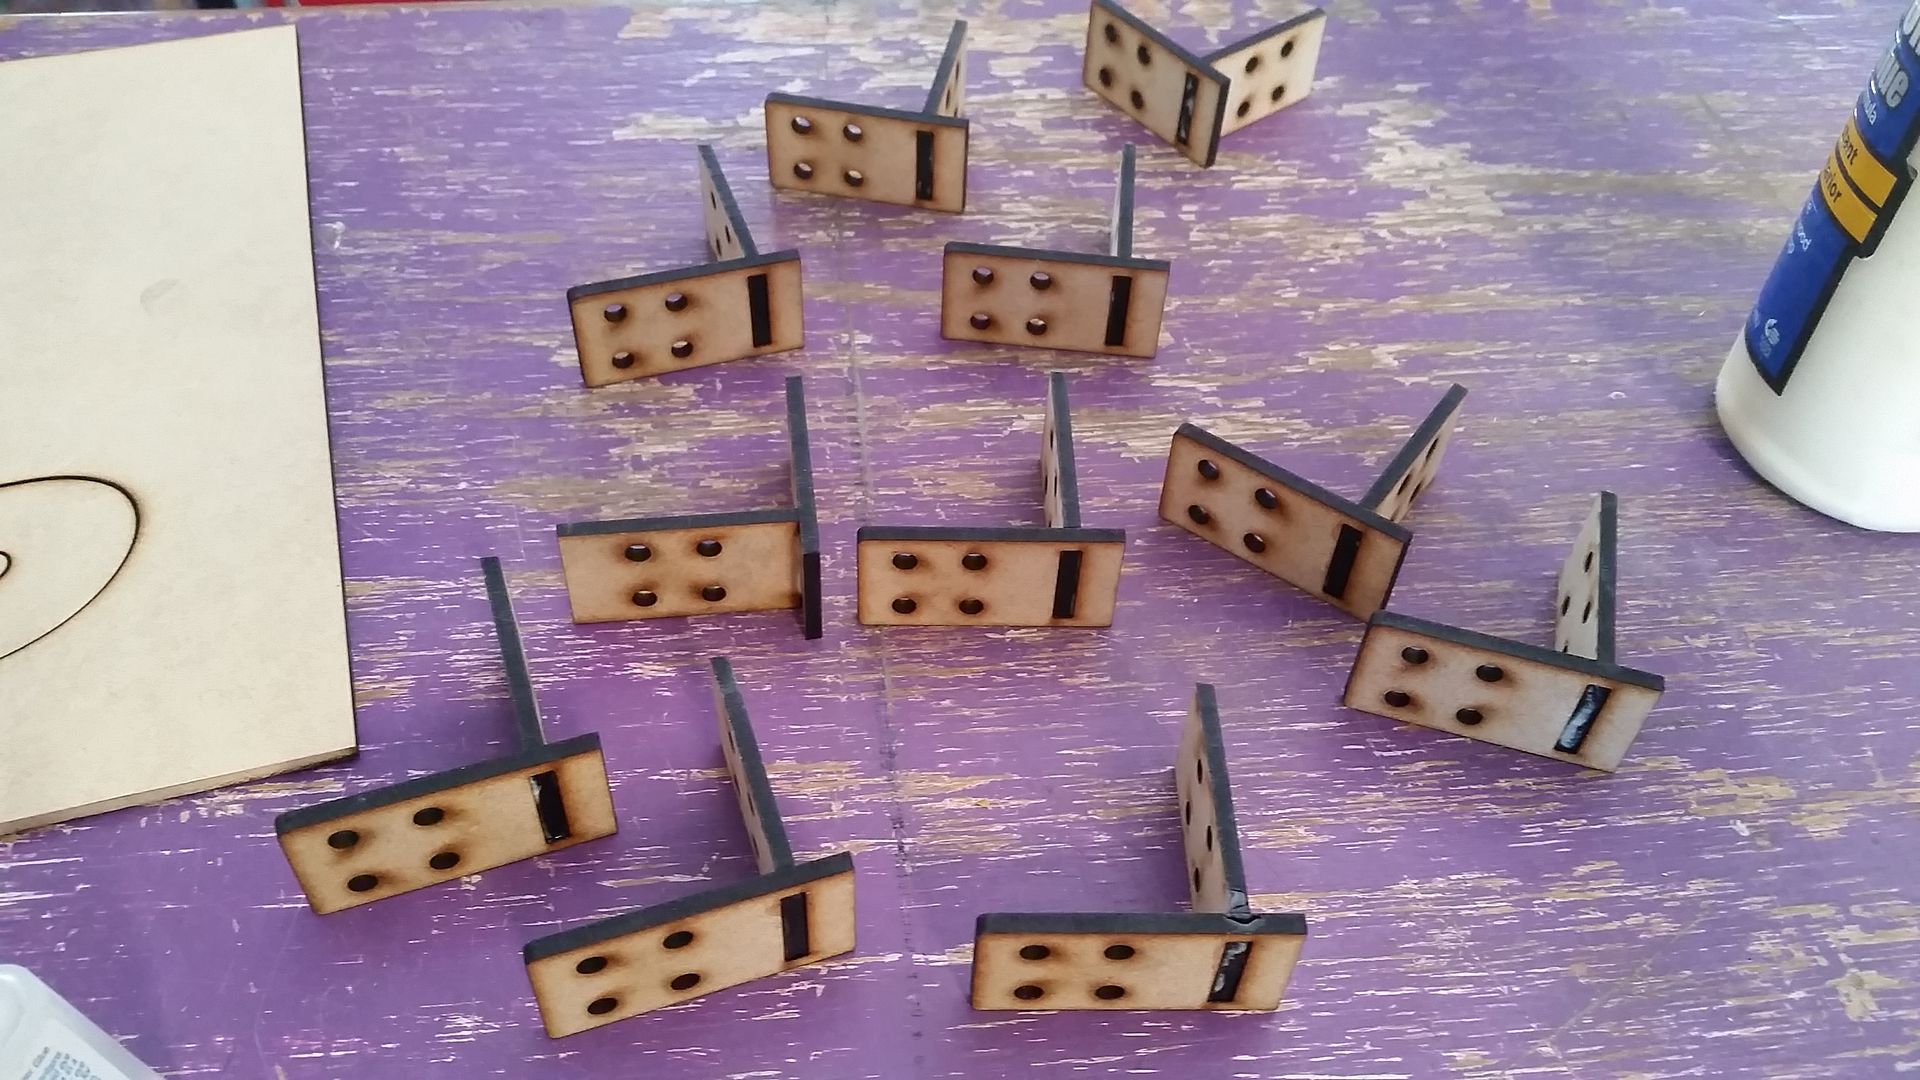
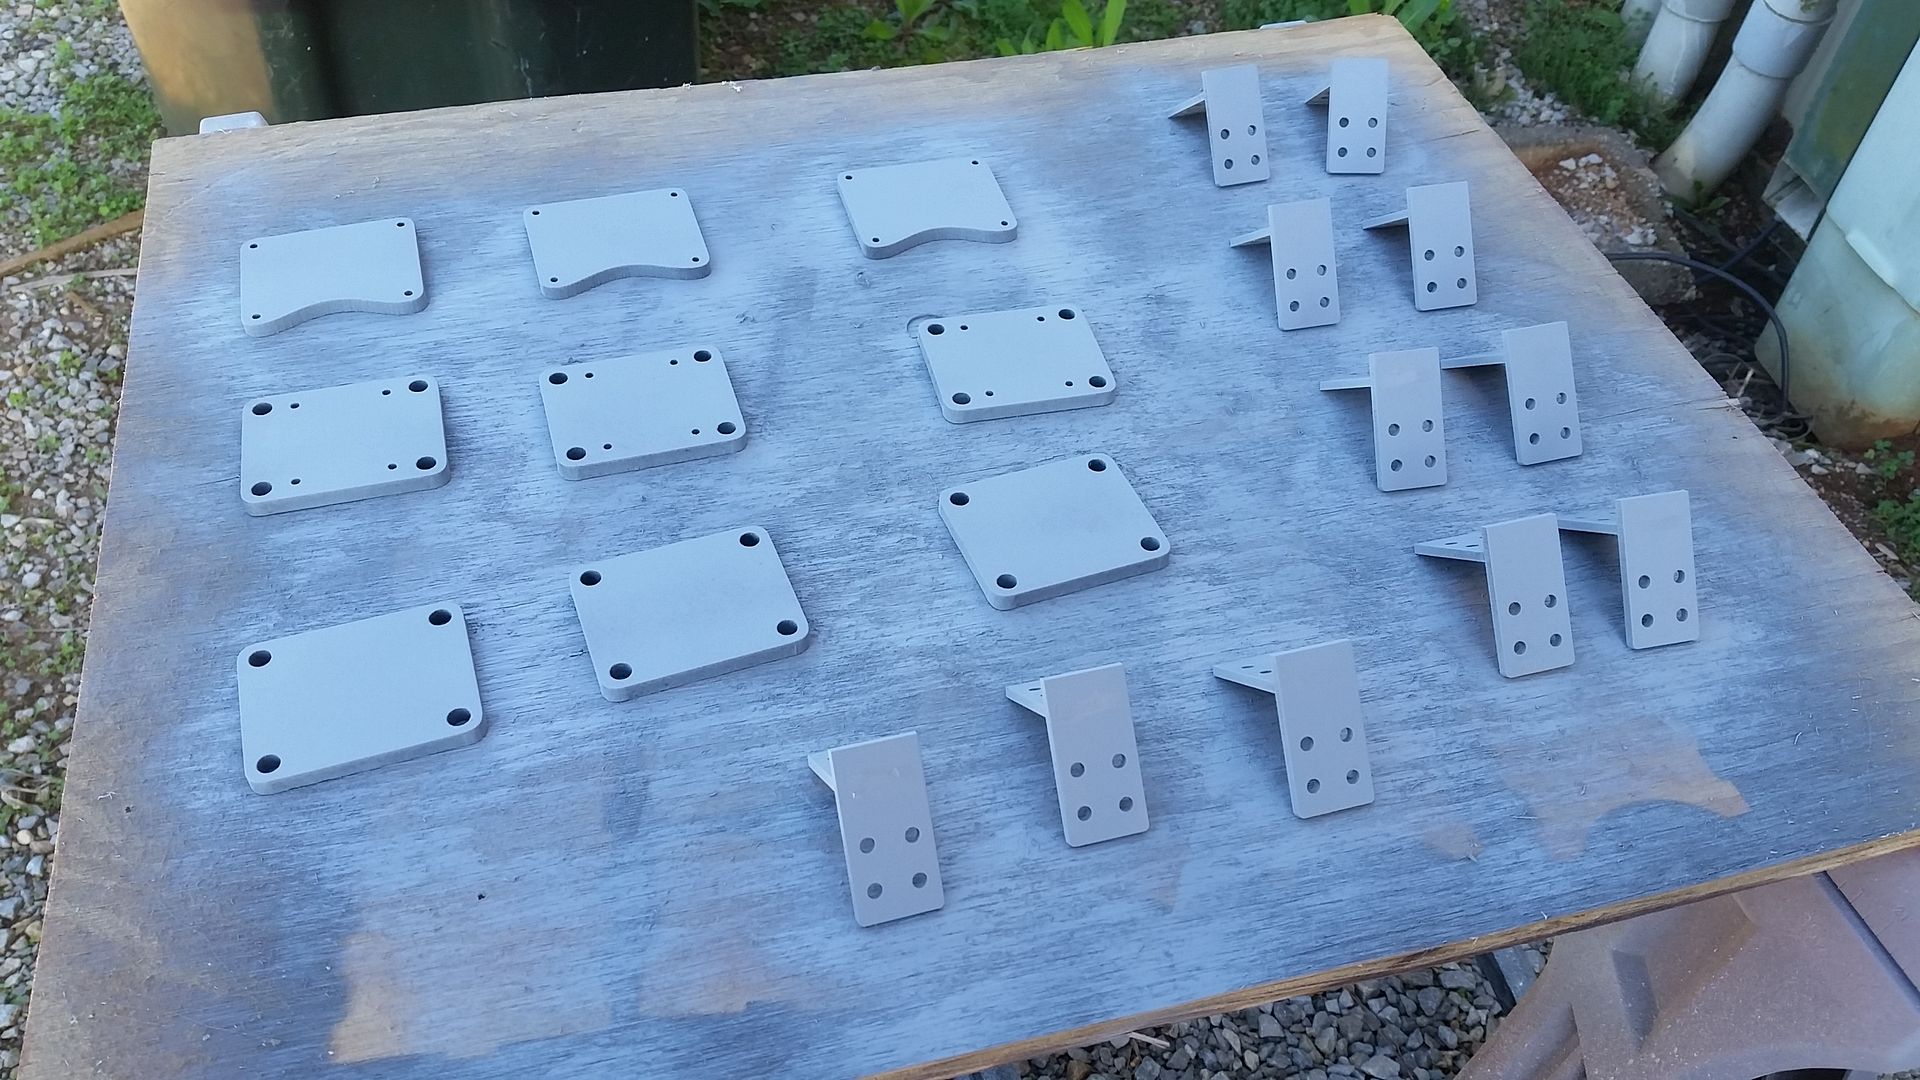
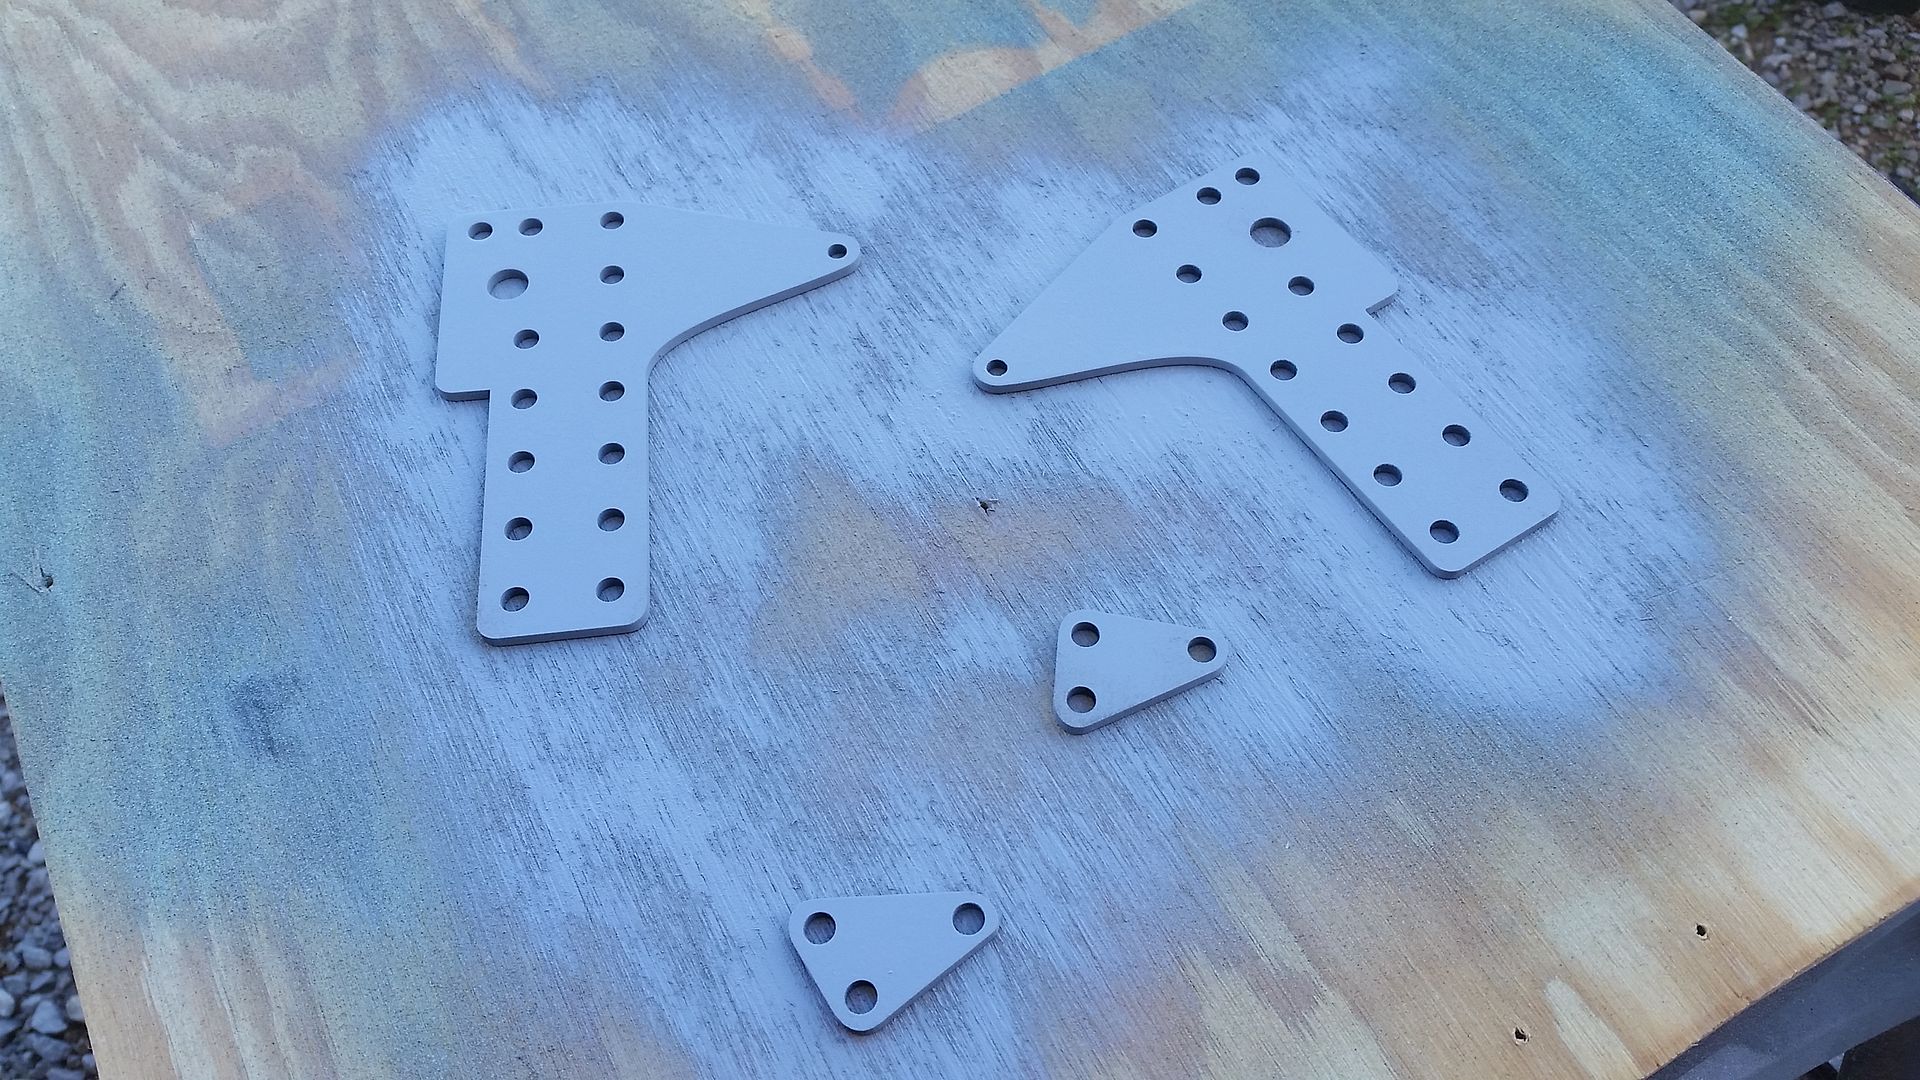
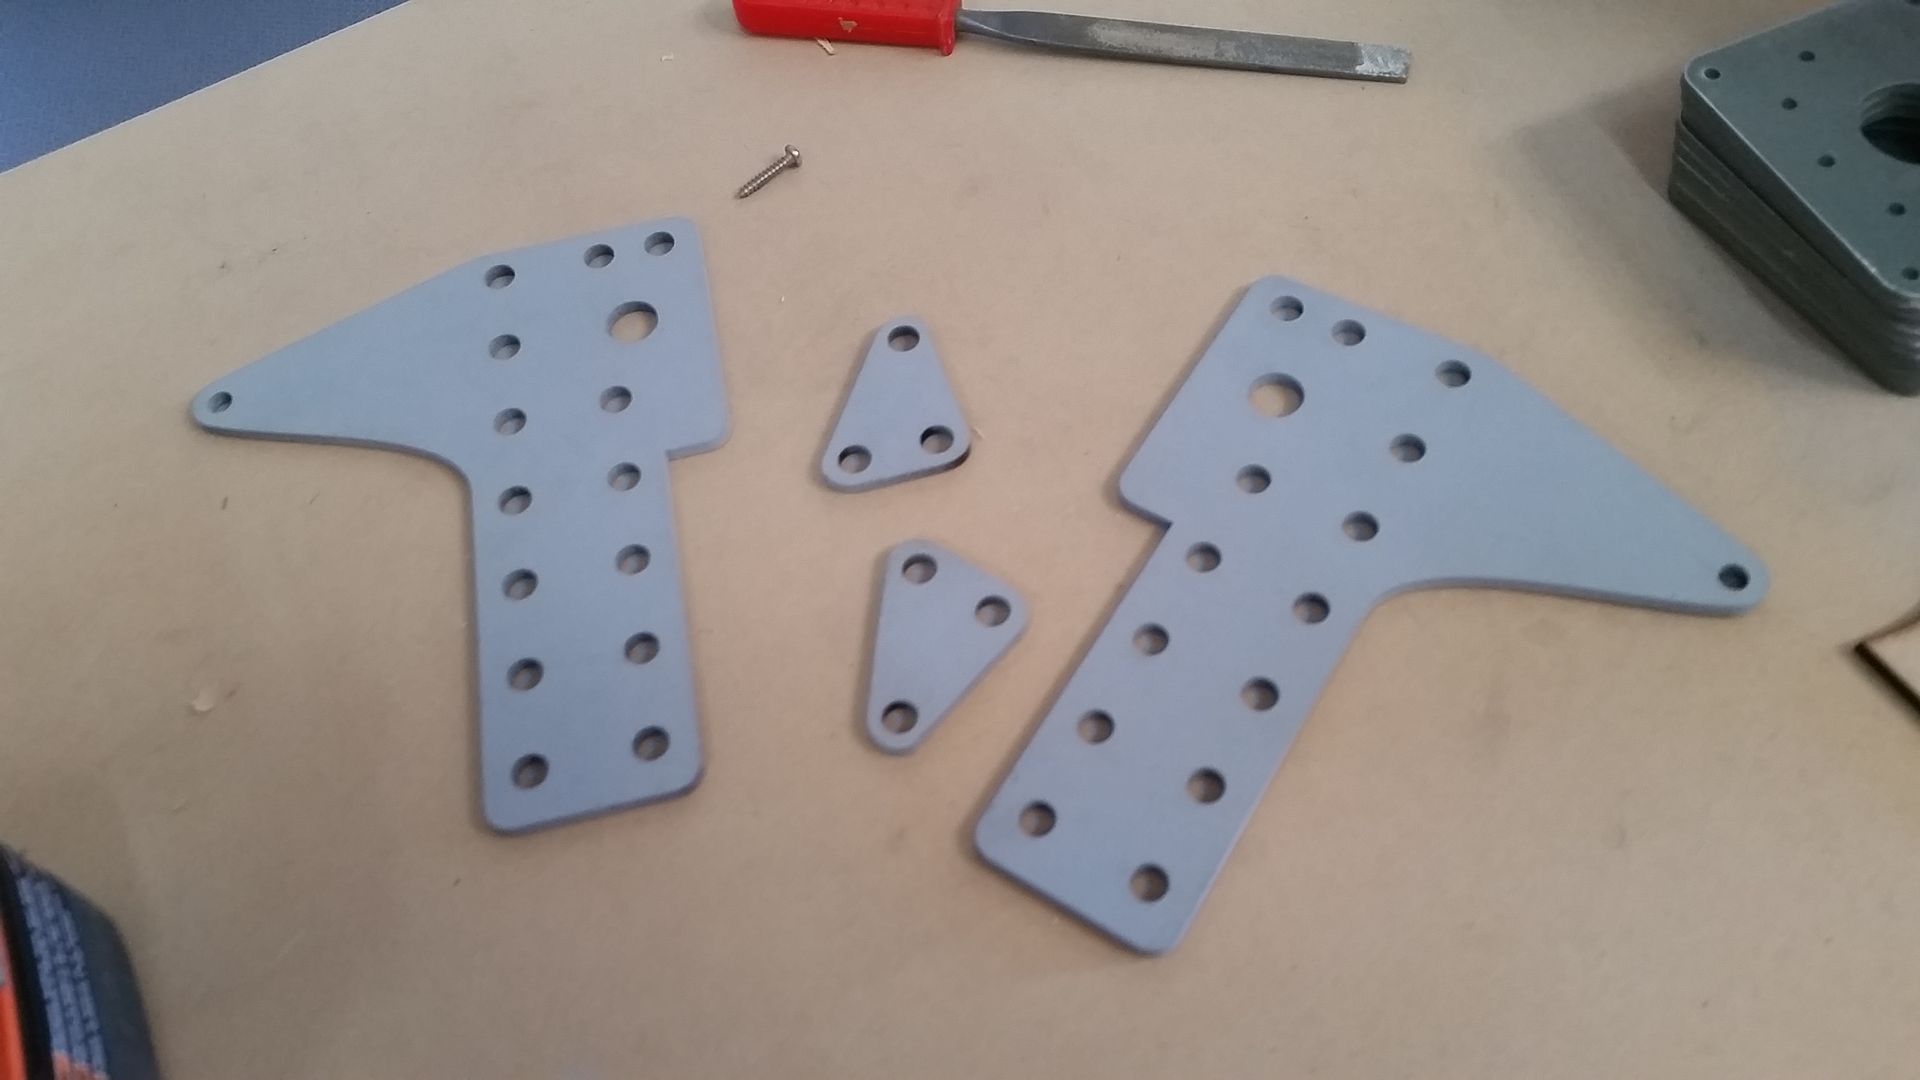
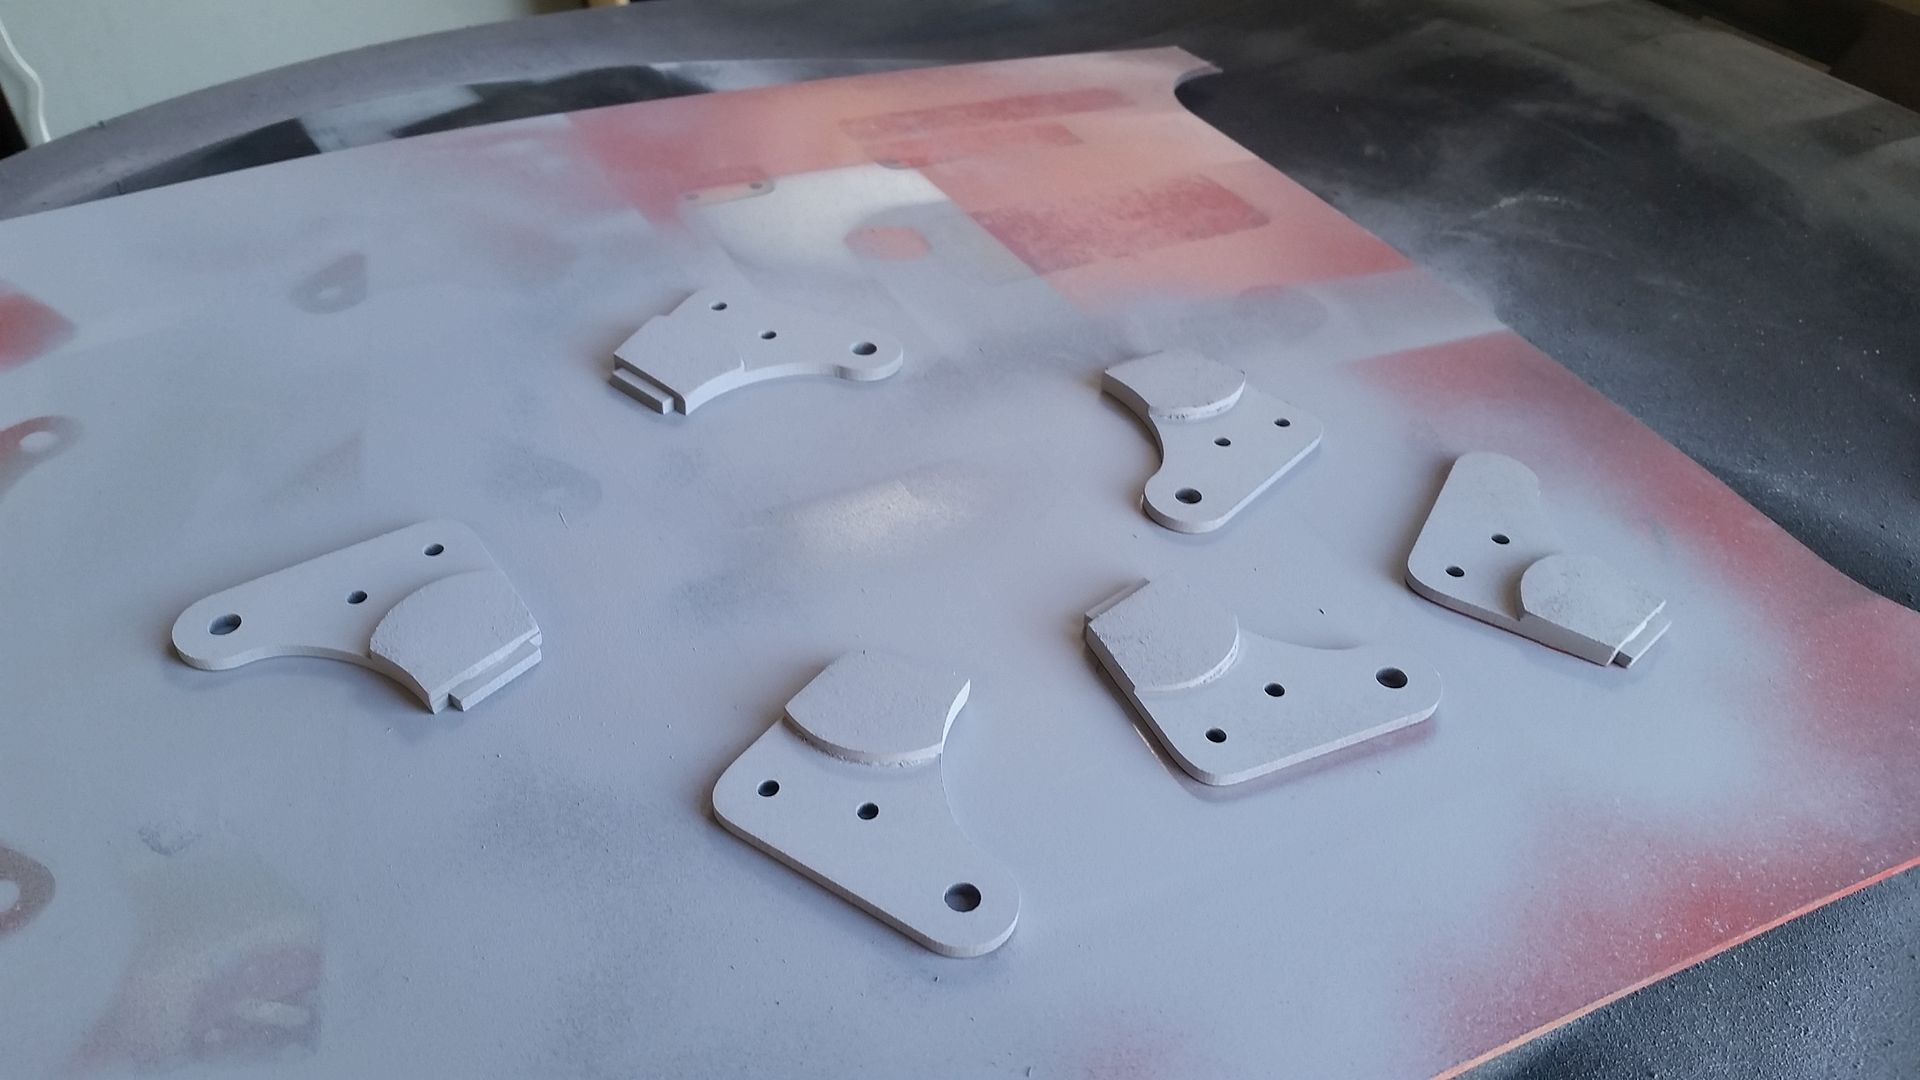
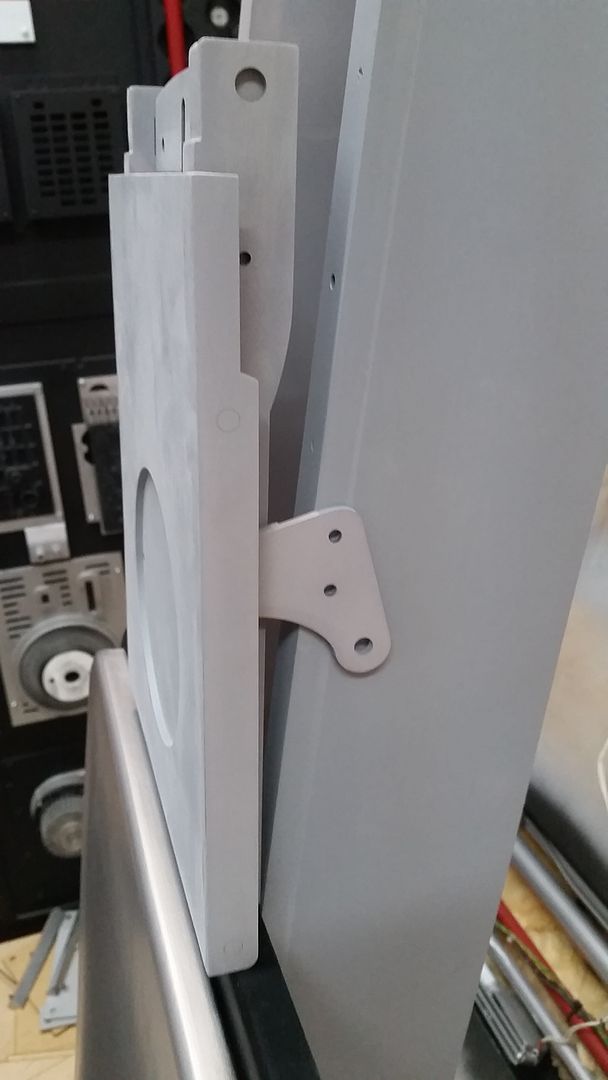
Angle brackets for detail
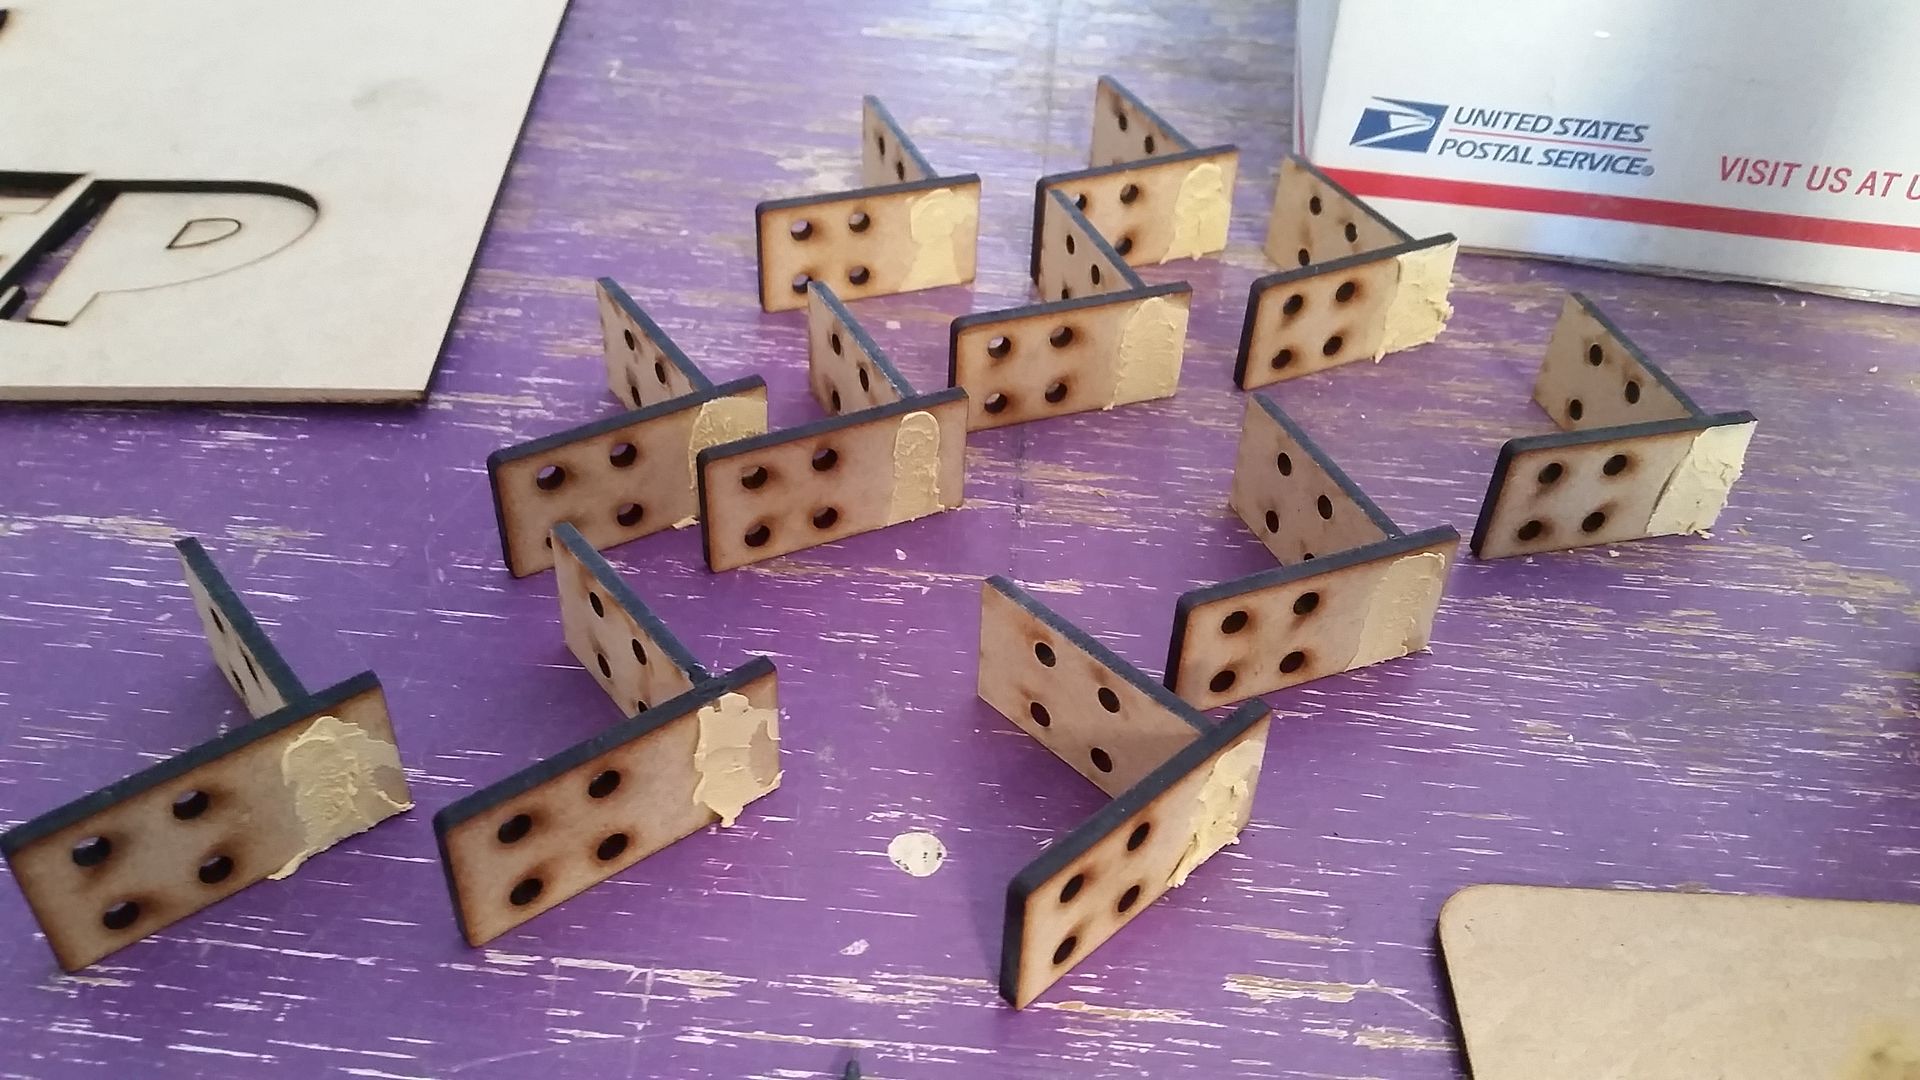
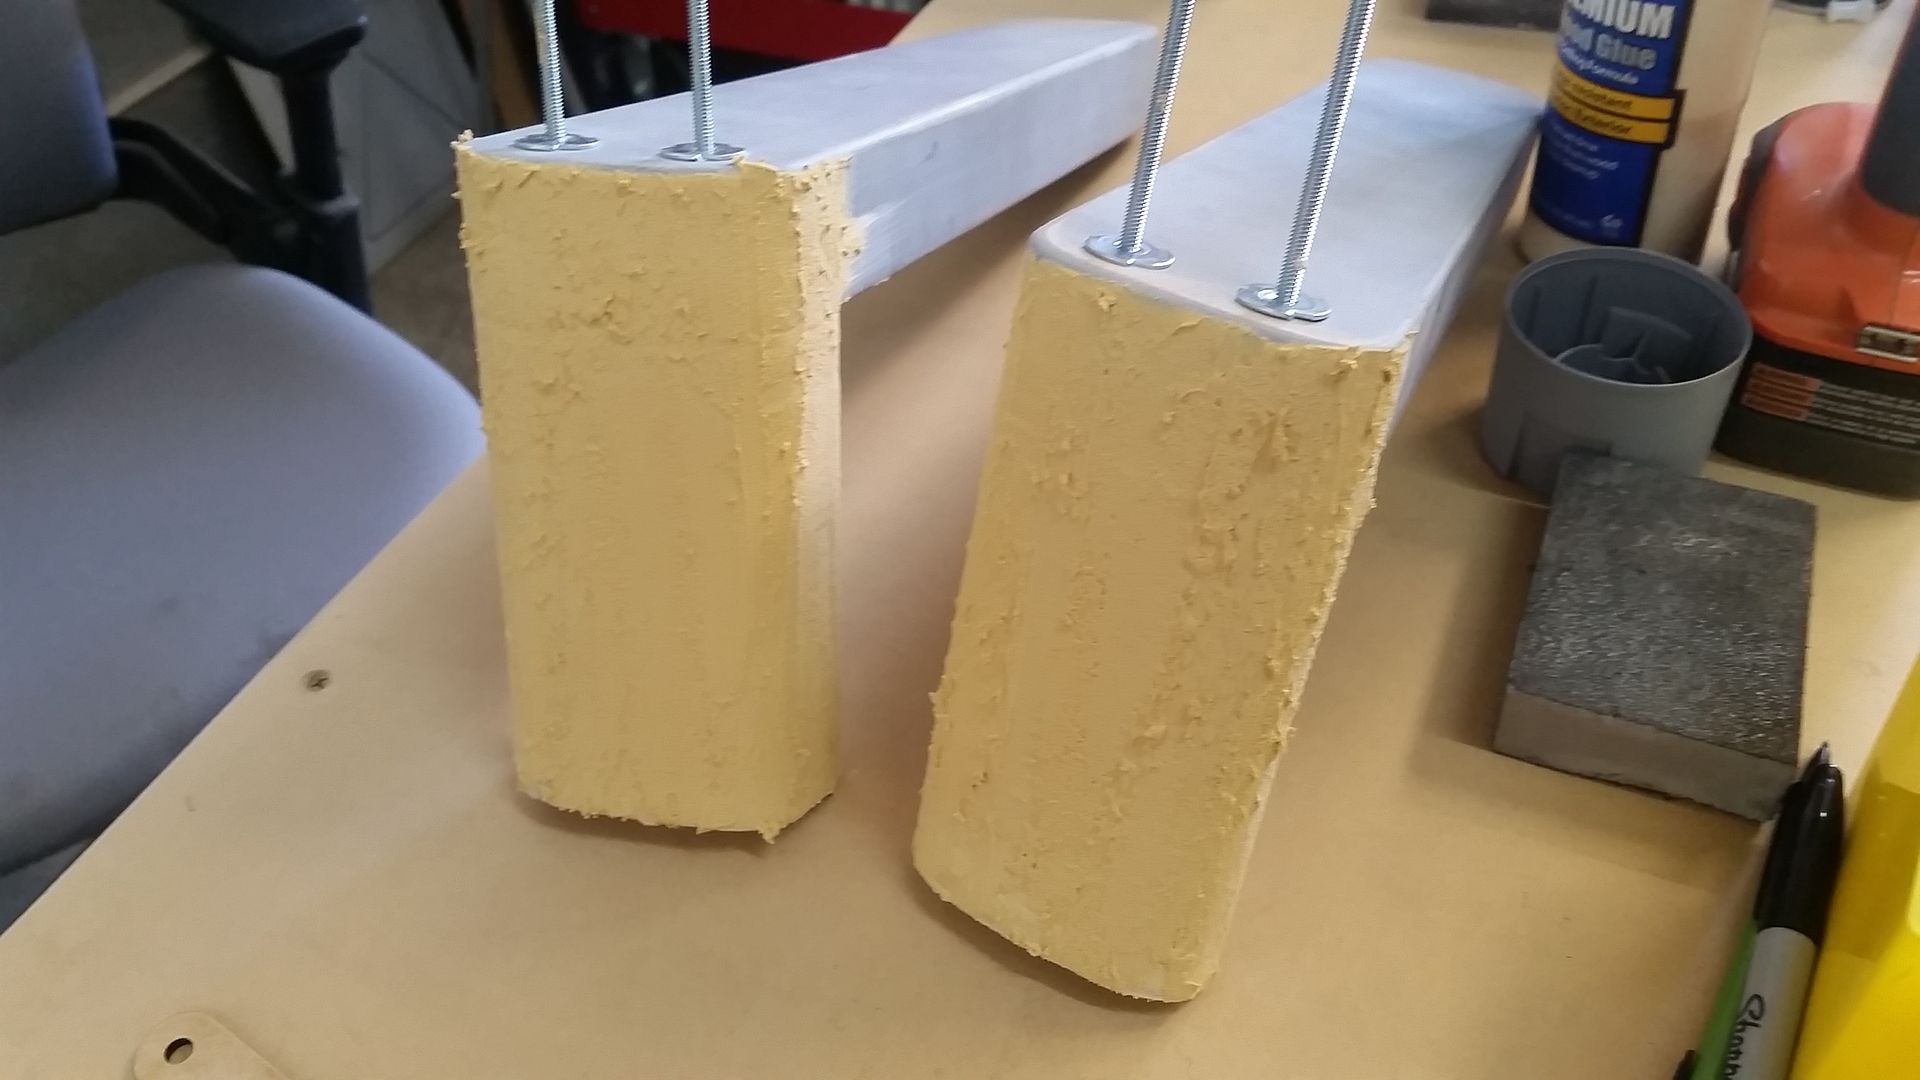
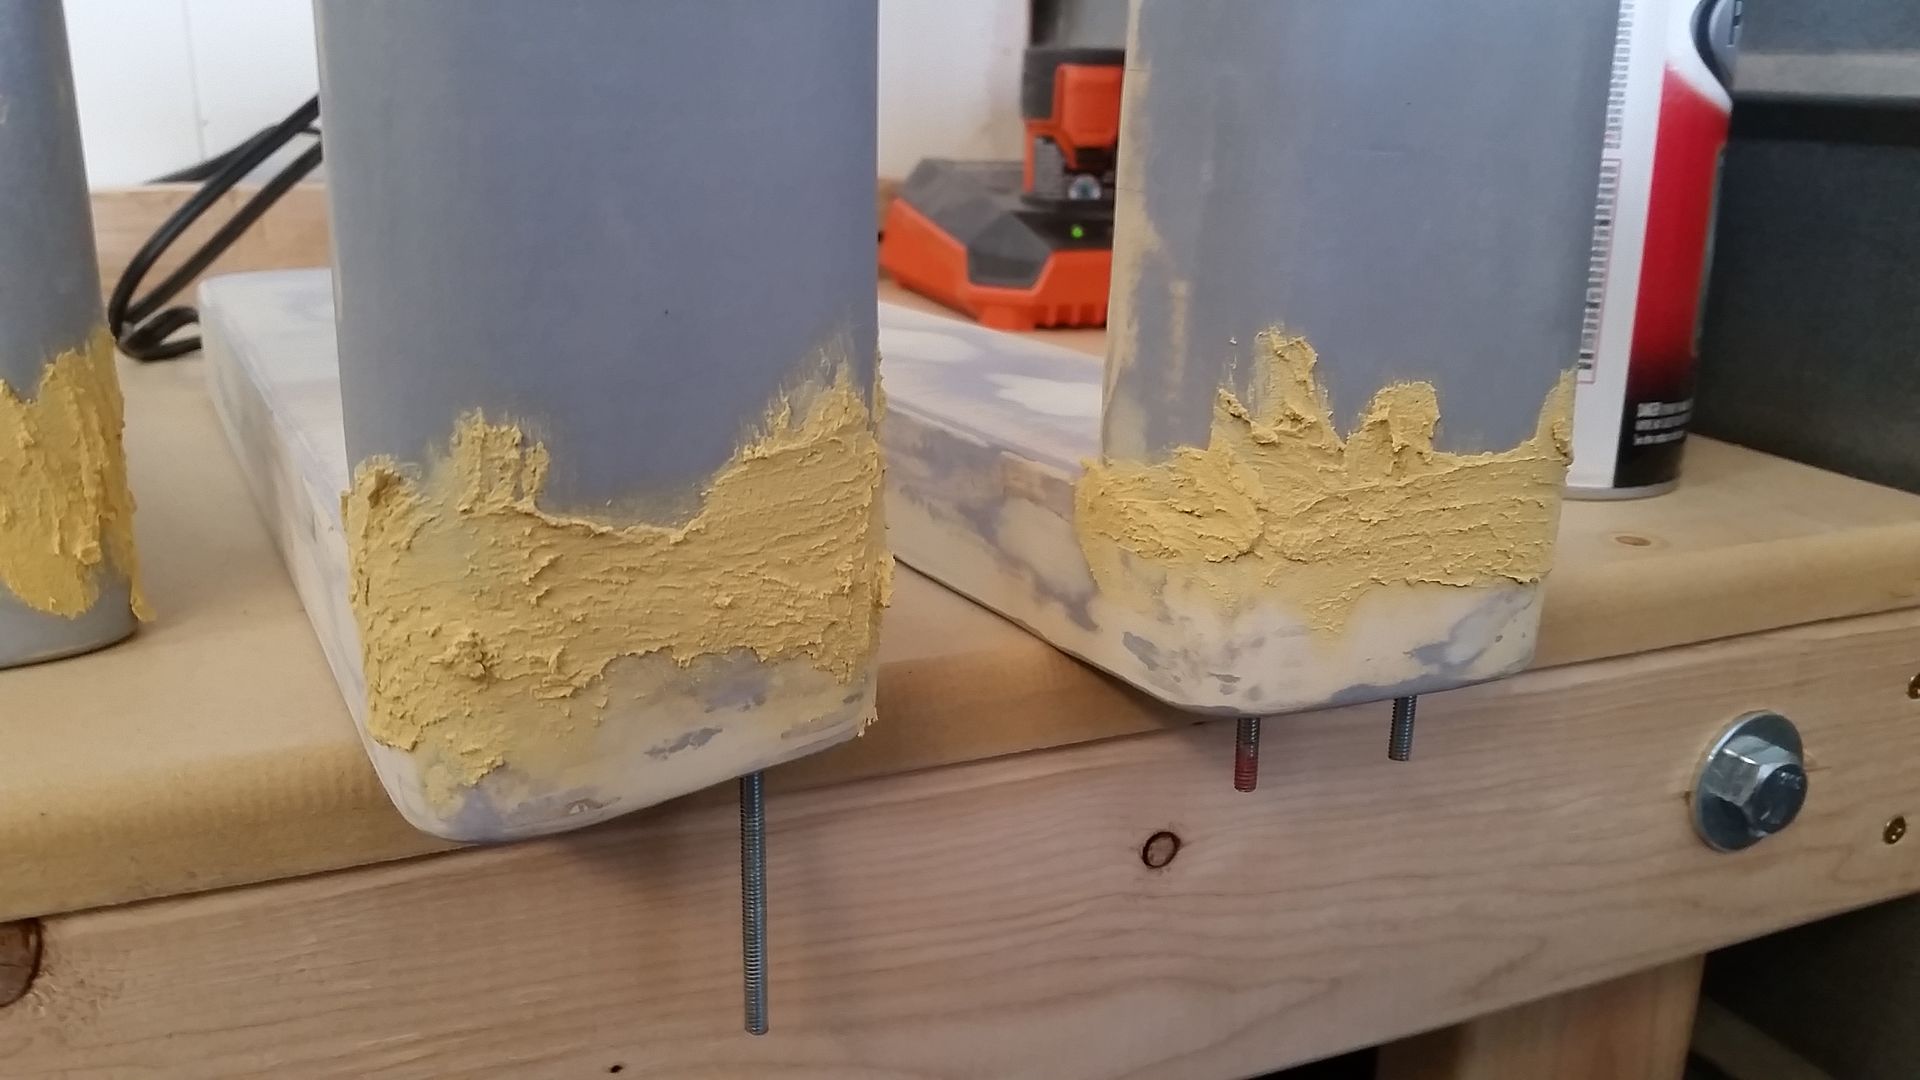
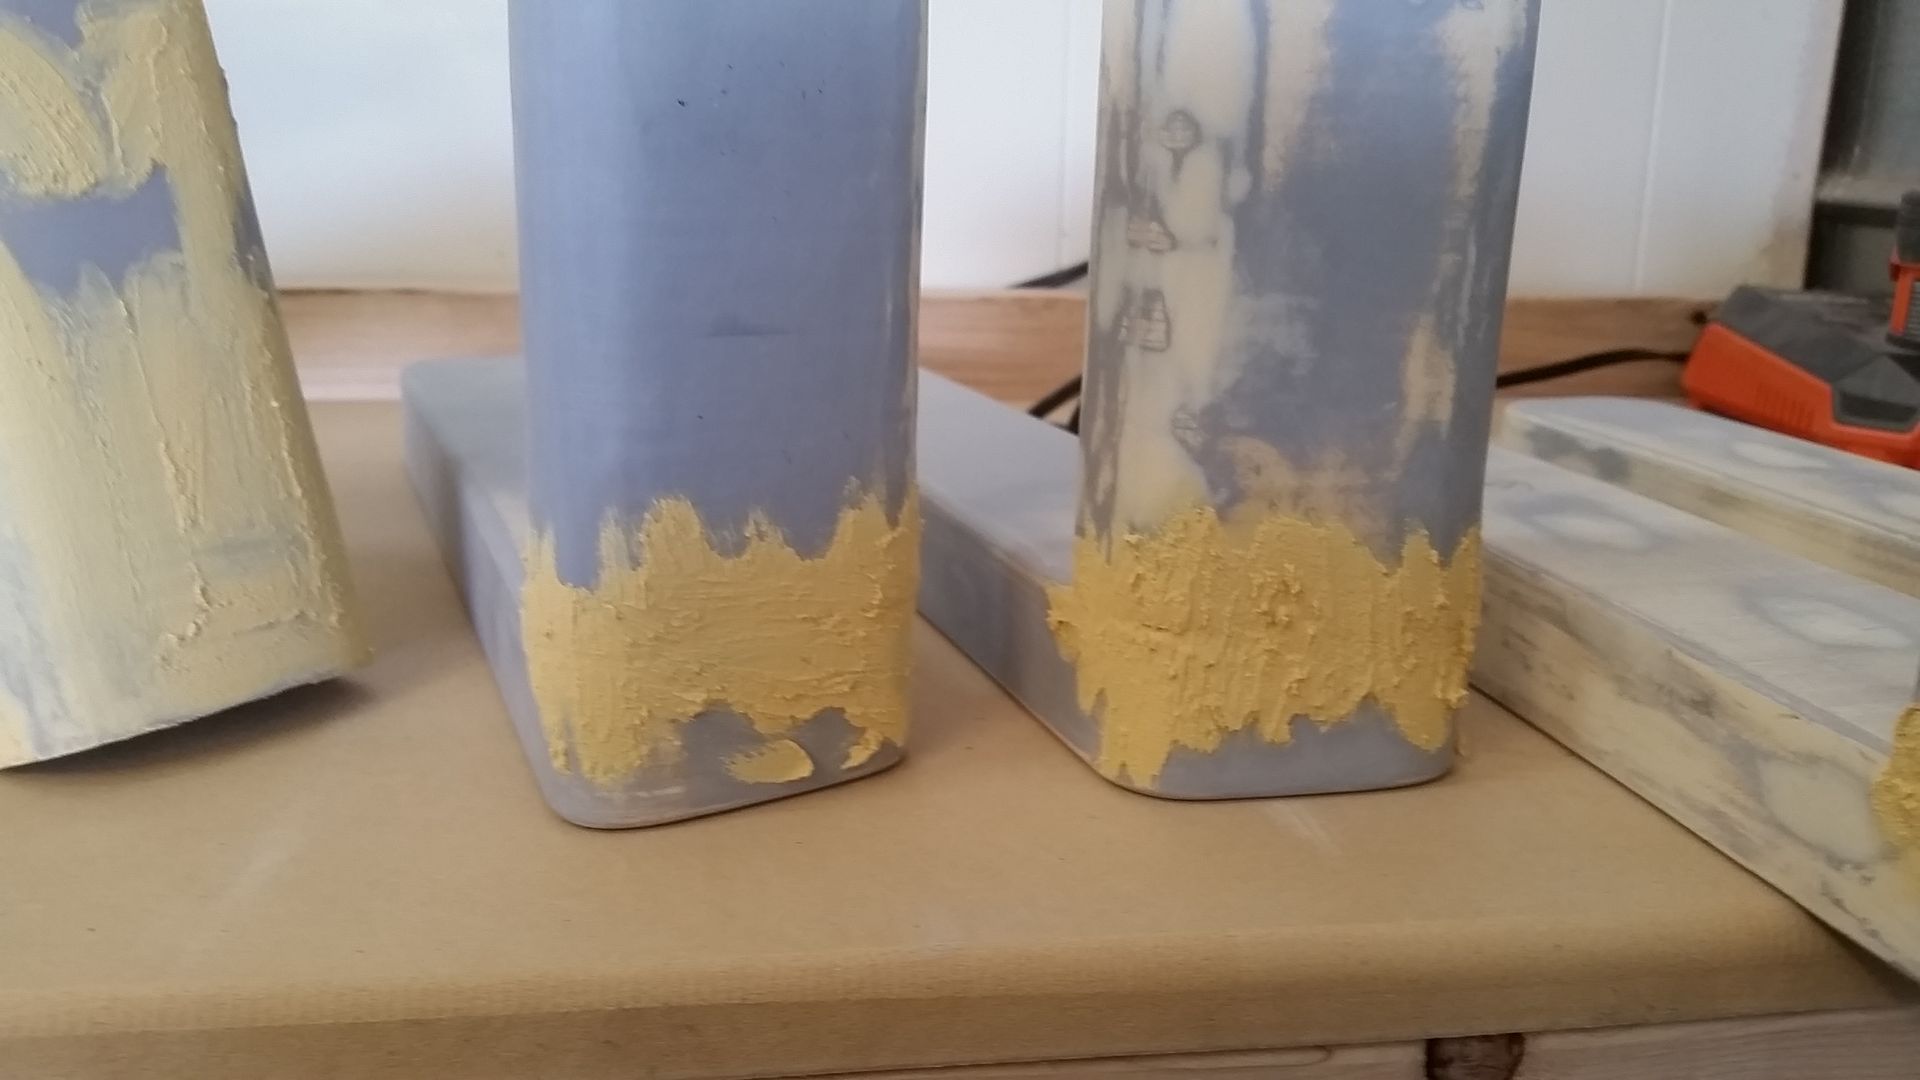
More sanding and filler
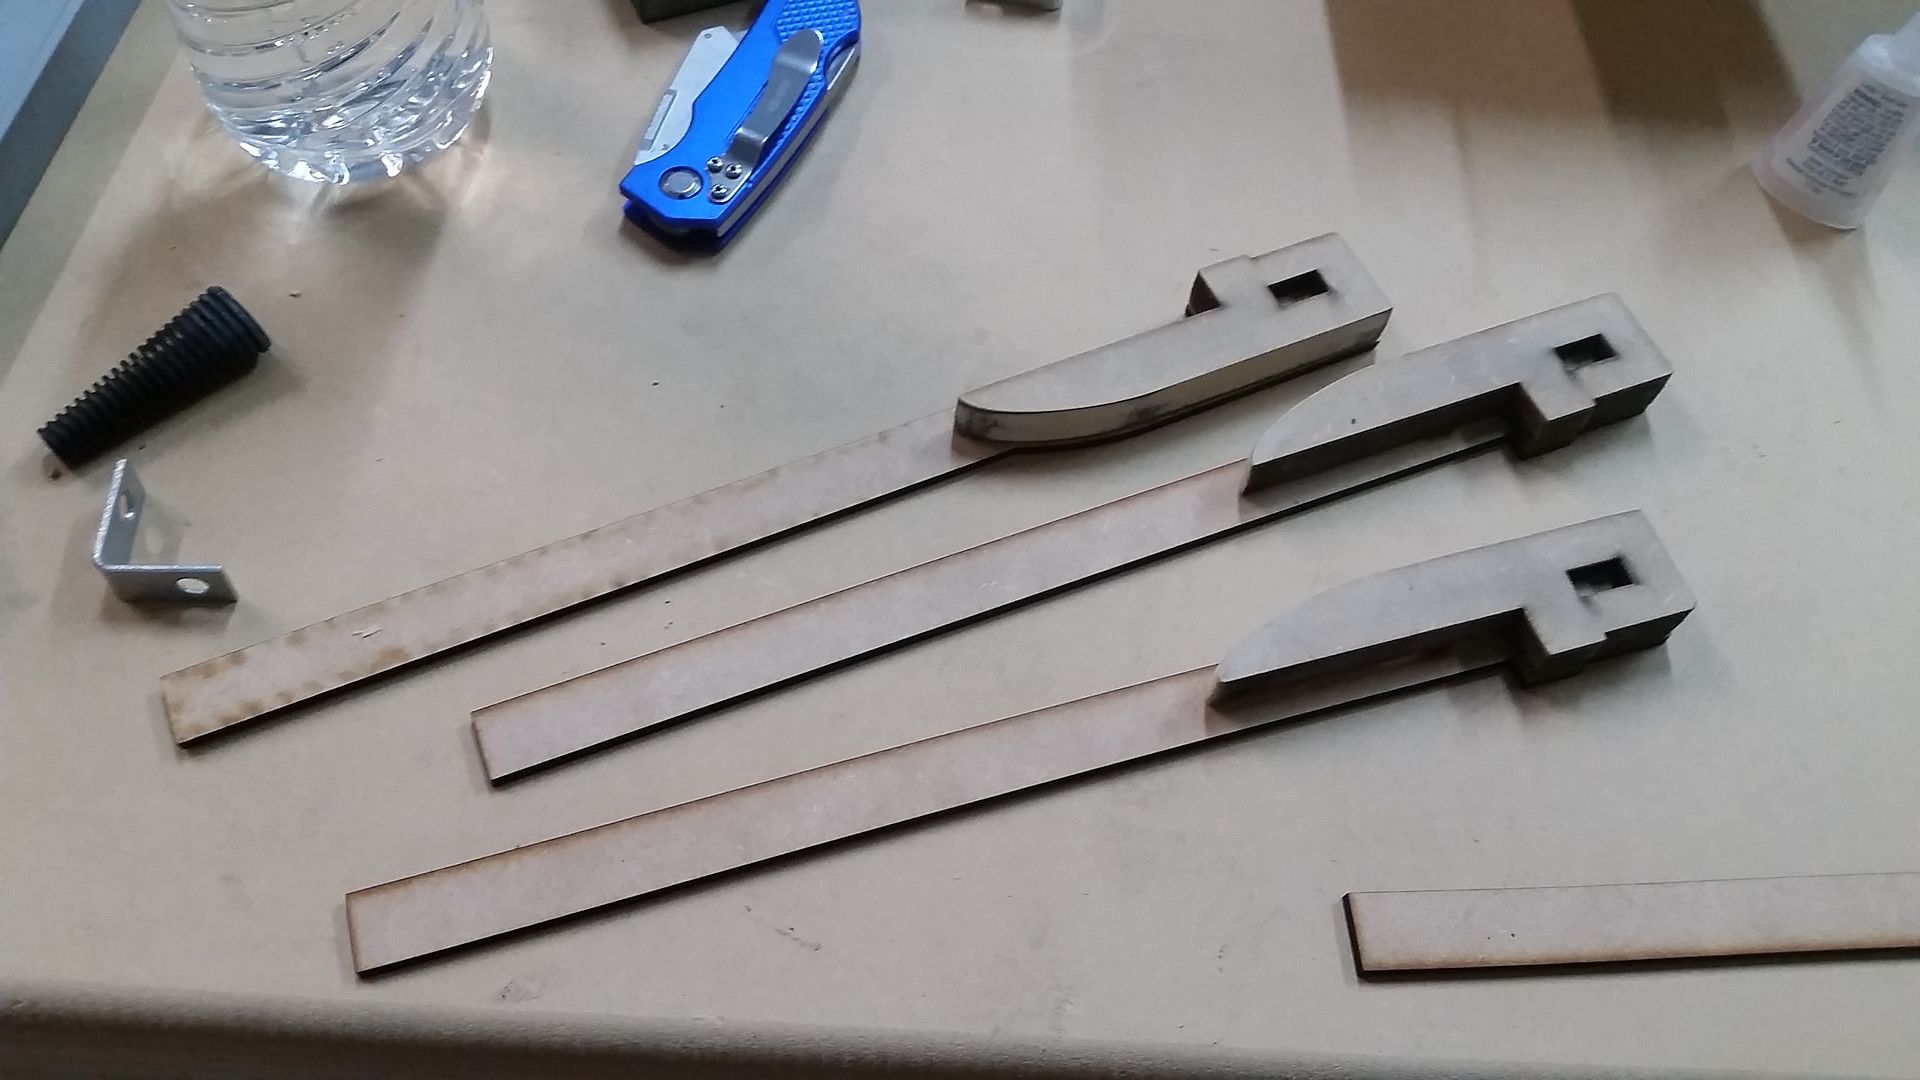
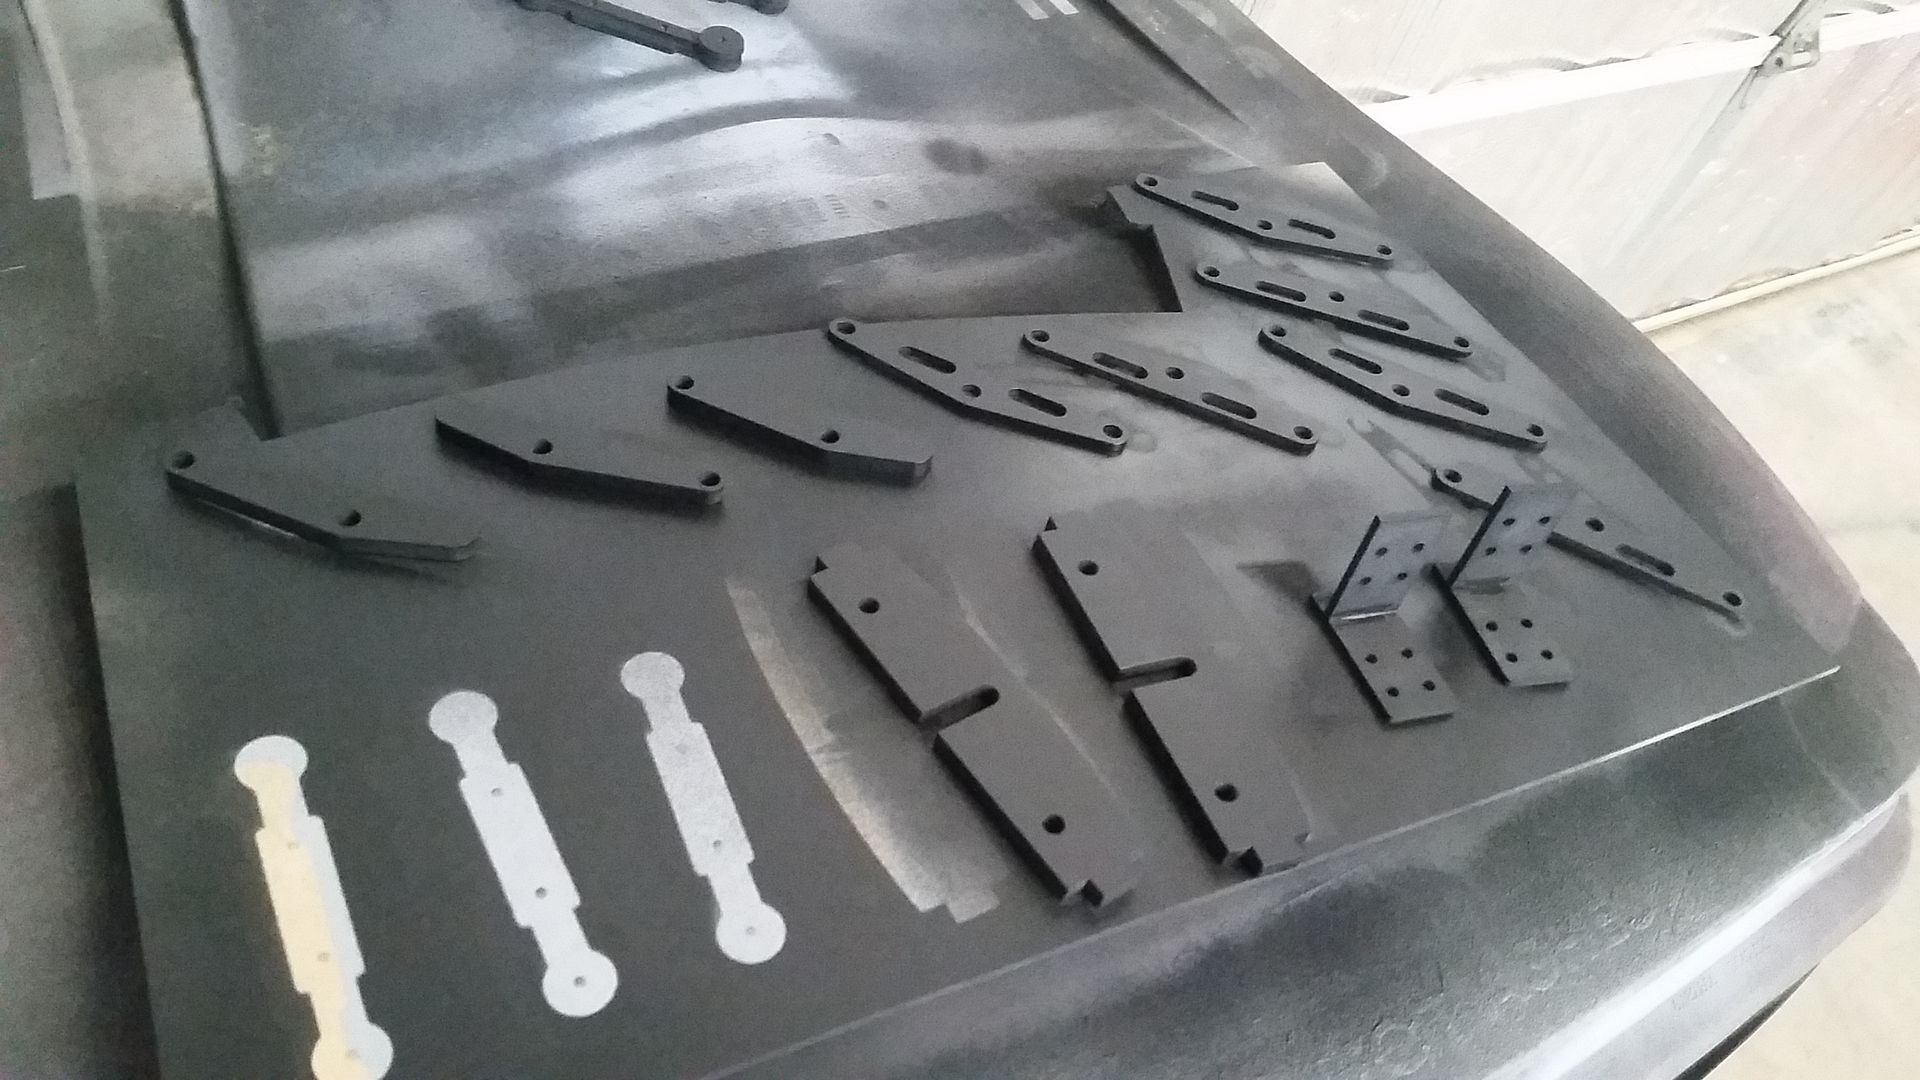
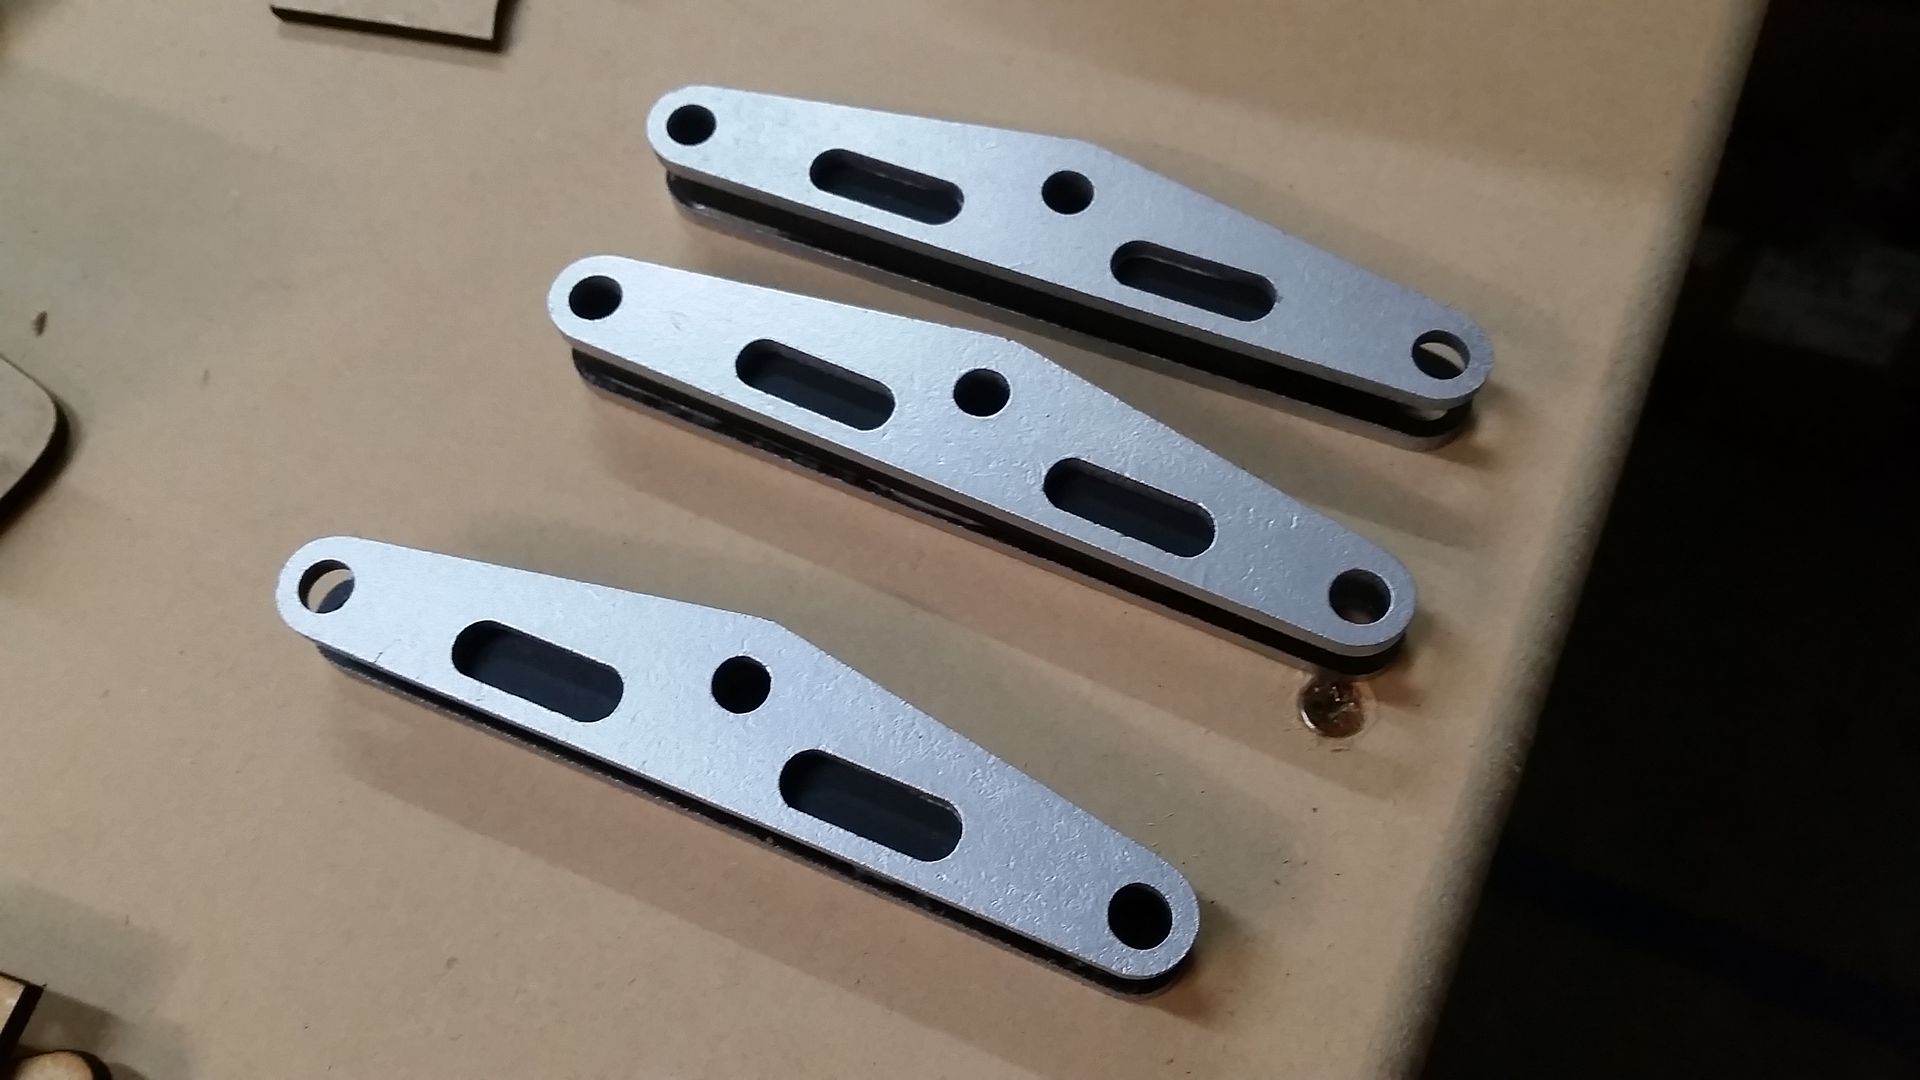
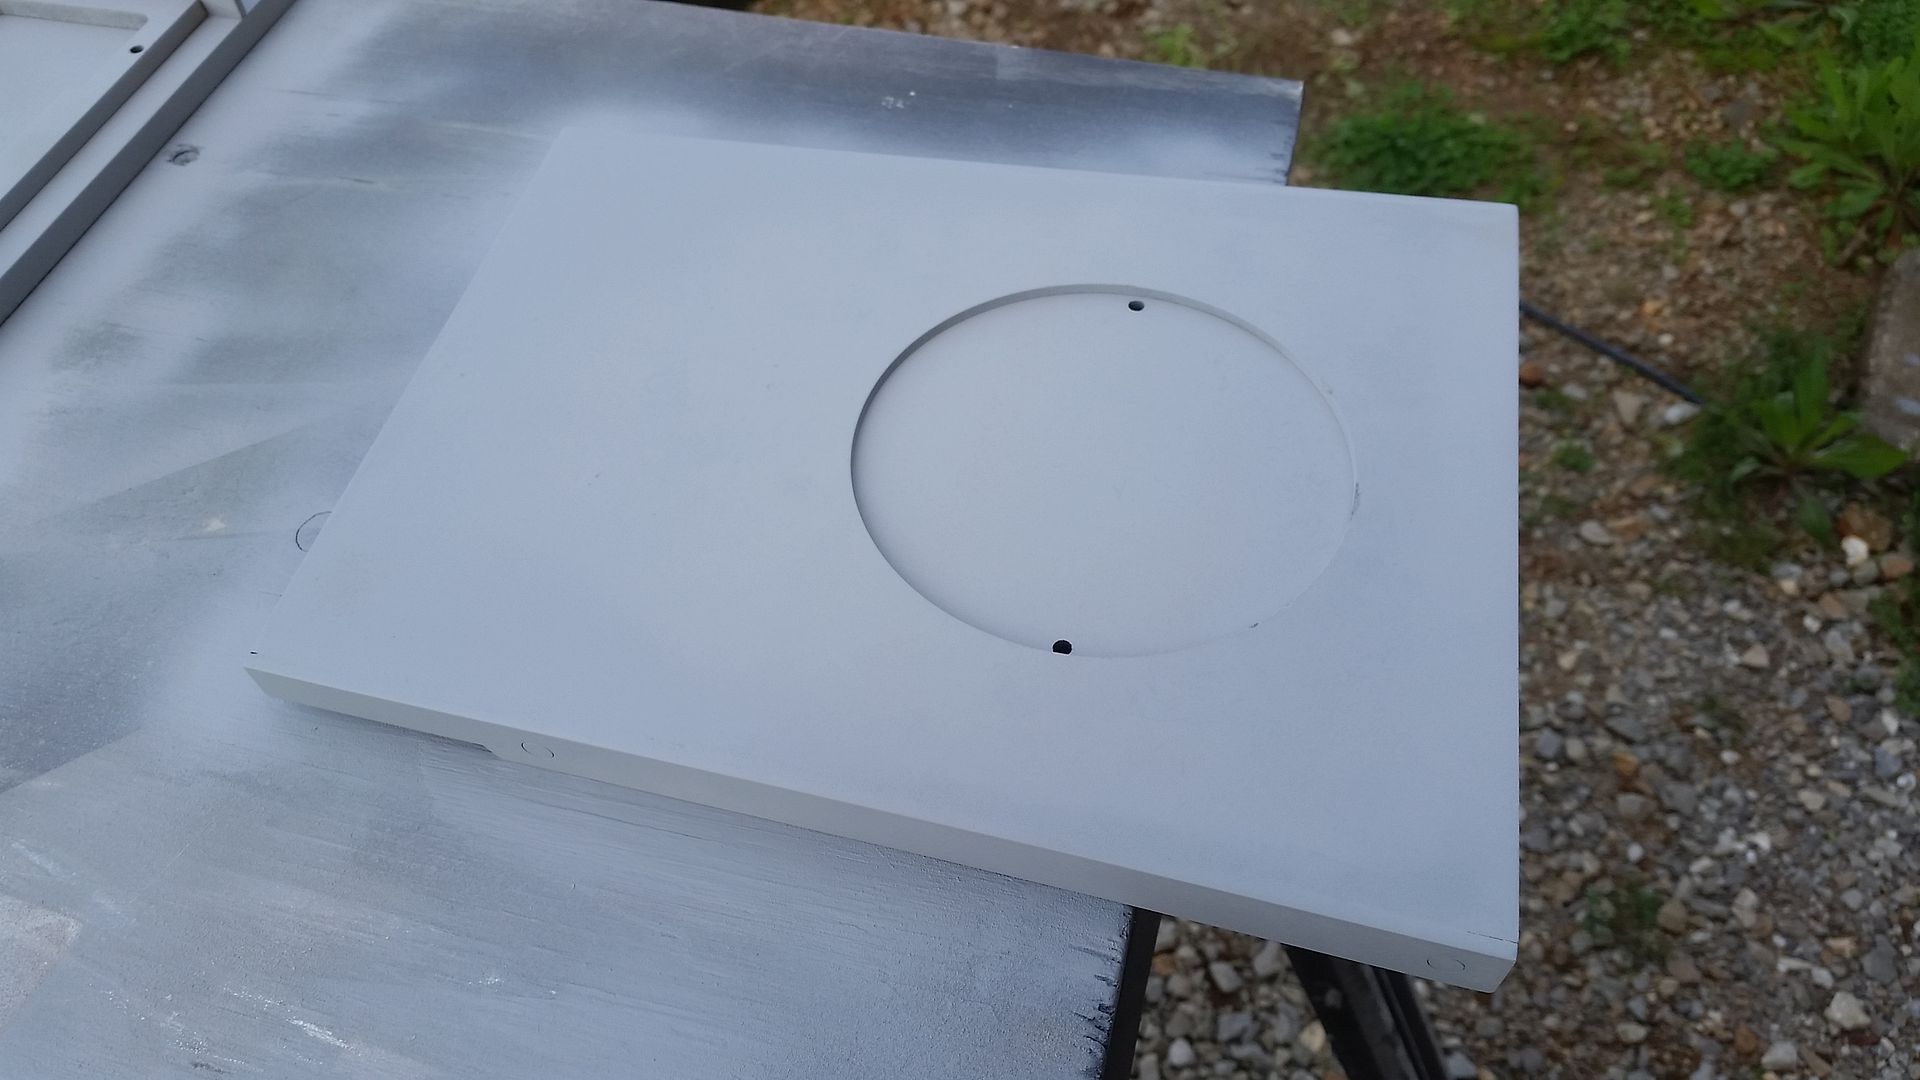
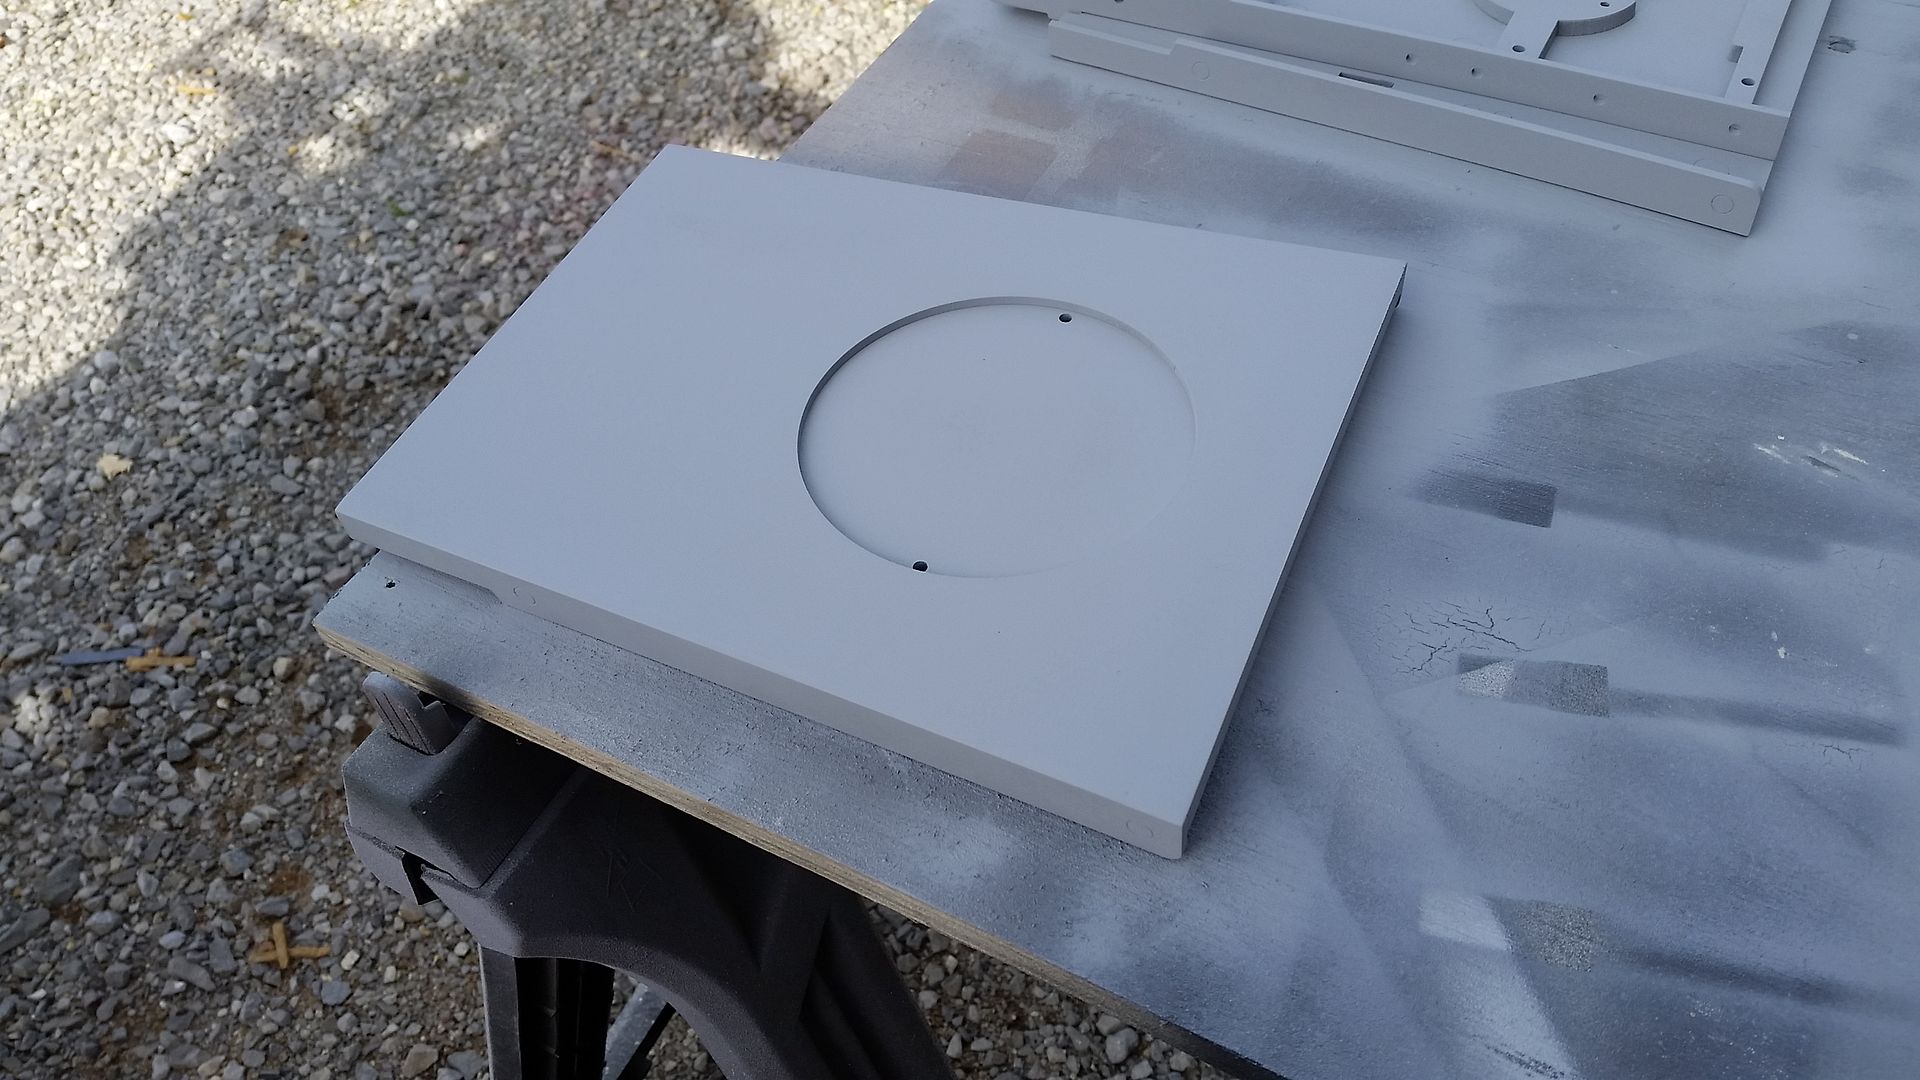
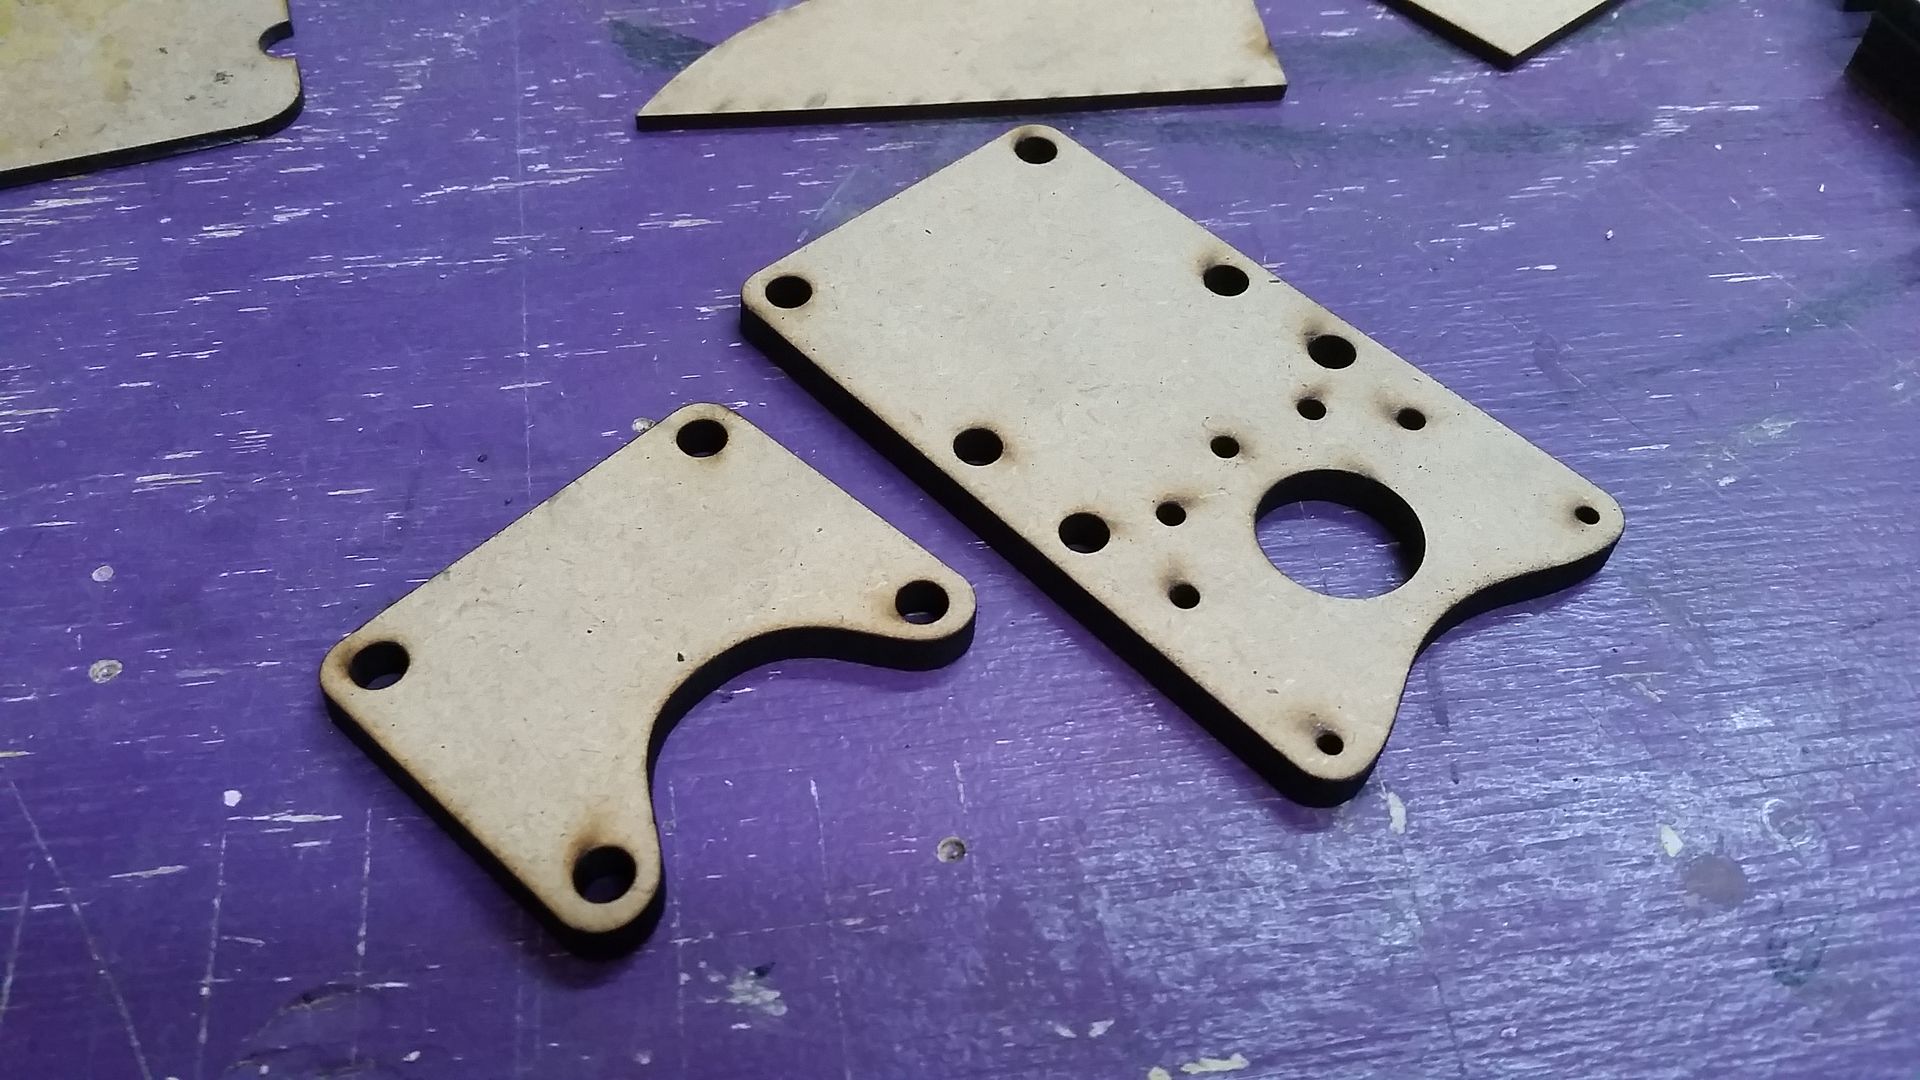
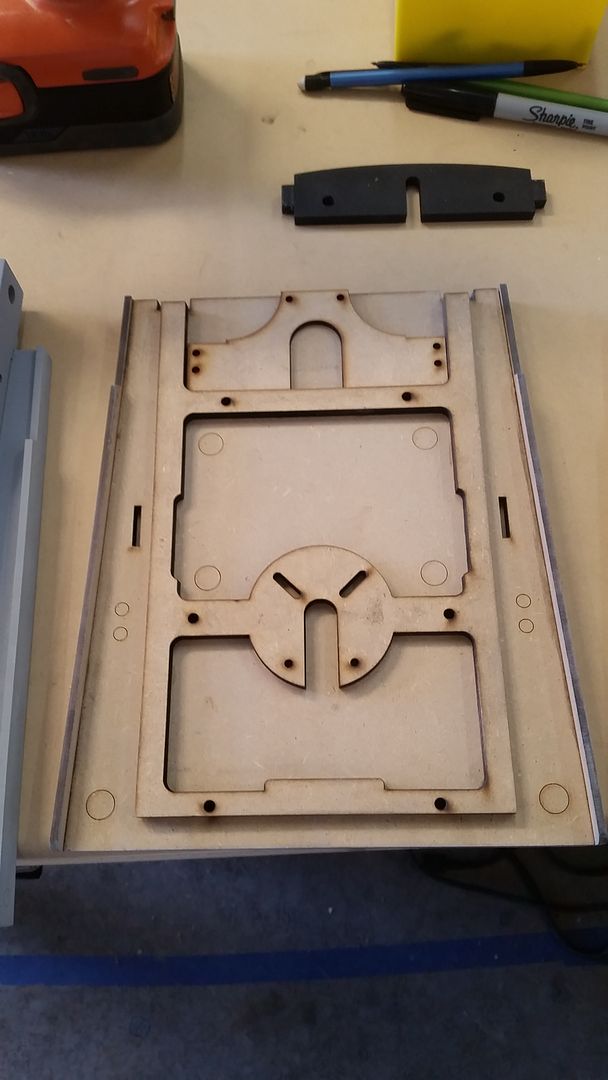
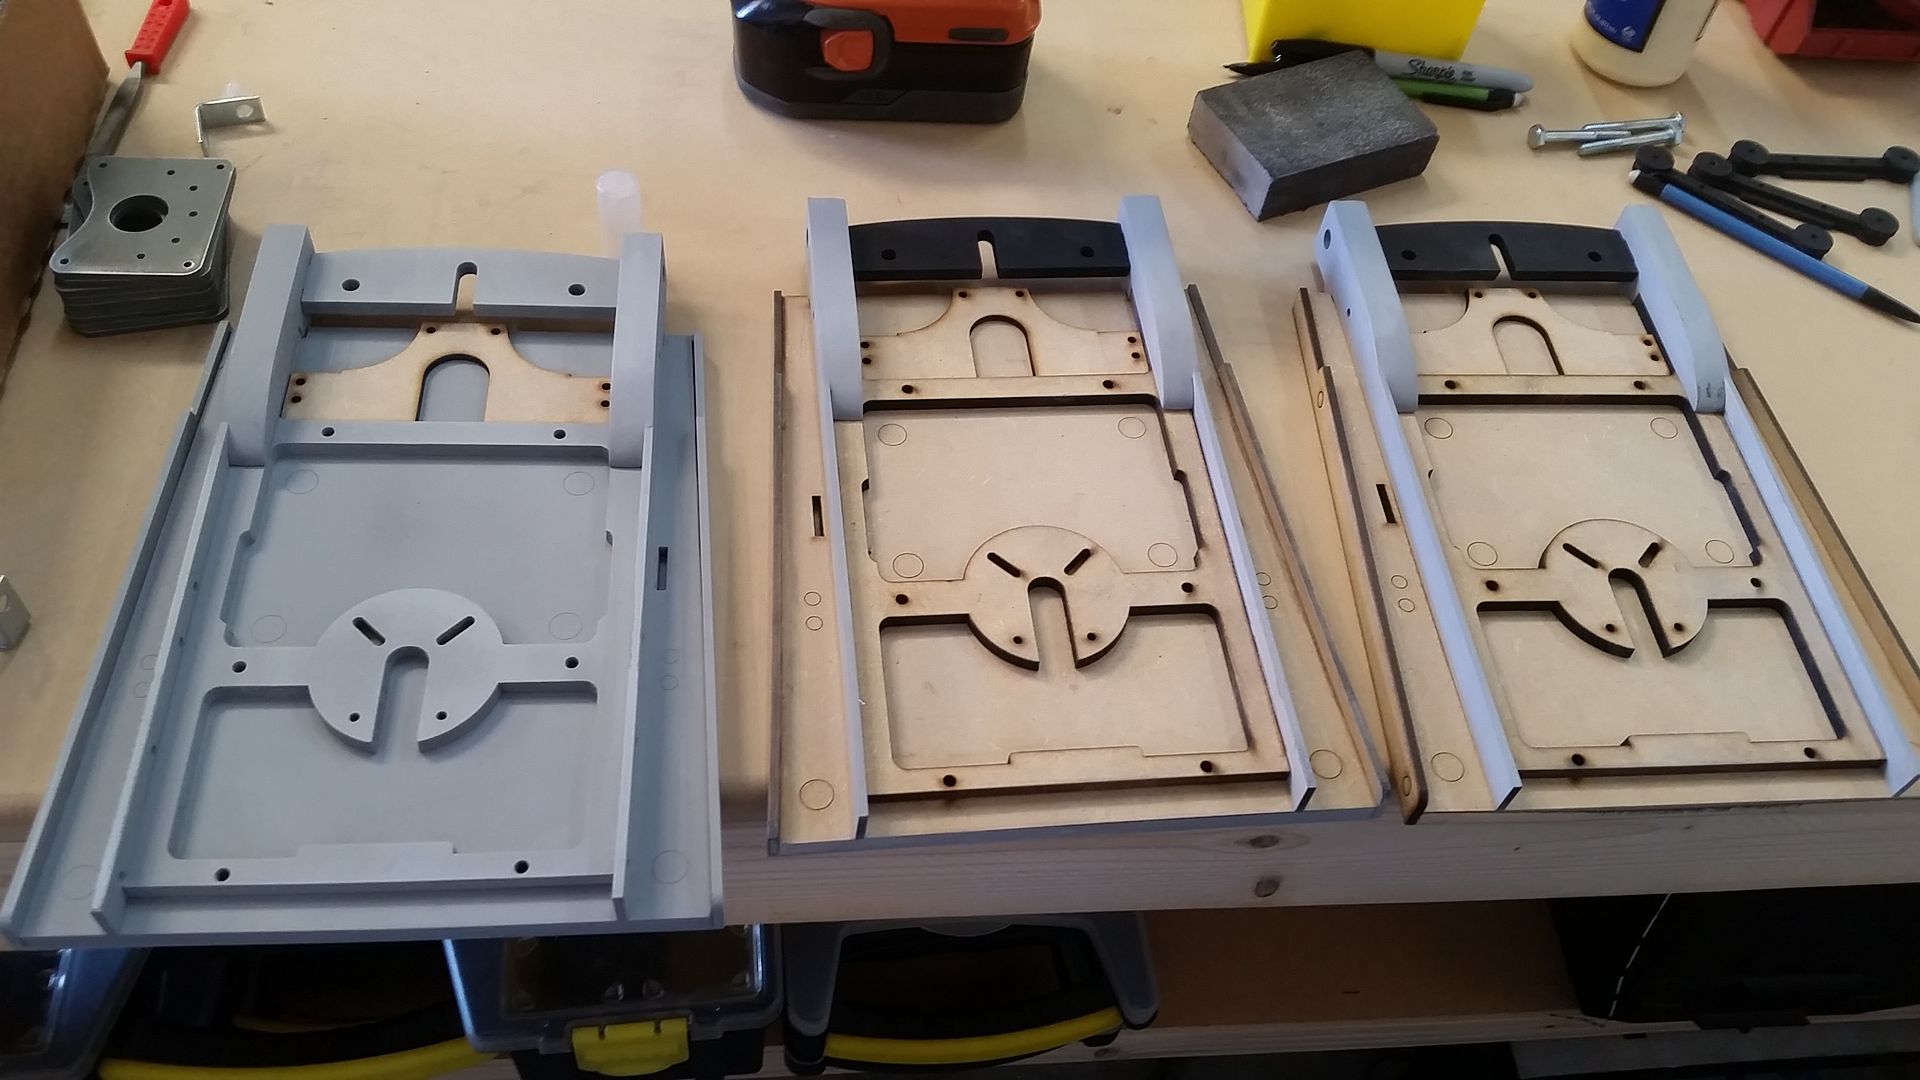
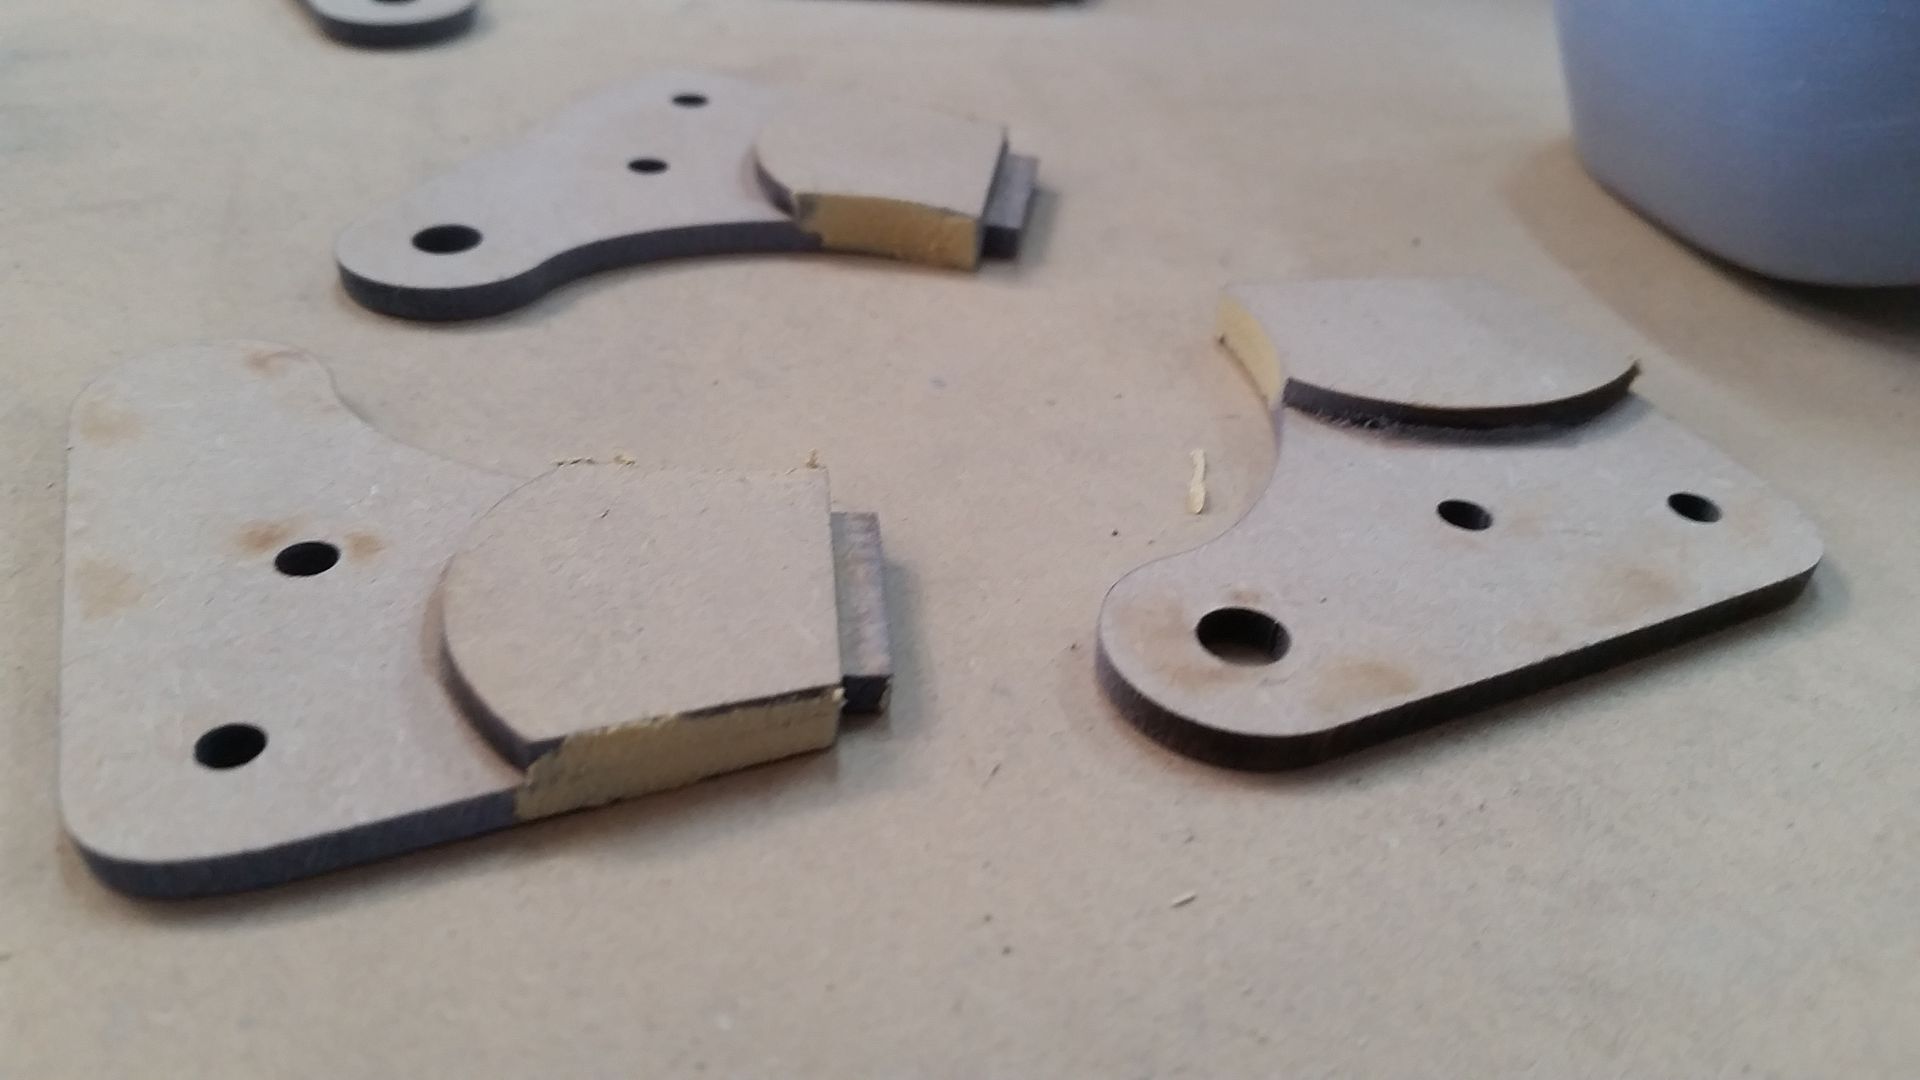
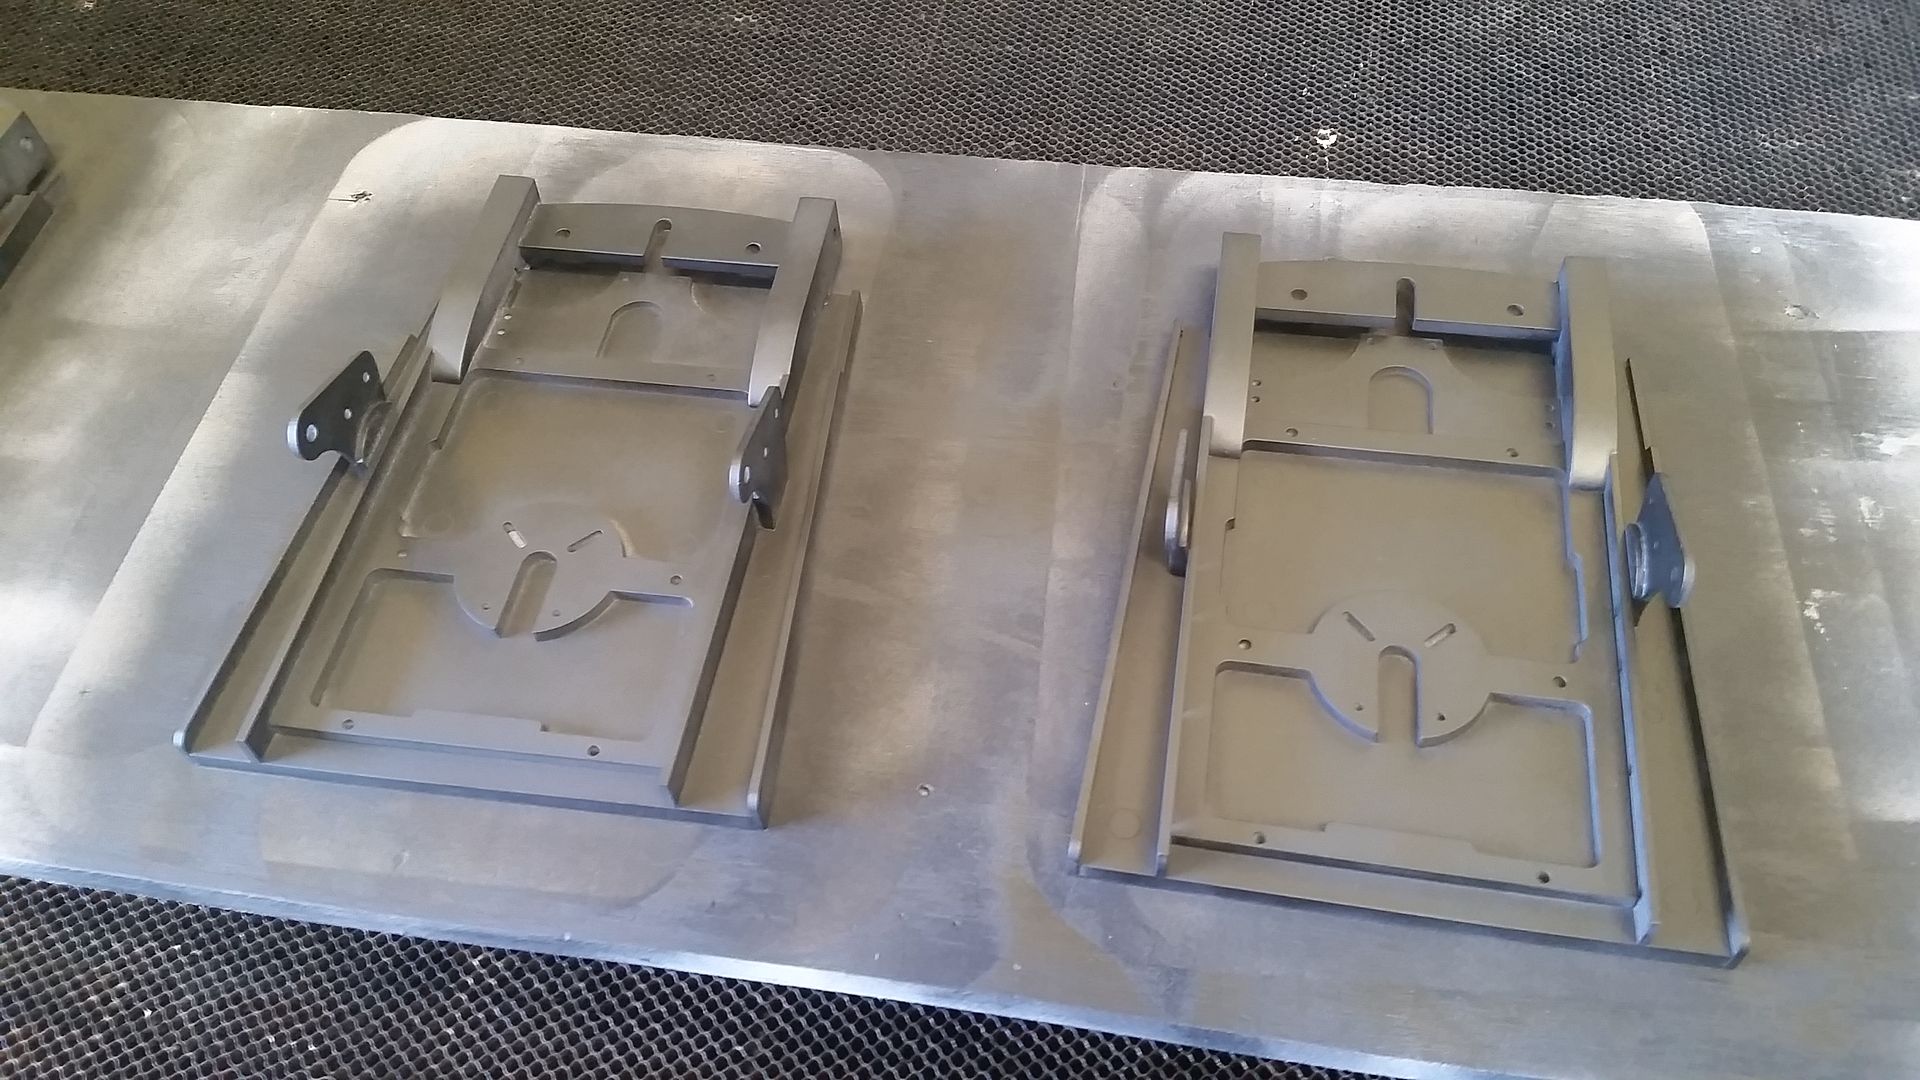
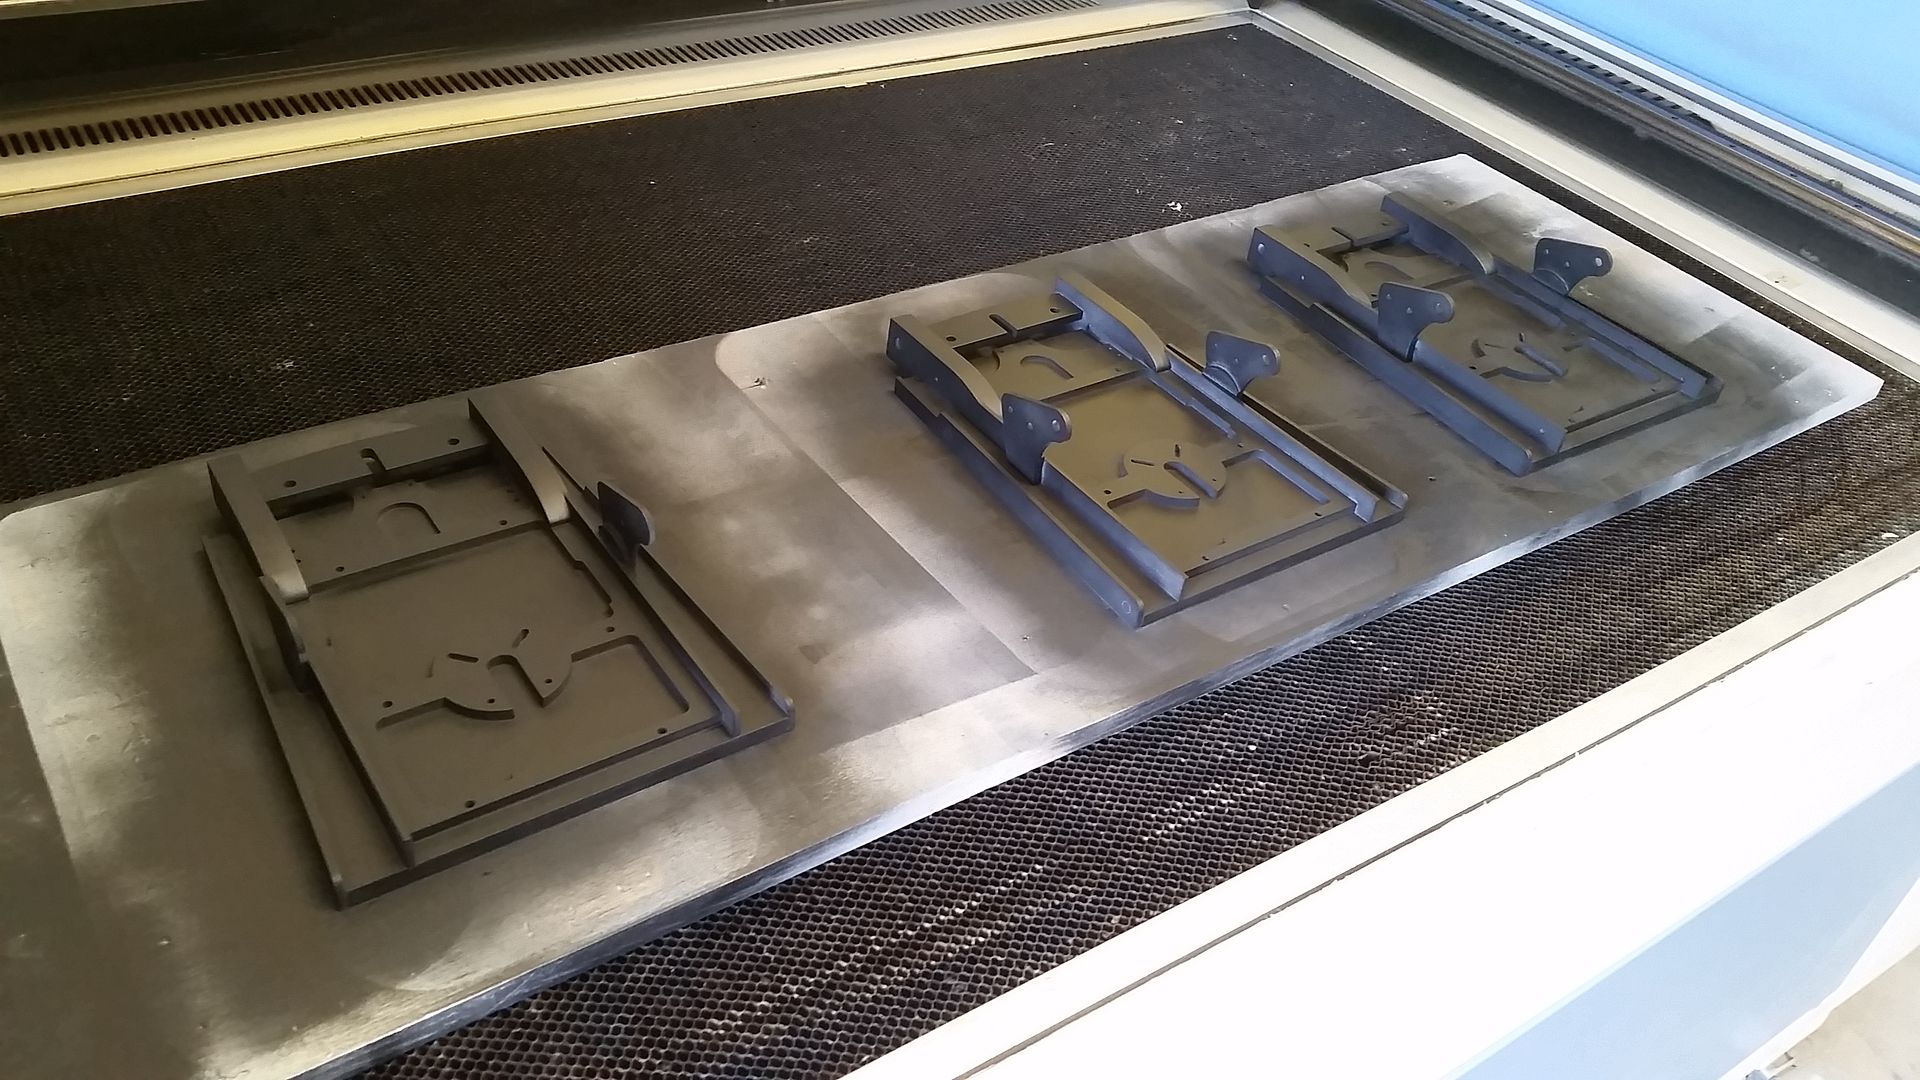
I laser cut and painted up these new pieces
I can't mount these until we 3D print the main side frame greeblies
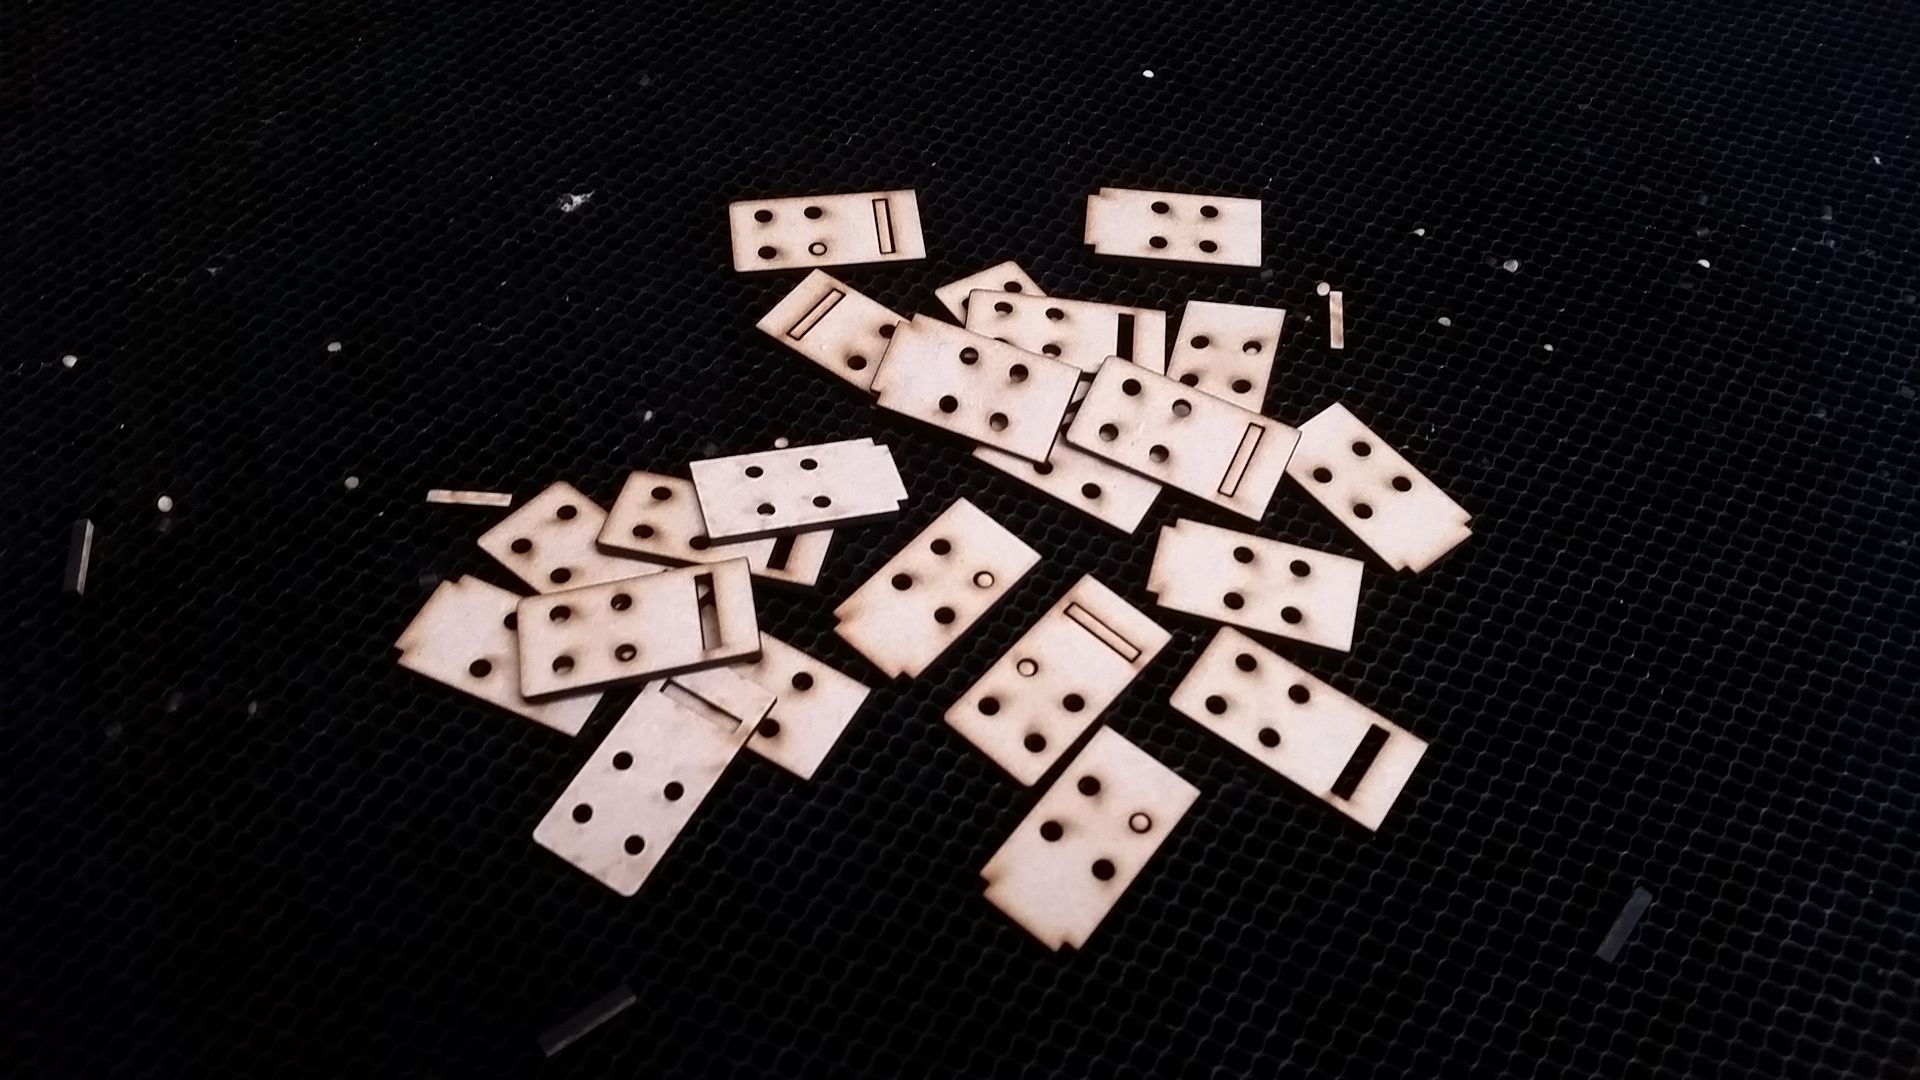
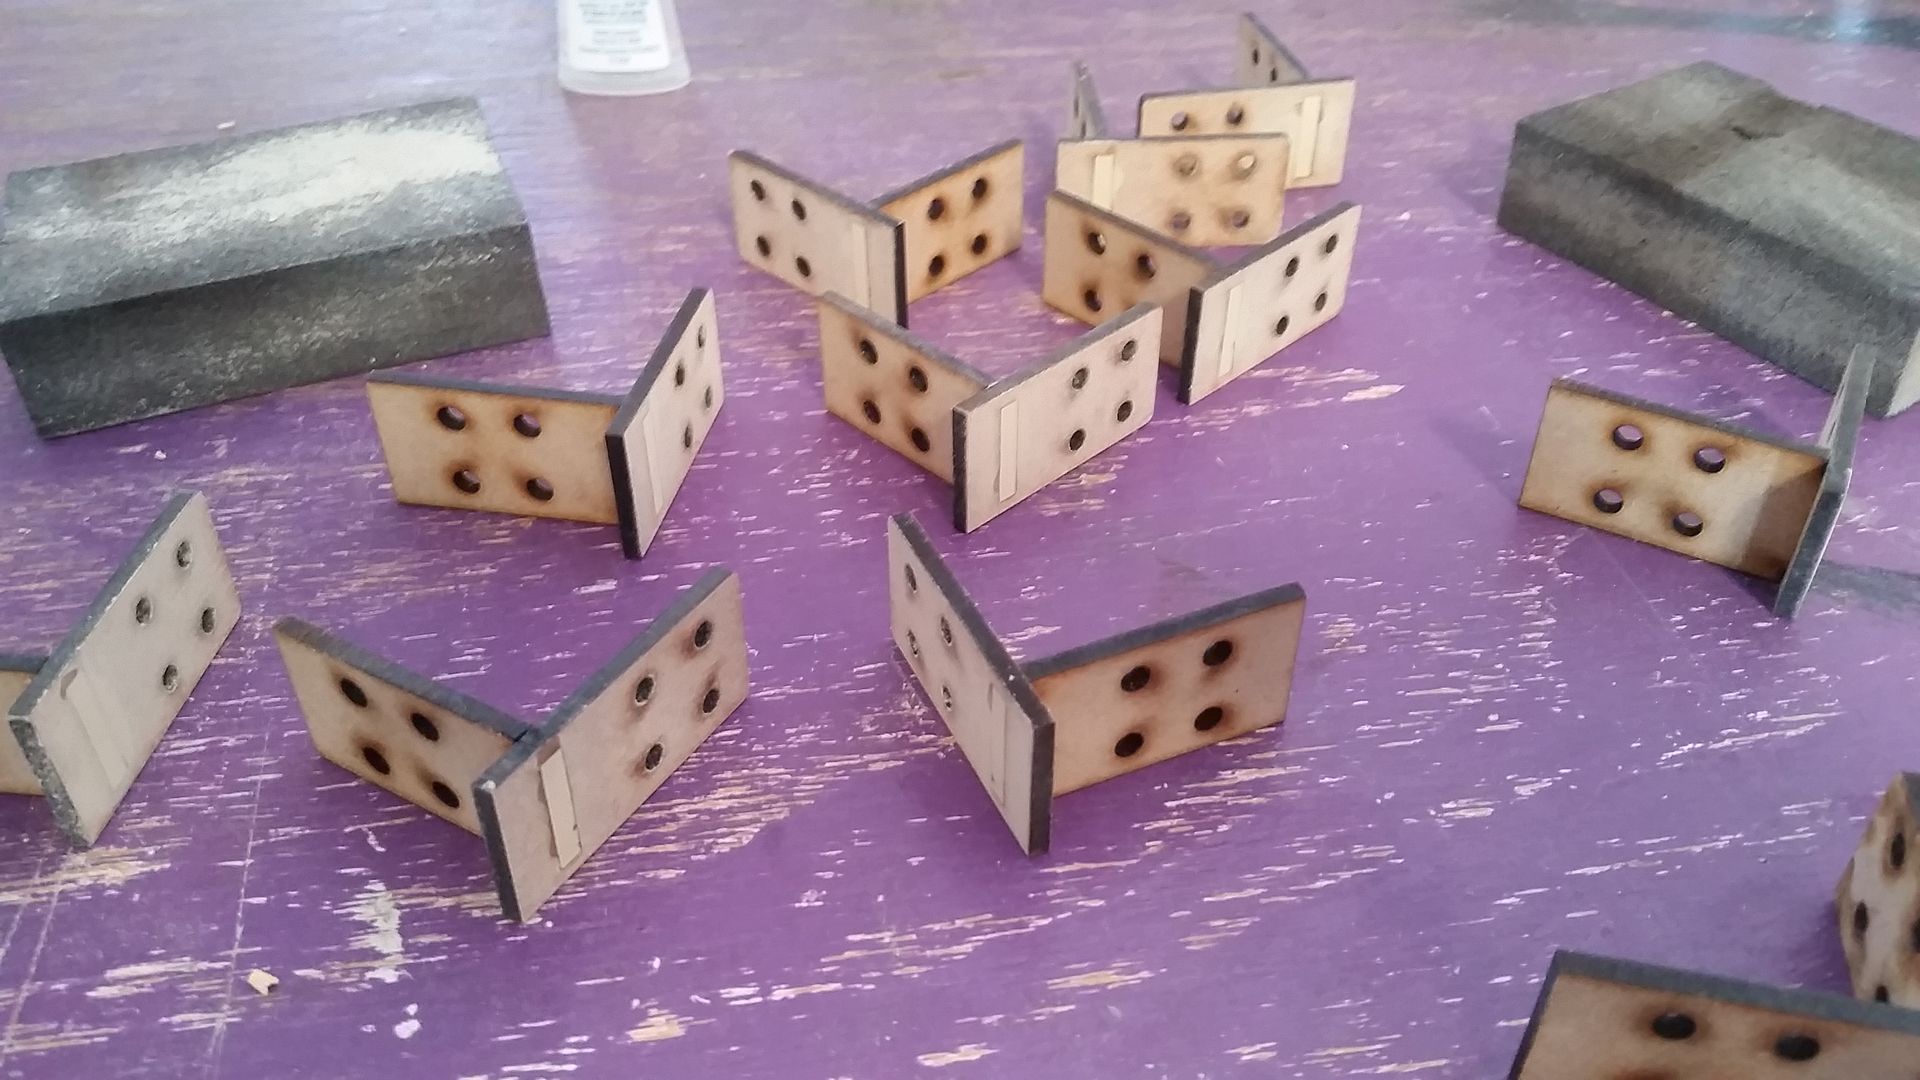
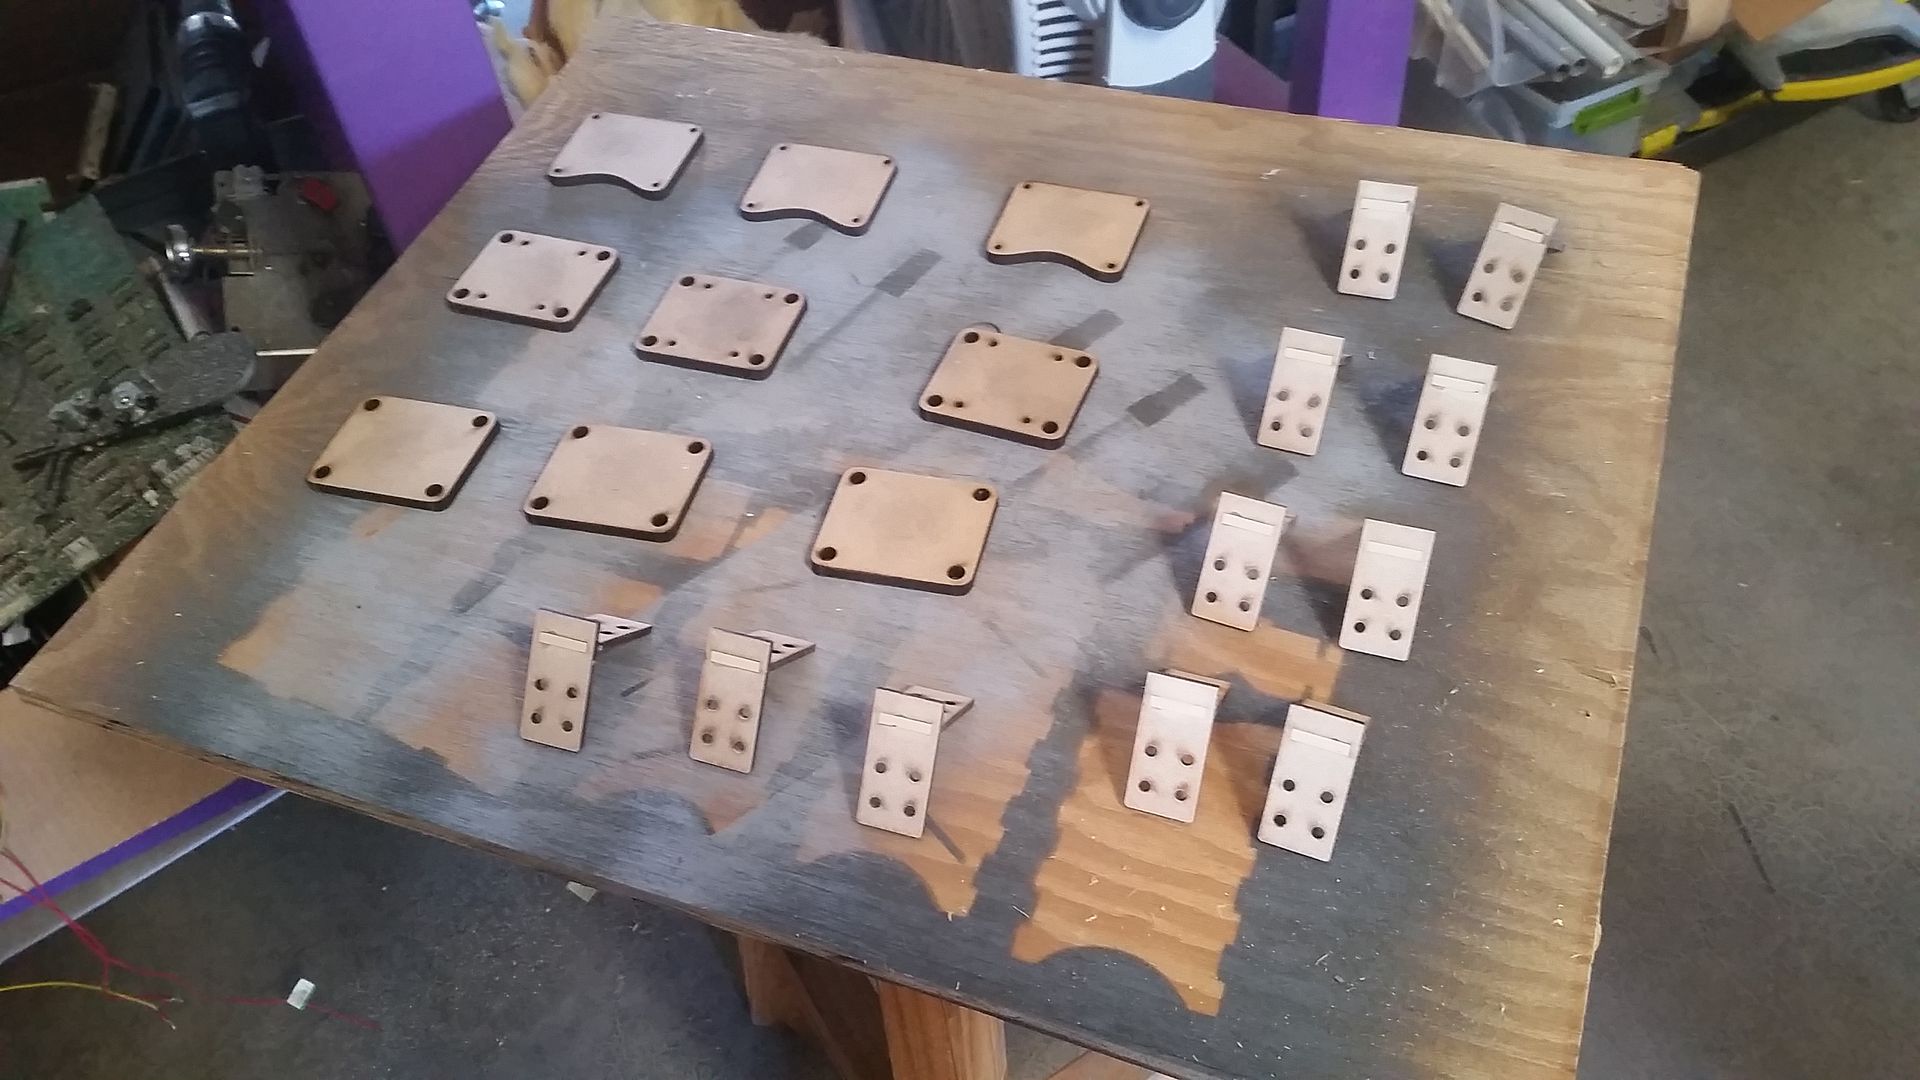
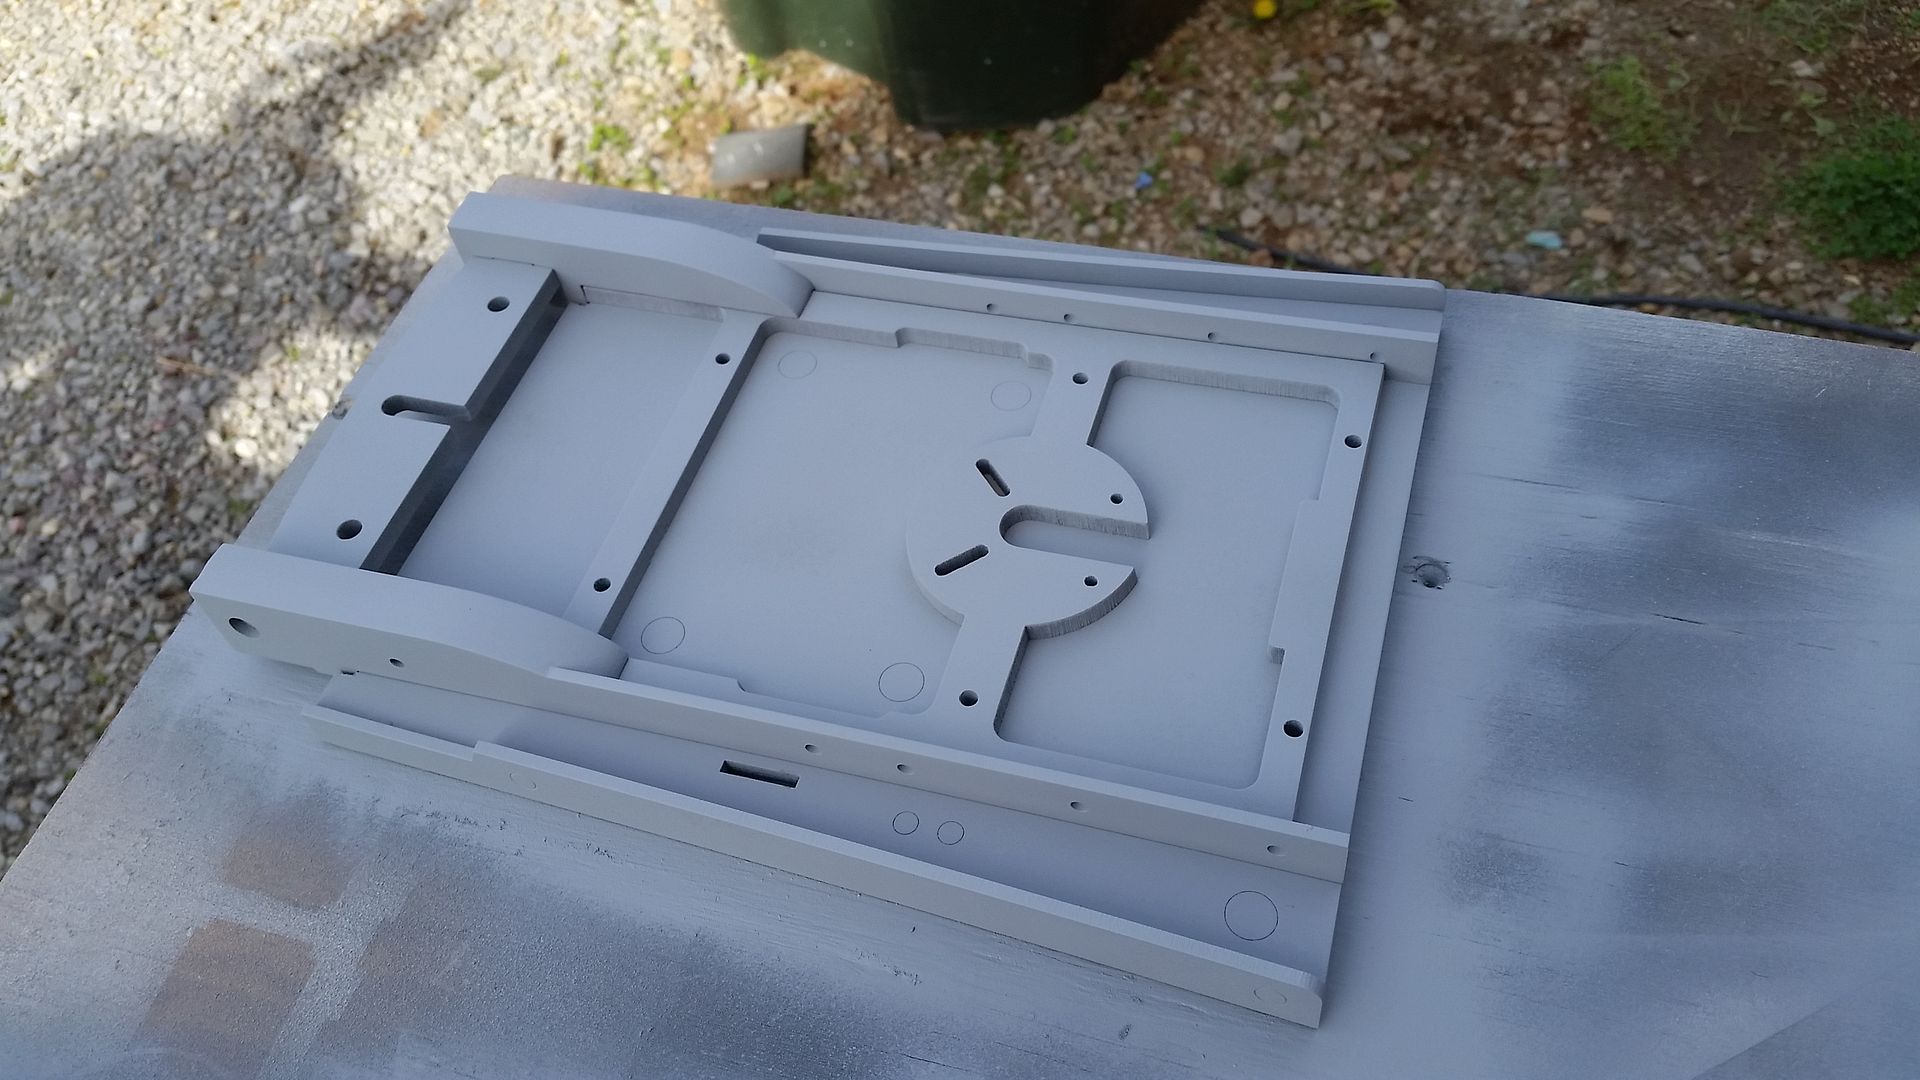
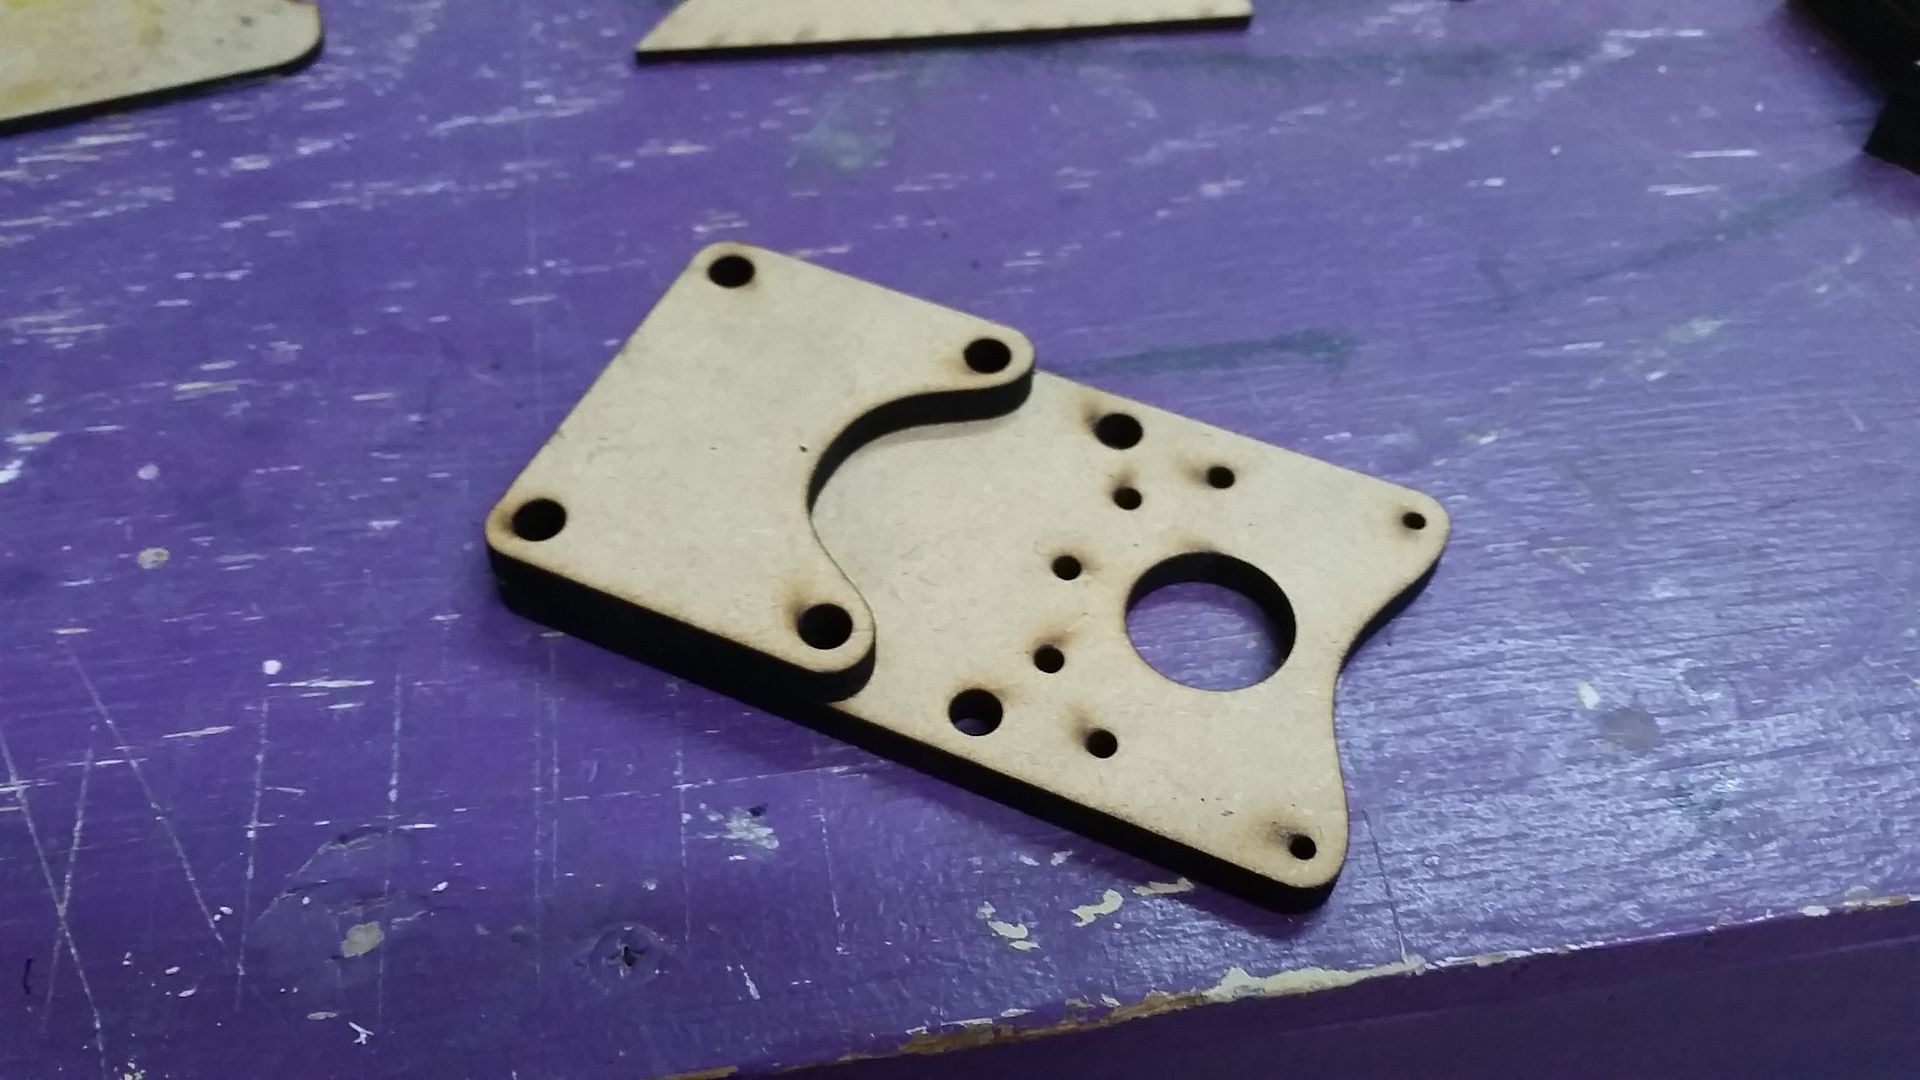
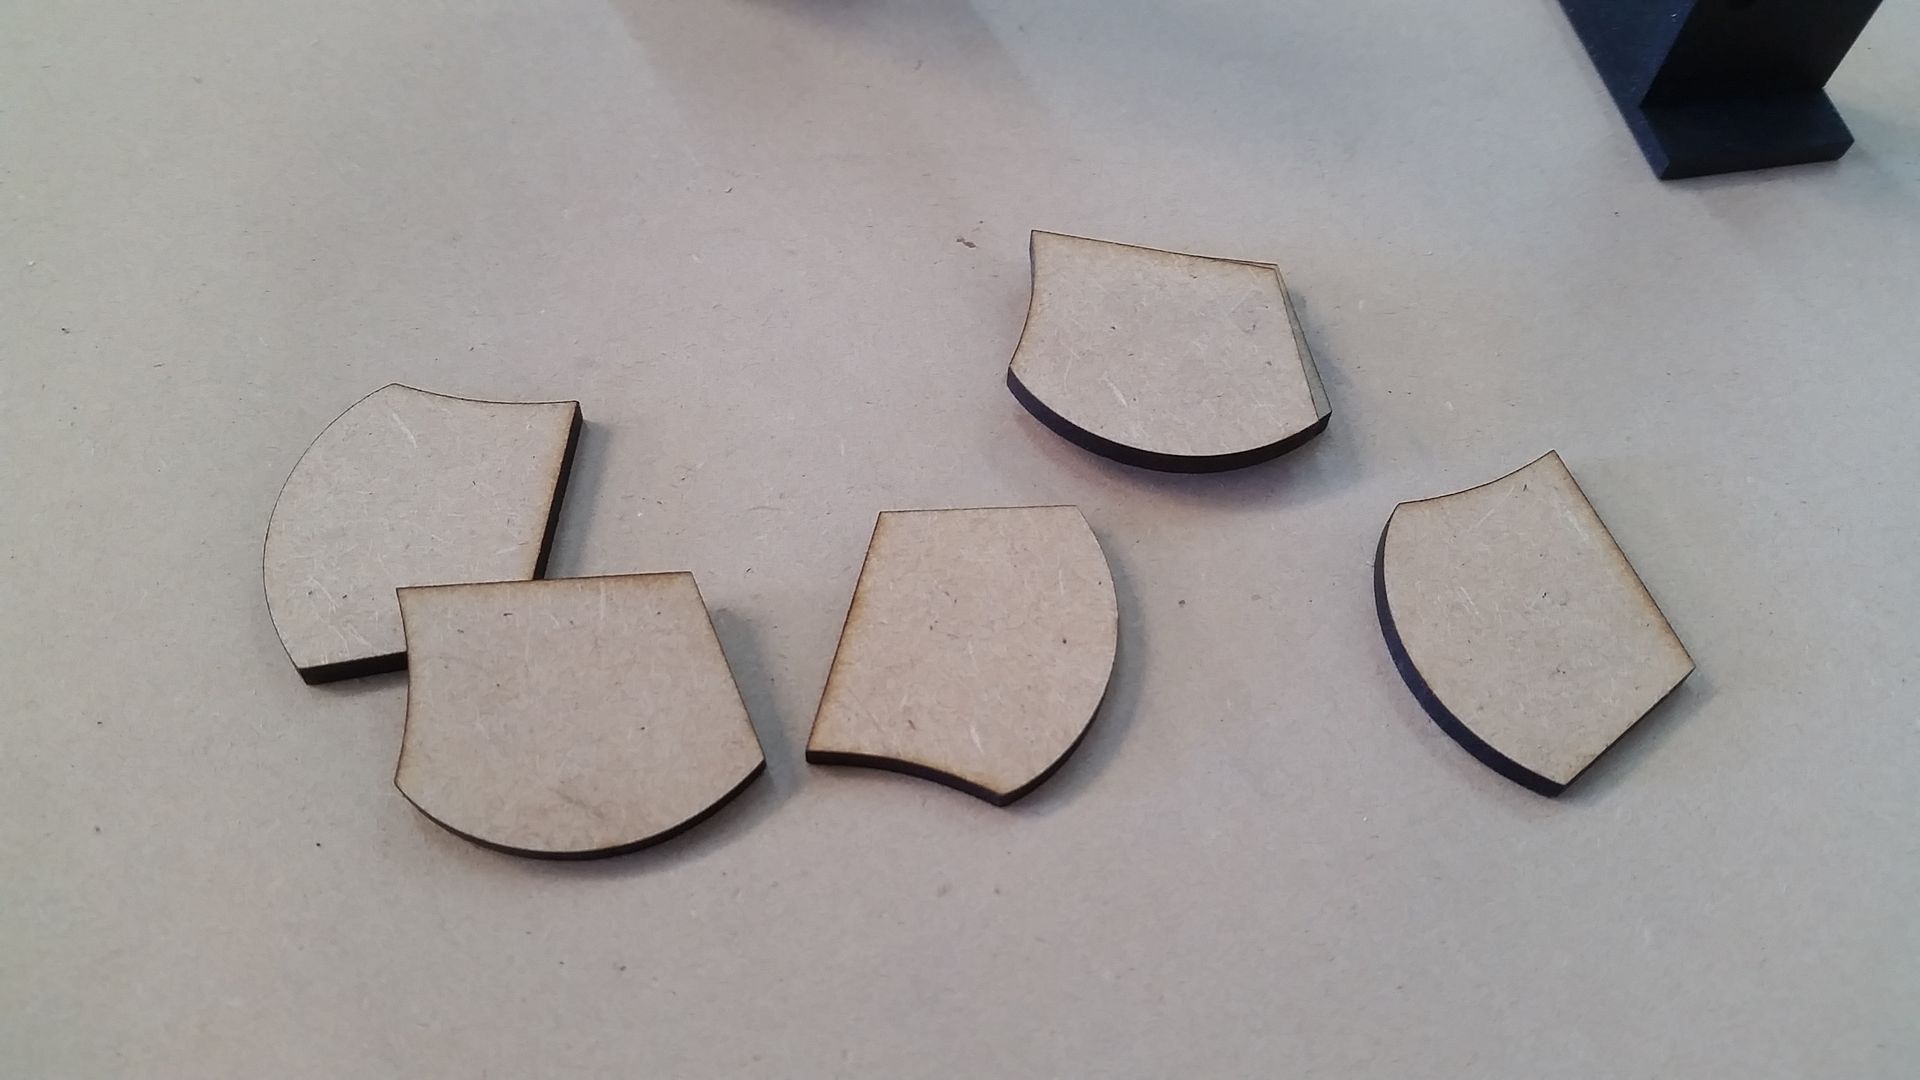
I laser cut a bunch of these little greeblies

Filler
Sanded
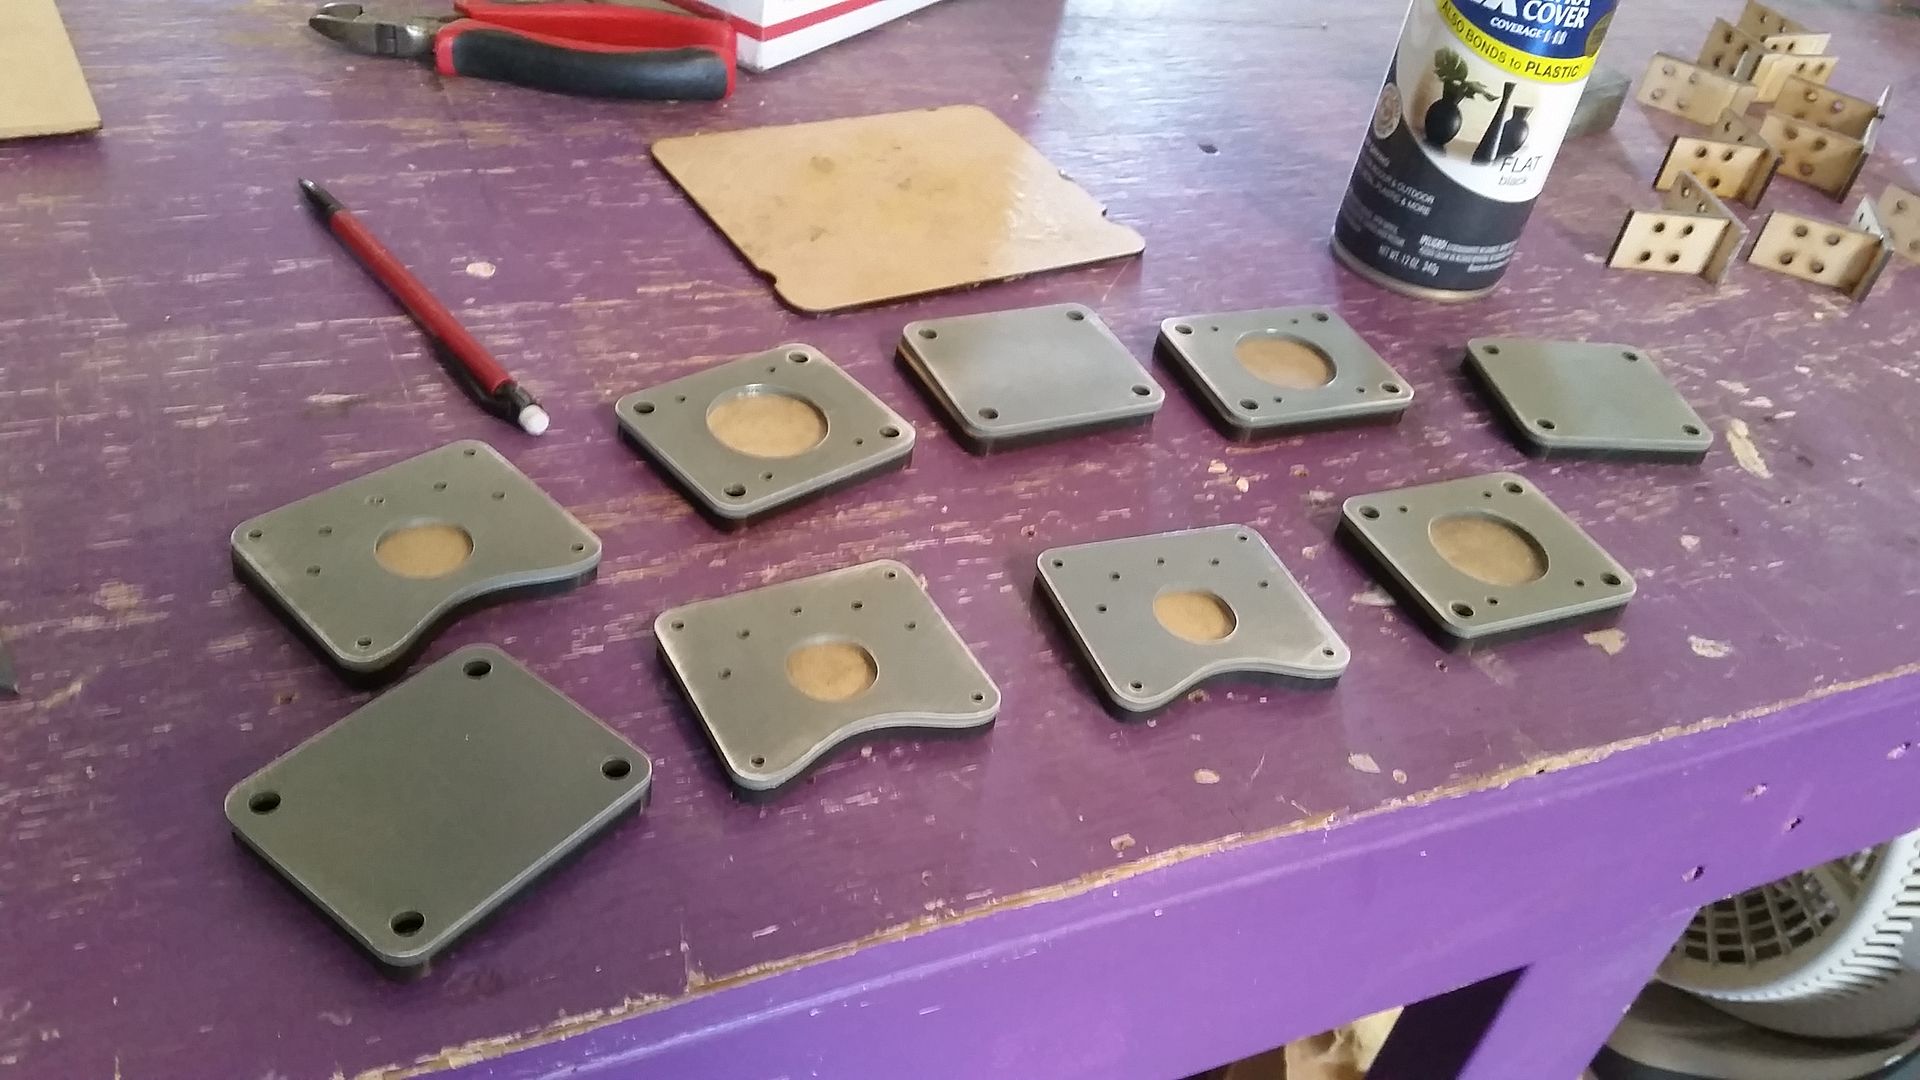
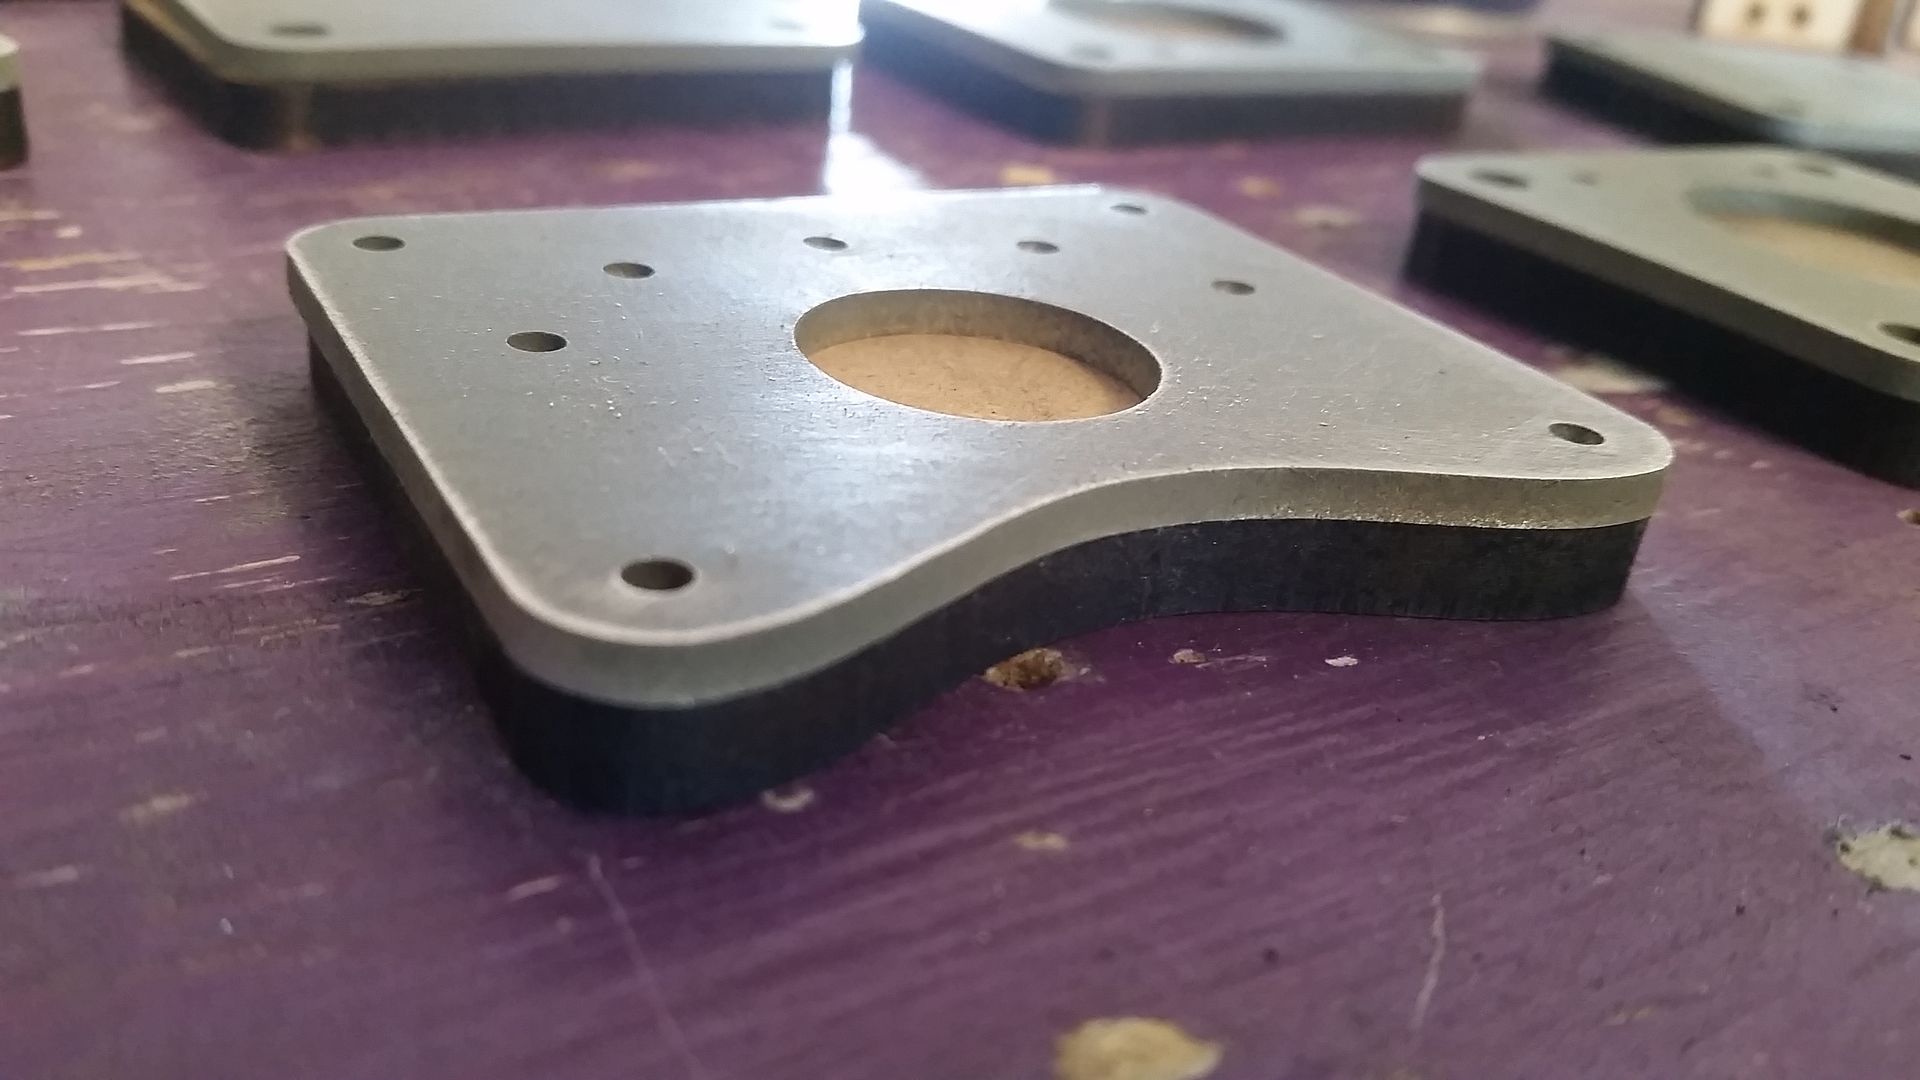
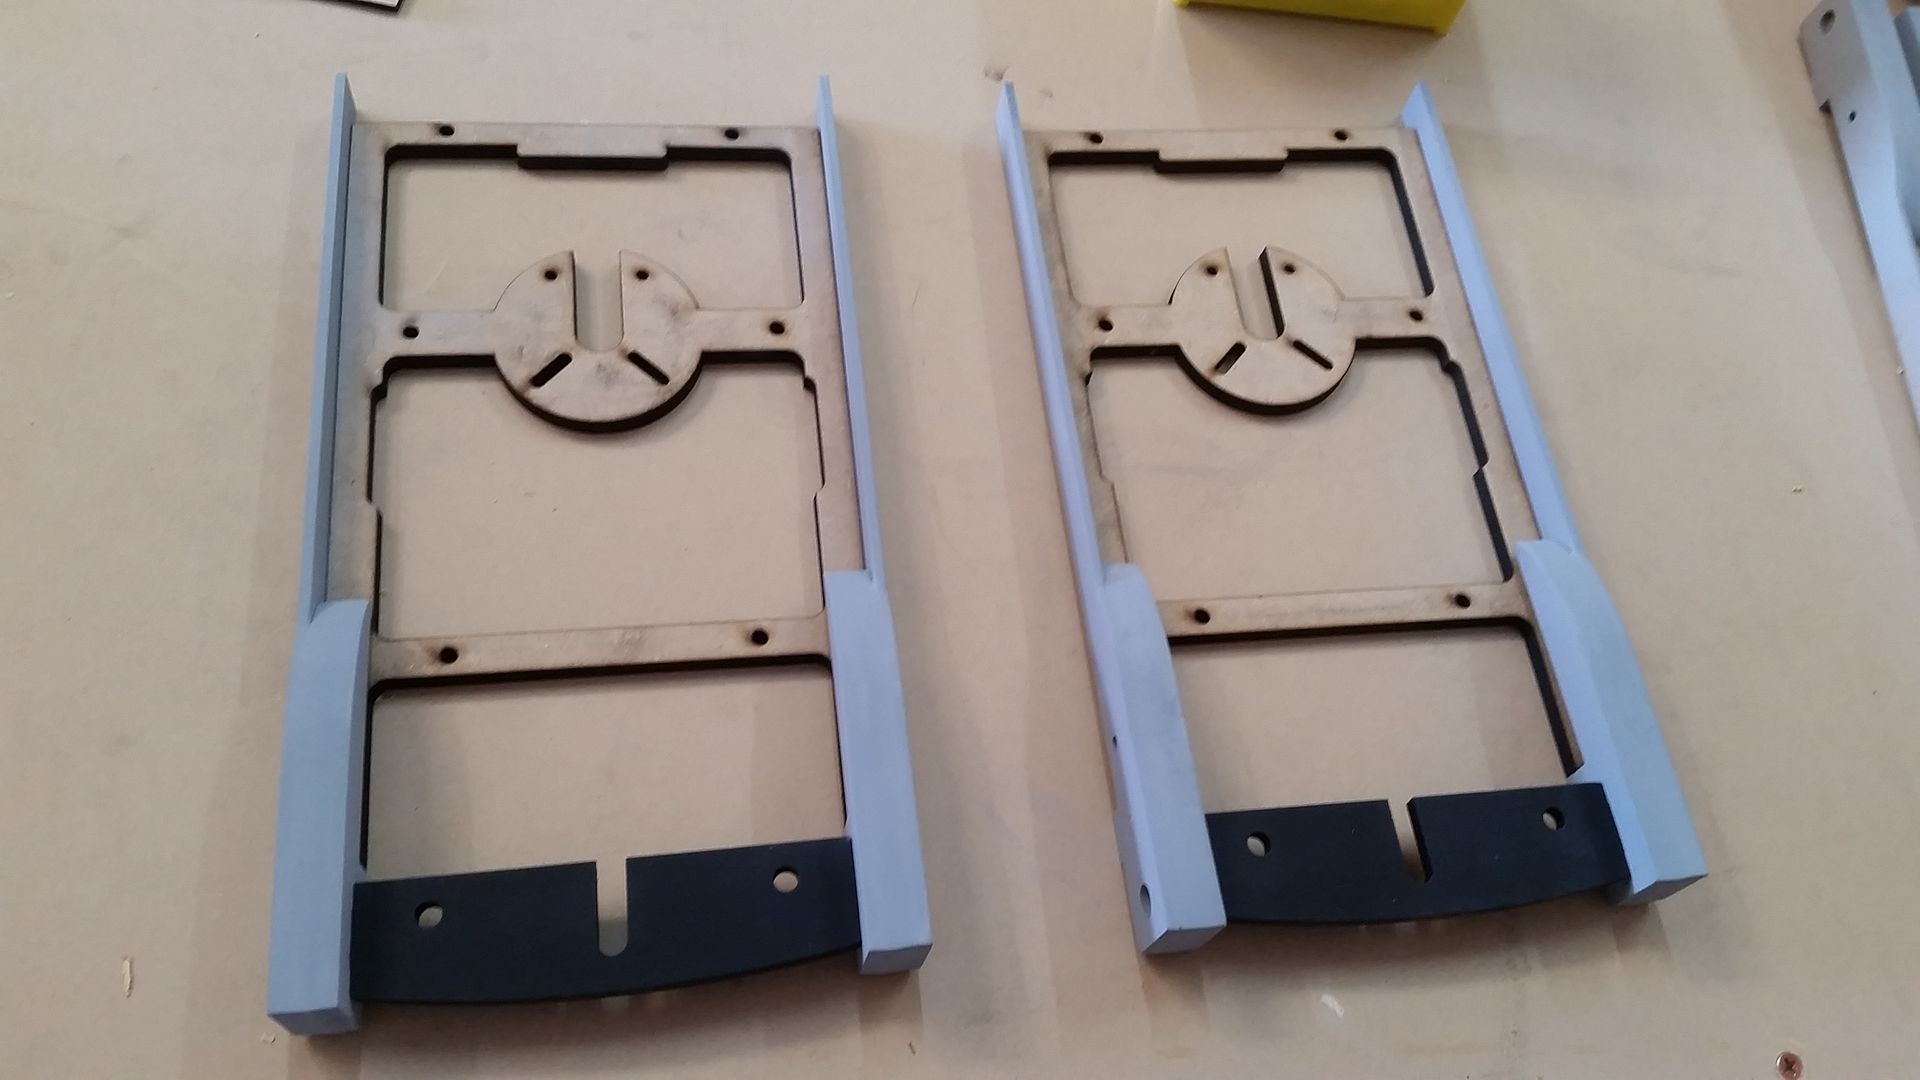
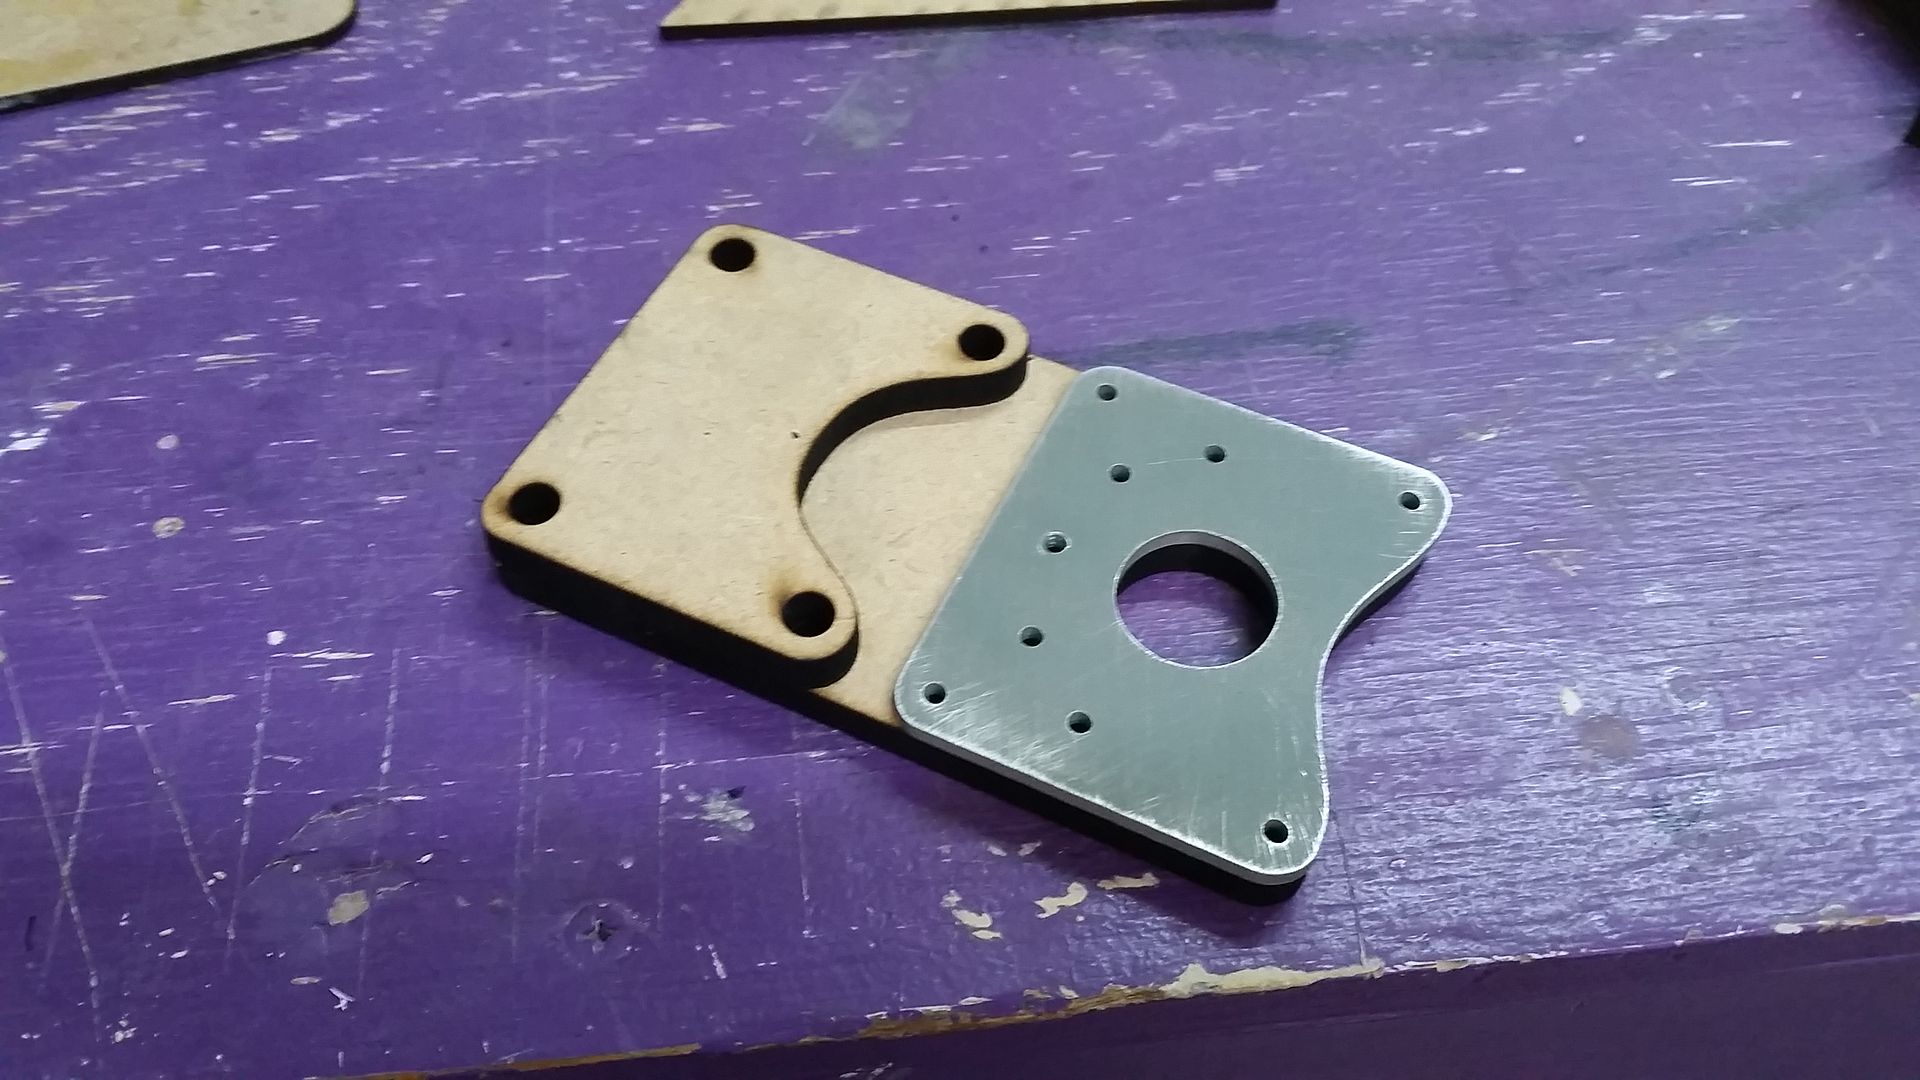
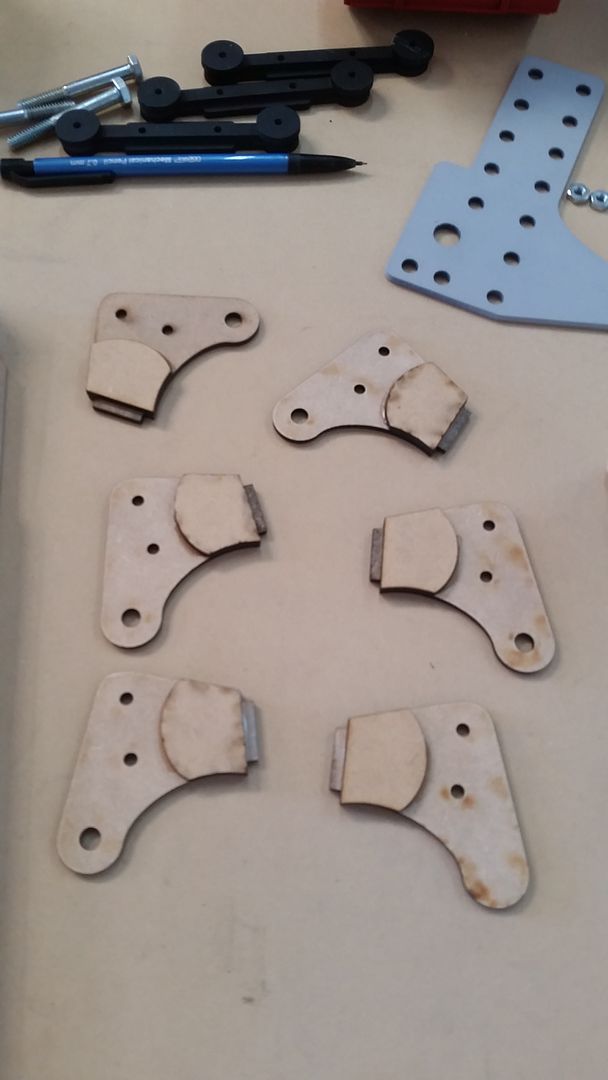
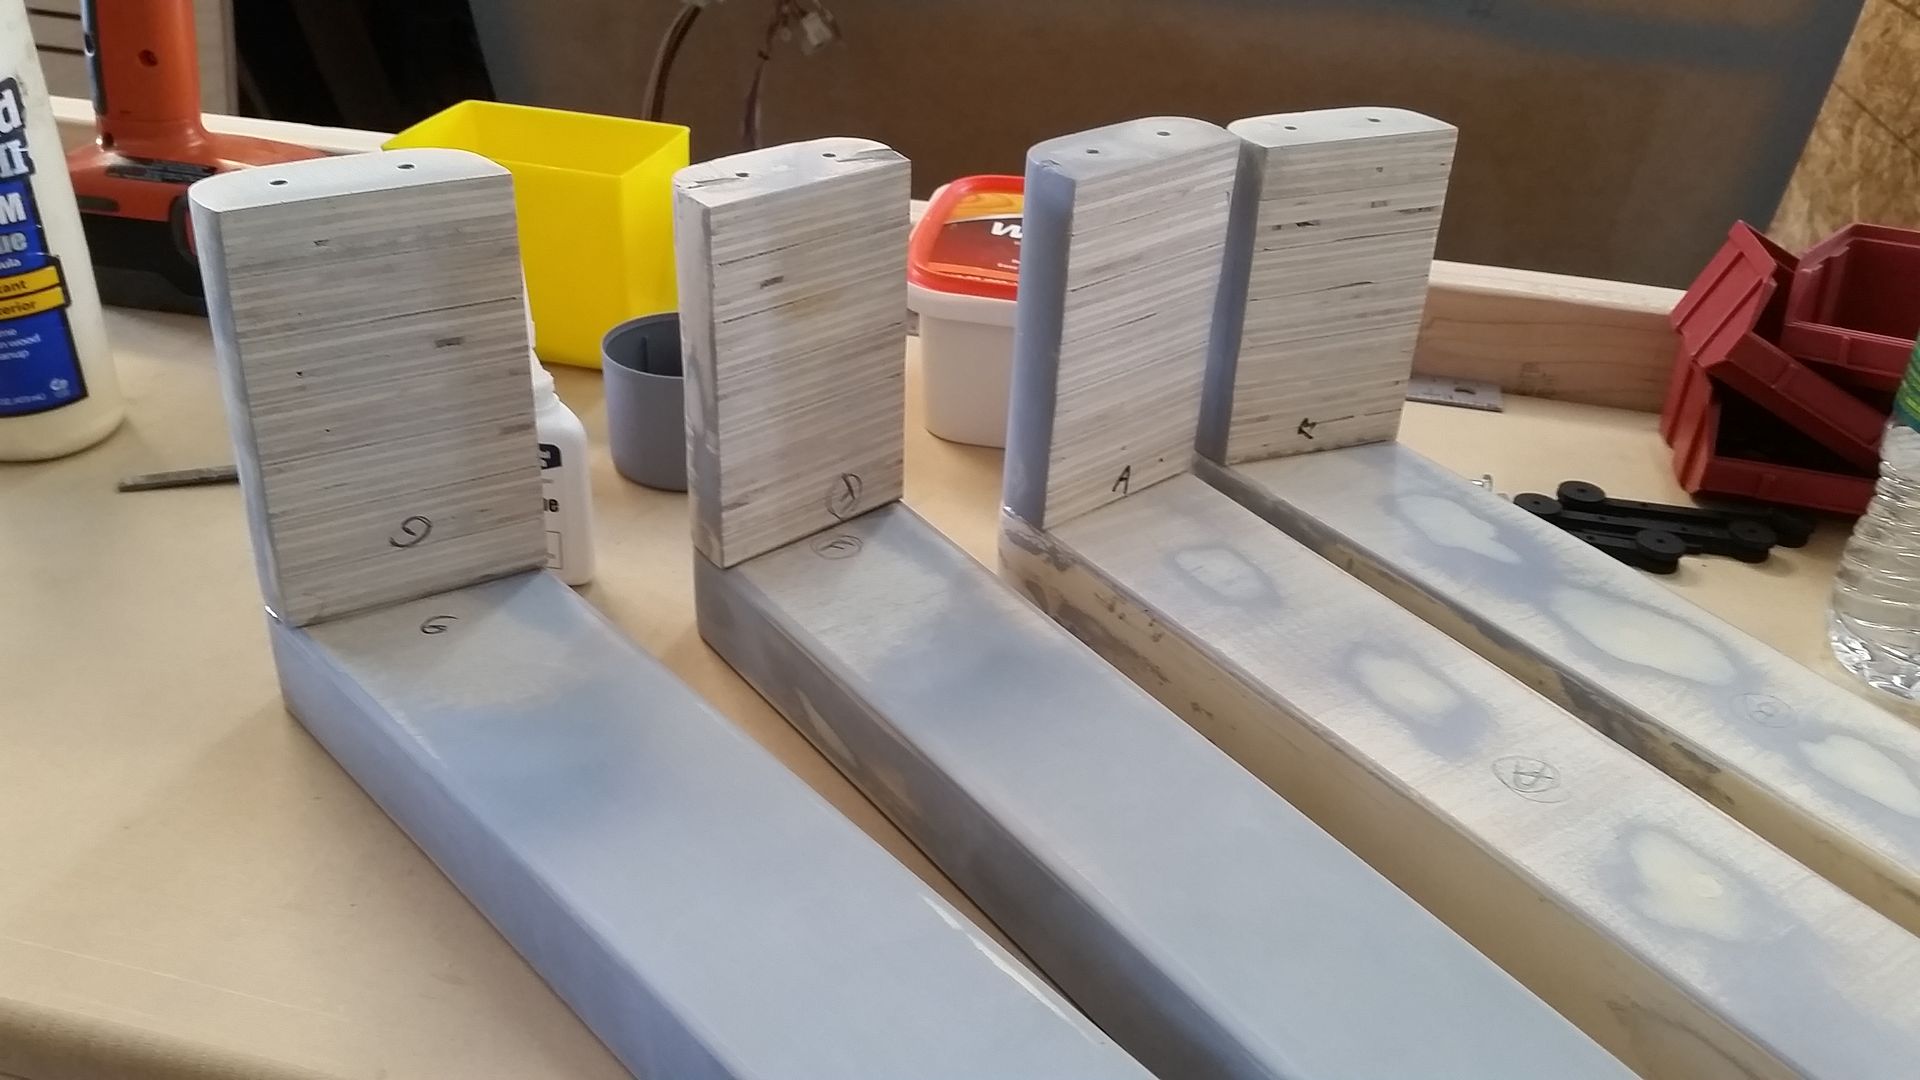
I laser cut these matching MDF bases for the metal greeblies
Filler?
Of course...
Paint
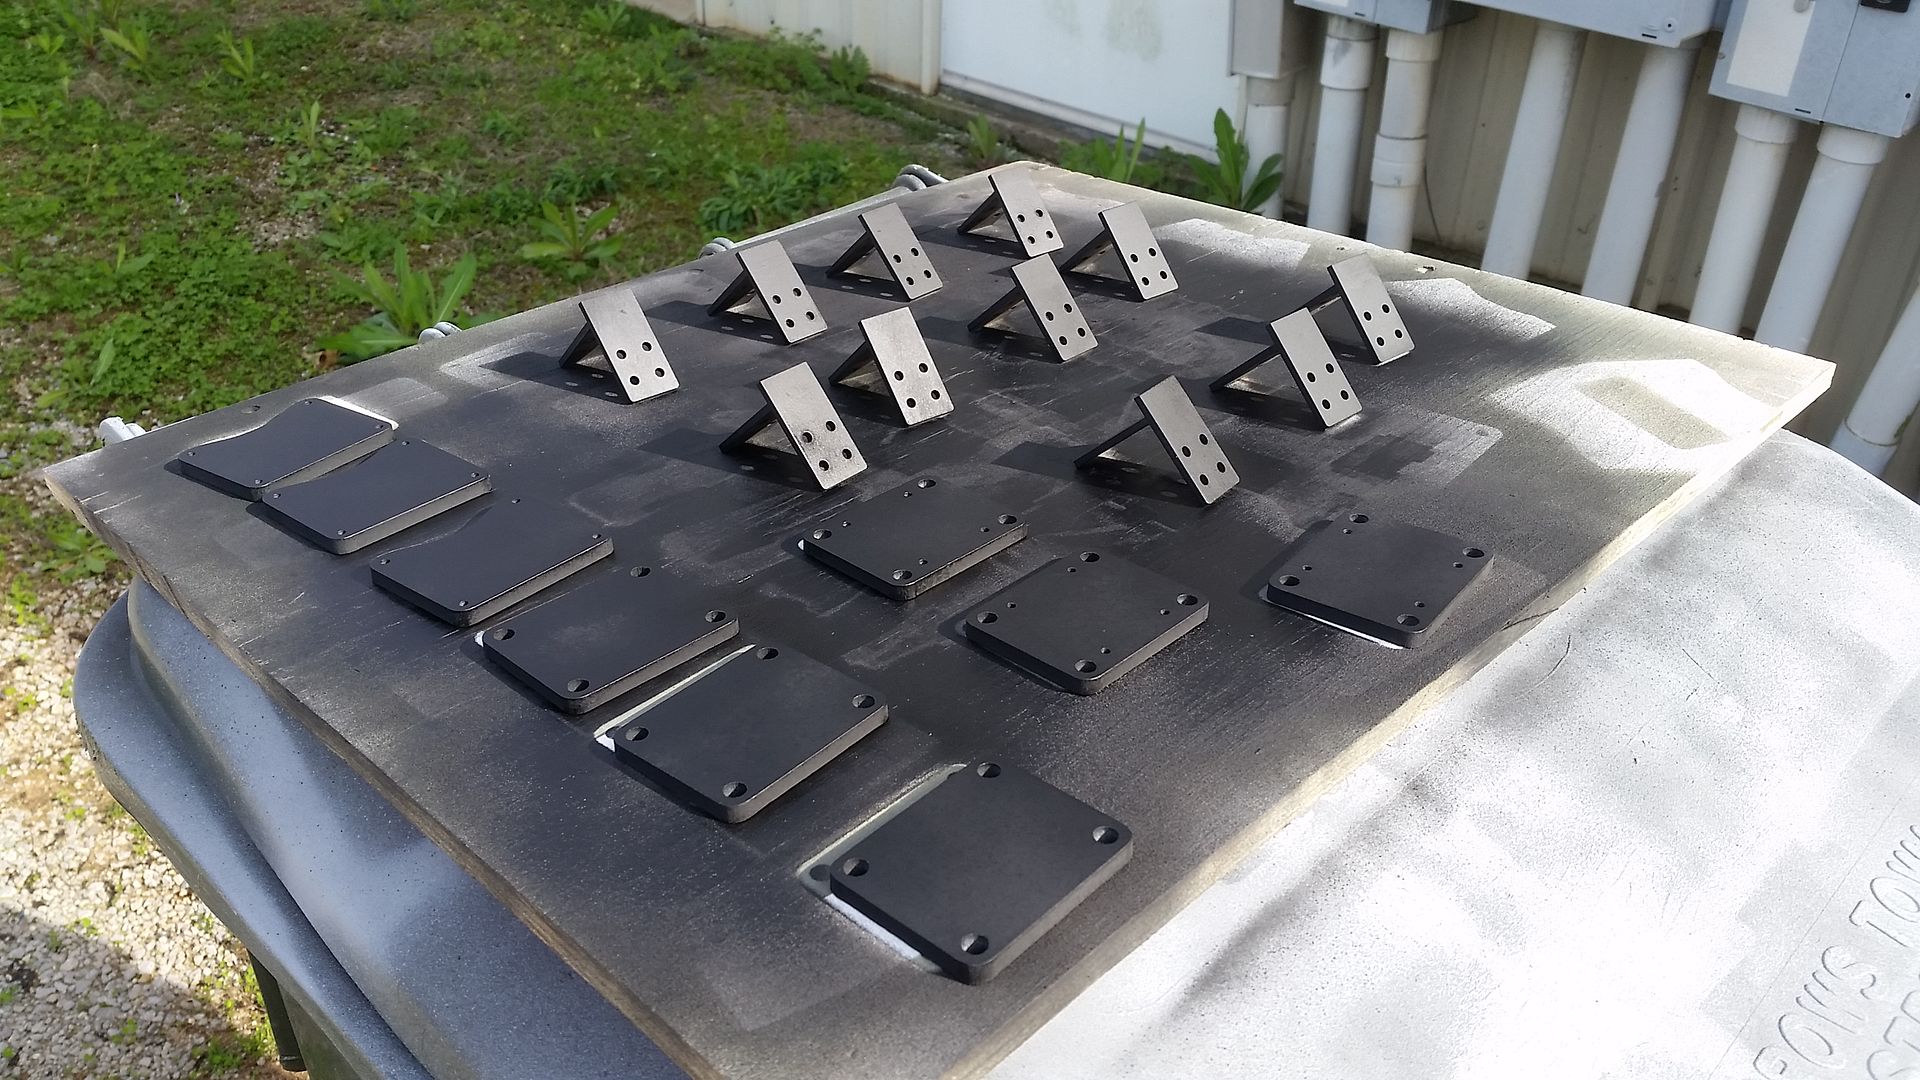
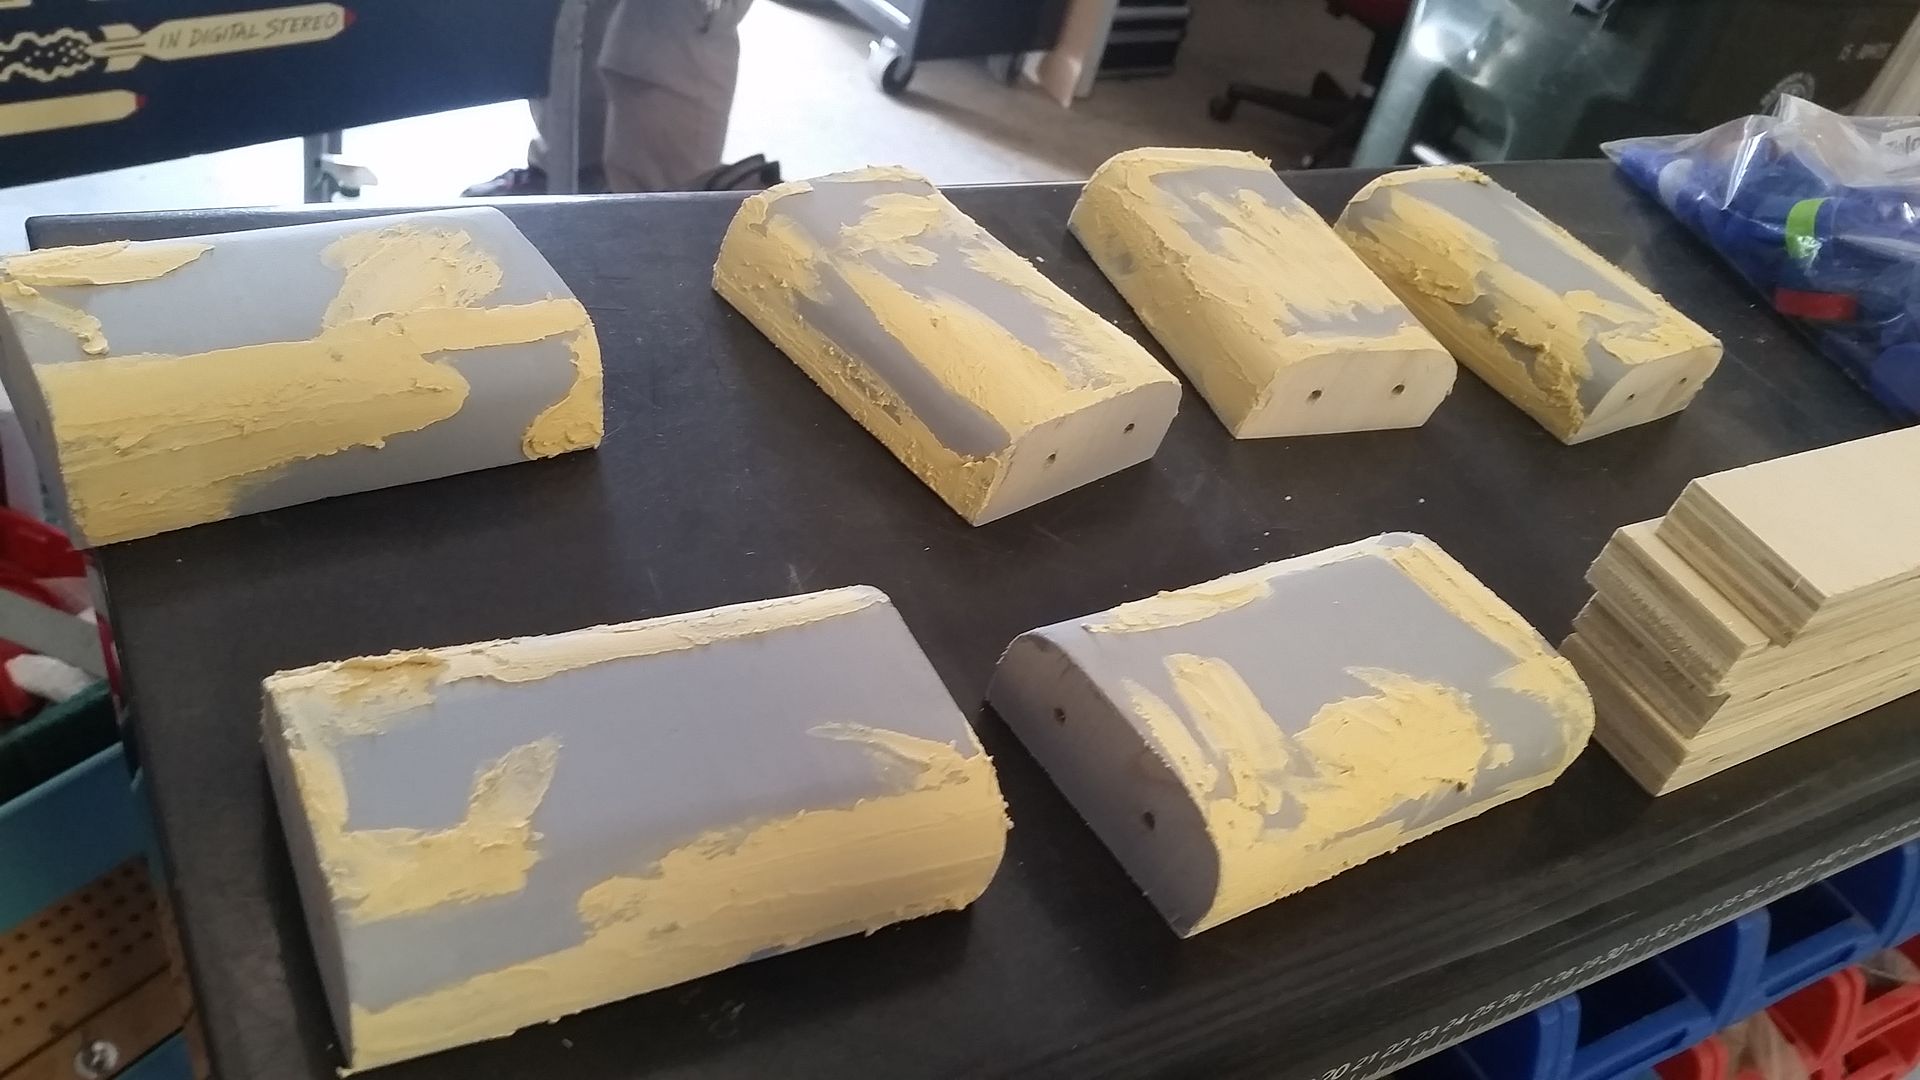
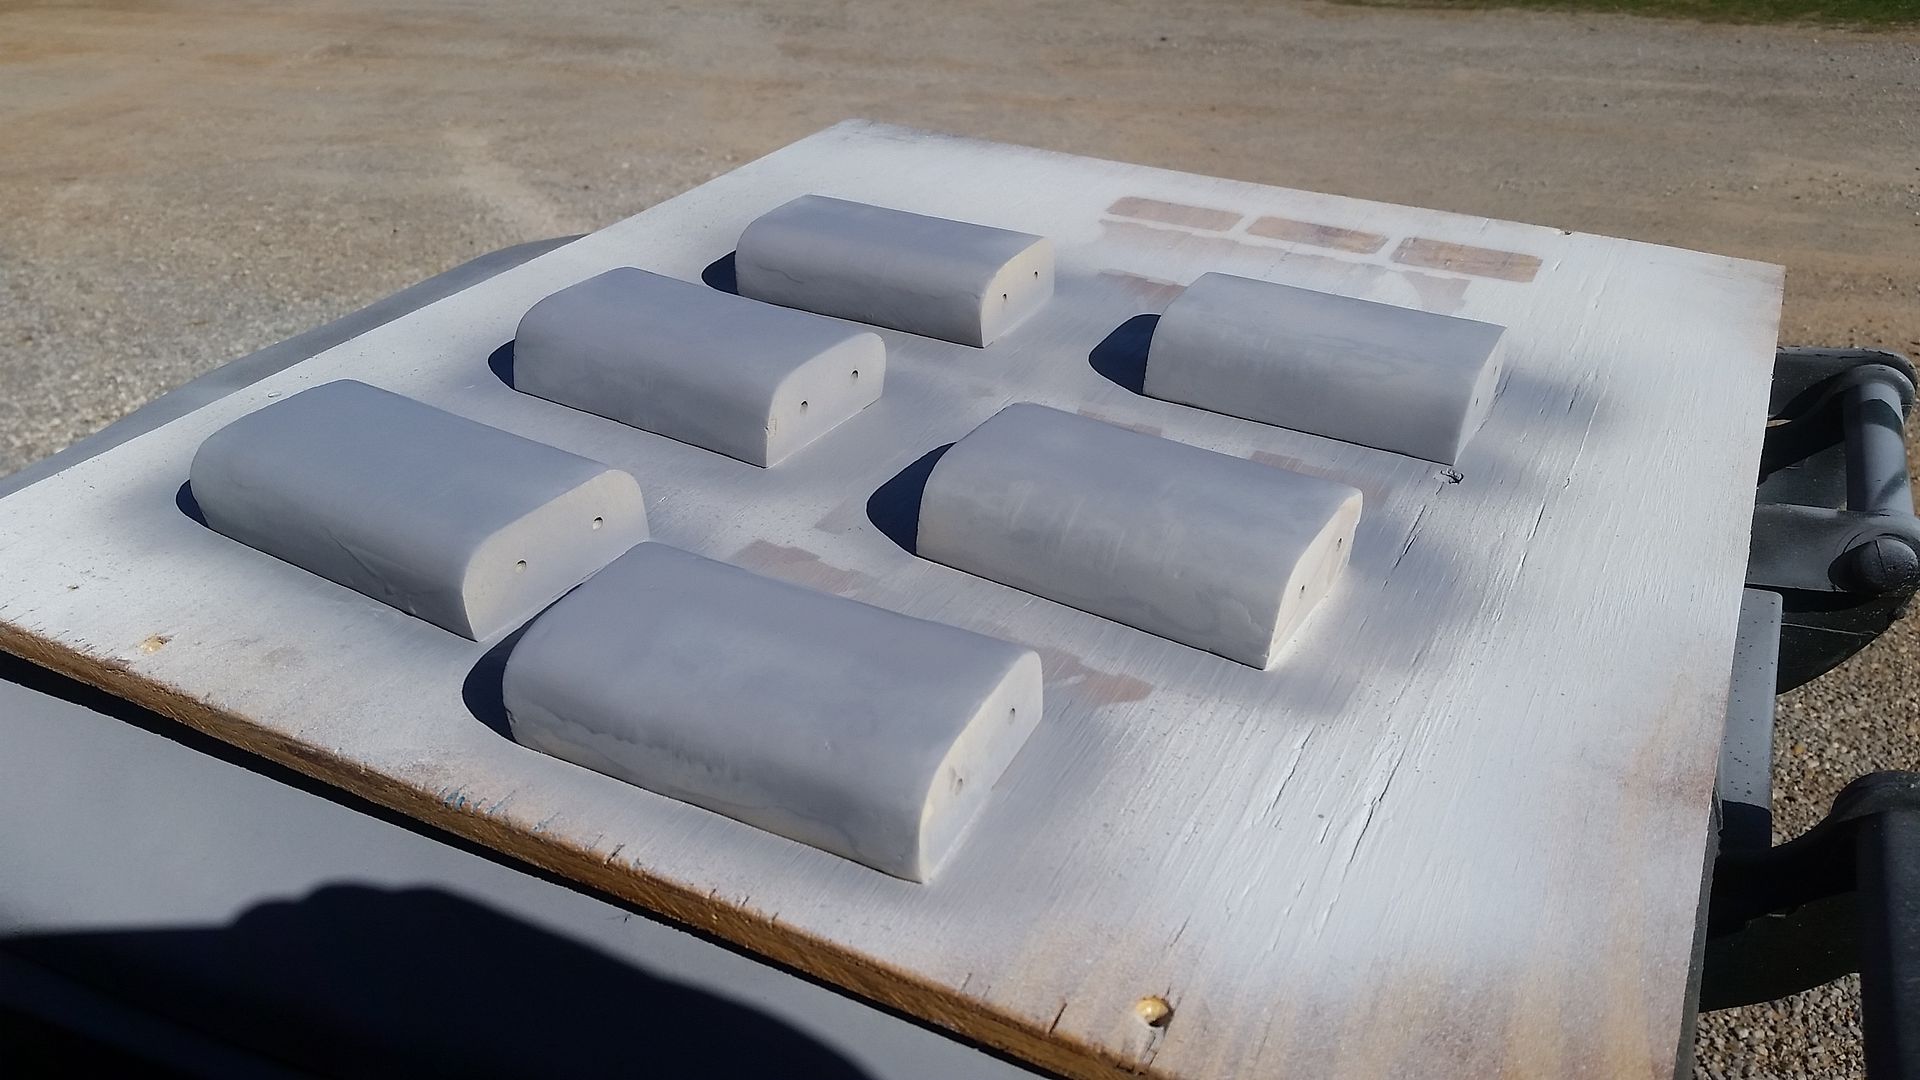
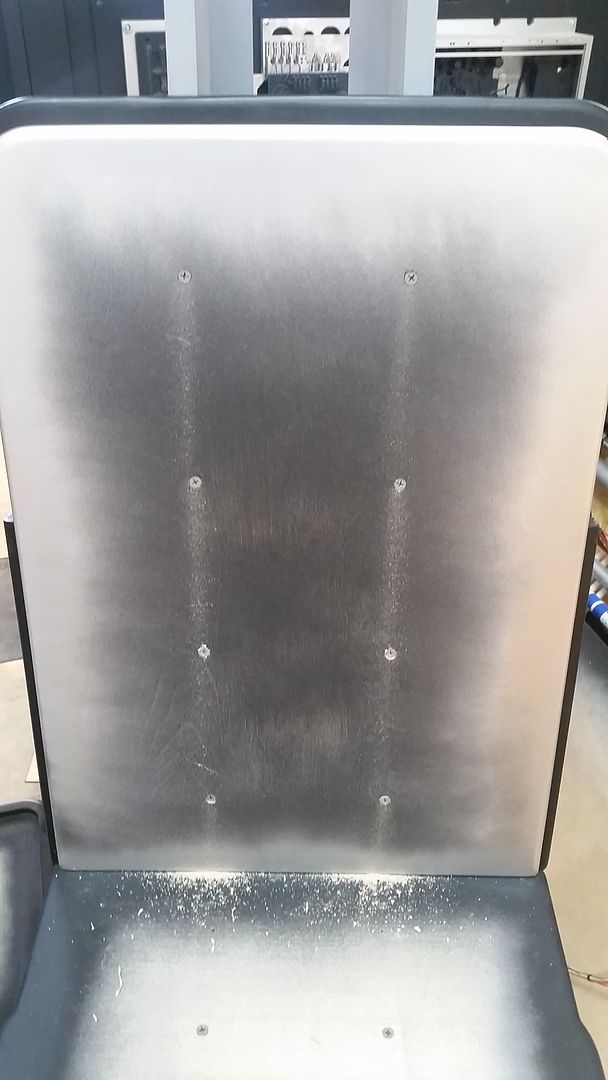
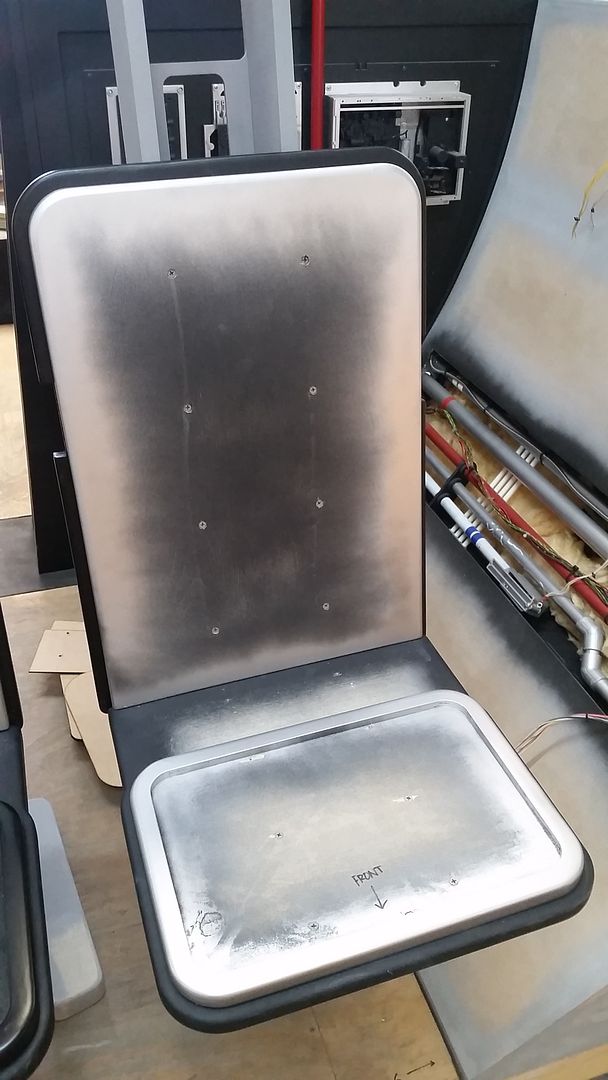
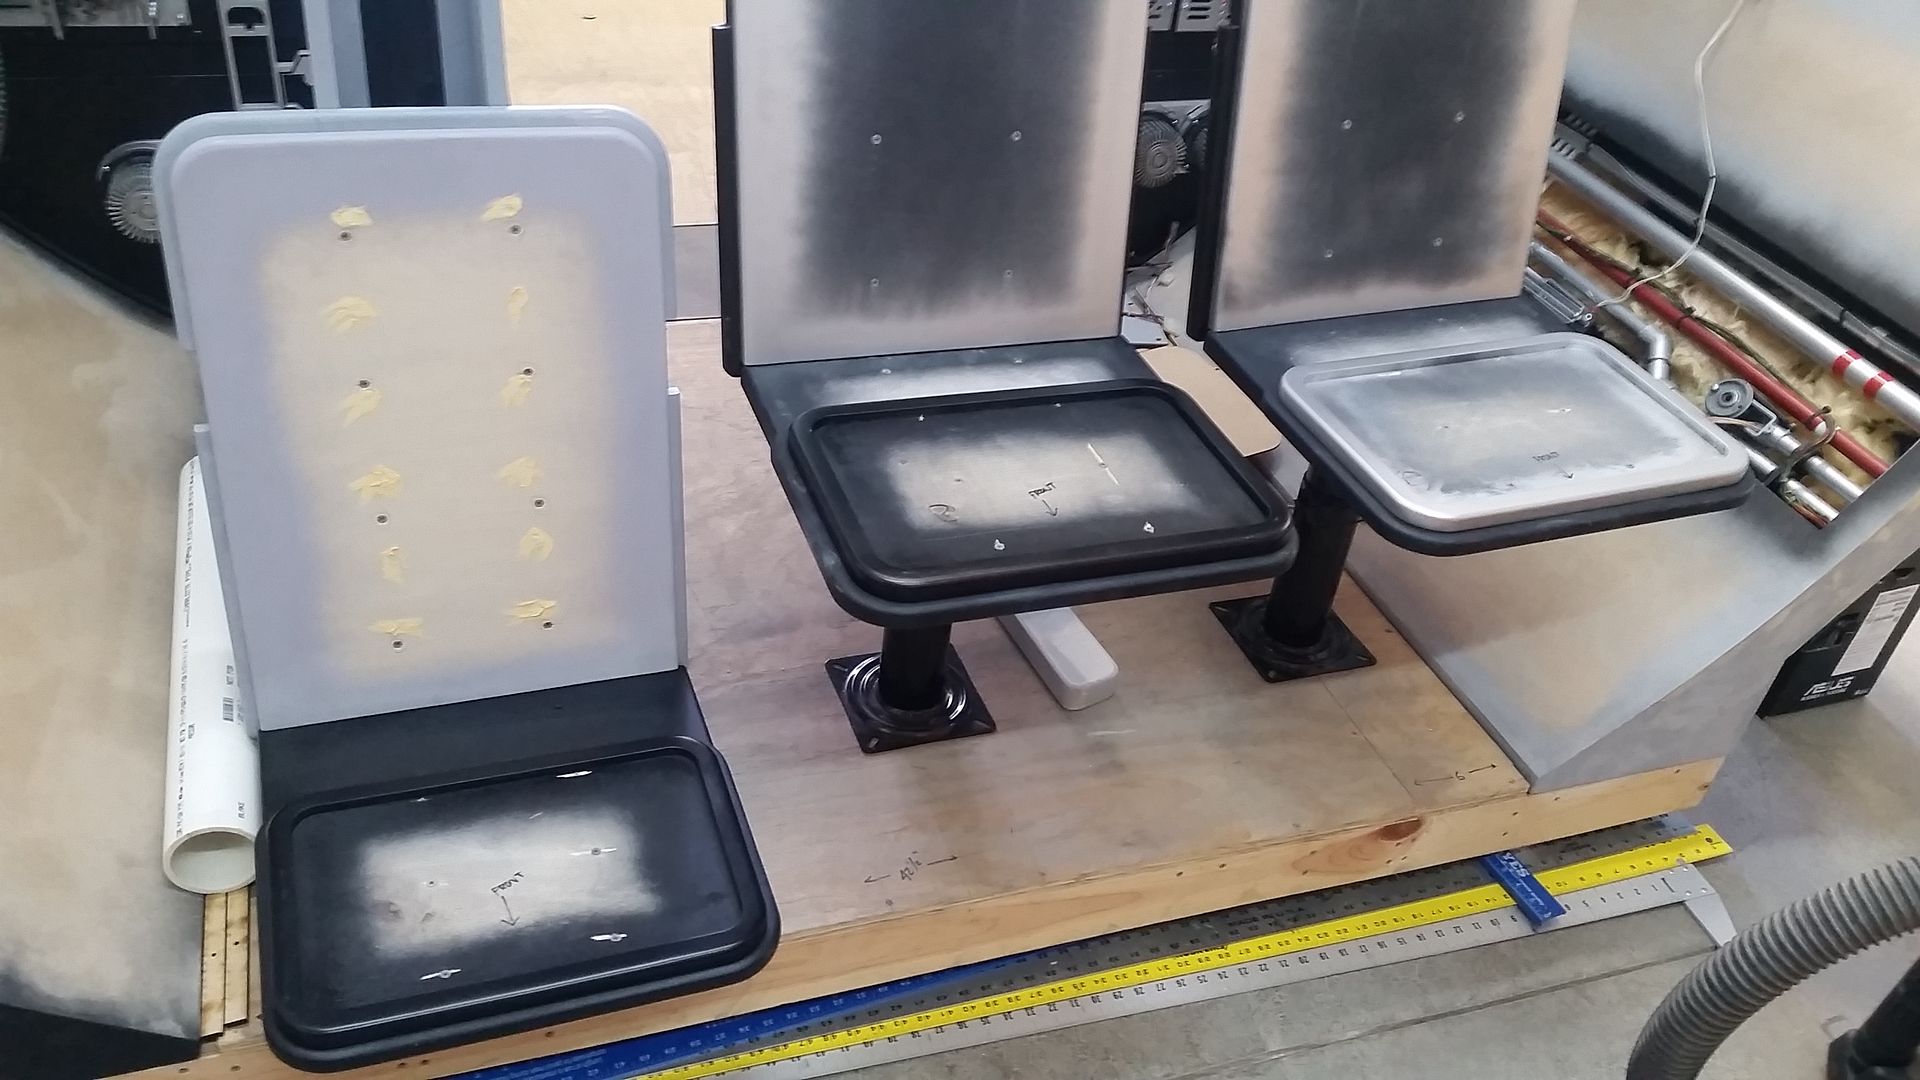
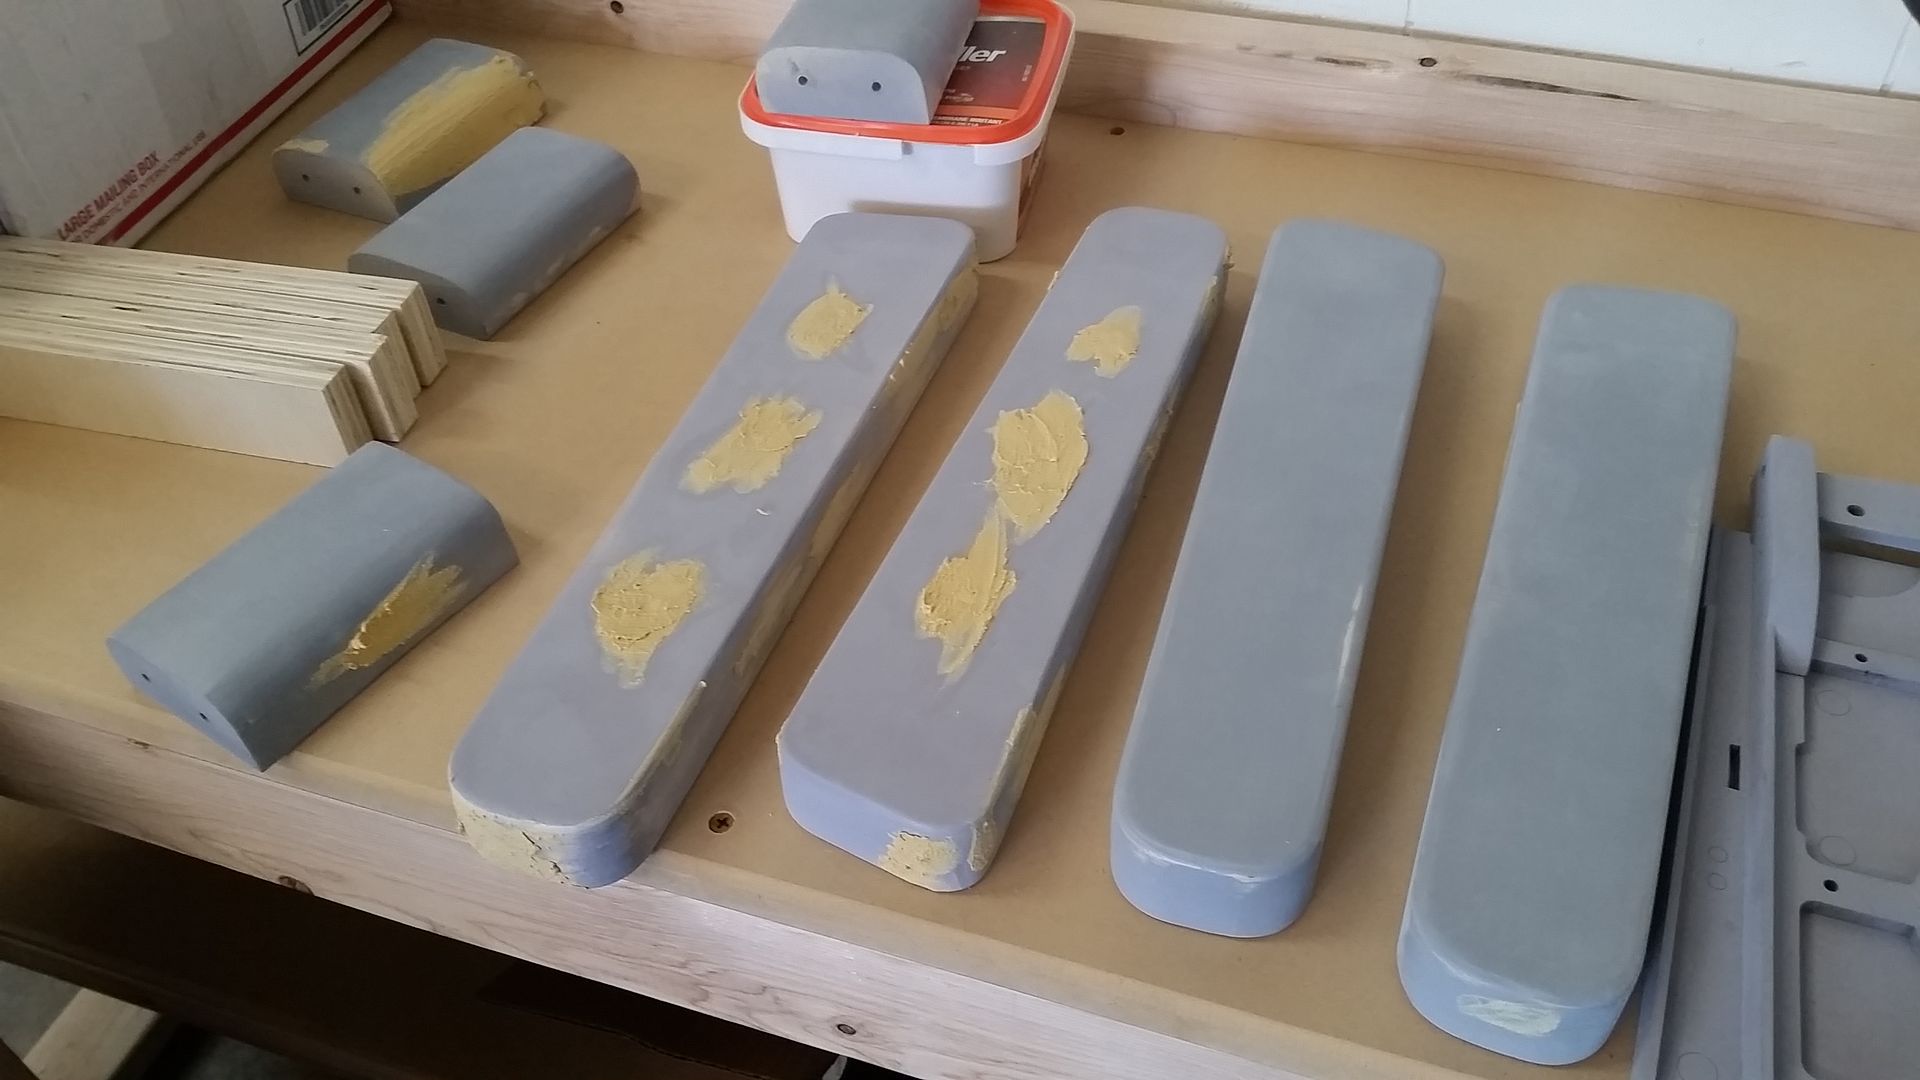
The seat pads get their 3rd round of filler / primer
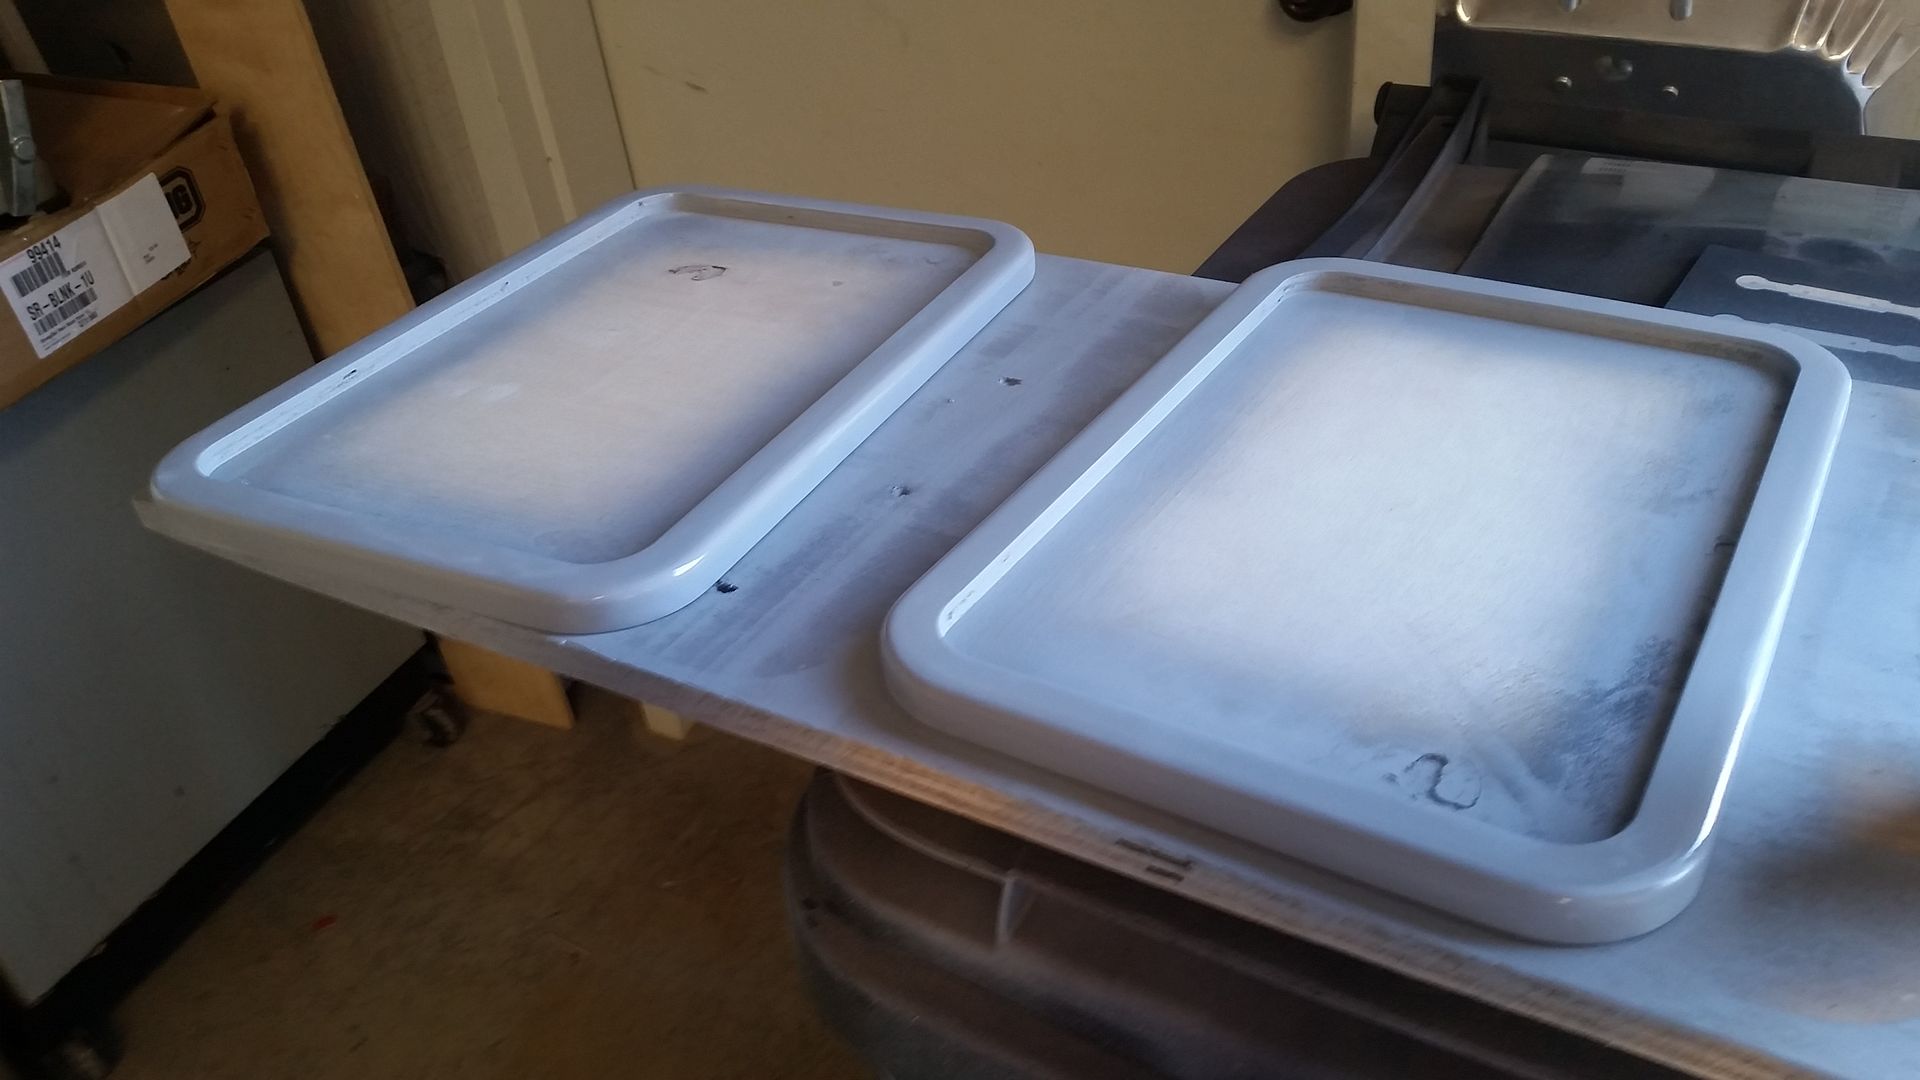
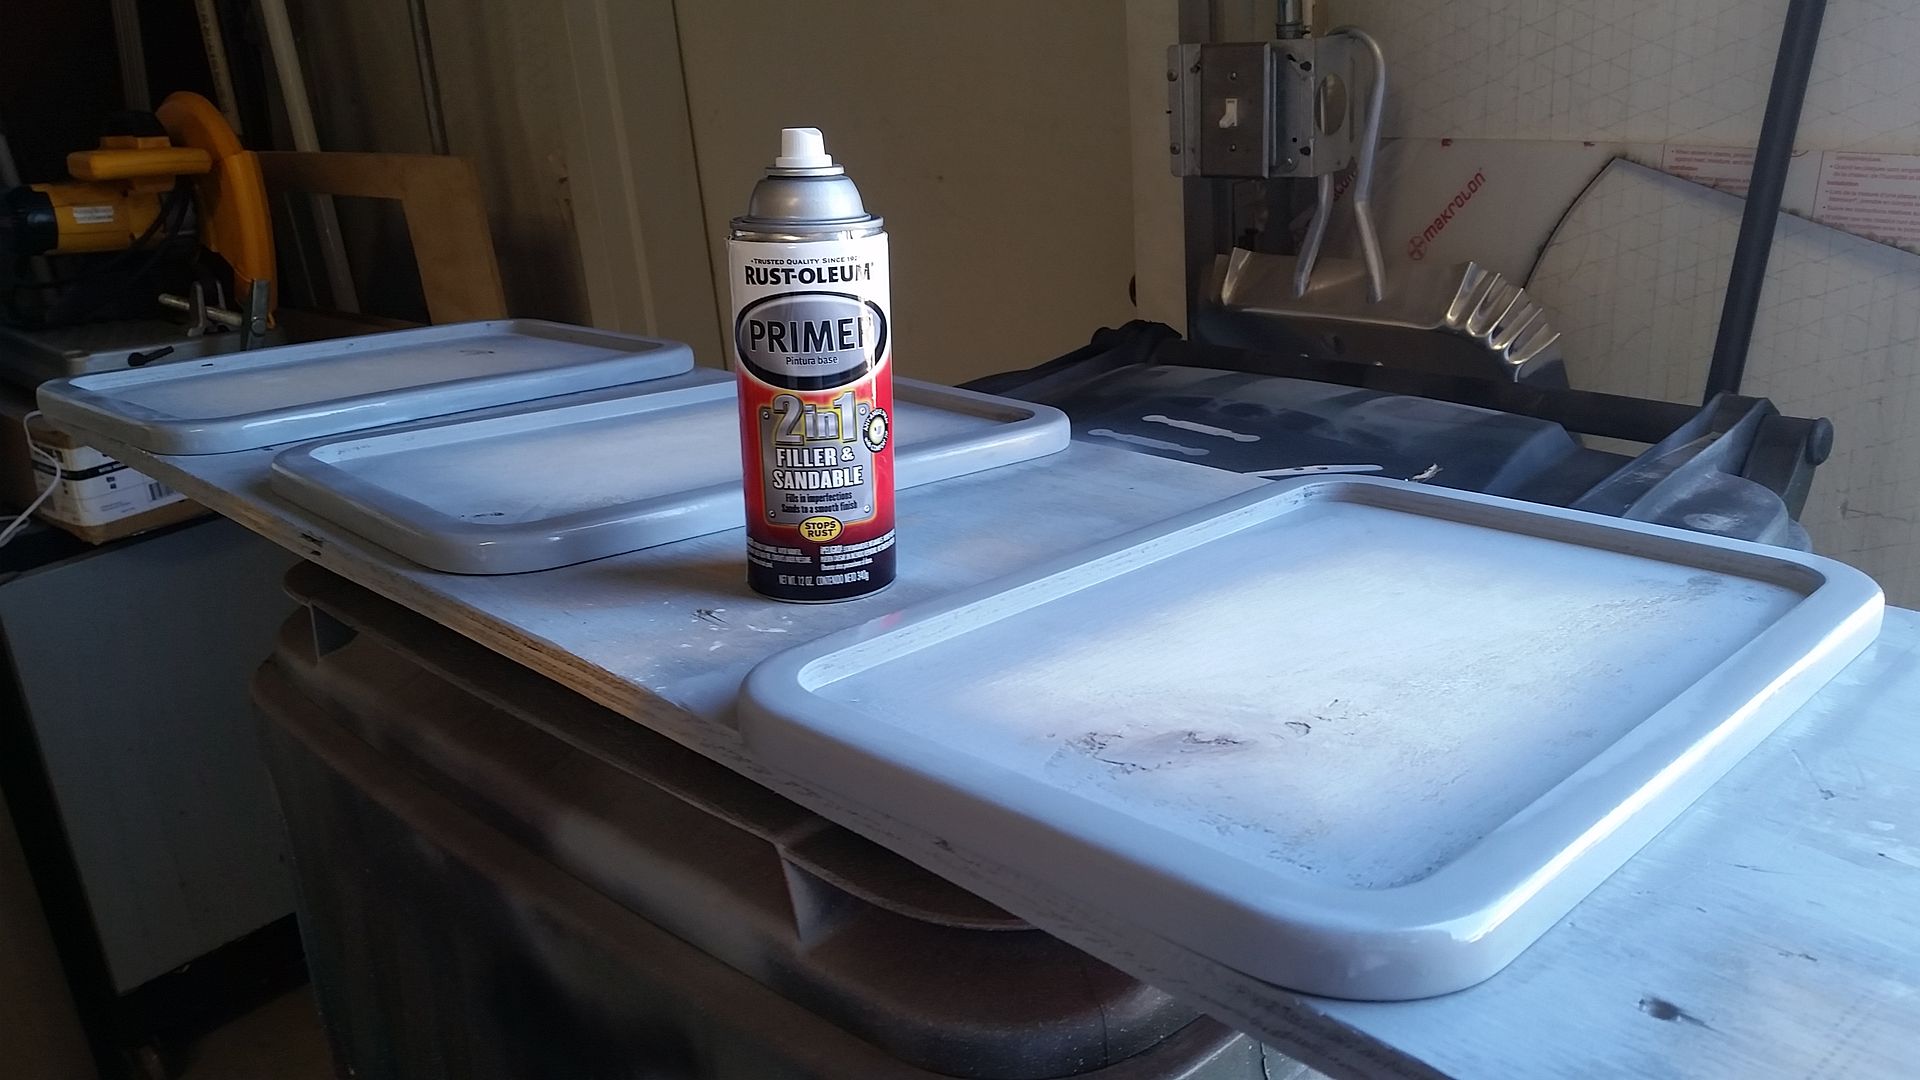
Paint!

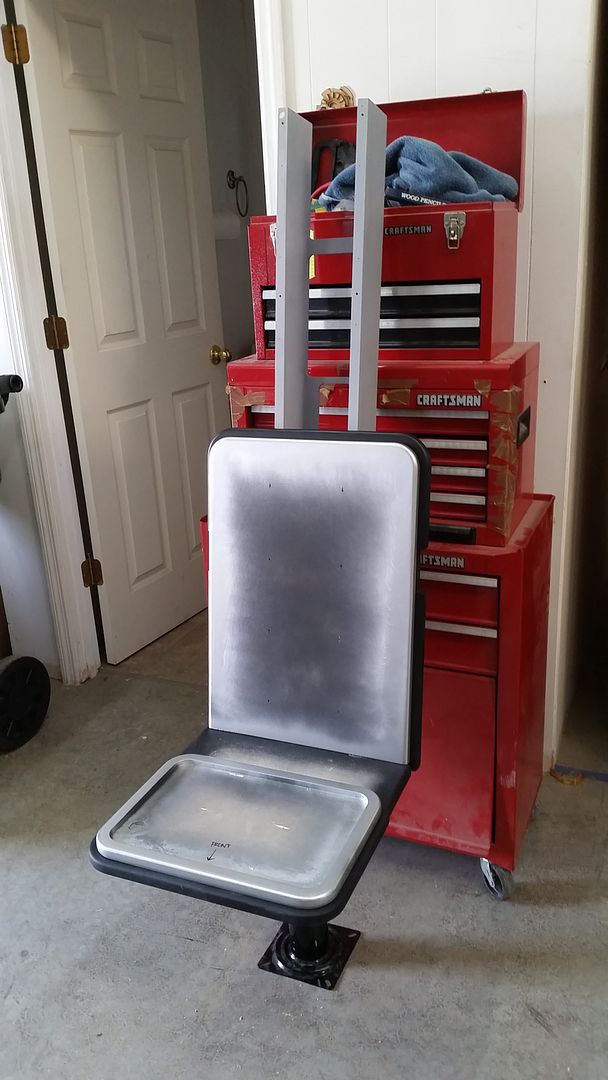
Laser cut seat pad mounting template
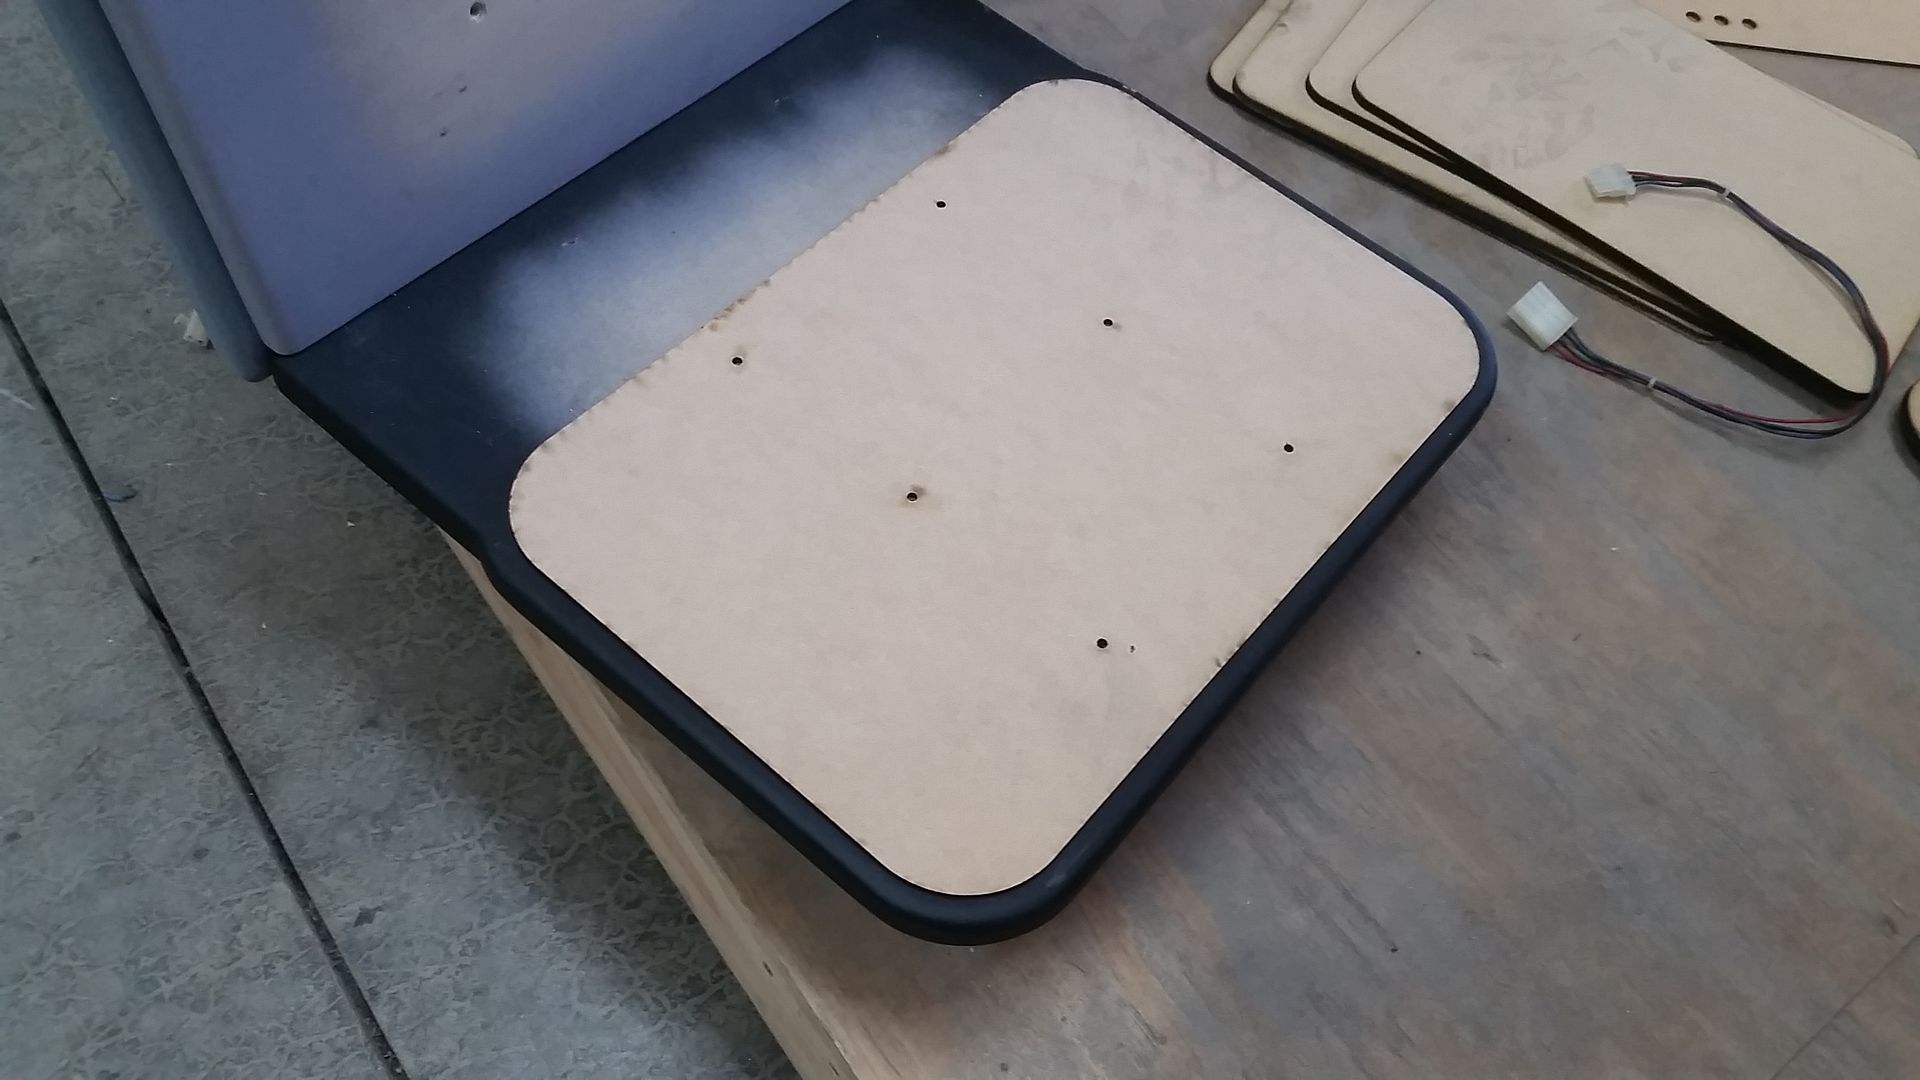
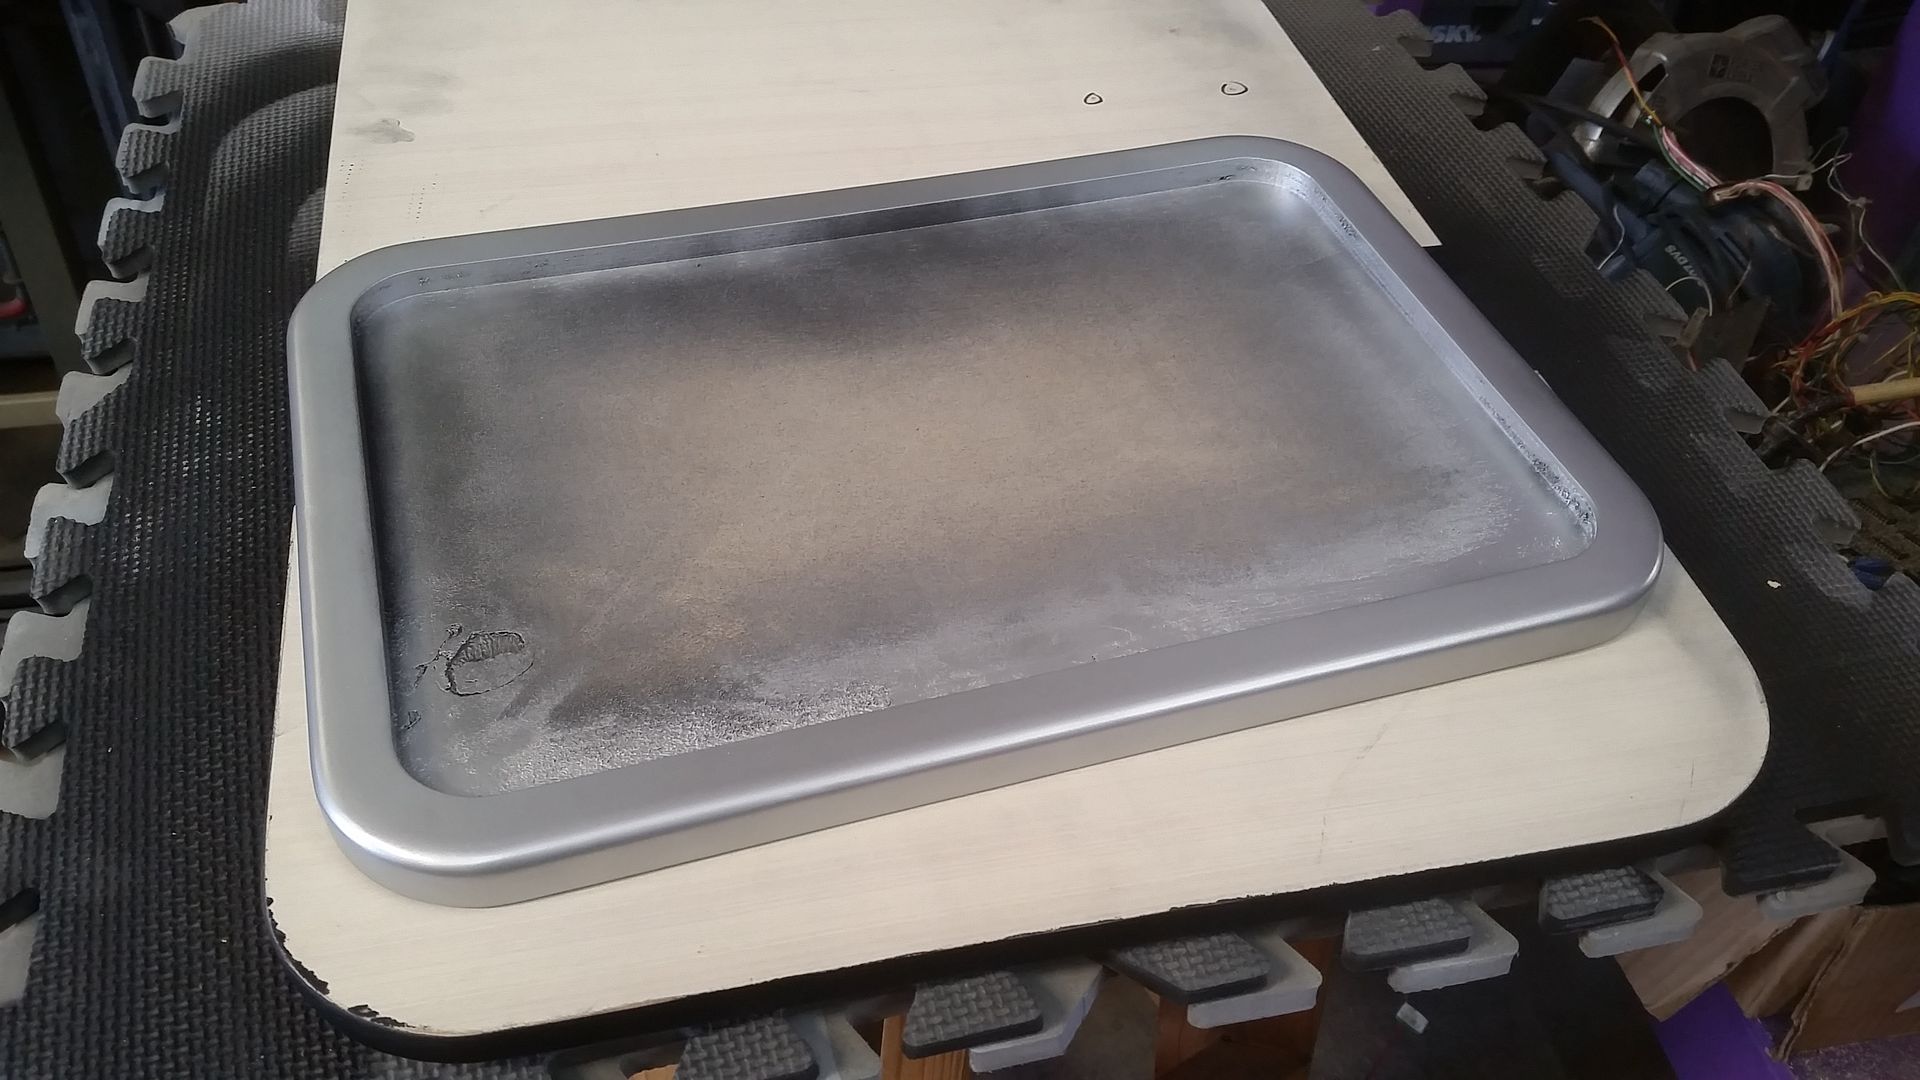
Painted silver
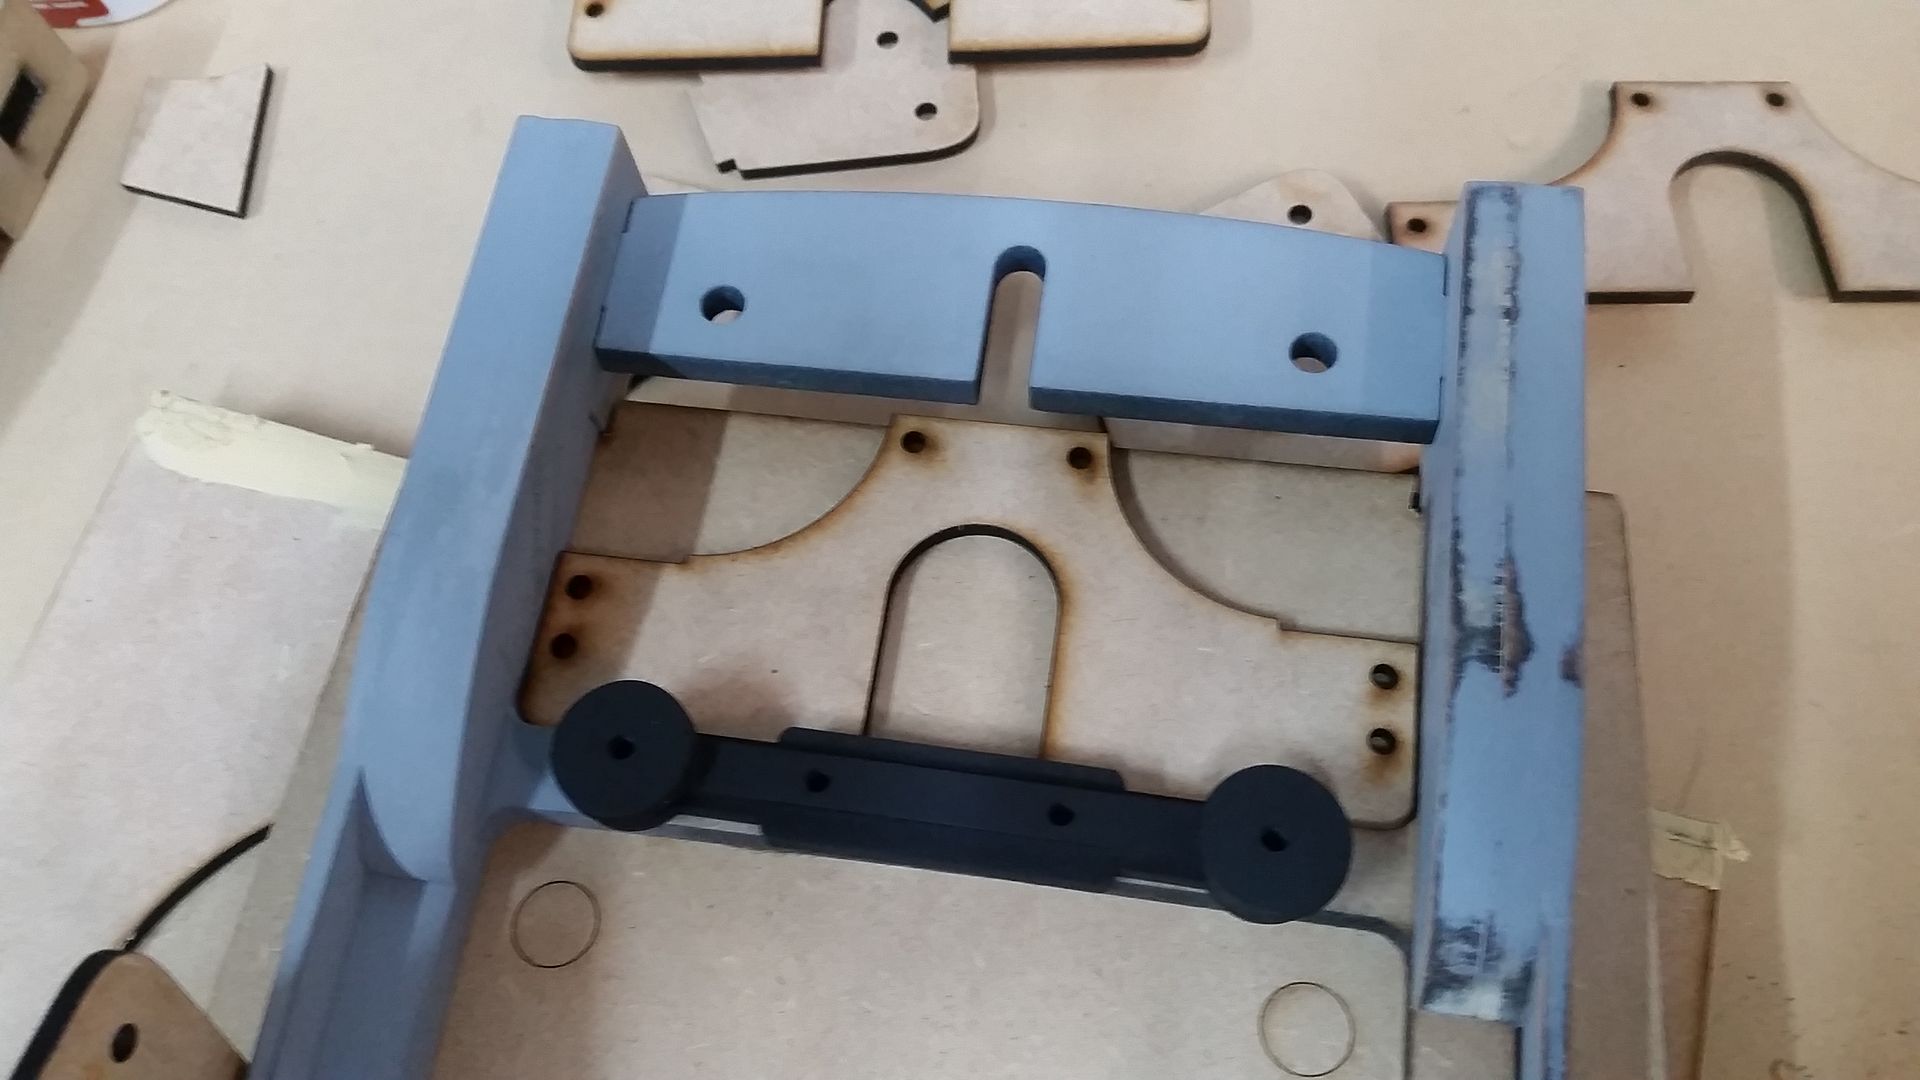
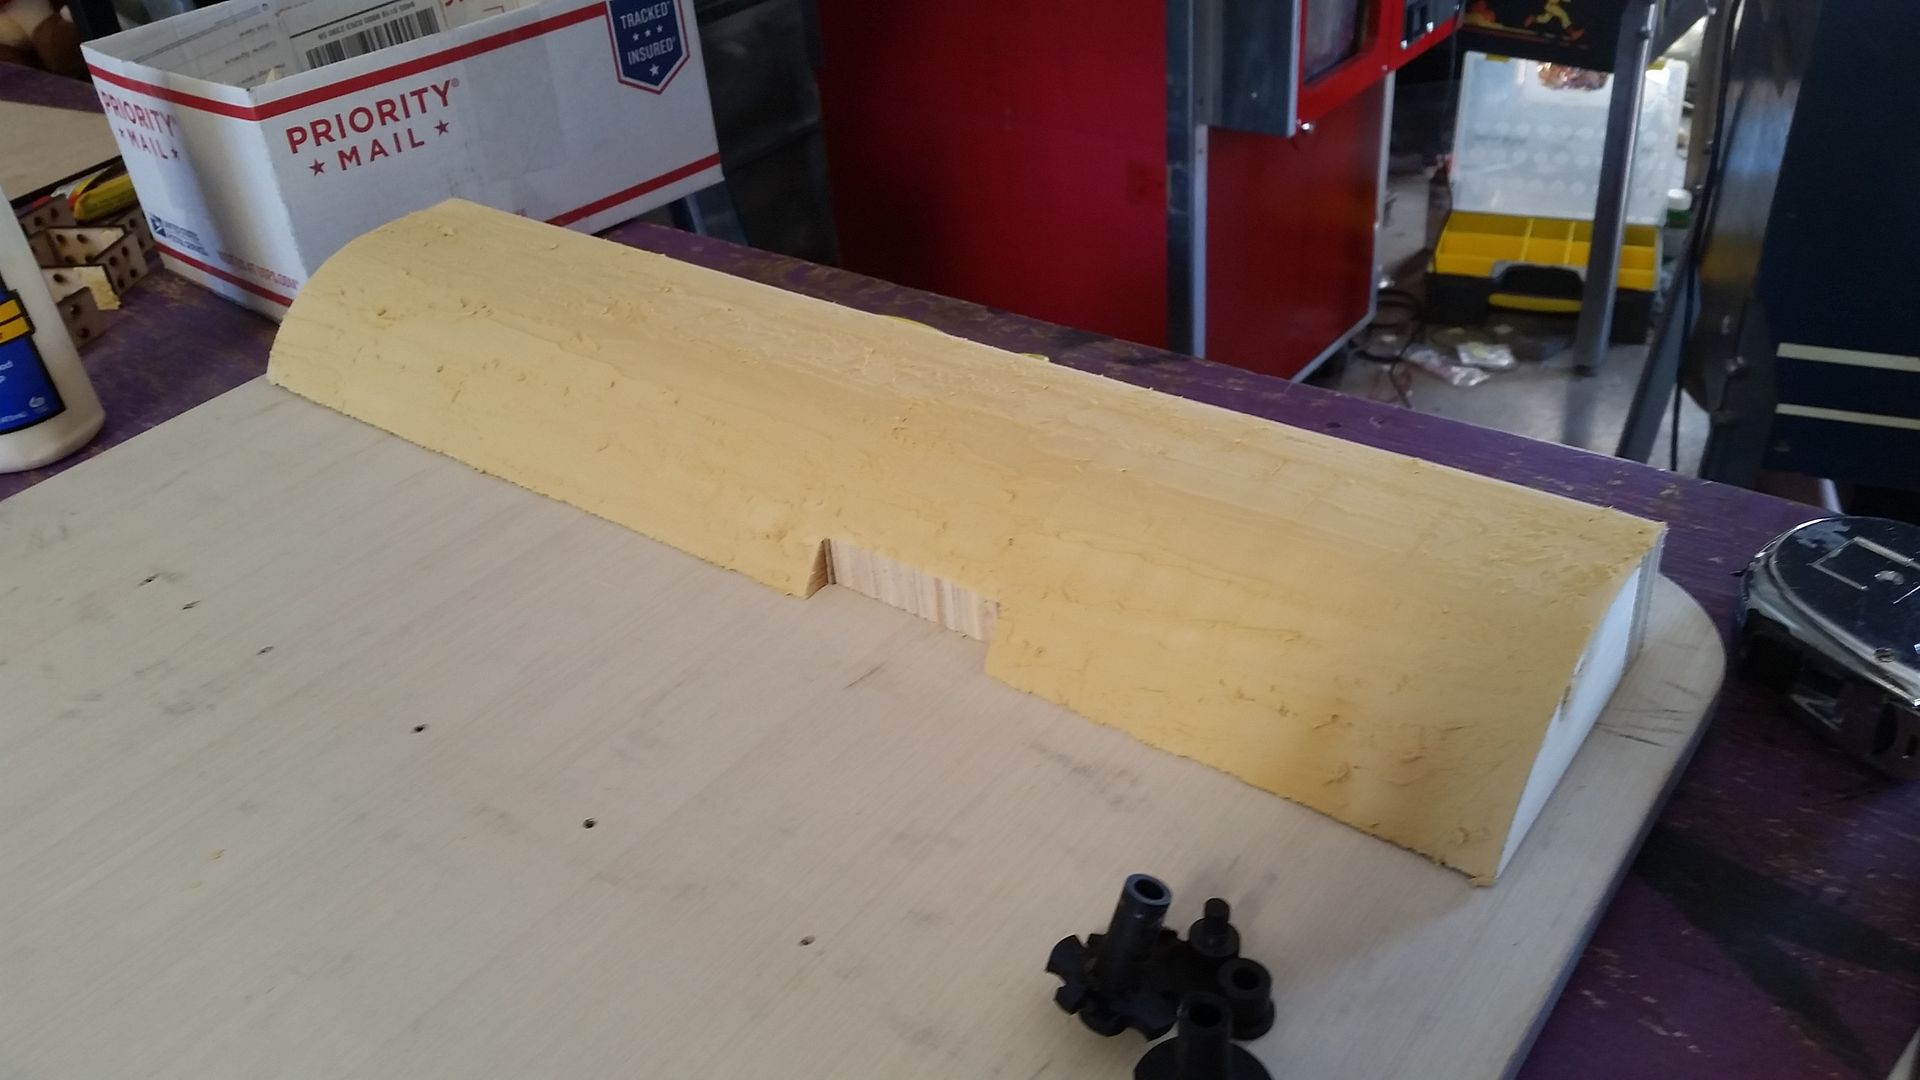
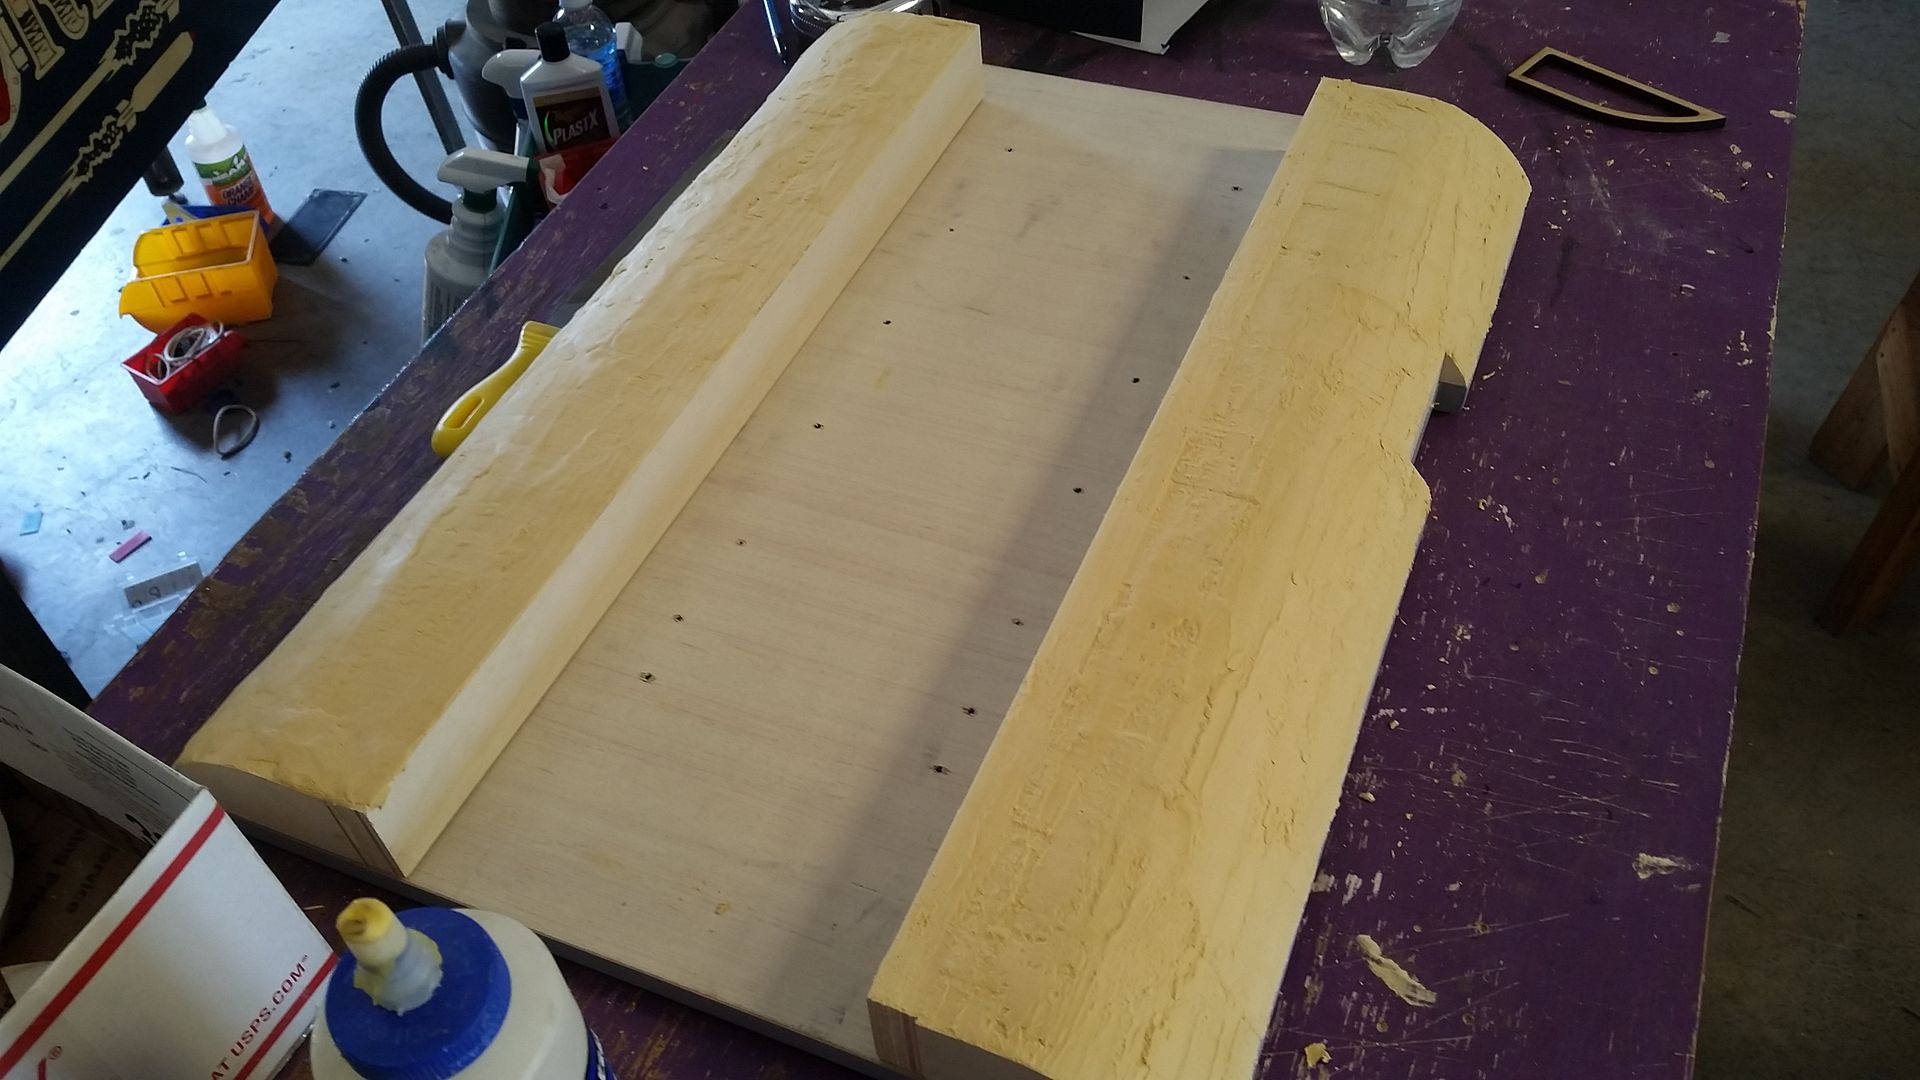
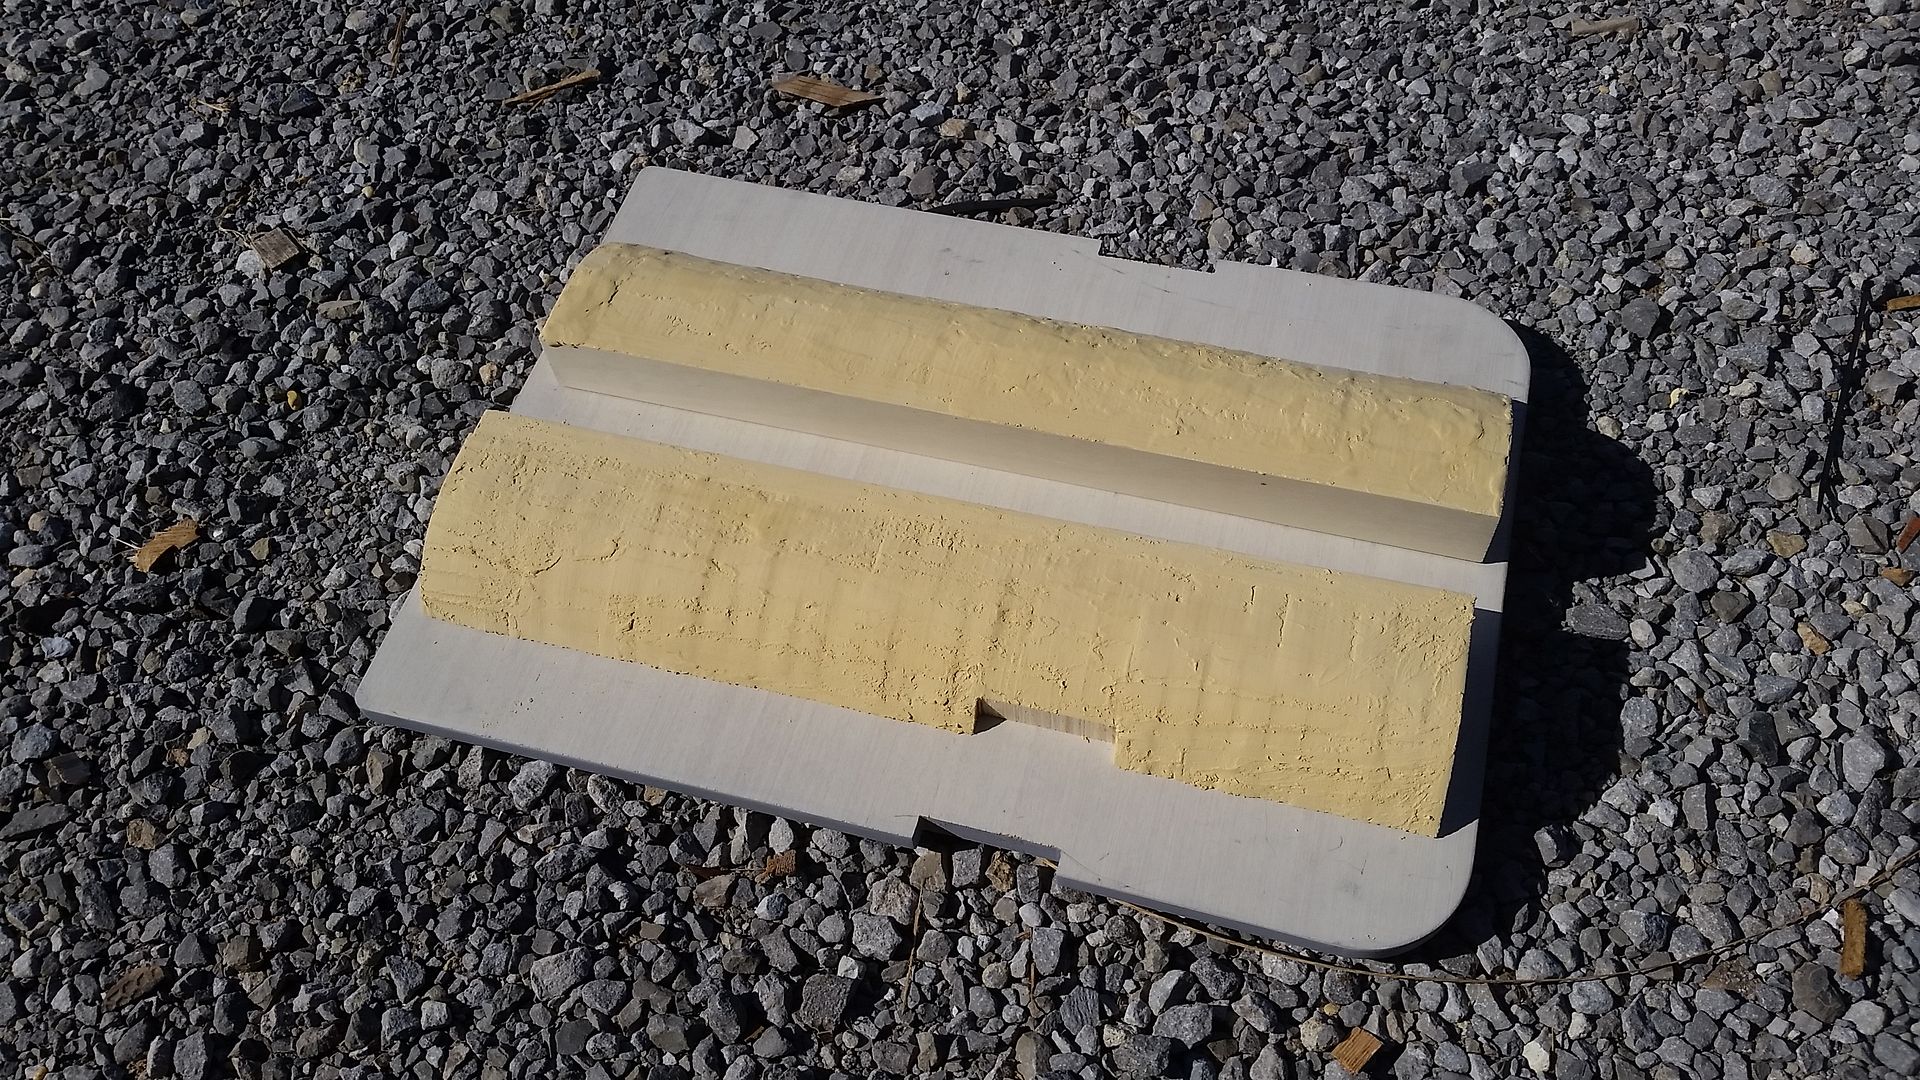
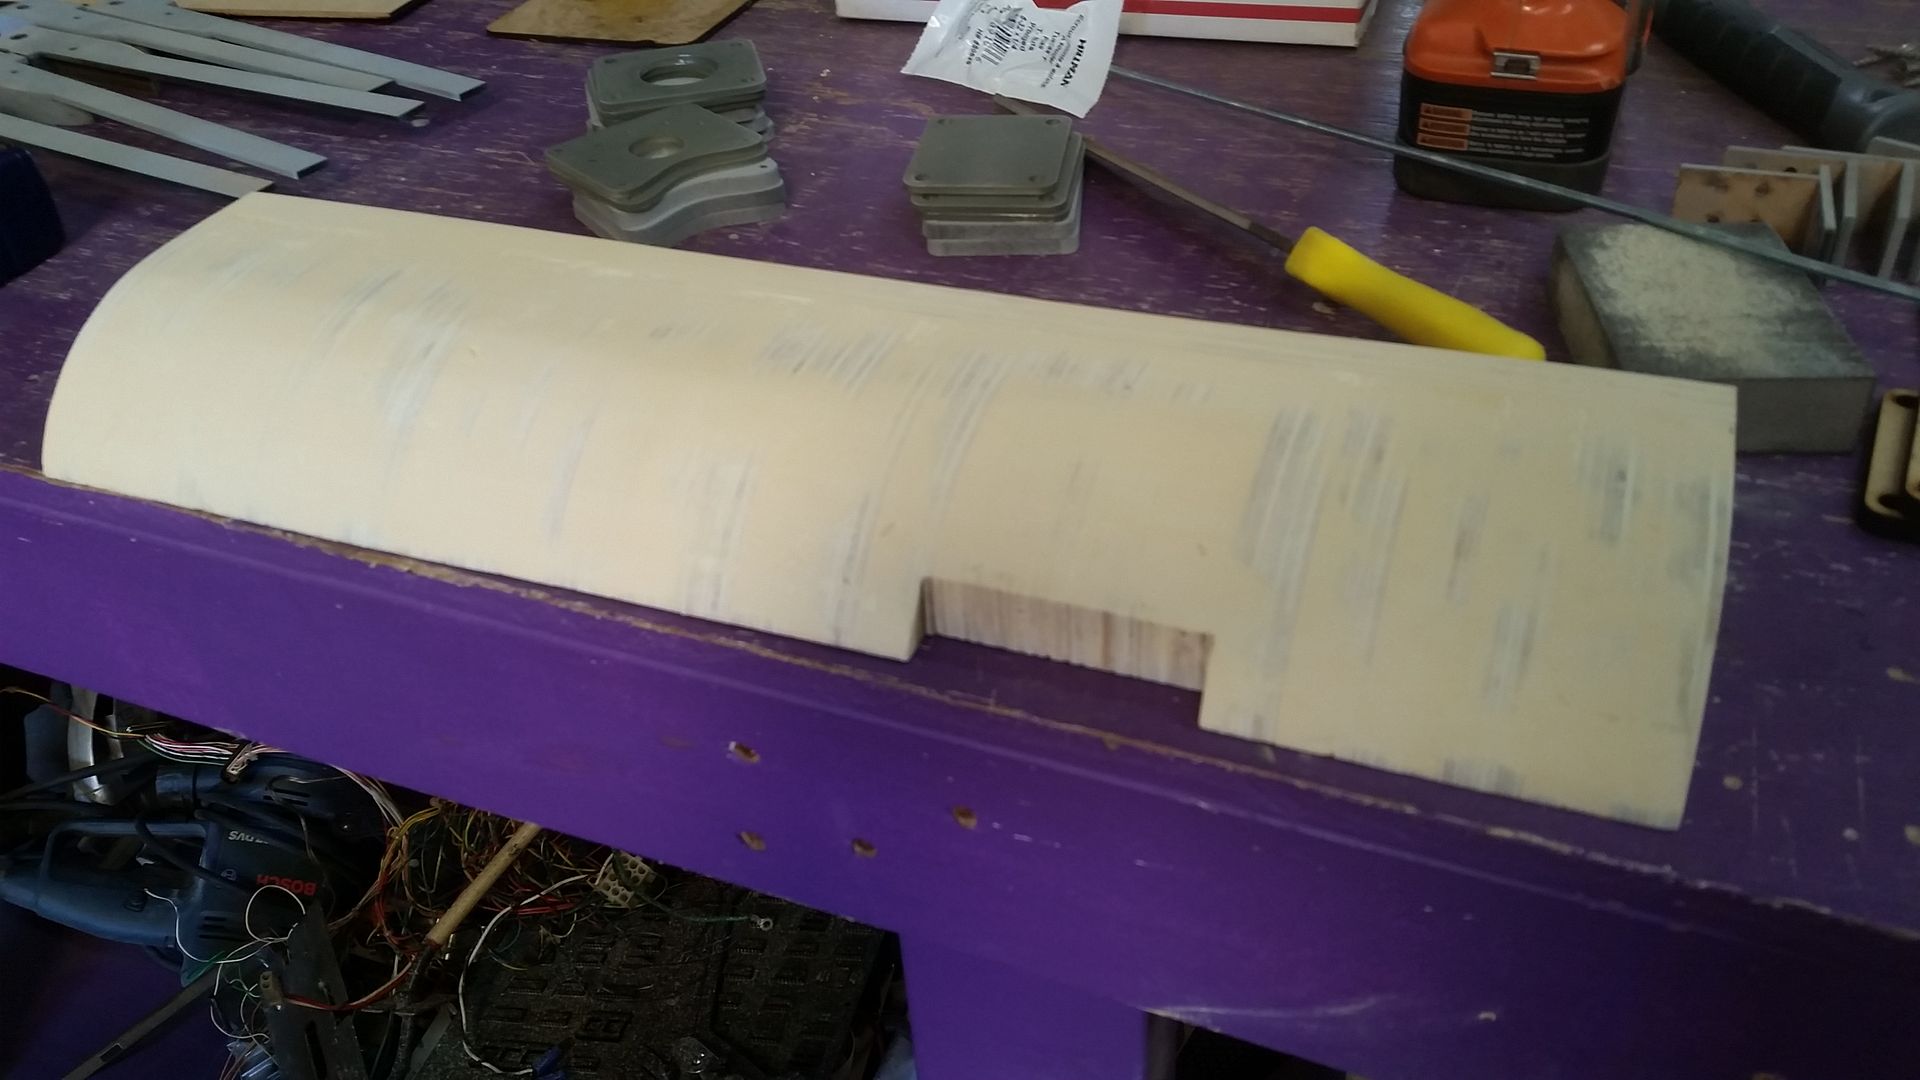
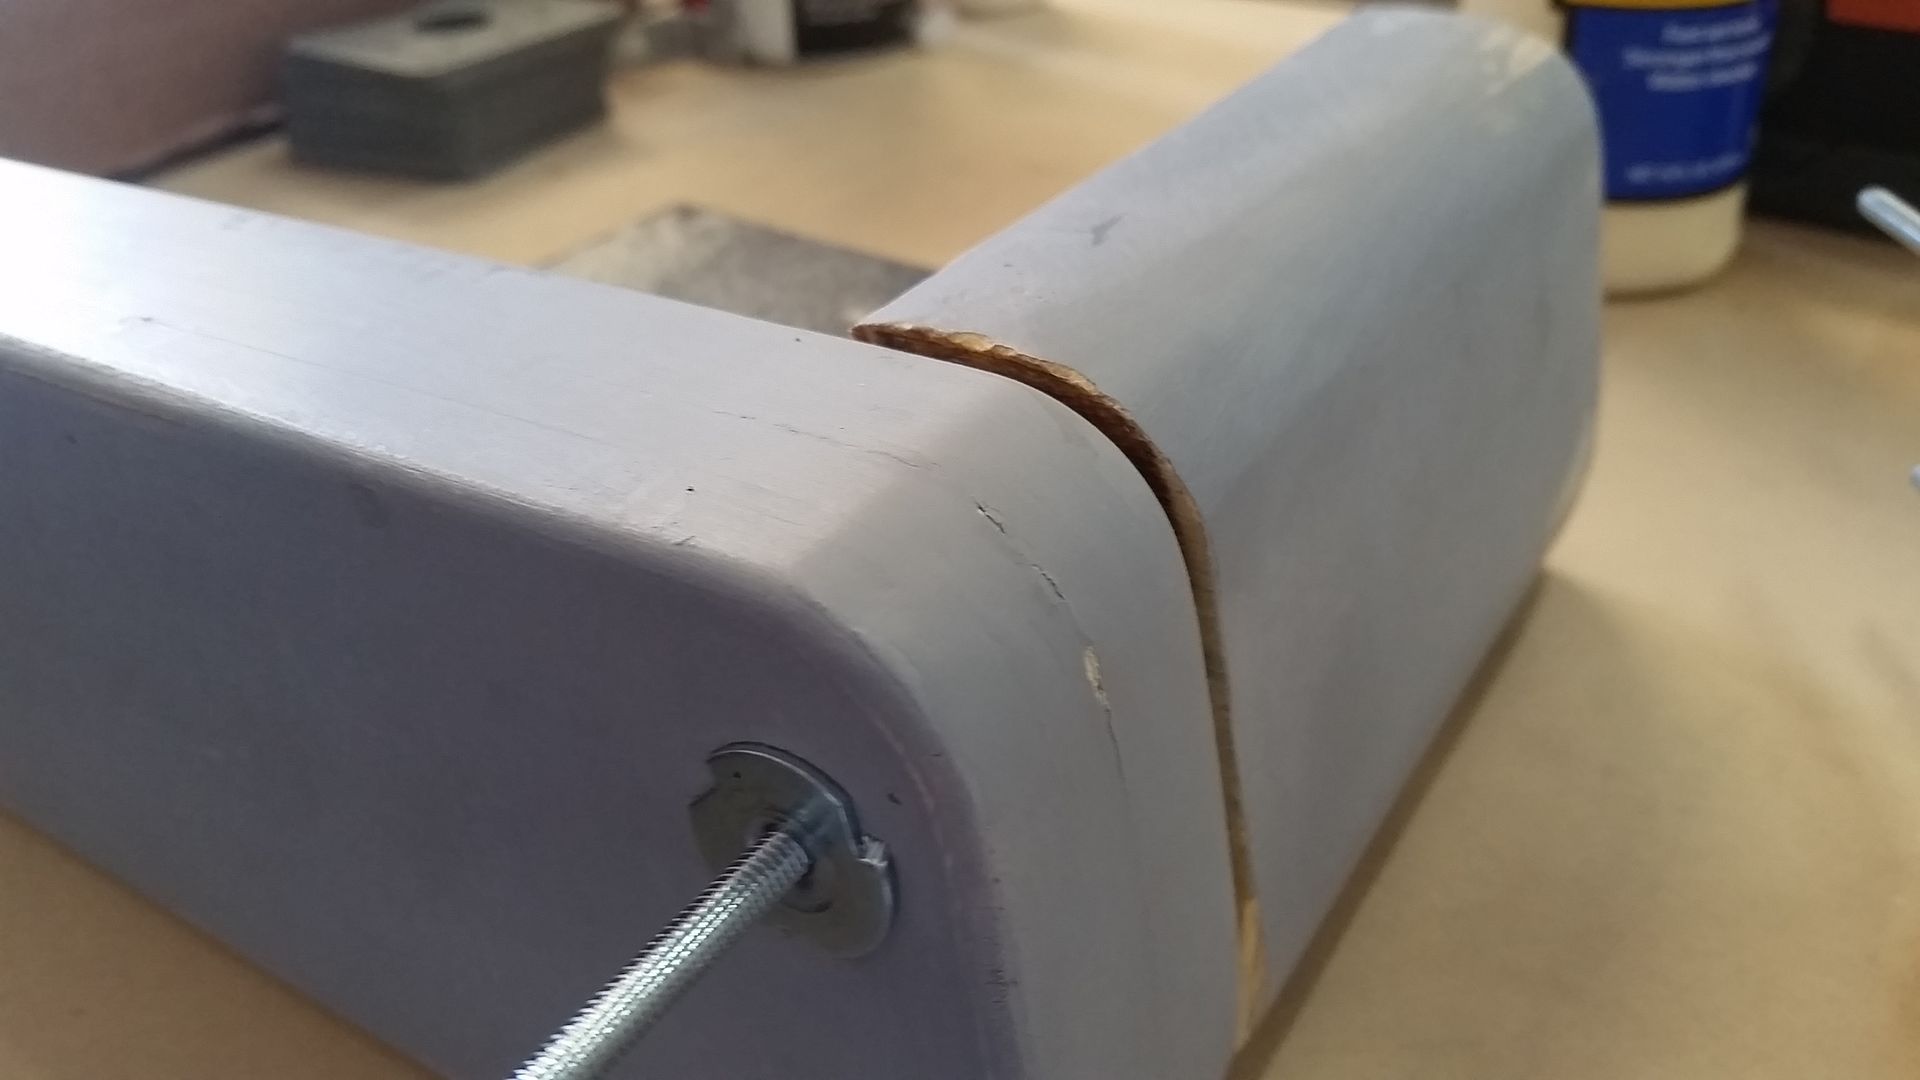
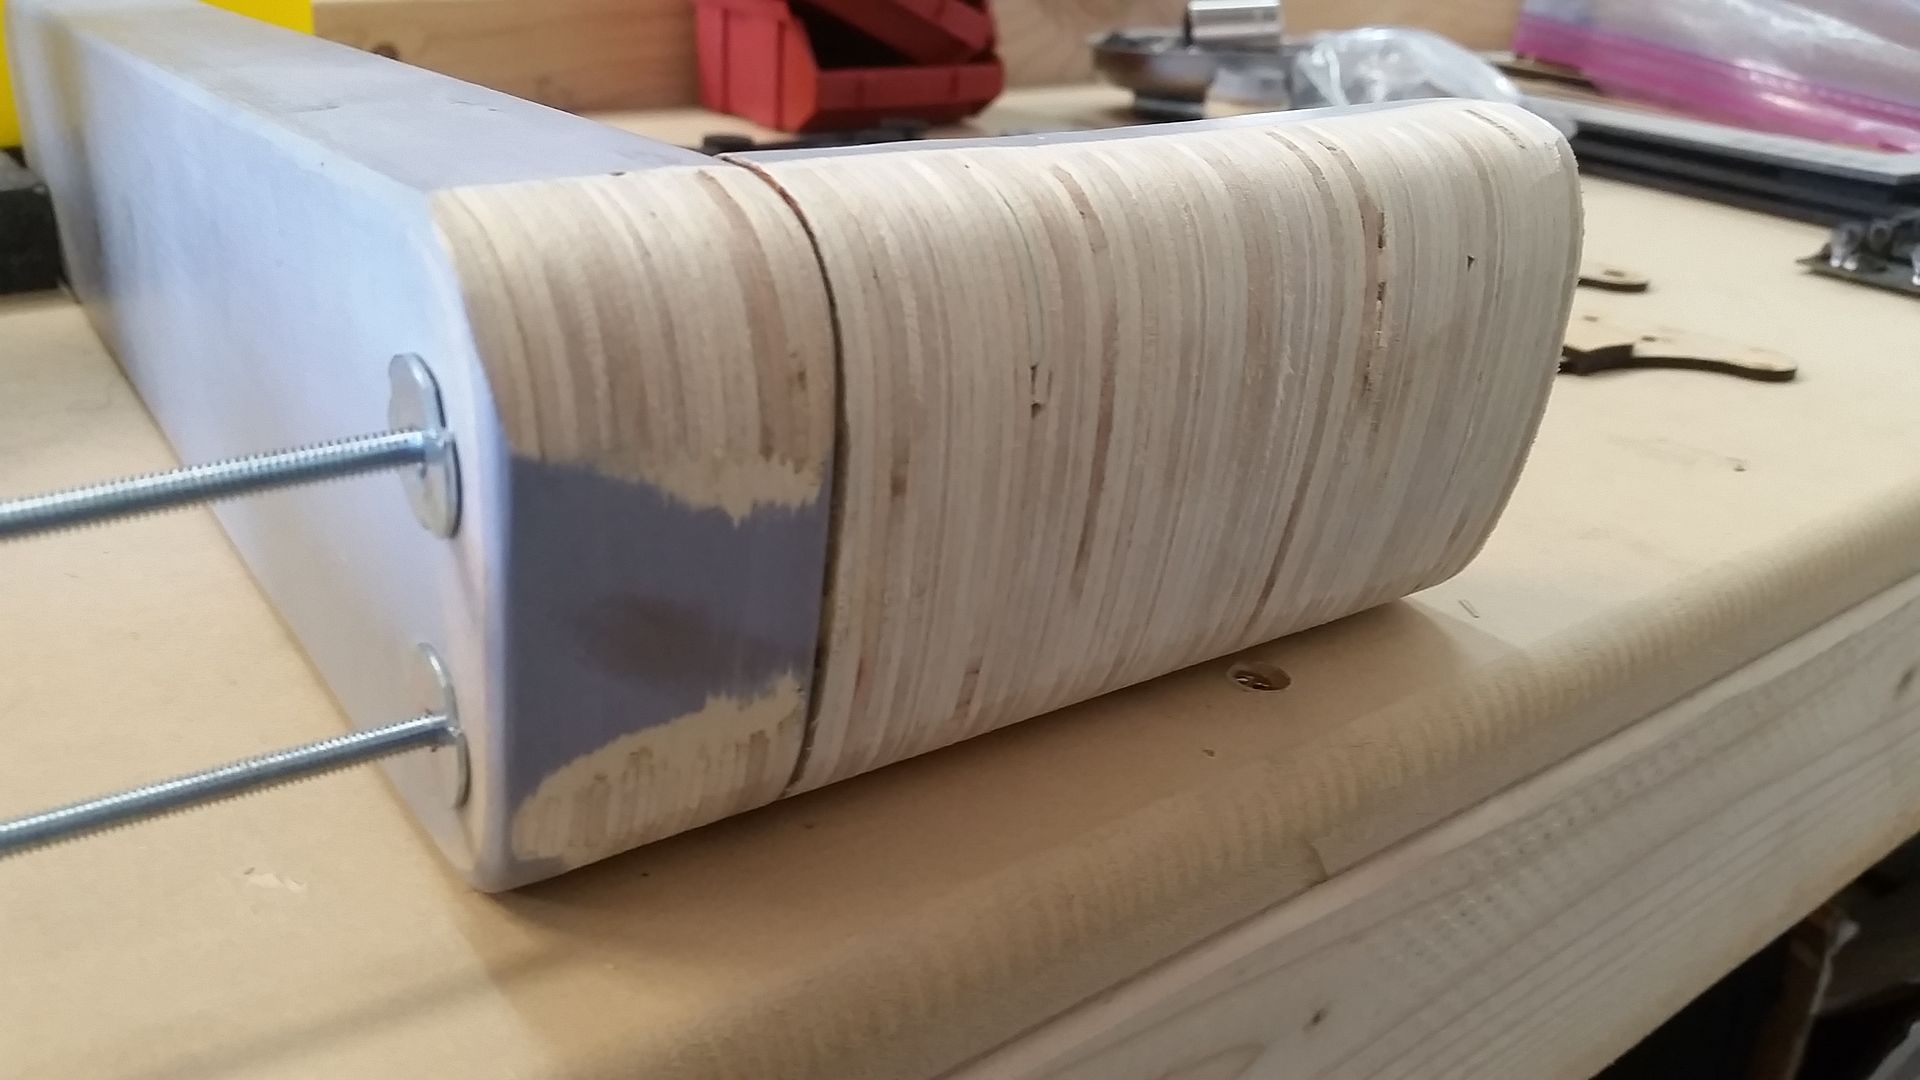
I then jumped to these curved back pieces
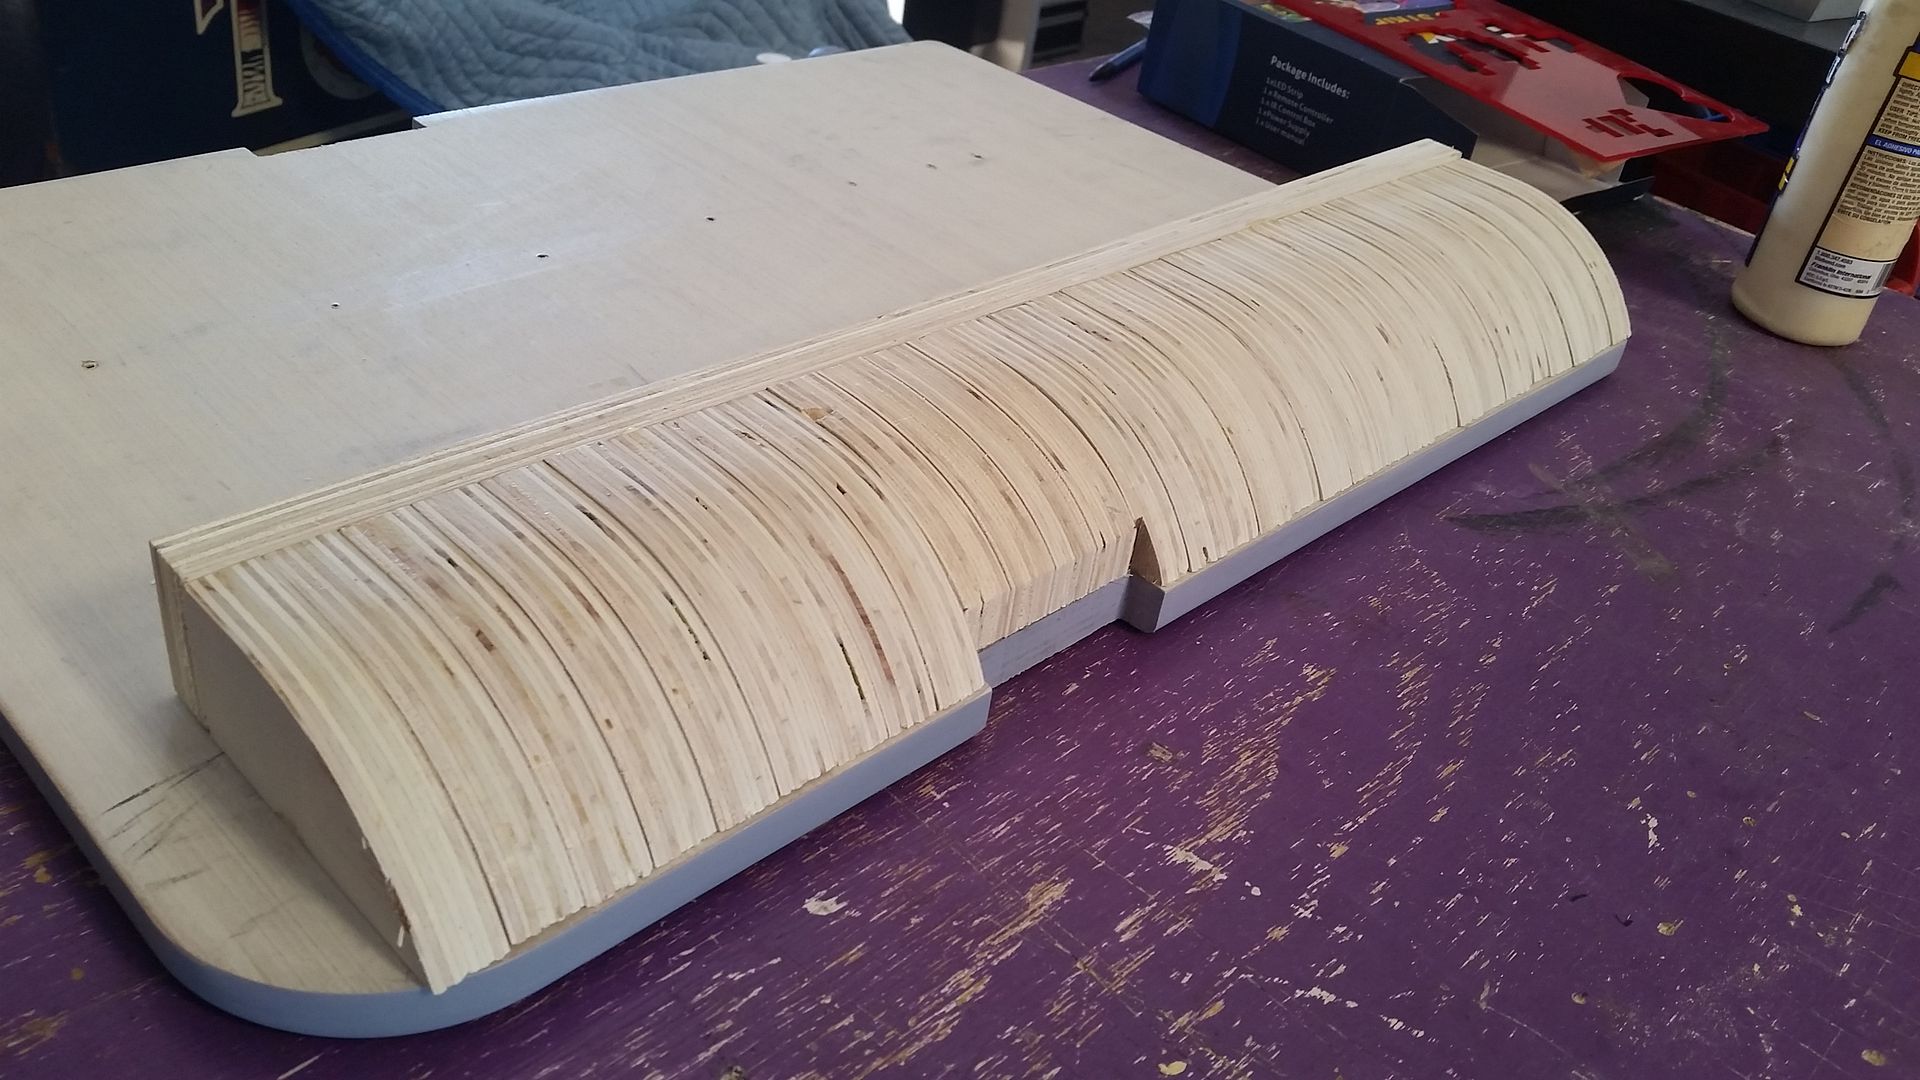
Notched out the armrest area(s)
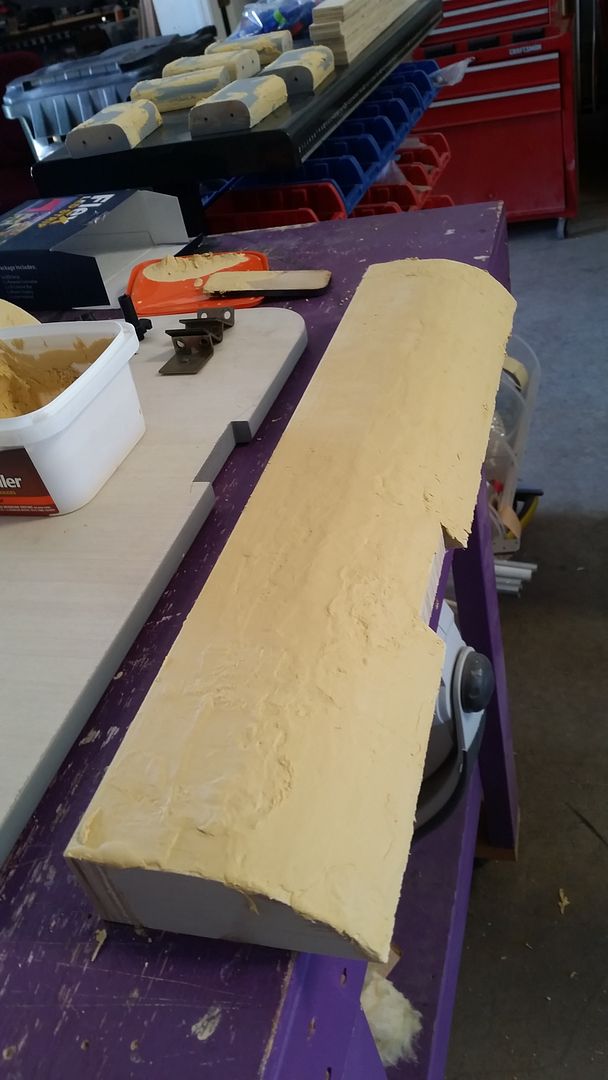
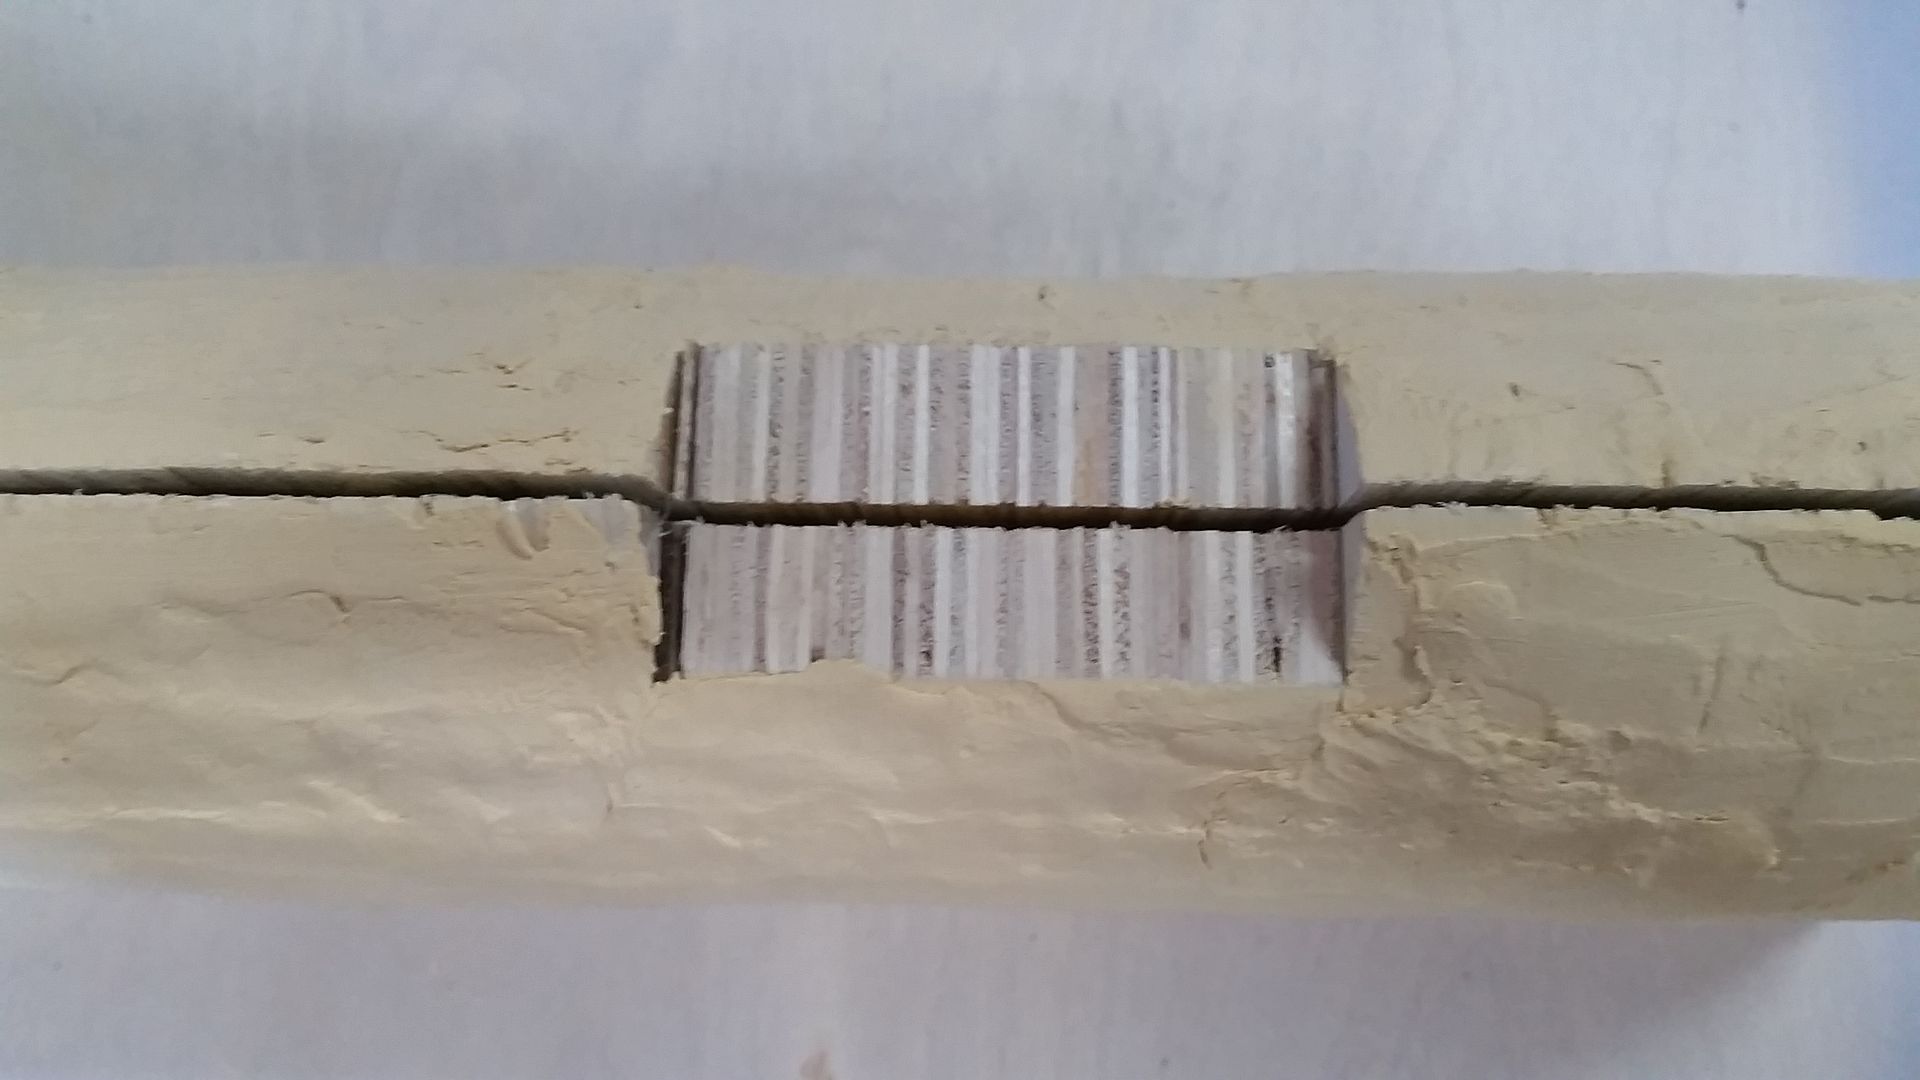
And then... filler. Lots and lots of filler
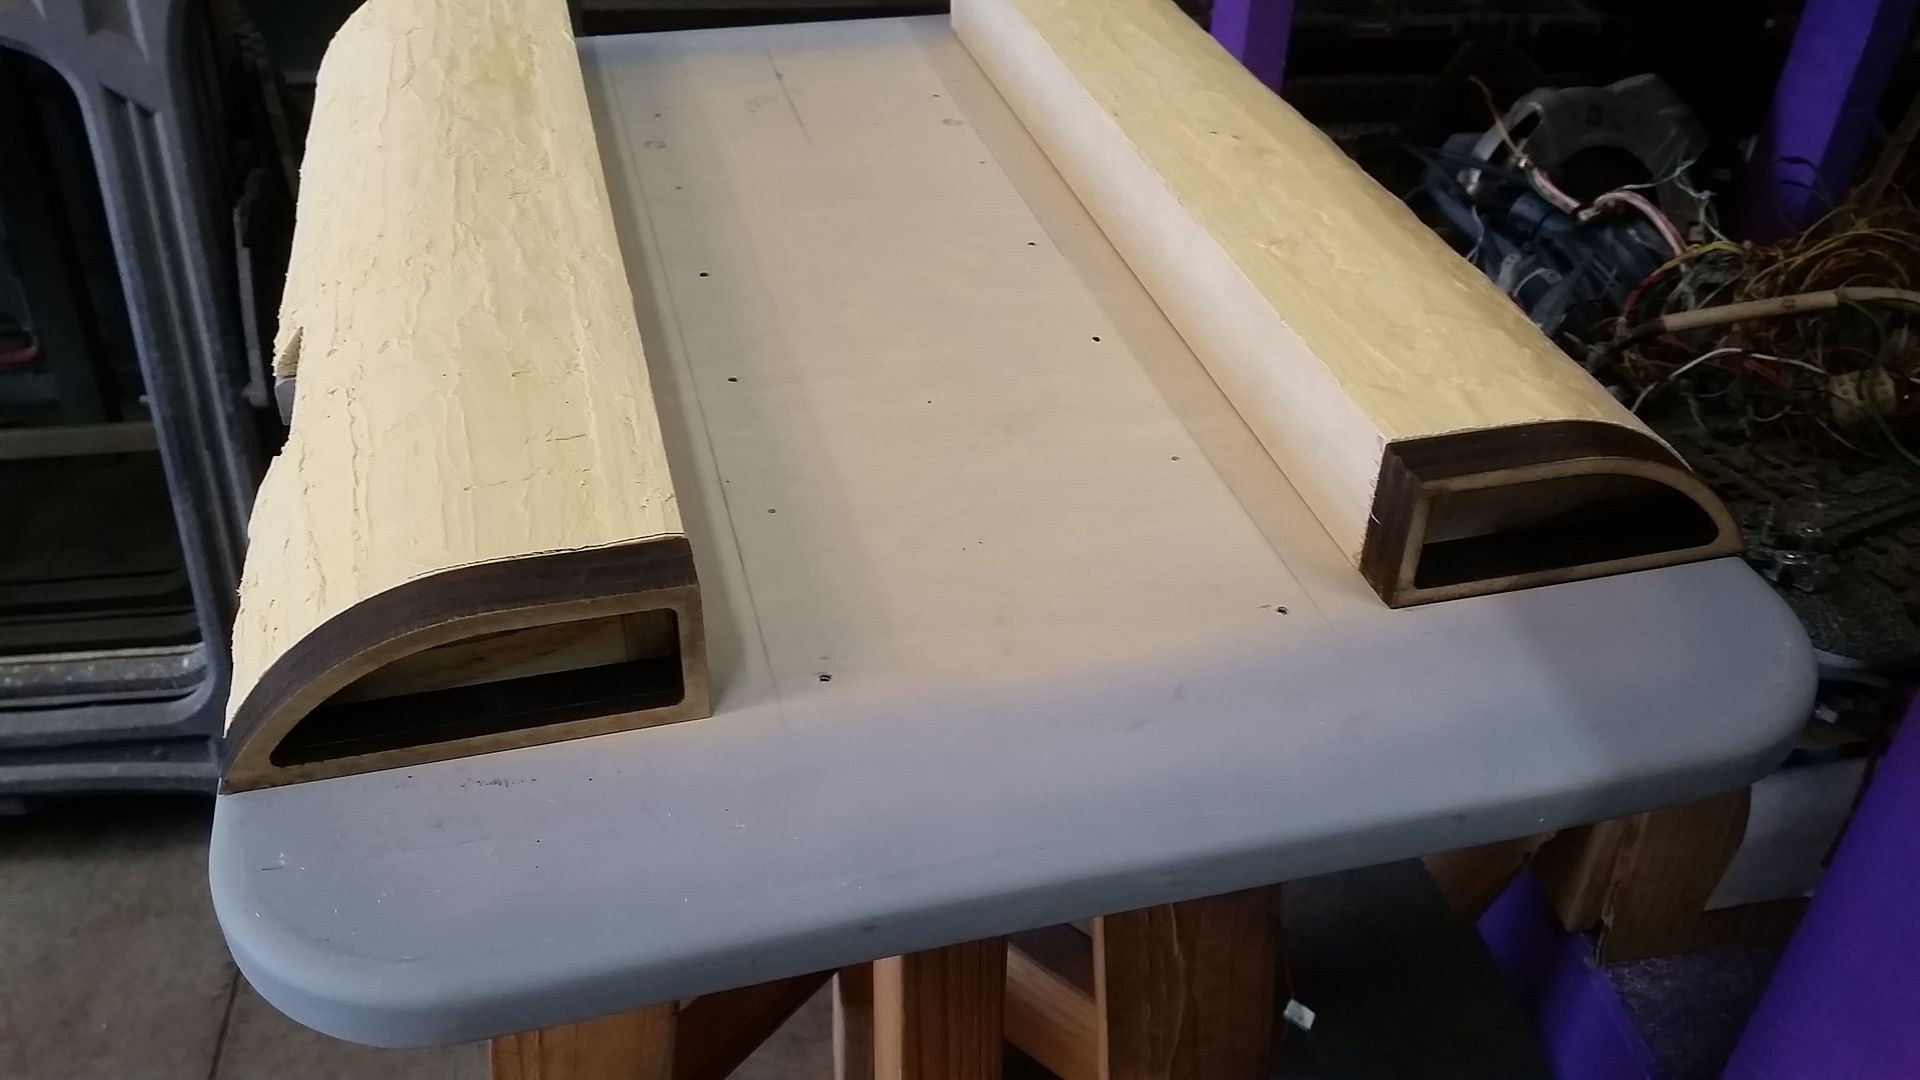
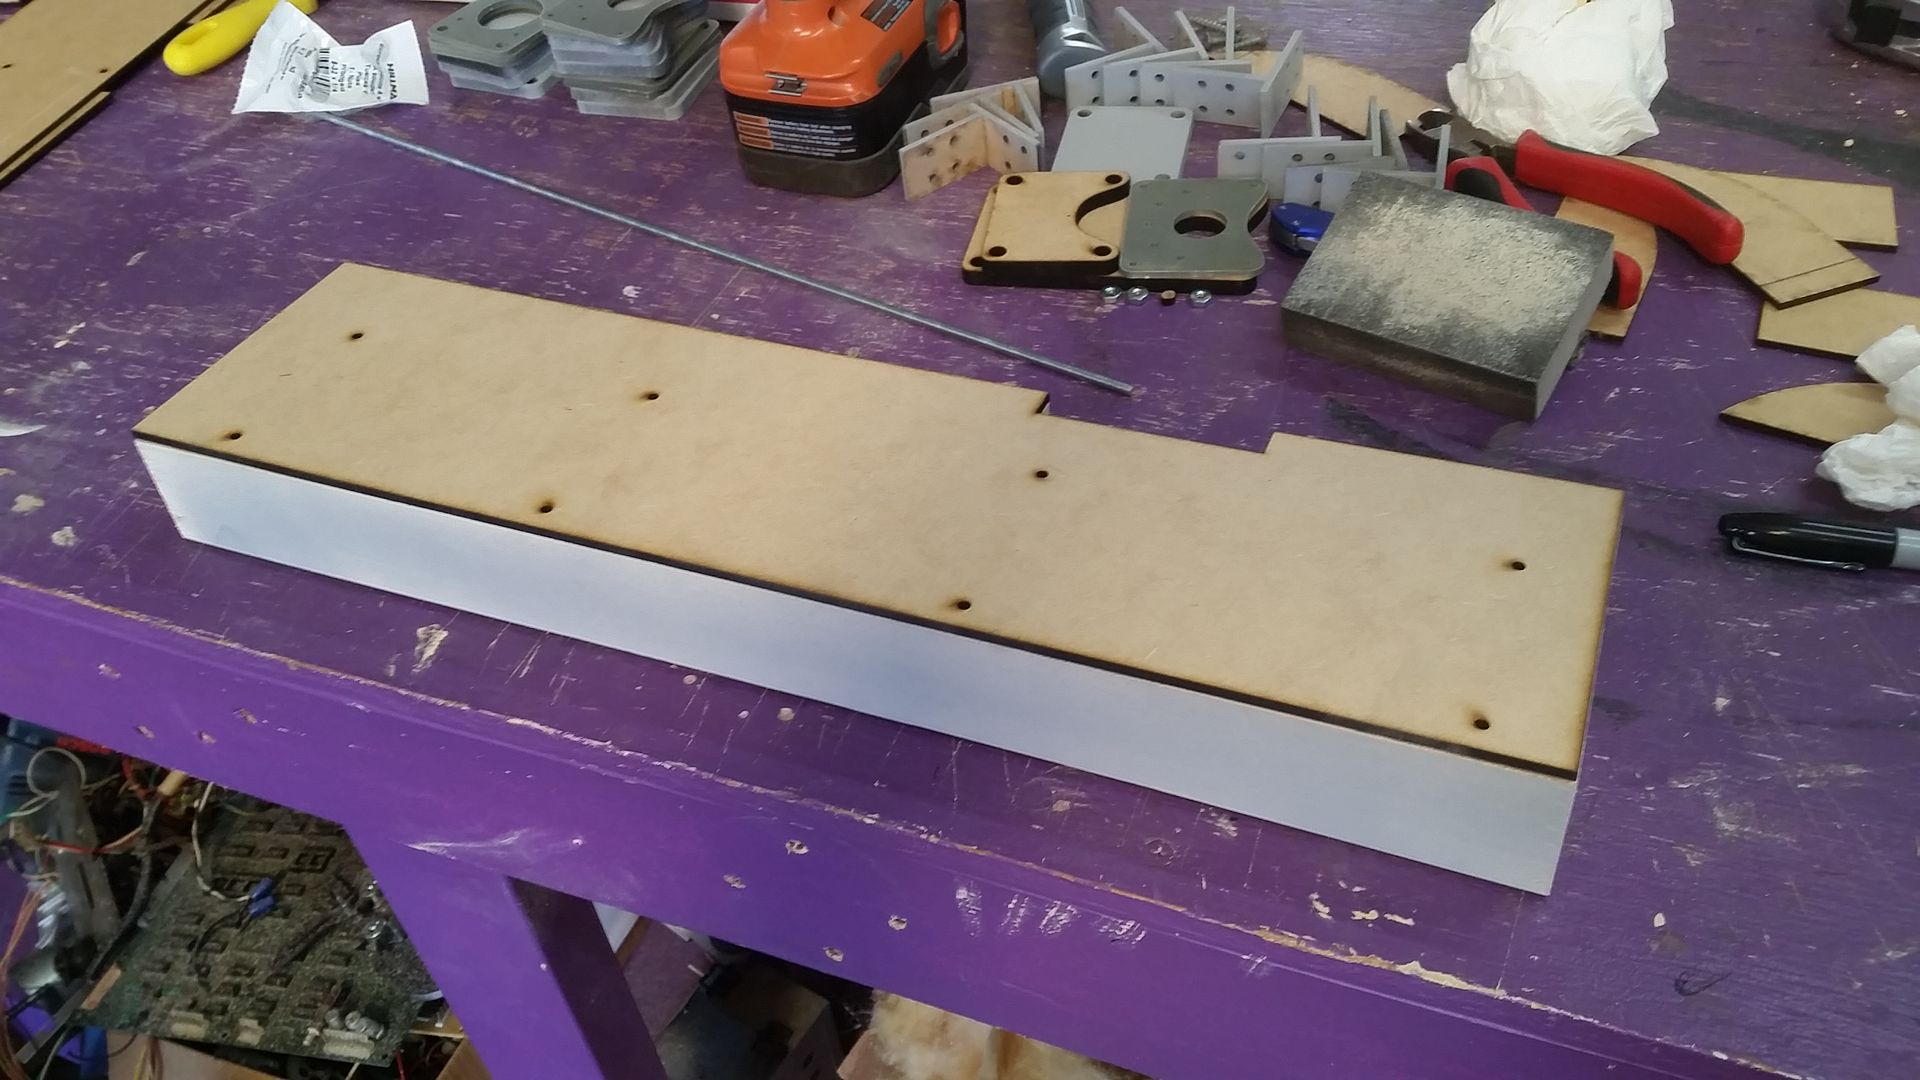
I laser cut these end caps for the back pieces

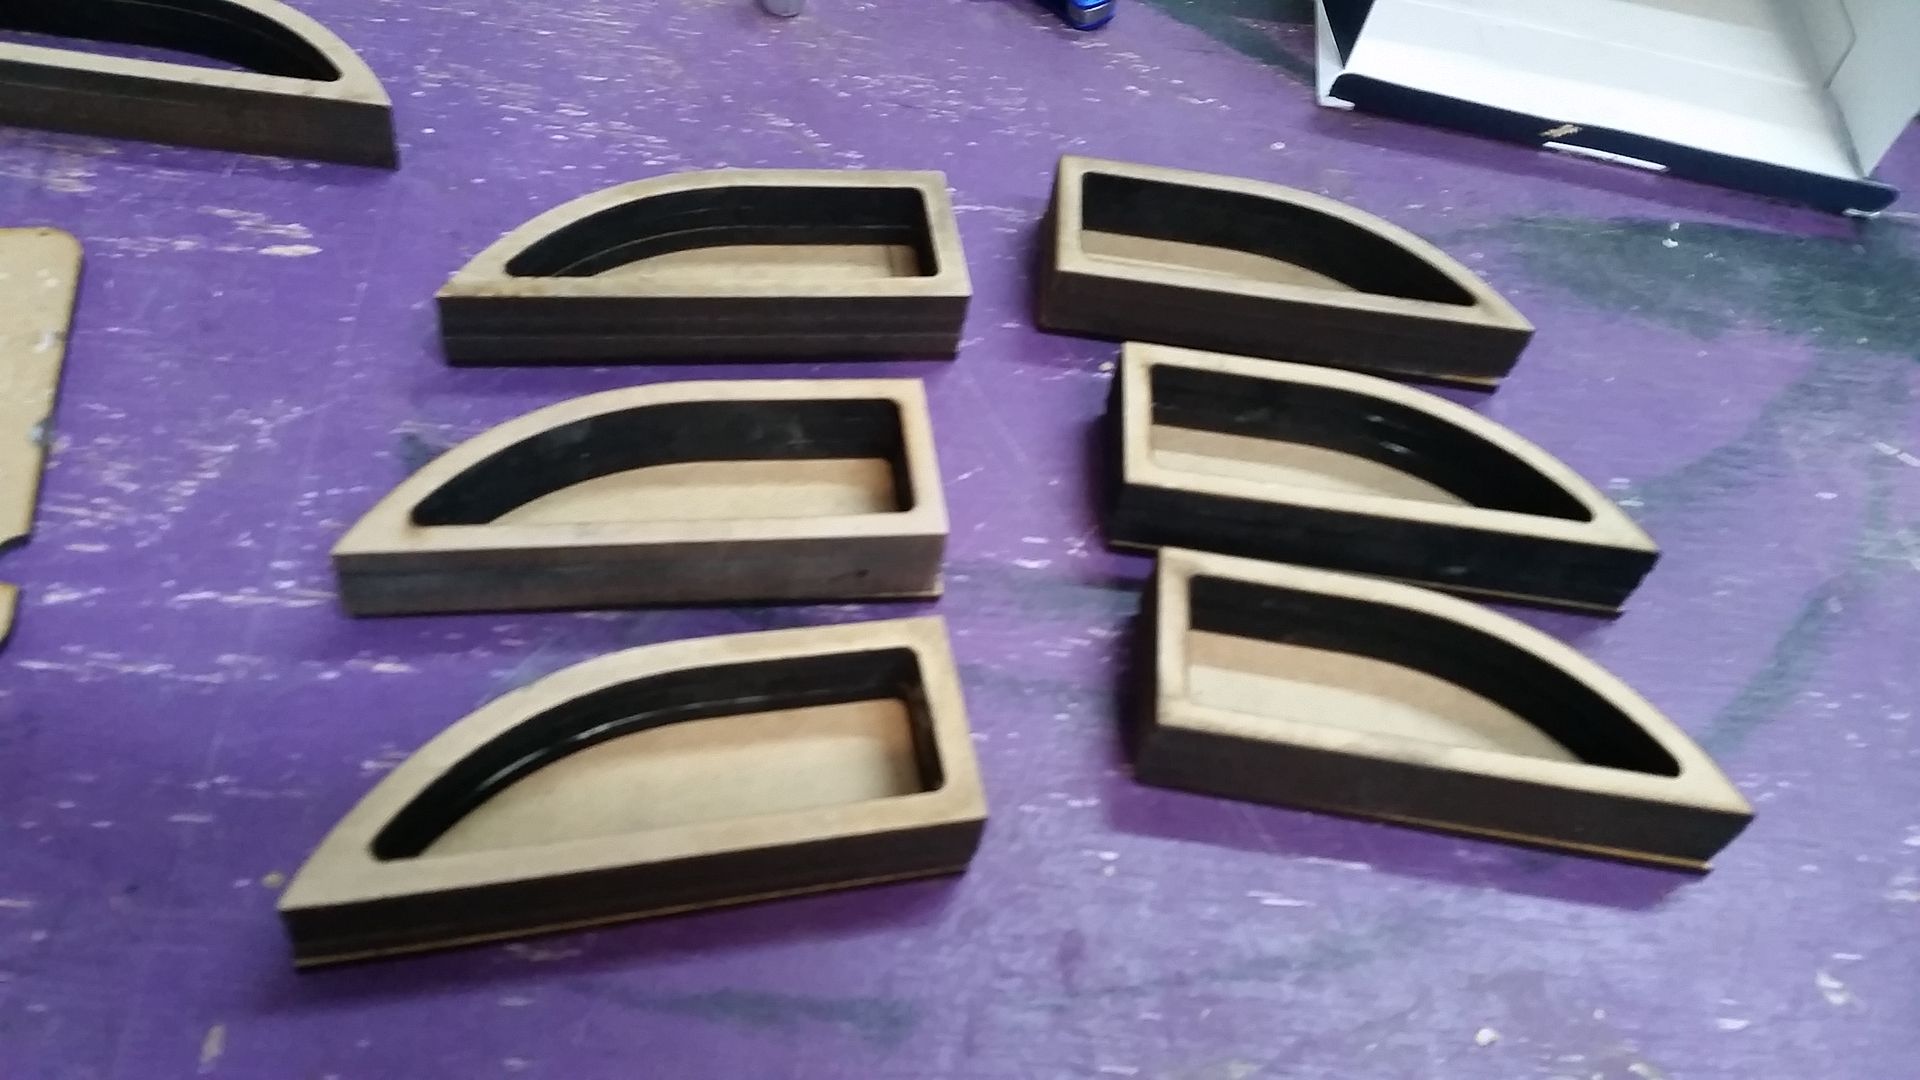
These new pieces mount on top of the back pieces
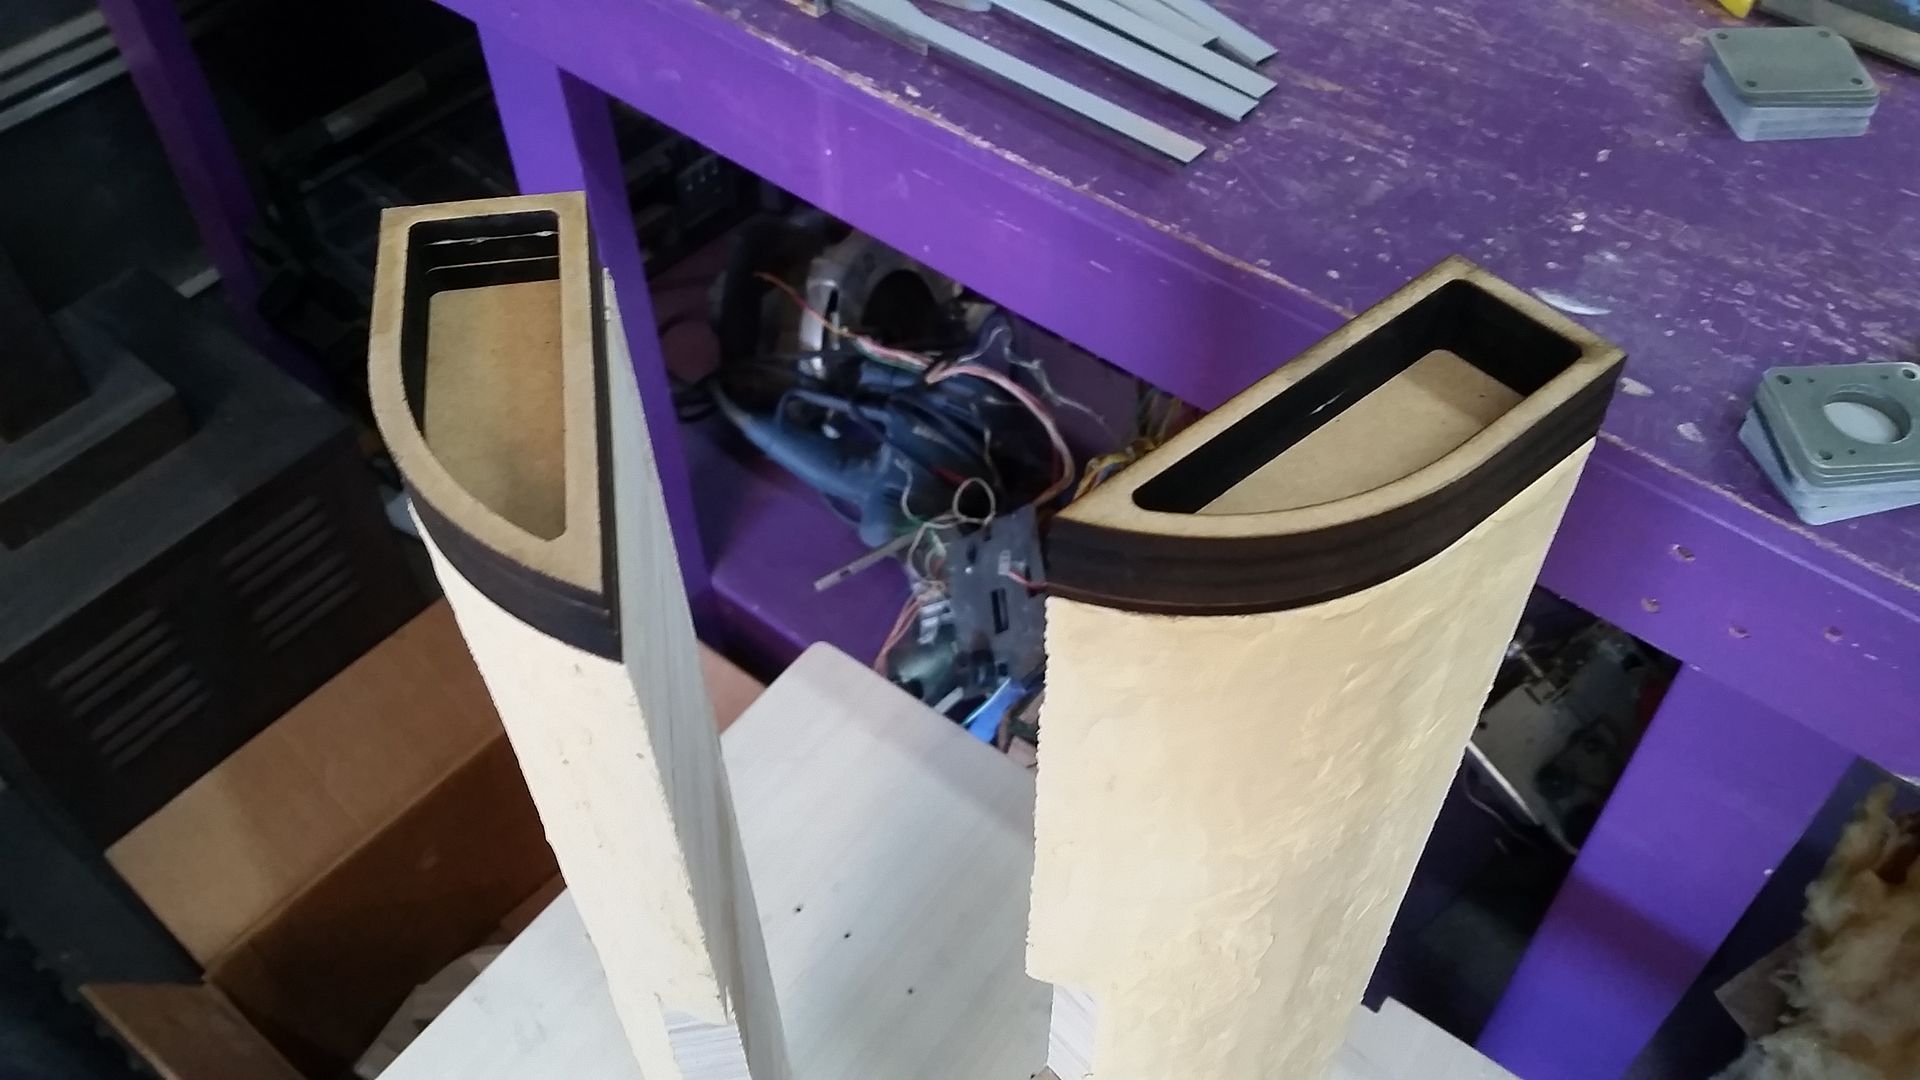
This added height required me to cut off (a duh moment) the top
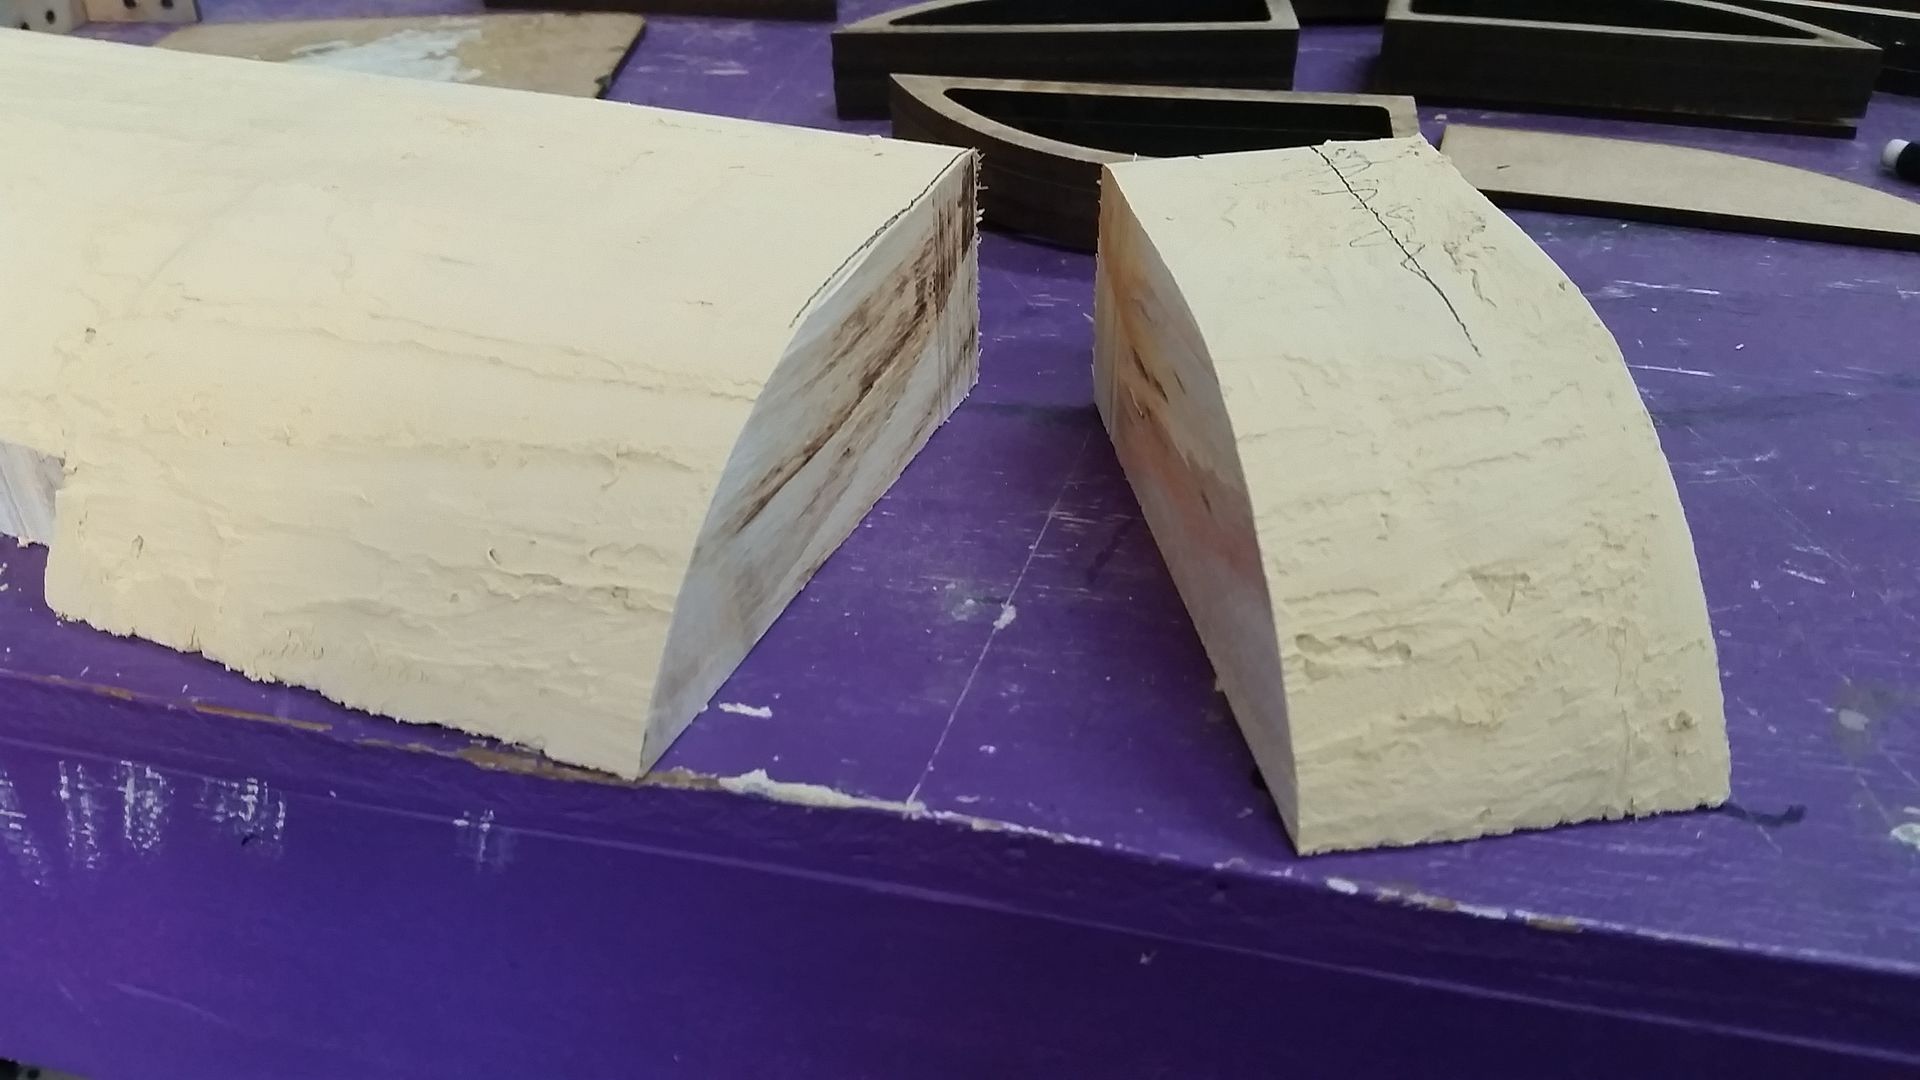

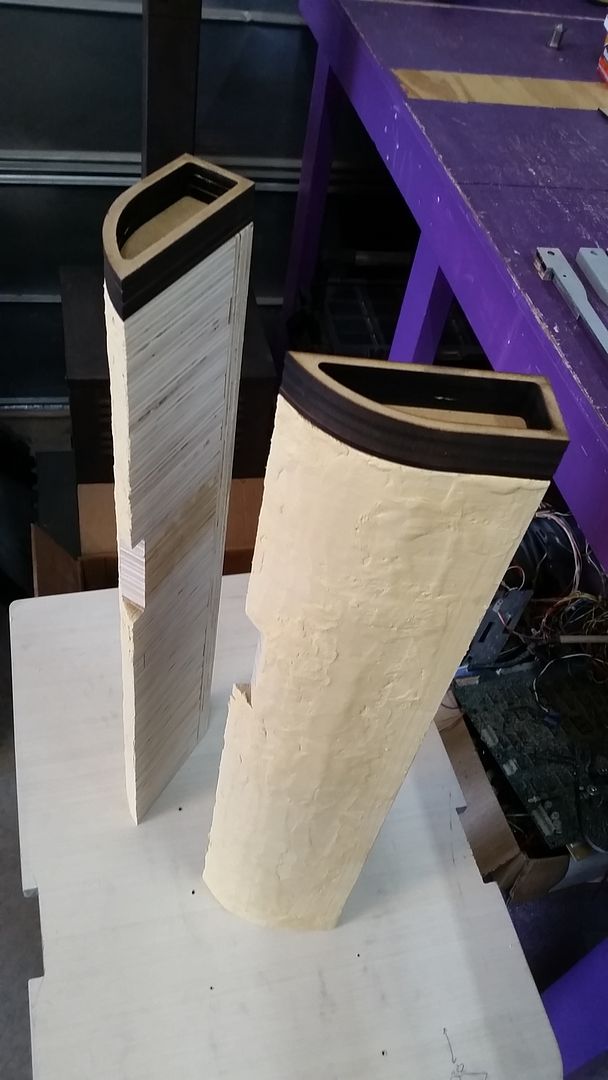
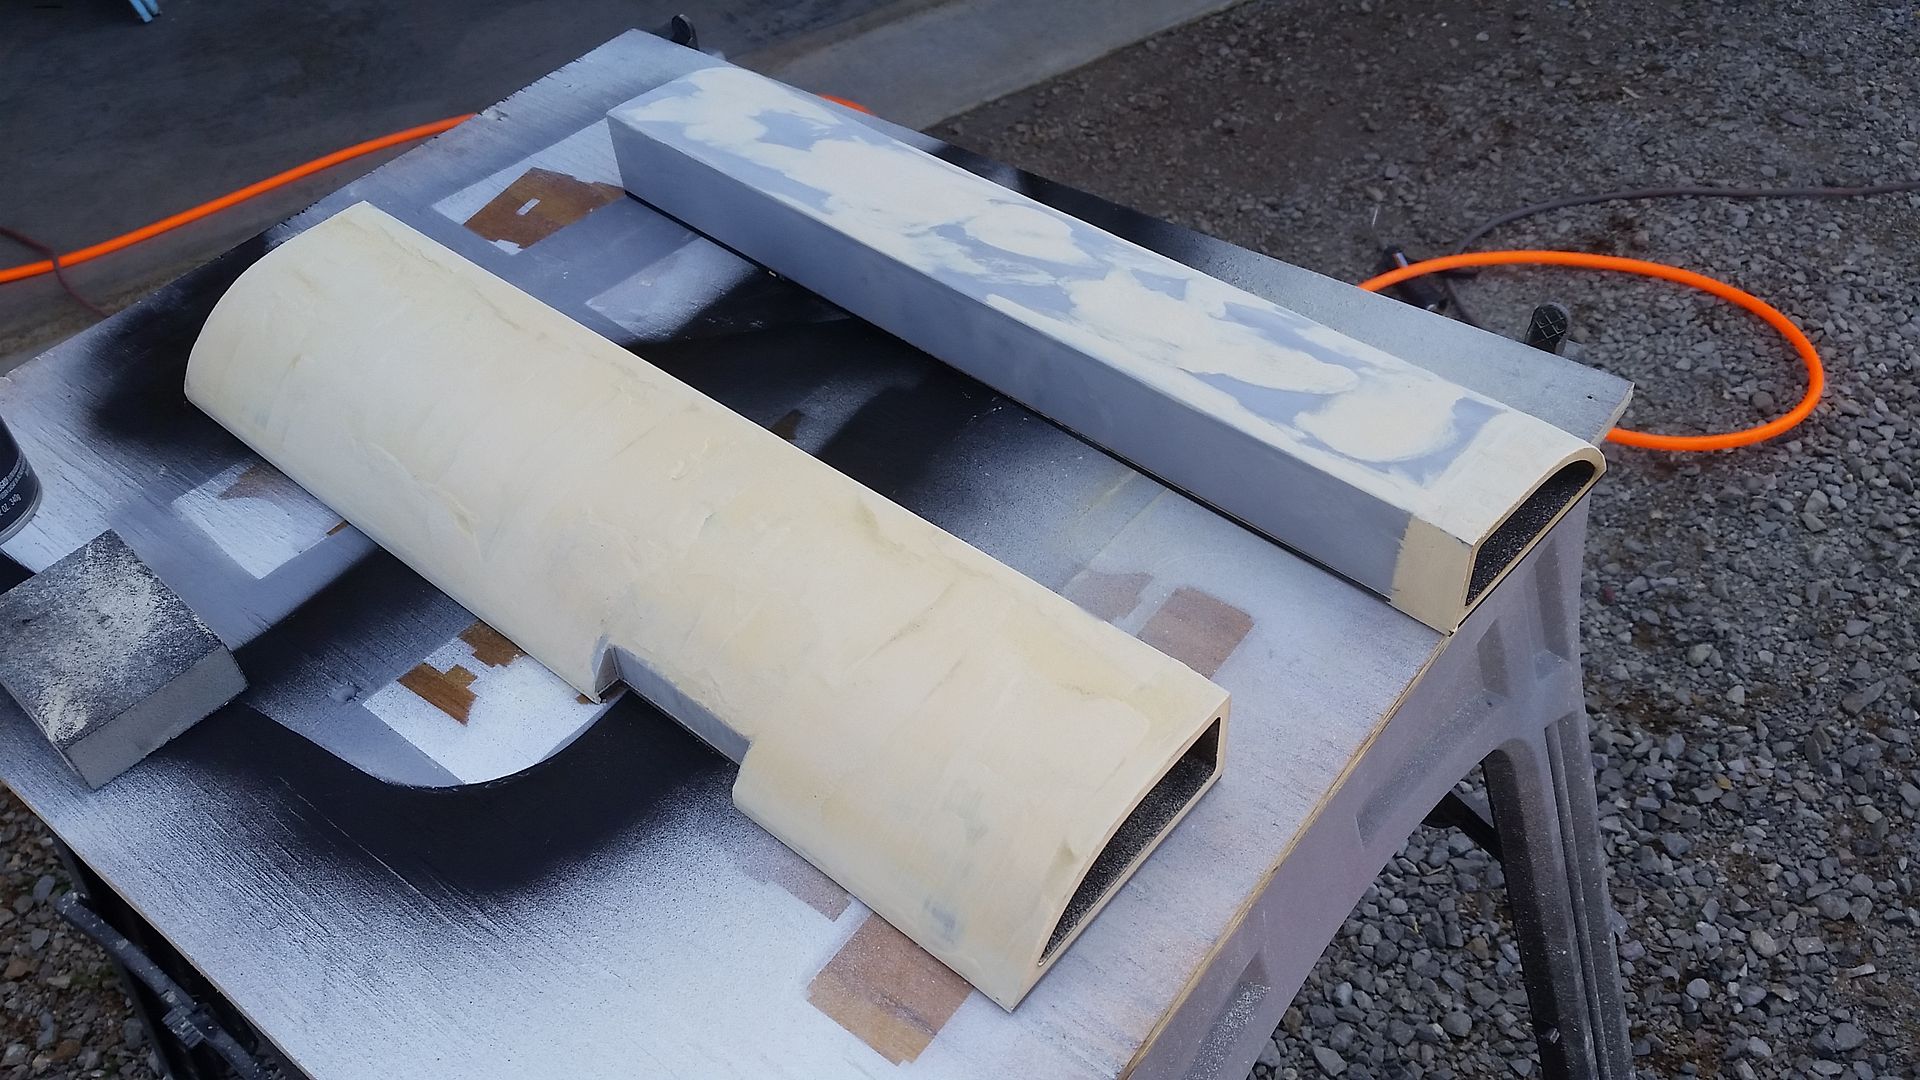
They kinda look like engine nacelles! That's what we're calling them!
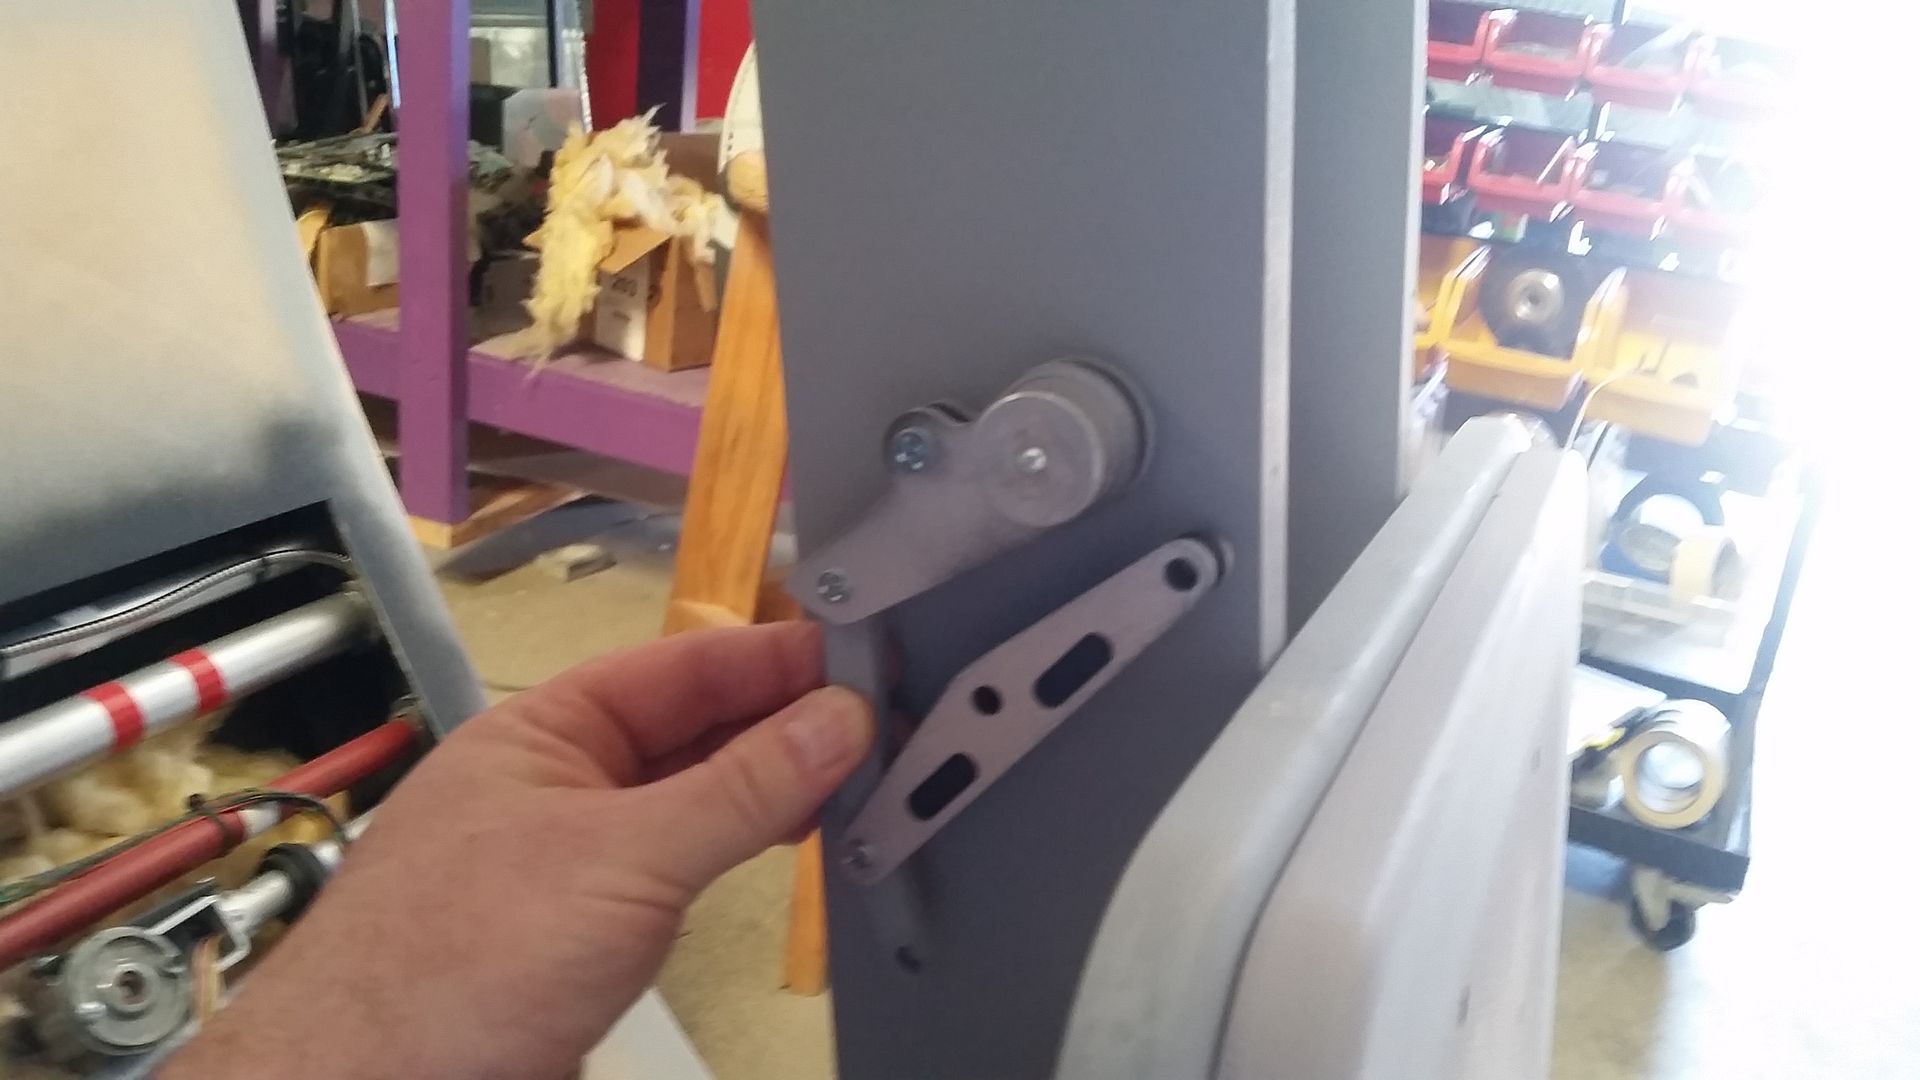
Test fitting this greeblie around the nacelle
SANDED!
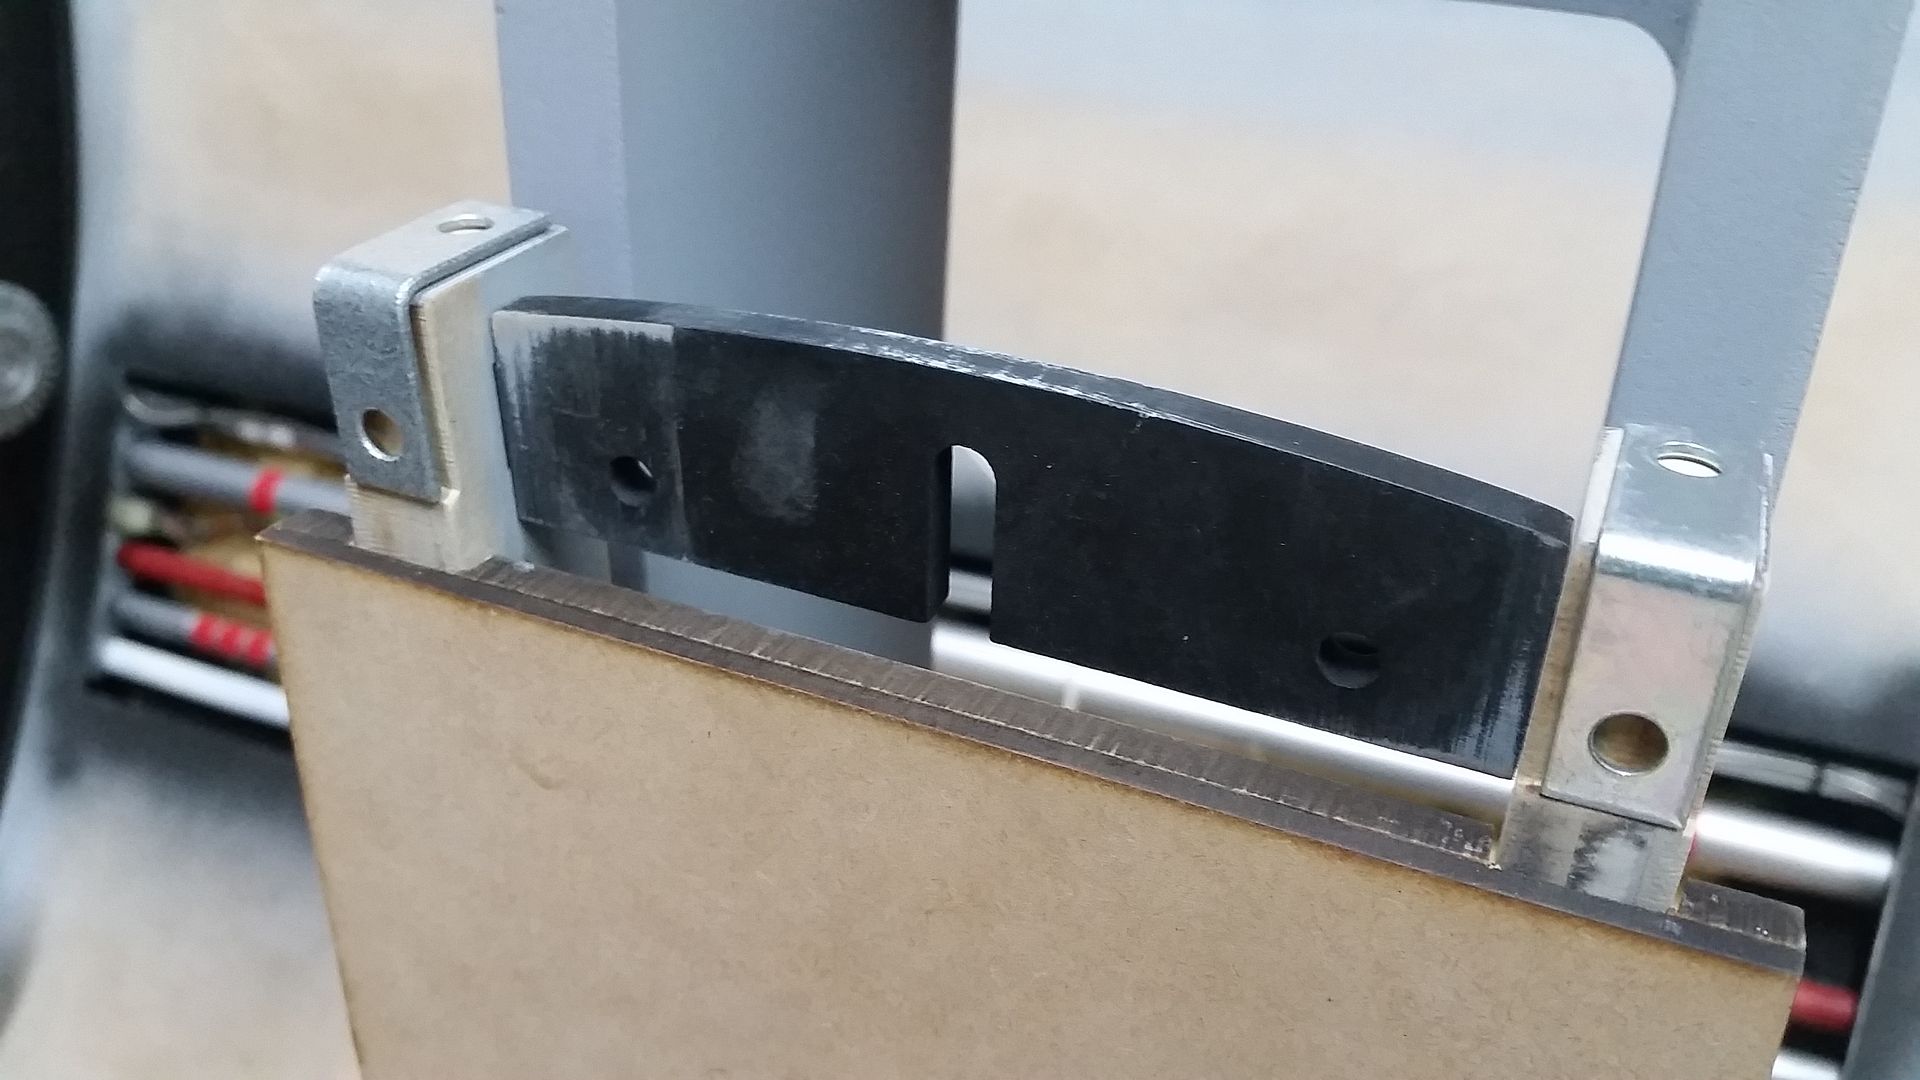
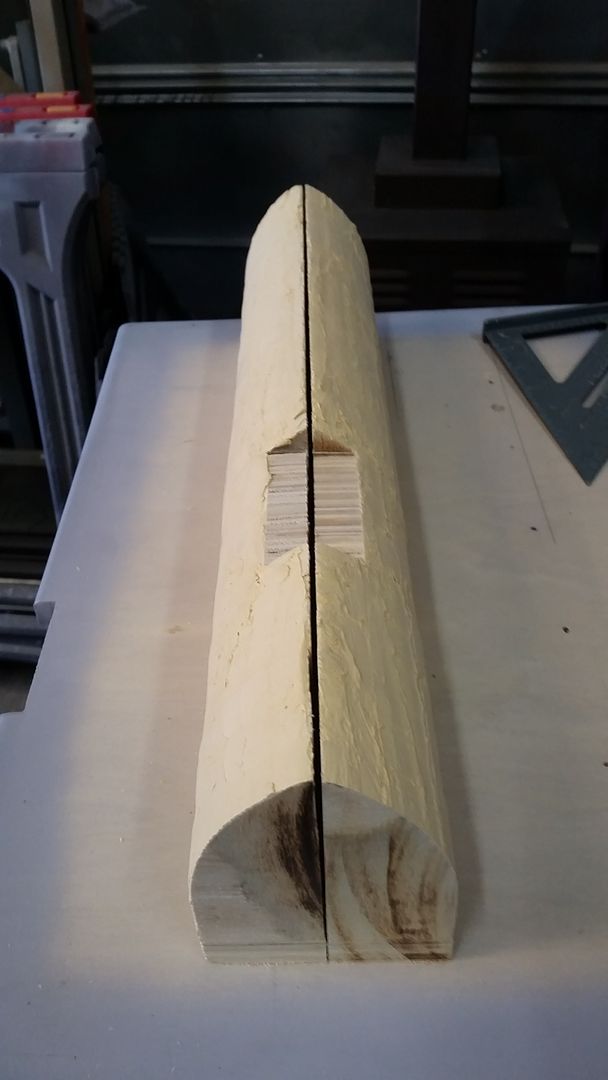
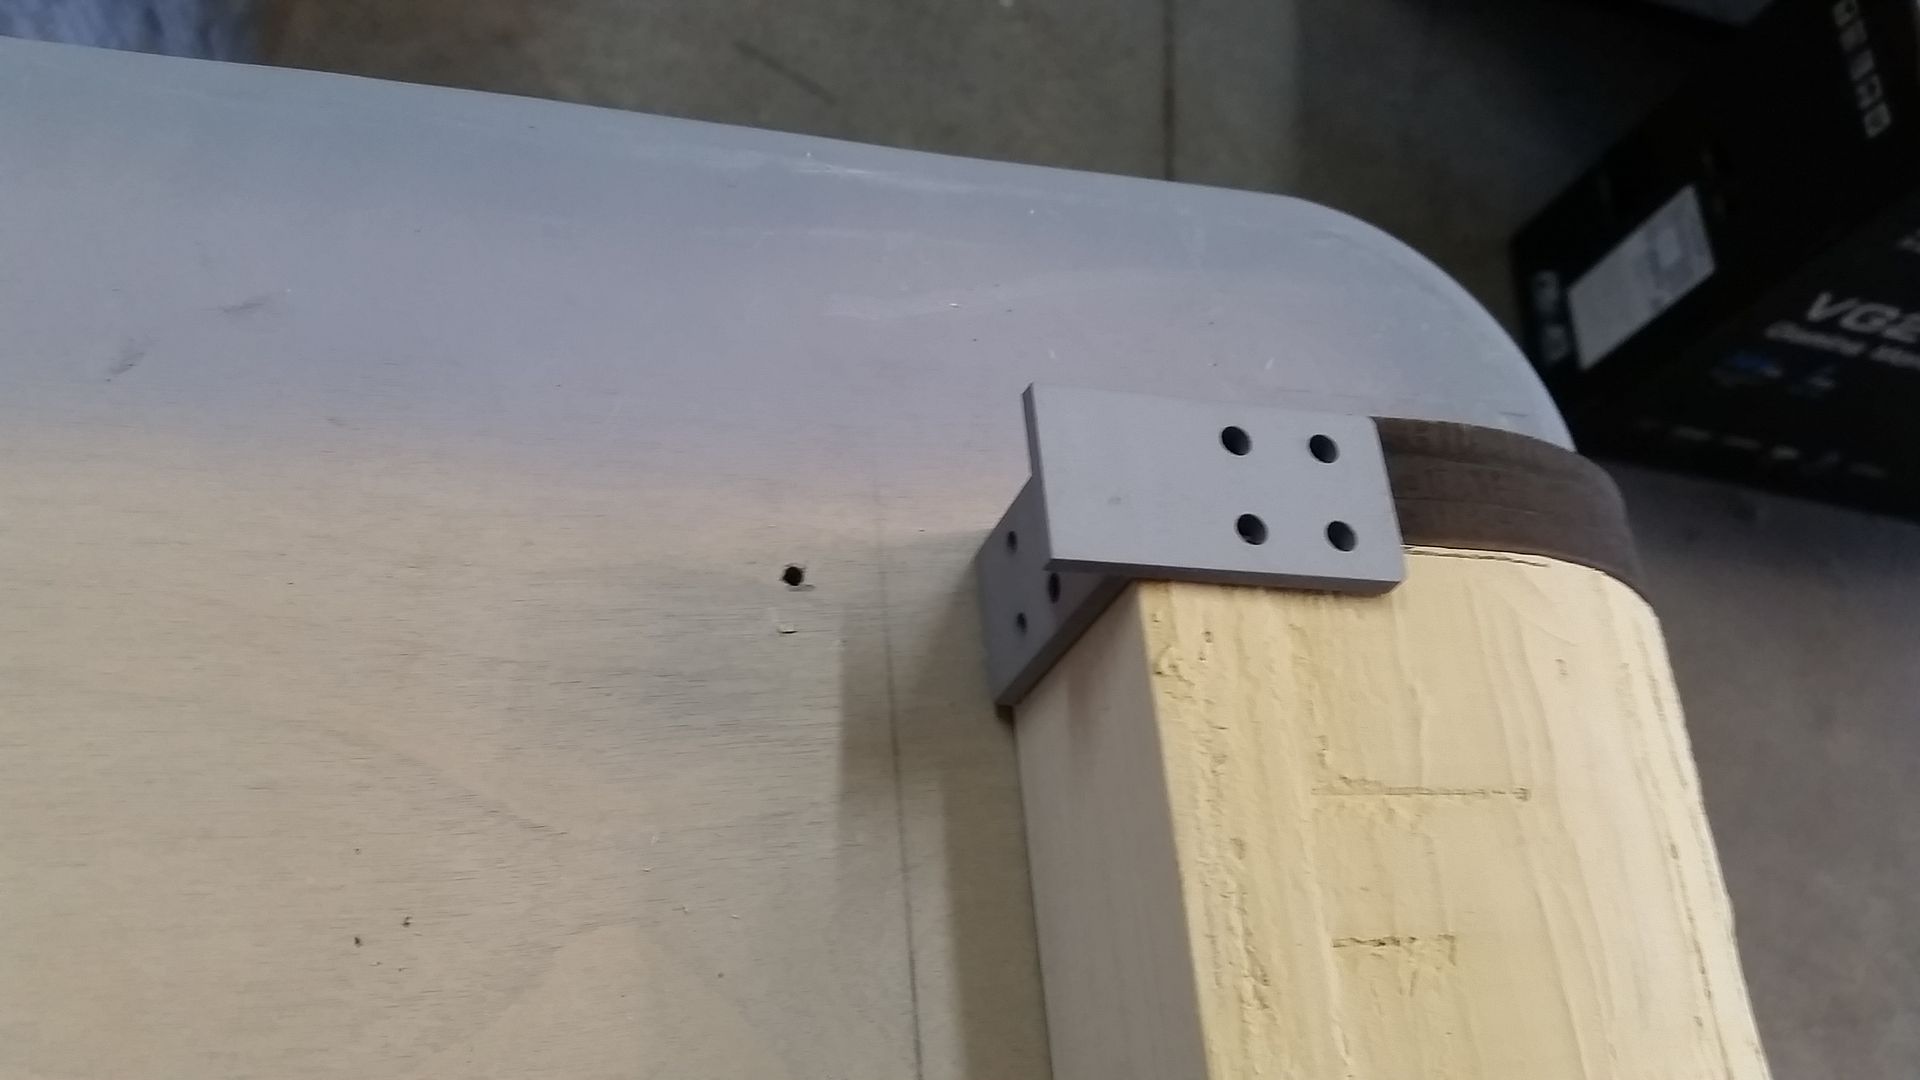
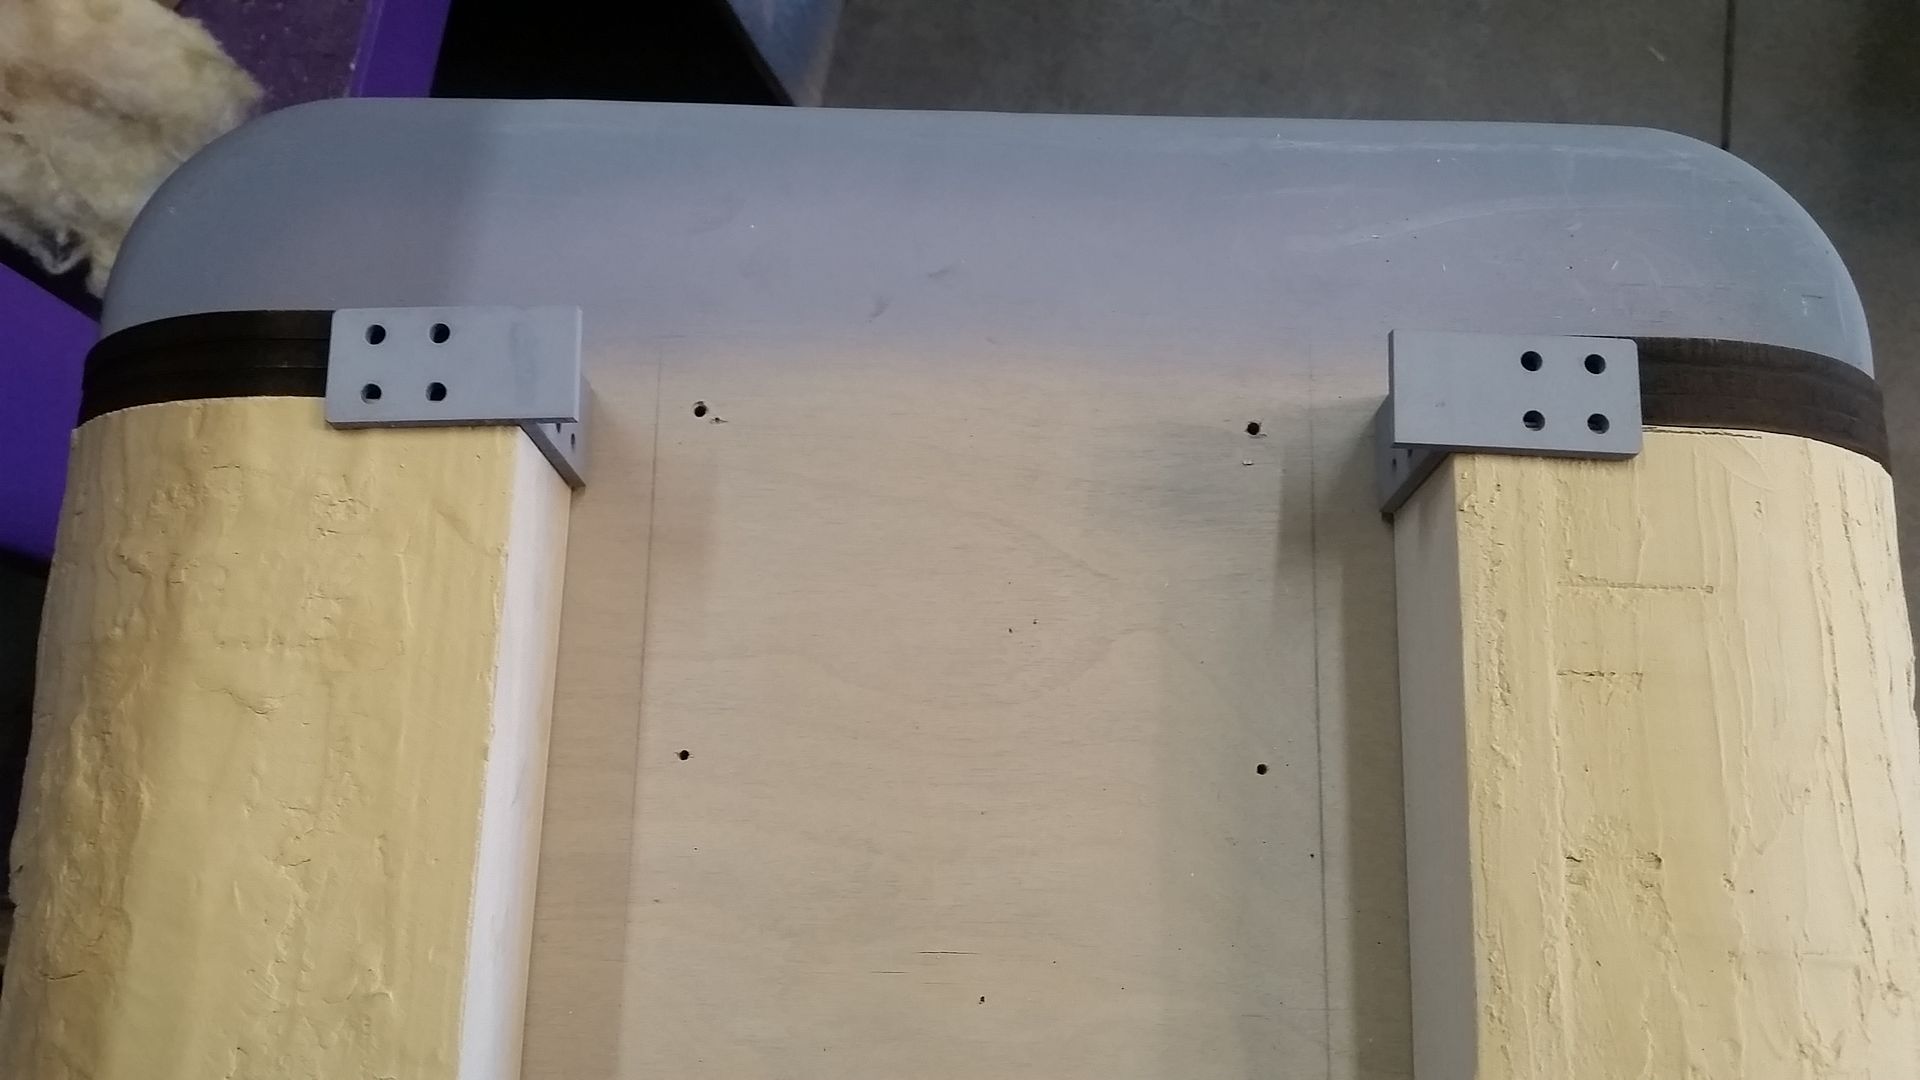
There was a LOT of flex with those nacelles. So I laser cut a new back plate and mounting guide

And simply adhered into place making it much more rigid
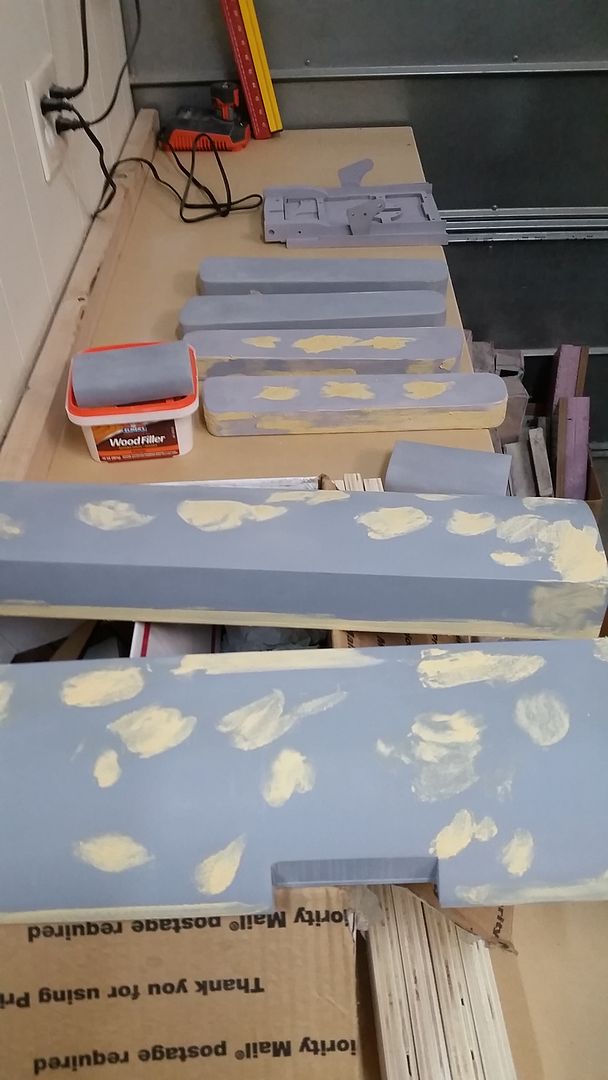
YES! More filler and primer! Love this stuff!

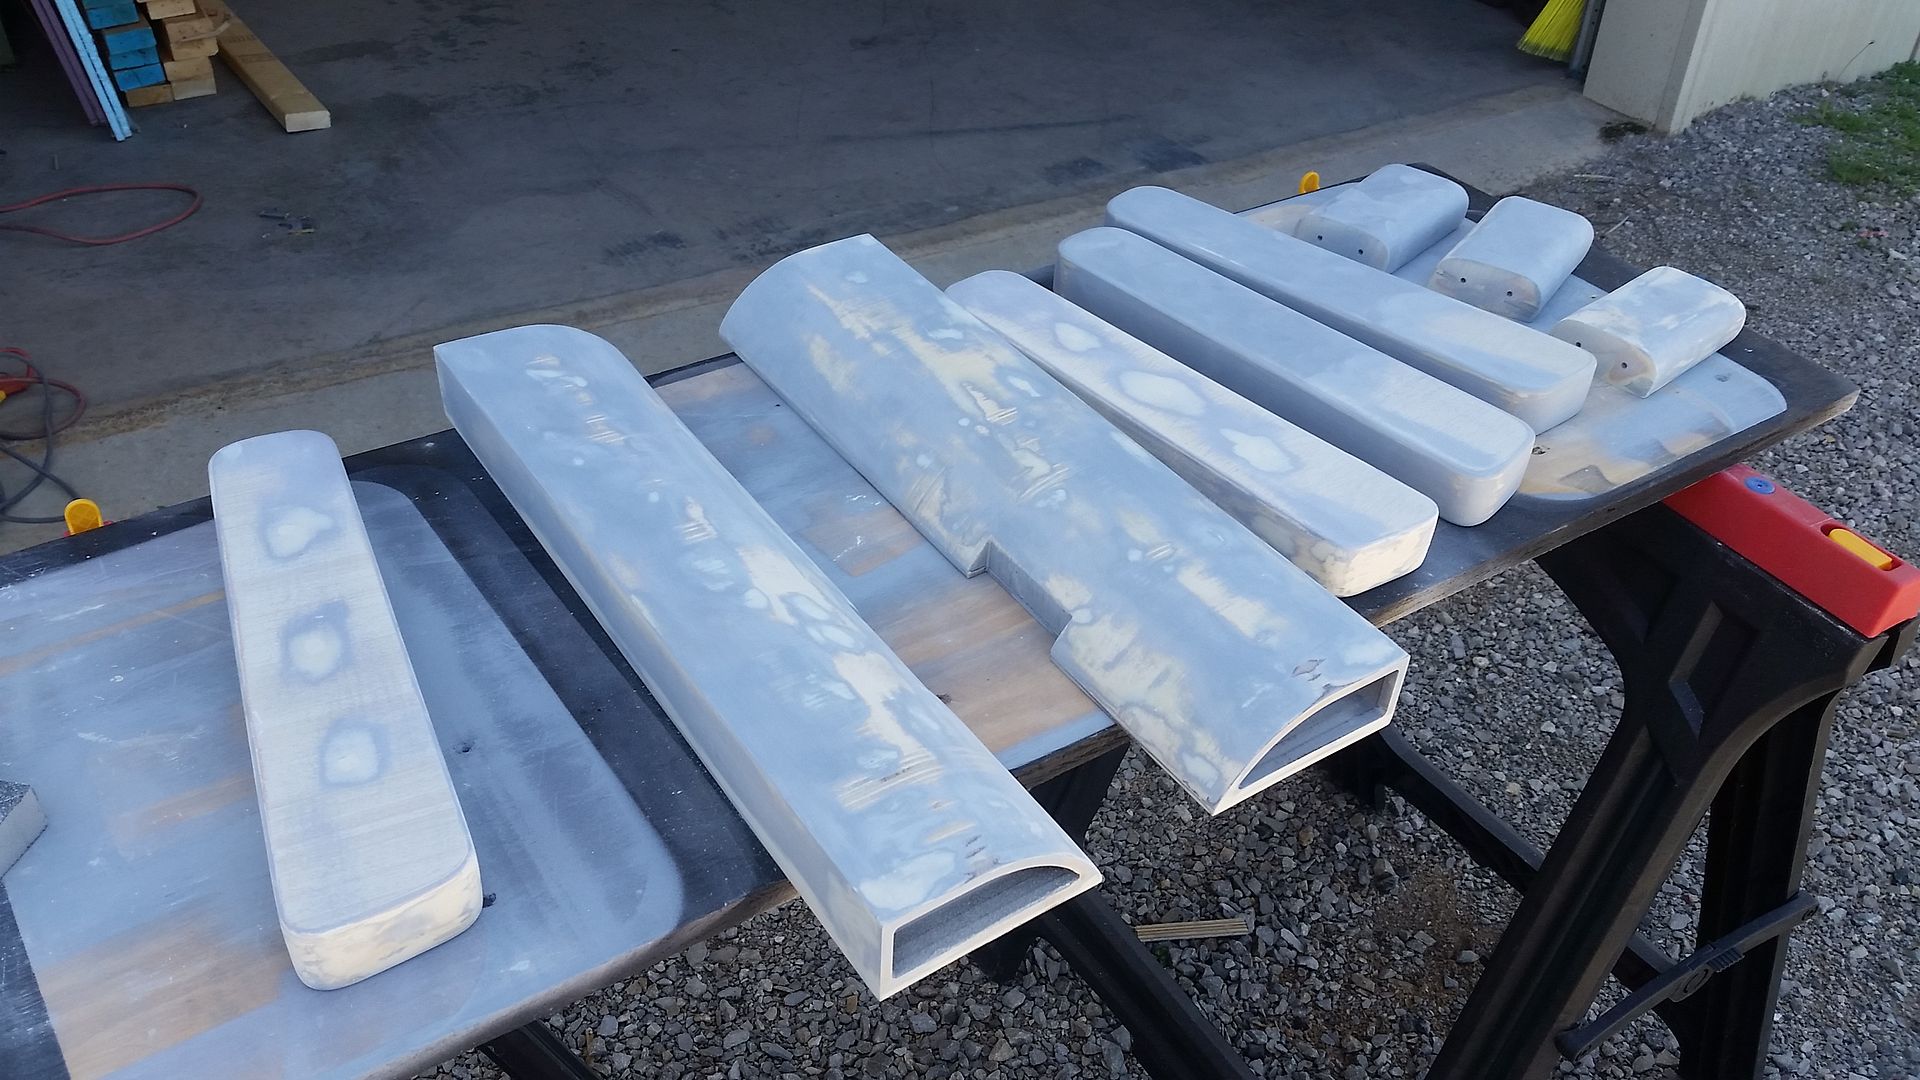
Round 3 - now we wait

I then jumped back to the headrests - primer
Primer
This is actually turning out much better than I expected!
More sanding...
I laser cut a few more nav chair details
Another piece I can't do anything with until those 3D prints are done
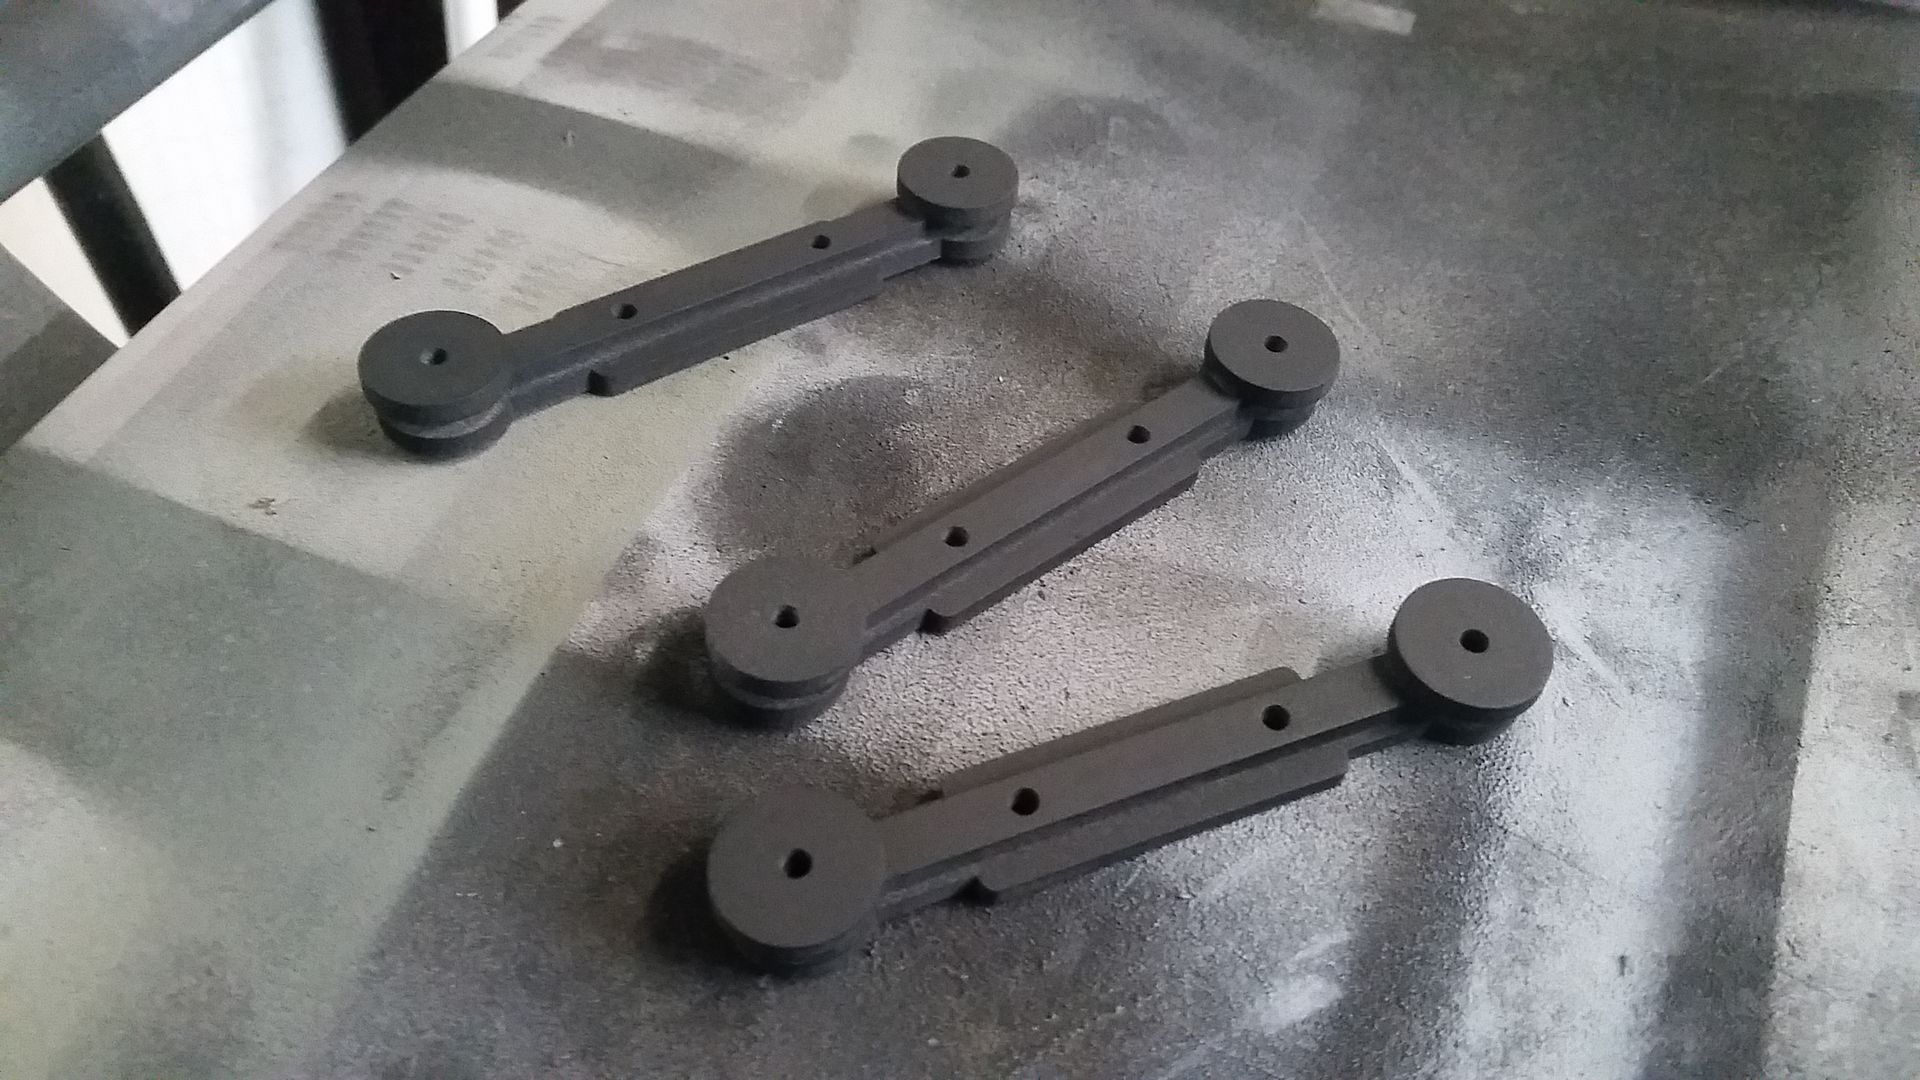
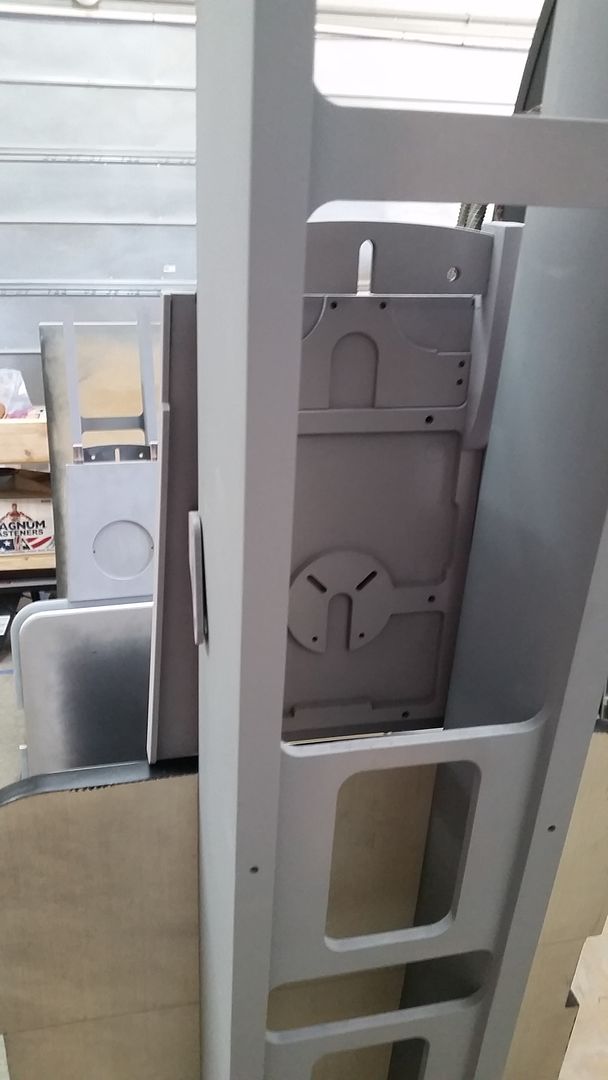
Another side frame detail
Which mounts near the headrest
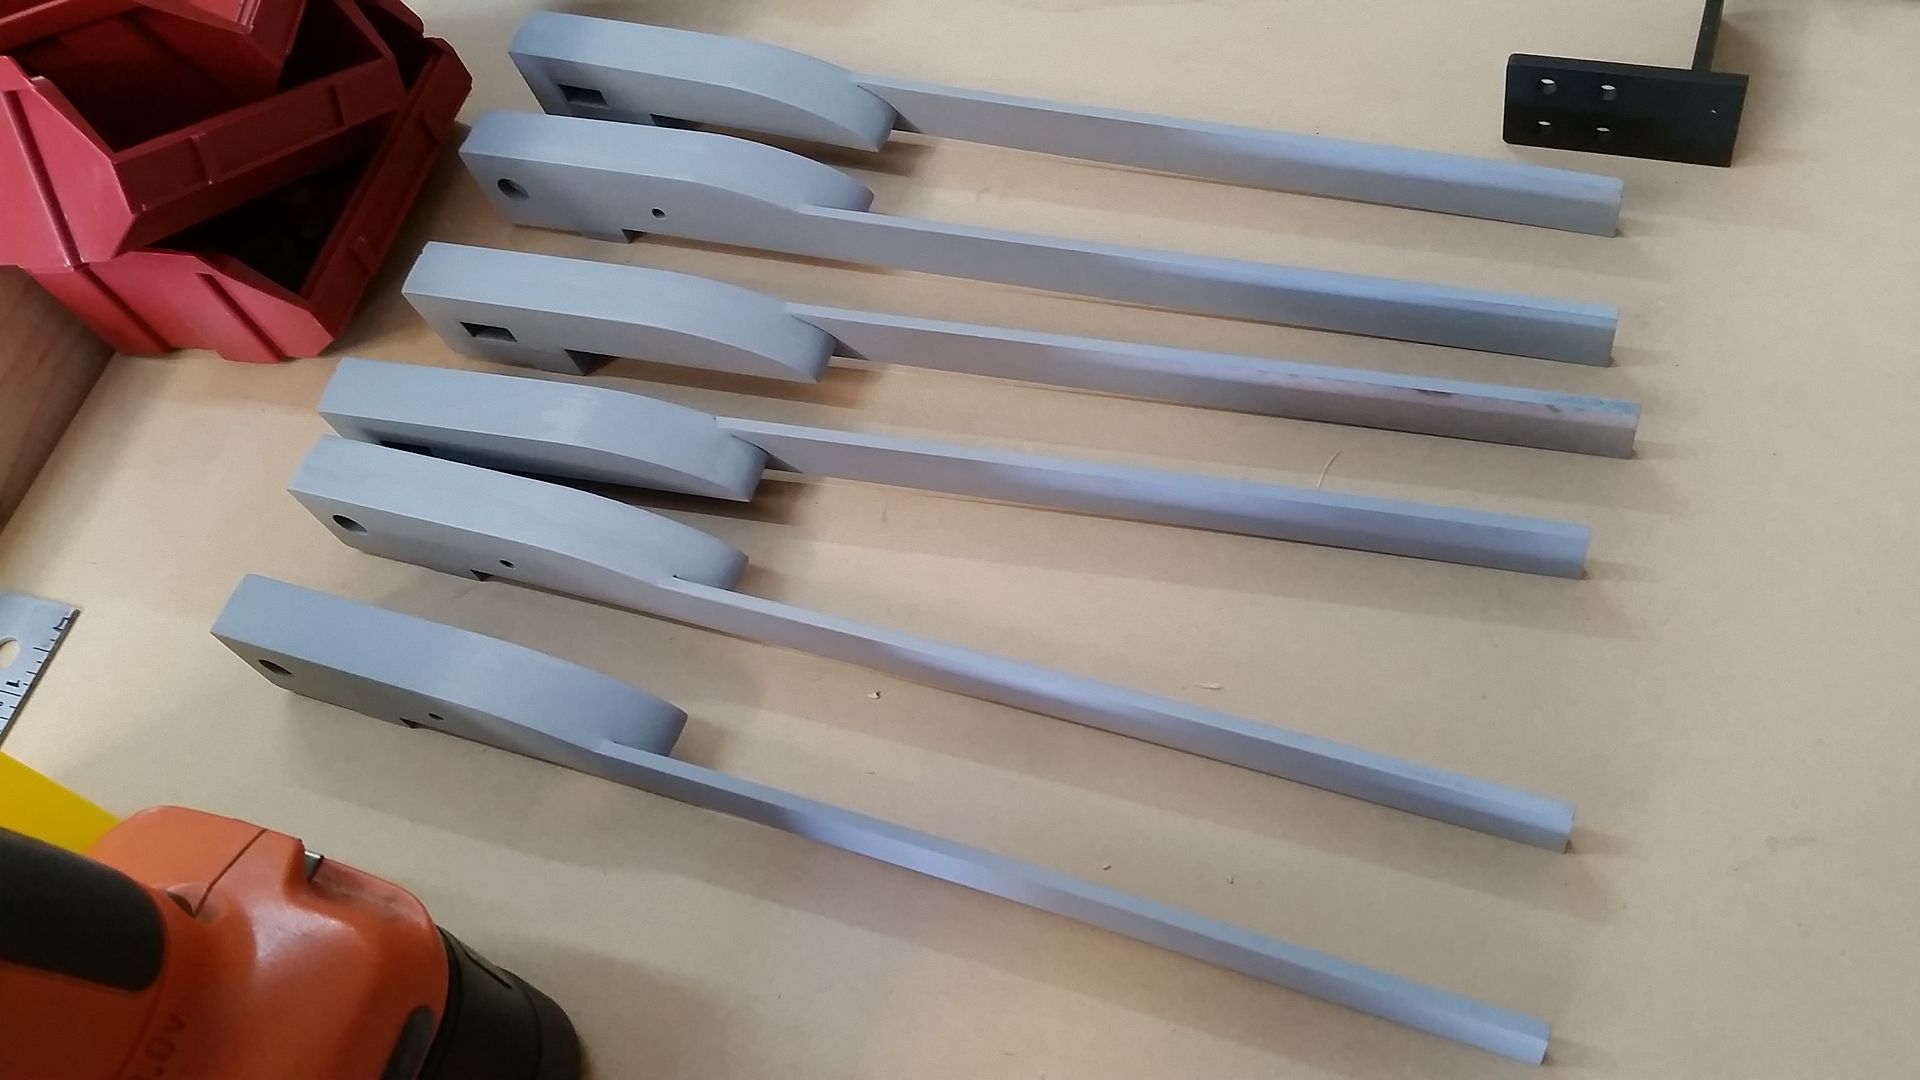
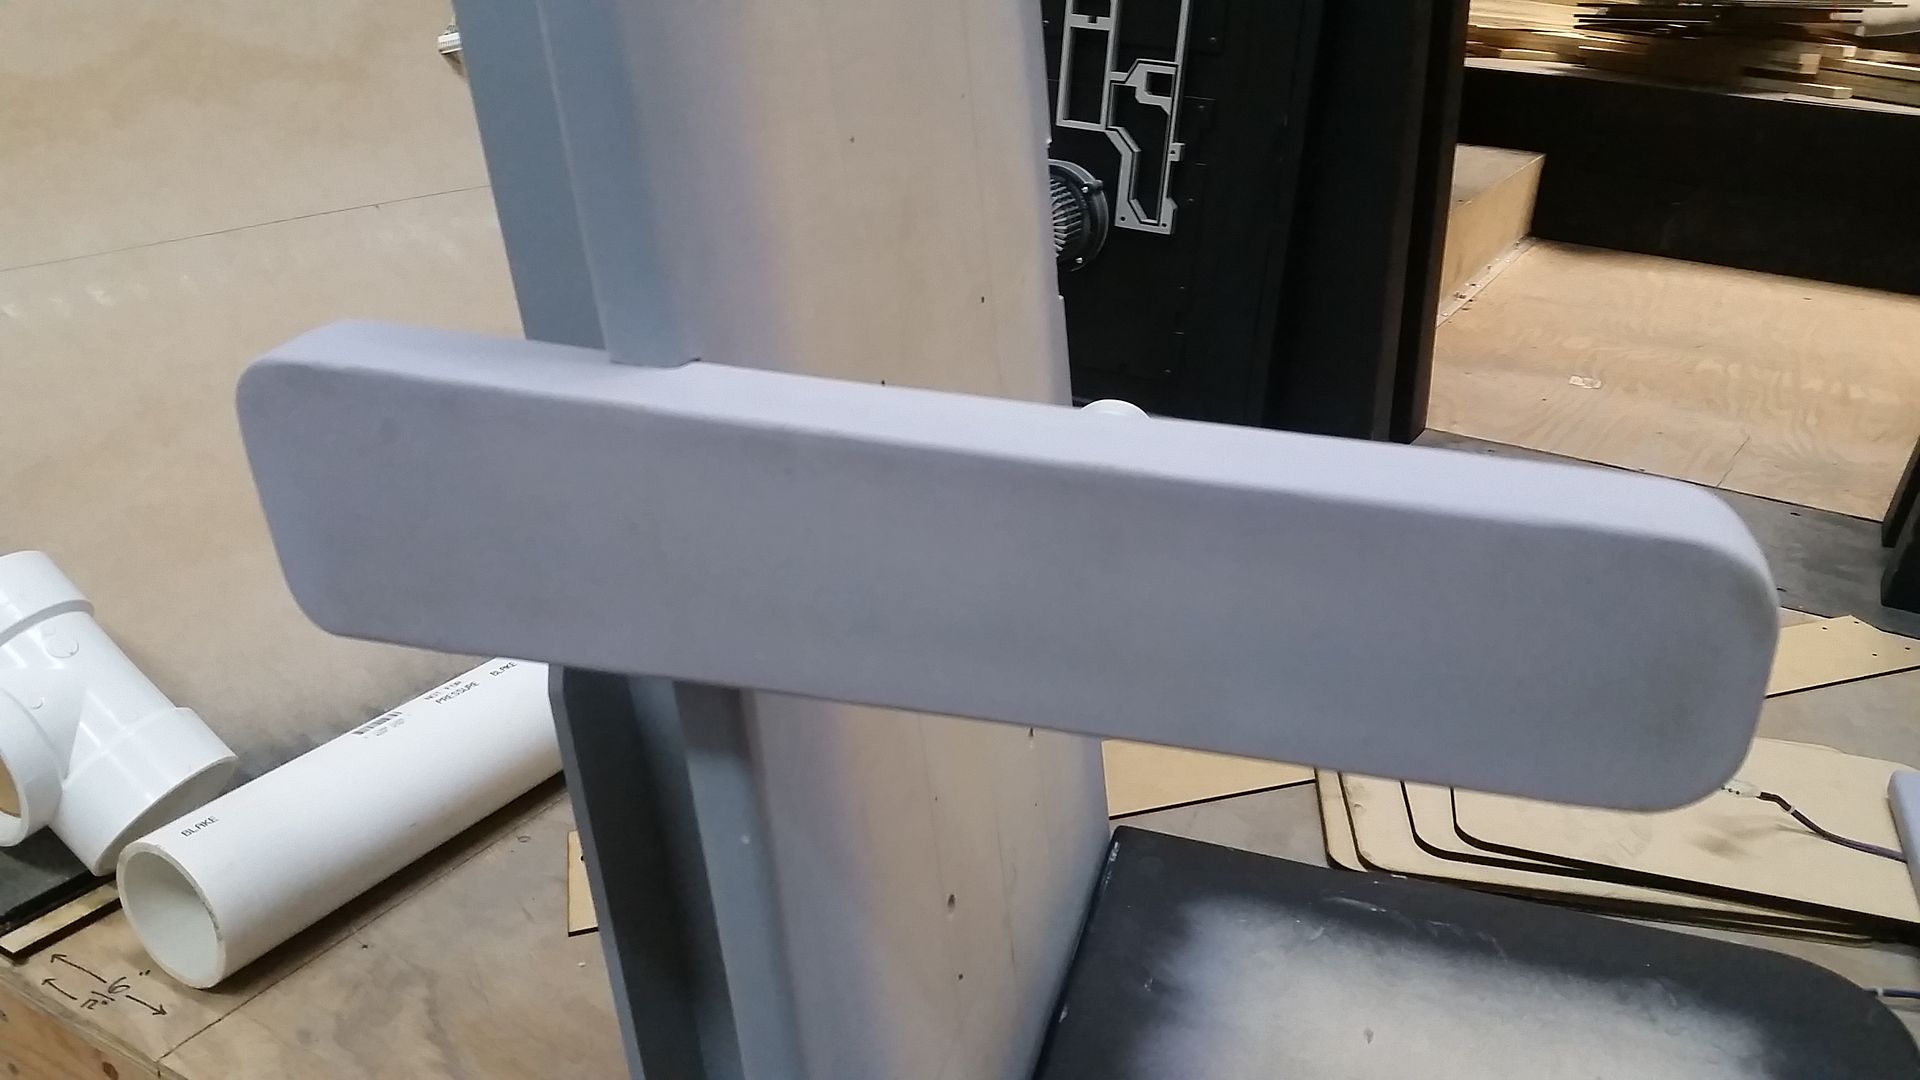
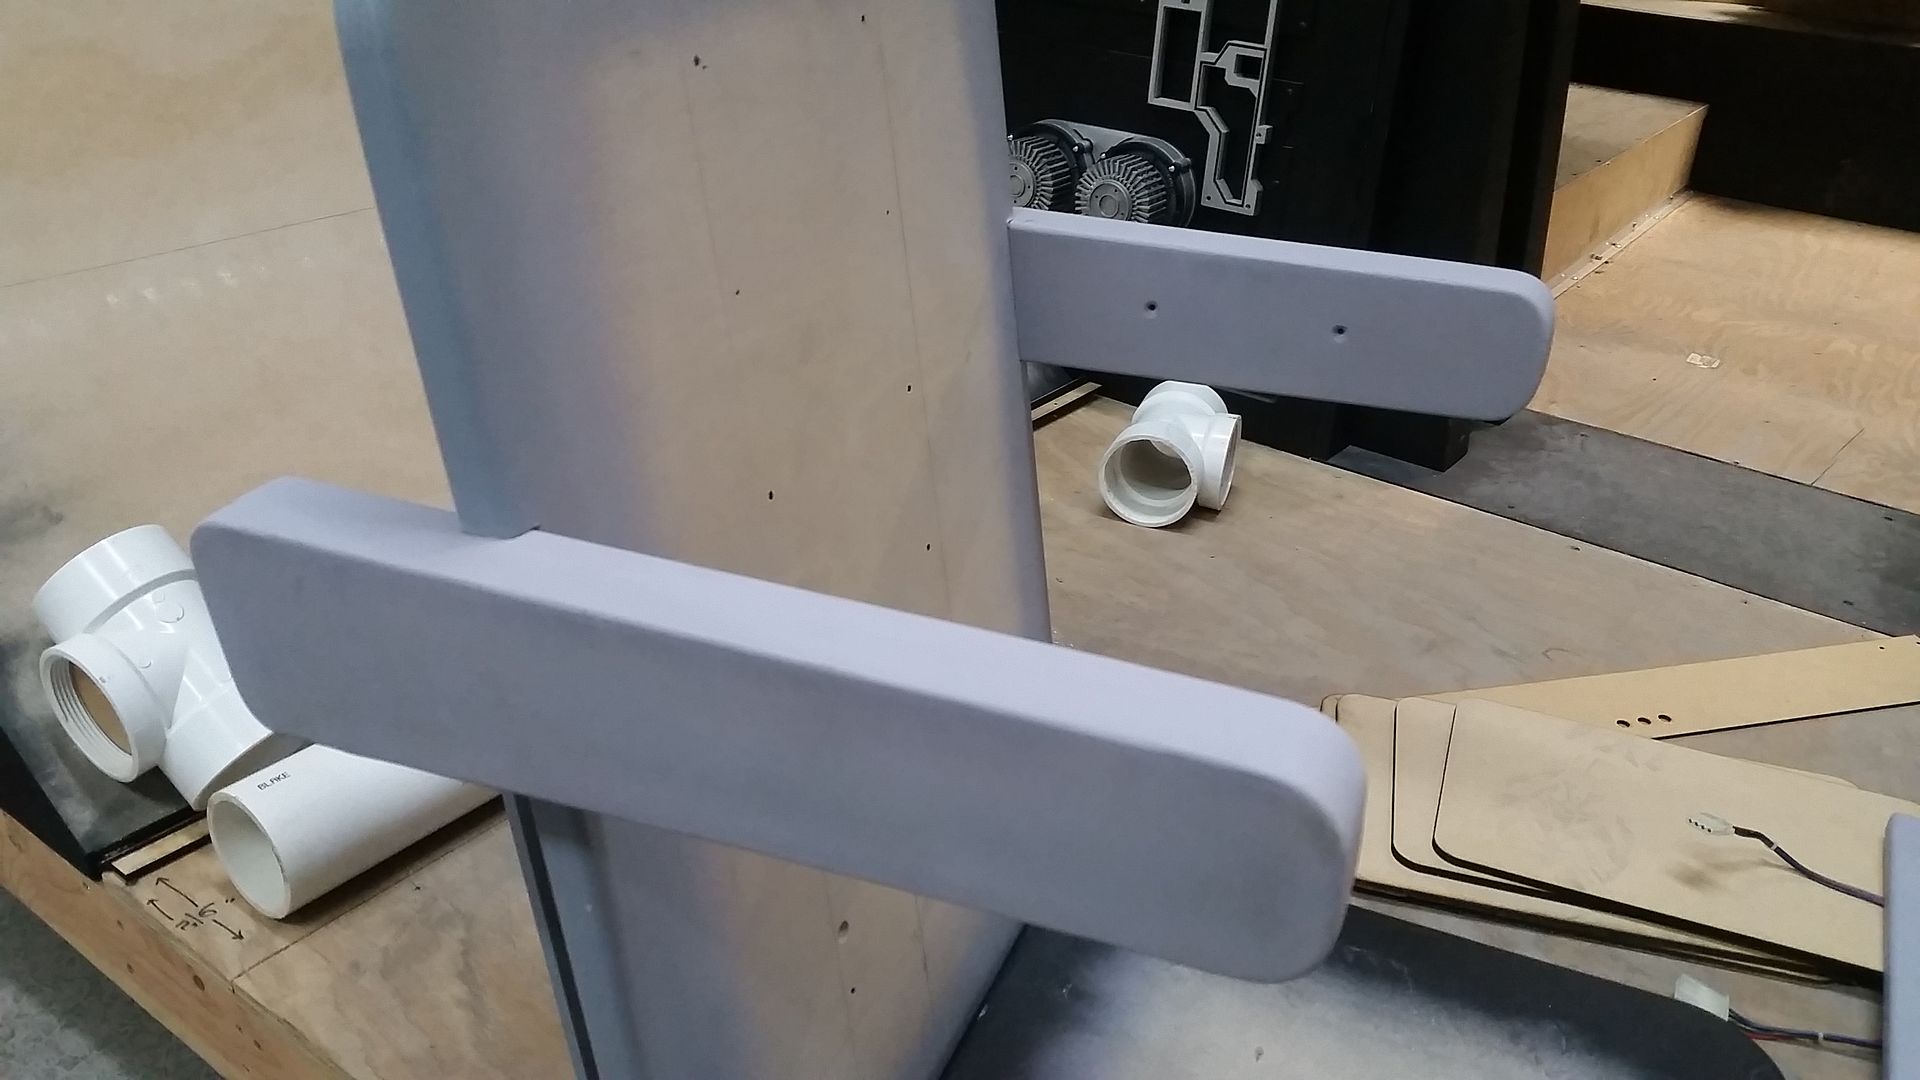
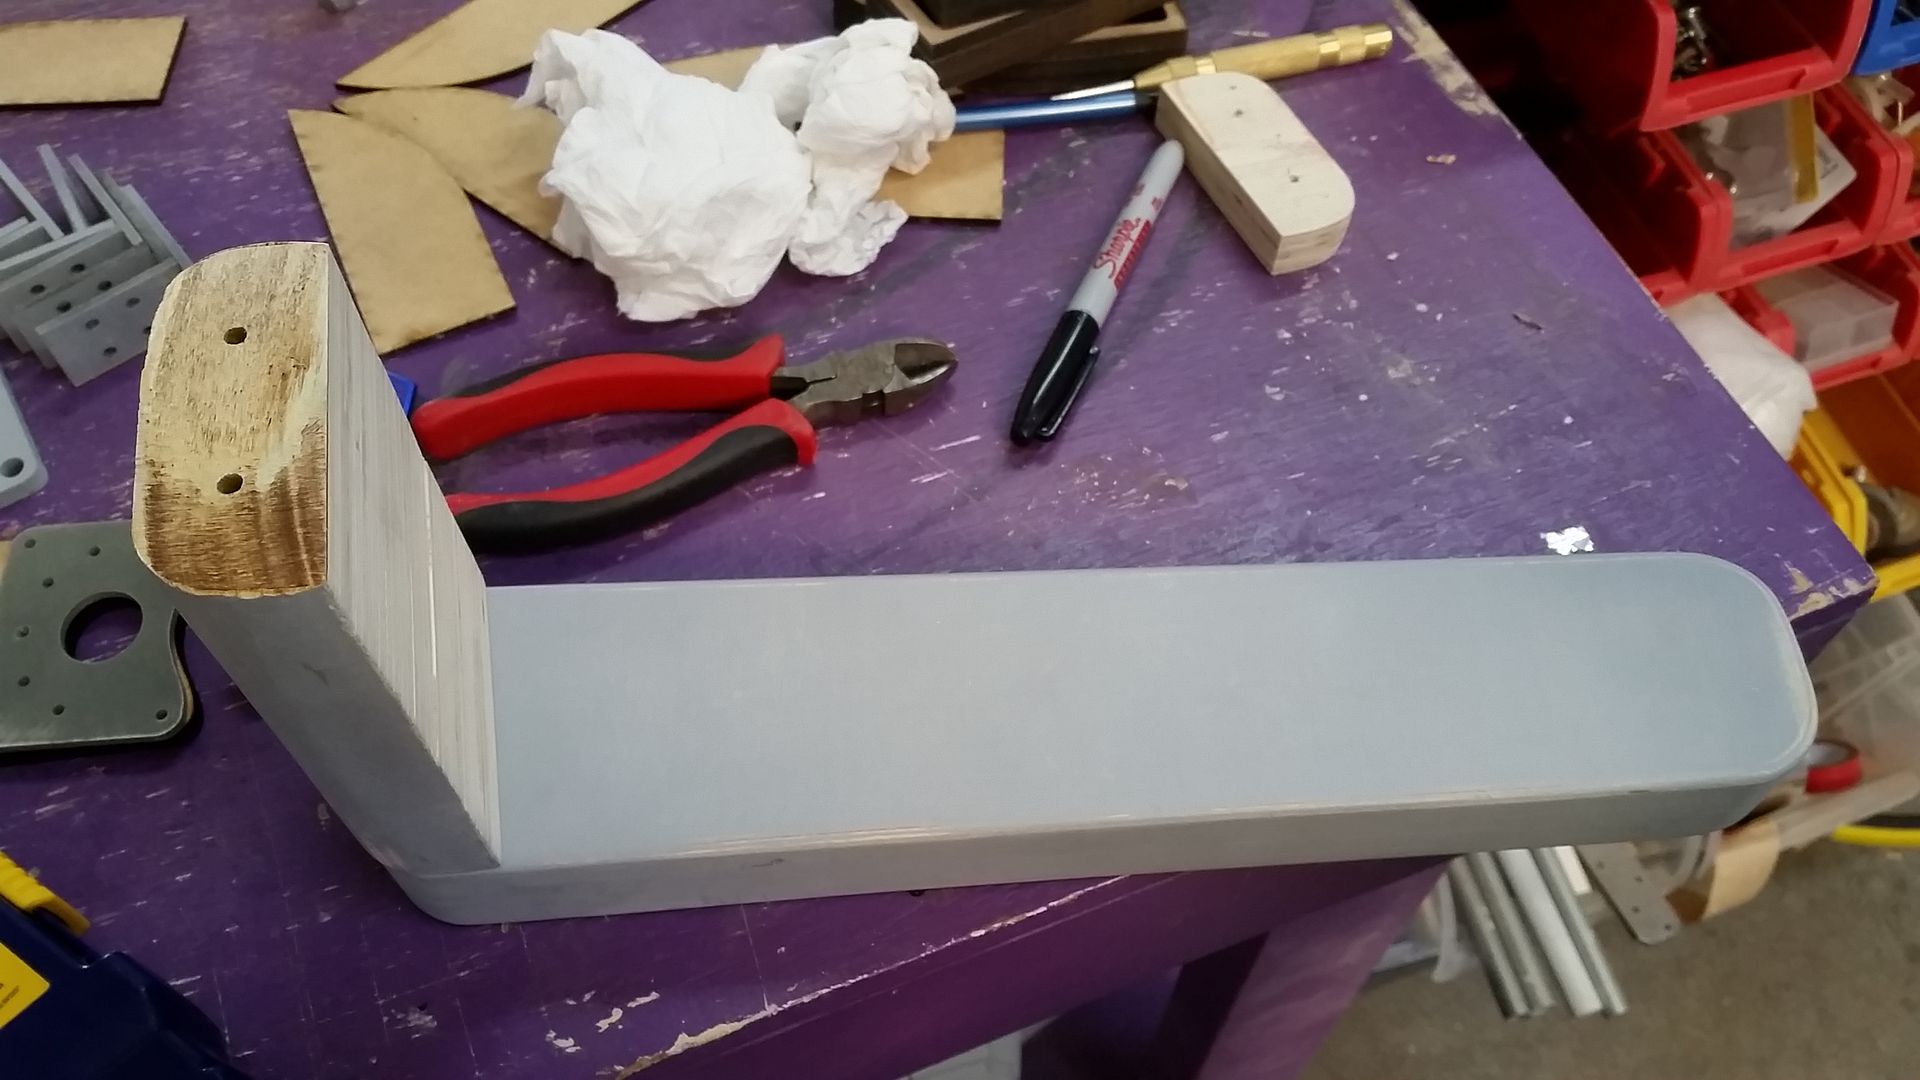
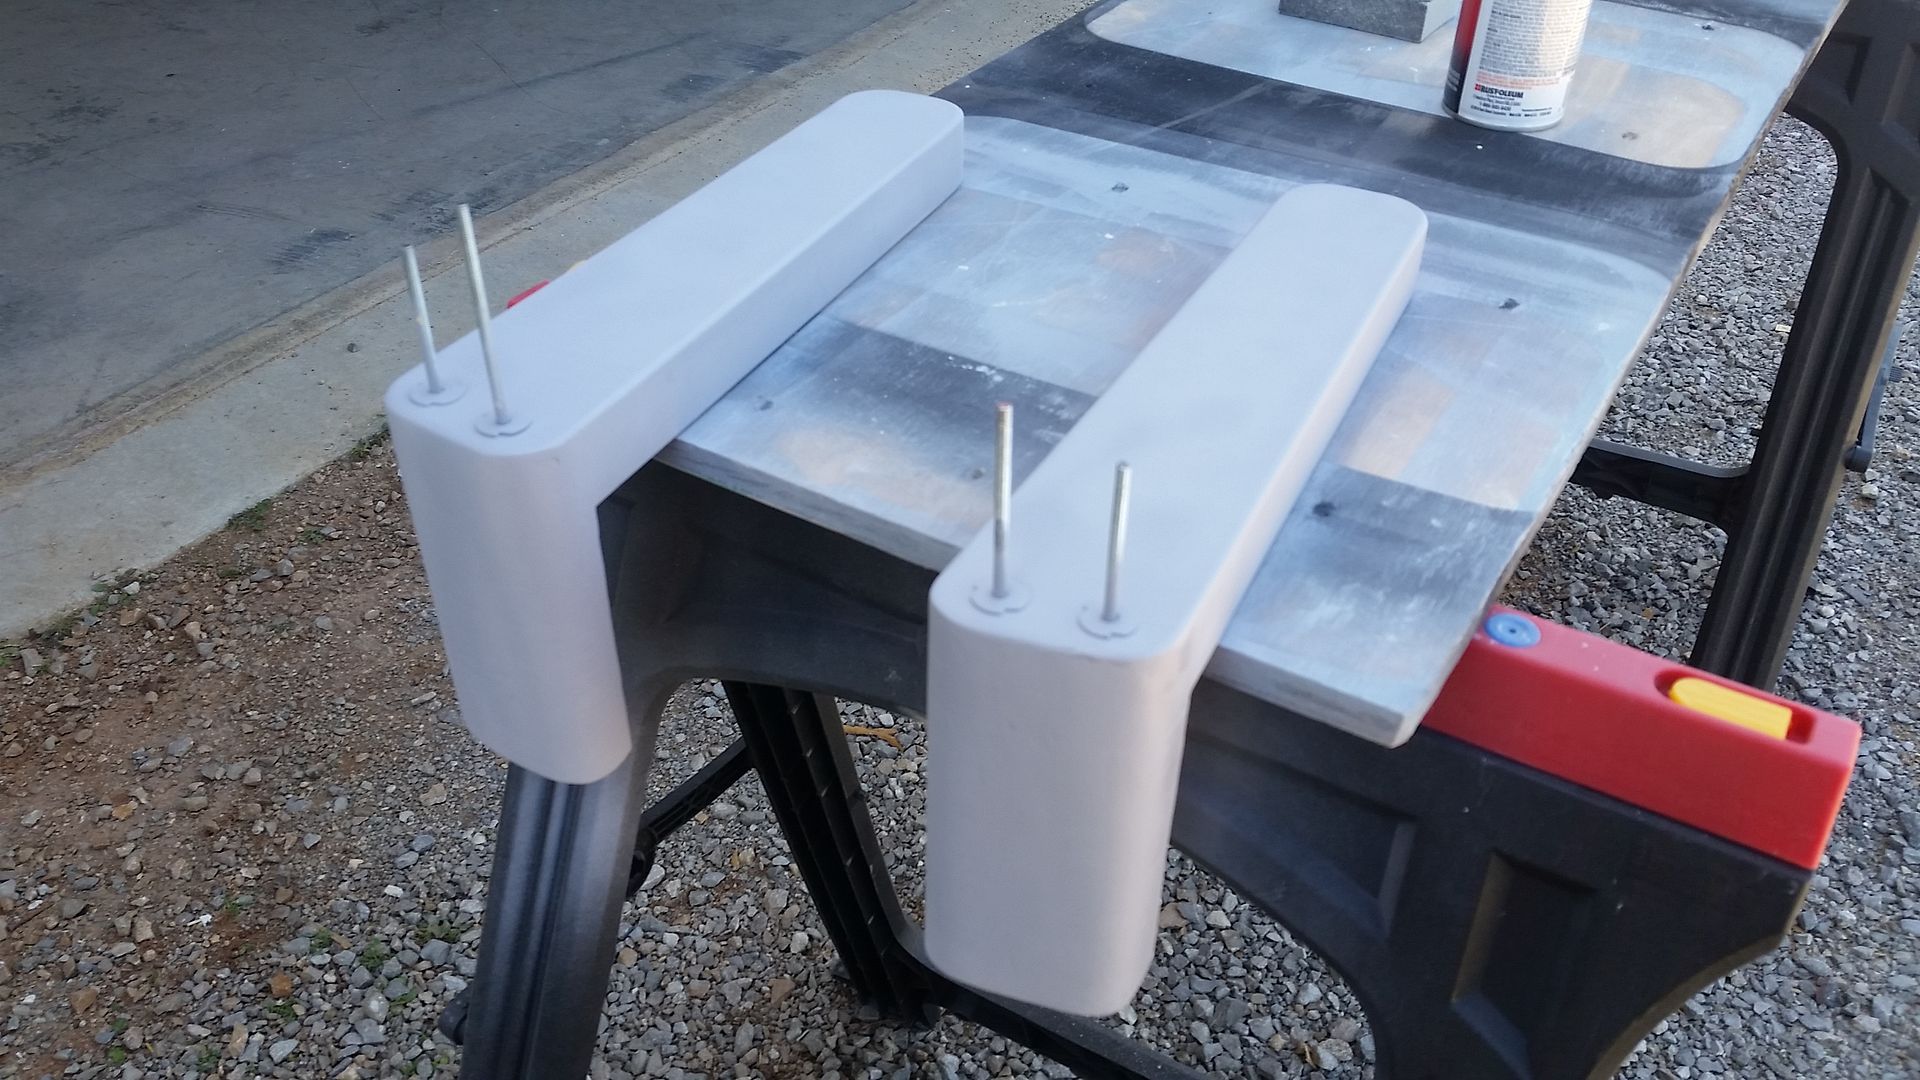
Finally I worked on the armrest pieces
The nav chair frame tilts approx 10 degrees. So I had to notch the back panel -10 degrees so the armrest(s) is parallel with the actual seat
It has a nice gentle tilt
Armrest pieces getting more filler
Time to mount
T-Nuts
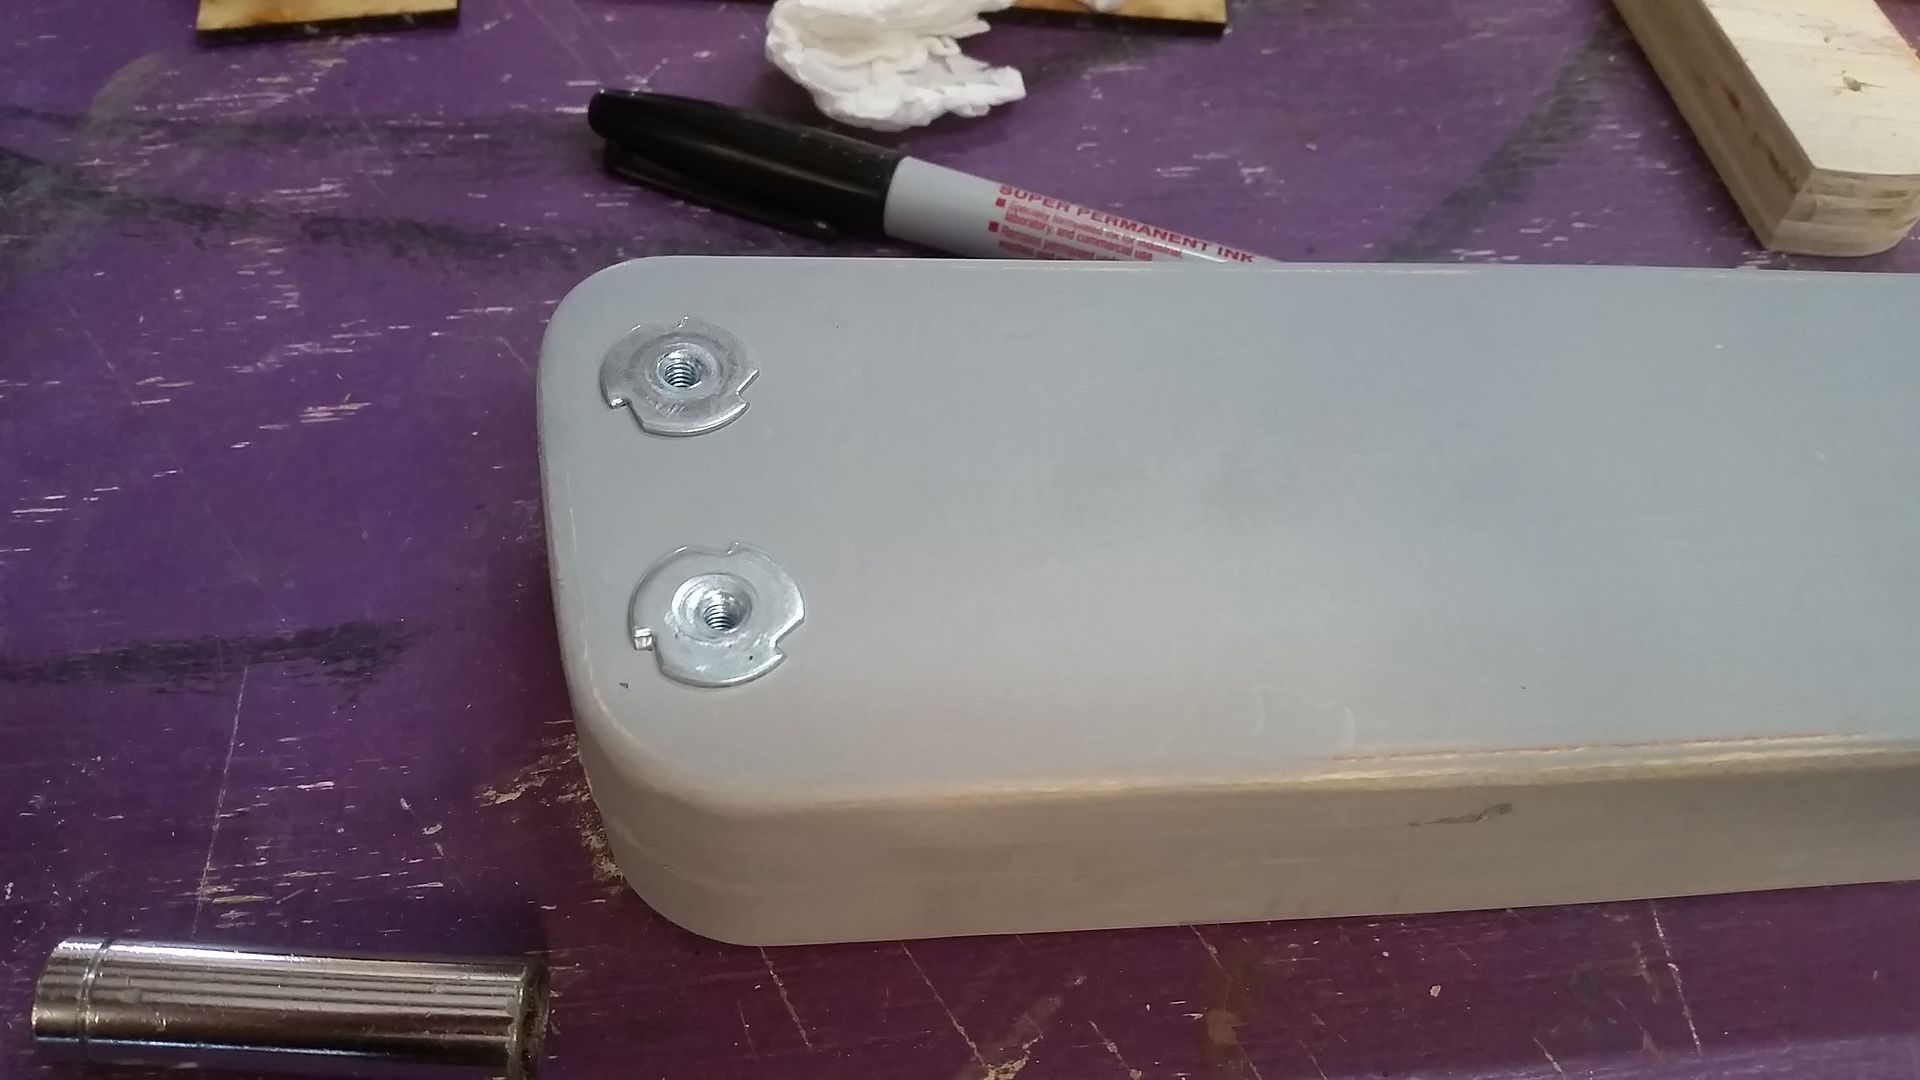
This is the basic position of the armrest(s). The threaded rod will feed through the frame where a nut and washer will keep the piece in place - two 3" wood screws will go through the center of the armrest into the actual back support panel - more on that later
These will require lots of work to include sanding, filling, primer, etc...

Slowly getting there

And this is where we are!
Sorry this wasn't a more interesting update... seems like I'm going at a snails pace but i promise... I am working!
Stay Tuned!
Finally, check out this cool project / possible future kit fellow RPFer Fuzz and me are working on called the Astromech Droid Socket!
http://www.therpf.com/showthread.php?t=275360
More to Follow!
Time for that Monday Morning Update! I dont like wood filler!
I spent most of the weekend sanding, filling and priming (repeat) so, 1) I didn't get as far I would have liked (as I always say) and 2) I didn't take that many pics... EnjoyWork continues on the nav chairs. Working the headrest(s)
The headrest mounts to the side of the seat frame. I cut this little spacer
Which wedges itself between the headrest mount and panel frame
The wedge also acts as a stopper which determines the angle of the actual headrest
Angle brackets for detail
More sanding and filler
I laser cut and painted up these new pieces
I can't mount these until we 3D print the main side frame greeblies
I laser cut a bunch of these little greeblies
Filler
Sanded
I laser cut these matching MDF bases for the metal greeblies
Filler?
Of course...
Paint
The seat pads get their 3rd round of filler / primer
Paint!
Laser cut seat pad mounting template
Painted silver
I then jumped to these curved back pieces
Notched out the armrest area(s)
And then... filler. Lots and lots of filler
I laser cut these end caps for the back pieces
These new pieces mount on top of the back pieces
This added height required me to cut off (a duh moment) the top
They kinda look like engine nacelles! That's what we're calling them!
Test fitting this greeblie around the nacelle
SANDED!
There was a LOT of flex with those nacelles. So I laser cut a new back plate and mounting guide
And simply adhered into place making it much more rigid
YES! More filler and primer! Love this stuff!
Round 3 - now we wait
I then jumped back to the headrests - primer
Primer
This is actually turning out much better than I expected!
More sanding...
I laser cut a few more nav chair details
Another piece I can't do anything with until those 3D prints are done
Another side frame detail
Which mounts near the headrest
Finally I worked on the armrest pieces
The nav chair frame tilts approx 10 degrees. So I had to notch the back panel -10 degrees so the armrest(s) is parallel with the actual seat
It has a nice gentle tilt
Armrest pieces getting more filler
Time to mount
T-Nuts
This is the basic position of the armrest(s). The threaded rod will feed through the frame where a nut and washer will keep the piece in place - two 3" wood screws will go through the center of the armrest into the actual back support panel - more on that later
These will require lots of work to include sanding, filling, primer, etc...
Slowly getting there
And this is where we are!
Sorry this wasn't a more interesting update... seems like I'm going at a snails pace but i promise... I am working!
Stay Tuned!
Finally, check out this cool project / possible future kit fellow RPFer Fuzz and me are working on called the Astromech Droid Socket!
http://www.therpf.com/showthread.php?t=275360
More to Follow!
Last edited:
Lt Washburn
Sr Member
"Sorry I didn't get much done."
*posts dozens of photos of a ton of stuff done
*posts dozens of photos of a ton of stuff done
You must be having dreams about sanding and wood filler by now.... Just don't start spreading it on toast.
LOL! Not enough to have it on toast.
- - - Updated - - -
"Sorry I didn't get much done."
*posts dozens of photos of a ton of stuff done
Hey Lt W,
LOL yeah ok.
- - - Updated - - -
Tremendous, unbelievable amount of work that already is a masterpiece! I am totally blown away.
Hi Gus,
Thanks you so much! I appreciate the very kind words. We're SO close to finishing! But dont go away, we have lots planned!
Hi Gang,
In all my excitement with the filler I had over the weekend I forgot to take photos of a little something I picked up...
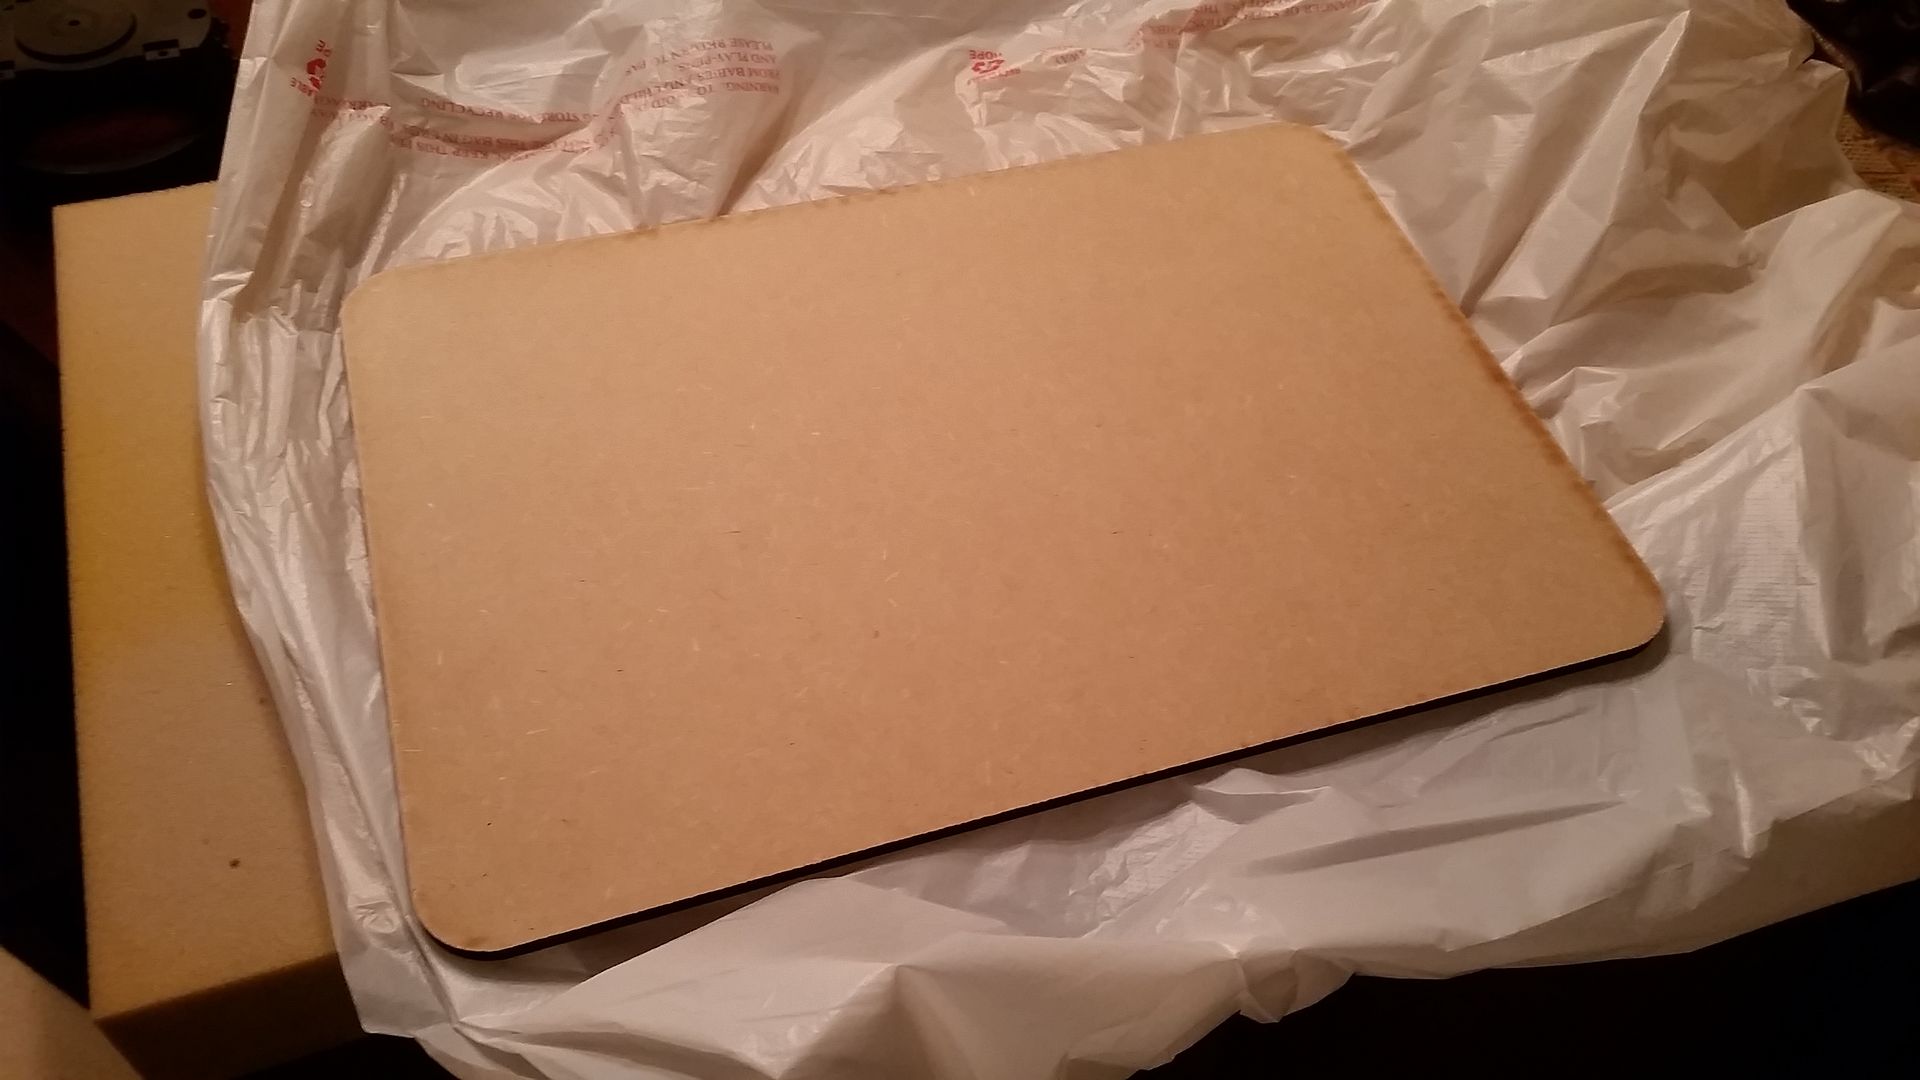
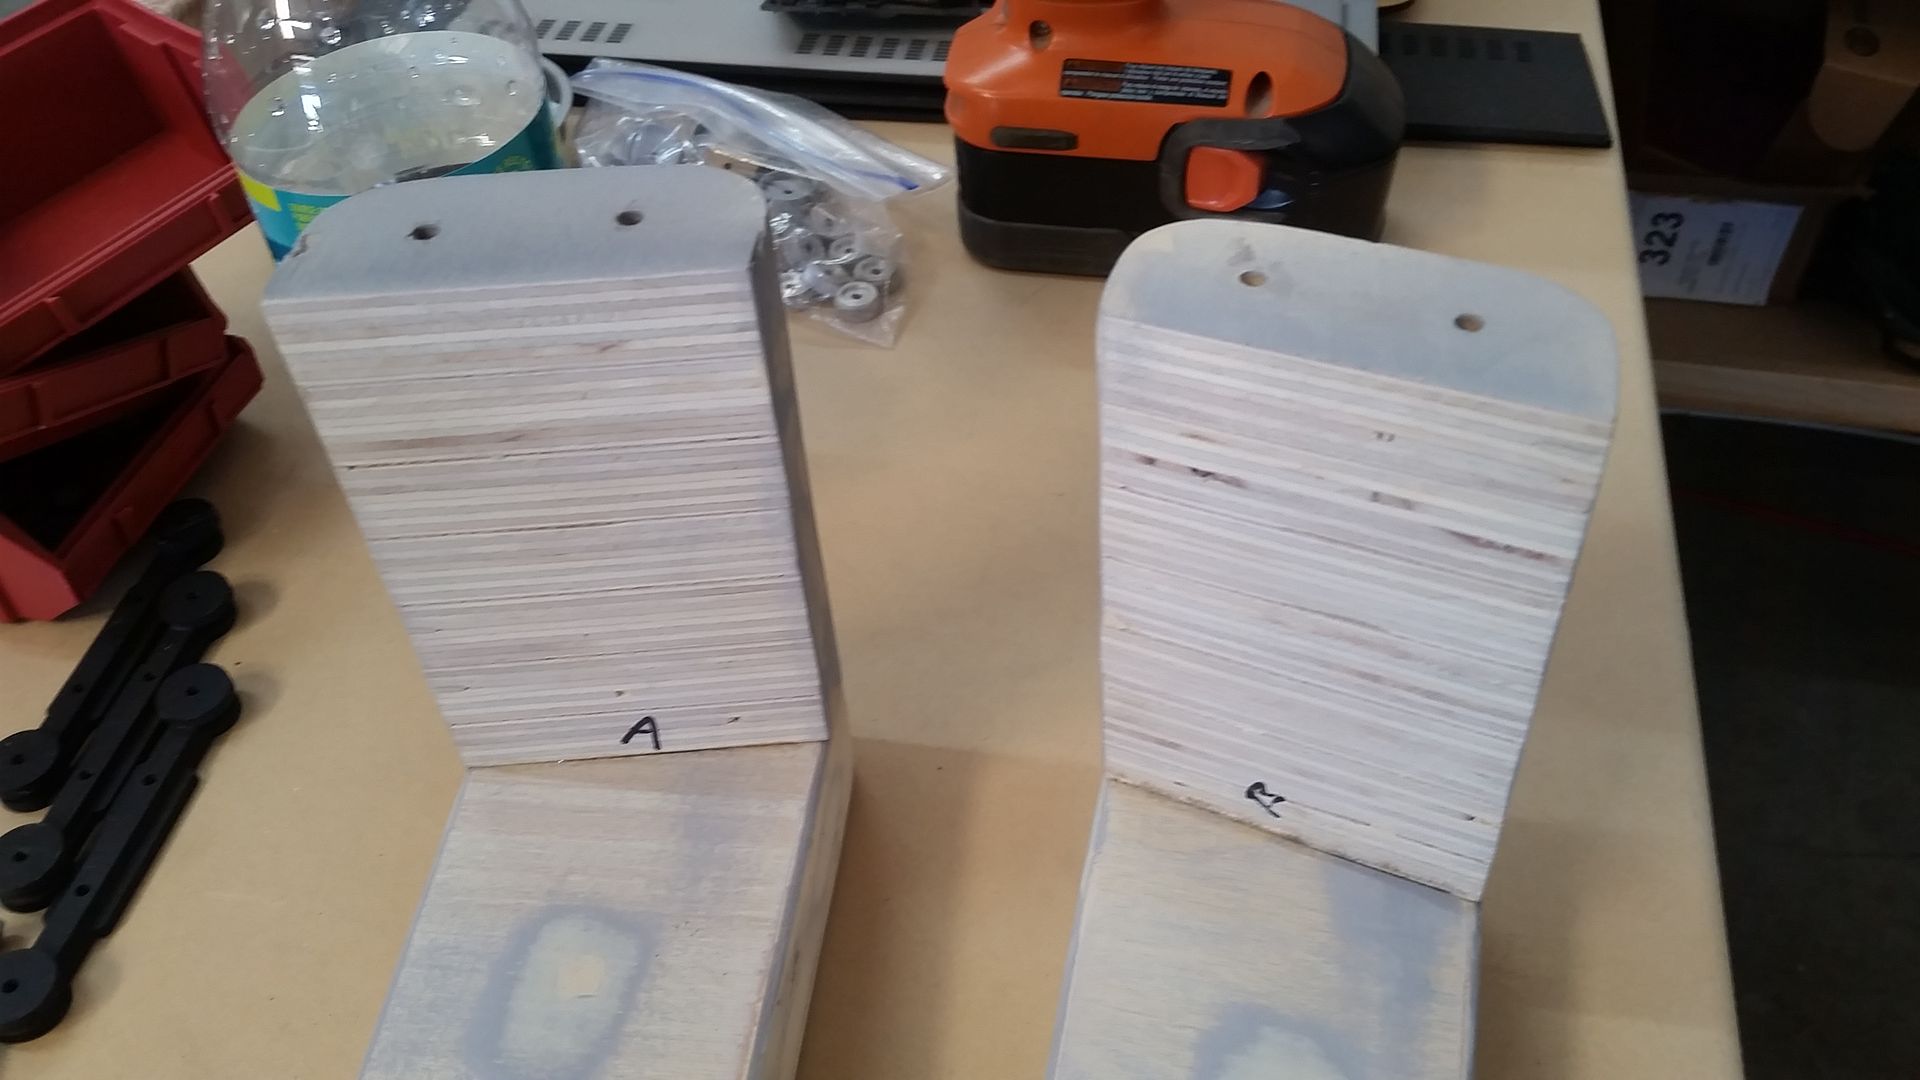
I cut these MDF pieces. These are the bottoms of the nav chair pads!
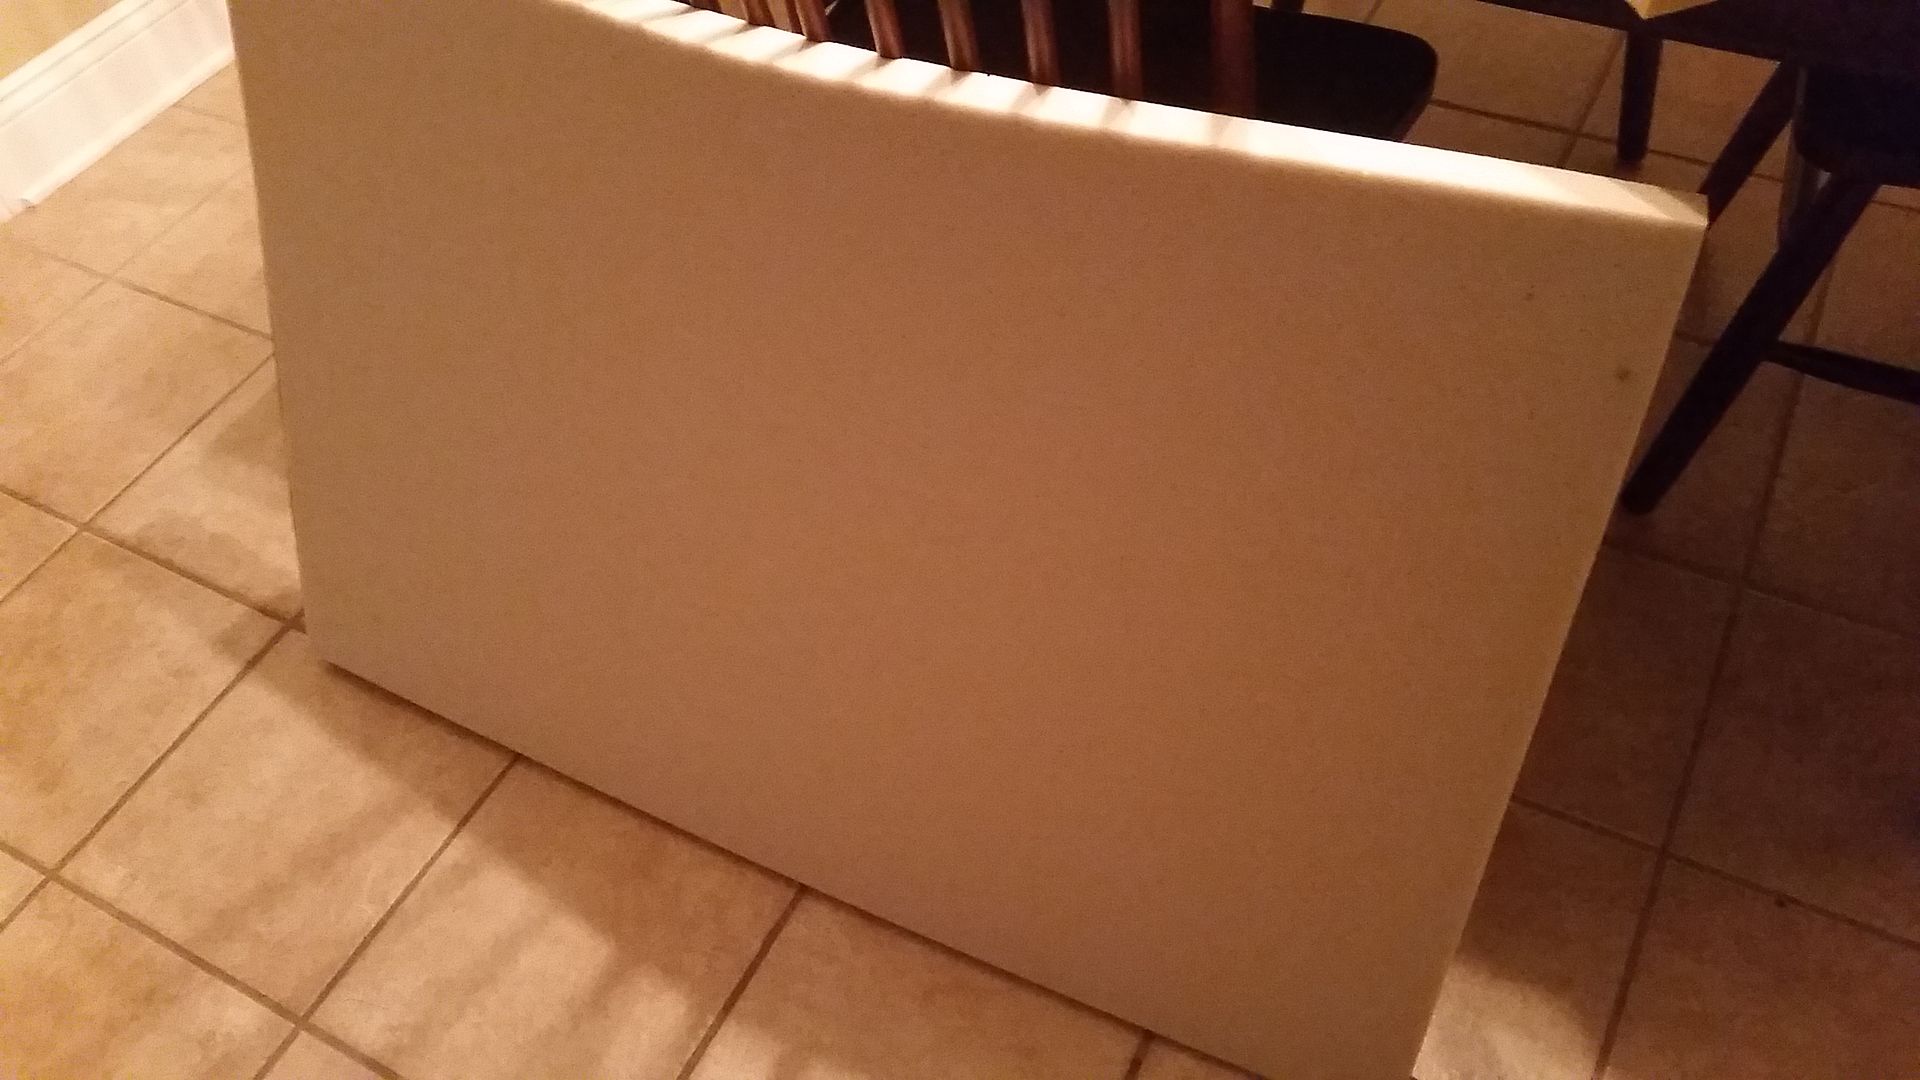
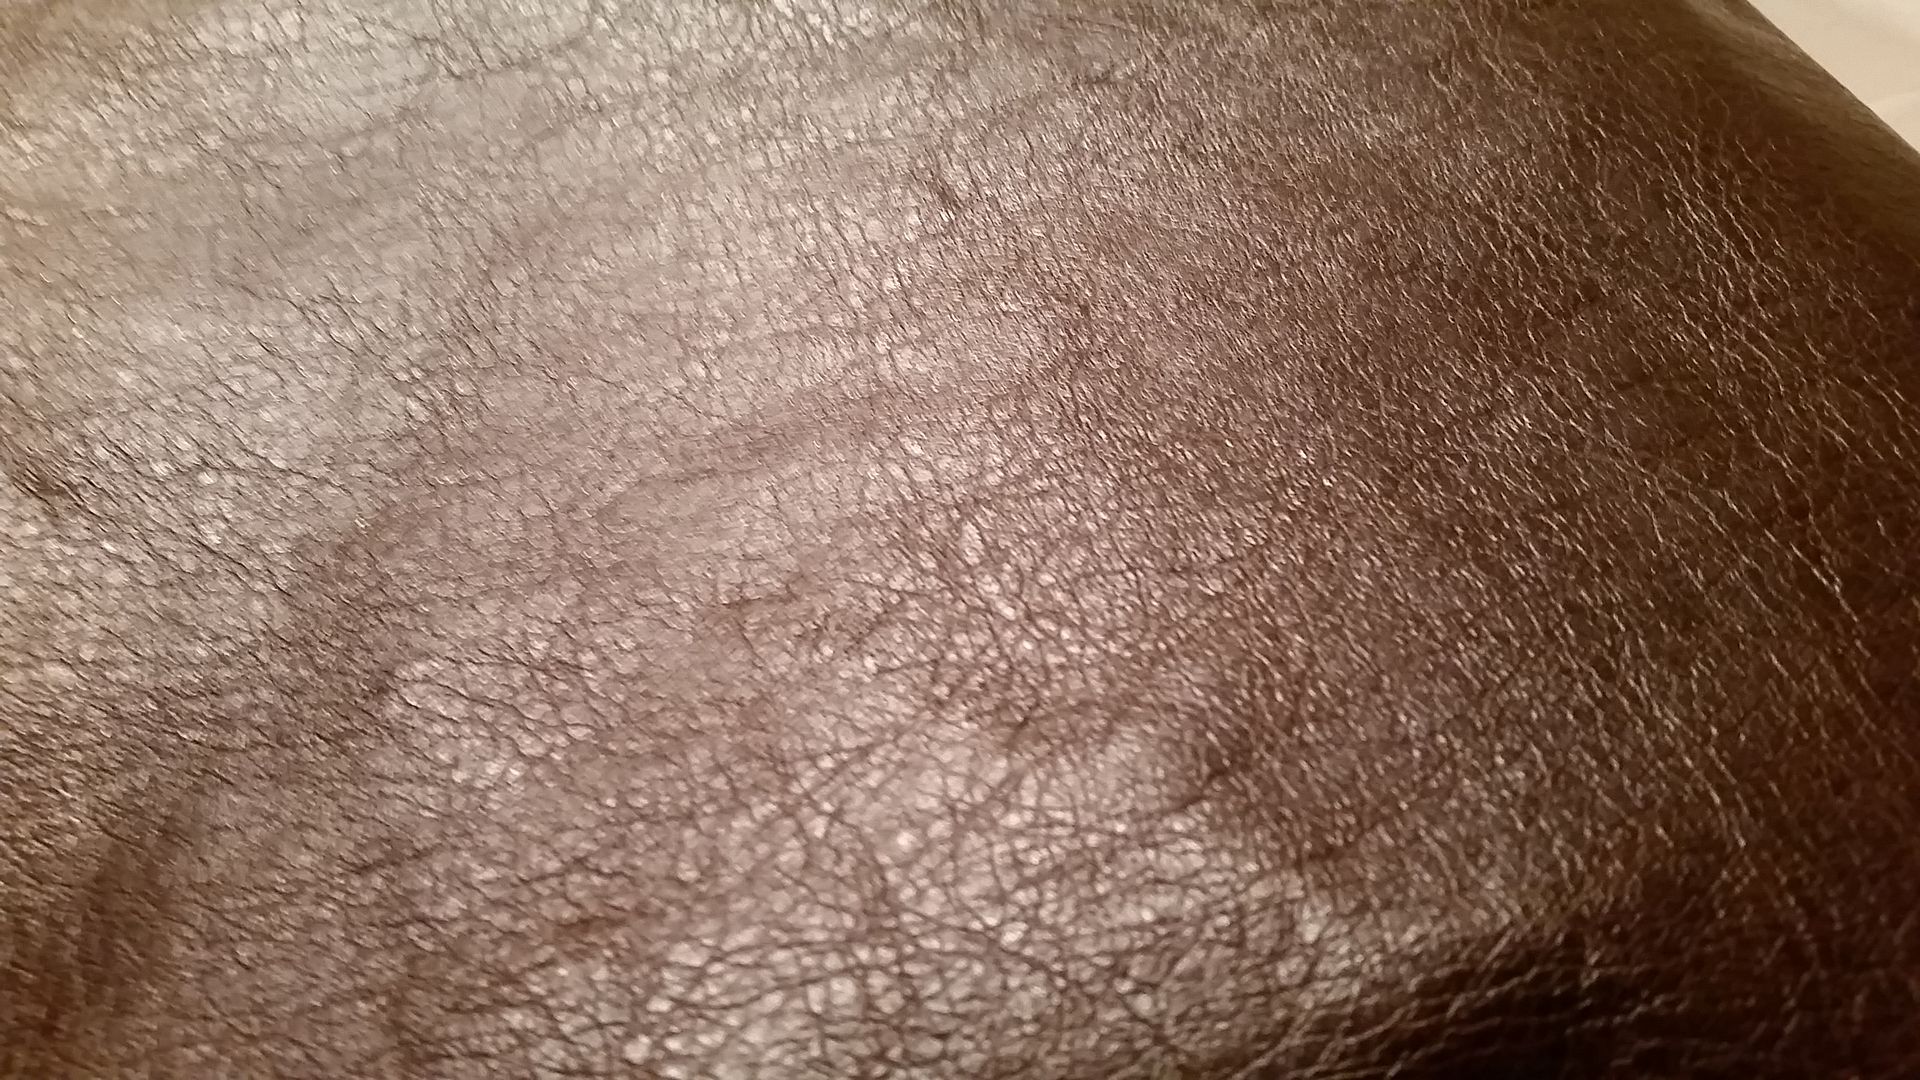
Early Saturday I picked up some 2" seat foam and vinyl upholstery!
The best part, the vinyl was on sale for $3.99 a sq yard - normally $15-20!
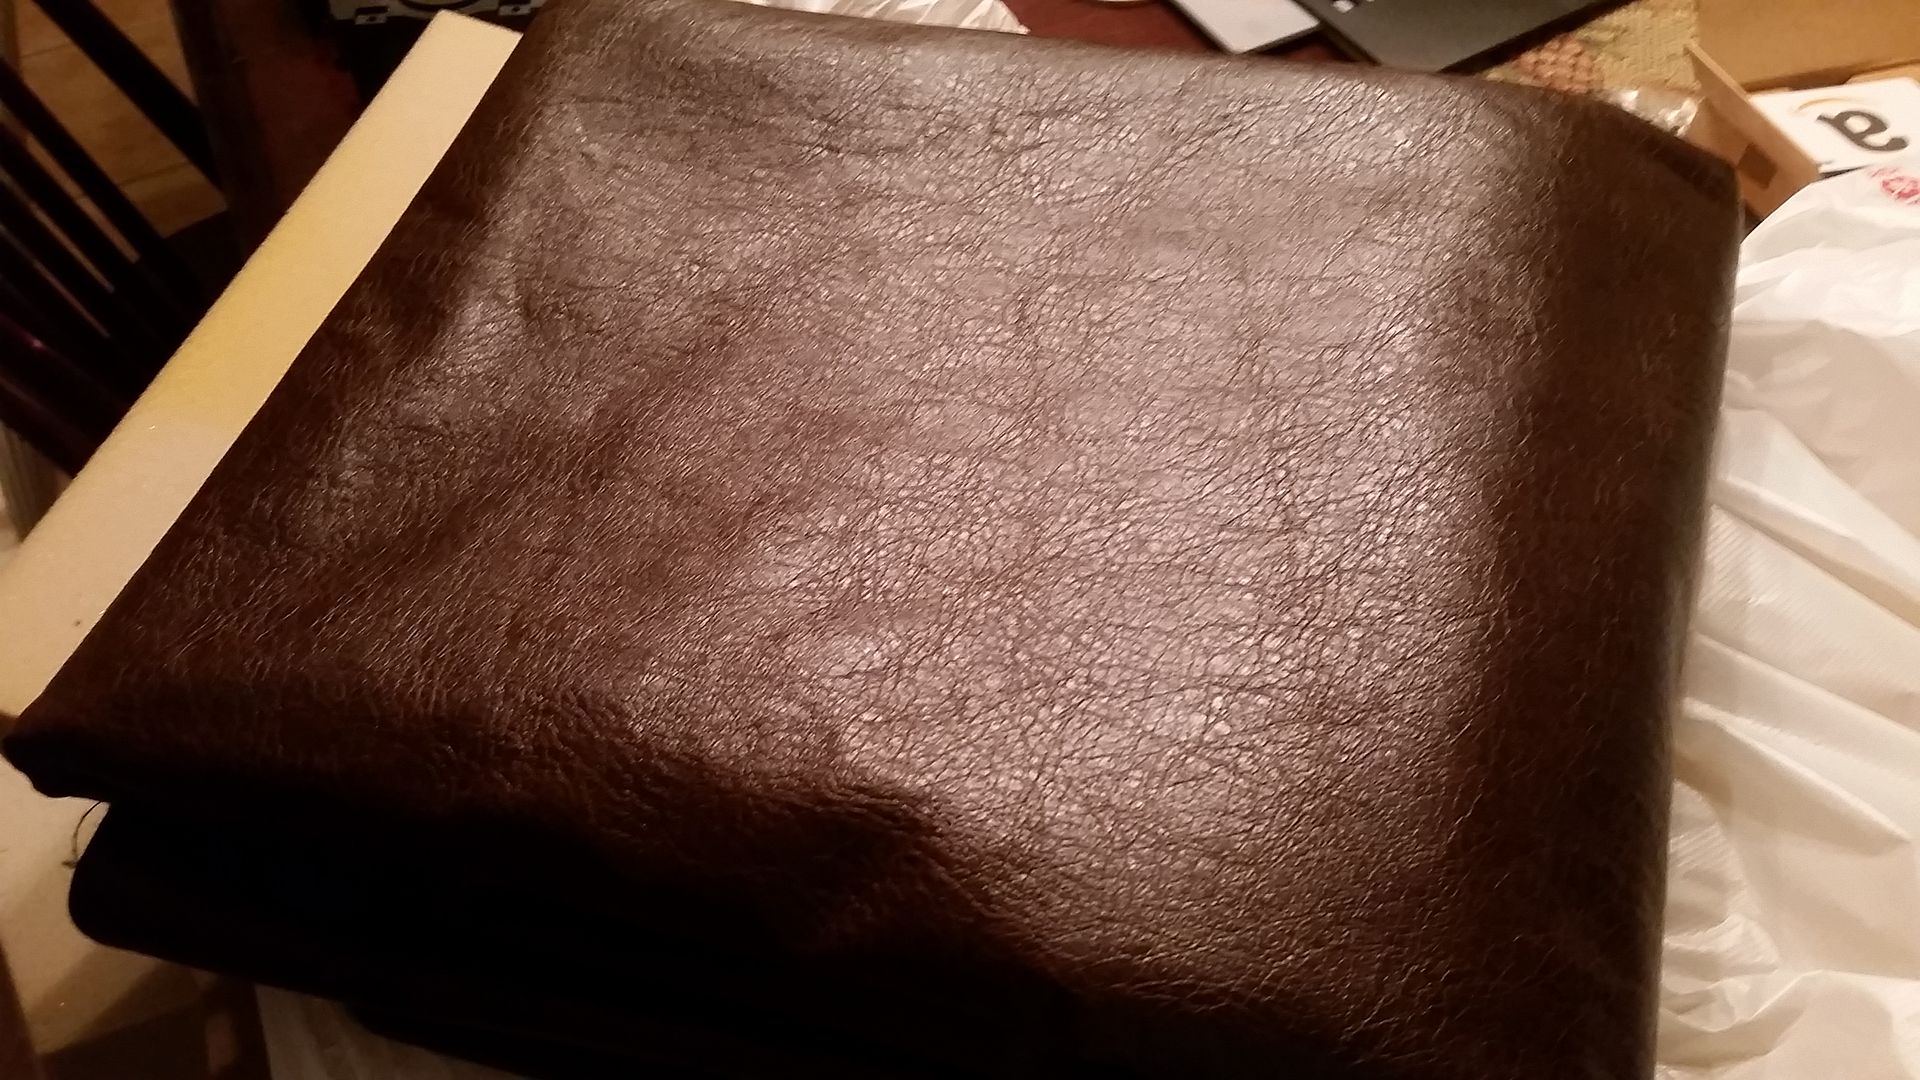
I bought 3 sq yards and I'm going to try to weather the vinyl. I bought enough to practice! And if it doesn't work I'll look for something else!
More to follow so stay tuned!
In all my excitement with the filler I had over the weekend I forgot to take photos of a little something I picked up...
I cut these MDF pieces. These are the bottoms of the nav chair pads!
Early Saturday I picked up some 2" seat foam and vinyl upholstery!
The best part, the vinyl was on sale for $3.99 a sq yard - normally $15-20!
I bought 3 sq yards and I'm going to try to weather the vinyl. I bought enough to practice! And if it doesn't work I'll look for something else!
More to follow so stay tuned!
joberg
Legendary Member
Yeah Sofa, like, get to work already!D You're a machine dude and we're in awe of the tremendous job you're doing, day in, day out, to achieve that master piece:cool!!!!!
Nav chairs are starting to look the part (or parts...many parts!) and I cannot wait to see them in situ.
D You're a machine dude and we're in awe of the tremendous job you're doing, day in, day out, to achieve that master piece:cool!!!!!Nav chairs are starting to look the part (or parts...many parts!) and I cannot wait to see them in situ.
Yeah Sofa, like, get to work already!
Nav chairs are starting to look the part (or parts...many parts!) and I cannot wait to see them in situ.
Thanks, J!
I have to admit I am starting to burn out a little. But those nav chairs are are something I've wanted done since starting this project. Its a cool feeling watching them come together!
joberg
Legendary Member
Yep, I understand the "burn-out" feeling (same with my Space Station...I keep going, but slowly now). I'm sure that you're sitting down for long periods of time inside that cockpit of yours and reminisce...it's good for the mind and the moral. Keep going, it's going to pay off for sure!!
...I keep going, but slowly now). I'm sure that you're sitting down for long periods of time inside that cockpit of yours and reminisce...it's good for the mind and the moral. Keep going, it's going to pay off for sure!!Come together beautifully, I might add!
Thanks, B! Appreciate the addition.
- - - Updated - - -
Yep, I understand the "burn-out" feeling (same with my Space Station
Hey J,
I do sit from time to time but then that fire starts to burn again! Gotta keep moving forward!
SofaKing01 and gang, you are a great inspiration. I've followed you since the beginning and love every update. I've finished work on my own console ANH version, and began working on a small portion of the cockpit with front window. Keep up the great work on the Best prop project ever!
-Eric
-Eric
Hi Gang,
I had a lot of personal things to take care of this weekend so not a lot of forward progress. But I did manage to get a few things done and started...
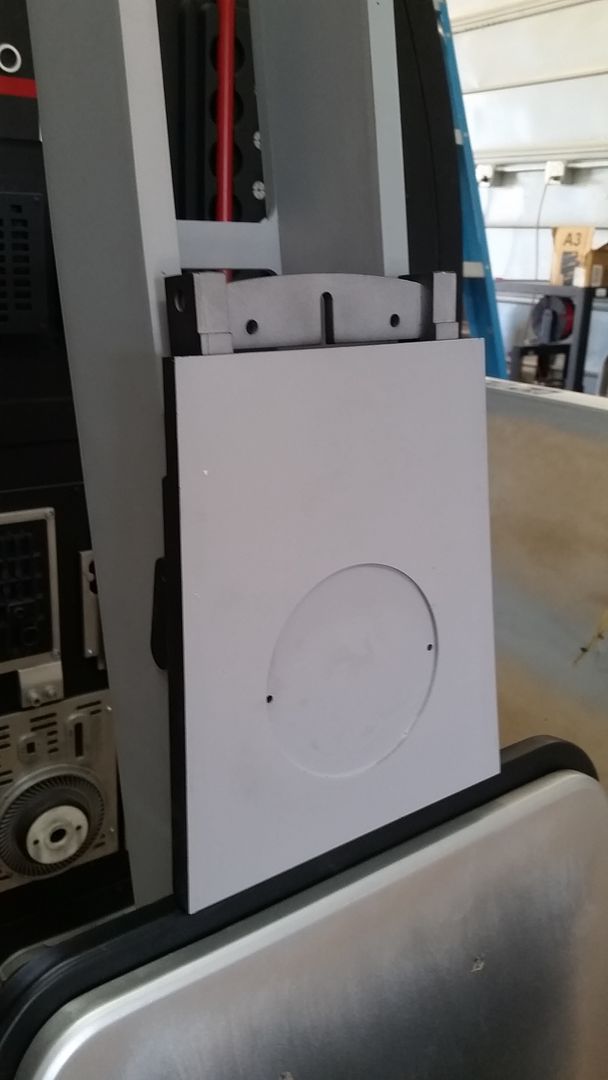
I'm close to finishing up the headrests
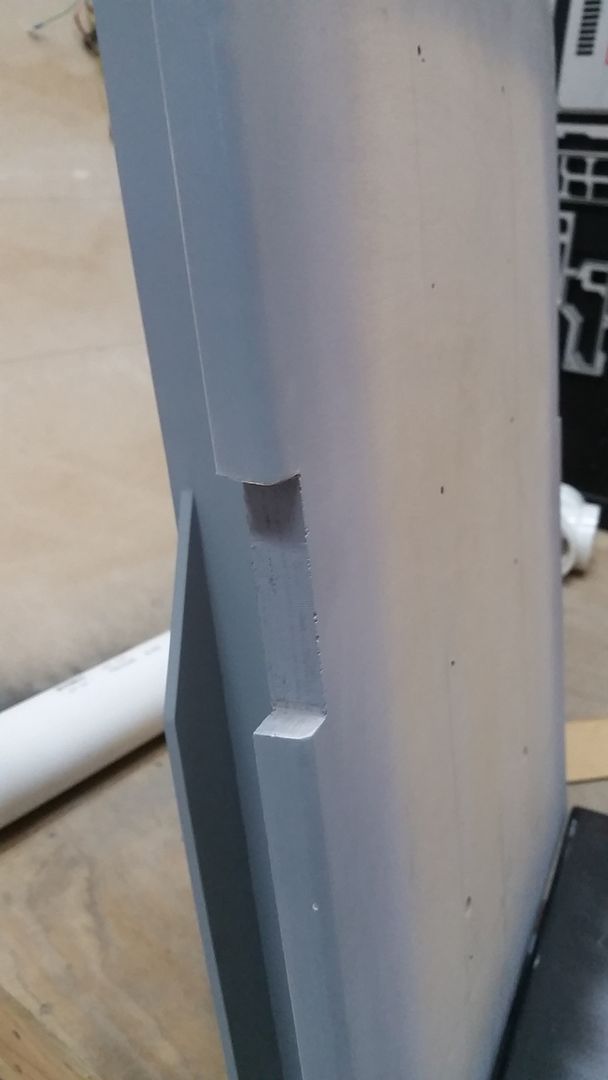
Earlier I had cut angled guides to fit on the inside of the headrest mounting piece. The angle was too tough to get perfect so I simply created a curved piece
Adhered into place
Cleaned the edges
Added primer
Added primer the headrests
Dry fit
Adhered the pieces and added paint
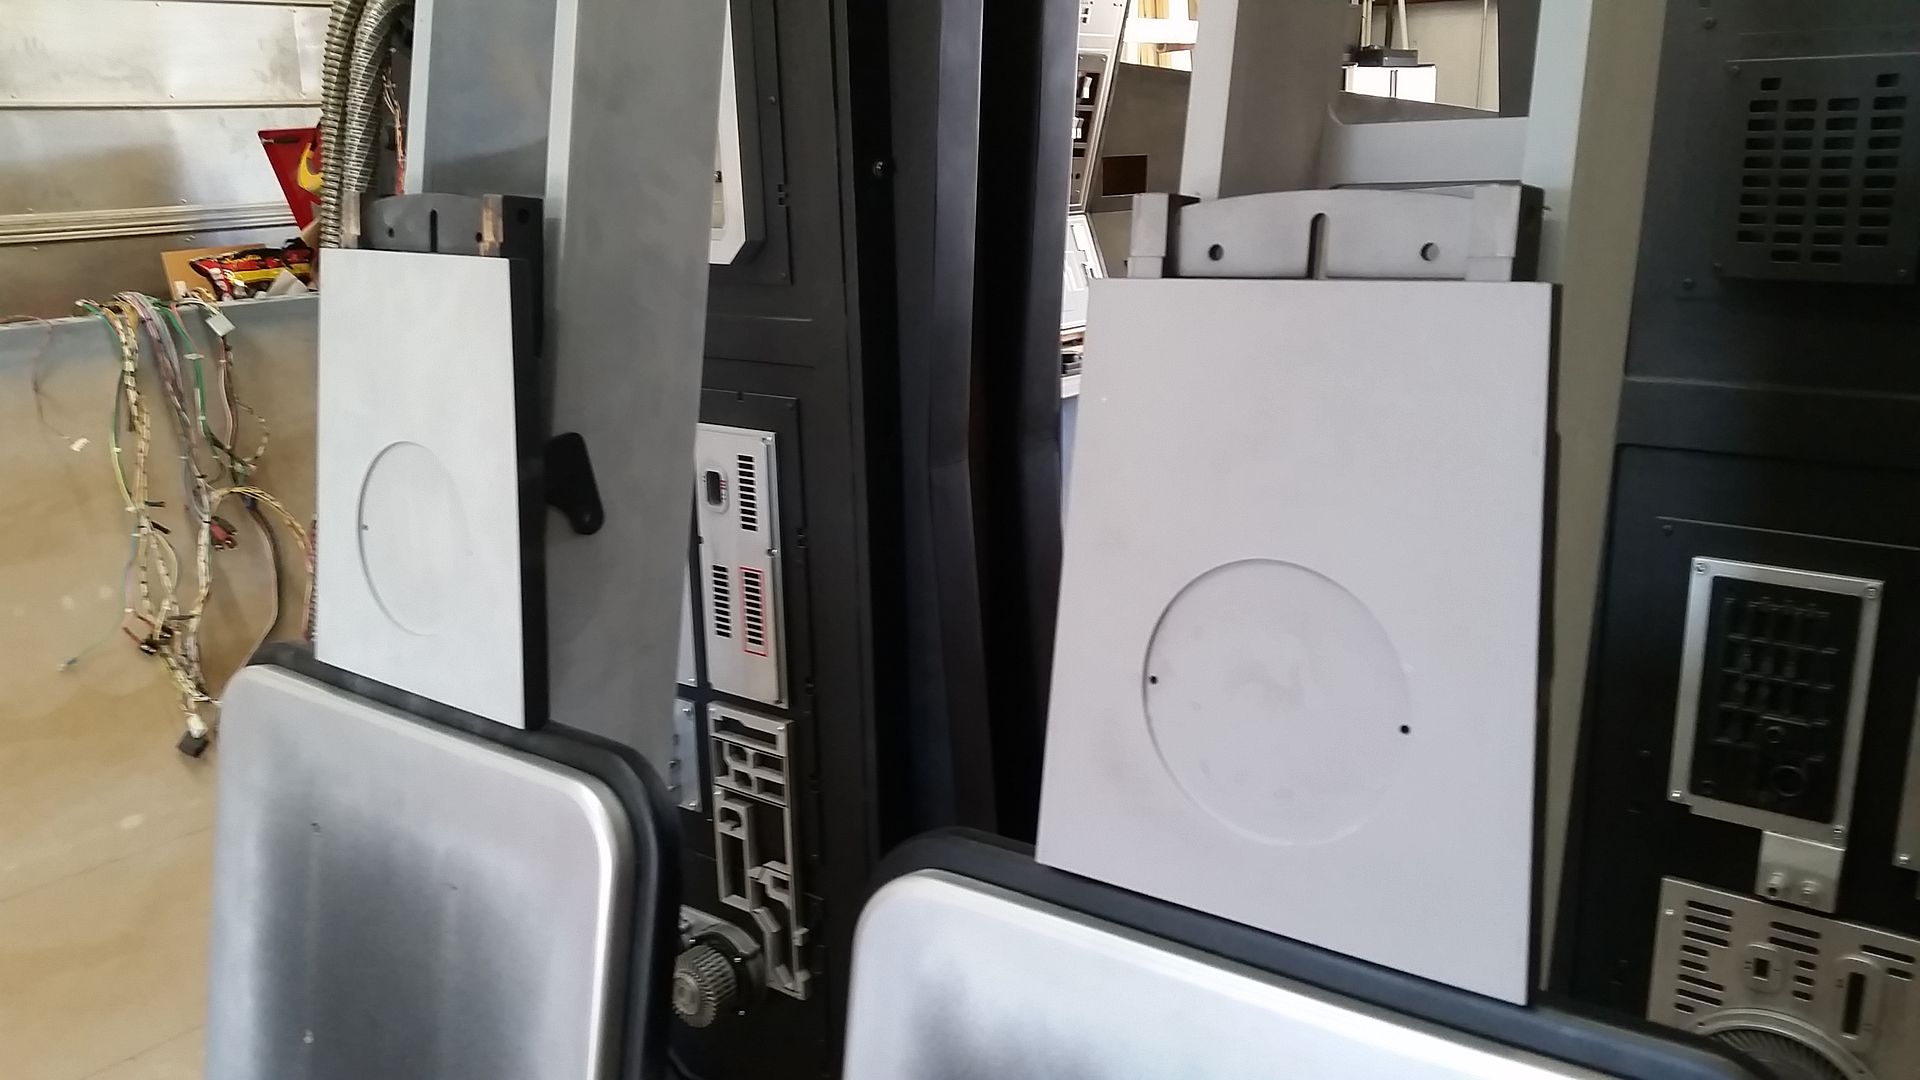
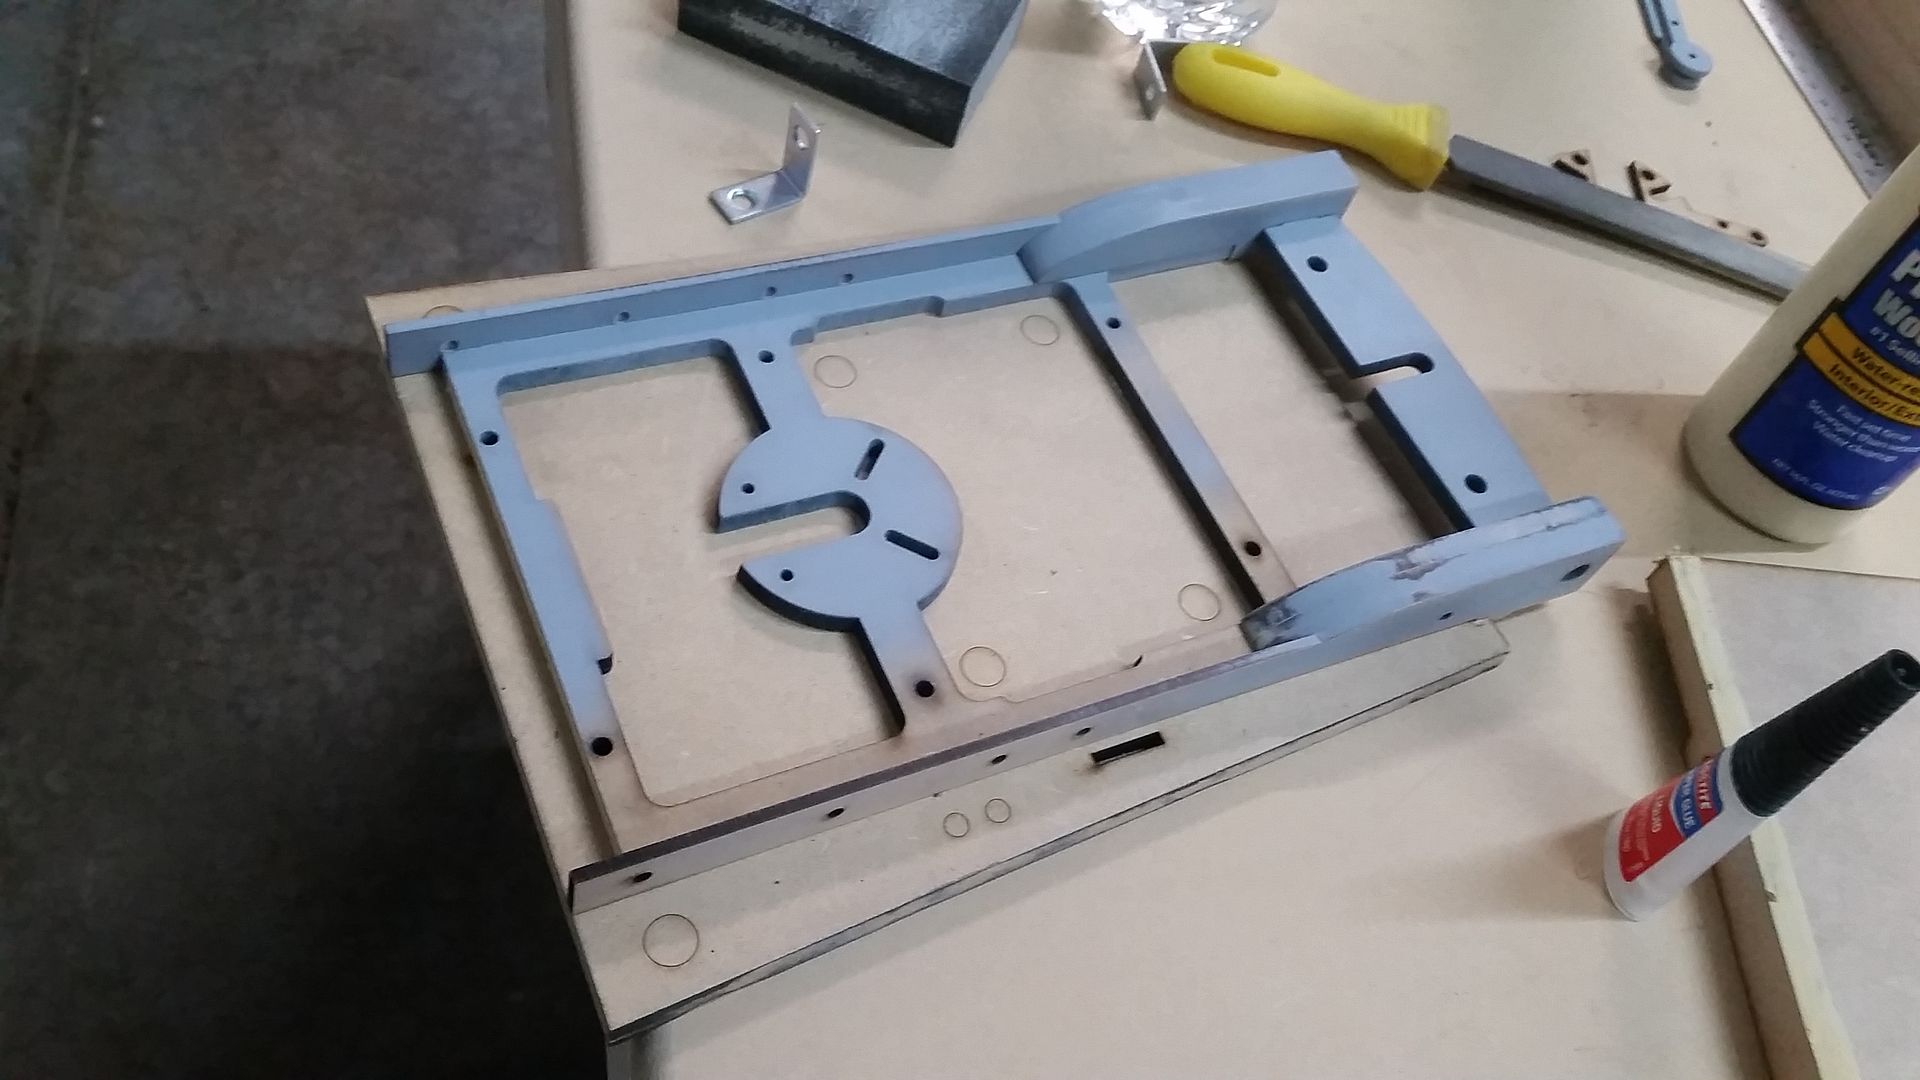
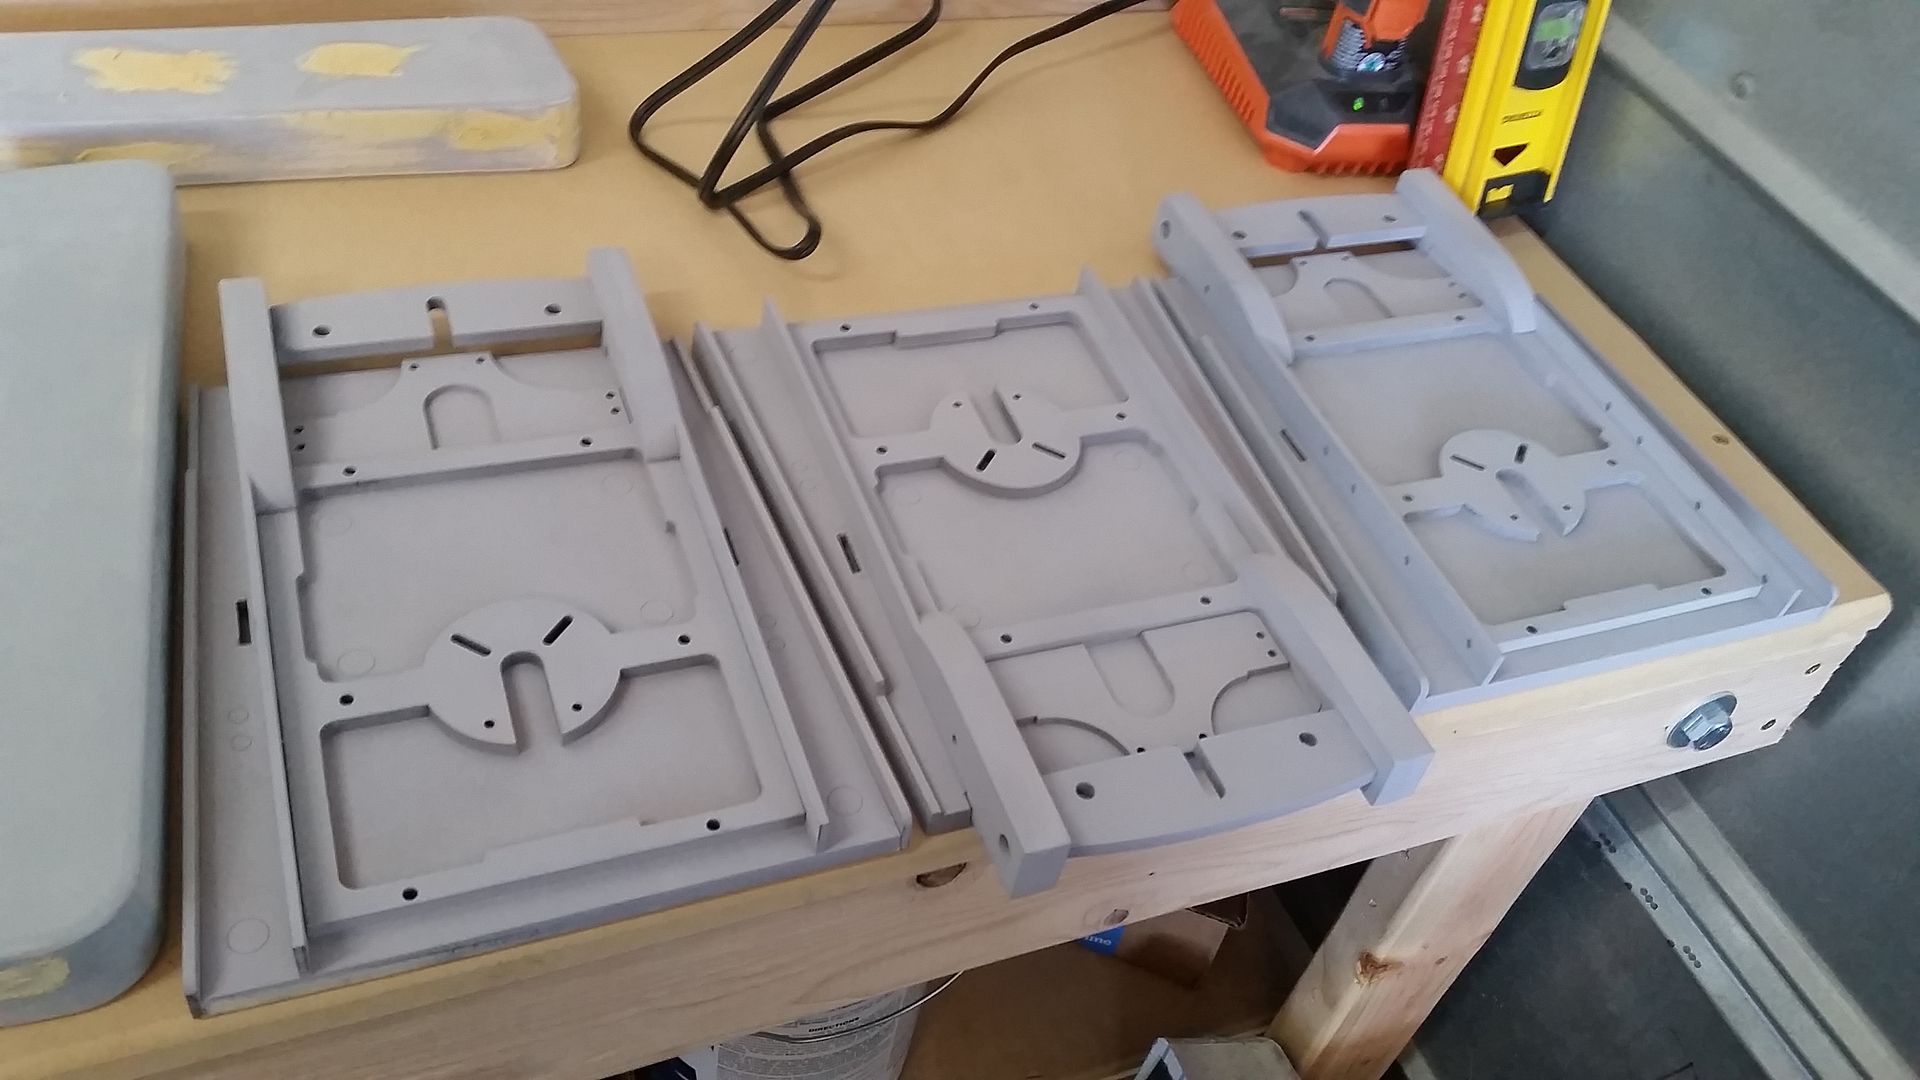
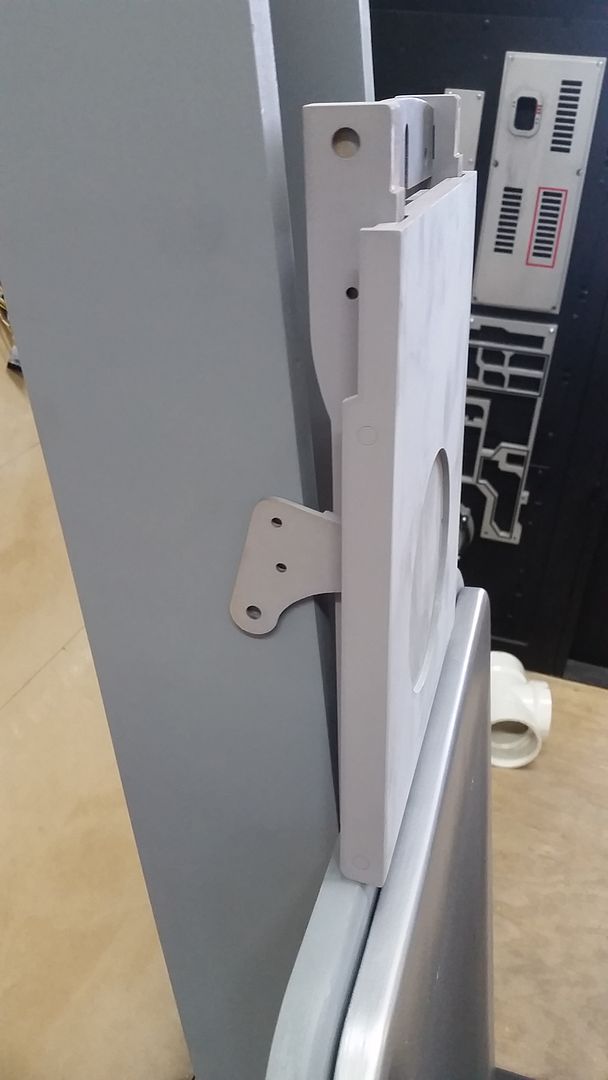
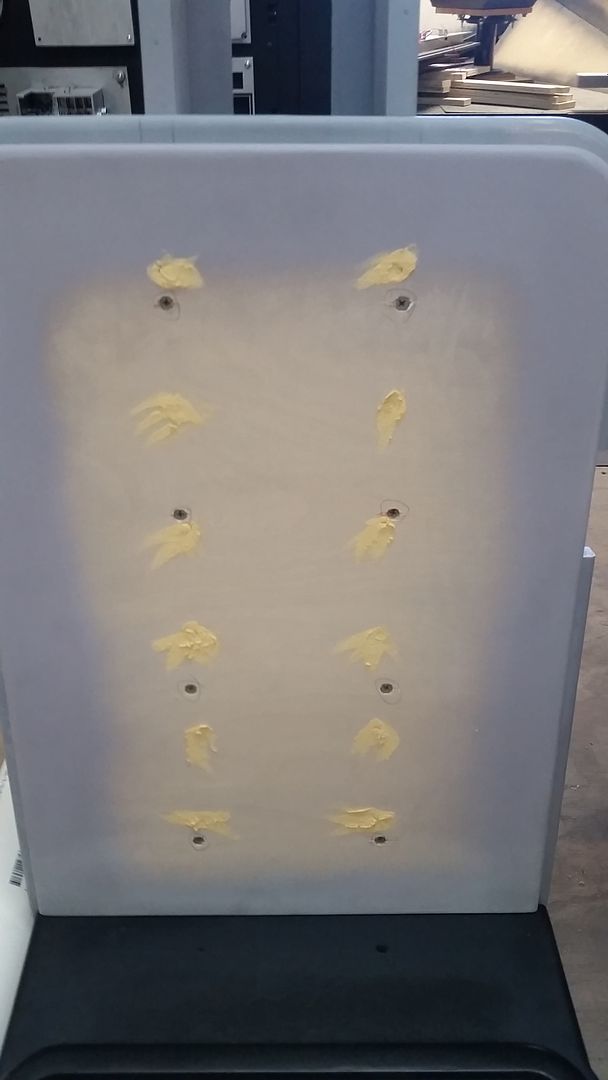
I then aligned ALL the different panels to the main frame and mounted into place
Filled in the unnecessary holes
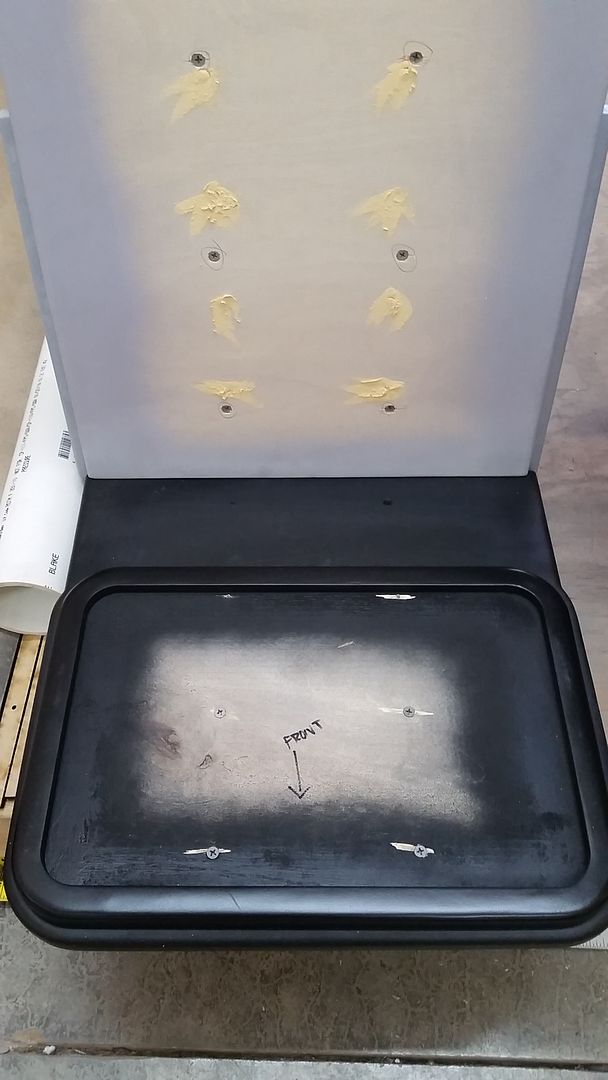
One down
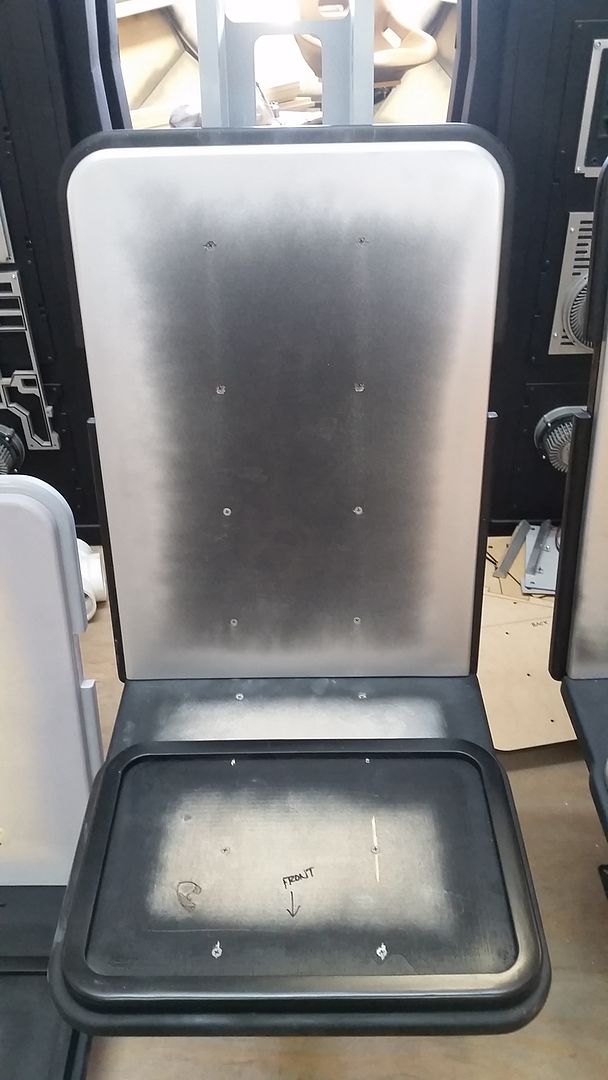
Done!
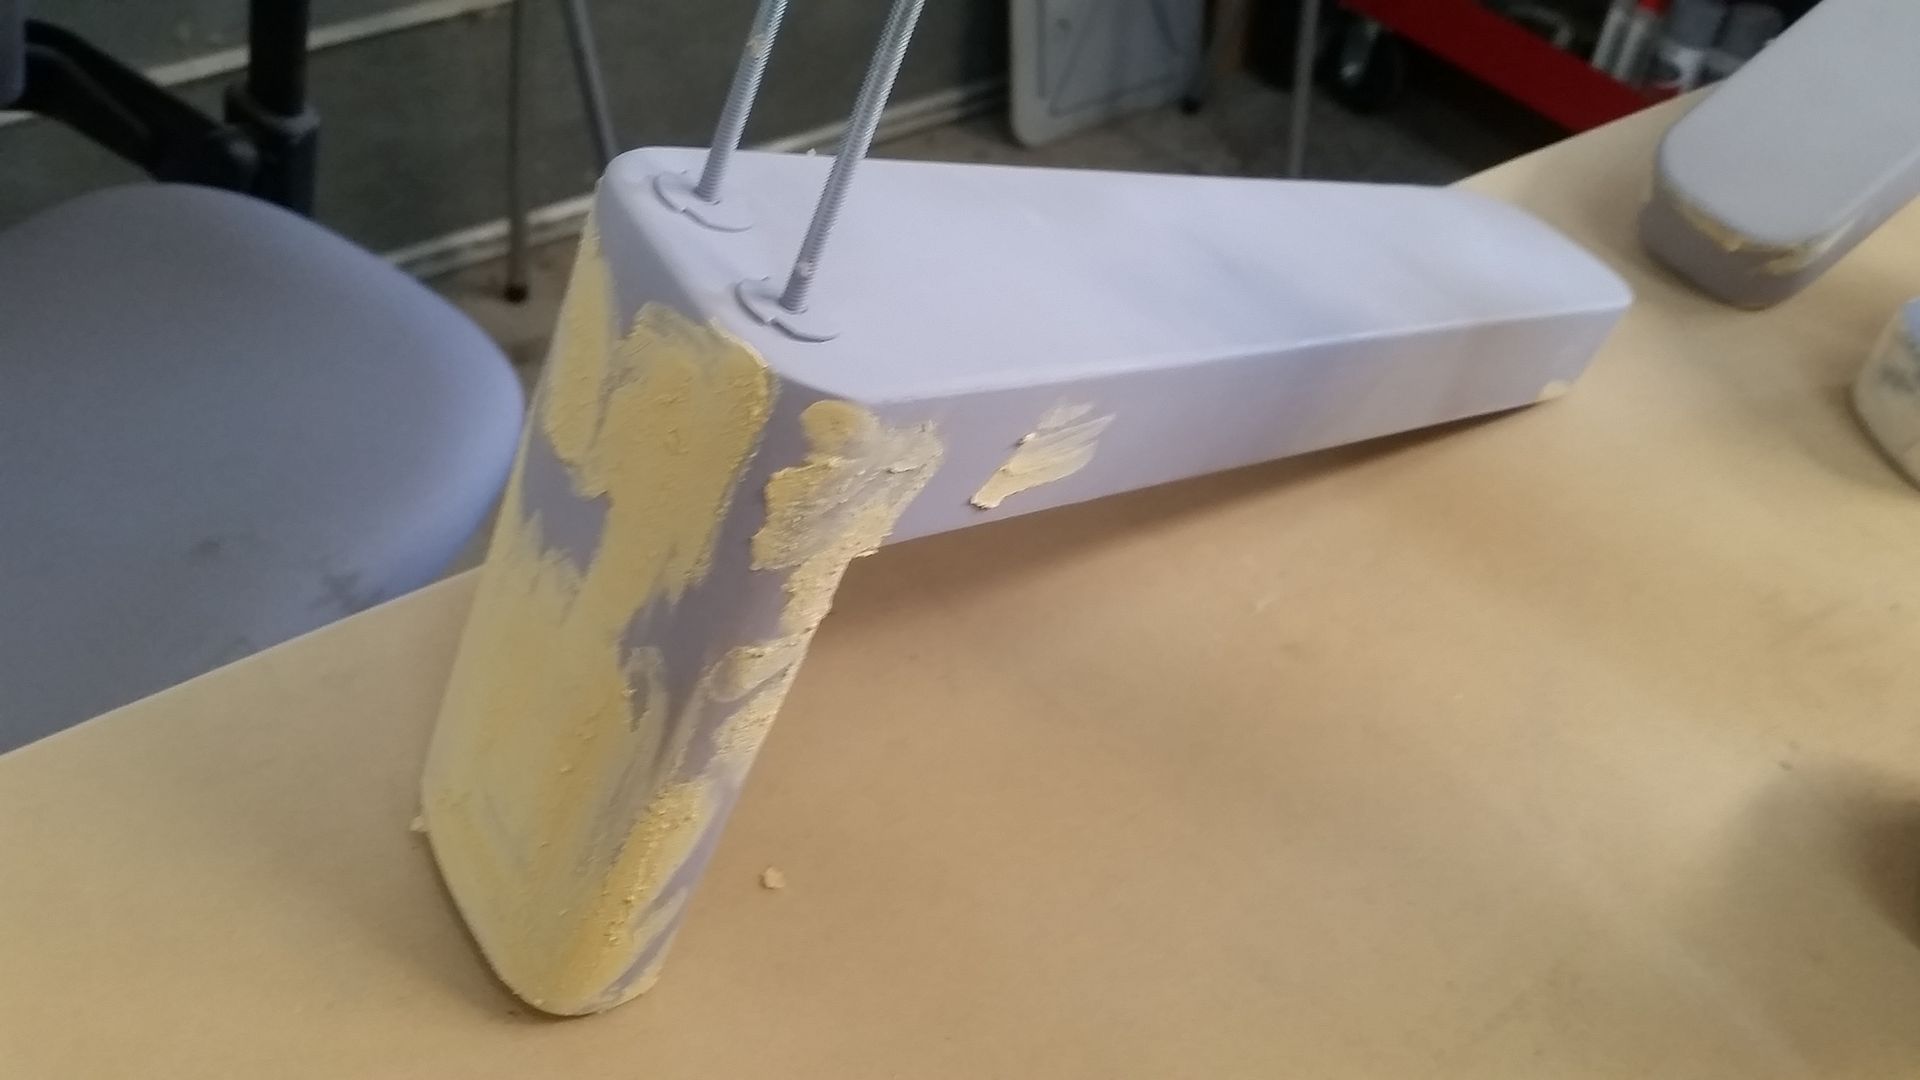
Finally... I worked on the armrests
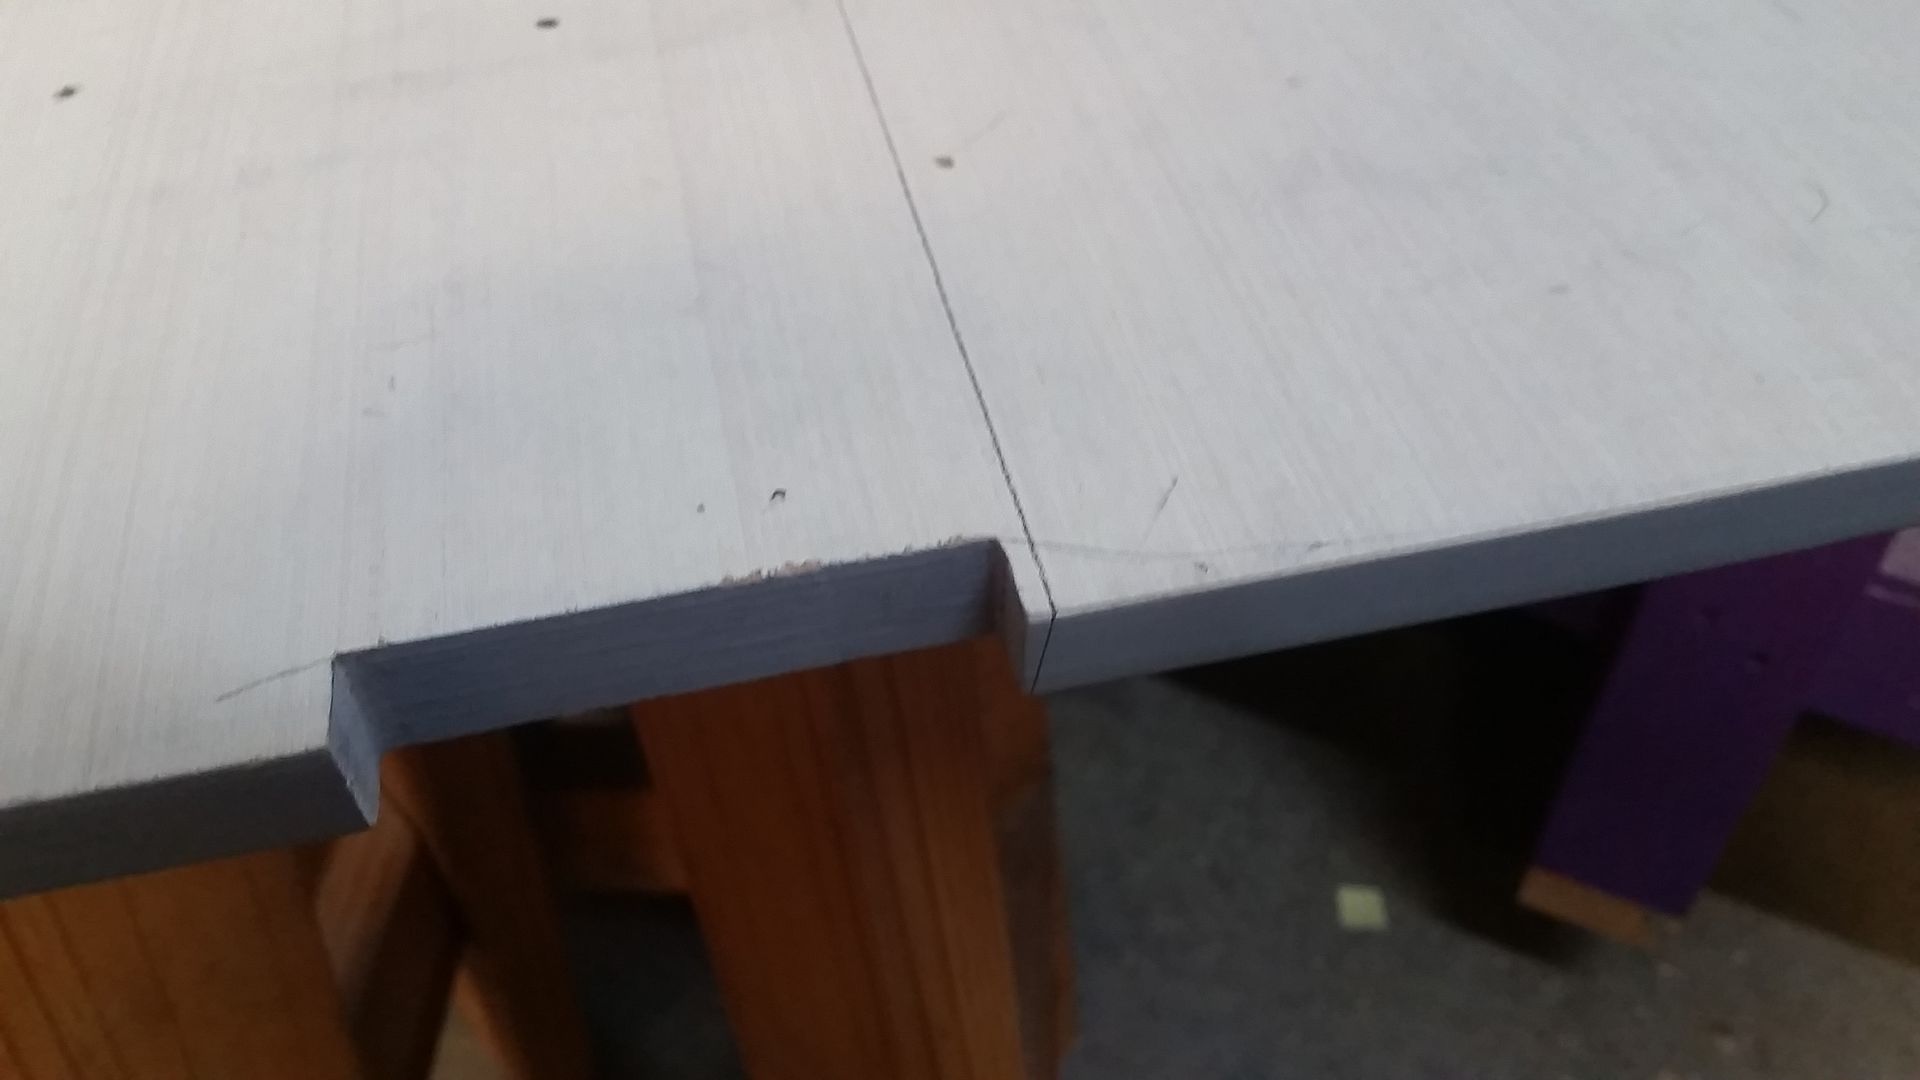
The edges did not align

I broke out the trusty sander
And of course added filler!
And more filler
And more
And then created a LOT of dust!
Primer!

And filler
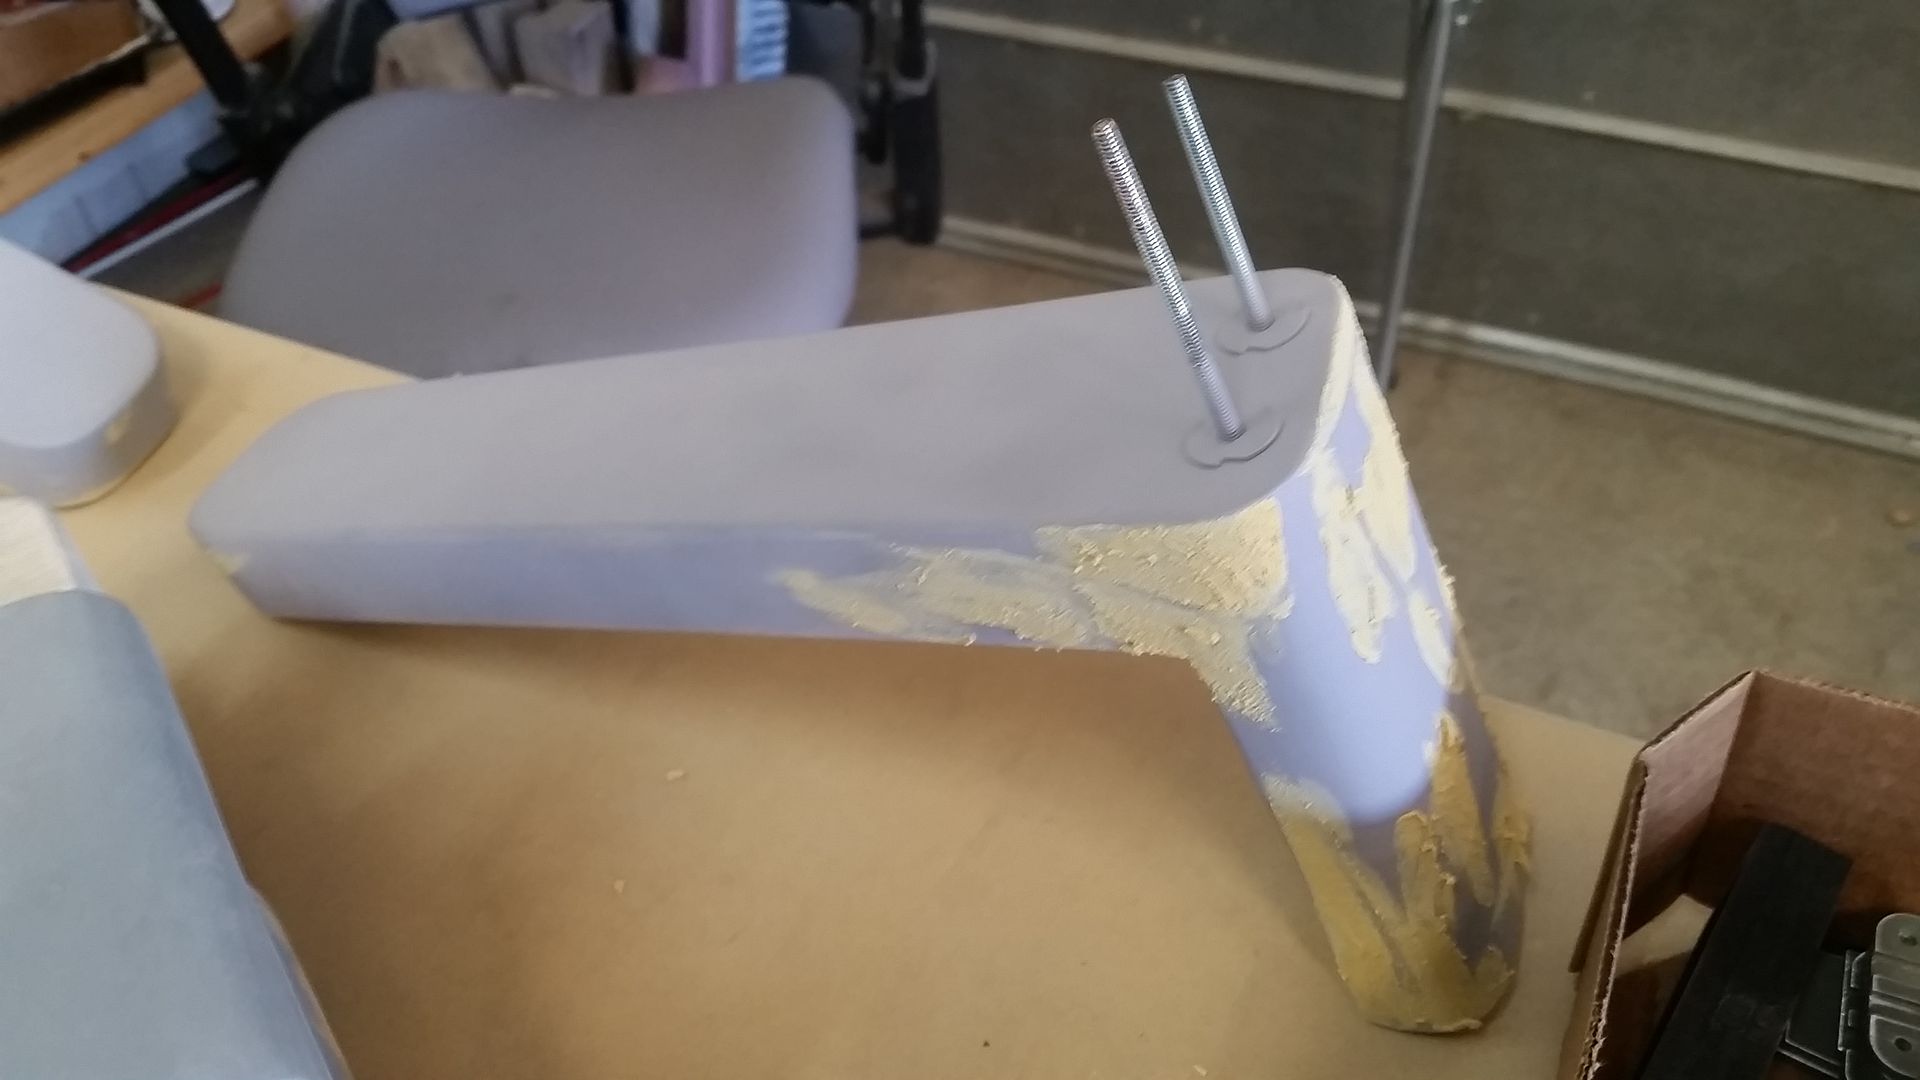
I then put together the other armrests
Drilling the holes AFTER adhering the two pieces together was MUCH easier and ensured the threaded rods would be perfect
Filler
Filler

And this is where we are!
Stay Tuned for More!
I had a lot of personal things to take care of this weekend so not a lot of forward progress. But I did manage to get a few things done and started...
I'm close to finishing up the headrests
Earlier I had cut angled guides to fit on the inside of the headrest mounting piece. The angle was too tough to get perfect so I simply created a curved piece
Adhered into place
Cleaned the edges
Added primer
Added primer the headrests
Dry fit
Adhered the pieces and added paint
I then aligned ALL the different panels to the main frame and mounted into place
Filled in the unnecessary holes
One down
Done!
Finally... I worked on the armrests
The edges did not align
I broke out the trusty sander
And of course added filler!
And more filler
And more
And then created a LOT of dust!
Primer!
And filler
I then put together the other armrests
Drilling the holes AFTER adhering the two pieces together was MUCH easier and ensured the threaded rods would be perfect
Filler
Filler
And this is where we are!
Stay Tuned for More!
Last edited:
Wavey
Sr Member
The seats are looking great! Just one request from me, if they've not been constructed already, could you make the headboxes like the real part ESB versions and not the odd looking 'new' film style? There are a few things just not right with the new film versions, specifically the silvery sides (when looking at the front) are a few mm too thin on the new boxes - which throws off the original look.
Cheers SK!!
Cheers SK!!
BigBigDave
Active Member
Could you post some photos to help those of us (like me) who aren't as familiar with these details get a better grasp of what you're talking about, Wavey? Thanks in advance."...could you make the headboxes like the real part ESB versions and not the odd looking 'new' film style? There are a few things just not right with the new film versions..."


The seats are looking great! Just one request from me, if they've not been constructed already, could you make the headboxes like the real part ESB versions and not the odd looking 'new' film style? There are a few things just not right with the new film versions, specifically the silvery sides (when looking at the front) are a few mm too thin on the new boxes - which throws off the original look.
Cheers SK!!
Hey W,
Good news! Starkiller and Izzy are working to match the head piece to the ESB version! That has always been our baseline! However...
The chairs themselves are, as I explained, based very heavily on Starkiller and Maruska's original 3D model. I've also been using the TFA and the Harrod's cockpit chairs for reference. Up until the past year, there has never been detailed photos of the nav chairs - especially all the greeblies. Unfortunately, there is no way I will ever be able to get these chairs 100% screen accurate. Since I have to use real world materials, I've been forced to make several dimensional changes. For example, I chose to use PVC for the ejection tube that is mounted behind the back support. That caused me to add more than 1 inch of width, when looking from the side, to the basic "Hockey Stick" frame so the pipe can easily slip into place. As a result of this addition, many of the greeblies I'm currently working on, (see the below post) now appear too small or out of place. So, in essence... something has to suffer... Which I HATE to admit!
The head piece is, in my opinion, the most iconic part of the chair and it HAS to be done right. In a perfect world we would take a mold of an original part. That's the only way to ensure screen accuracy. But... that might not be an option. Starkiller and Iz are working on the model(s) and then we're going to forward to Shapeways for printing. I'm keeping my fingers crossed that they will look right. I'm certainly not putting Starkiller or Iz's talents into question. I'm wondering how much detail we'll be able to preserve once they are printed, painted and then ultimately mounted into place.
Stormy's recent photos have certainly changed EVERYTHING I'm doing. I can't go back and redo all the frames. That's hundreds of dollars thrown away. I think for this version of the chairs, I'll continue to march forward and create the best "hybrid" I can. Once these are done and gone, I'll go back and readdress certain issues such as using PVC and other little things that have been bothering me.
I hope all that made sense?
Similar threads
- Replies
- 11
- Views
- 1,112
- Replies
- 2
- Views
- 931
- Replies
- 2
- Views
- 966
- Replies
- 13
- Views
- 2,264