Update!
So once again this project went on hold for a while. Spent a lot of time upgrading my printer and then doing commission work to build up funds to buy a copy of Simplify3D.
With all that done i resumed!
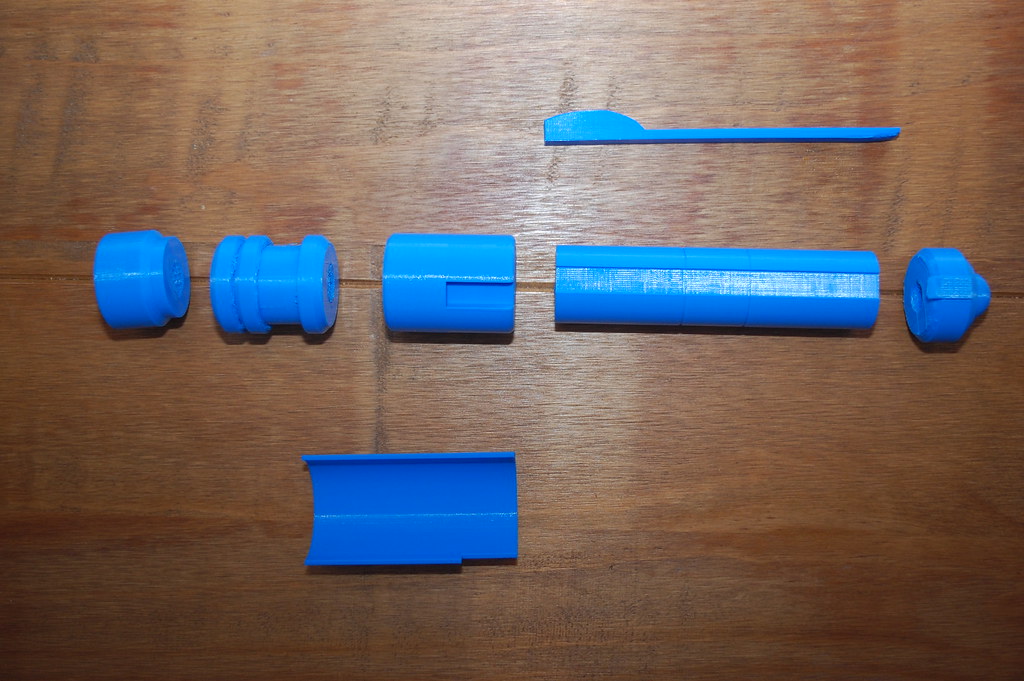
I decided to do a new design for my Qu Rahn with more of an 'assembly' line of thinking. I remade each component individually and added a threaded cylinder at the bottom and inserts on each part so that it would simply screw together.
It actually turned out to be a failure as i didn't take dimensional accuracy into account and so the threads didn't fit, plus they where weak because the whole thing was printed with only 10% infil.
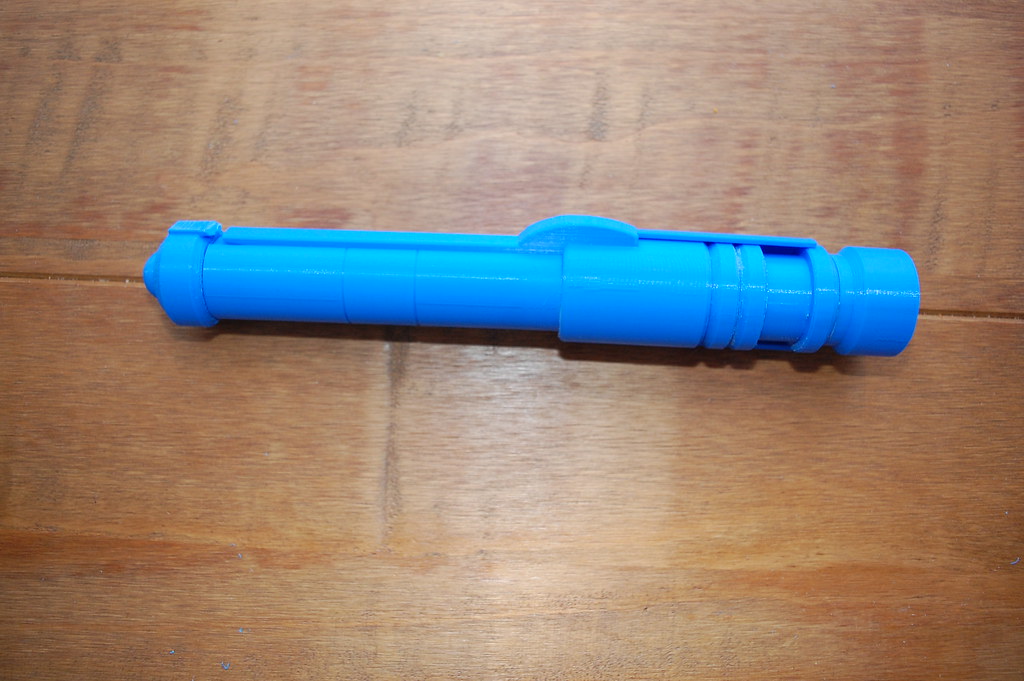
So i just snapped them off and glued the darn thing together with superglue lol
Talk about over thinking it!
Anyway, heres pics!
Each component before cleanup.
[url]https://c1.staticflickr.com/3/2831/33551044482_ac00418d3a_b.jpg[/url]
DSC_0461 by
Steve Robb, on Flickr
Partly cleaned up and glued. The rest of the clean up is mostly just support material still in place and then some sanding and filling.
[url]https://c1.staticflickr.com/3/2826/32864618844_8499313c49_b.jpg[/url]
DSC_0463 by
Steve Robb, on Flickr
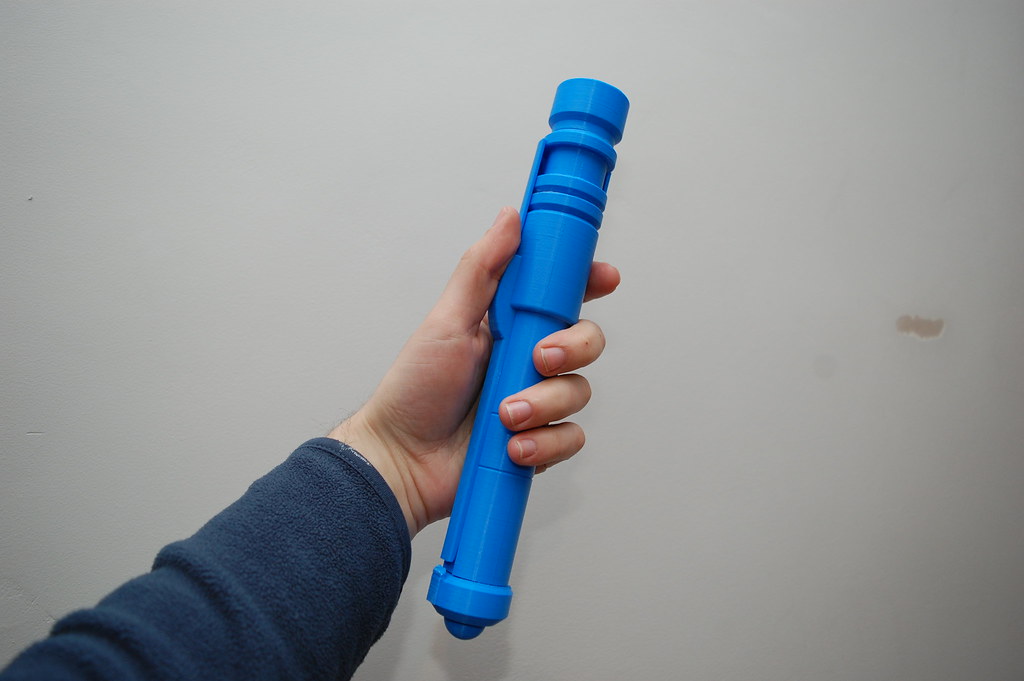
In hand for scale.
[url]https://c1.staticflickr.com/3/2916/32864619454_b0a6b1c261_b.jpg[/url]
DSC_0464 by
Steve Robb, on Flickr
You can see where the lower body meets the pommel i left a gap this was due to complications printing and it was easier to just chop the model than redo it. Ill be fixing it for future reference. For now im just going to fill it/sculpt it with a bit of putty. Theres a few other areas need touching in with putty anyway.
Then the entire thing will be smoothed with thinned epoxy (Z-Poxy and Acetone) too fill the layers in. I tested this thoroughly and found that its quite an easy way to achieve quick results without loosing much detail.
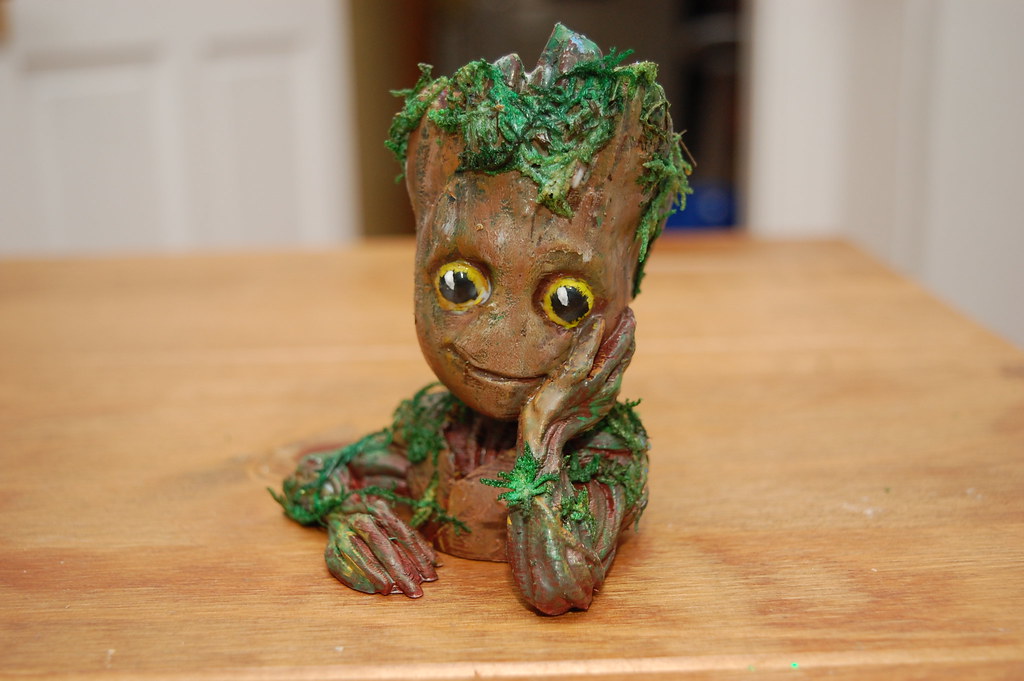
Until next post, i leave you with one of my commissioned pieces.
Baby Groot!
[url]https://c1.staticflickr.com/3/2826/33707341585_cc9079fa2f_b.jpg[/url]
DSC_0450 by
Steve Robb, on Flickr
")