XRobots
Well-Known Member
With thanks to these two threads in the Replica Prop Forum, which have many reference pictures and measurements:
BTTF Mr Fusion Krupps Replica
Mr Fusion Base Progress
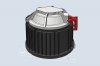
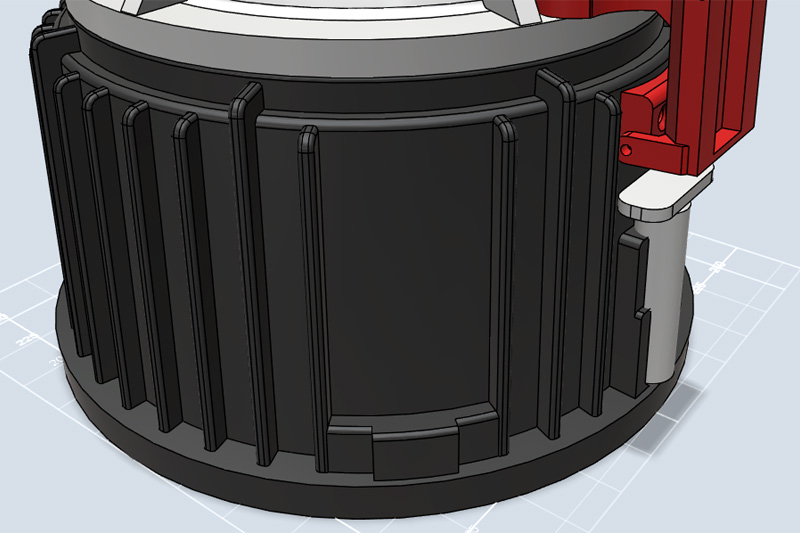
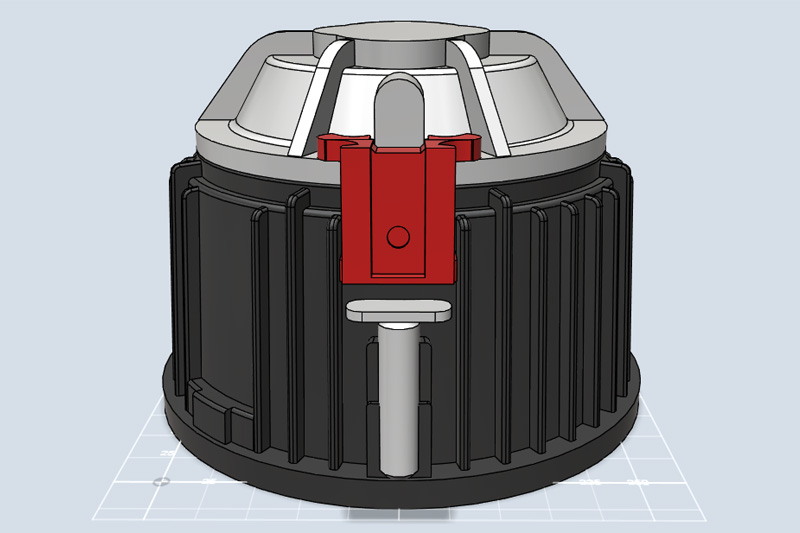
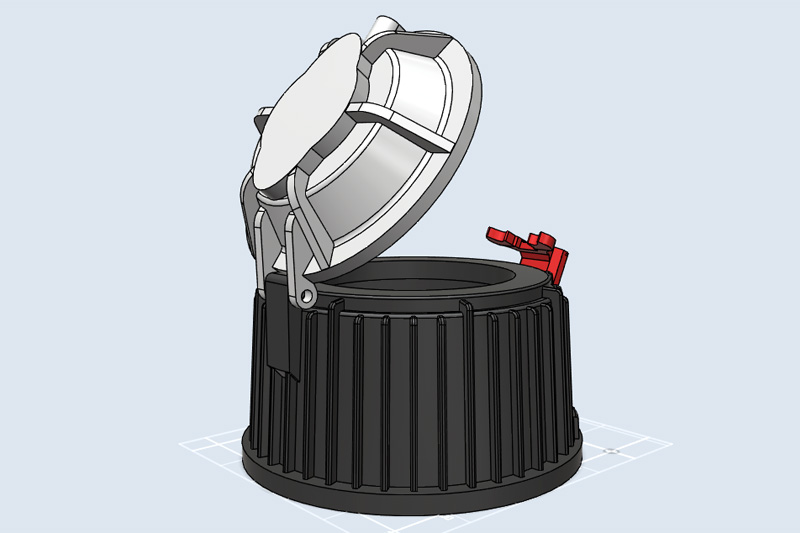
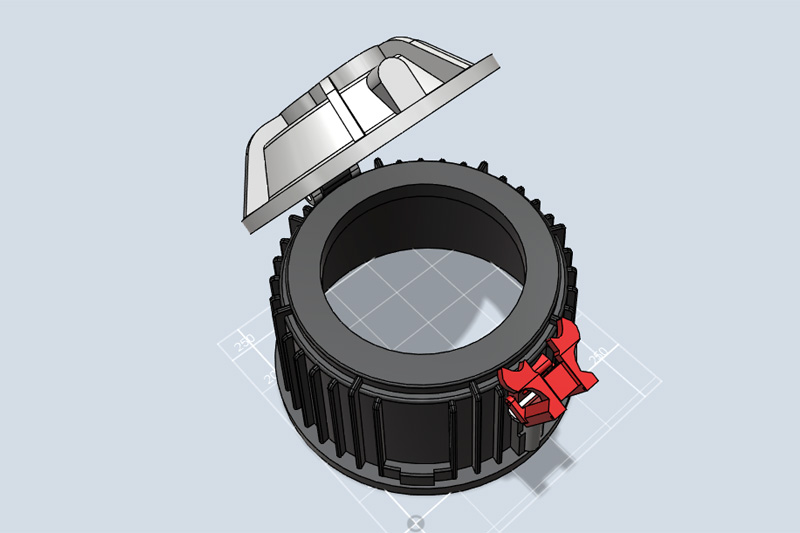
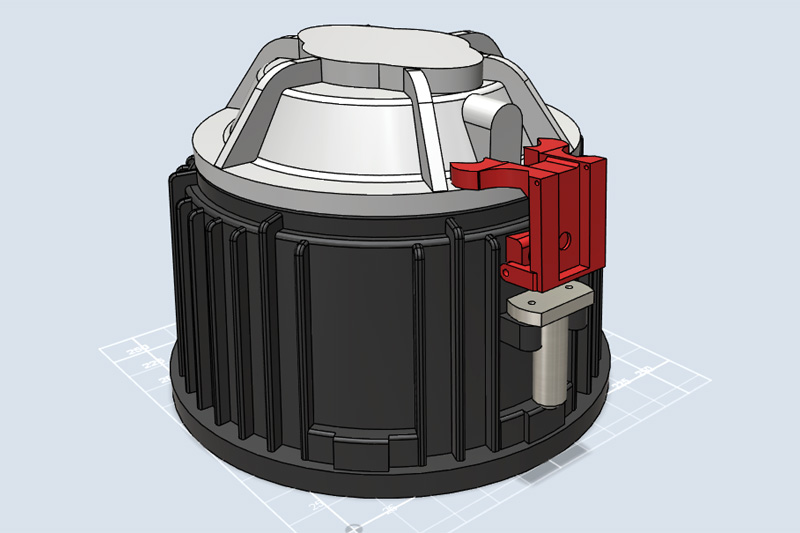
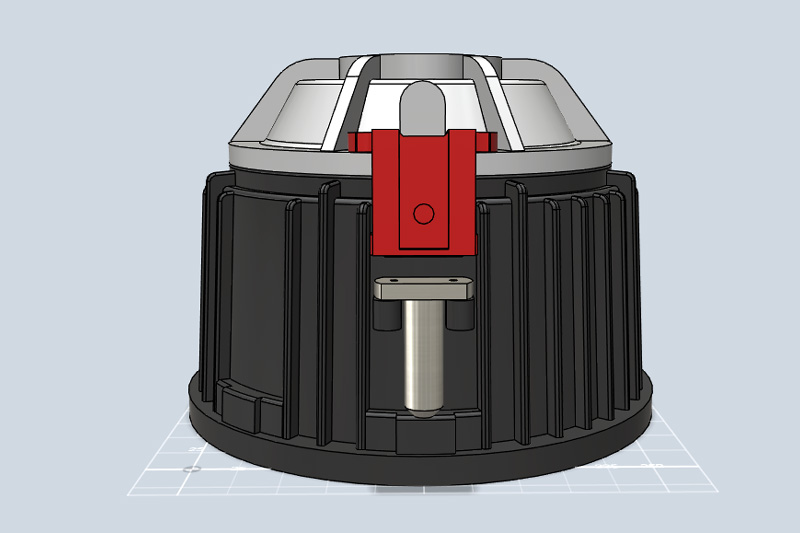
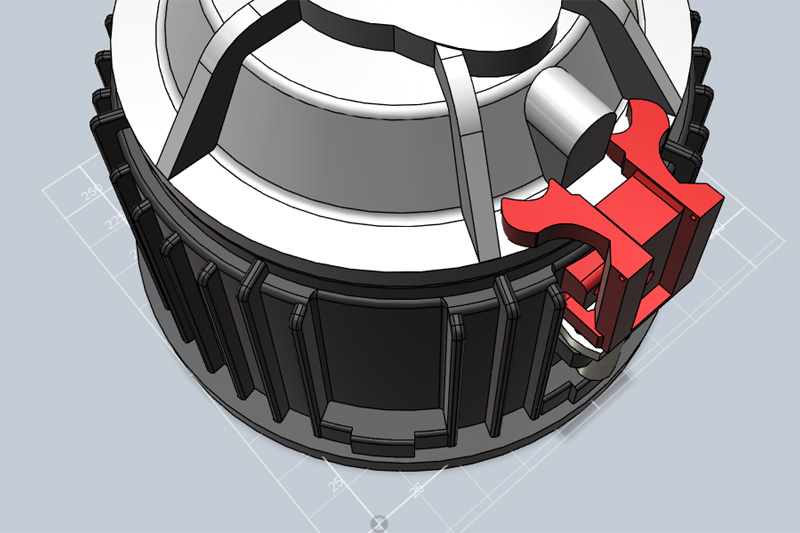
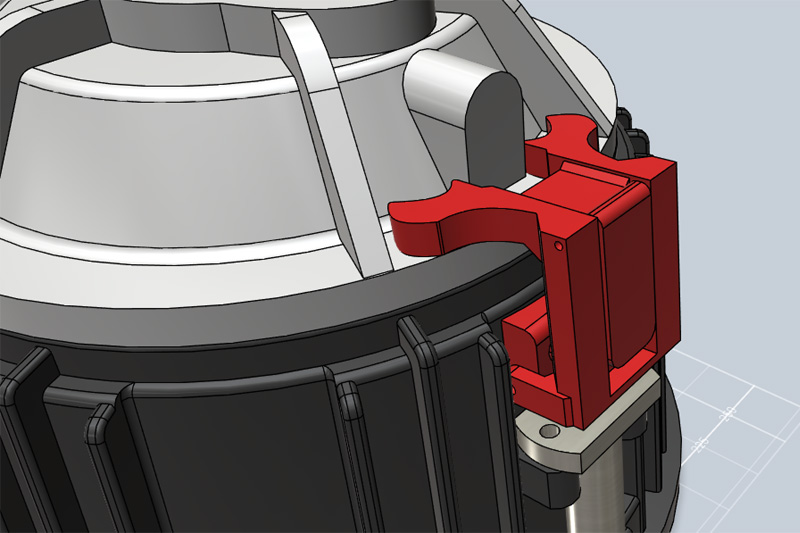
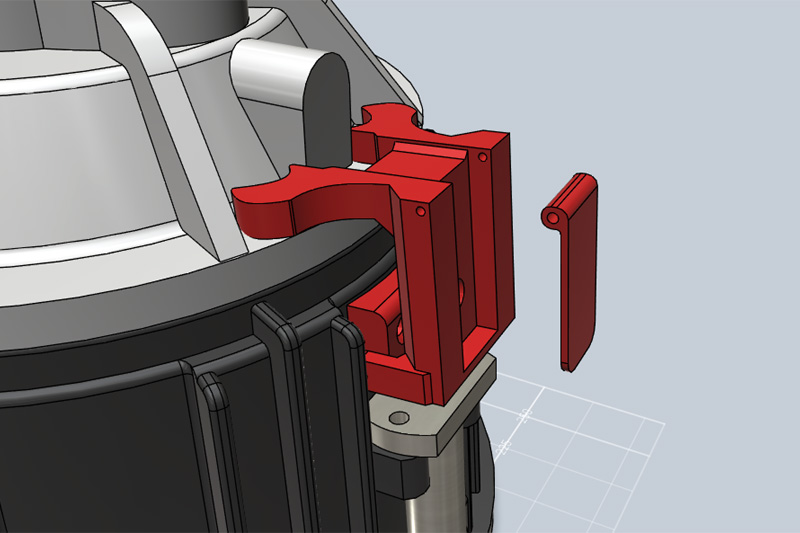
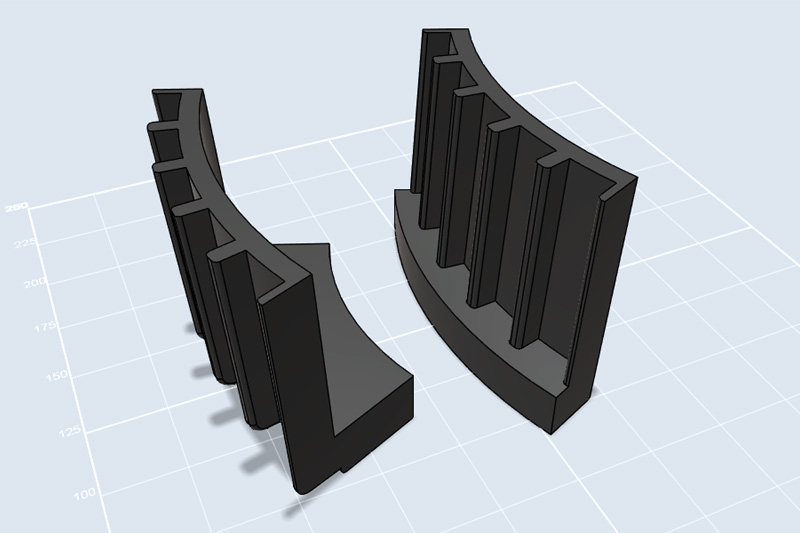
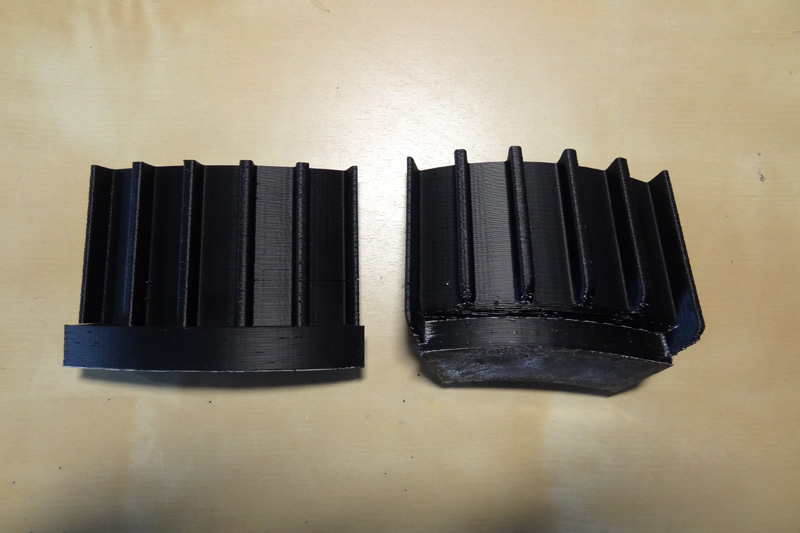
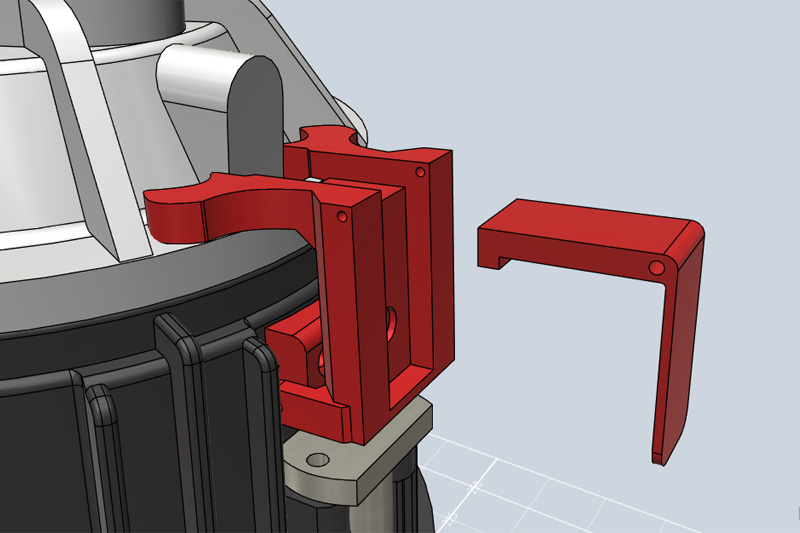
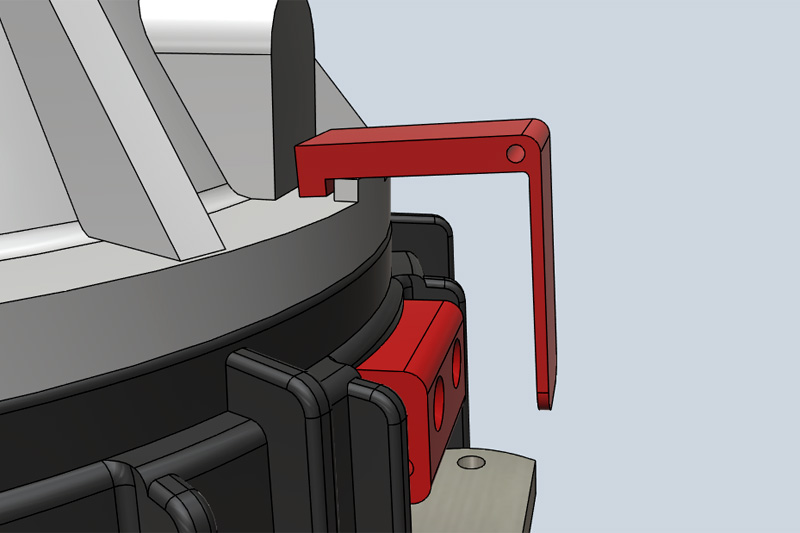
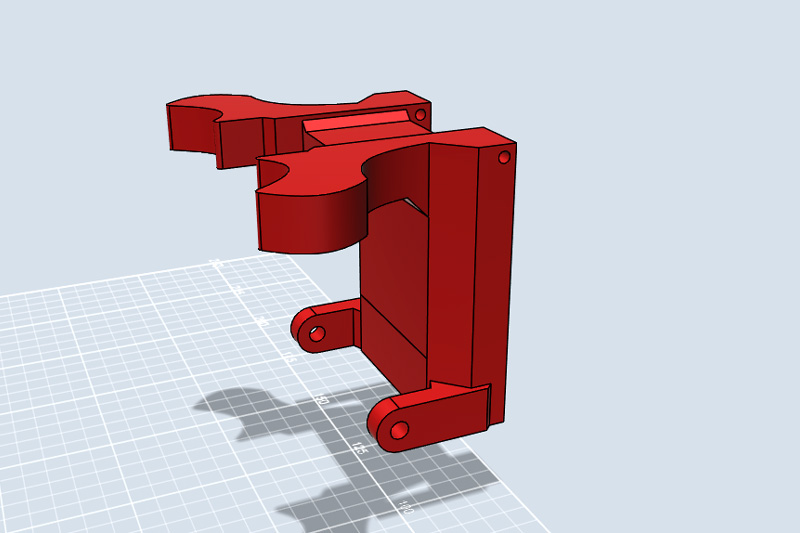
Using the information available I've started to build the lid part for Mr Fusion using Autodesk123D Design, which is free software. The plan is to 3D print this part, along with it's red latch which I've made slightly more bulky in some areas so the 3D printed part won't snap.
There are pictures of the CAD build up of the lid in some more stages on this page also: XRobots.co.uk - BTTF Mr Fusion
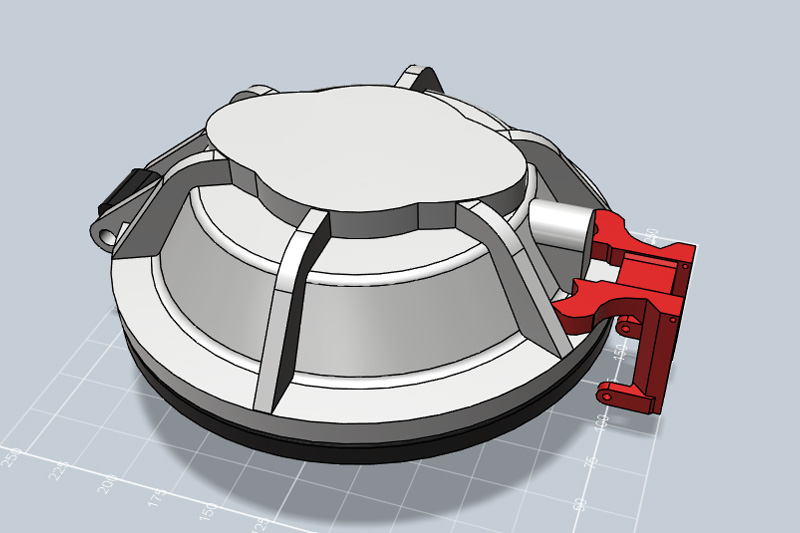
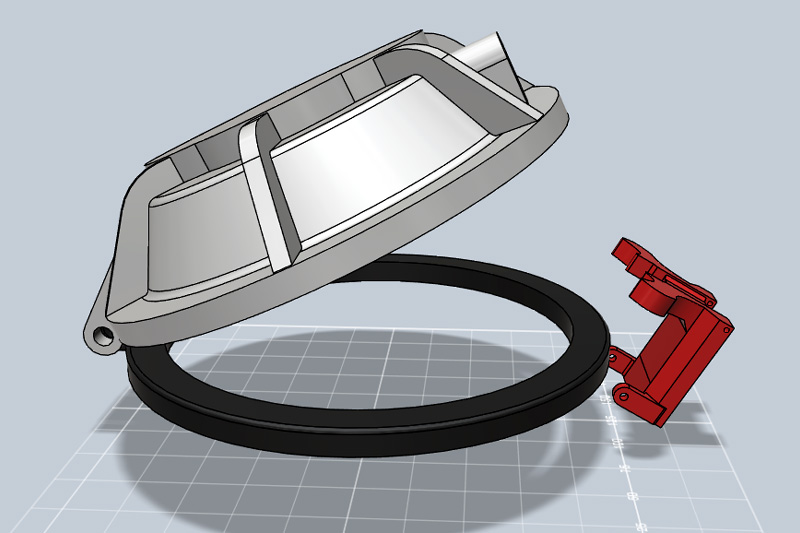
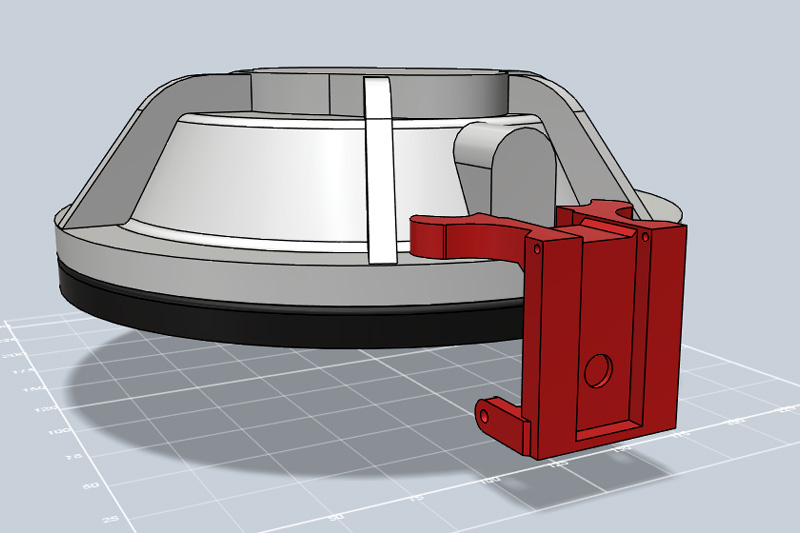
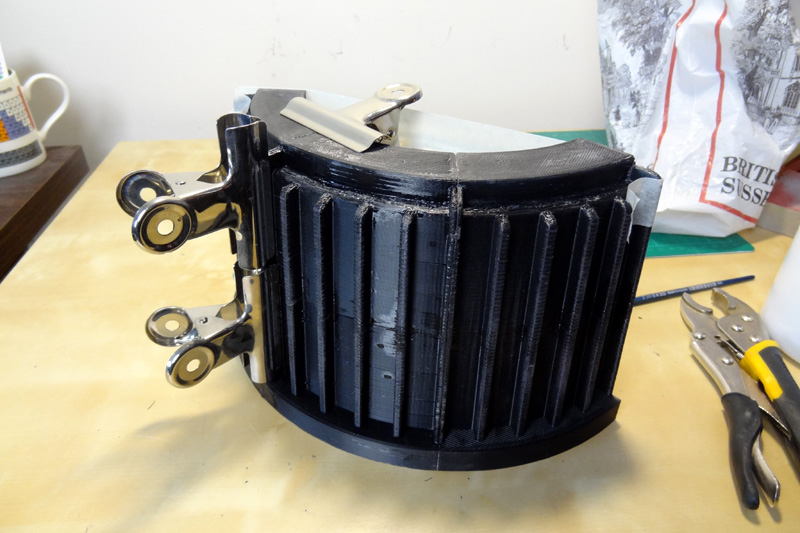
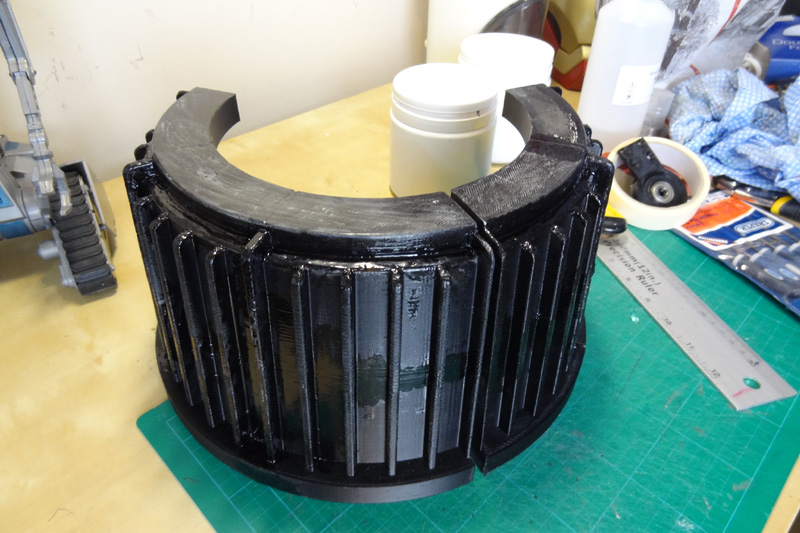
The black ring part is a placeholder for the main base part. That part may well be made from found items rather than all 3D printed, unless I can find an original 60's Singer computer part which seems unlikely.
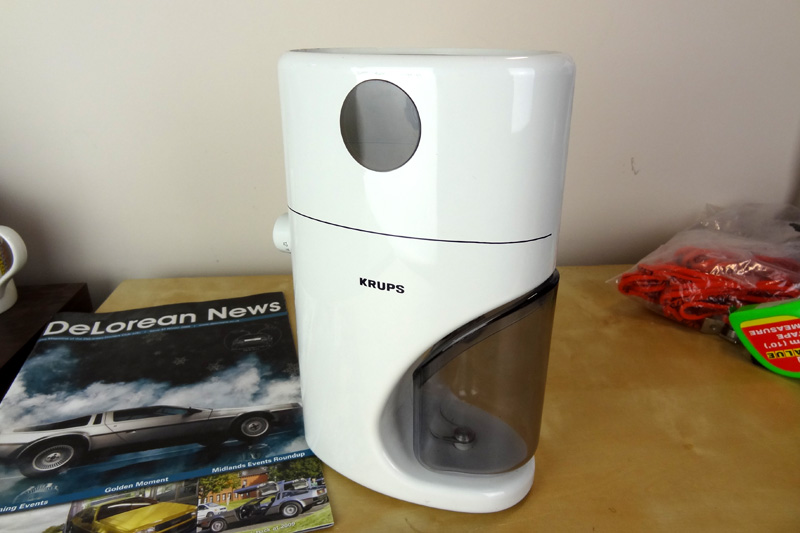
The main recognisable part of Mr Fusion is of course the Krups 223A coffee grinder. I've acquired a 223 which is good enough, although I should have a 223A arriving soon. Here's the 223 - the main differences between that and the 223A, as far as I can tell, are the darker logo+line, and the smoked acrylic cup instead of clear (could be wrong). Mine is also missing the lid:
More to follow, IN THE FUTURE!!
BTTF Mr Fusion Krupps Replica
Mr Fusion Base Progress
Using the information available I've started to build the lid part for Mr Fusion using Autodesk123D Design, which is free software. The plan is to 3D print this part, along with it's red latch which I've made slightly more bulky in some areas so the 3D printed part won't snap.
There are pictures of the CAD build up of the lid in some more stages on this page also: XRobots.co.uk - BTTF Mr Fusion
The black ring part is a placeholder for the main base part. That part may well be made from found items rather than all 3D printed, unless I can find an original 60's Singer computer part which seems unlikely.
The main recognisable part of Mr Fusion is of course the Krups 223A coffee grinder. I've acquired a 223 which is good enough, although I should have a 223A arriving soon. Here's the 223 - the main differences between that and the 223A, as far as I can tell, are the darker logo+line, and the smoked acrylic cup instead of clear (could be wrong). Mine is also missing the lid:
More to follow, IN THE FUTURE!!
Last edited: