You are using an out of date browser. It may not display this or other websites correctly.
You should upgrade or use an alternative browser.
You should upgrade or use an alternative browser.
WIP: Isaac Clarke's Engineering Rig from Dead Space 2
- Thread starter thorssoli
- Start date
Prince NEO
Sr Member
Looking good, I would have chimed in earlier but I've been doing school and work 
PhantomRonin
New Member
Stunning work man. Can't wait to see the whole suit in action.
AxiomUltra
Active Member
Great build Thorssoli!
I like the update on the EL wiring on the back.
I'm also using similar rubber boots for another project I'm making - I was wondering what you use to attach your armor to them? Anything good suggestions or things to avoid?
Looking forward to seeing this finished!
I like the update on the EL wiring on the back.
I'm also using similar rubber boots for another project I'm making - I was wondering what you use to attach your armor to them? Anything good suggestions or things to avoid?
Looking forward to seeing this finished!
I'm also using similar rubber boots for another project I'm making - I was wondering what you use to attach your armor to them? Anything good suggestions or things to avoid?
I'm planning on using rivets where I can reach and rubber-infused CA adhesive where I can't. More on that when I get to it.
I'm working as fast as I can on this. To help speed things along, pick up one of the castings of the helmet. I've got a sale thread going: http://www.therpf.com/f13/isaac-clarkes-engineering-helmet-dead-space-2-a-125584/
Last edited:
I'm hoping to be able to do a full set of raw castings for somewhere between $750 and $1000. I'll have a better idea once I've got the last few pieces molded and I can add up how much resin the whole thing eats up. Right now I still have to make the left hand, the base of the spine, the kneecap, and the thing that straps around the right thigh.
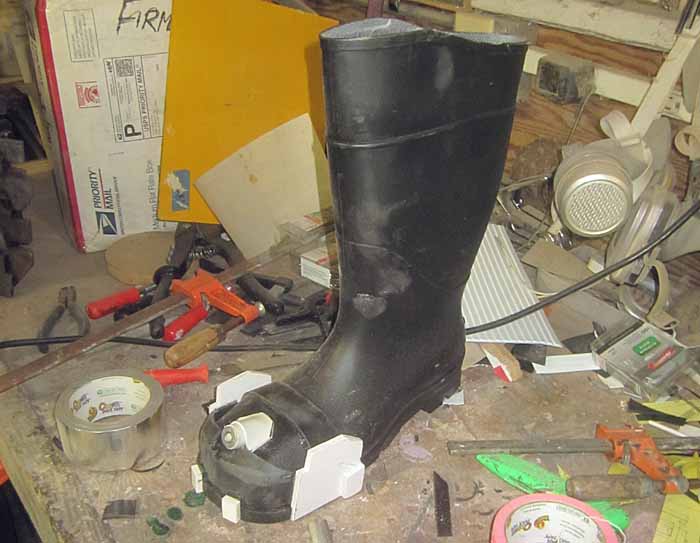
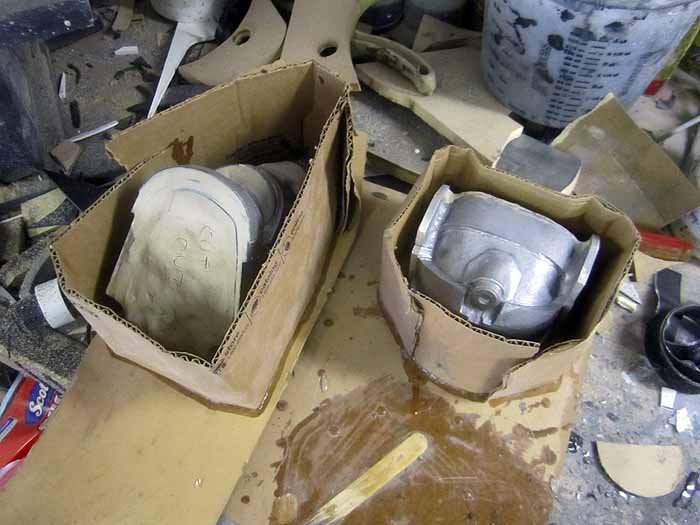
Yesterday I made the heel:
Here it is with the reference images I'm working from:
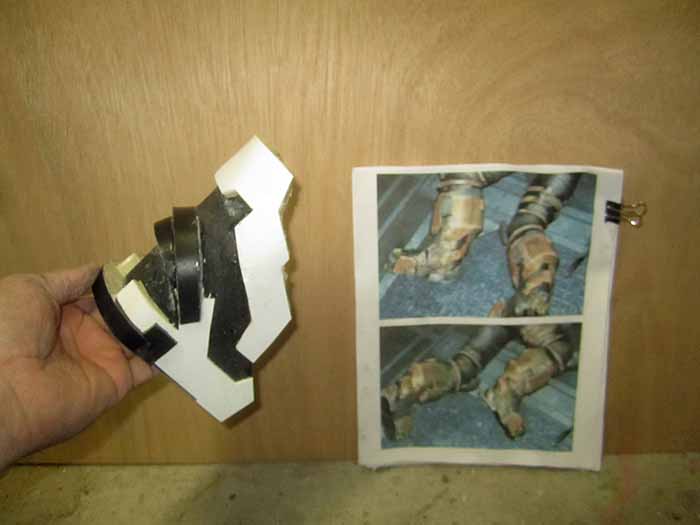
It's not dead on, but at this point I'm in a bit of a rush.
Stay tuned...
Yesterday I made the heel:
Here it is with the reference images I'm working from:
It's not dead on, but at this point I'm in a bit of a rush.
Stay tuned...

DrNoobMD
New Member
I didn't see this asked yet, so here goes:
Where did you find the el tape? I've been looking all over, but it varies so greatly that I'm not sure if I'm even looking at the same thing some times. One website has a $8 strip of what it claims is green/blue el tape, and another has a $29 strip of blue that appears the same. Can anyone hit me up with a link to the best place to buy it?
Where did you find the el tape? I've been looking all over, but it varies so greatly that I'm not sure if I'm even looking at the same thing some times. One website has a $8 strip of what it claims is green/blue el tape, and another has a $29 strip of blue that appears the same. Can anyone hit me up with a link to the best place to buy it?
I got mine from glowhut.com. Hopefully this helps you out.
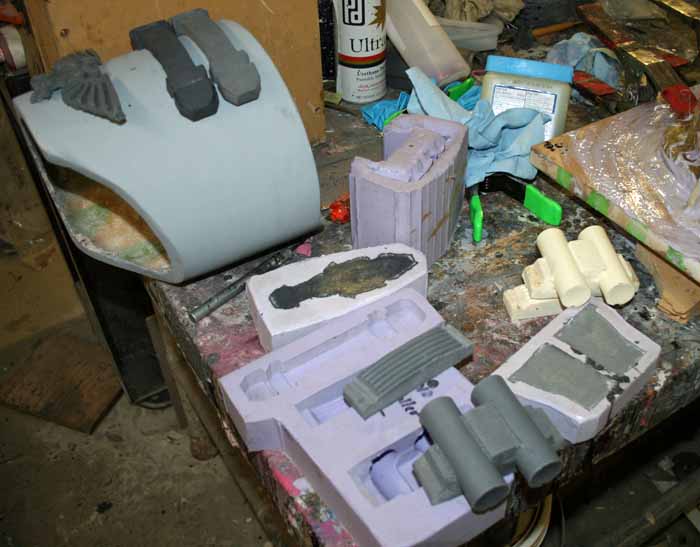
I apologize for not posting more regular updates. Someone walked off with my workshop camera over the weekend and I'm leery about taking my nice, expensive DSLR into the filthy, dusty workshop. That said, last night I poured the rubber for the last two molds I have to make for this costume:
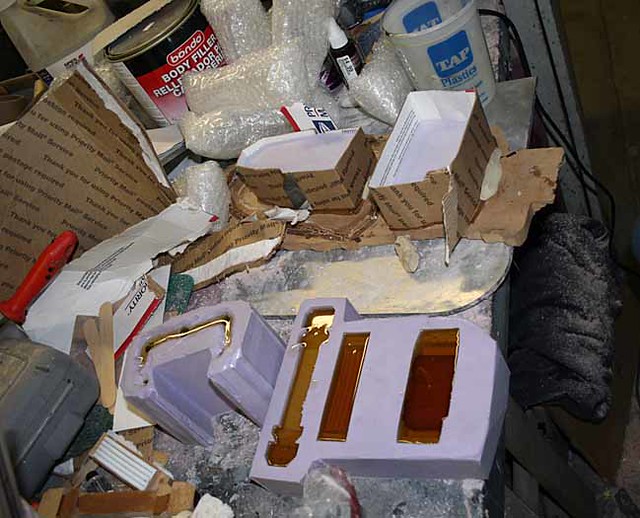
Shown are the left hand plates (lower left), the right thigh bits (lower right), the tailbone parts (upper right and left), and a huge mess (everywhere).
Shown are the left hand plates (lower left), the right thigh bits (lower right), the tailbone parts (upper right and left), and a huge mess (everywhere).
Orkillester
New Member
Incredible work- just read through this whole thread! Just finished the second game myself a little bit ago, and, after seeing some pictures of Isaac Clarke Cosplays, I want nothing more than a costume like this for Halloween! Sadly, between school, work, and school, I fear I have no time to put anything together in time now. There's always next year, however!
If you'd like a set of my raw casts, shoot me a PM.
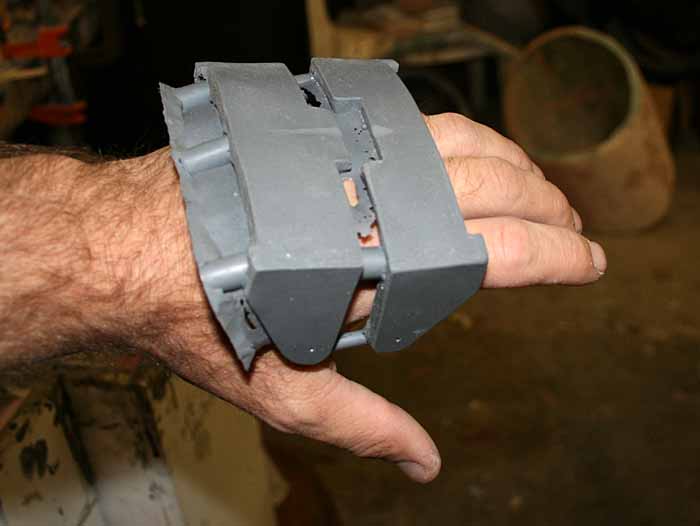
I'm behind on updates. For starters, I've made the left hand parts:
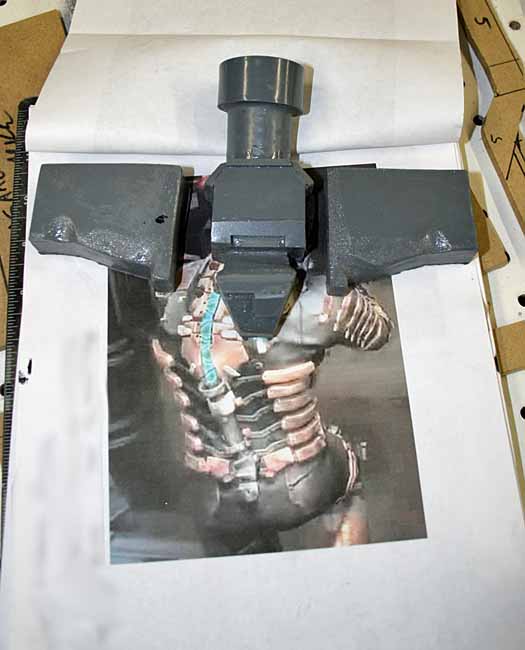
Here's the first casting of the lower spine:
Here's the parts of the right leg detail:
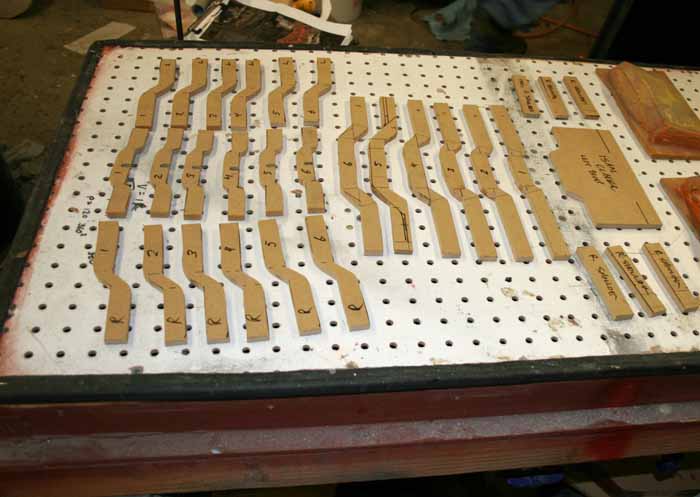
For the finishing touch, I made vacforming bucks for all of the straps that hold the chest parts together:
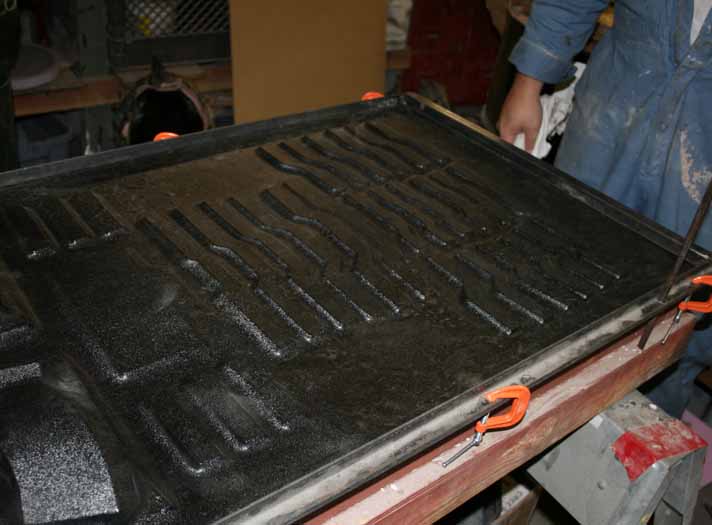
Here's the first pull (in .040" ABS) on the table:
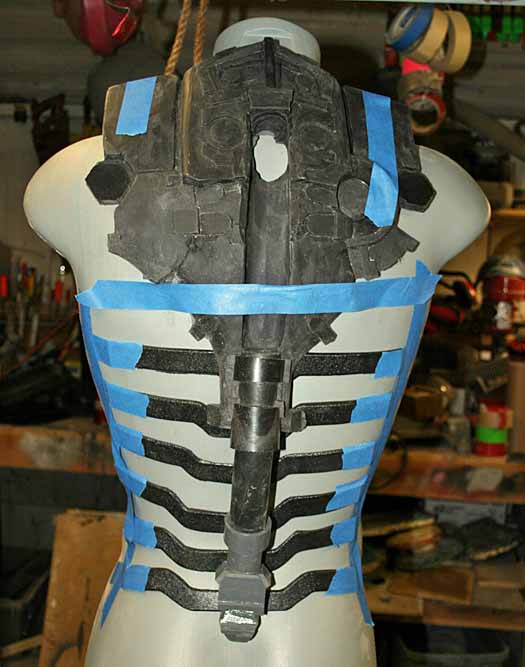
Last night I started arranging the back parts:
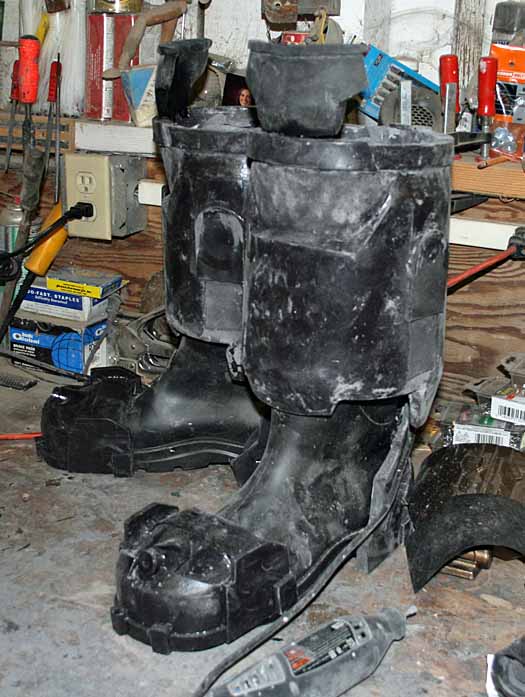
I also cobbled together the boots:
Today I will be painting like a madman. Stay tuned...
I'm behind on updates. For starters, I've made the left hand parts:
Here's the first casting of the lower spine:
Here's the parts of the right leg detail:
For the finishing touch, I made vacforming bucks for all of the straps that hold the chest parts together:
Here's the first pull (in .040" ABS) on the table:
Last night I started arranging the back parts:
I also cobbled together the boots:
Today I will be painting like a madman. Stay tuned...
Tip of the day: When you need curved pieces that don't have details on the inside of the molds, you can get away with making them out of a flat mold:
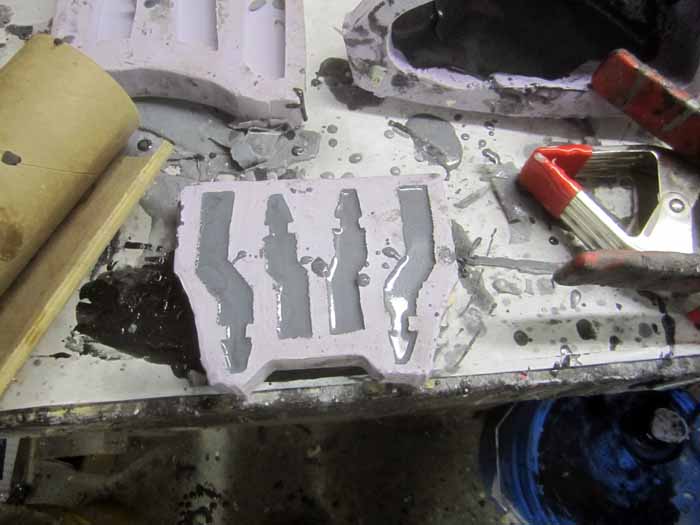
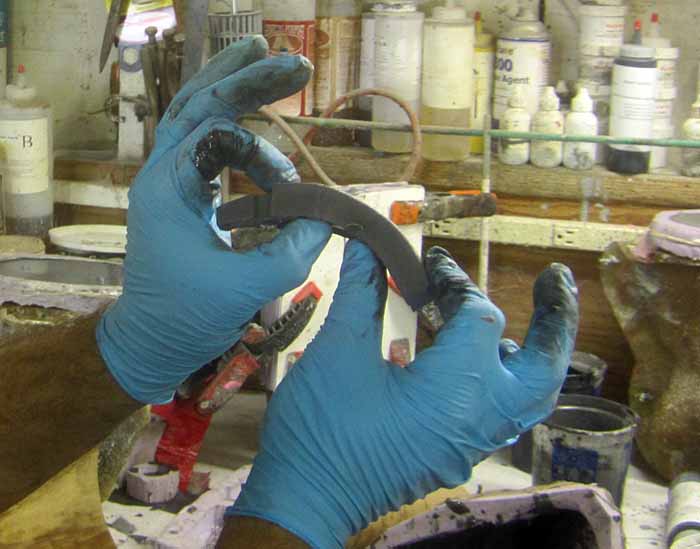
The trick is to pull them after the resin is mostly cured but before it's completely solid. Then bend them to the curve you need:
Since I don't enough time (or hands) to stand around holding all of these things in the curve that I want, the next step is to lay them inside a piece of plywood cylinder I had laying around:
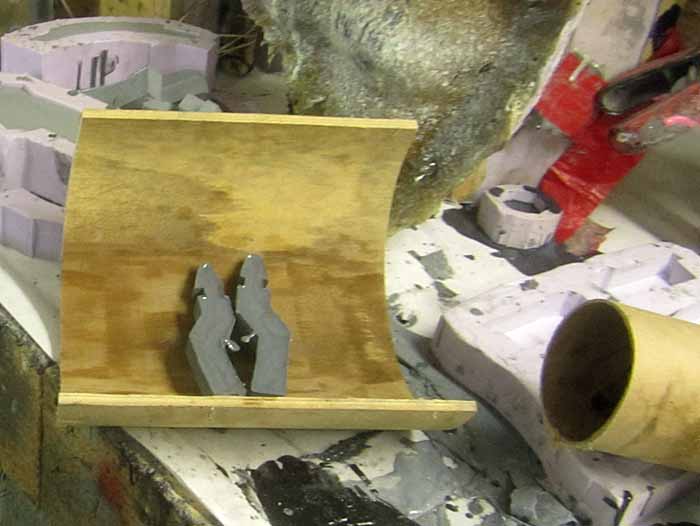
Then I clamp them in place and wait for the resin to finish curing:
The end result is a complex shape with a tremendously deep curve made from a simple sheet mold.
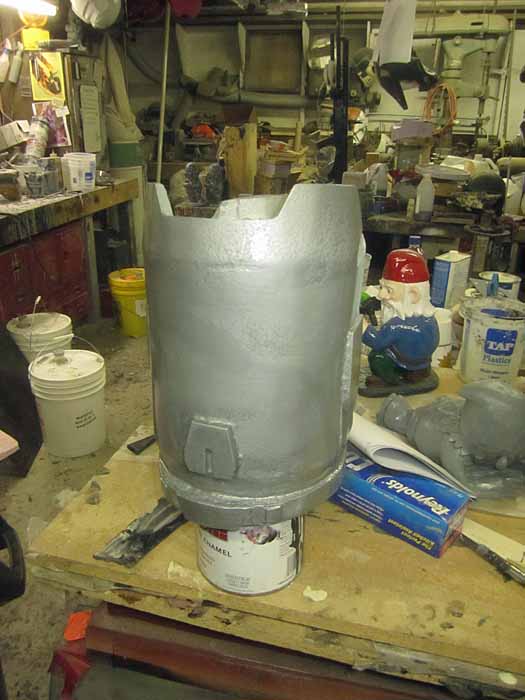
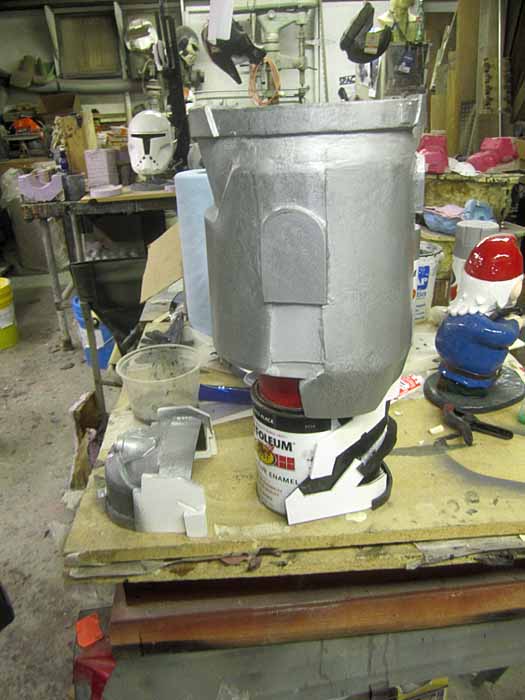
In other news, I primed all of the parts yesterday:
Then I put the basecoat on:
I've done a bit of detailing since that picture was taken. Today I will finish weathering it and rivet all of the pieces together.
Stay tuned...
The trick is to pull them after the resin is mostly cured but before it's completely solid. Then bend them to the curve you need:
Since I don't enough time (or hands) to stand around holding all of these things in the curve that I want, the next step is to lay them inside a piece of plywood cylinder I had laying around:
Then I clamp them in place and wait for the resin to finish curing:
The end result is a complex shape with a tremendously deep curve made from a simple sheet mold.
In other news, I primed all of the parts yesterday:
Then I put the basecoat on:
I've done a bit of detailing since that picture was taken. Today I will finish weathering it and rivet all of the pieces together.
Stay tuned...
Similar threads
- Replies
- 0
- Views
- 234
- Replies
- 68
- Views
- 5,560
- Replies
- 3
- Views
- 663