Gigatron
Sr Member
Hey guys,
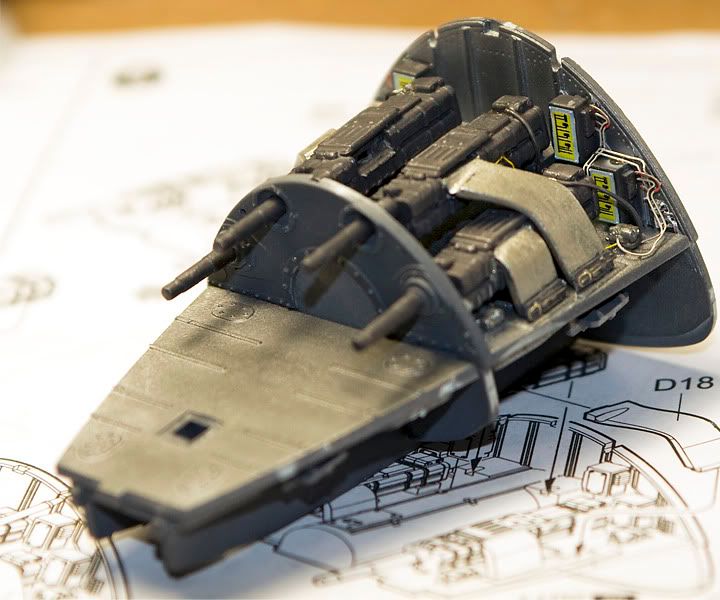
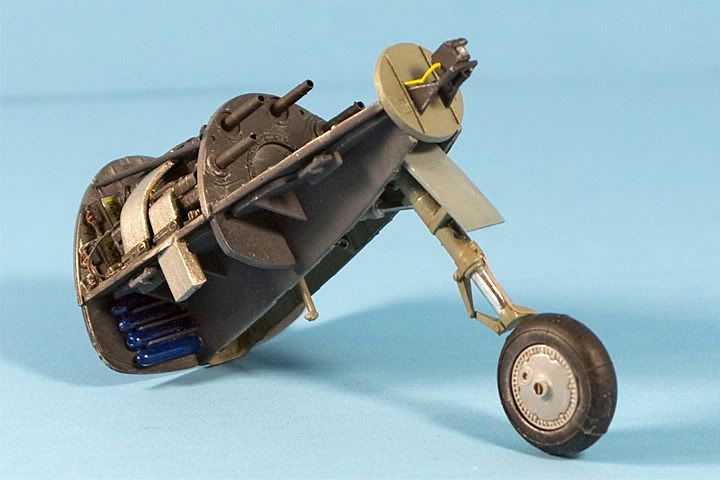
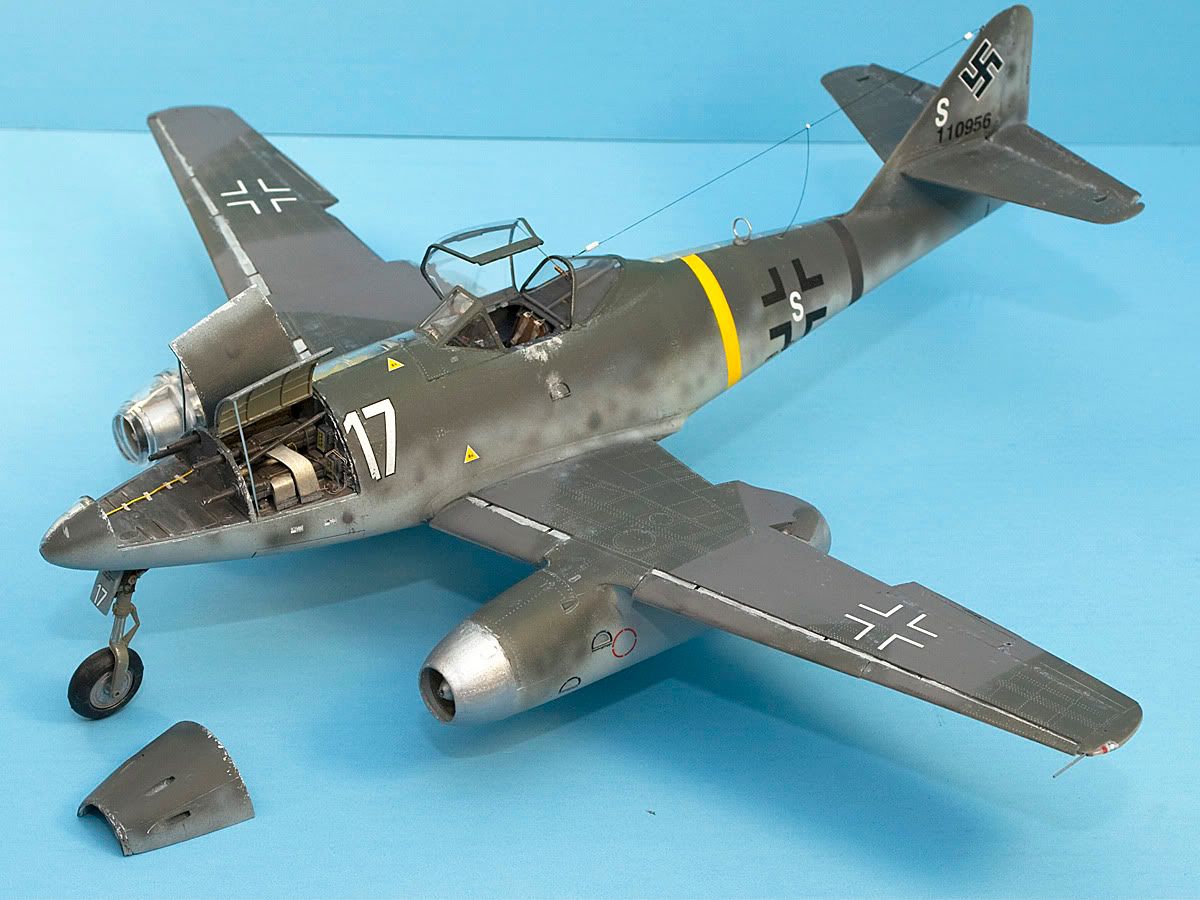
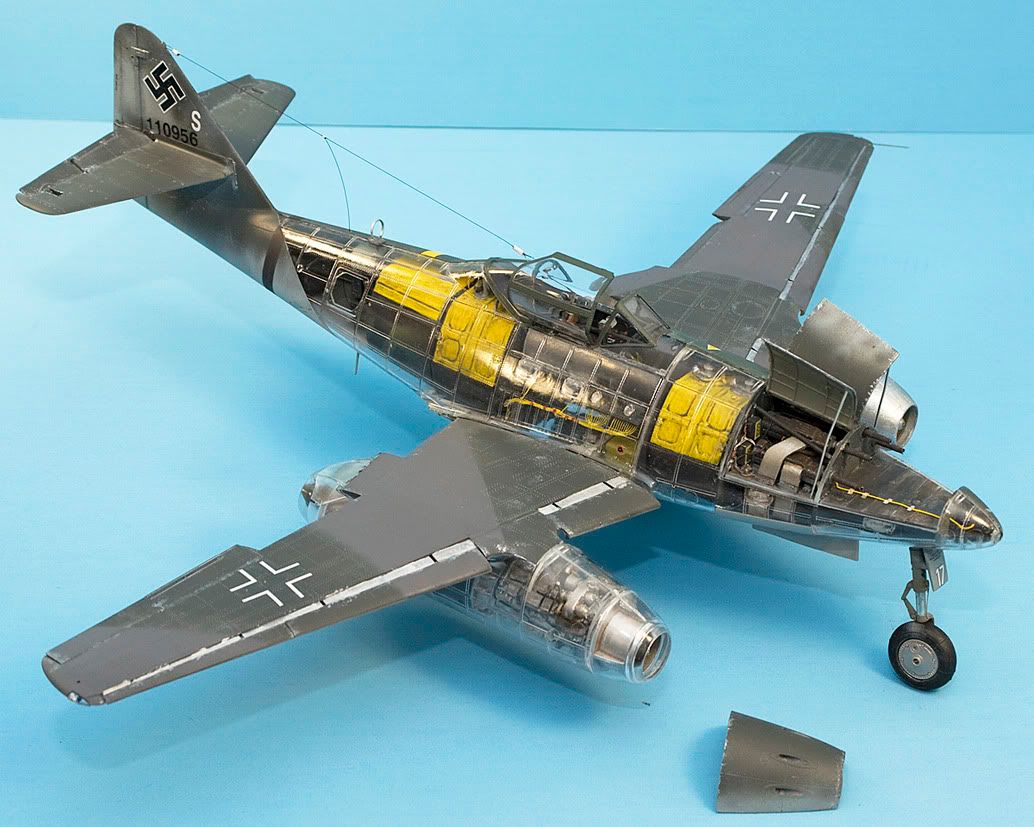
This is Trumpeter's 1/32 offering of the venerable Schwabble StormBird. The fit and detail on the kit is phenominal. Very few seams, no flash and minimal ejector pin marks. It's dressed up with a few Eduard photo etch sets and whole lot of scratchbuilt parts. Decals were probably the worst part of the kit. They're a bit thick, but do take nicely to solvent and solution. But, they do have a tendency to stick to themselves with the slightest bit of provacation. The decal instructions are sparse and, in some cases, flat out wrong. Unfortunately, I didn't catch one of them until it was too late. Thankfully, it's on the bottom and you'd need to know German to see why it was wrong, anyway. And lastly, the decal for the Werk Nummer (equivalent to U.S. Bu. No.) was completely wrong. I had to mix and match from different sets to make the correct number.
But before we get to the pictures, let me tell you how I almost lost the entire build, today. I was finishing up and I noticed the rudder was bit loose. So, I had the glue out (Tammy thin), so I figured I'd add a dab and be done. Well, as I pulled the applicator out, it must have caught on the last thread, because it flipped the entire bottle, up and over. The bench was covered in glue. I was covered in glue. The glue on the table was quickly making it's way towards the plane (which was upside down because I was adding the RATOGs). Somehow, before I even realized it, I yanked the plane away, just in time. Surprisngly, with the amount of glue that went everywhere, none made it on the plane :thumbsup. Someone was looking out for me, today :angel.
So, without further ado, here she is;
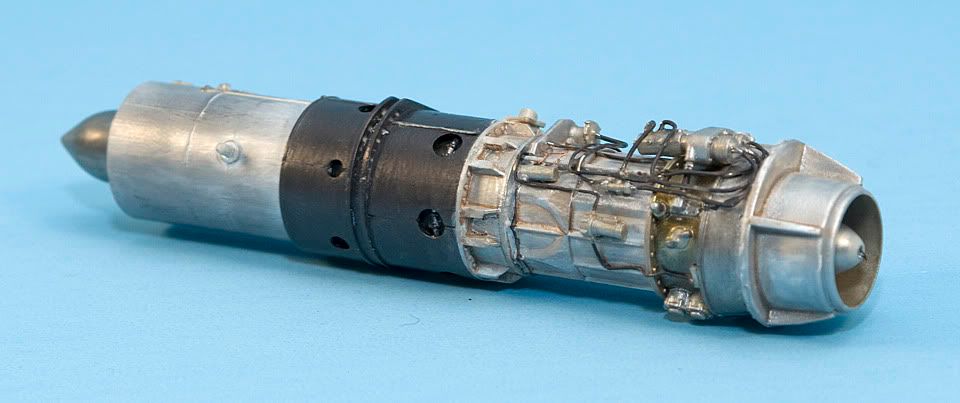
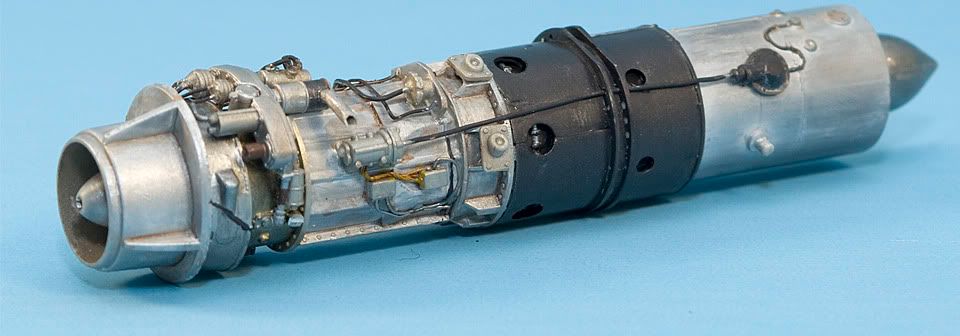
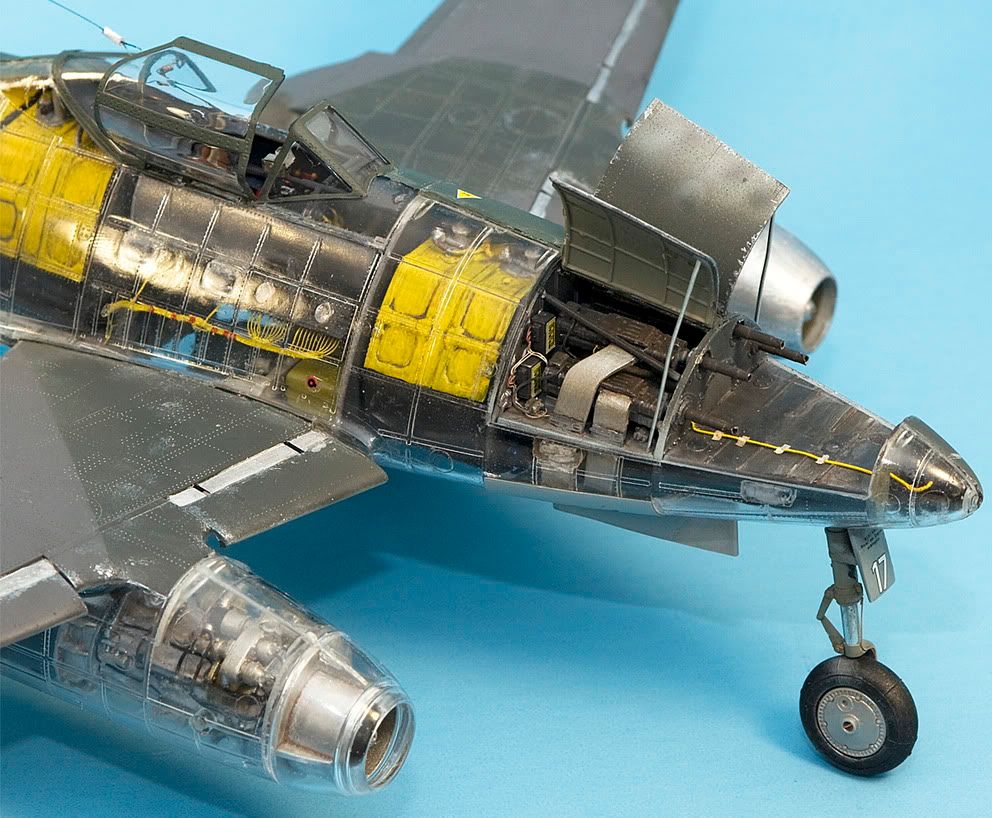
Camera, gun bay and engine detail
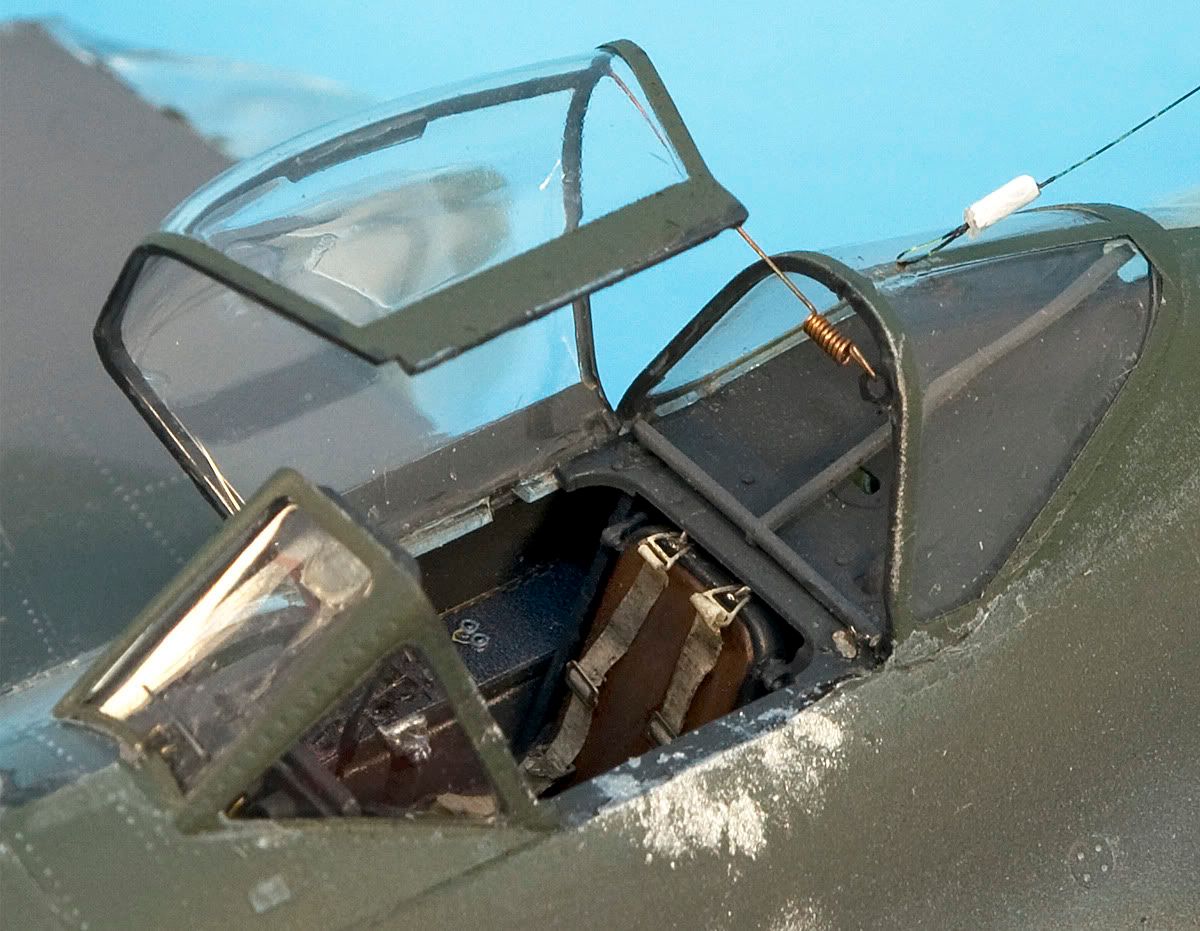
Canopy support
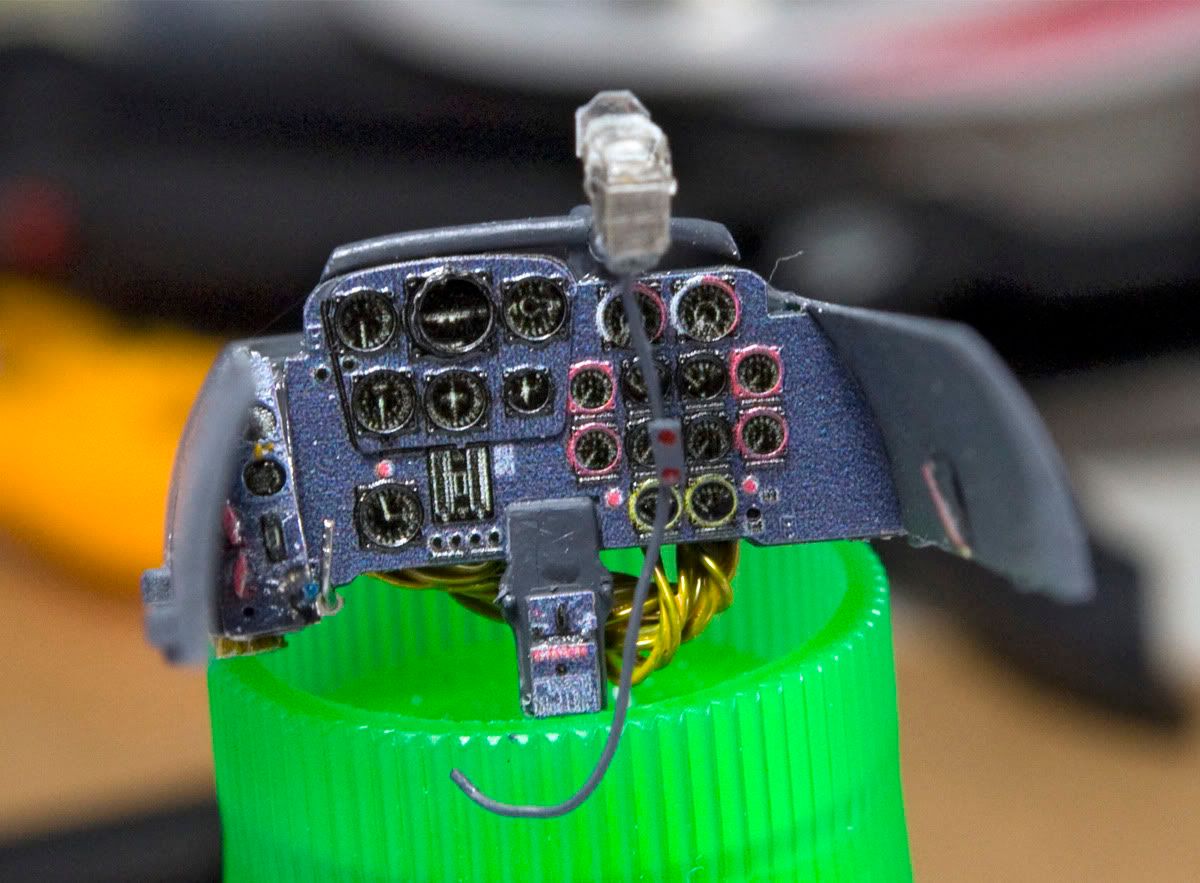
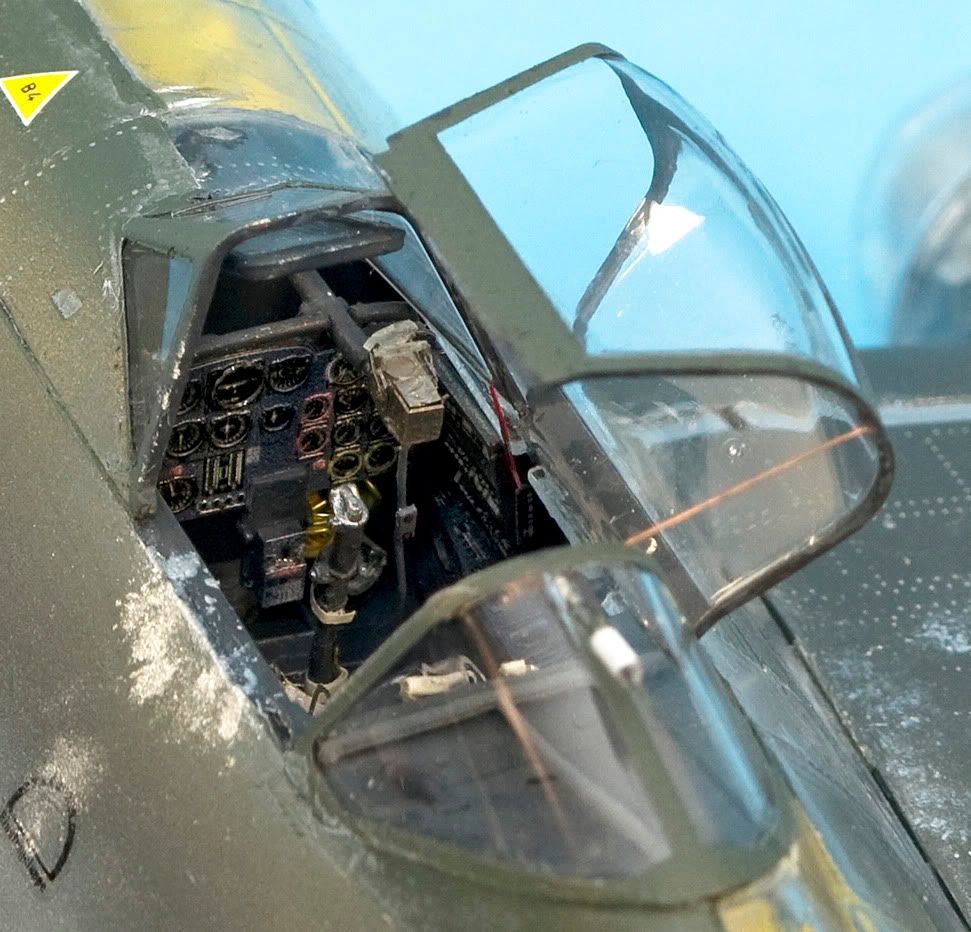
Instrument panel
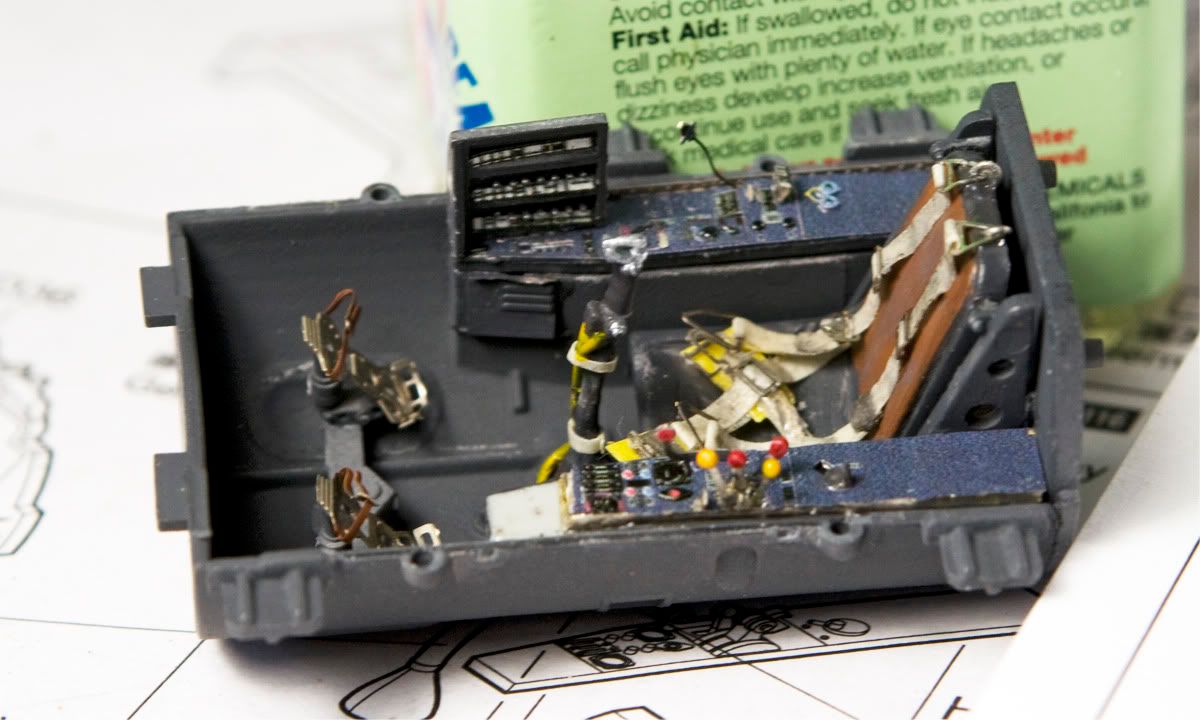
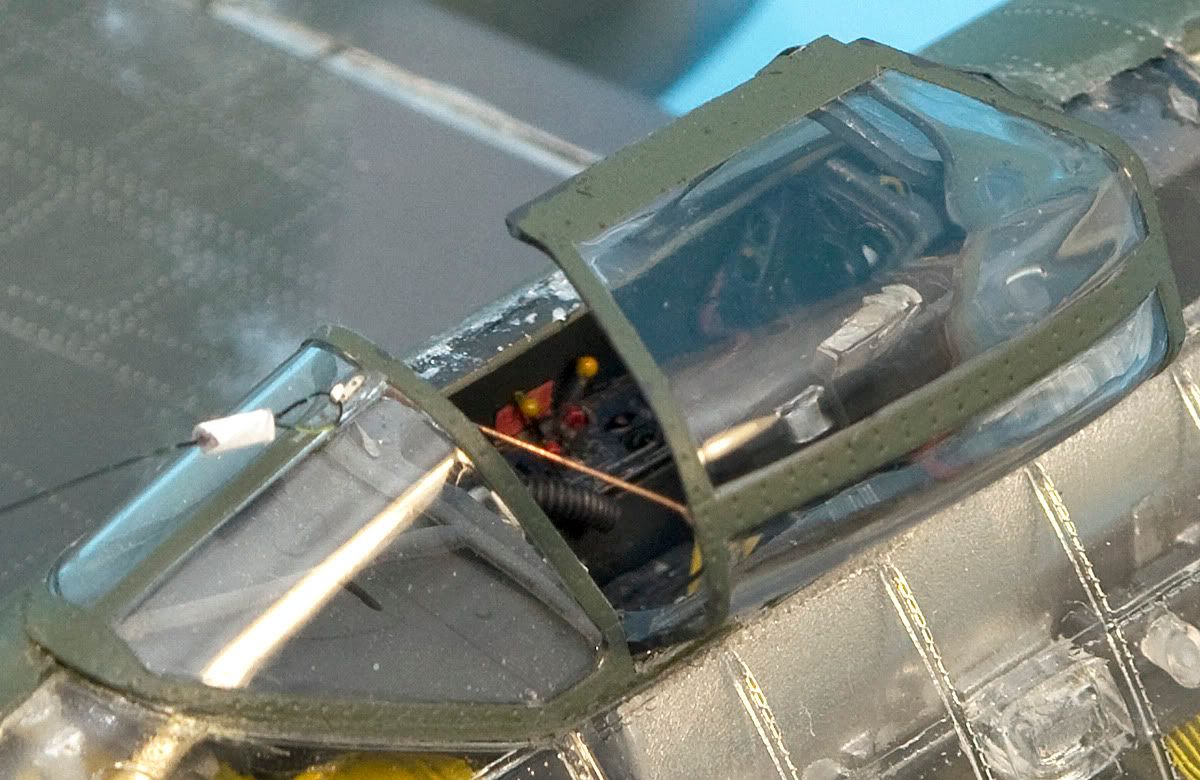
Port console and aerial mount
Seat
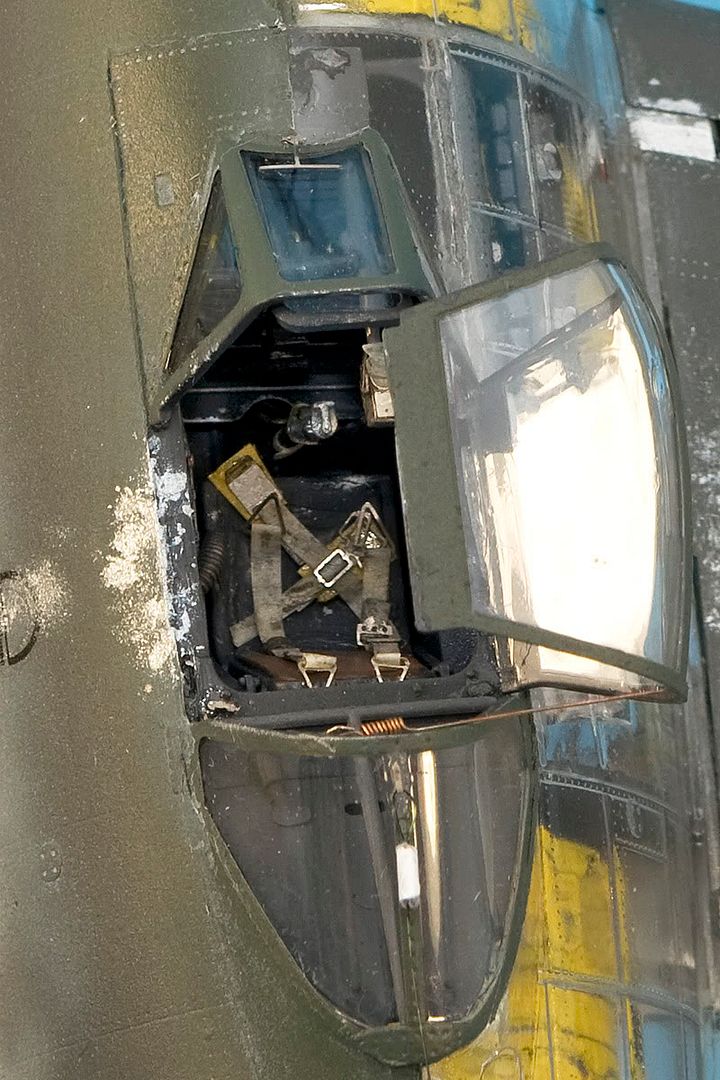
Nav / Formation lights - looks like lightbulbs, doesn't it ?
?
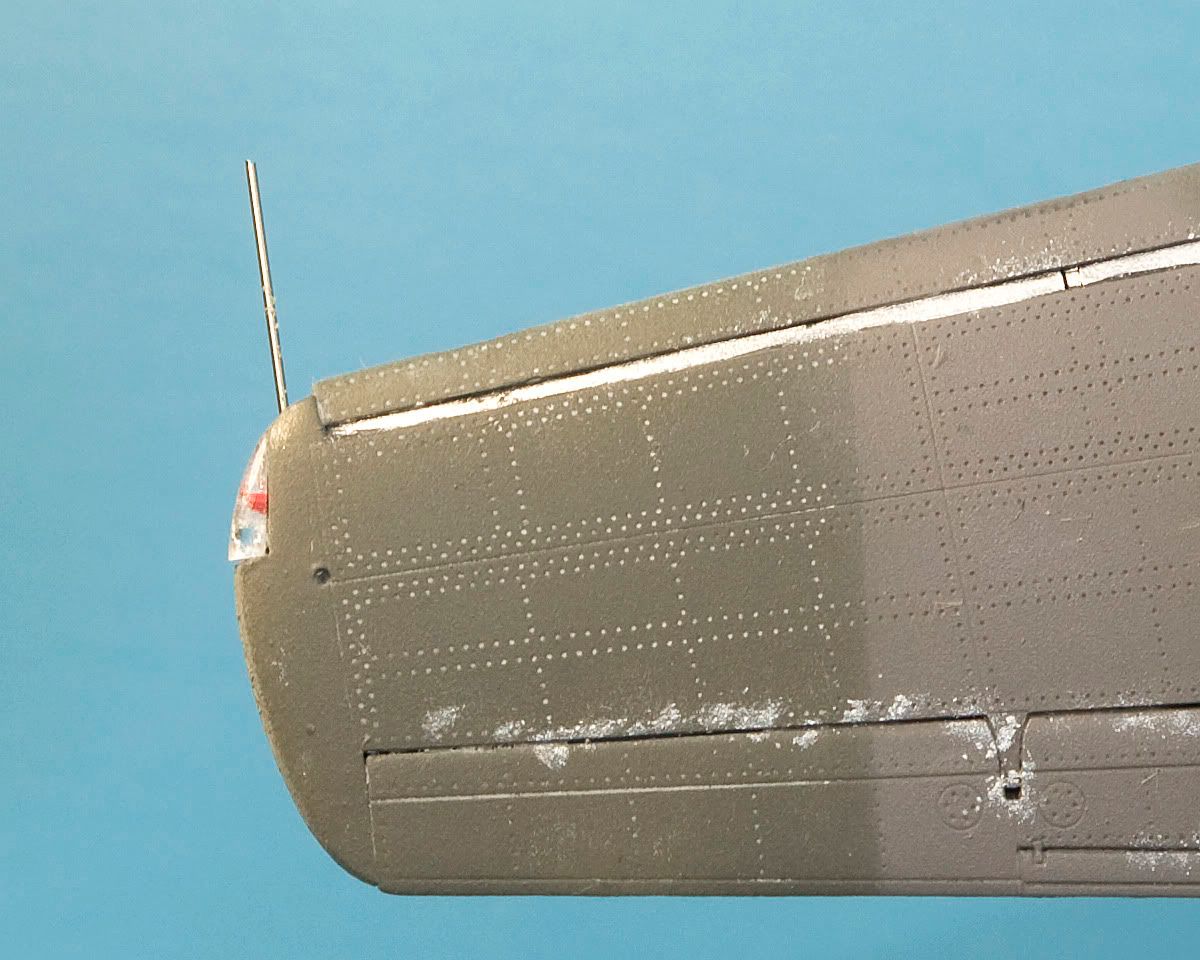
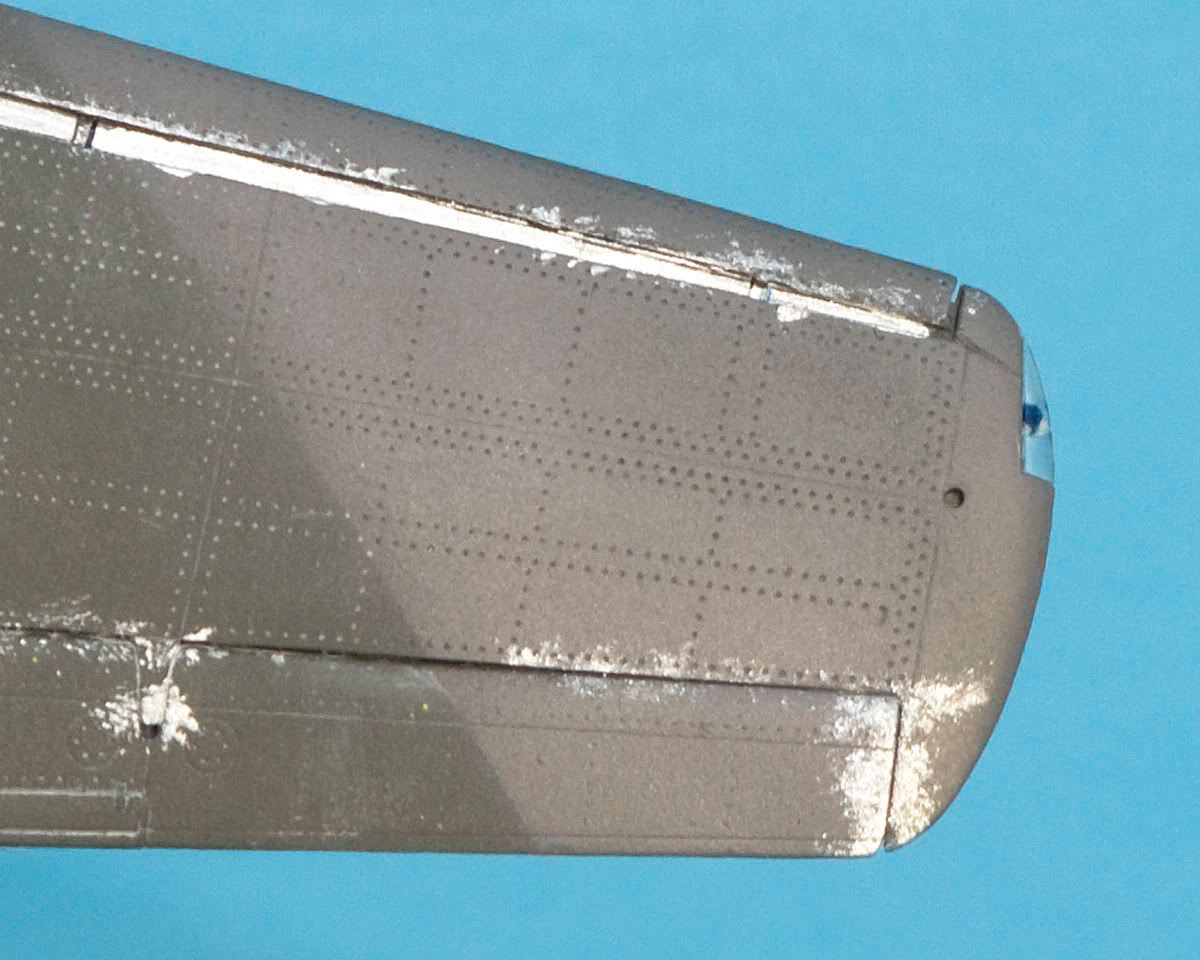
Bottom overall
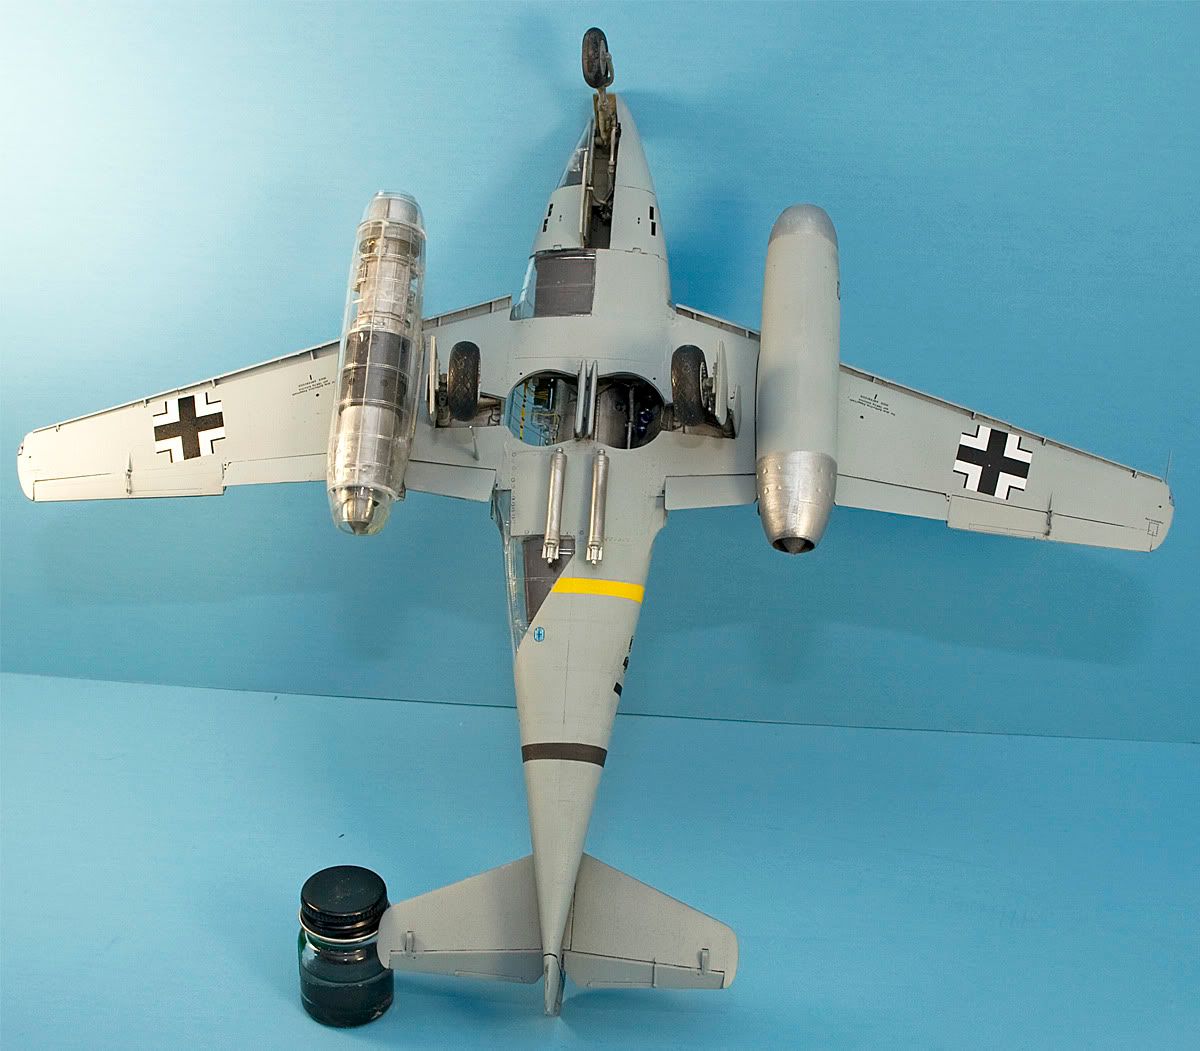
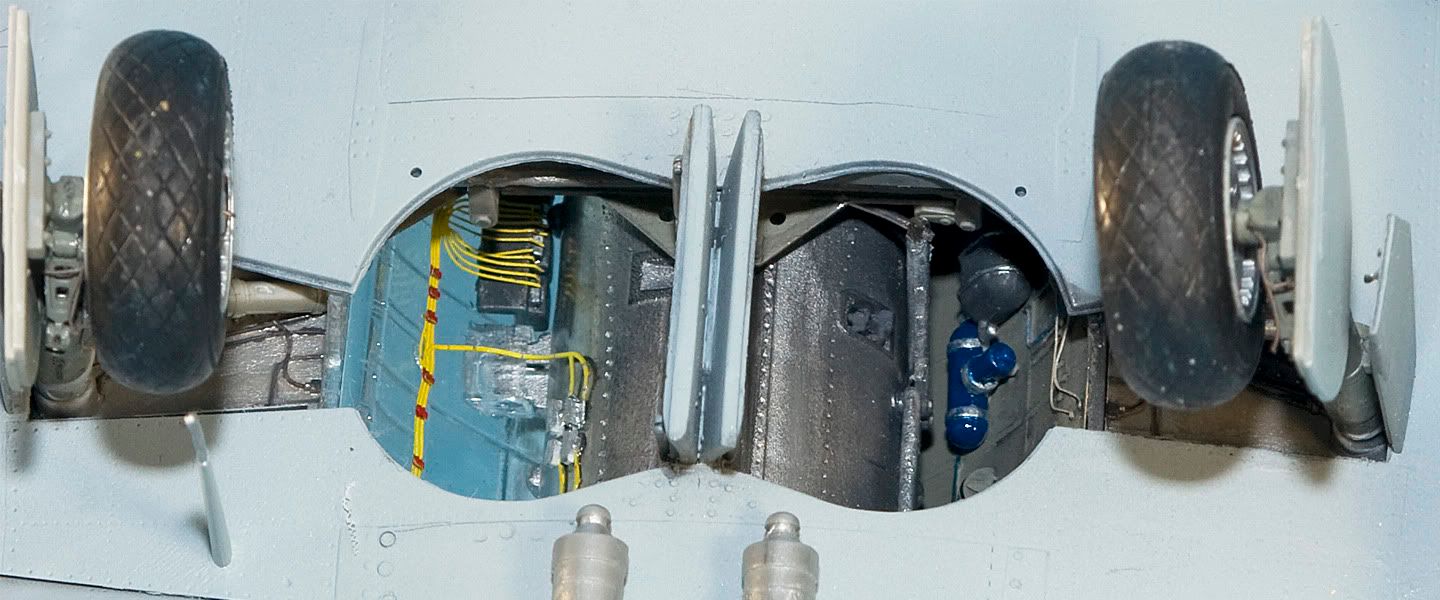
Some wheelwell detail
Enjoy
-Fred
This is Trumpeter's 1/32 offering of the venerable Schwabble StormBird. The fit and detail on the kit is phenominal. Very few seams, no flash and minimal ejector pin marks. It's dressed up with a few Eduard photo etch sets and whole lot of scratchbuilt parts. Decals were probably the worst part of the kit. They're a bit thick, but do take nicely to solvent and solution. But, they do have a tendency to stick to themselves with the slightest bit of provacation. The decal instructions are sparse and, in some cases, flat out wrong. Unfortunately, I didn't catch one of them until it was too late. Thankfully, it's on the bottom and you'd need to know German to see why it was wrong, anyway. And lastly, the decal for the Werk Nummer (equivalent to U.S. Bu. No.) was completely wrong. I had to mix and match from different sets to make the correct number.
But before we get to the pictures, let me tell you how I almost lost the entire build, today. I was finishing up and I noticed the rudder was bit loose. So, I had the glue out (Tammy thin), so I figured I'd add a dab and be done. Well, as I pulled the applicator out, it must have caught on the last thread, because it flipped the entire bottle, up and over. The bench was covered in glue. I was covered in glue. The glue on the table was quickly making it's way towards the plane (which was upside down because I was adding the RATOGs). Somehow, before I even realized it, I yanked the plane away, just in time. Surprisngly, with the amount of glue that went everywhere, none made it on the plane :thumbsup. Someone was looking out for me, today :angel.
So, without further ado, here she is;


Camera, gun bay and engine detail

Canopy support

Instrument panel

Port console and aerial mount

Seat

Nav / Formation lights - looks like lightbulbs, doesn't it


Bottom overall

Some wheelwell detail

Enjoy
-Fred

