Video Game Batmobile WIP

Status
Not open for further replies.
I hope so Al I don't want to get banned from the store Lol, it's the only place near me that sells the stuff other than Long Island about 3 hours away and I'm trying to hook up with one of the girls that works there you know for some R & R and also to get the big store discount LOL!
 
Okay here she is finally popped her out man it was like pulling a baby out of the womb now is experiment time trying to cast a rigid shell of this car as you see the mold is complicated I did see a void in the rear crap where some air might have been trapped will have to see how it translates when casted.
 
Okay guys here's a test casting which took me a few hours to lay up due to the tight areas in the mold tomorrow I'll try using the shell shock to see if I can do it faster if not I was thinking of casting one solid then drilling the insides out to make it a 2 part mold where the inside part forms the cavity have to call a meeting with my stradegy team General Al IDEBOUNTYHUNTER Lol.
.
002-9.jpg


004-7.jpg

006-4.jpg

007-6.jpg
 
Last edited:
You really pushed ahead with this and learned a bunch of new
stuff you should be proud of this Ray! It really looks excellent
hats off brah!:thumbsup
 
Thanks Mike and still am learning just as I learned today that a different silicone was able to adhere to the other one. But I have to refine the casting of the shell to get it down to a quicker time, you'll be taking the big molding class soon my friend :lol.
 
Such fantastic craftsmanship here. I'm not a huge fan of the subject matter, but the talent on display here makes me want to buy one anyway.
 
...I was thinking of casting one solid then drilling the insides out to make it a 2 part mold where the inside part forms the cavity have to call a meeting with my stradegy team General Al IDEBOUNTYHUNTER Lol.
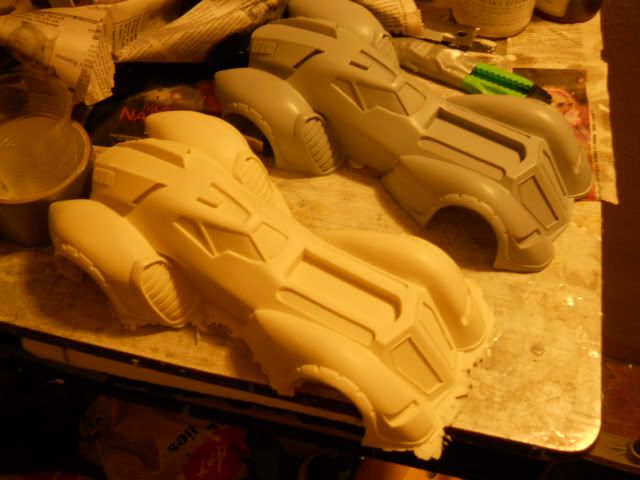
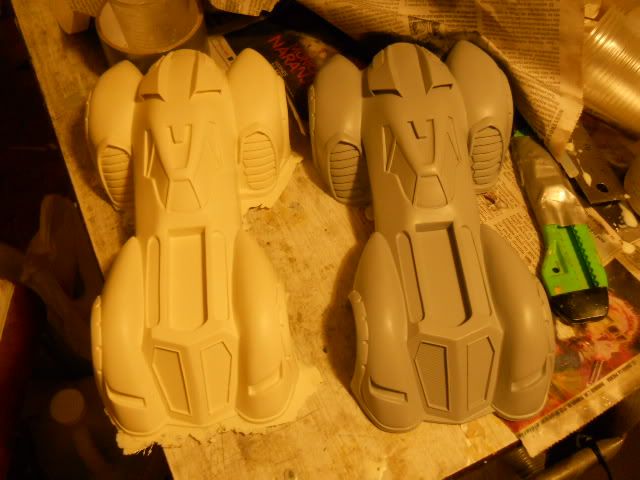
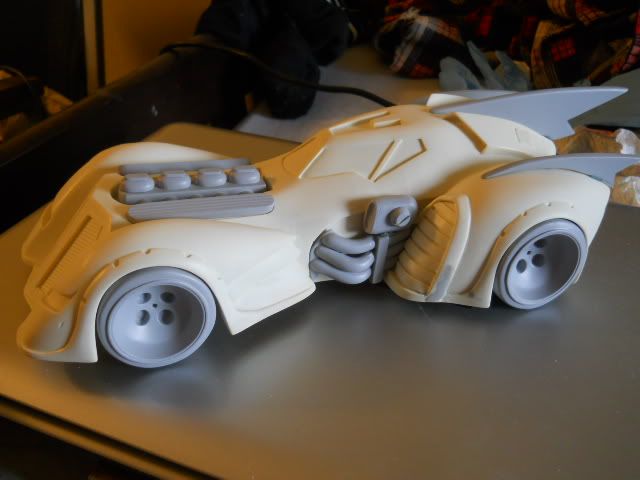
I've been thinking of using fiberglass for that. Do a lay up in glass, trim it up, and place it back in the mold, then pour the second half. This would be easier and a lot cheaper than hollowing out resin. Just build up glass layers until you get the thickness you want.

On your silicone issue, which you've already fixed, two methods came to mind:
1. Place some wood blocks into the corners of the box to displace the silicone, this should raise the level above the model.
2. Use Steve's method of brushing the silicone up over the top, just keep brushing it up until it sets.
 
Thanks Ruddigger and Al and yes Rob if I had blocked the sides up where I didn't need the silicone I would have had enough lesson learned on that and I figured I can take one shell and layer the inside with Magic sculpt and get it to a nice smooth surface and then pour the silicone in it, So I can do an interior cockpit and seat Just when I thought I was done Lol:facepalm.
 
Ray...keep it up! Post LOT'S of pictures!! I'm learning a LOT with your molding! A little different then casting makeup appliances. Everything is looking fantastic, man!
 
Lol. Ray. I was Navy. So more like Admiral.

But i prefer MasterChief. Or just Al
Why do I keep thinking you were in the Army? Lol. and yes this is scratch made all kinds of ingredients and spices like the Colonel's chicken Lol and thanks Dave it's a learning process with each new diffferent project.
 
Last edited:
Well I trimmed up the casting and cleaned it up and started laying up another one using the Shell shock that stuff gets thick fast so the more you wip up the quicker it starts to get gummy and it takes 5 hours to cure. And just waiting on an order of silicone to mold all the detail parts to start putting one together and painting it.
001-8.jpg
 
Man!! That looks awesome!! Im lucky to live near you lol!!
This guys getting better with each build.This kit is FANTASTIC!!
Heres a pic of the gaming one all painted up
He really captured it!
3814660839_3b47b69fa0.jpg
 
Last edited:
Thanks Gentleman I'm in the casting test Phase here Lol. I layed one up with Shell shock which already I know is not the right material for this project for the fact it goes on thick you have 8 minutes to work with it 2-3 already used in mixing it so now you have to apply it all over the surface area and now it's getting gummy creating air bubbles that you won't see. The castings minor bubbles were patched up blended in but I don't want to use a material thats going to cause me extra work it already takes a few hours just to lay up one of these bodies. The 1st test casting came out best, the resin picked up all the surface detail perfectly then I layed fiberglass down and another coat of resin over it. It's strong thats for sure I have done the drop test several times on it Lol. Today will be more wasted time about 3 hours going into Manhattan to pick up Silicone to mold the smaller parts that I'll start on tonight man I may need a drink lol. Oh and Al if you read this I'm mailing you the wheel casting today so you can work your Mojo on it.
002-11.jpg
 
Last edited:
Status
Not open for further replies.
Back
Top