Tron Legacy: the Other Props

In the second screen app images that were posted a few pages back, there is a video of the Nokia interface that would be rather cool to those replicating the Nokia and Sim card hackery thing... In the first half it shows the scrambling numbers fail to work, then in the second half it shows them working.

I noticed people at least have the image, but if you have a real N8 then you could play back this video... Or even if it's one of the knockoff one's, it can probably play the video if it's converted... If you are just using a replacement housing or dummy version then it obviously won't work... :-/
 
I got my 3d print of the "Clu XYZ" Ball I made. The resin is still curing, but it looks fantastic!
The pieces fit into each other very tightly. I need to buy an A23 battery to make sure it fits into the ball caps inner teeth mounts- as I designed it to do.


You will notice that the ball is not completely joined into itself in the combined pieces pic.

I managed to make it fit into itself perfectly when I got it, but it was somewhat scary to pull it back apart. I really don't want to mess with the print anymore, I would rather fiddle around with a resin casting from a silicone mold. No need to tempt faith. It is exactly 38.1mm in size- in other words "Perfect!"

2z8ntie.jpg
 
I've been looking forward to these. i was fearing that i was going to have to start this. luckily you beat me to it before my bits got completed! When you start your junkyard listing, put me down for a pair will ya!
 
I've been talking to a few folks- a centrifugal metal casting guy as well as a die casting rapid parts company. I am waiting for some quotes and opinions from these guys to see if it is possible to do the caps in metal.

I might have to reprint the caps bigger since metal castings shrink. I hope I can sort out a way to do it. It would be nice to have them made in metal. After I get all the quotes/opinions from everyone that I am communicating with I will start an Intrest Thread to see if theres enough demand to cover the cost to make them. I wanted to show this pic to show you guys that the battery fits and what not.

52747050.jpg
 
Last edited:
89 I have to know if the egg is possible before I can scramble it. At this point I'm hoping for a zinc alloy with a polished surface. I don't want these things to be uber expensive to make.
 
So you have room for the battery, I presume you'll need multiple LEDs? Opposed to a smaller battery, and have ONE LED in the center?
 
I've been talking to a few folks- a centrifugal metal casting guy as well as a die casting rapid parts company. I am waiting for some quotes and opinions from these guys to see if it is possible to do the caps in metal.

I might have to reprint the caps bigger since metal castings shrink. I hope I can sort out a way to do it. It would be nice to have them made in metal. After I get all the quotes/opinions from everyone that I am communicating with I will start an Intrest Thread to see if theres enough demand to cover the cost to make them. I wanted to show this pic to show you guys that the battery fits and what not.

52747050.jpg


looking good , what kind of lighting are you going to use ...
 
So you have room for the battery, I presume you'll need multiple LEDs? Opposed to a smaller battery, and have ONE LED in the center?

Two opposing led's should be enough. They don't have to sit in the absolute middle ring zone of the ball if it's made out of metal.
They could be positioned on the floor of the ball cap around the 4 arms that house the battery.

The arms have 3 functions. They hold both halves together. They house the battery and they are short enough to allow 4 open areas on the floors of both ball cap parts, leaving room for the + and - wires.


Something like this
1z3576a.jpg
 
Wow that's a huge battery. I thought you were going for button batteries.

Anyway looking forward to it!
 
Got my Dummy Nokia N8 Today, and manged to get the screen off quite easy.

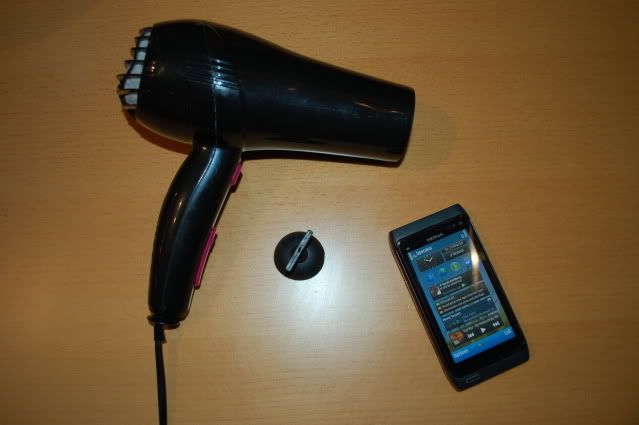
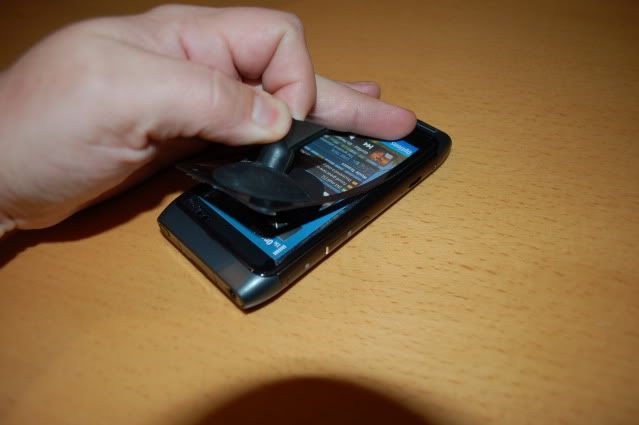
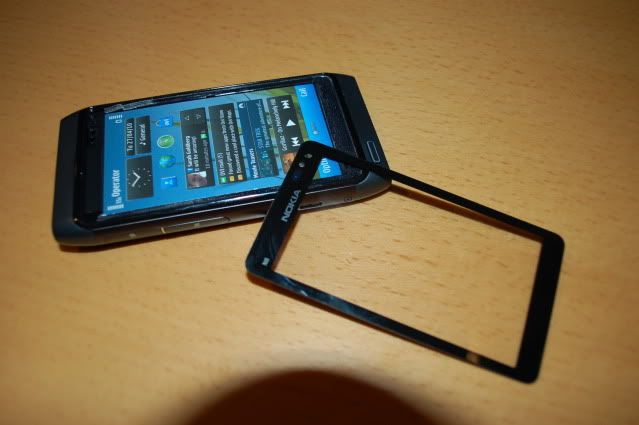
The screen is glued in place, so with a little heat and a sucker tool, the screen can be lifted off no problems at all.

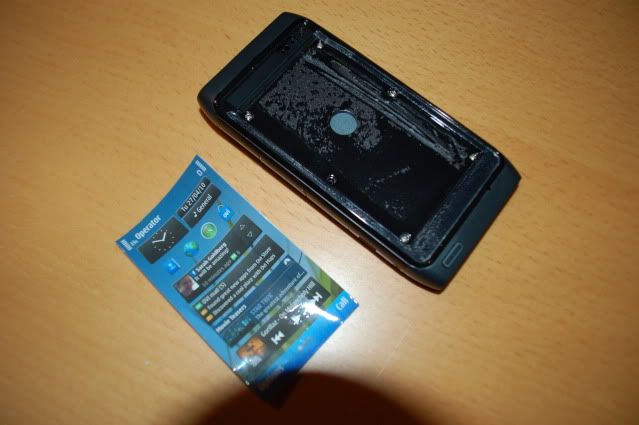
I've stripped the entire phone, more details on my blog.

G17RDY Creations

First, tools required: A hairdryer & a sucker tool (normally used for removing diachroic light bulbs from their fitting)

DSC_3593.jpg


Once heated, press the sucker tool to one corner and firmly pull, the corner should start coming away, gently pull until the whole screen comes off.

DSC_3598.jpg


Next the sticker, when applied with heat comes off in one shot!!

DSC_3599.jpg


DSC_3600.jpg
 
Just like waiting for a bus, you wait for one and then four come along at once!!!

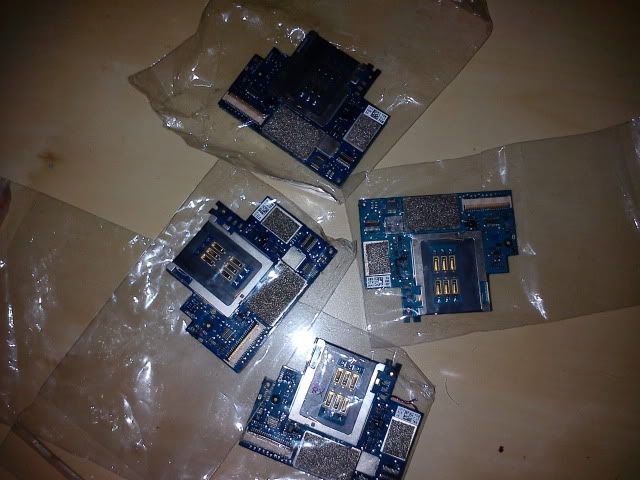
Just arrived, 4 iphone 2g logic / motherboards......On with the build!!!!!

IMG_20110825_185156.jpg
 
Back
Top