trekriffic
Sr Member
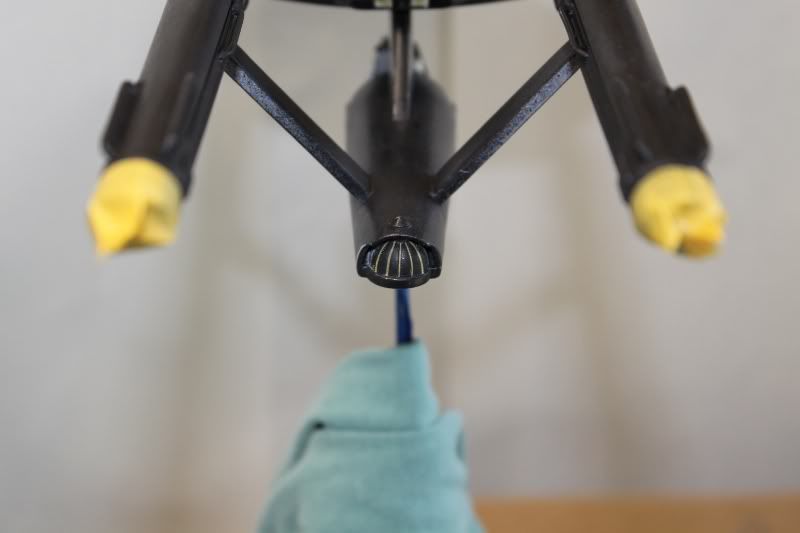
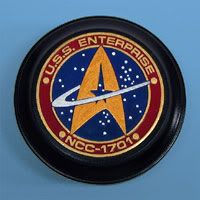
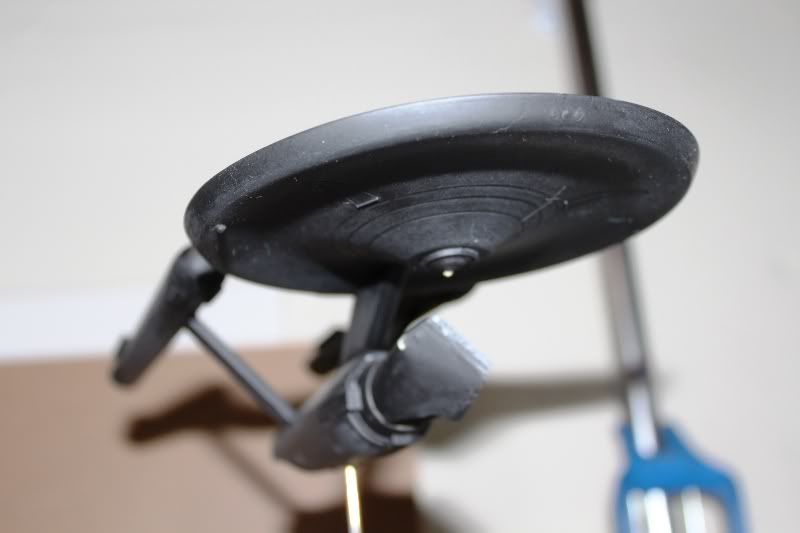
So I was checking for light bleed last night and noticed some minor leakage around the rim of the bussards.
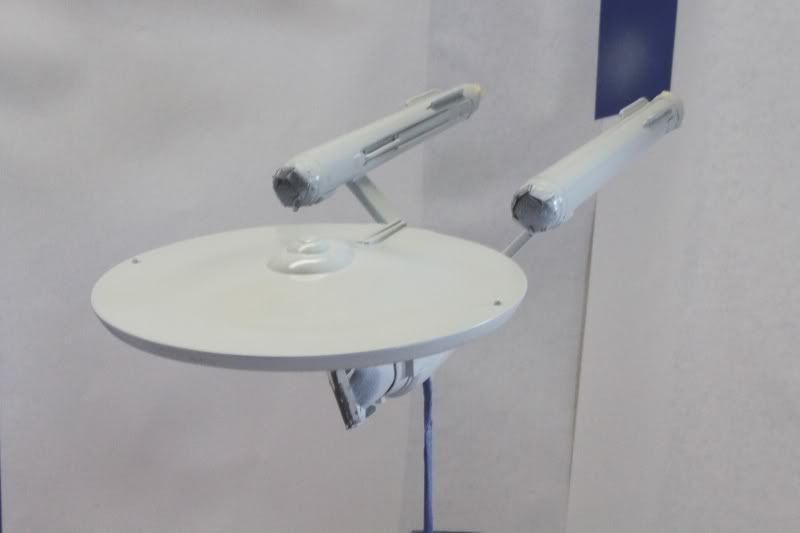
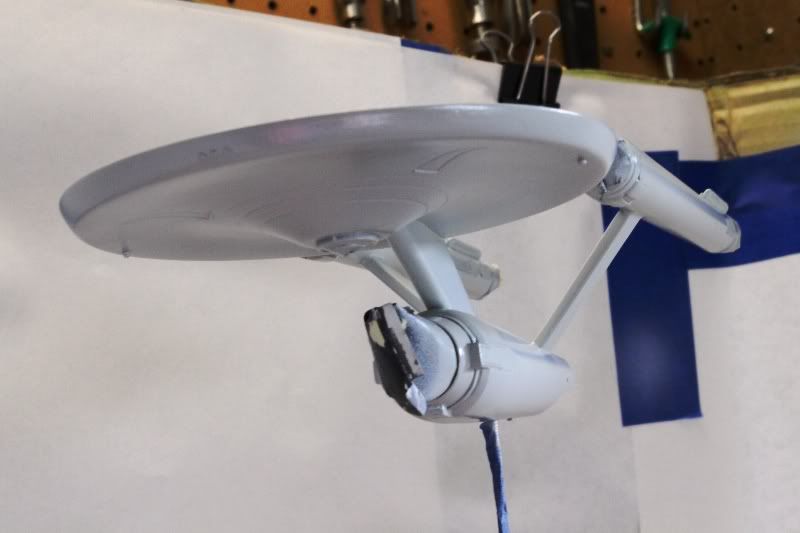
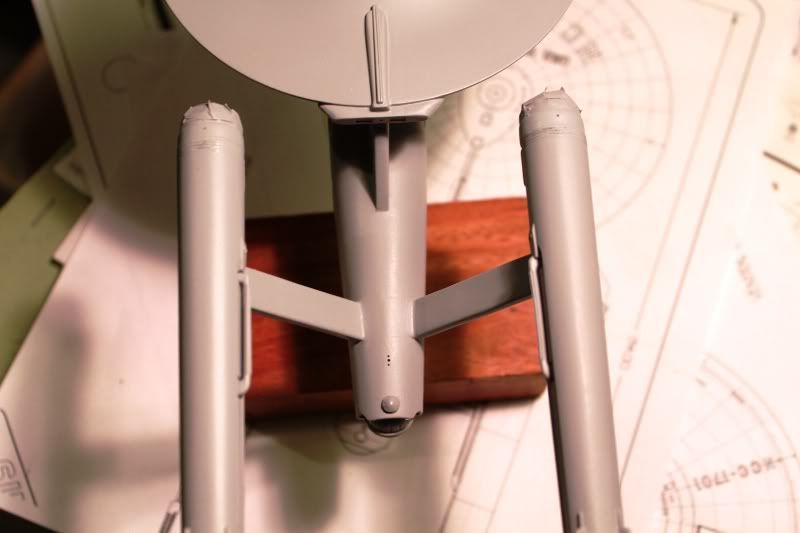
I should be able to sort that out by applying some more Mr Surfacer with a brush. This will be followed by some light sanding with 600 grit paper and even finer grit polishing pads. Then I'll shoot the entire model with a coat of Testors flat black before airbrushing the first basecoat of Shady Cove enamel.
Using the airbrush should allow me the control I need to have some of the black showing thru to leave faint weathering streaks.
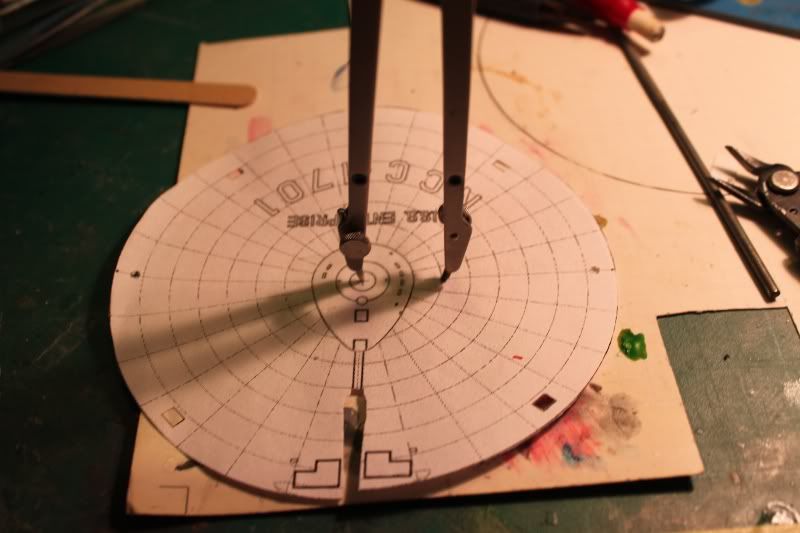
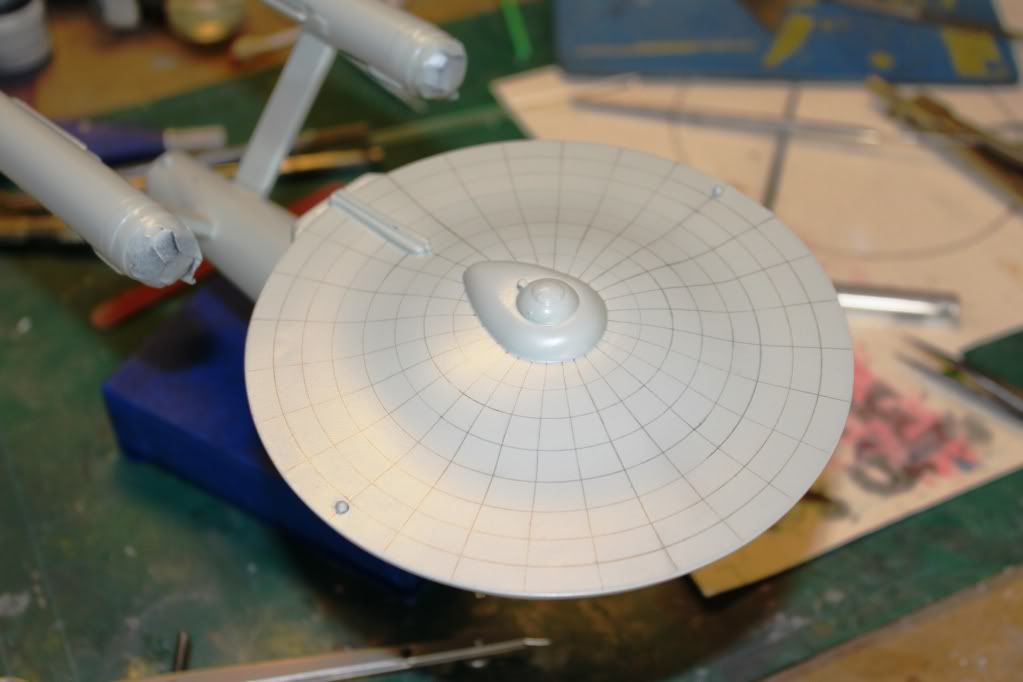
After the initial coat dries I'll be using Alan Sinclair's blueprint of the upper saucer to draw the gridlines using a mechanical pencil.
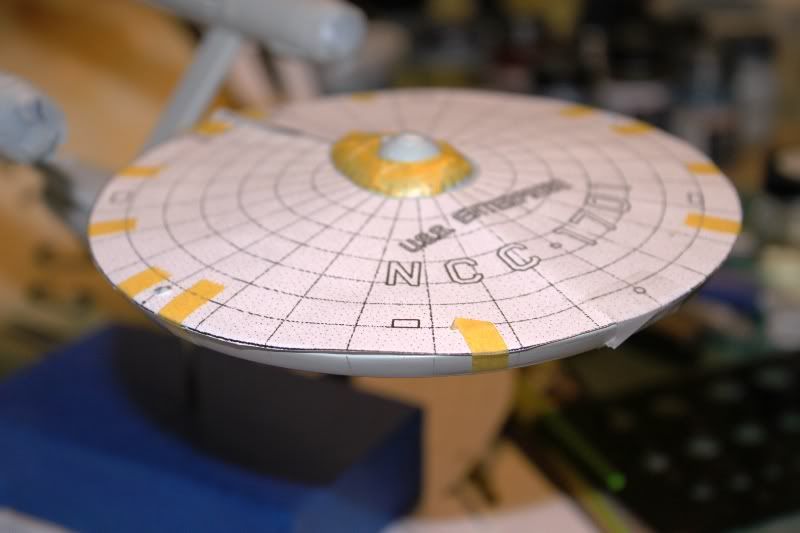
I printed the drawing off onto 8.5 x 11 inch paper and then zoomed out to 124% on the copier at work to match the 5" diameter of the kit.
I'll cut it out and lay it down on the model then make tick marks along the rim of the saucer where the gridlines terminate.
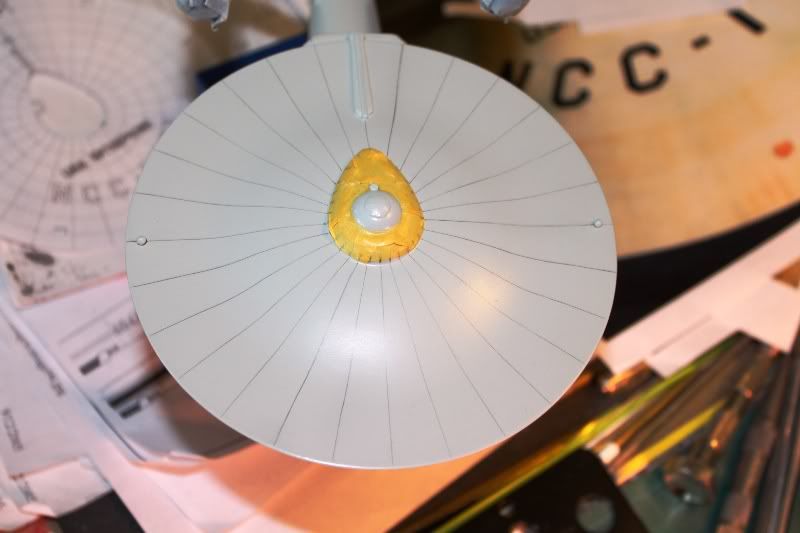
I'll do the same thing along the perimeter of the B-C deck housing then use a piece of styrene strip to draw the radial lines.
The tick marks will be erased before more paint is applied.
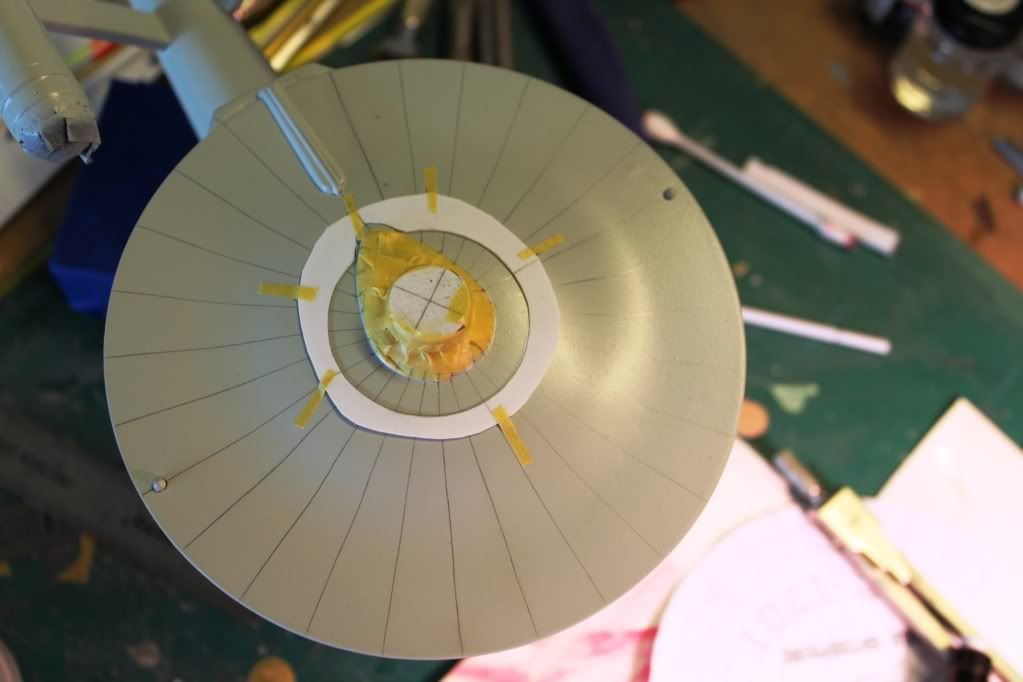
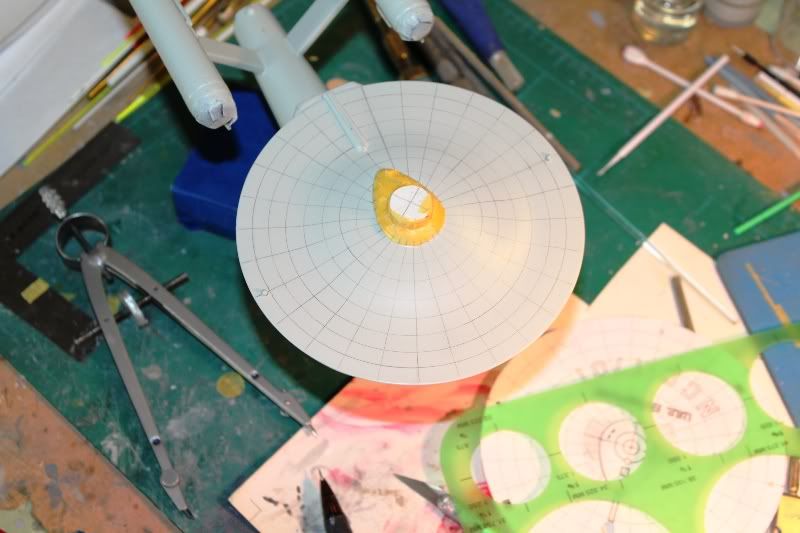
The circular lines will be drawn with a compass.
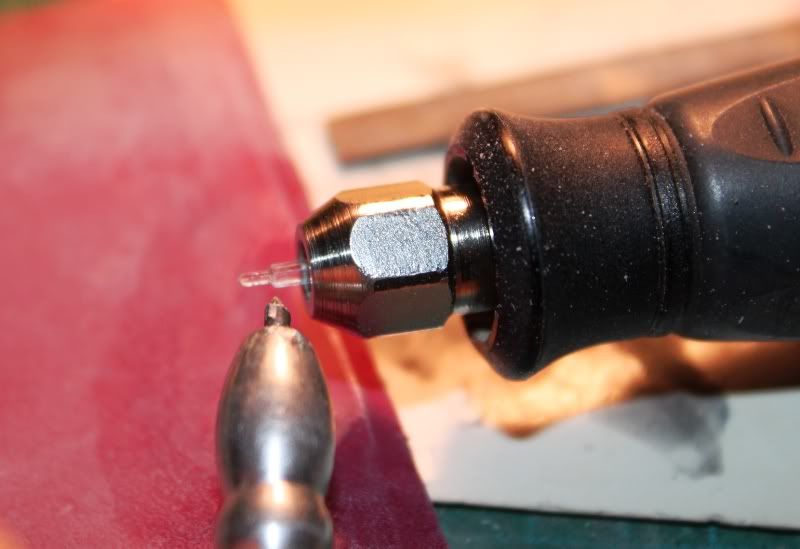
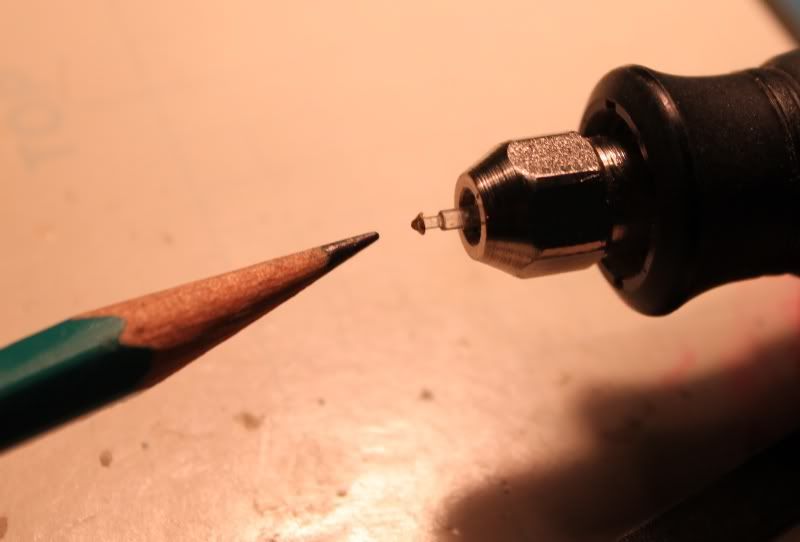
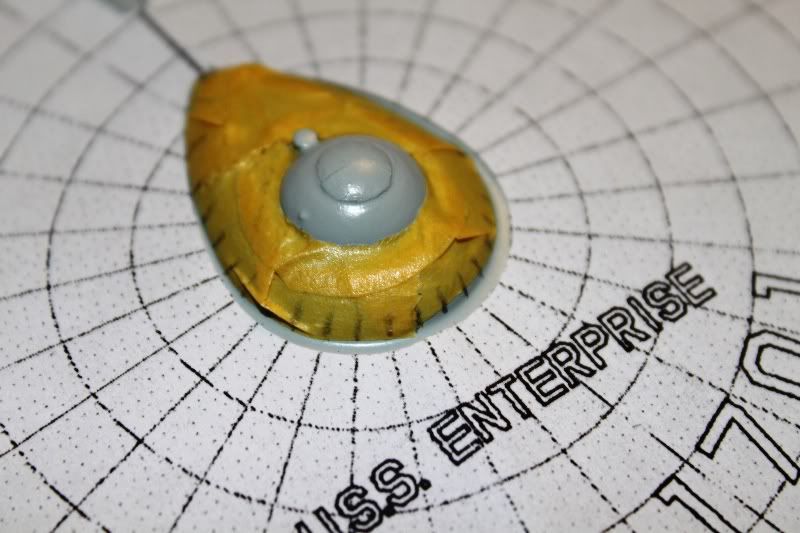
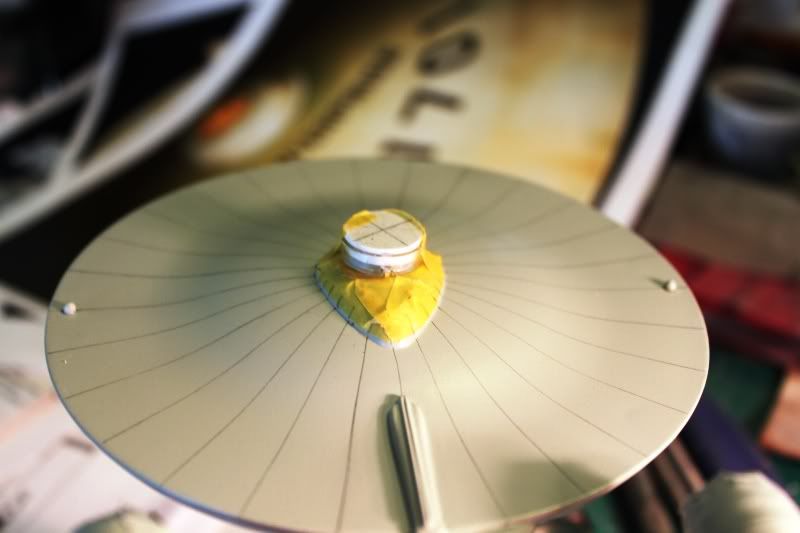
I don't want the compass needle to mar the upper sensor dome so I'll cut a short length of tubing to fit snugly around the perimeter of the bridge (with a slot cut out where the turbolift is) and glue a round, flat piece of styrene to the top of the tubing with a hole dead center for the compass needle to rest in.
The tubing will need to fit snugly enough around the bridge deck without gluing of course.
The compass needle will thus rest just above the level of the dome without touching it.
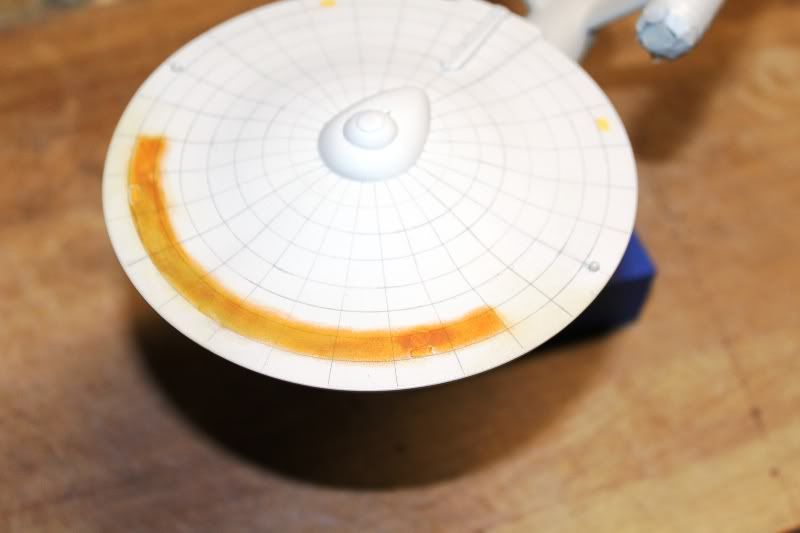
Once the gridlies are drawn I'll seal with a light spray of Dullcote and use them as a guide to mask off and paint the rust ring with Testors Rust and lightly scribe lines where the four rectangular upward facing saucer window decals will go.
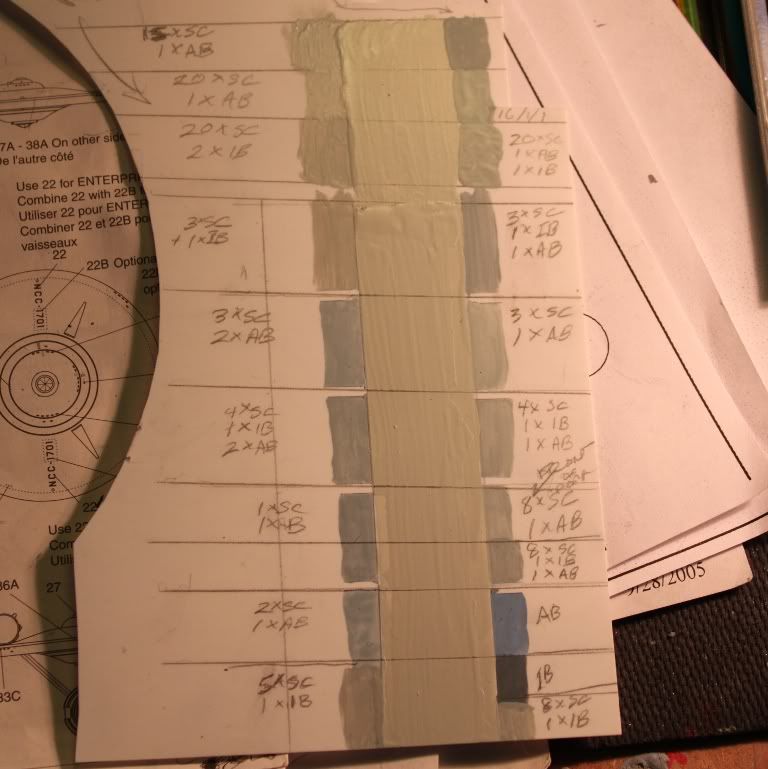
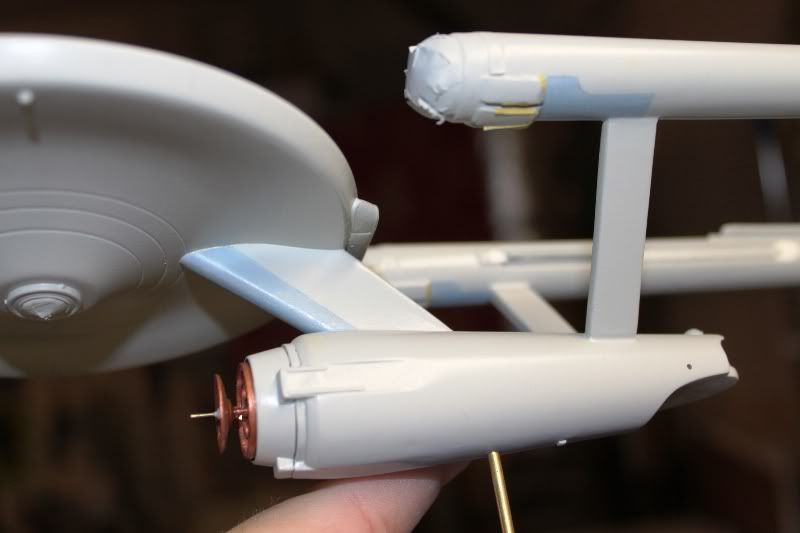
Then I'll mask off and paint the front of the dorsal and the area under the front of each nacelle behind the three flux constrictors with a mix of the hull color and Intermediate Blue.
The rust ring, gridlines, and weathering streaks will then be muted down to be very subtle after another thinned down layer of the basecoat.
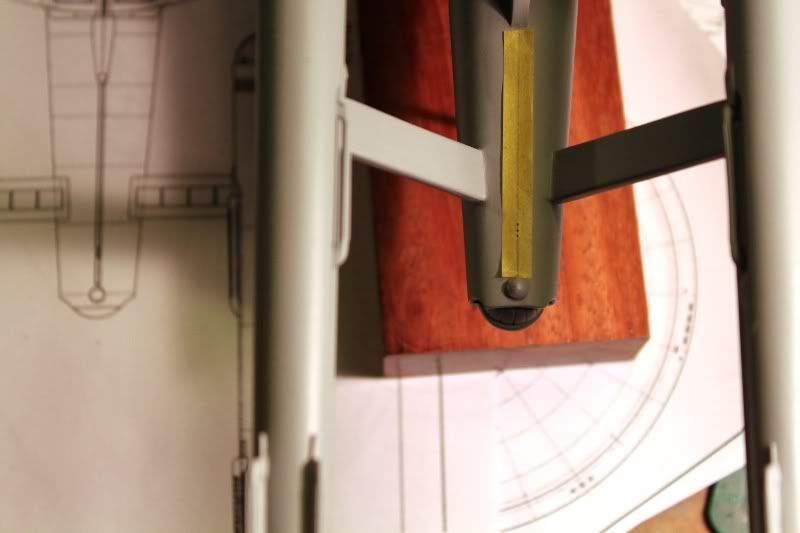
As far as the nacelle encaps, the rear retangles on each side of the nacelles, and the impulse engine vent assembly and accelerator on the back of the upper saucer, I plan on painting those a 50/50 mix of Testors Medium Gray and Euro Grey as Medium Gray seems too light and Euro Gray seems a little too dark.
The slot on the inside of the nacelles will probably be painted Medium Gray as they appear to be a shade lighter than the rest.
These will be painted after the second basecoat has been applied to the rest of the ship.
I'll allow 2-3 days for the paint to cure before hitting her with Glosscote, then apply decals, wait a day and spray with more Glosscote, and then finally 3-4 coats of Dullcote. Then I'll unmask the clear bits, clean up any "holidays" (hopefully there won't be any) and call her done!
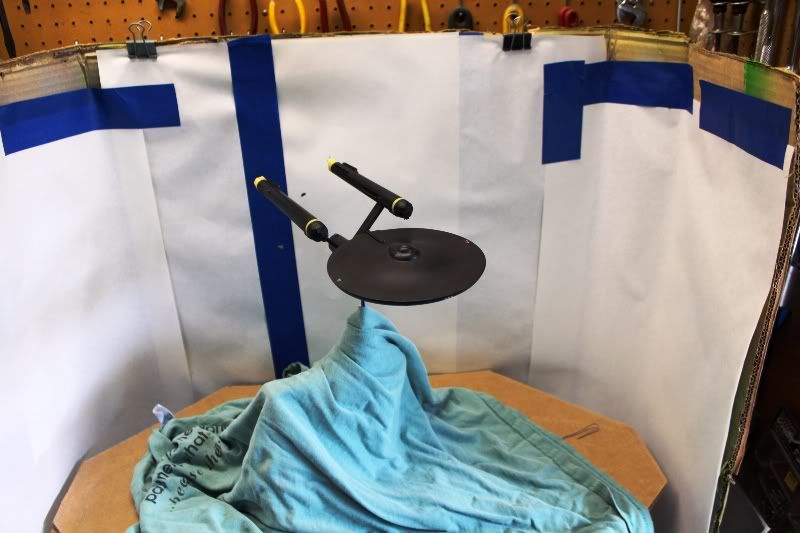
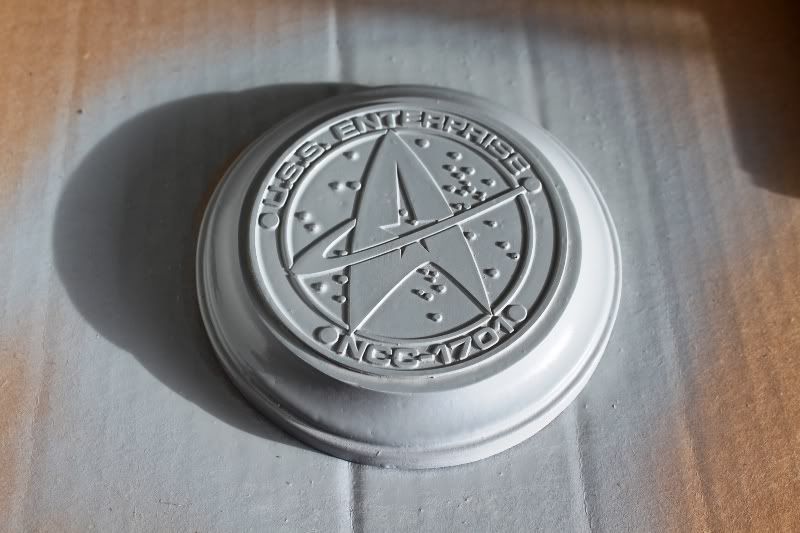
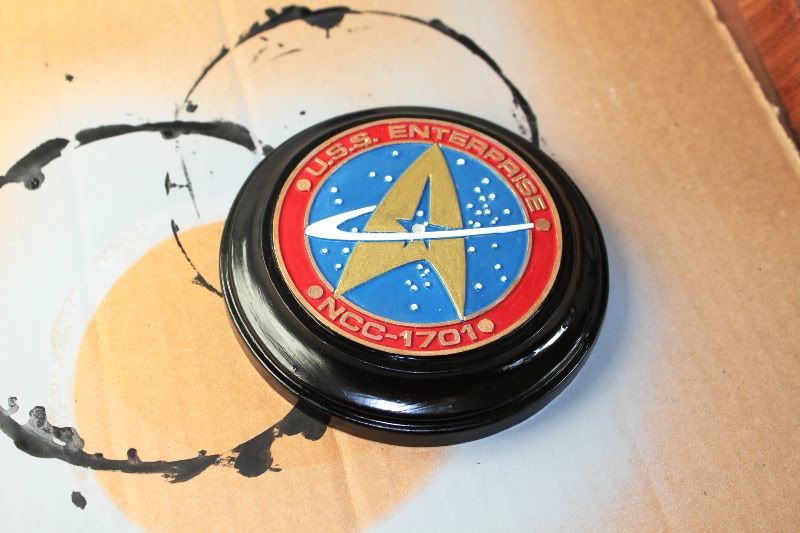
Well, all except for the base which will be a resin U.S.S. Enterprise base I bought from The Model Base Guy years ago for this build.
Here's a pic:
Comments on my color choices are welcome! Thanks for reading!
I should be able to sort that out by applying some more Mr Surfacer with a brush. This will be followed by some light sanding with 600 grit paper and even finer grit polishing pads. Then I'll shoot the entire model with a coat of Testors flat black before airbrushing the first basecoat of Shady Cove enamel.
Using the airbrush should allow me the control I need to have some of the black showing thru to leave faint weathering streaks.
After the initial coat dries I'll be using Alan Sinclair's blueprint of the upper saucer to draw the gridlines using a mechanical pencil.
I printed the drawing off onto 8.5 x 11 inch paper and then zoomed out to 124% on the copier at work to match the 5" diameter of the kit.
I'll cut it out and lay it down on the model then make tick marks along the rim of the saucer where the gridlines terminate.
I'll do the same thing along the perimeter of the B-C deck housing then use a piece of styrene strip to draw the radial lines.
The tick marks will be erased before more paint is applied.
The circular lines will be drawn with a compass.
I don't want the compass needle to mar the upper sensor dome so I'll cut a short length of tubing to fit snugly around the perimeter of the bridge (with a slot cut out where the turbolift is) and glue a round, flat piece of styrene to the top of the tubing with a hole dead center for the compass needle to rest in.
The tubing will need to fit snugly enough around the bridge deck without gluing of course.
The compass needle will thus rest just above the level of the dome without touching it.
Once the gridlies are drawn I'll seal with a light spray of Dullcote and use them as a guide to mask off and paint the rust ring with Testors Rust and lightly scribe lines where the four rectangular upward facing saucer window decals will go.
Then I'll mask off and paint the front of the dorsal and the area under the front of each nacelle behind the three flux constrictors with a mix of the hull color and Intermediate Blue.
The rust ring, gridlines, and weathering streaks will then be muted down to be very subtle after another thinned down layer of the basecoat.
As far as the nacelle encaps, the rear retangles on each side of the nacelles, and the impulse engine vent assembly and accelerator on the back of the upper saucer, I plan on painting those a 50/50 mix of Testors Medium Gray and Euro Grey as Medium Gray seems too light and Euro Gray seems a little too dark.
The slot on the inside of the nacelles will probably be painted Medium Gray as they appear to be a shade lighter than the rest.
These will be painted after the second basecoat has been applied to the rest of the ship.
I'll allow 2-3 days for the paint to cure before hitting her with Glosscote, then apply decals, wait a day and spray with more Glosscote, and then finally 3-4 coats of Dullcote. Then I'll unmask the clear bits, clean up any "holidays" (hopefully there won't be any) and call her done!
Well, all except for the base which will be a resin U.S.S. Enterprise base I bought from The Model Base Guy years ago for this build.
Here's a pic:
Comments on my color choices are welcome! Thanks for reading!
Last edited:
")