trekriffic
Sr Member
Awesomesauce! You make me want to finish another one, unfortunately, I have waaaaaaaaay to much on my plate. Brilliant work.
Thank you sir. I am honored!
Awesomesauce! You make me want to finish another one, unfortunately, I have waaaaaaaaay to much on my plate. Brilliant work.
Great work.
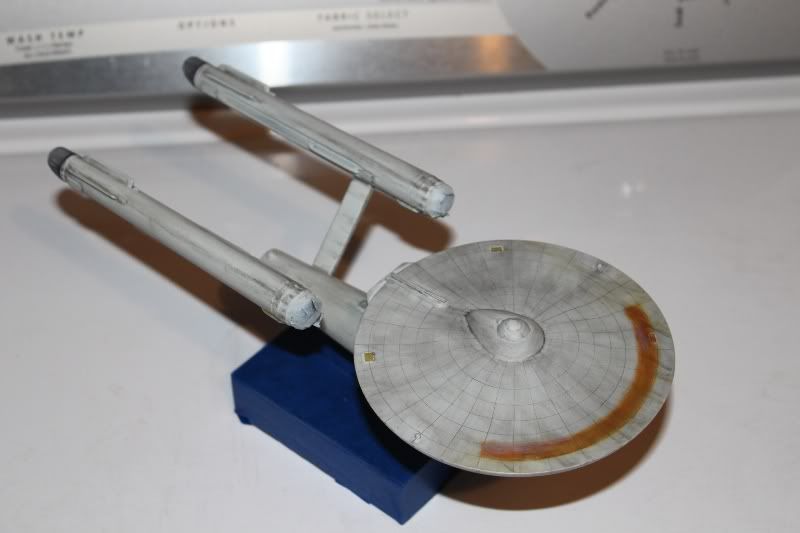
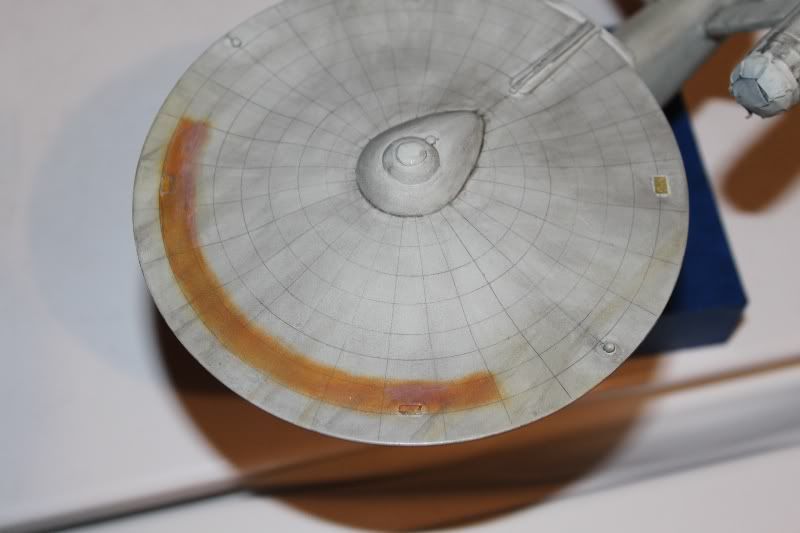
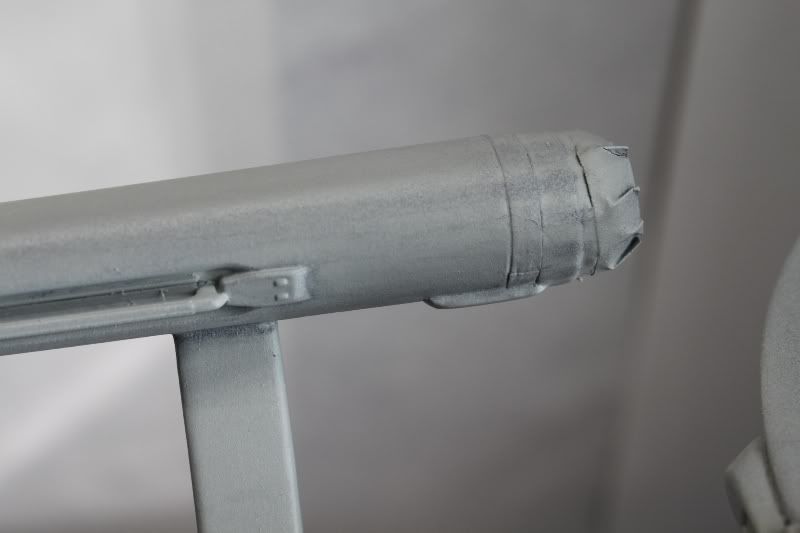
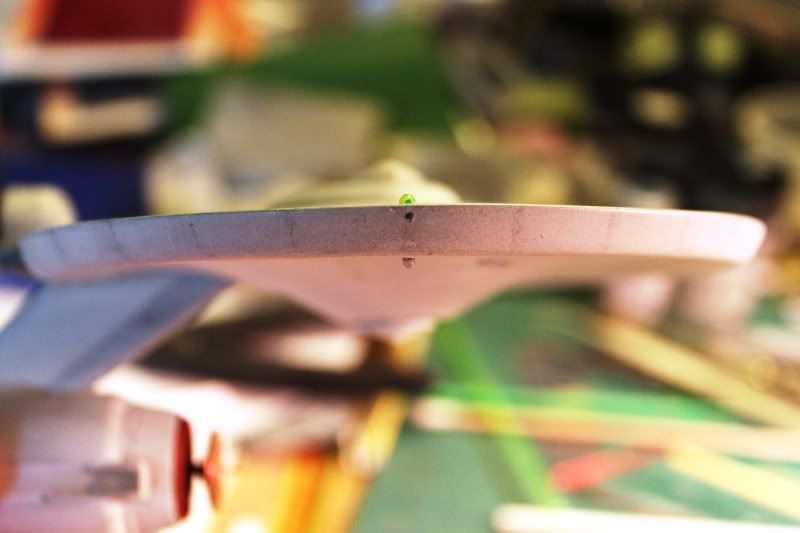
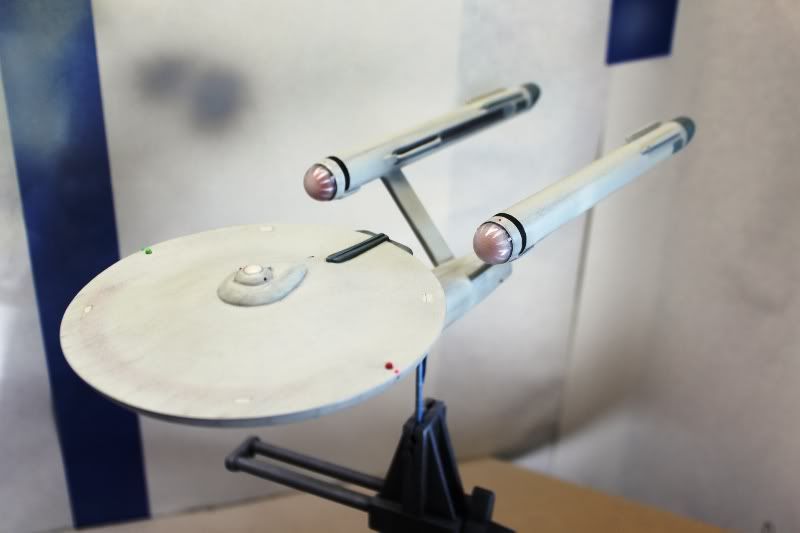
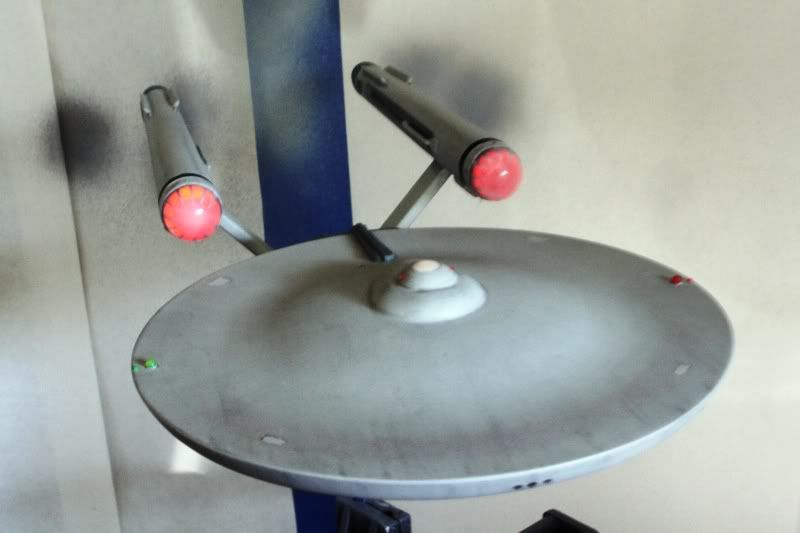
I love the pencil line work.
I might jut try it on my BIG E.
Thanks
")

Niiiiiiiiiice. I would do things a bit different, but this is your baby. I think that with the right light and a high-res camera.... You could recreate some of the effects of the original series and better in some instances.
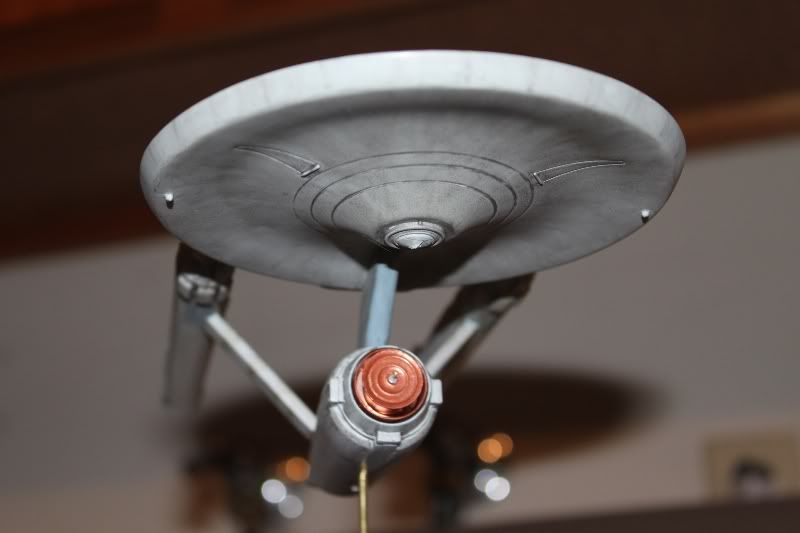
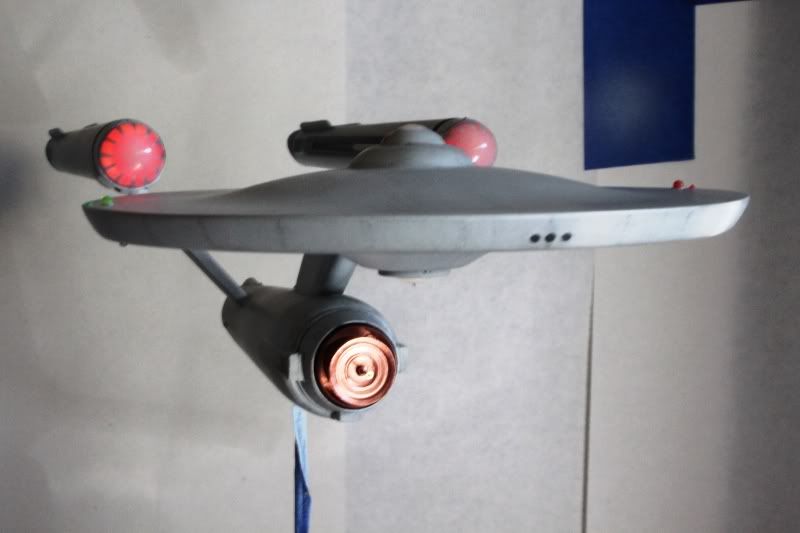
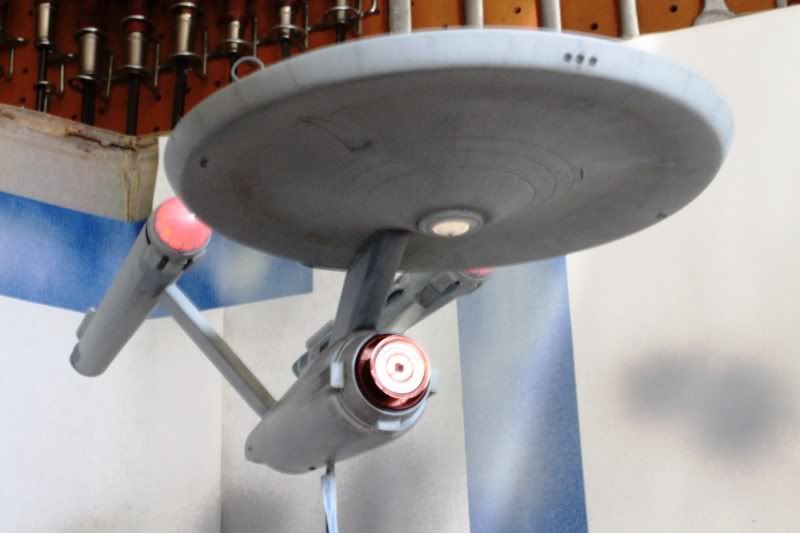
Very nice!:thumbsup Are going to add any windows that light up on the sides or saucer section?