Tim Burton's Alice In Wonderland Costumes

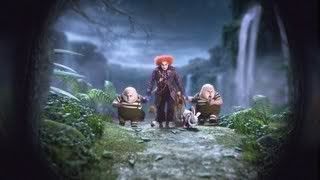
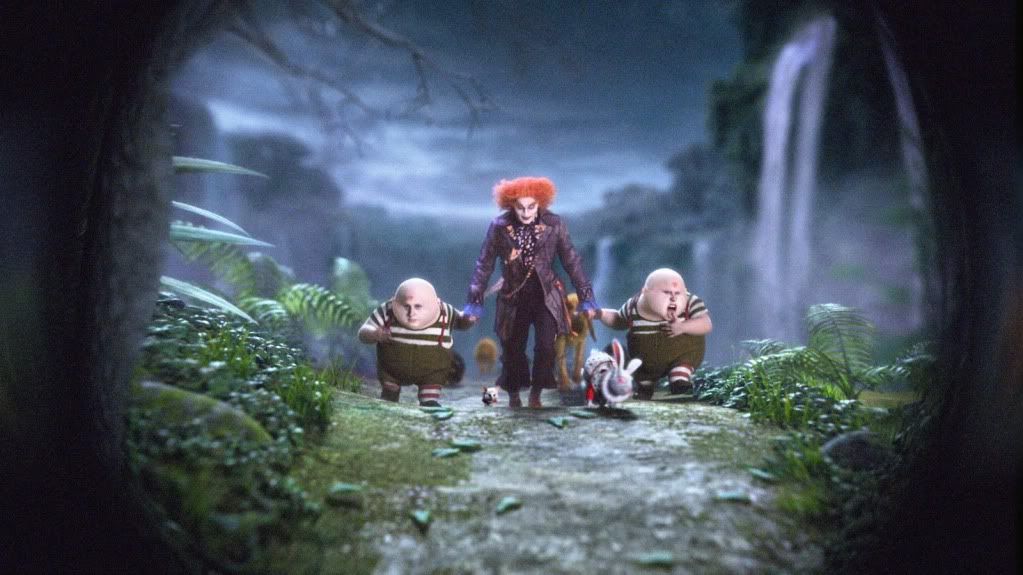
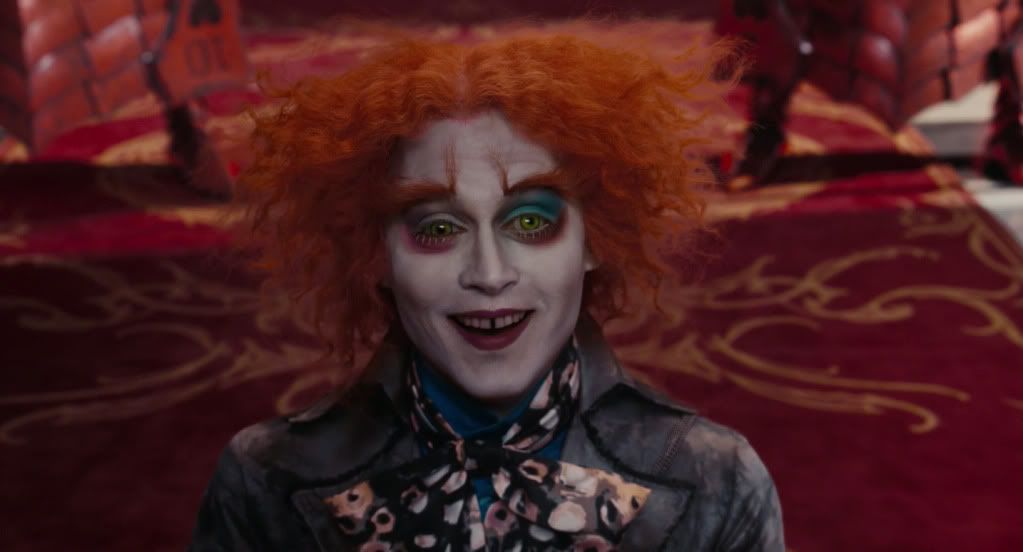
Whenever I go to do my make-up, this is the picture I try to use for reference, just because he has his eyebrows raised and it shows what color and how much goes where:
AiWTrailerScreencap206.jpg
 
But it must mean he's feeling sad. :( aaaww.

Actually maybe not. I've seen pink, white, black and blue...I thought it was his coat that was supposed to change colour... *shrug*
 
I'd love a quick tutorial, if you've got the time.

The great thing about greasepaint is:
A: Cheap
B: Durable
C: Easy to use, once you know the "Secret"

I use Ben Nye only, as I find it more stable than Merhon. You guys can get this size:
http://www.lynchs.com/item--BenNyeClownWhiteMakeup--10.html
It'll last you forever.
They will have all the colors you'll need in little pots as well.

You need an old Tube Sock, a big Makeup Brush, a Ziplock Bag, and Baby Powder.

Put a fist sized pile of Baby Powder in your Sock, tie a knot in the end and put it in the bag. The bag keeps your sock from making the bathroom look like a Baby exploded.

1. We'll start with your base. That would be the white. Take your fingers and pull some Greasepaint out. You can start to apply it to your face as thick as you want. A little over a large area gives you a pallor, a lot over your face gives you Clown Base. It's up to you.
Once you have the desired coverage shade, it's gonna look streaky. Take your hand and pat all over your makeup. The act of tapping it makes the Greasepaint completely smooth.

2. At this point in the makeup we'll seal the base. You may decide after practice that you want to do your base eye makeup now, but that will come with practice.
To seal the makeup take your Powder Sock and pat it all over your face. If there's a sticky spot, powder it. Take your big, fluffy brush and brush off all the extra powder. Splash water on your face and pat dry. That sets Greasepaint.

3. You can start to put on you other features, either using regular Makeup or using other Greasepaint. Once applied, the second layer of Greasepaint can be sealed, brushed and rinsed just like the base.
You can tap out the edges of your makeup to blend out the color.

4. Practice. A good Greasepaint makeup is about nothing but confidence. It can be an ugly Makeup, but applied solidly, will be successful. Don't leave your first application for 10 minutes before you need to leave for an Event. In a situation like that, it will go wrong. Since this stuff is cheap, you can do, literally 100's of applications, practice is good.

5. Removal. Cheap Olive Oil. Good for your skin. Easy to use. Rub it on, towel it off, wash your face, done.

So here's how it goes:
Base, Tap, Seal, Brush, Rinse, Detail, Tap, Seal, Brush, Rinse, Party, Oil, Towel, Wash, Gloat.

If you have questions let me know.
Laffo.
 
The great thing about greasepaint is:
A: Cheap
B: Durable
C: Easy to use, once you know the "Secret"

Isn't greasepaint kind of bad for your skin? Like acne in a tub?

I know the move towards the newer water based, powder based, etc makeups was to avoid the oil base in the old clown whites that clogged your pores, kept your skin from breathing, and caused blemishes. Now this is barring what I know about whether or not its been upgraded for the new age. Have they made it more hypoallergenic?
 
*does a little dance*

I FINALLY completed the ribbon portion of my dress...just have to re-install an invisible zipper so it looks like they connect all the way around, iron them nice 'n' flat and make the flower ( that ghetto rolled up ball of fabric is just for effect...lol ).

dress5675.jpg


I'm totally aware that no one will know it's a costume except for the employees who've already seen it, but when it's done...oh, all the ladies will be jealous!

Though I picked up an extra 5m of the blue sheer stuff for her Garden dress as well...so I might make that instead if I have time. I wasn't lying when I said this movie is taking me to the poor house! But that dress will depend on time...this one will be done by the end of the month and February is reserved for re-making the Hatter's coat and since I don't use patterns and have 0 experience in aging things ( the only aging I've done is by spreading out Travis' Jack coat on top of a patio umbrella and letting it sit in the rain and sun for 2 weeks ) I'm pretty sure it will probably take up the whole month. But I'm excited to start it because I love the fabrics I got for it!

Sooooo excited for the movie...who else is on the edge of their seat waiting for the next Wonderland Wednesday?

Jodo, sorry for the delay in Alice reference pics!!! I'm going to make a photobucket account to put them all in for you as soon as I have enough time to sit down and sort through them ( it's a pretty big collection...and growing!) !

*edit* ... wow. Totally just noticed I put the diagonal ribbon on upside down...I am not pleased....ergh....... T_T
2nd edit... wow...and the placement of it is actually so flawed that I want to cry ( by so flawed I mean it doesnt go to the bottom of the bodice, I'm picky! )... can someone tell me why i didn't look at a reference picture before sewing them down? Looks like I'm seam ripping tomorrow!!! WOOT.... -_-
 
Last edited:
I just covered my eyebrows with an elmers glue stick to apply my new hatter eyebrows I made. And for some reason I felt the need to inform you all....hehehe......
 
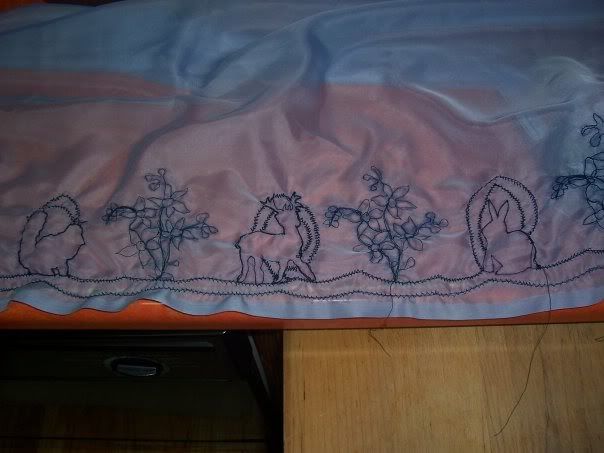
Chad, BEAUTIFUL work!! Can you take a close up of that? I'm going to start my Garden dress next month and I'm not sure how to do that stitching...I was just going to do regular embroidery but I know it isn't and yours looks like it's done the proper way. Can you offer any advice on how you went about it?
 
The skirt I did has 40 characters on it, and believe it or not I did the whole thing on my sewing machine! It took 2-4 minutes to do each one, and even though I think I have carpal tunnel in my wrists it looks smashing!
 
Back
Top