Five years ago the first original project I produced using my 3D Printer was a copy of the Crown of Bethmora. In the Autumn of last year I was contacted with a commission to produce another crown. Since my first attempt I've picked up a few tricks, (and also the Art of Hellboy 2 book) so I was pretty sure I could improve on my previous effort.
 There was an additional complication with this build however: this was intended to be used as a costume piece but I would be unable to meet my client for a fitting. This meant that whatever I came up with was going to have to be to be flexible to some degree.
 I decided the best approach to produce this new crown would be to prototype on my 3D printer, sand and finish the bare minimum of parts then mould them and pull castings. This had two additional benefits: in the event that I screwed up I wouldn't lose all of my progress, and there would also be the possibility of me producing more crowns further down the line.
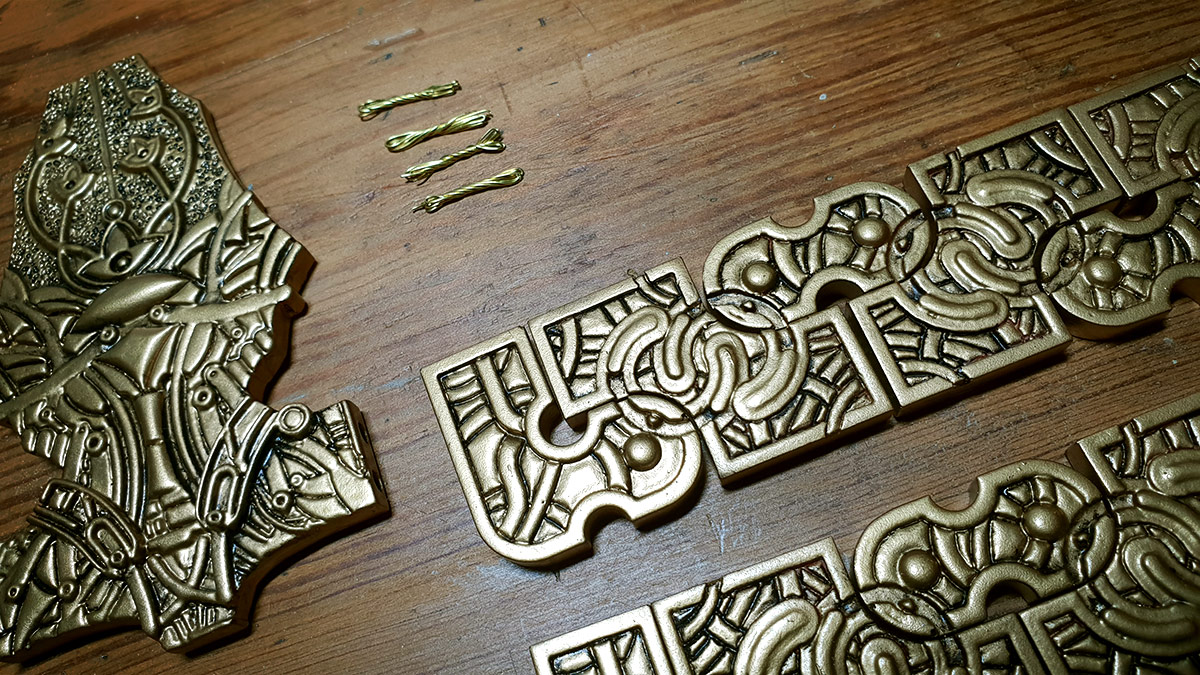
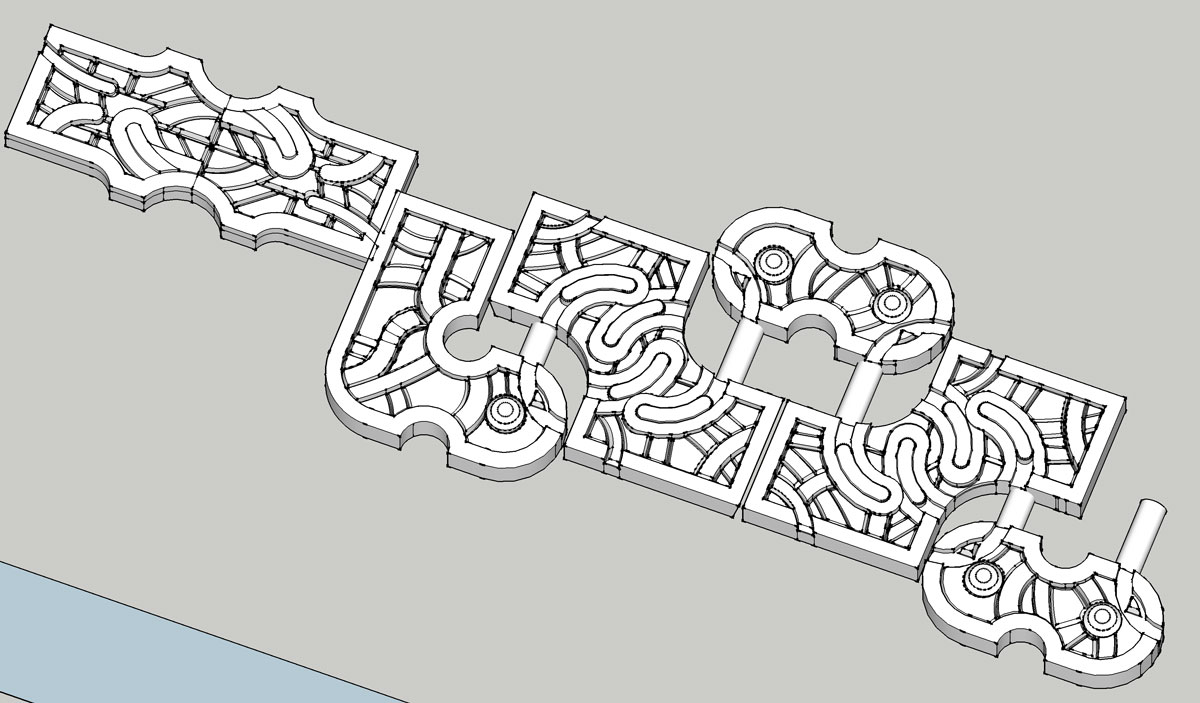
 The big question I had was how the pieces would be joined together. I began researching hinges and linkages and started to compile a fairly impressive collection of odds and ends. My initial plan had been to use armature wire to connect the sections, allowing some rigidity and pose-ability but I still preferred the idea of a mechanical link that allowed the kind of movement seen in the film. A flash of inspiration hit me as I was working on my computer one evening and I ordered a box of Threaded Standoff Spacers. If implemented correctly these would allow horizontal rotation but using a vertical hinge.
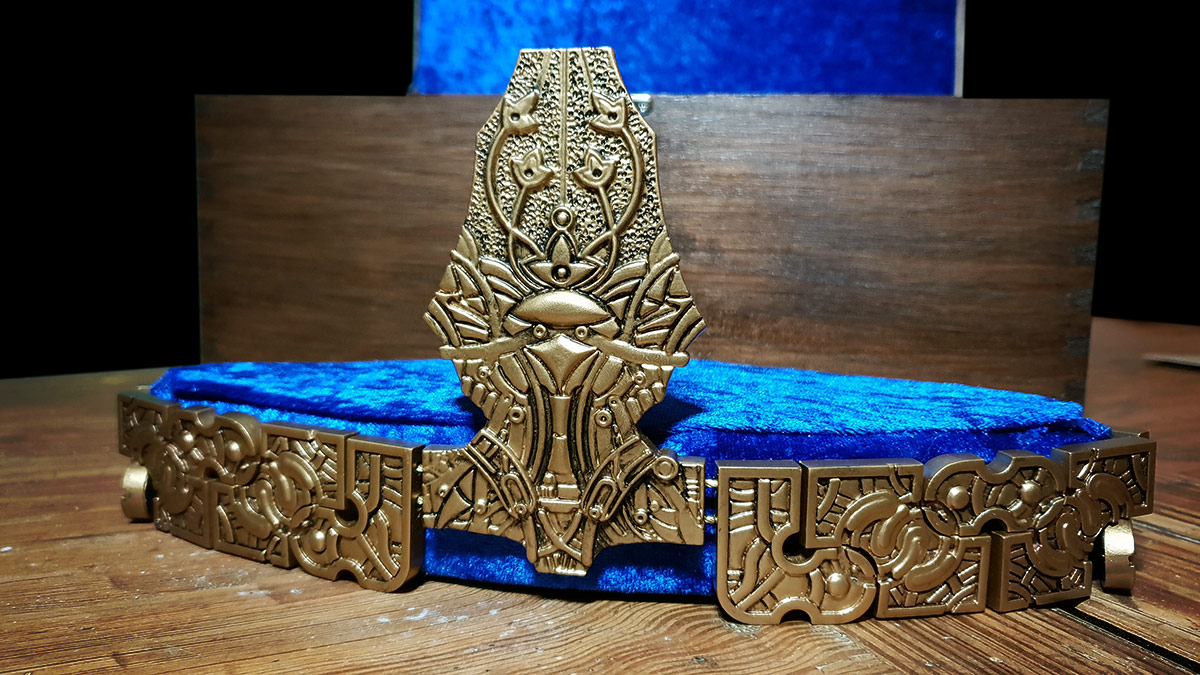
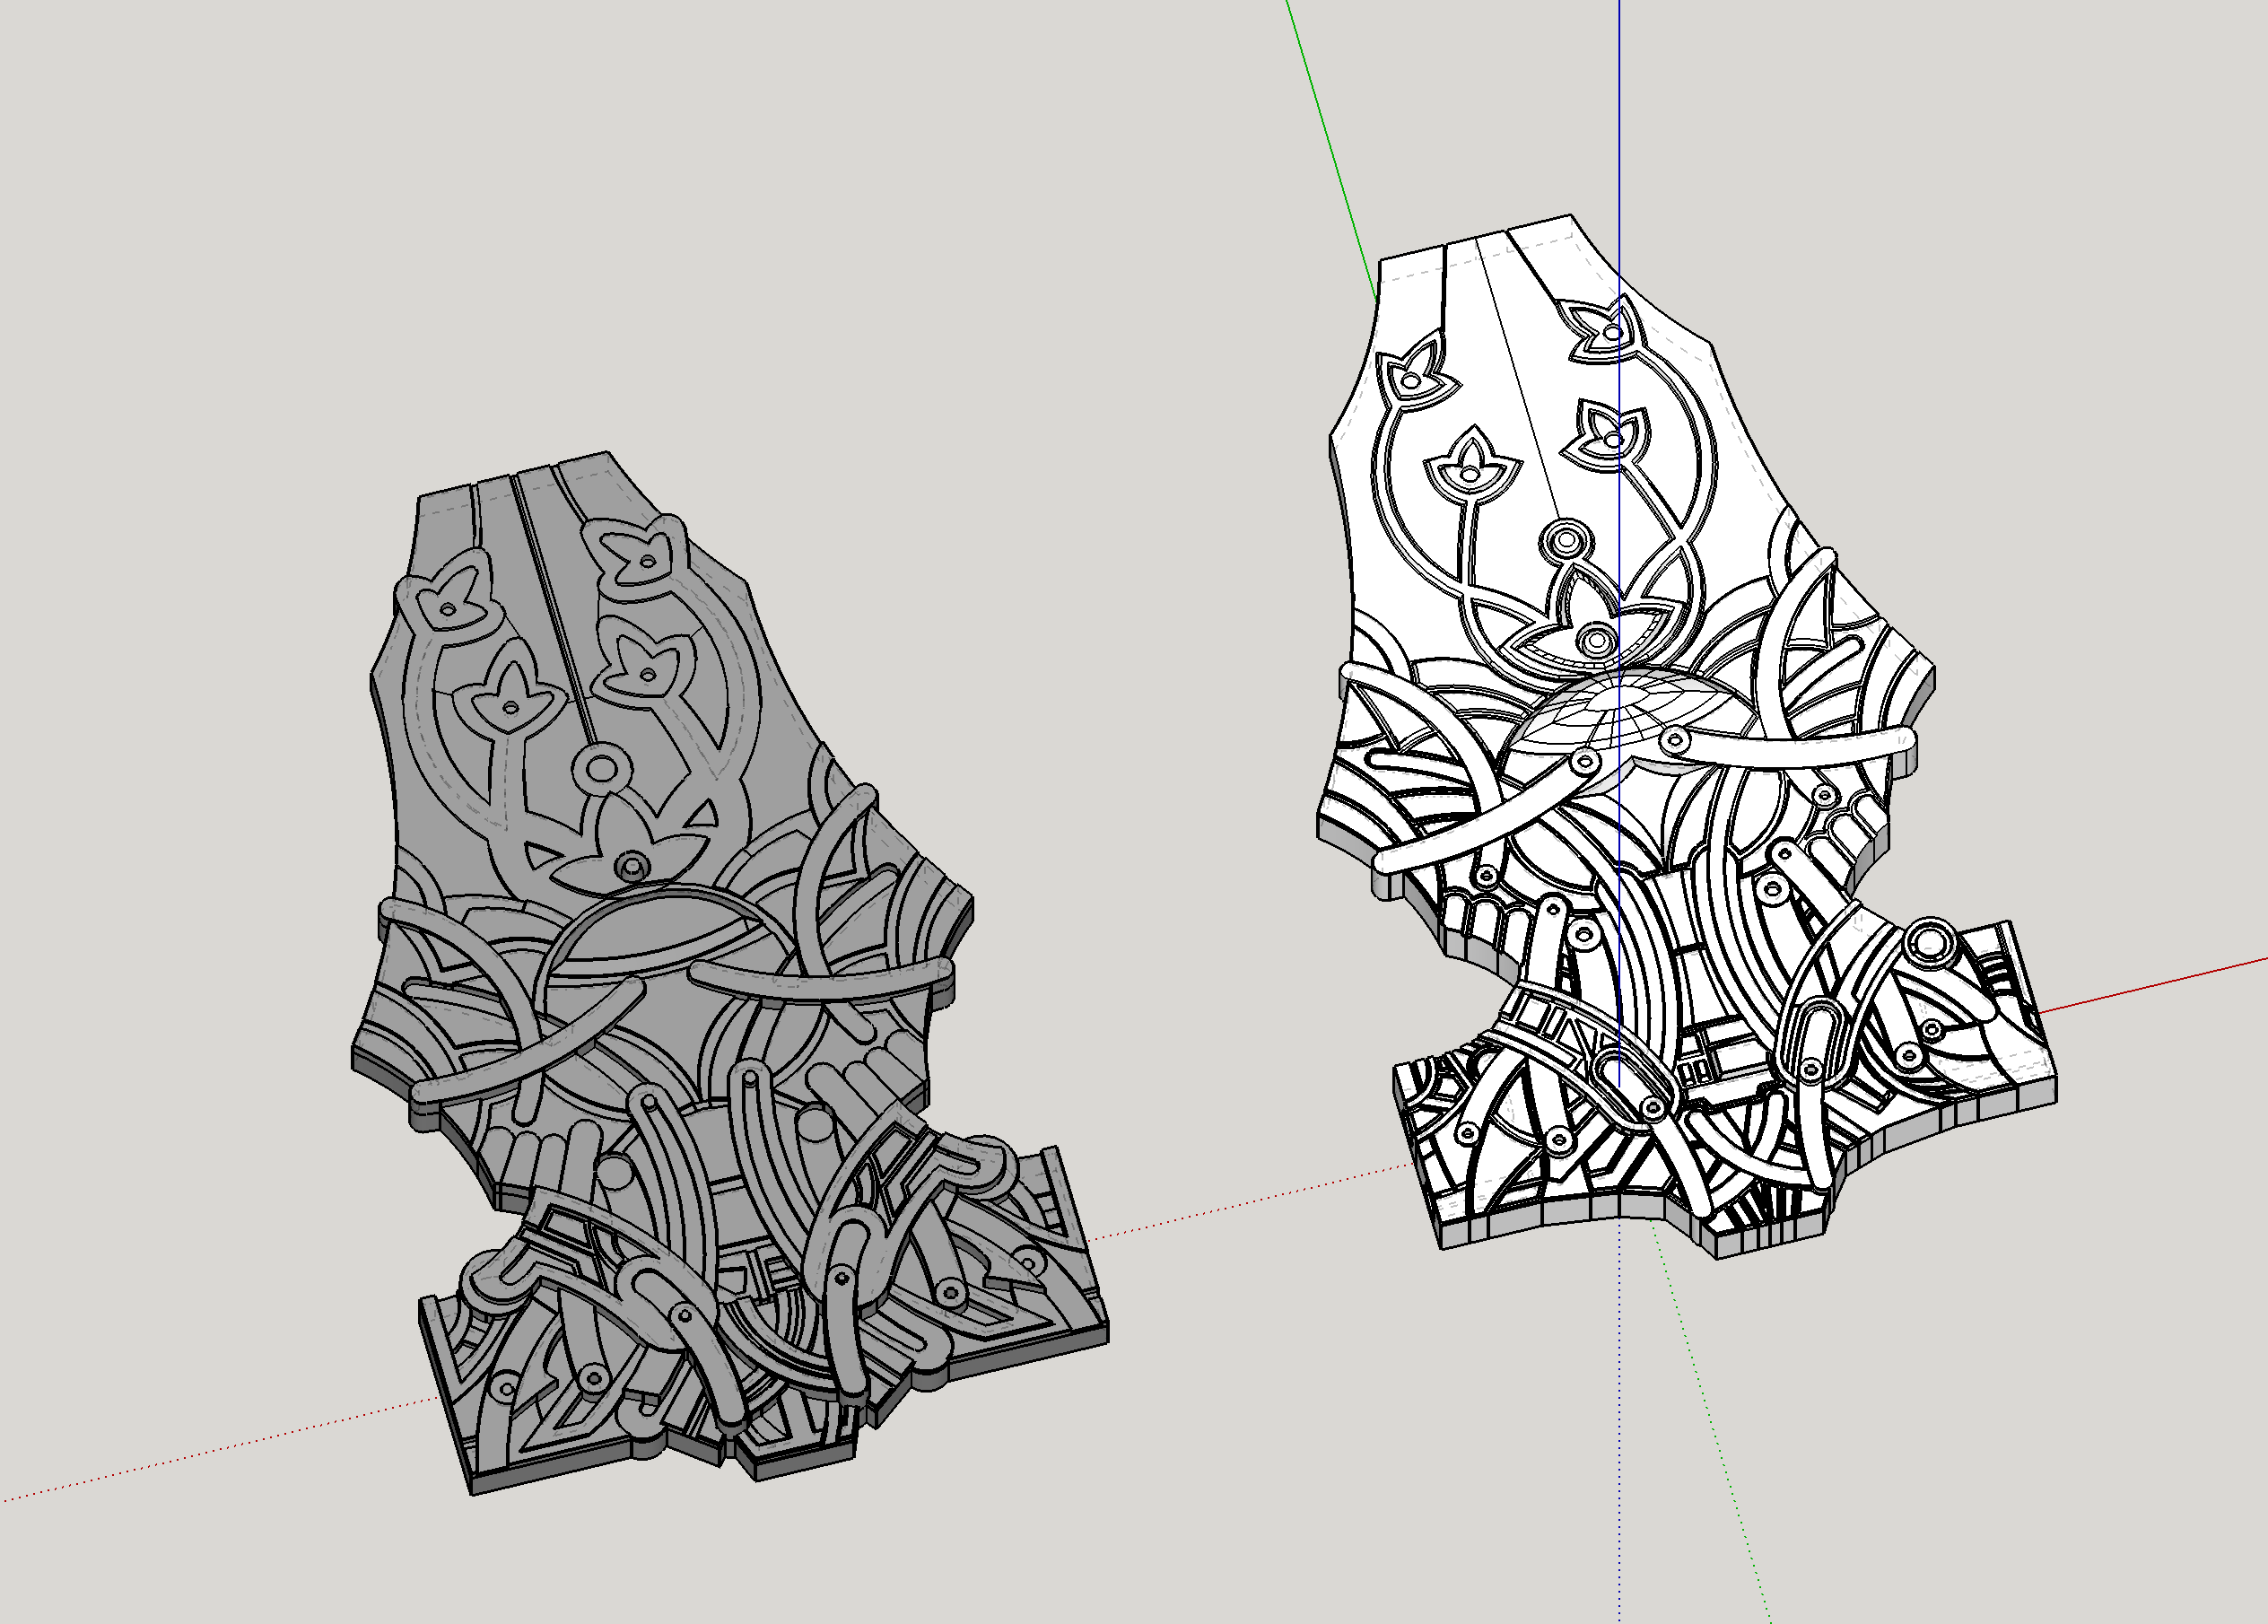
 Returning to my original model I had to decide how much was still useful and how much I had to rebuild. I had a hat size from my client so I knew I needed to make the overall perimeter approximately 58cm. After quickly adjusting the proportions of the model to match my new reference material I scaled up the crown to its new larger size. Knowing now that I had to fit a 2mm rod into the parts for the hinge I had to make them thicker too, although looking at my new reference material this looked like an improvement over the original. I also completely remodelled the front of the crown to make it closer to the original in both scale and detail.
 With the parts remodelled it was time for some test prints. My first attempts to print the pieces vertically for better detail resulted in plastic spaghetti so I stuck with horizontal prints.
 At least the front piece turned out better.
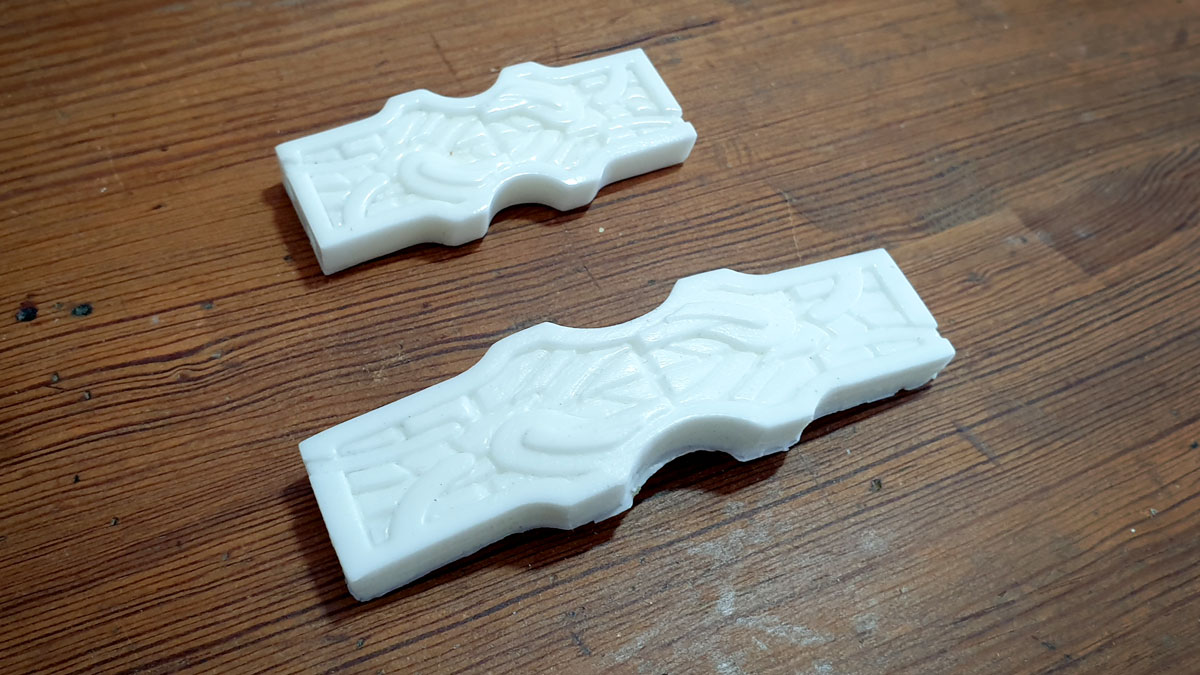
 I was working with some quite fine tolerances so I had to tweak the design a few times before I managed to limit the holes in the prints to only the areas they were required. I doused the finished prototypes with filler primer then started the sand/fill cycle.
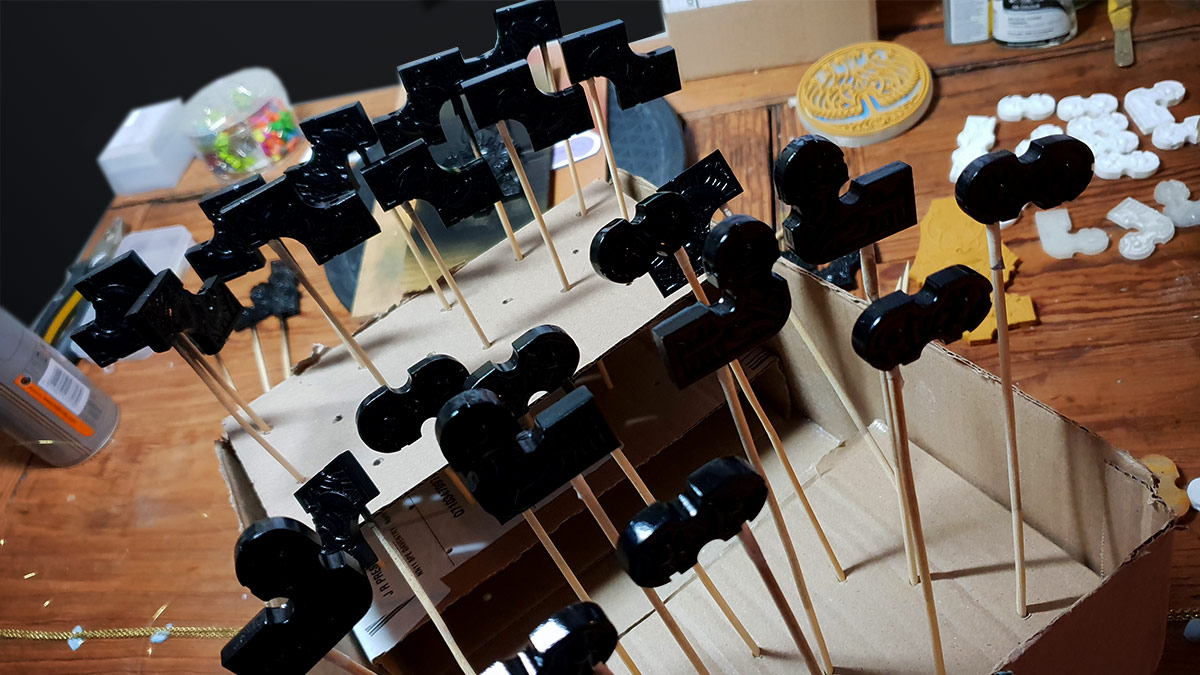
 Once they were smooth and clean I gave them a coat of gloss black, stuck them to a board, filled any gaps with clay and poured some silicone over them.


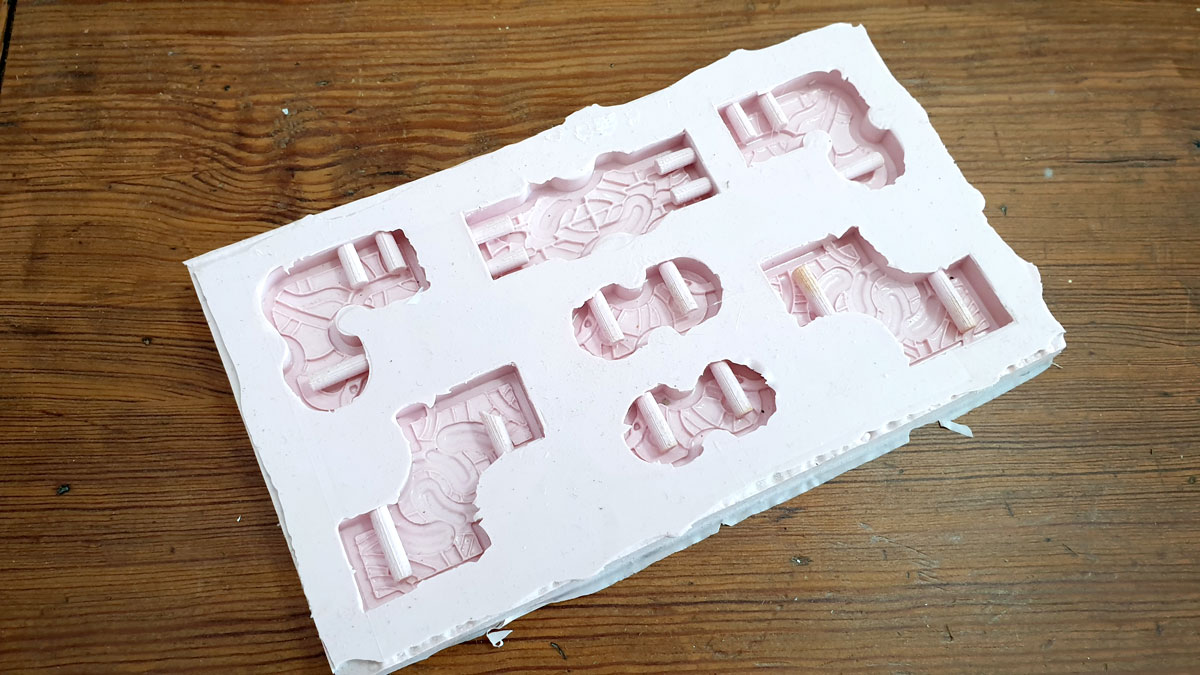
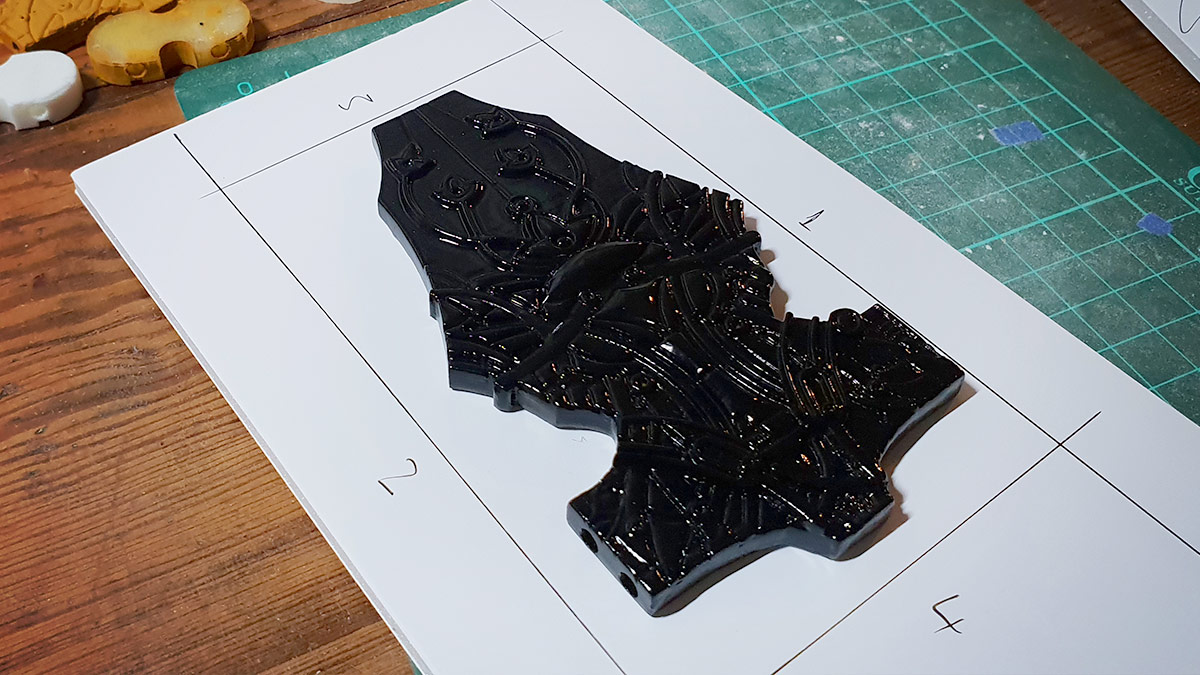 The mould was not without its challenges. Obviously there are some deep holes in place for the hinges to be inserted, and despite tipping the mould every which way as it was curing I did end up with one of the parts trapping some air. You can see the incomplete hinge recess on the lower left piece.
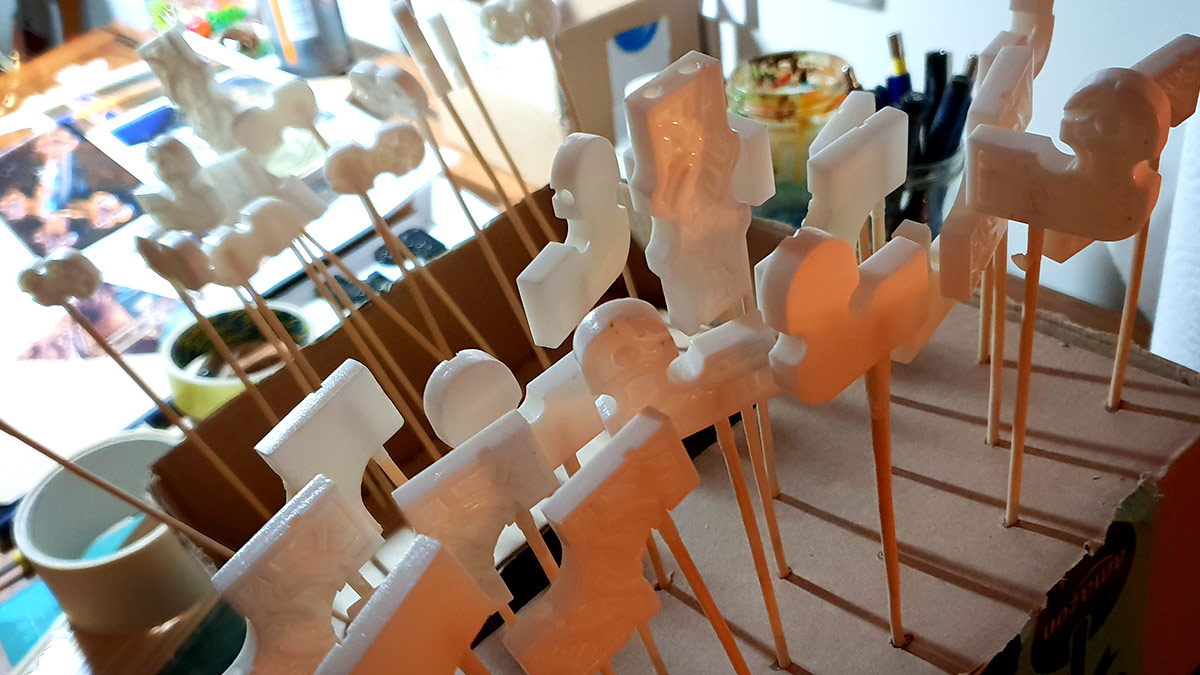
Next I set to pouring resin in the new mould. I've had very little success with two part moulds and I thought a flat back on these pieces would mean I could get away with a one part mould. In actuality the quality would have been greatly increased if I'd made a little more effort here and gone for a two parter... but I'd committed so I carried on.
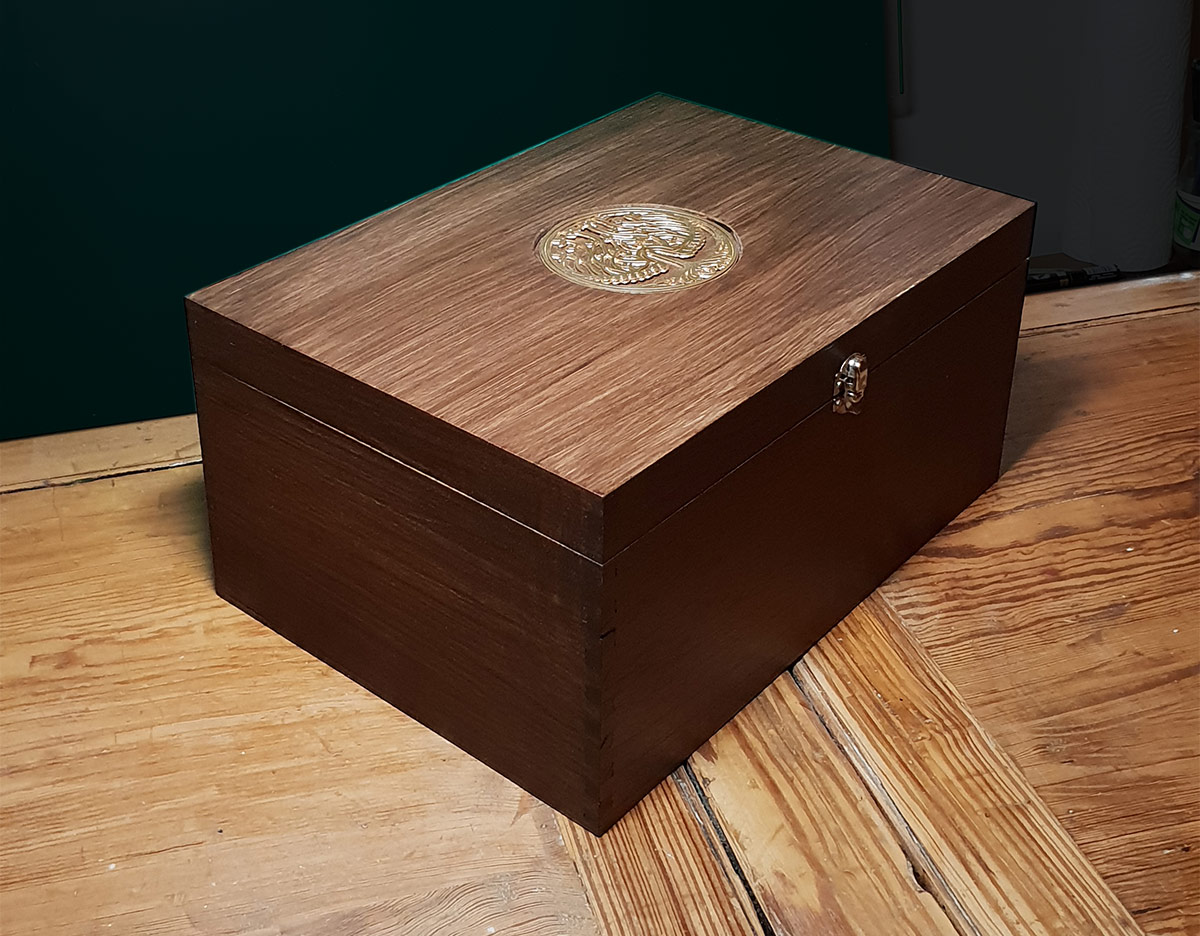
Since I wasn't busy enough with all of this, for some reason I'd come to the conclusion I needed a really fancy box in which to present the crown. My initial plans involved creating a case inspired by the toothfairy box... which I soon realised was going to be unreasonably heavy to ship, but not before I had constructed the majority of it, inserted hinges, built a router jig for my Dremel and designed & prototyped a fancy latching mechanism.
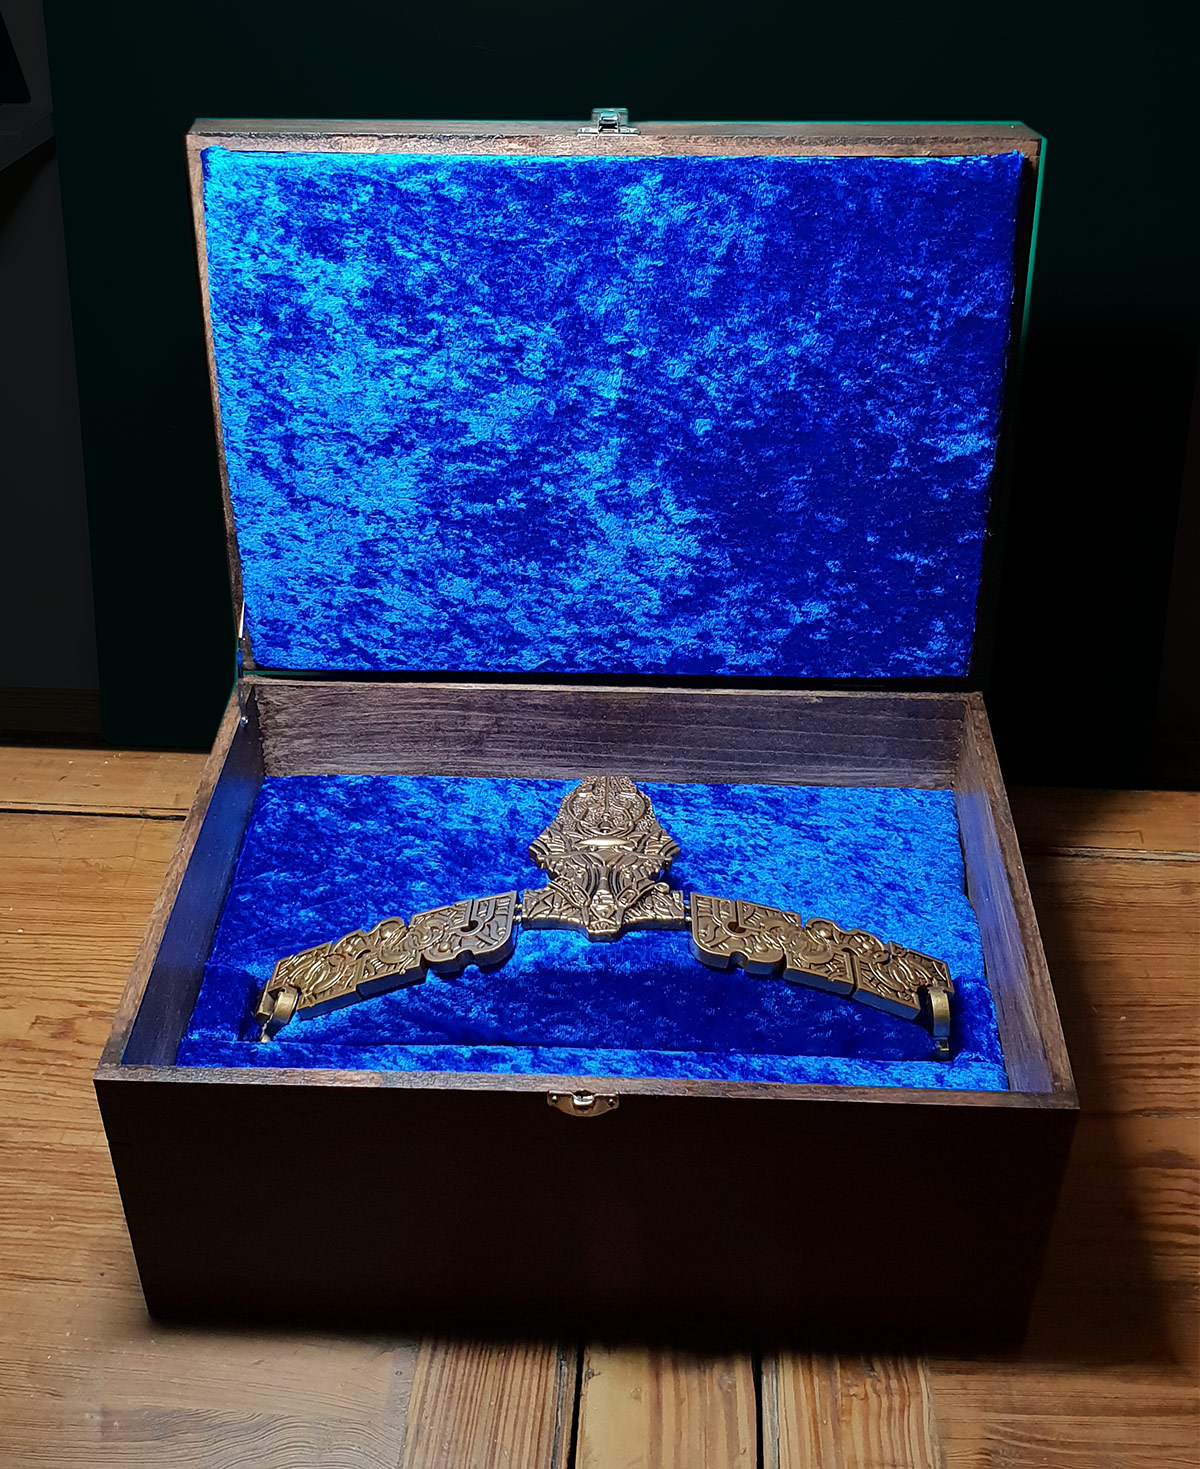
After I came to my senses i went and bought a light weight ready-made box from Hobbycraft and gave it a nice coat of varnish. The crest I inset in the top was originally part of the fancy latch I'd designed.
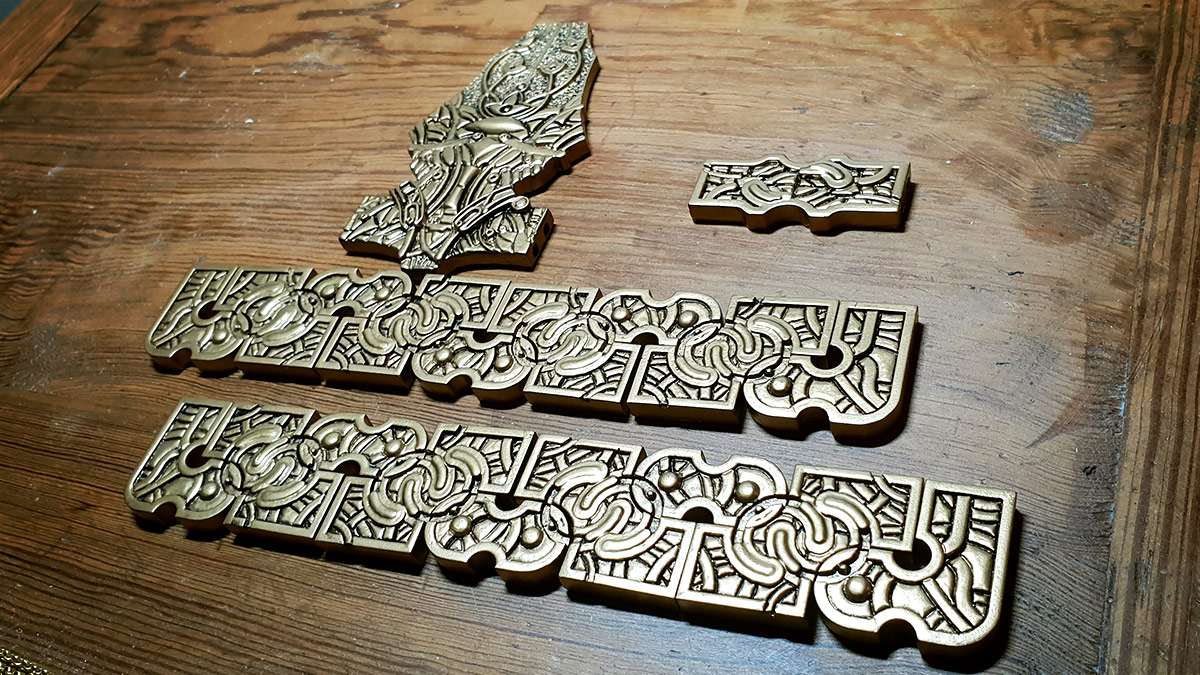
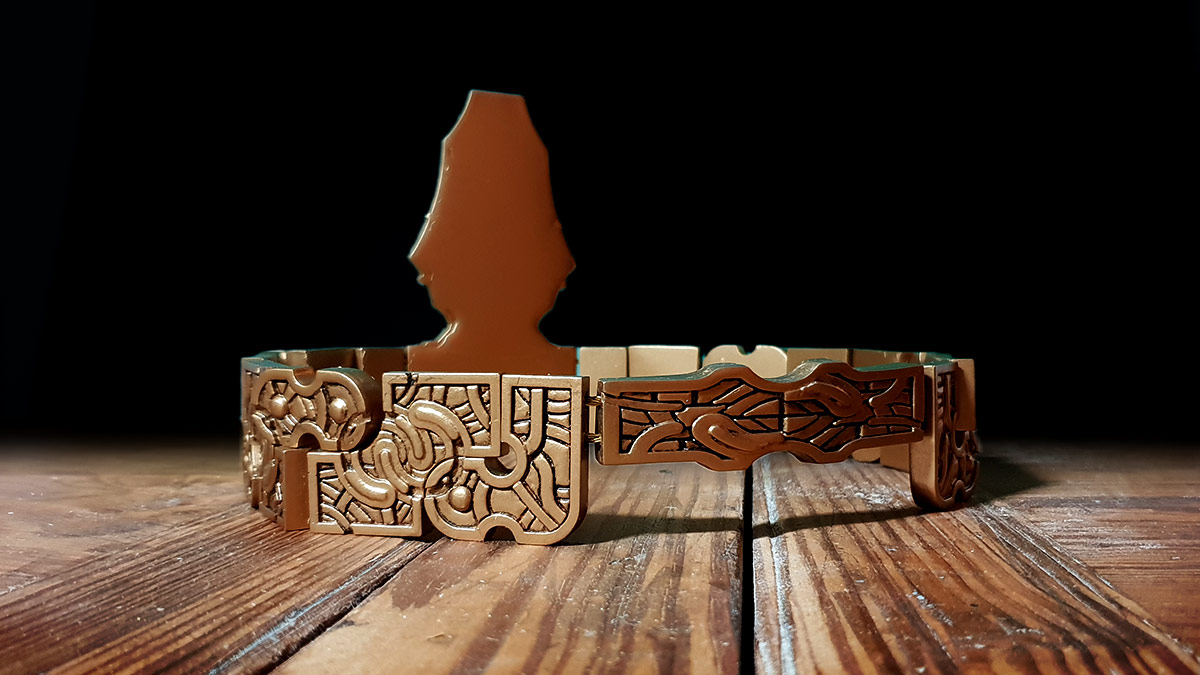
It took a few days but eventually I'd pulled enough decent bubble-free parts to put together a whole crown. A quick measure confirmed everything was going fine with the overall size at 58cm.
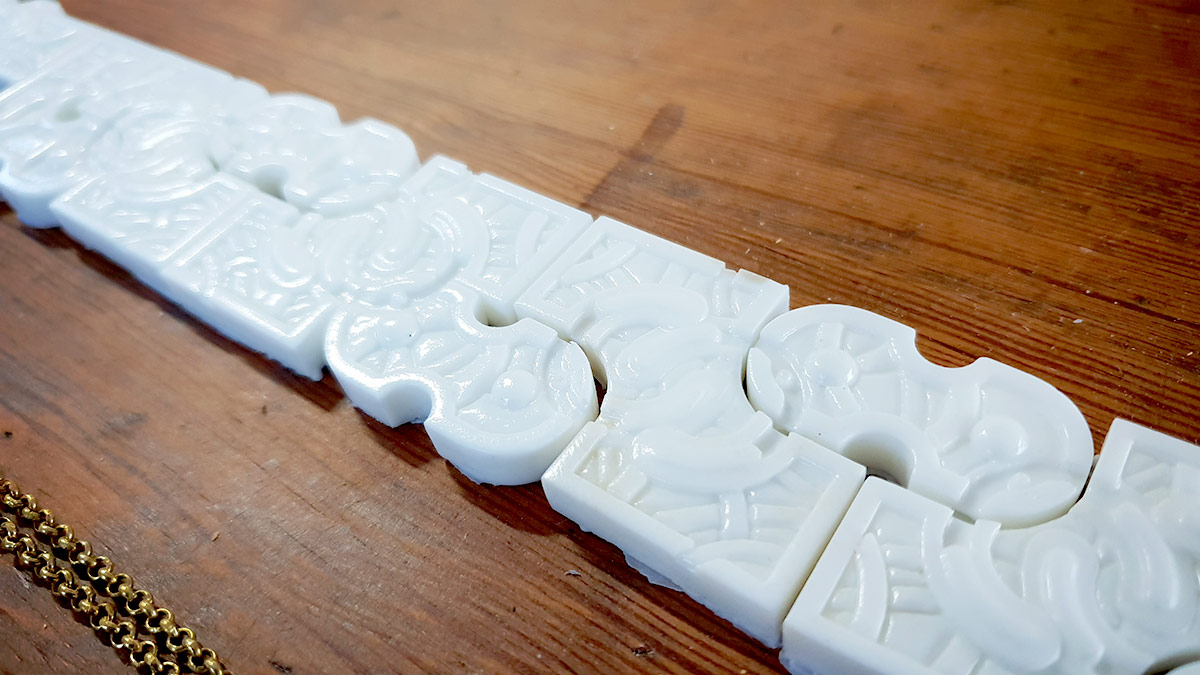 The down side of the one part moulding was that I then needed to sand the back of each individual part in order to make it perfectly flat, and this without going too deep and exposing the holes moulded into them. In order to perform this fiddly task without losing my fingertips I constructed a small jig from MDF, filled it with clay and used it to hold individual parts as I pressed them against a belt sander.
Next I set to pouring resin in the new mould. I've had very little success with two part moulds and I thought a flat back on these pieces would mean I could get away with a one part mould. In actuality the quality would have been greatly increased if I'd made a little more effort here and gone for a two parter... but I'd committed so I carried on.
Since I wasn't busy enough with all of this, for some reason I'd come to the conclusion I needed a really fancy box in which to present the crown. My initial plans involved creating a case inspired by the toothfairy box... which I soon realised was going to be unreasonably heavy to ship, but not before I had constructed the majority of it, inserted hinges, built a router jig for my Dremel and designed & prototyped a fancy latching mechanism.
After I came to my senses i went and bought a light weight ready-made box from Hobbycraft and gave it a nice coat of varnish. The crest I inset in the top was originally part of the fancy latch I'd designed.

It took a few days but eventually I'd pulled enough decent bubble-free parts to put together a whole crown. A quick measure confirmed everything was going fine with the overall size at 58cm.